To my other TR6 Pages
April 21, 2016
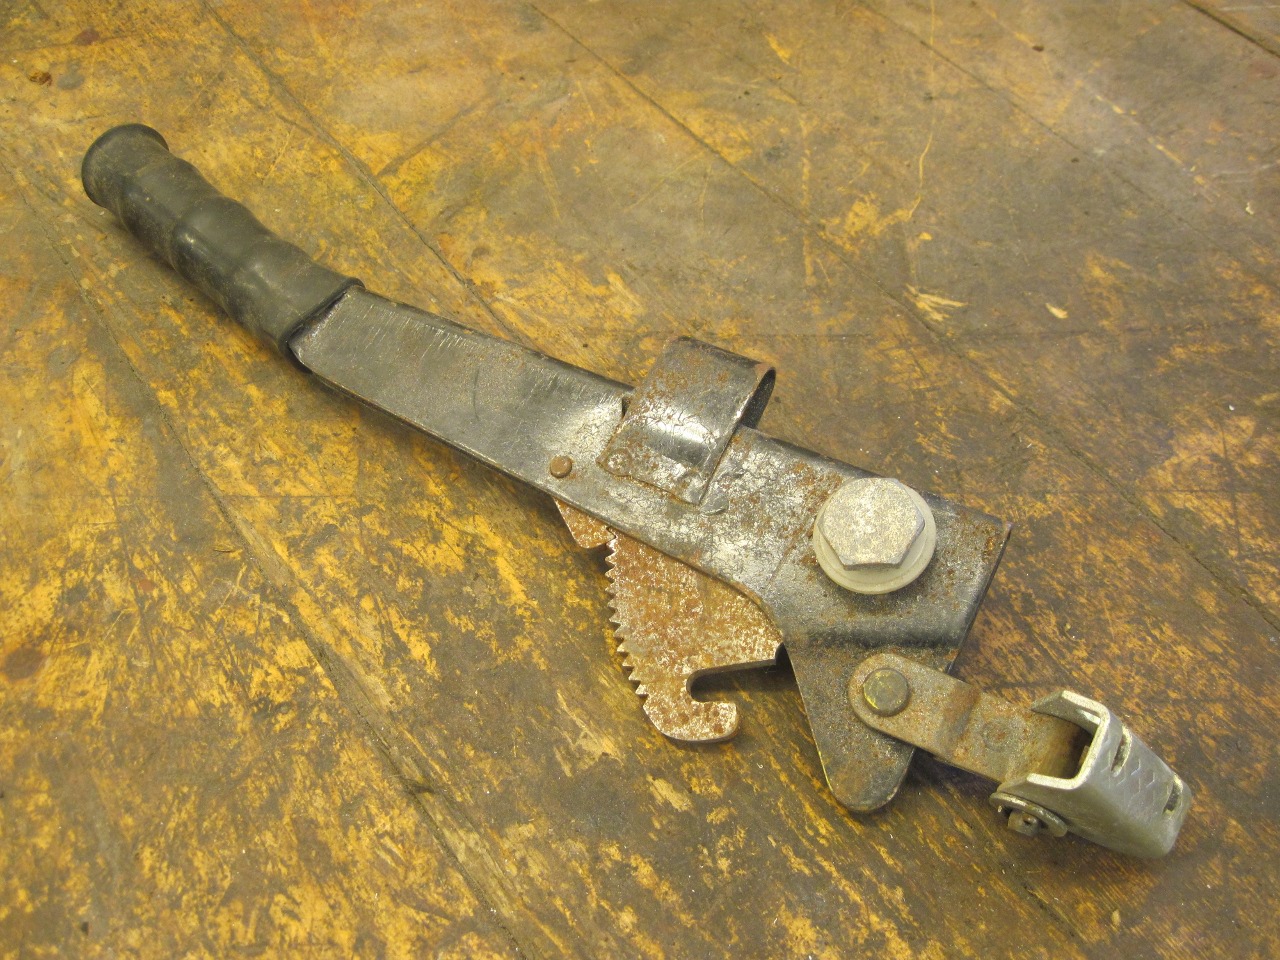
Handbrake Lever
The
TR6 cars all had a hand brake operated by a lever between the seats.
The lever is a self contained mechanism that pivots on a body
fitting, and pulls two cables, one for each rear wheel.
There is not a lot that can go wrong with the lever, and mine was in working condition, but was appropriately dirty and rusty.
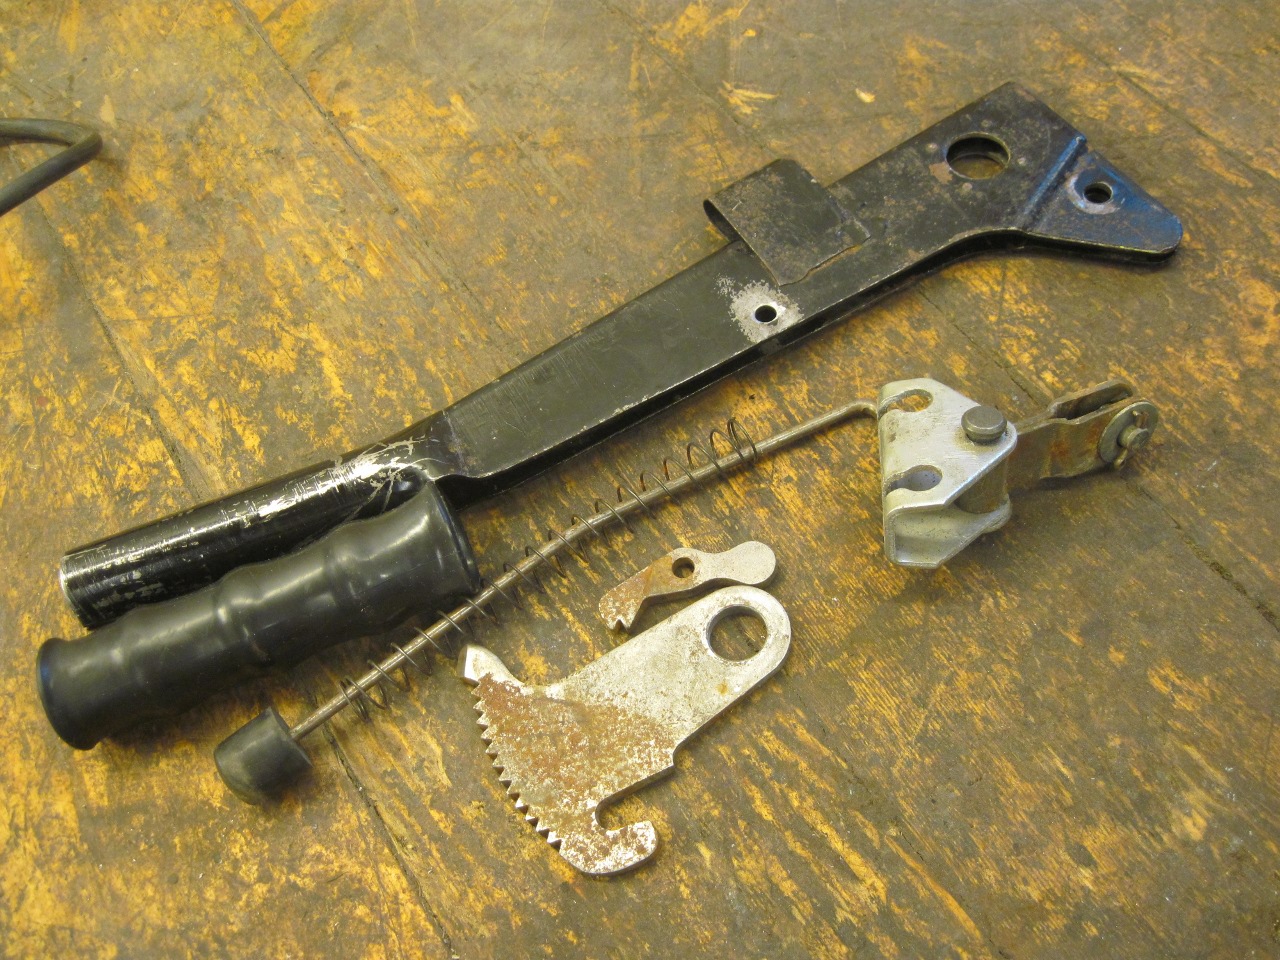
Inside
the lever is a toothed ratchet arm, a toothed pawl to engage with the
arm, and a spring loaded rod that can disengage the pawl. The rod
is moved by a button on the end of the lever grip. The other end
of the lever has a link to a balancer bracket which holds the ends of
the cables to the rear brakes. The lever gives a mechanical
advantage of about 6.5:1.
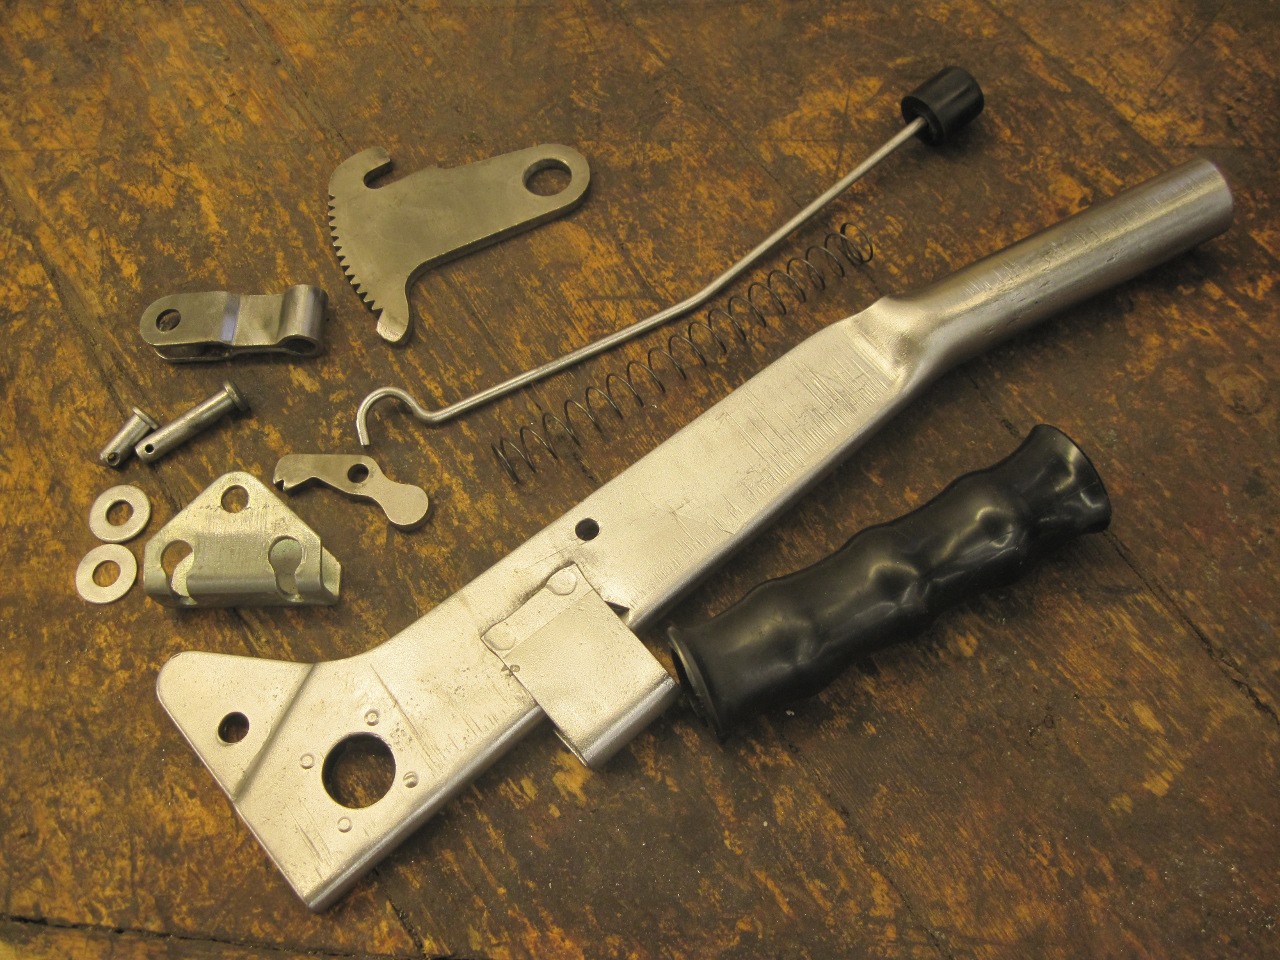
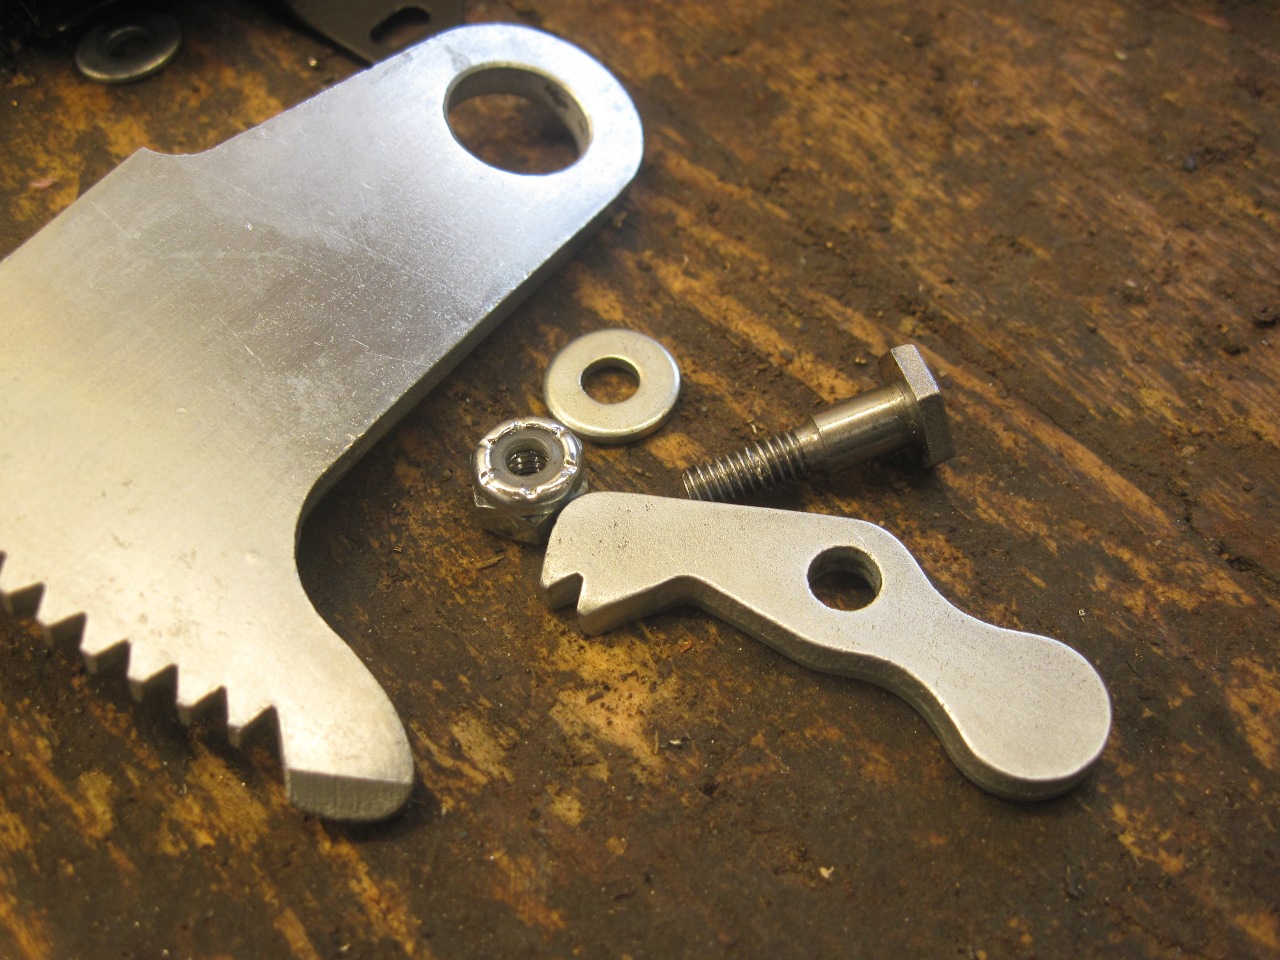
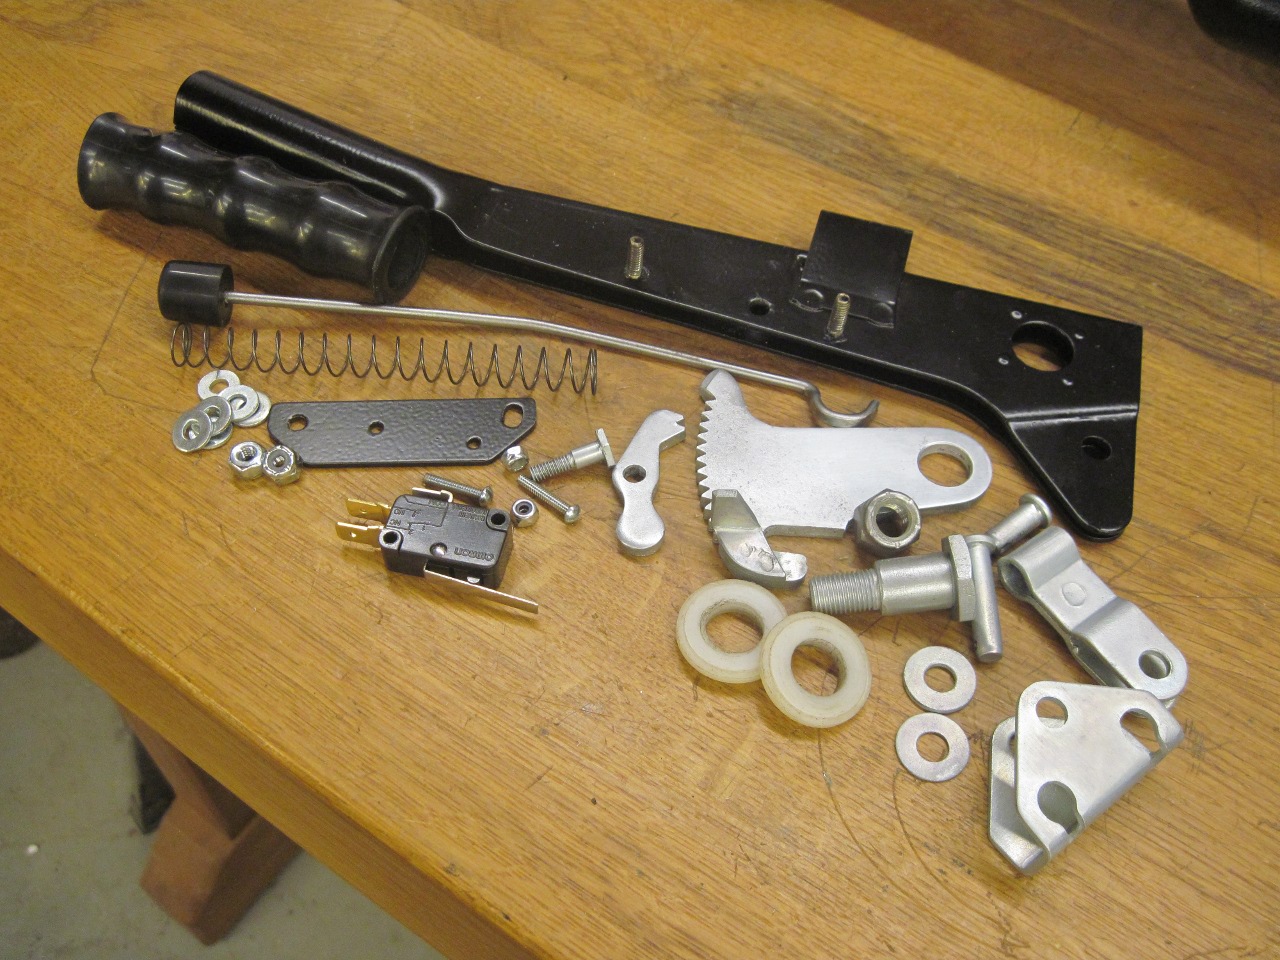
Here are most of the parts stripped of paint and rust.
One
of my motivations for looking into the parking brake lever was to see
if I could add a switch to operate a dash warning light.
Later TR6 cars apparently had this feature. It was
accomplished with a simple spring contact that grounded to the ratchet
arm when the lever was away from the home position. Buying a
later model lever was an option, but I didn't really care for the
rudimentary switch arrangement, and thought I could do as well or
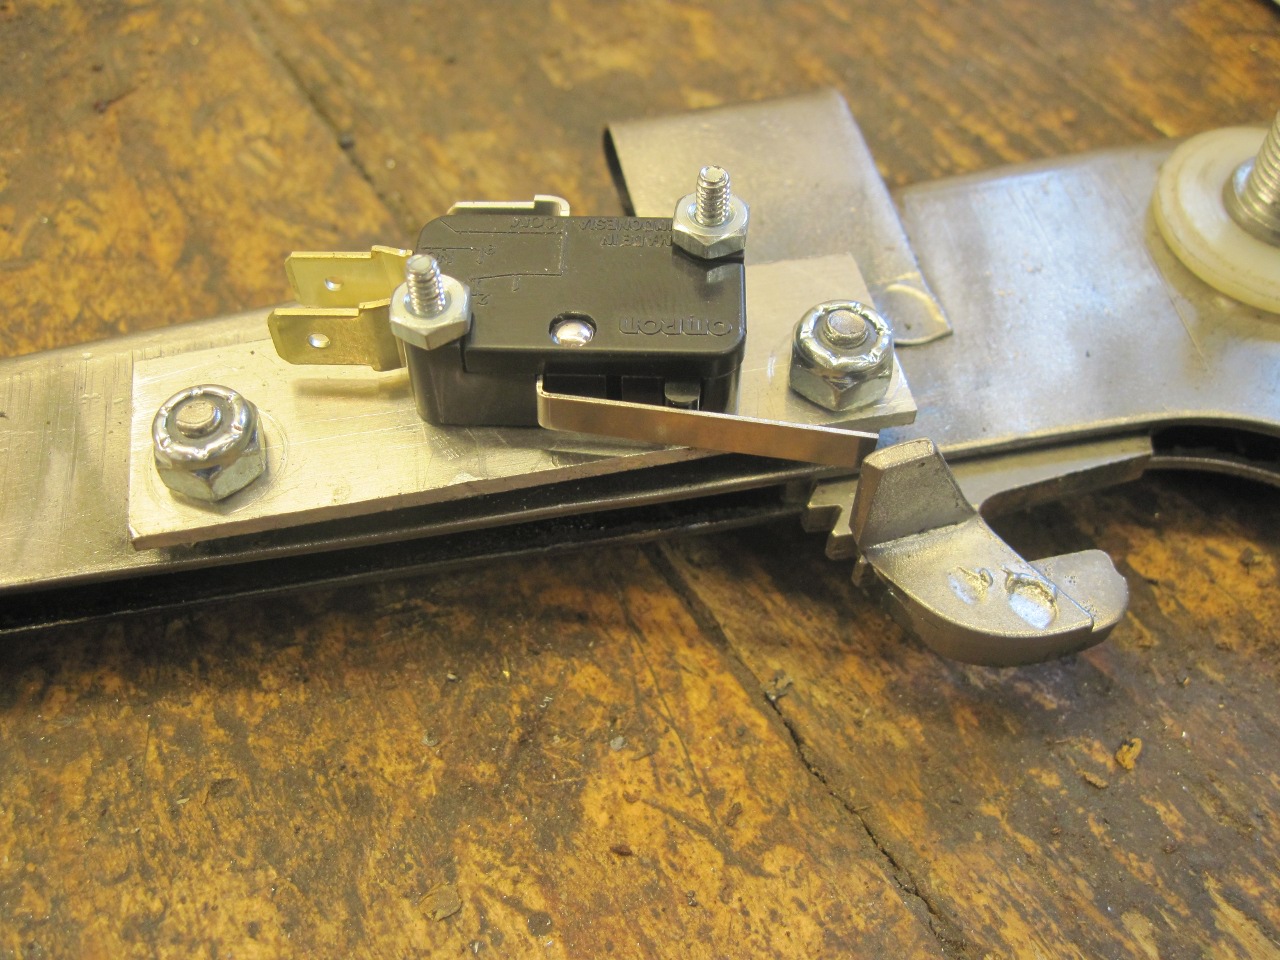
better by modifying my unit. I decided to use a modern "snap
action" switch commonly called a "microswitch" (one of those brand
names that have become commoditized into a generic term). This
also allows for a two-wire circuit that doesn't rely on the body for
the ground return.
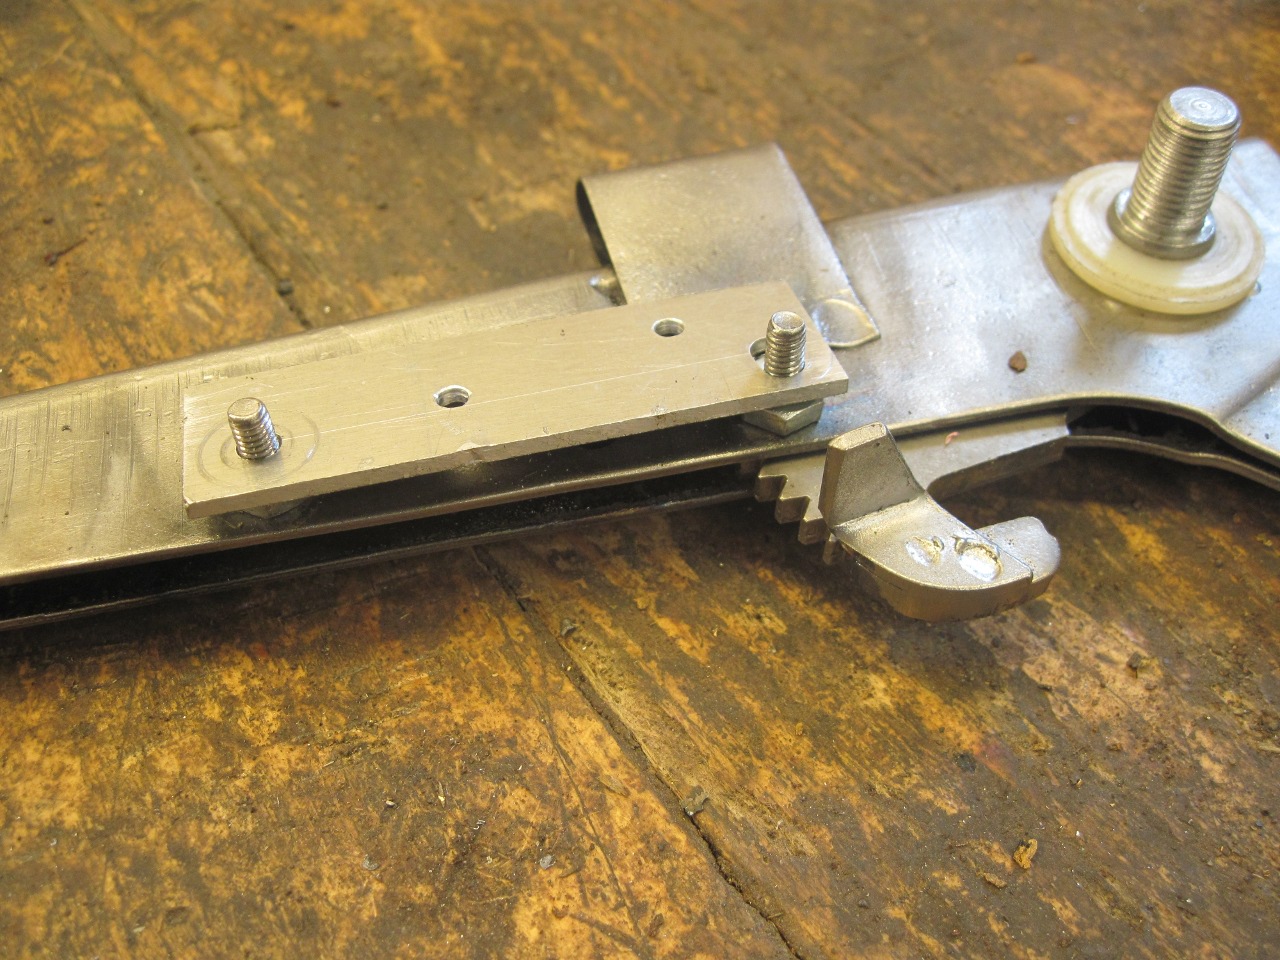
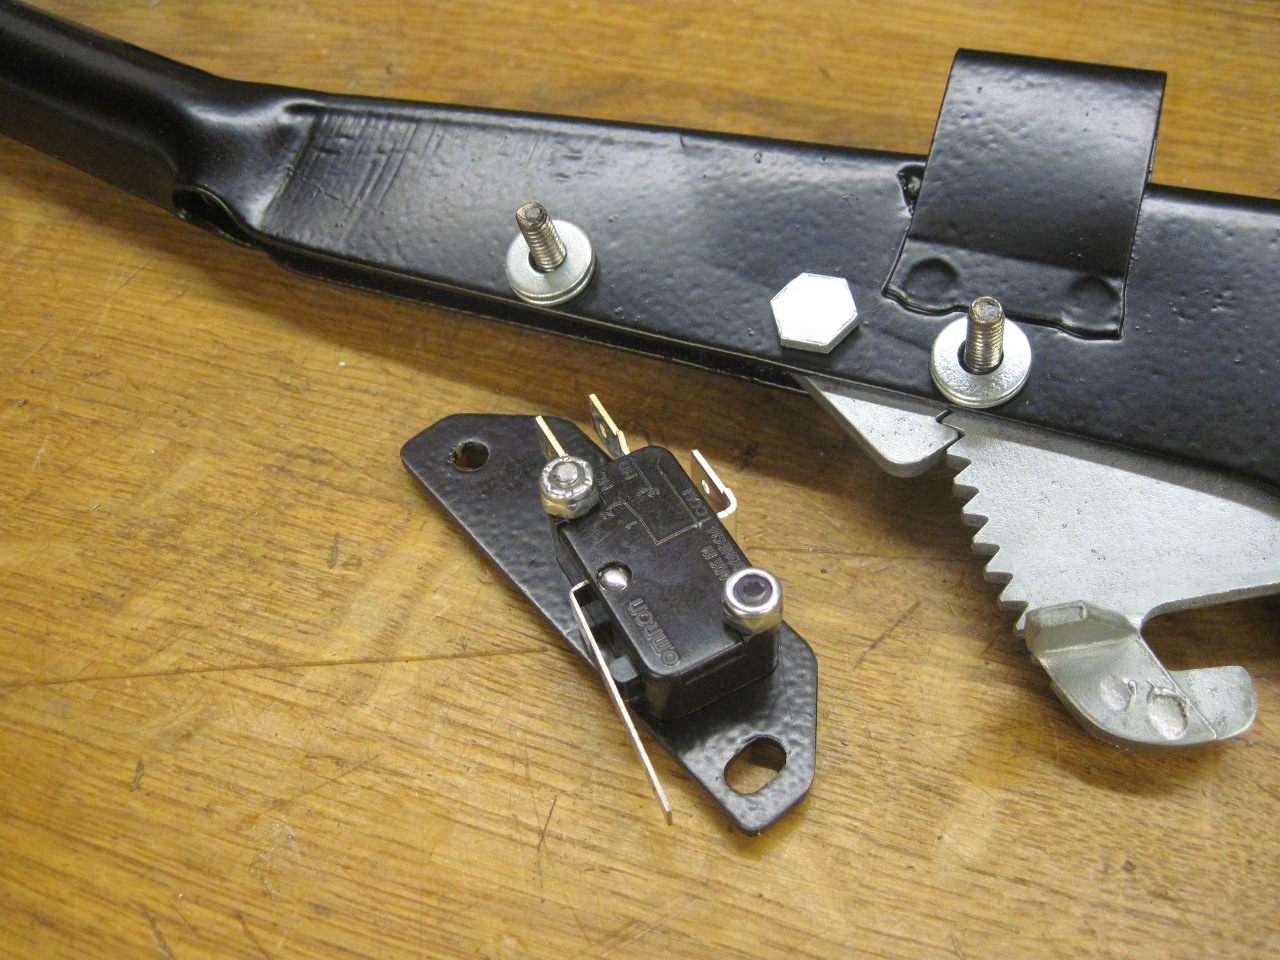
I
needed something to actuate the switch, and came up with this little
tab that I spot welded to the ratchet arm. I first tried to drill
the arm, but it is very hard, and I ruined a drill bit in the attempt.
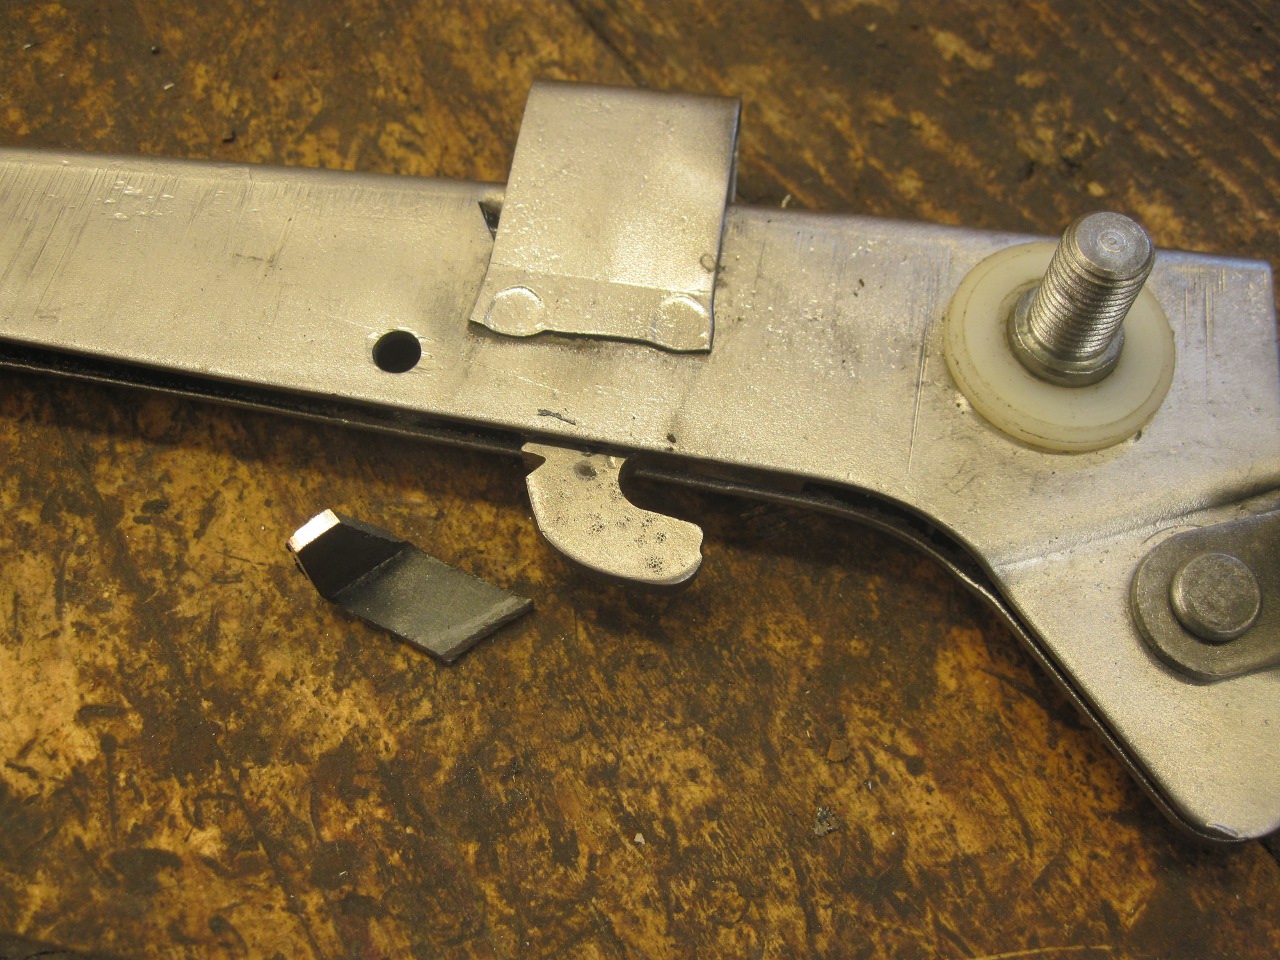


Then,
to mount the switch, I had to make a little carrier, since it looked
like the switch would need to be right on top of where the pawl pivot
was. The carrier would be spaced up a little to clear the pivot.
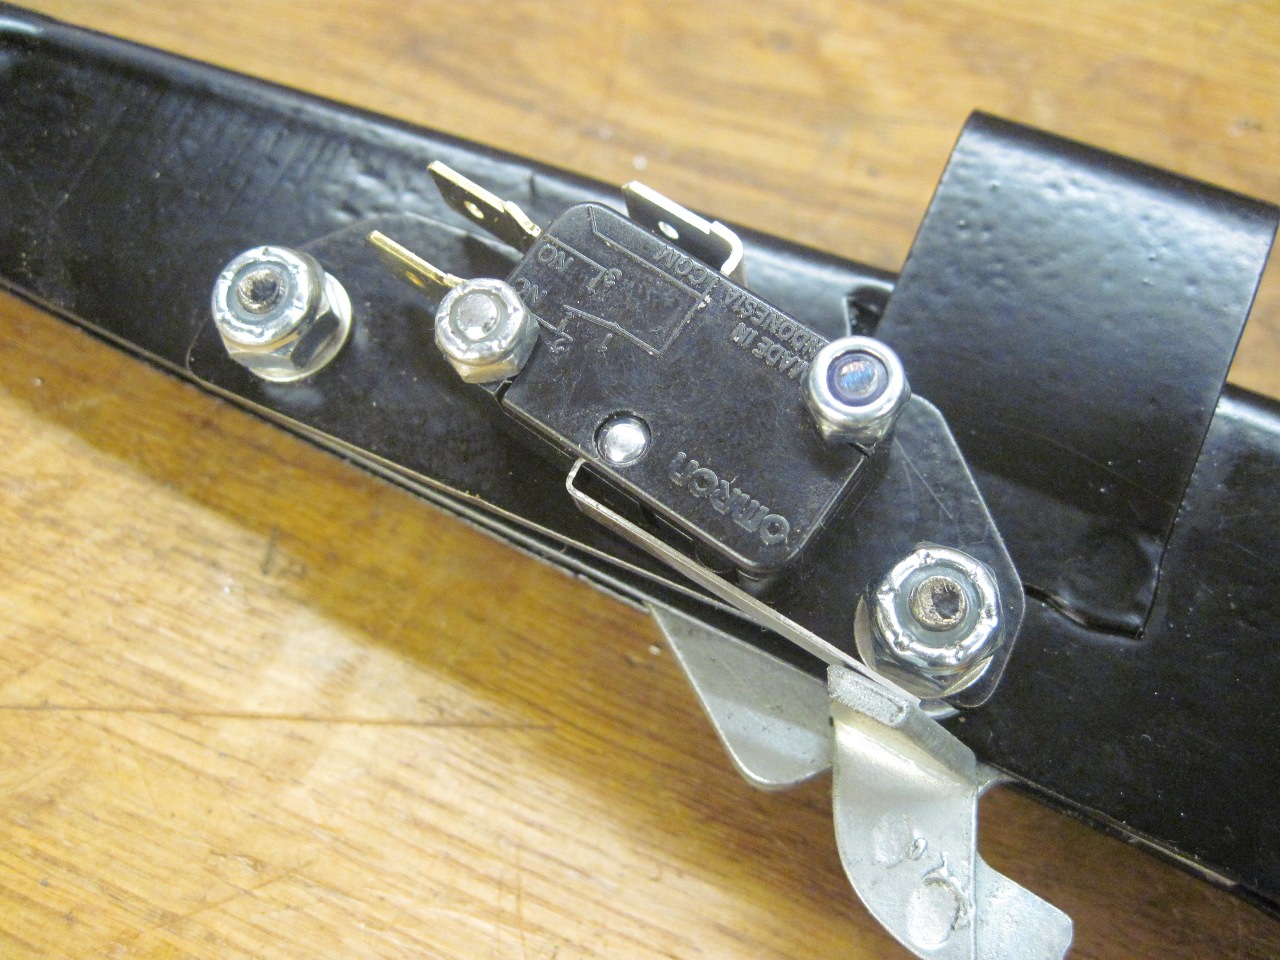
To attach the carrier, I silver soldered a couple of 8-32 studs
to the lever body. The carrier has one slotted hole to allow for
a little adjustment in the switch position.
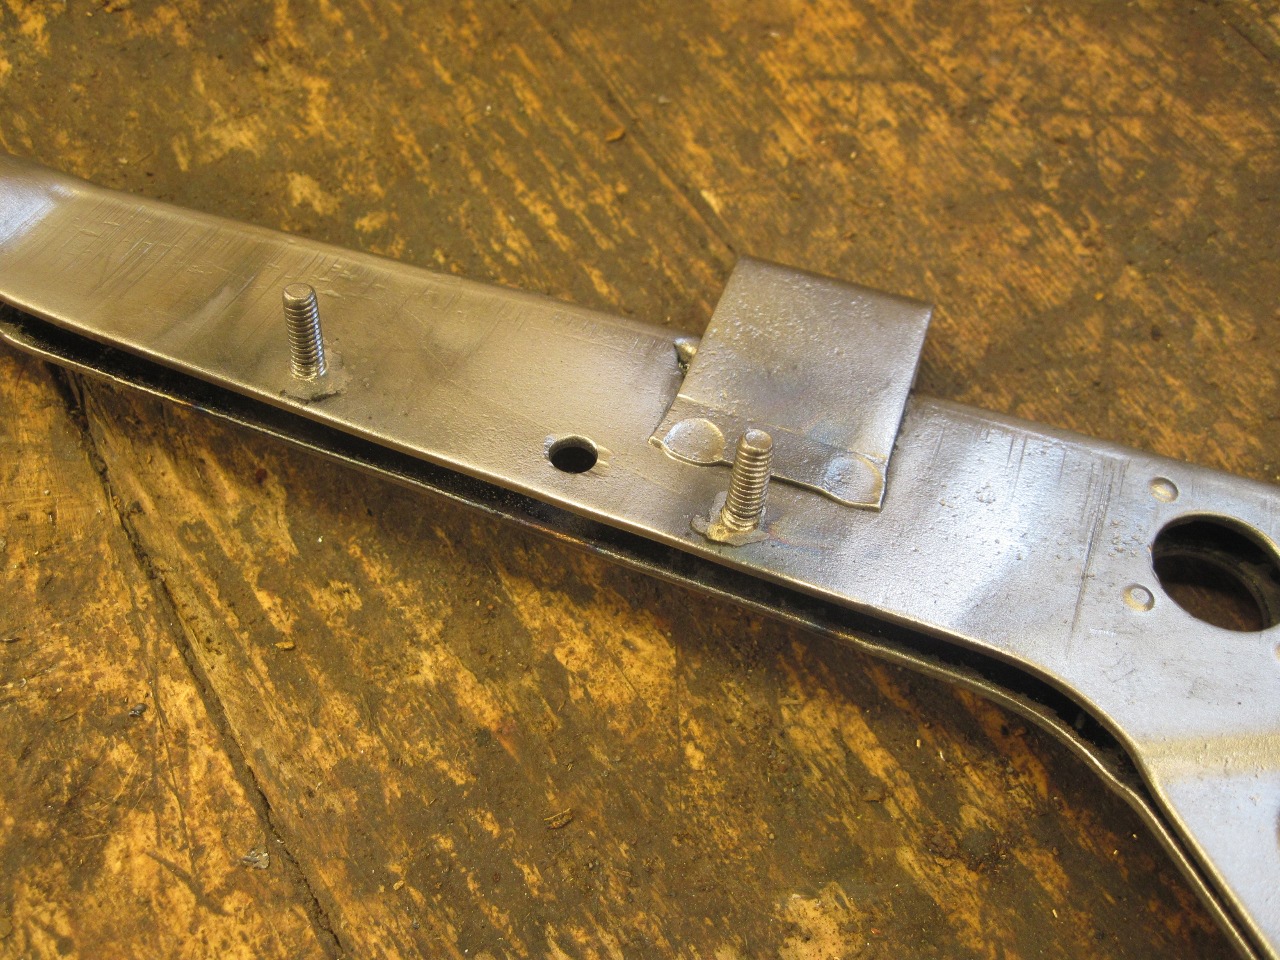

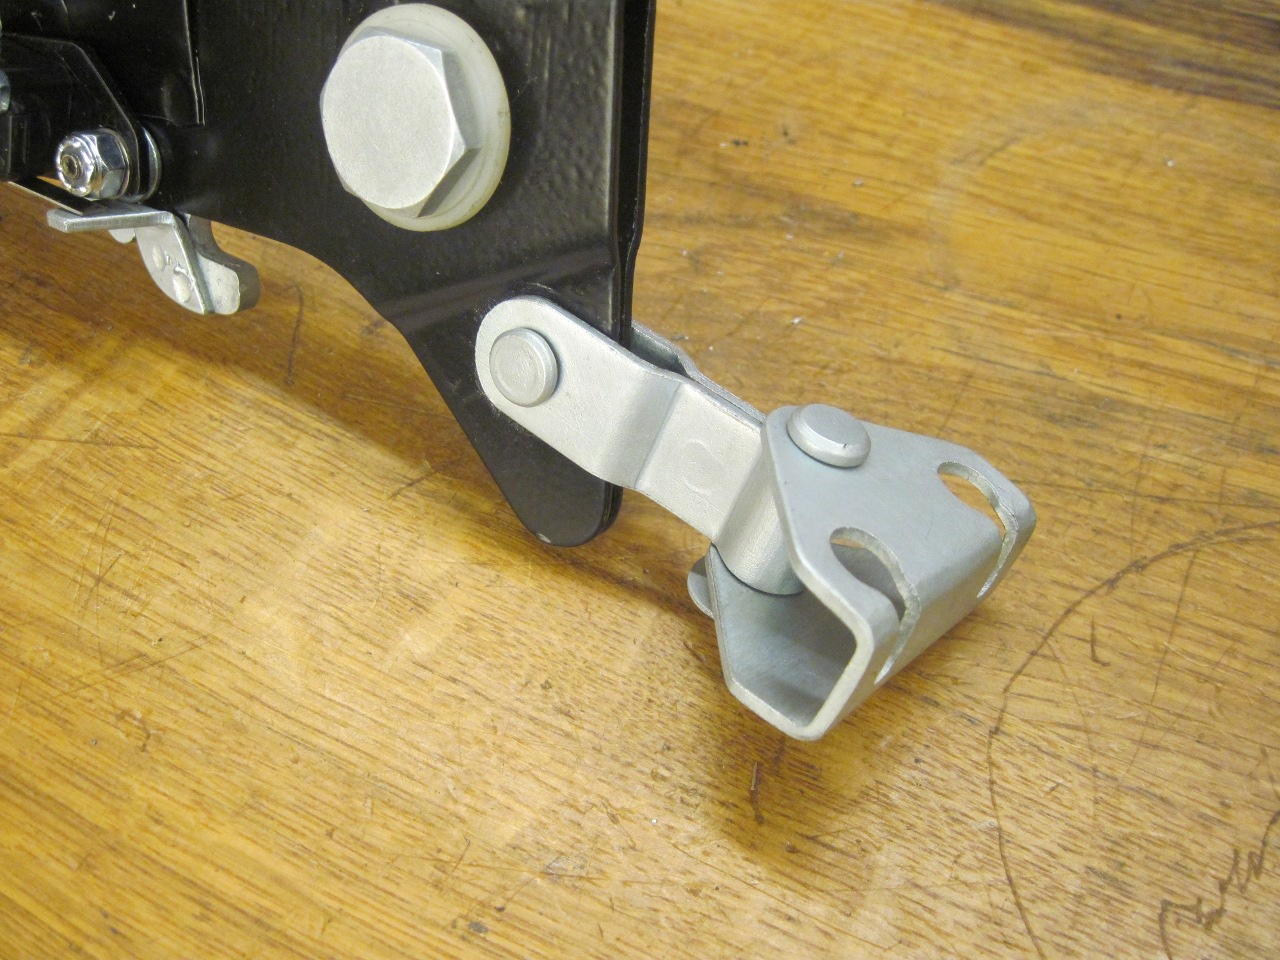
The
pawl pivot was originally a rivet, but I instead used a shoulder bolt.
The head had to be thin so as not to interfere with the switch
carrier.
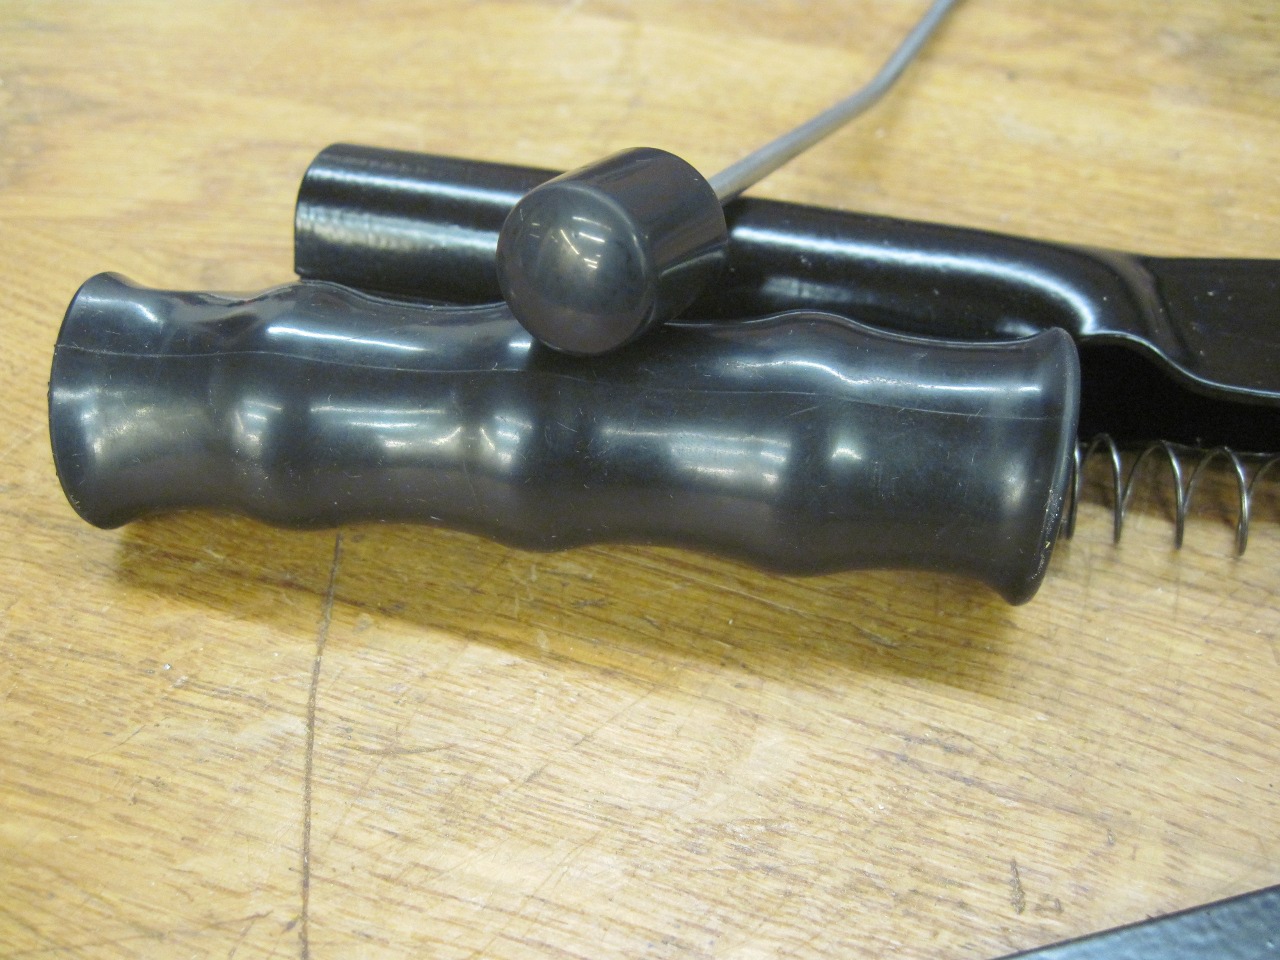
I
thought a long time about maybe replacing the grip with one of
zebrawood to match the dash and steering wheel. It would have to
be very thin, and I finally decided it would be too fragile with a
brittle material like zebrawood. So for now at least, I'm using
the cleaned up rubber grip.
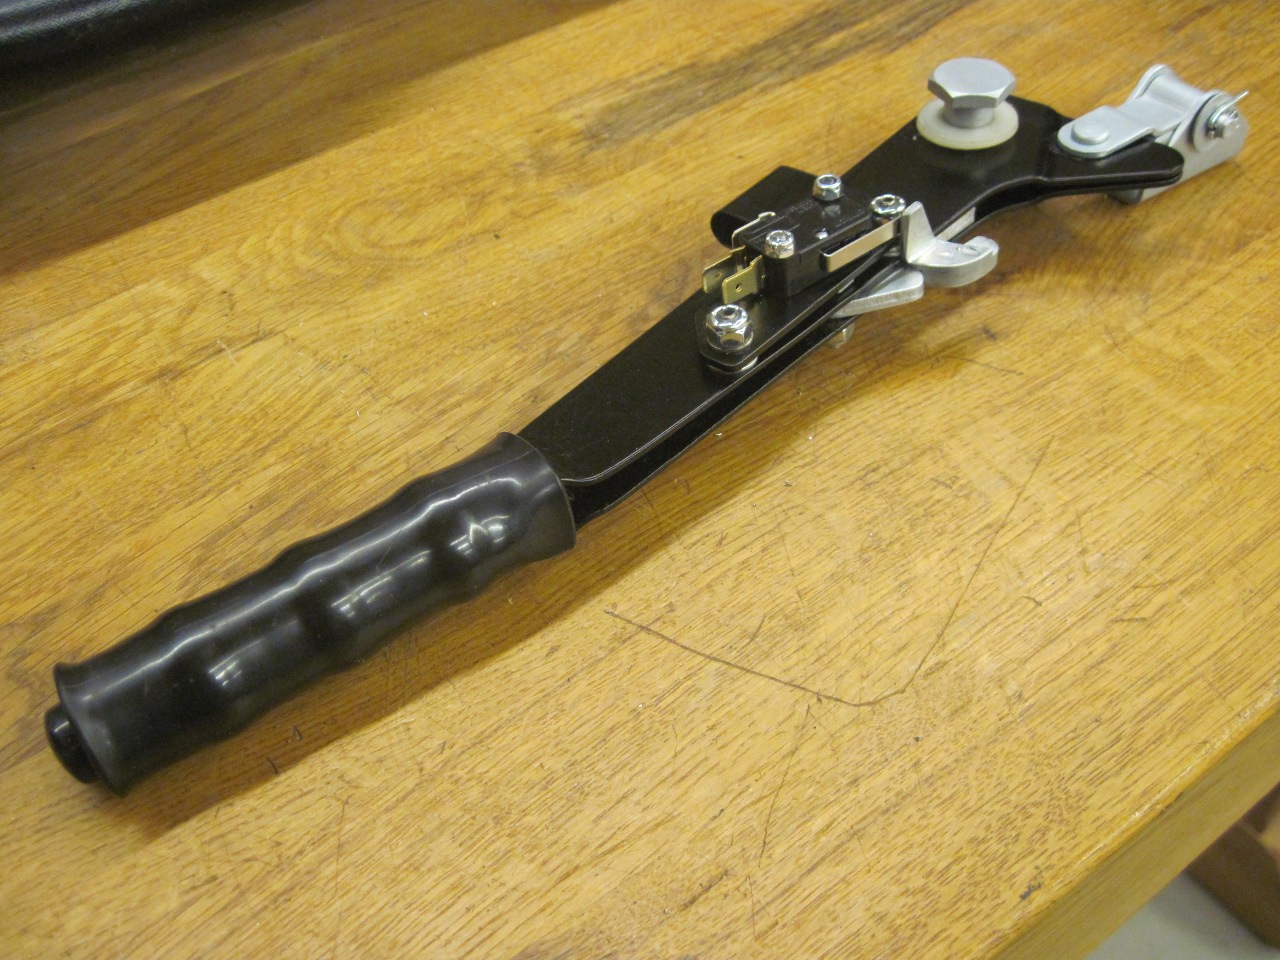
Here are all the parts, powder coated, plated, and cleaned.
The ratchet arm and pawl are installed, then the switch on its carrier.

Then the link and balancer.
On the shelf with this puppy until I need it.
After
some other recent projects, I was glad to have a cheap one. Just
a few bucks for the switch, a drill bit, and a few hours of quiet shop
time.
Comments to Ed at elhollin1@yahoo.com
To my other TR6 Pages