To my other TR6 pages
March 22, 2016
Oil Filter Adapter
[Click the pics for a better view]
TR6
cars still retained the old-fashioned canister oil filter arrangements.
While they were effective full-flow filters, they tended to be
messier to replace than more modern spin on filters. They also
lacked the anti-drainback feature of many spin on filters.
To
remedy this situation, many TR6 owners have bought and installed spin
on adapters for their cars. There is one ubiquitous model of
adapter that is widely available. It mounts in place of the
canister filter and provides the right angle bend to allow attachment
of a spin on filter in a vertical orientation.
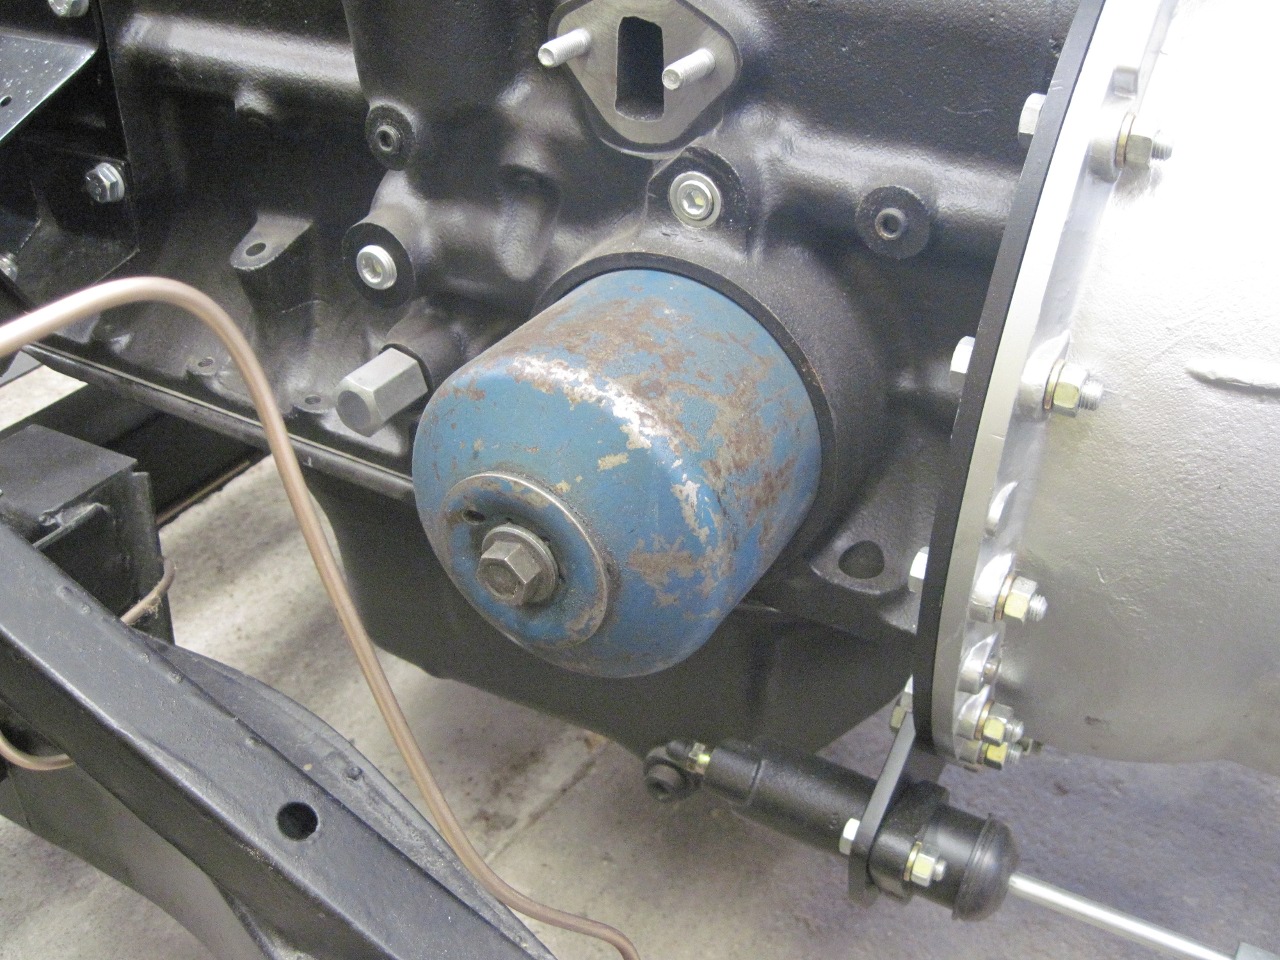
I
bought one of these adapters, and soon realized what others already
knew: the adapter can't be installed with the filter vertical
because the filter fouls the clutch slave cylinder. The adapter
has to be installed with the filter at a pronounced angle.
Now
granted, this is not a big deal in terms of filter effectiveness, but
it looked tacky to me. It somehow offended my inner sense
of righteous design. Was this just lazy engineering?
Was it a good design that was borrowed from another application,
even though the fit was imperfect? I didn't know, but I
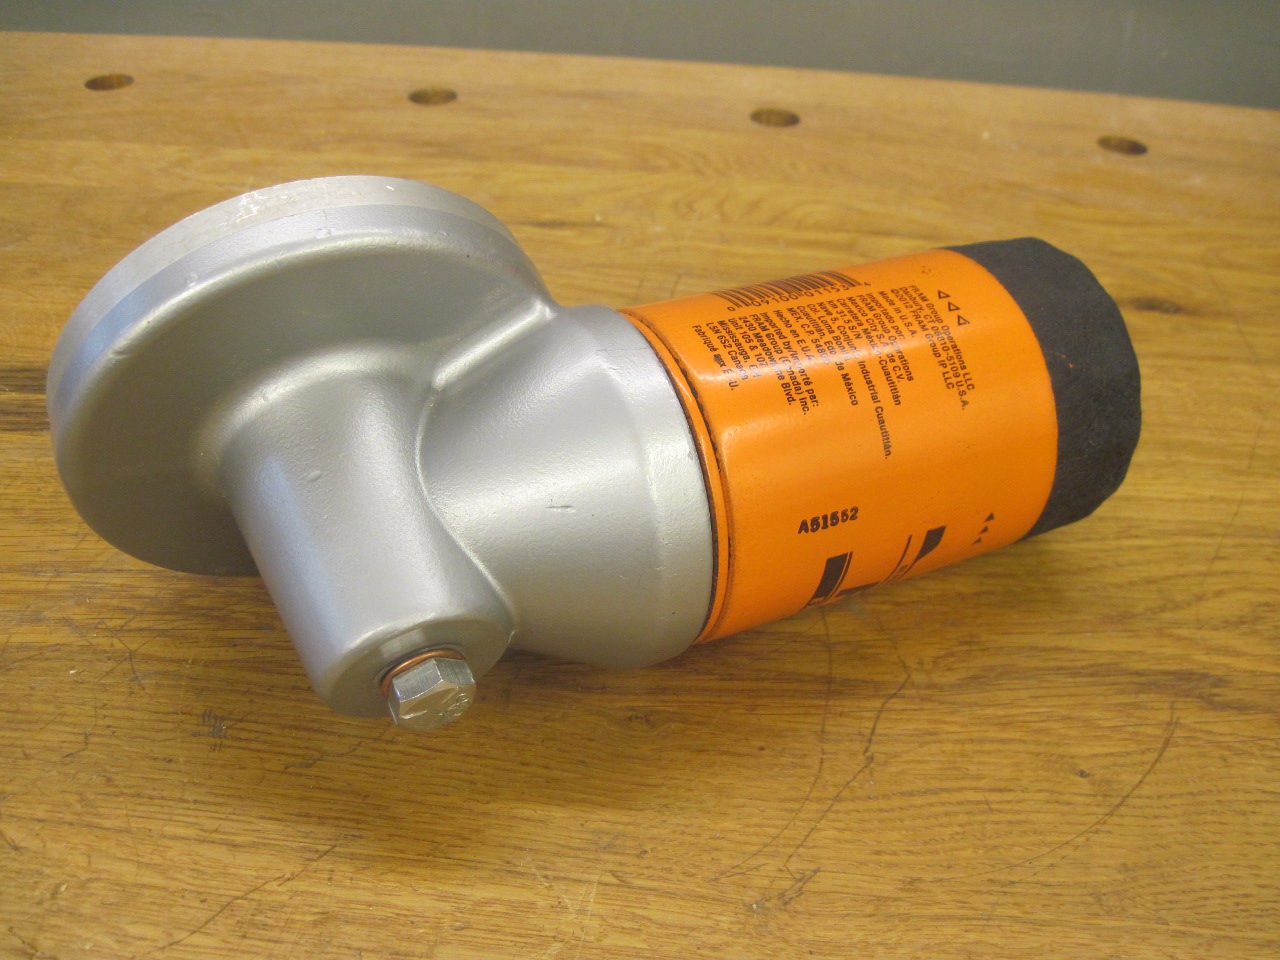
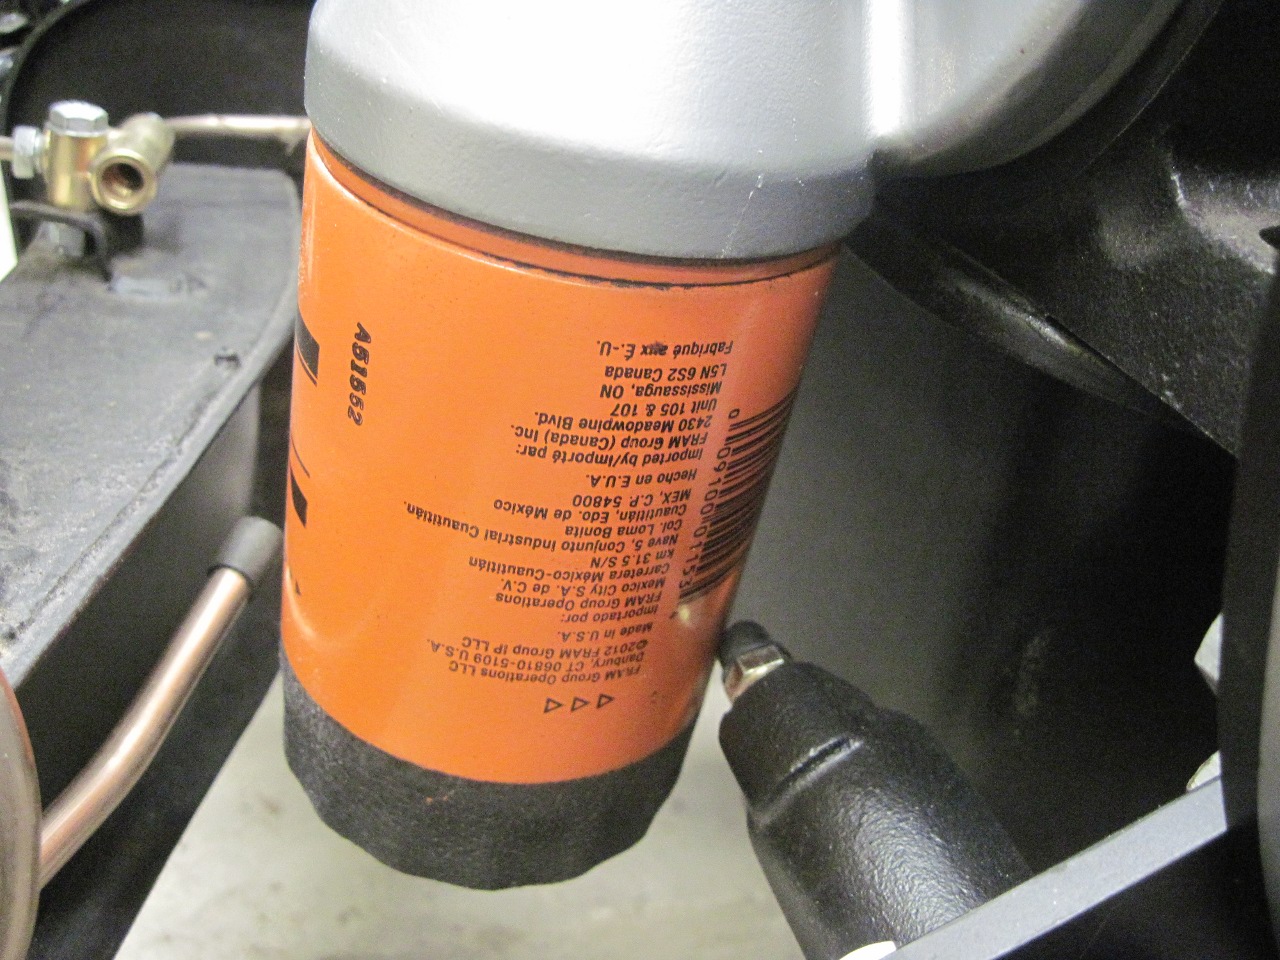
reflexively started looking for ways around it. I found some very
short filters that would fit the adapter vertically, but the clearance
was still sort of tight, and I was a little concerned about using a
filter with less than half the filter media area.
In
the end, since it looked like we were going to have another few weeks
of chilly weather here on th plains, I decided I might have time to
make something from scratch. Having built an oil filter adapter for my Triumph motorcycle a few years ago, I thought I understood the basics, so I got busy.
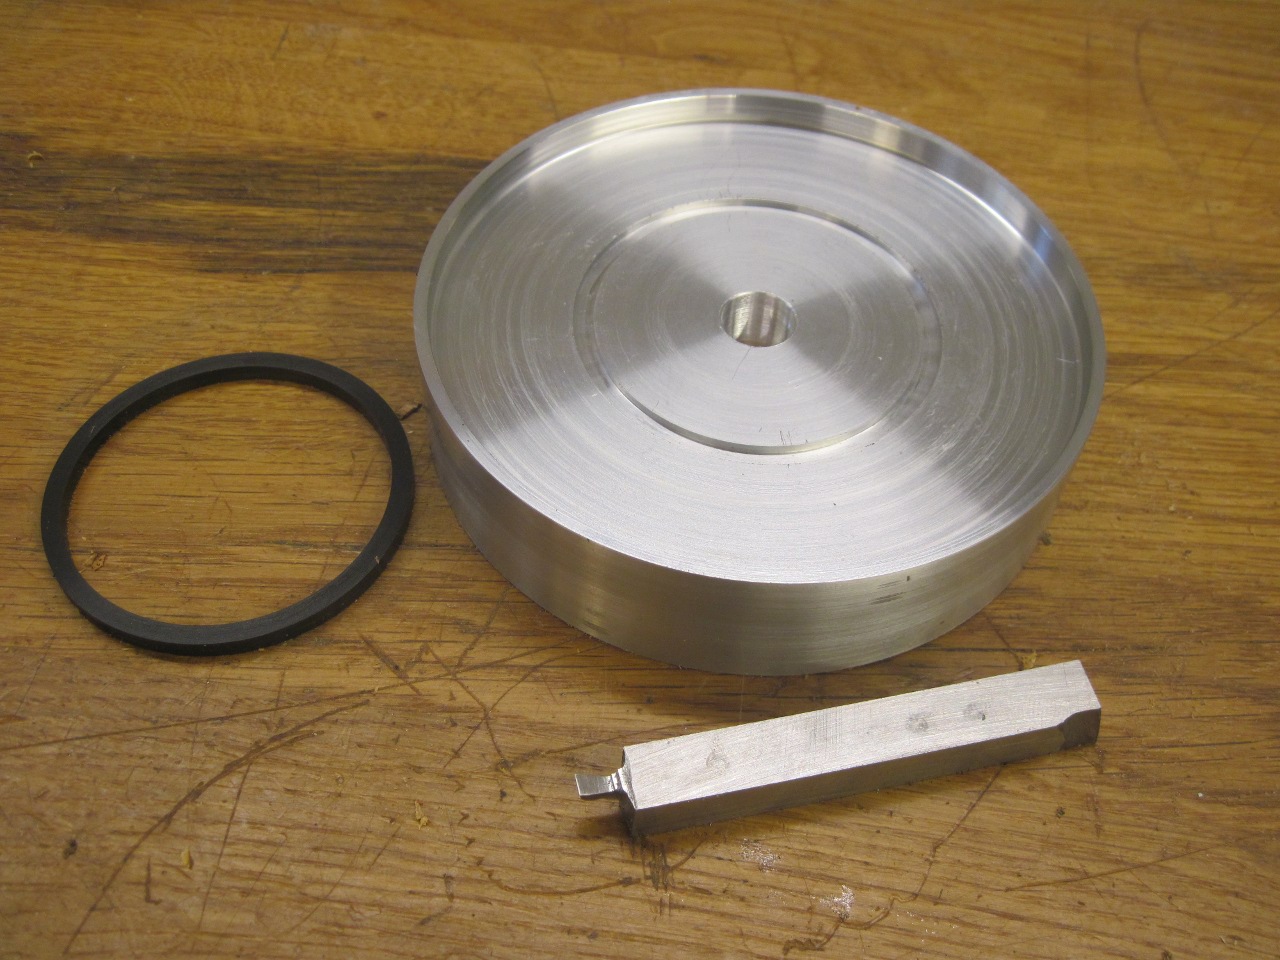
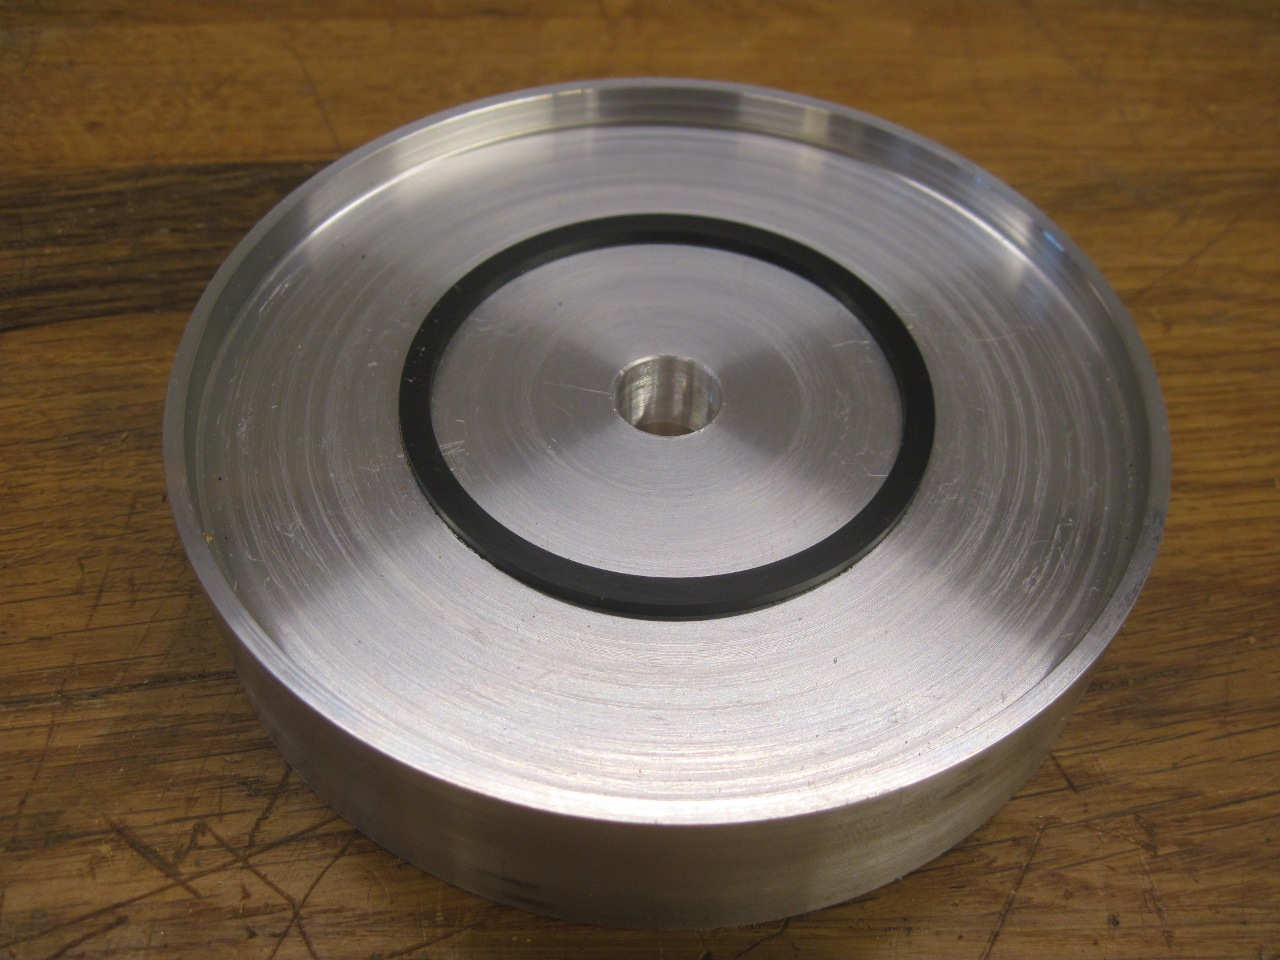
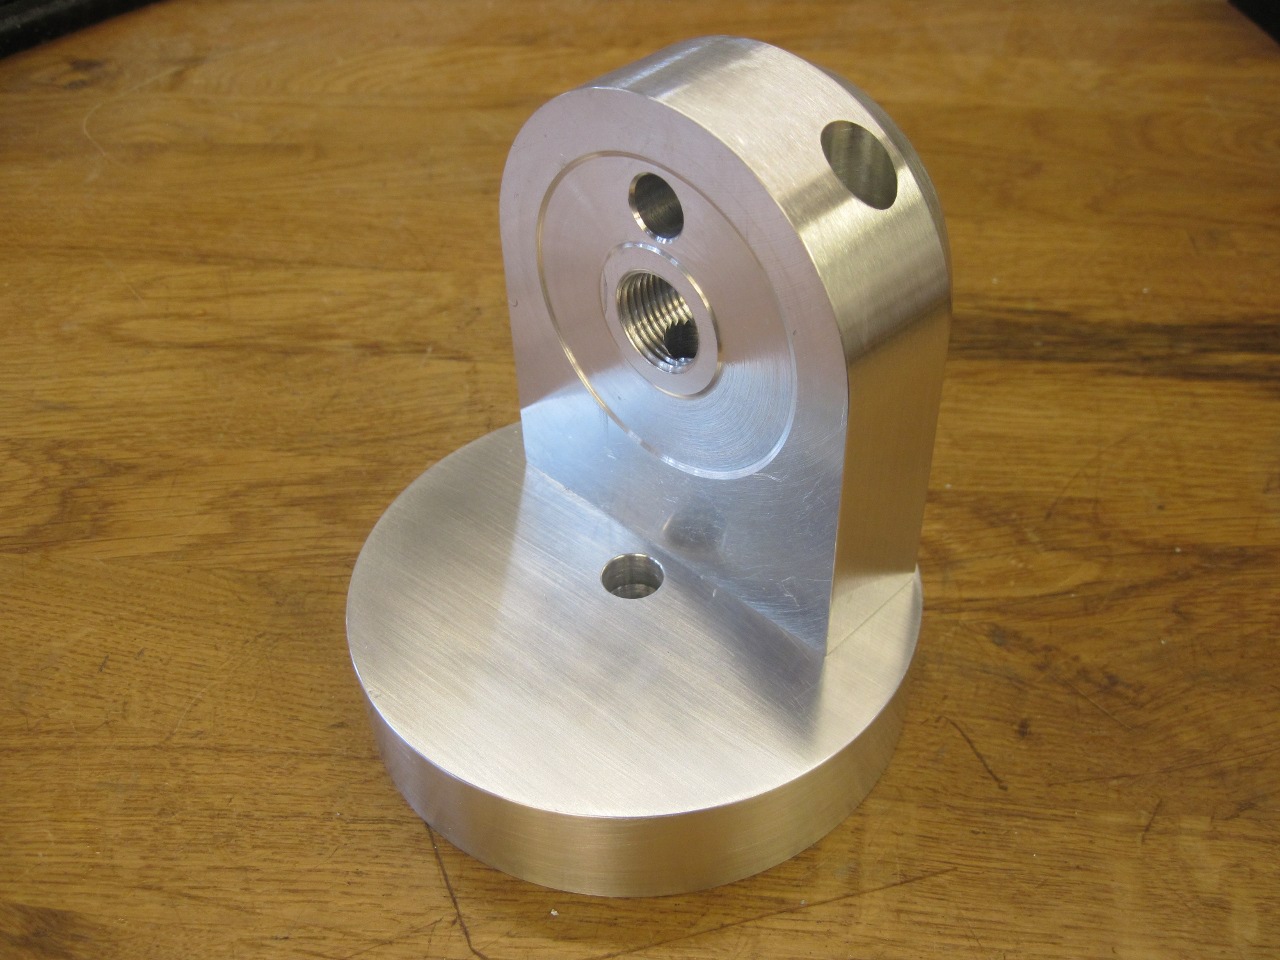
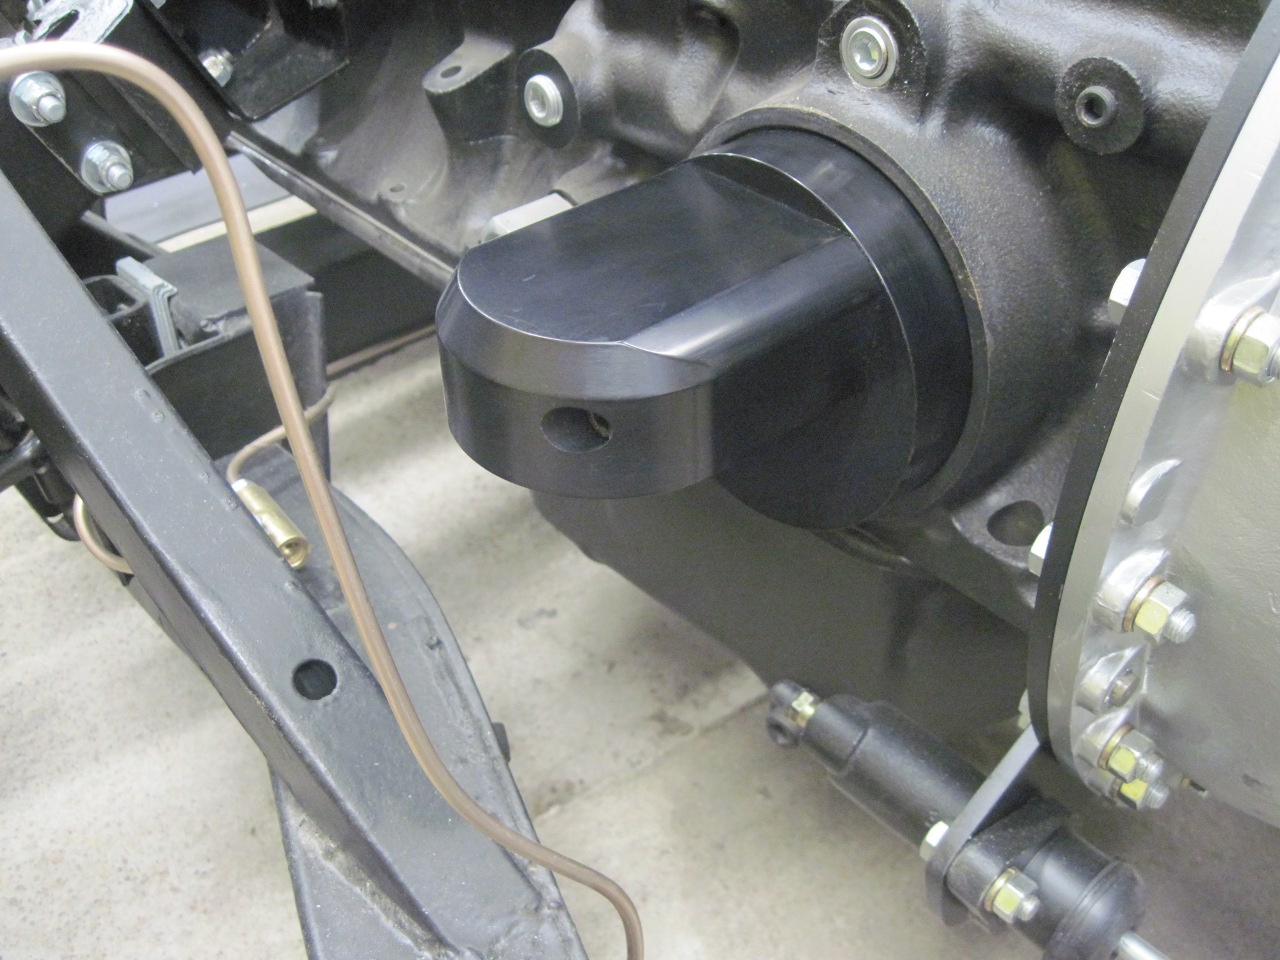
I stared with a puck of aluminum big enough to fit the original filter cover groove.

I
machined a lip around the circumference to fit the groove, and a
circular recess to hold a square section O ring (size -227). That O ring
presses against a flat feature on the block, and it keeps the oil going
to the filter and the oil from the filter separate. The
store-bought adapter has this seal feature spring loaded, surely to
accommodate variations in dimensions on the block. Since I wasn't
worried about portability on my adapter, I just machined it so that
when the adapter was torqued down to spec against the outer sealing
ring, the inner O ring was compressed by a few thousandths. I
certainly didn't want the inner seal to bottom first, and prevent the
outer seal from seating fully. A little weeping past the inner O
ring wouldn't be a big problem. Besides, the pressure difference
across that inner seal is not system oil pressure, but just whatever
the pressure drop across the filter is.

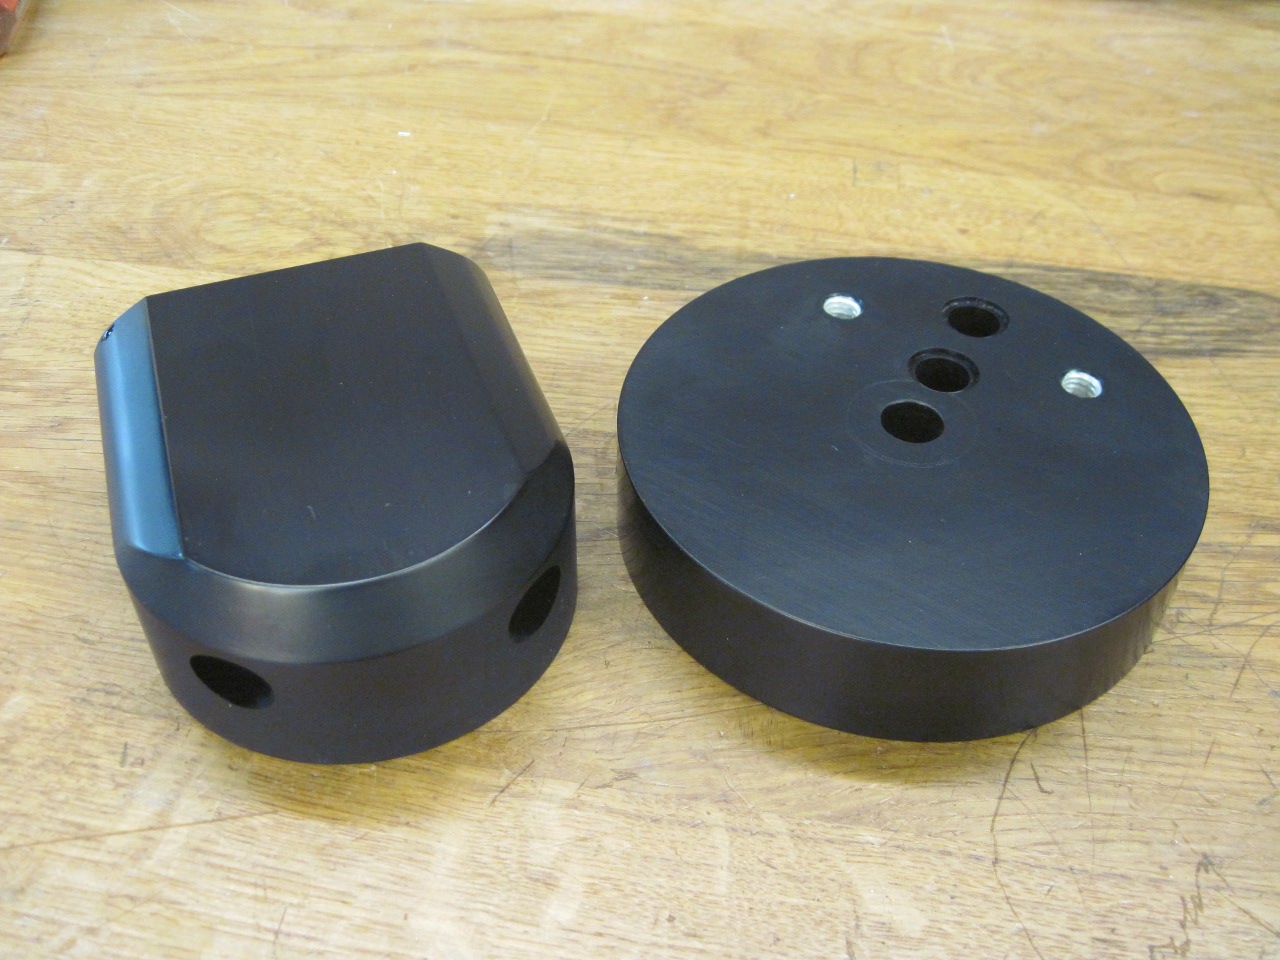
So much for the block side of the adapter. Now for the spin-on side.
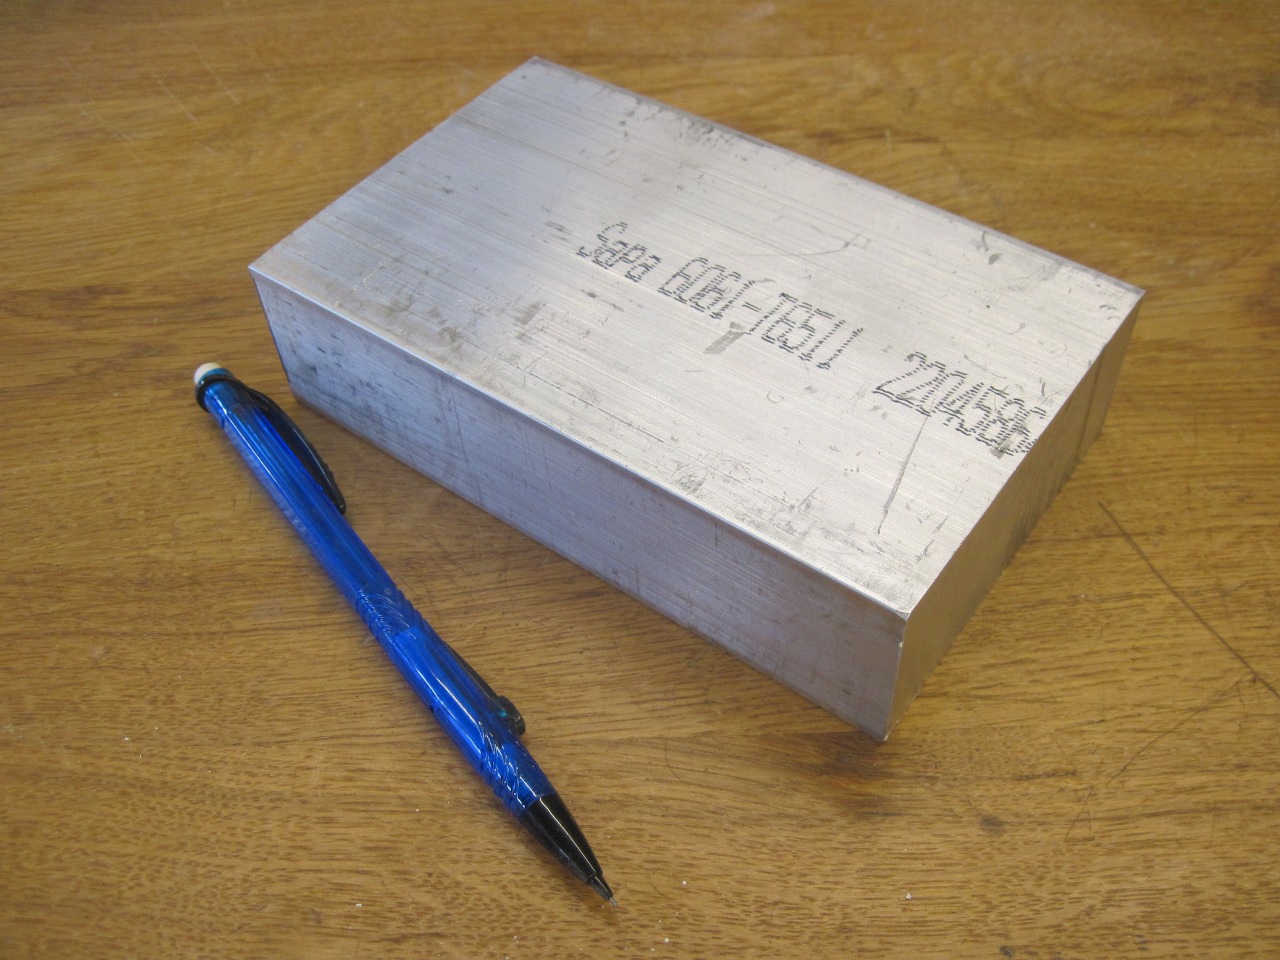
Started
with a raw chunk of aluminum, squared it up, drilled and tapped
for the filter nipple, and drilled the inlet and outlet oil passages.
Because the adapter block is fairly shallow, the filter nipple
bottoms in its hole, so it has to have a relief drilled for the oil
outlet. This implies that I had to take care when installing it
that the nipple cutout aligned perfectly with the oil passage.
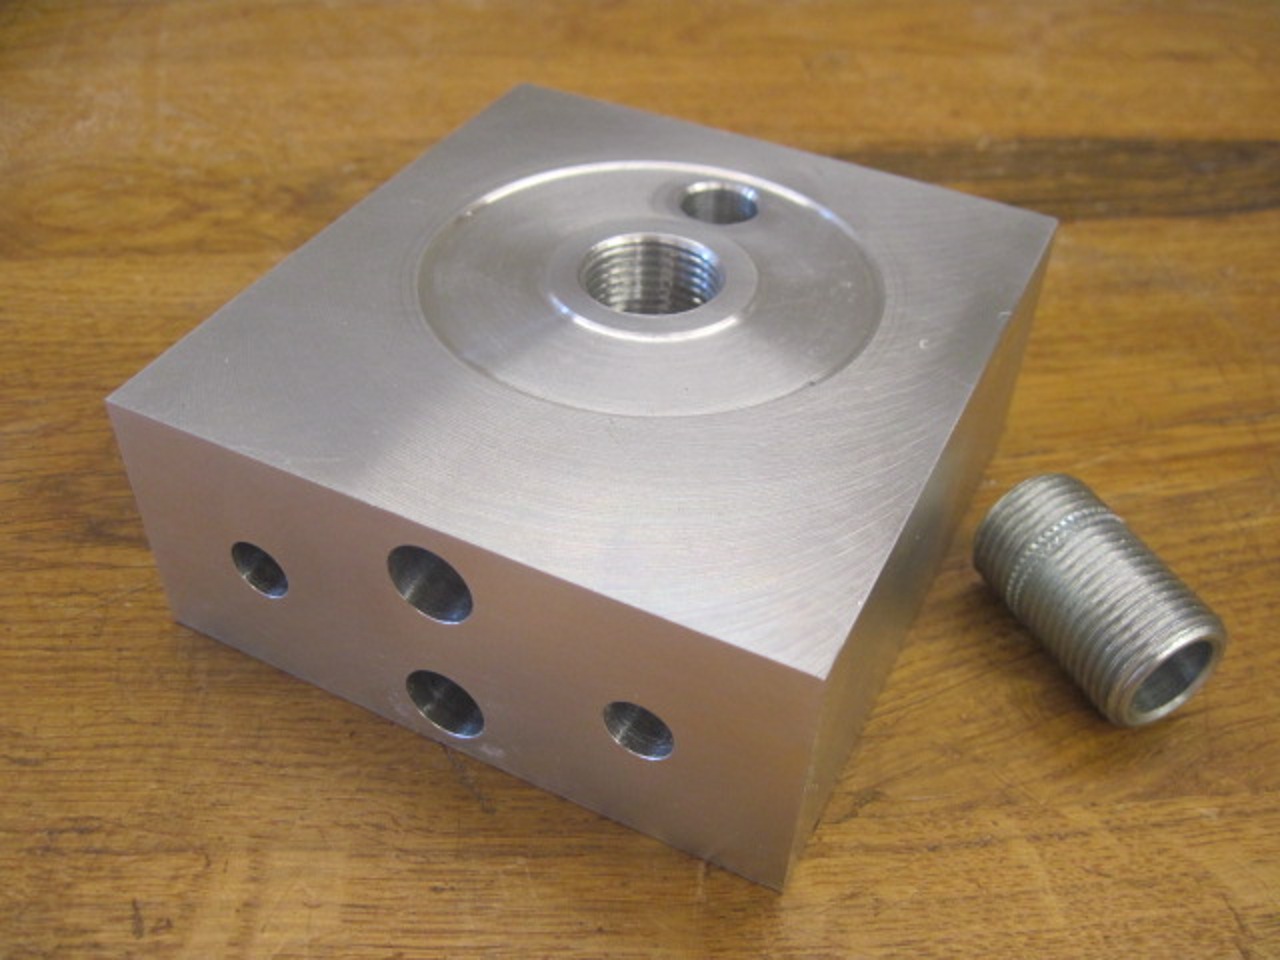

Did
some shaping to make it more pretty, and drilled matching oil passage
holes in the block side of the adapter. I
couterbored those passage holes for some square O ring seals (size -013). If
I were doing this again, I might consider making the entire adapter as
one piece, which would eliminate the need for these seals.


From
the start, I had planned to powder coat the adaptor, but at the last
minute decided to anodize it instead. I though briefly about red
or blue, but in the end, landed on boring black.
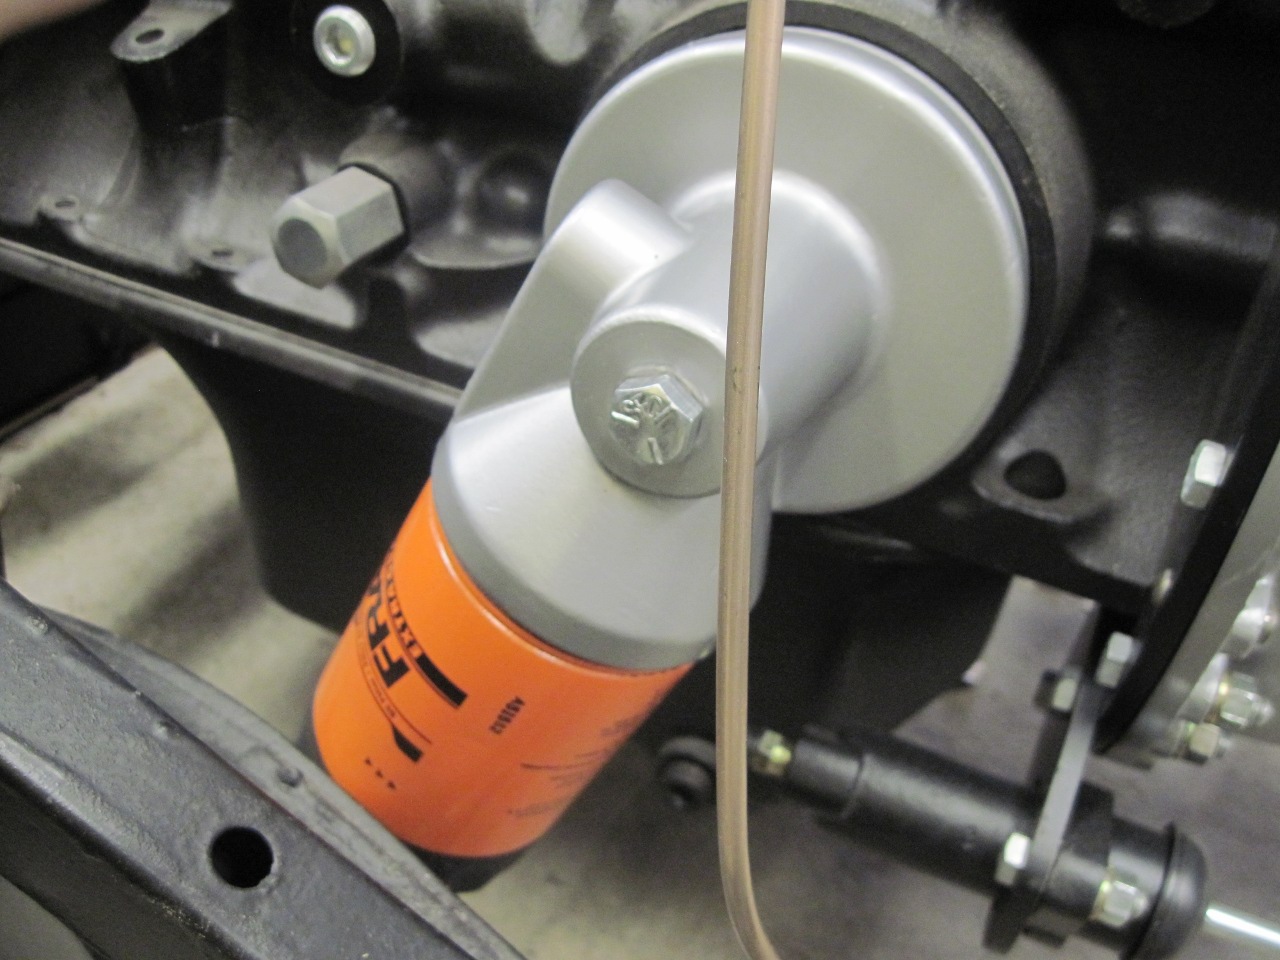
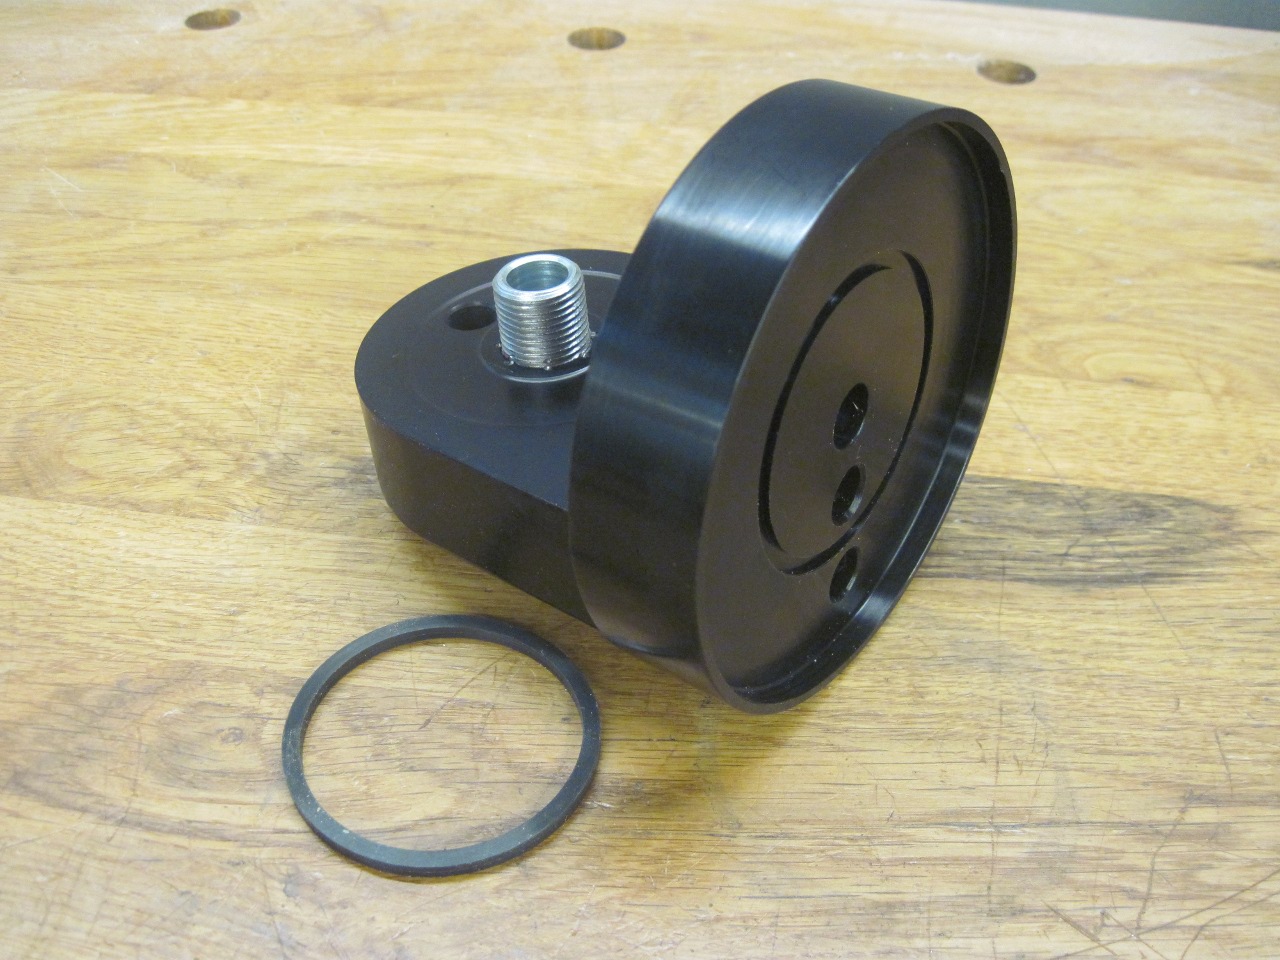
Installed
the filter nipple with red Locktite, and staked it all around. I
don't want it turning. Then installed the seals and fastened the
two parts together.
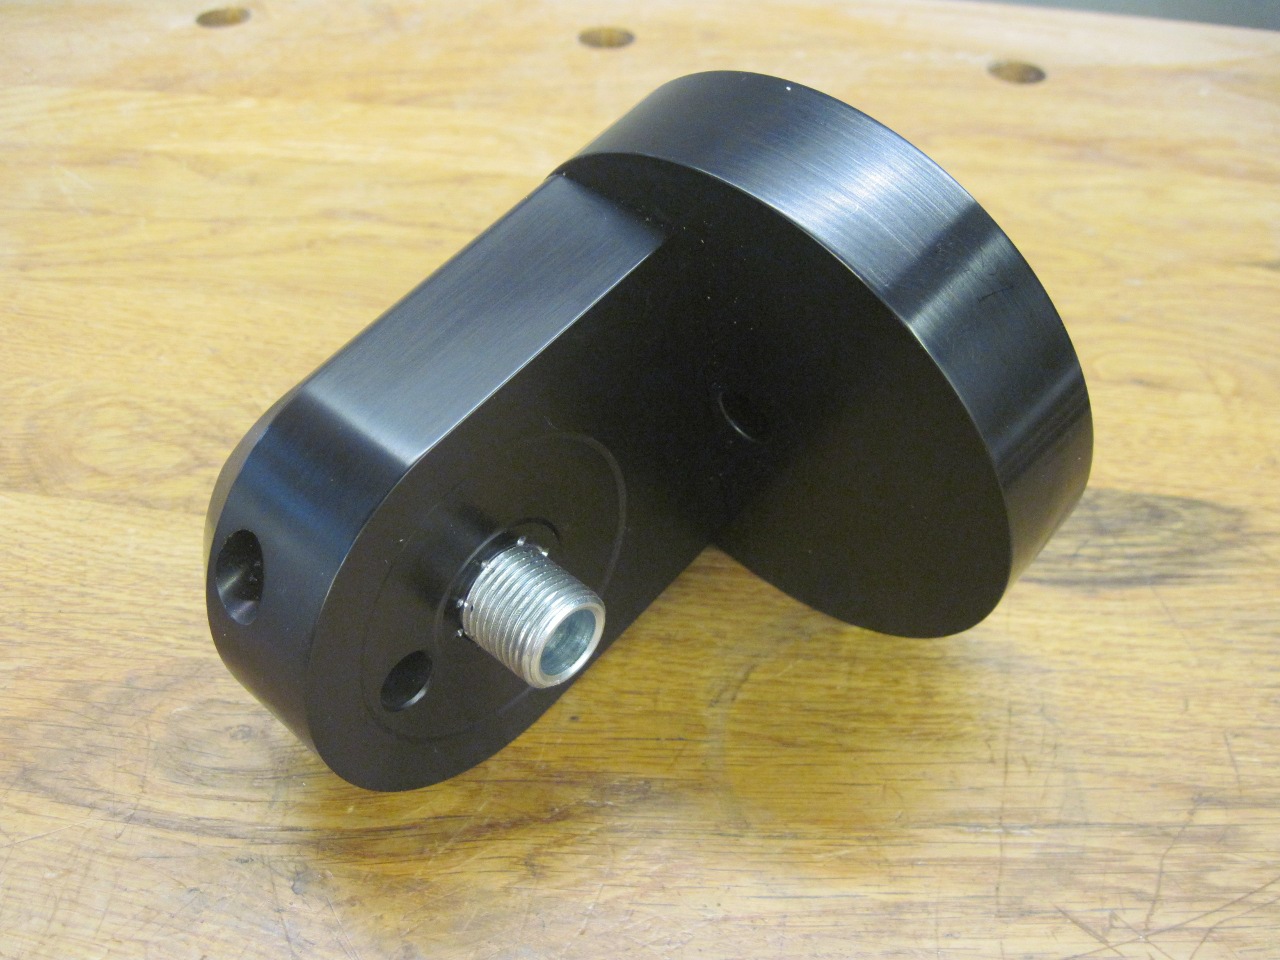
Installed on the block.
The unit is held to the block with a 7/16 socket head cap screw
with a copper crush washer to seal it. The washer, actually more
of a gasket, is a common aircraft part, designated AN900 (AN900-7 for the 7/16 size).

Plenty of clearance now.
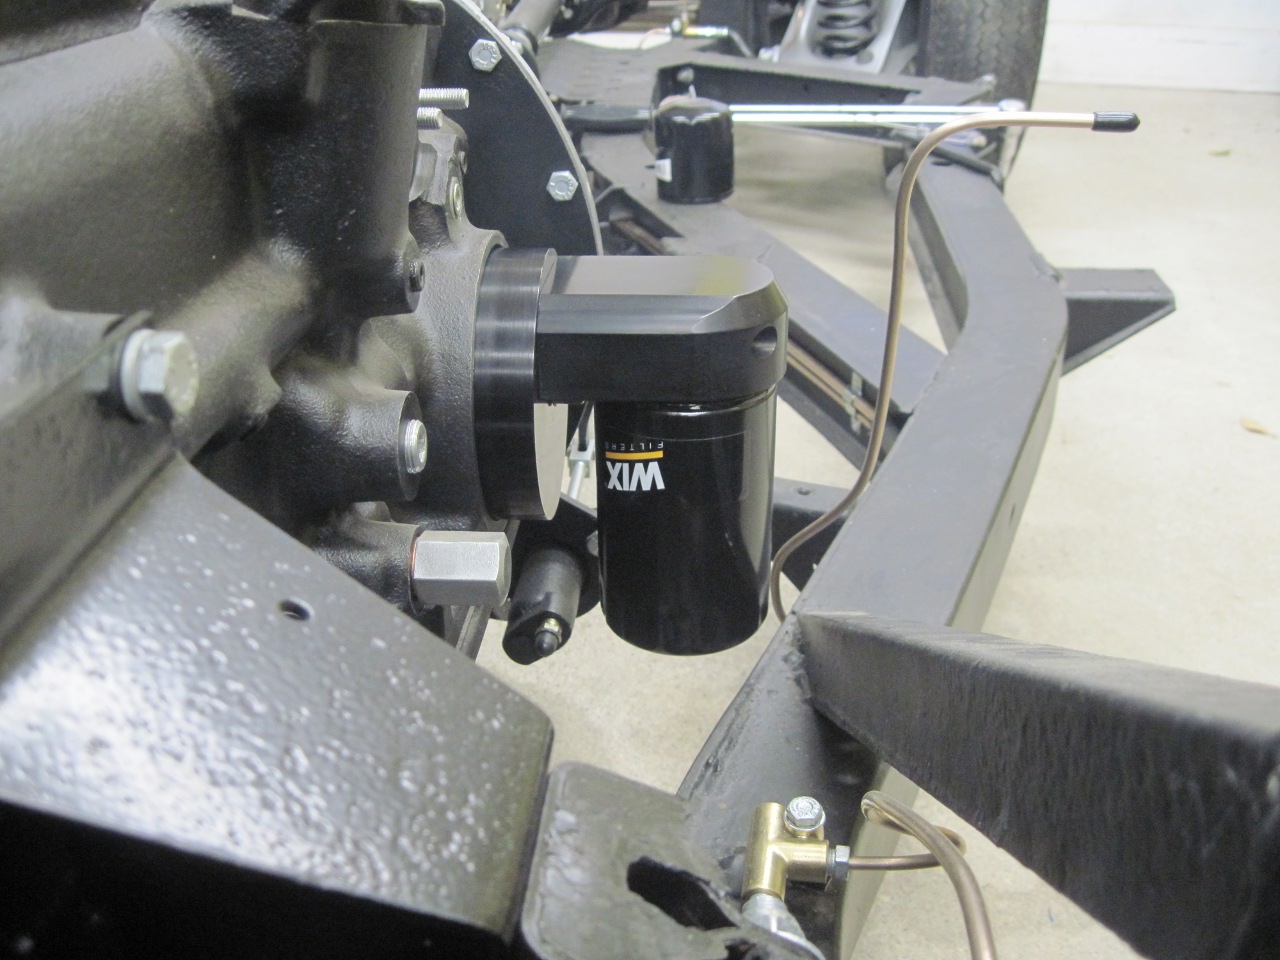
Here is a smaller filter that gives even more clearance.

This
was probably more of a machining project than an automotive one, but
the weather here has been more conducive to shop time than garage time.
Total cost was around $40 for materials, and at about $1/hr for
my labor, I came in under the cost of the commercial unit. But at
least the filter now is dead vertical.
Comments to Ed at: elhollin1@yahoo.com
To my other TR6 pages