To my other TR6 pages
February 4, 2016
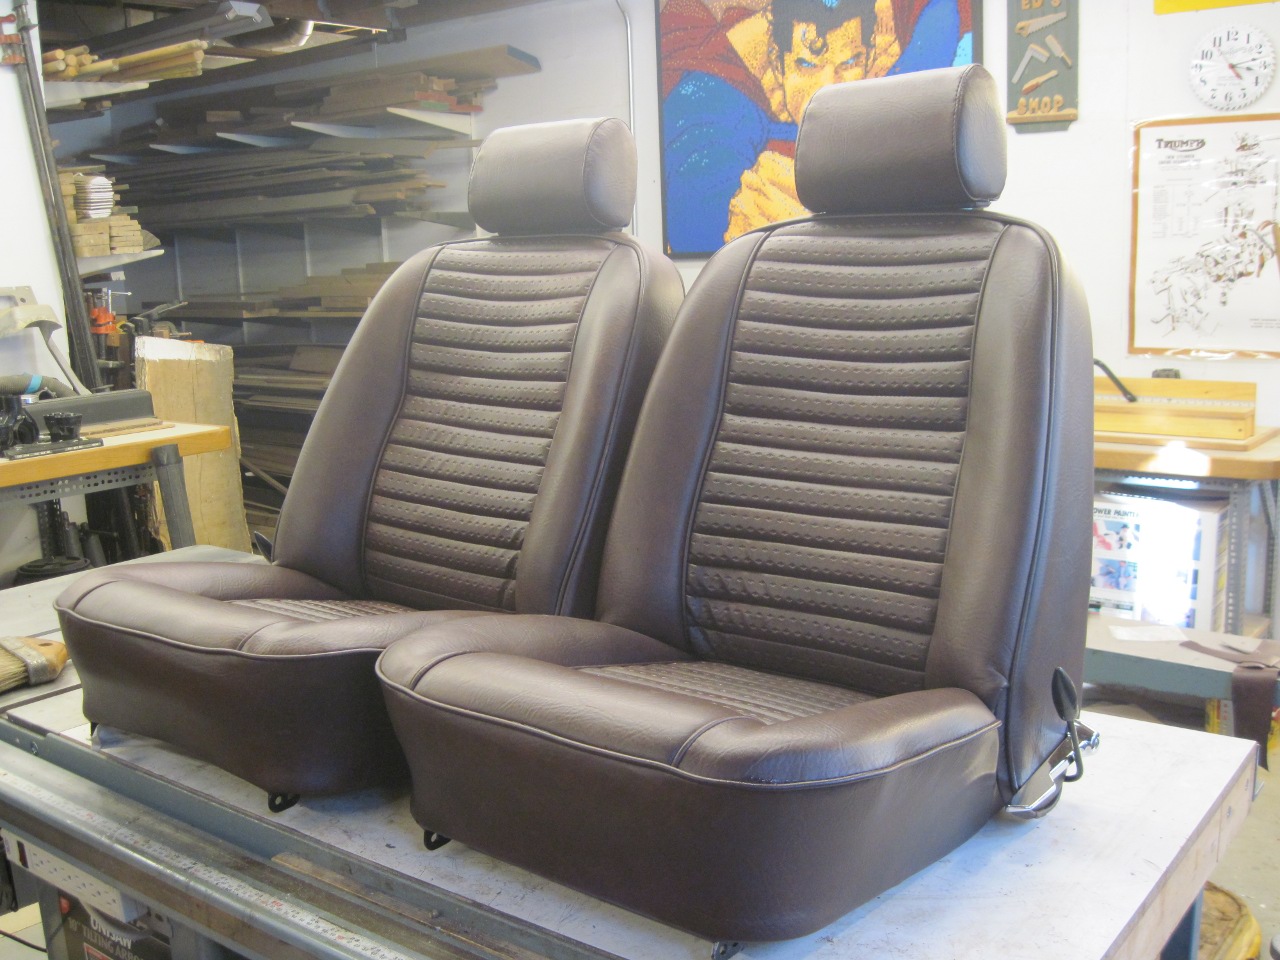
Seats
[Click the pics for a larger view]
I've
always liked the stock seats in the TR6. They seem to fit the
spirit of the car--simple and utilitarian, but with a small touch
of padded luxury. I bought the car when it was just a few years
old, and I remember thinking how comfortable the seats were.
While many see fit to swap foreign seats into the TR, I don't see
any reason to, and wouldn't consider it an "upgrade". Buying a
pair of seats from a Miata or some other car certainly would have been
easier and probably cheaper. This was a very involved project and
an expensive one. I have the better part of $1000 in the seat
rebuilds. It is also the first project on this car where I
sometimes felt I was close to being in over my head.
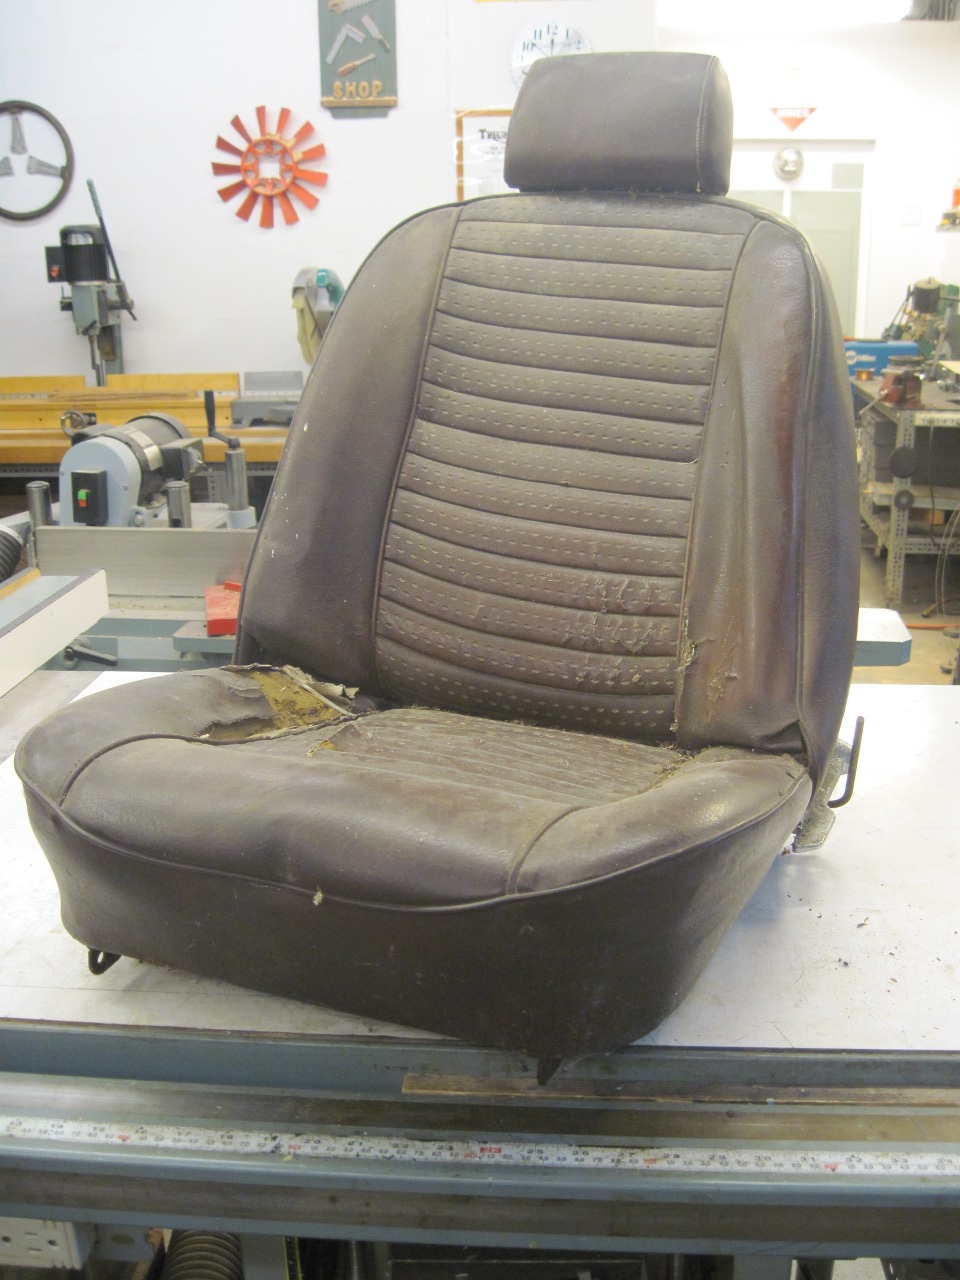
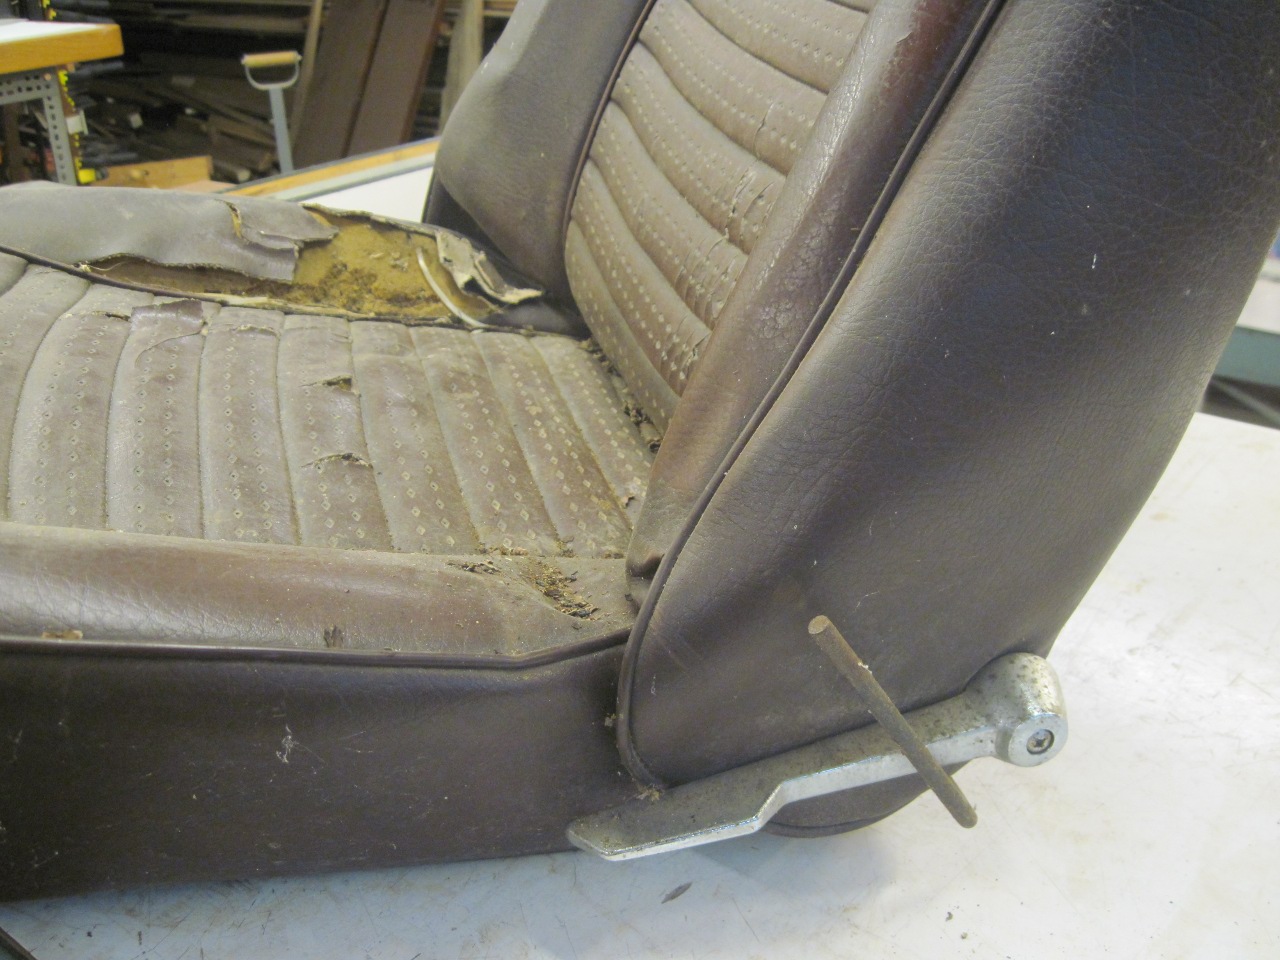
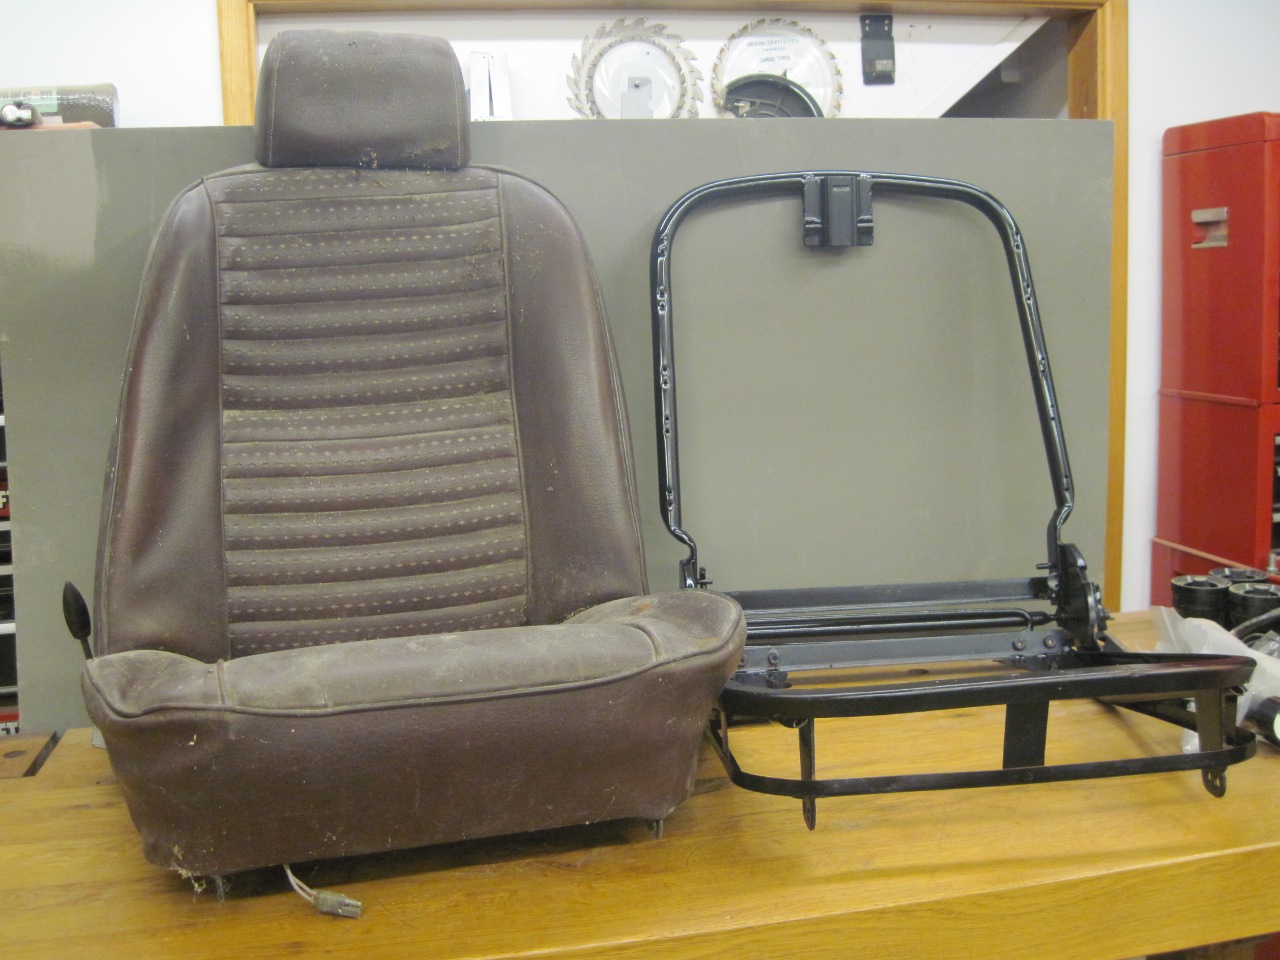
Both
of my seats were beyond tired. They were dirty, misshapen, and
smelled bad. The drivers seat had large open tears in the vinyl.
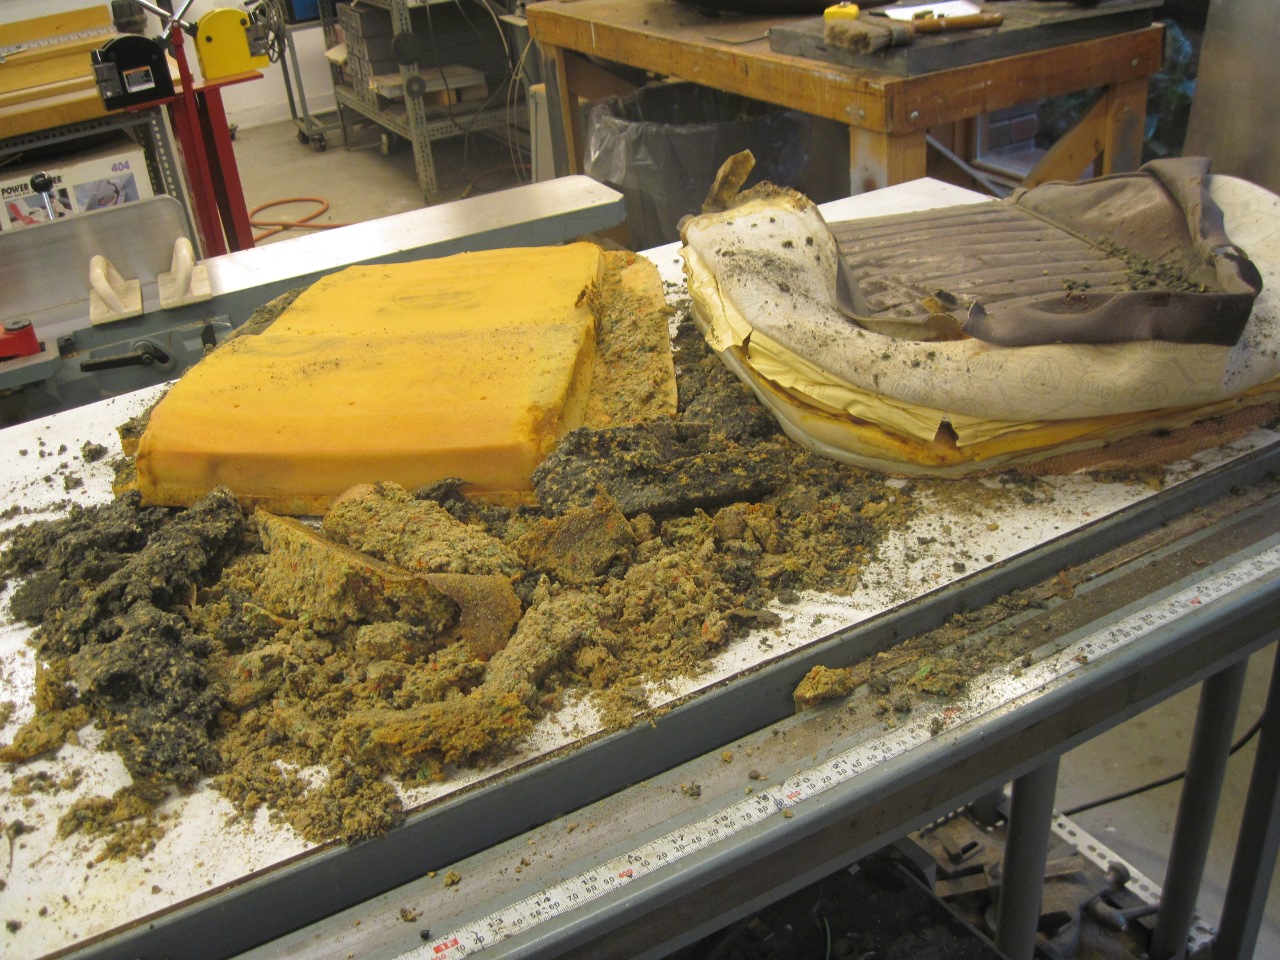
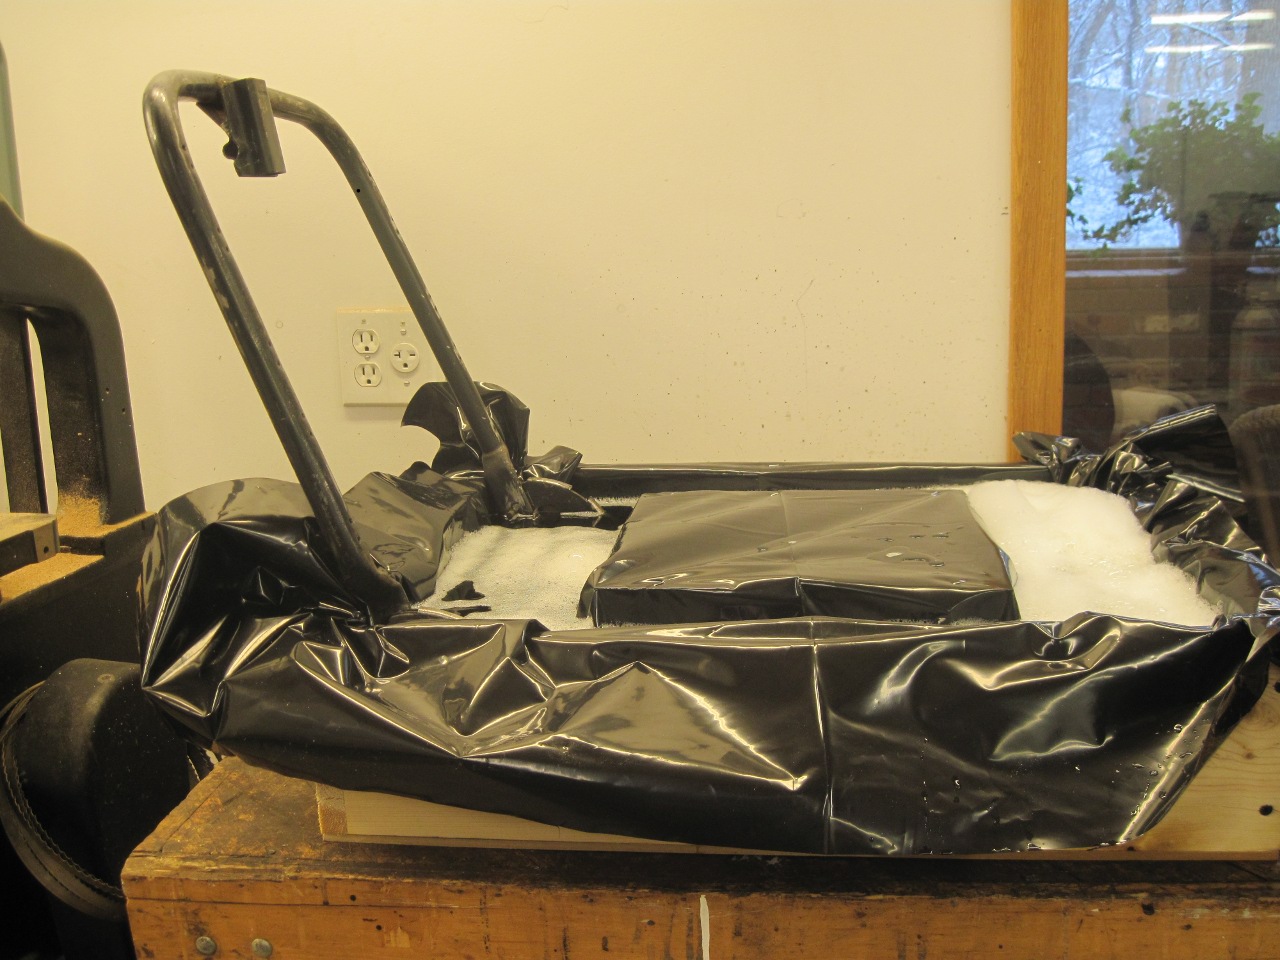
I
carefully removed the vinyl covers and the padding, trying to note how
everything went together. Under the seat bottom cusion, the
rubber diaphragm was amazingly still intact, but was cracked badly.

When
I pulled off the seatback cover, much of the internal foam
literally fell out in a pile on the table. I kept all the
original foam and vinyl in case I had to refer to it.

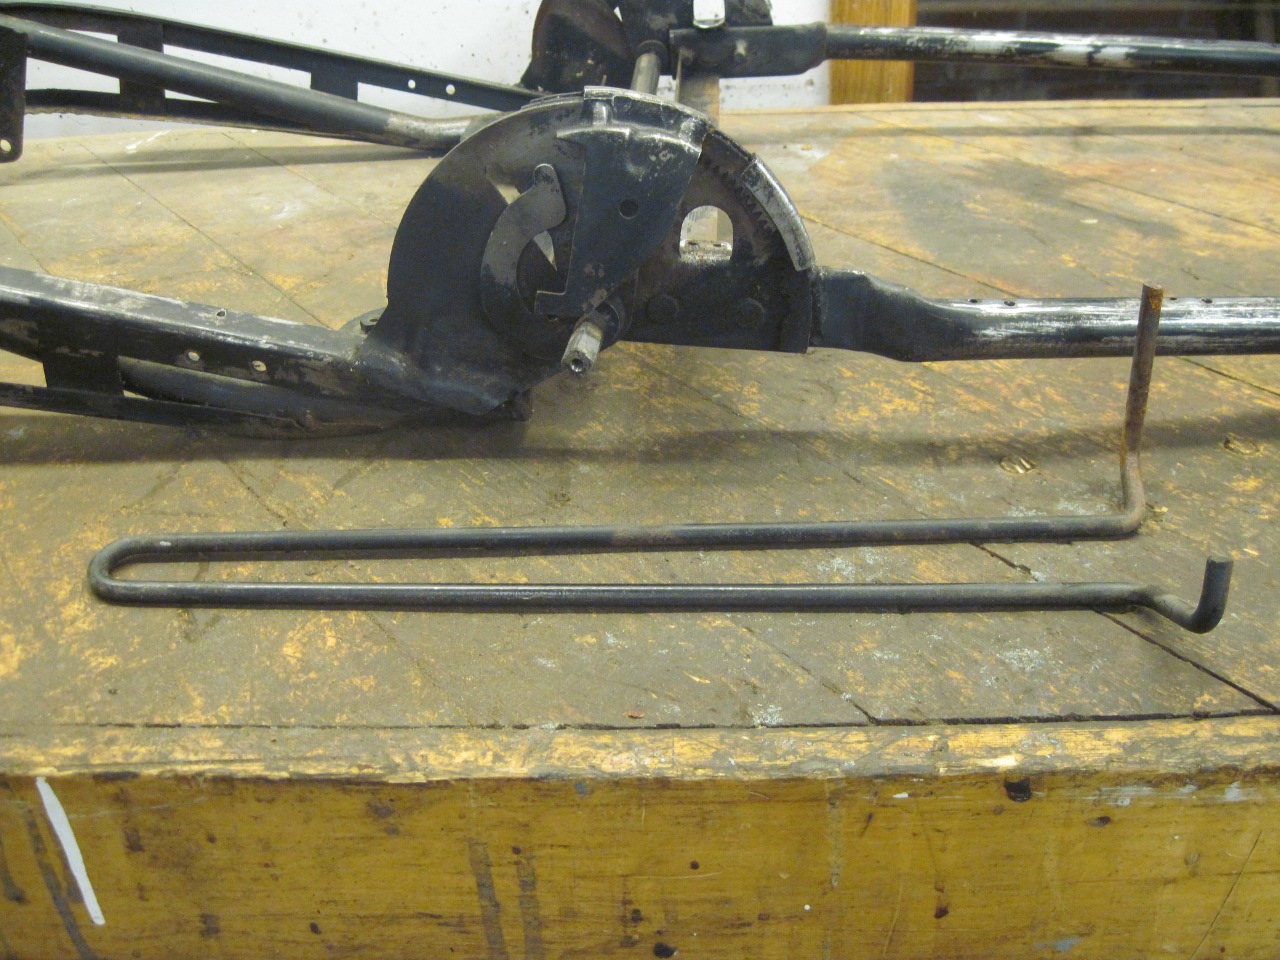
I stripped all the foam remnants off the frame to get a good look at it.

As
far as I could tell, the frame was rrusty in places, but wasn't damaged
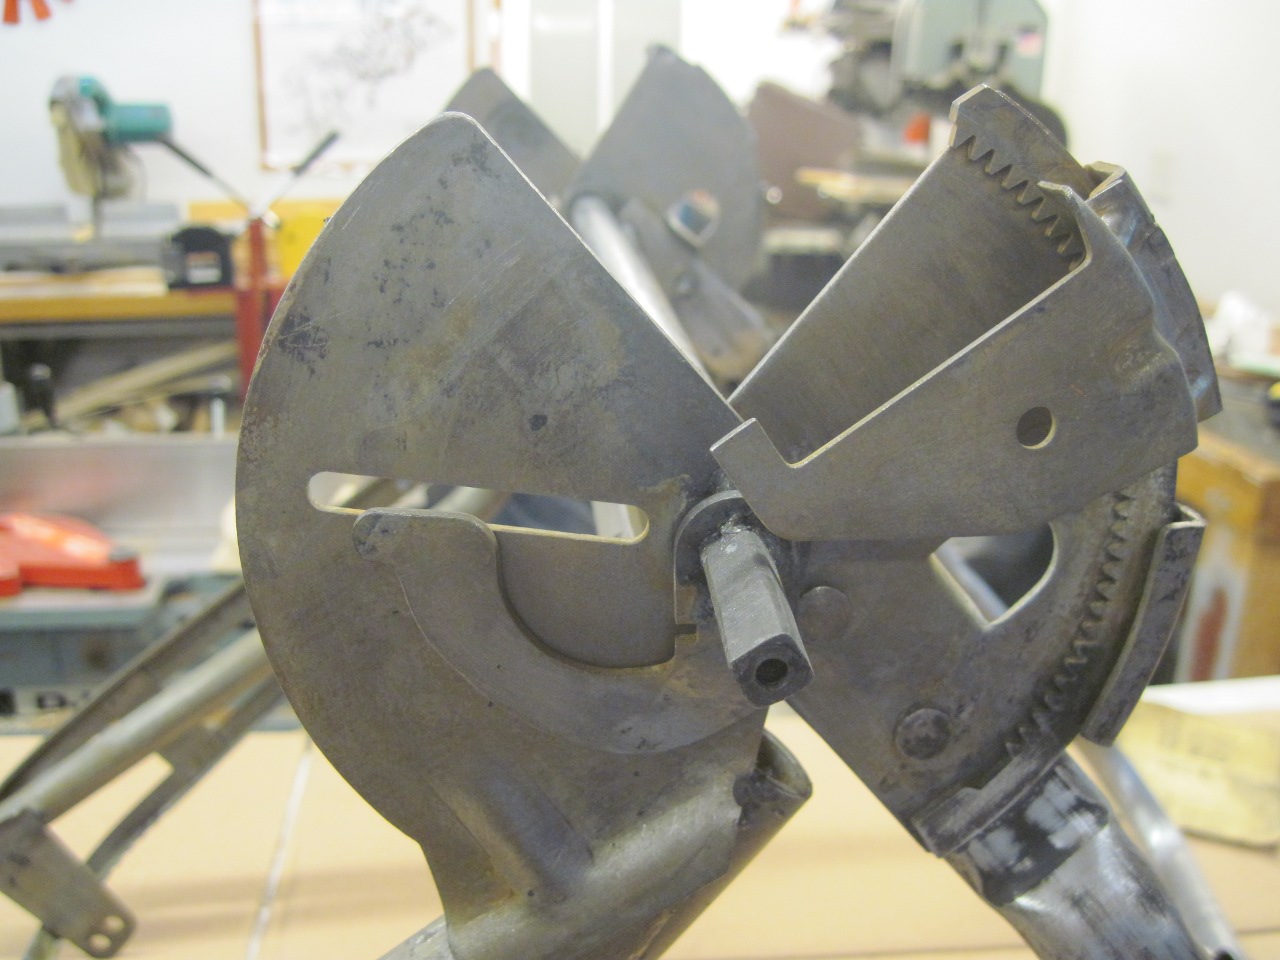
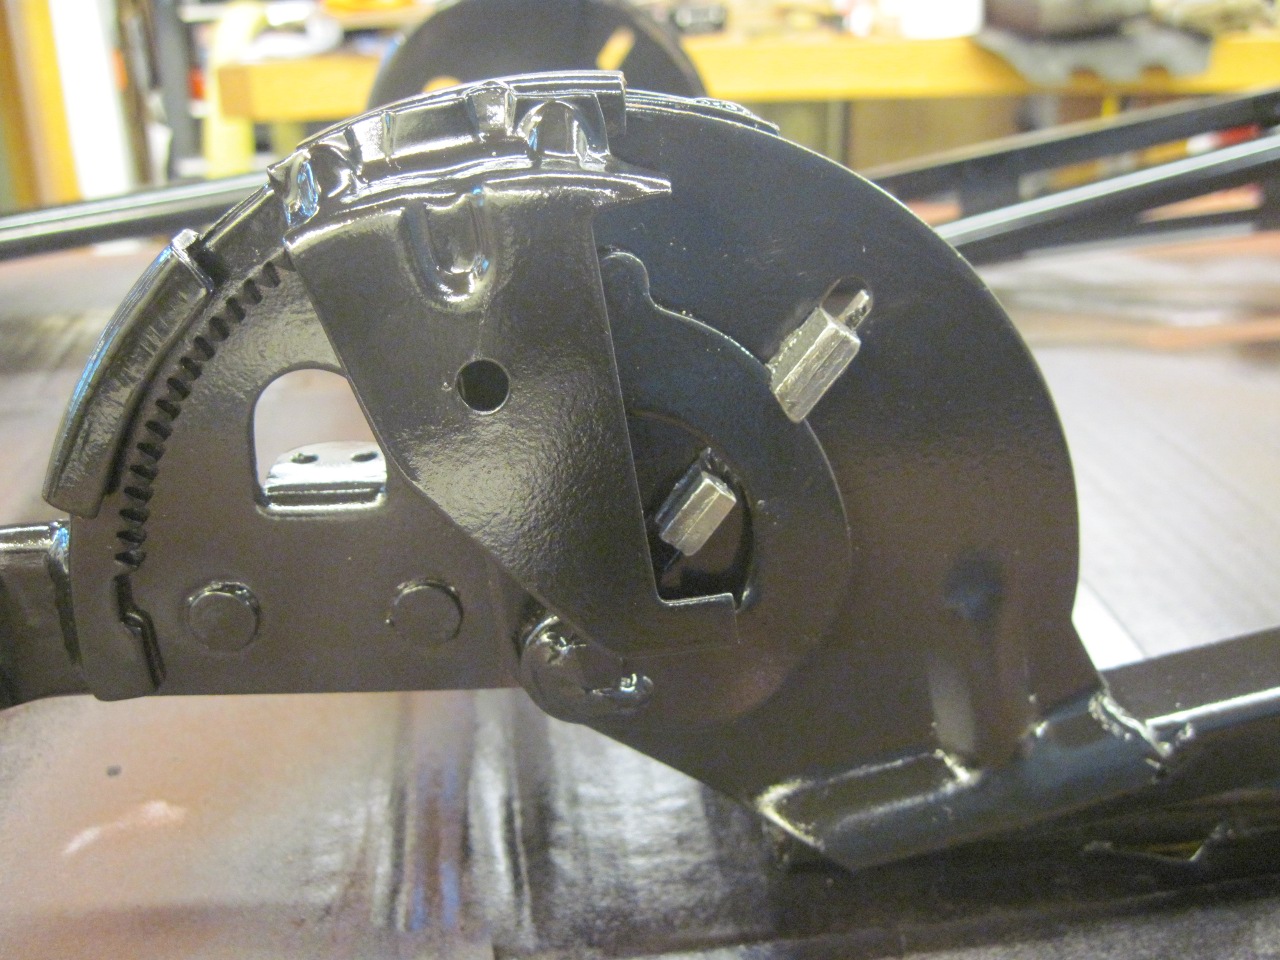
in any way. The recline mechanism was very stiff. The seat
recline lever turns a shaft that rotates a cam on each side of the
seat. The cams retract multi-toothed pawls that engage with
fixed teeth on the seatback frame. A folded torsion spring spans
the back of the seat to help bring the seatback to the upright position.

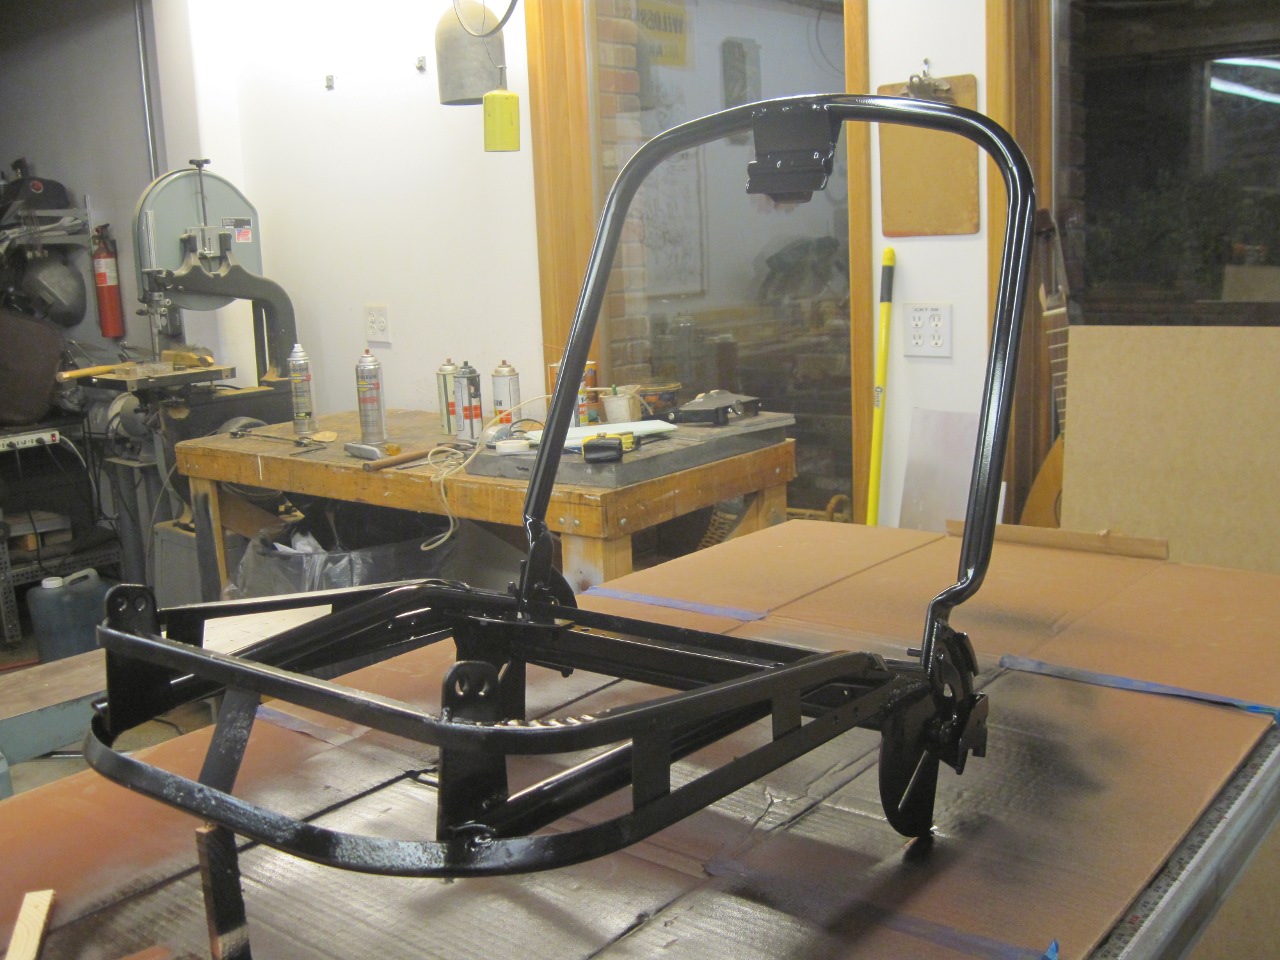
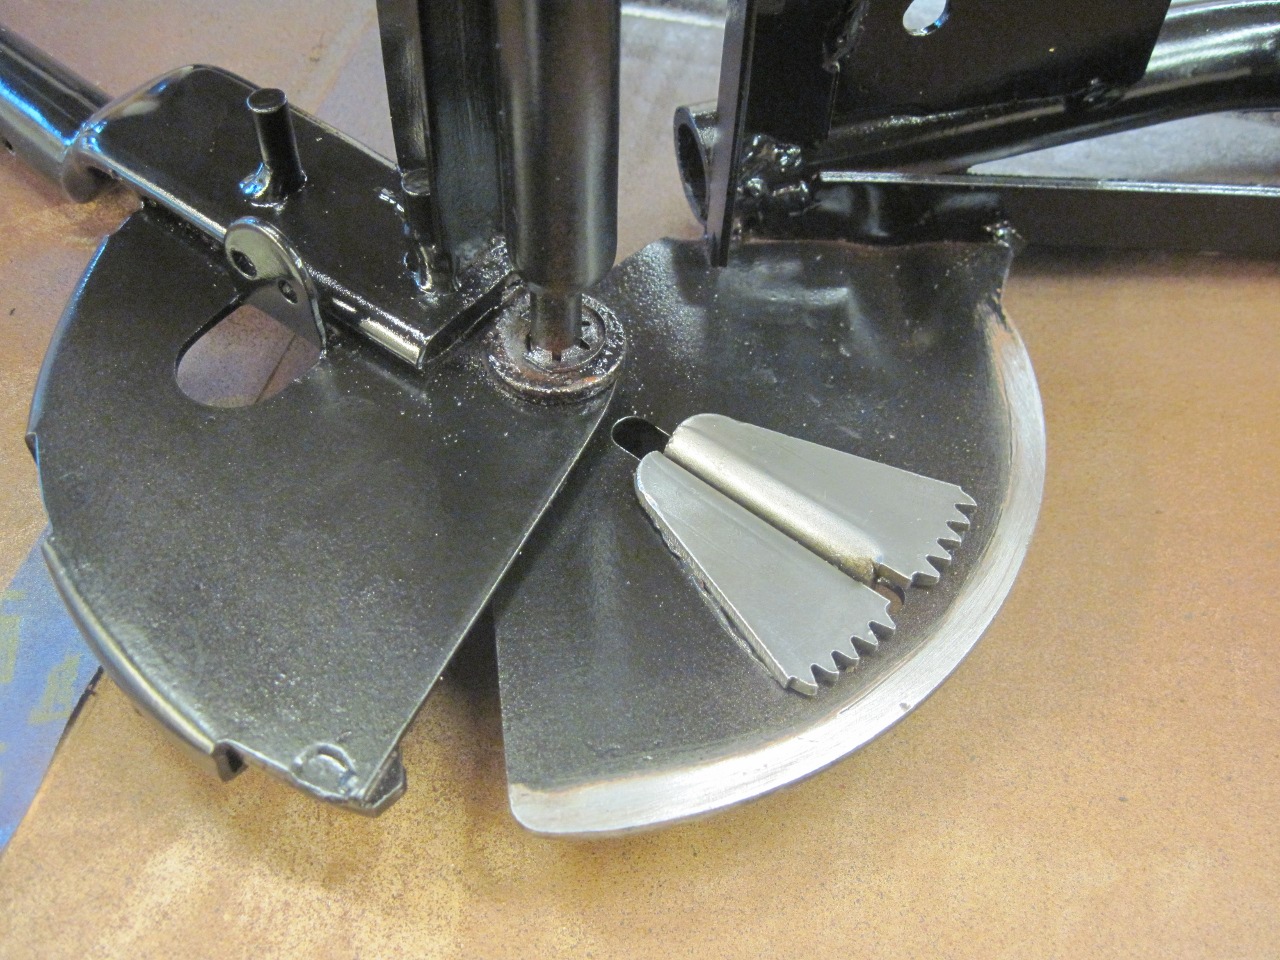
The
first order of business was to derust and strip the paint off the
frame. A nice soak in a phosphoric acid bath took care of that.
The acid leaves a grayish-reddish mottled coating on the steel,
which is only somewhat protective, but is an excellent base for paint.

A prime and a couple of coats of black paint made the frame look a lot more presentable.
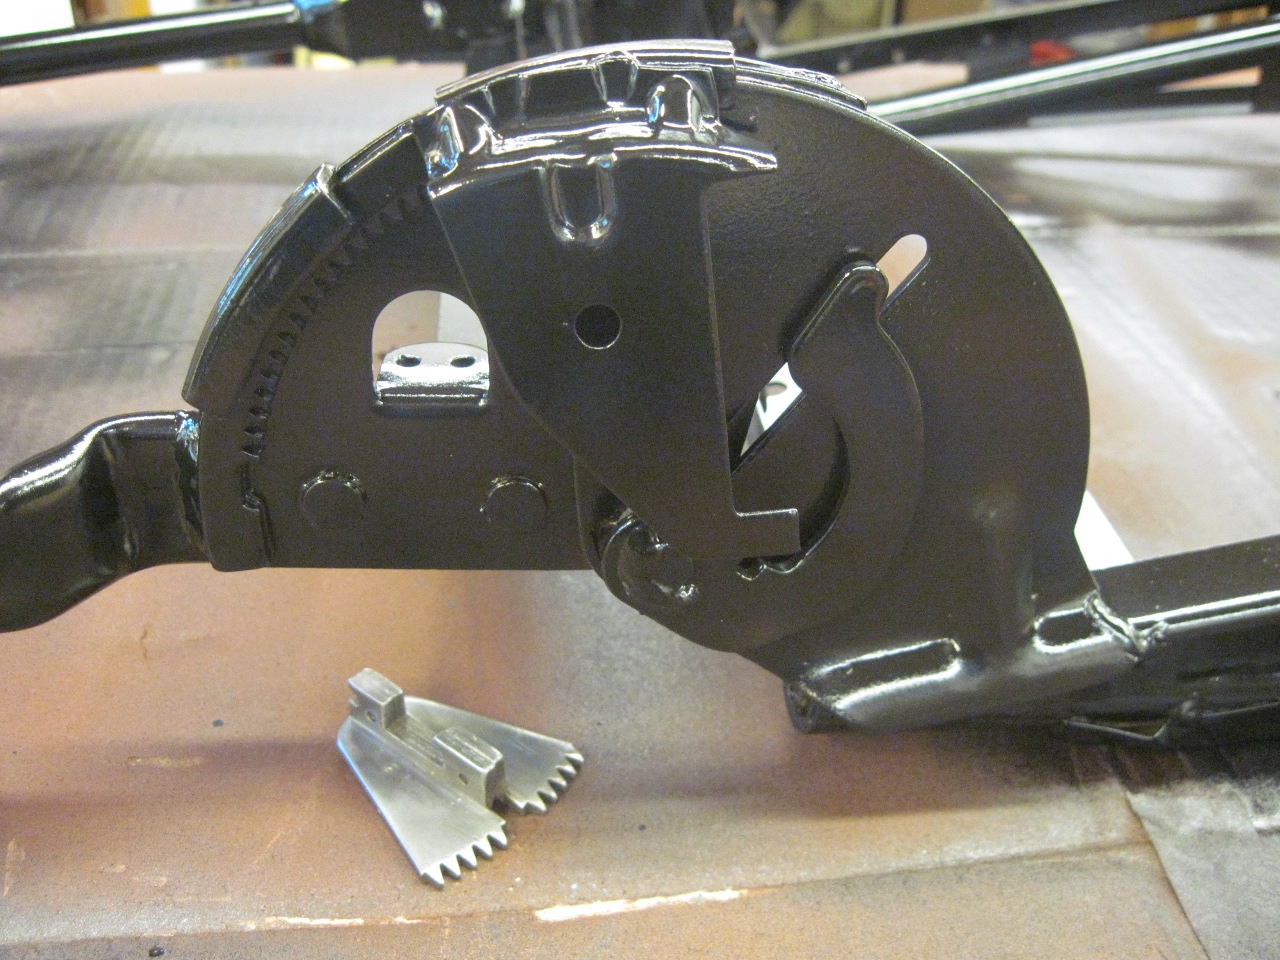
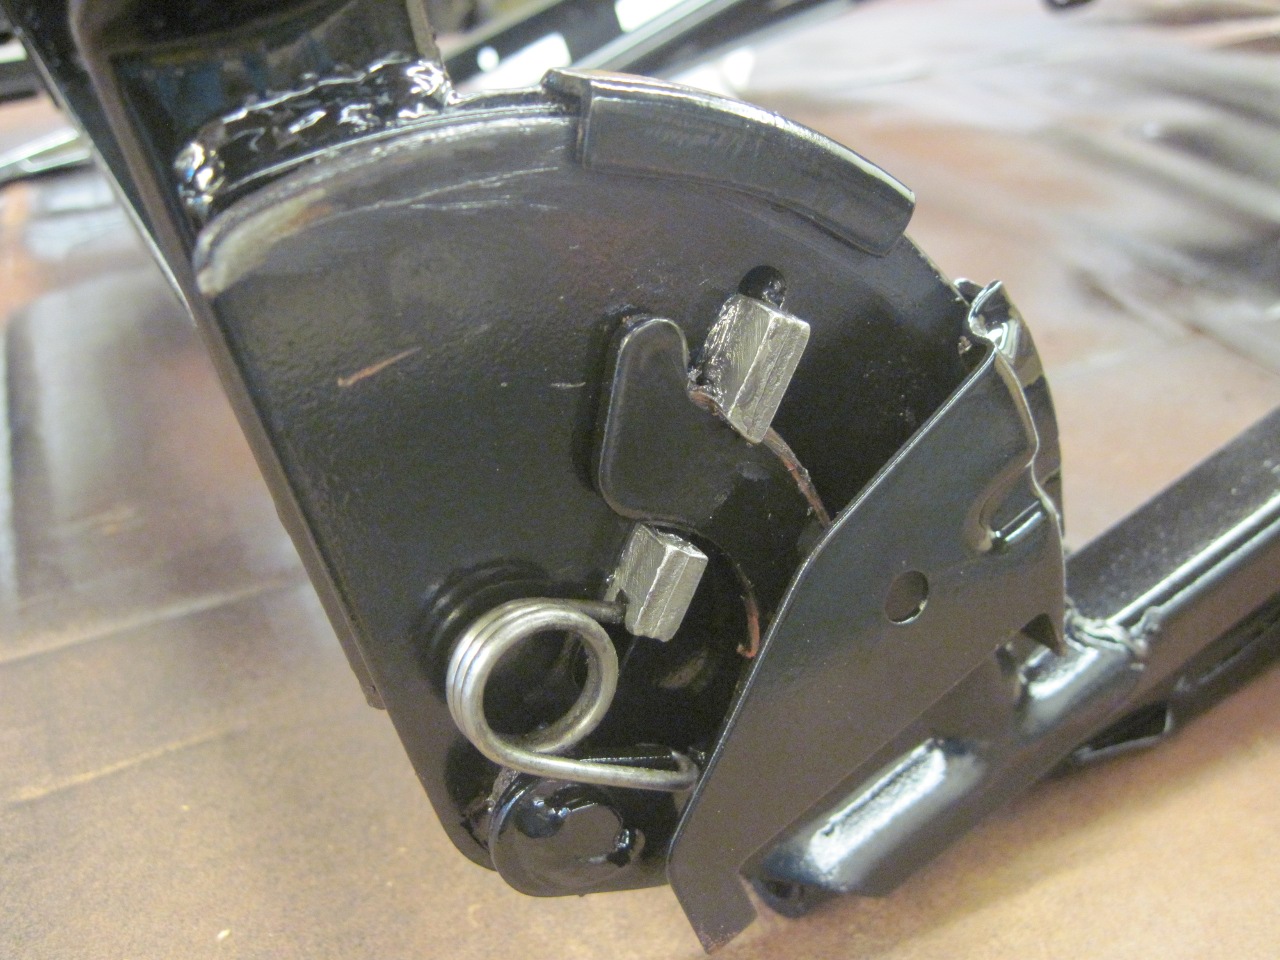
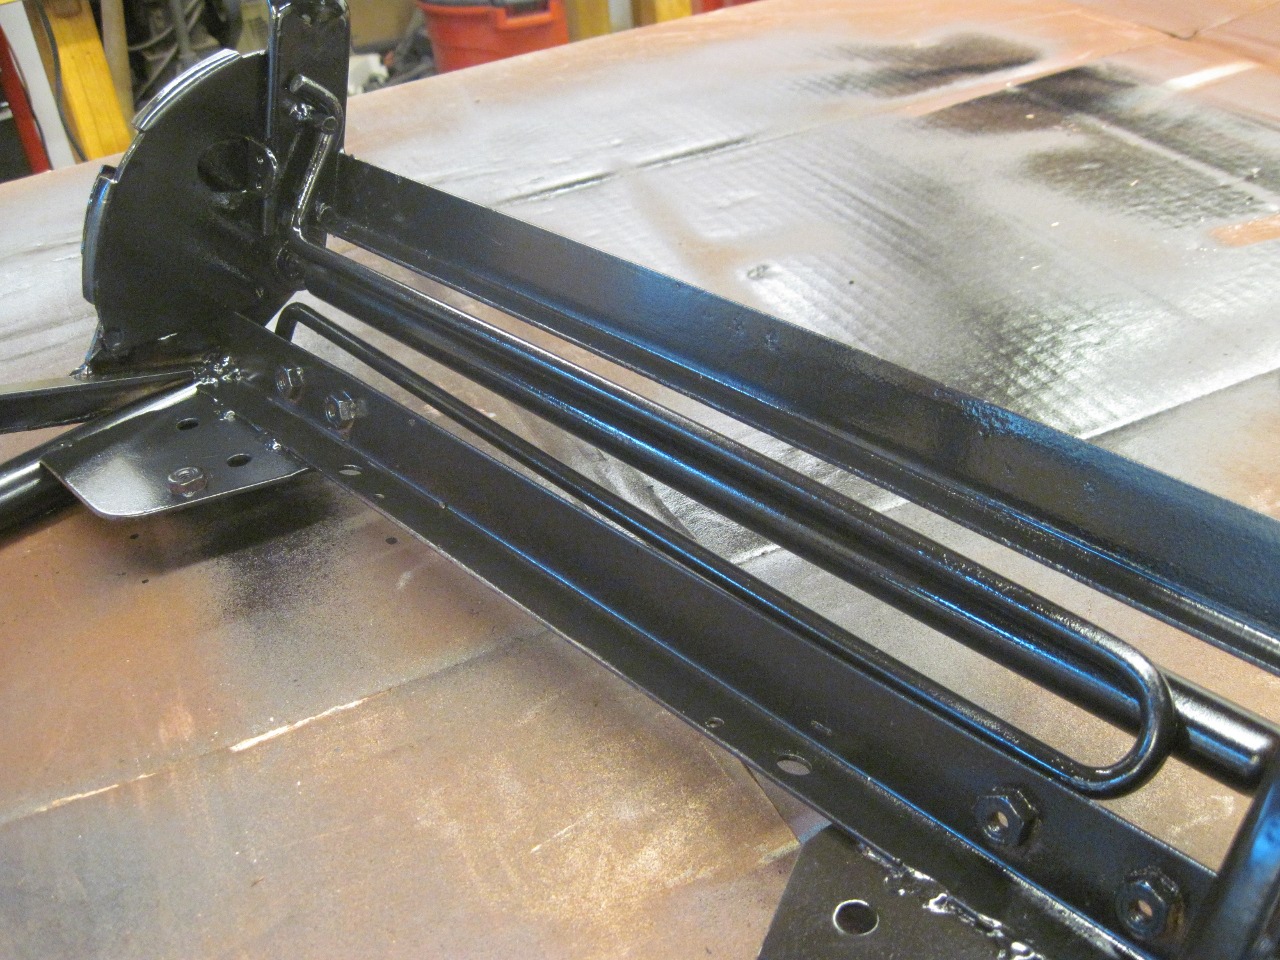
I
had previously removed the pawl to help with the cleaning, so it now
went back into place with fresh lubrication. The last pic shows
one of the springs that keeps the pawl engaged when the lever isn't
pulled.
Torsion spring powder coated and installed.
I did one seat at a time so I could refer to the other one.
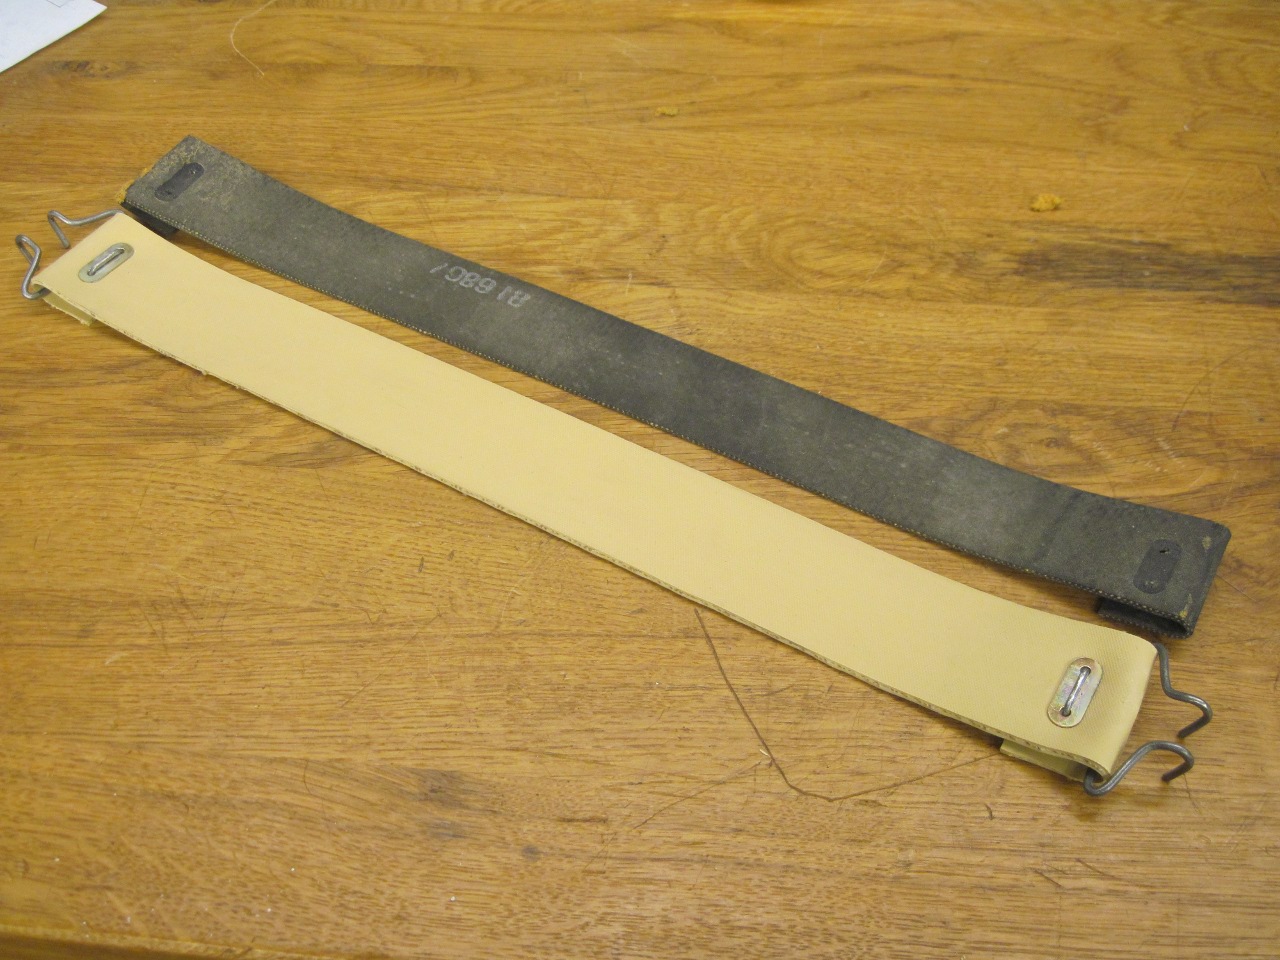
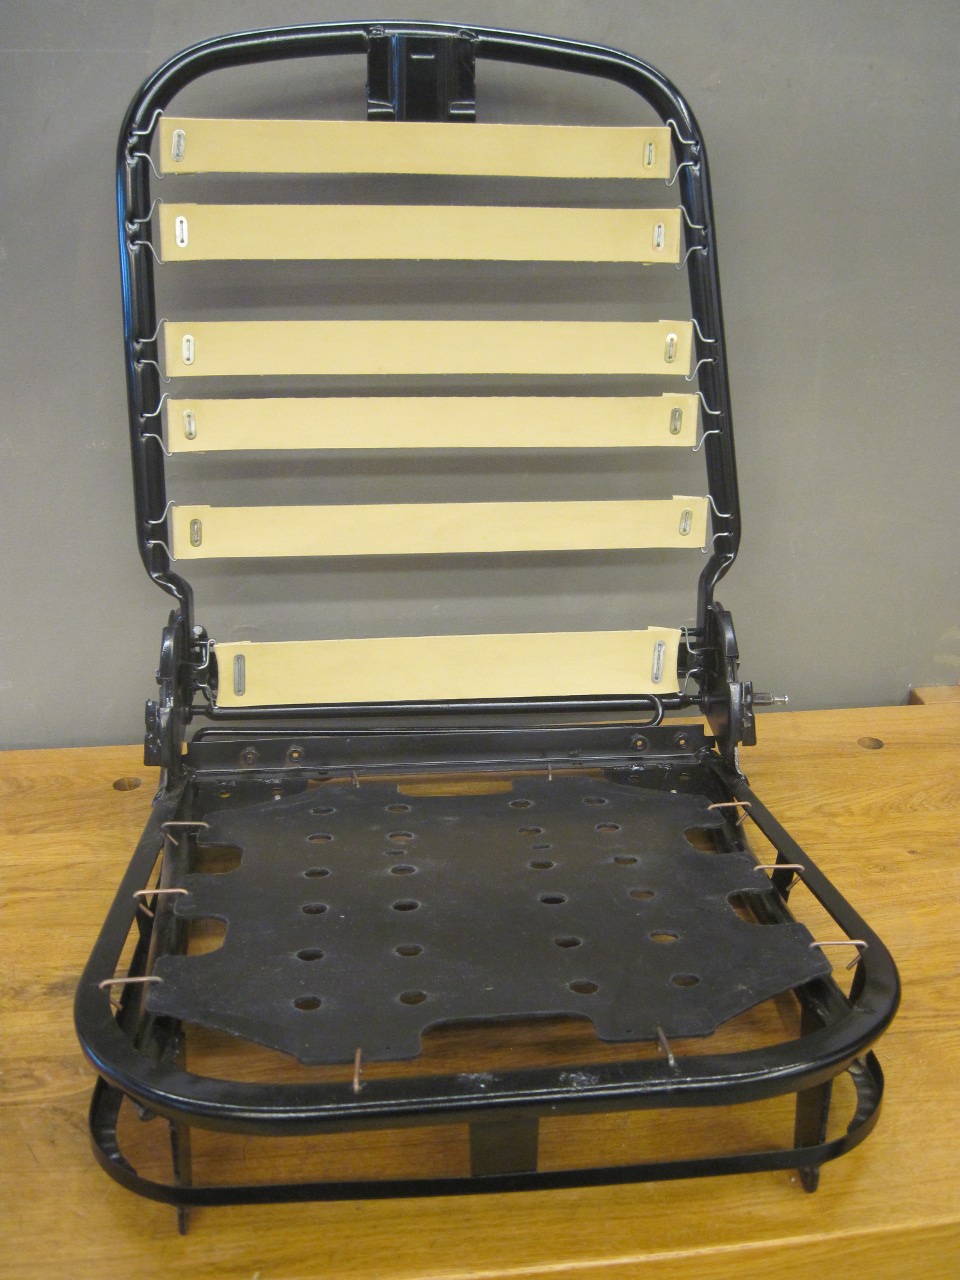
Next,
I restrung the seatback straps to try to determine if they needed to be
replaced. A couple of them seemed pretty loose, so I decided to
replace all of them.

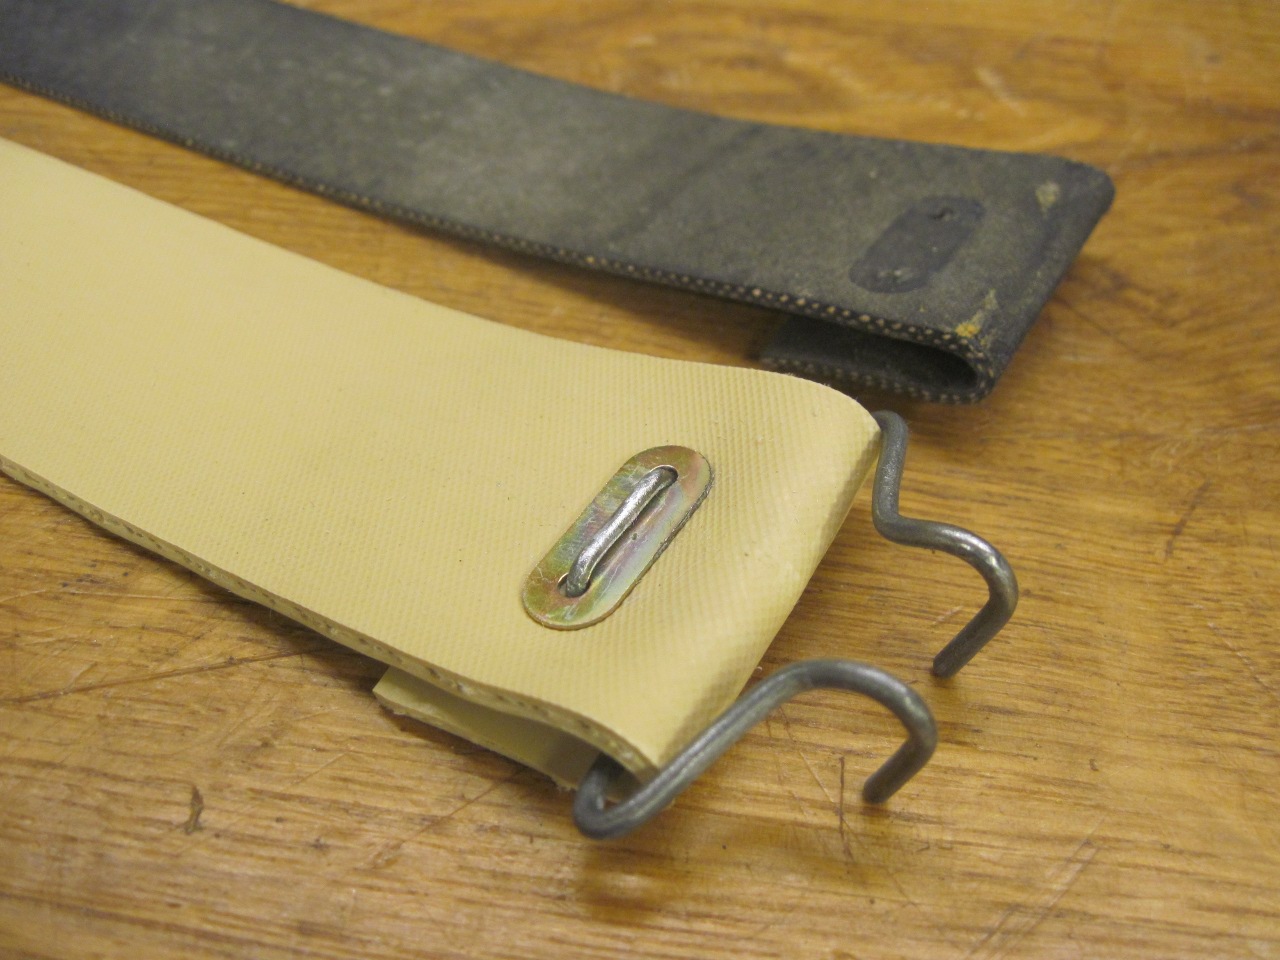
In back of the straps is 16 feet of "Pirelli" strap, used by upholsterers for this kind of thing.
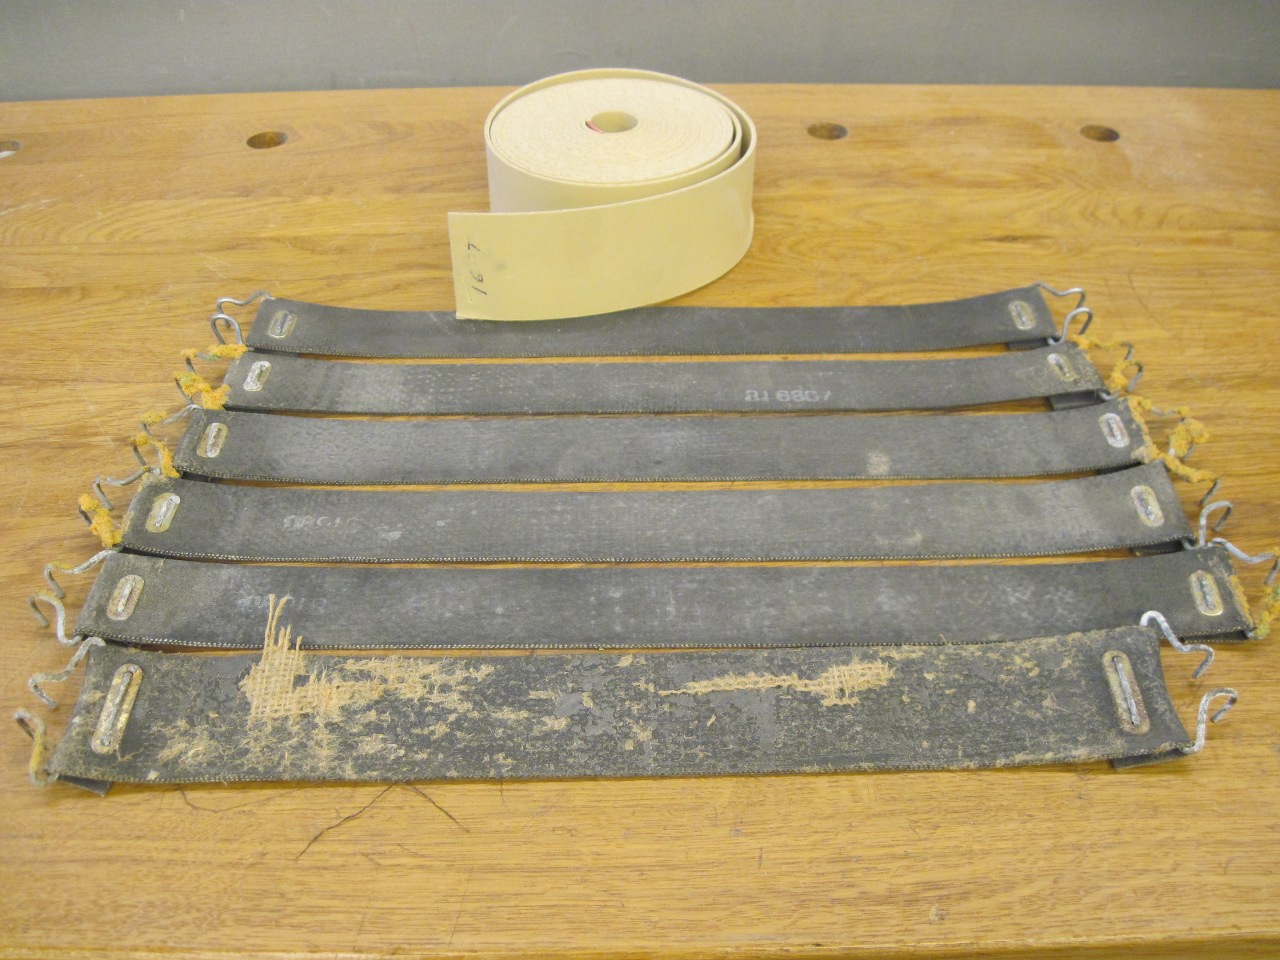
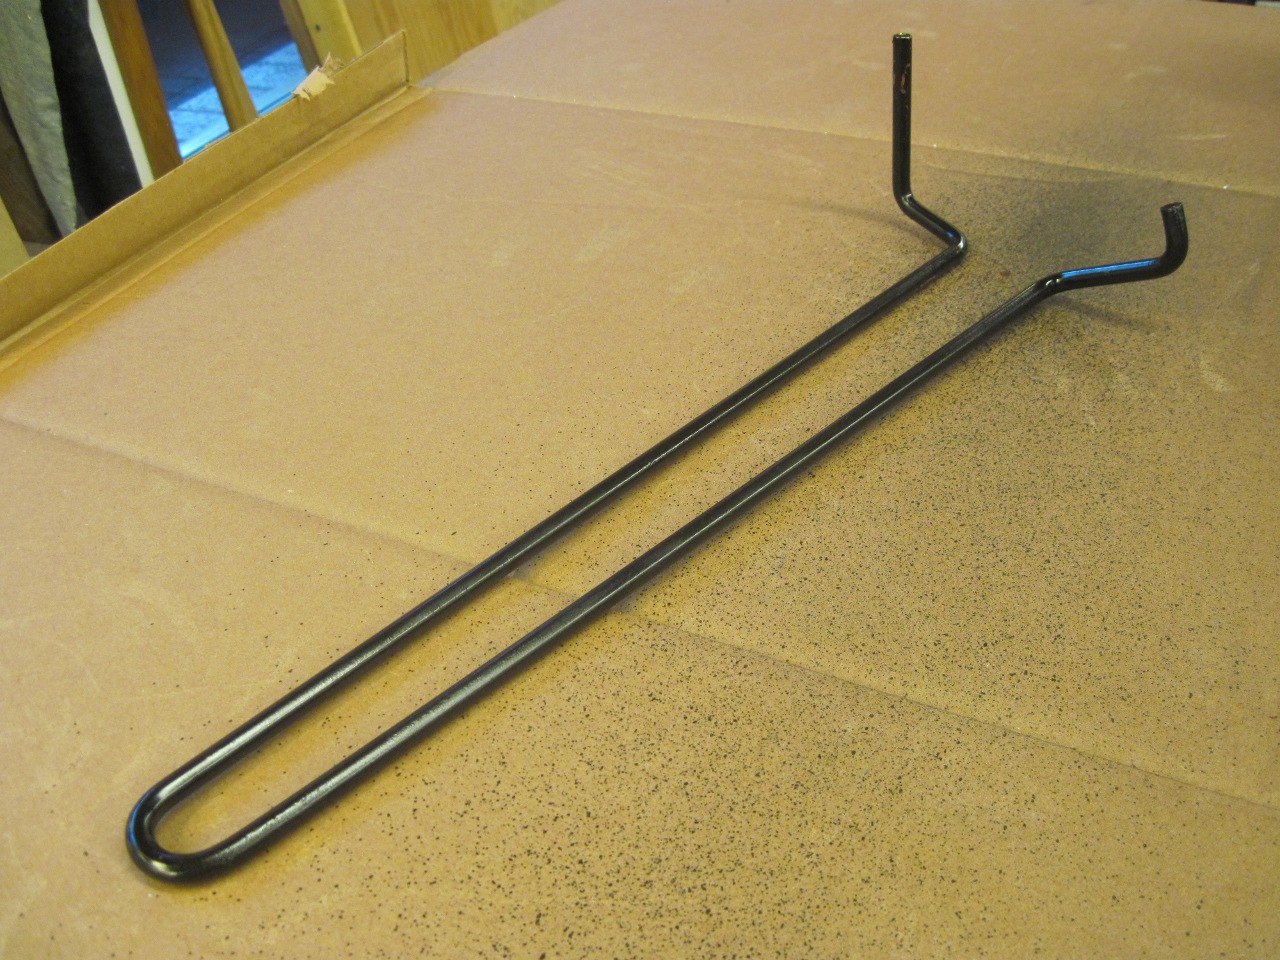
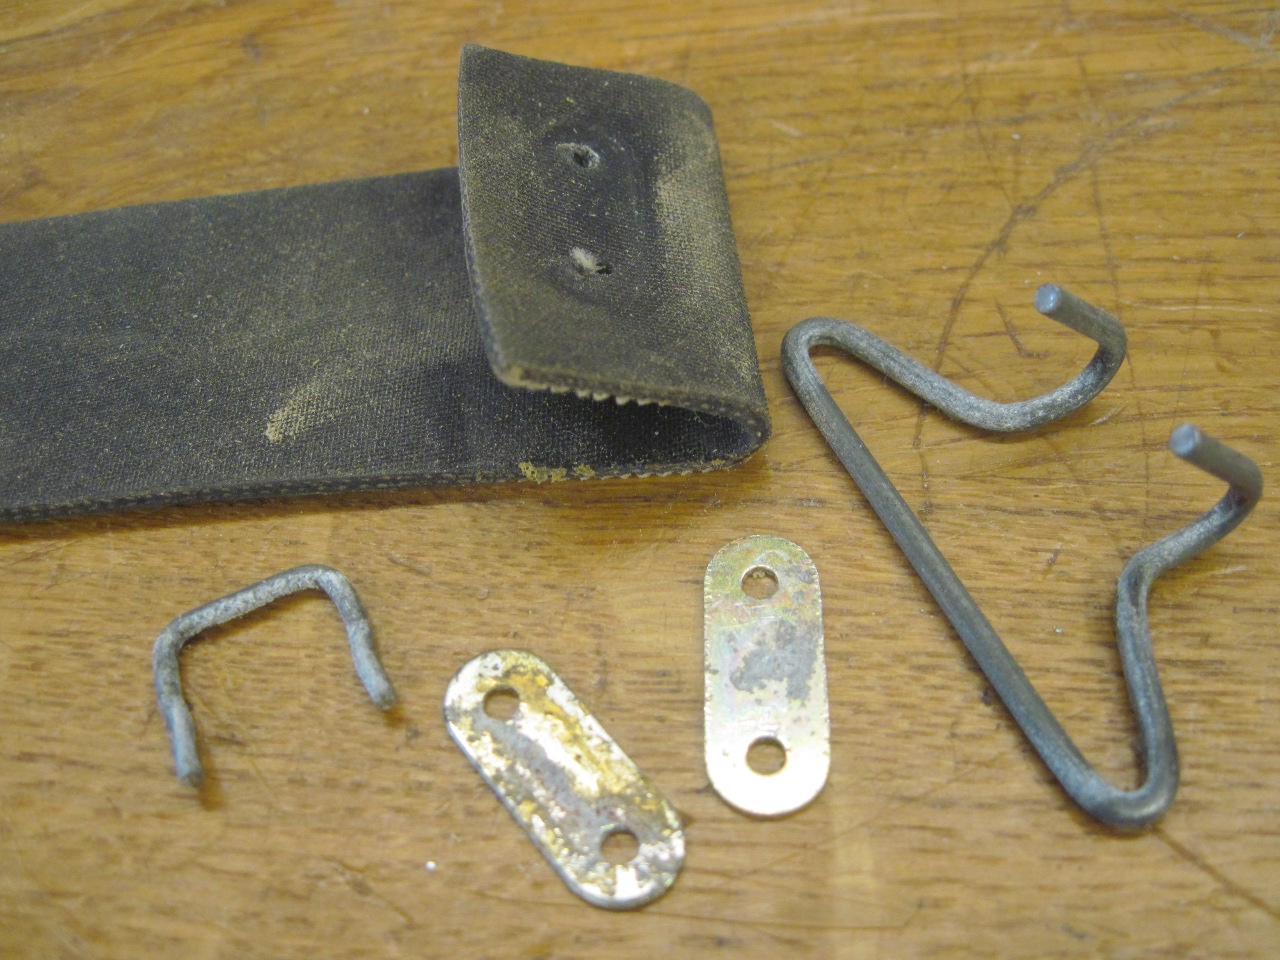
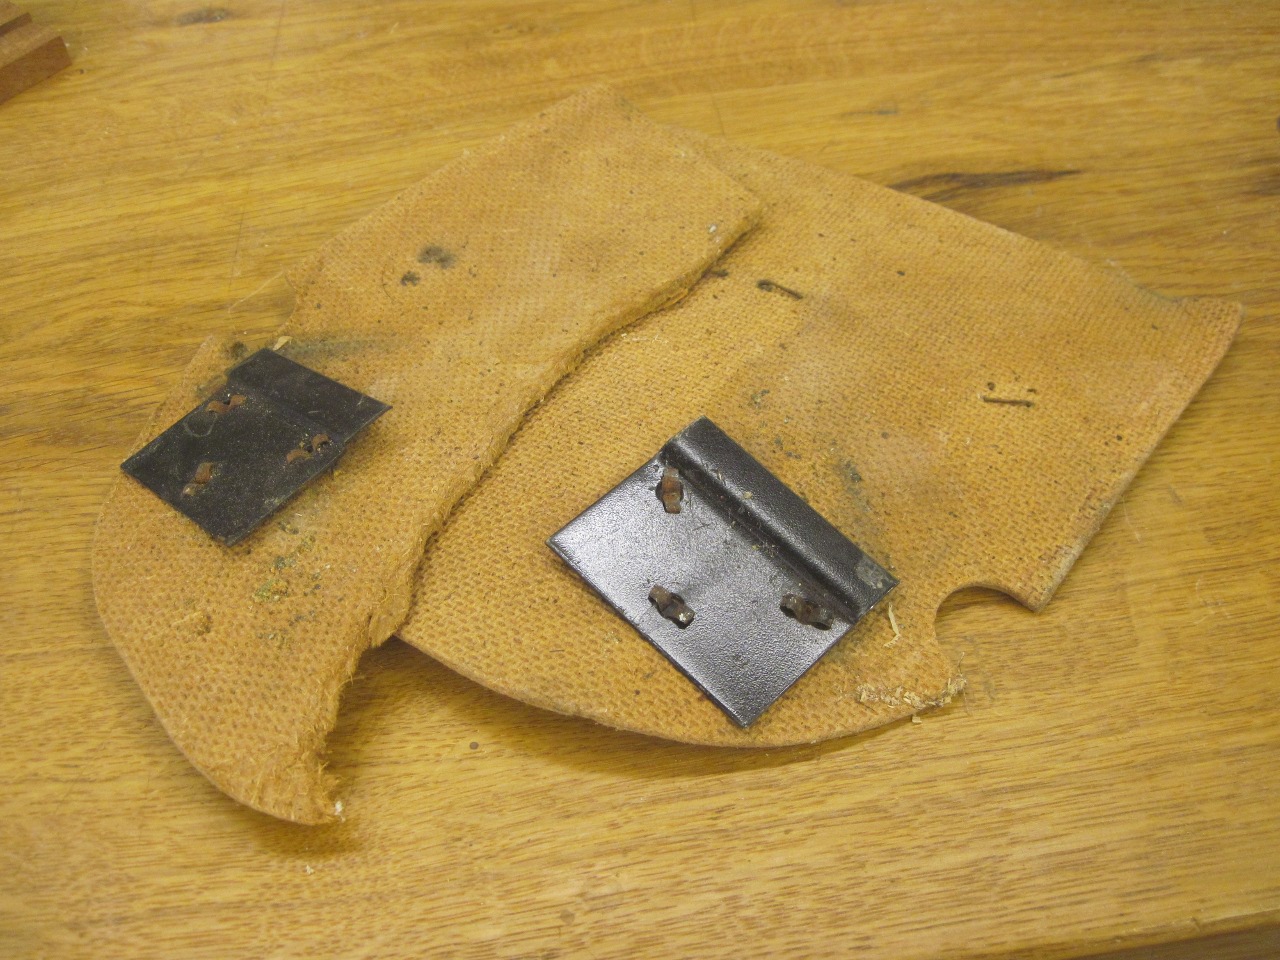
I
was pretty sure I could reuse the end hardware from the original
straps, which consists of a formed wire double hook, a staple, and a
couple of clamp plates.
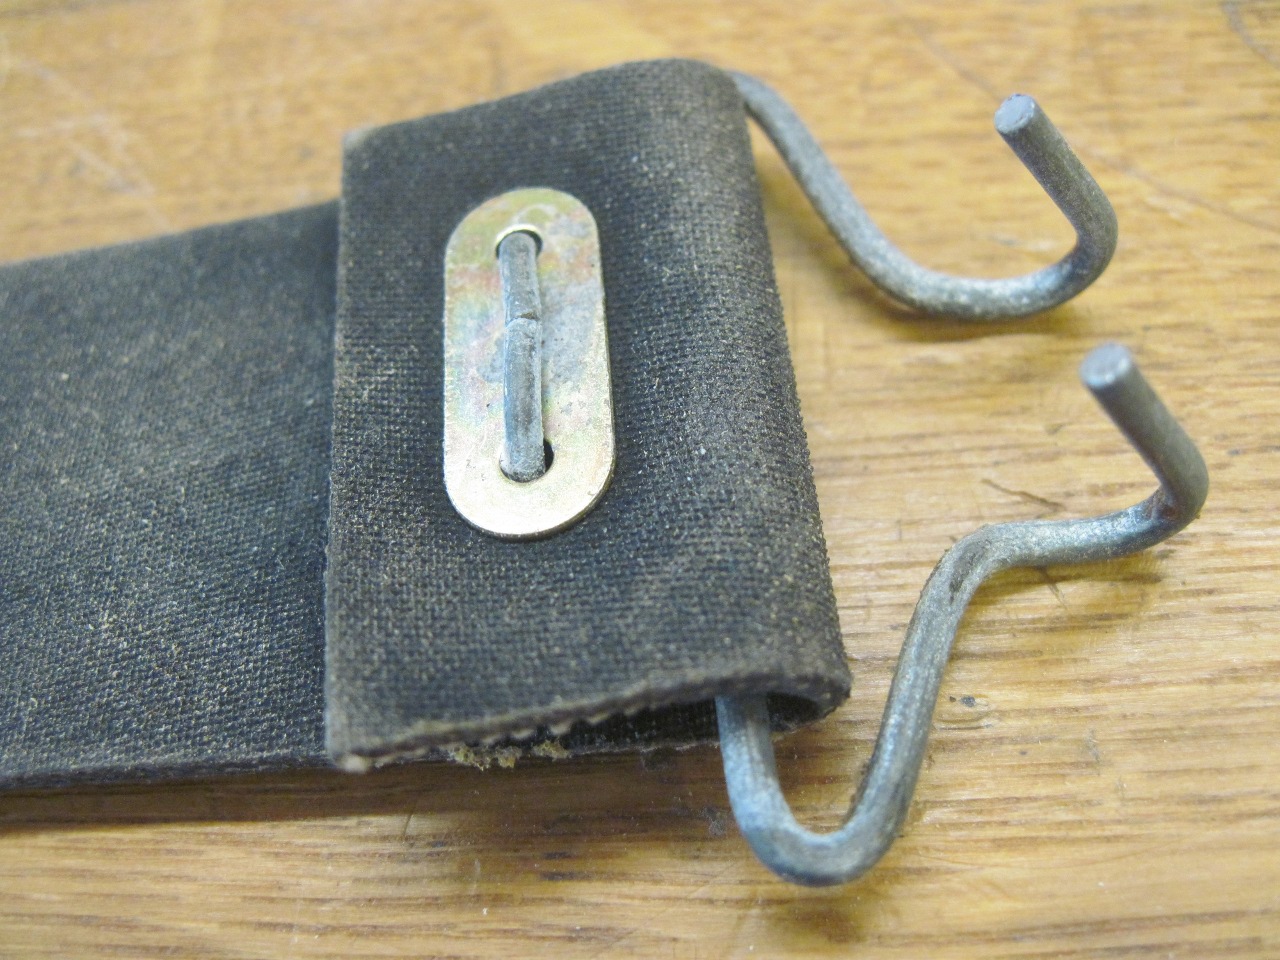
I
made the new straps about 1/2 inch shorter that the originals,
estimating that this would account for 40 years worth of stretch.
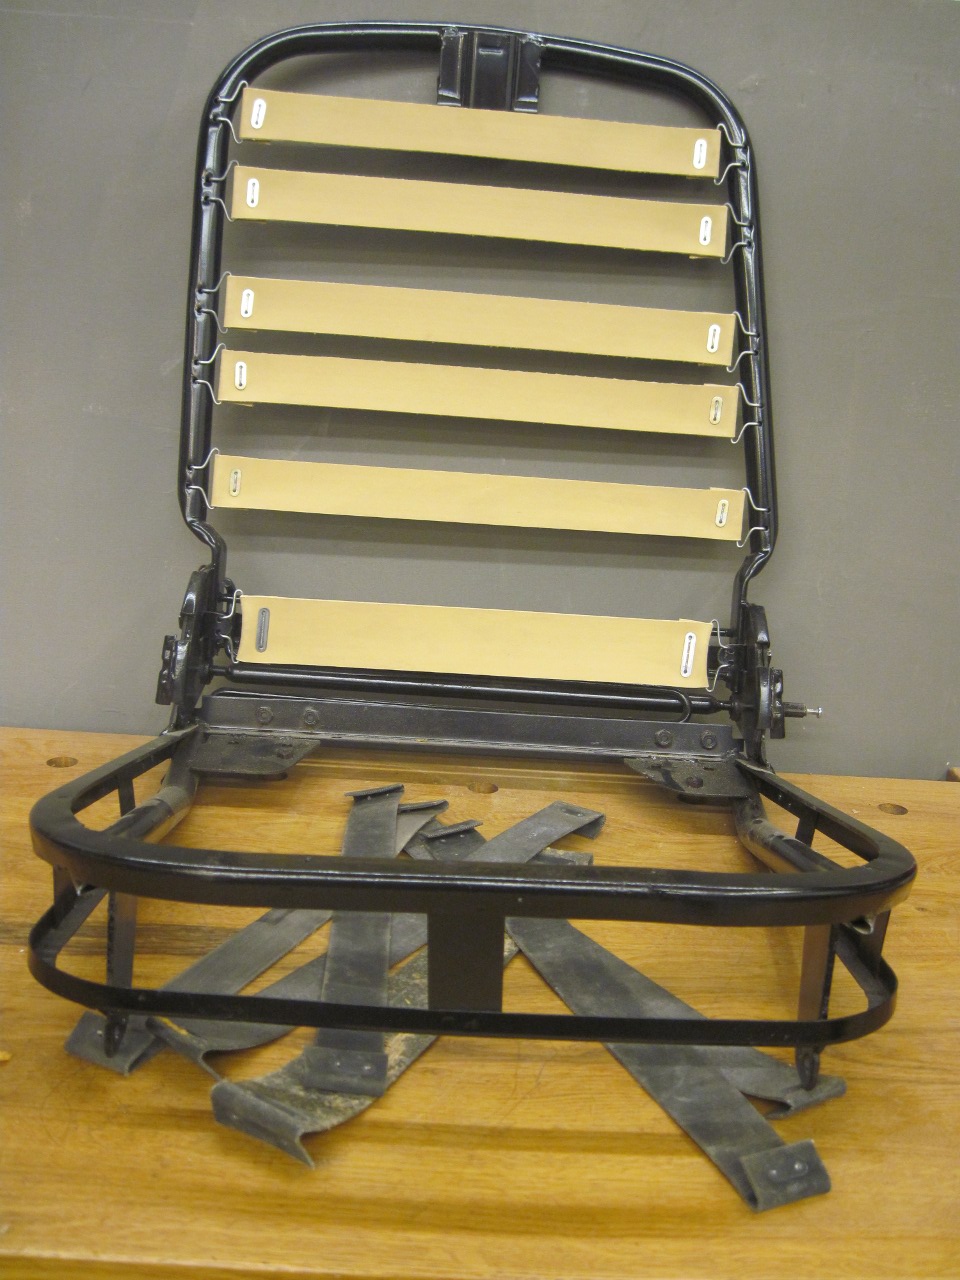
Next, new rubber diaphragm for the seat bottom. It is held to the frame with ten steel hooks.
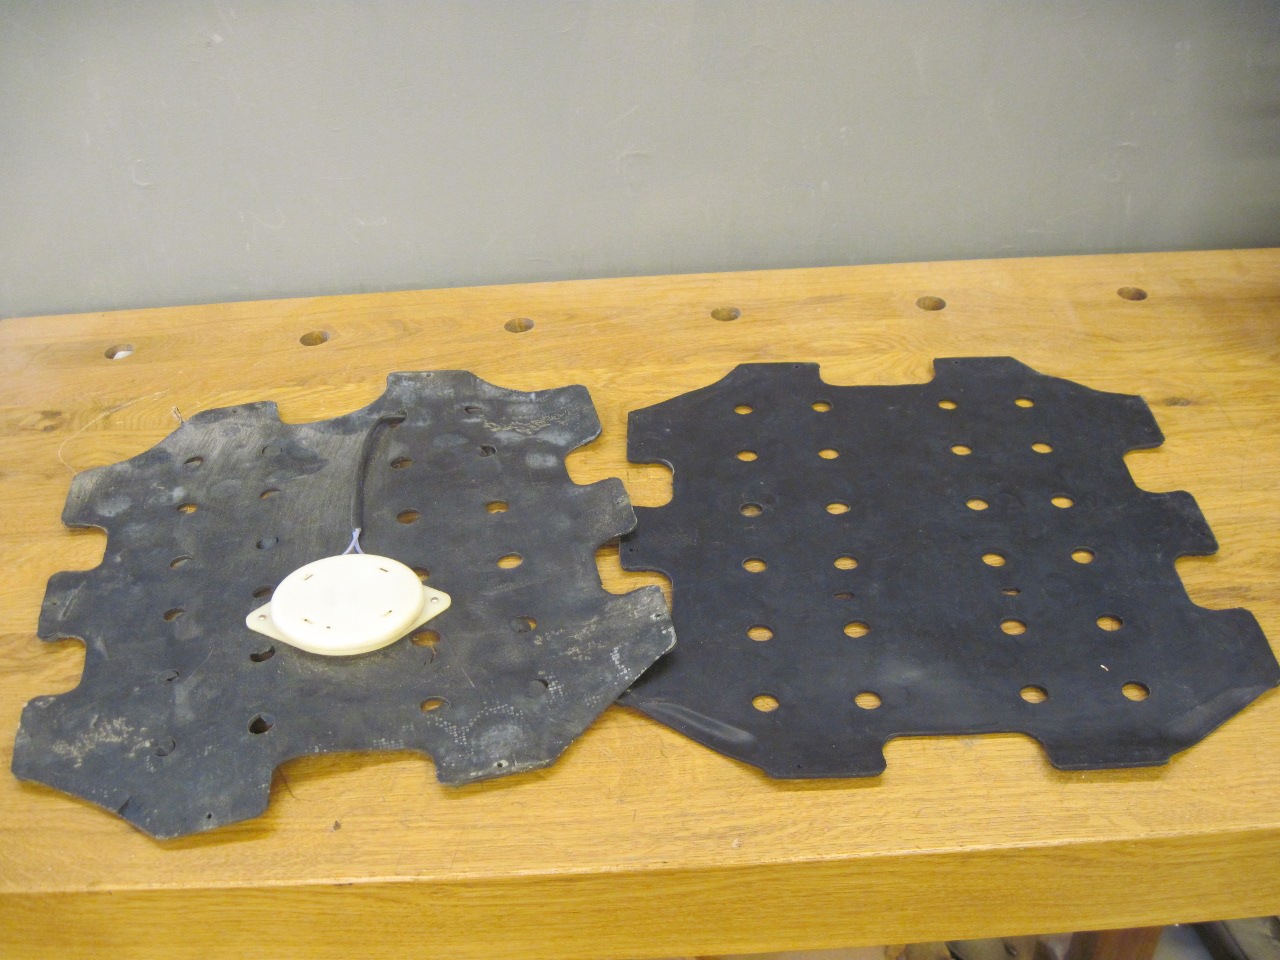

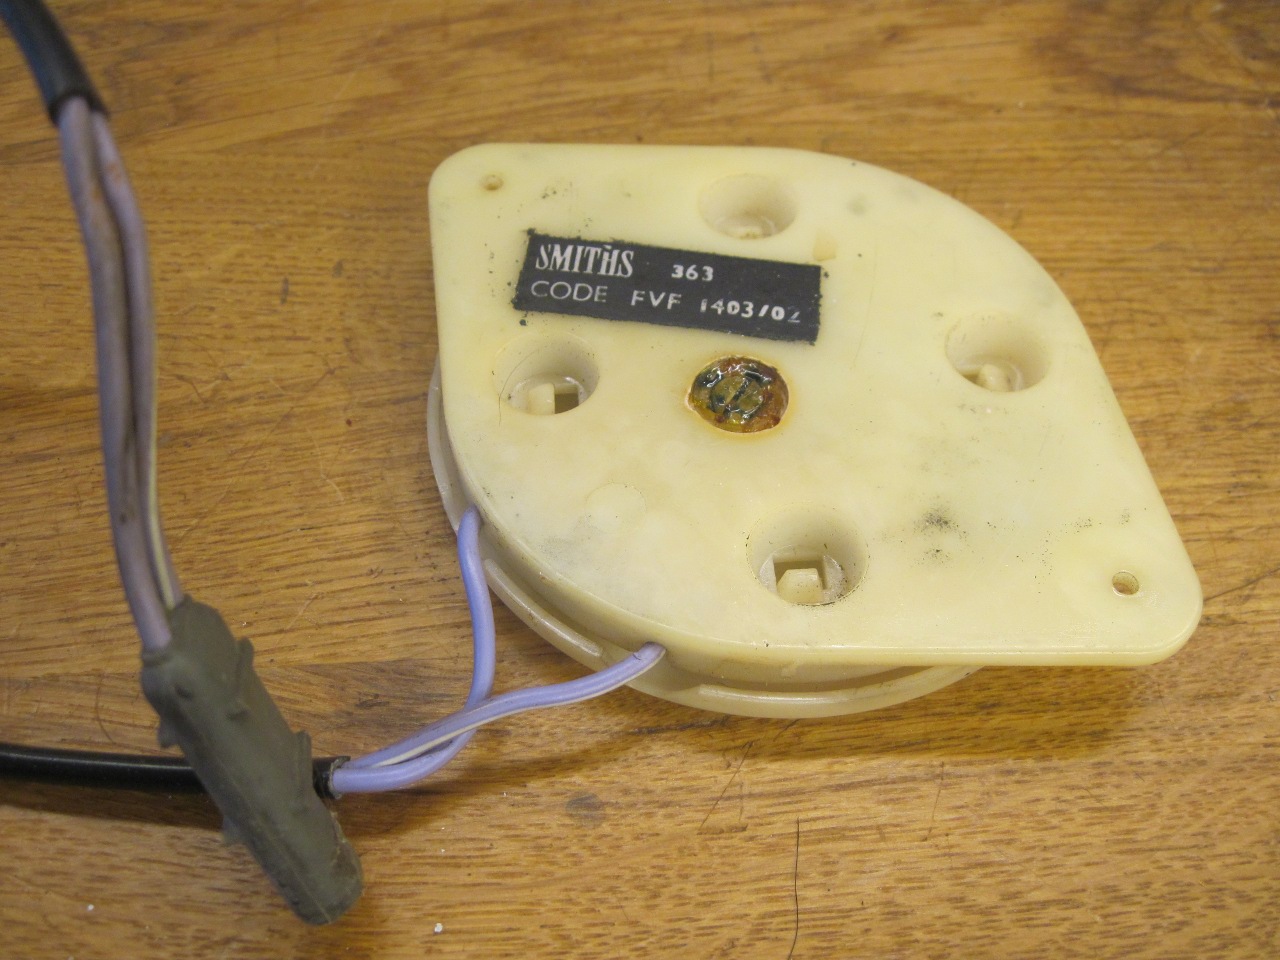
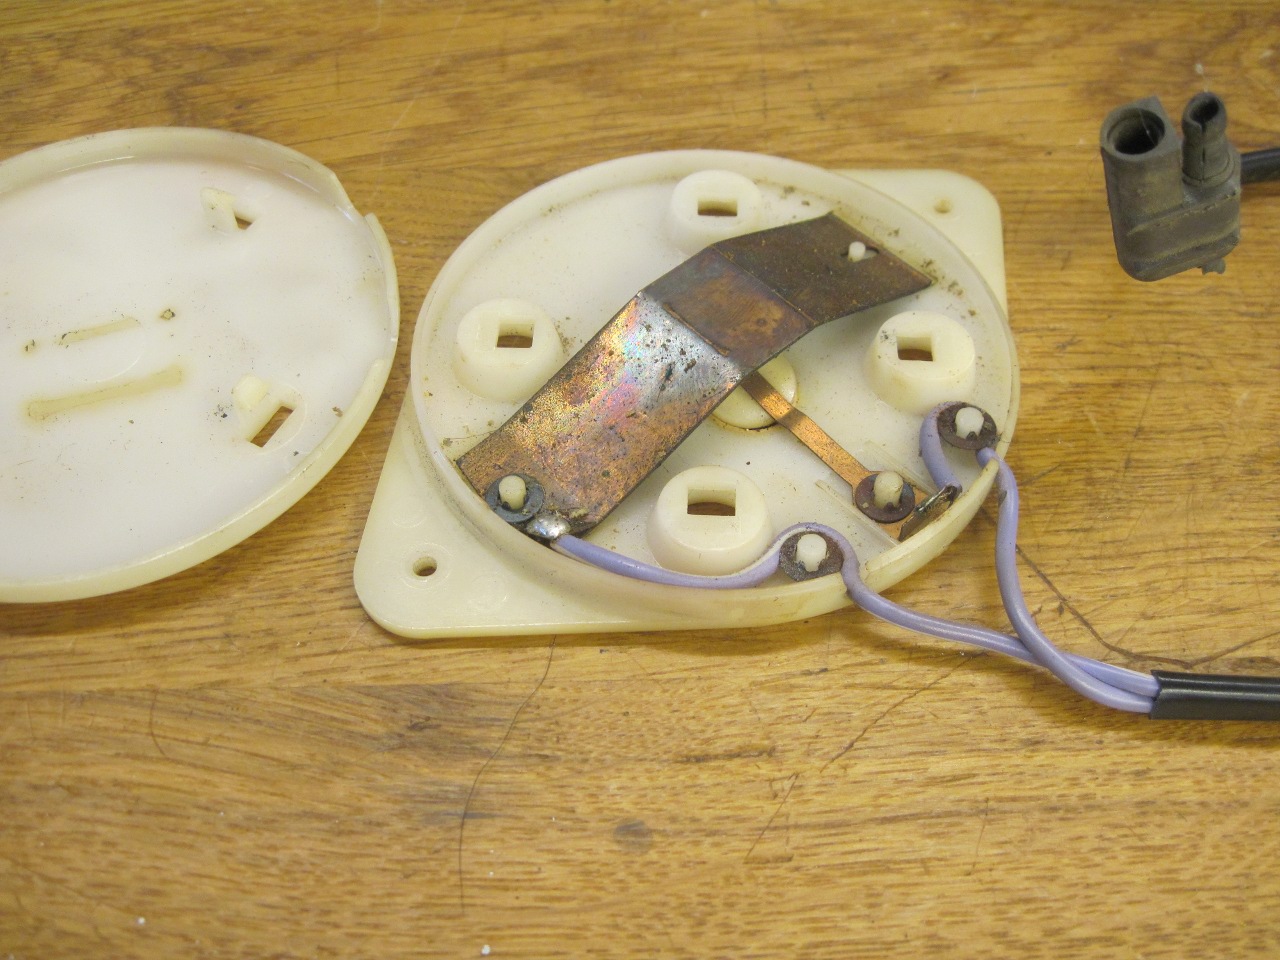
I
would have re-installed the seat pressure switch, just for old time's
sake, but the switch was inoperative. I took it apart and could
see the problem, but decided not to spend any more time on a device I
wasn't going to use anyway.

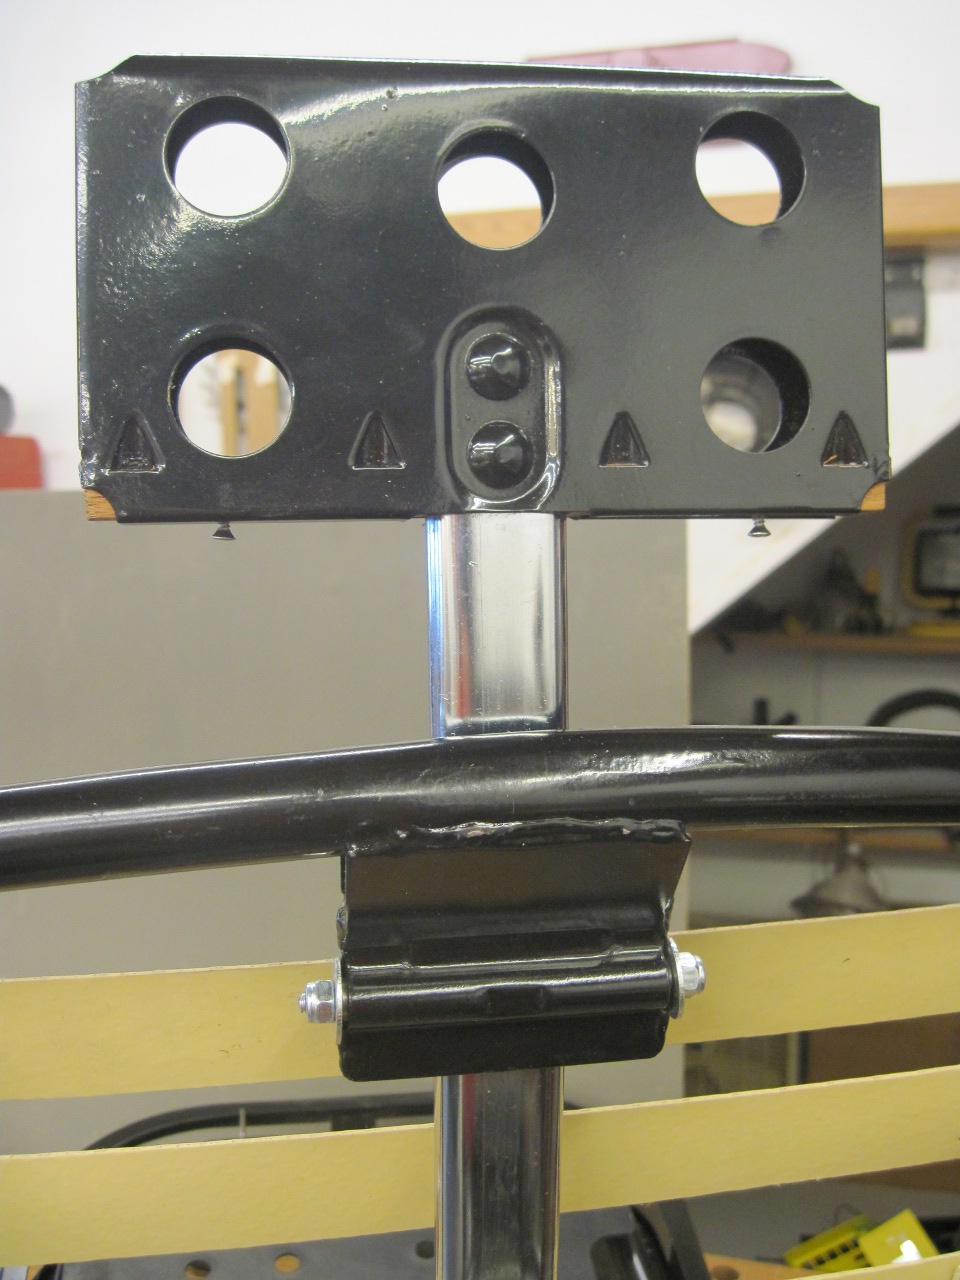
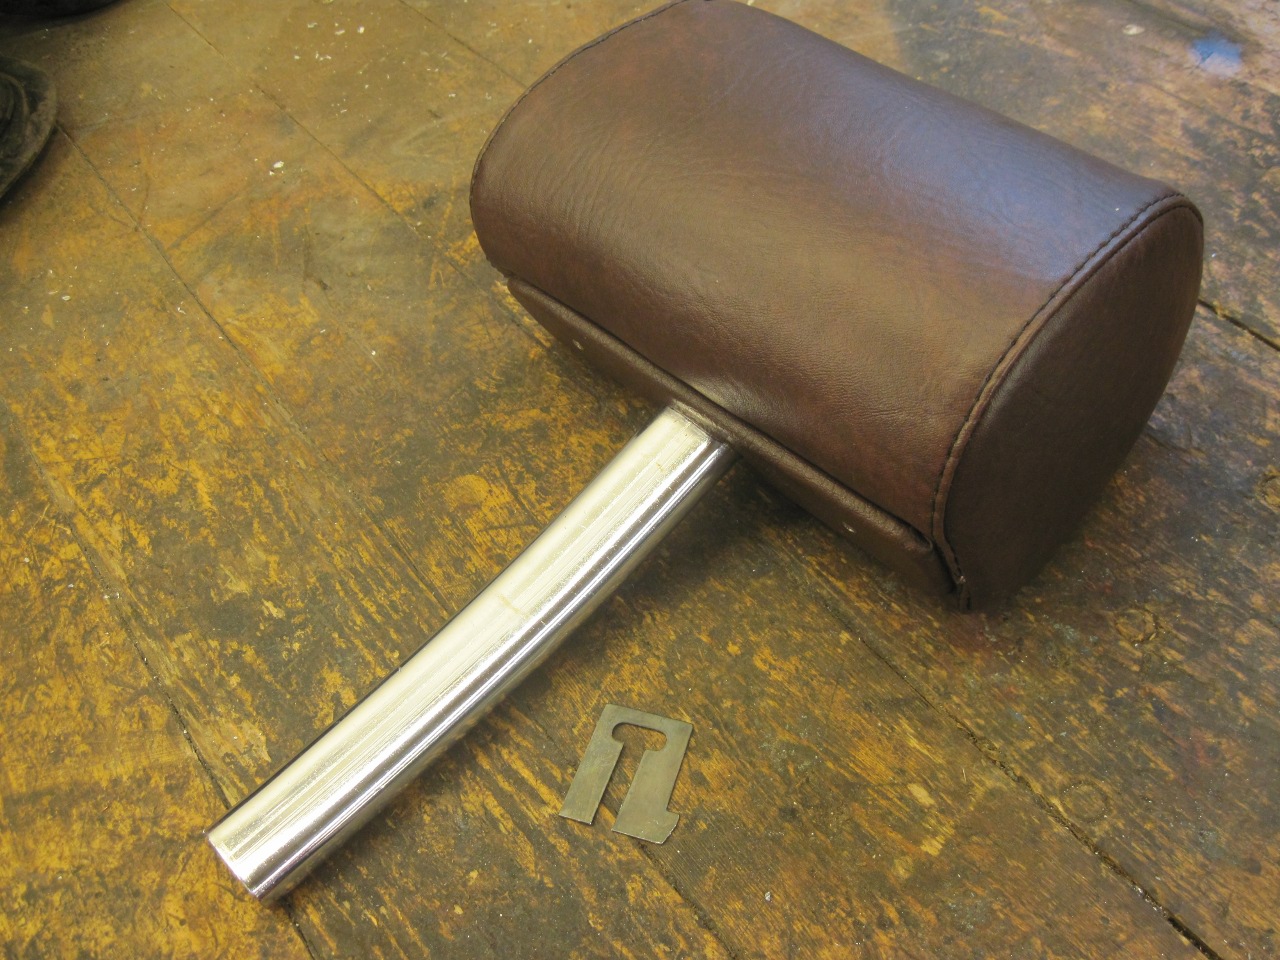
One
little quirky design on these seats is the headrest slide mechanism.
The headrest stalk slides into a channel in the seatback frame.
Across this channel, retained by a piece of tape, is a funny
looking spring-like piece. It appeared to have been broken in
two. It took me a while to figure out what was going on there.

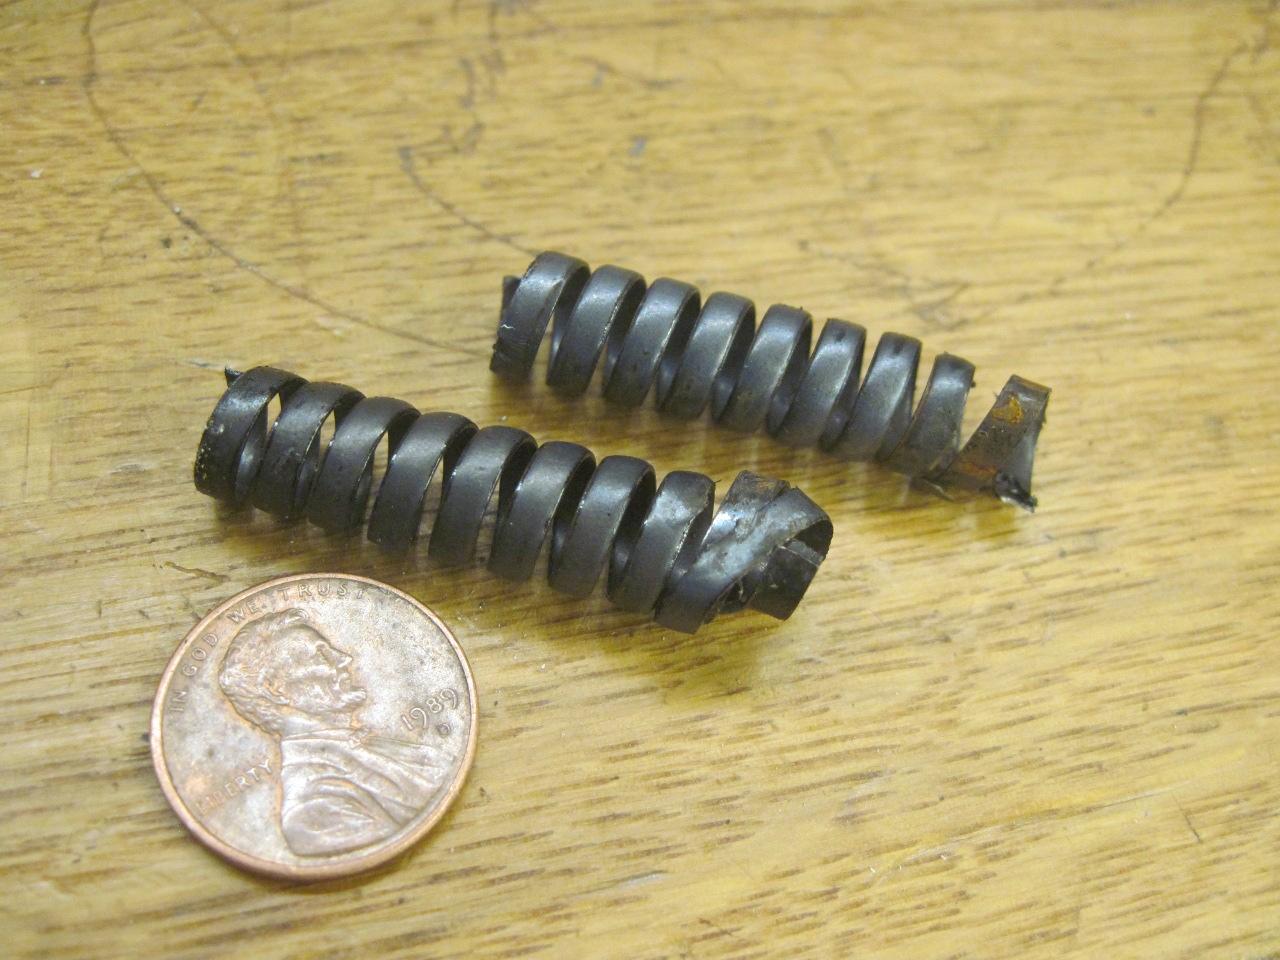
The
spring is flat-wound, and has what looks like a plastic coating on it.
I believe the way it works is that the spring interferes with
headrest stalk, and the stalk pinches it into an oval shape, so that
the spring maintains constant pressure on the stalk. The coating
on the spring is to reduce friction so that the smooth chrome plated
stalk can still slide. The spring was broken in the middle,
probably just from wear.
In
my research, I found that other people had replaced the original spring
with a standard one of appropriate size from the hardware store.
This was my first plan. I tried a few from my spring stash,
and even bought a few more. I could get it to work sort of OK,
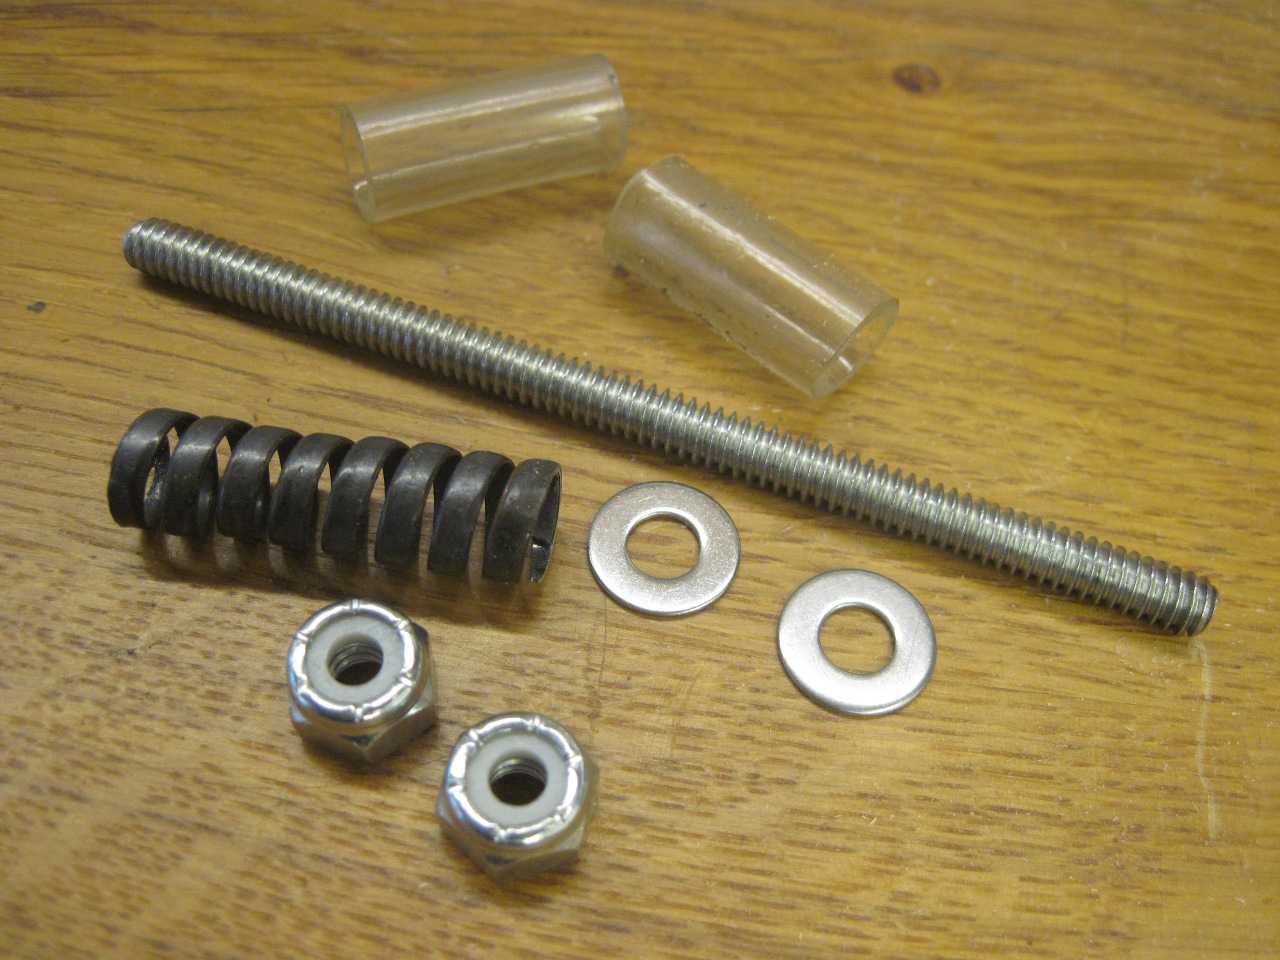
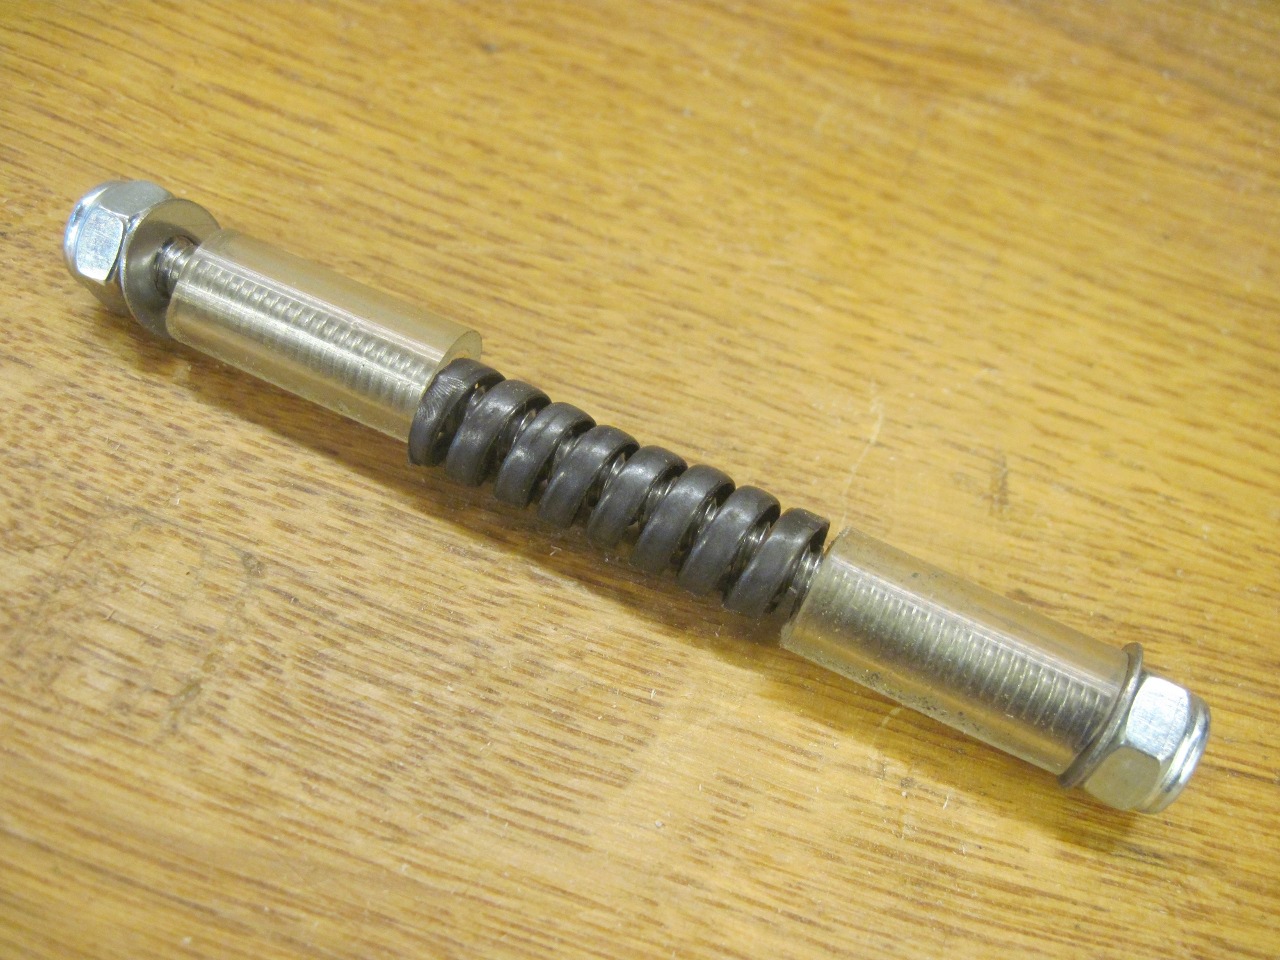
but it still didn't seem right. In the end, I found a way to
re-use the remnants of the broken spring so that the function was the
same as it was originally. I took half a spring, squared the
ends, and put it on a short #10 threaded rod with two plastic spacers
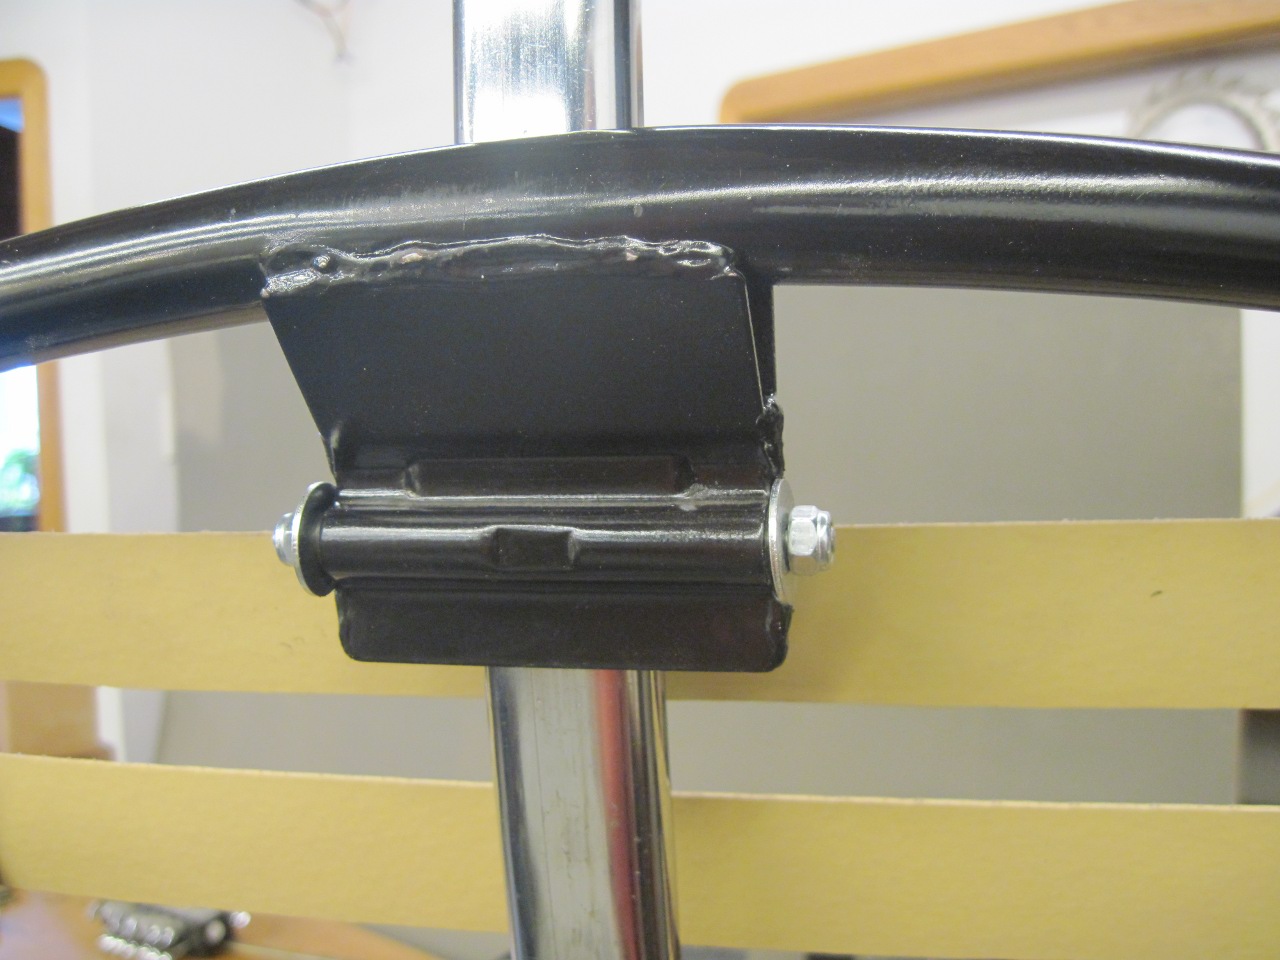
to keep the spring centered. As far as the headrest stalk is
concerned, this is a stock setup. It works very well.
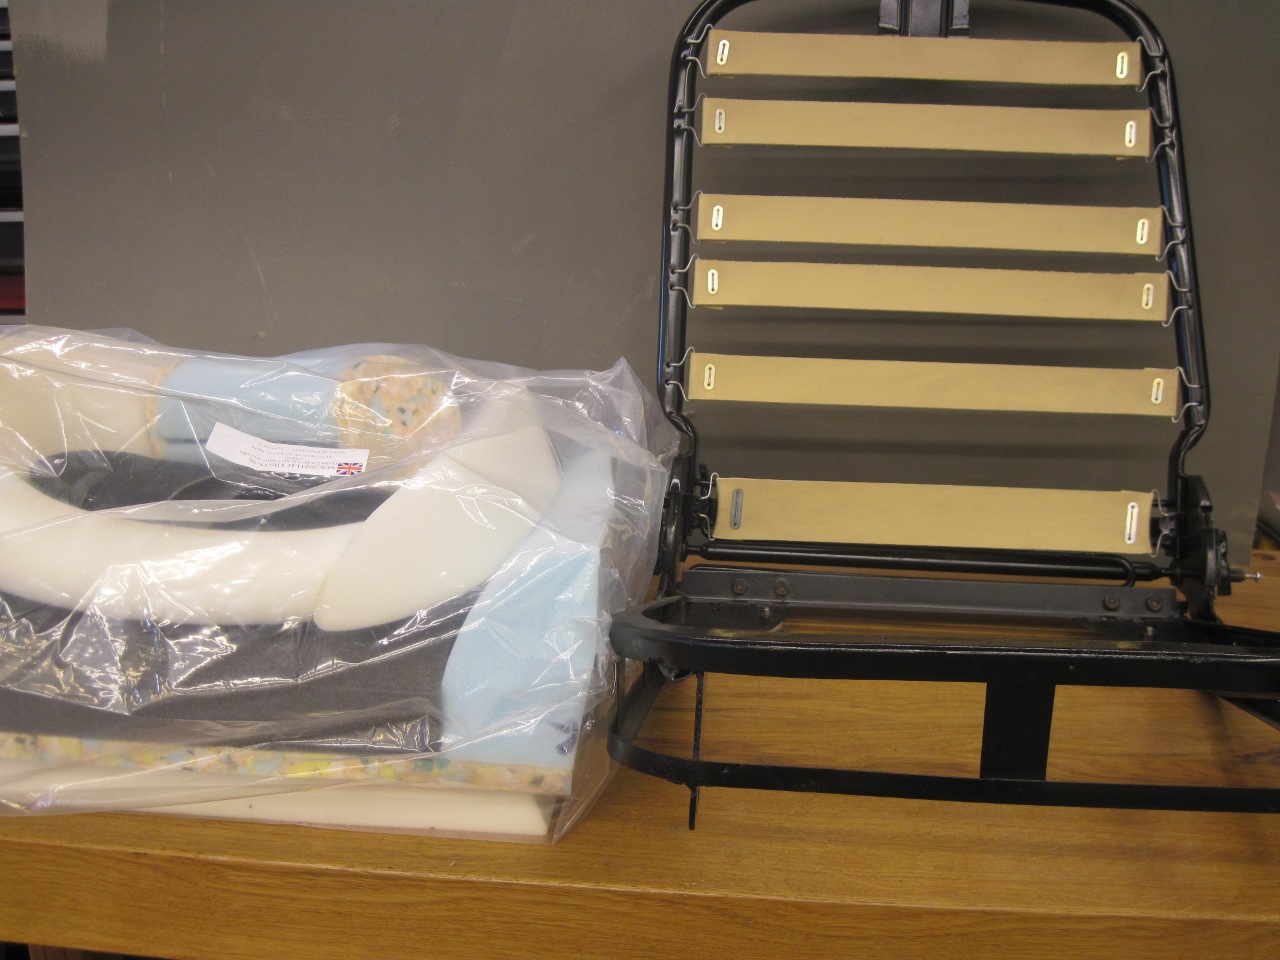
Then
came the upholstery. This is something I've never done before, so
I was a little apprehensive. It didn't help that neither the
expensive foam kits nor the expensive seat cover kits came with a
single word of instructions. Luckily, there are a few online
sources of guidance. Frankly, I would have been lost without them.
First, there is a foam skirt that is glued around the seat bottom frame, then a flat foam pad is glued down.
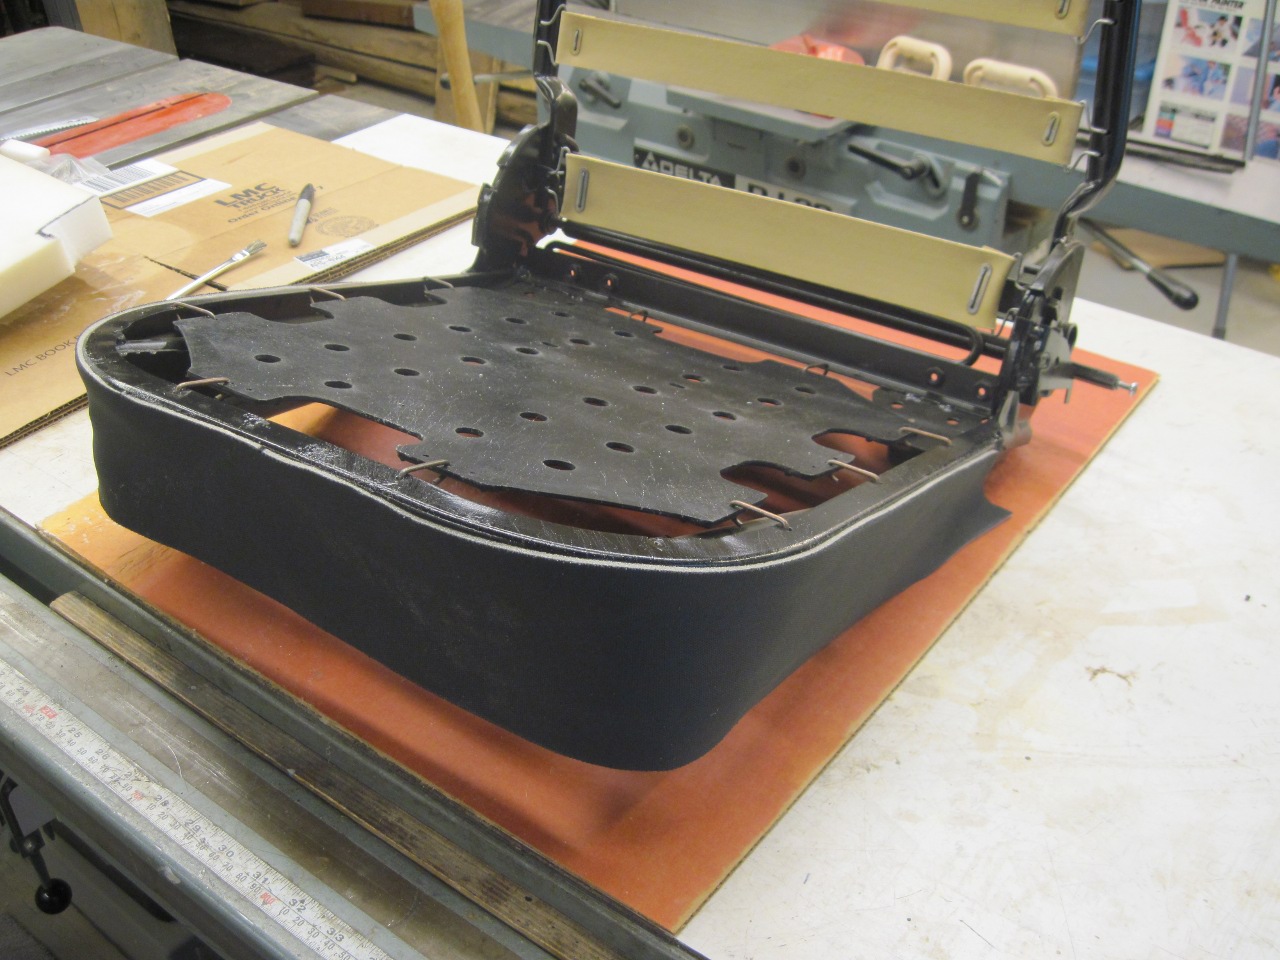

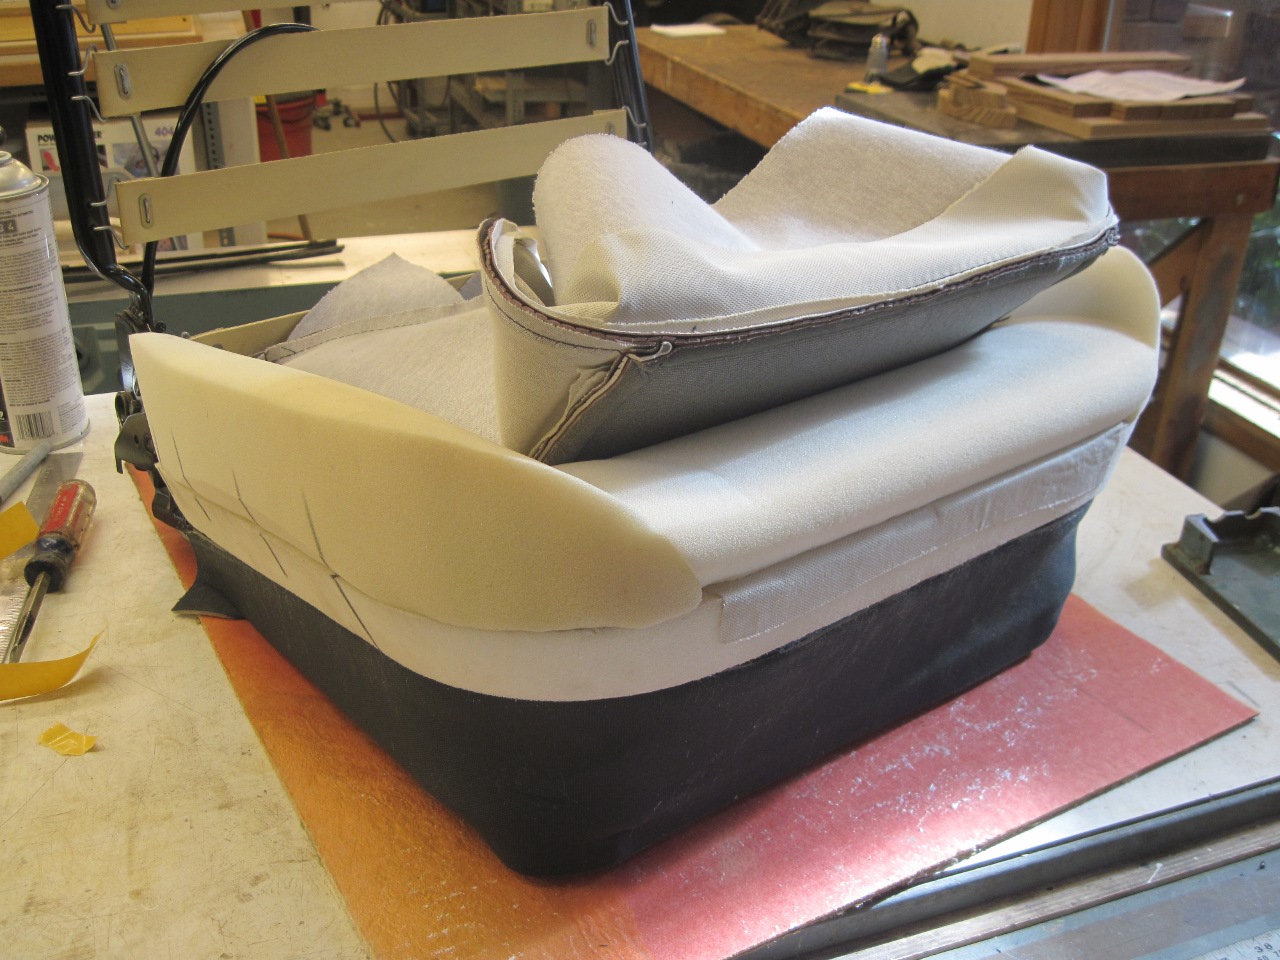
Then
it gets complicated. There is a glued-up foam piece that forms
the raised parts of the seat on the front and side edges. But
before it is applied, the seat bottom cover has some "tensioner" tabs
that have to be glued down. The tensioners keep the center
pleated part of the seat flat against the bottom foam pad. The
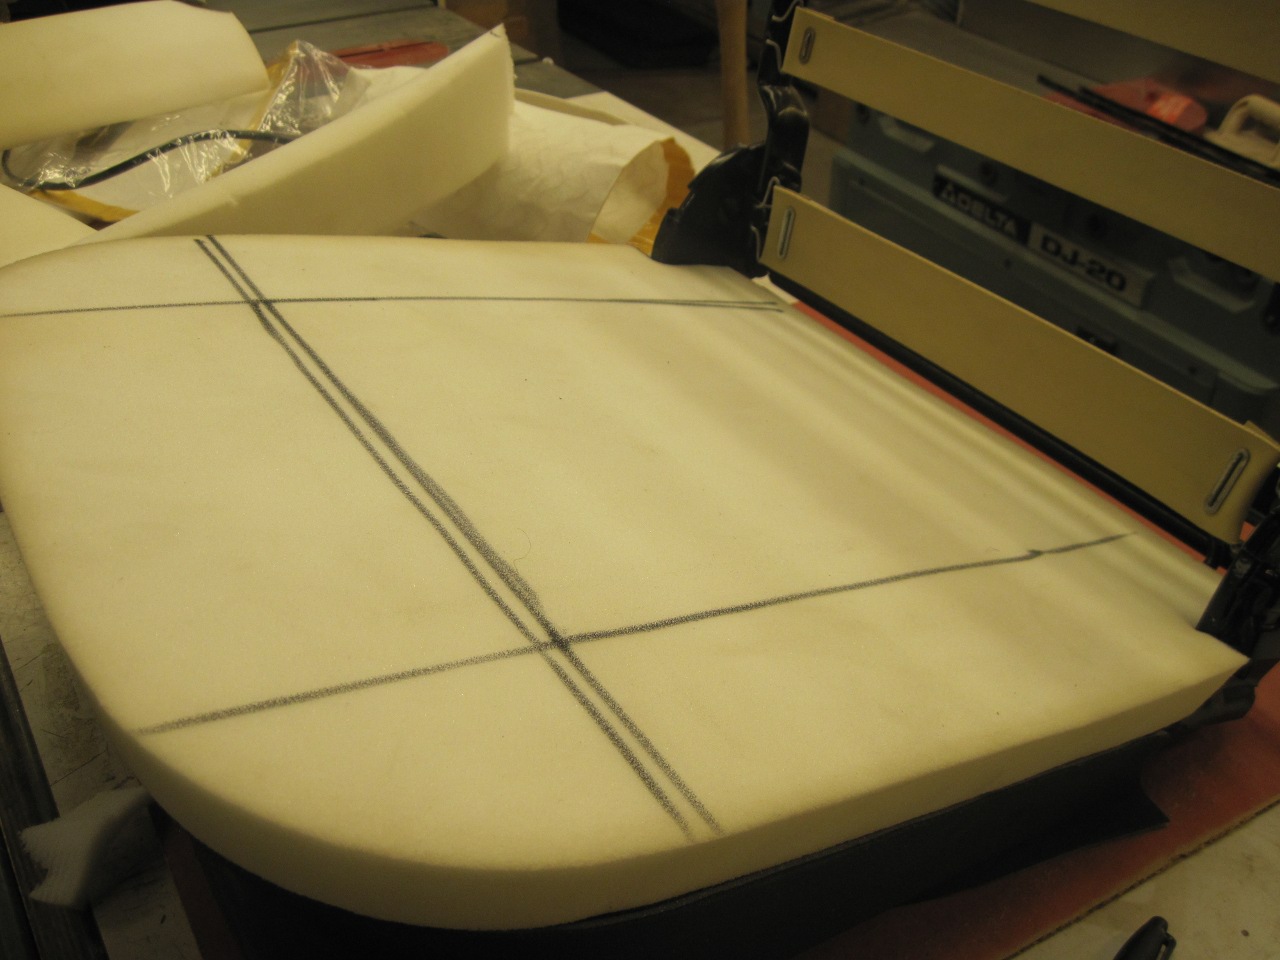
three-sided foam piece goes on top of the tensioners. So I held
in the three-sided foam piece and marked out where the seat cover seams
would go.
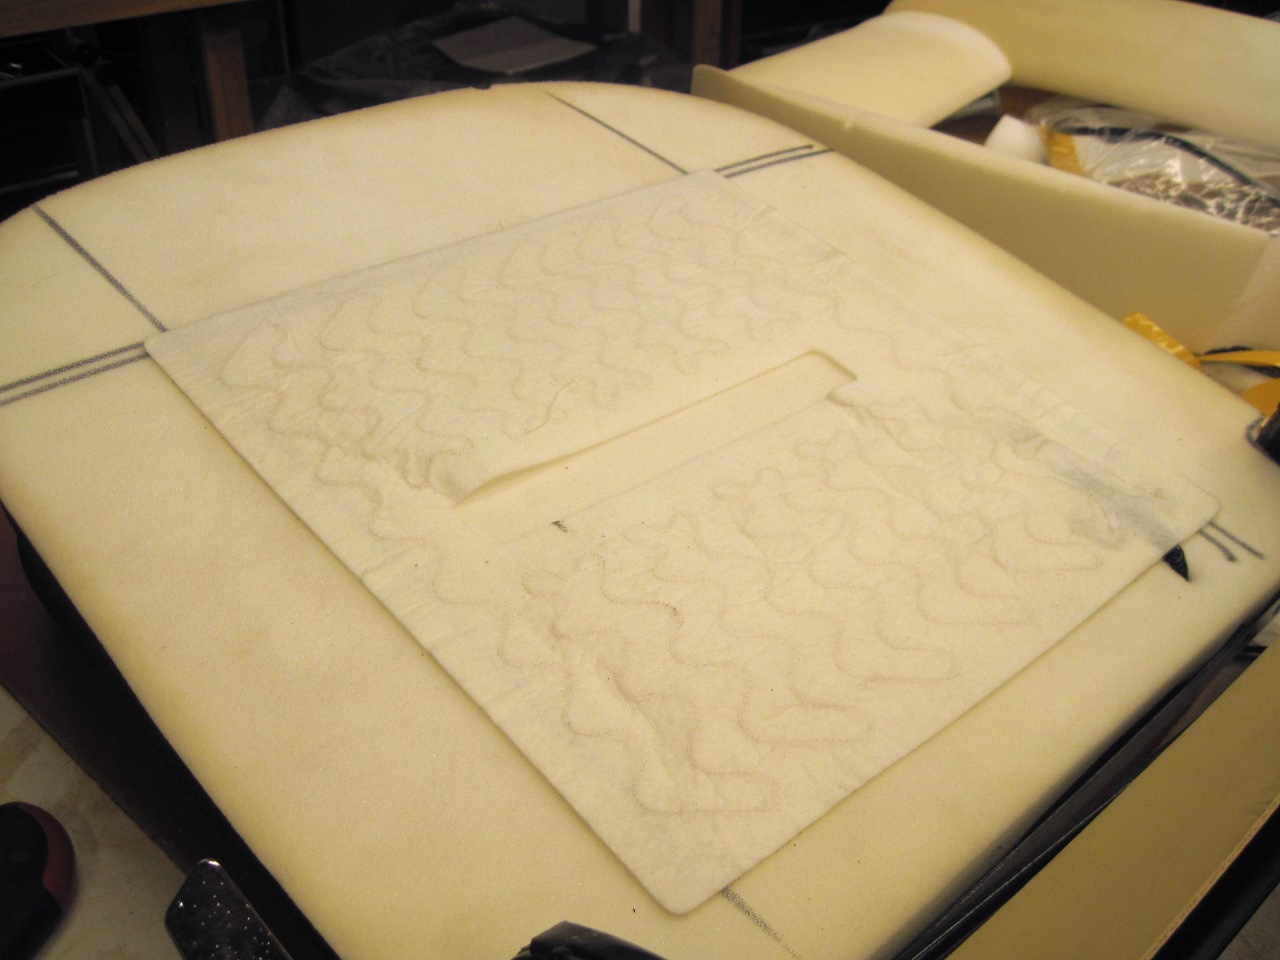
But
before gluing in the tensioners, I put in the bottom seat heater.
I did some research on after-market seat heaters. Though
there are a lot of places to buy these, there seem to be only two or
three different products available. Two of the three have only
so-so reviews at best, while the other has mostly good reviews.
It is also the most expensive. If a supplier doesn't show a
picture of the product, the price is usually the givaway as to
which kind they are selling. Since I suspected the usual
suppliers for these cars were selling the cheaper products, I opted to
go outside the network and buy from a general automotive supplier.
The risk, of course, would be that they wouldn't fit the TR seats.
These
are labled Dorman brand, which is a very large automotive parts
supplier. The heater was a pretty good fit for the seat bottom,
covering just about all of the pleated center section of the seat.
I passed the power wire down through a hole in the foam.
Then the seat cover tensioners were glued down.
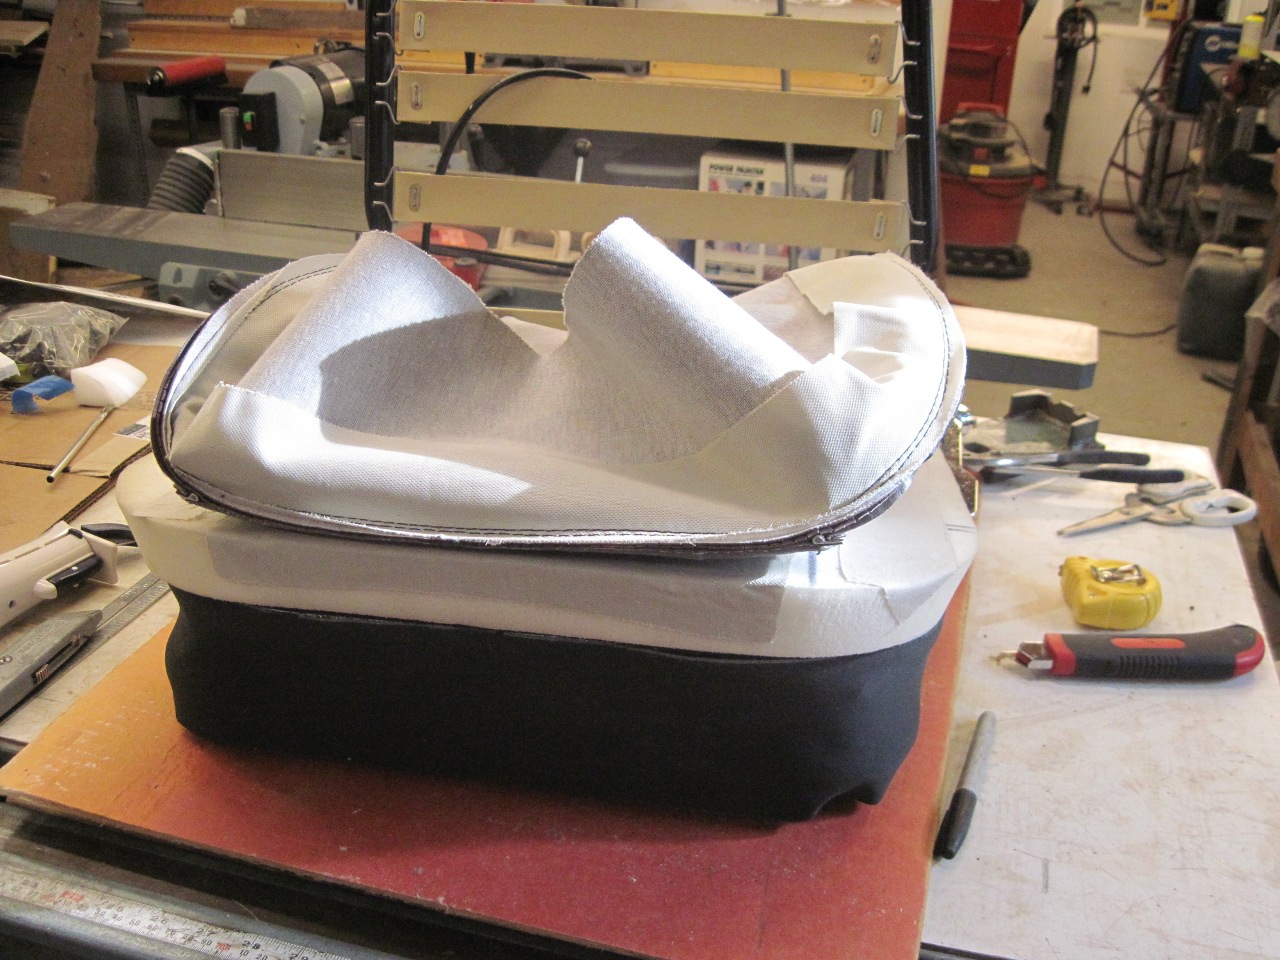
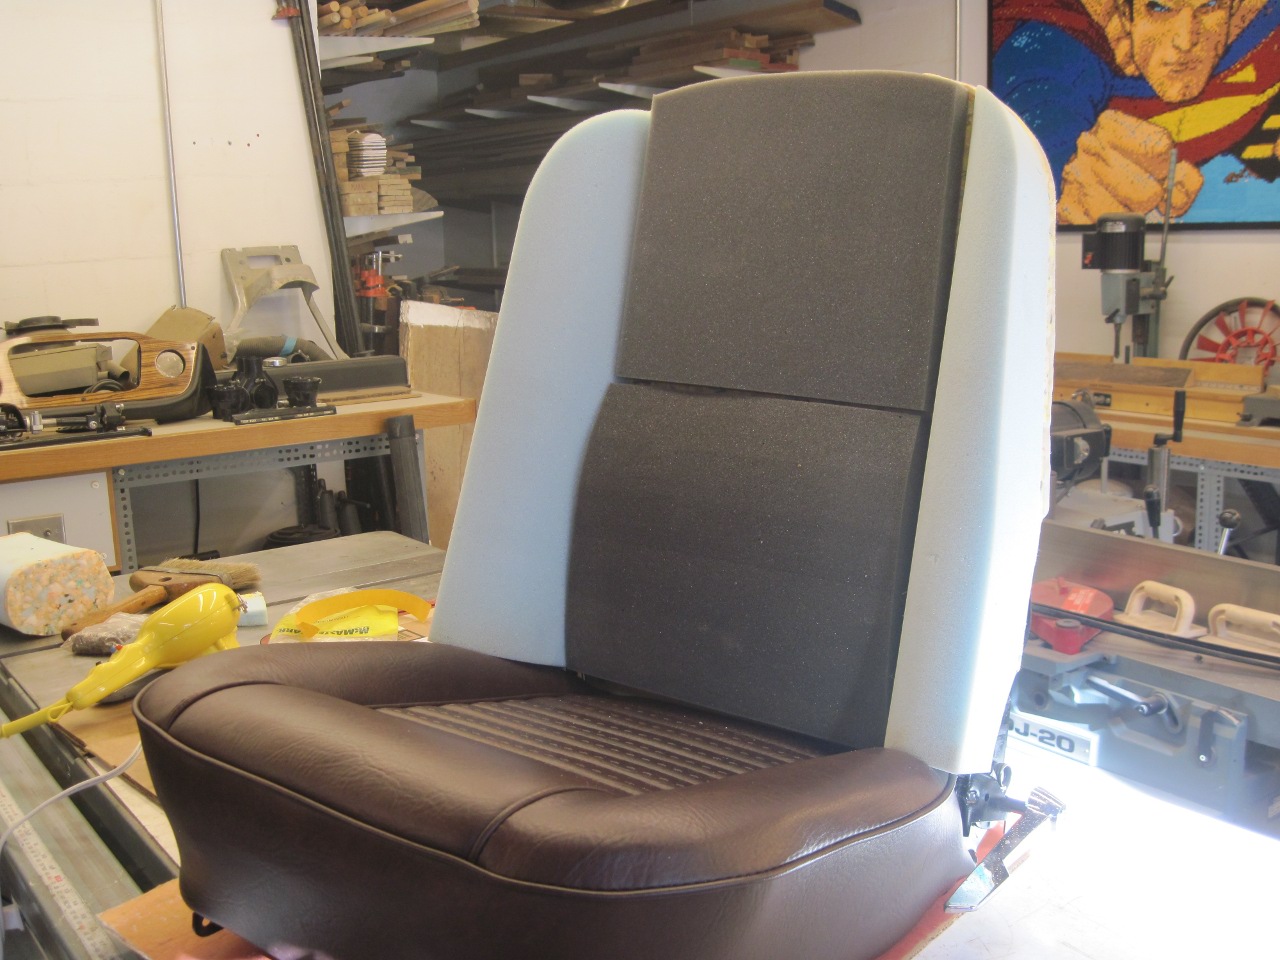
After
a little setting time, the three-sided perimeter foam piece is added,
and the cover pulled down around it and clamped to the bottom frame.

The seatback foam was a single piece. It was trimmed a little bit to clear the tilt mechanisms, and glued into place.
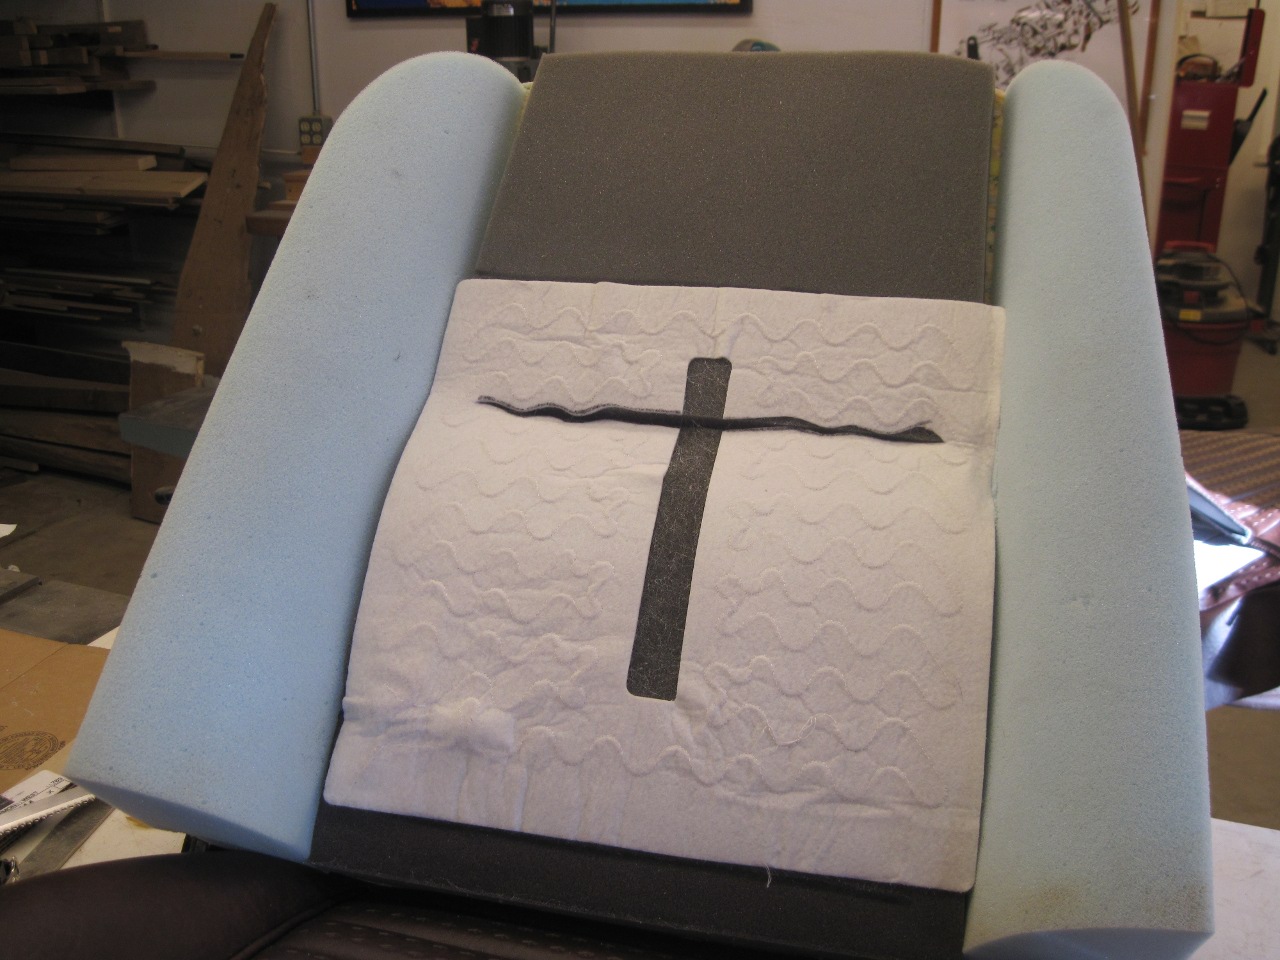
The heater
for the seatback presented a little bit of a problem. There is a
tensioner flap on the seat cover that has to pass through a wide slit
in the foam, and the heater pad covered the slit. There is an
opening in the heater pad, but it wasn't wide enough, and it was in the
wrong place. Though the instructions for the heater pads say
categorically not to cut or trim the pads, it is obvious that the pads
have a resistance wire sewn in a circuitous path, and it was easy to
see where it was. So cut the pad I did, being careful to choose a
cut path that didn't cross any of the wires. I ran the wire
through a hole and out the back of the foam. Where it got close
to metal parts, I slipped a piece of protective corrugated sleeve over
it.
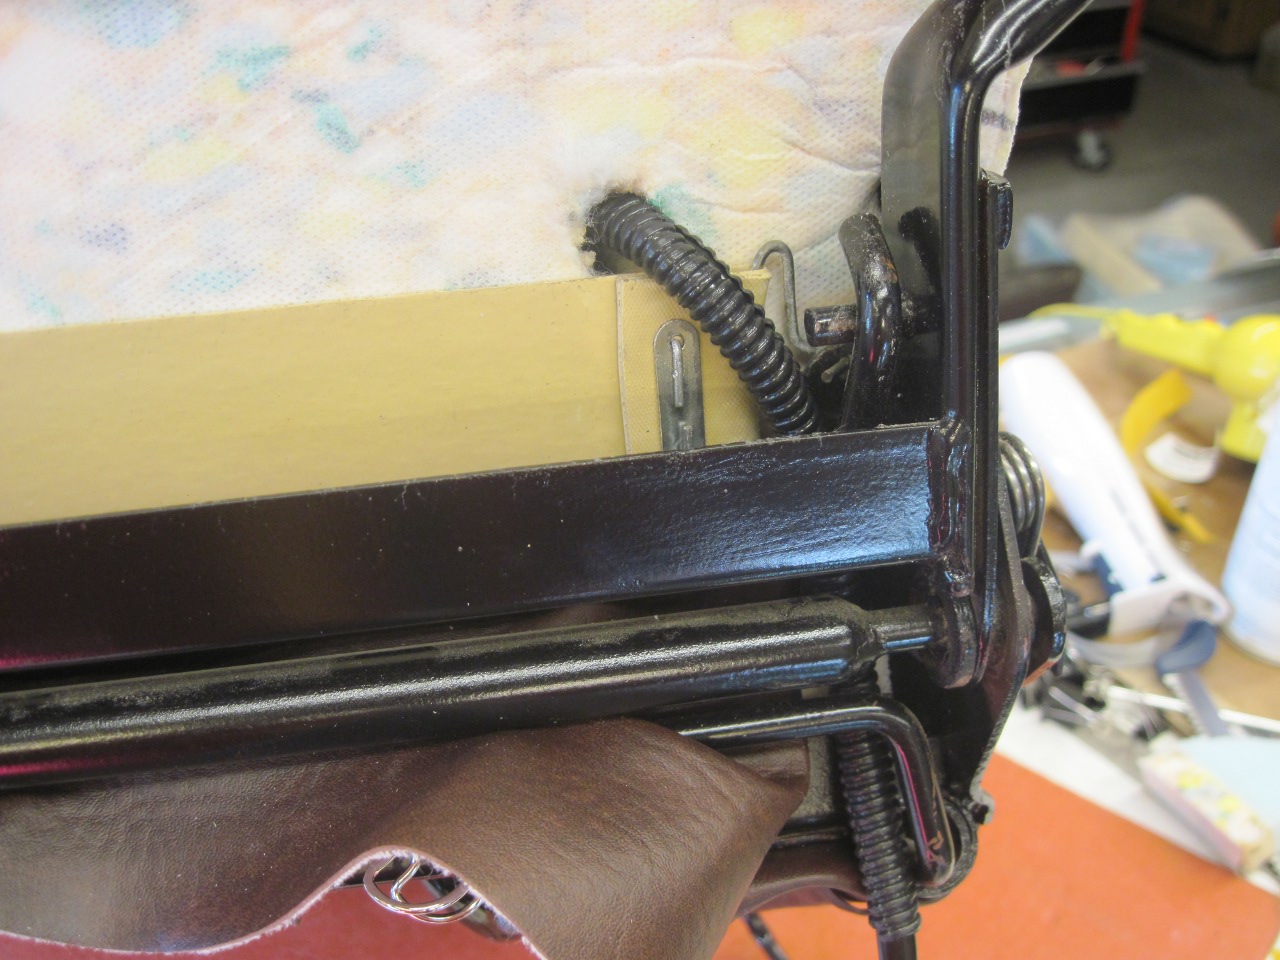
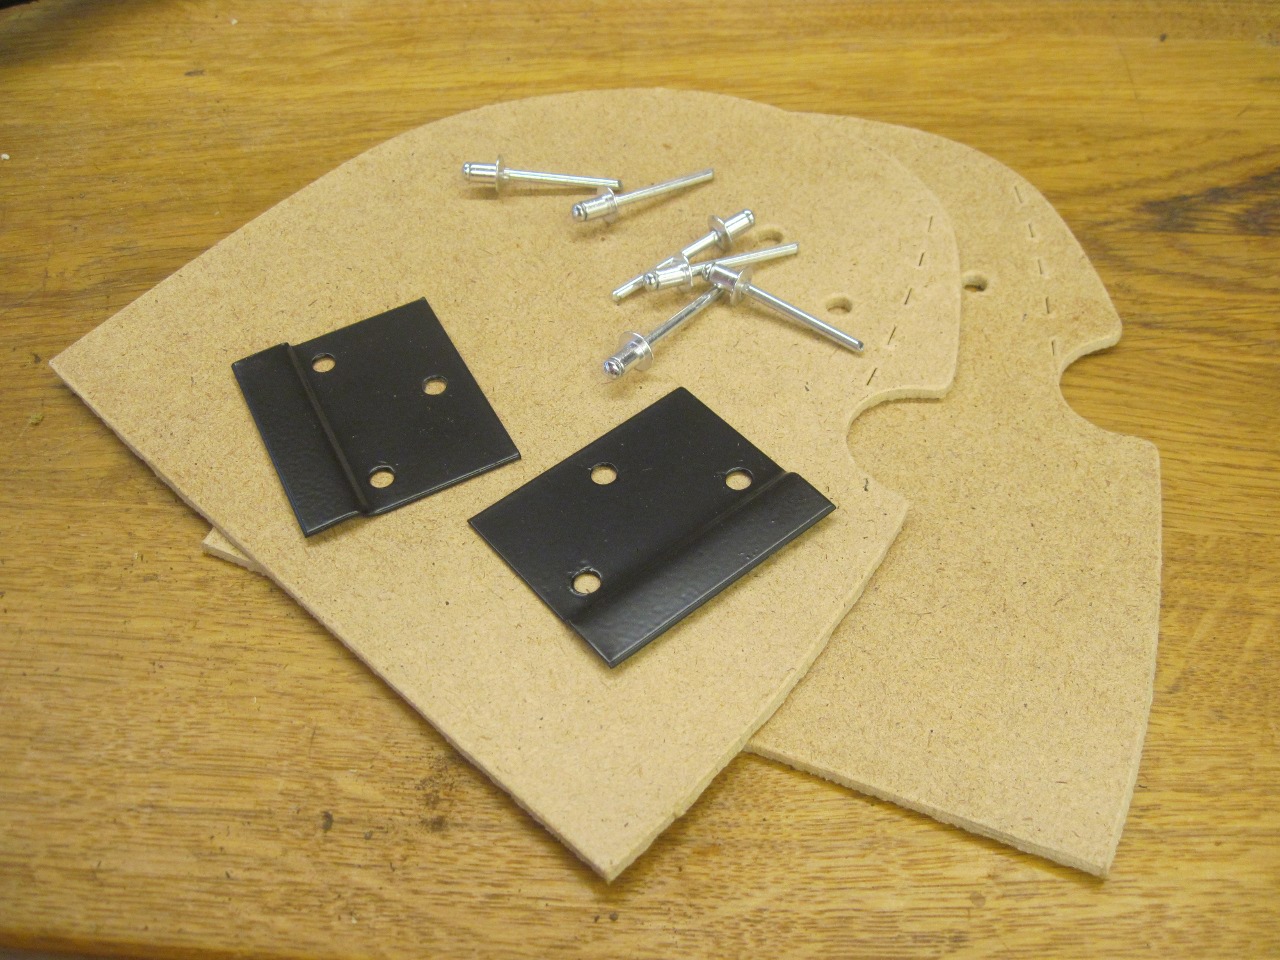
The
side panels of the seatback cover have pockets at the bottom that hold
some fiberboard pieces with metal hooks attached. The hooks grab
a bracket on the frame and keep the cover taut. The fiberboard
parts are included in the cover kit, but the metal hooks are not, and
have to be reused. The original attachment for the hooks is little
split rivets, which can be reclaimed and reused, but I opted for new
blind rivets instead.

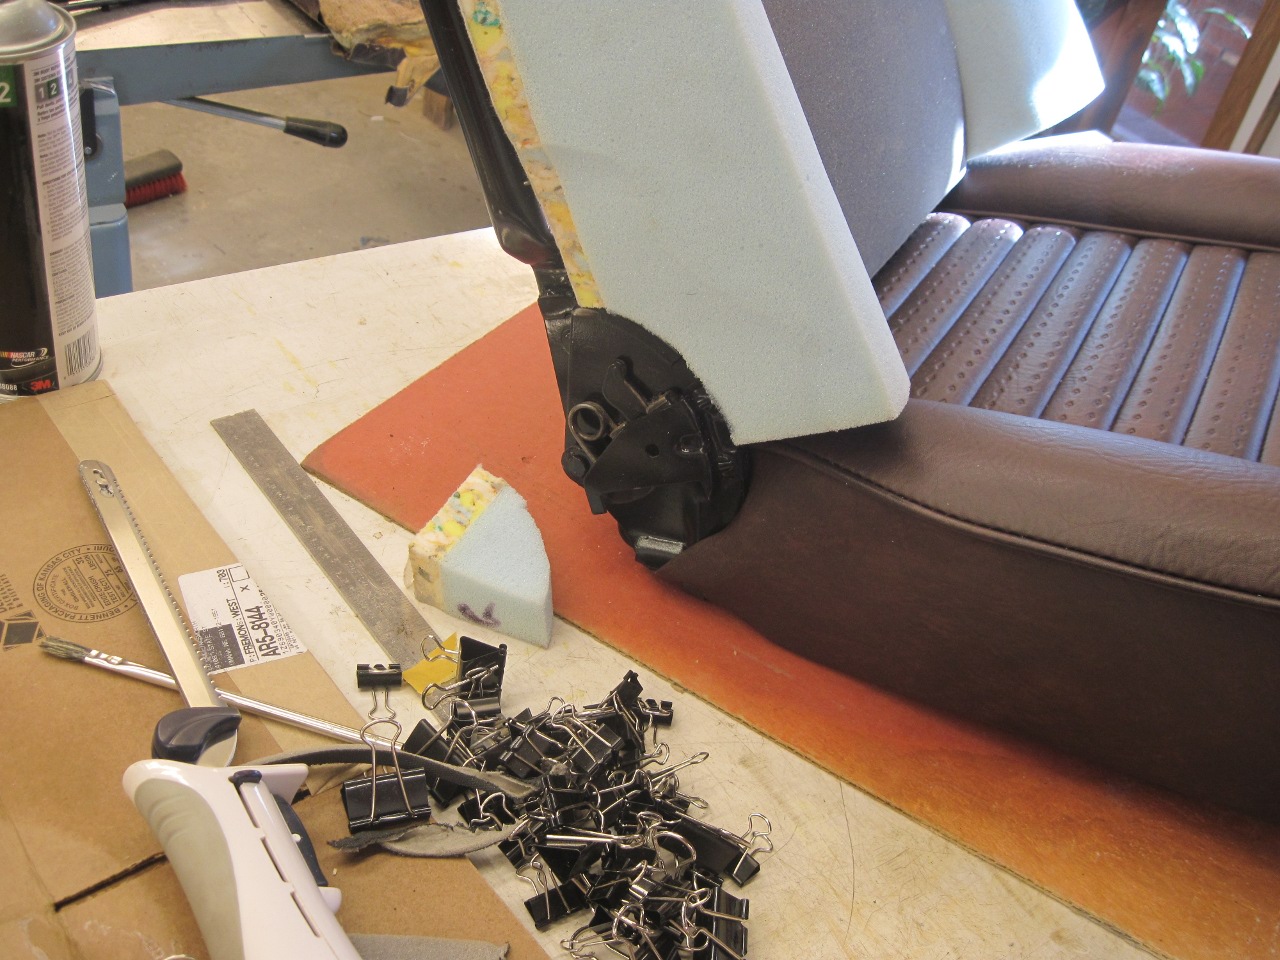
It
was a challenge to stretch the back cover enough to engage the hooks to
the frame brackets, but warming the cover with a heat lamp and hair
dryer helped a lot.
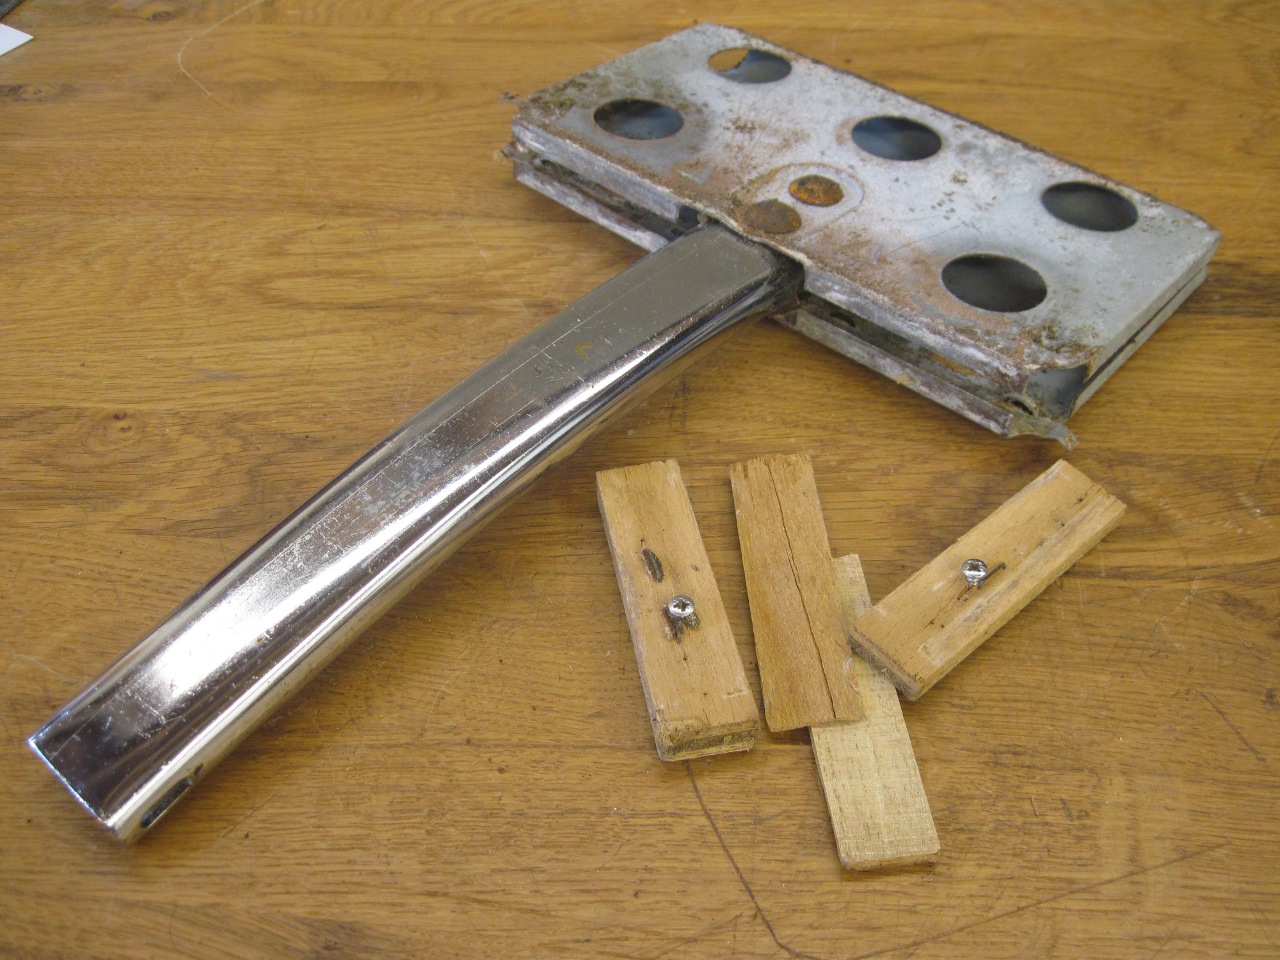
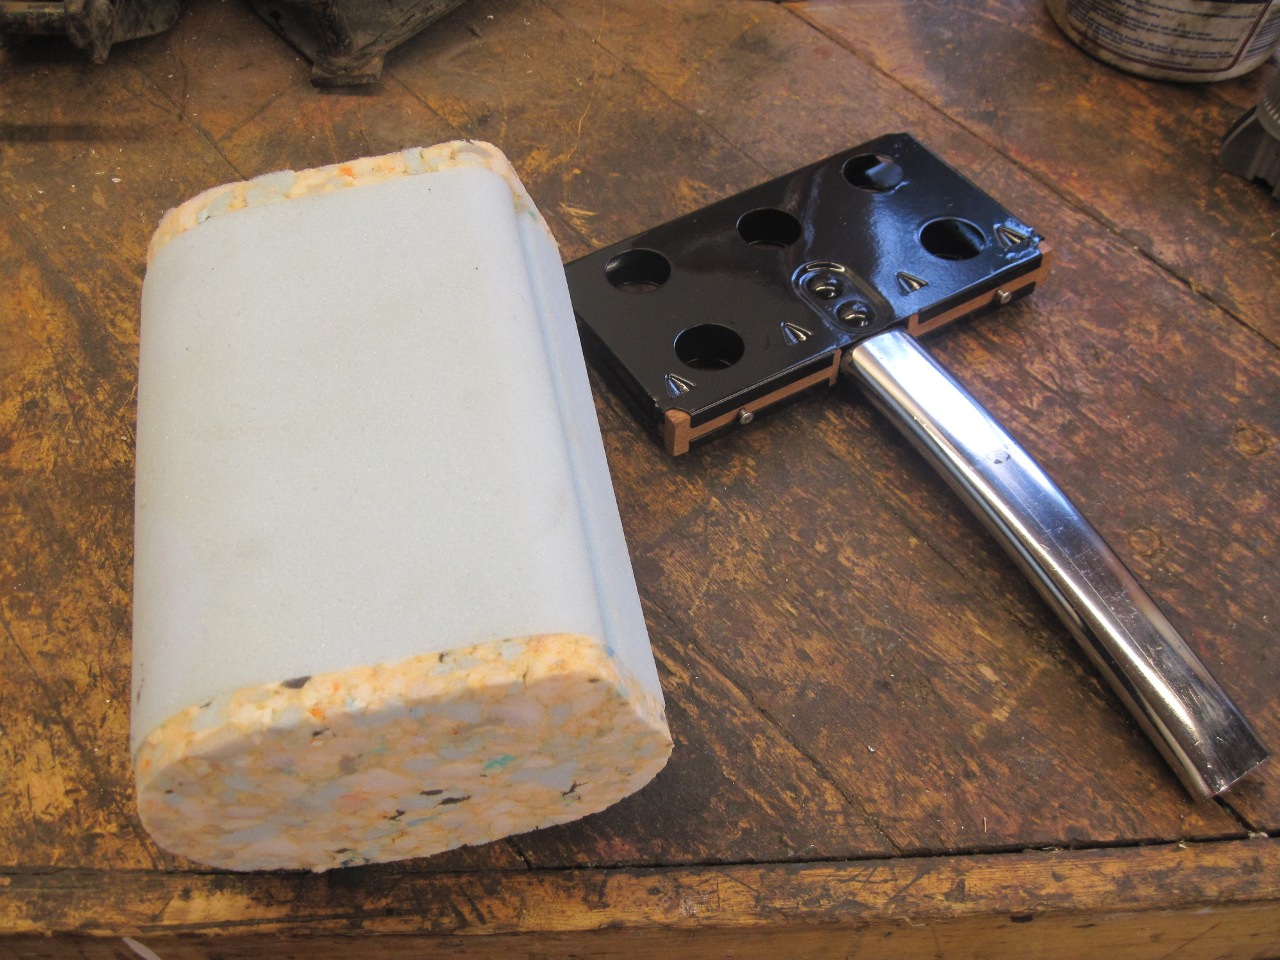
The old headrest seemed a little squishy, and I found out why.
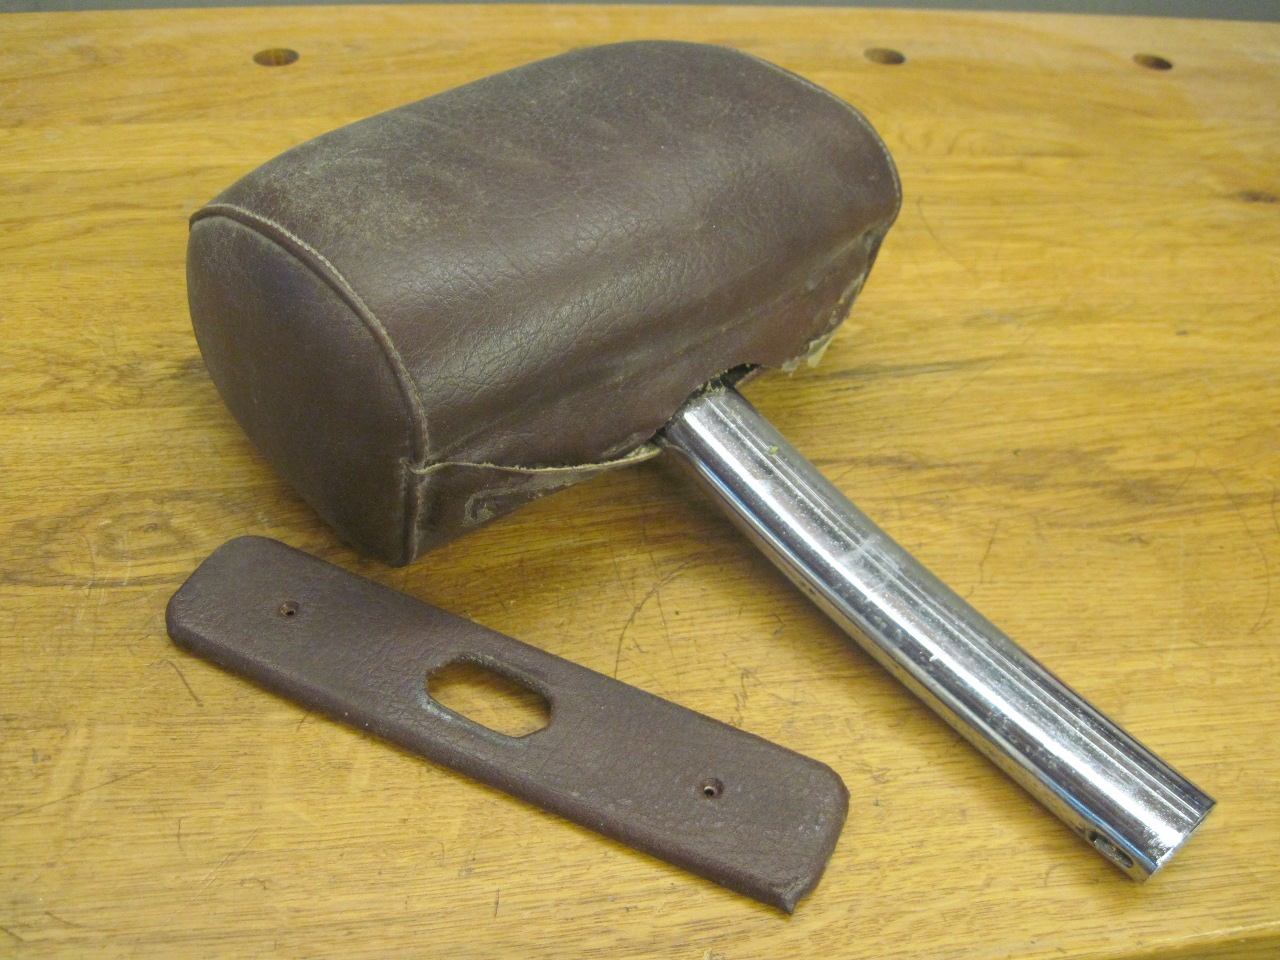
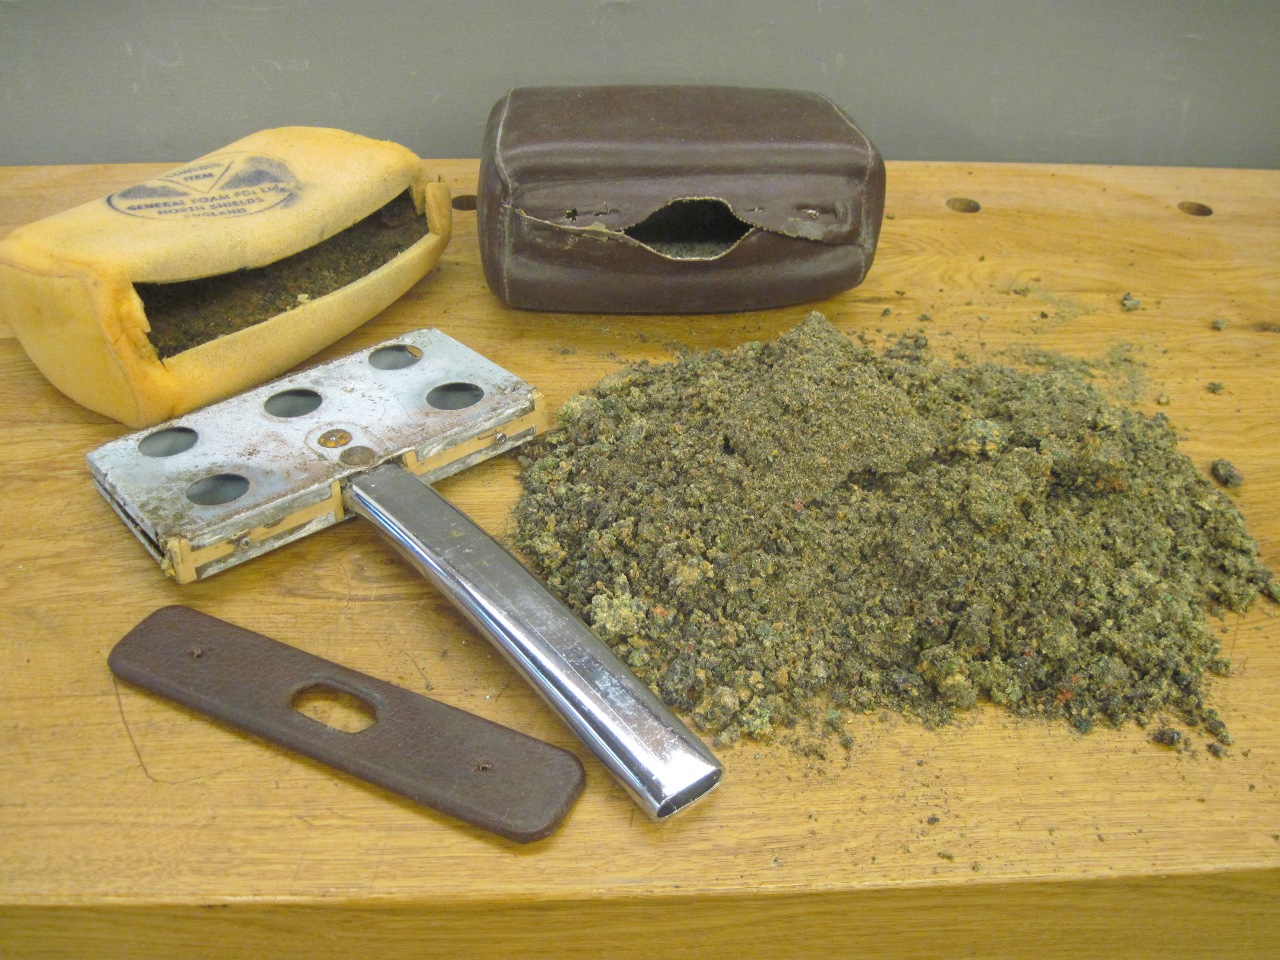
The
internal headrest frame had some little plywood blocks captive along
the bottom edge so that the vinyl cover can be stapled to them, and to
hold the bottom cover plate screws. The blocks were falling apart.
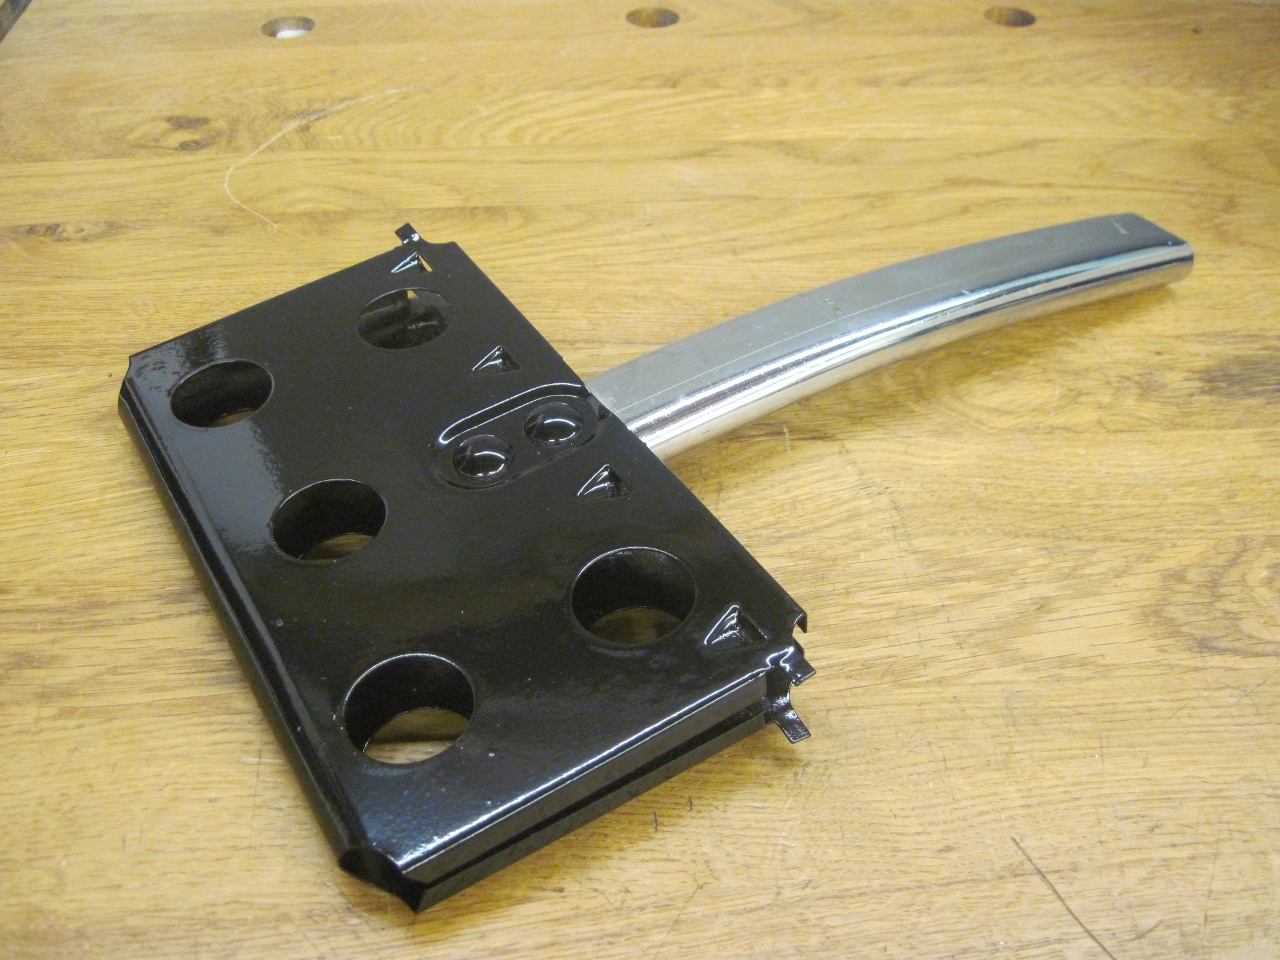
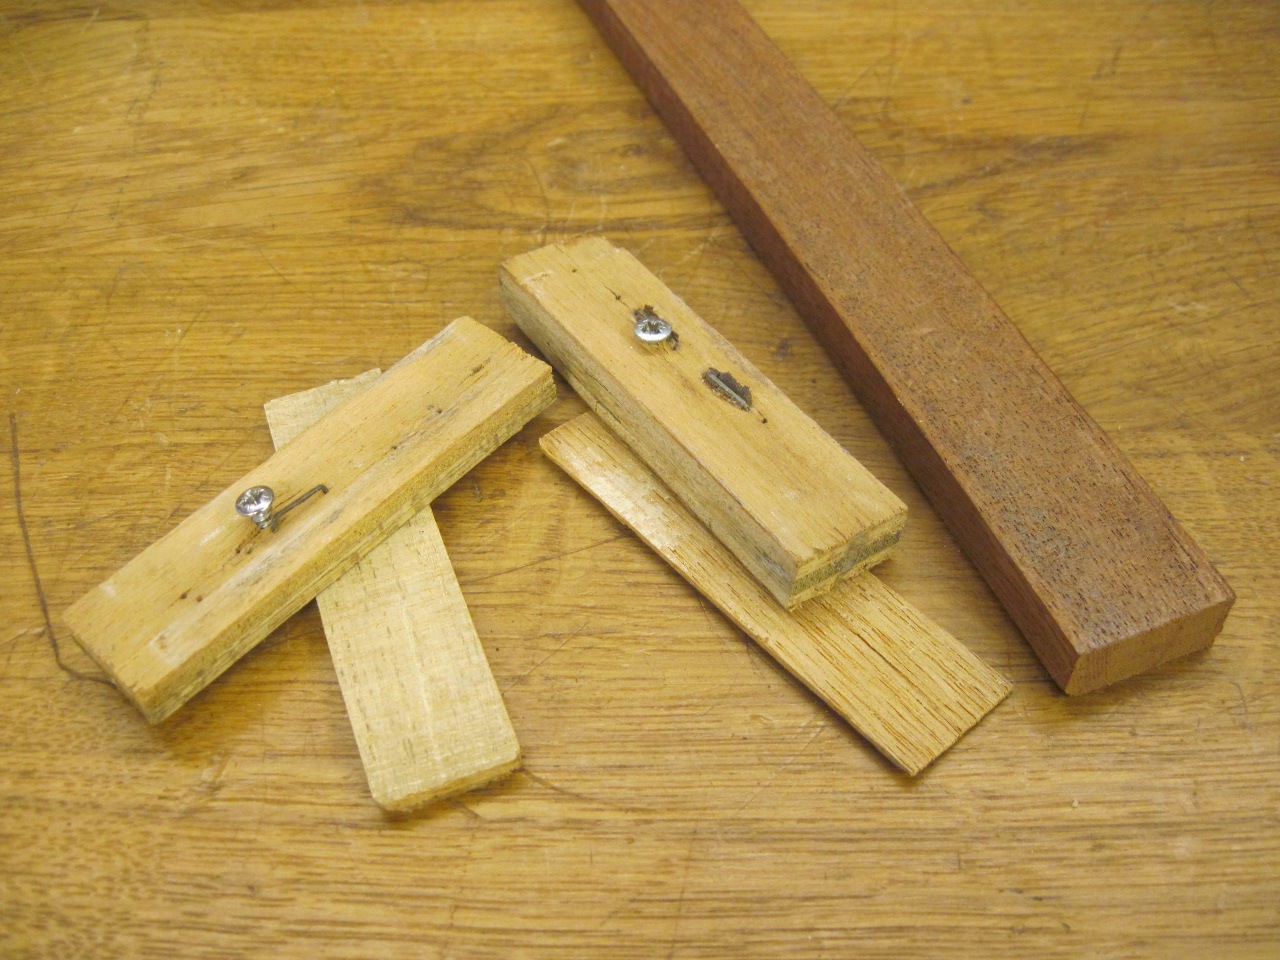
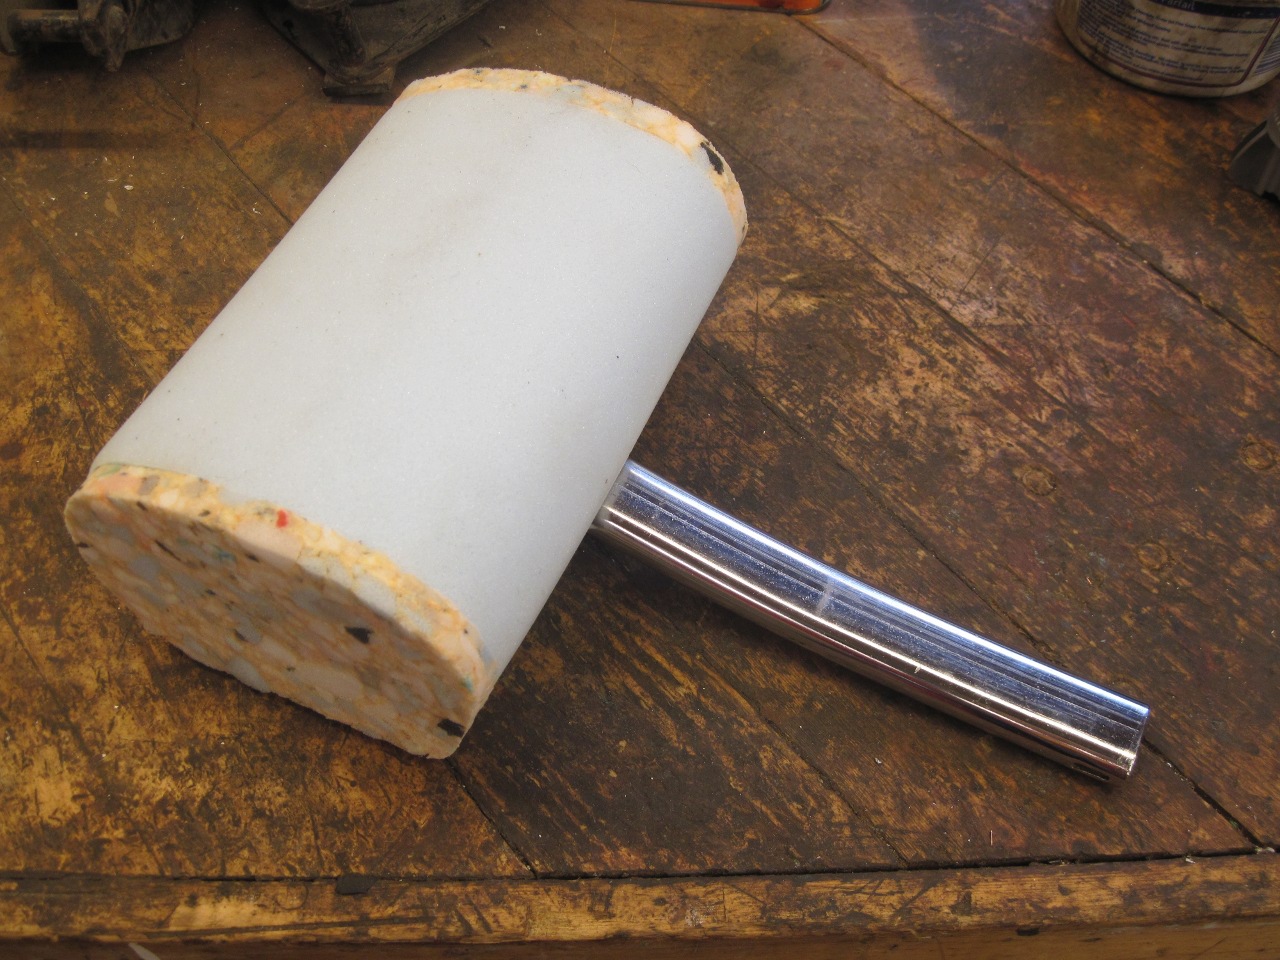
So
I cleaned up and powder coated the frame, and went rooting around in my
wood scrap bin for something to replace the plywood. The first
piece about the right size happened to be a scrap of African mahogany.
Now THAT's an upgrade!
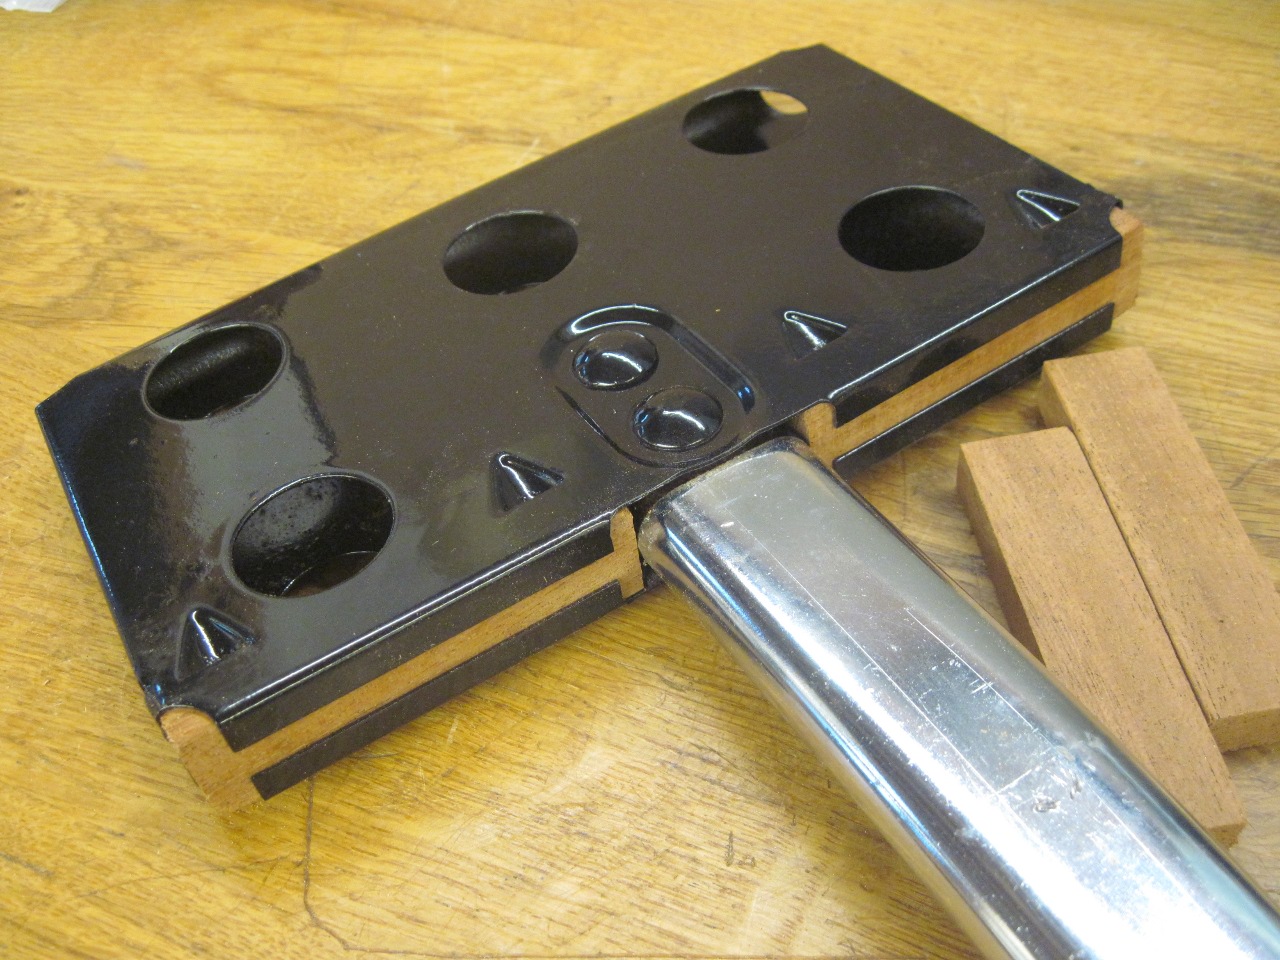
It doesn't look like the headrest foam will fit in the cover, buit it will.
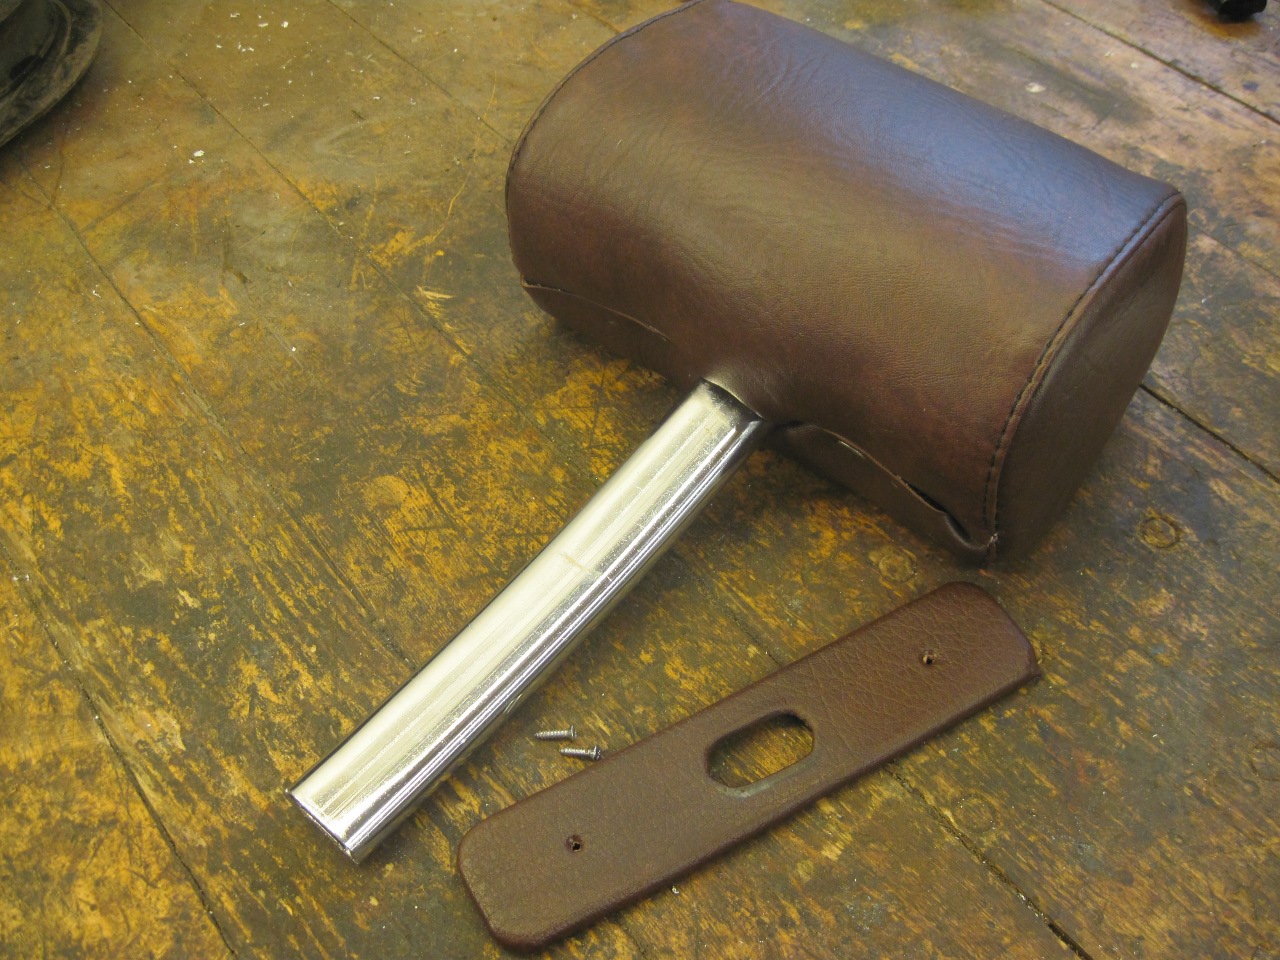
There
are a couple of rubber bumpers where the seat back rests on the tracks.
They were worn and distorted, so I got some new ones.

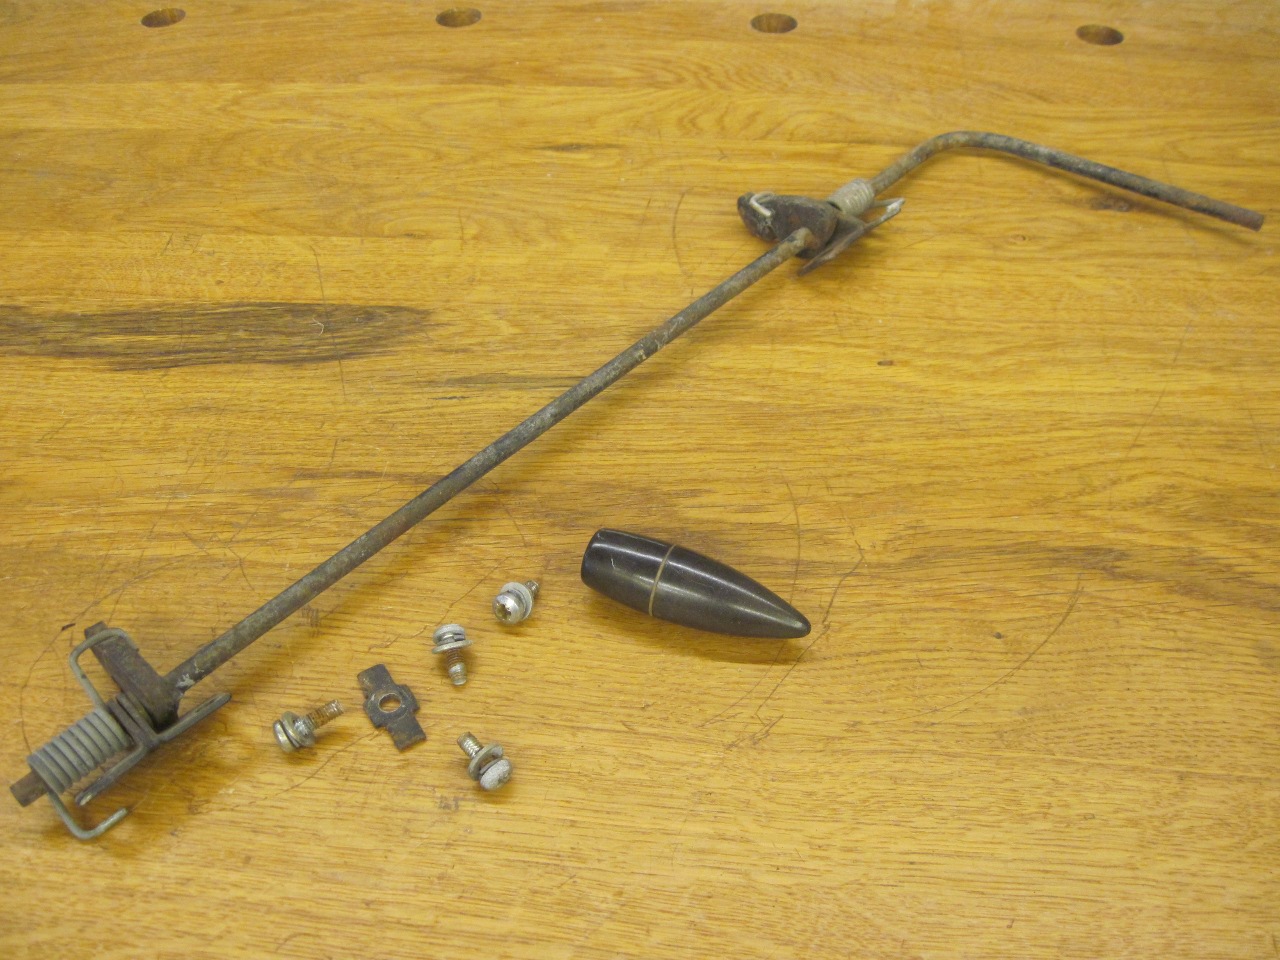
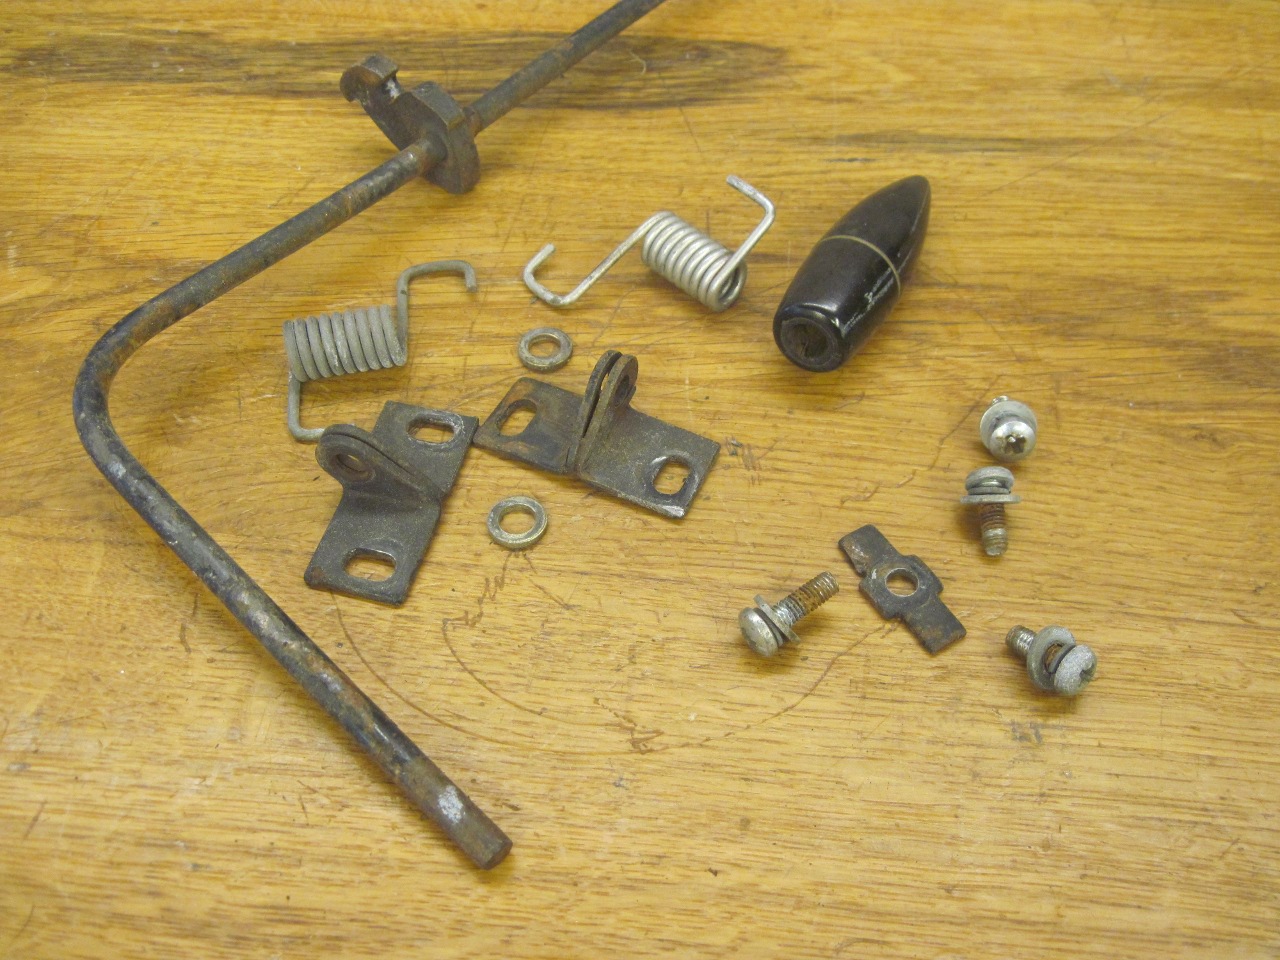
The
seat release latch mechanism was just cleaned up and powder coated.
One of the plastic knobs had gome AWOL, so I picked up on in an
Ebay auction for $7.


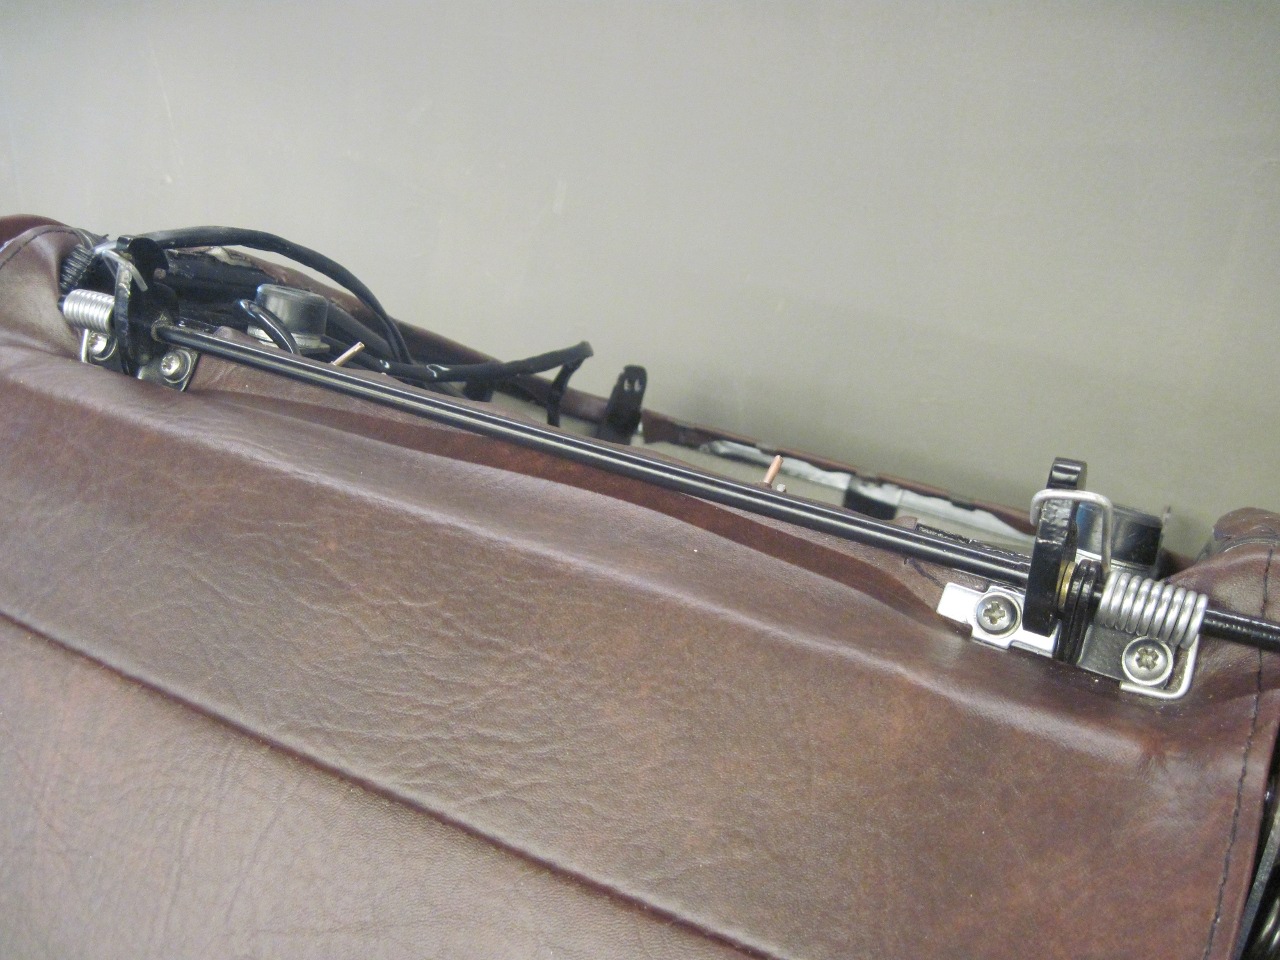
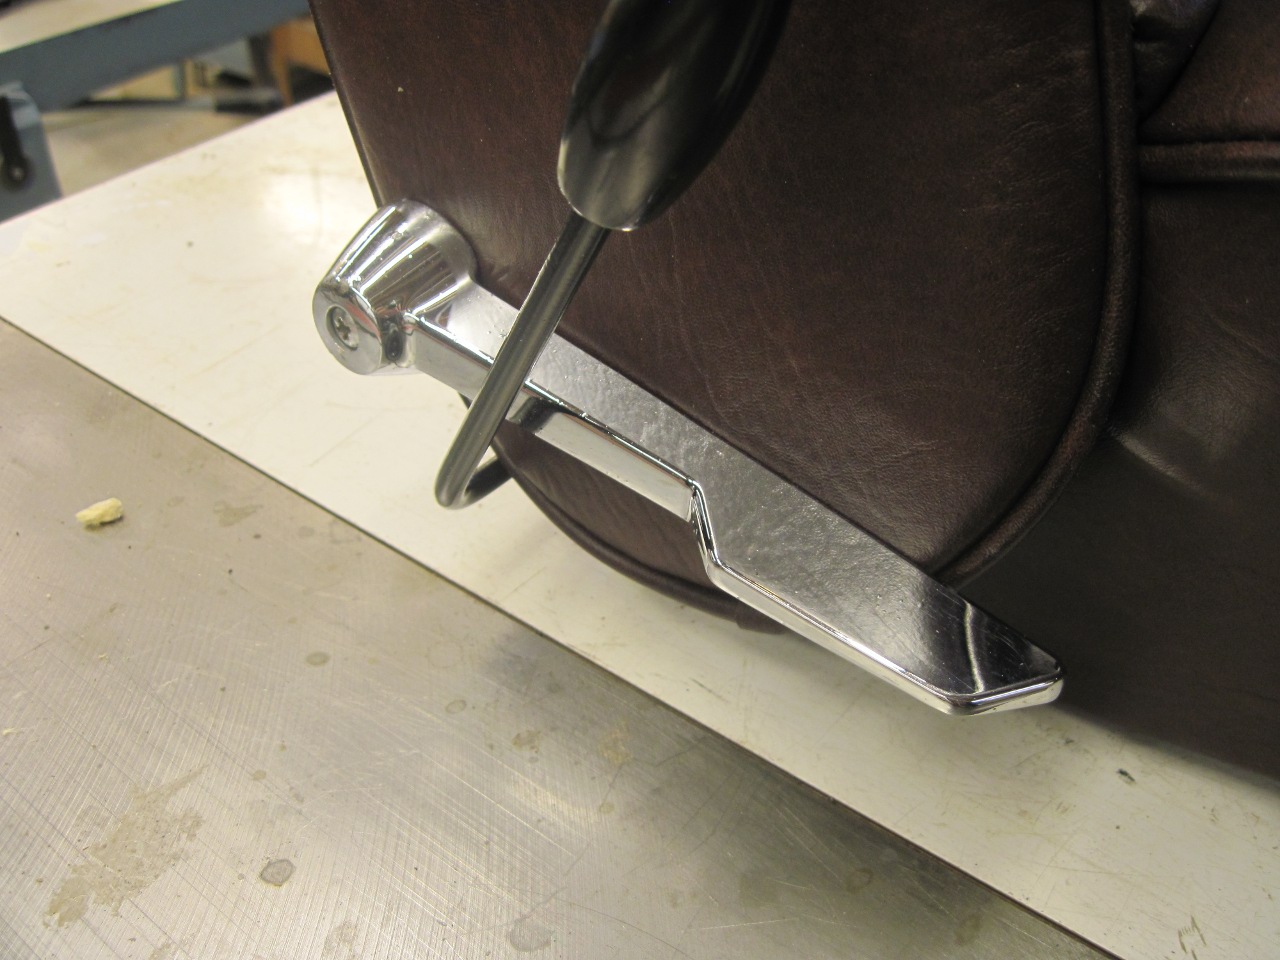
Screwed
the latch gizmo to the seat. The chrome recline levers were a
little pitted with age, but I found that most of the pitting was on the
top surface. Since the levers fit either side, I just flipped
them over and swapped them side for side.
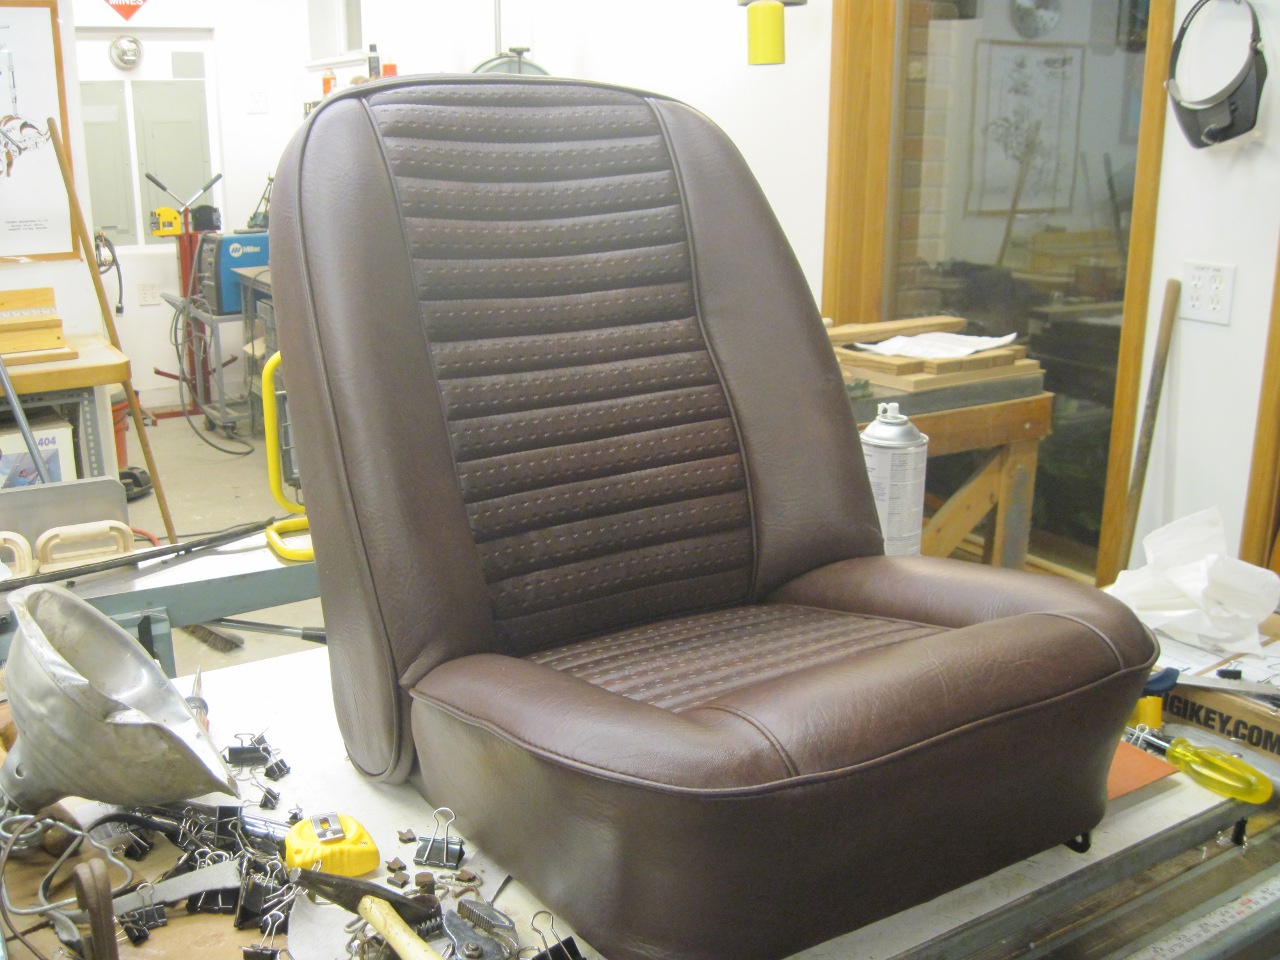
I
give myself a B on the upholstery, and I have newfound respect for
someone who is good at it. There are still a few little lumps and
wrinkles, but they seem to be going away with time.
As
I mentioned, this was a difficult undertaking, and one of the most
expensive of the entire project. I'll have to think about whether
I'd do it again.
Comments to Ed at: elhollin1@yahoo.com
To my other TR6 pages