To my other TR6 pages
November 28, 2015
Exhaust System
One
of the last things left to do before reuniting body and frame is to
install the exhaust system. Though this could be done later, it
seems that it would be much easier now.
I bought a stainless
steel system that is a copy of the original factory system. It
consists of a dual downpipe weldment, a pair of intermediate pipes, a
pair of rear pipes, and the dual input dual output muffler.

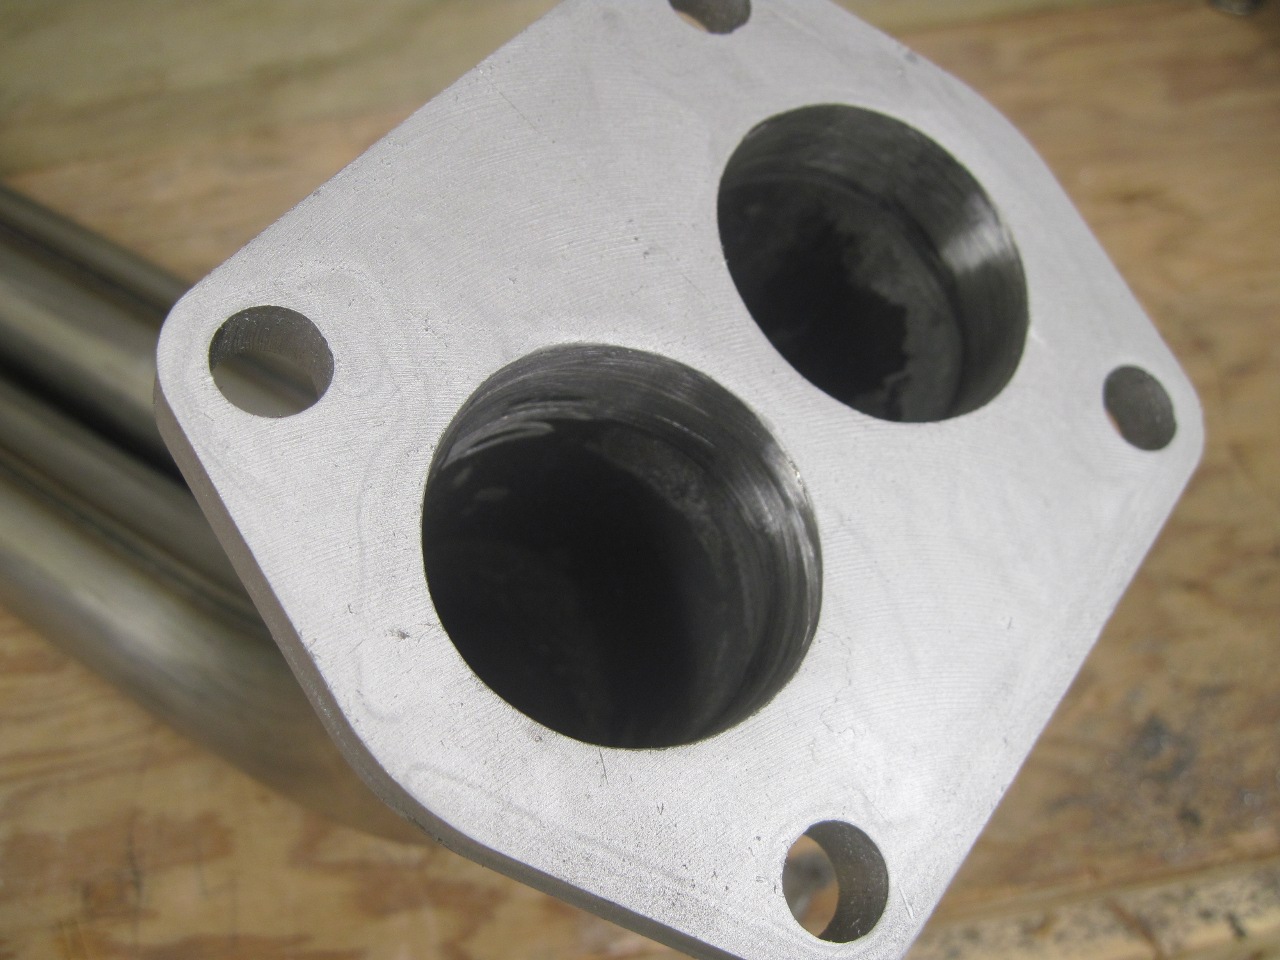
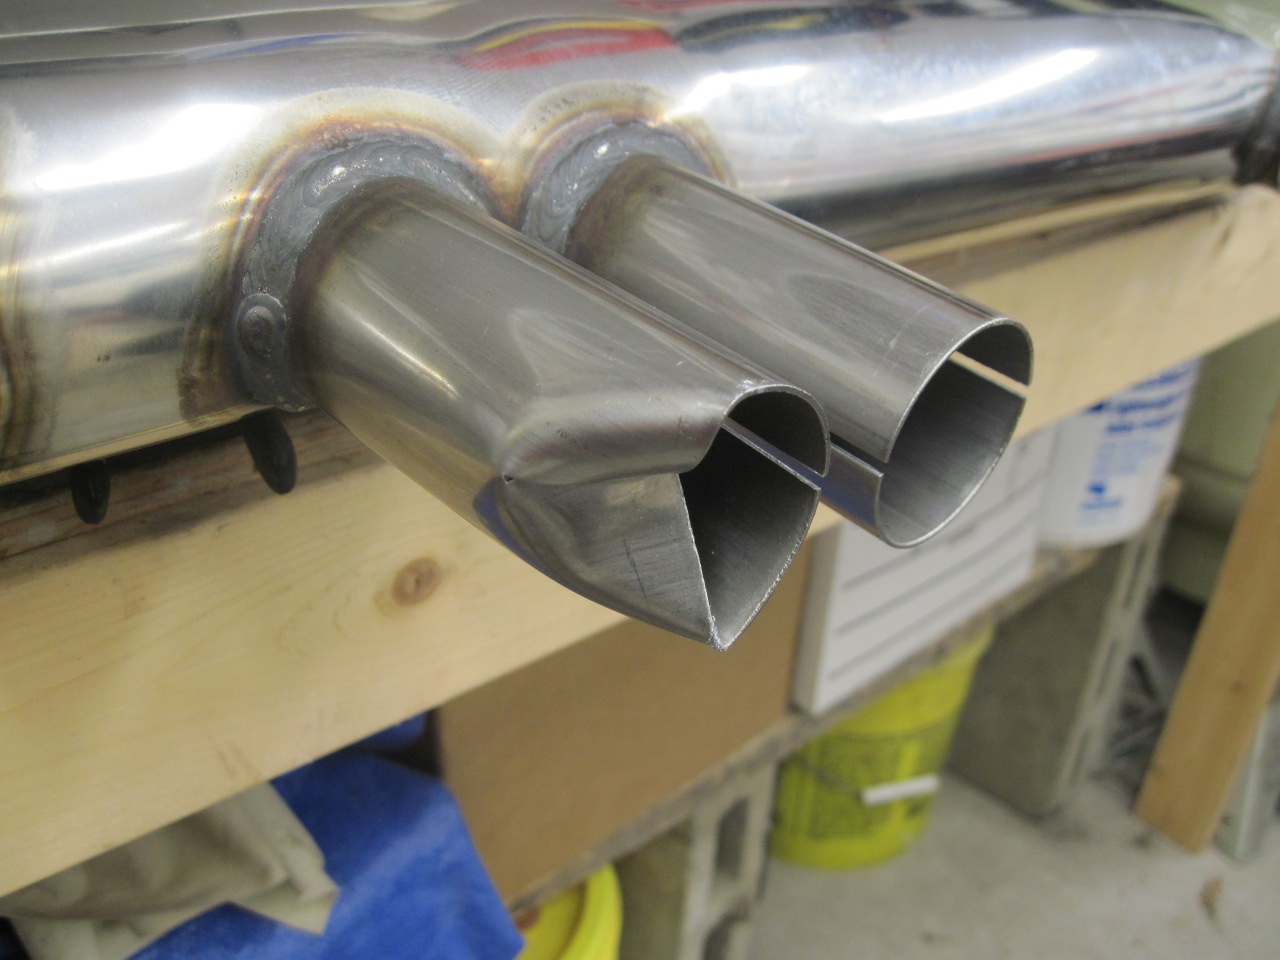
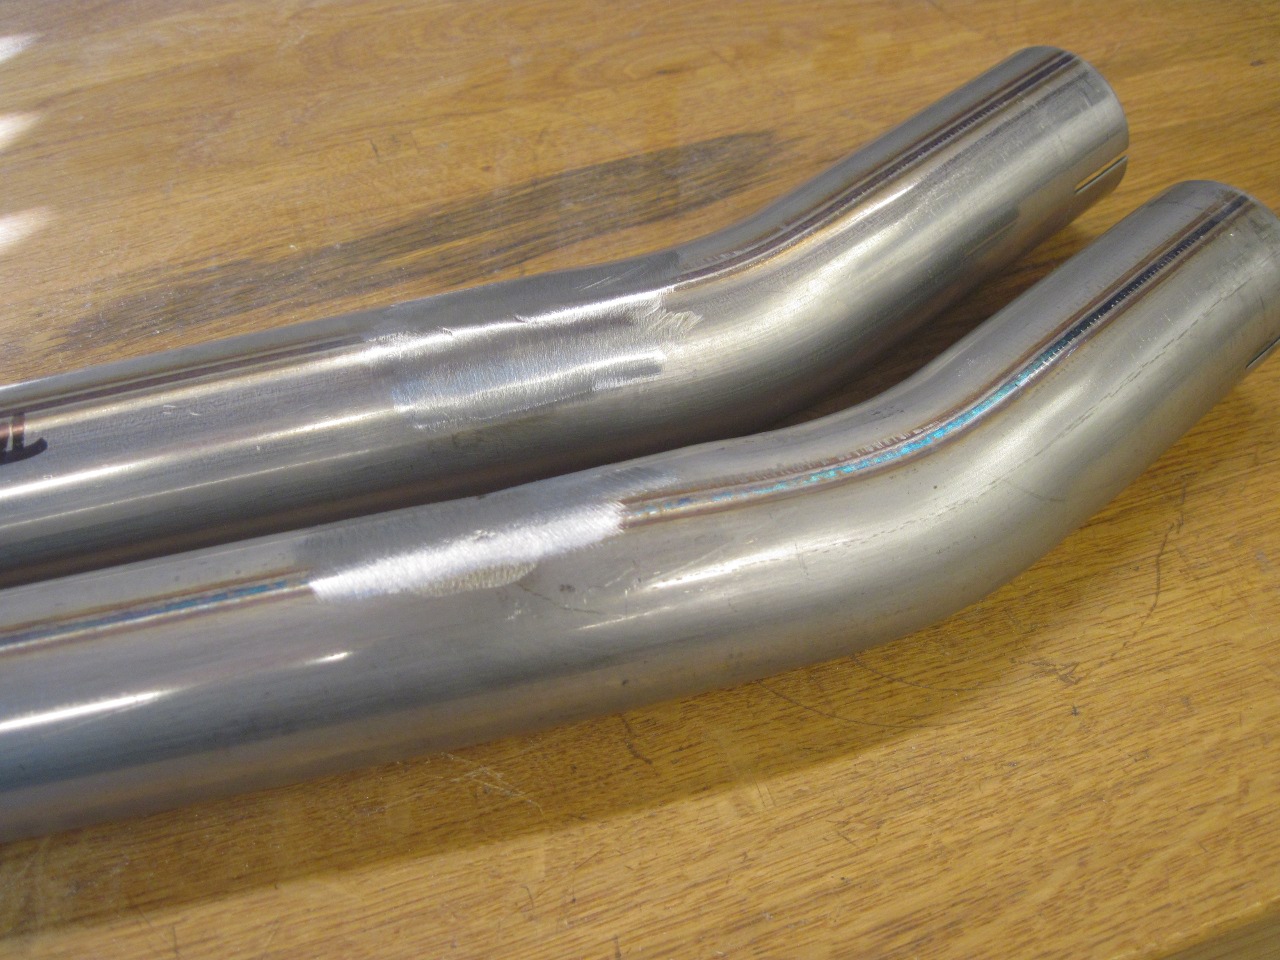
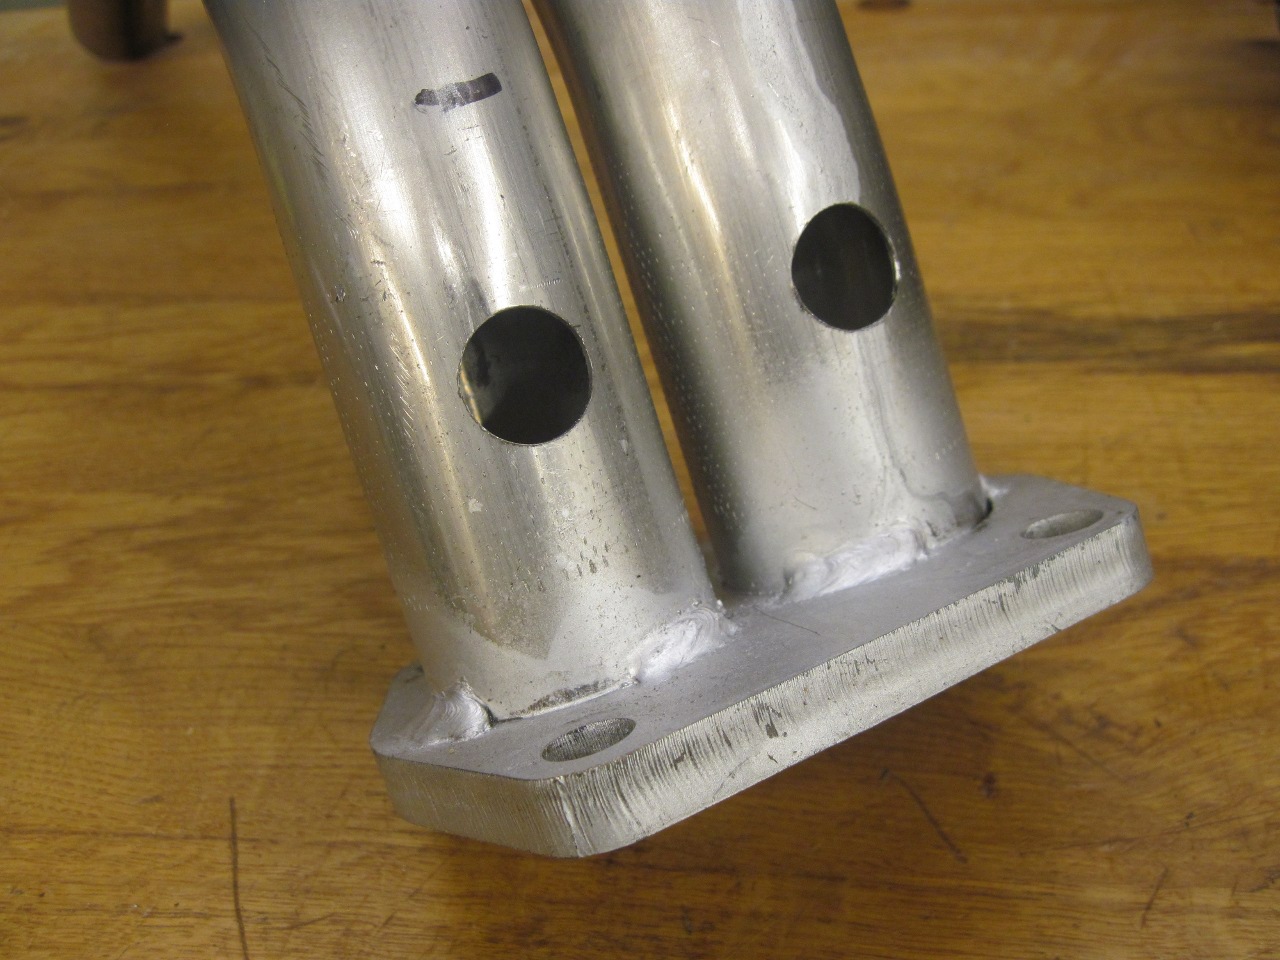
As
with most things I've bought for this project, there were a few things
to clean up. One item was sloppy dressing of the joint between
the down pipes and the flange. Another was some damage to one of
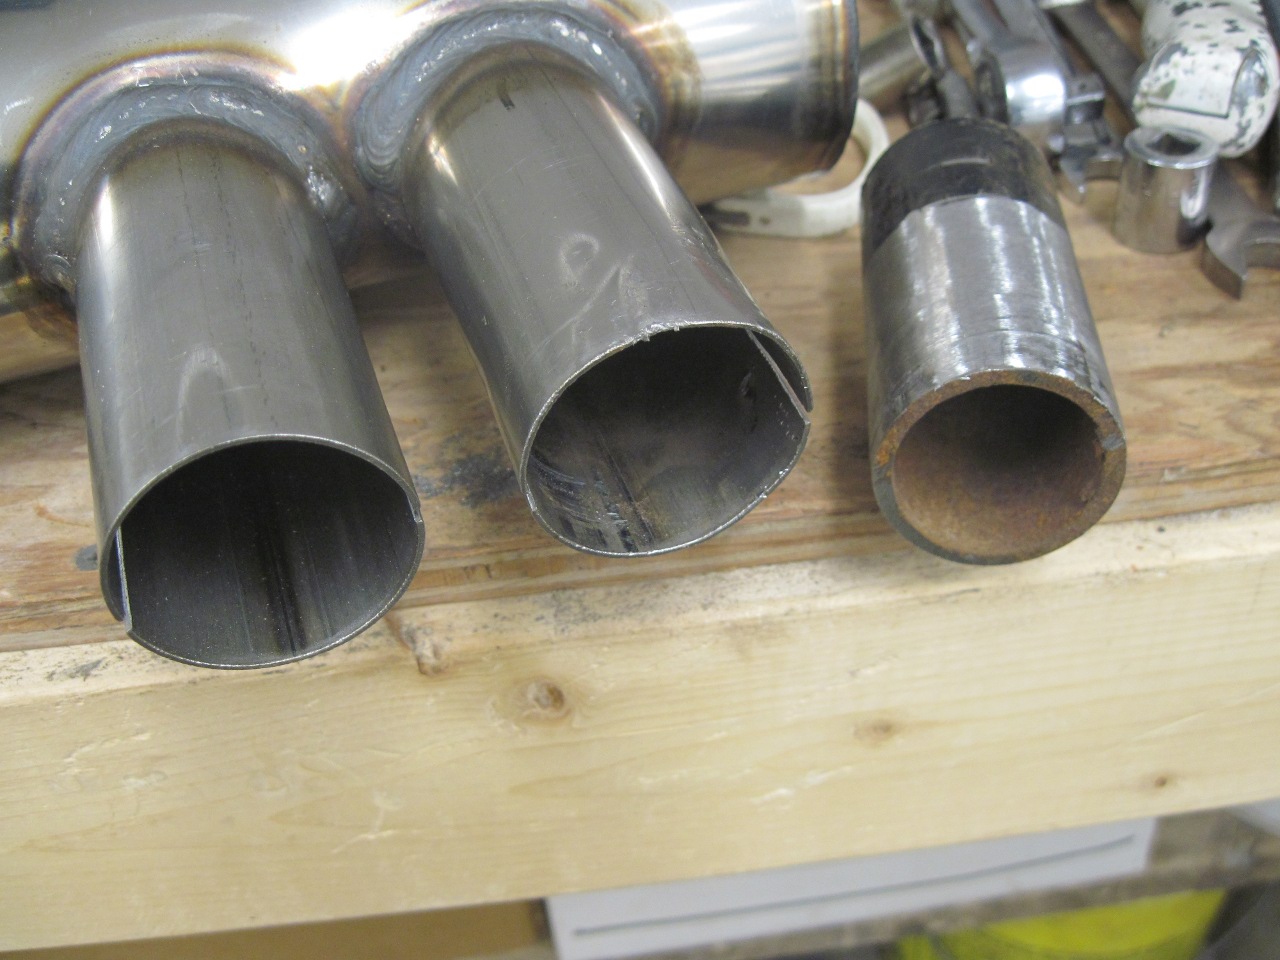
the muffler stubs, probably in shipping. That short piece of pipe
made a nice mandrel to reshape the collapsed tubing.

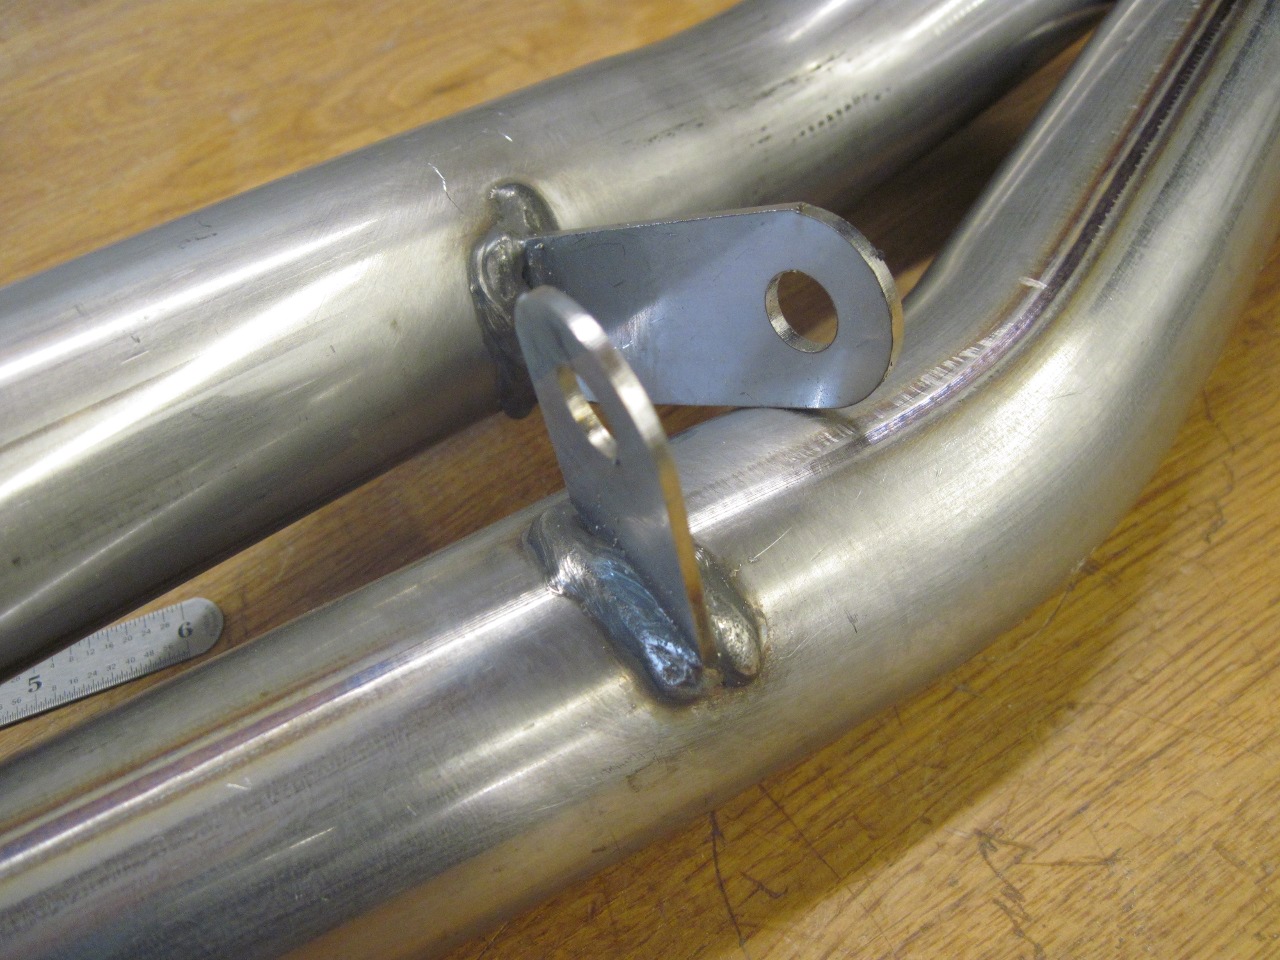
The
system I ordered was supposed to be for a '74, but what I got was for
an earlier car. Luckily, the only difference is that the earlier
intermediate pipes had hanger tabs welded on, while the '74 system
used a separate hanger for the intermediate pipes, so I just cut the
superfluous tabs off. The hanger kit I bought had the
correct intermediate hanger.
The
next job was to add bungs for oxygen sensors. The TR6 engine can
for some purposes be thought of as a pair of three cylinder engines,
each with its own carburettor and exhaust. There are balance
passages between the two halves of the engine in both the intake and
exhaust manifold, but in a well tuned engine, there shouldn't be too
much intermixing of air/fuel mixture or exhaust gasses, especially at
midrange and higher RPMs. This dual system just cries out
for two oxygen sensors so that air/fuel ratios can be determined for
individual carbs. I had originally considered installing the
bungs in the exhaust manifold, but putting in two of them was going to
be tricky. I decided it would be easier and just as effective to
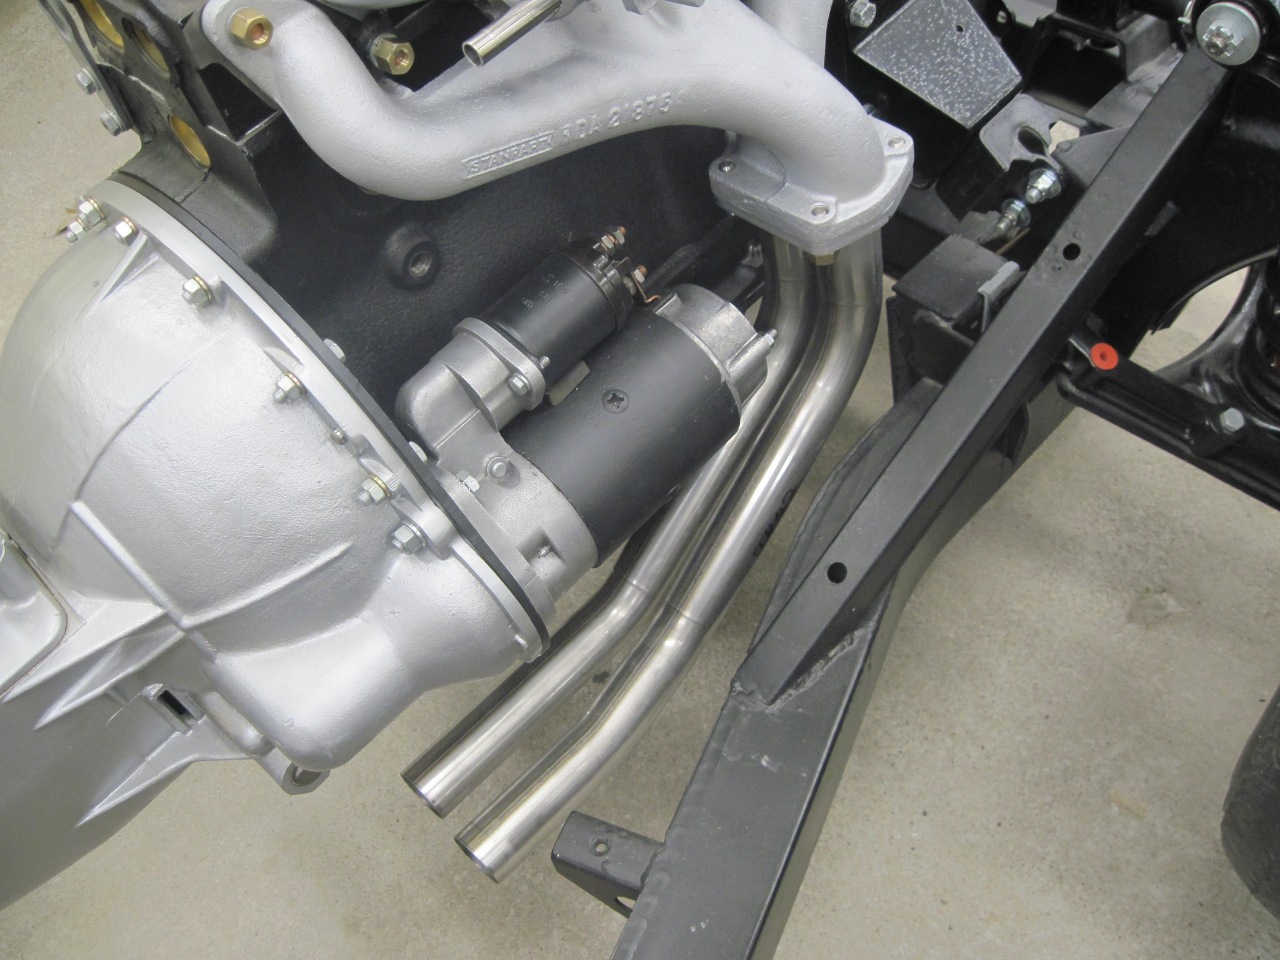
put the sensors high up on the downpipe. A mockup showed me that
there was a little more room to put the sensors on the front side ofthe
pipes rather than on the rear, where the sensors would make removing
the starter a pain. Even in the front, there was a potential
issue with fouling the motor mount.
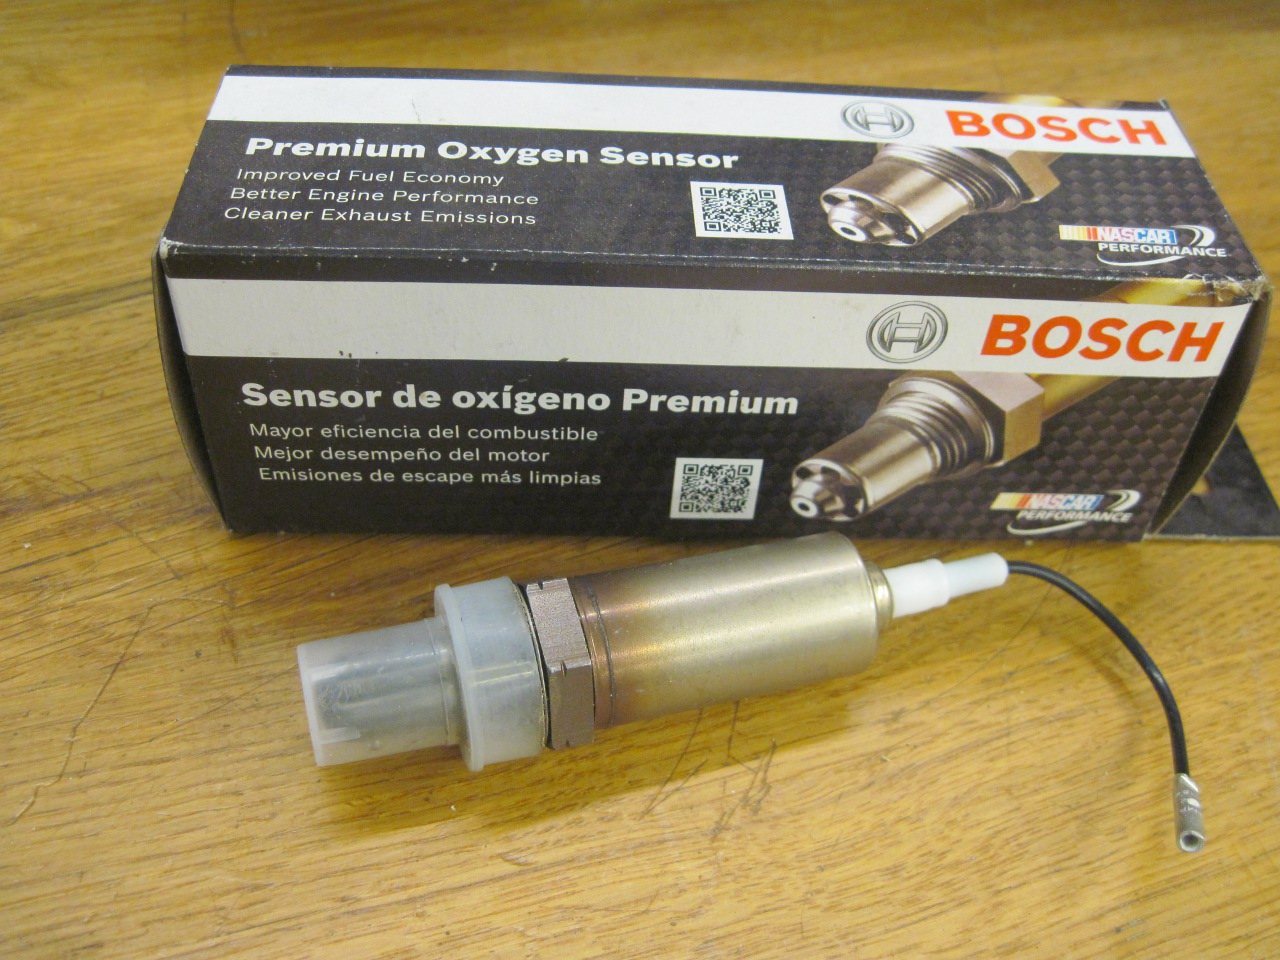
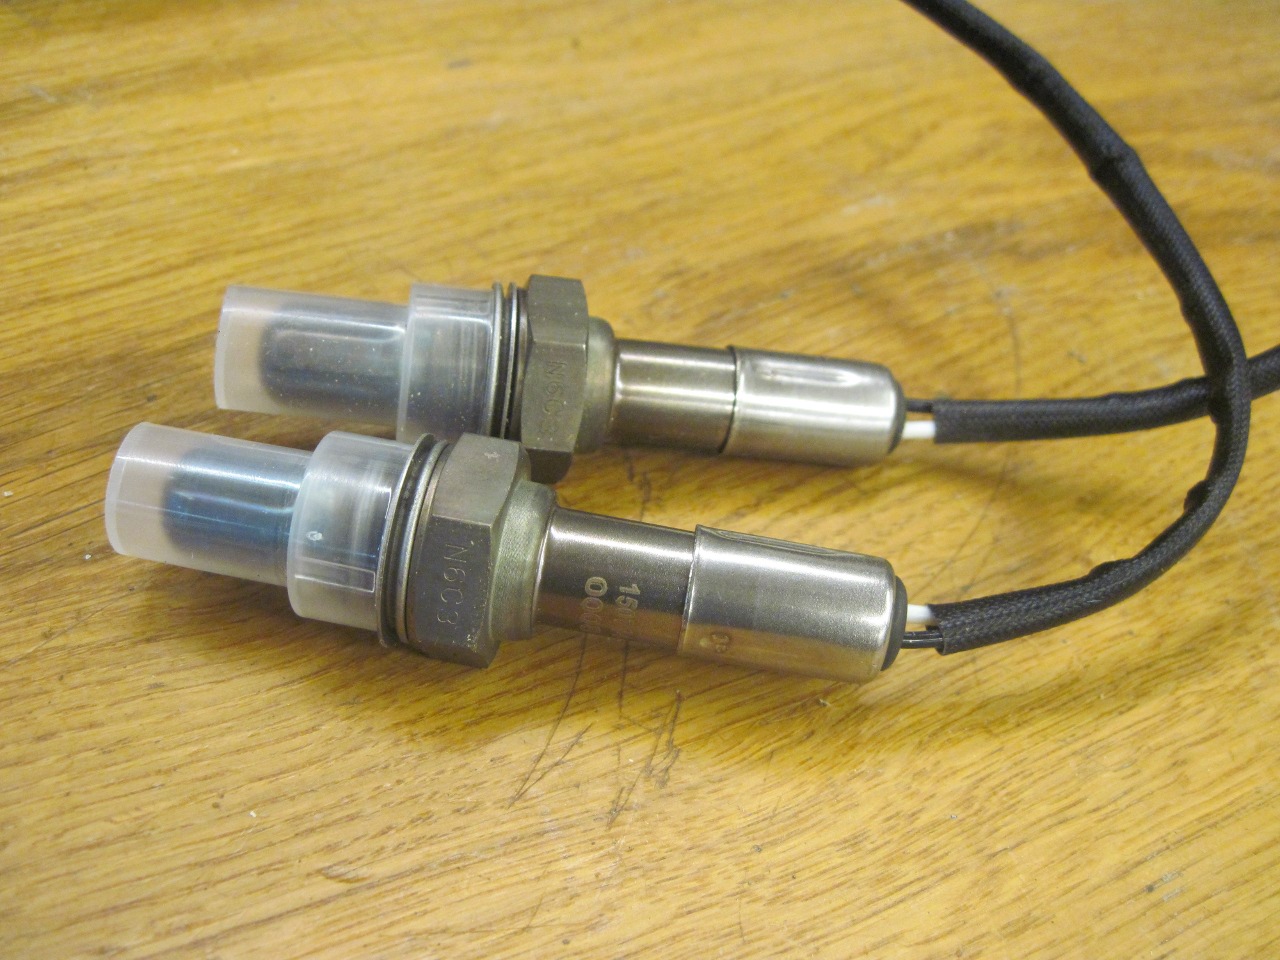
I
first bought a pretty common Bosch sensor, but found that it was a
little too long. I ended up with a slightly smaller universal
replacement sensor that would just fit.
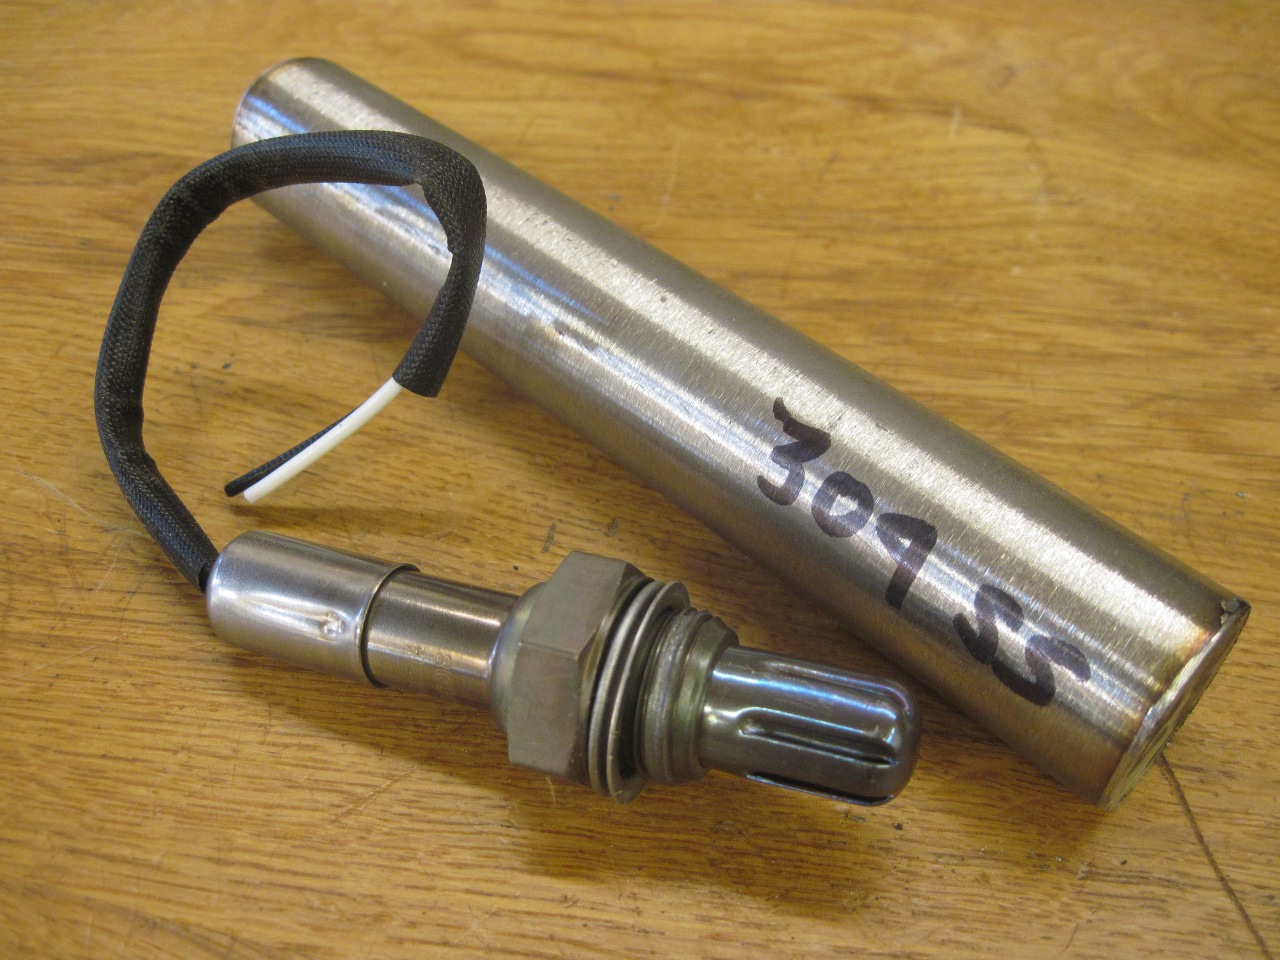
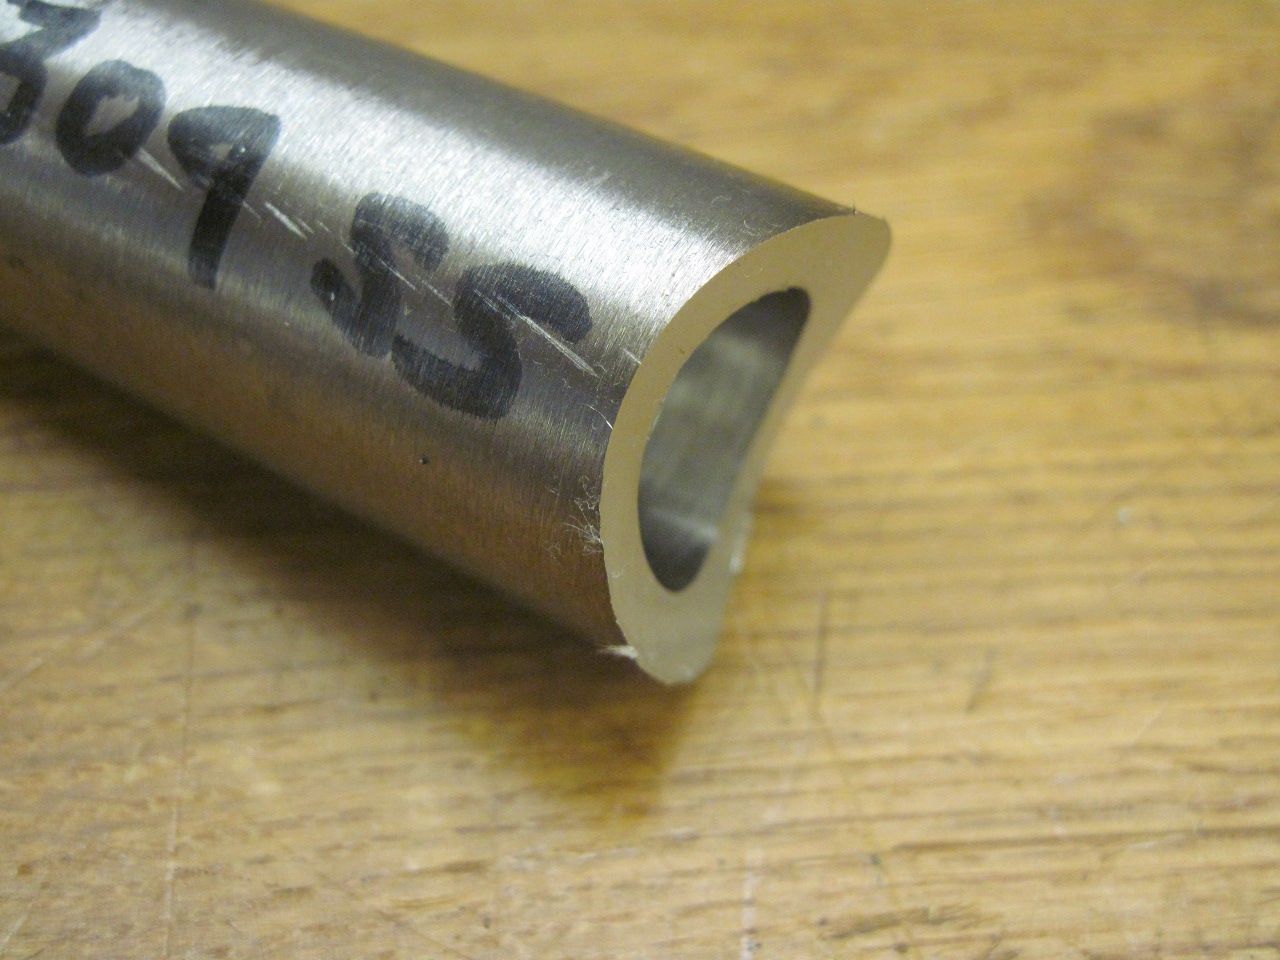
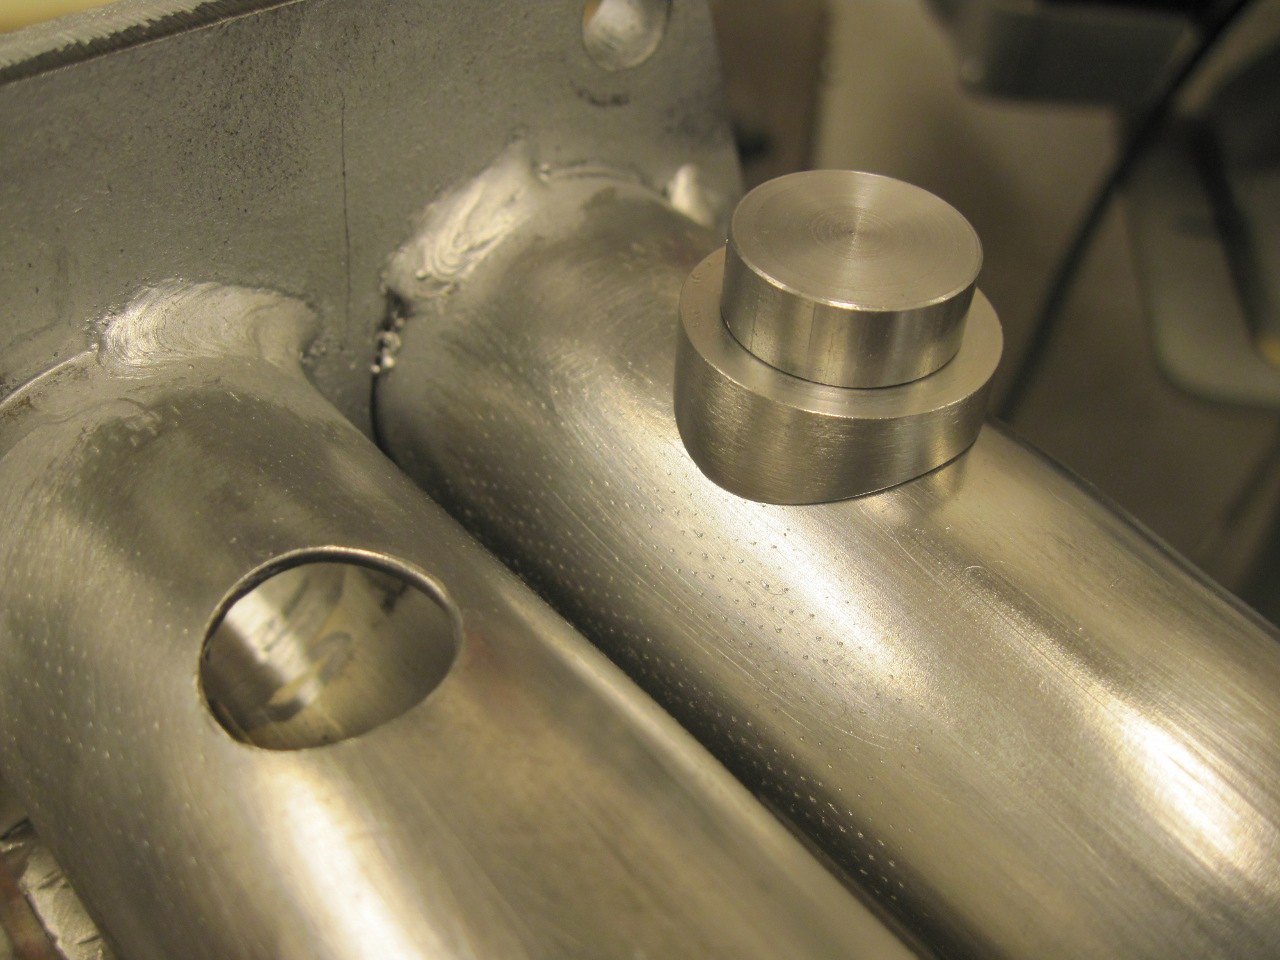
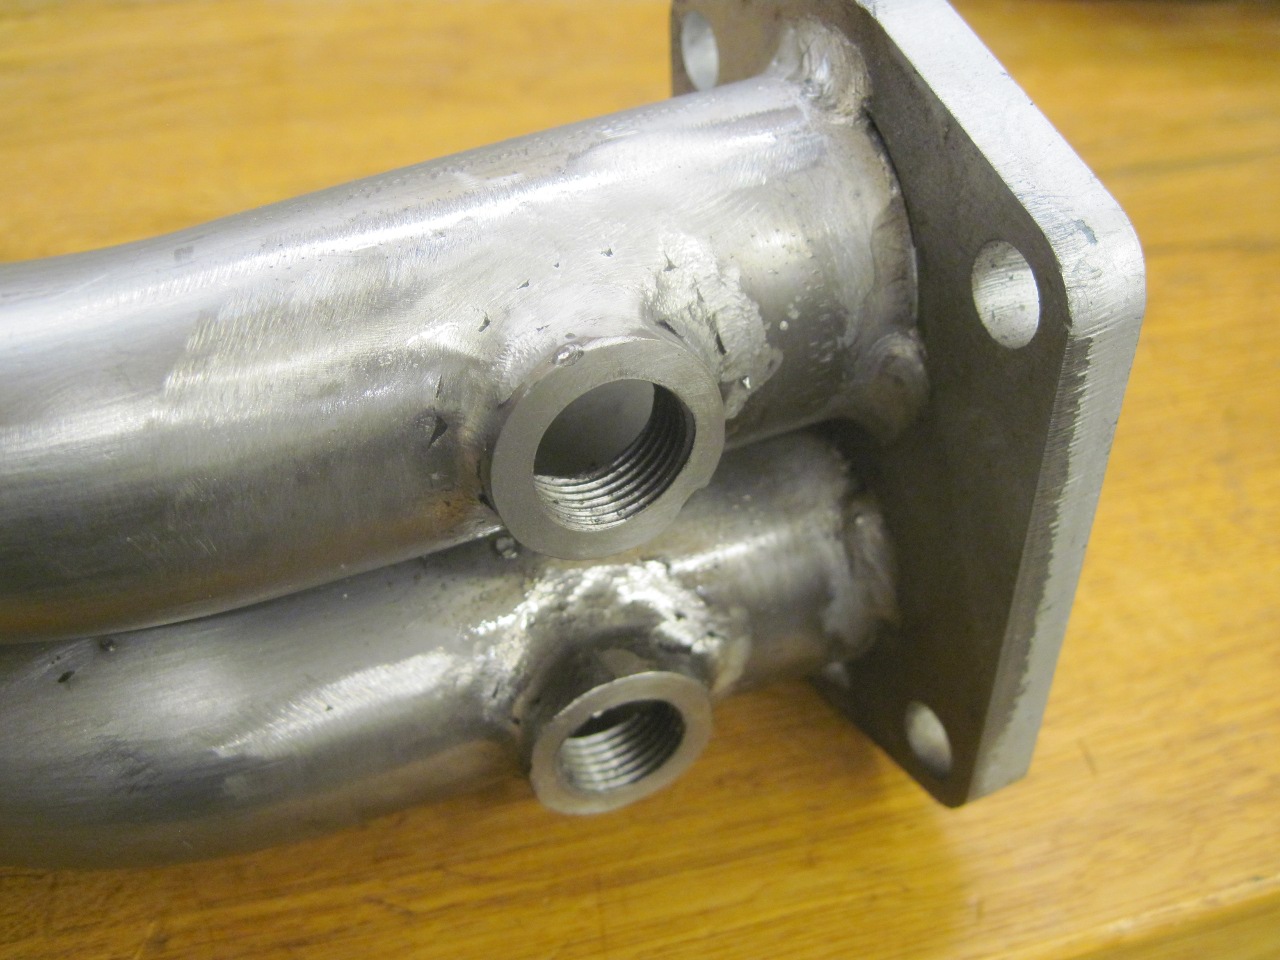
For
the bungs, I got a short piece of 1-inch stainless steel and fashioned
a pair of saddle-shaped fittings that matched the diameter of the down
tubes.
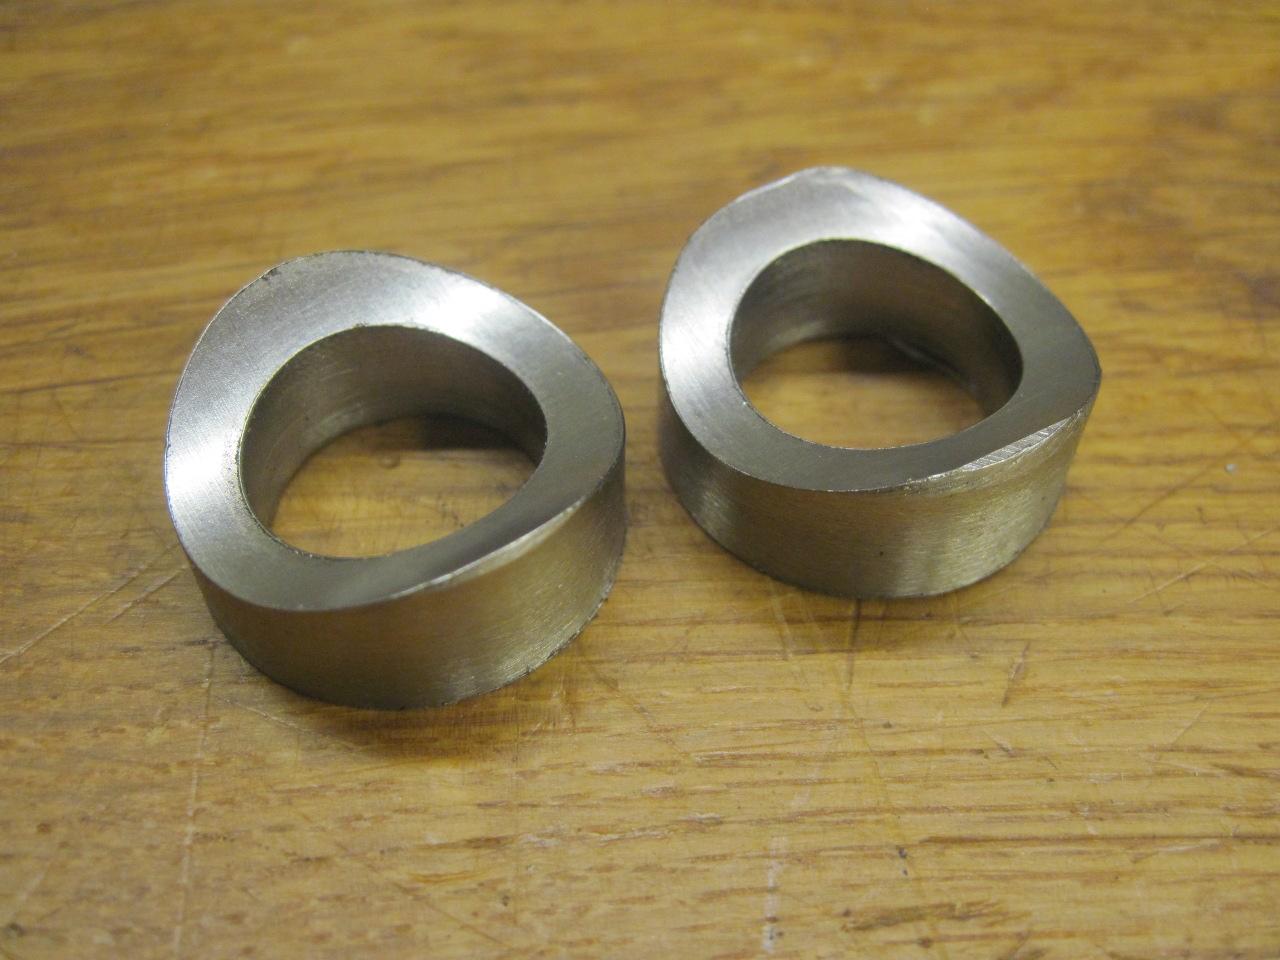
Then cut a pair of matching holes in the tubes, and made a little slug to align the holes in the bungs with those in the tube.
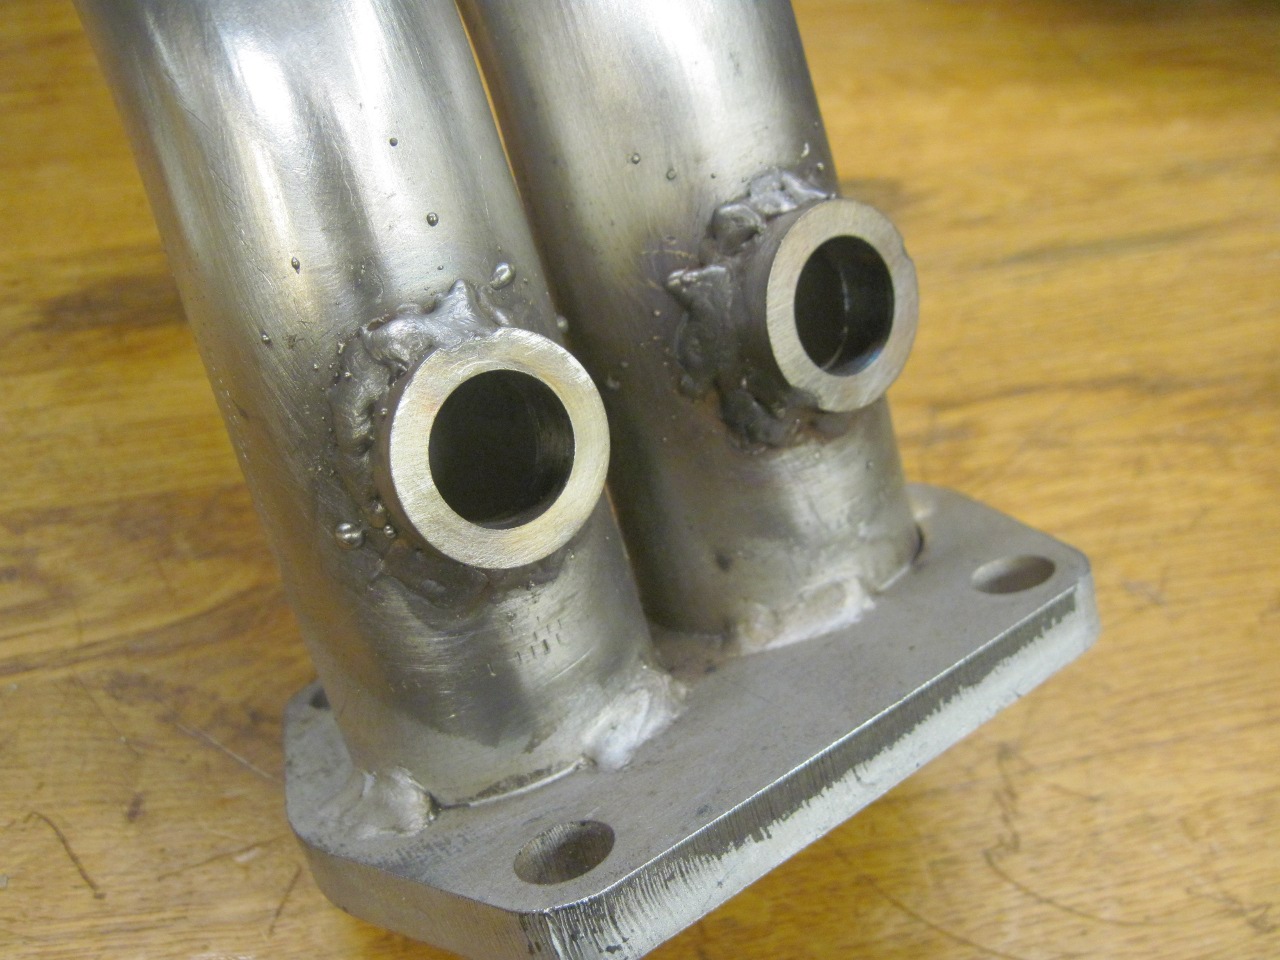
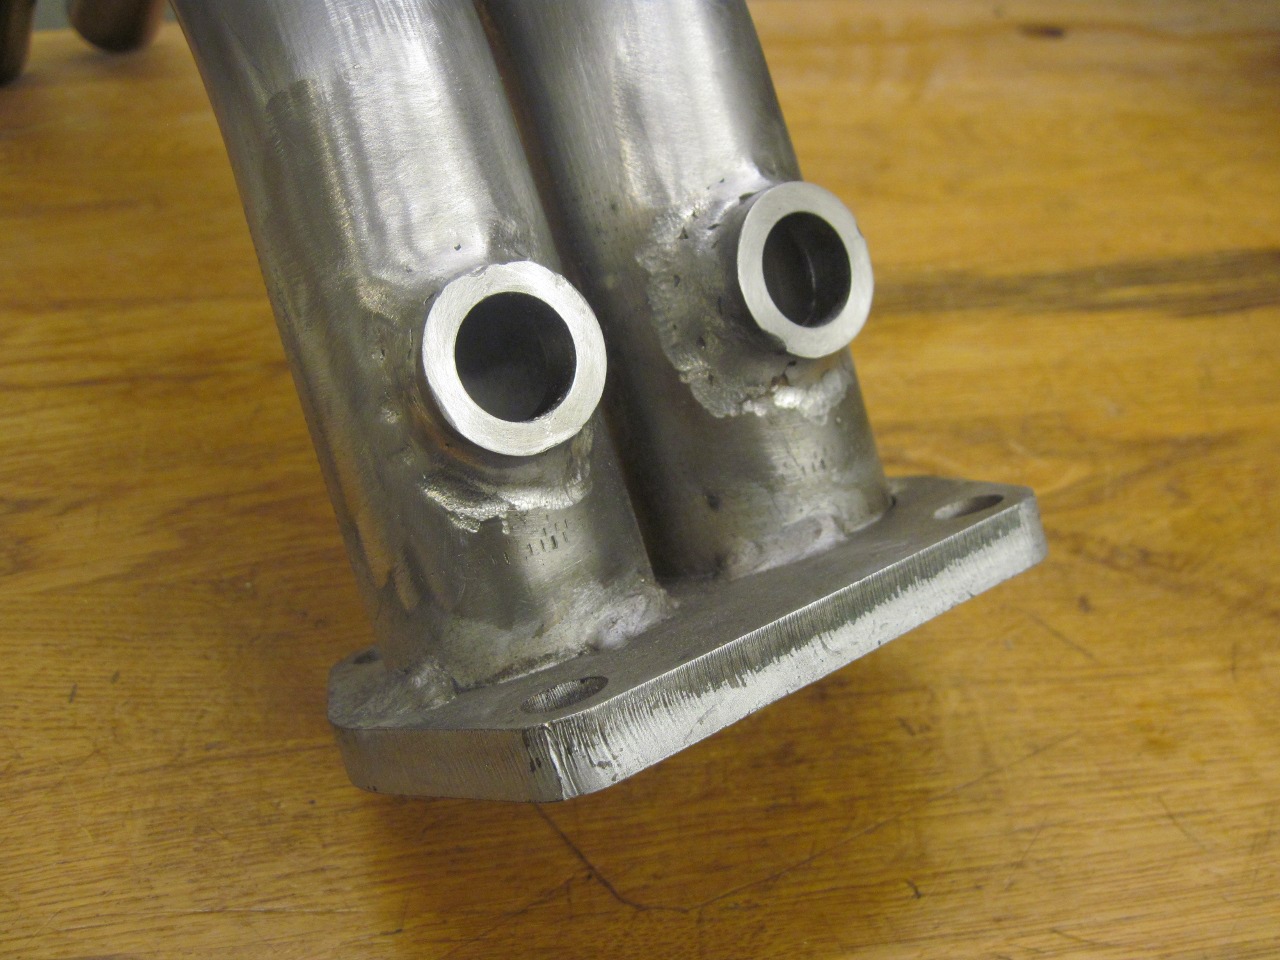
I'm
a mediocre MIG weldor at best, and I quickly found that welding
stainless (with stainless wire) has its own challenges. While I
don't fret the strength of the welds, I decided to dress them to avoid
publicly embarassing myself. Then threaded the bungs to the
standard (for oxygen sensors) M18-1.5.

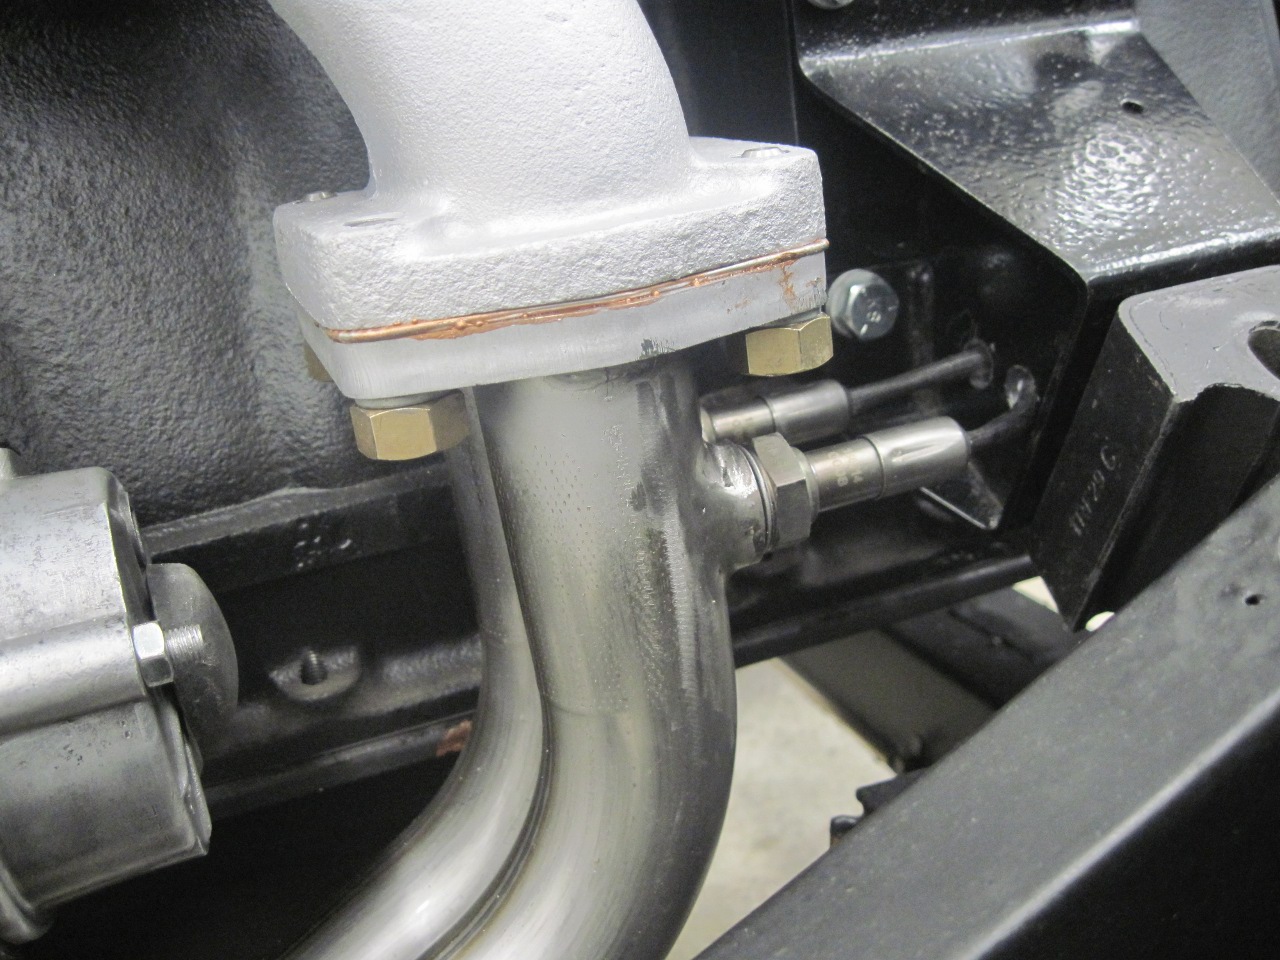
I
mounted the downpipes on the manifold and installed the sensors with
liberal anti-sieze. I decided to drill a couple of holes on the
internal web of the motor mount for the wires. I'll install
grommets, but I didn't have them on hand.
After
that, it was just laying pipe all the way to the back of the car.
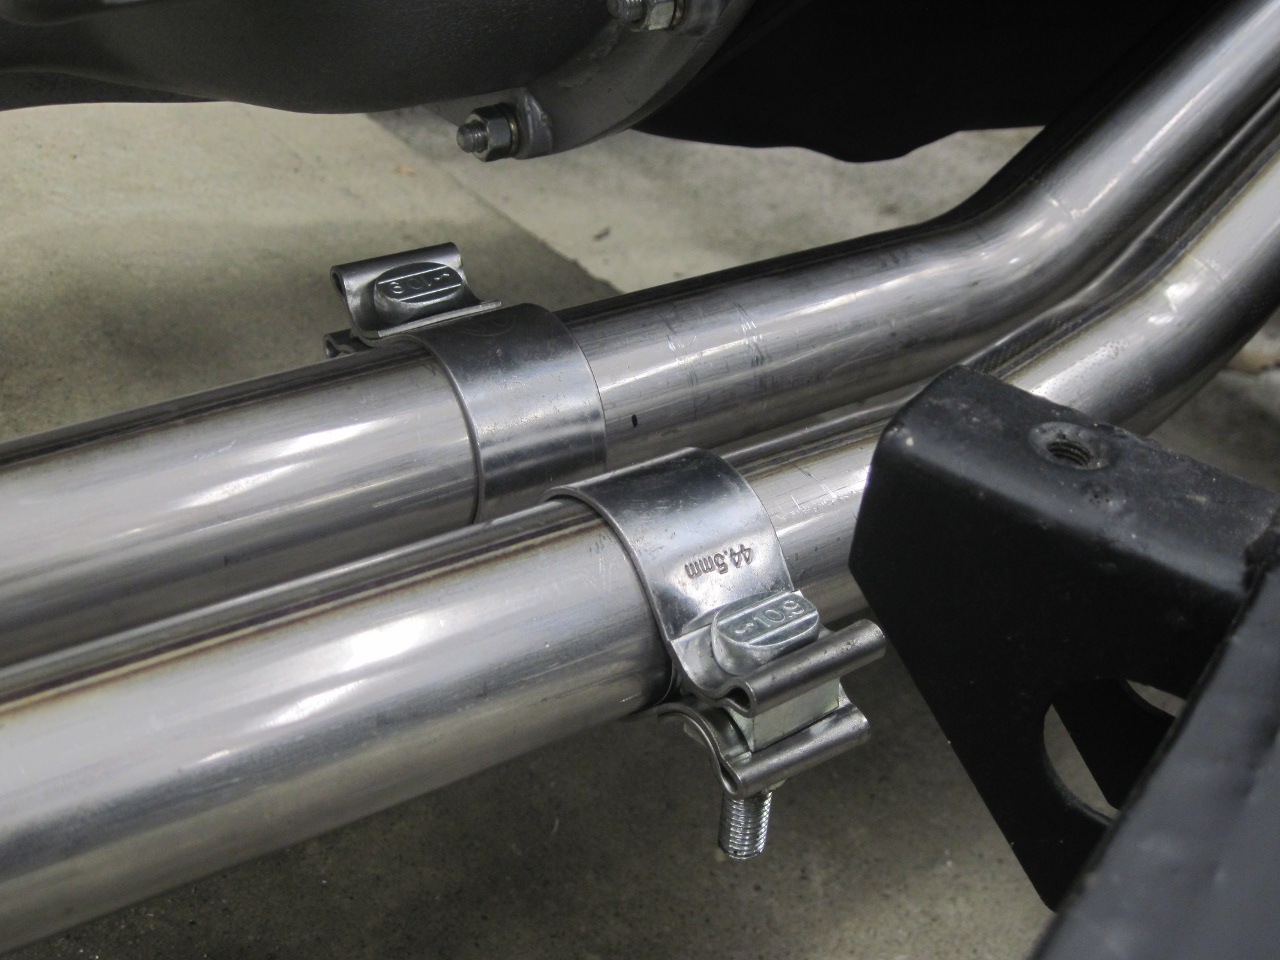
The intermediate pipes were next. The stainless band clamps
provide a good seal without distorting the pipes the way that more
traditional clamps can. I found that one of the clamps, though
the correct size (1.75 inch/44.5 mm), wouldn't clamp down far enough to
eliminate motion in the joint. I had to put a layer of thin shim
stock under the clamp.
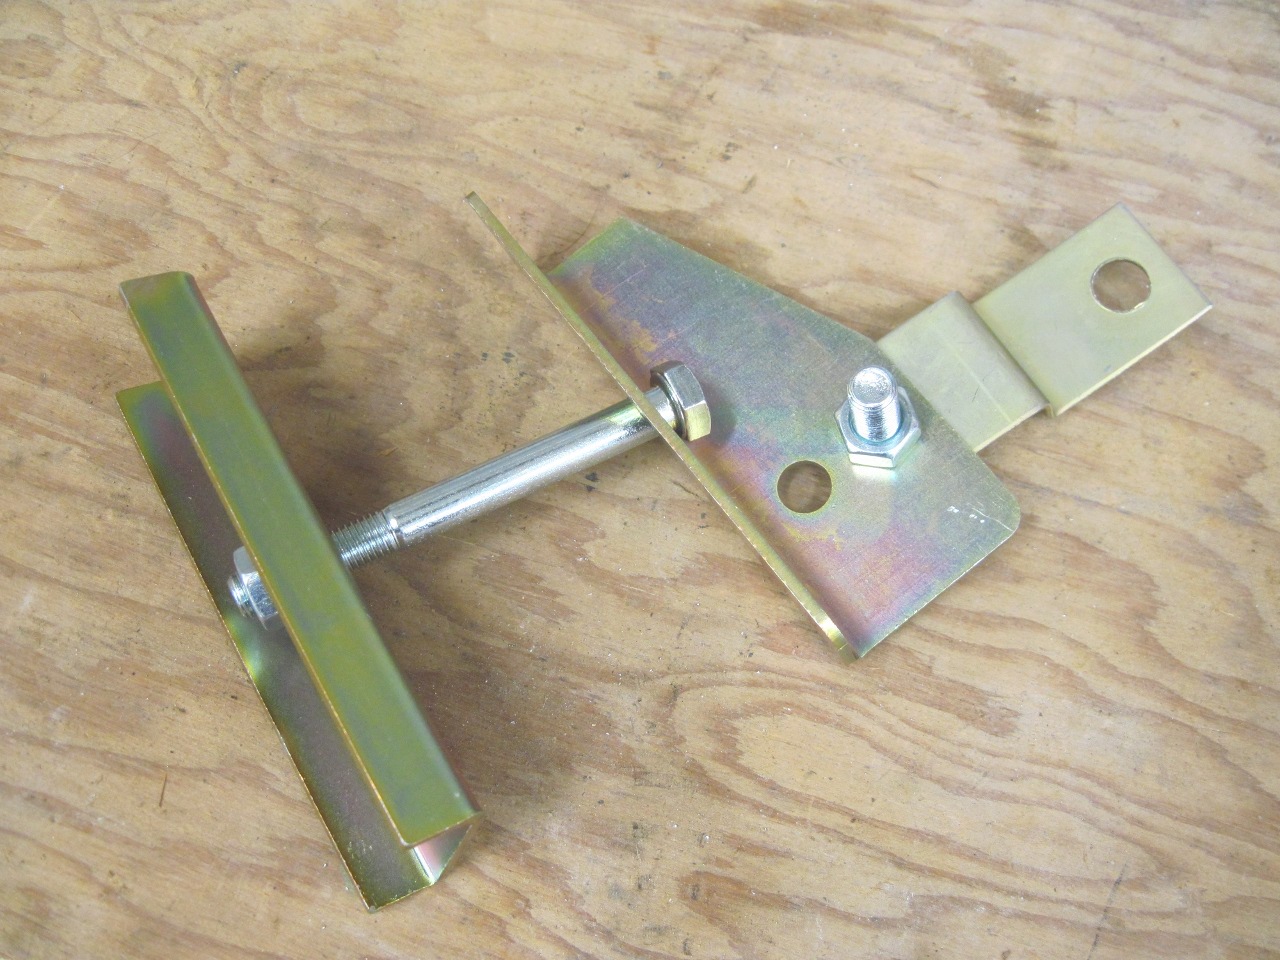
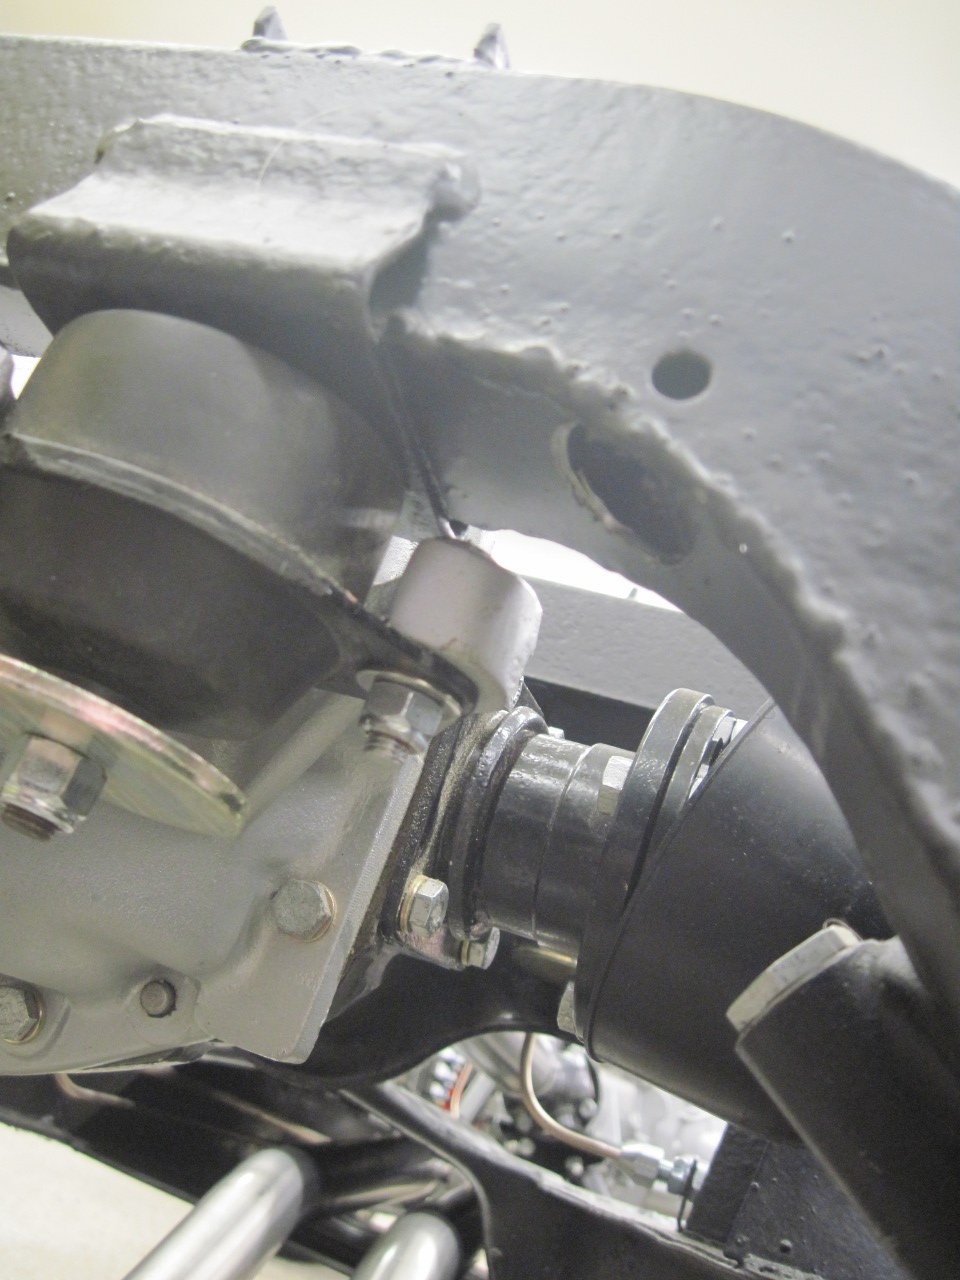
This
is the intermediate hanger. It attaches to one of the rear
transmission mount bolts. Some builders find this hanger
troublesome and just leave it out. I'll just watch it and if it
becomes a problem, I'll modify it somehow, but I want to keep its
function.

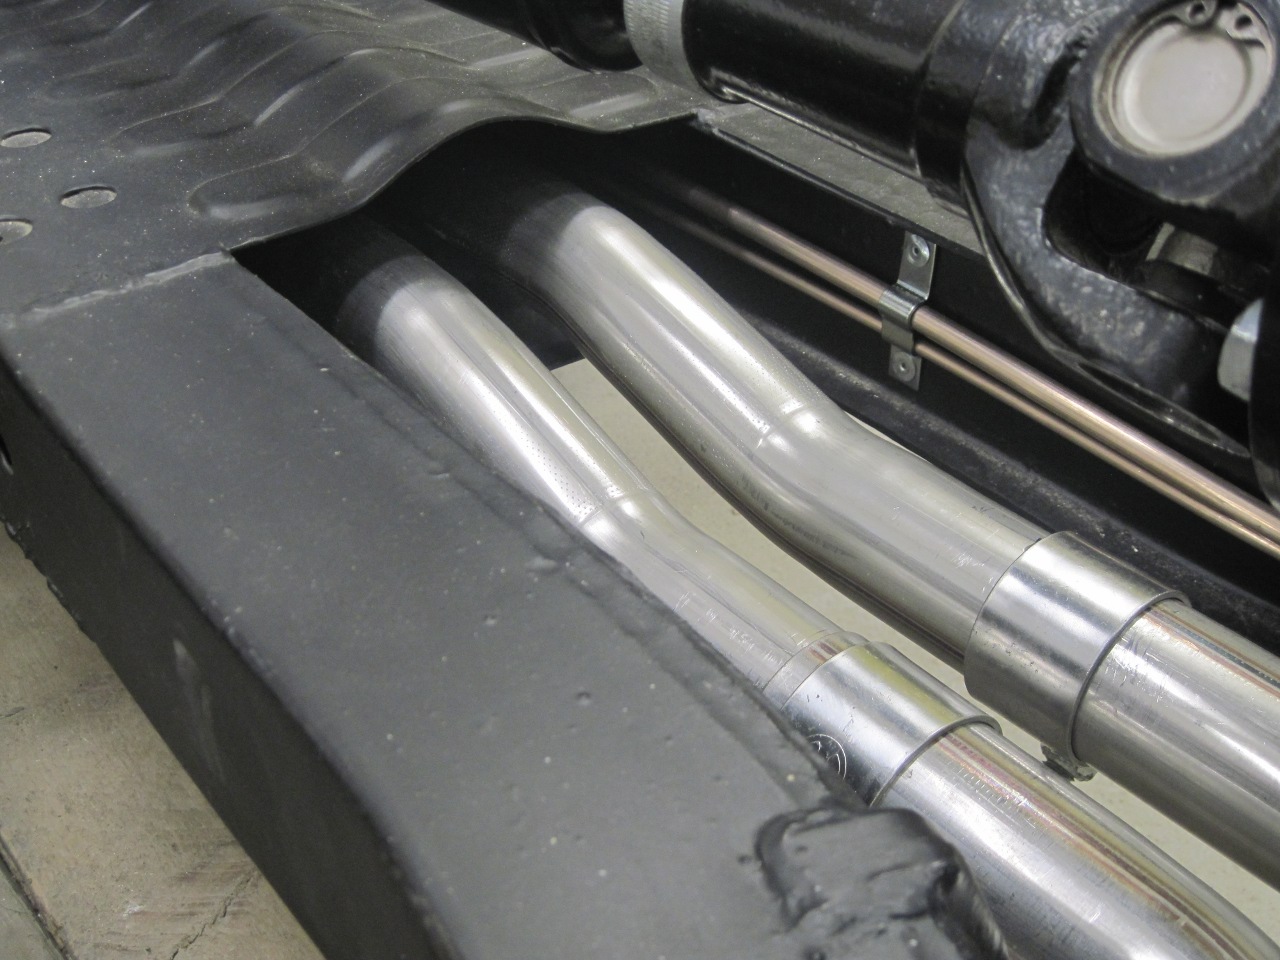
The
rear tubes take an upward jog and disappear into the tunnel between the
cruciate plates. I'm still considering whether to install some
kind of heat shield in the tunnel to keep some of the exhaust heat away
from the fuel and brake lines.
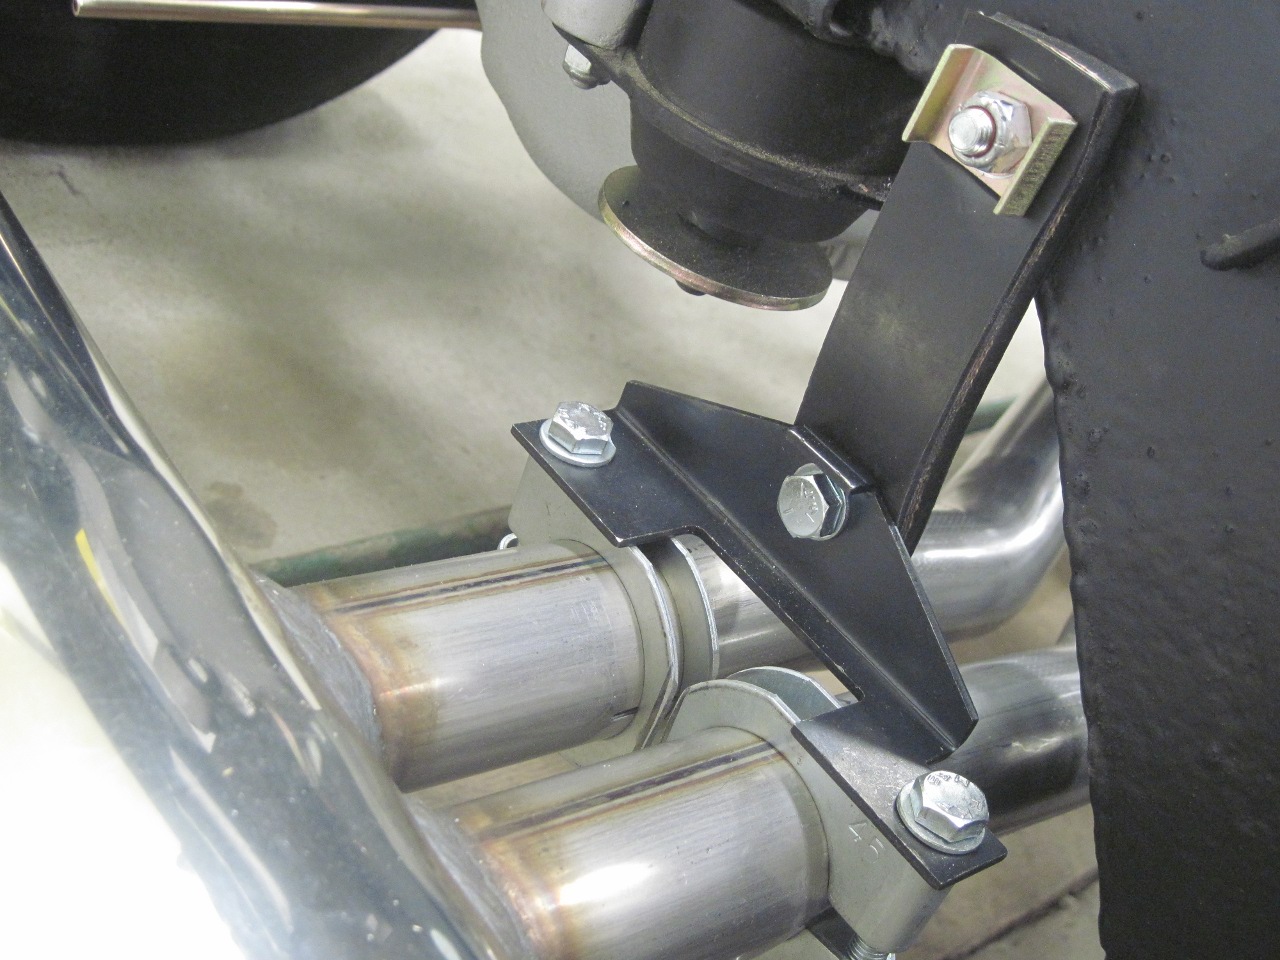
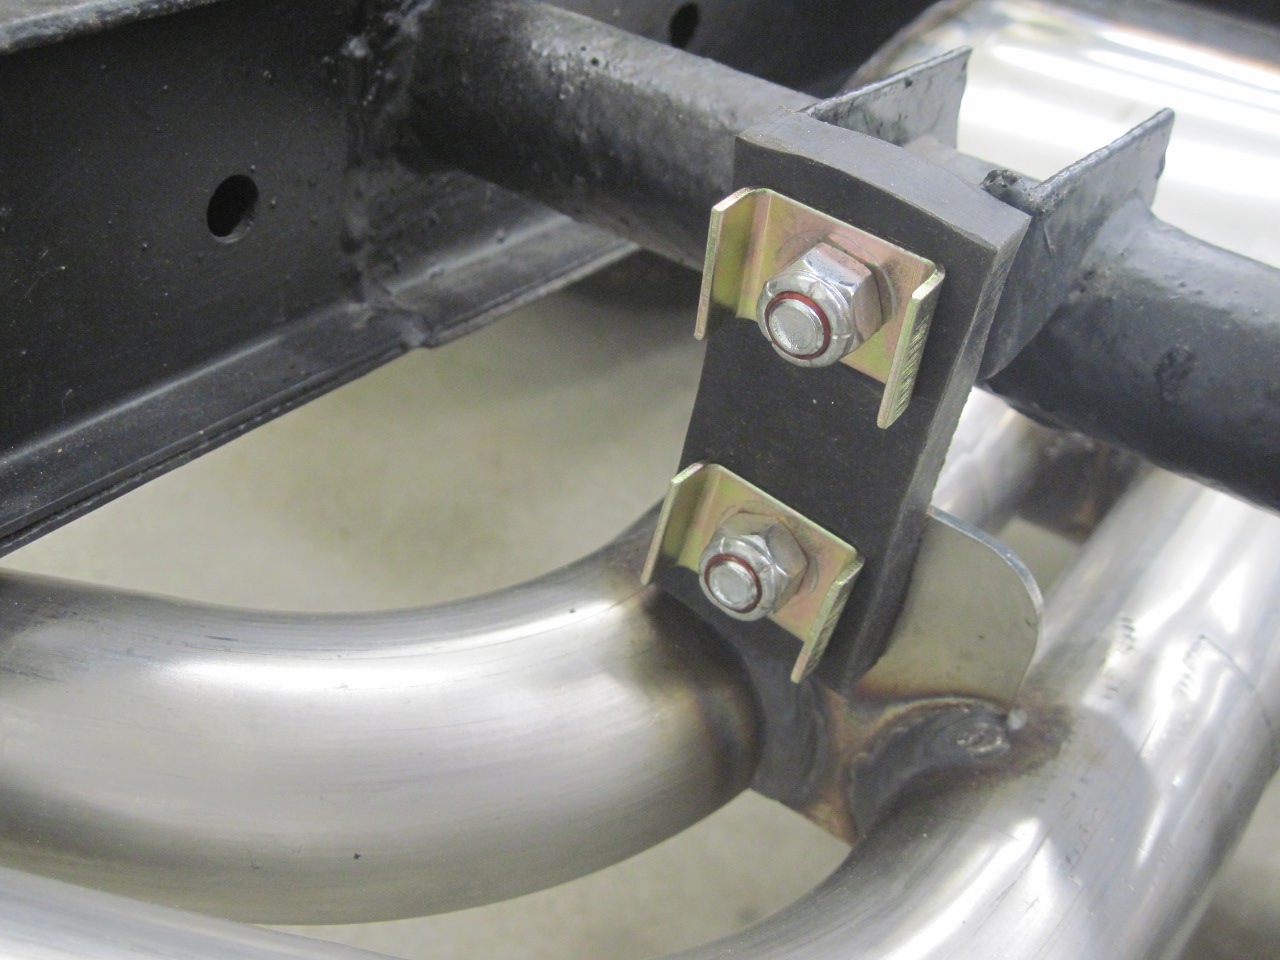
The
next hanger is where the rear pipes connect to the front of the
muffler. This hangar incorporates the clamps, so I couldn't use
the band clamps here. I did modify the clamps slightly,though, so
they could be side by side without interfering with each other.
This hanger mounts to the bridge that supports the rear of the
differential. Since I had boxed in that bridge, I lost access to
the inside where the bolt head had to go. I cut a one inch access
hole so I could get a wrench in there.
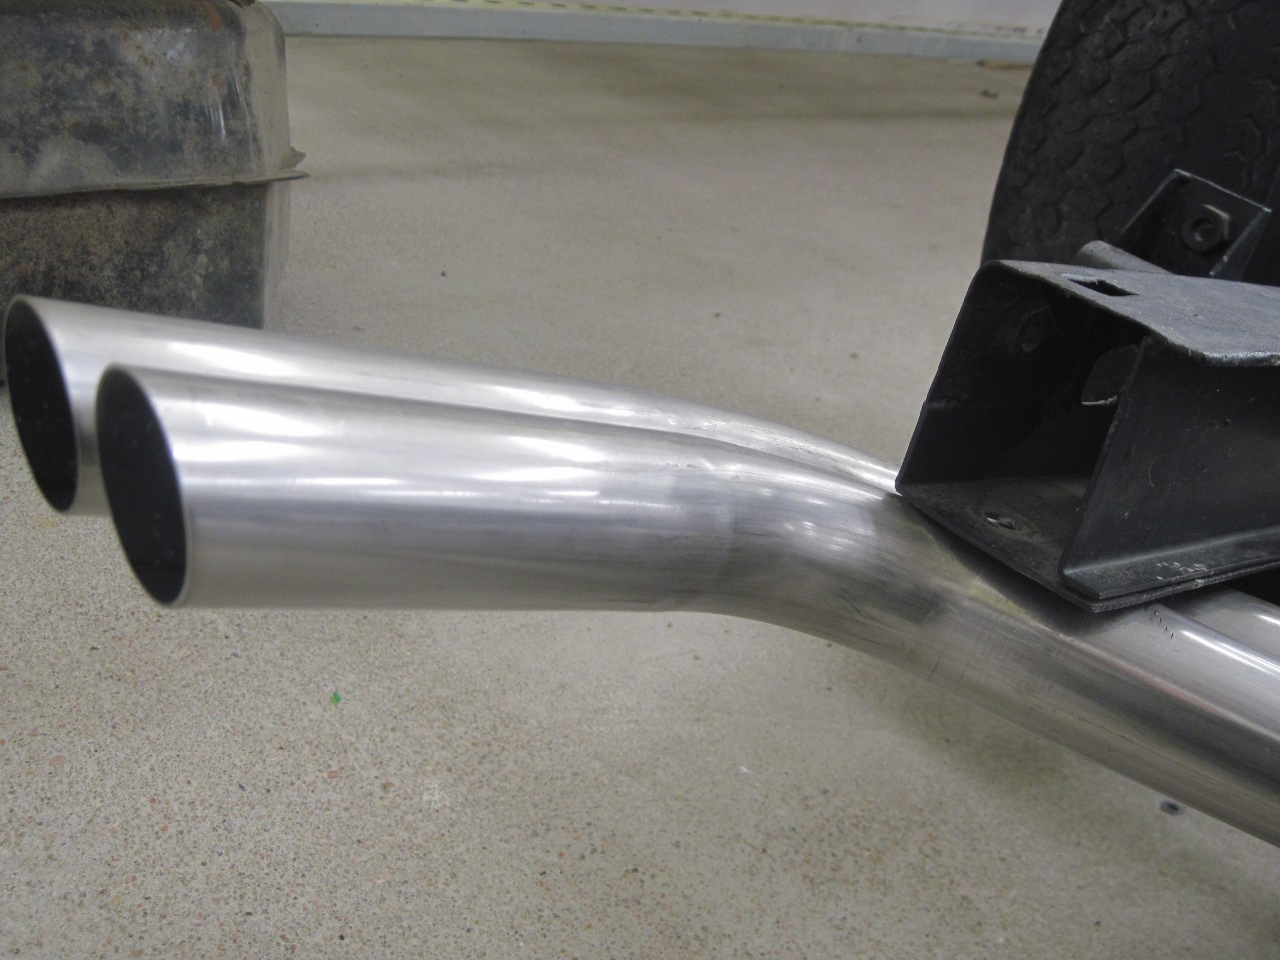
The last hanger holds up the tailpipe.
The
tailpipe seems very close to the frame tail--about 1/4" clearance.
I can probably get some more space, but this is clearly where it
wants to be. I might even fashion a rubber pad with a hanger here
so it can't thump against the frame.
Exhaust
pretty much all done, except for possible tweaking mentioned above.
I think I'll wait until the body is on for that.

Comments to Ed at elhollin1@yahoo.com
To my other TR6 pages