To my other TR6 Pages
October 30, 2015
Differential and Frame Plumbing
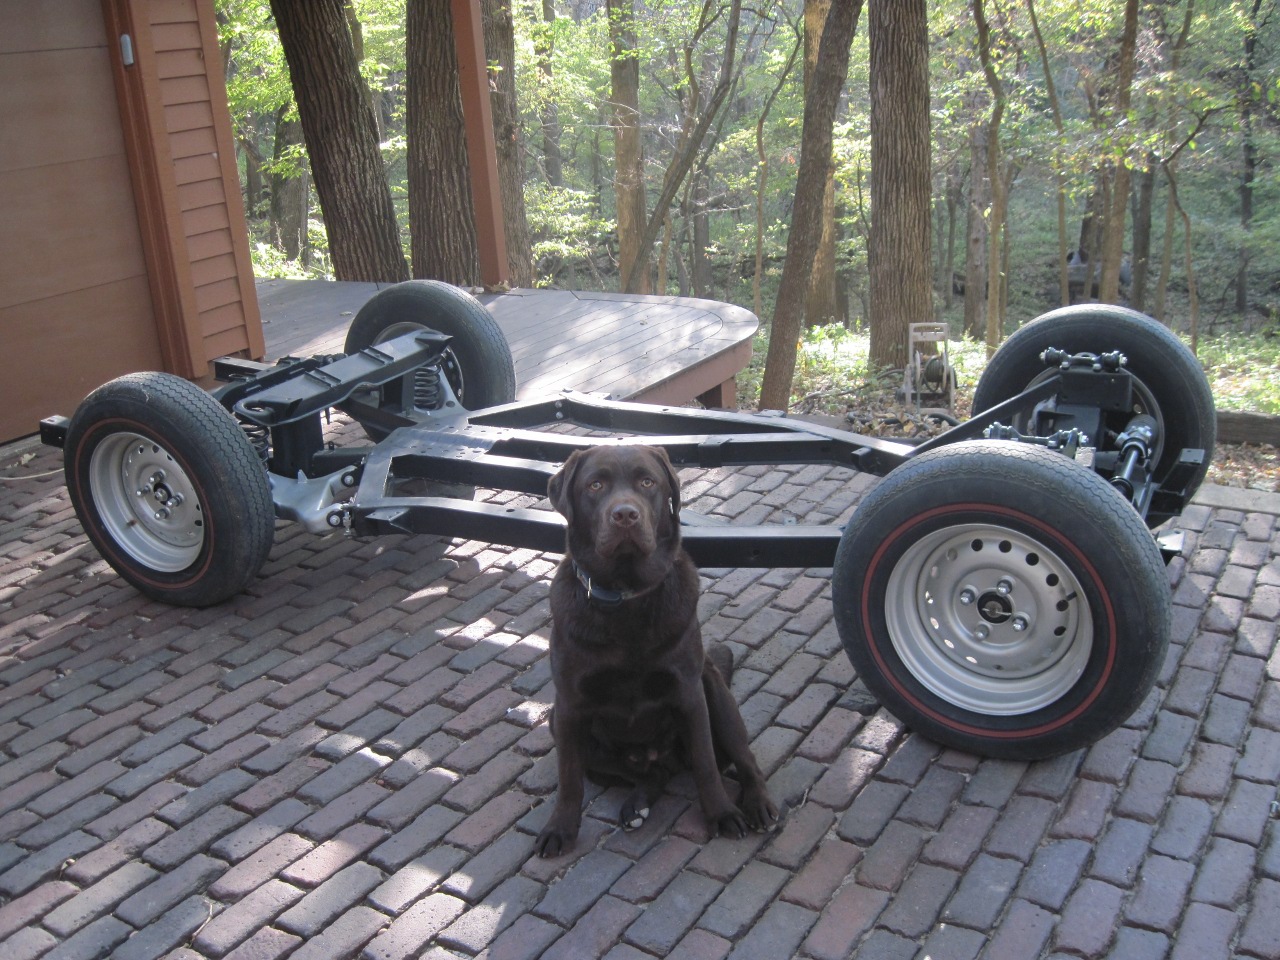
The
pic on the left is from October, 2014, when I had just attained the
milestone of a rolling chassis, and was about to put it away for the
winter. The one on the right is almost exactly one year later.
The tub is now done, and I'm prepping the chassis to receive it.
This entails mainly the drive train and the chassis
plumbing--brake and fuel lines.

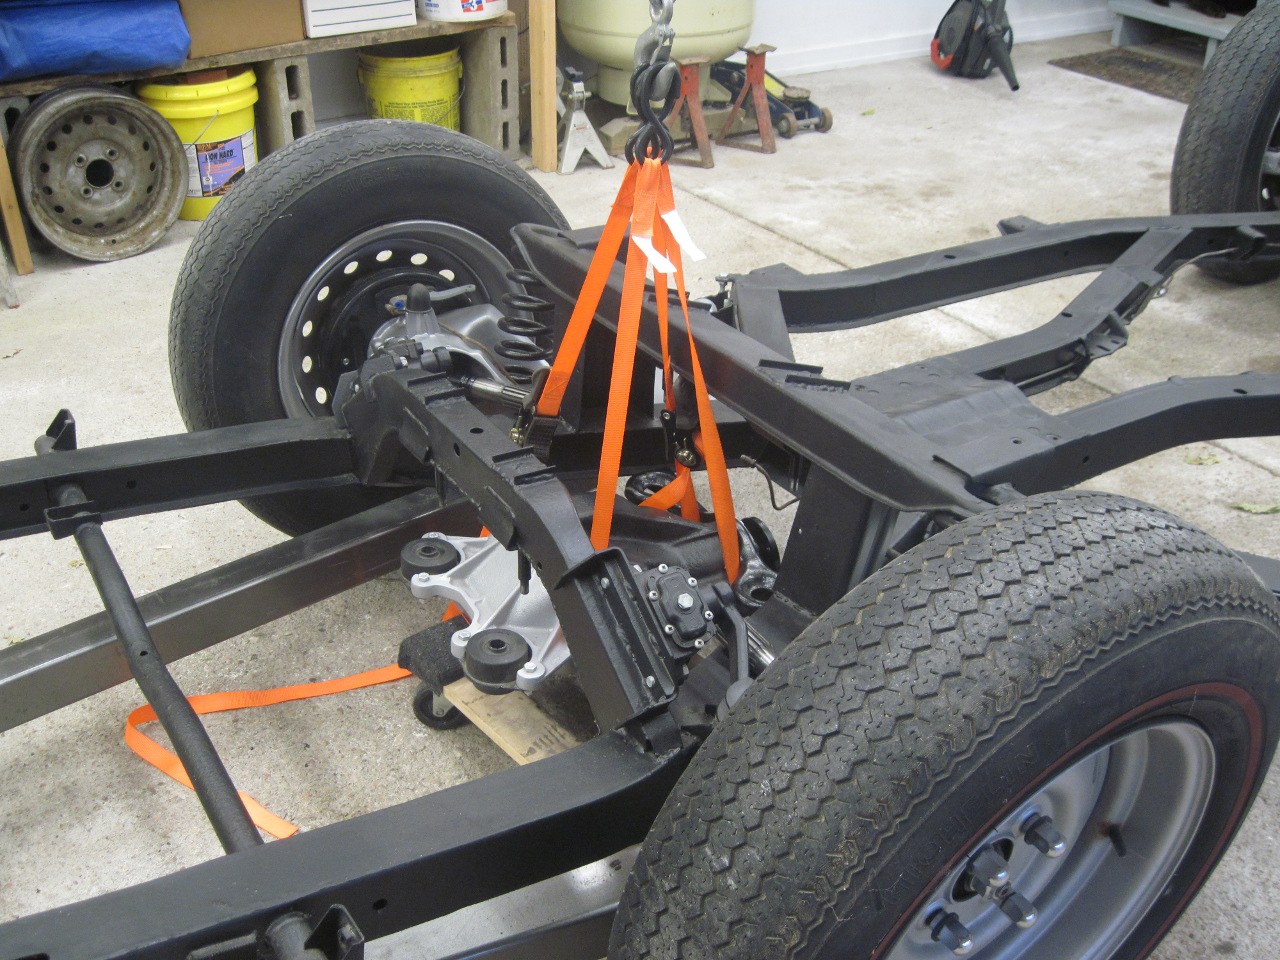
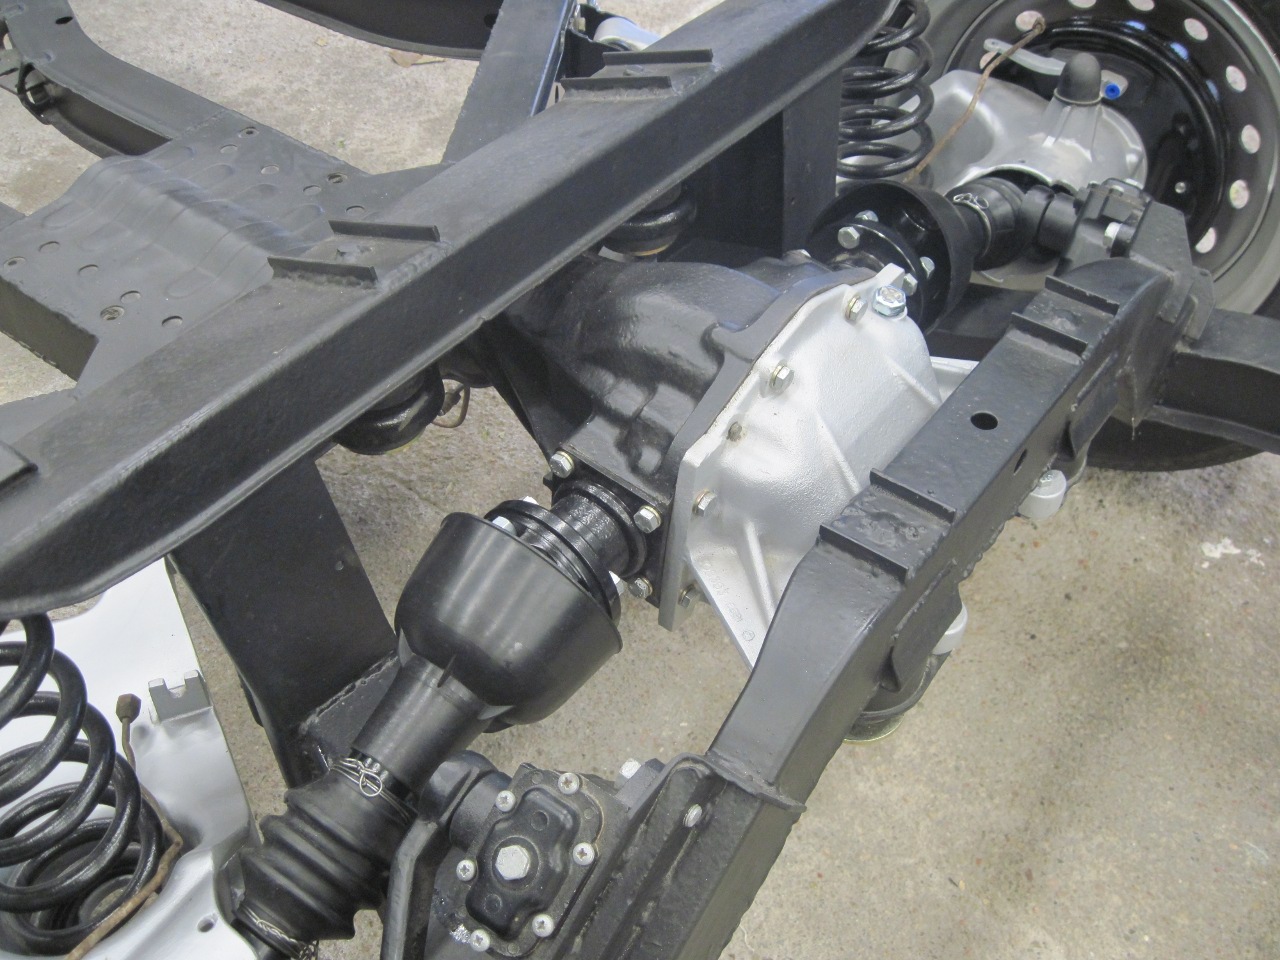
I
decided to hang the differential first, since it appeared pretty easy,
and I wanted to reclaim some room in my shop. I put the 70 pound
lump on a little dolly and slid it under its rightful mounting
location. Rather than try to push it up from below, it
seemed easier to lift from above, so I wheeled the sky hook around and
secured some straps. The
two cargo straps worked great. Since they are each adjustable, it
was easy to tune the attitude of the diff so it would align with the
mounting pins.

The diff slid home without any complaining. I tightened down the new lock bolts on the new rubber mounts.
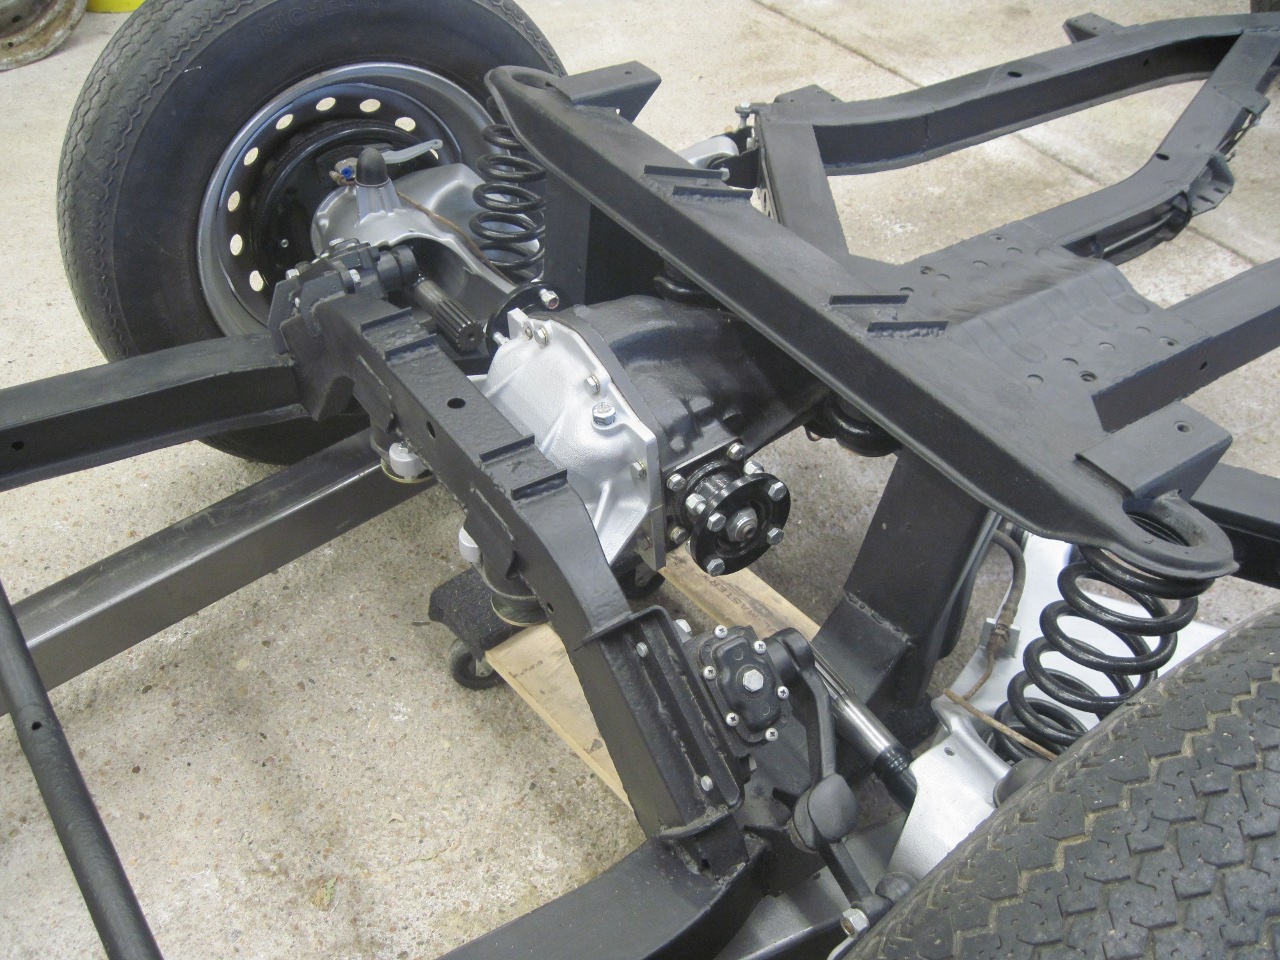
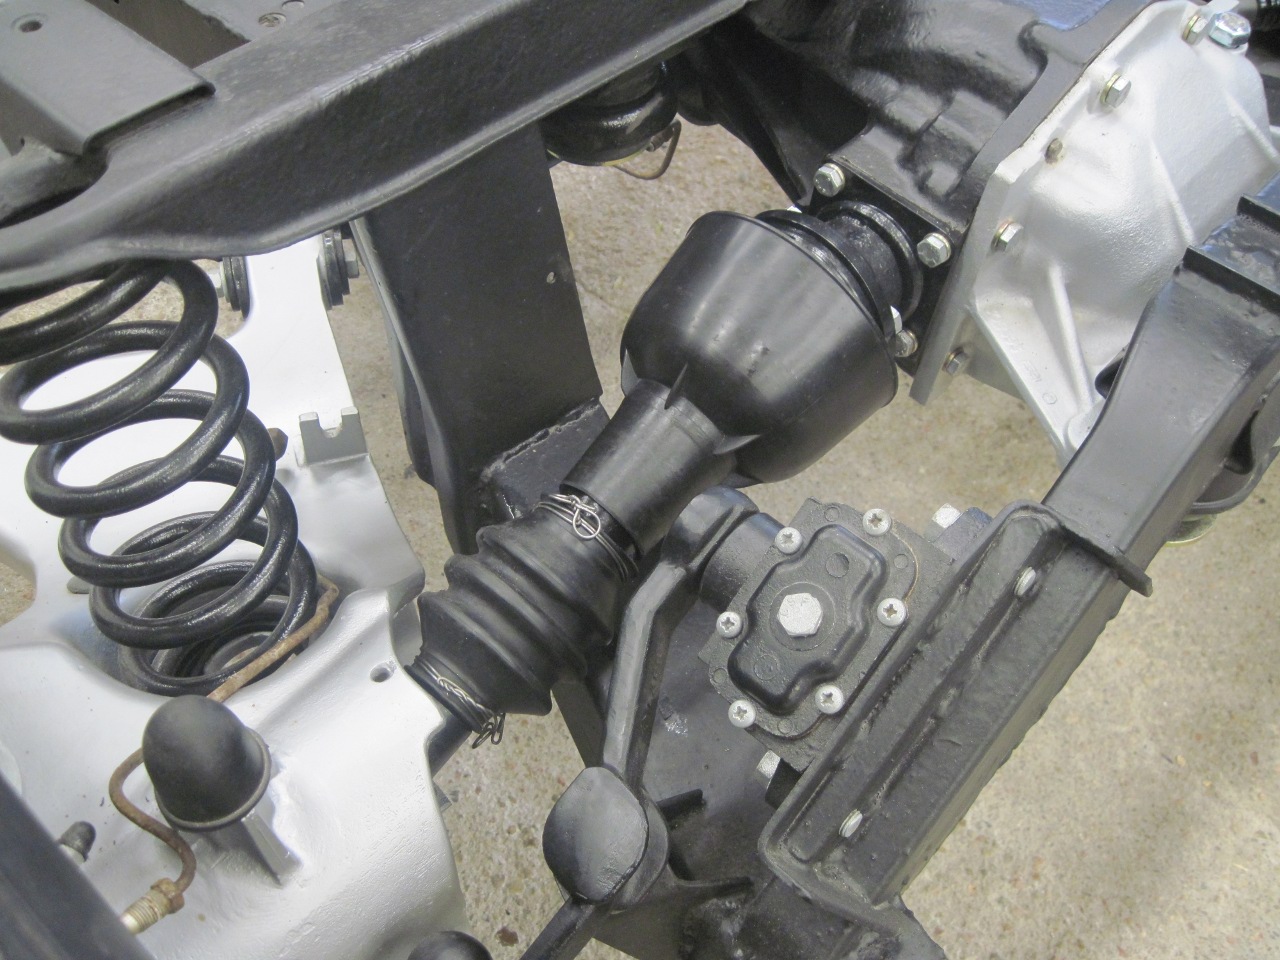
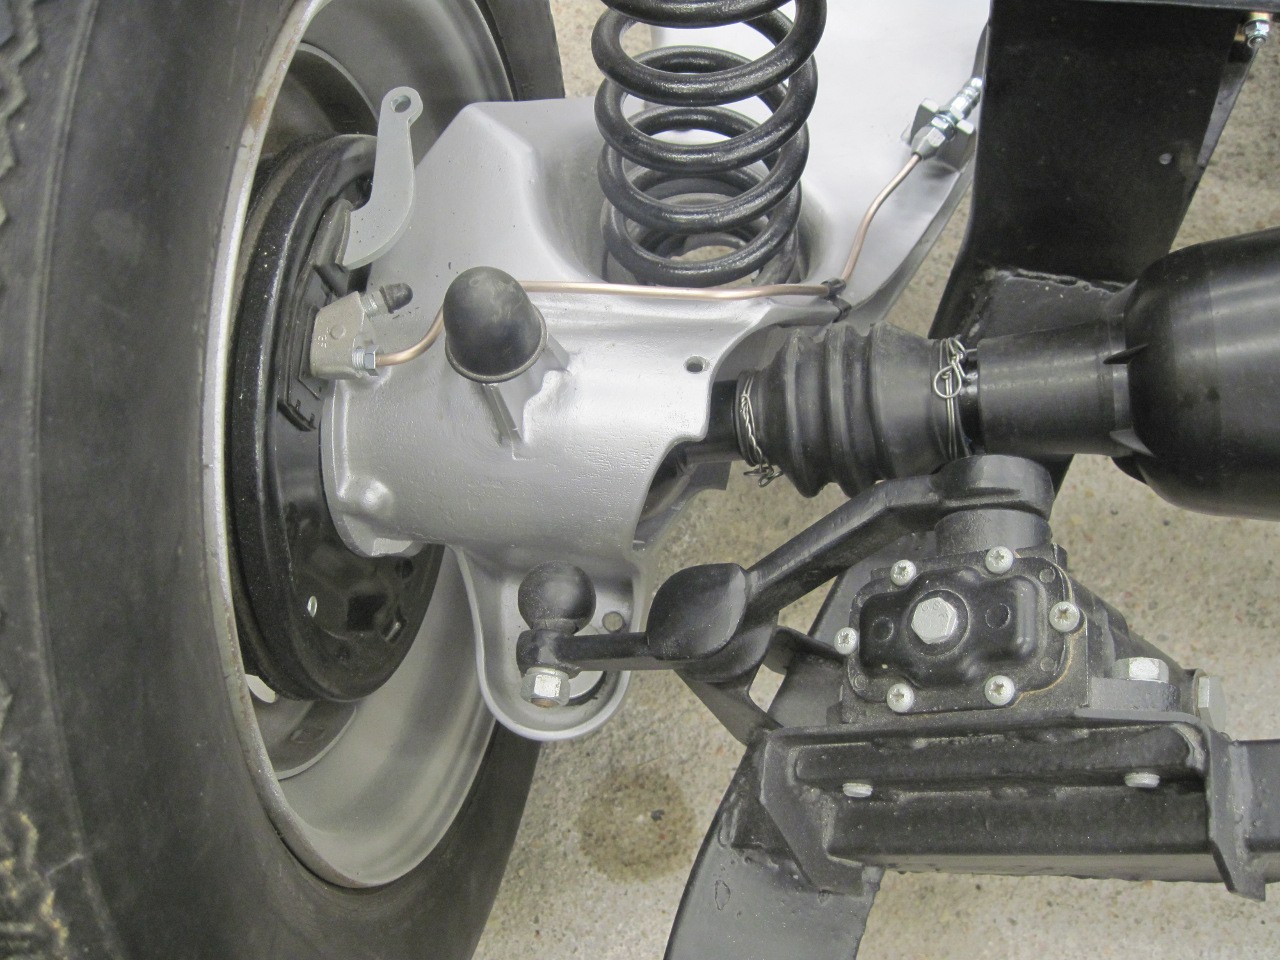
I
pushed on new gaiters for the axle spline joints, then slathered
the splines with a good #2 lithium grease. I had marked the axles
so they would go back on the same side they came from.

Replacing the differential was certainly a lot faster and more pleasant than removing it.
Now, on to the plumbing.
When
stripping the chassis, I tried to leave the brake lines as much intact
as possible, including trying not to distort them too much. I
wanted the option to use them as patterns for the new lines.
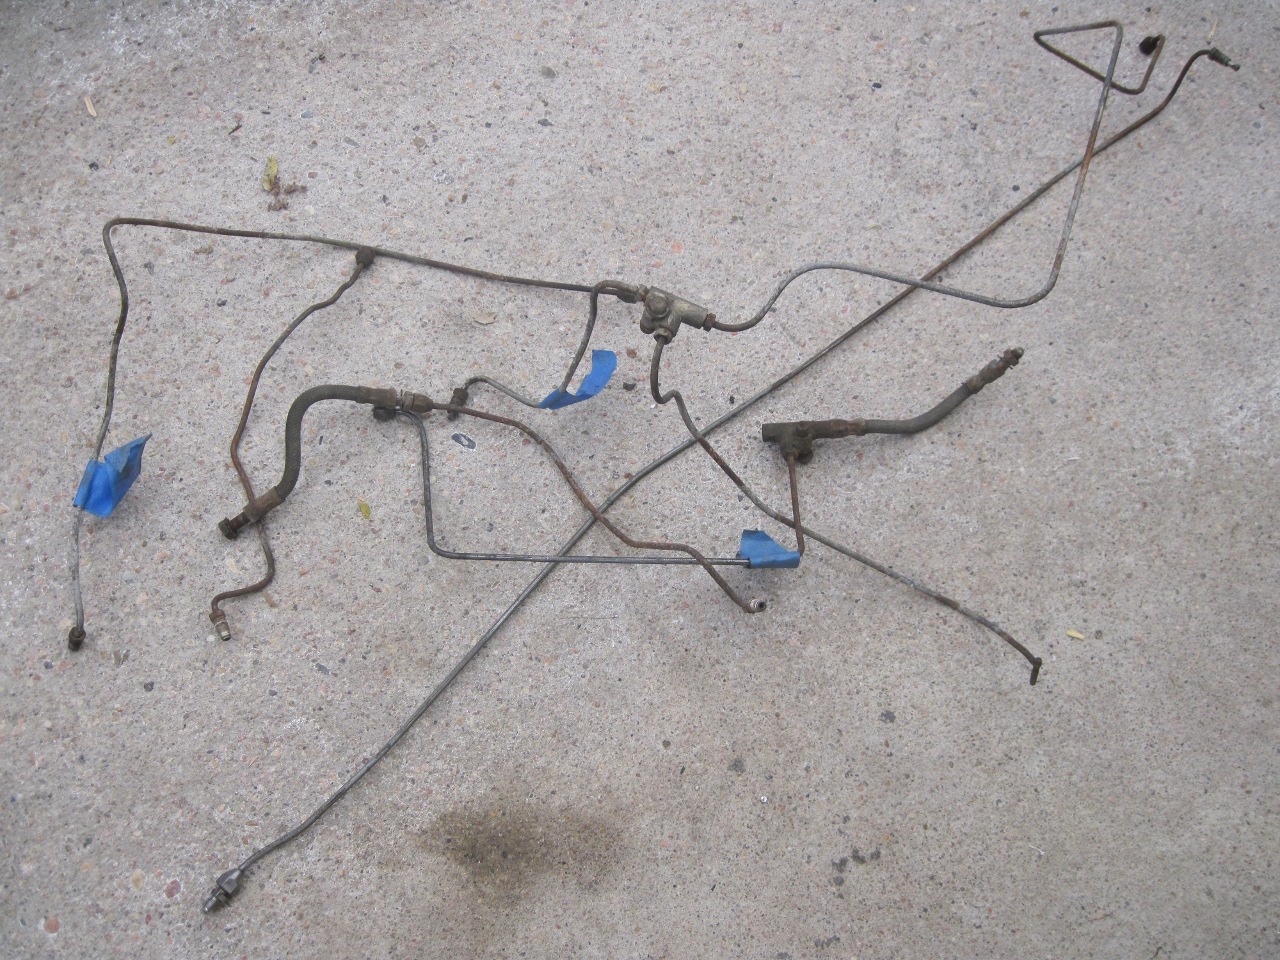
There
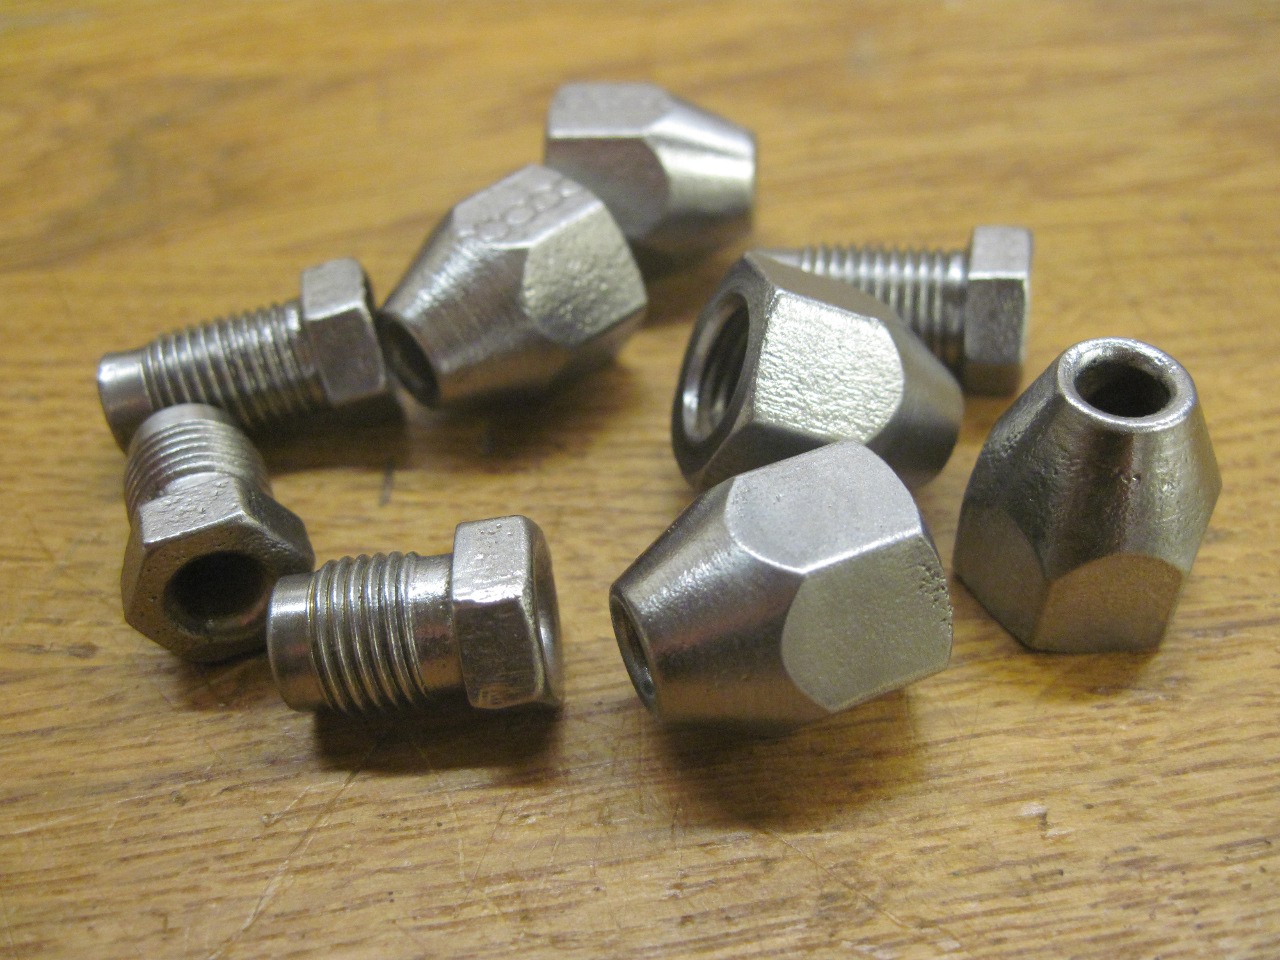
are a lot of similar looking, but different parts in the brake system.
The brake line end fittings come in male and female, three
different thread types (3/8-24, 7/16-20, and M10-1.0). Also,
there are two types of tubing end flares--a double flare, and a bubble
flare, and one joint sealed with a copper washer. Having the old
parts helped keep it all straight. I mostly reused the old
fittings after a good cleaning and replate, but a few were beyond
saving due to some unfortunate violence during disassembly.


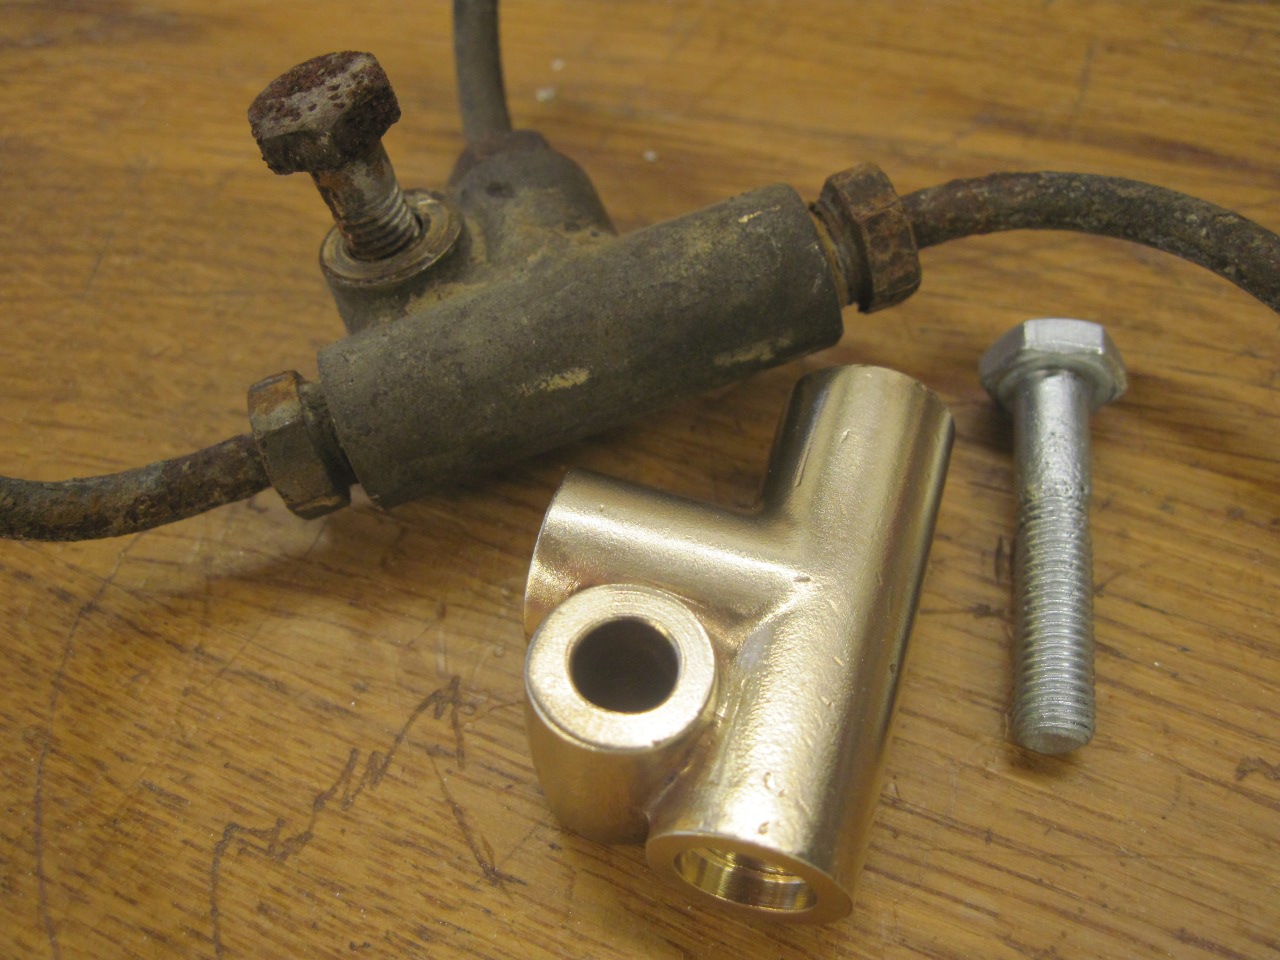
The brass T fittings cleaned up well.
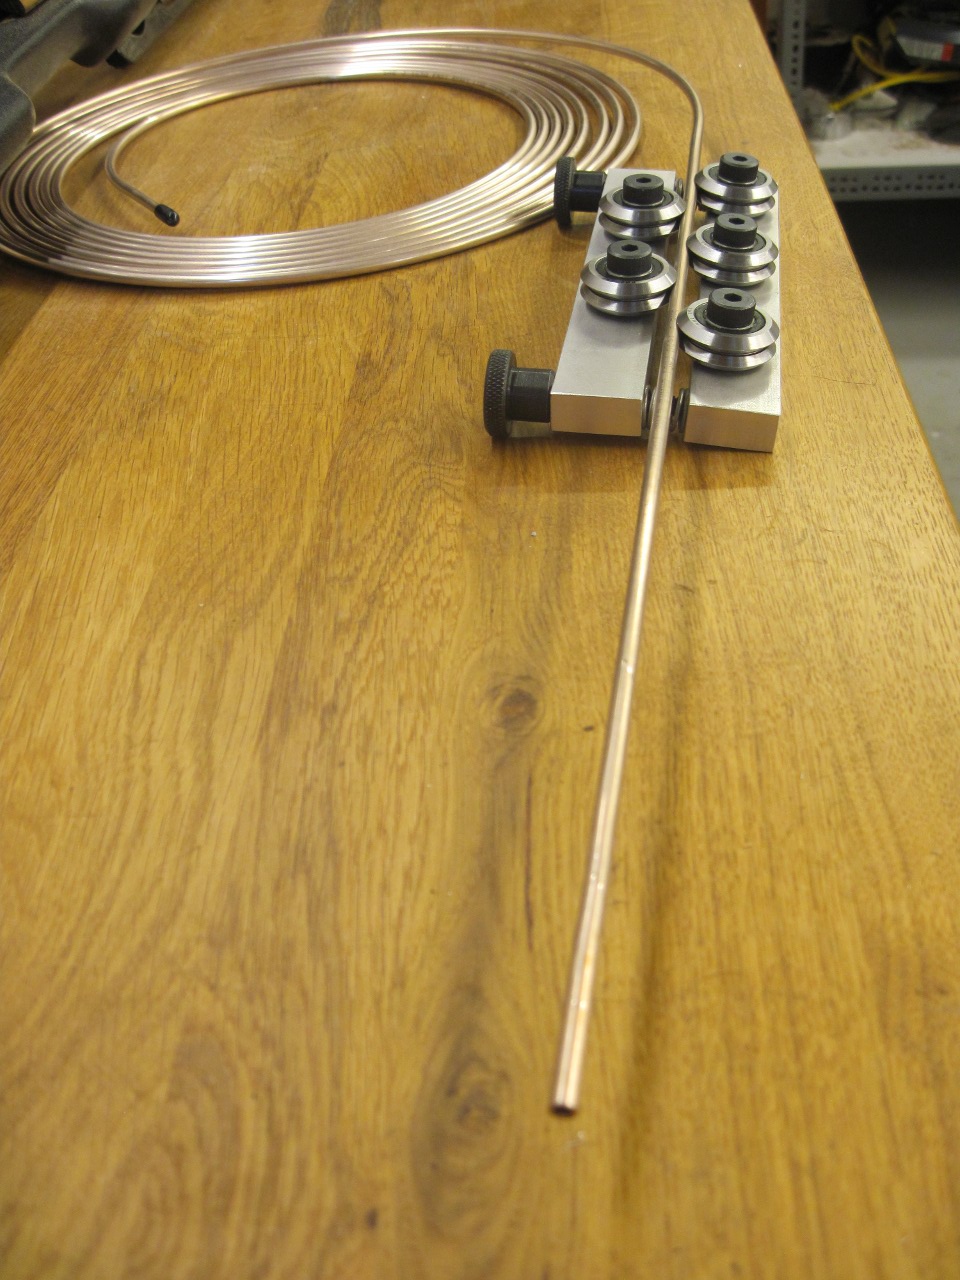
For
tubing material, I chose a copper-nickle alloy. It is sold under
various trand names, like Ni-Copp and Cunifer. Its main
advantages are that it is easy to form by hand, is difficult to kink,
and is very resistant to corrosion.

I
found that forming the tubing neatly was much easier if it was
straight, rather than the rather rumpled way it comes off the coil.
This little home-made tube straightener worked a treat.
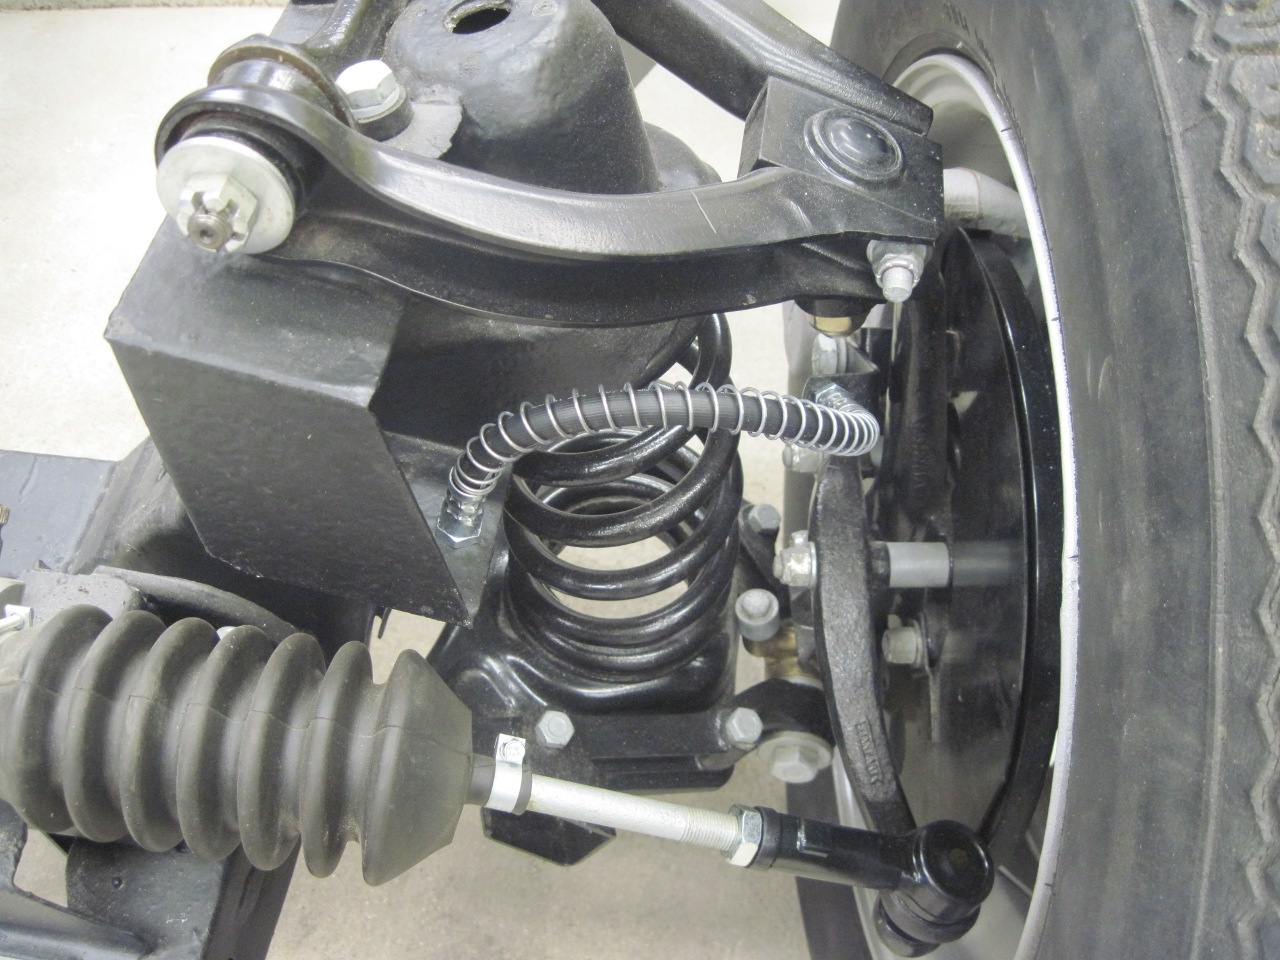
To
get started, I mounted the flex hoses at all four corners, and the
brass T fittings. This gave me beginning and end points for all
the tubes.
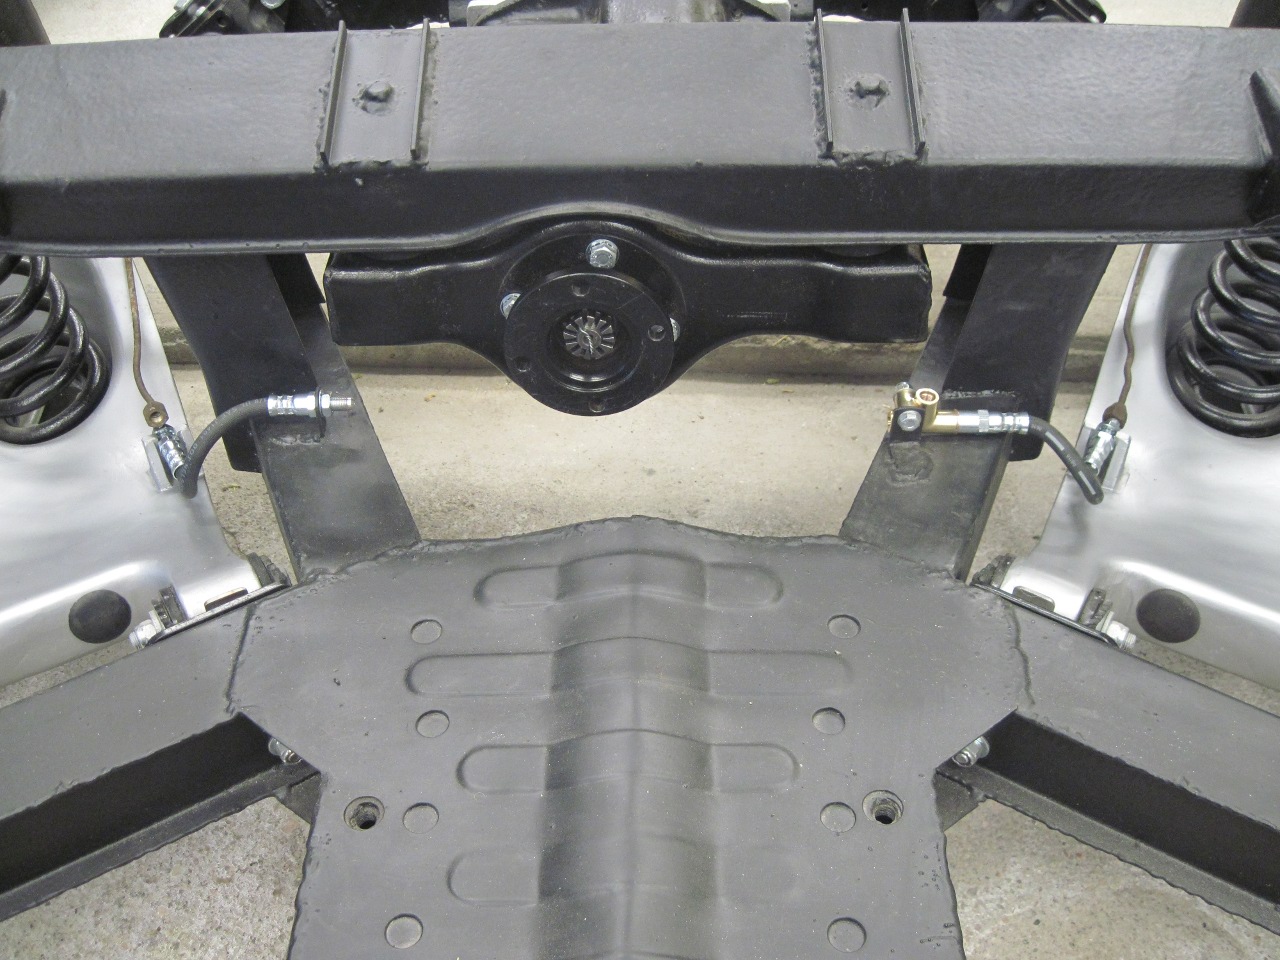
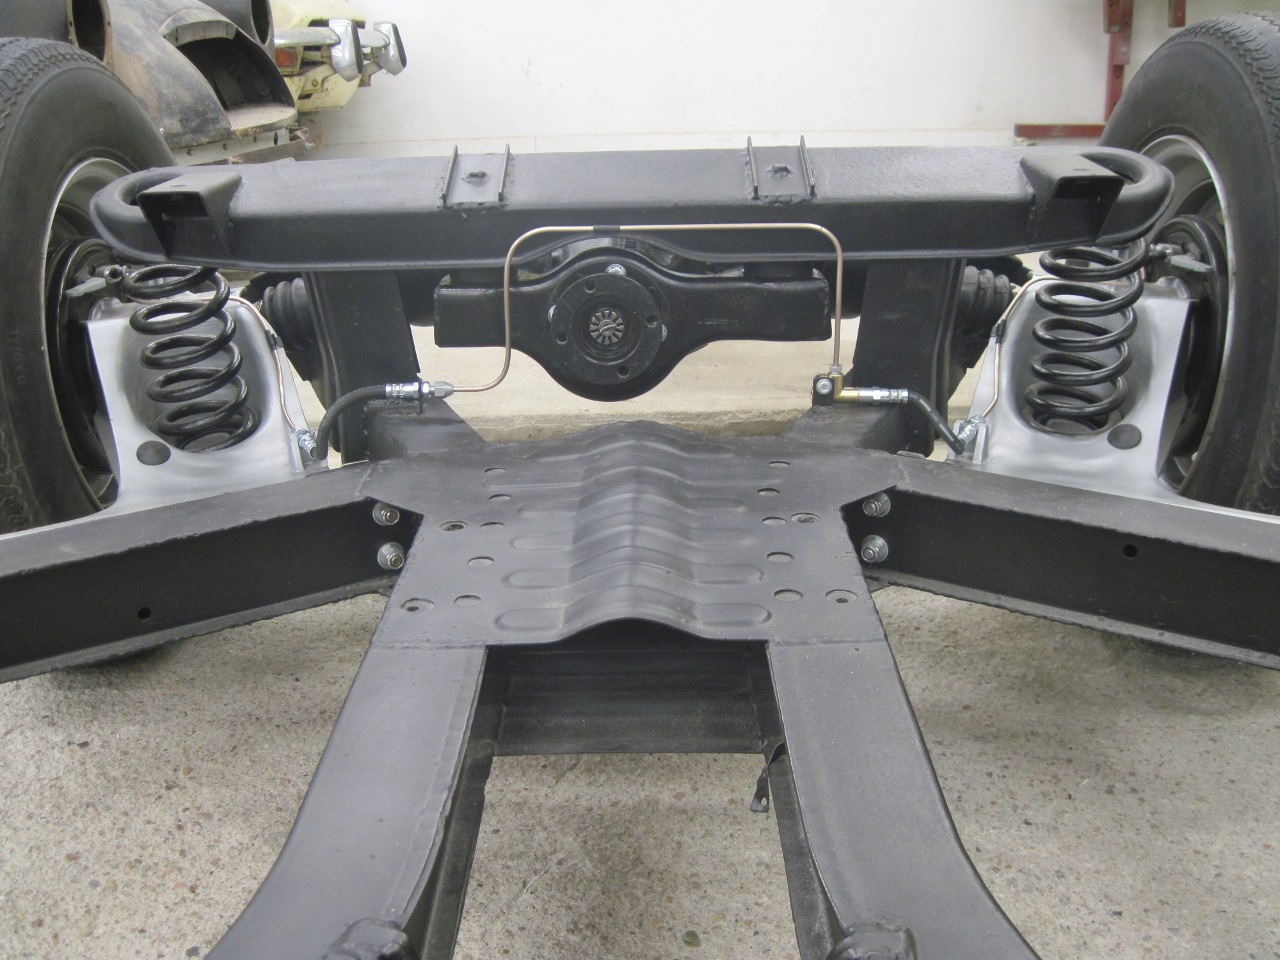
This
is the left-to-right crossover pipe for the rear brakes. The
little piece of heat shrink tubing is where a fixing clip goes, but
it's on backorder.

Matching the old pipes gave an approximate fit. It took some fiddling to get it right.

The rear is done.
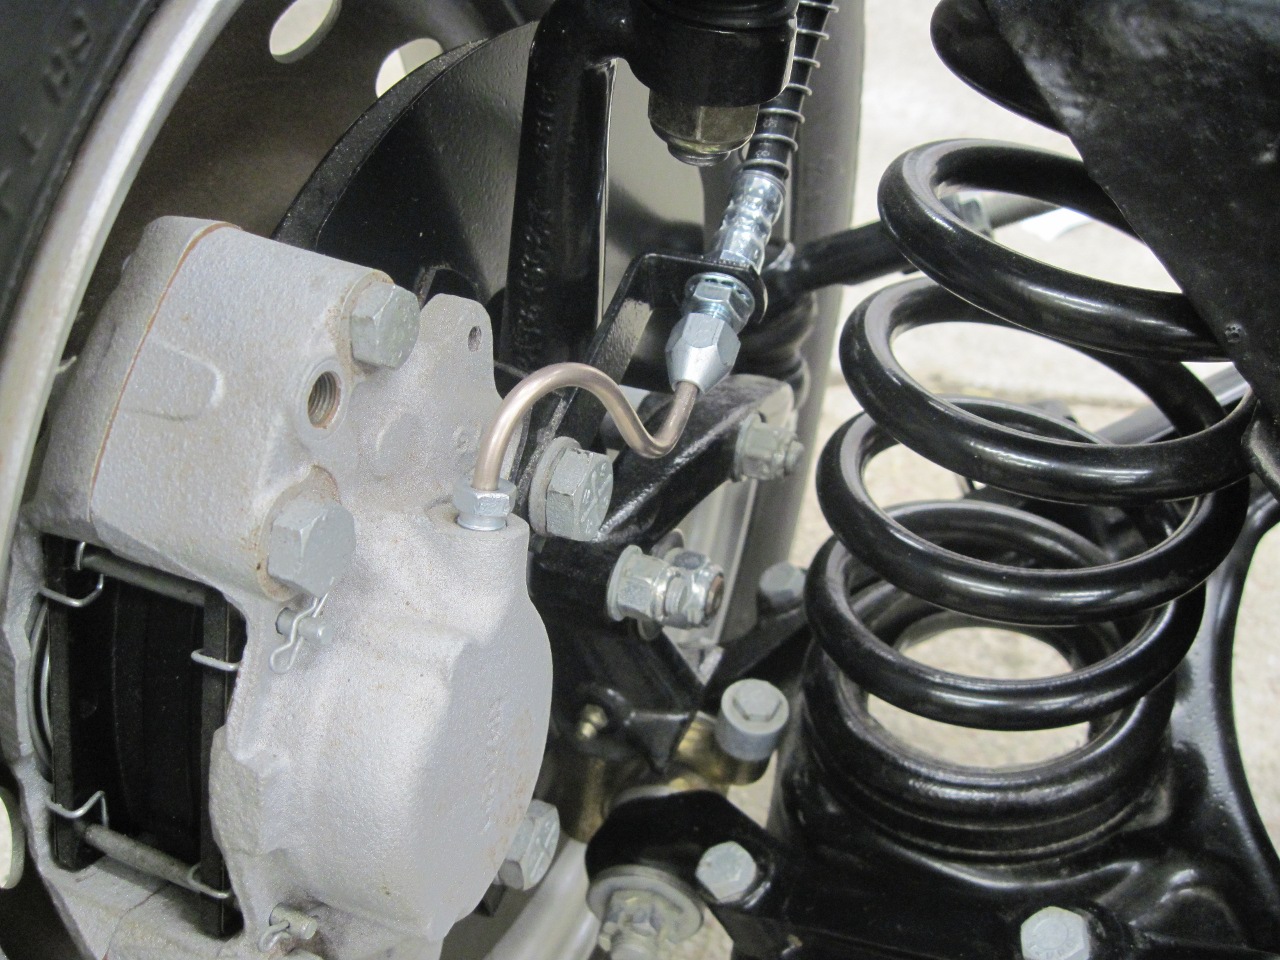
Crossover for the front.
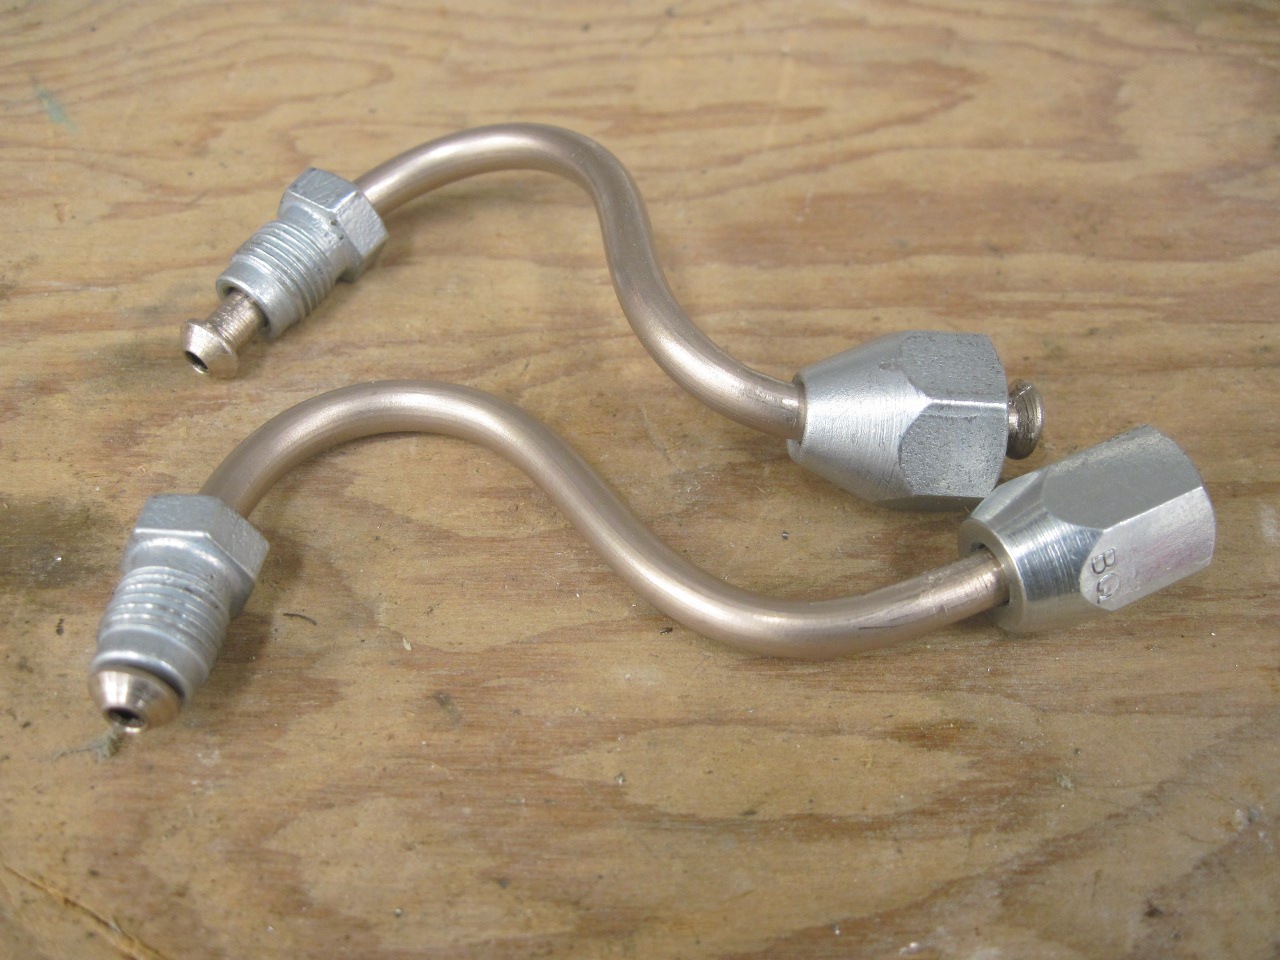
And
the two little pipes between the front calipers and the flex hose.
Even though the pipe bends relatively easily, small, thight bends
like this are hard on the hands.
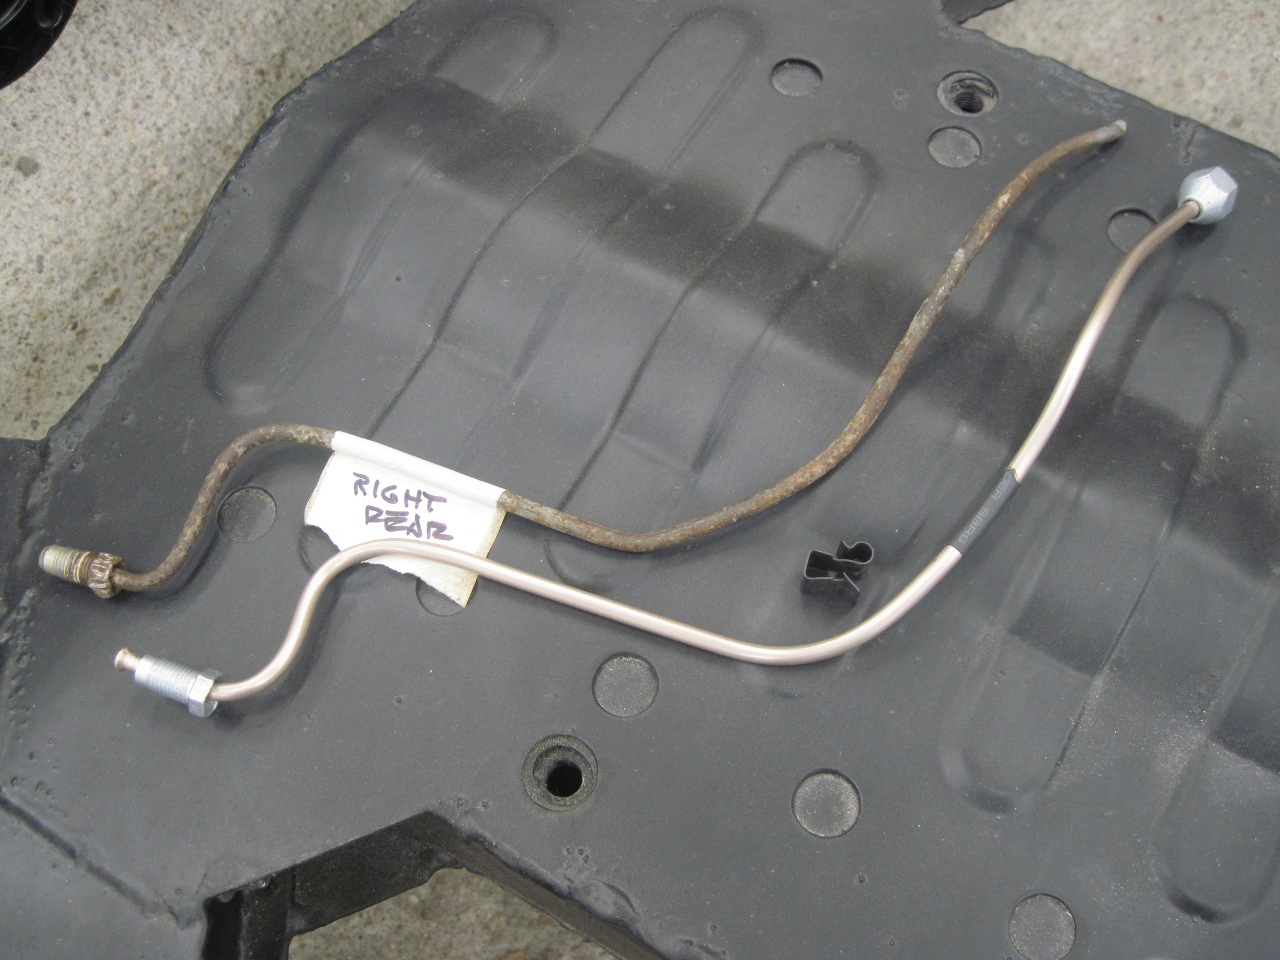
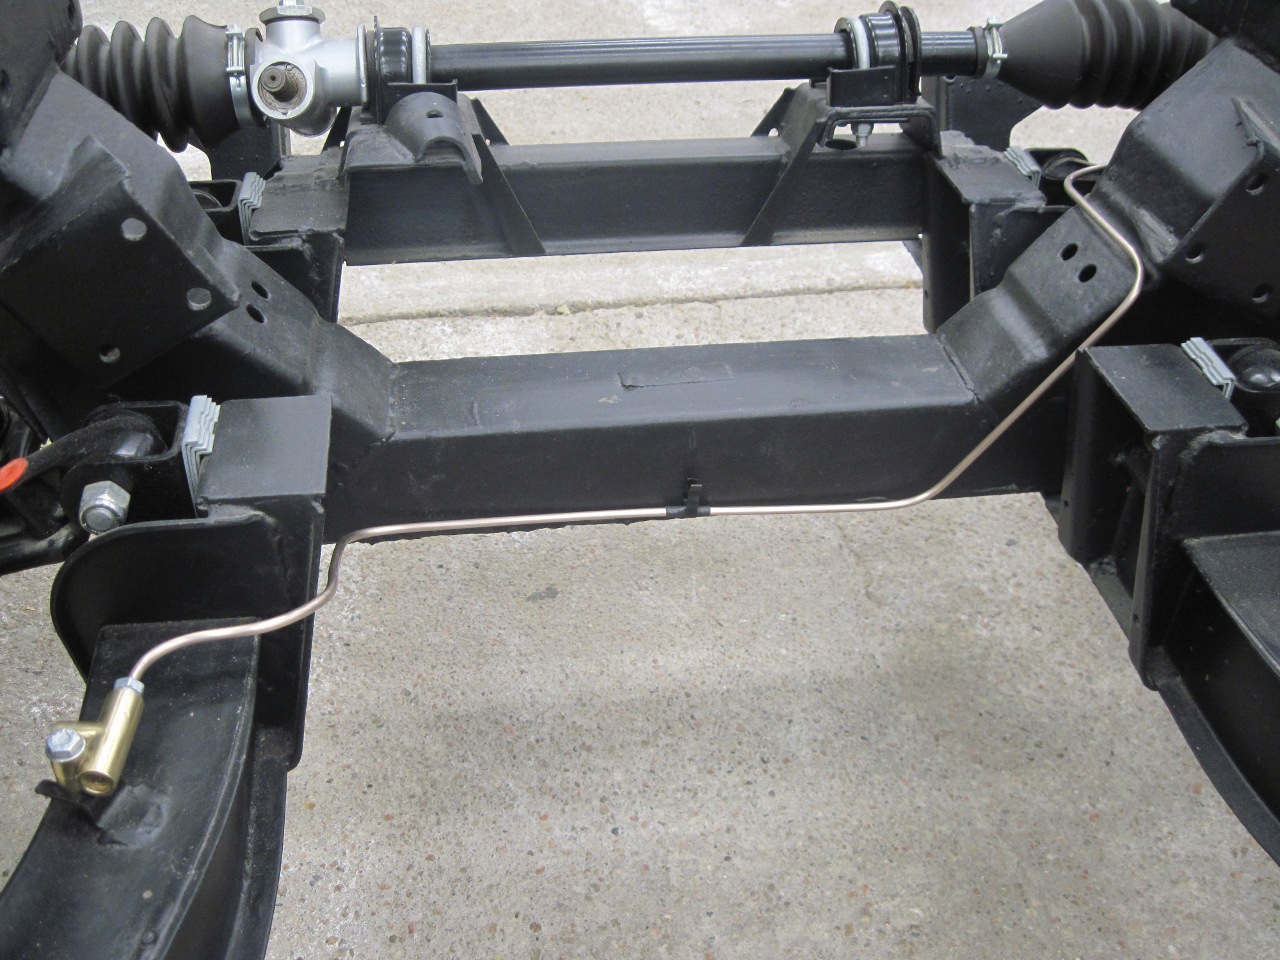
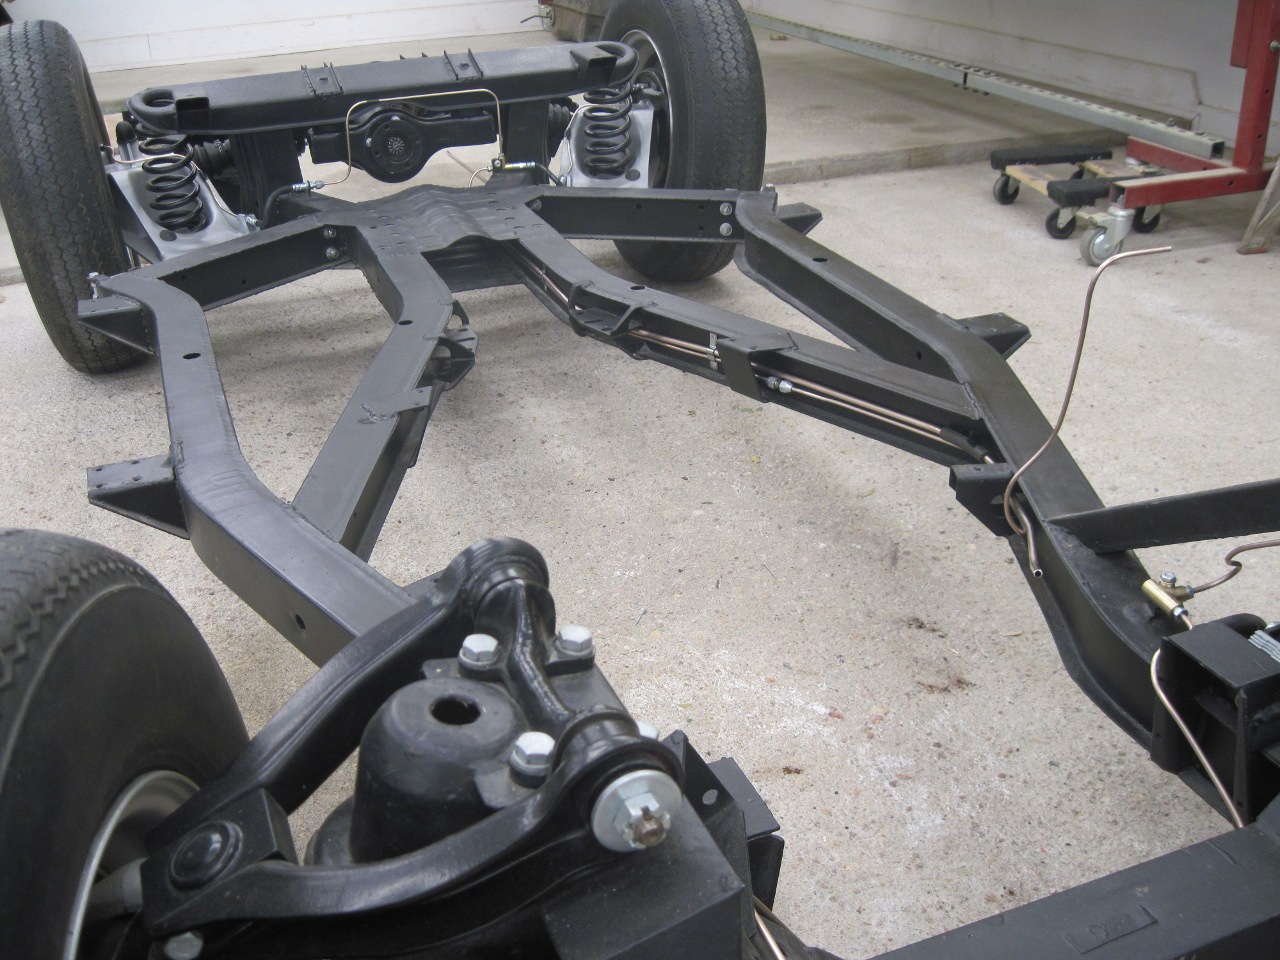
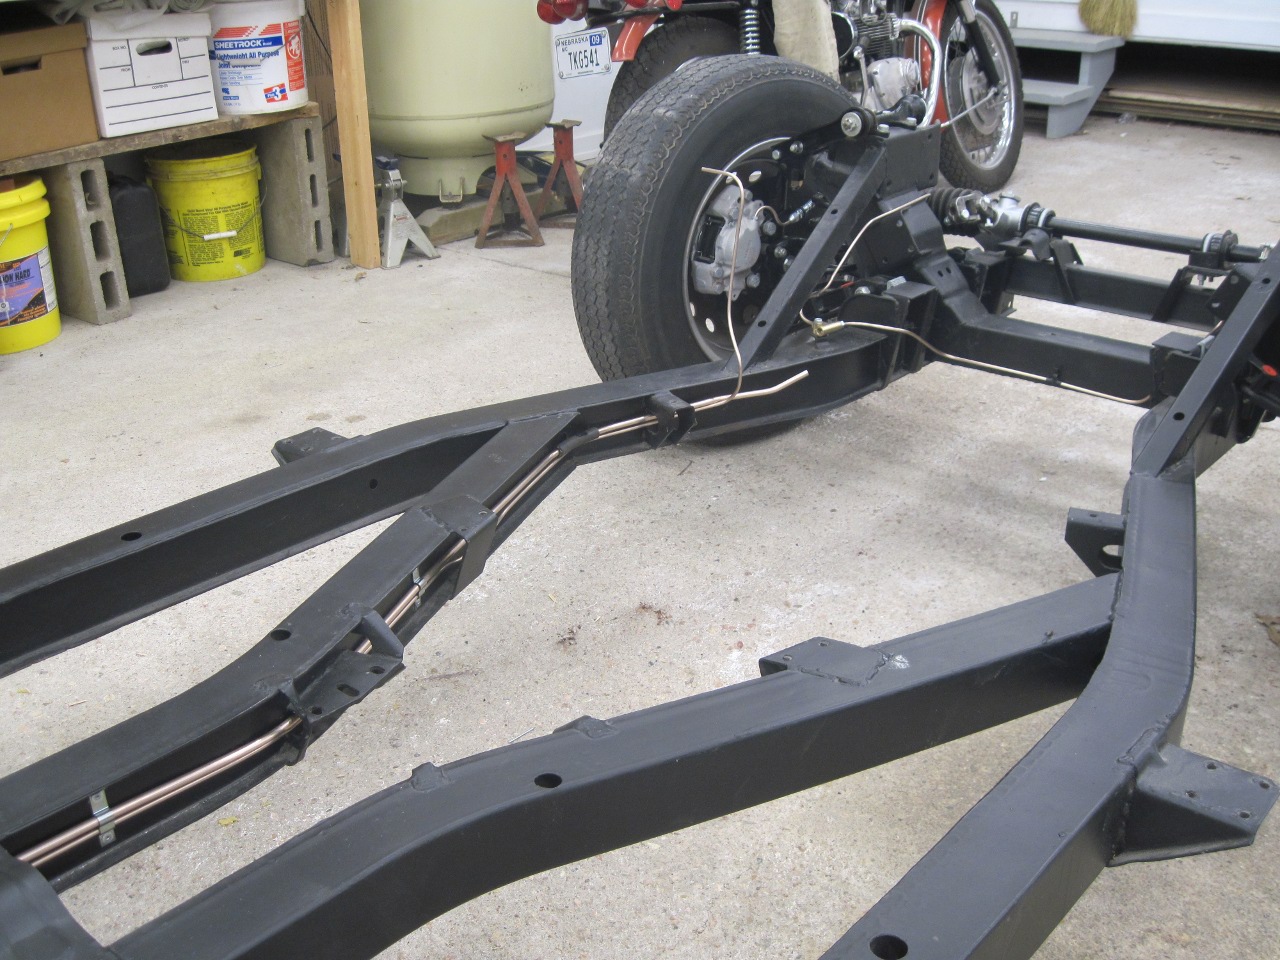
Then
there is the long pipe that connects the rear brakes to the PDWA.
A 5/16" fuel line of the same copper nickle material parallels
the 3/16" brake line.
Now I have to figure out a way to get the rest of the drive train out of my basement shop.
To my other TR6 Pages
Comments to: elhollin1@yahoo.com