To my other TR6 pages
December 22, 2014
Heater
[Click the pics for a larger view]
The
TR6 heater is conventional in every way. A two speed
fan draws air in from the cowl vent and delivers it to the dash
vents and to a heat exchanger warmed by engine coolant. A flap at
the bottom of the unit can vary the proportion of warmed air delivered
to the defroster vents and toe space.
The heater unit is an awkward looking sheet metal assembly. Mine was dirty and rusty.
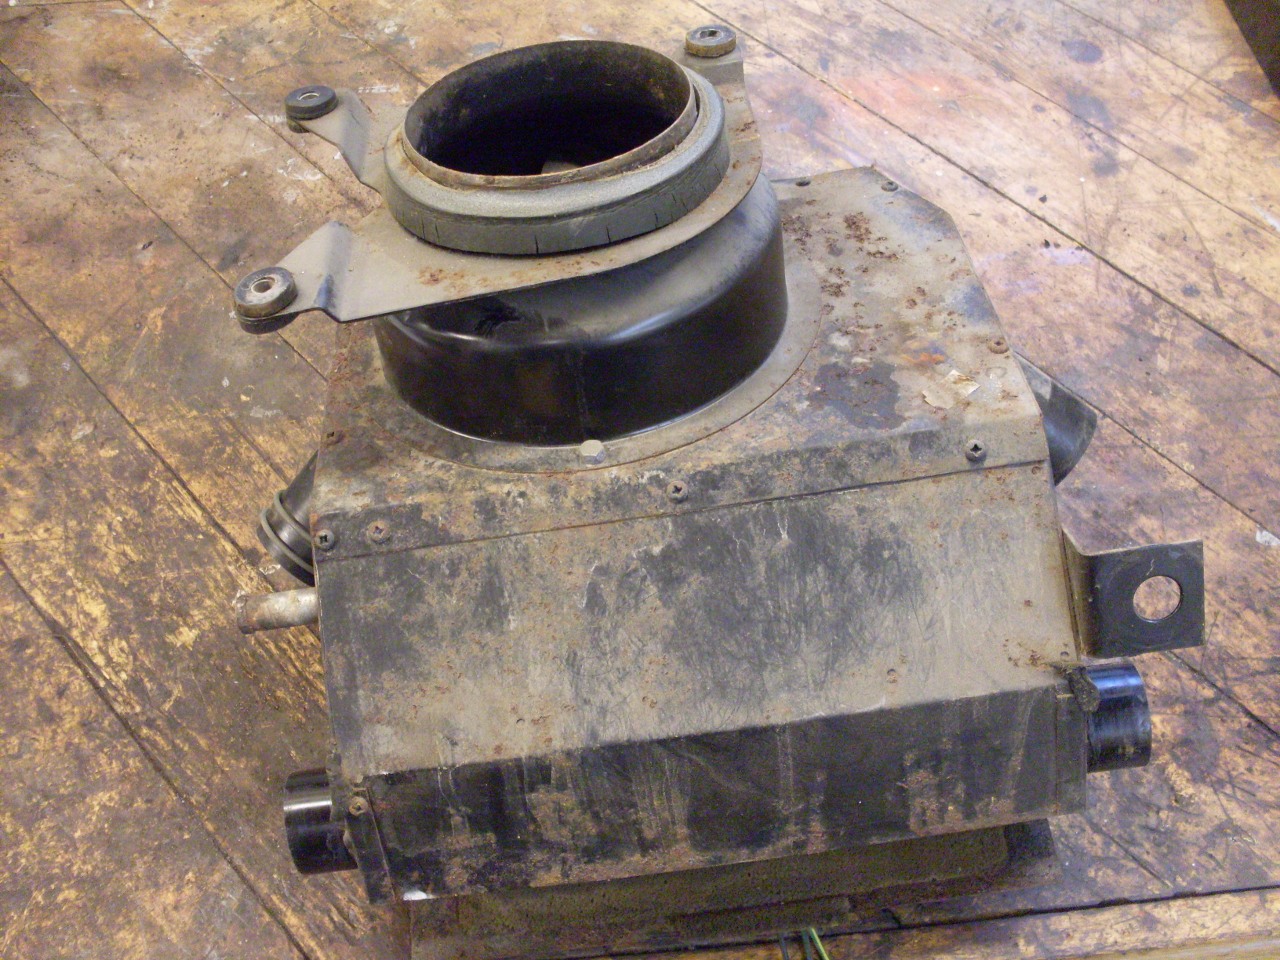
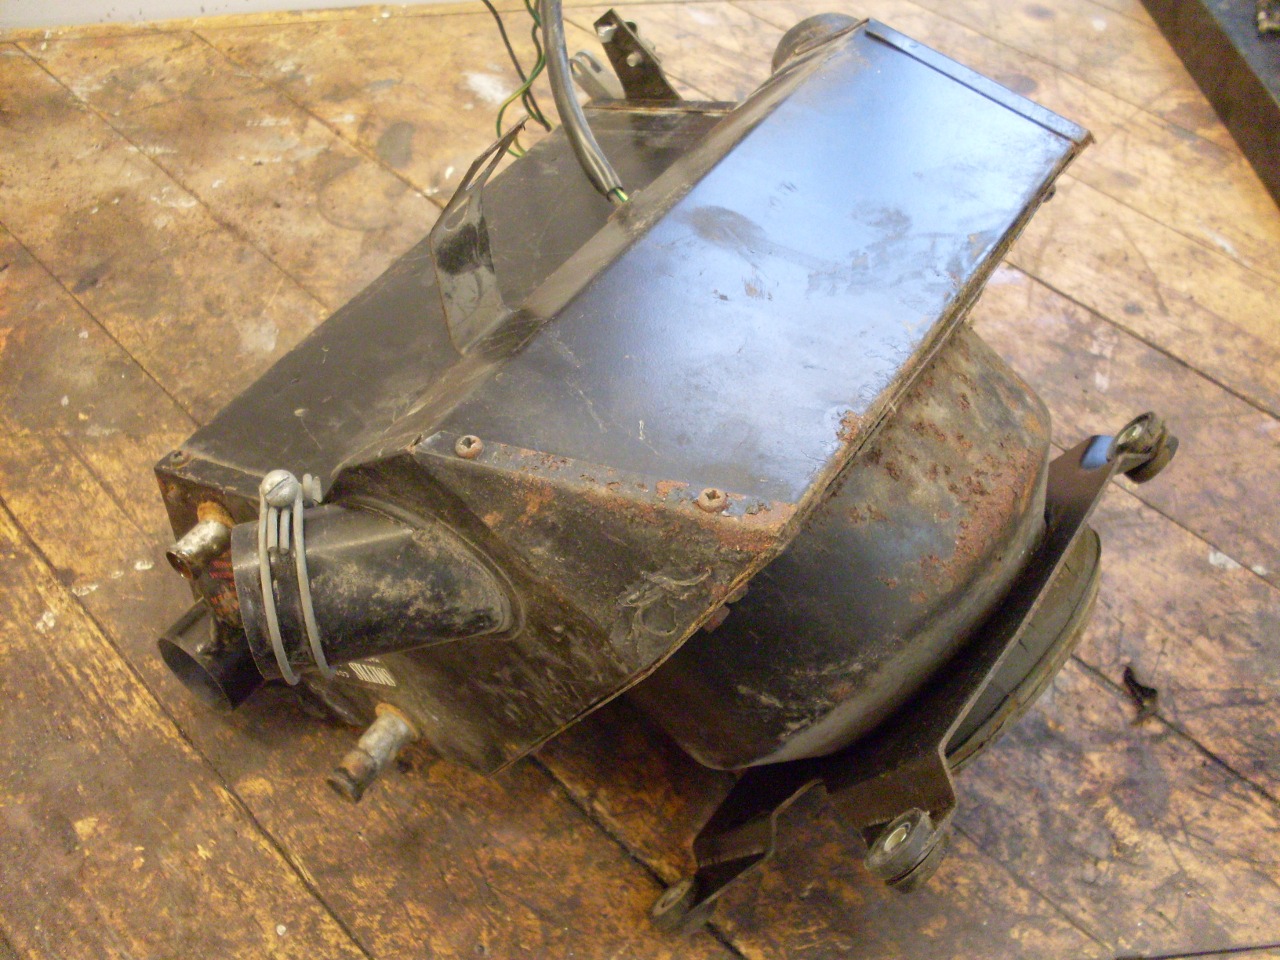
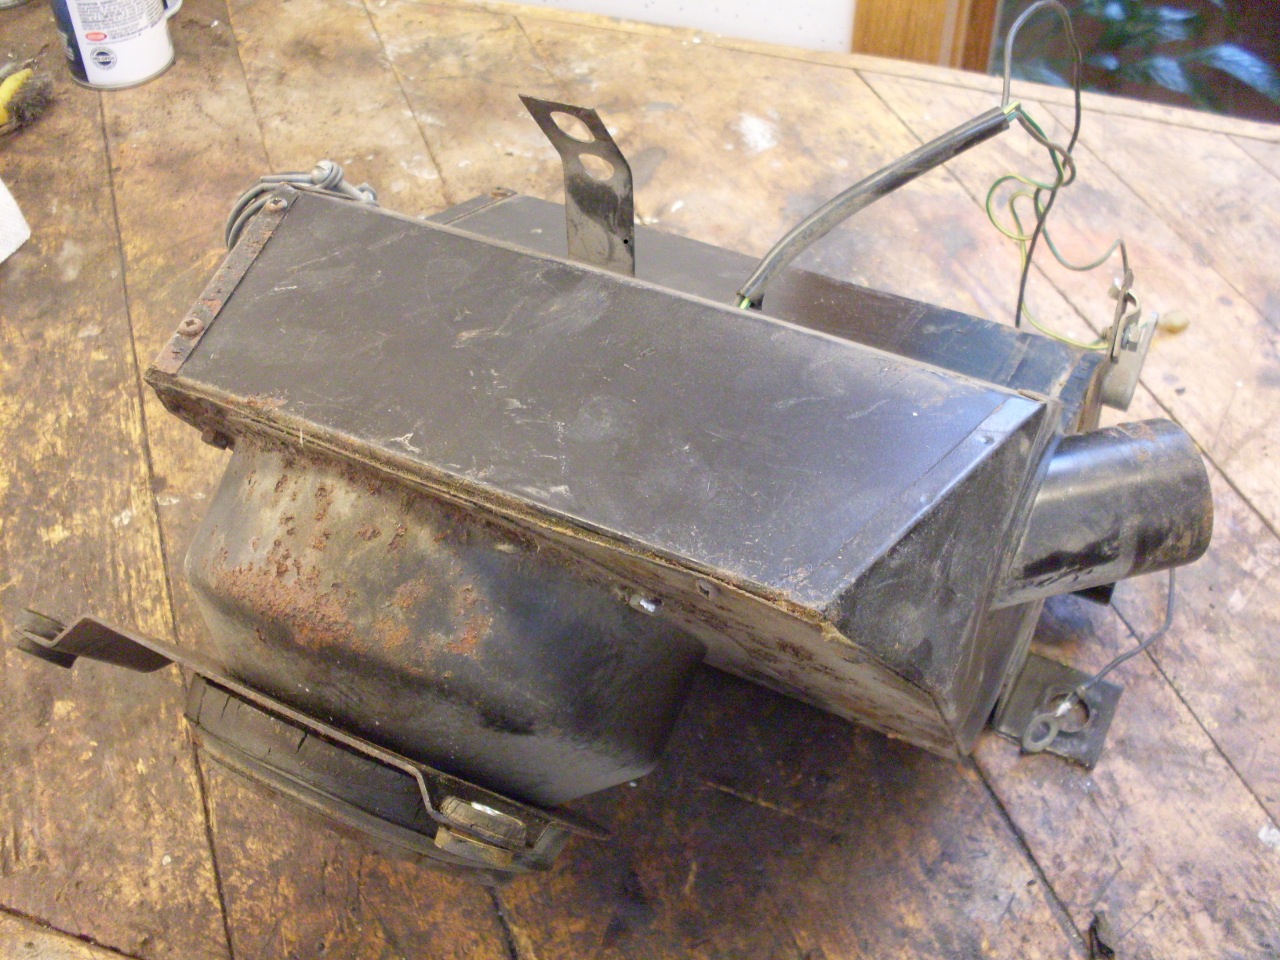
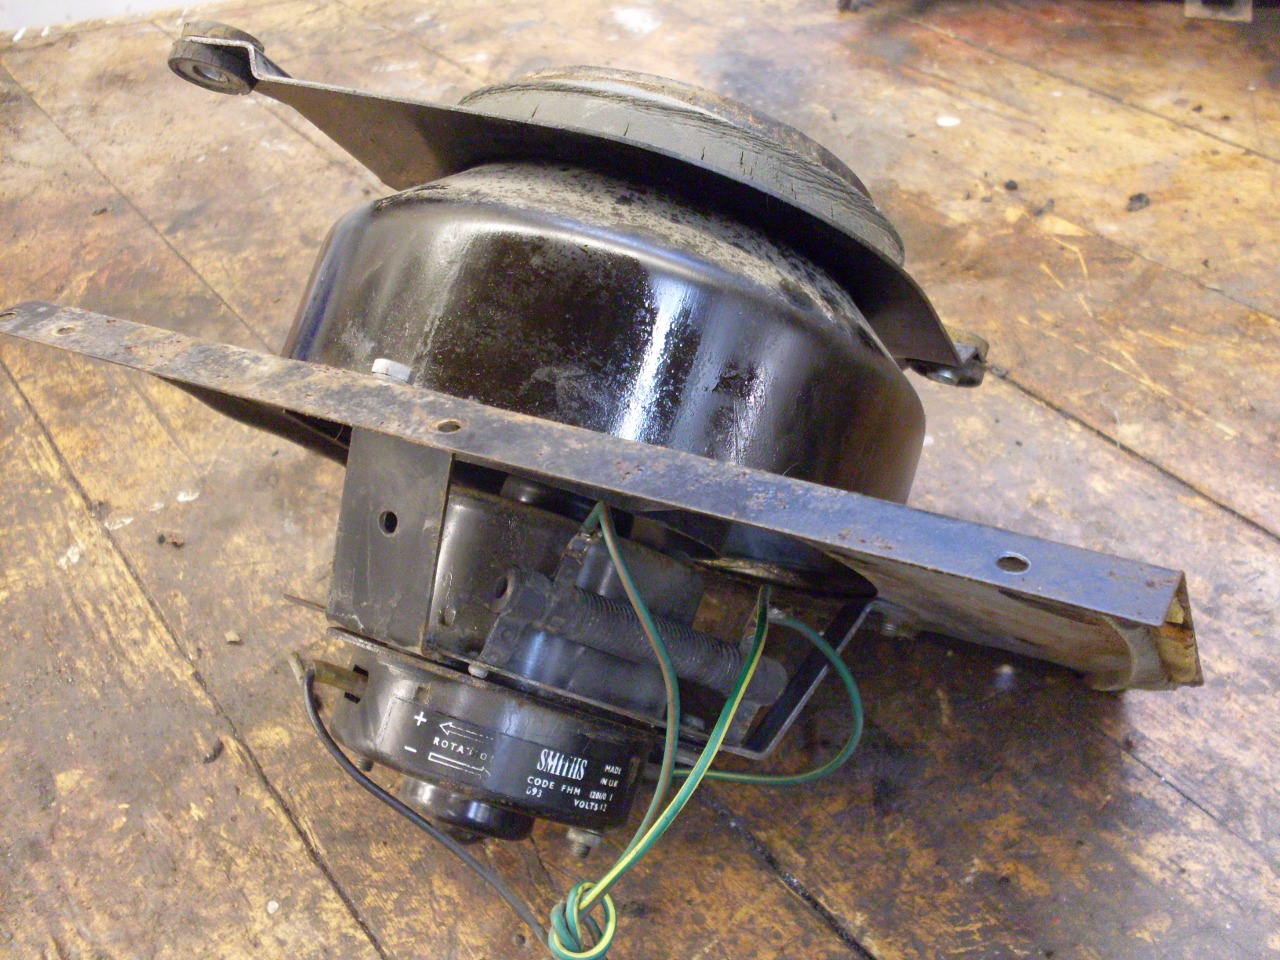
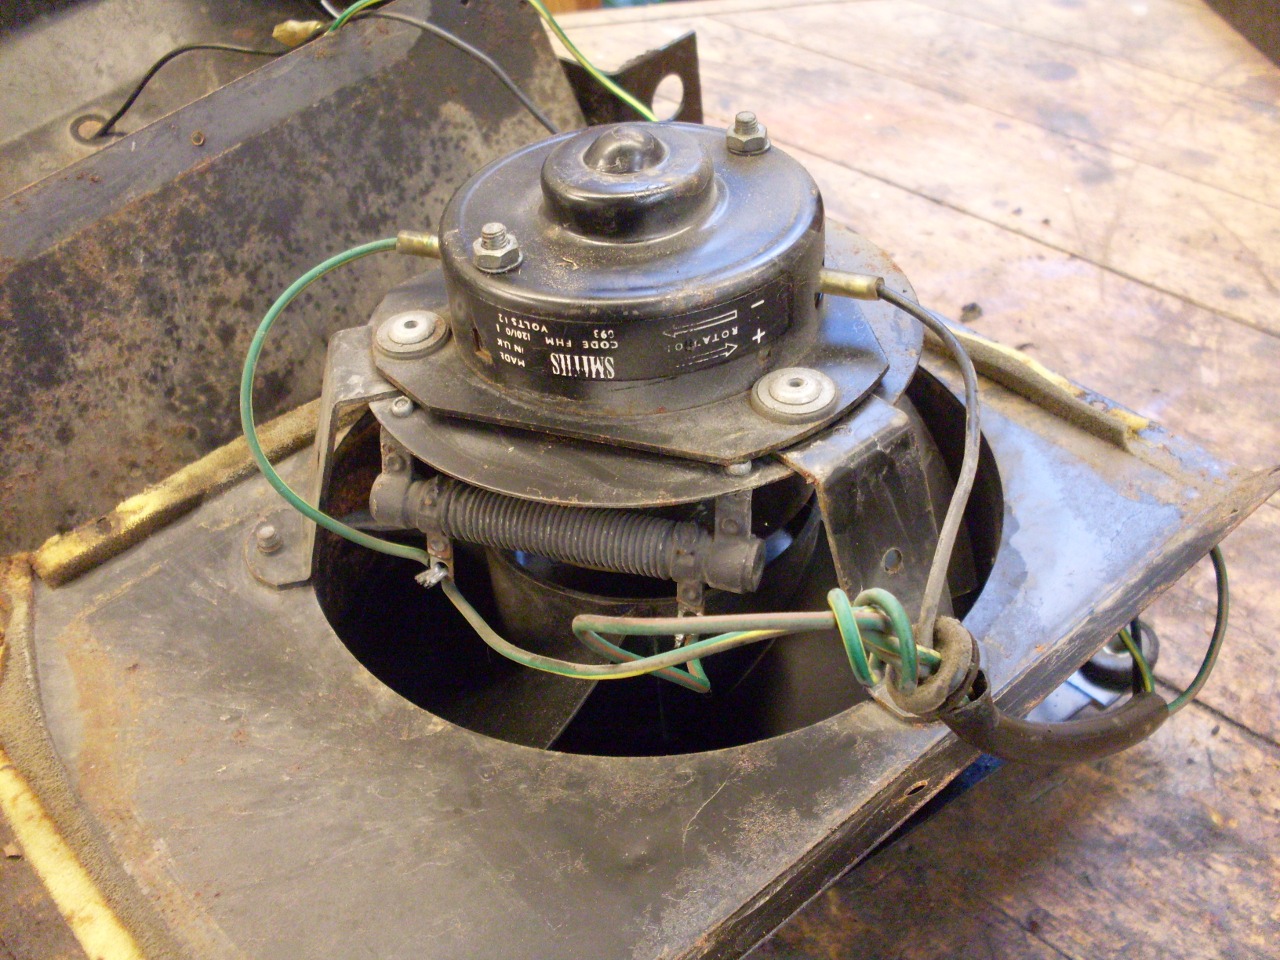
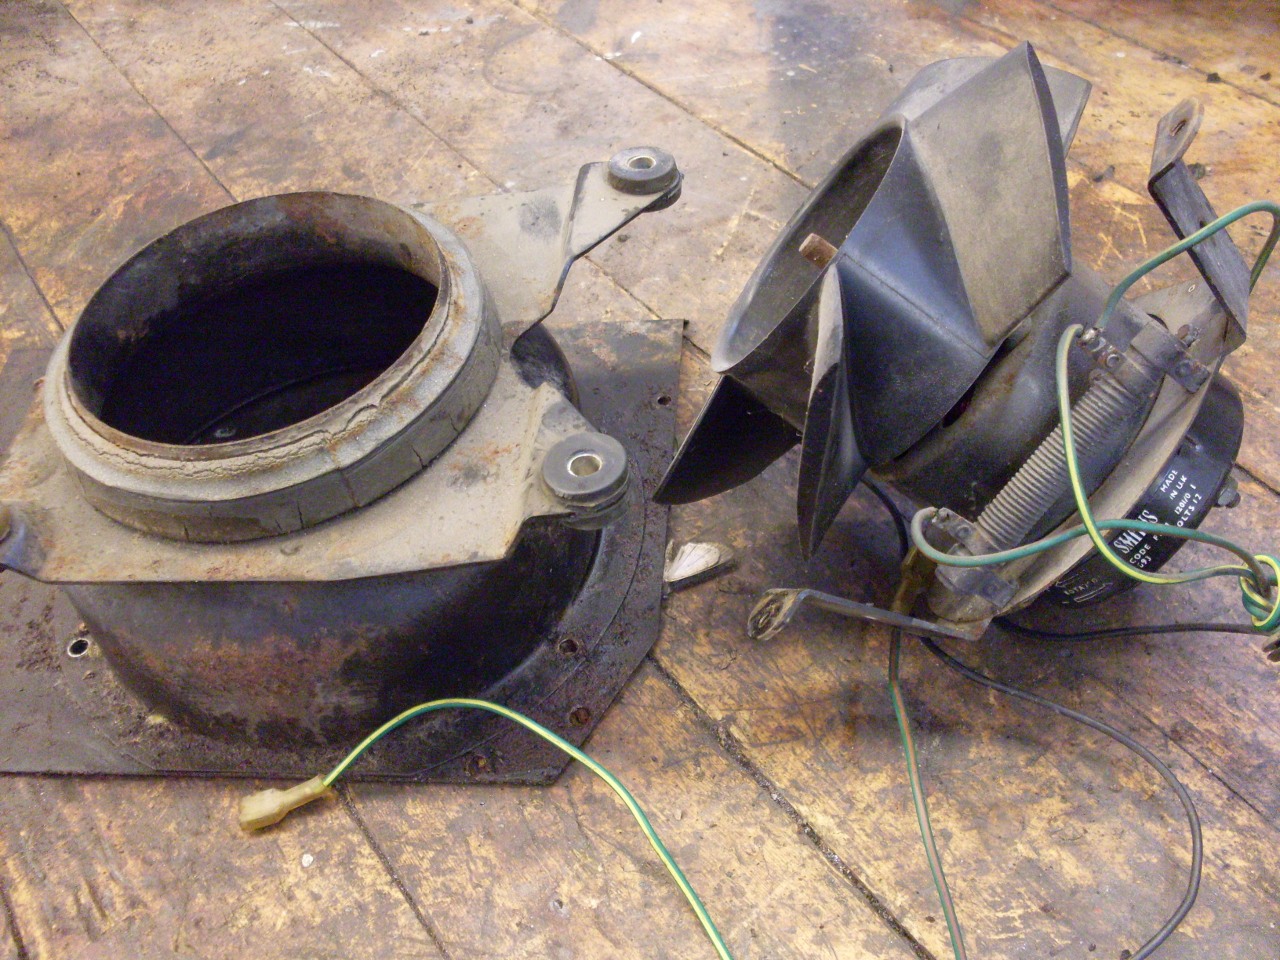
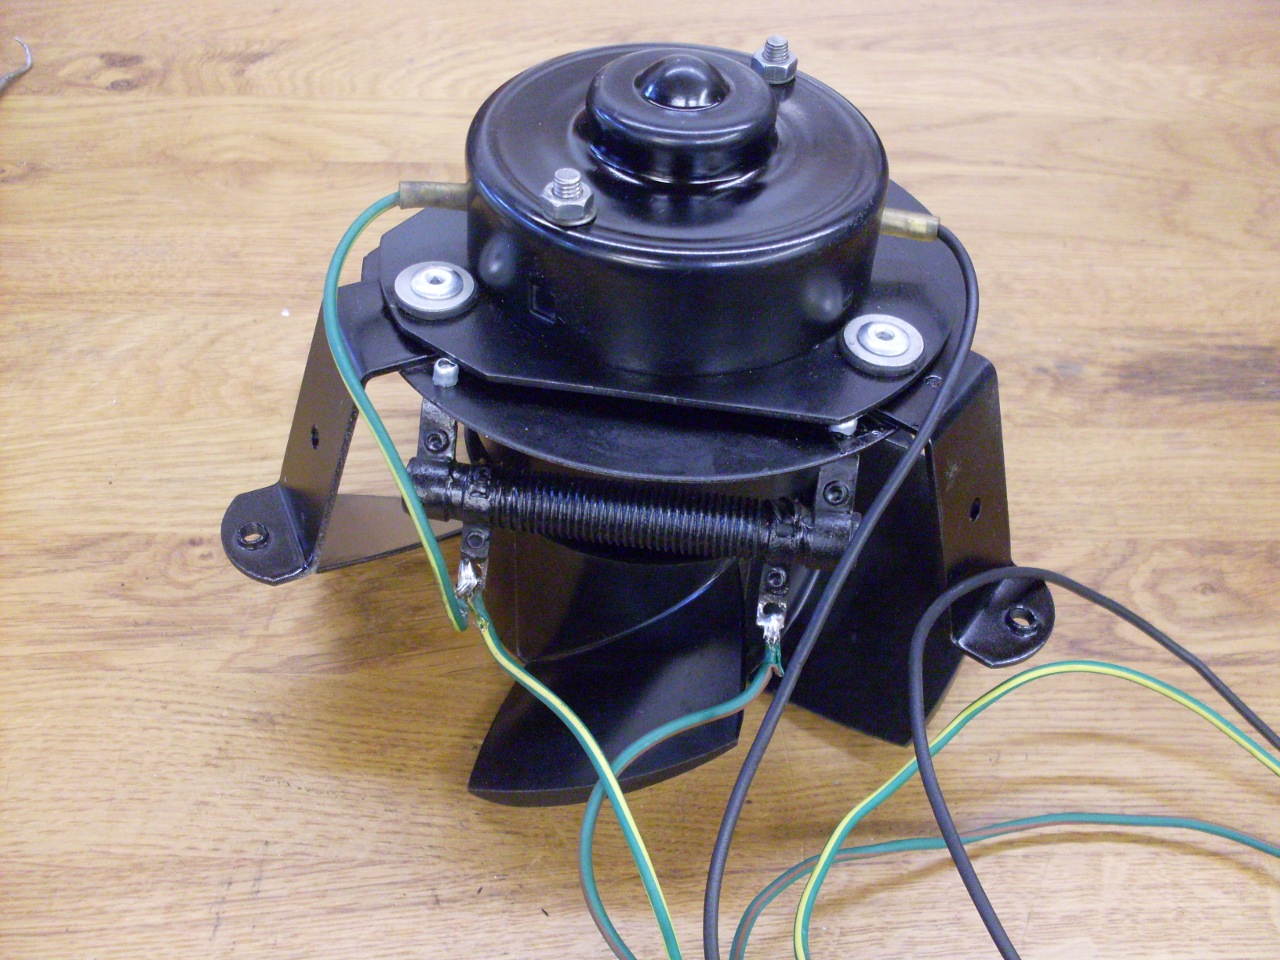
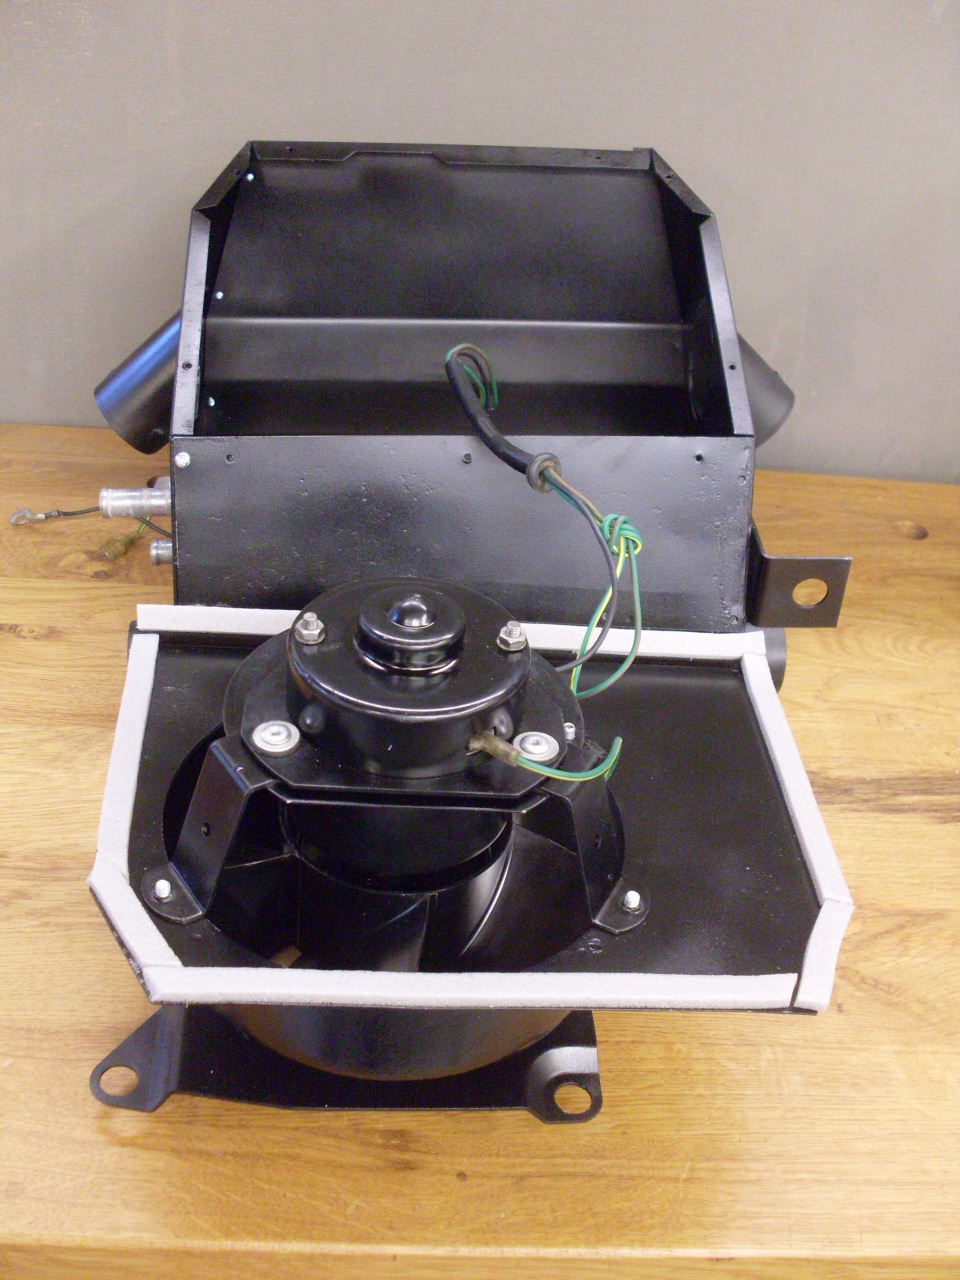
Popping the top cover exposed the fan motor. The wire wound resistor is how the slow fan speed is accomplished.
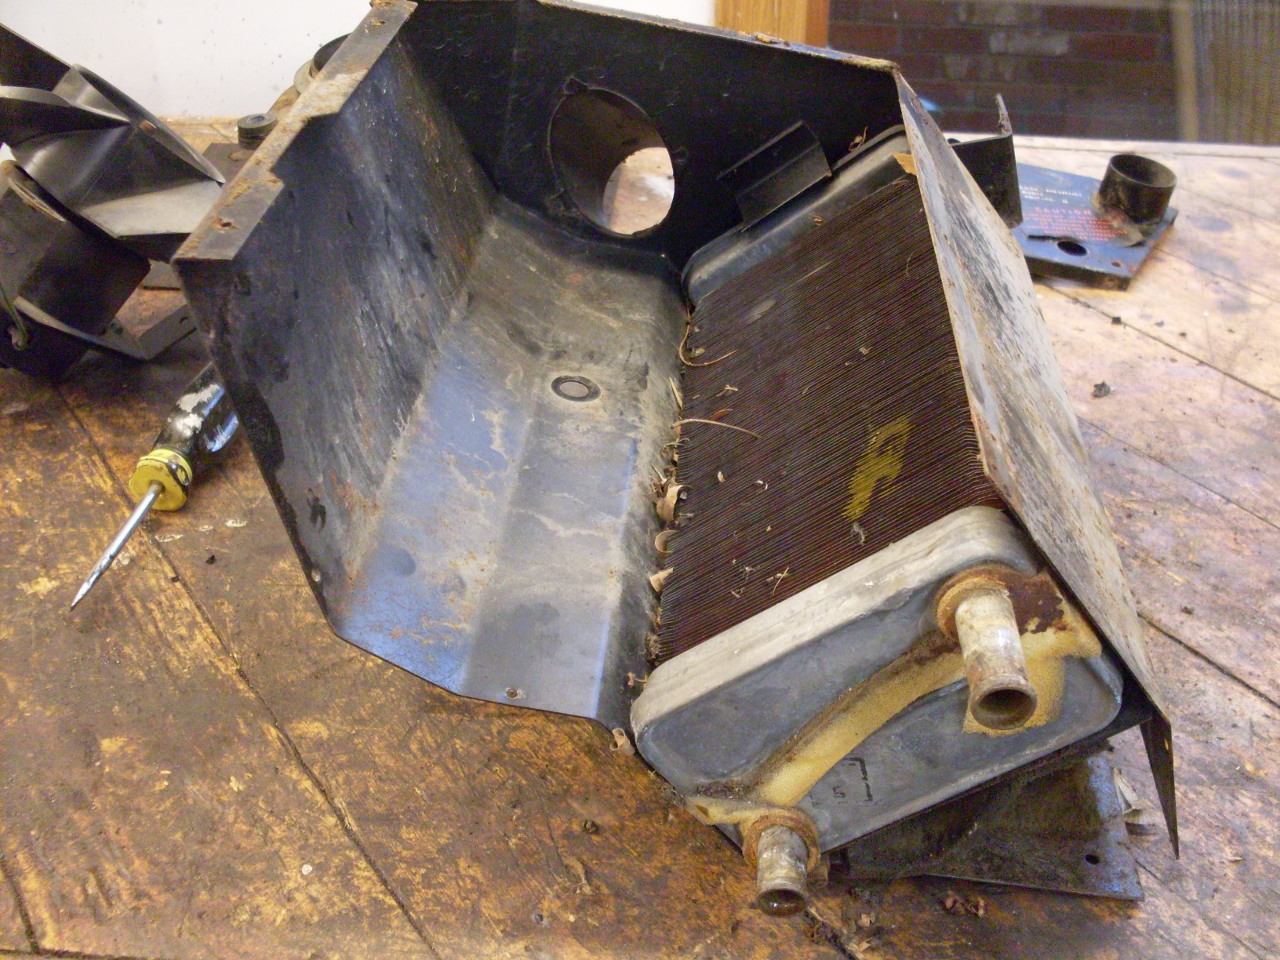
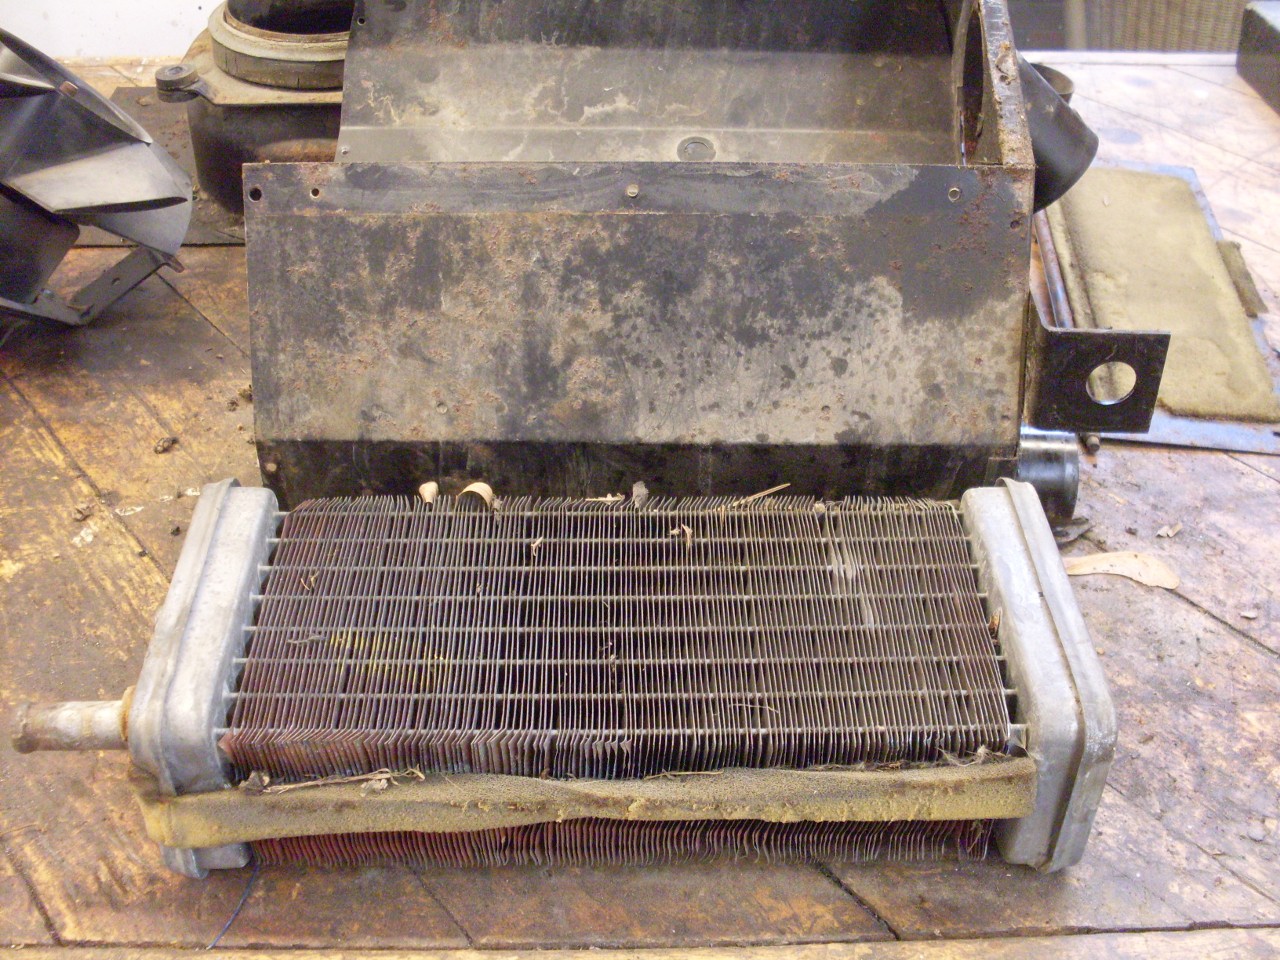
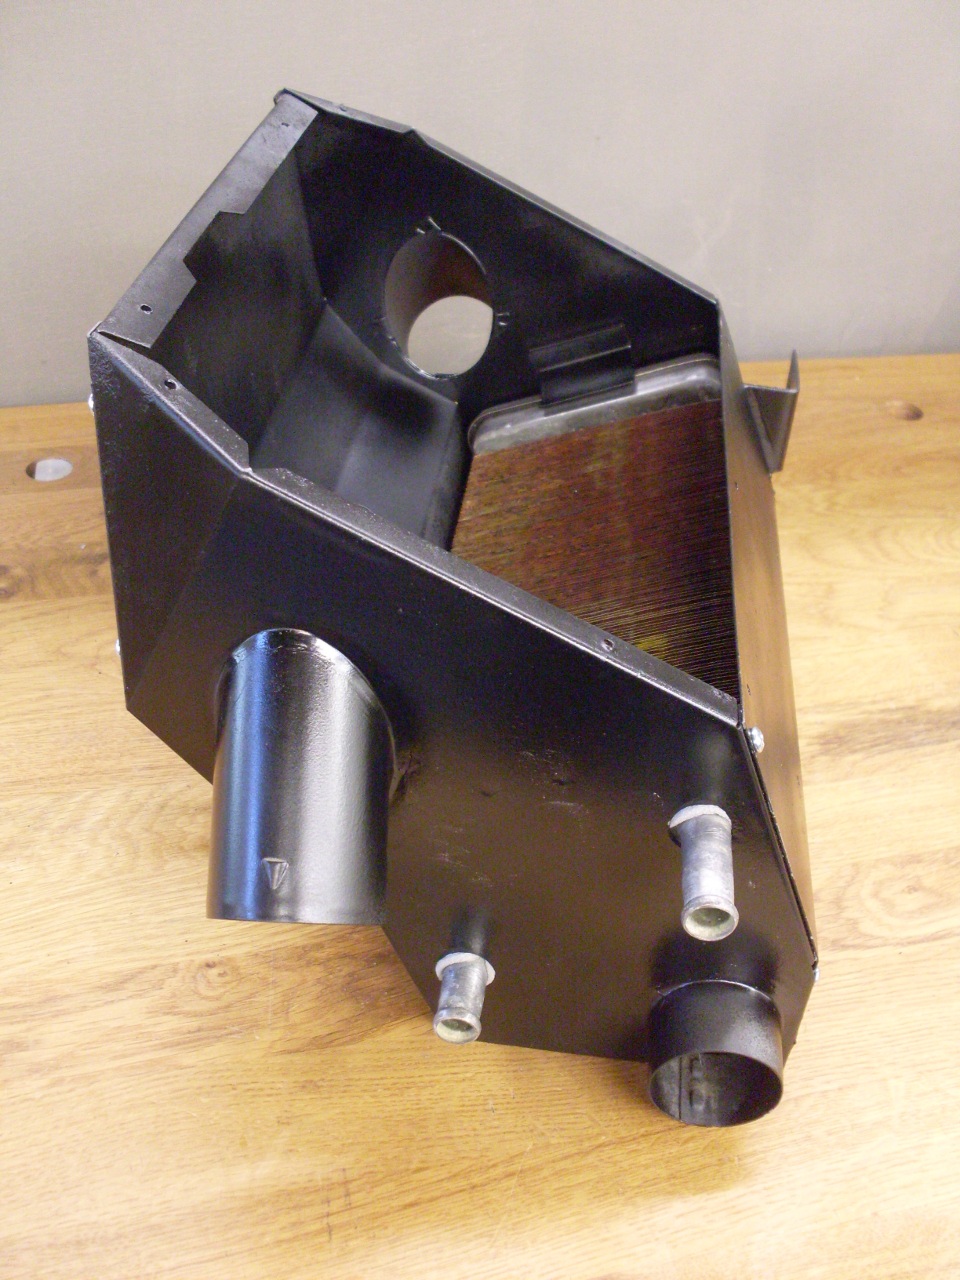
This is the heater core.
Addressing
the fan motor first, though the outside was crusty, the inside was
pretty clean. The brushes had plenty of meat left on them, and
the commutator was in decent shape.
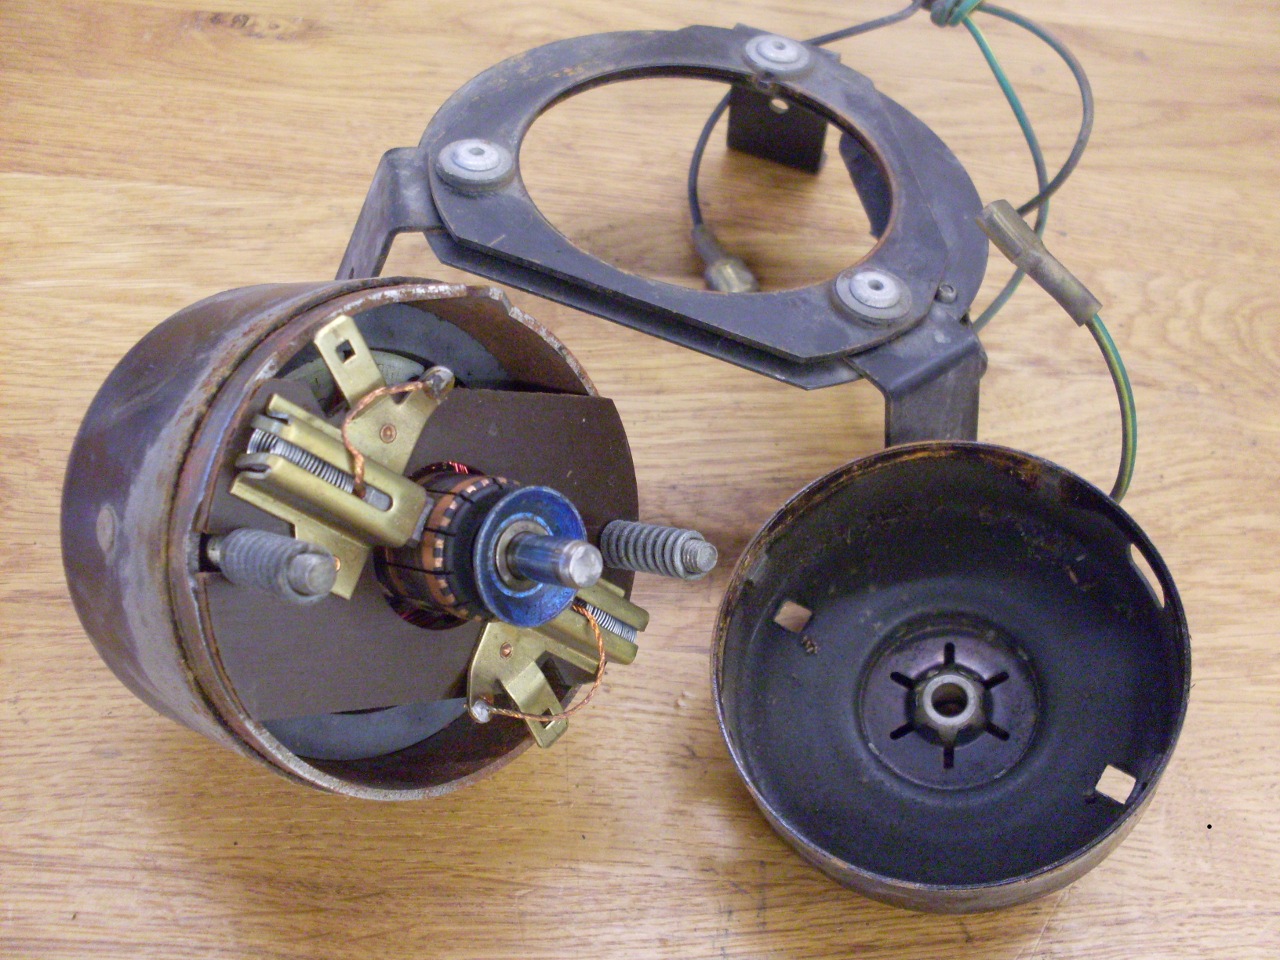
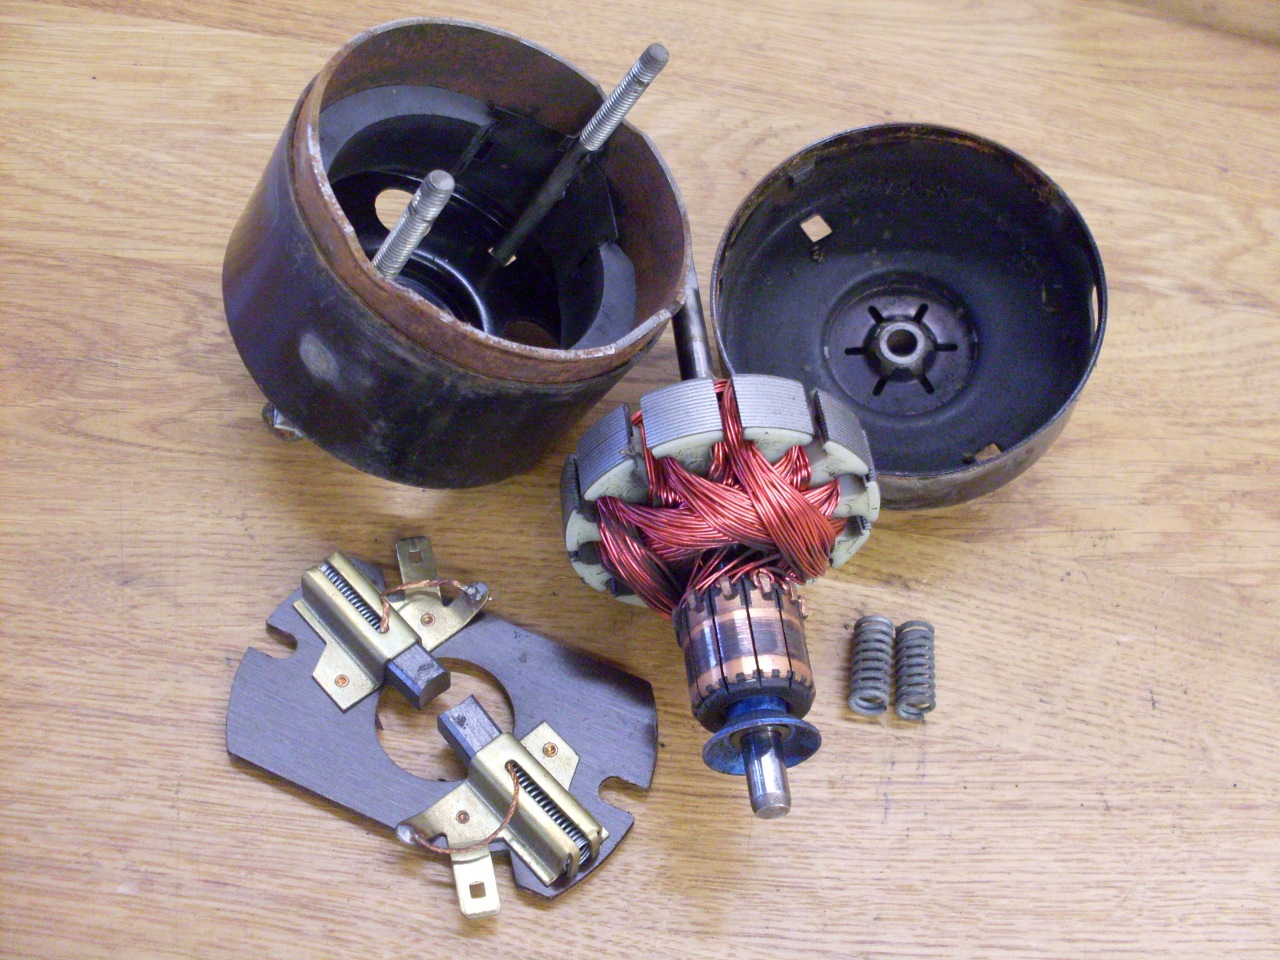
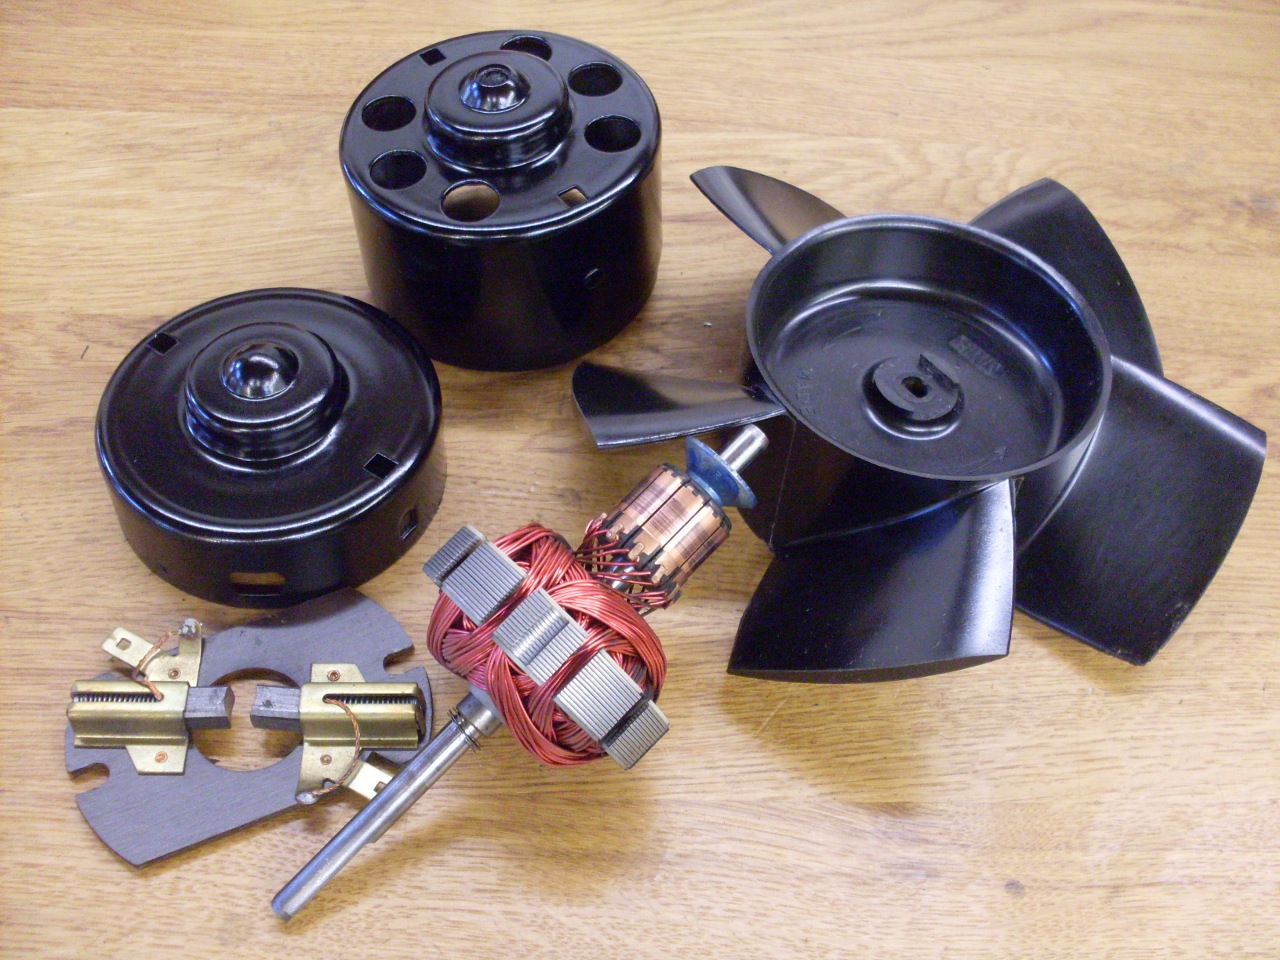
Not too much to do here--cleaned up and painted the housing, brightened the commutator, reassembled, and tested.
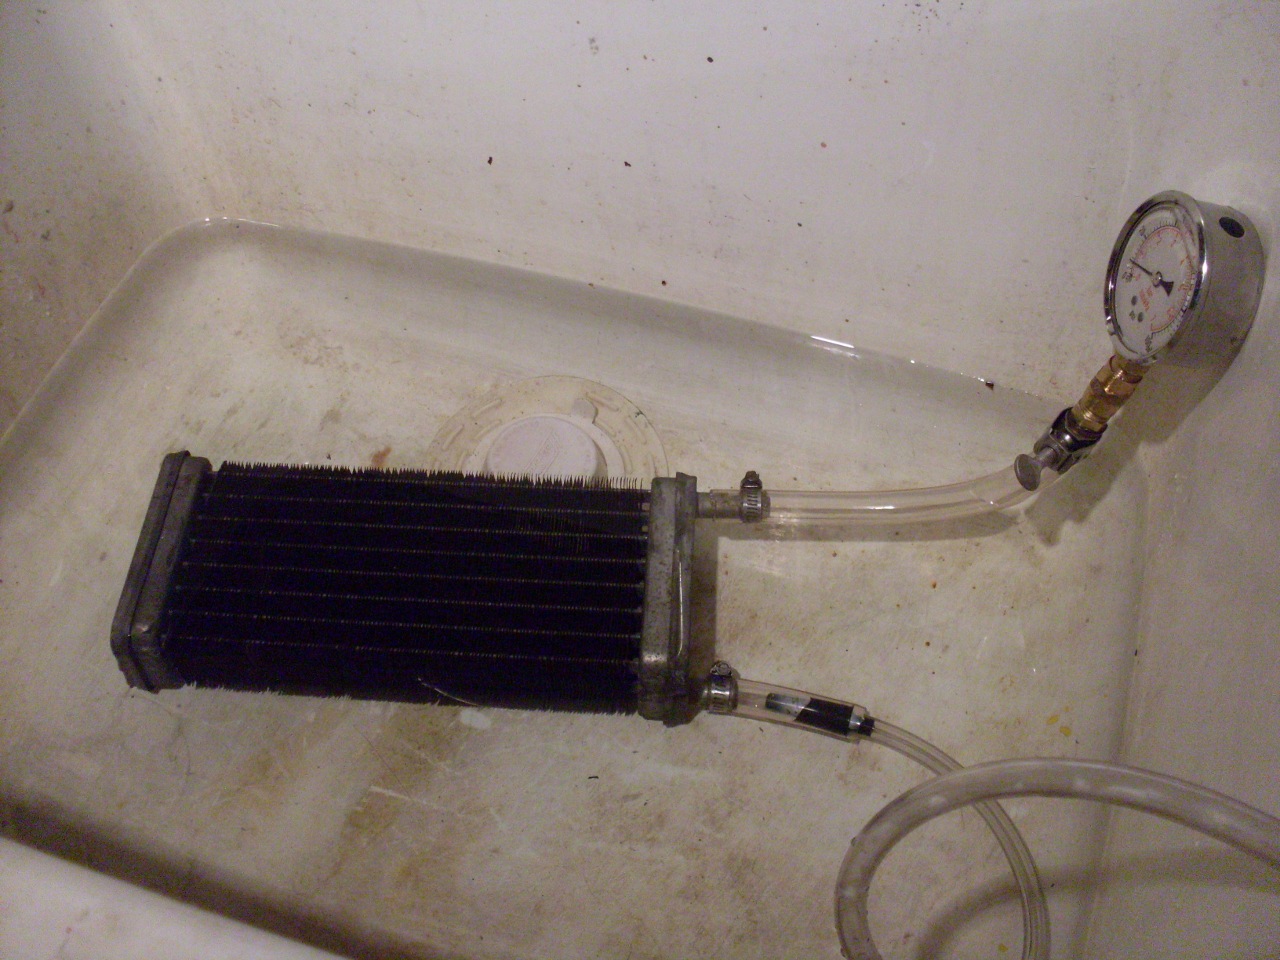
Close inspection
of the core didn't show any obvious problems. I did a few acid
flushes until the fluid ran free and clear, then did a pressure
test, and it checked out OK.
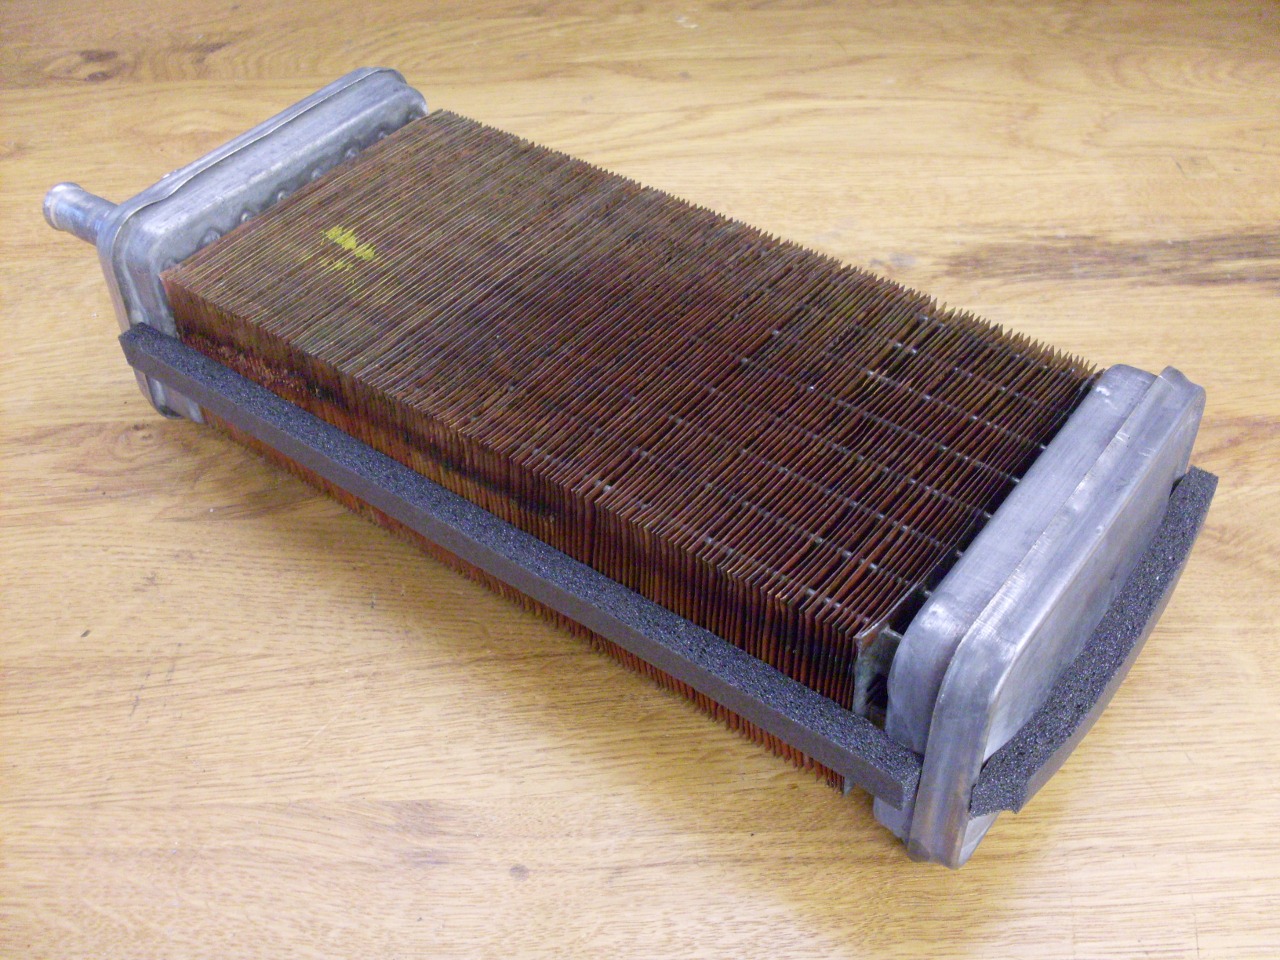
Straightened a few fins, and added new foam seals to try to keep the air flowing where it should.
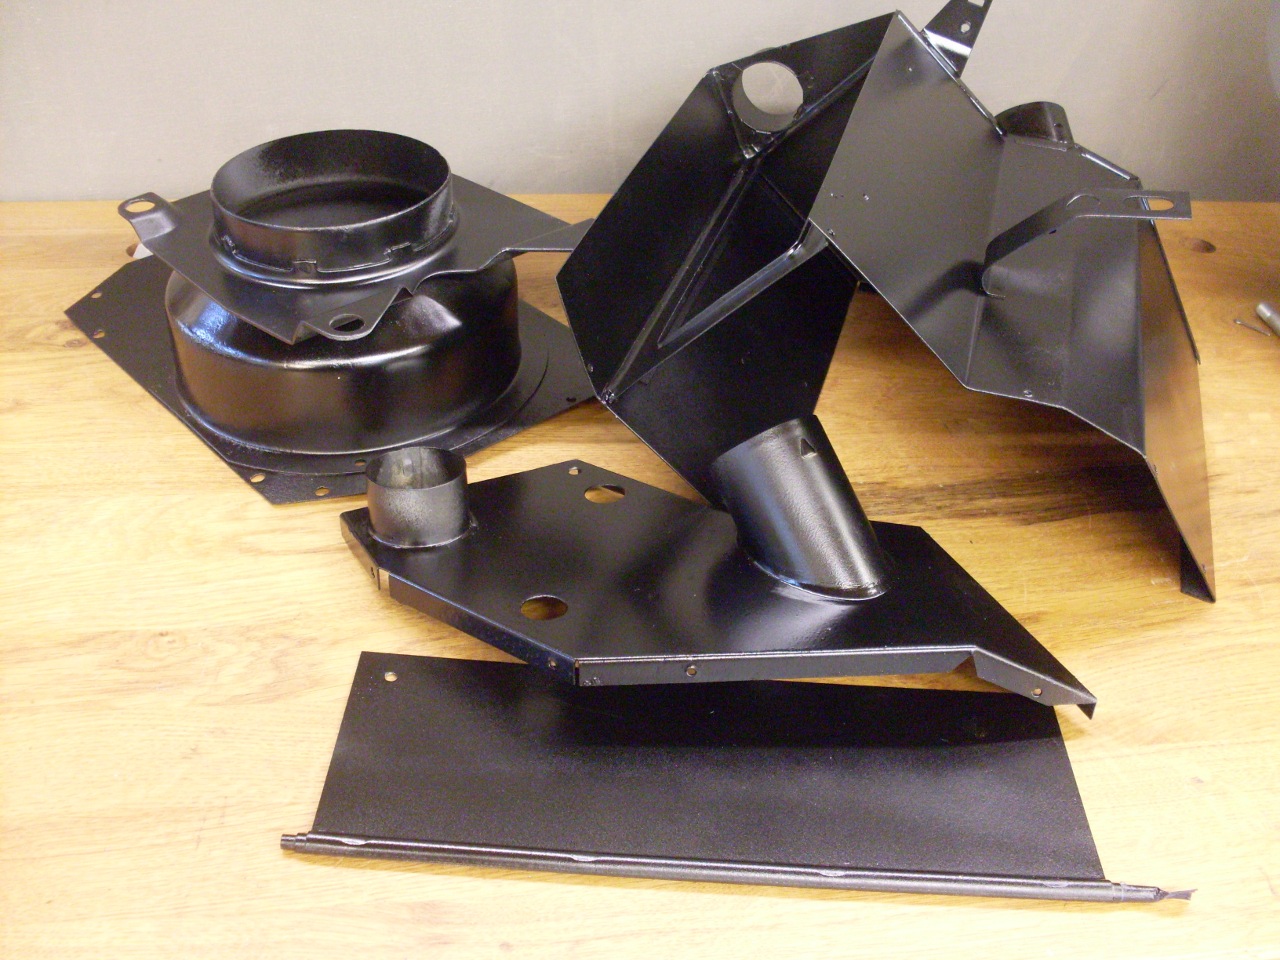
Meanwhile, derusted and painted the sheet metal pieces of the heater housing.
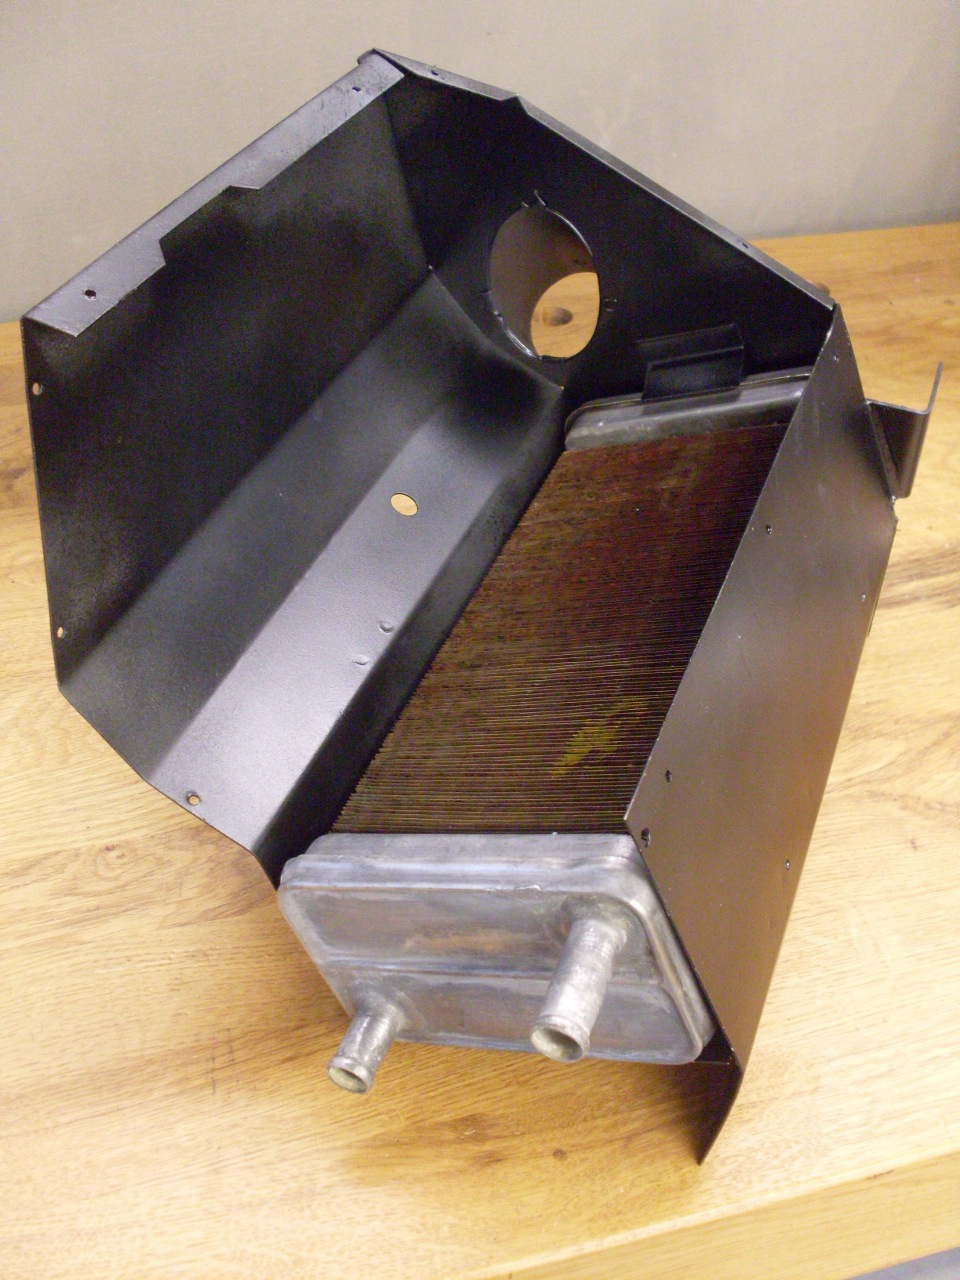
Assembled the housing around the core, using new foam seals, and new or replated hardware.
Added the fan assembly.
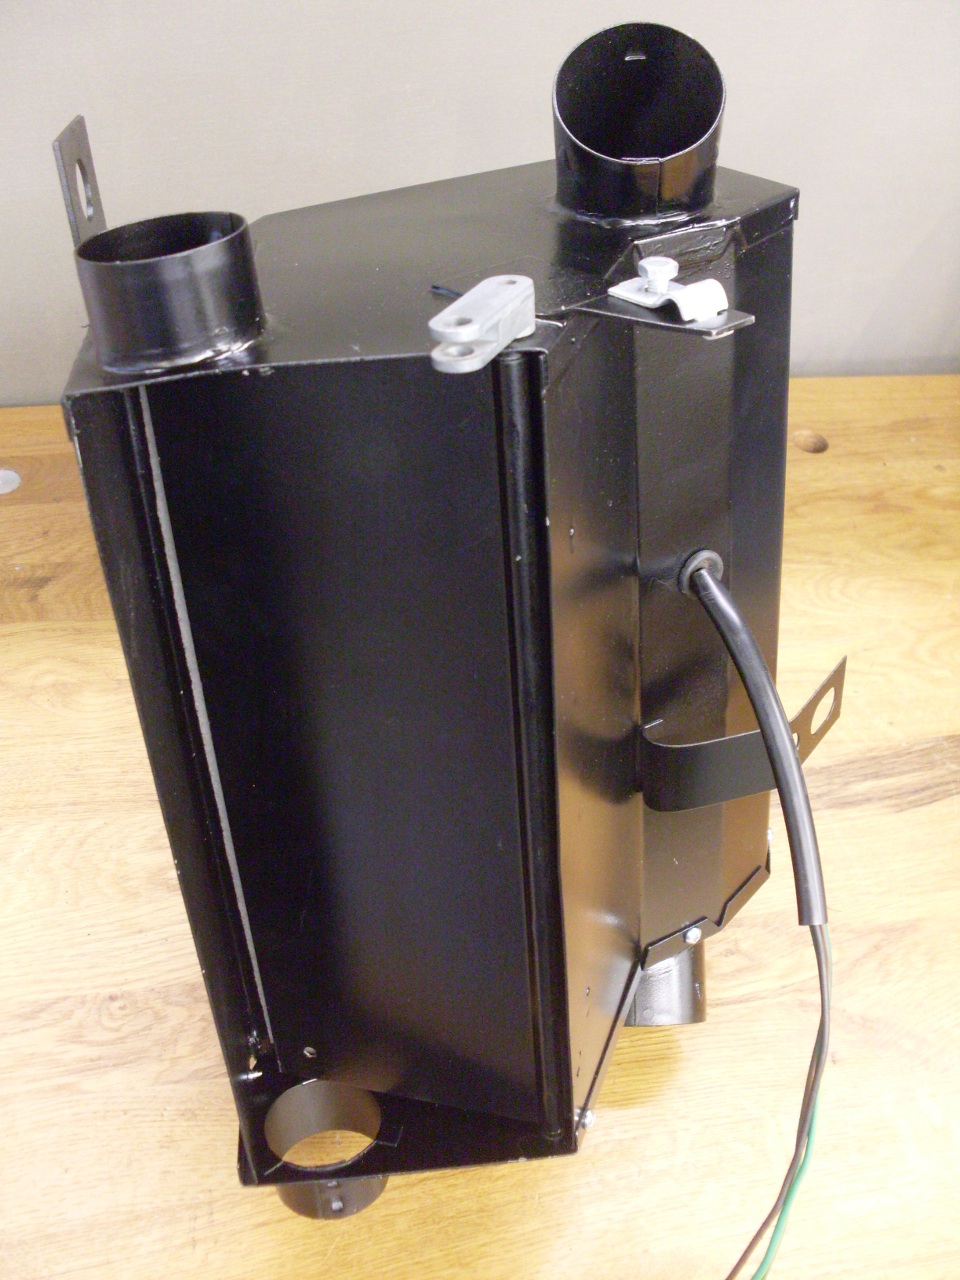
Then
the control flap at the bottom. When the flap is fully closed, as
shown in the picture, little or no heated air is provided by the
heater. All the air moved by the fan would go to the upper ports
and to the dash vents. As the flap is opened part way, heated air
is provided to the lower ports, which go to the defrost vents.
When the flap is fully open, most of the heated air would be
dumped to the toe space.
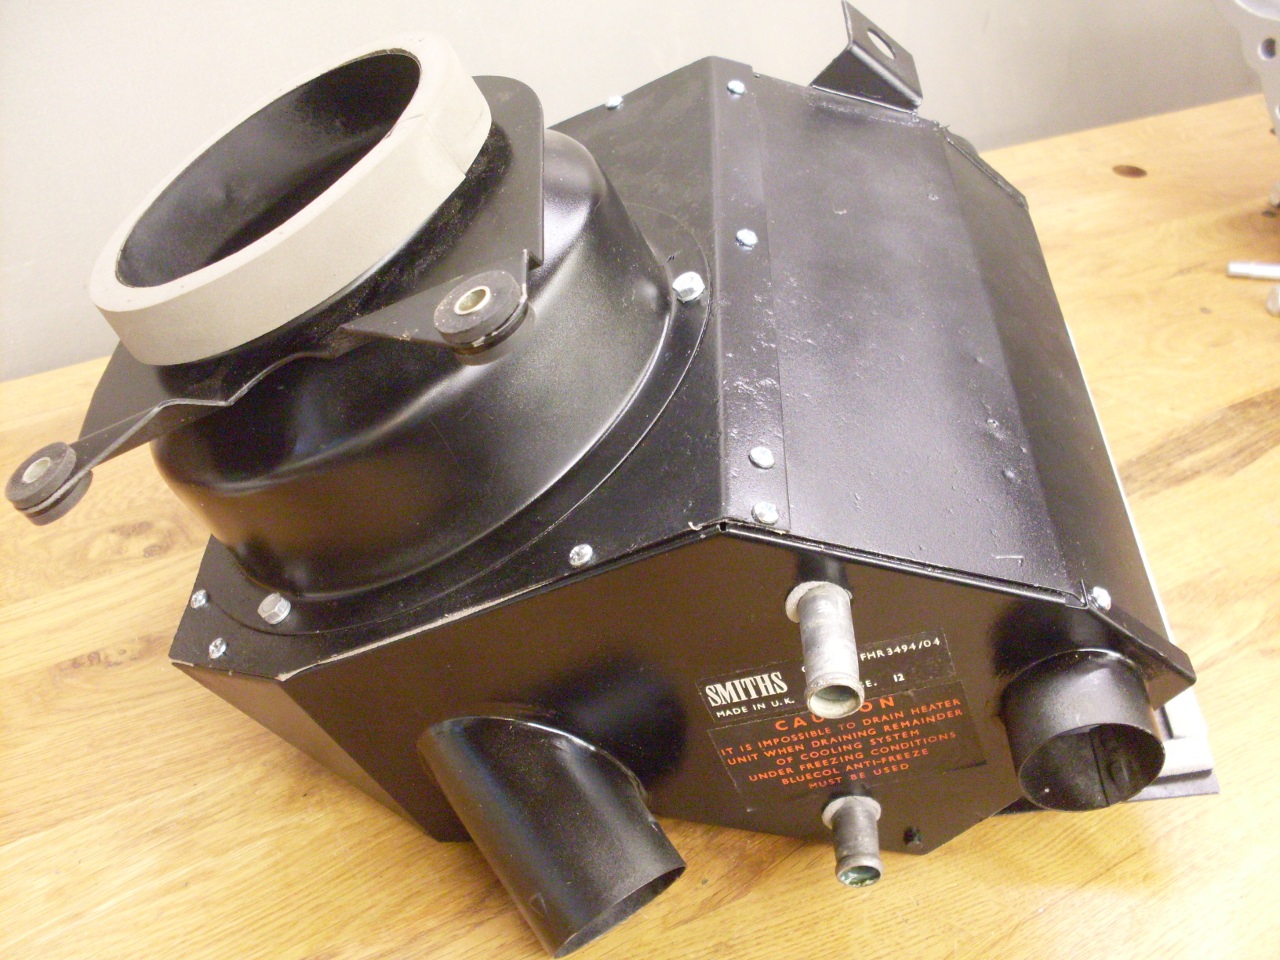
New
mounting grommets, new cowl seal, and I even managed to save the
stickers. This puppy goes on the shelf to wait for the happy day
when it gets installed.
Comments to: elhollin1@yahoo.com
To my other TR6 pages