November 4, 2013
Engine Teardown
[Click pictures for a larger view]
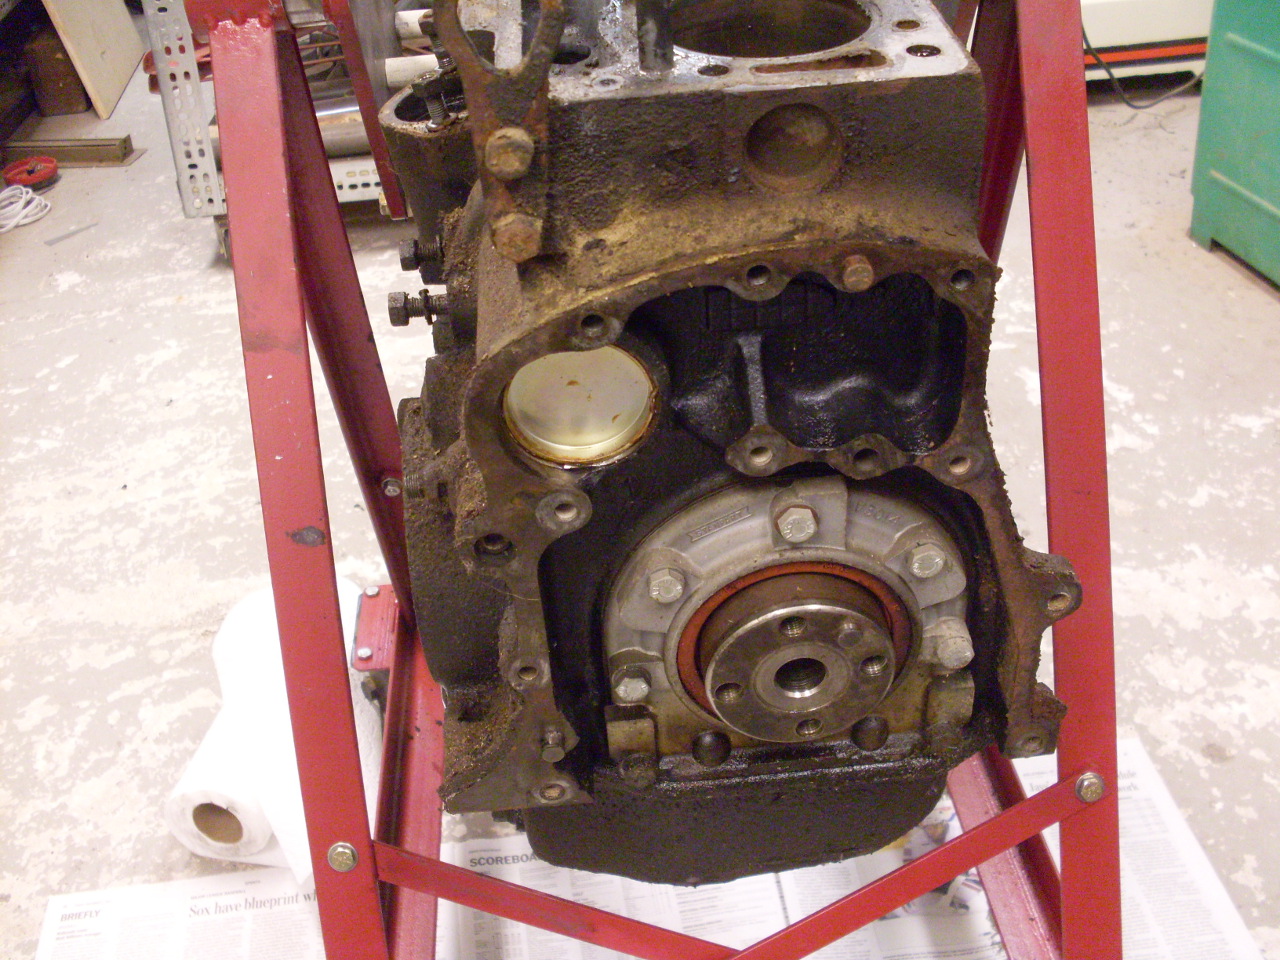
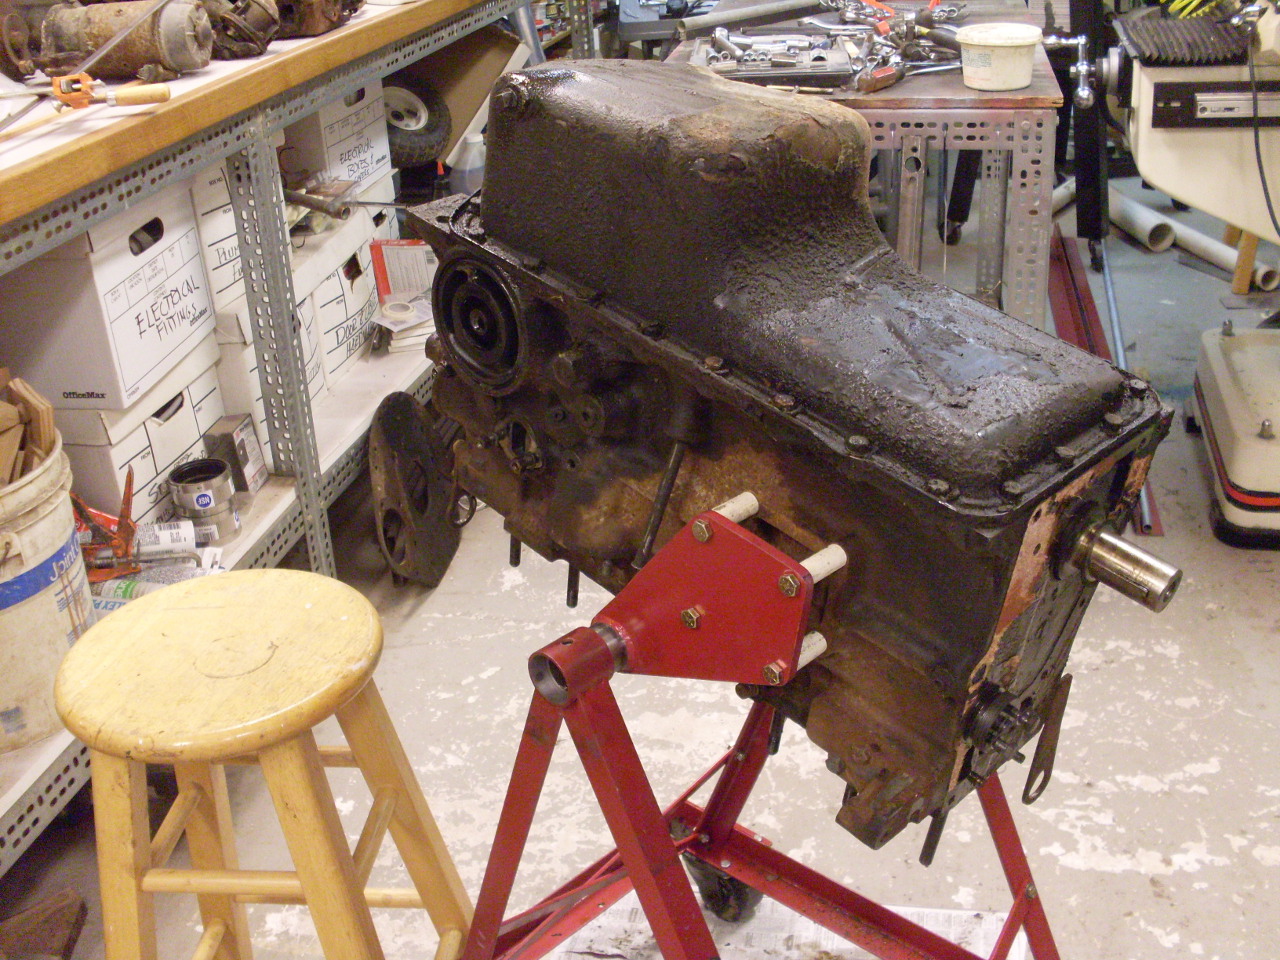
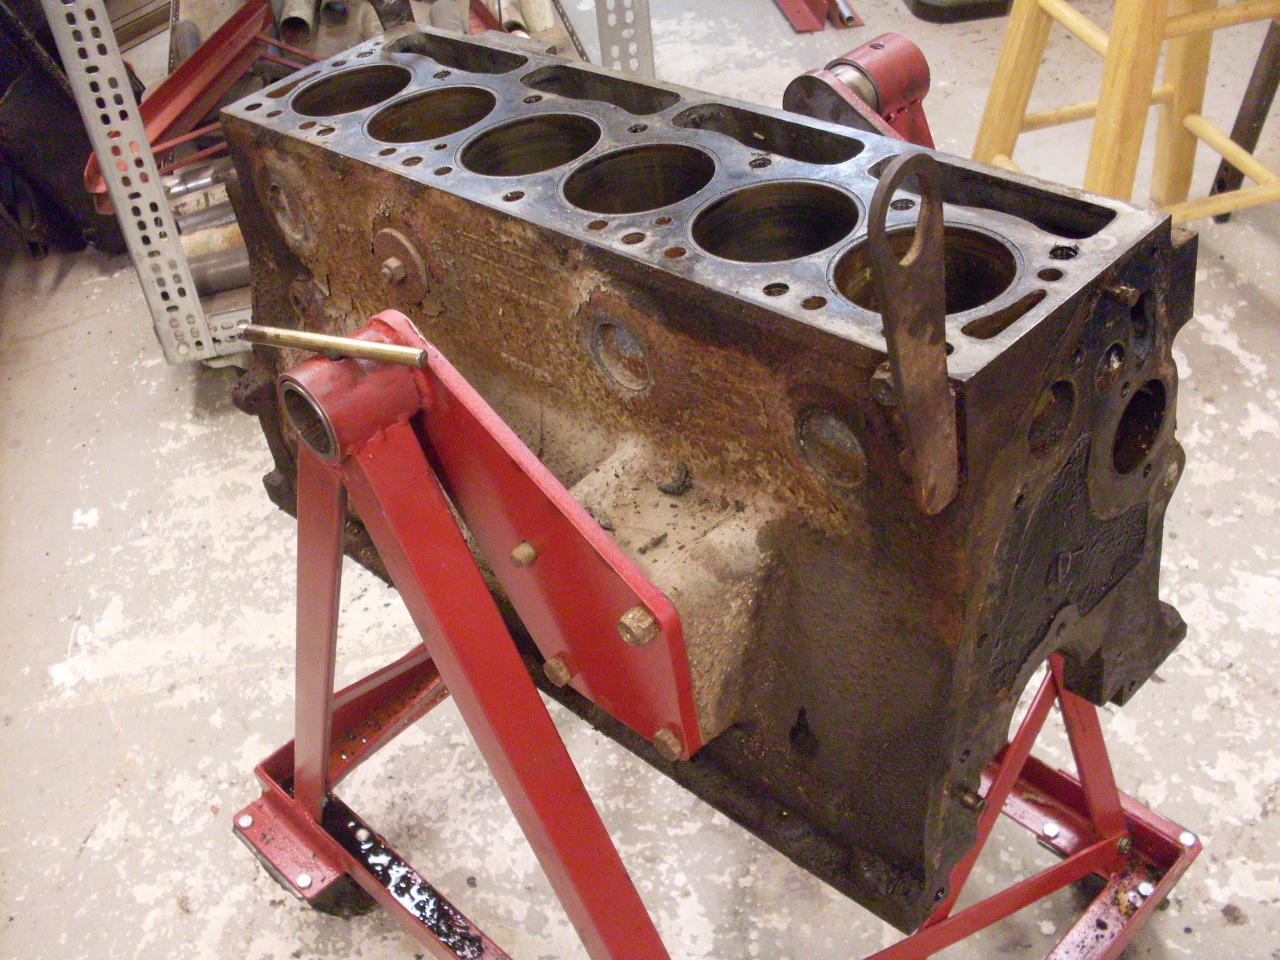
So here's the engine down in my shop. Getting it there was an adventure, but that's another story...
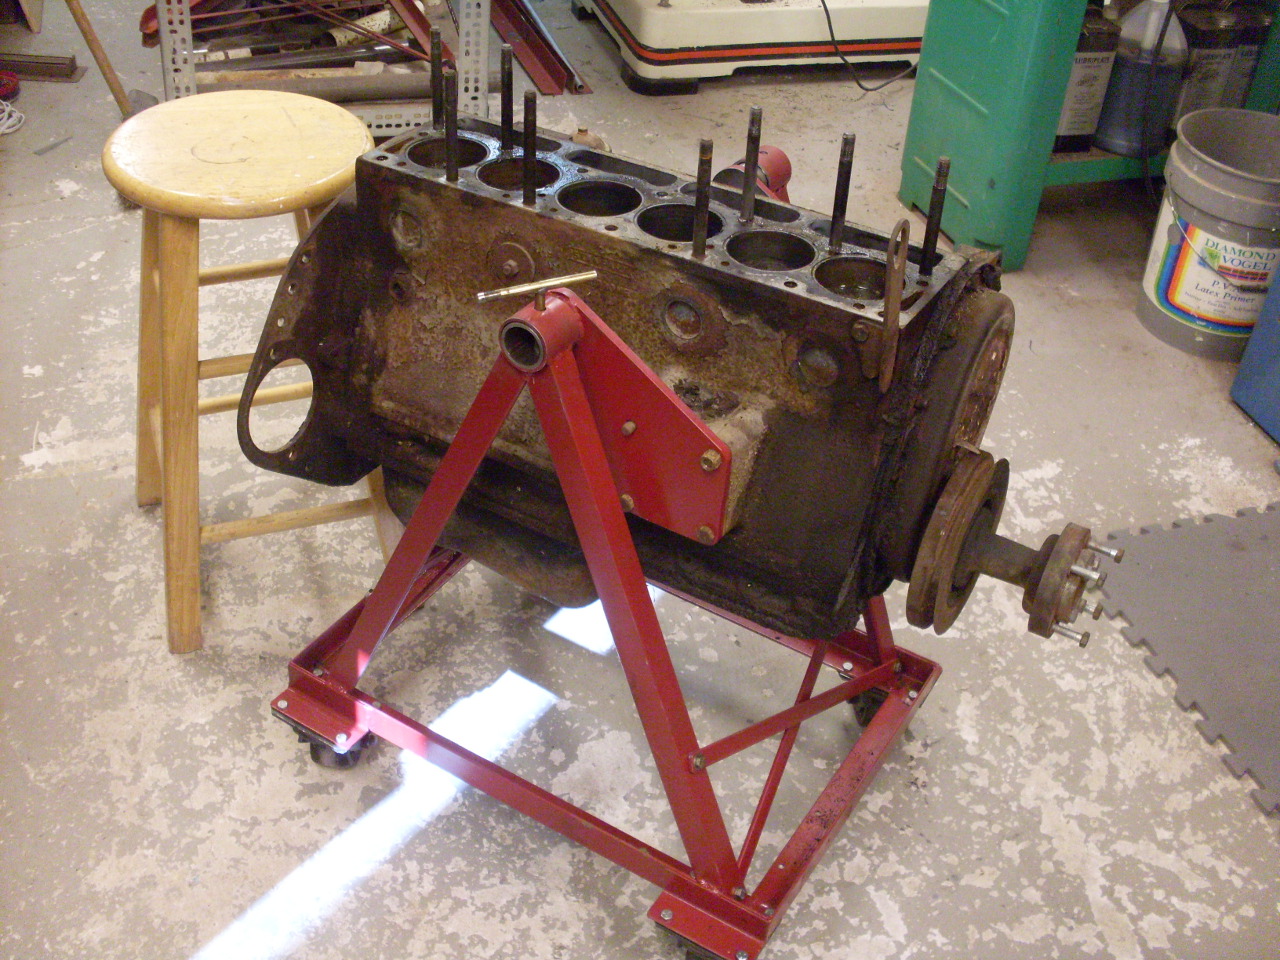
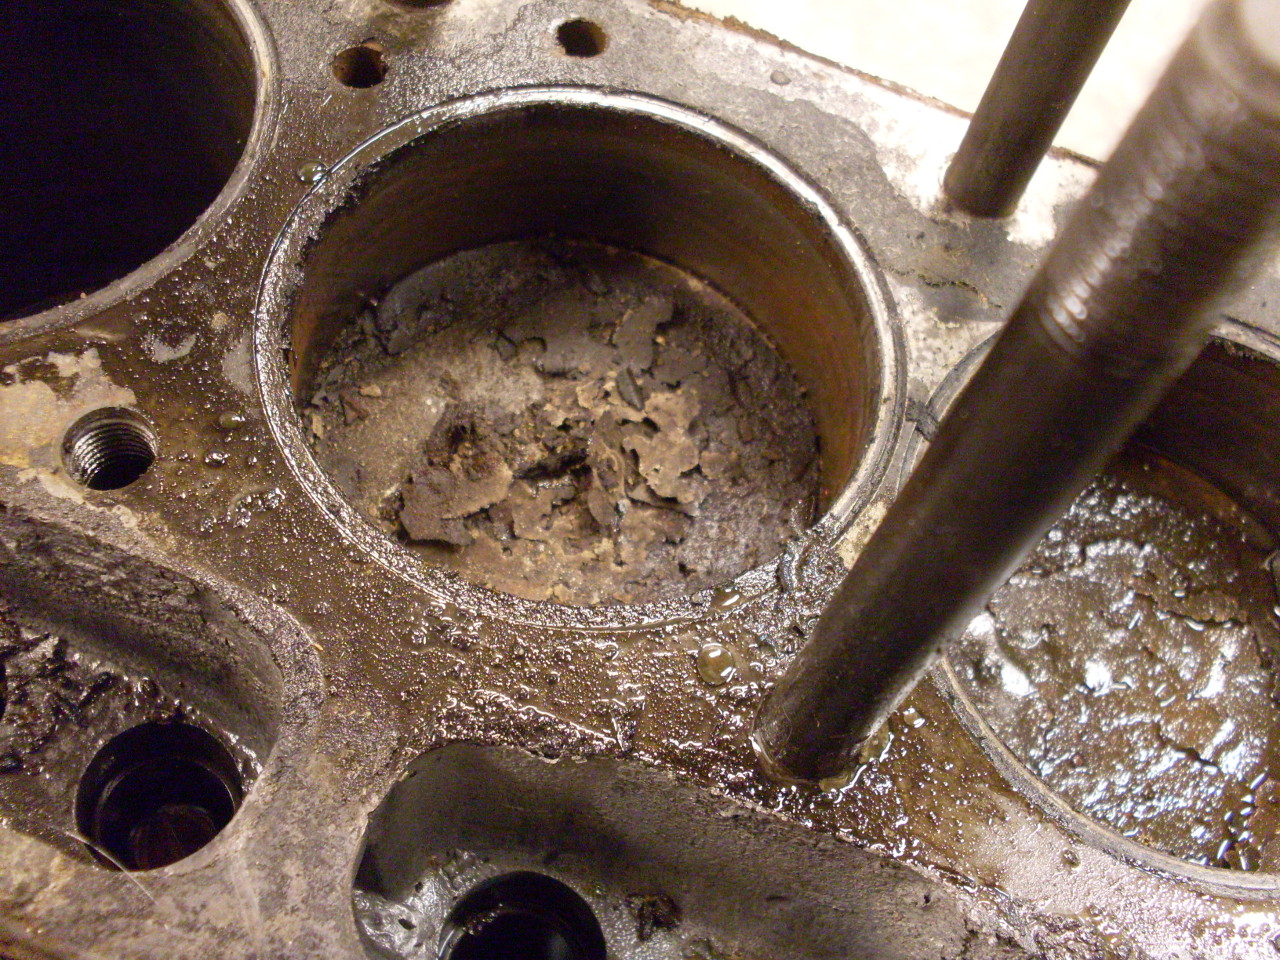
Pistons look crusty on top, but the crank turns freely, and I don't see any obvious large problems yet.
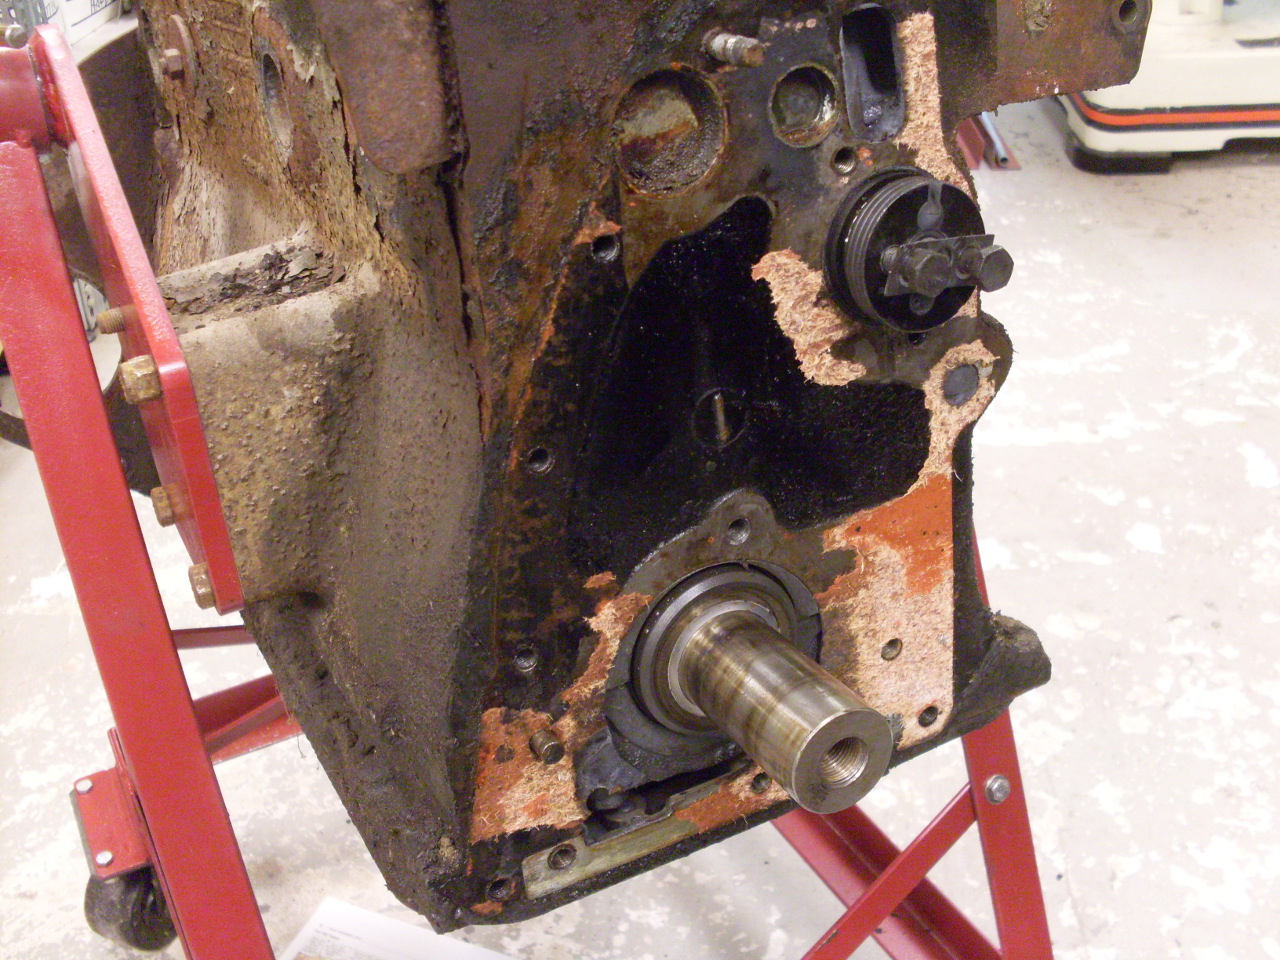
Removing stuff from the front of the engine:
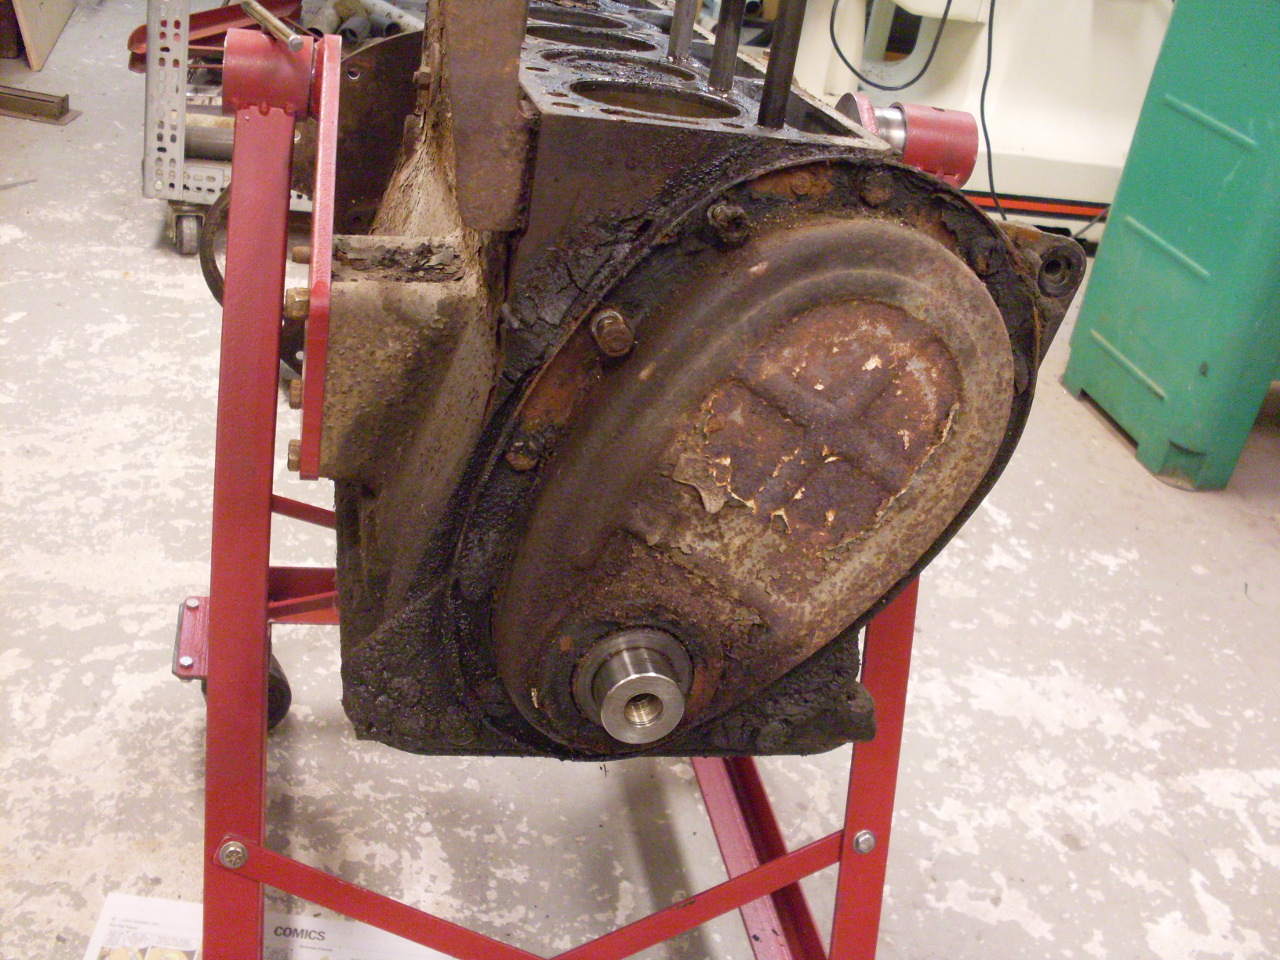

Taking off the rear plate exposes the rear main seal housing.
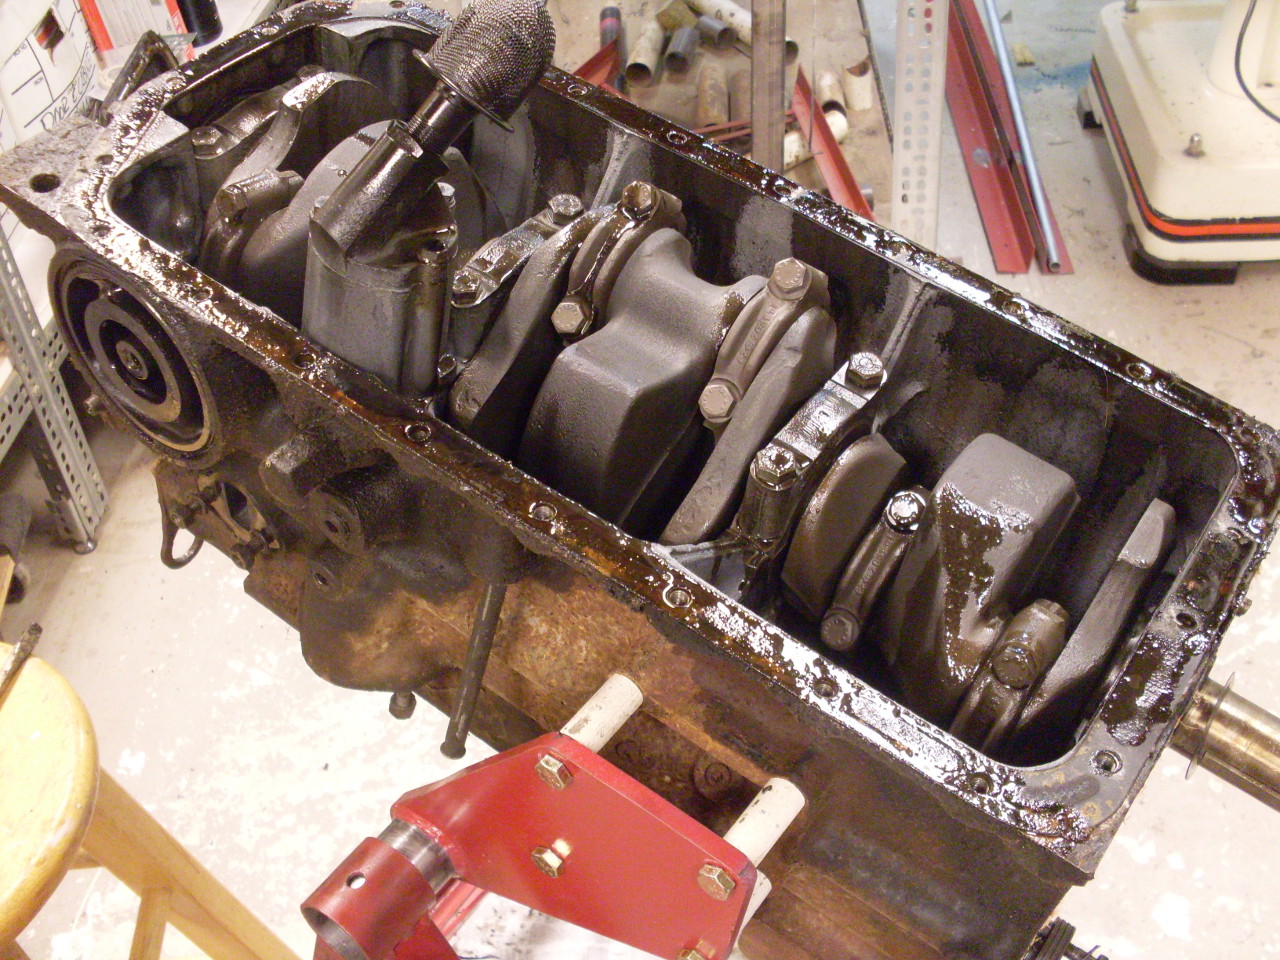
Flip her over to get at the crank.
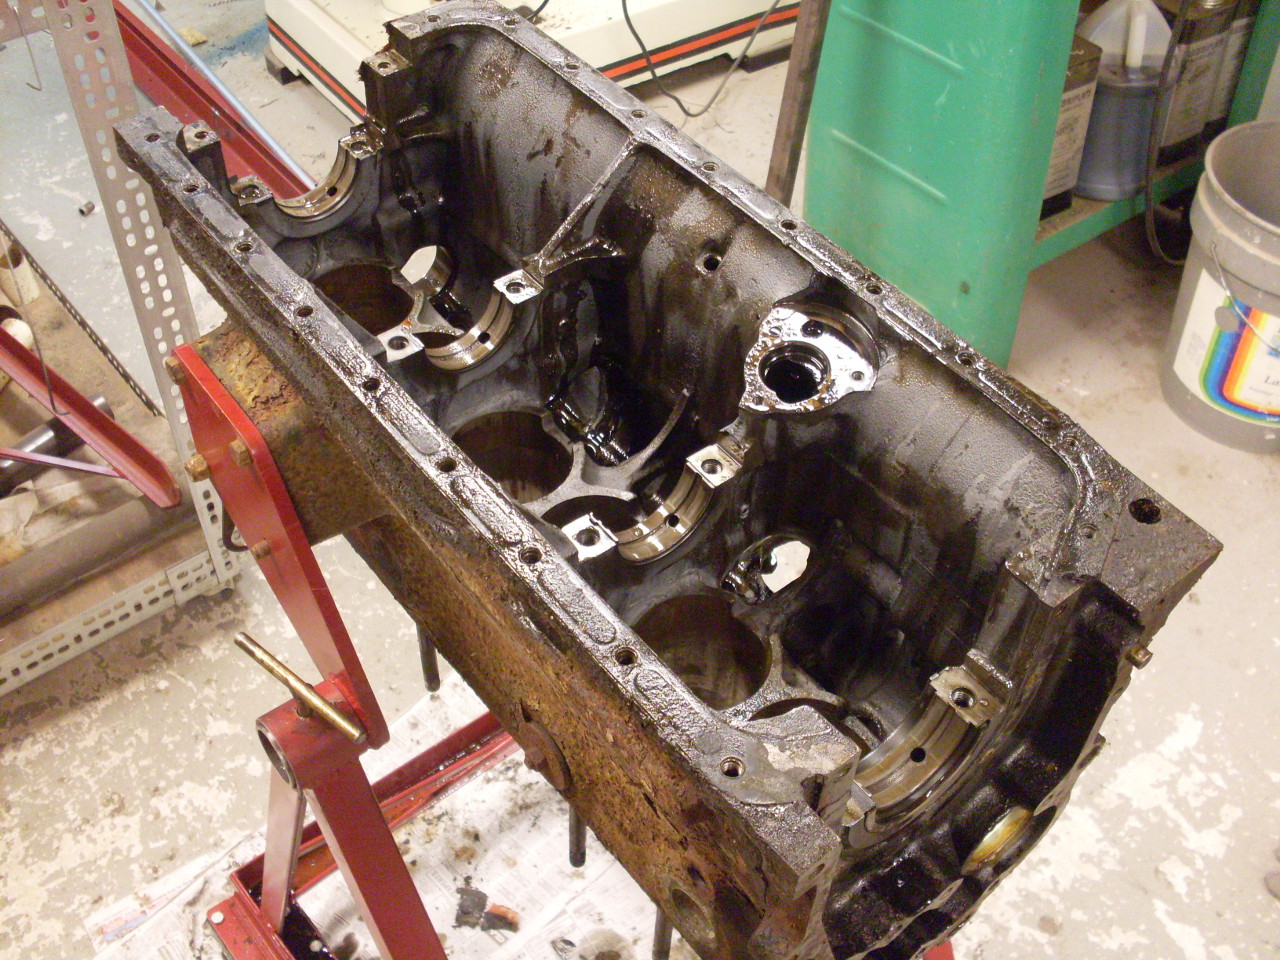
She's pretty much just a bare block now with all here innards laid out on the table.
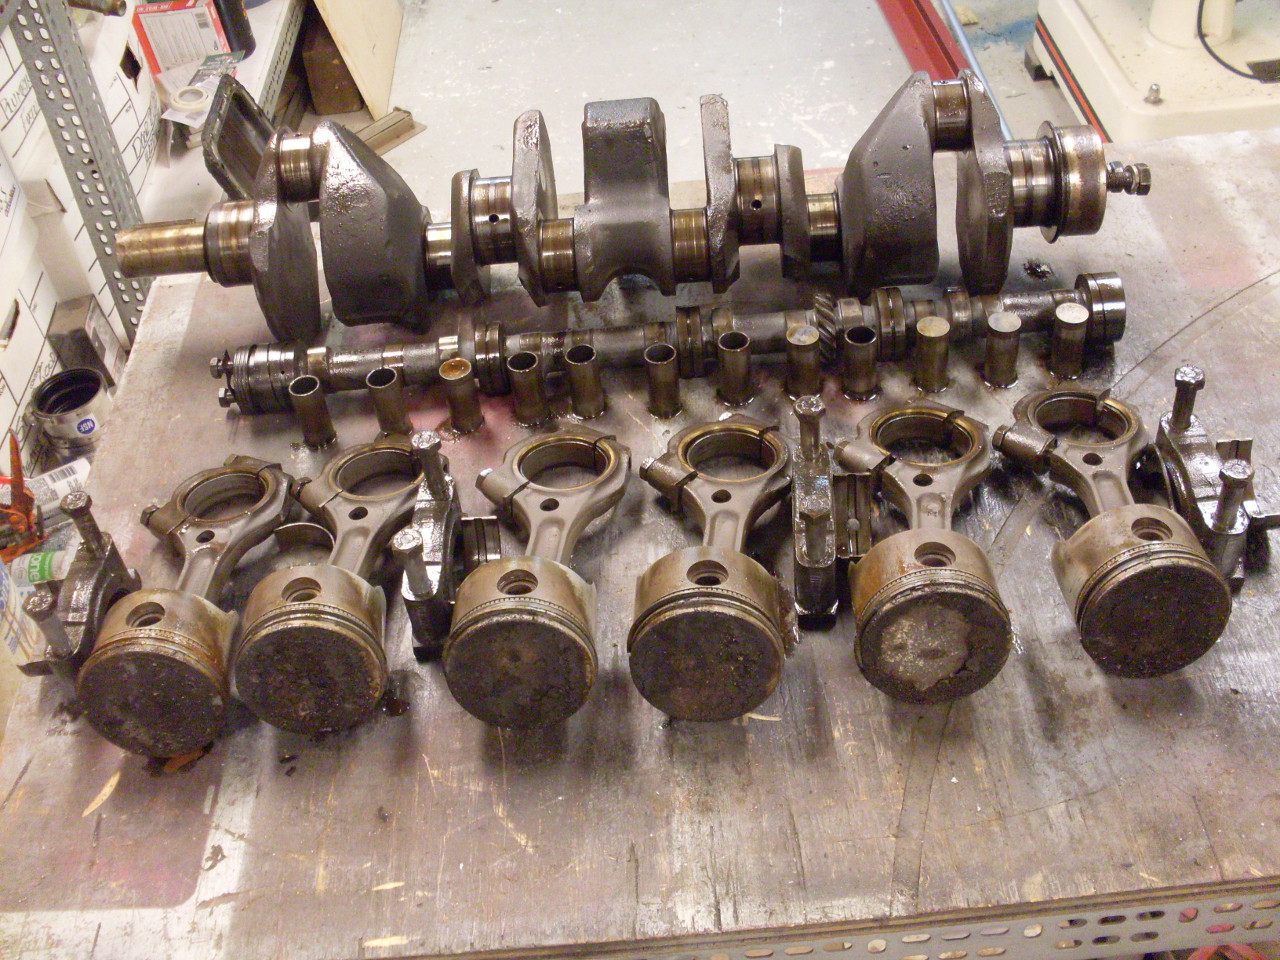
Next
step is to clean everything up enough to get some good measurements.
Then I'll know what needs to be done before reassembly.
More TR6 Pages
Comments to: elhollin1@yahoo.com