To my other TR6 pages.
May 19, 2014
Frame Cleaning and Inspection
[Click the pics for a larger view]
So
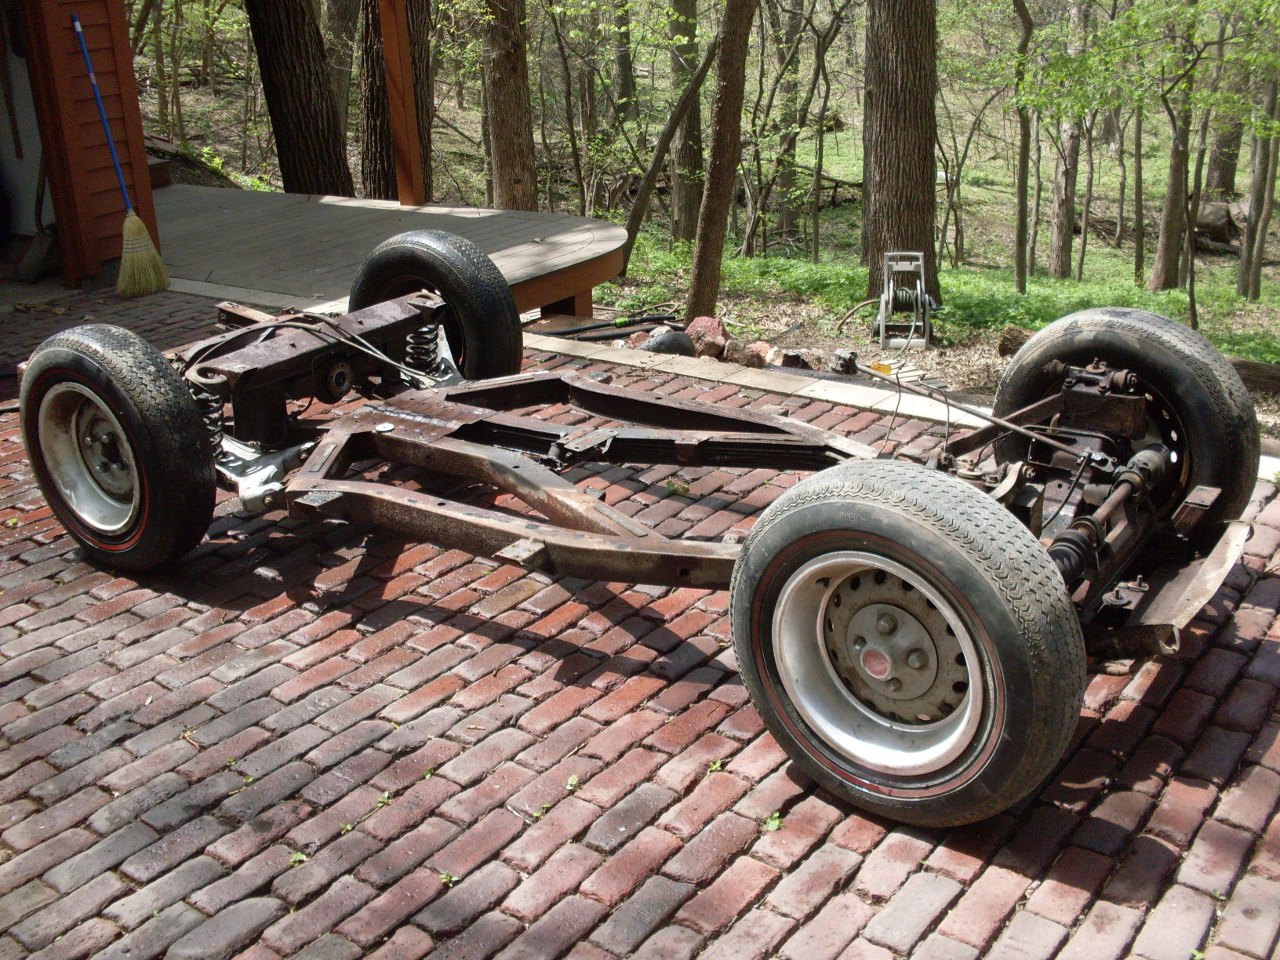
here is the rolling frame after removal of the body. The next job
was to strip it to the bare frame so I can get a good look at its
condition.
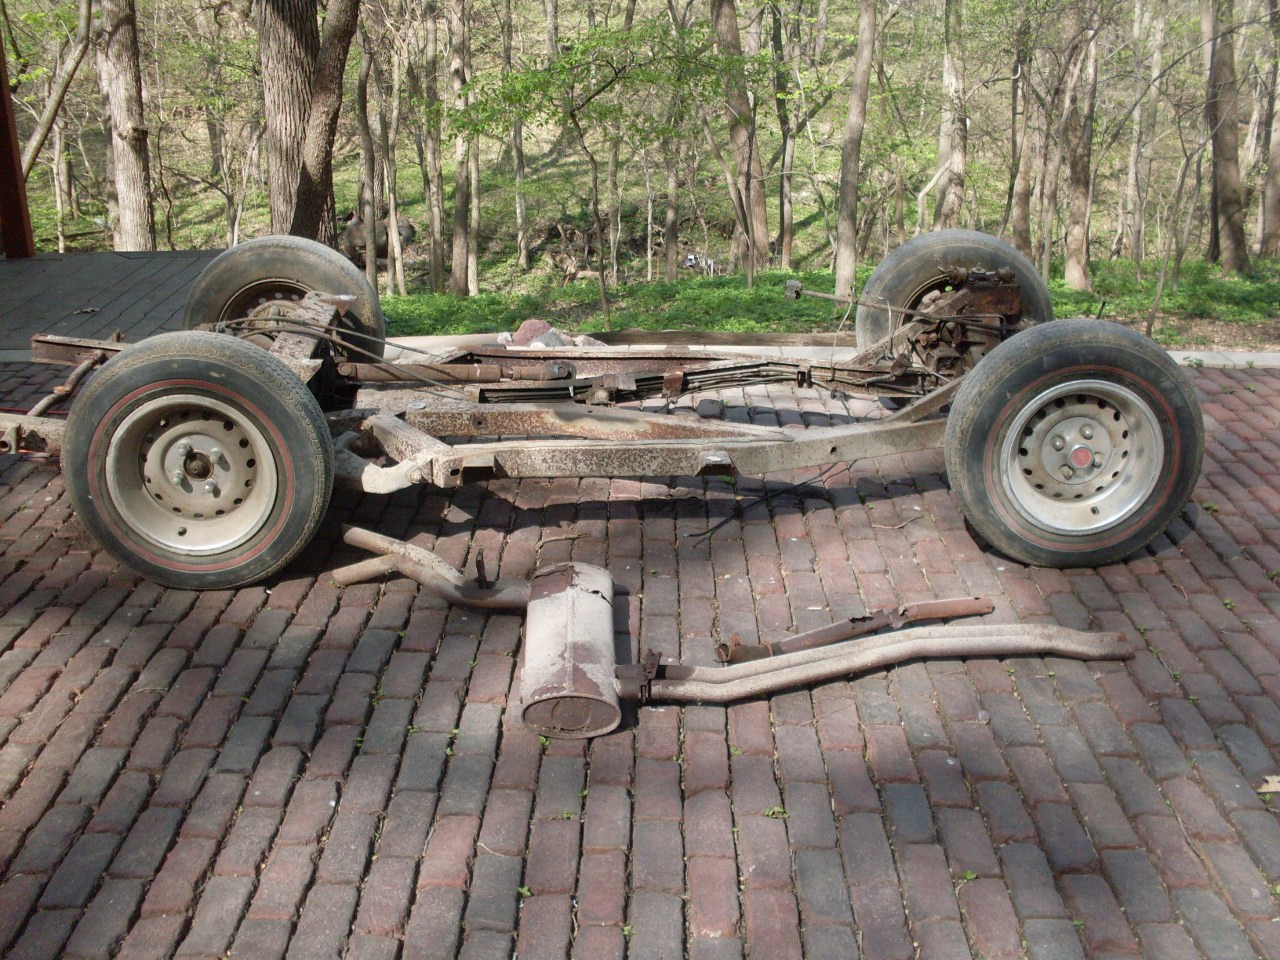
First I power washed it to get off most of the accumulated dirt and other crud.
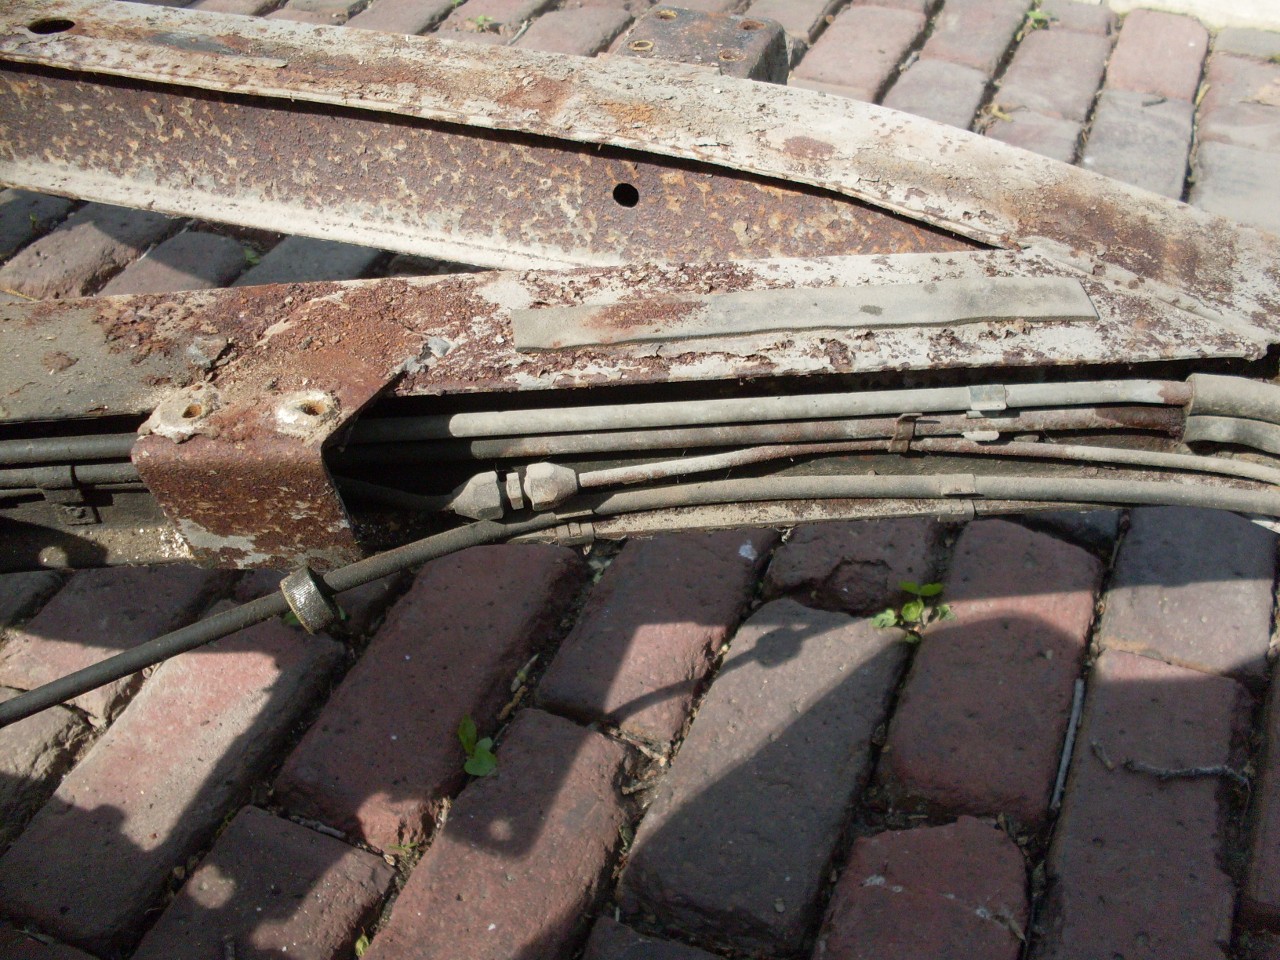
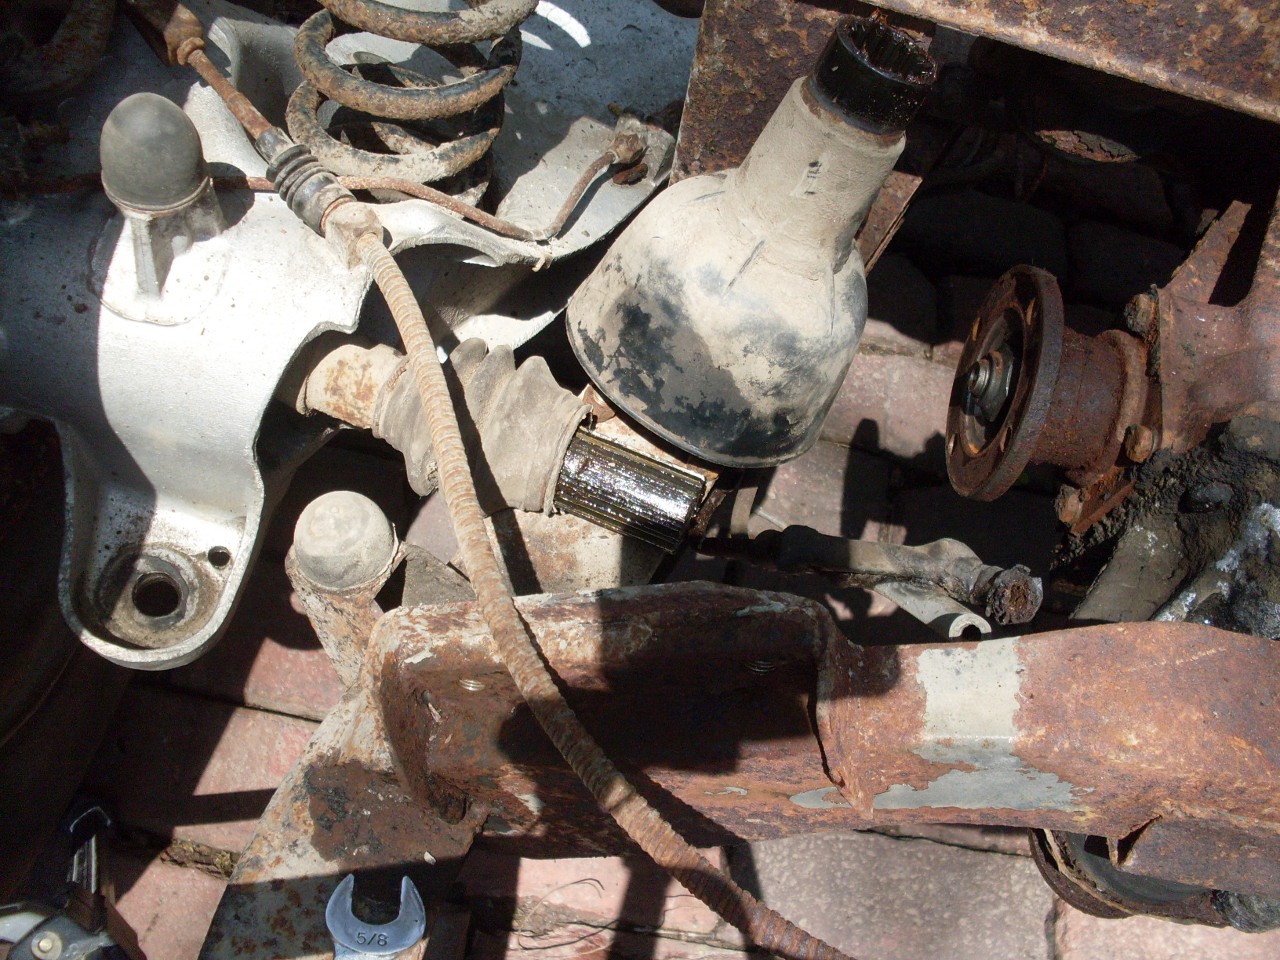
Fuel and brake lines run on the inside of the drivers side frame rail.
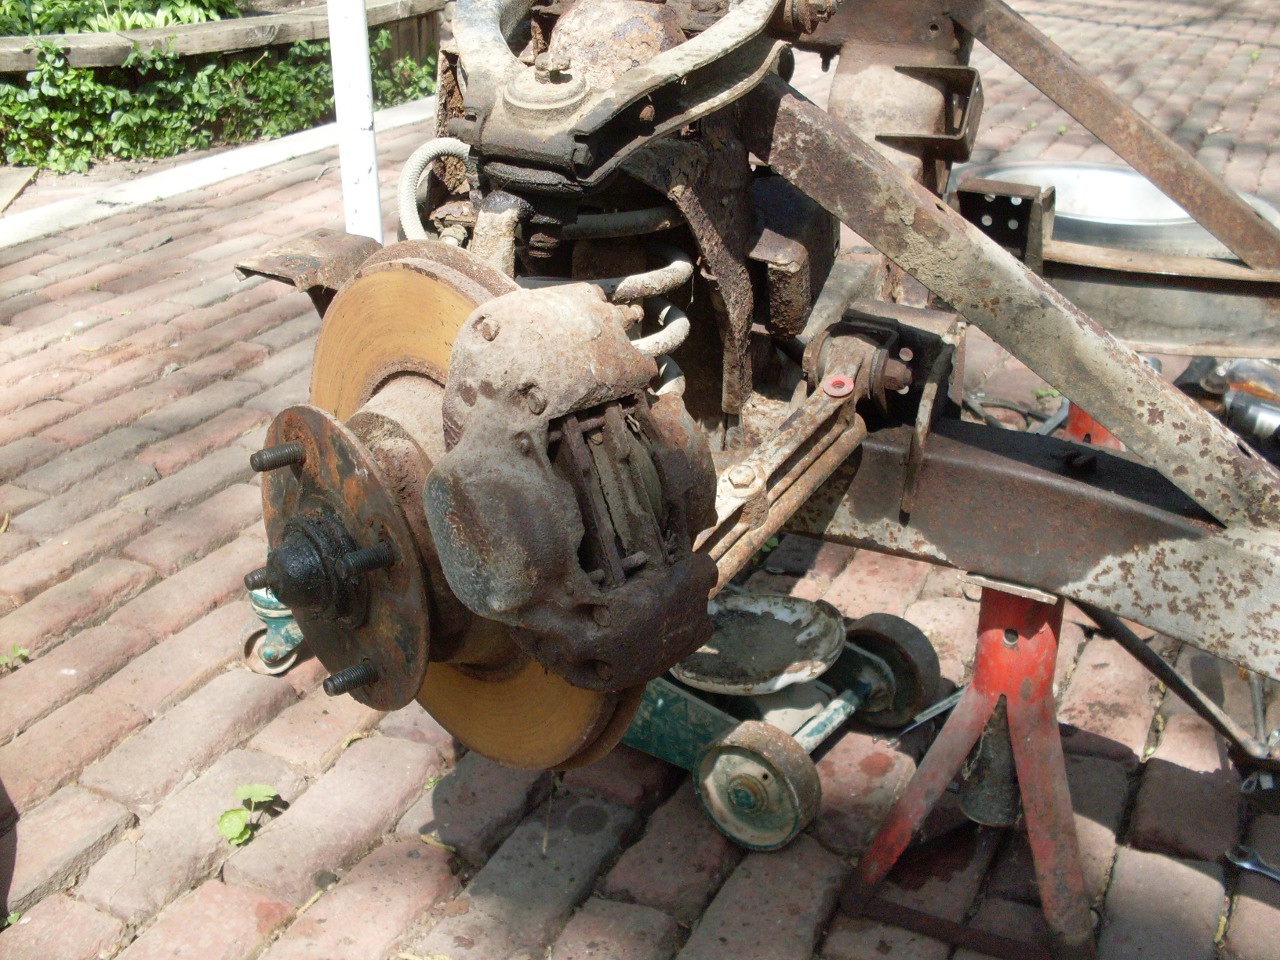
Front brakes, hub, and suspension didn't really want to come apart, but finally did, with only a few broken bolts.
The axles come apart at the spline after unbolting the flange from the differential.
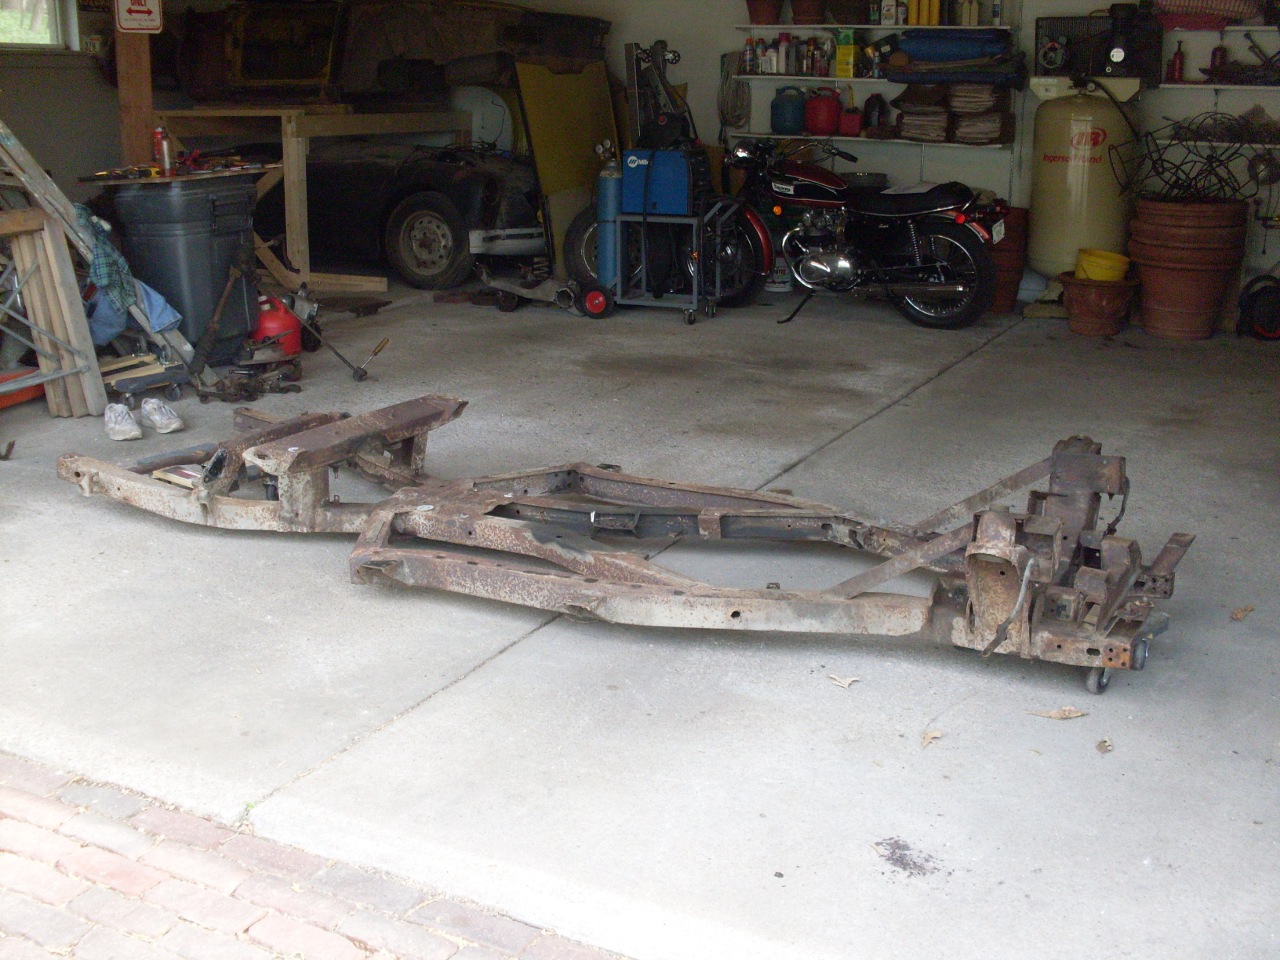
The
bare frame is surprizingly light--only about 185 pounds. I can
easily lift either end, and even the whole frame by standing in the
middle of it.
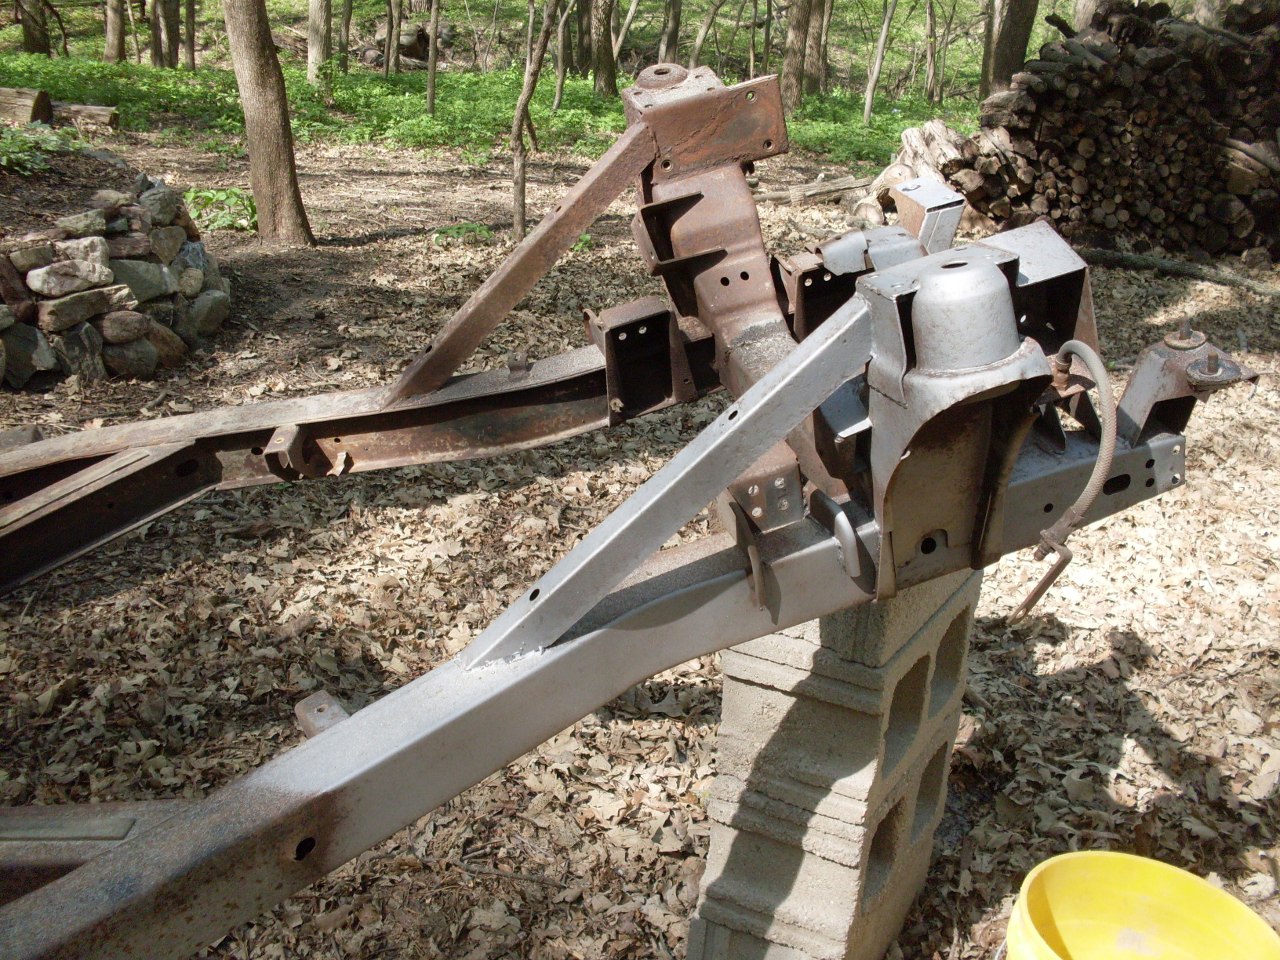
This
was a test to see if my little cheapie sand blaster could strip the
rust off. This is after just a few minutes of blasting.
About 400 pounds of sand later, I had the frame mostly down to bare metal.
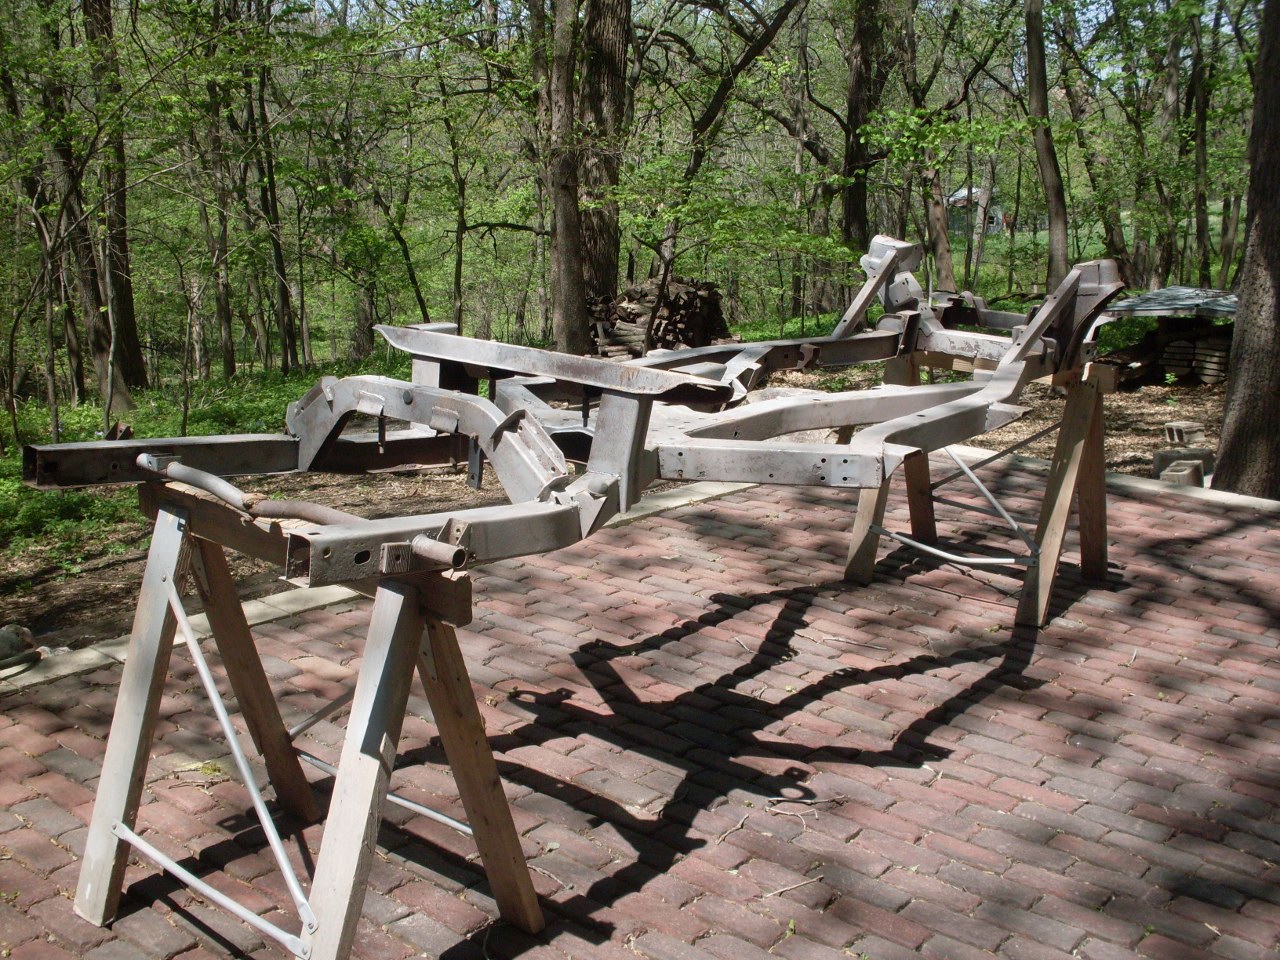
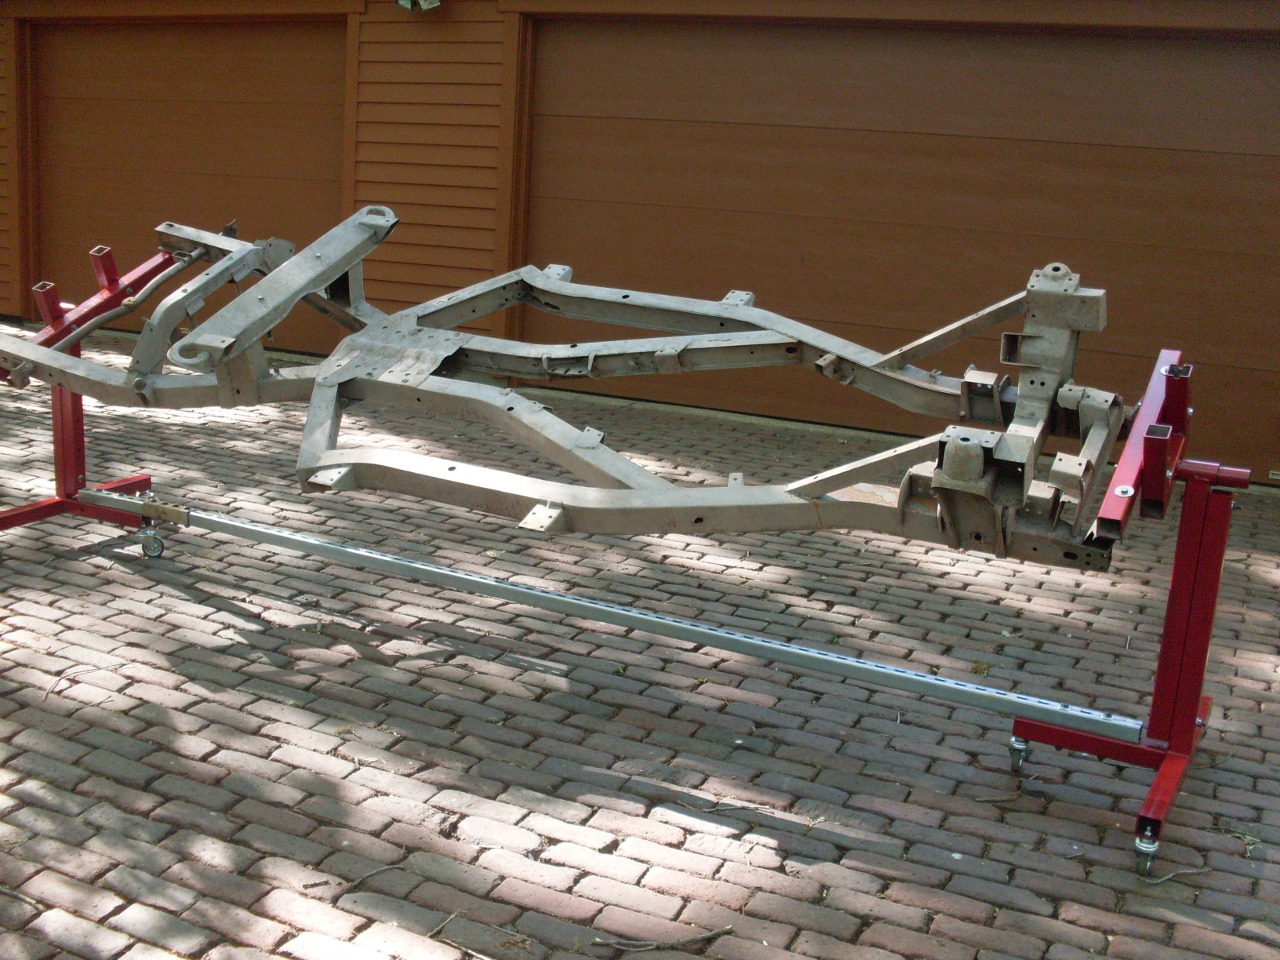
Even
though not very heavy, the frame is awkward, and since I have to put it
away every night to keep the garage parking stalls open and
preserve domestic tranquility, I needed an easier way to move it
around. I finally decided to do a simple rotisserie on wheels,
which would also help immensely with inspection and repair.
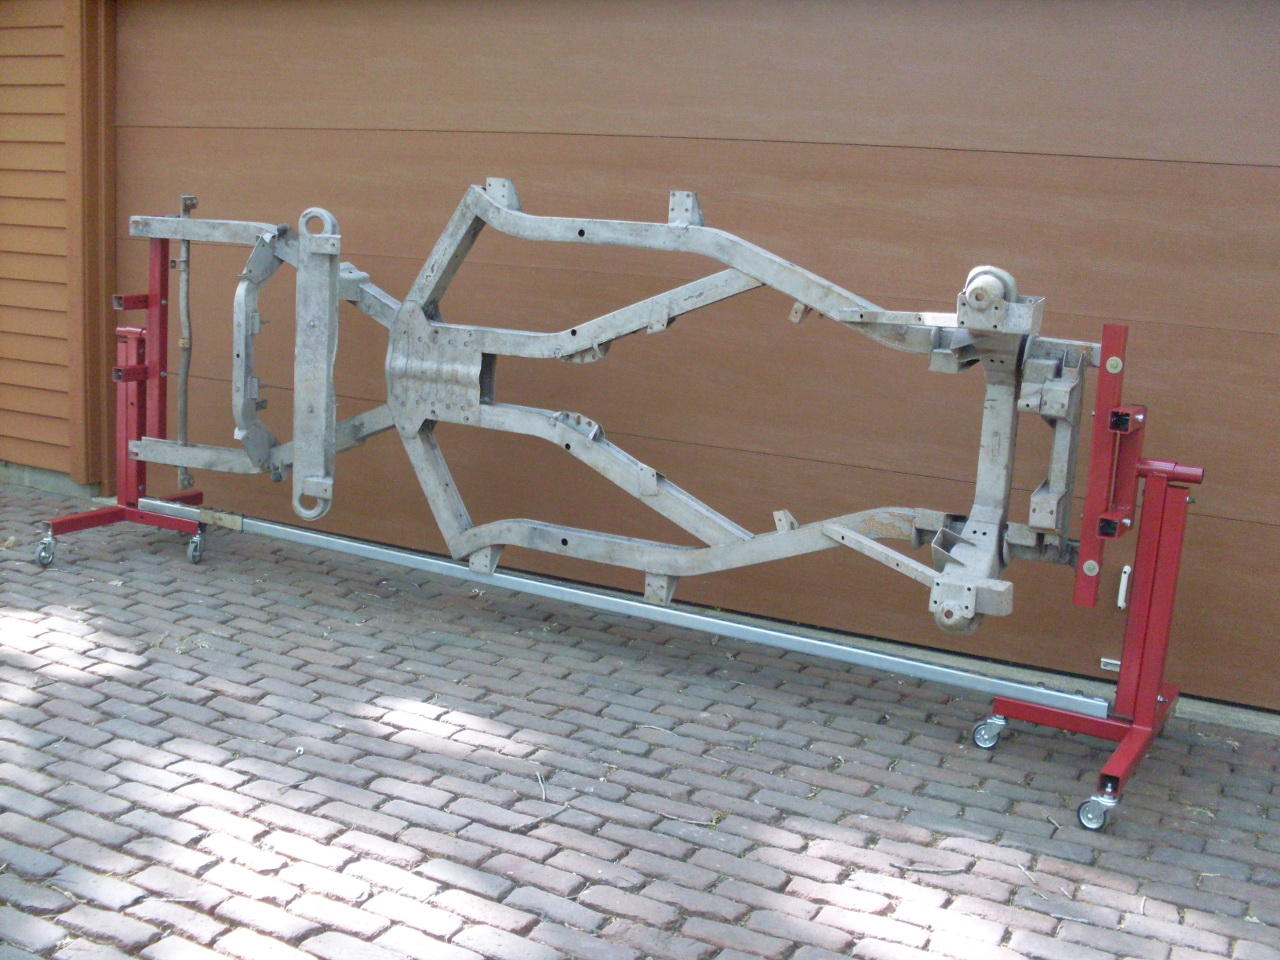
With
the frame free of rust, dirt and oil, it was much easier to see problem
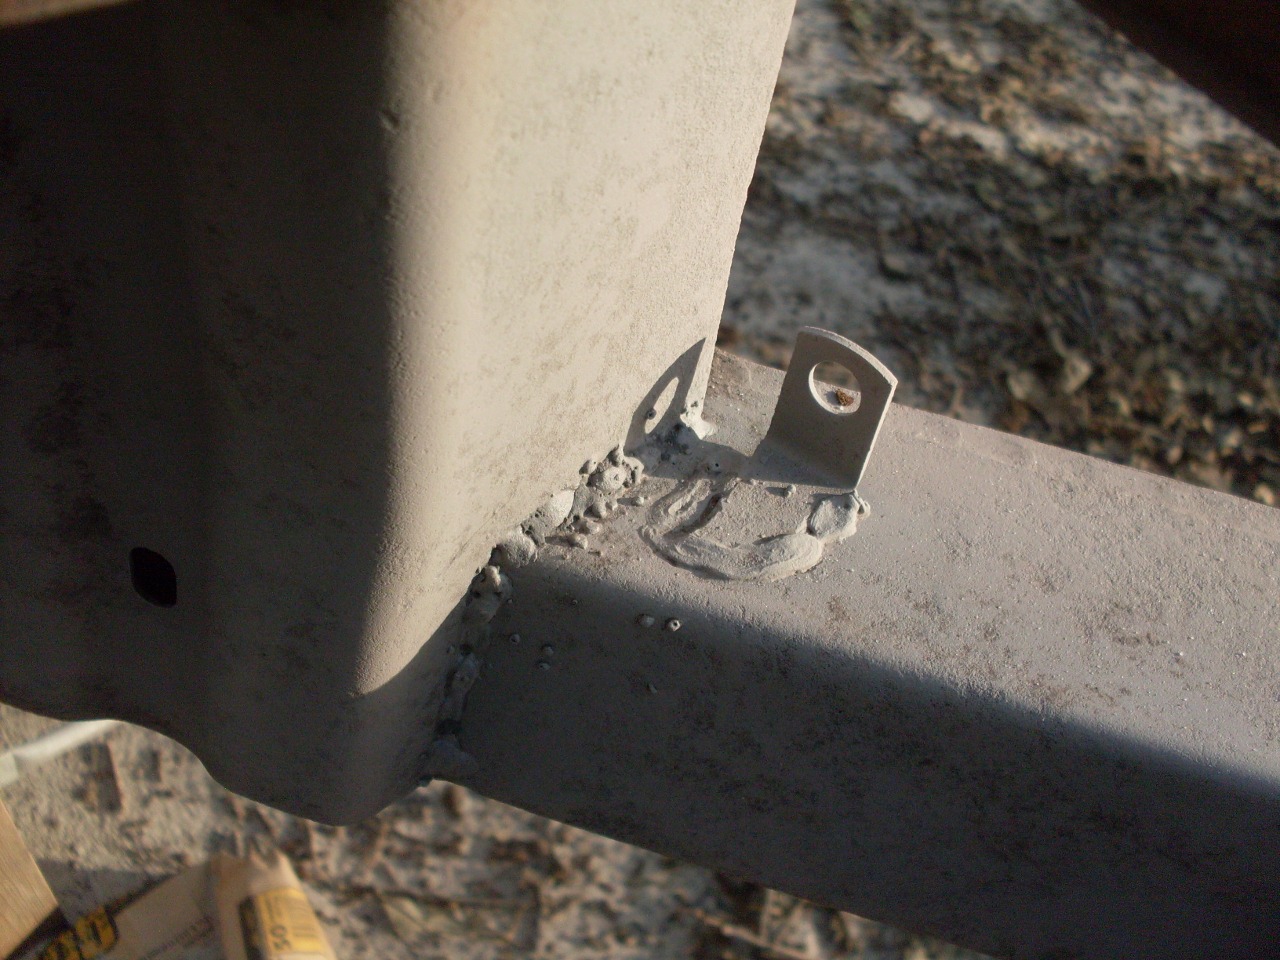
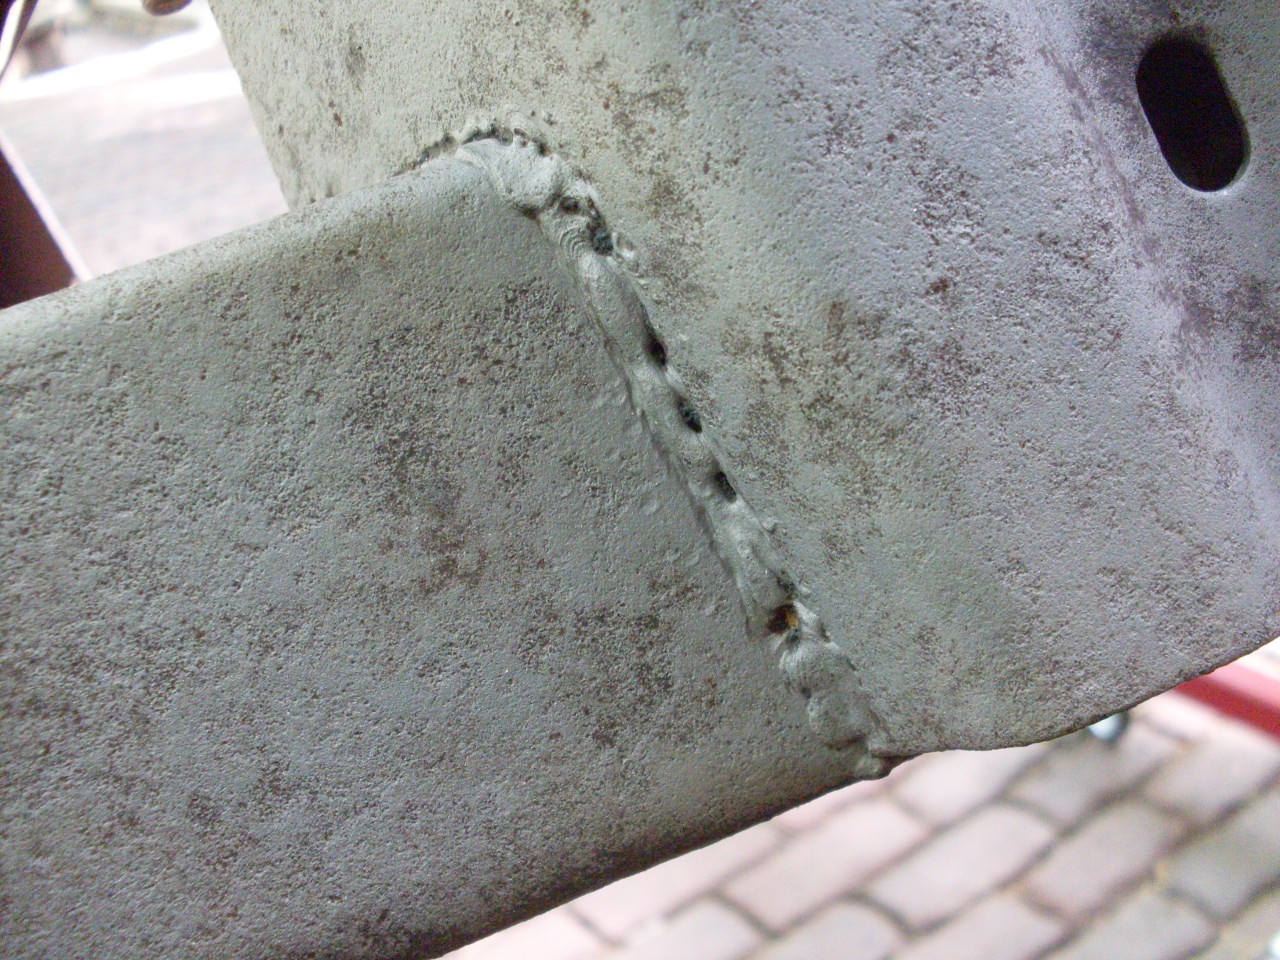
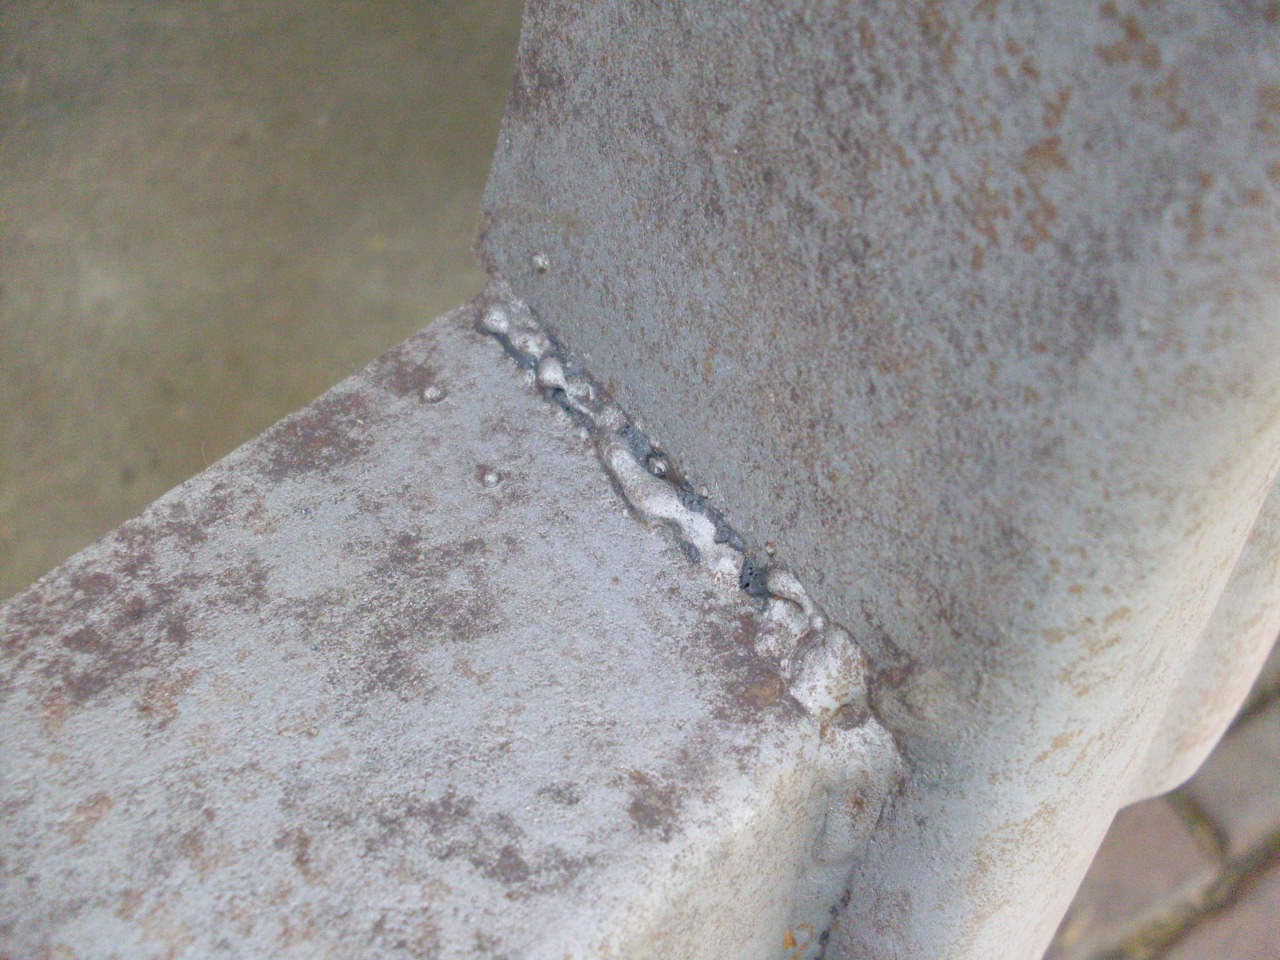
areas. One thing I noticed right away is the factory welds.
Now, I'm no great weldor, but if some of these welds were mine, I
wouldn't want anyone to see them. On the other hand, they have
all lasted 40 years with out apparent failure.
Some
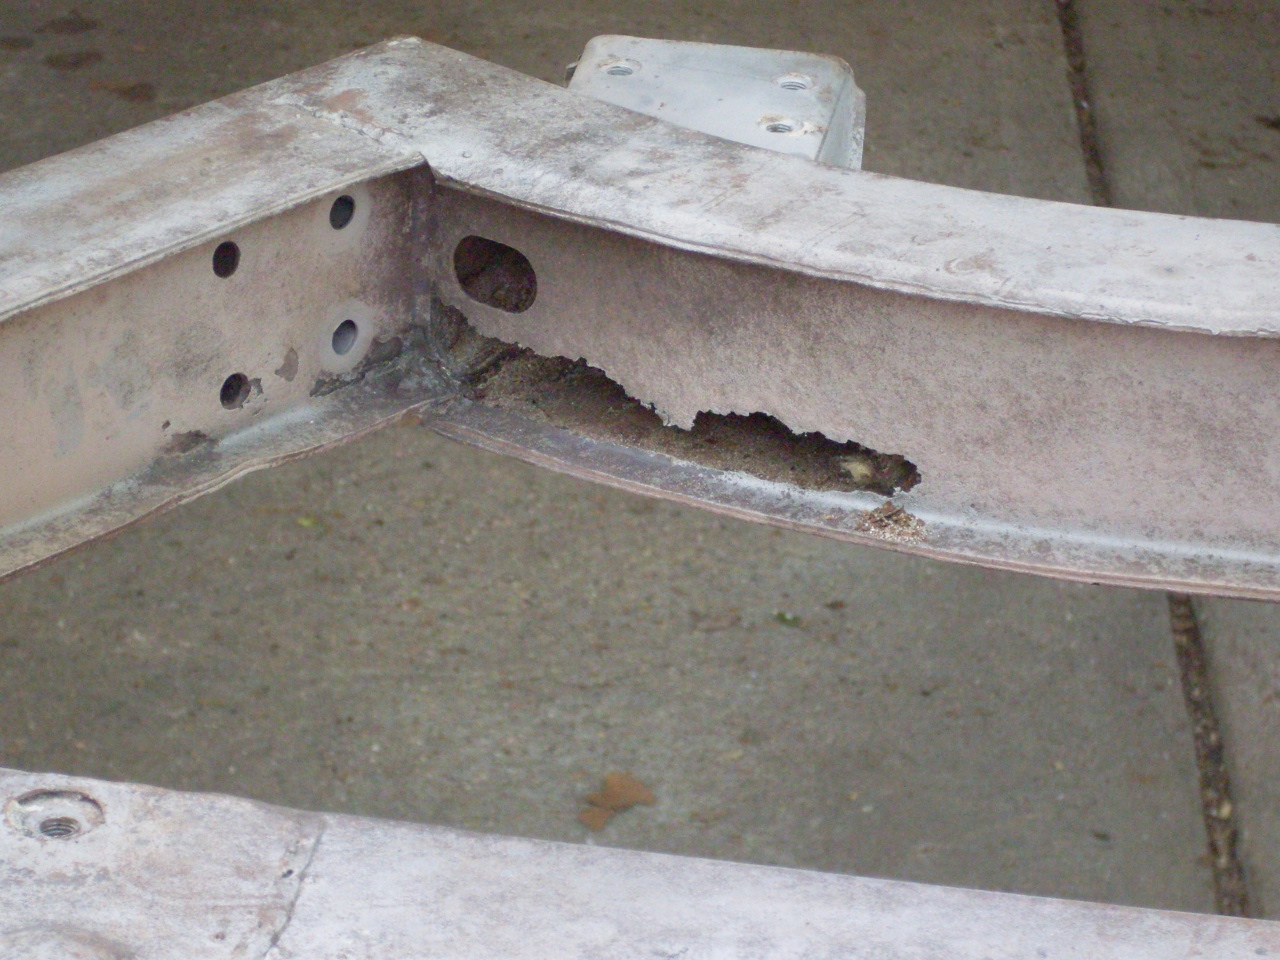
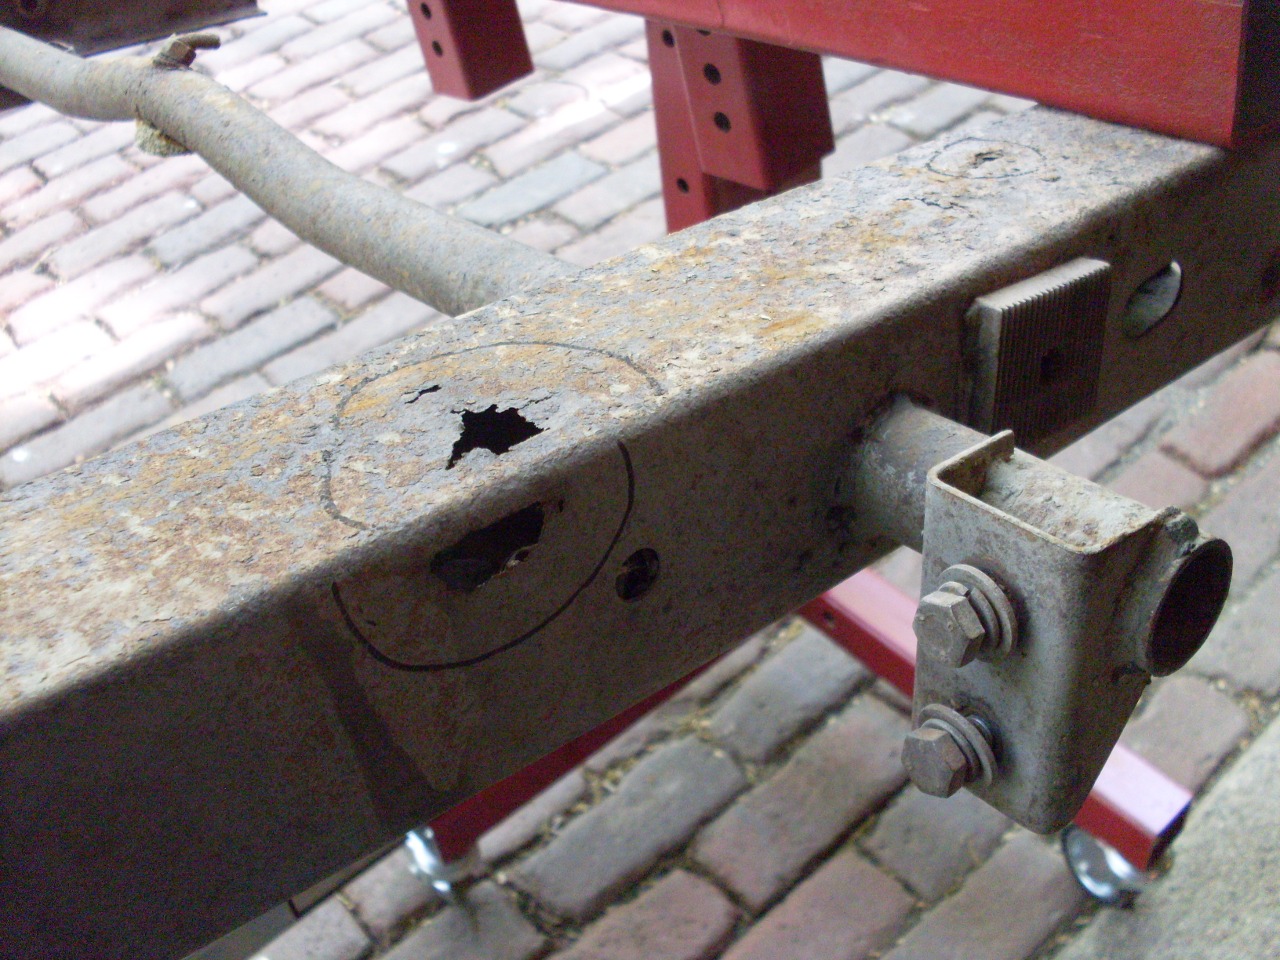
of the rust issues were expected. Both trailing arm mount members
had areas of rust-through, but the one on the driver's side also
involved the outside frame rail. It's pretty severe, but I
believe it can be fixed. I was planning to make the trailing arm
frame members myself until I realized that my little sheet metal brake
isn't near man enough to do an 18" bend in 14 gage sheet. I'll
probably have to order repair sections for the suspension mounts, but
will fix the outboard rail myself.
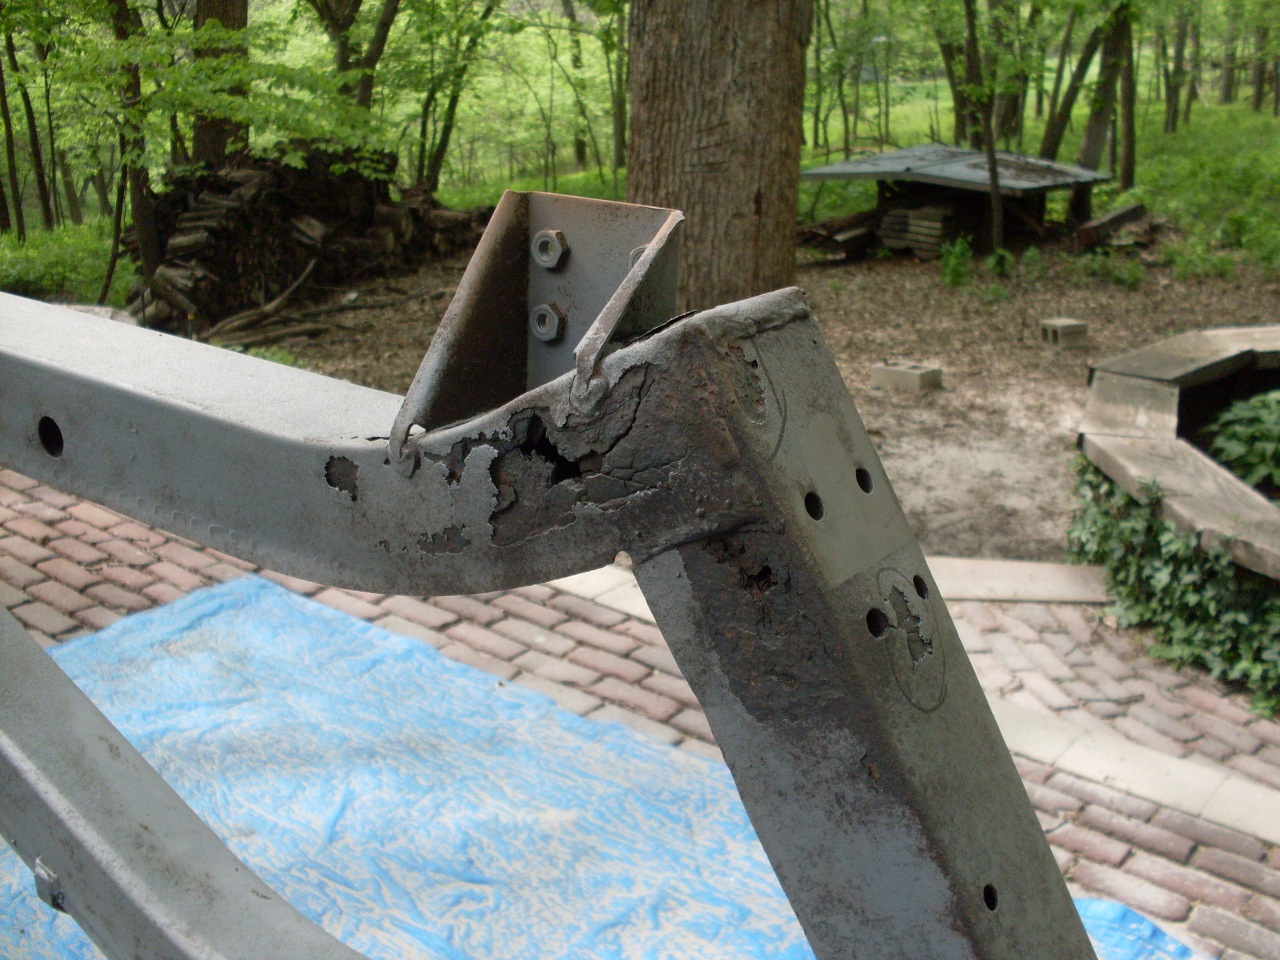
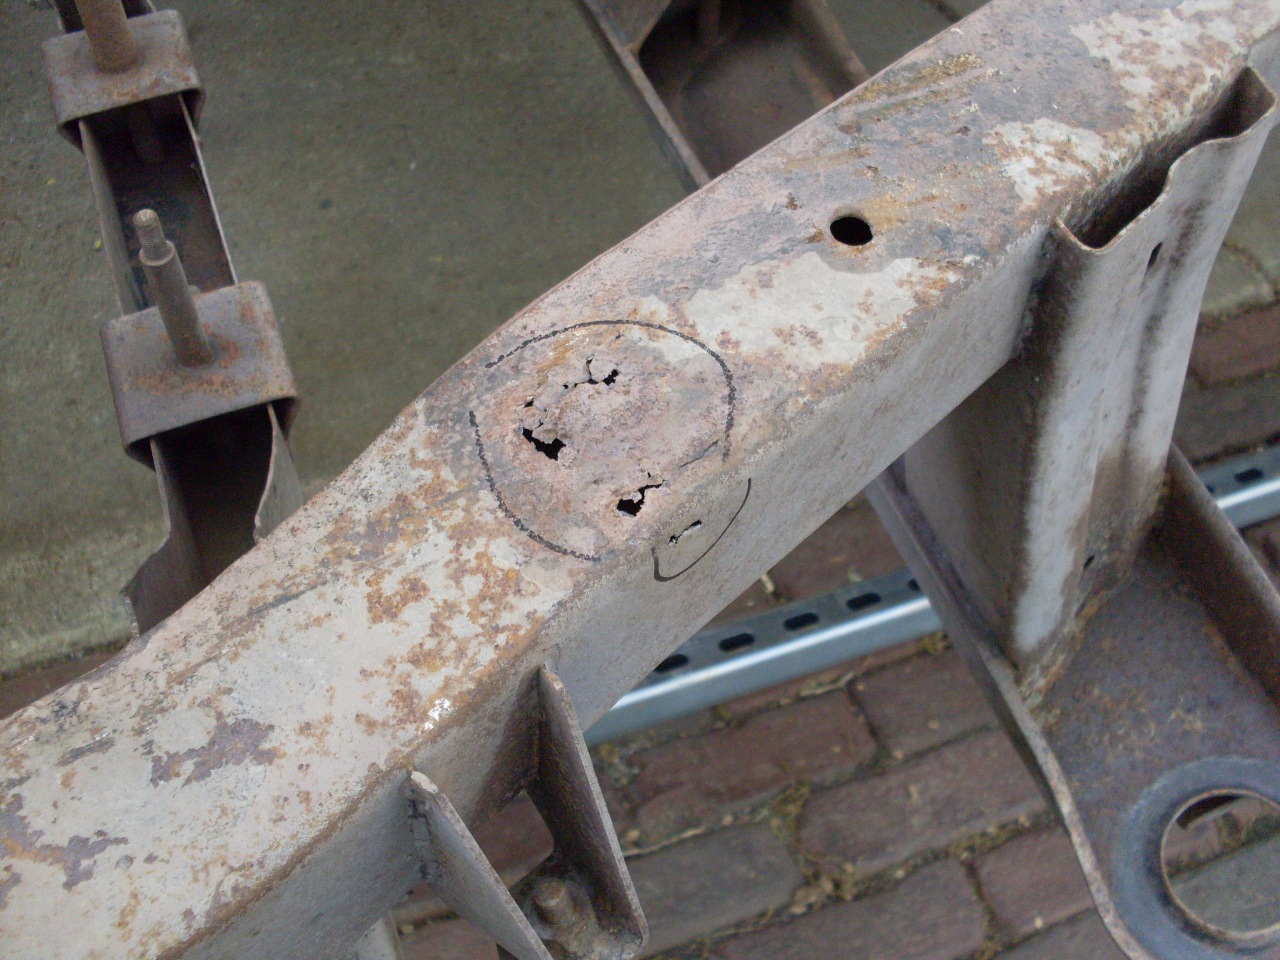
There were a few other areas of rust through, all on the rear half of the frame.
Before
I spent any more time or effort on the frame, I had to know that it was
not distorted. Frame distortion from an accident or some other
mishap can be hard to see, but could make suspension alignment
difficult as well as affect the fit of body panels. The two
primary kinds of potential frame distortion are twisting and racking.
Some
shop manuals have elaborate procedures for detecting twist. It
requires a flat horizontal reference surface. Not having one that
I trusted, I made do with what I think is a simpler method that is just
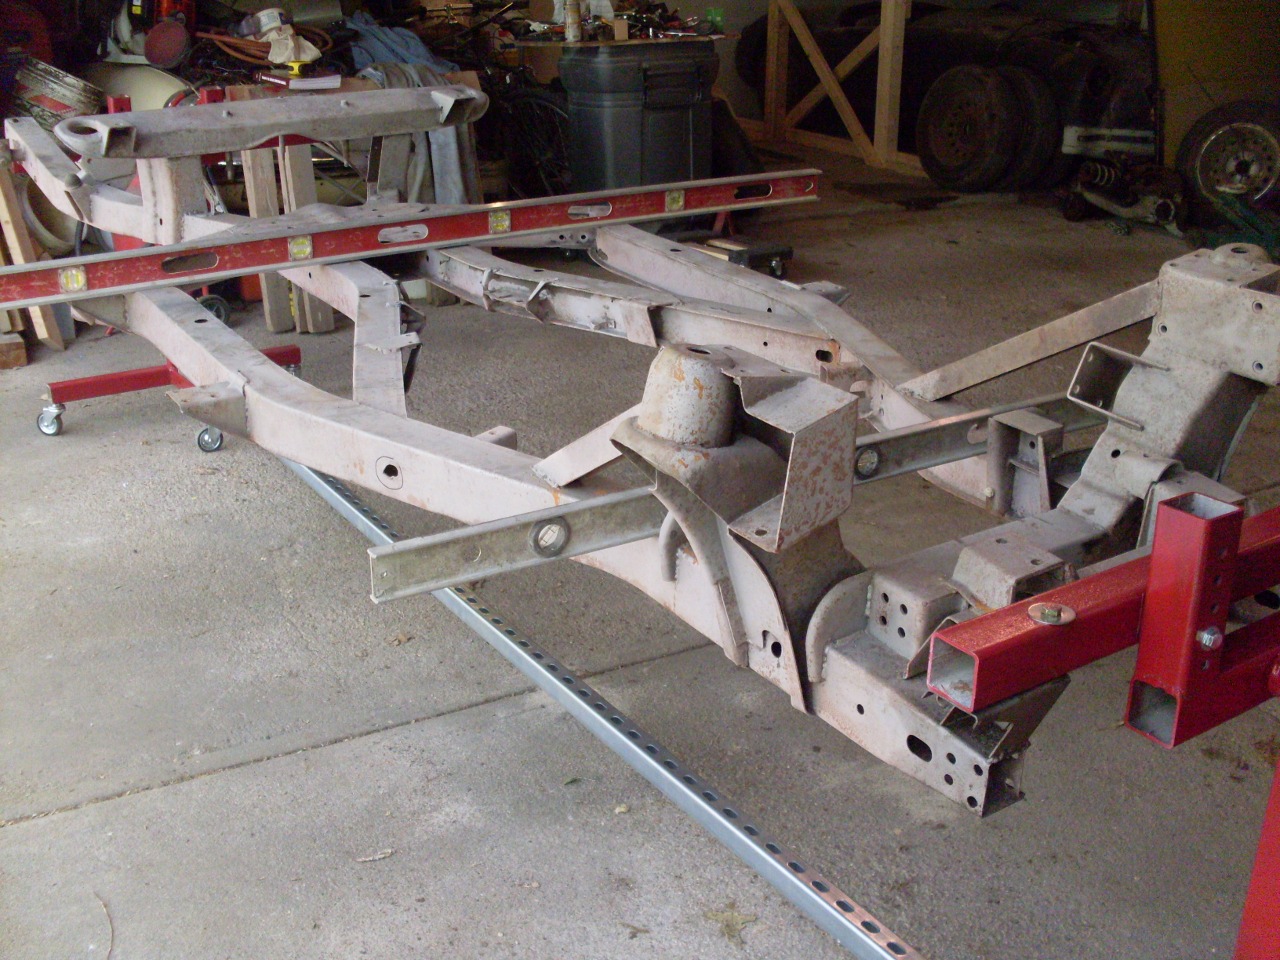
as effective. I put an accurate level across the rails near the
middle of the car, and adjusted the rotisserie until it was level.
I then checked numerous other places on the frame for level.
Any twist would show up as an out-of level condition. I'm
confident that this method would find twist down to 1/8 inch or
better. My frame was darn close to dead flat.
One
type of distortion that this method would not find is an unlikely frame
that was bent in the middle, but not twisted. To check for this,
I used the levels as straight edges along the rails. (The rails take an intentional upward bend toward the rear of the car.)
A
quick check for racking is to measure opposite diagonals accross the
frame. The manuals say to do this using points projected from the
frame to a reference surface, but this can be done pretty accurately
for many points on the frame itself.
I
found no evidence of racking, twist, or bending of the frame. I
did not check the spatial position of every body and suspension
mounting point, but I had no reason to suspect problems.
Now it is onward to do the necessary structural repairs.
Comments to: elhollin1@yahoo.com
To my other TR6 pages.