To my other TR6 pages.
March 290, 2014
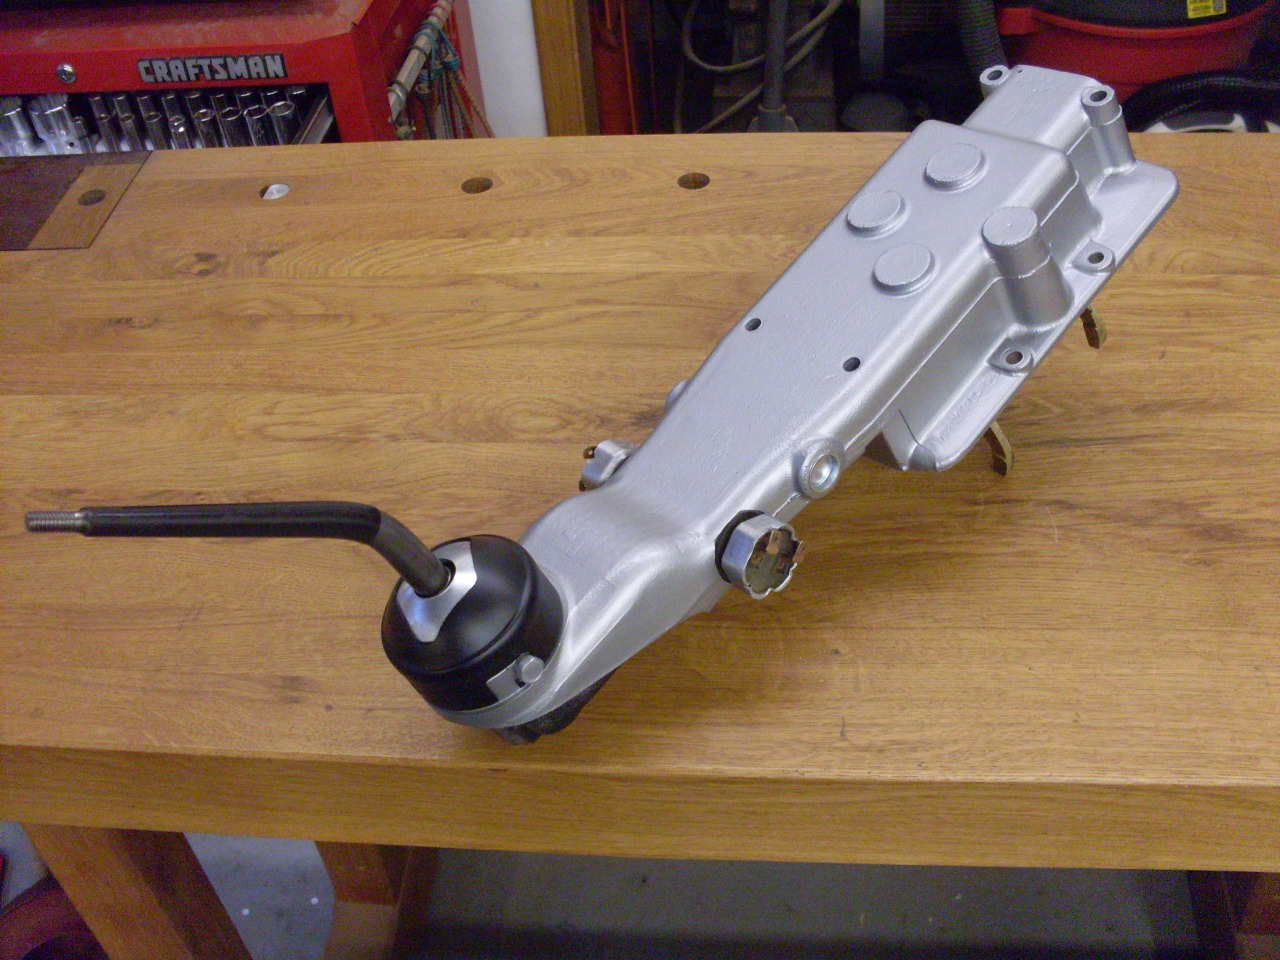
Gearbox
While waiting to wrap up a few odds and ends on the engine, I brought the gearbox down to the shop last week.
I
got this car in the late 70s from a guy who bought it new for his wife.
They were selling it at least partly because she apparently never
did grasp the concept of a manual transmission very well. This
might have been the reason that the third gear synchromesh was toast
when I got it. I put up with that for a year or two, eventually
getting pretty good at sensing shift points so it didn't really grind
much. In about 1980 or so, I finally pulled the transmission to
fix the problem. As expected, the third gear synch ring was in
the bottom of the case in a lot of small pieces. So at that time,
I replaced all the synch rings, at least one of the brass selector
forks, all the seals, and probably all the bearings. If there
were a chewed up gear, I would have replaced that, too, but I don't
remember. Now, 34 years but probably less than 20 thousand miles
later, I had to decide how much to do to it. All the metal parts
were probably still OK, but the lubricant and seals were elderly.
I could have just done the seals, but since there is a lot I
don't remember about the history of the car, I decided to at least take
everything apart for inspection and cleaning.
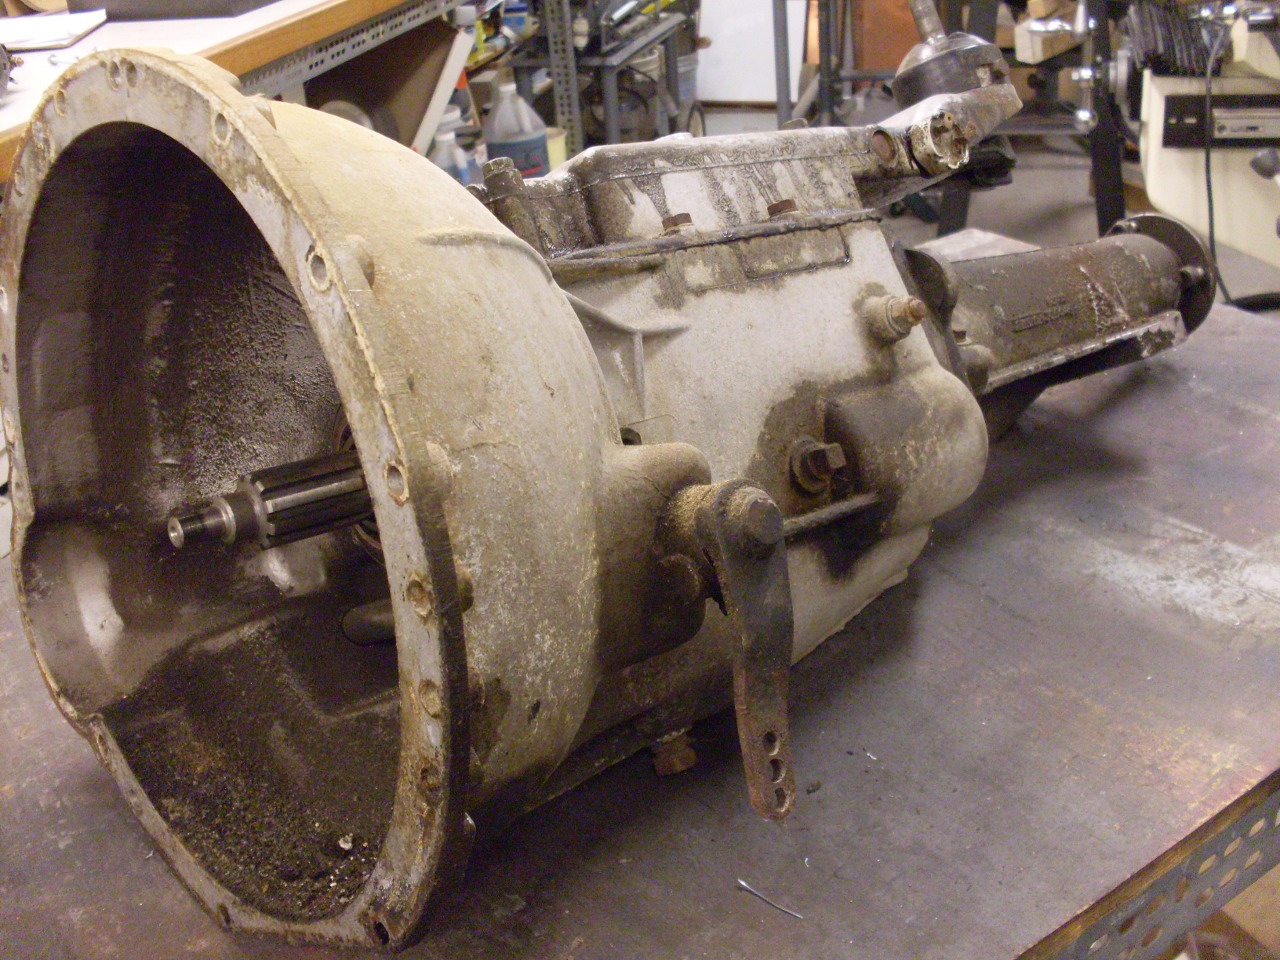
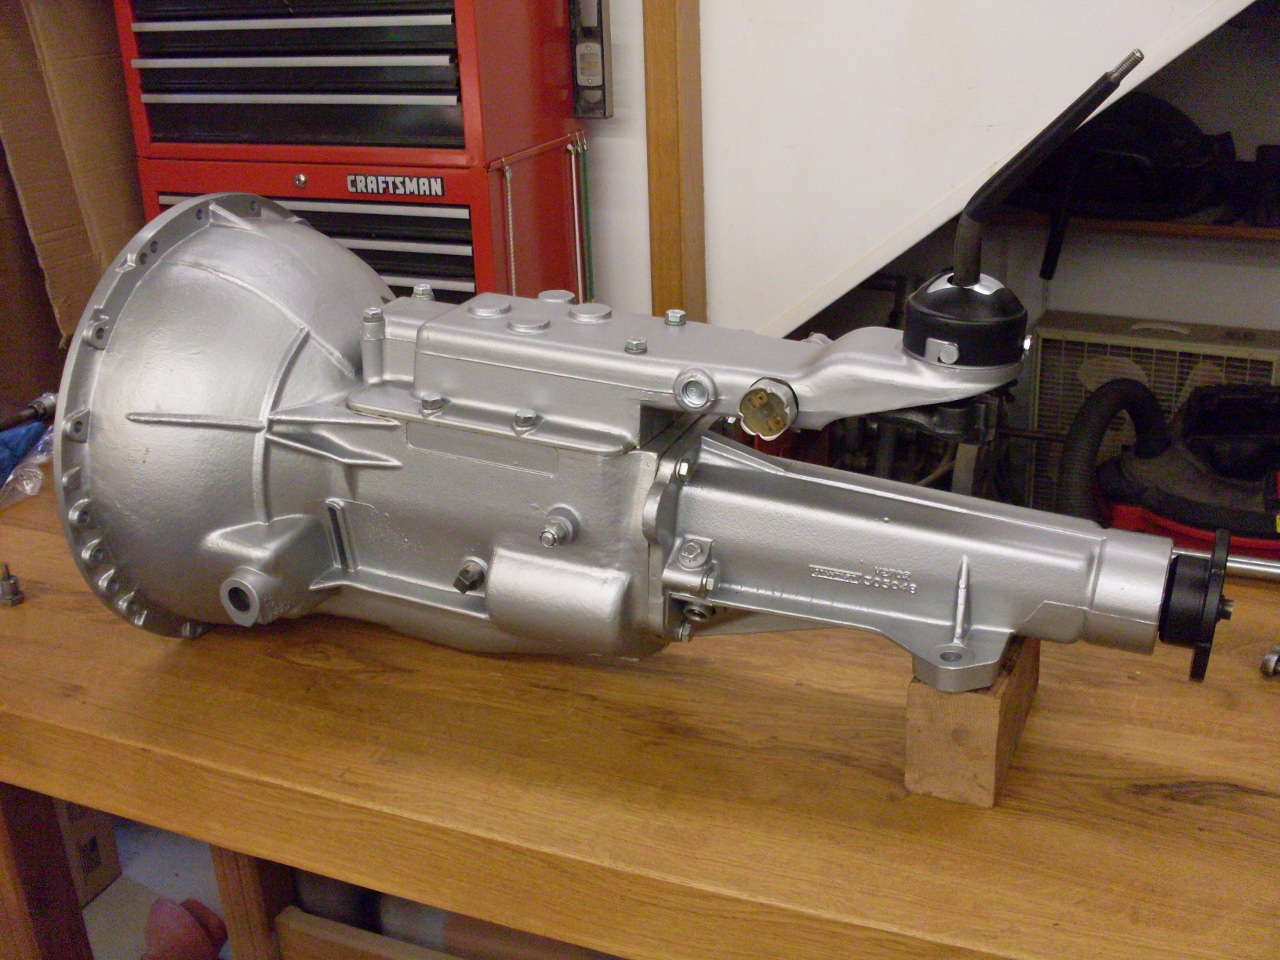
The TR6
gearbox is a pretty standard four speed manual transmission with
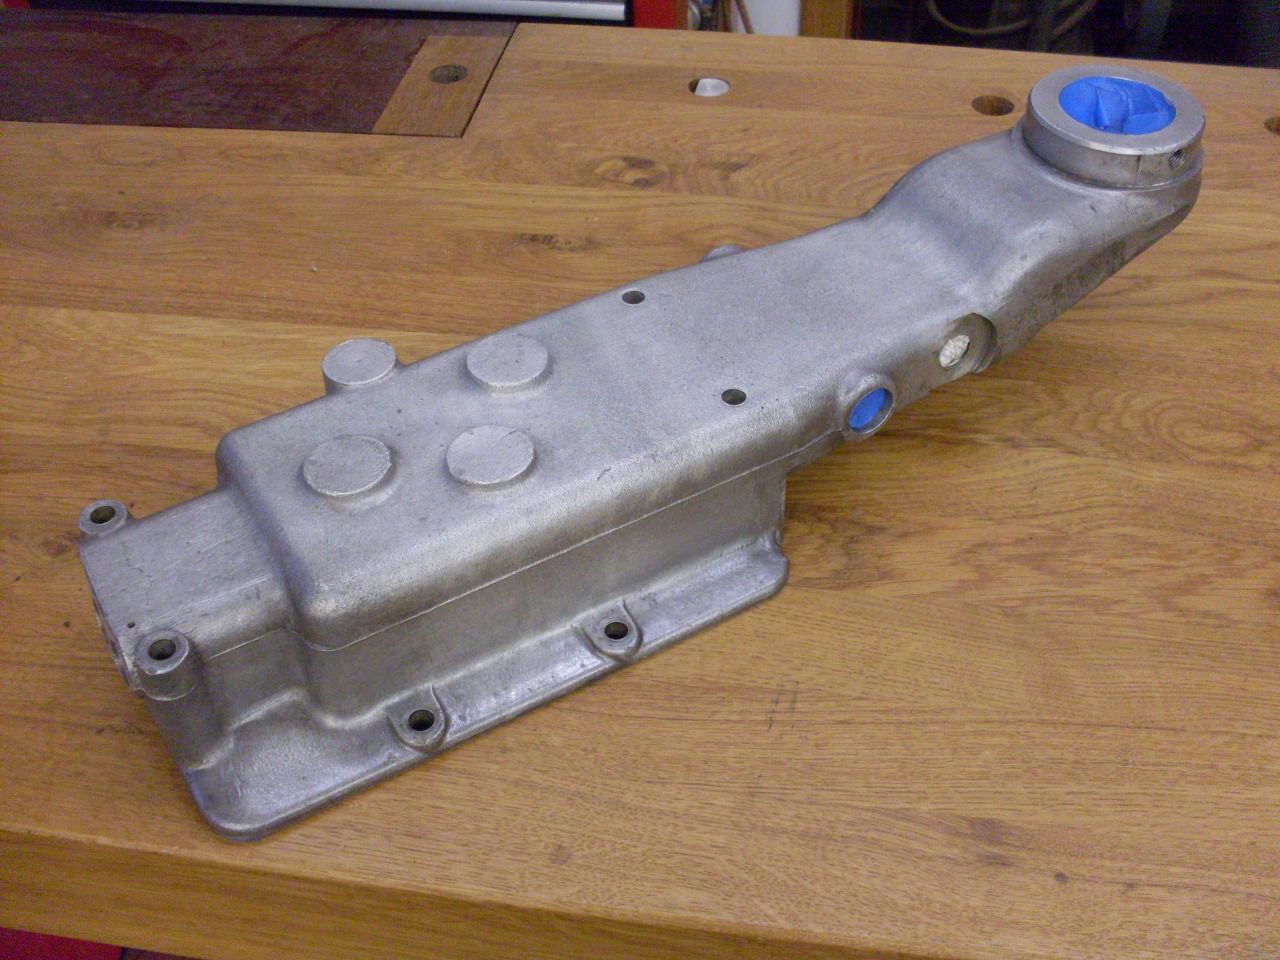
synchronized mesh of all gears. The main aluminum alloy casting
includes the gearbox itself and the bell housing. The tail
extension for the output shaft and the top cover with the shifting
mechanisms are separate castings.
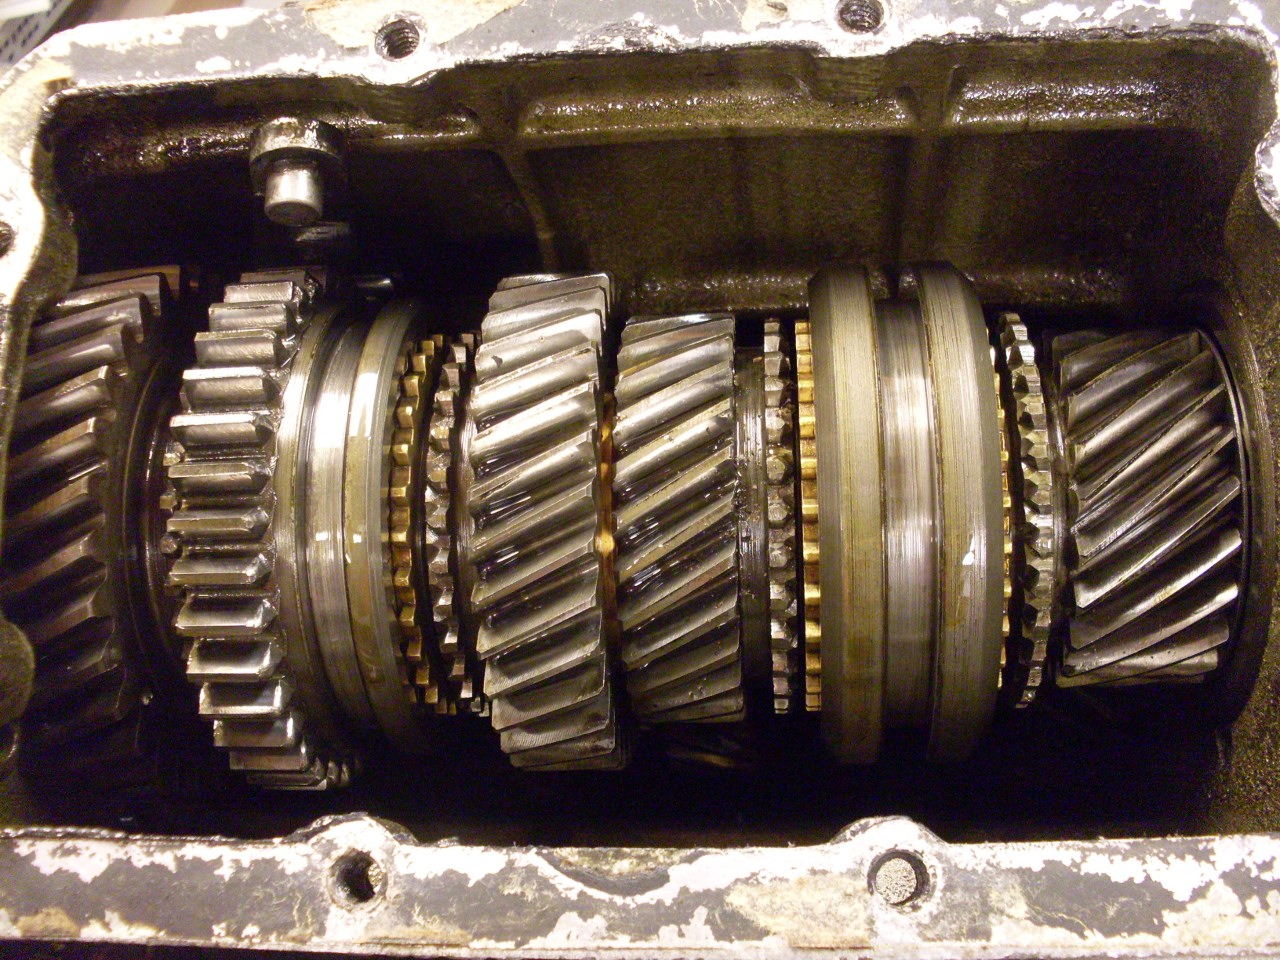
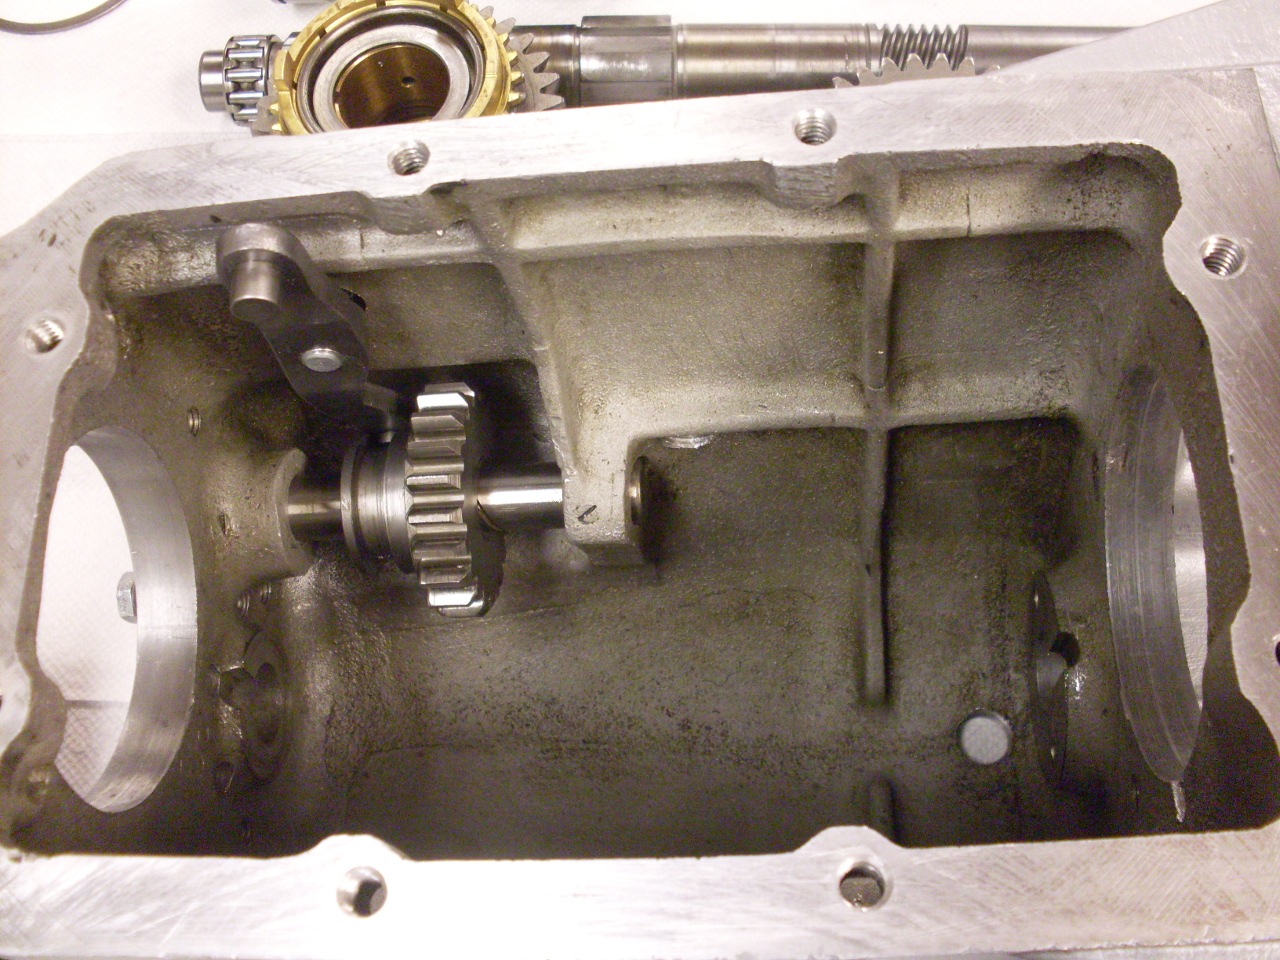
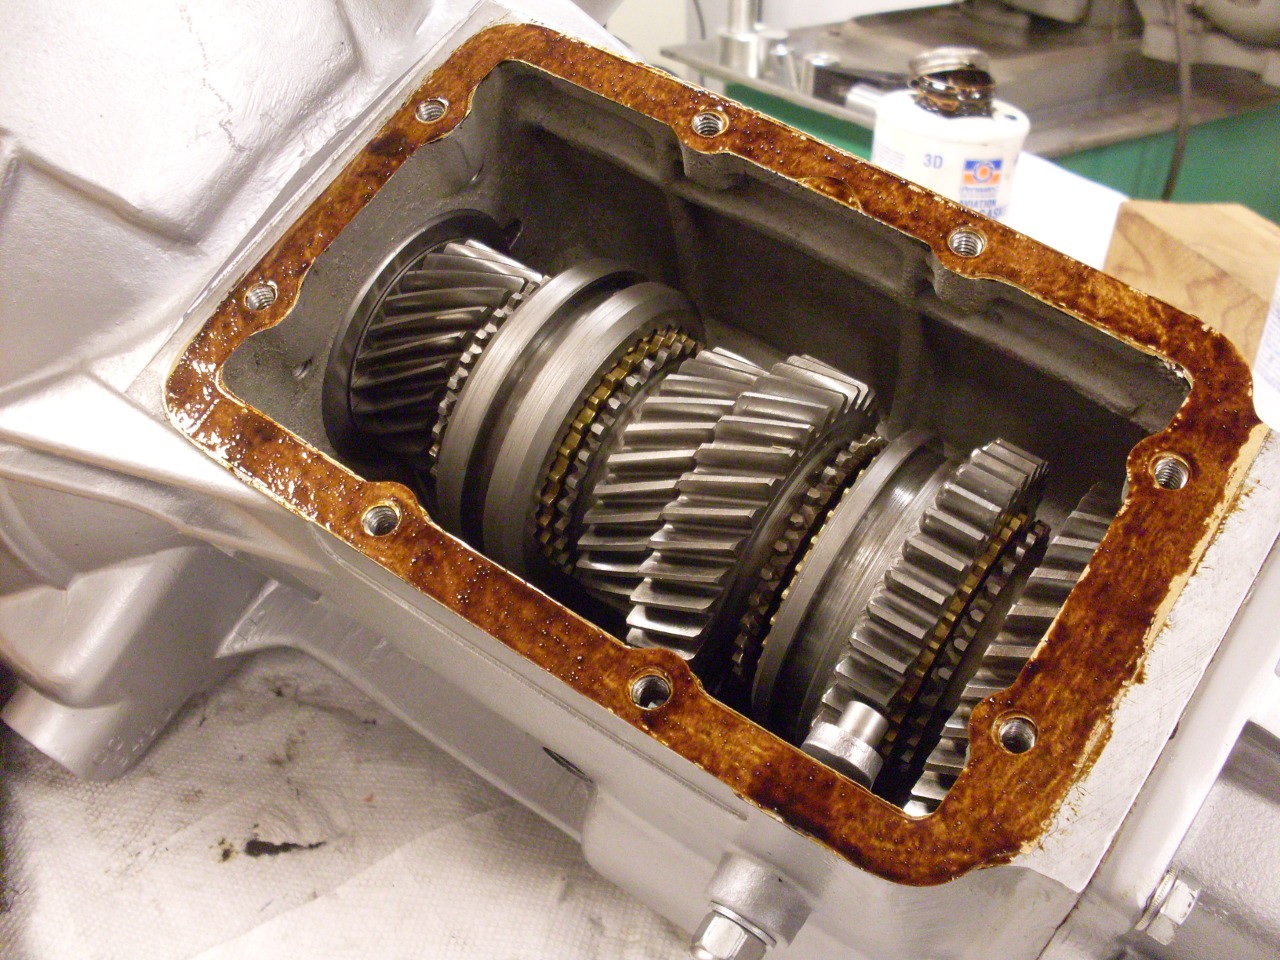
Pulling off the top cover revealed the components of the input and mainshafts.
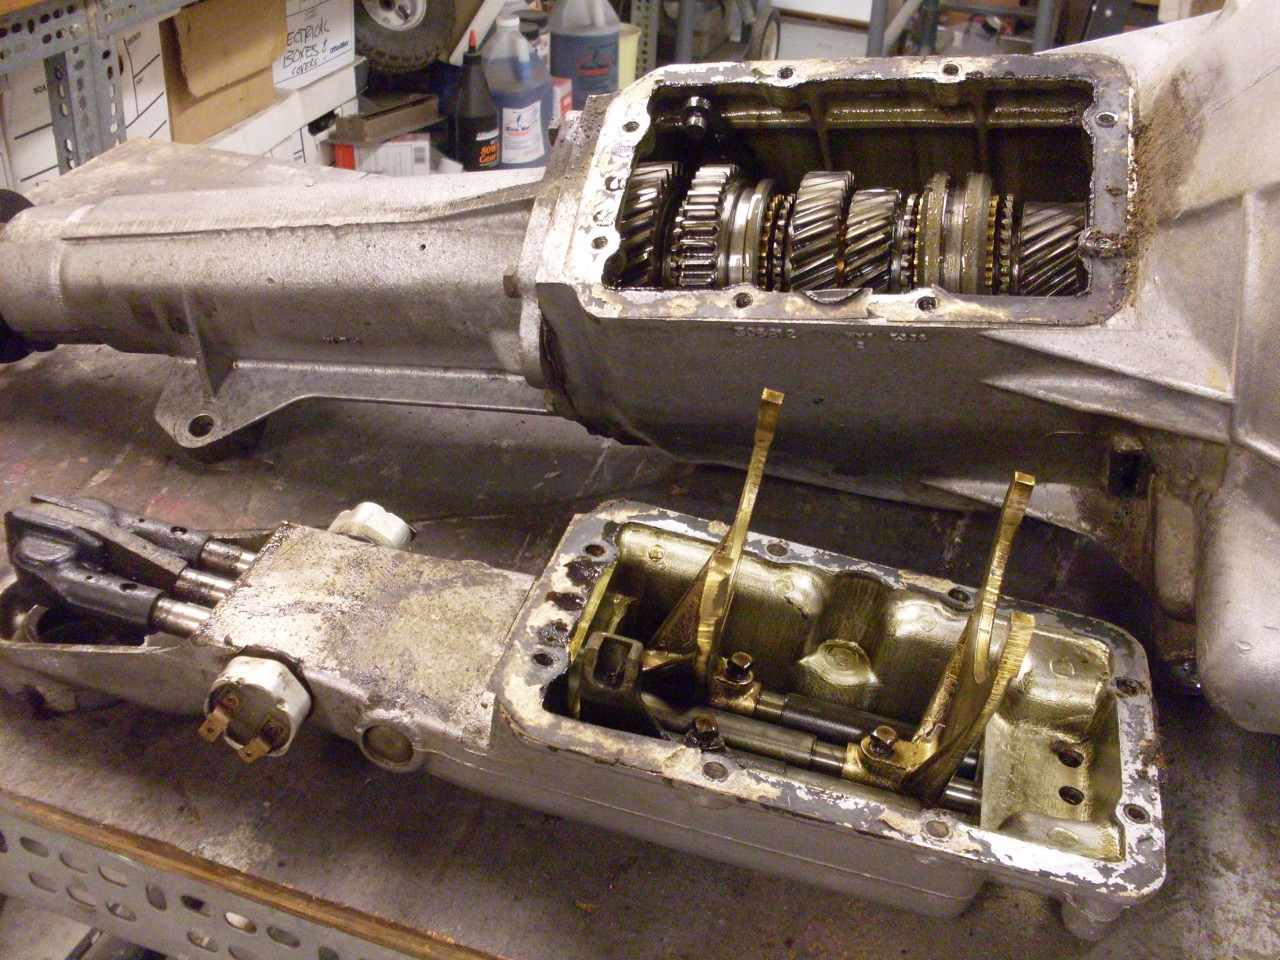
Drained the oil and removed the rear extension.

Lifted out all the guts, trying to not get anything out of order.

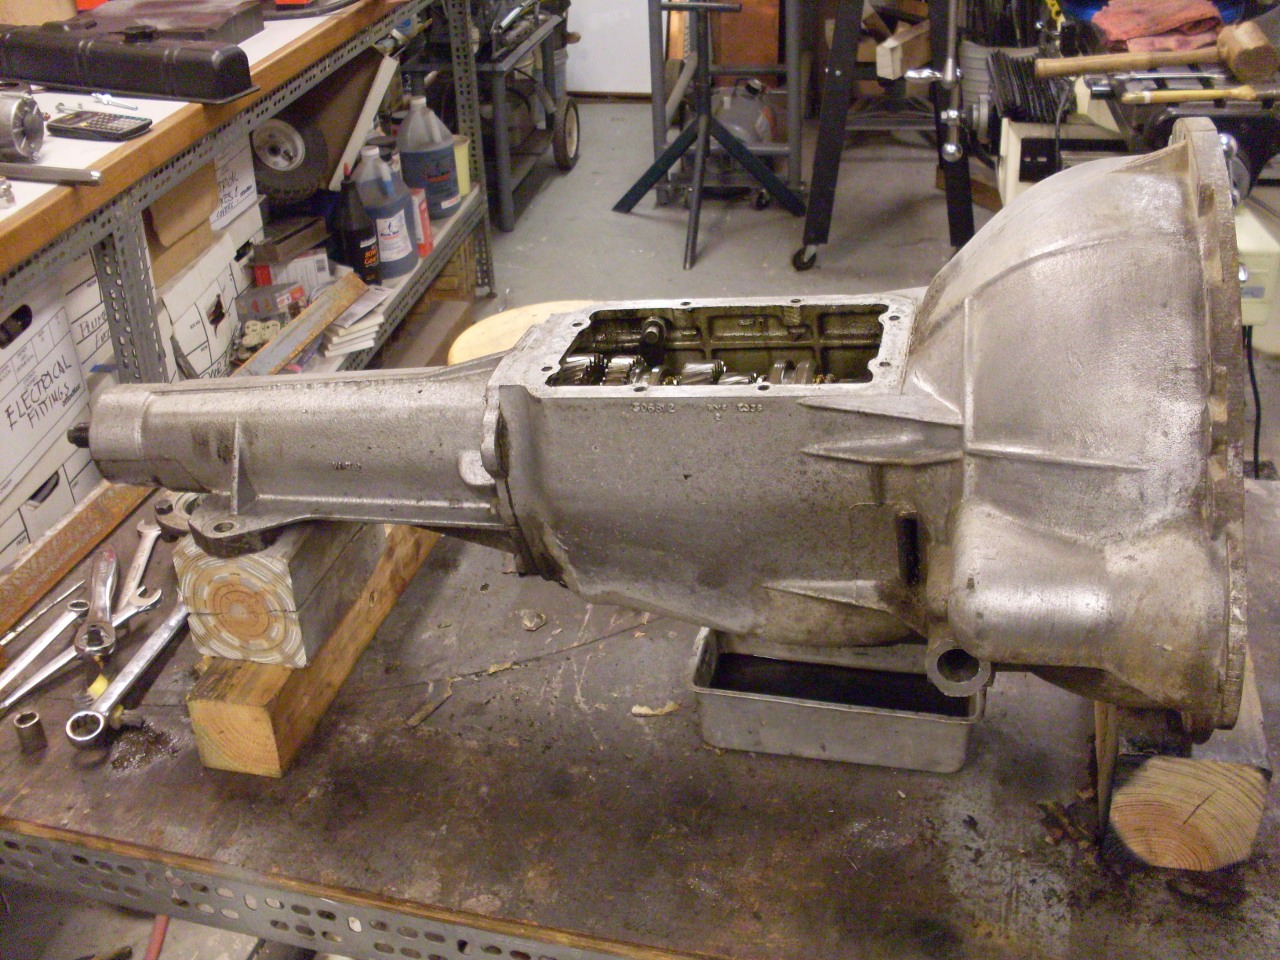
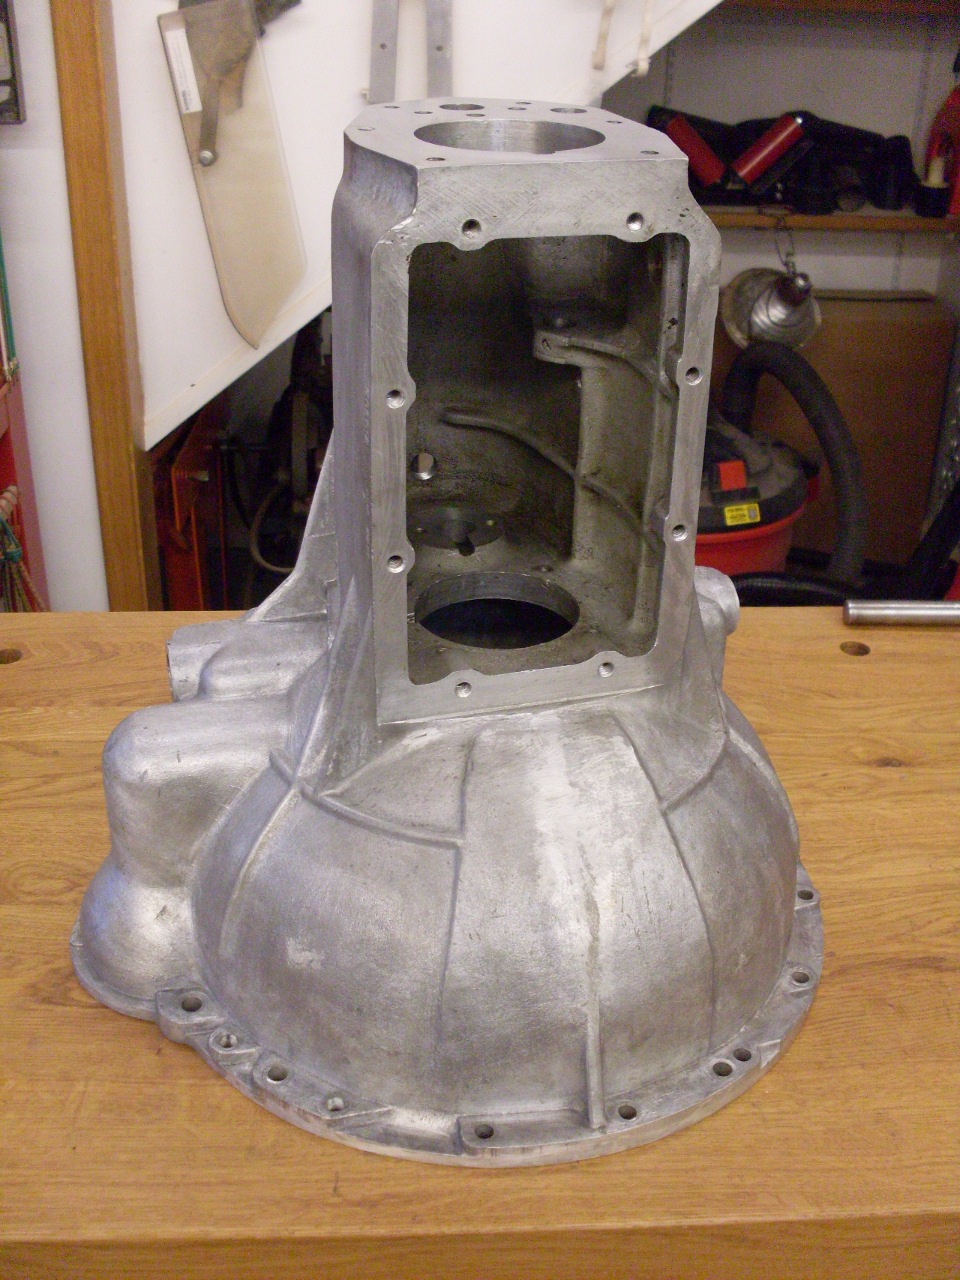
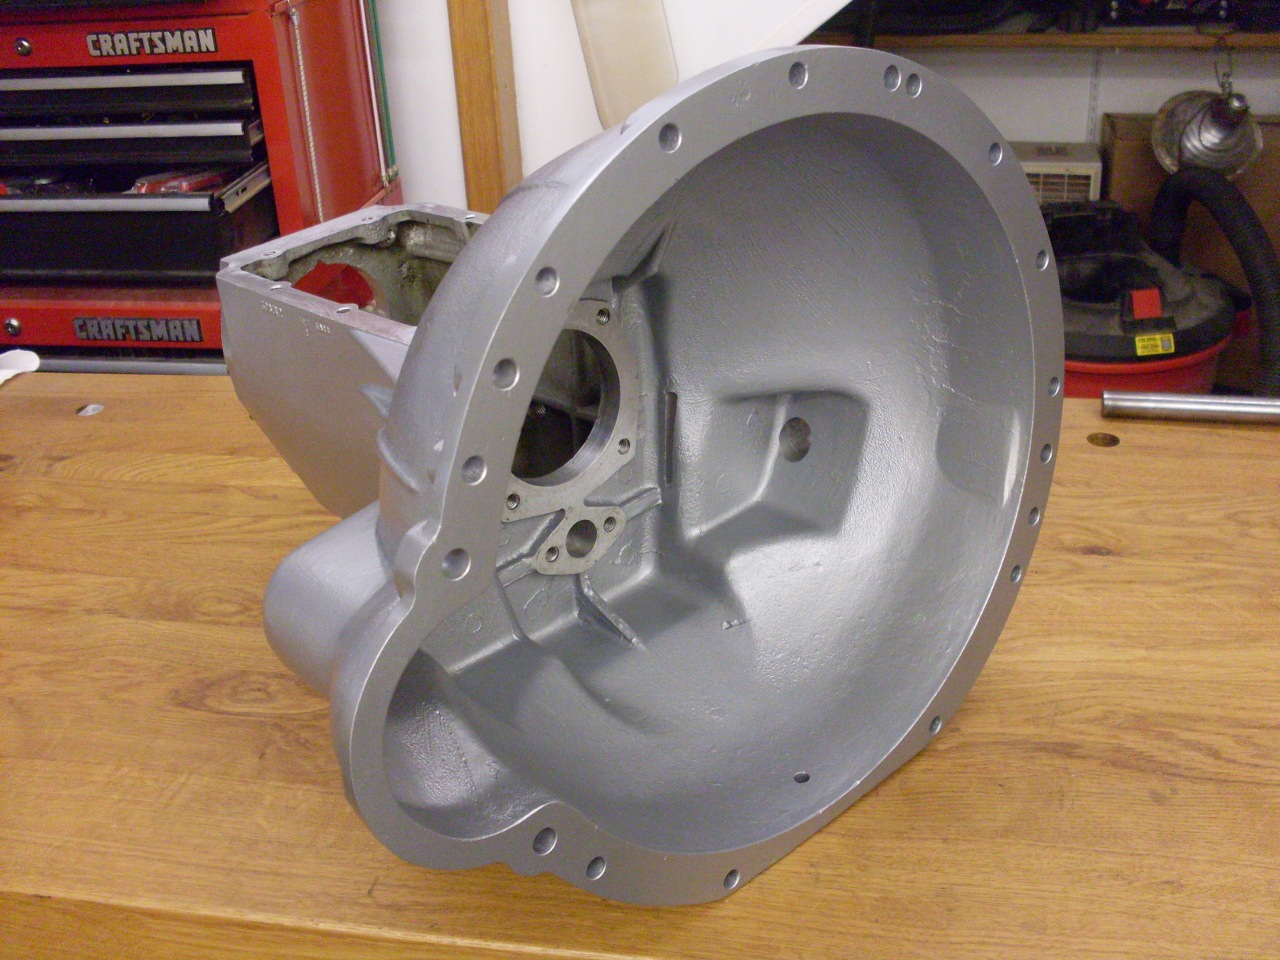
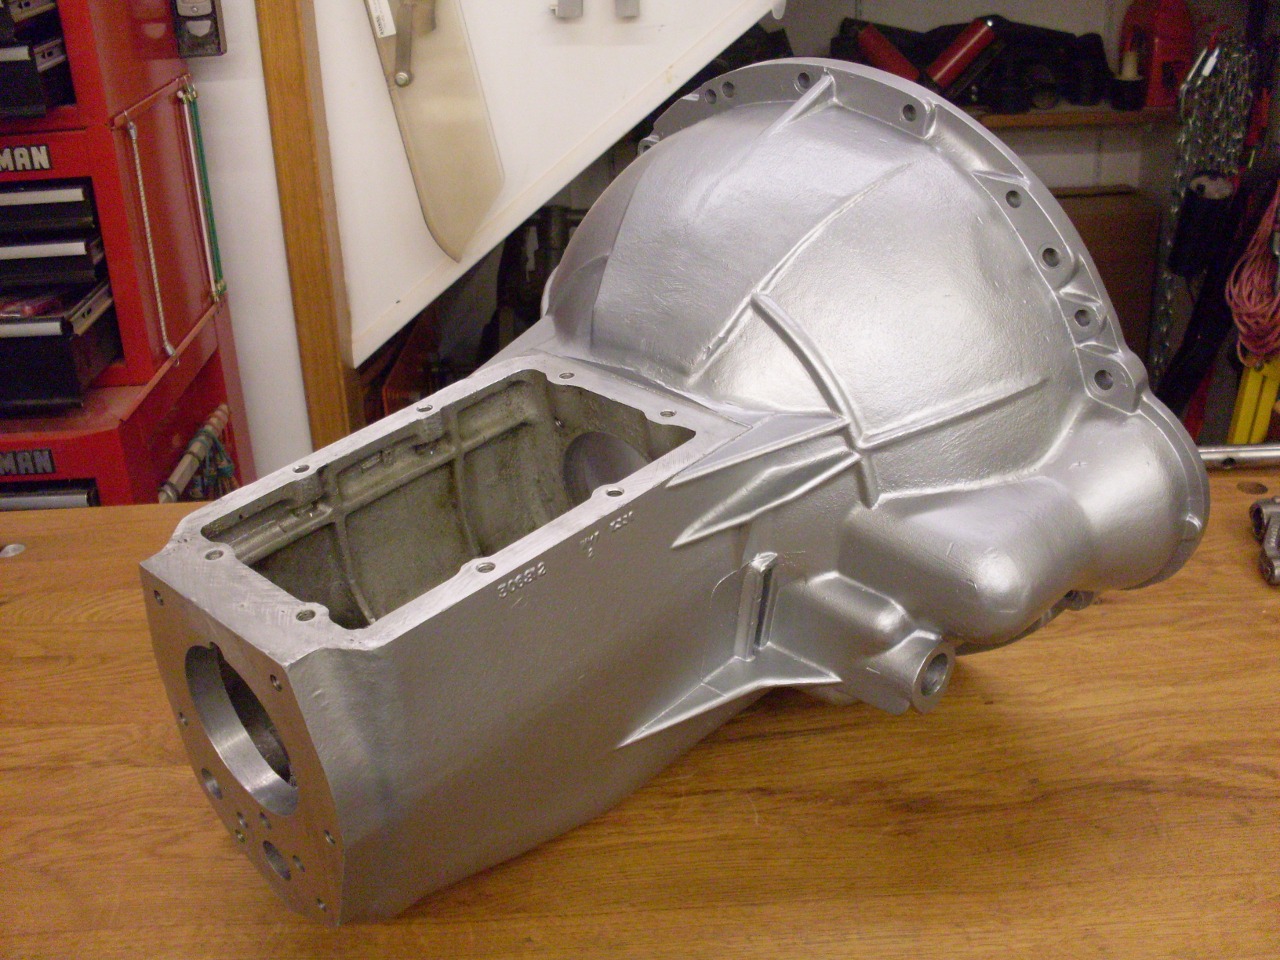
Cleaned
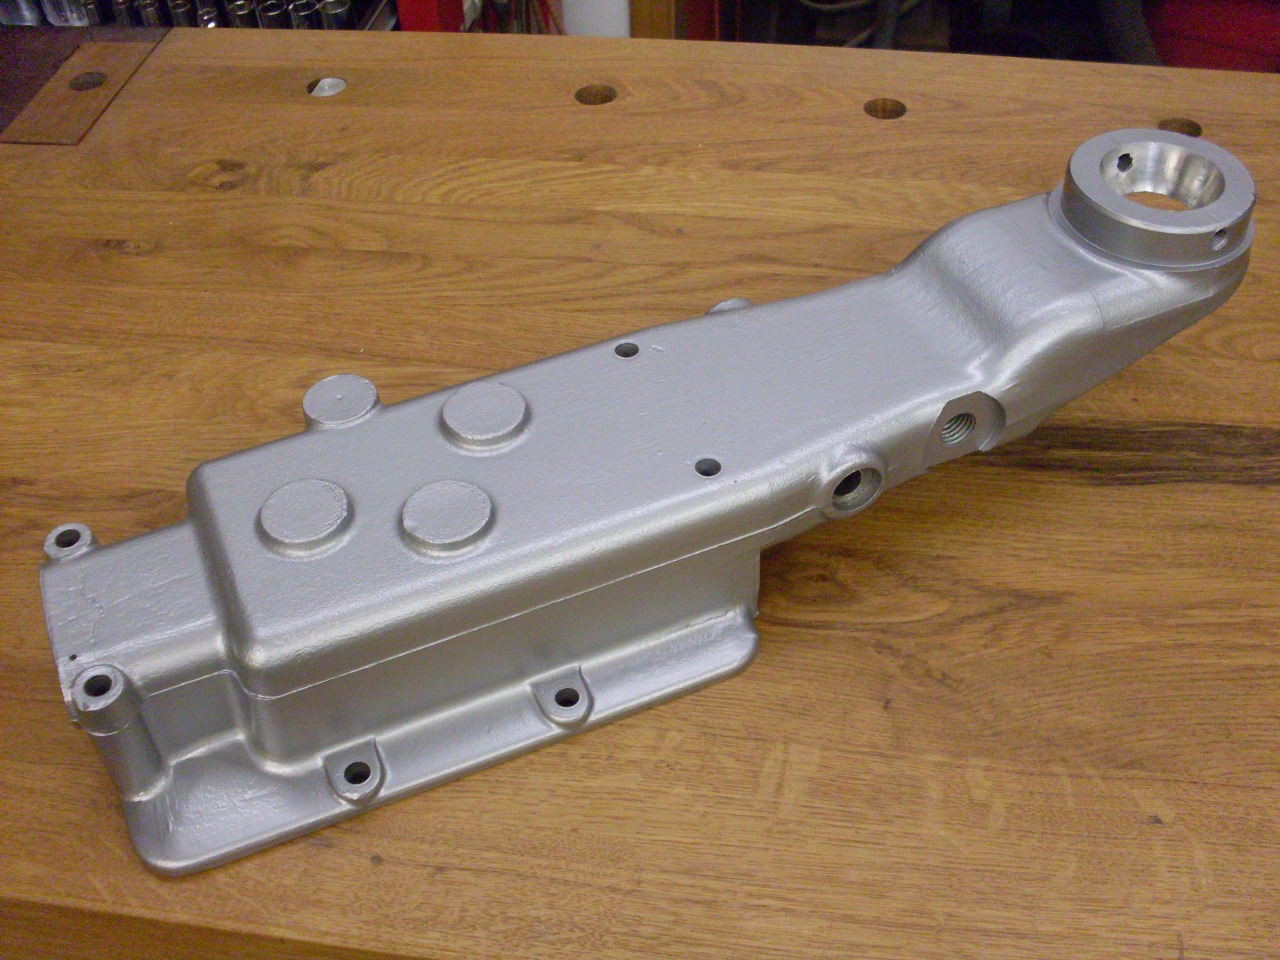
up and painted the box/bell housing casting. I've taken to
painting aluminum castings lately. Even though you can sometimes
make a raw casting look OK, they were never really meant to have an
attractive surface finish. Painting makes the surface at least
look more uniform.
So, exactly how does this go back together again?
There
really are a lot of parts in a transmission, and they fit together in
intricate, sometimes non-intuitive, bewildering ways. At least
one, and preferably two or three, good manuals are necessary not only
to make sure everything goes back in the right place, but to help with
the order of operations. Some steps have to be done before
others, even though it might not be obvious until it's too late.
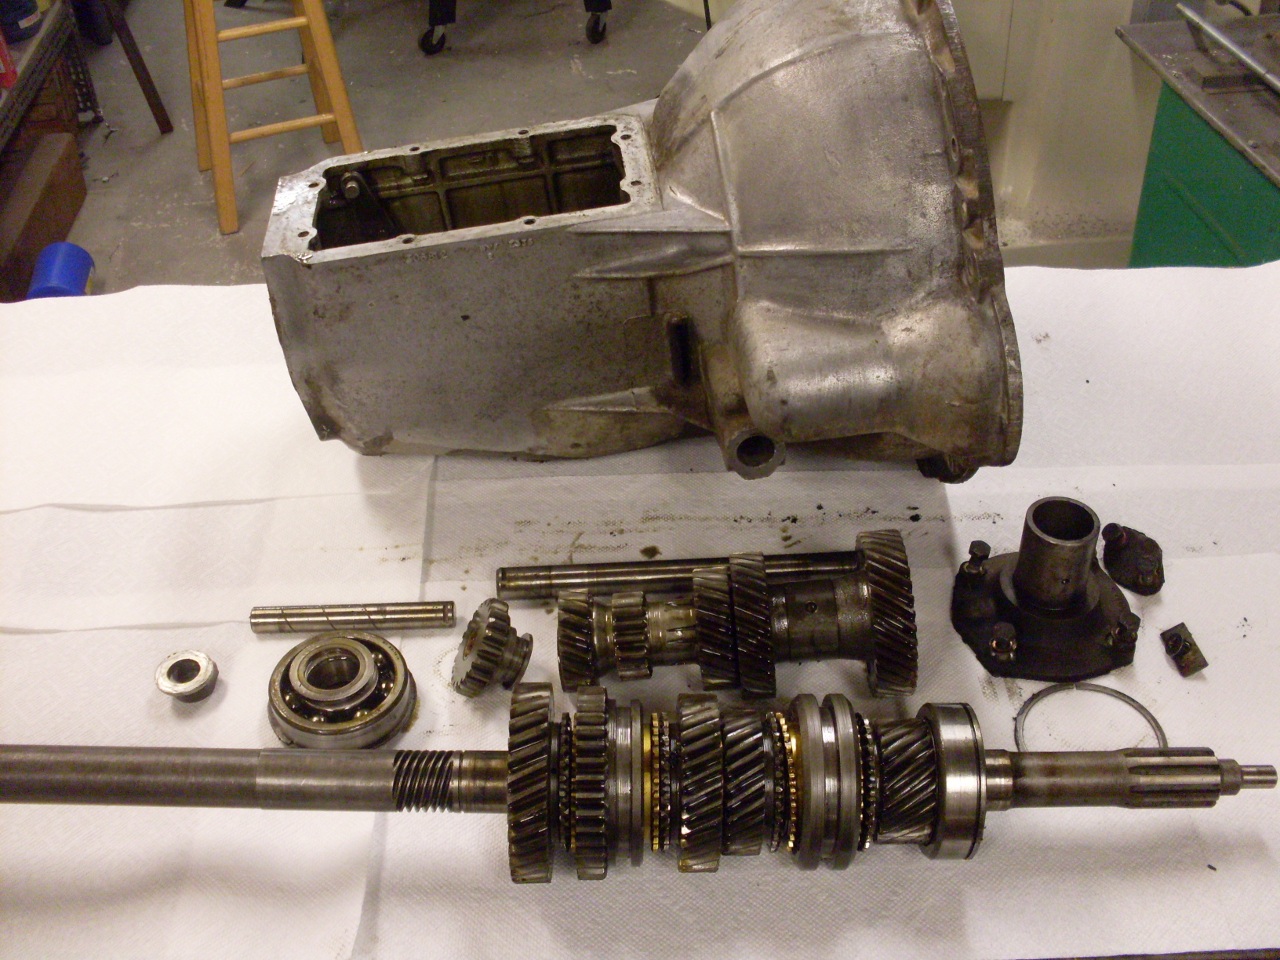
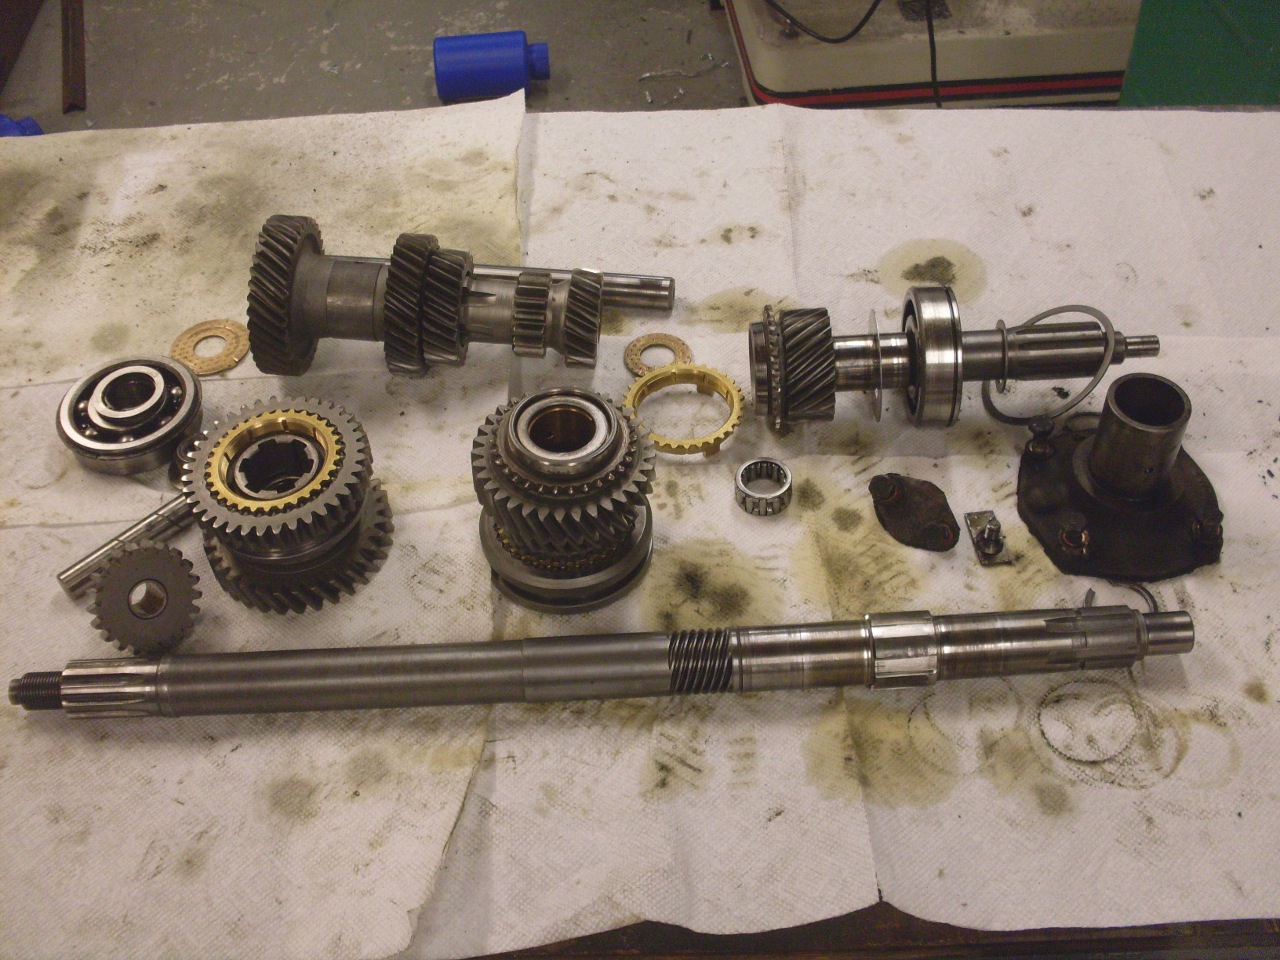
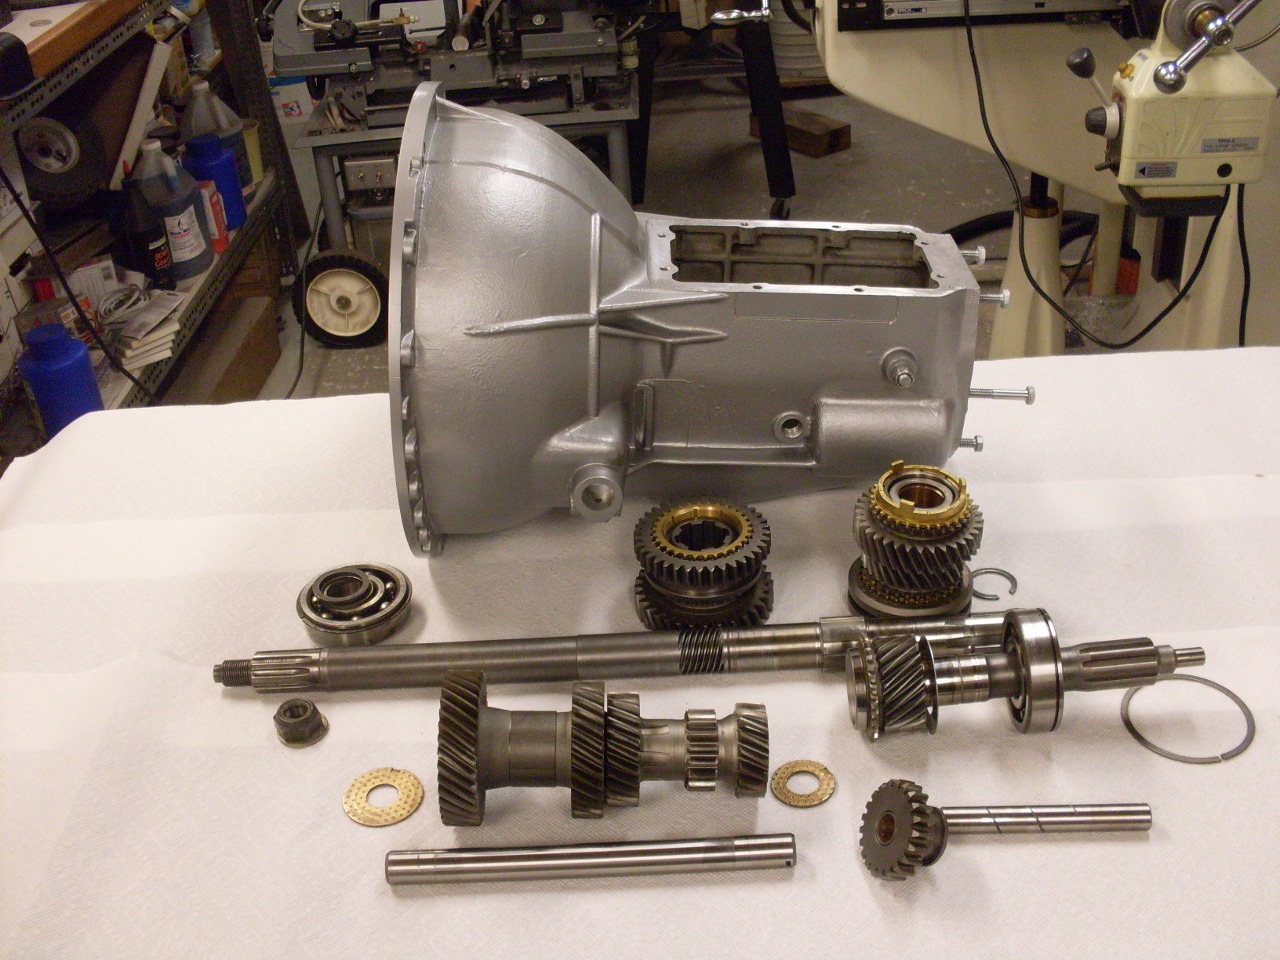
Here is everything cleaned up, inspected, and a few parts replaced:
First in was the reverse gear stuff:
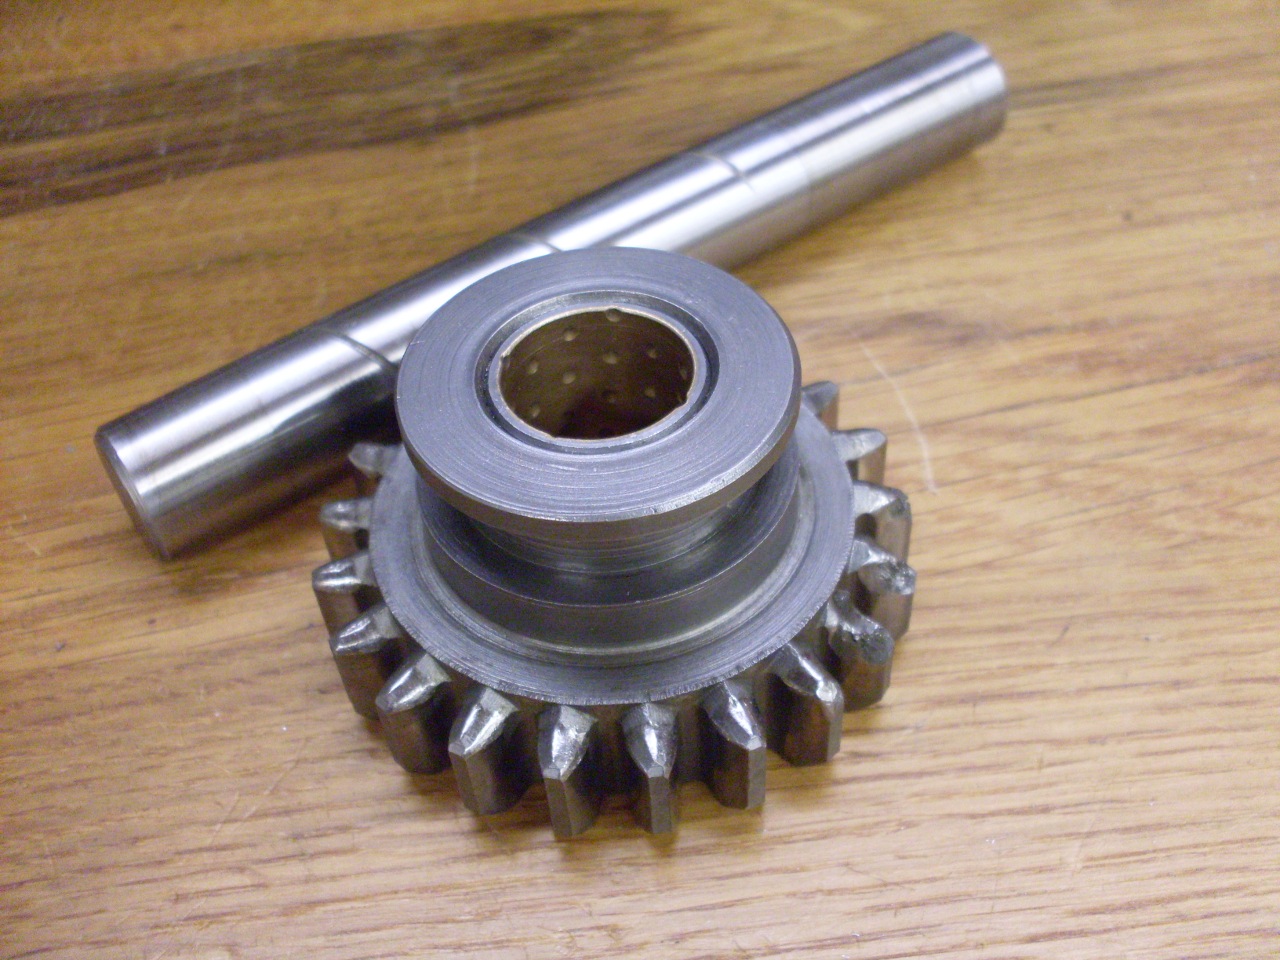
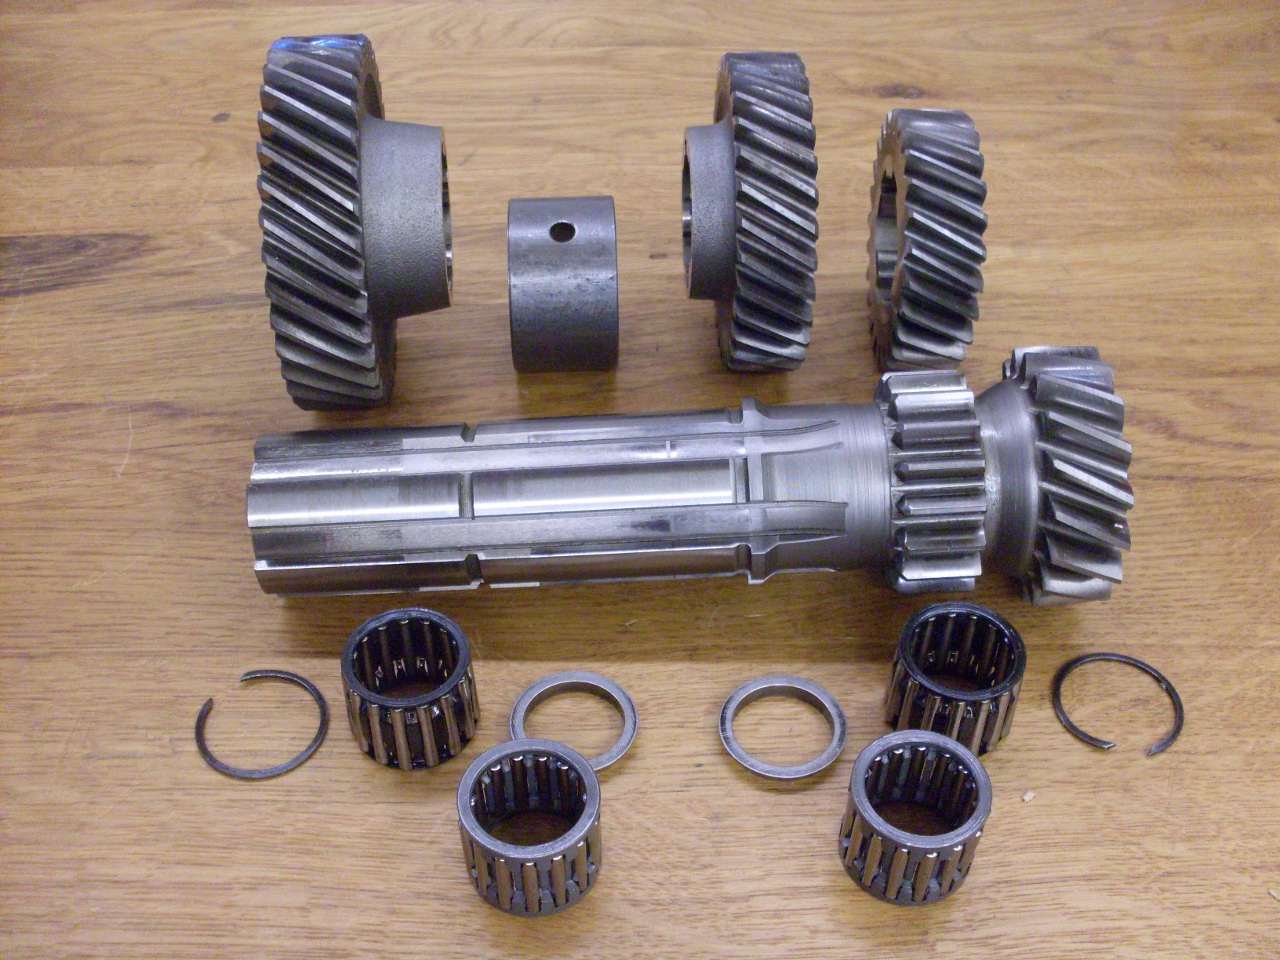
Then
the layshaft (also called counter shaft). It got new roller
bearings. At this point, the end float of the layshaft assembly
had to be checked. It needs to be between 0.007" and 0.012".
Mine was about 0.010".

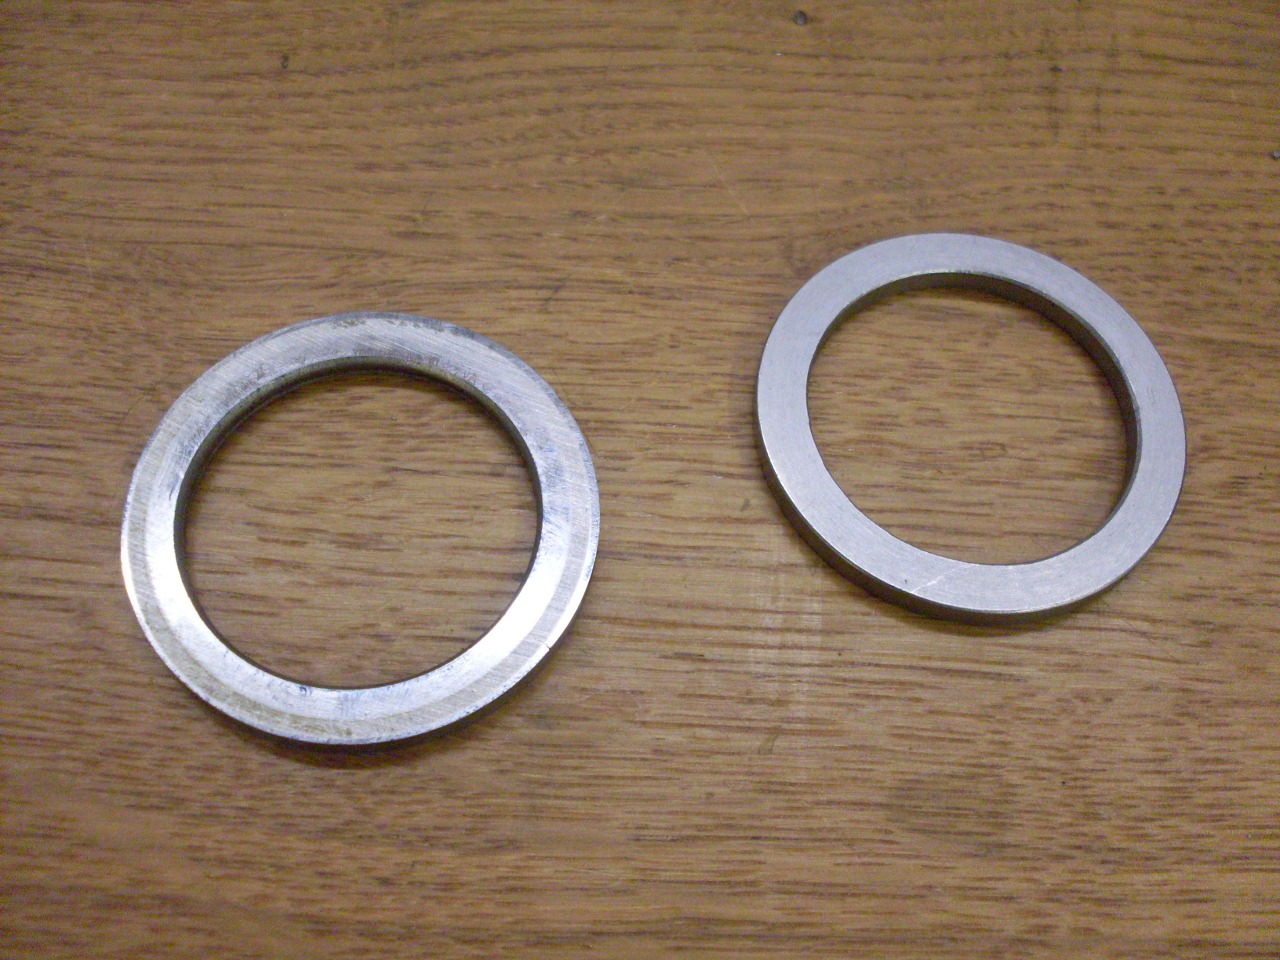
In
a previous step, the internal parts of the 2nd and 3rd gear assemblies
were put on the mainshaft, and the end float measured. Mine was a
little out of spec, so I ordered a slightly thicker "adjustment
washer". The new one on the right is 0.127" compared to the
original, which is 0.021". The last little piece in the second
picture is a circlip from hell.

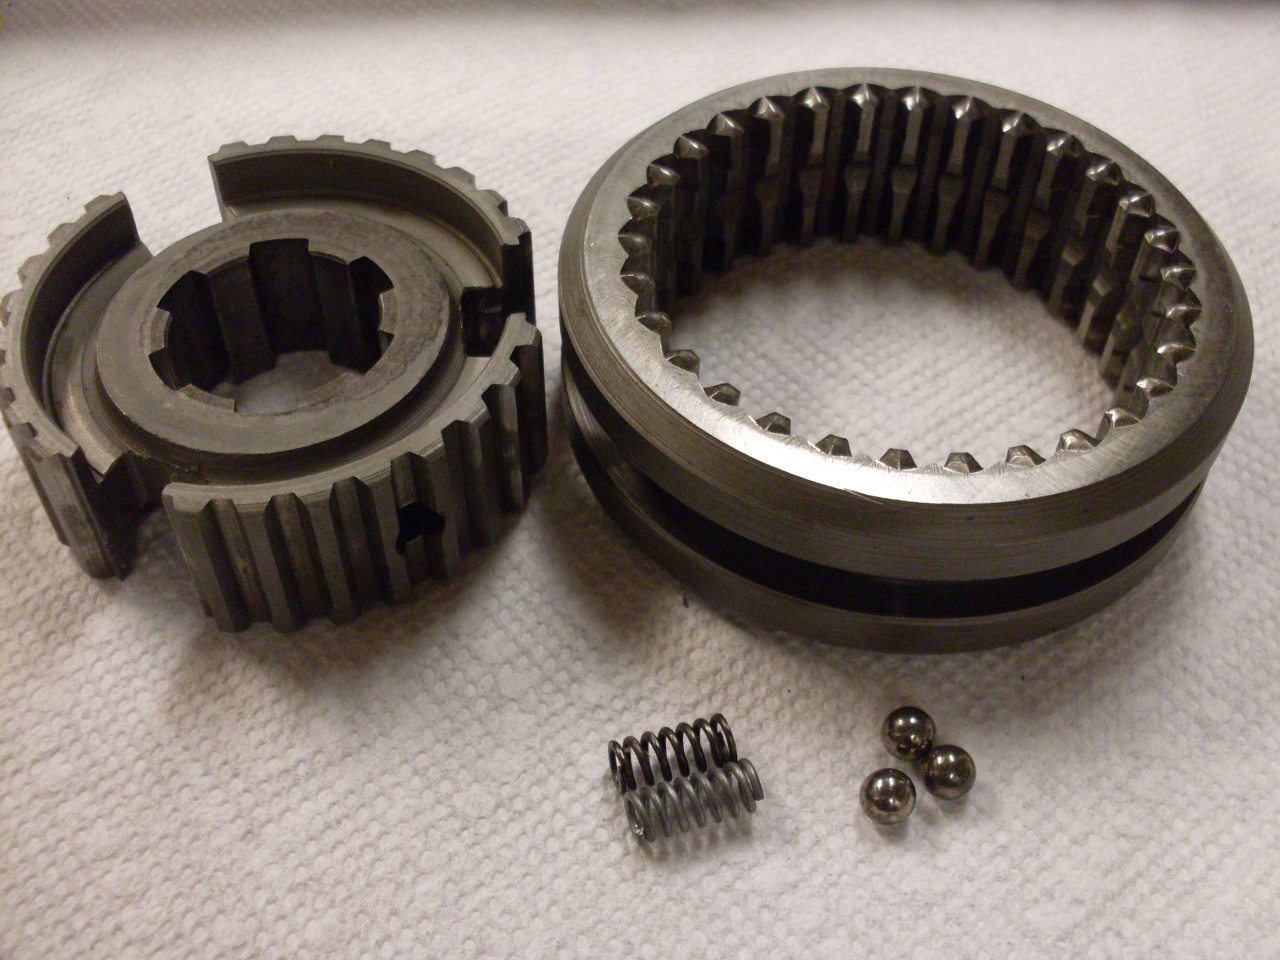
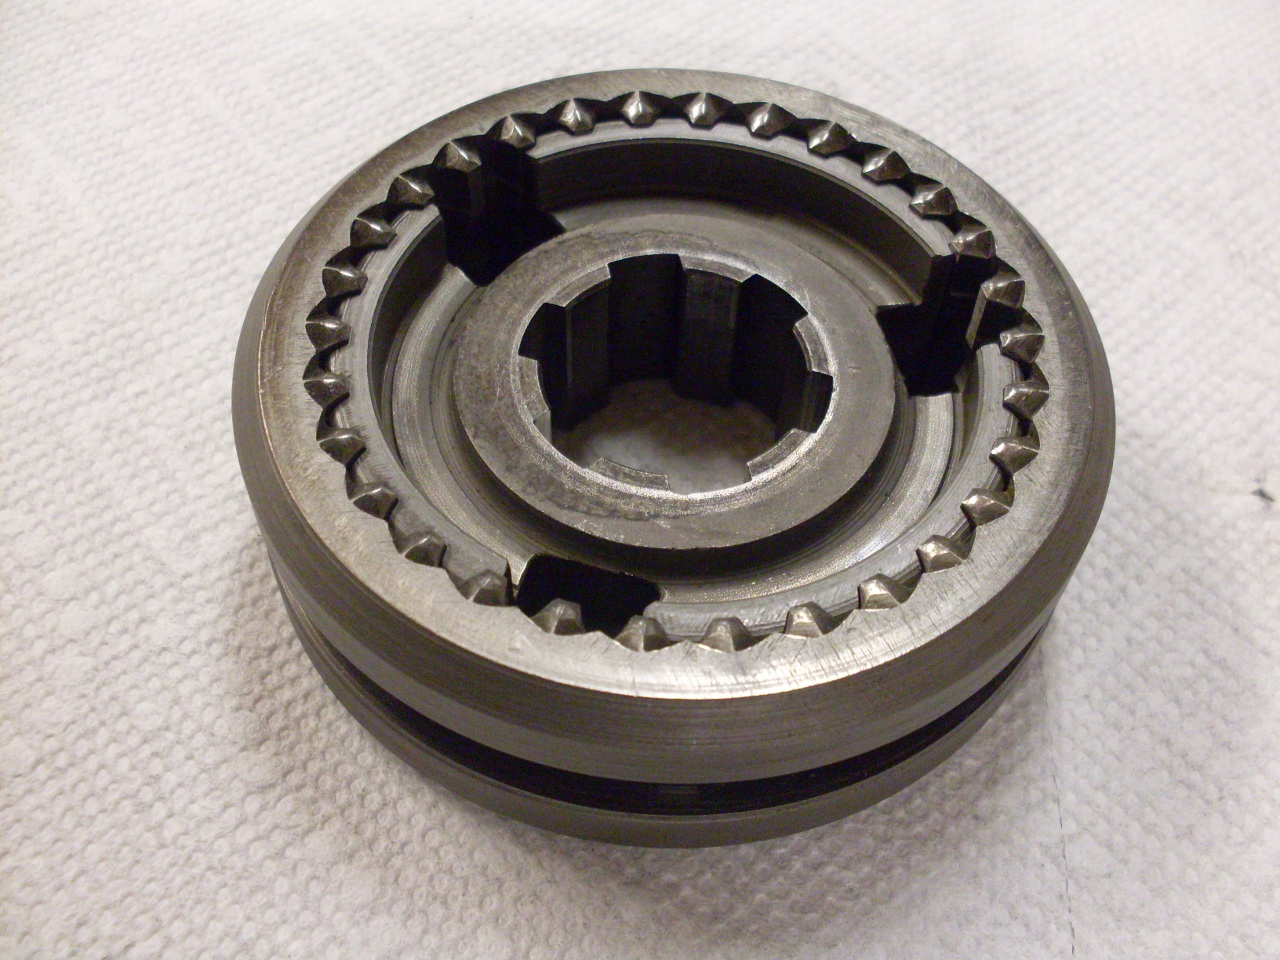
Building
the rest of the mainshaft involved adding the synchro sleeves and hubs.
These are spring loaded assemblies that can be snapped into one
of three positions by the shift selector forks. One of the
assemblies handles 1st/2nd (and neutral), the other does 3rd/4th (and
neutral). The action of these hubs is partly responsible for the
positive detent of gear selection. Because I really like a crisp,
sure feel of precise gear changes, I got new springs. It looked like
the originals had relaxed a little.
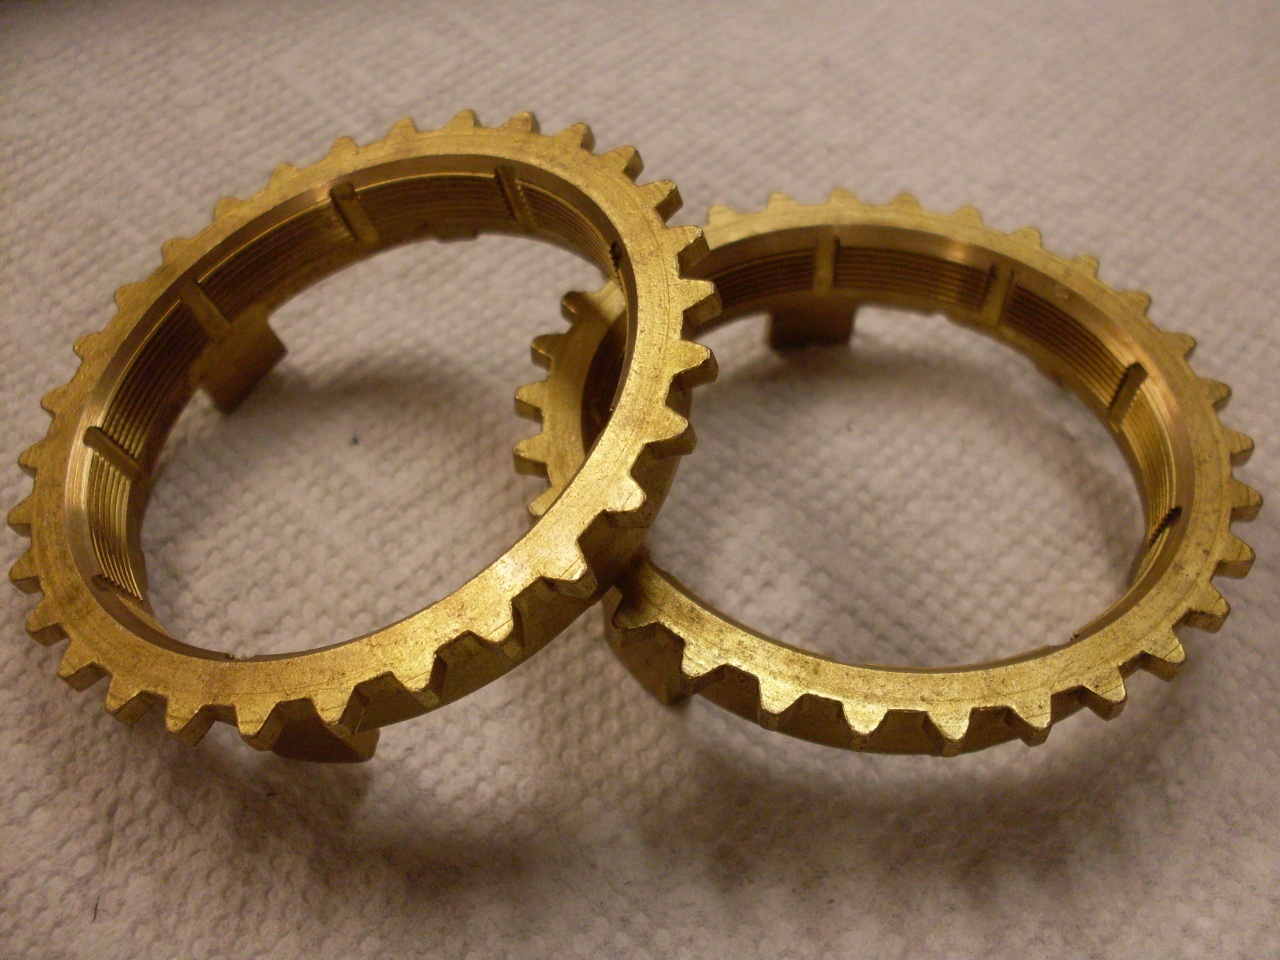
The synch rings themselves looked brand new.
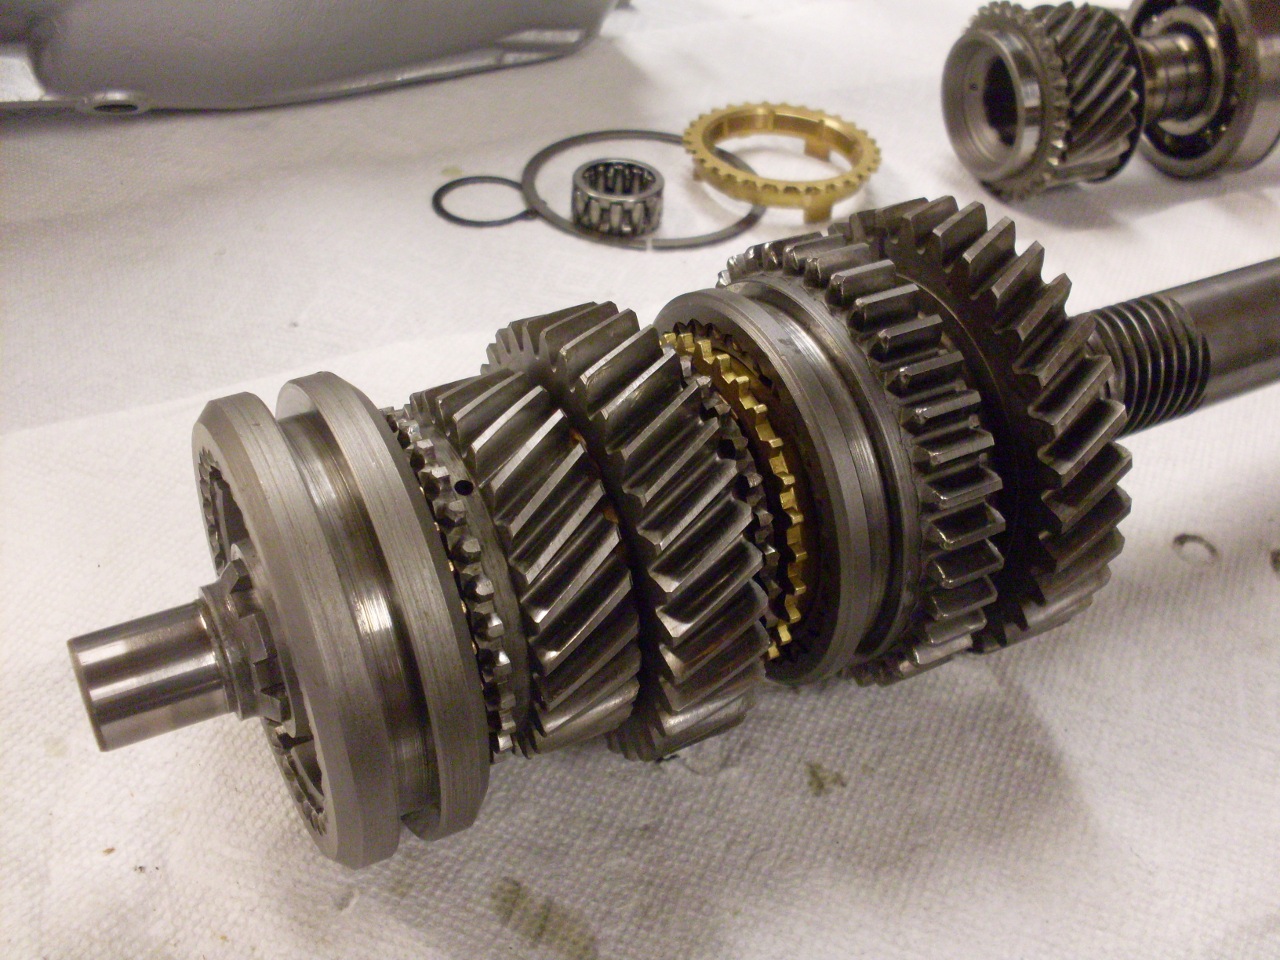
Here's the mainshaft ready to go into the gear case.
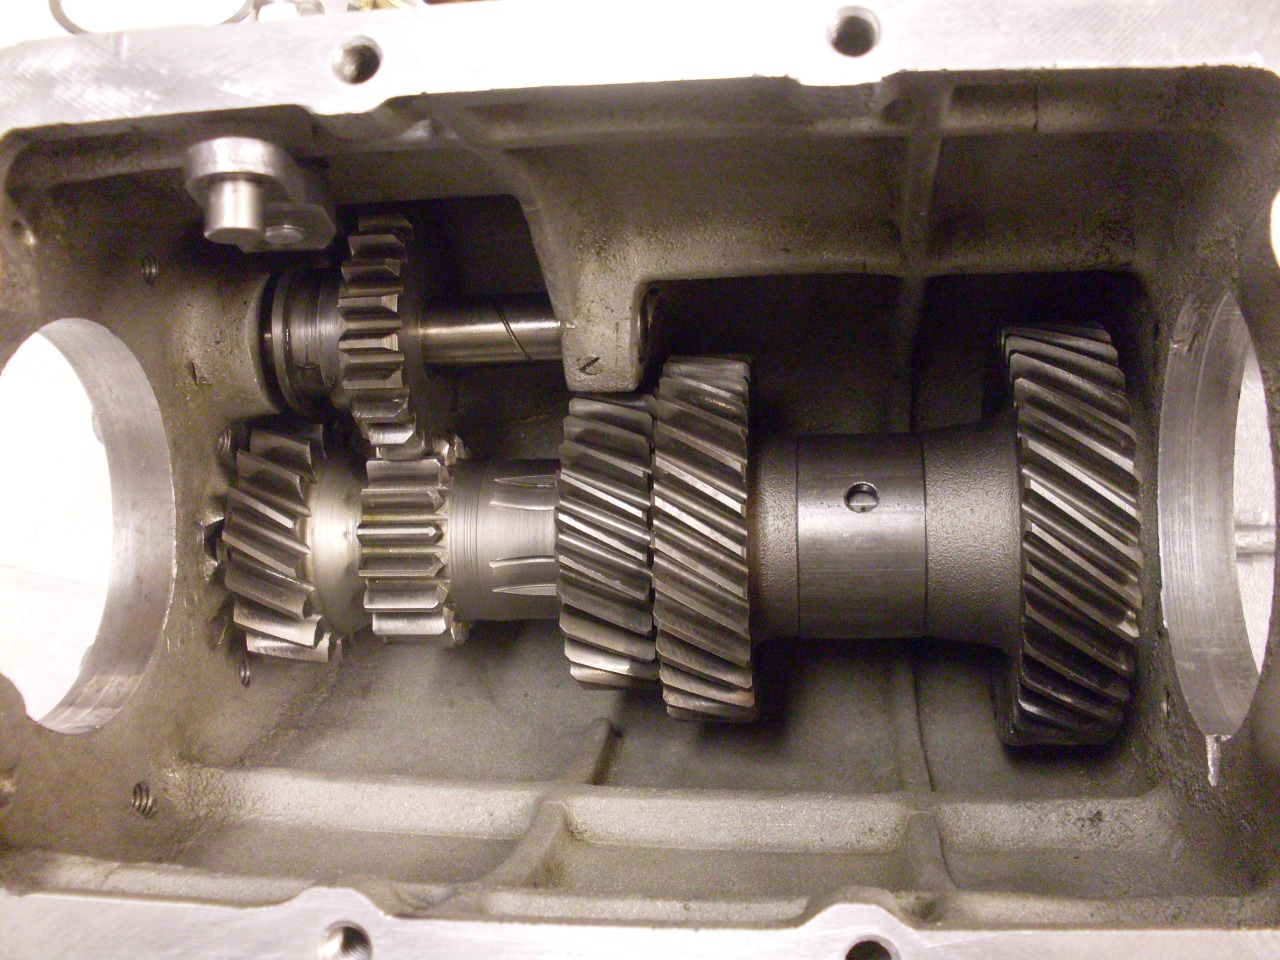
When
installing the main and input shafts in the gear case, the lay shaft
had to be withdrawn so that the layshaft gears rest on the bottom of
the case. This gave a little more clearance for everything to
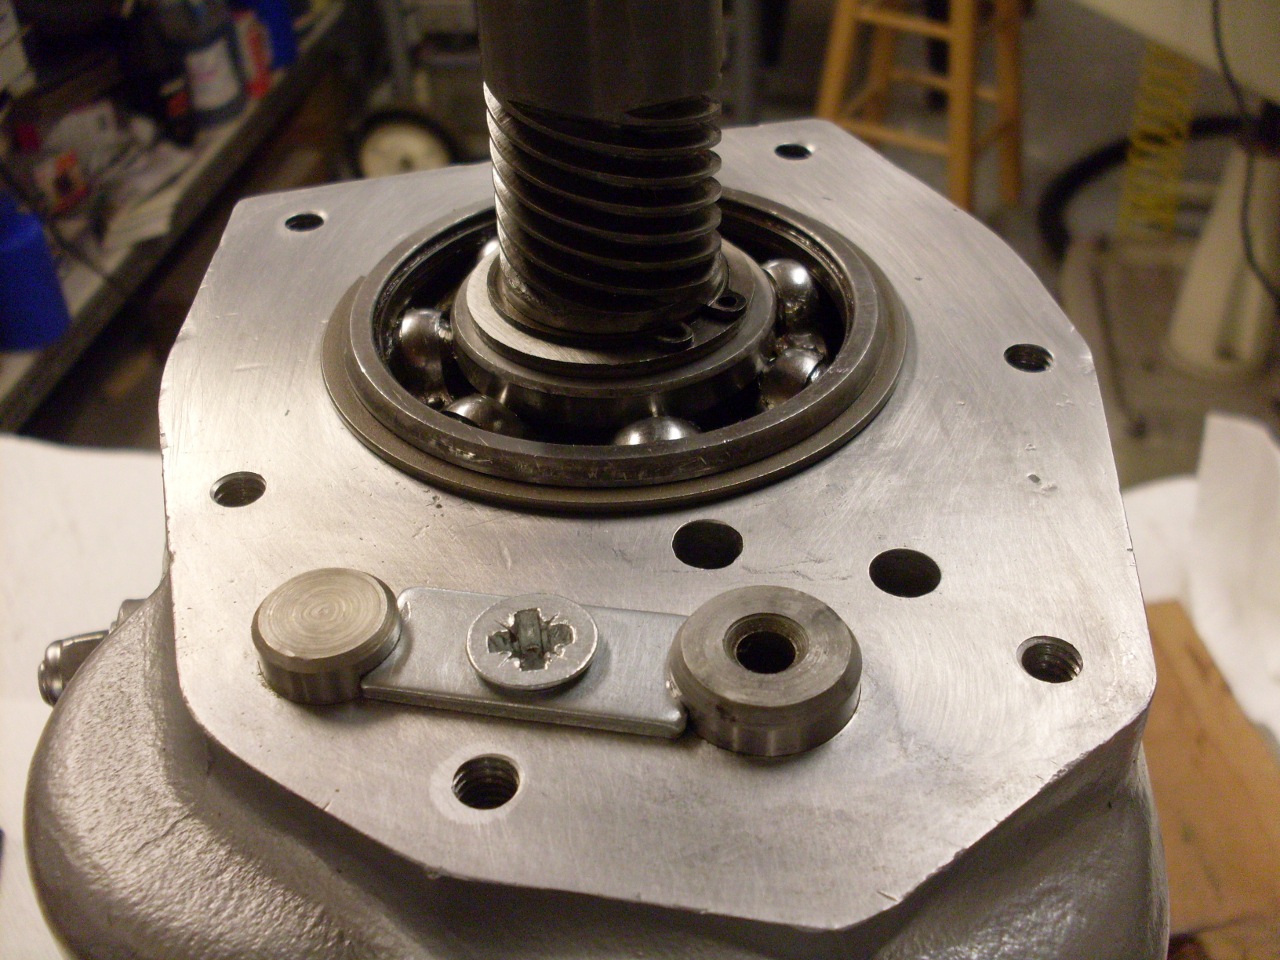
fit. When the shafts were in place, the large main bearings were driven
into place. Then the layshaft could be reinserted, and the keeper
that locates the layshaft and the reverse gear shaft could be fitted.

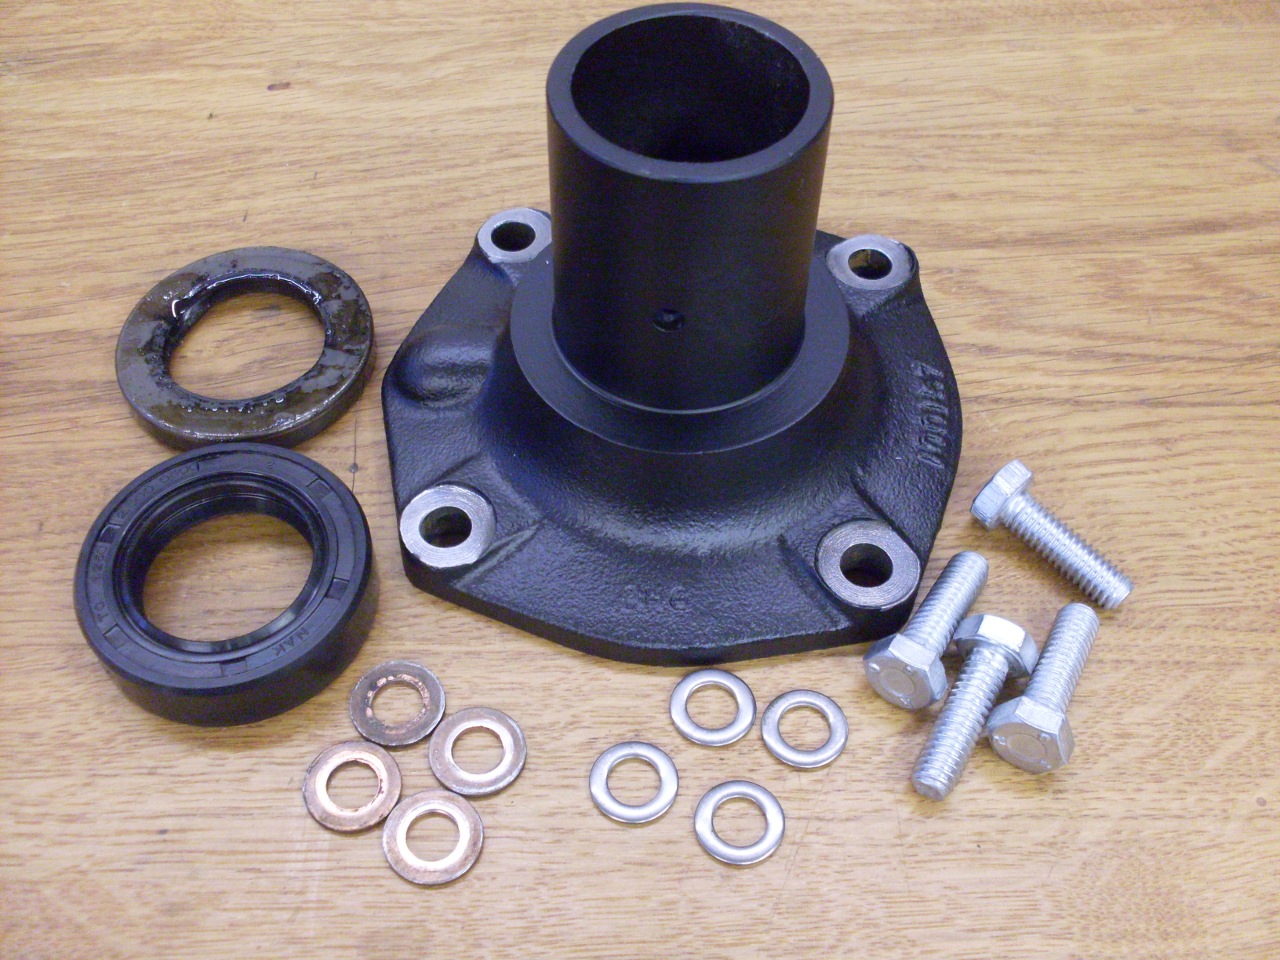
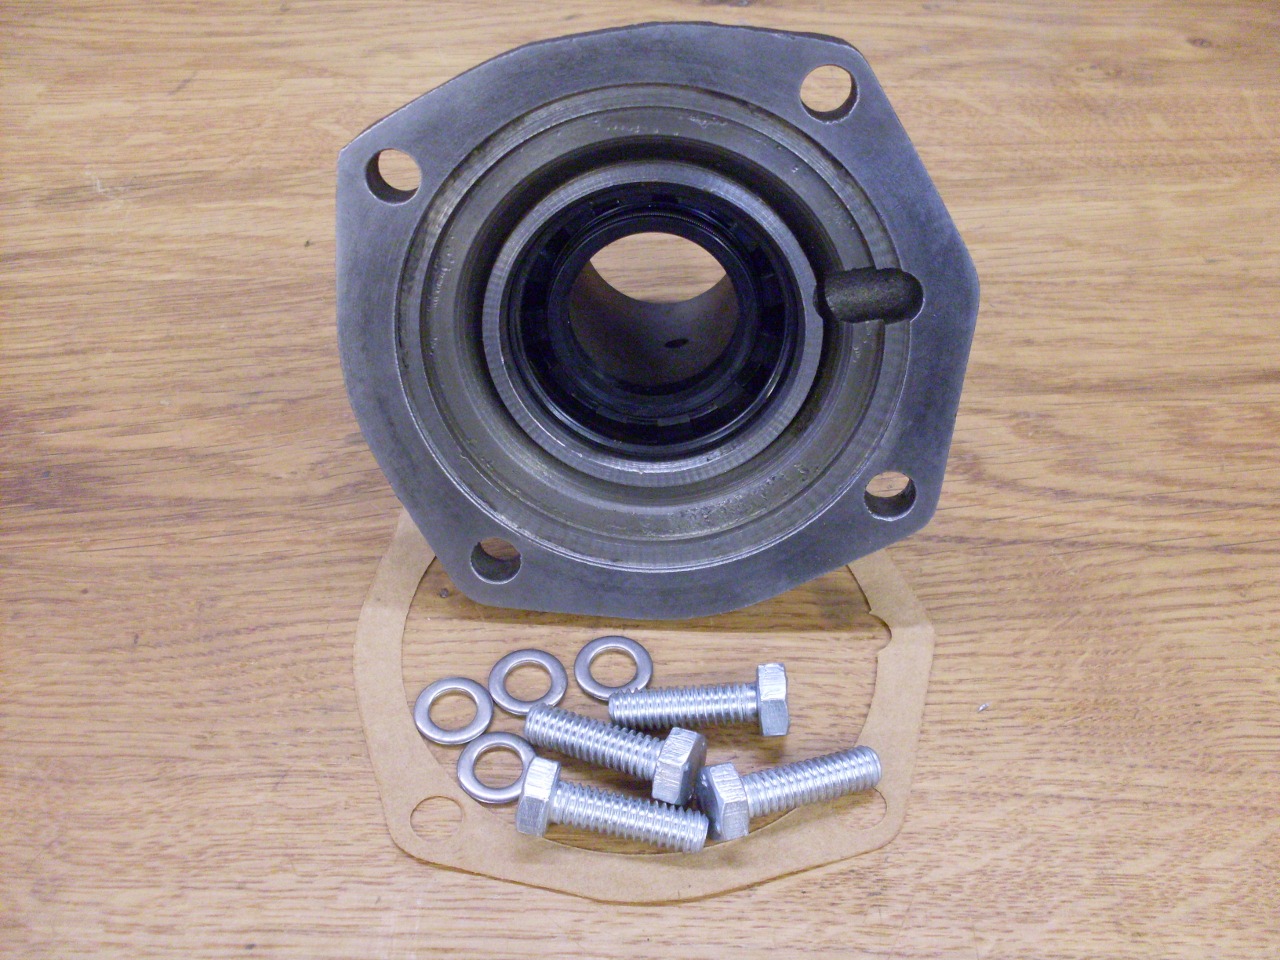
I
prepped the front seal housing by painting it and replating the
hardware. Those "copper" washers weren't copper at all.
They were steel with a thin copper plate. I was originally
going to replace them with stainless washers, but since the holes for
the fasteners open to the inside of the case, leaking could be an
issue. I ended up using real copper washers.
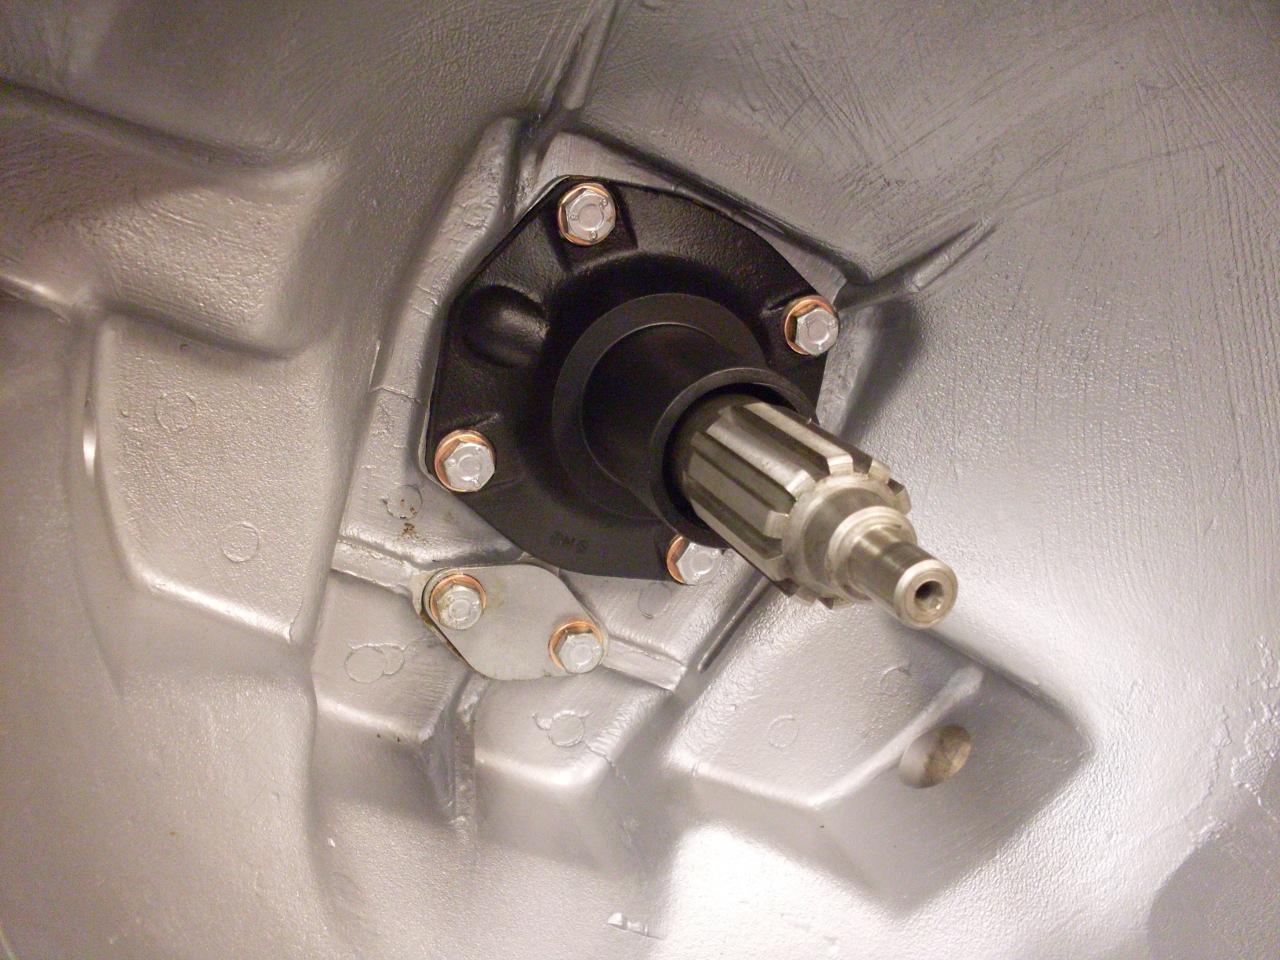
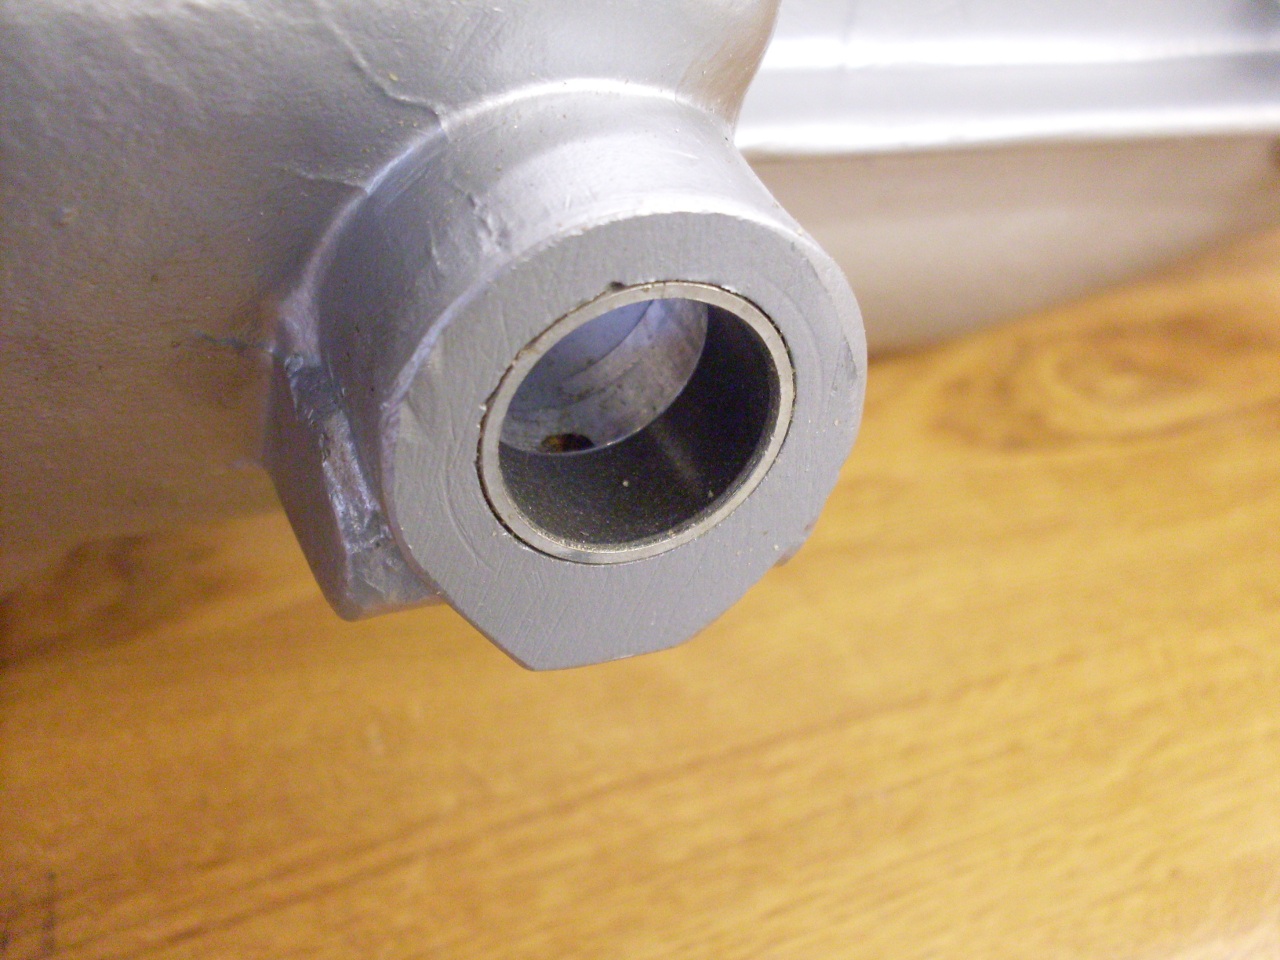
The tail extension got a new bearing and seal.

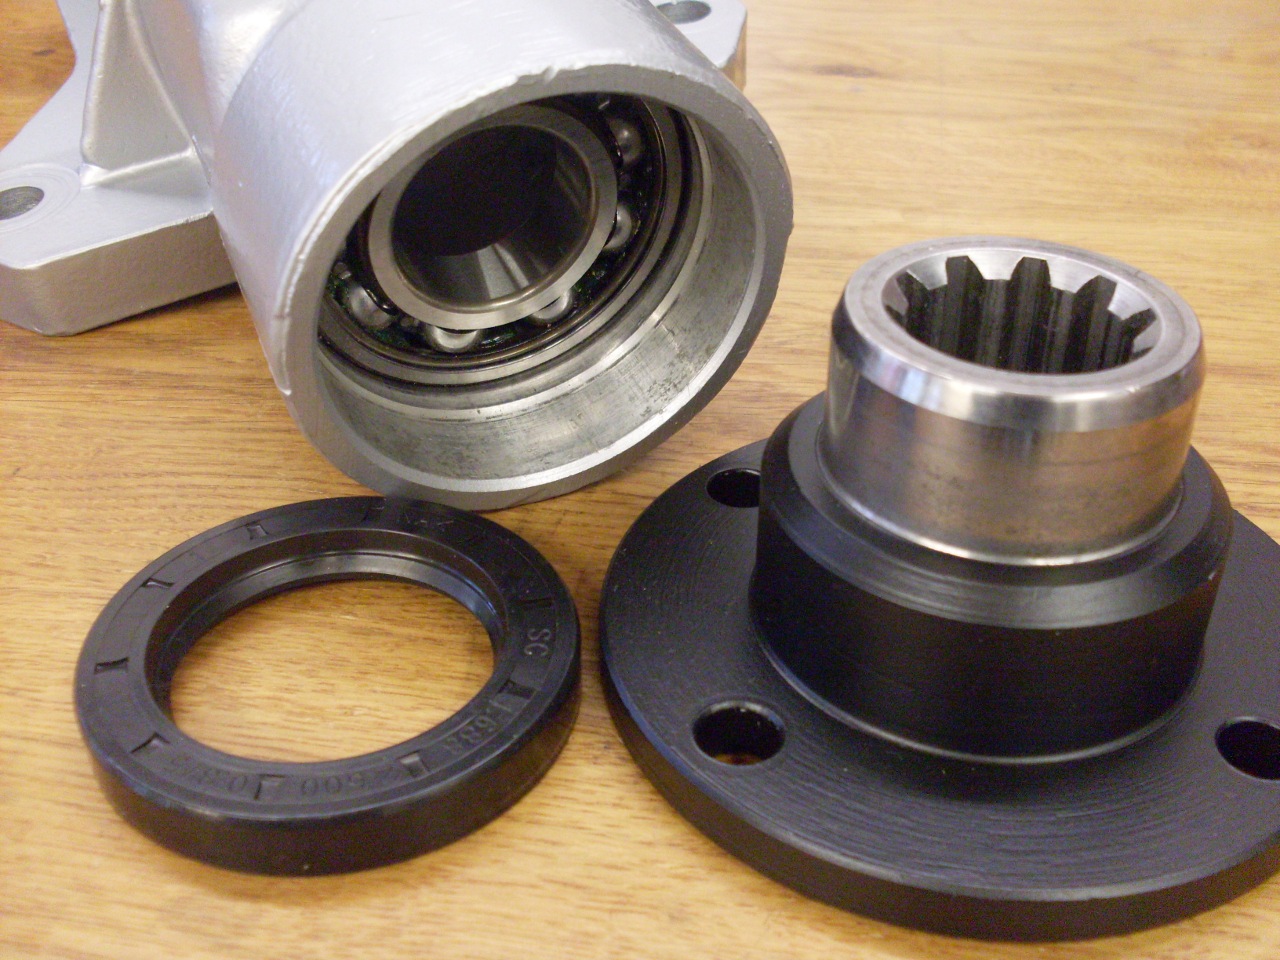

Tail was assembled to the gear case, and the output drive flange was installed.

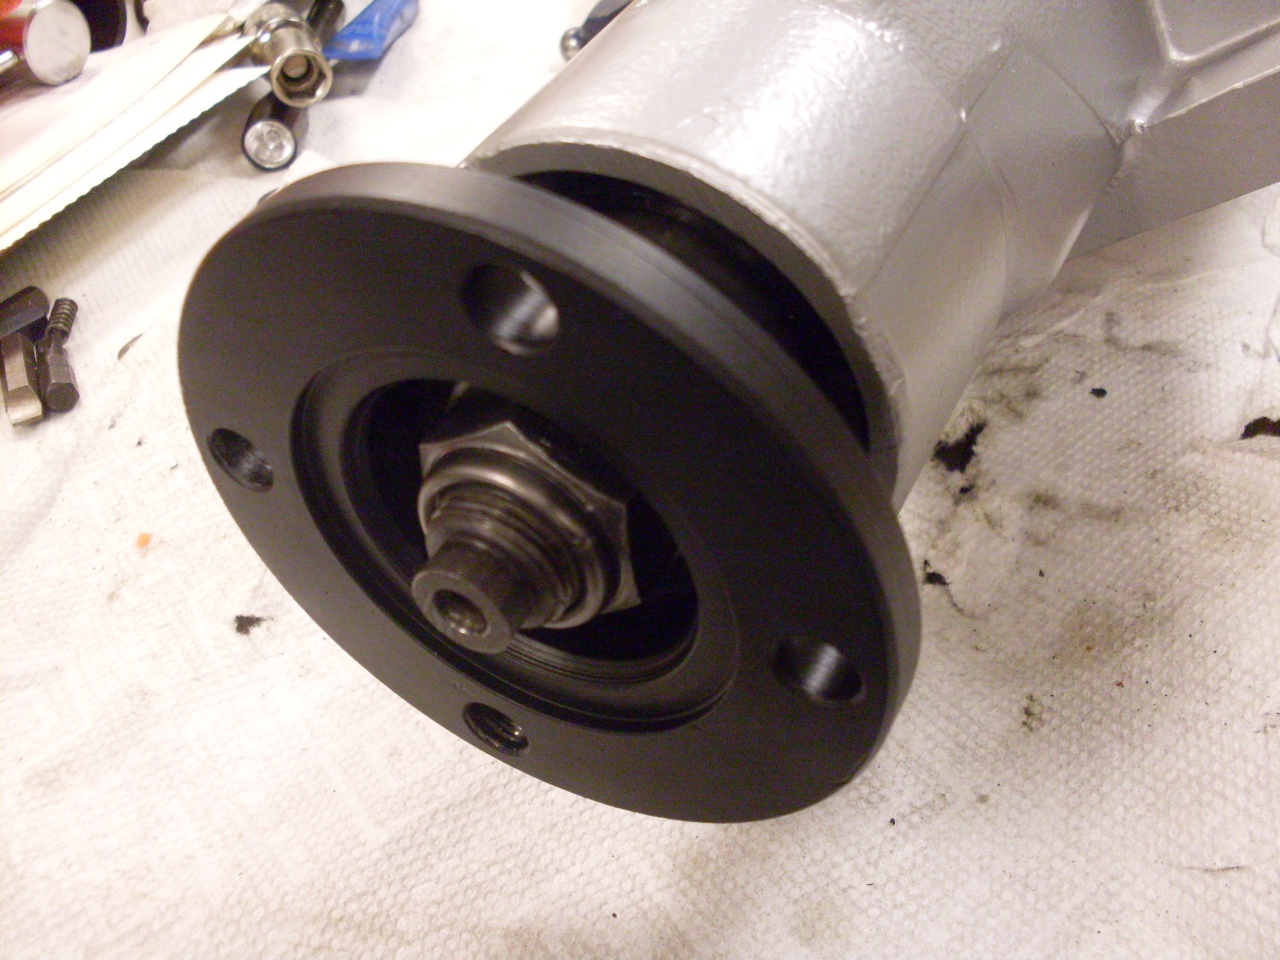
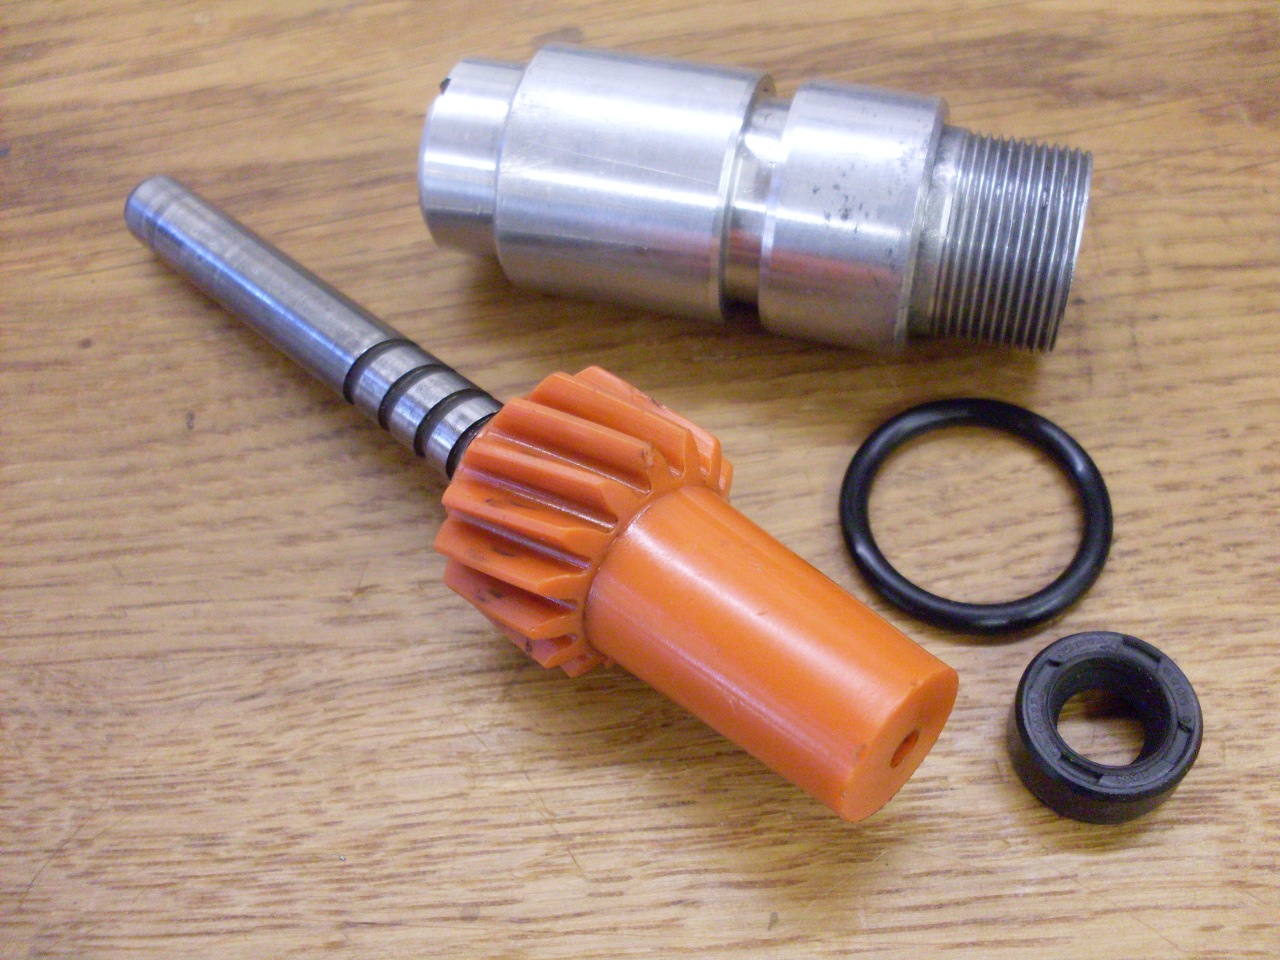
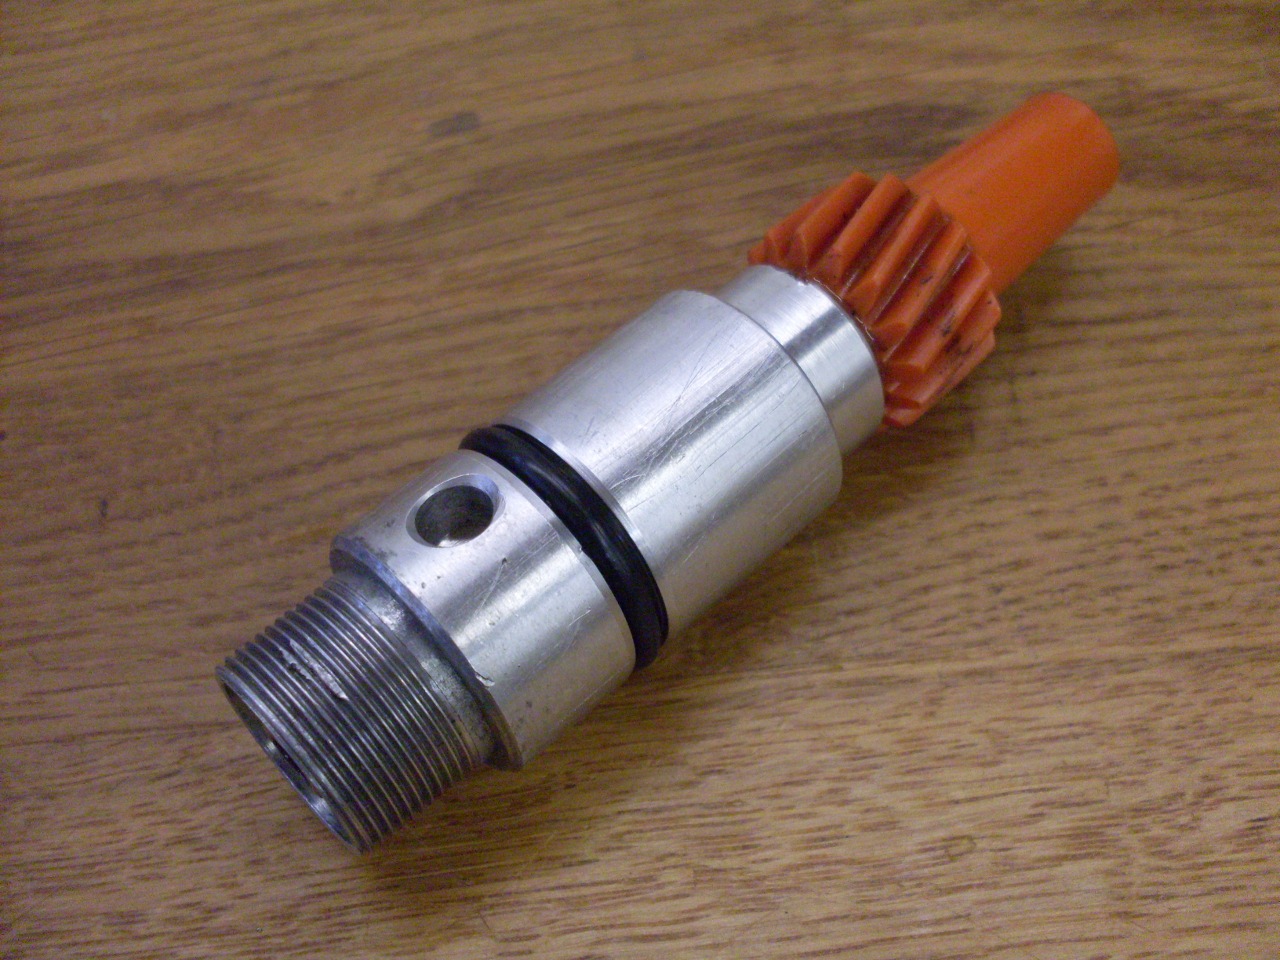
The speedometer drive assembly was put together with a new O ring and seal, and pushed into place on the extension.

Moving on to the top cover assembly, I cleaned the casting and painted it as with he others.
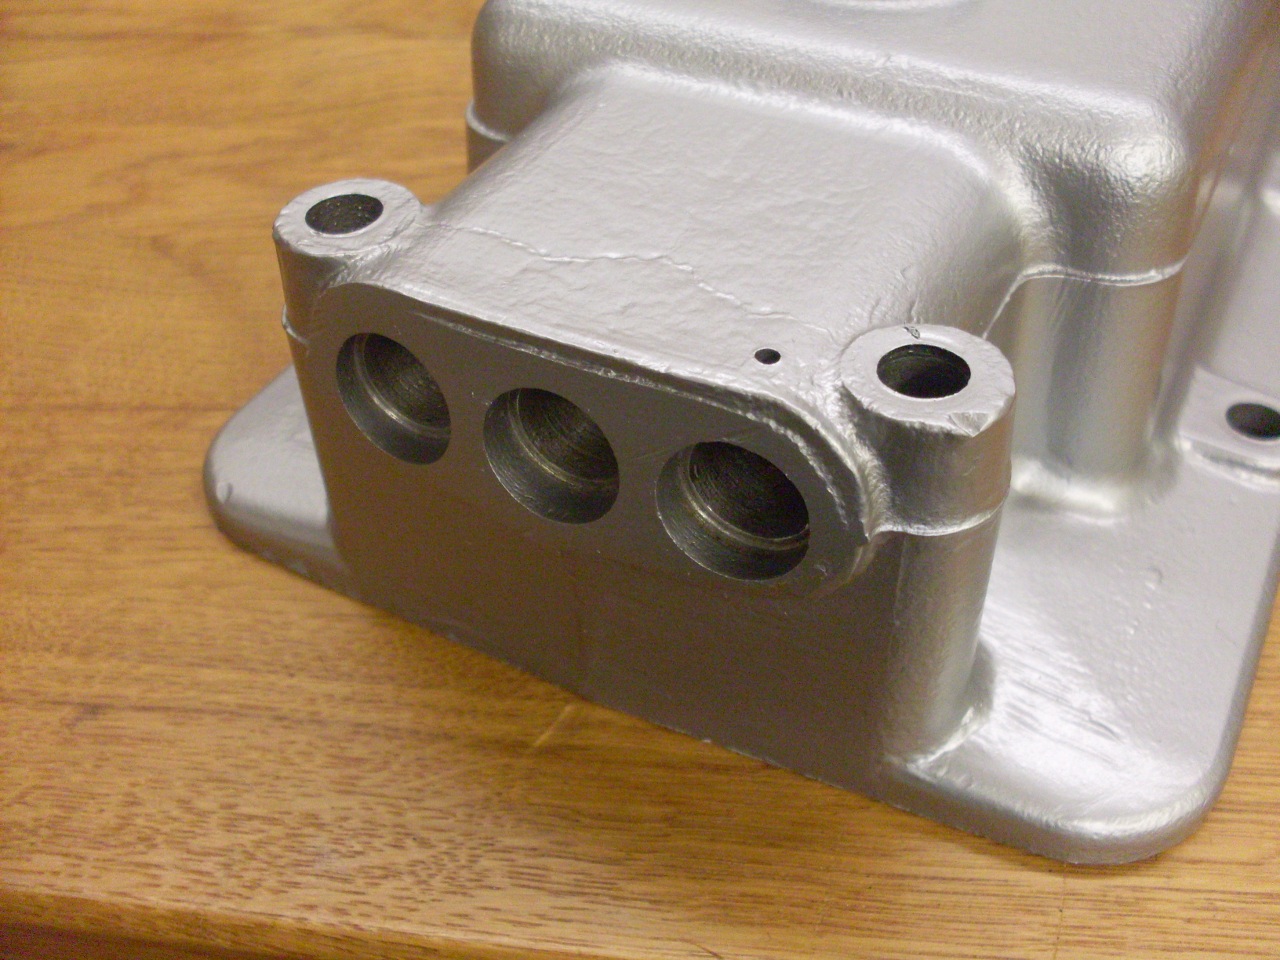
I
knocked out all the "welch plugs", so as to clean better inside some of
the inaccessible cavities. Then installed new plugs.

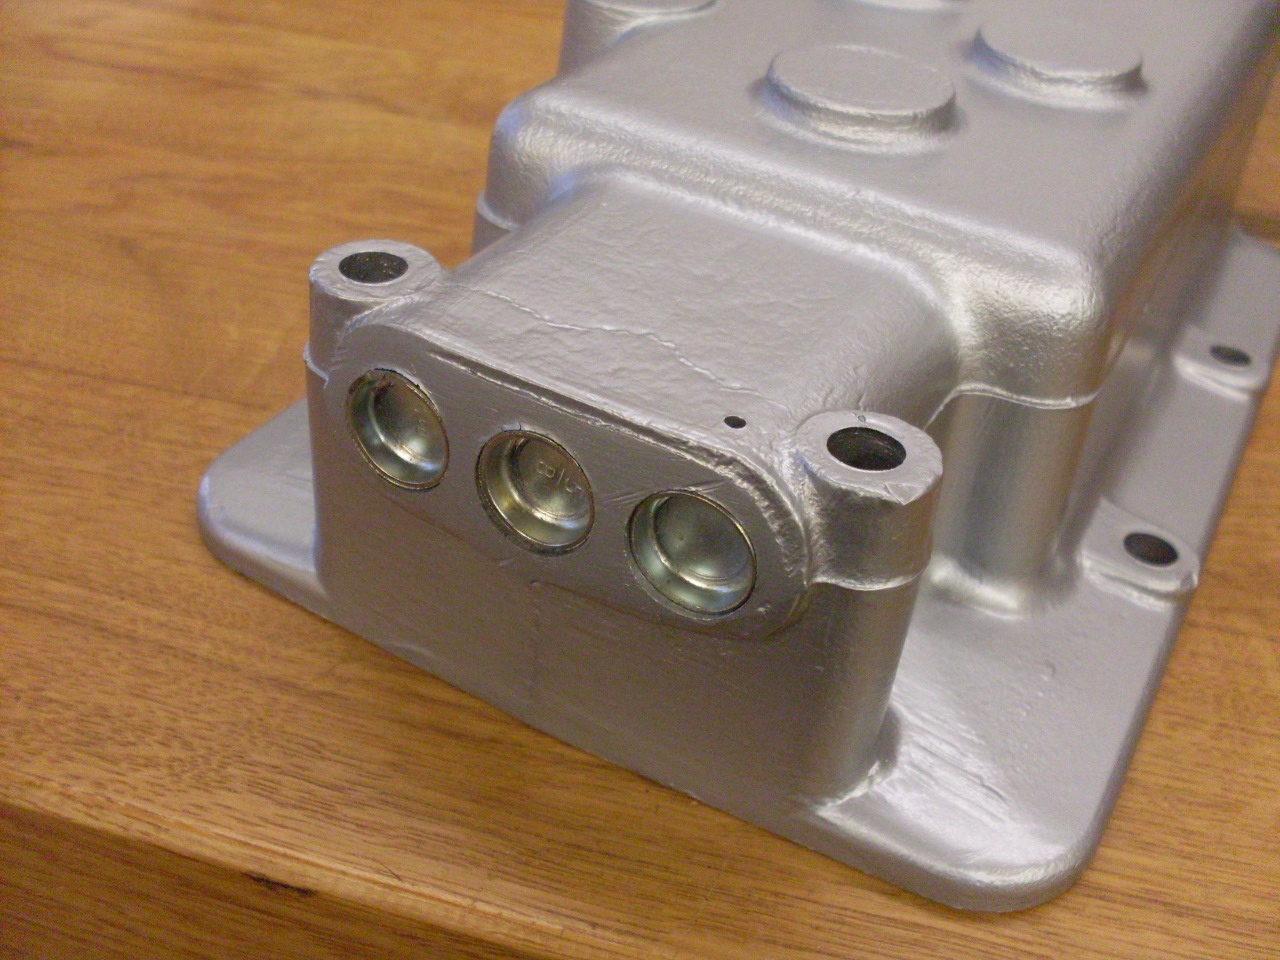
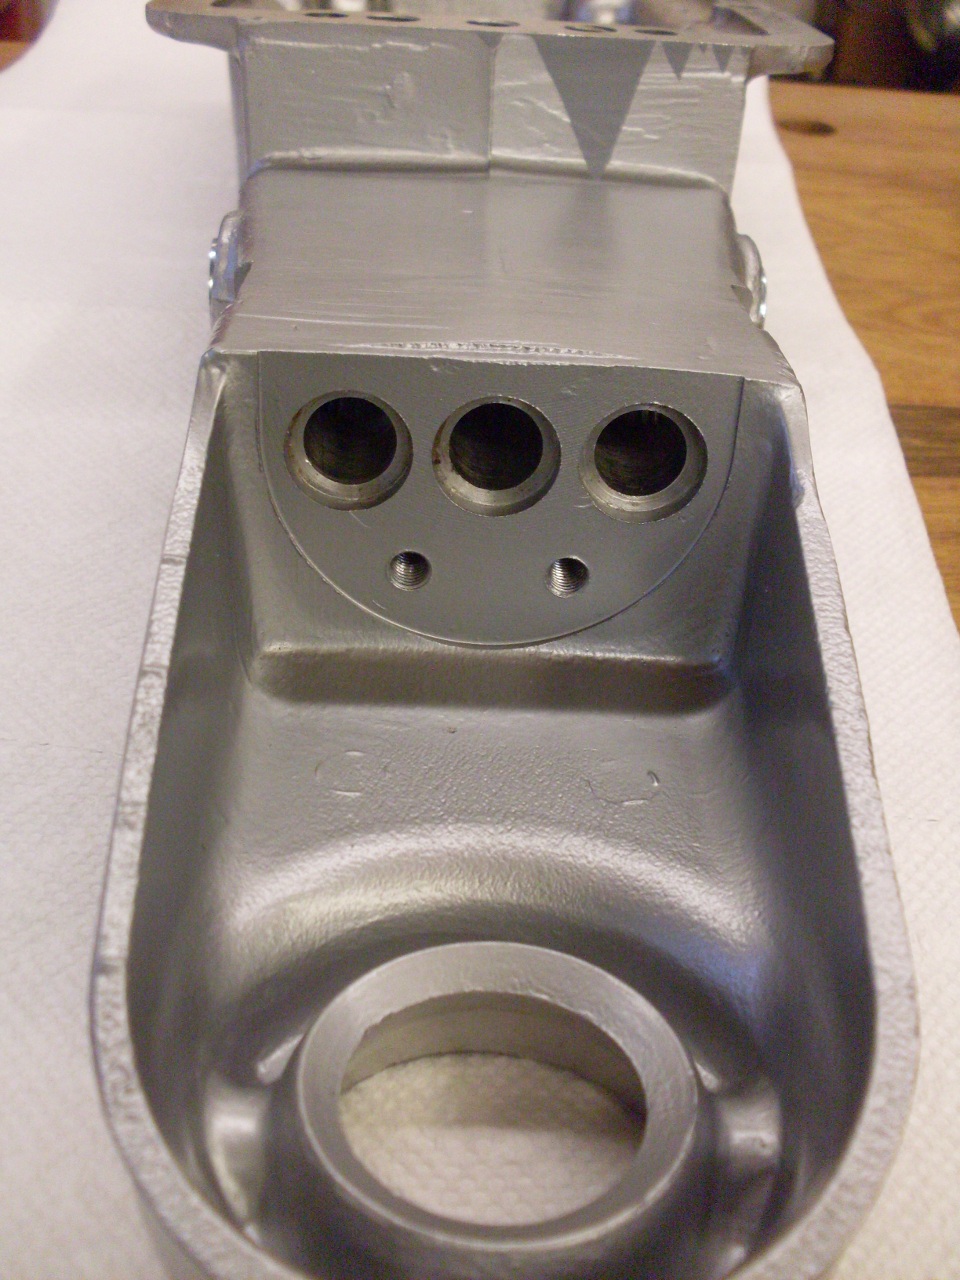
This
is where the three selector shafts go into the gearbox. The old O
ring seals were hard and brittle. I installed new seals.
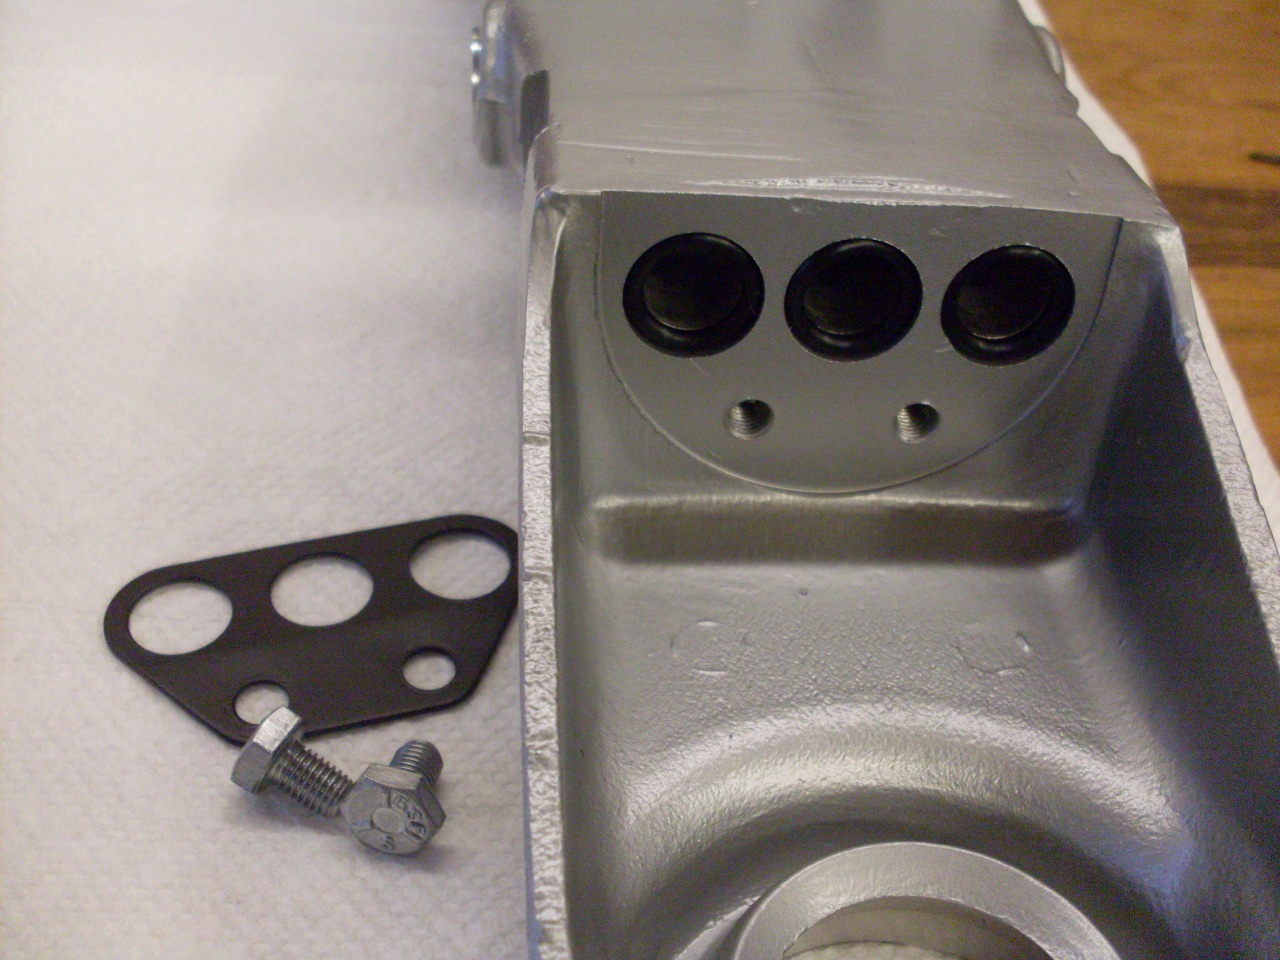
The retainer plate was rusted, so I replated it and painted it
for even more protection.

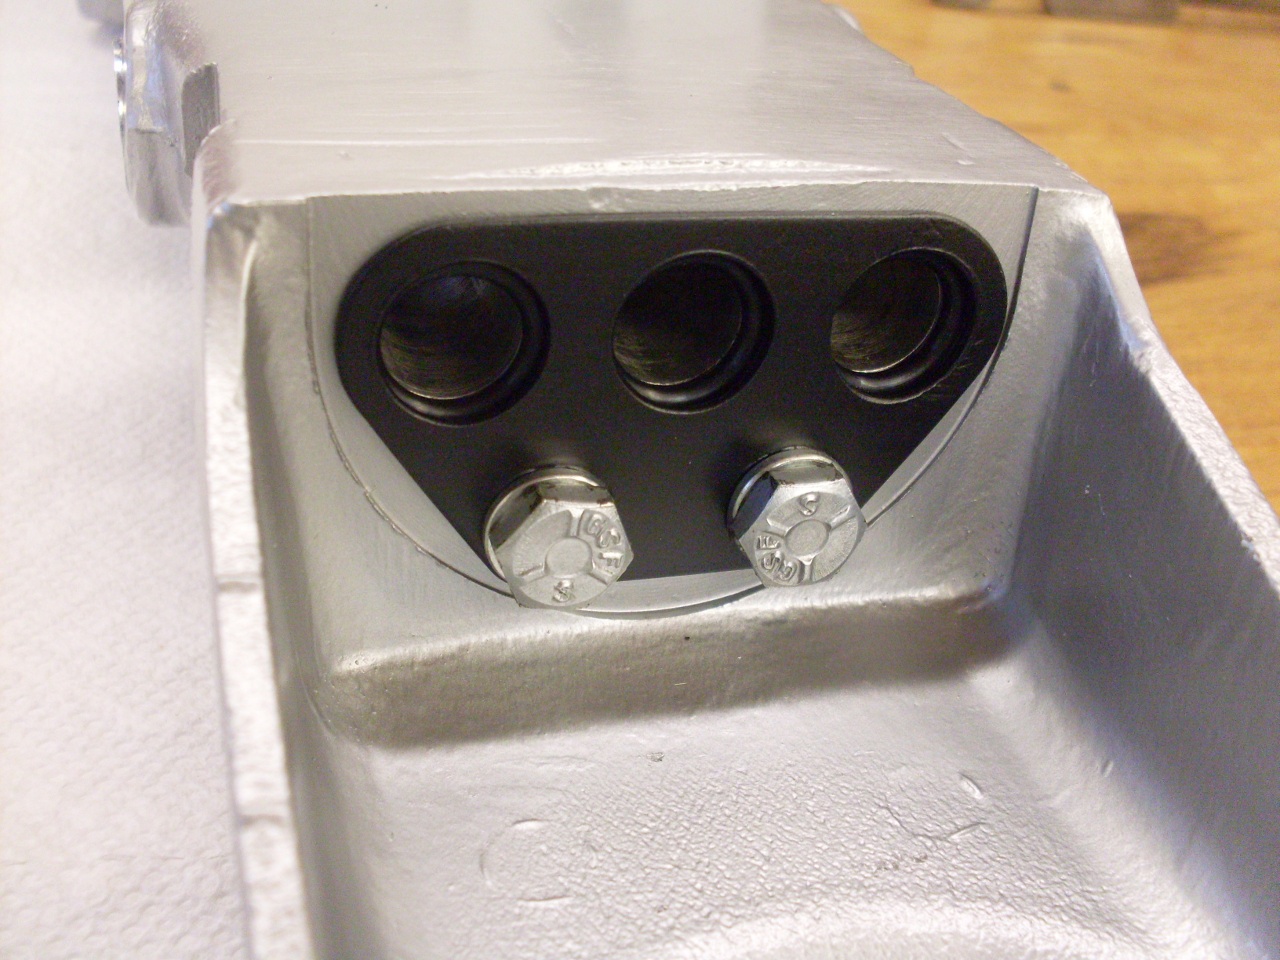
Installed the selector shafts.

These
are the detent parts for the selector shafts. There is a spec for
the pull necessary to overcome the detents. Force is adjusted by
the detent spring cover screws. If screwed too far down though, the springs can get coil bound, and the shaft will freeze.


The shifter parts cleaned, painted, plated.
The
reverse lamp, and seatbelt warning switches. Neither of these
worked when I tested them. Working a little contact cleaner
inside them brought them back to life.

The finished top cover.
Getting ready to mount the top cover.
Oh, yeah, almost forgot...
Gearbox is done. Just needs the clutch stuff.
Comments to: elhollin1@yahoo.com
To my other TR6 pages.