To other TR6 pages
February 4, 2014
Intake Manifold
[Click the pics for a larger view]
The
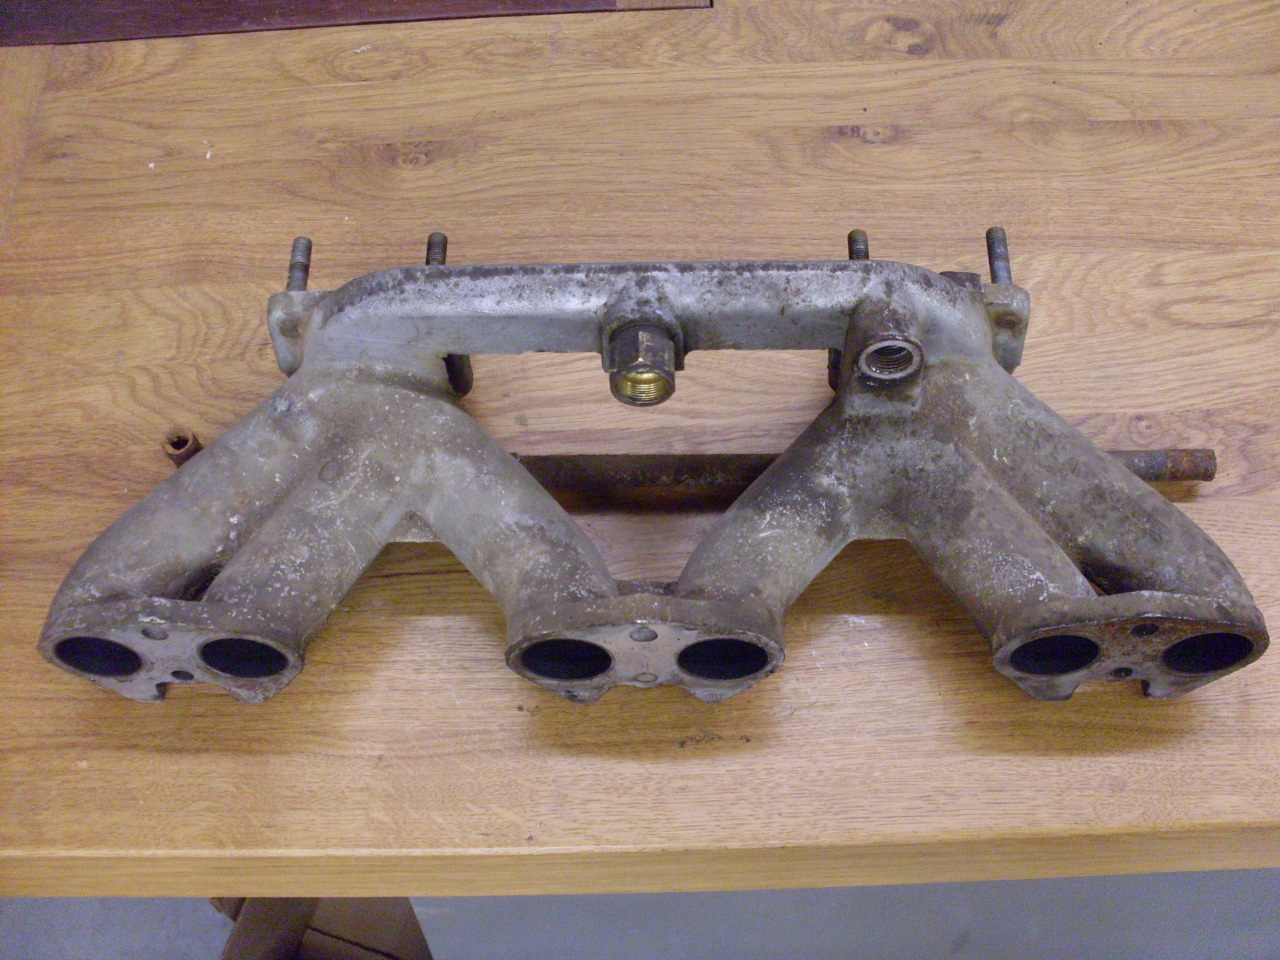
intake manifold in this car is a dirt simple device, yet it required a
lot of work to get it just to a servicable state. The cast
aluminum alloy manifold directs air-fuel mixture from each of the two
carbs to three intake ports in the head through approximately equal
length passages. There is a balance tube across the top of the
manifold that effectively connects the two inlet ports. This
provides a place to derive a smoothed manifold vacuum signal with
contribution form all six cylinders. There is also a steel tube
cast into the manifold that carries engine coolant. There is
considerable discussion as to whether this tube was intended to heat or
to cool the manifold. I presume that it was intended to provide a
relatively constant temperature in the manifold under running
conditions, so that carb operation would be simplified.
The
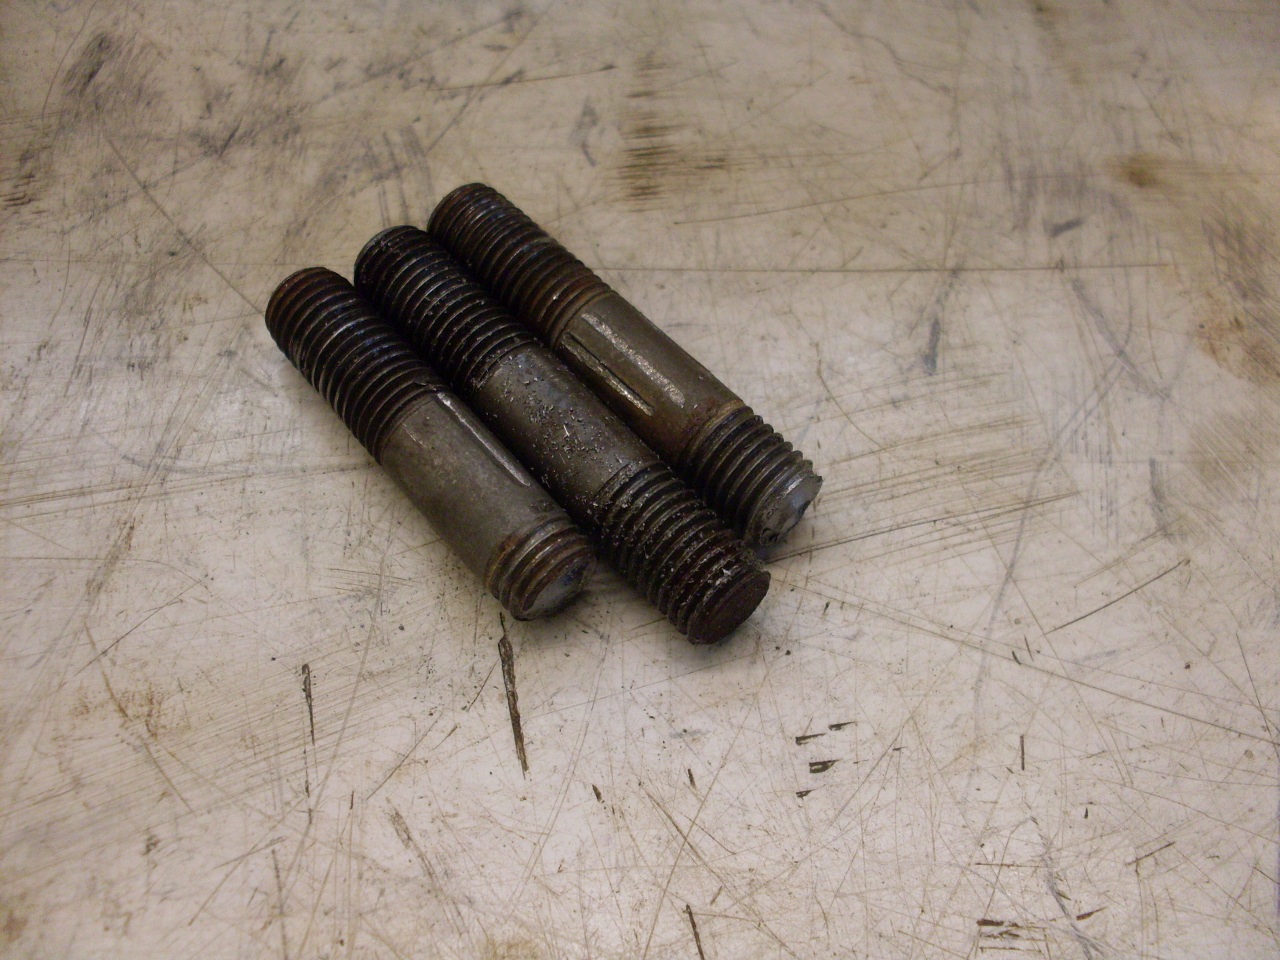
first heartbreak with this manifold came when I was removing the carb
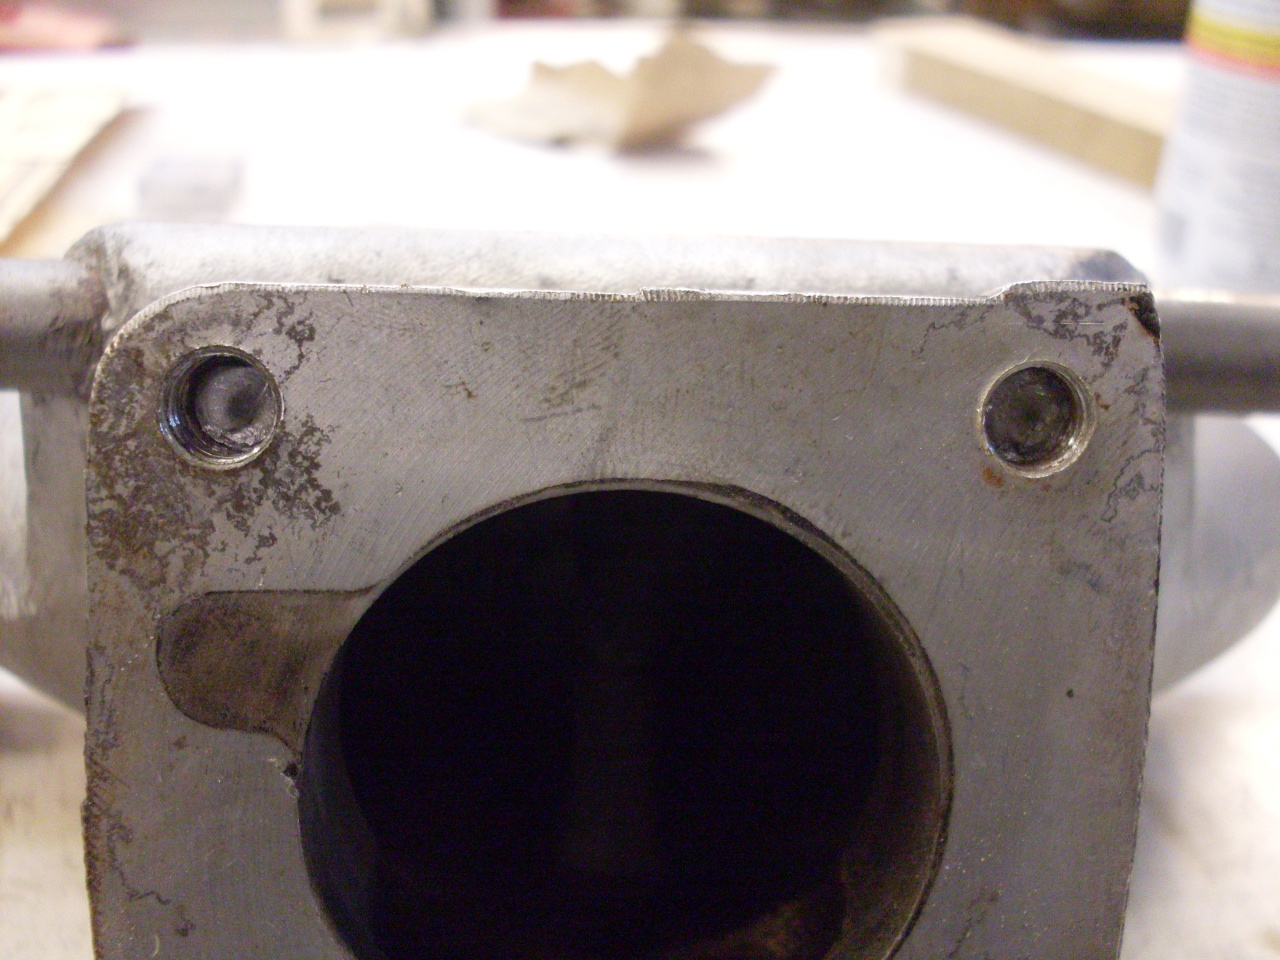
mounting studs. Two of the little buggers snapped off, one of
them leaving only about 1/8" of itself behind. After carefully
drilling out the remains of the suicidal studs, I inspected the rest of
the holes and found that two other studs that appeared to come
quietly stripped the soft aluminum threads on the way out.
Well, aluminum being what it is, I decided that if I was going to
repair two threaded holes, I might as well fix them all.
My
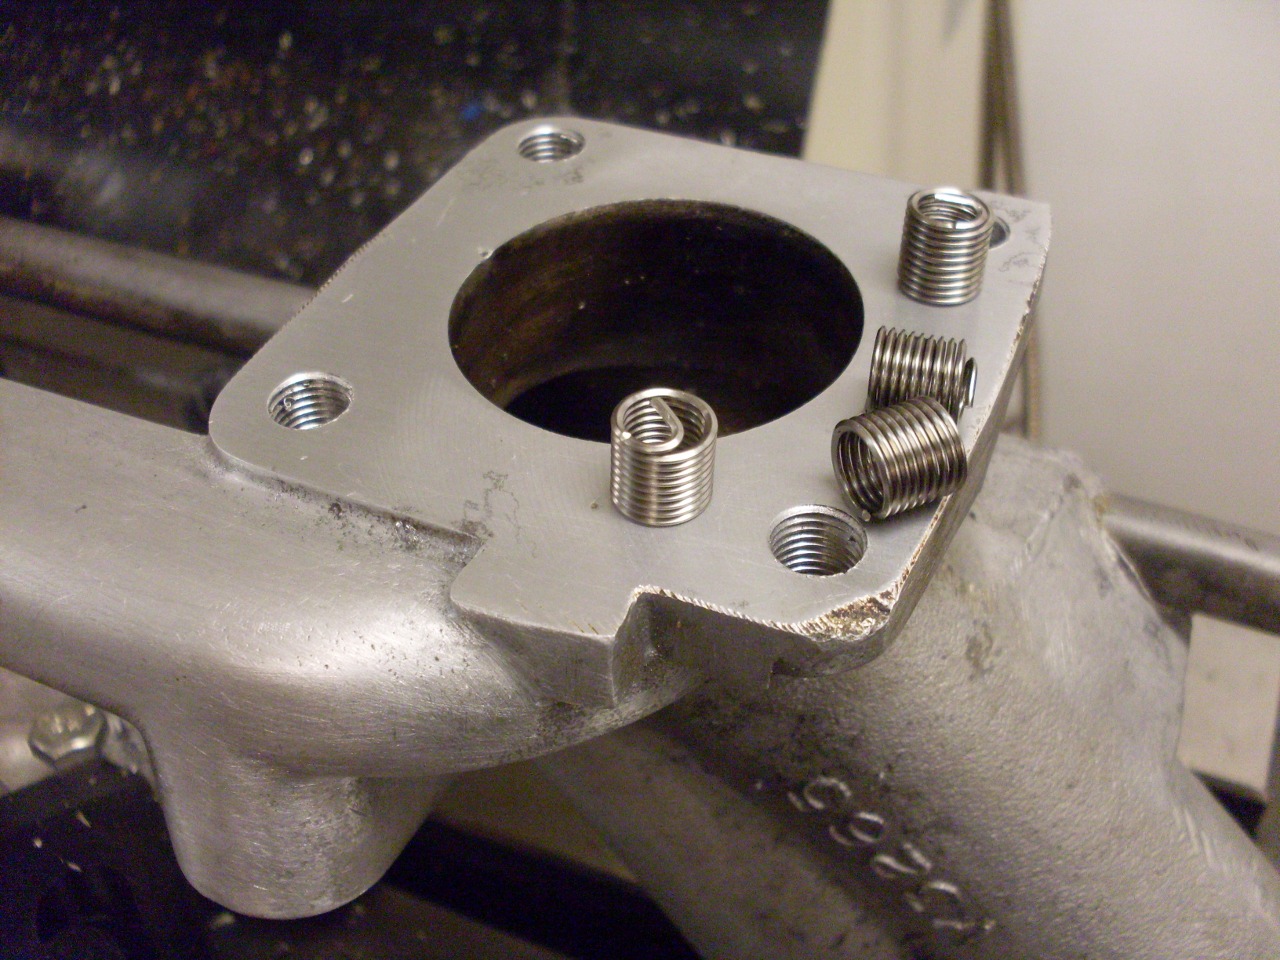
preference when fixing threads in soft material is a threaded insert.
Inserts take a pretty big hole, though, and I felt a couple of
the manifold holes were a little too close to the edge for inserts.
Next choice is Helicoils. I consider this not only a repair
of the manifold, but an upgrade.
Continuing
the inspection oif the manifold, I found that the coolant tube was just
about fully blocked with rusty sediment. In clearing it out and
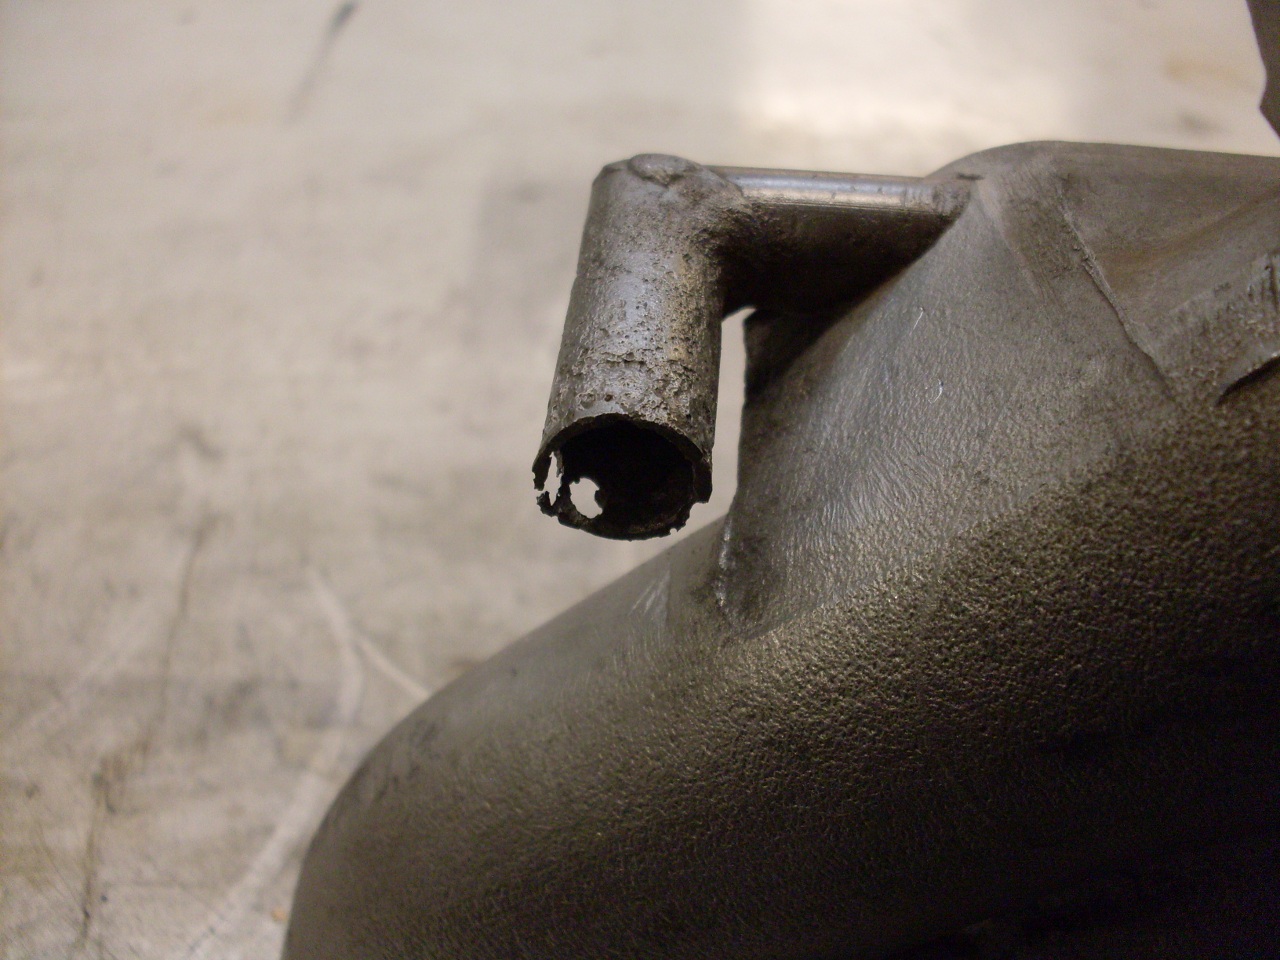
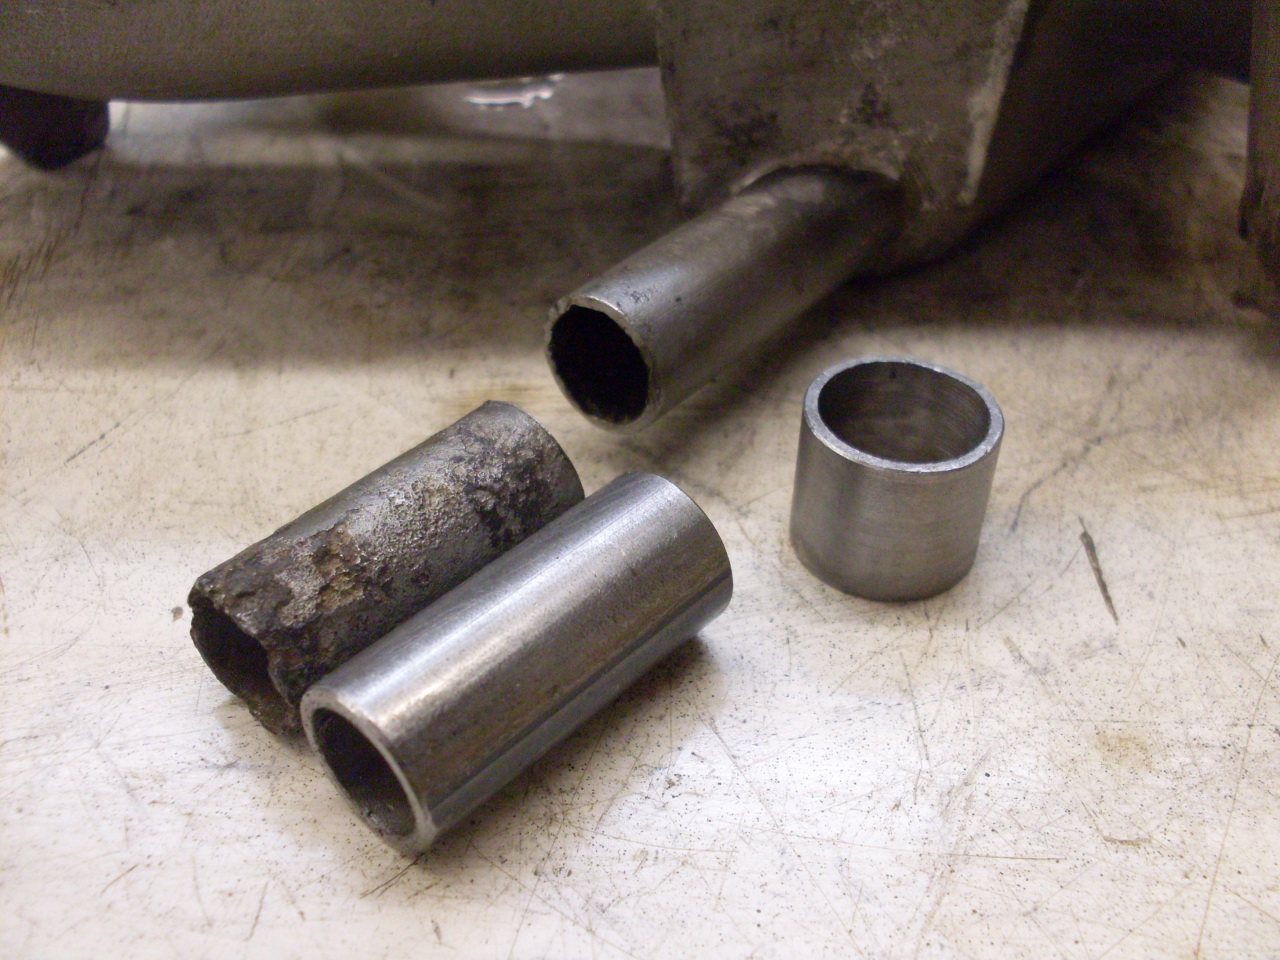
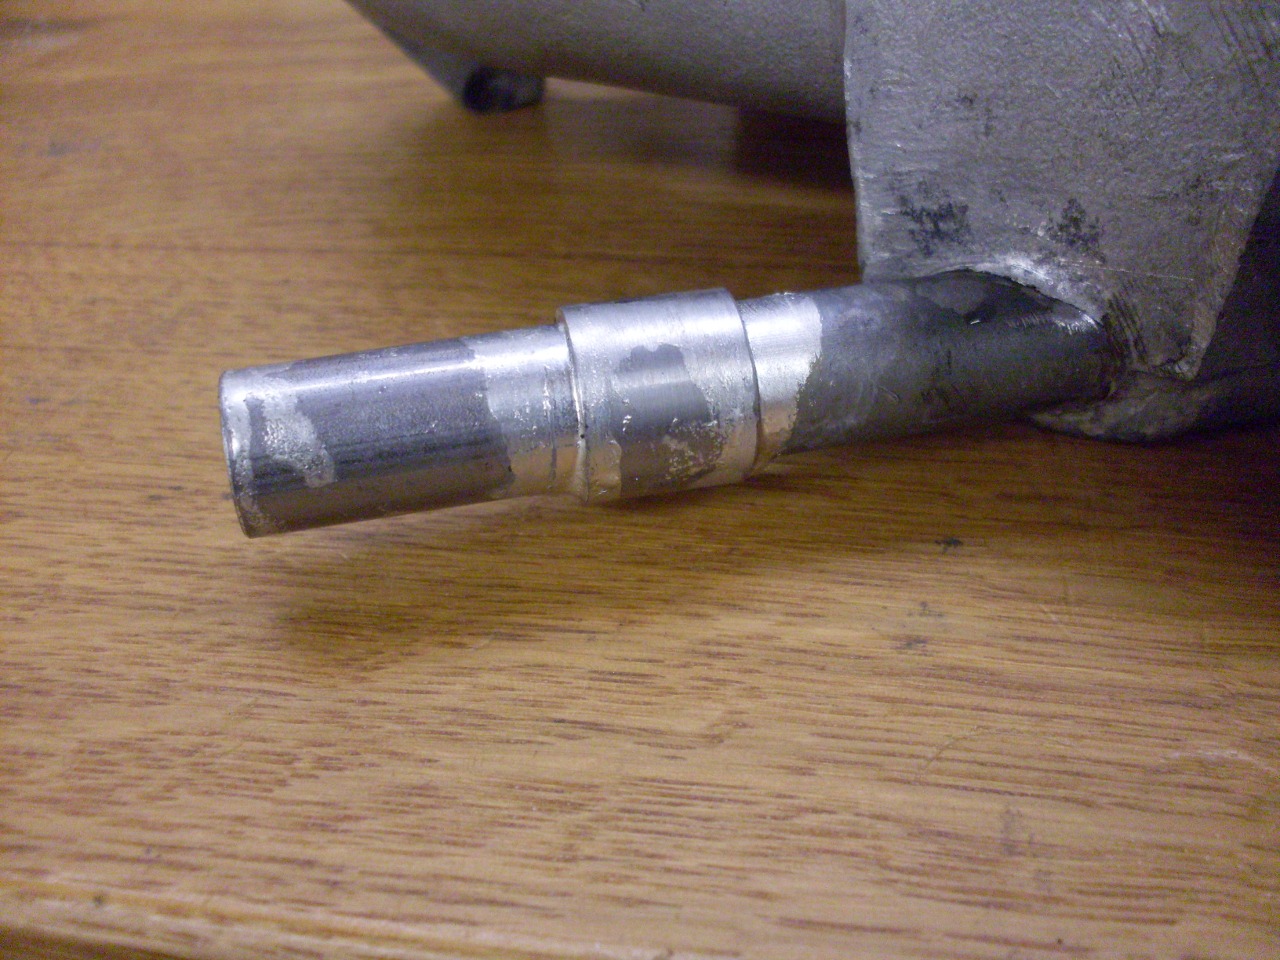
derusting it, I found the ends of the tube where the hoses connect were
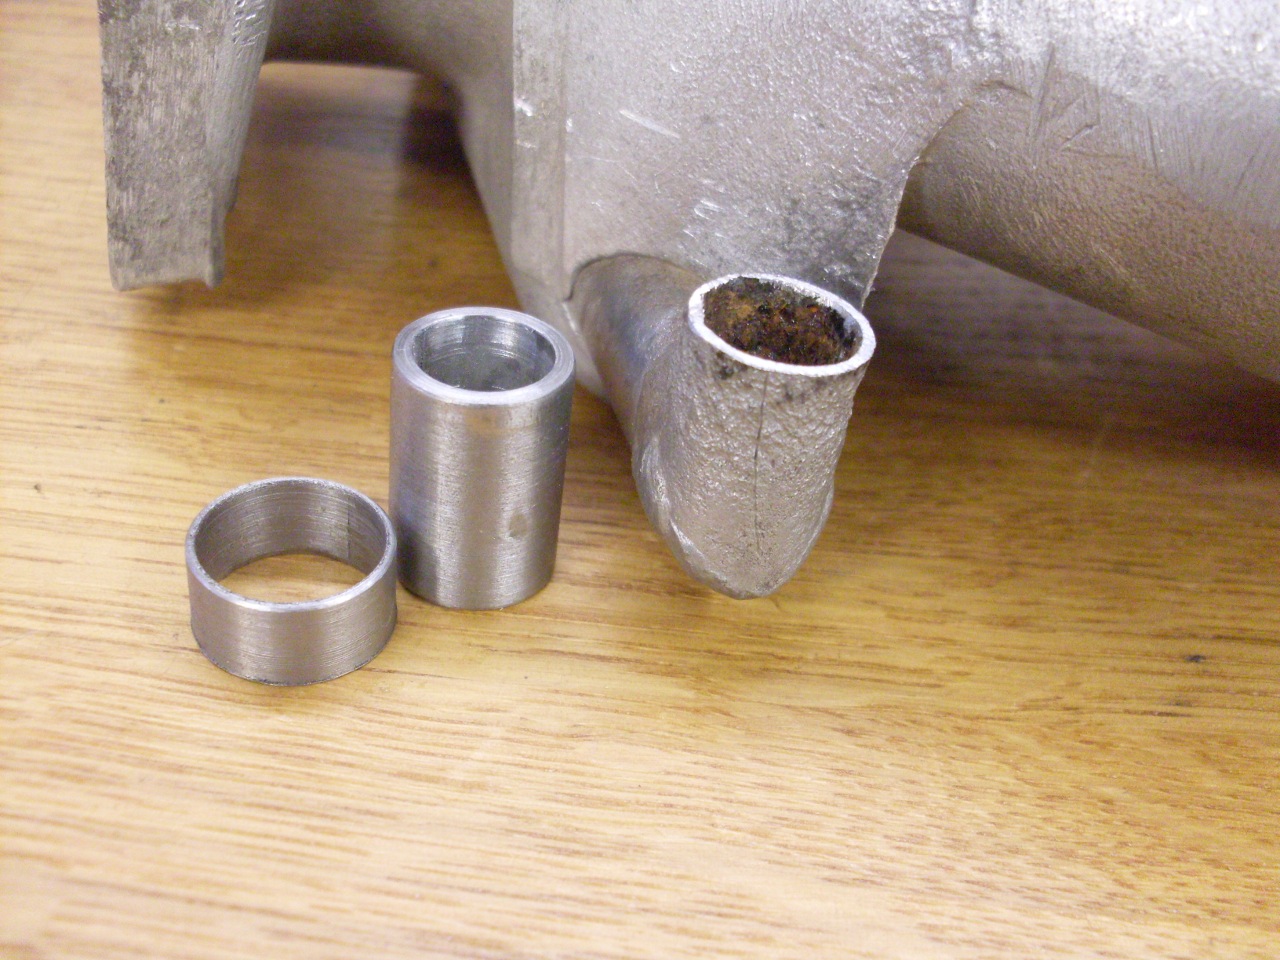
eaten through in places. The top 3/4" of this right angle stub
was paper thin. I cut off the worst part, and made a little tube
extension and sleeve that I soldered on. I apparently don't have
a good closeup picture of the soldered repair, and can't take one
now, as I'll explain shortly.
Pretty
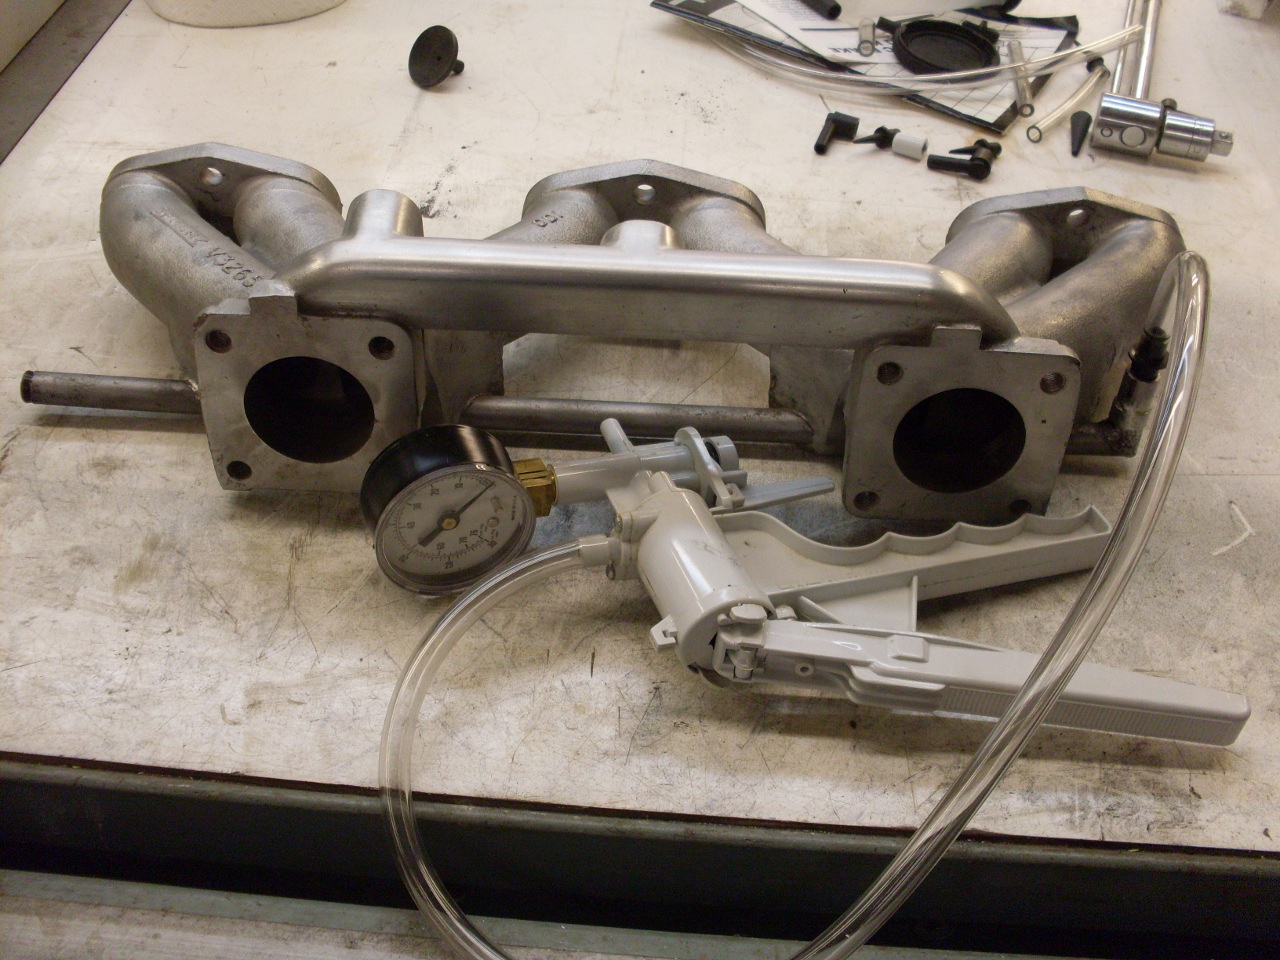
happy with myself on the fix, I decided to do a pressure test on the
pipe to see if there were other problems. As I feared, the pipe
would not hold pressure. By swabbing soapy water
on the tube, I found a pin hole leak on the other end of the tube.
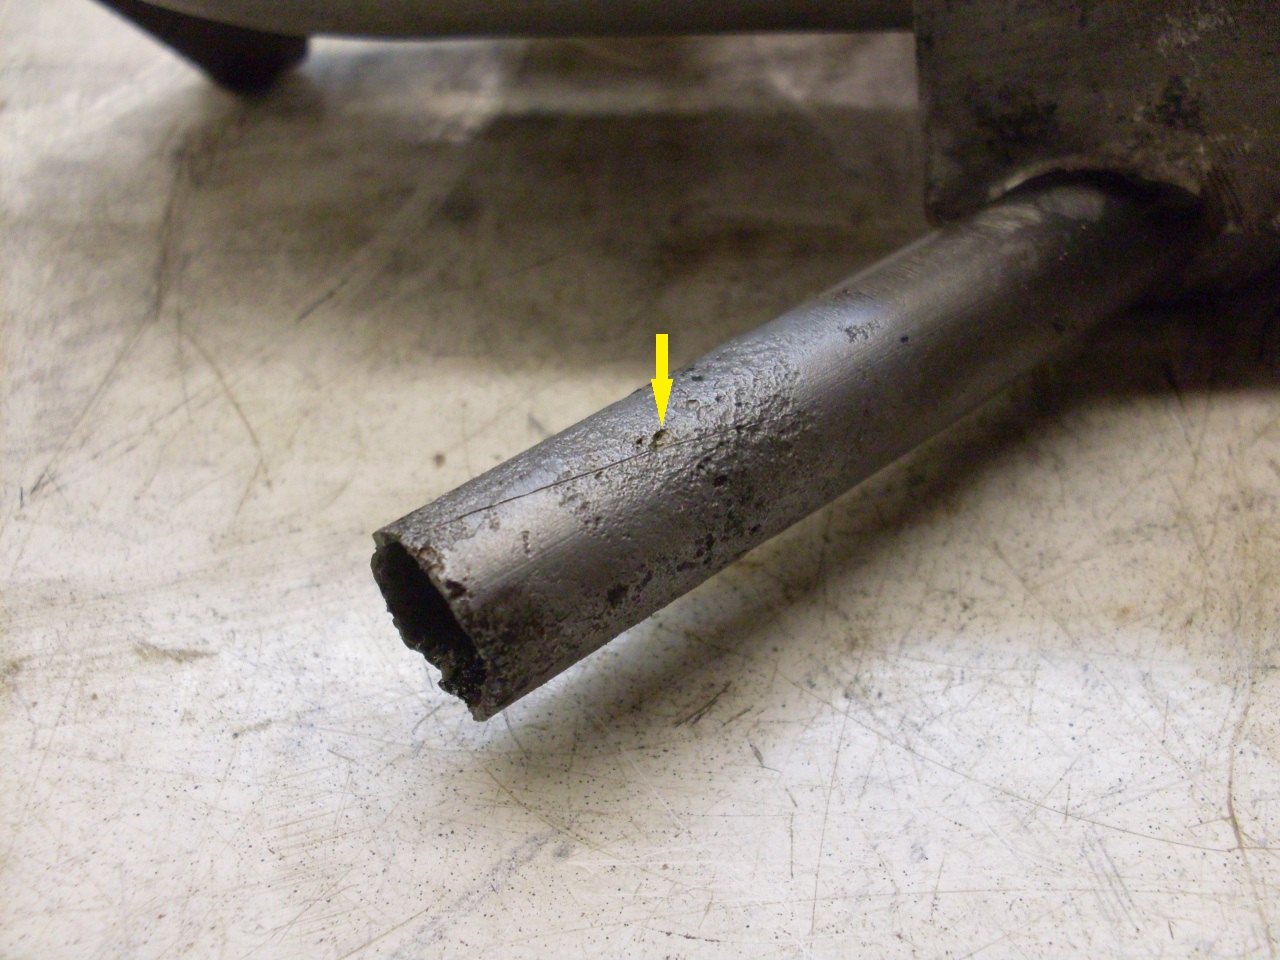
Looking closely, I could see that that end of the tube was pretty thin, too, so I repeated the repair:

Feeling
more confident now, I repeated the pressure test. This time I
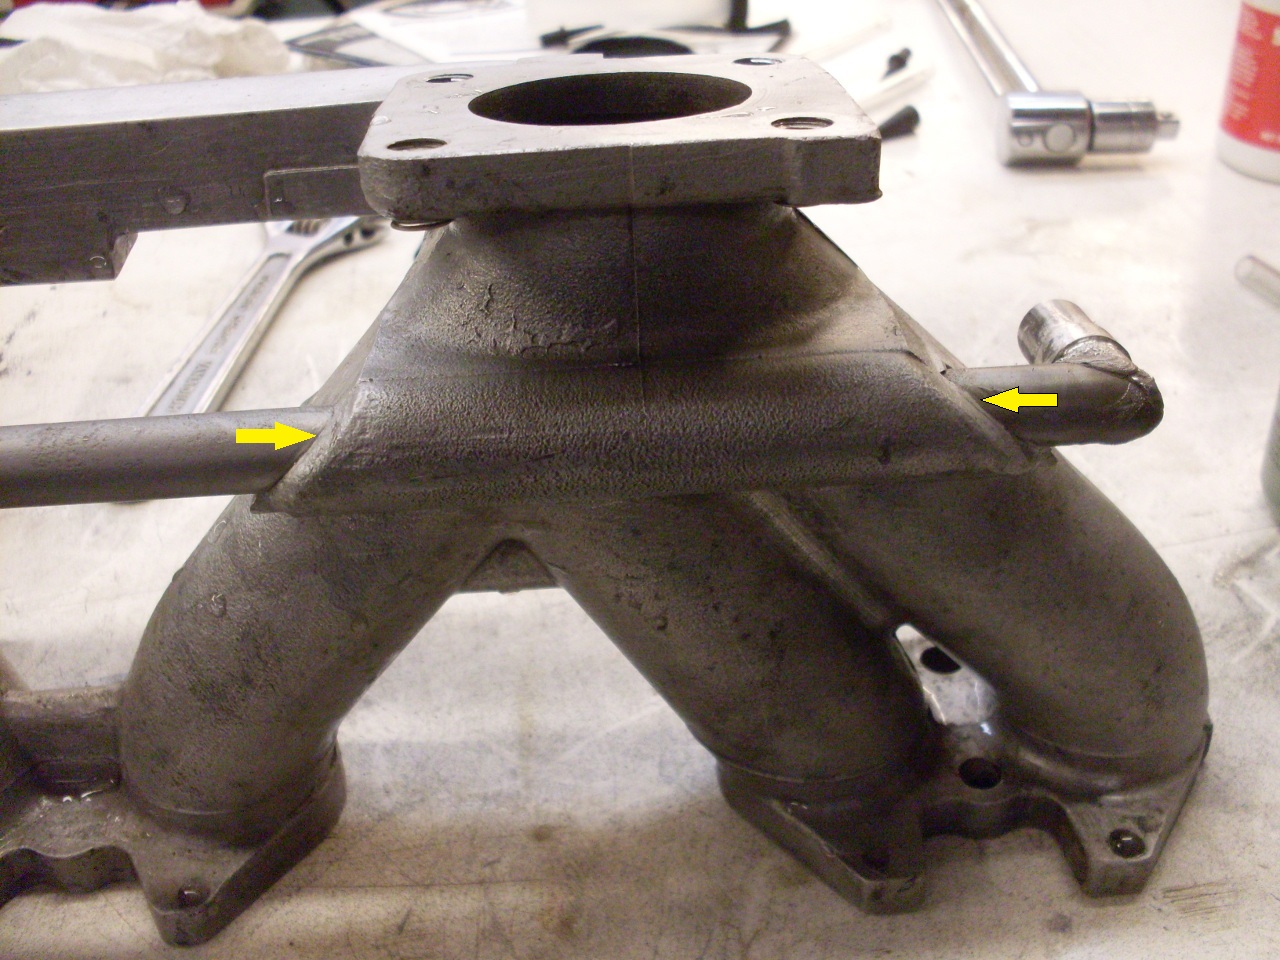
dunked the whole manifold in a sink full of water and pumped air into
the coolant pipe. My heart dropped when I saw prodigious bubbling
from the area where the tube disappears into the casting. The
pipe was obviously breached deep inside the casting.
Since
I already had too much angst invested in this manifold to give in, I
determined to somehow remove the coolant pipe and install a new one.
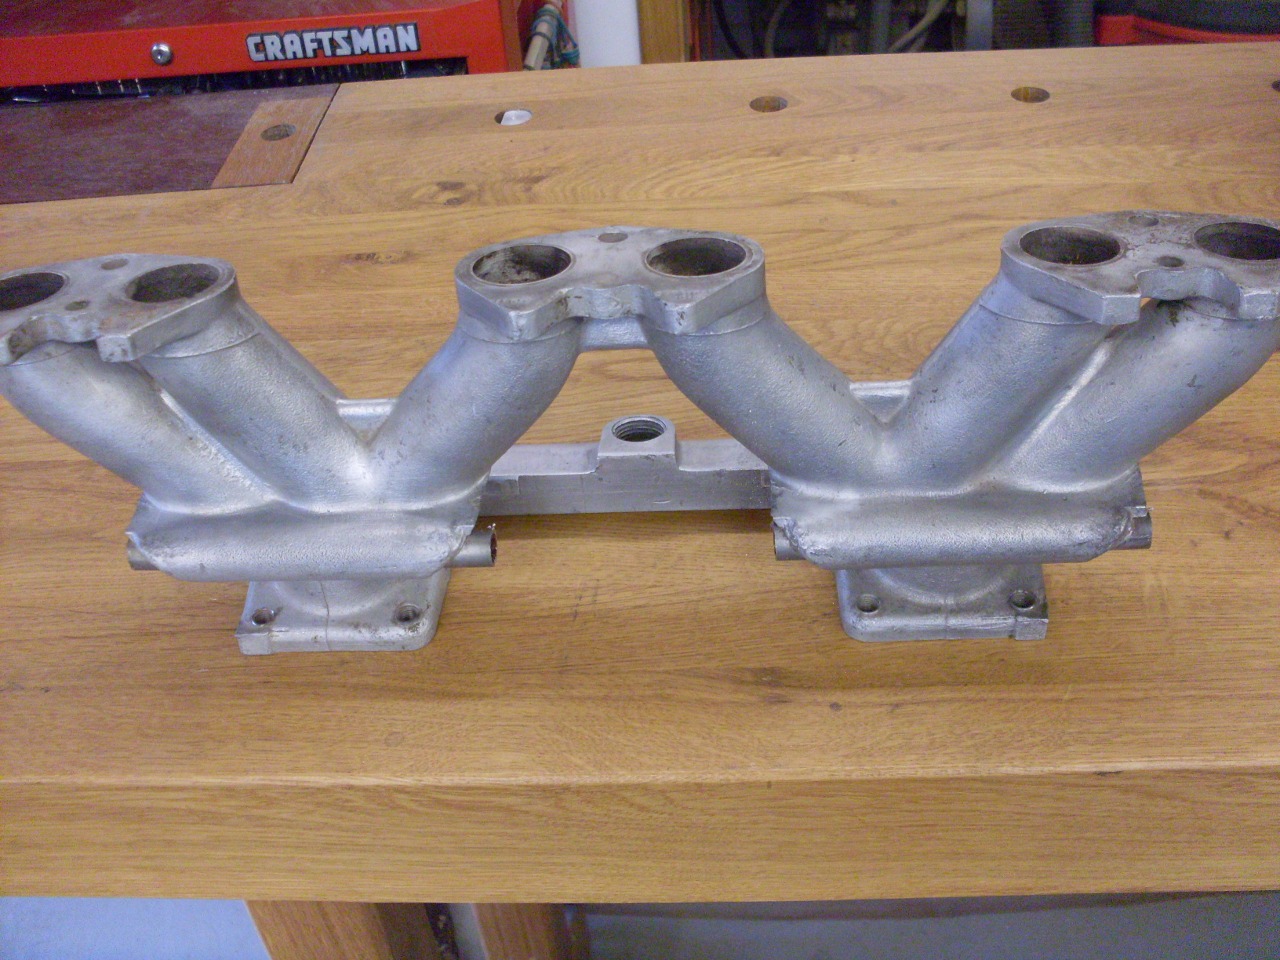
First, I sawed off the protruding parts of the pipe in hopes that
I could just tap the embedded parts out.
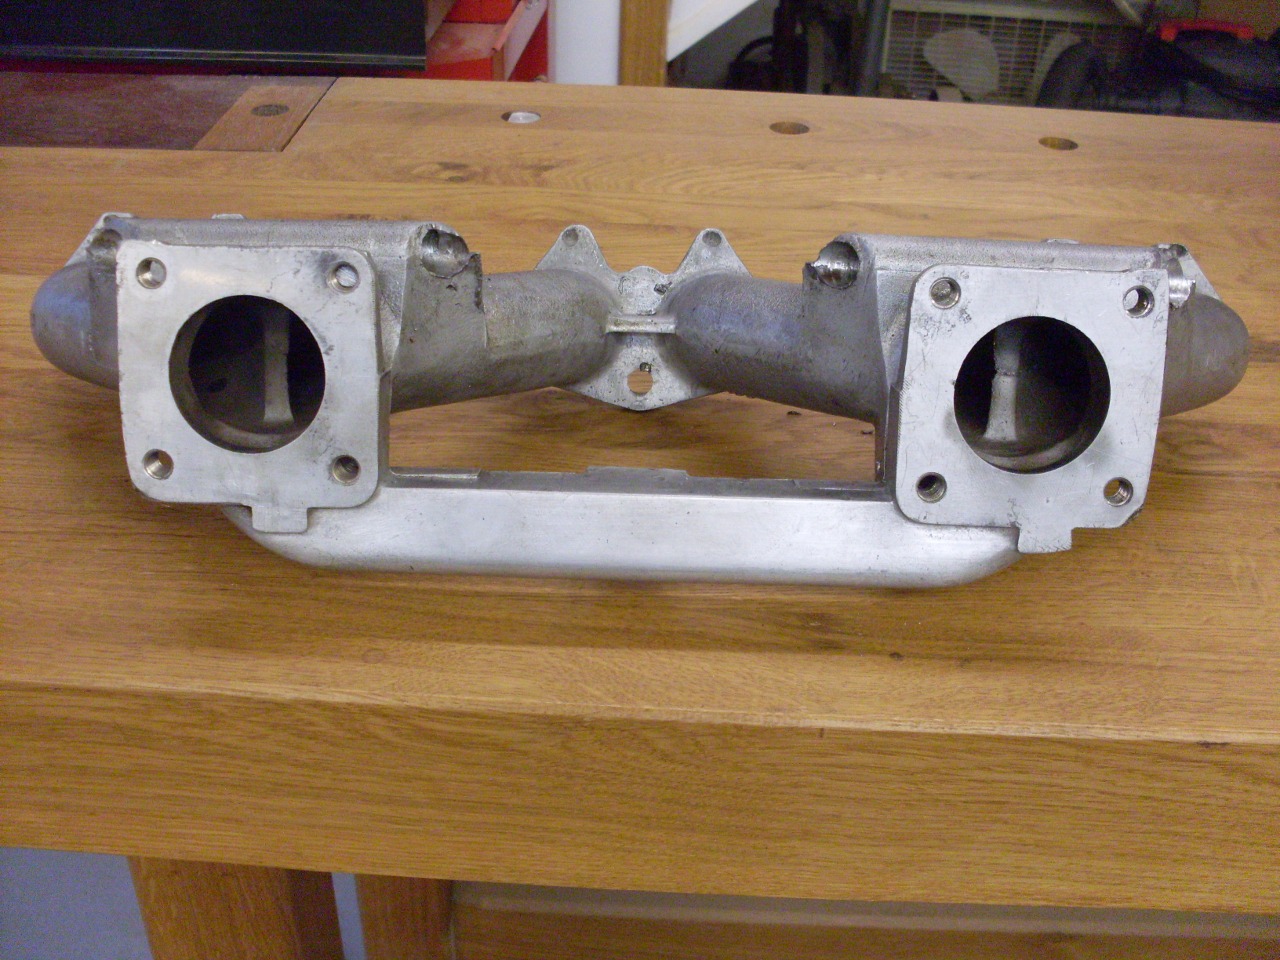
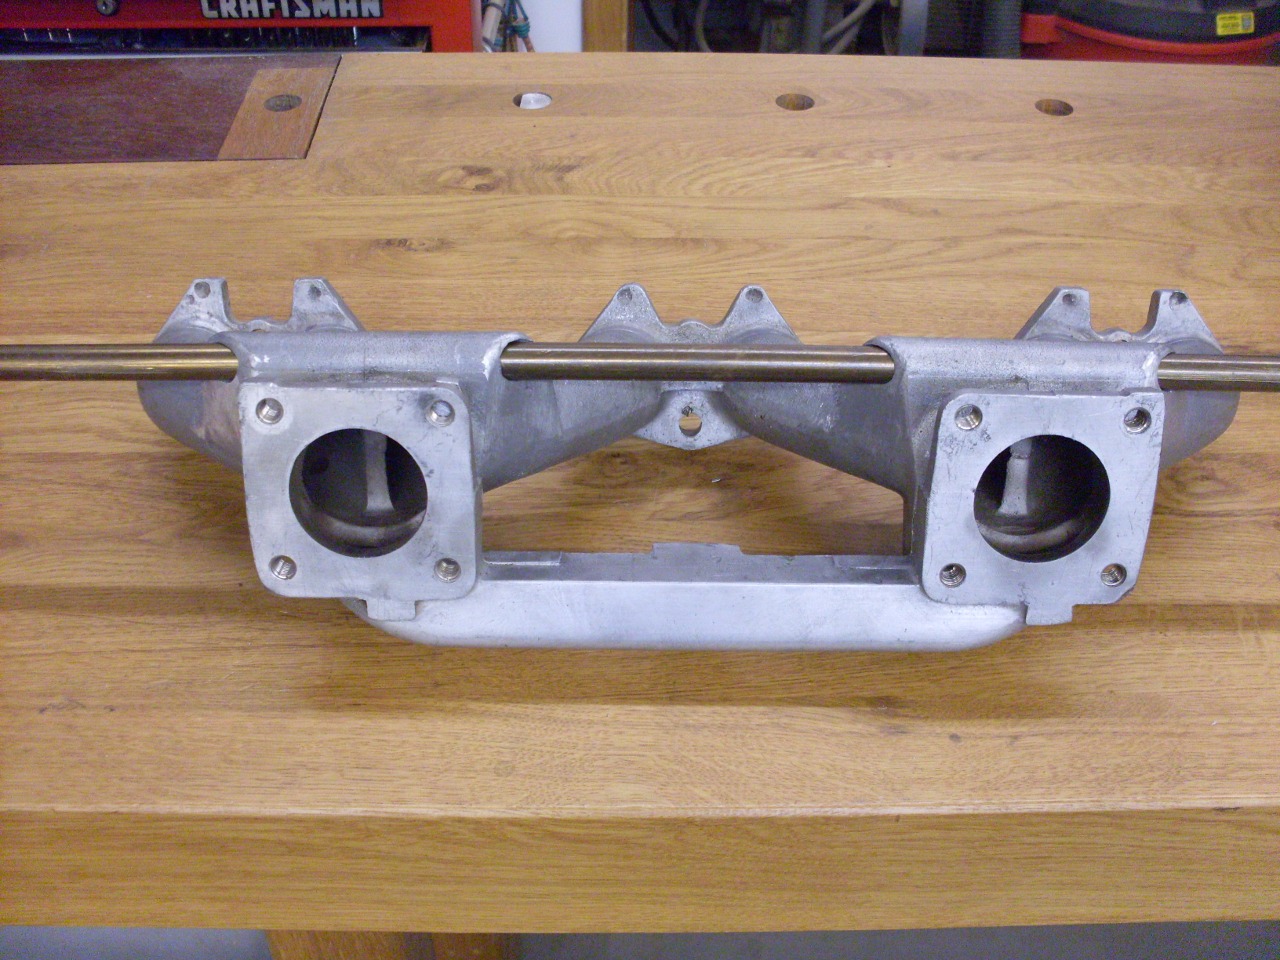
Well,
that was just wishful thinking--the pipes wouldn't budge. I ended
up drilling them out, which involved some pretty heroic efforts in work
holding. The second pic shows a brass tube inserted, but I think
I'd rather use stainless, so I orded some.
While
I'm waiting for the stainless, I did a little work to help the manifold
flow a little better. I'm not all that interested in polishing
the manifold passages--it's a lot of work for little potential gain,
and many say that we actually want to maintain some roughness in the
intake system to encourage a certain amount of turbulence, which helps
with fuel dispersion. What I'm really after is providing a
consistent cross section in the passages with minimal blockages, or
changes of shape or direction.
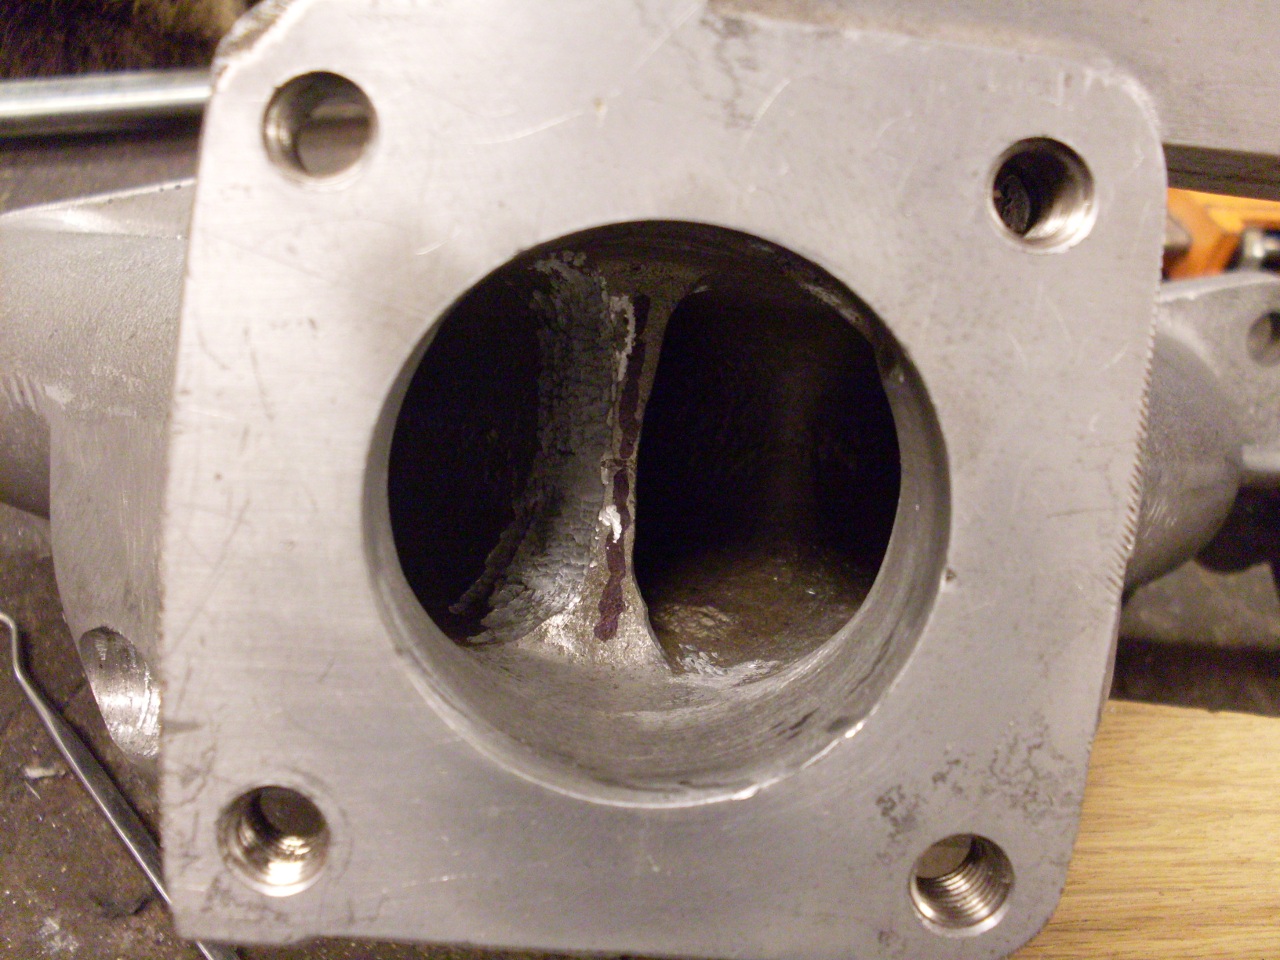
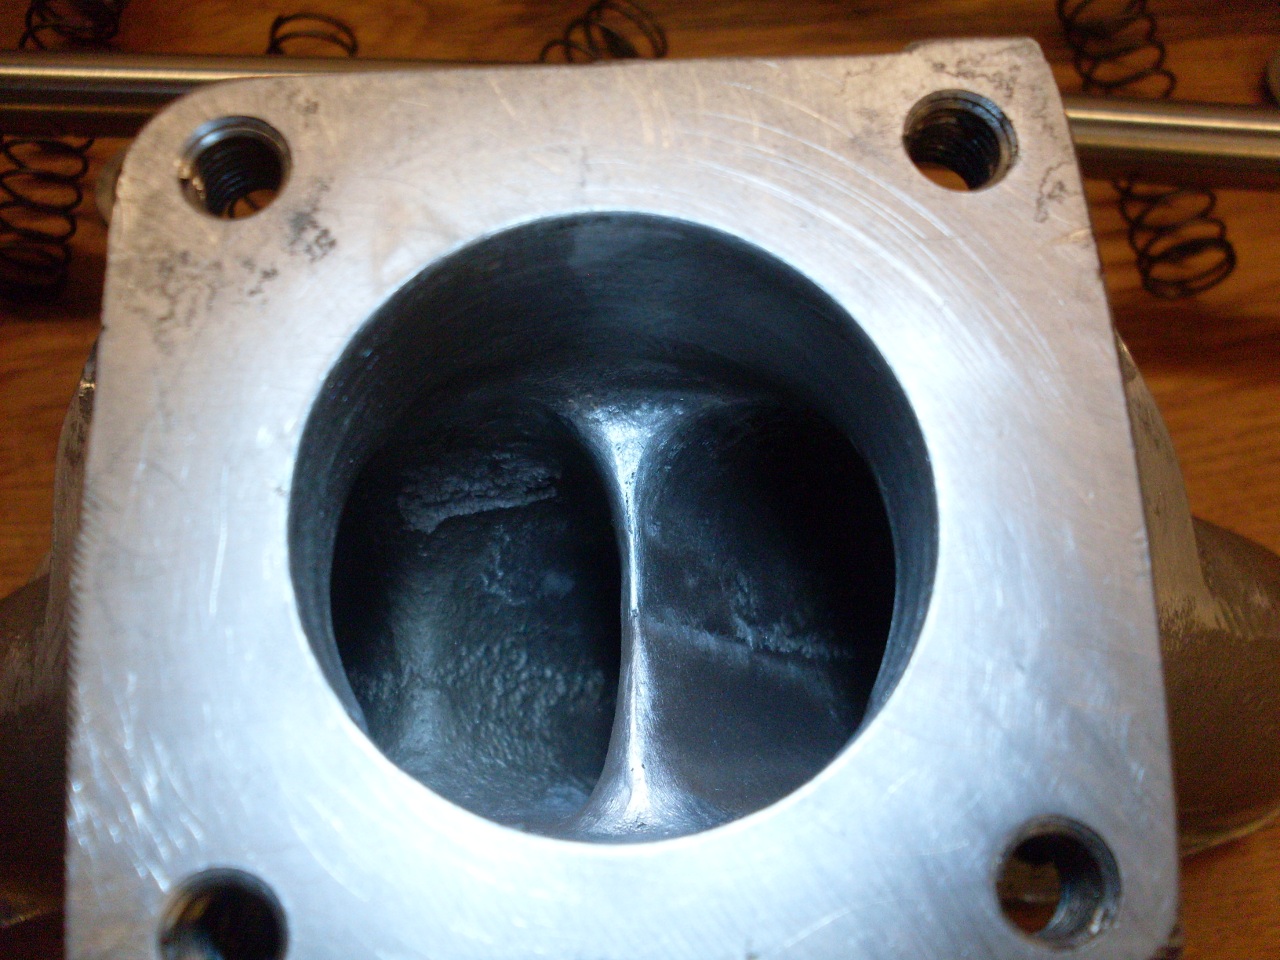
From the carb side, it's plain
that there is a partial blockage on one side (the right side in the
first pic), and a step where the machined opening meets the raw cast
surface inside. These are easy to fix. Also, it's pretty
common to reshape the baffle seen inside the throat to make it more
aerodynamic.

Update, Feb 26, 2014:
I
ordered some 1/2" stainless steel tube for the coolant passage nearly a
month ago, and it just arrived yesterday, so now to wrap up this intake
manifold.
The tube is a snug fit in the drilled holes, partly because the holes are a tad non-colinear.

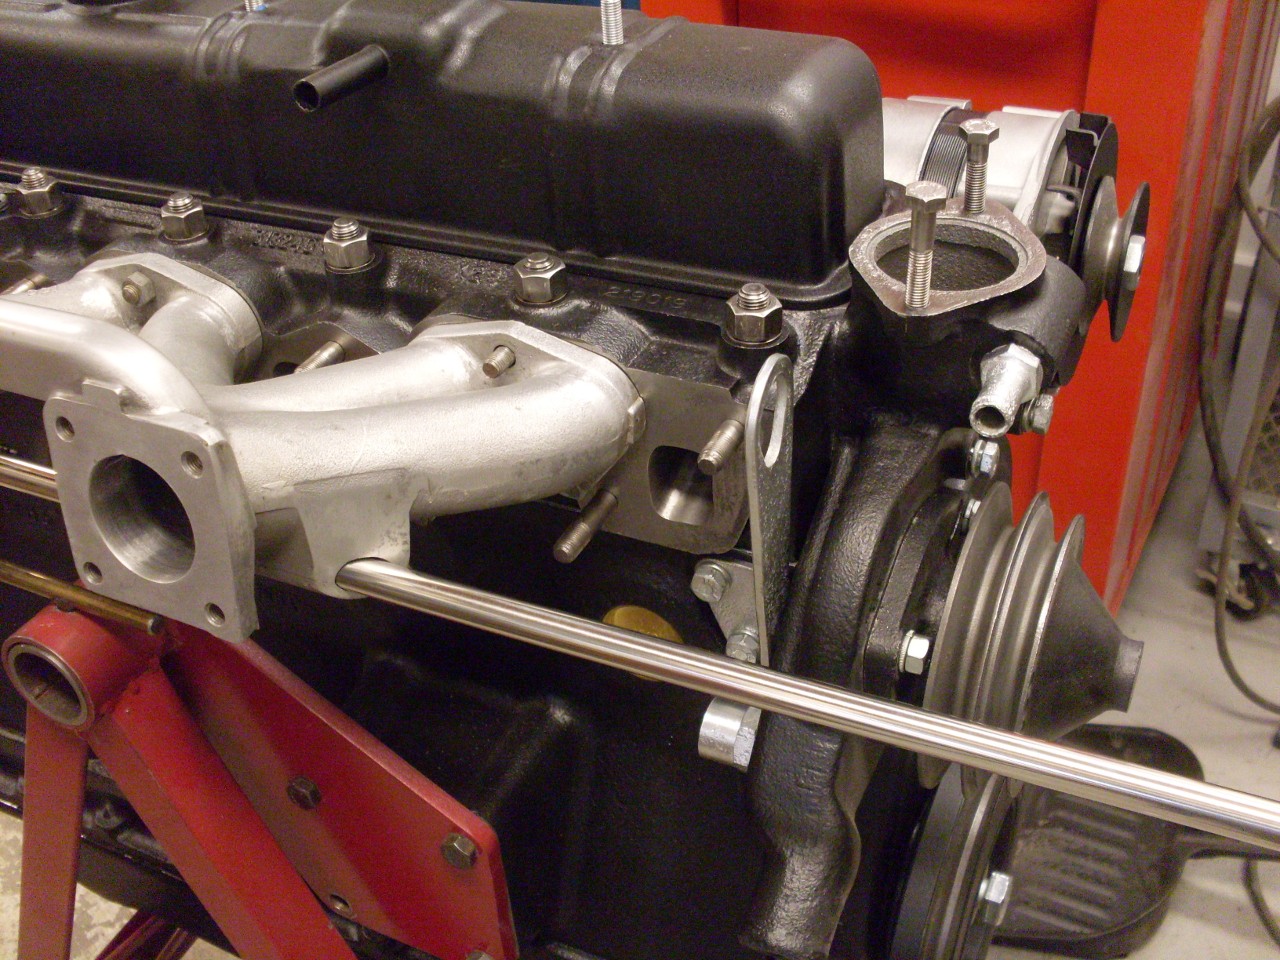
I
did a mockup on the engine to determine if I really had to put that
silly little right angle on the front end of the tube. The hose
routing appears to be better without it.
Because
I've reduced the original intimate contact between the coolant tube and
the body of the manifold, I thought it a good idea to try to restore
some of the the thermal conductivity between the two. After
toying with the idea of exotic thermal epoxies, I fiinally settled in a
much simpler approach using a thermal silicone grease commonly
used as a heatsink compound in electronics.
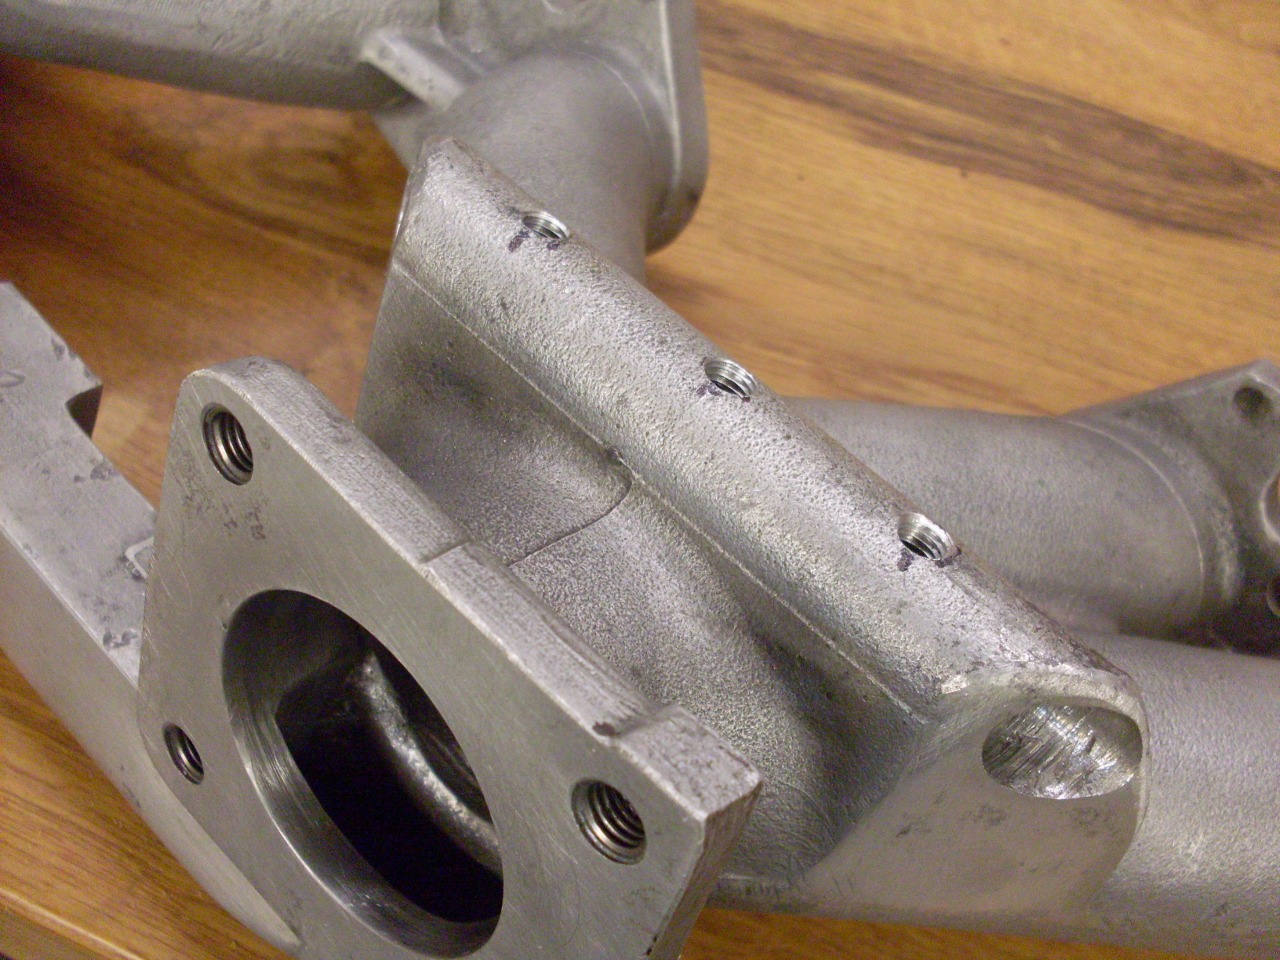
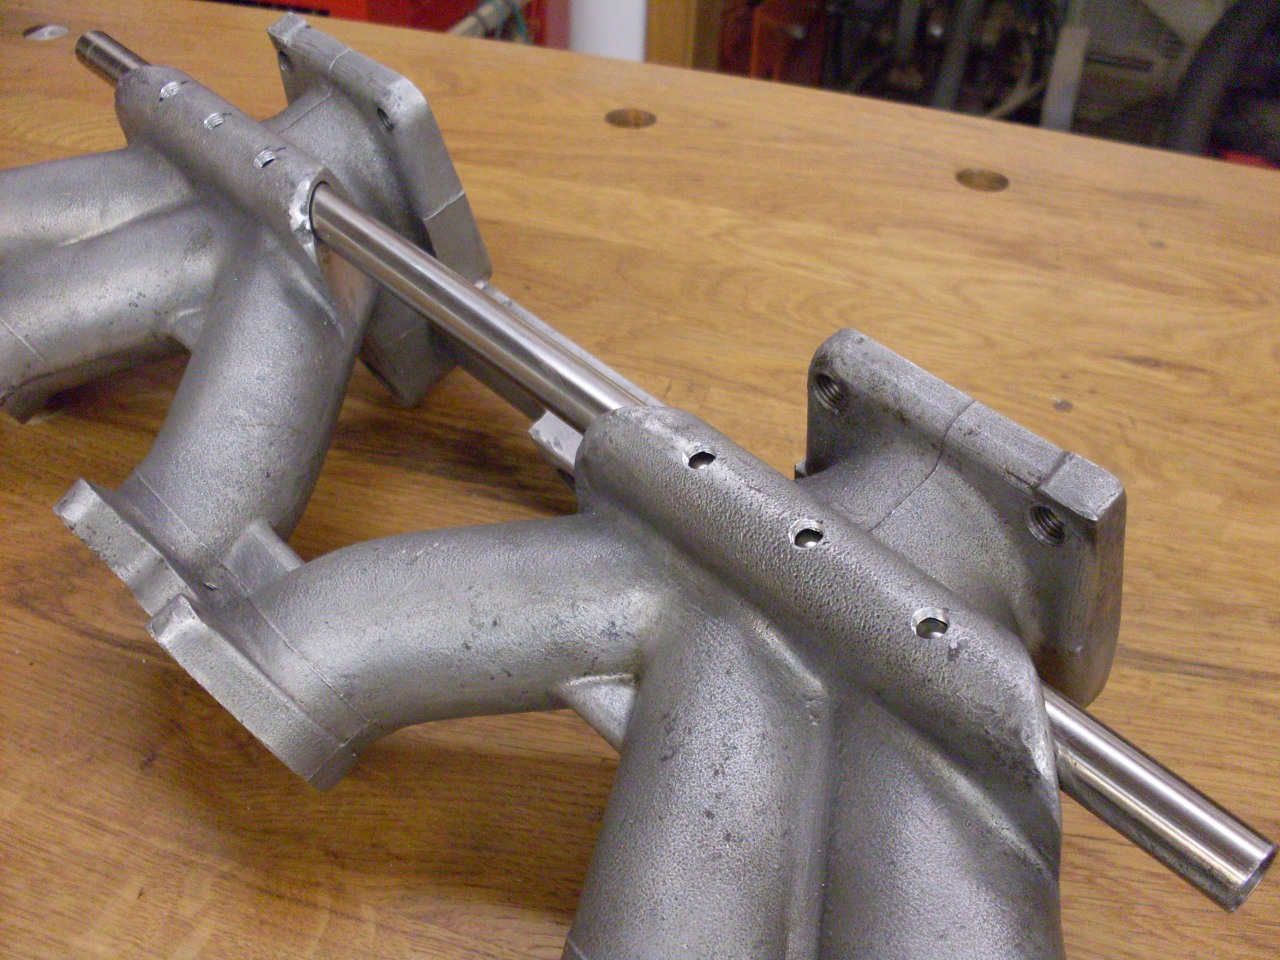
First, I
drilled and tapped three holes in the bottom of each passage in the
manifold, then slid the cut-to-length tube in place.
I
made a little adapter that would thread into the tapped holes, and was
drilled to accept the business end of a largish syringe. I loaded
the syringe with some thermal grease.
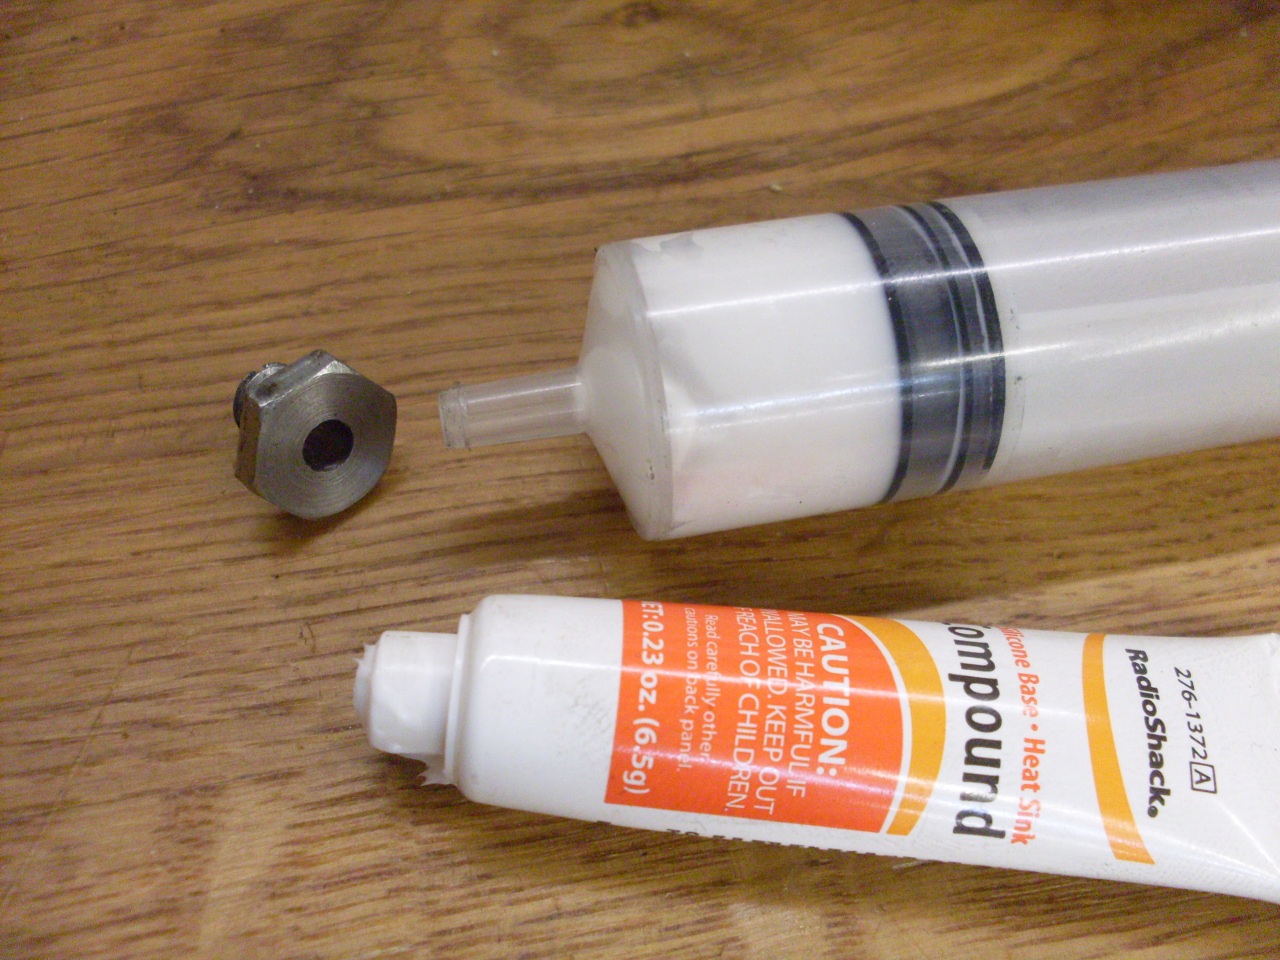
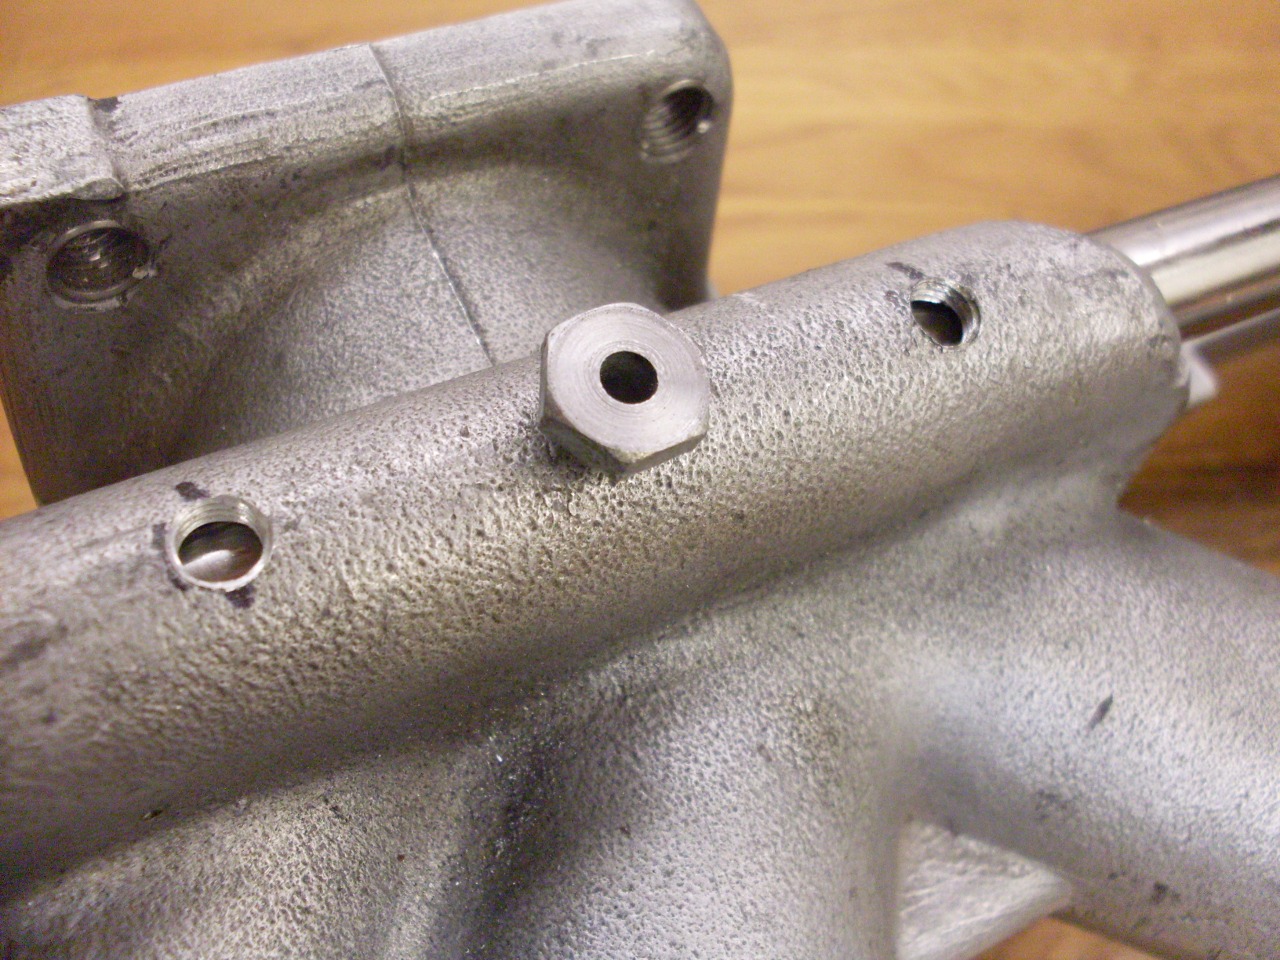
Then
injected the grease into the middle holes. The grease is fairly
thick, so it took a while to show up in the adjacent holes. I
then plugged the holes where the grease was showing, and kept
injecting, occasionally rotating the tube to spread the grease.

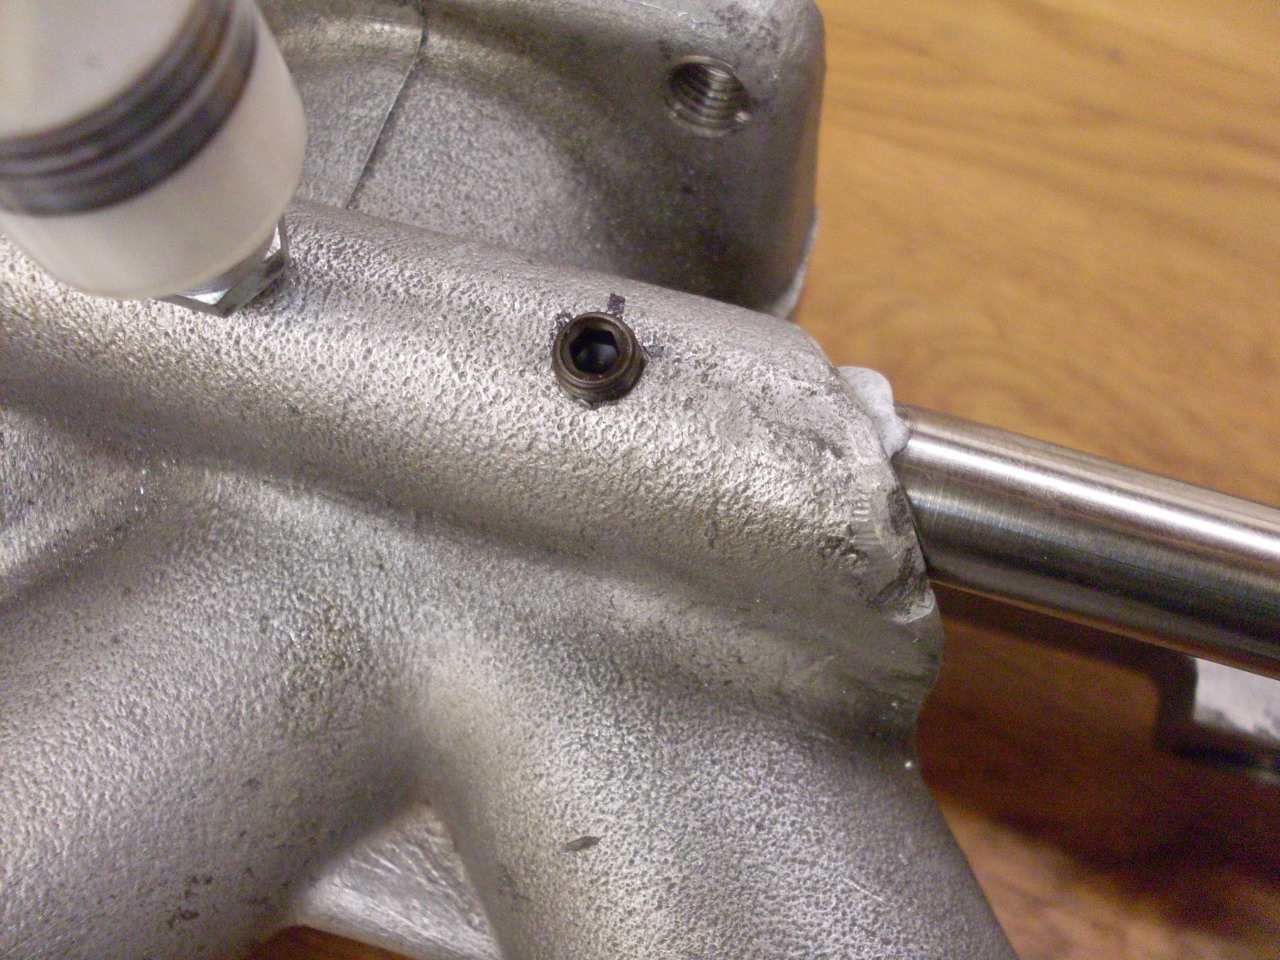
I was able to inject an entire tube of grease with maybe 1/4 of it lost
oozing out the ends. So was the thermal grease necessary? Who knows,
but it probably can't hurt.
The setscrews both plug the holes, and secure the tube in place. I'll replace the ones shown with shorter stainless ones.

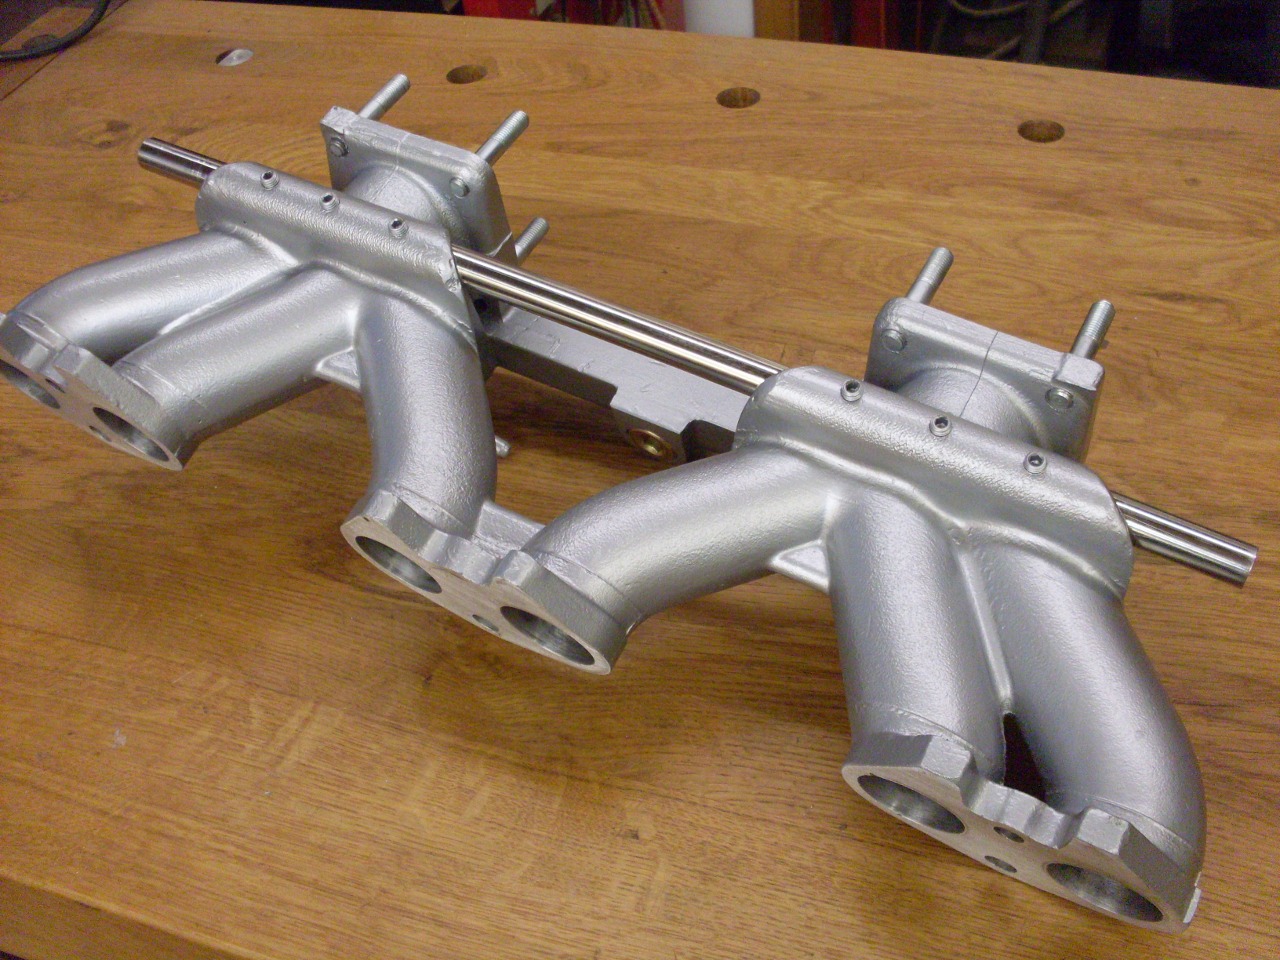
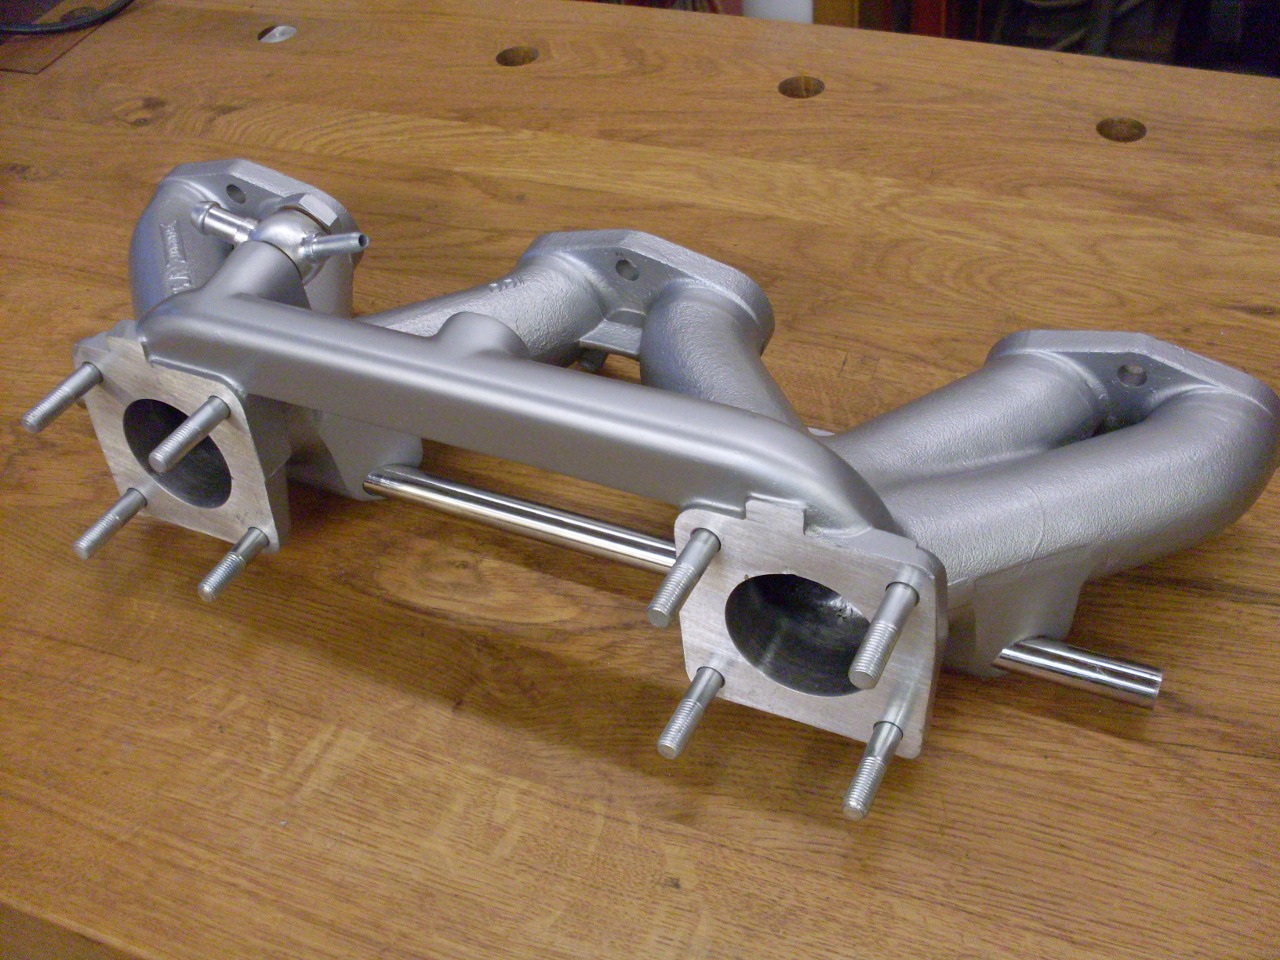
I
then did something I normally don't do--I painted the manifold.
This aluminum casting can be made to look pretty good by bead
blasting or some other method, but the look doesn't last long.
After just a few days, the piece is dull and mottled again.
The material just won't maintain a nice finish. I used a
high temp engine paint that allegedly looks like cast aluminum.
I'm not using the EGR paraphernalia, so teh center port inthe manifold is plugged. All the other hardware is replated.

Comments to elhollin1@yahoo.com
To other TR6 pages