To other TR6 pages.
January 11, 2014
Front Sealing Block
[Click the pictures for a larger view]
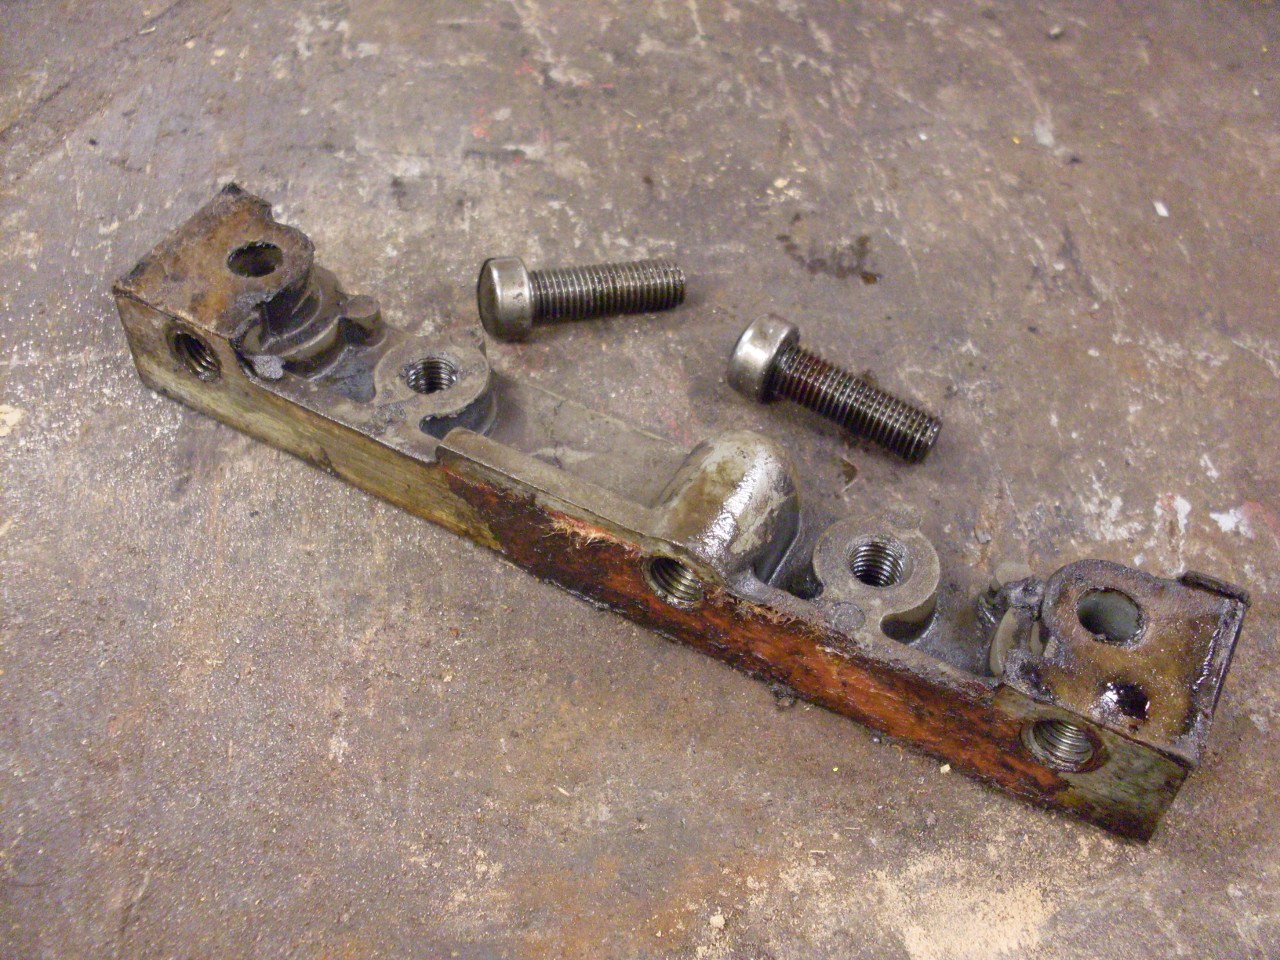
The
TR6 engine has a so-called "front sealing block" at the front of the
engine block that closes the perimeter of the crank case and completes
the sealing surfaces for the oil pan and the front plate. It
is a simple item, but is wrought with issues, mostly having to do with
oil leaks. First, the joints between the ends of the sealing
block and the crankcase skirts presents an interesting sealing problem.
Because of the end clearance necessary to allow insertion of the
sealing block, the end seals must be of a resilient material that
can be compressed on installation and can maintain sealing pressure for
long periods of time. Triumph's quaint solution to this is to use
little pieces of wood that are forced into slots in the ends of the
sealing block after it is in place. Though this seems at first to
be a primitive throwback solution, I'm not so sure it isn't a brilliant
approach. Some kinds of wood under compression are known to be
very good fluid seals in applications like barrels or casks.
Gland seals of cork or other soft woods are still common.
Beyond
the sealing issues, the sealing block is made of a non ferrous
metal--some have said aluminum, but it feels more like some version of
Zamac to me. The common belief is that the threaded holes for the
front plate and oil pan fasteners are prone to stripping. The
holes are tapped with a fine thread (5/16-24), and aren't very deep, so
this could be true, especially with a little over-enthusiastic
torquing.
The
threads on my sealing block
were fine, but not wanting to tempt fate, and trusting all the
anecdotal evidence, I decided to take measures to protect against
stripping. There are a few sellers that offer a replacement
"upgrade" sealing block made of steel to mitigate the stripping
potential, but I considered these to be expensive over-kill.
There are other ways to provide strong thereads in soft
materials, so I decided to improve my original block. Besides,
the outer edge of the sealing block is exposed to the elements, and a
bare steel block would start rusting immediately.
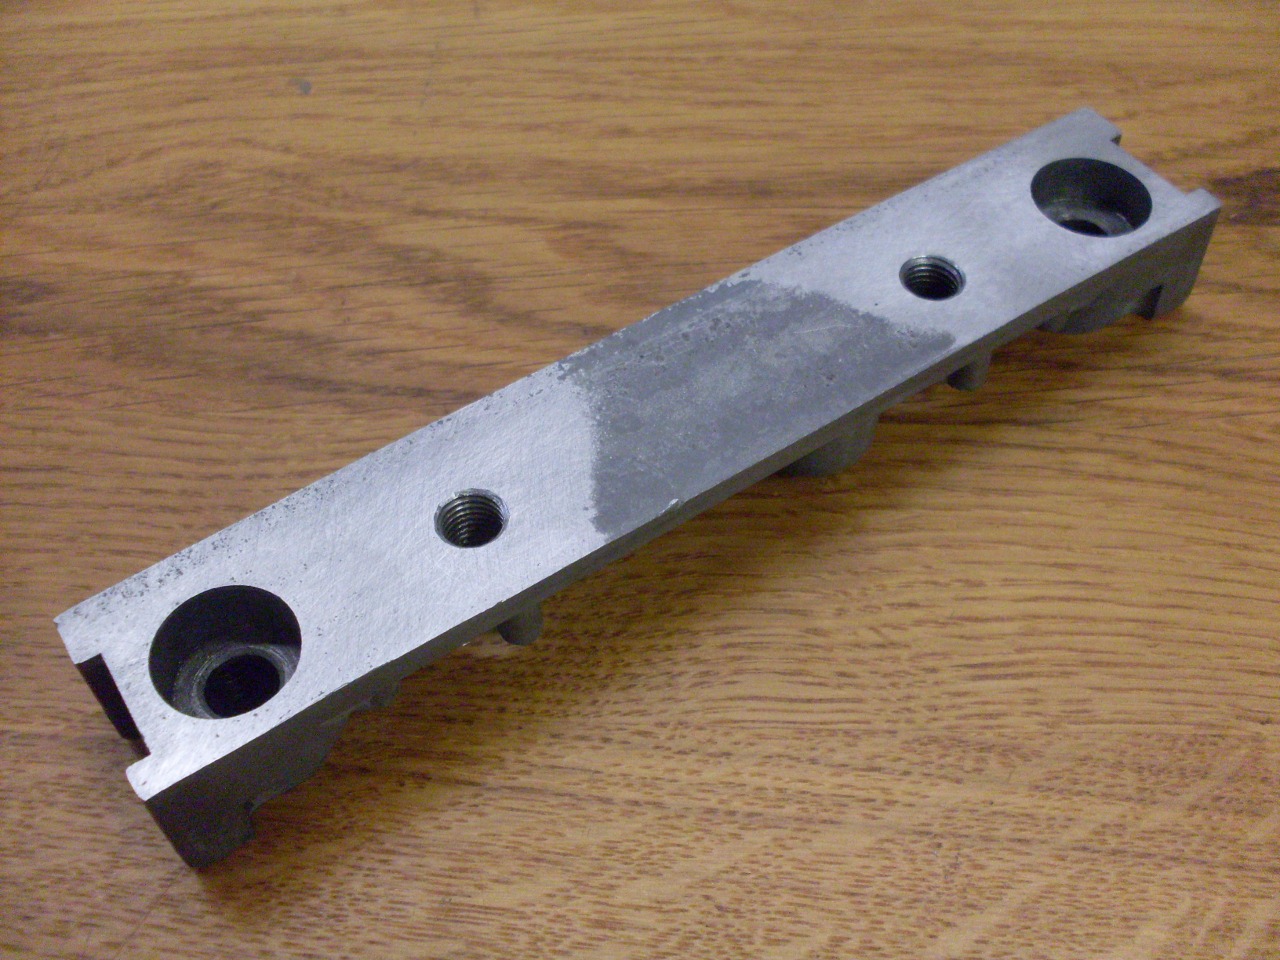
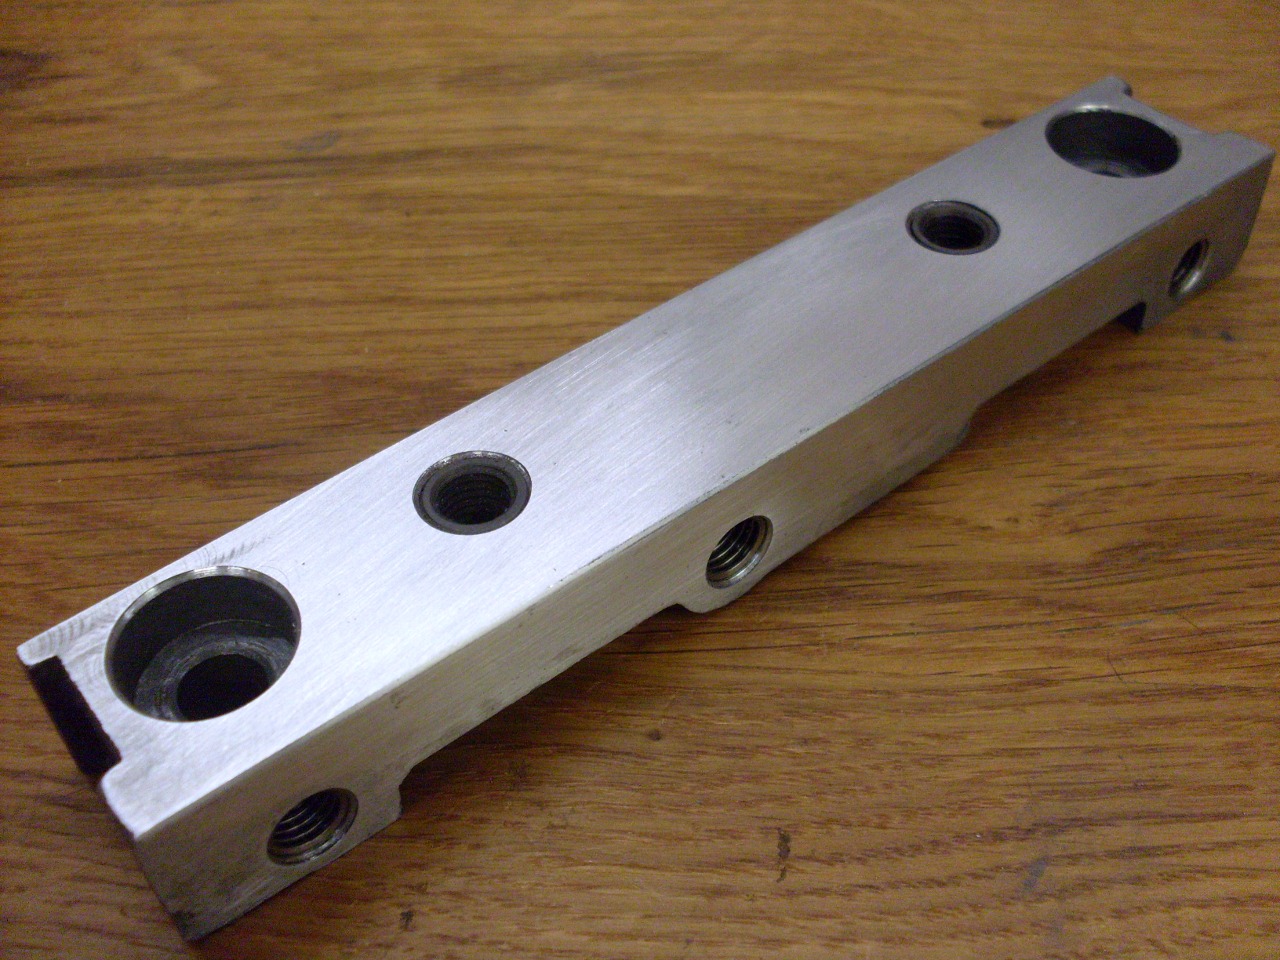
I
noticed that with gaskets installed, my sealing block stood a little
proud of the crank case skirt. As I was skimming the surface
down, I found that the block also had about a 0.015" dip in the middle.
While this really isn't a serious problem, I was glad to find
that when I got the block cut down to be flush with the skirt, the dip
was gone.
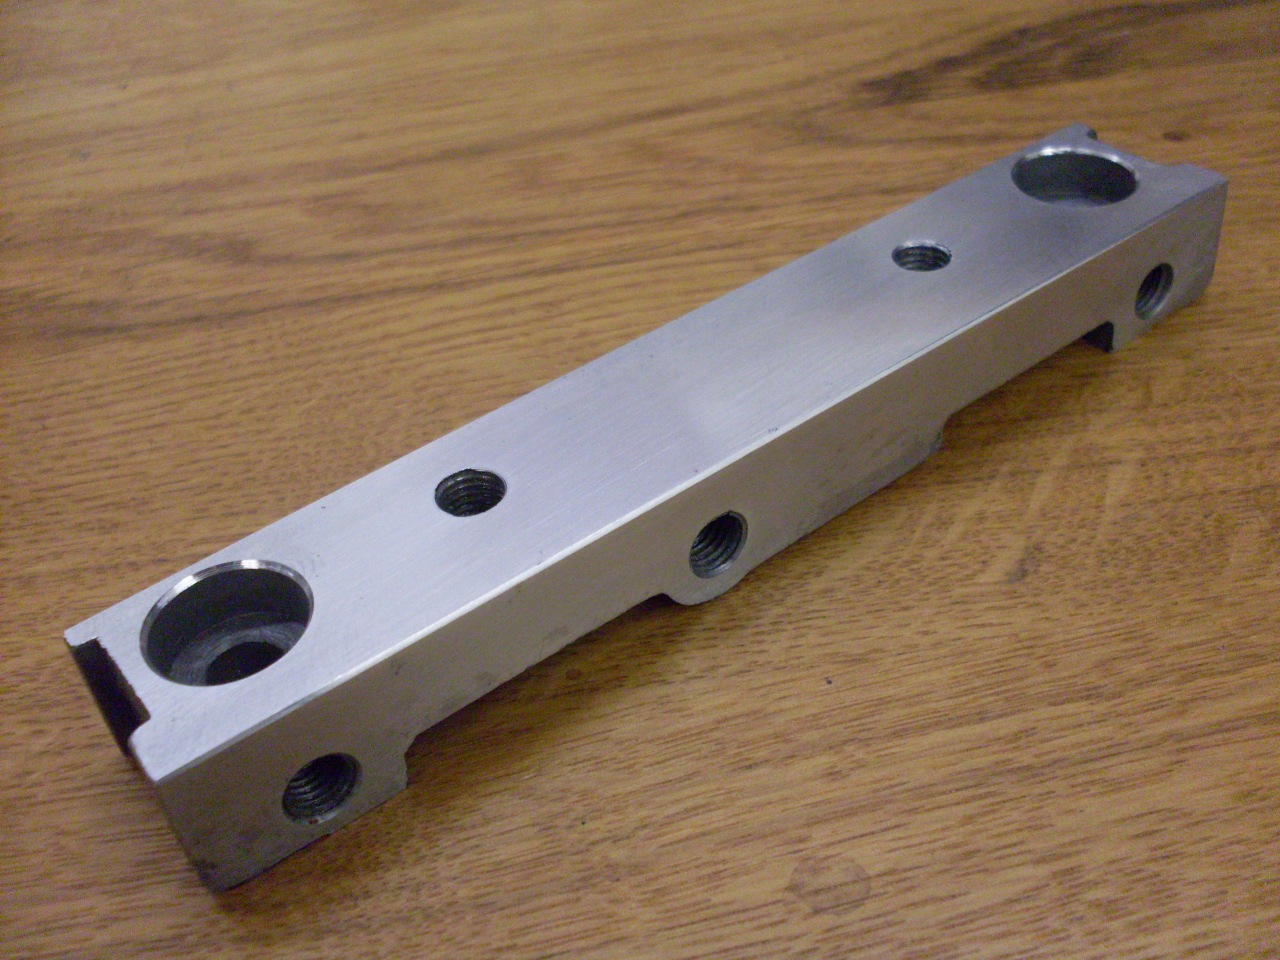
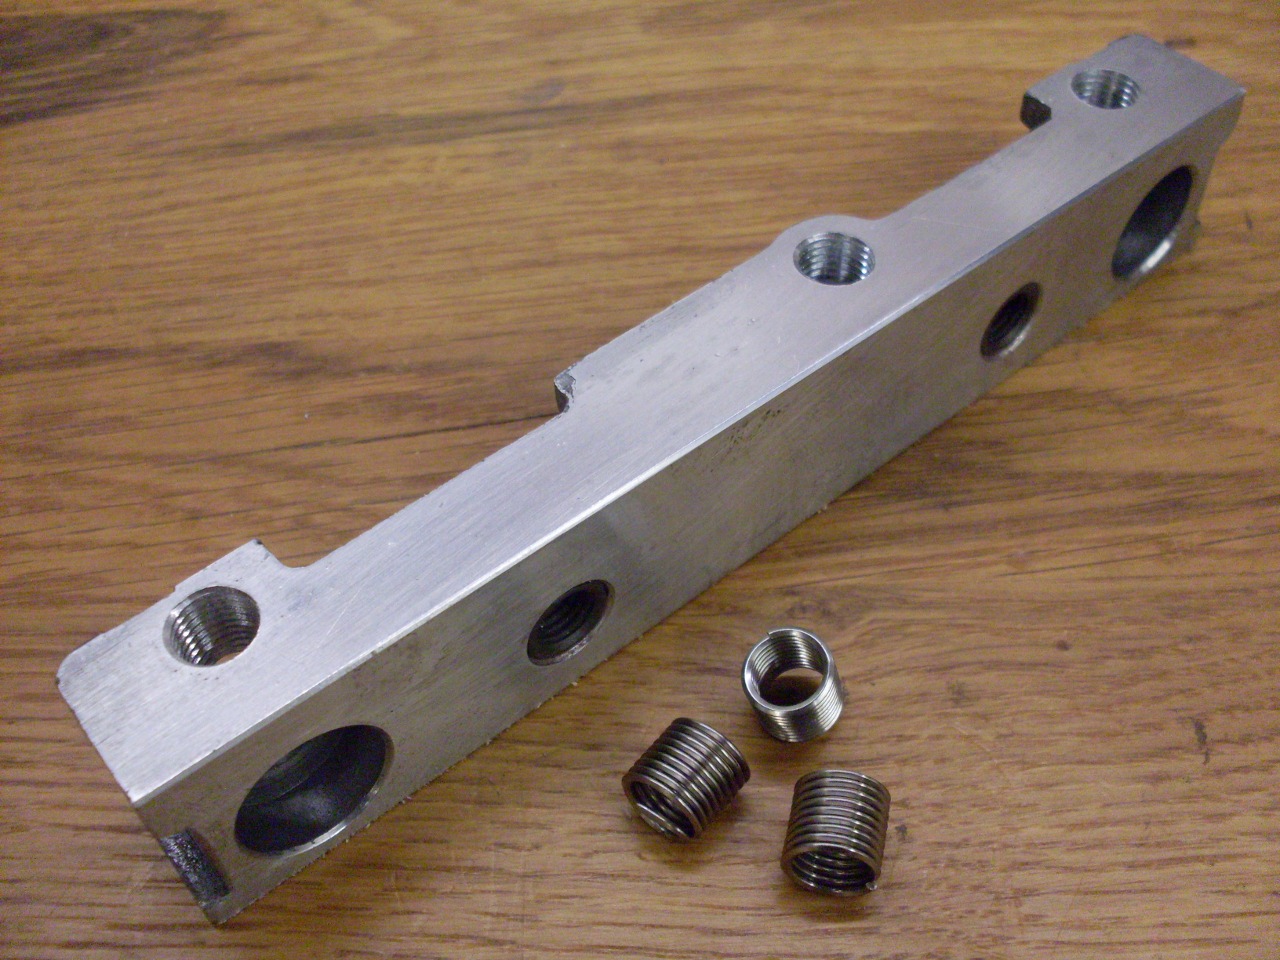
The
easiest way to provide strong threads in a soft material is
to use a thread insert. These are "EZ LOK" brand inserts, but there are
others. The process is simple: drill an oversized hole
(Letter X in this case), tap the hole to the OD thread of the insert
(7/16-14), and screw in the insert. The inserts have a thread
locking compound on the OD threads that activates when the insert is
installed.

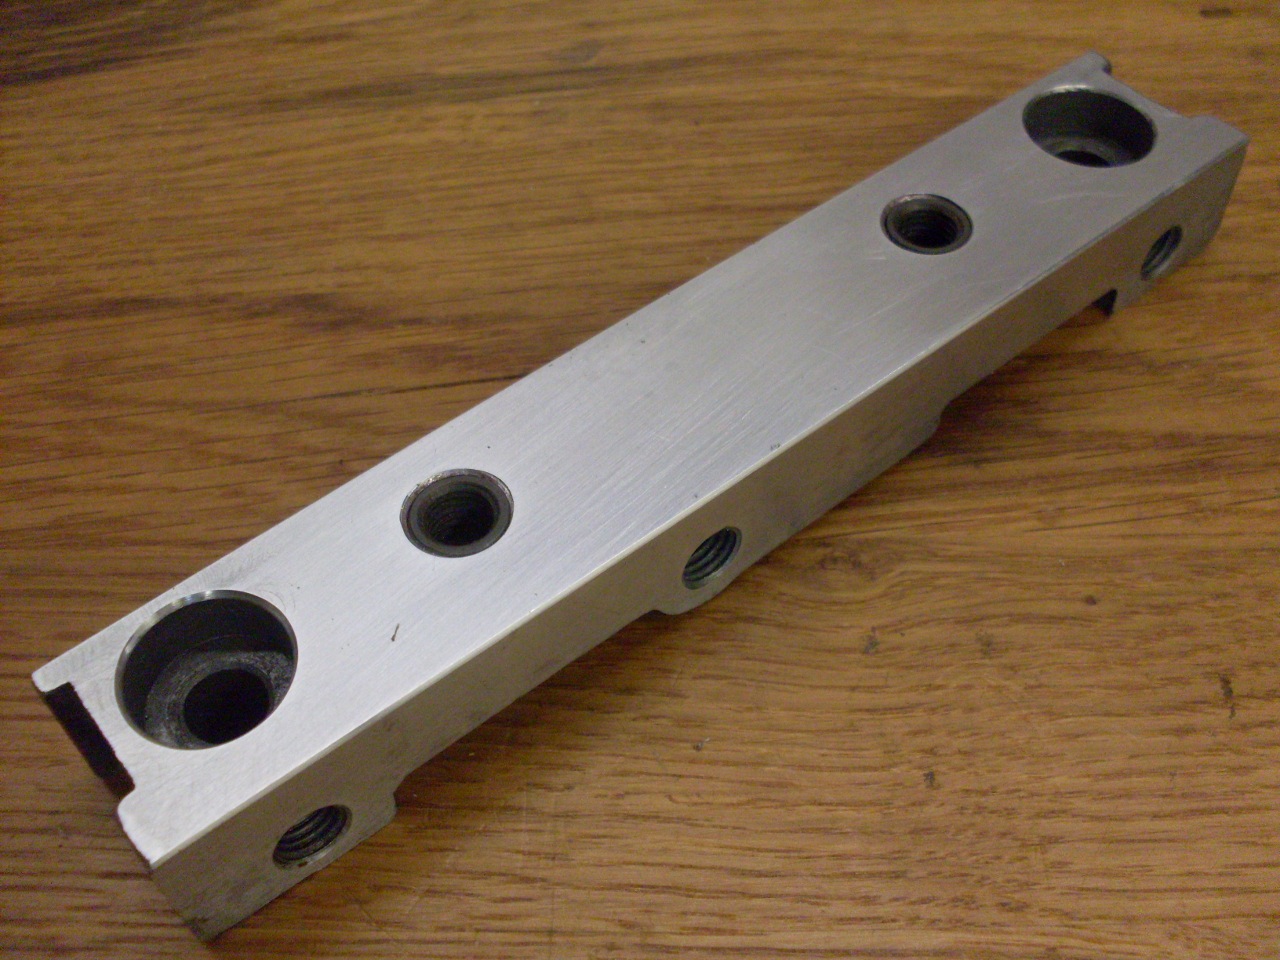
I
had planned to use the inserts on all of the threaded holes, but it
looked like a couple of the holes on the front side of the block
were a little close to the edge for my comfort. In the case of
these holes, I used Helicoil type inserts, which need a smaller hole.
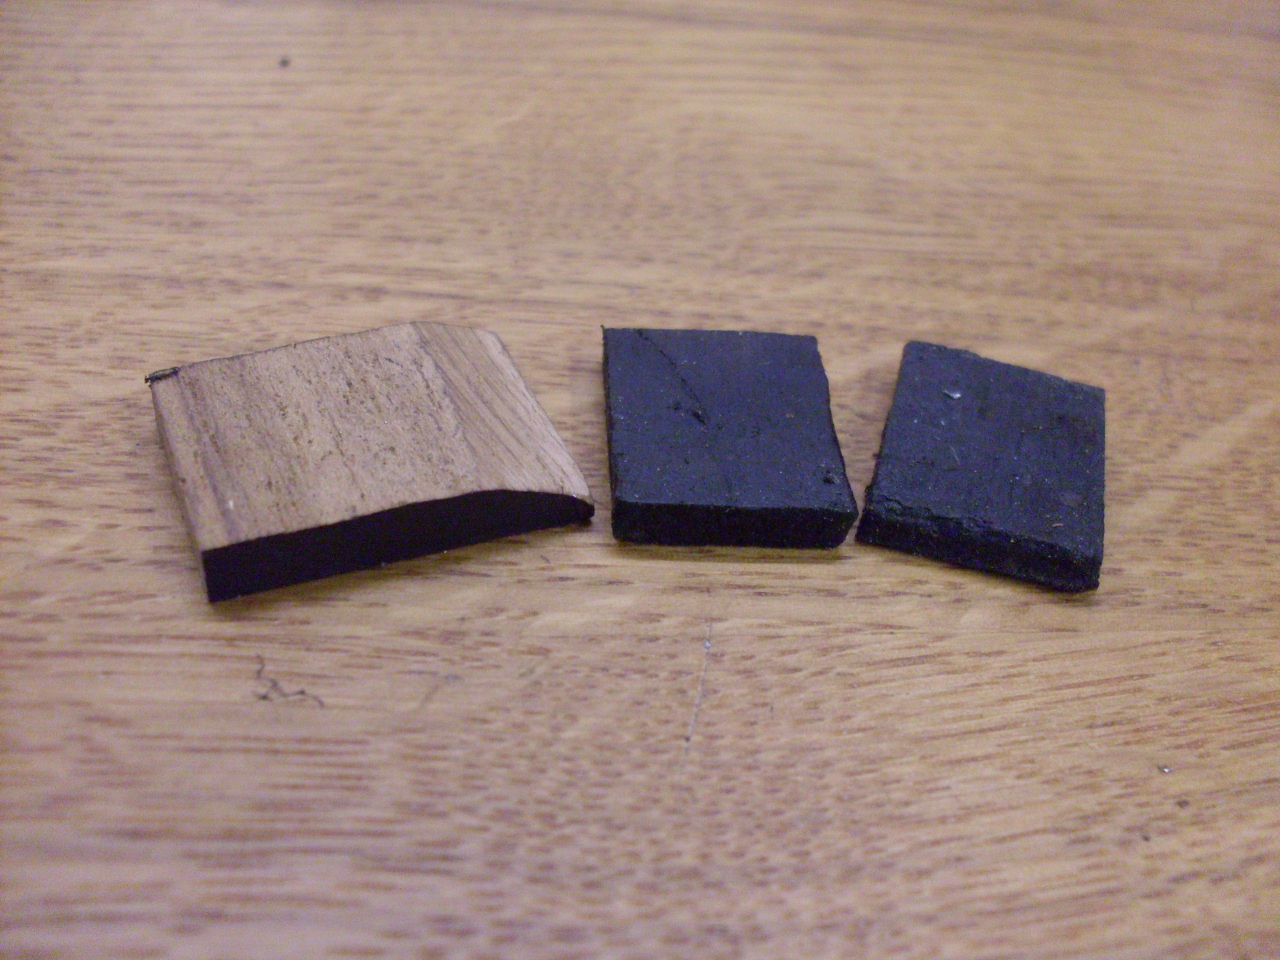
With
the threads taken care of, I started looking at hte wood sealing
blocks. The originals were oil soaked and compressed, so it was
hard to tell anything about them. I had ordered a new one (it was
an oversight--I meant to order two), but it didn't seem to bear much
resemblance to the originals. It was way too big, and had a large
taper on one side. Rather than trying to sort it out with the
supplier, it seemed easier to just make my own. I know a little
something about woodworking, and the new block appeared to be a
hardwood, possibly walnut or butternut (judging from color and grain,
but it's really hard to make a good determination from such a small
piece). I had some walnut around, but finally opted to use white
oak. White oak has a closed cell structure that makes it
essentially liquid tight. I cut a strip of the right width and
thickness, and I'll cut the seals from it when I install the sealing
block.

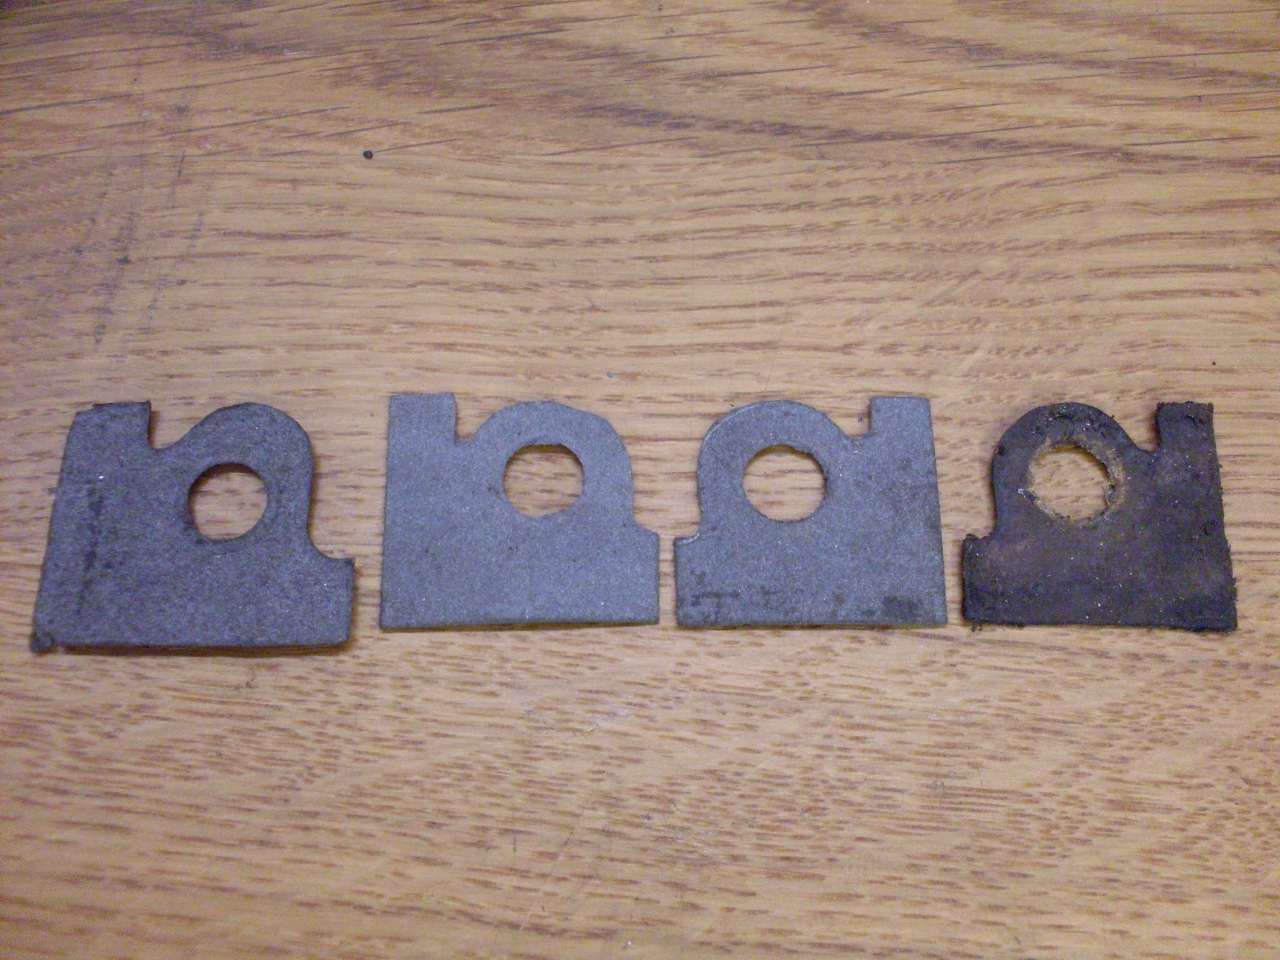
Finally,
a word about the paper gaskets. In the same lapse of sanity as
for the wood block, I only ordered one of them. I opted to just
make the other one from 0.031" gasket material, using the old originals
as a pattern. When I did that, I saw that my home made gasket was
actually a better fit than the store bought one, so I made a second
one. My ordering goof ended up saving me a little money. My
hand-crafted gaskets in the middle, 40-year old used original on the
right, new store-bought on the left:
The
sealing block looks like it will be a good fit in the block, and I have
a pretty high confidence in the threaded holes. This was
accomplished for about half of what some are asking for the steel
reproduction block.
To other TR6 pages.
Comments to: elhollin1@yahoo.com