To my other TR6 pages
December 29, 2018
Wheels & Tires
There
are a number of things that many people consider iconic about the TR6.
The front Grille. The prominent center mounted fuel filler cap.
The blacked out Kammback. I consider the largish red stripe
tires among these things.
Now it's true that the TR6 wasn't
unique in the use of the red stripes, which seem to have first
appeared in the mid 60s on a few American muscle cars. The
US market TR250 had them in 68, followed by the TR6. It
apparently was a move to appeal to American tastes, as was the
larger 185-15 tire size, as opposed to the 165-15 blackwall supplied for sale
elsewhere in the world. We Americans do like our big tires.
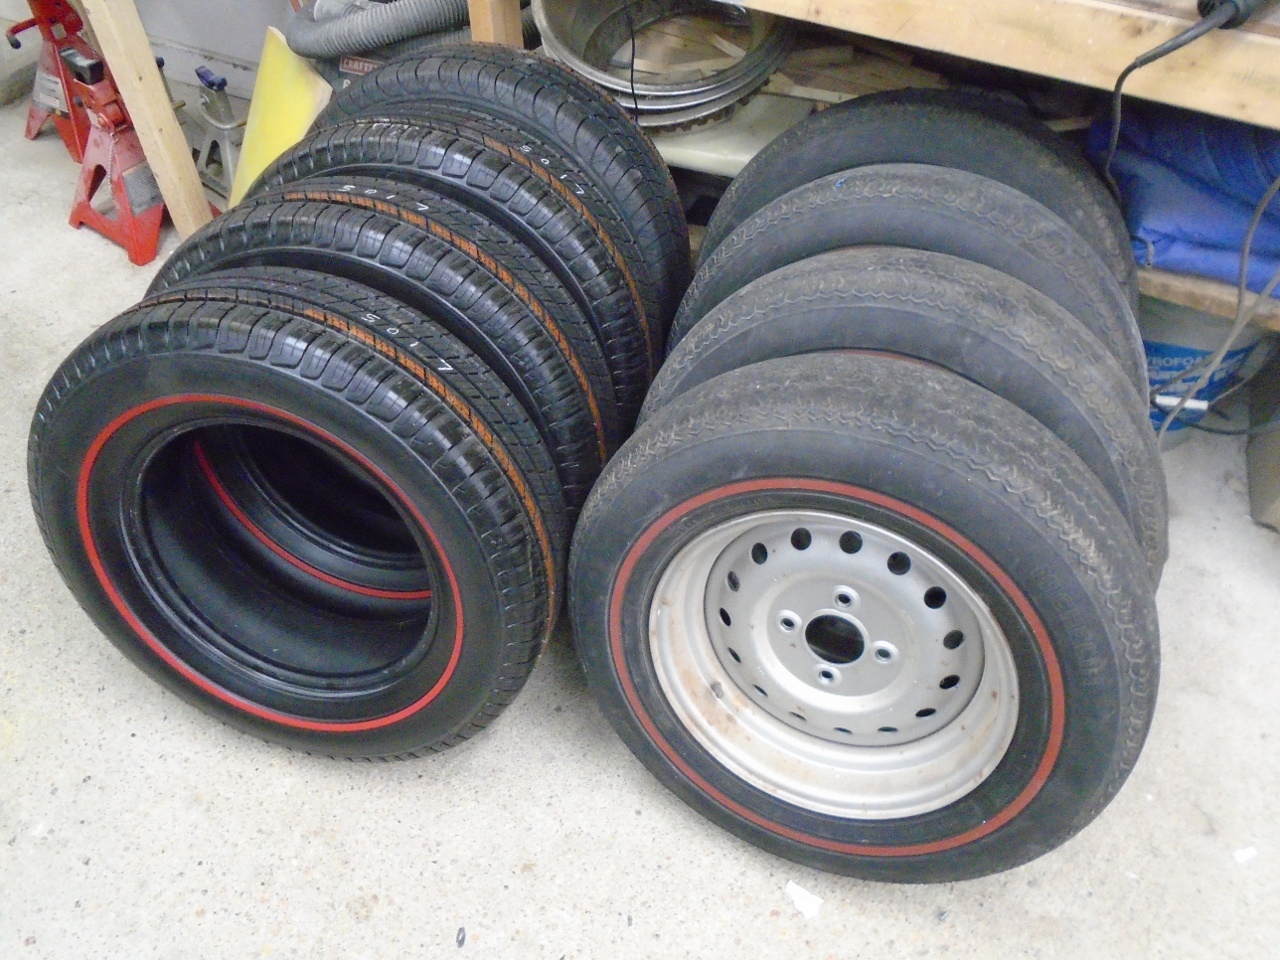
My tires were the original Michelin Xs. They still had some tread left, but were pretty hard and cracked in places.
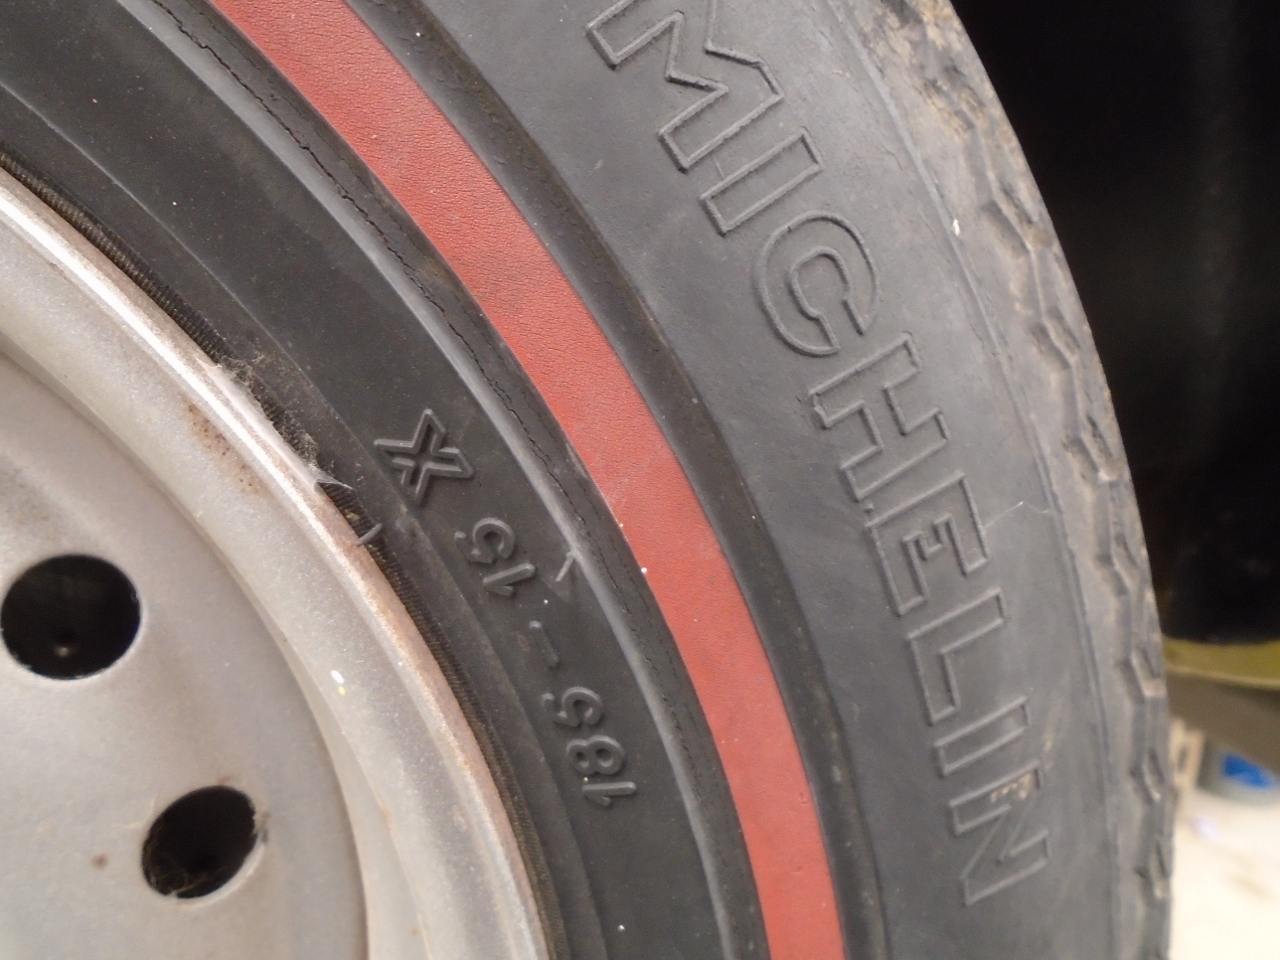
I liked the tires, and even thought I could make them look pretty good, but at 45 years old, they just weren't safe.
But I also had my heart set on red stripe tires.
I
explored a few alternatives. Red stripes can be painted on.
Red stripes can be stuck on. Both of these options really
appealed to my basic DIY instincts. There are also outfits that
apply red stripes to stock modern radial tires, using processes that
make the stripe part of the tire. I struggled with the decision,
but in the end opted to pursue that last option. It is by far the
most expensive, but, due to penny-pinching elsewhere, the budget could
handle it.
So, I ordered myself a little Christmas present. They showed up on the porch one snowy evening.
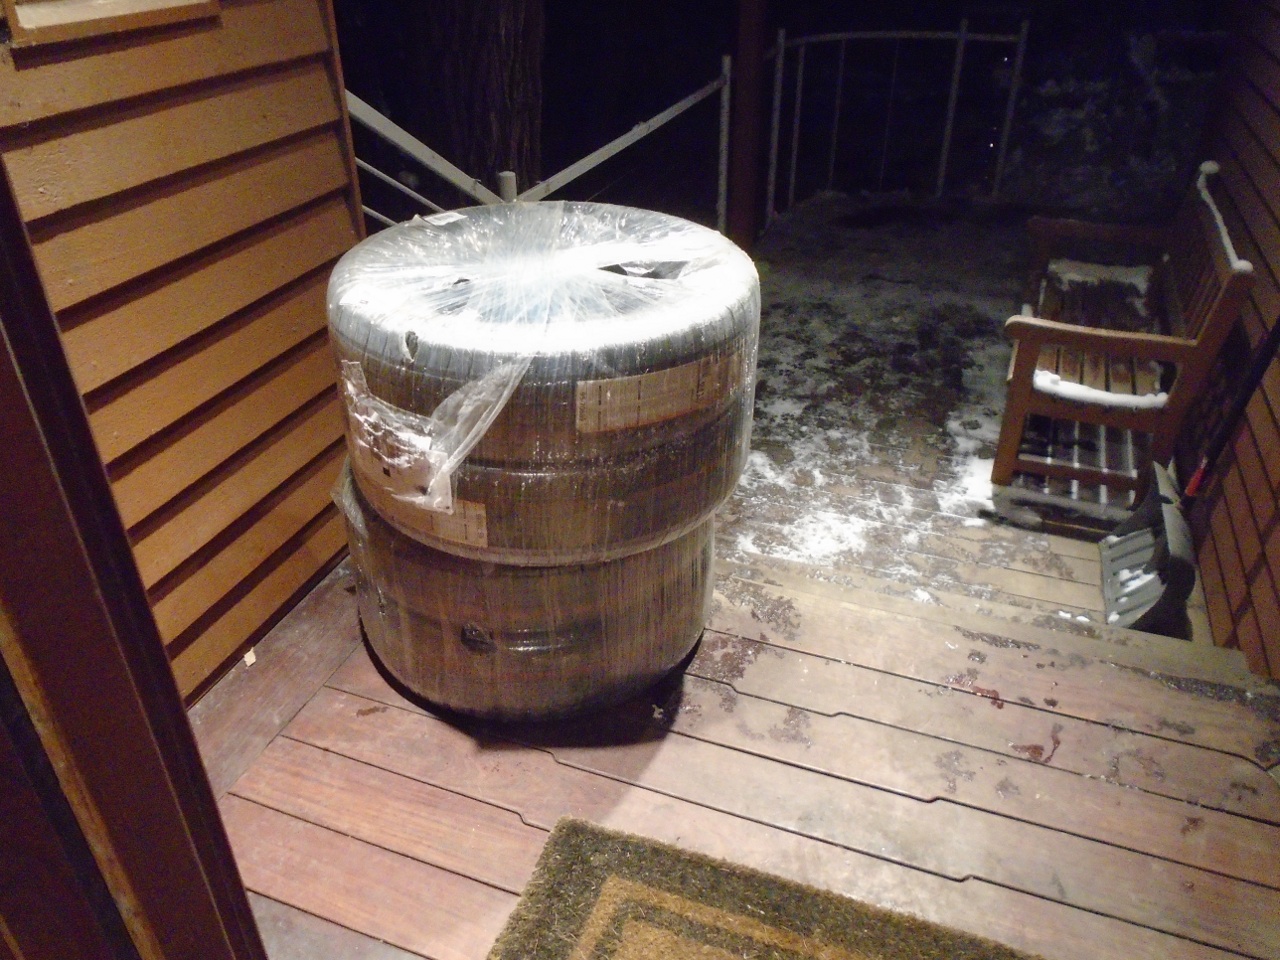
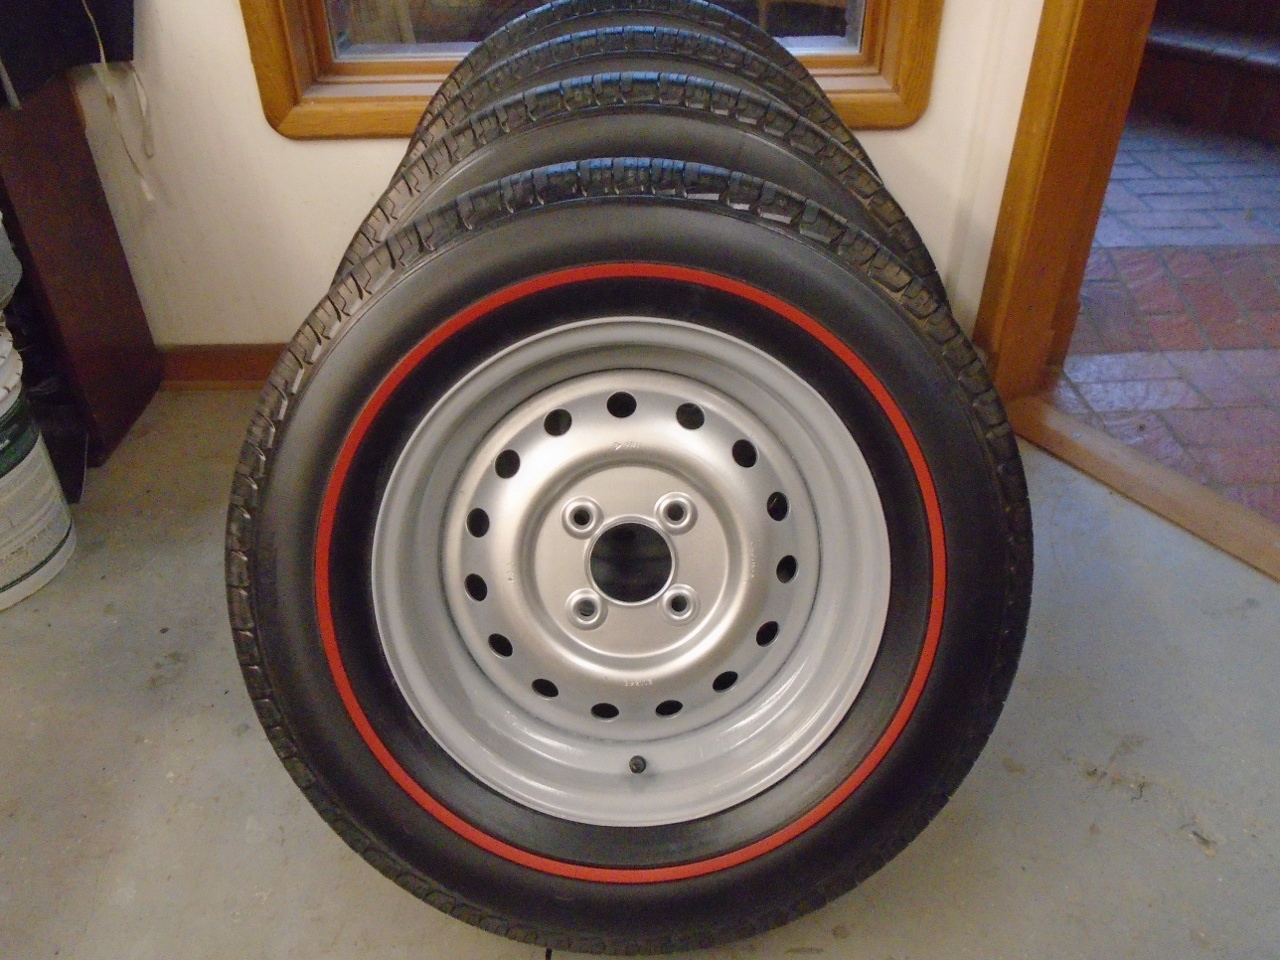
These
tires are supplied by Diamond Back Tires. Diamond Back offers some choice
on what tire to start with. I chose Michelin Defenders
in size 205R70-15. This is close to the widest tire that will fit
the stock rims and wheel wells. As I said, we Americans like our
big tires.
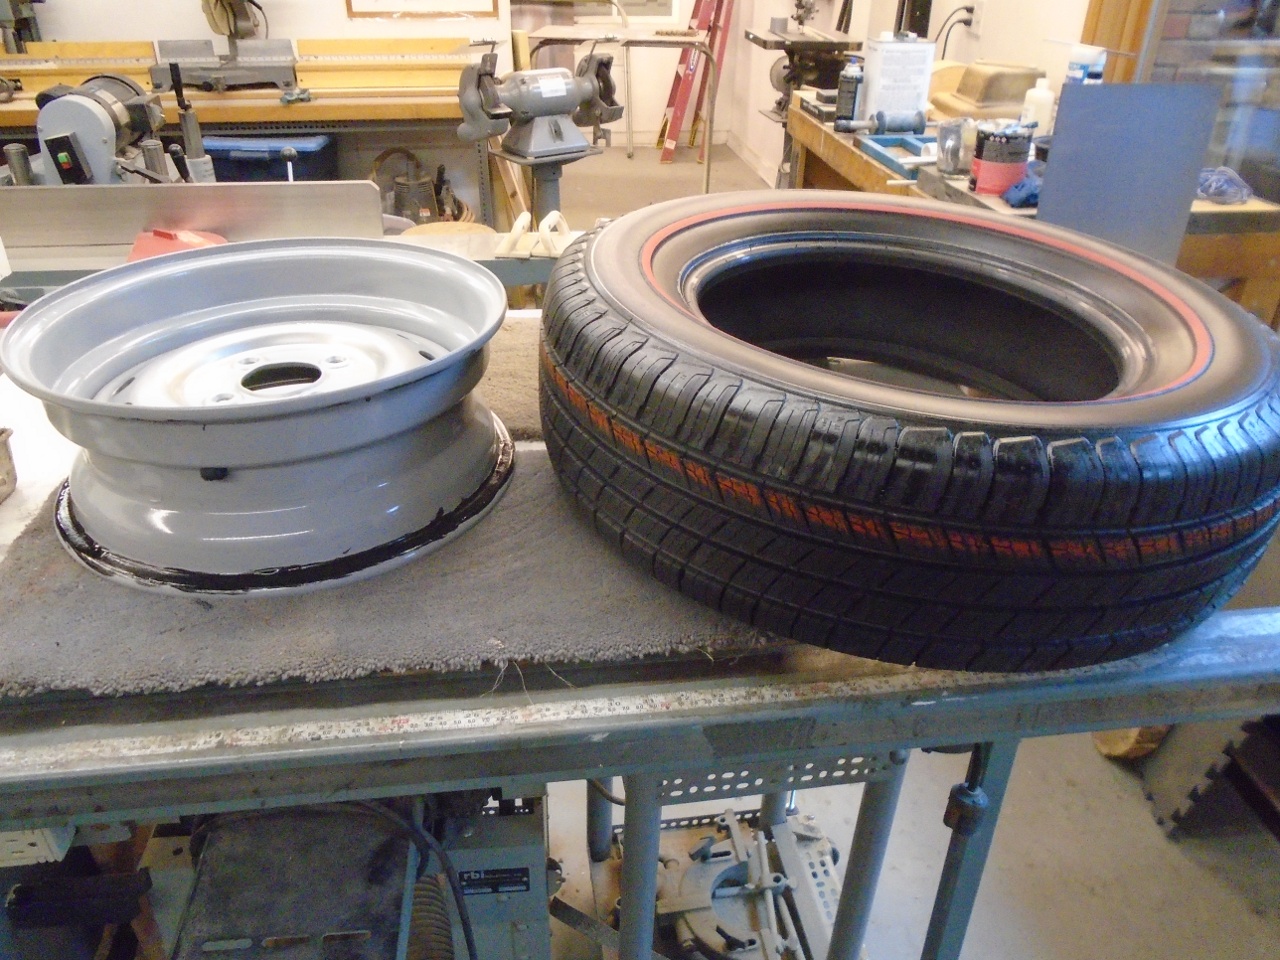
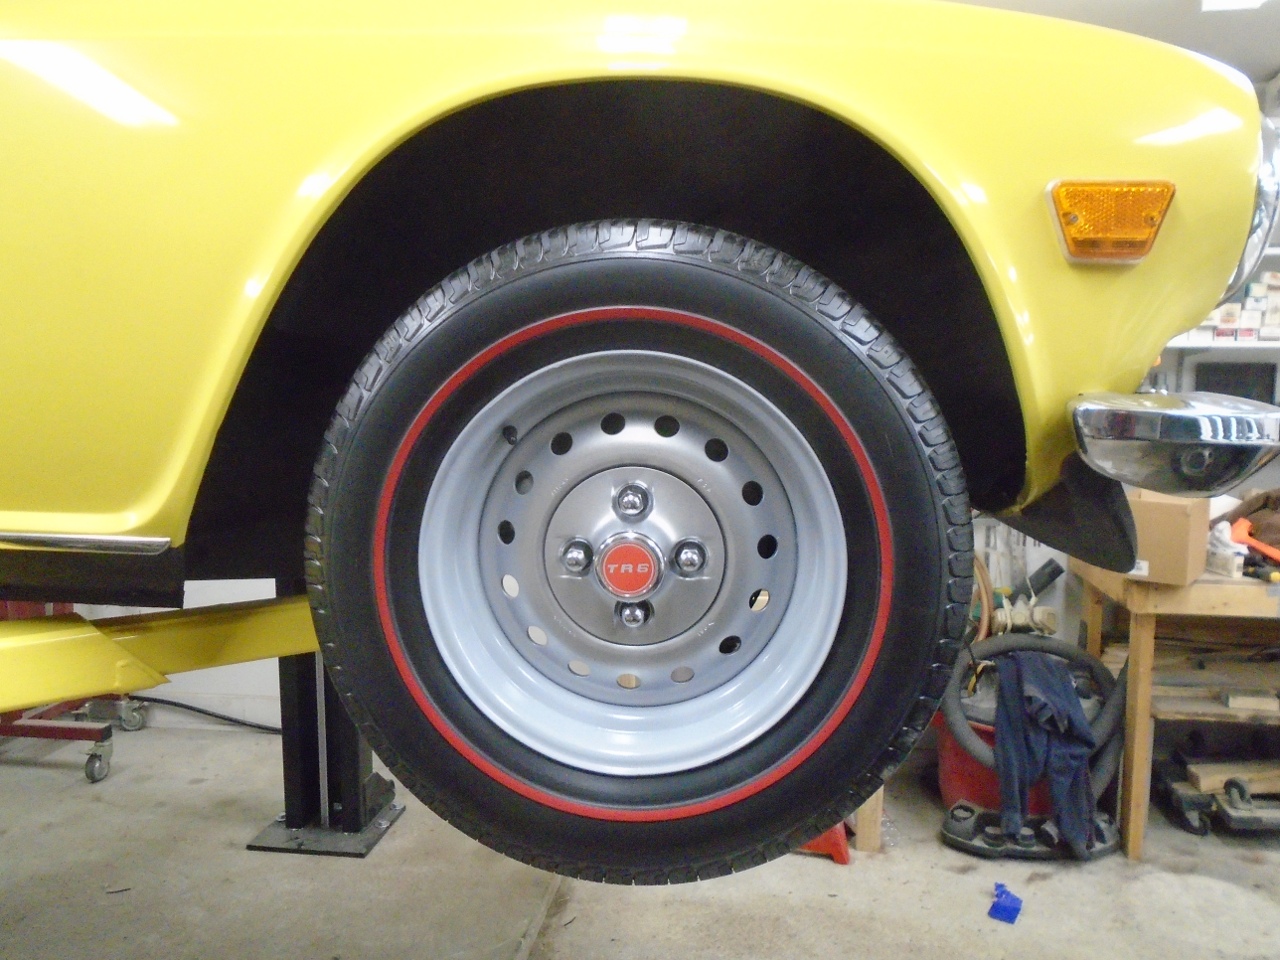
Notice that, other than a small DOT code, the
outside wall of the tire is completly smooth, with no brand or
other markings. This must be part of the Diamond Back process.
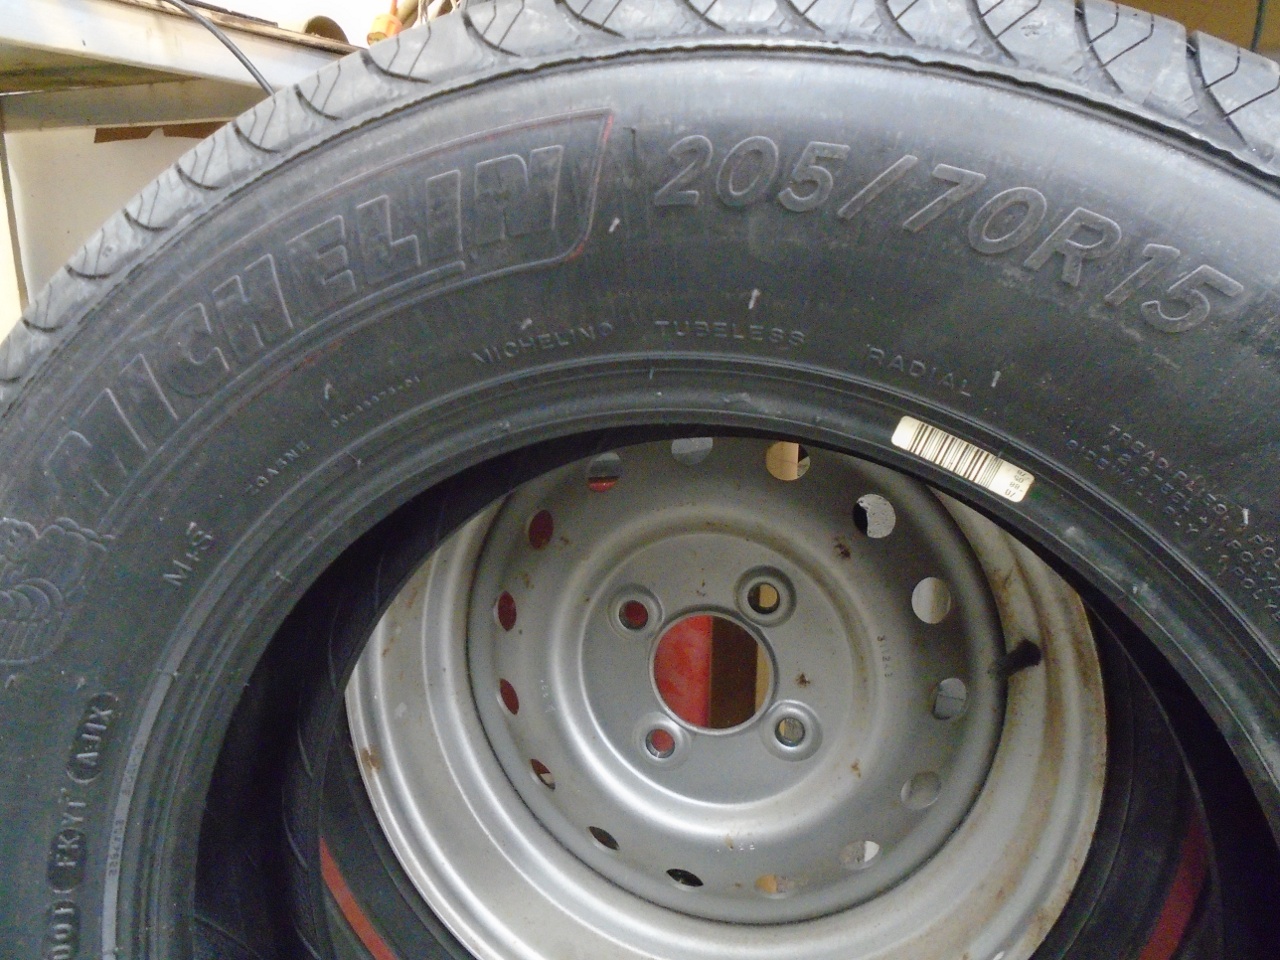
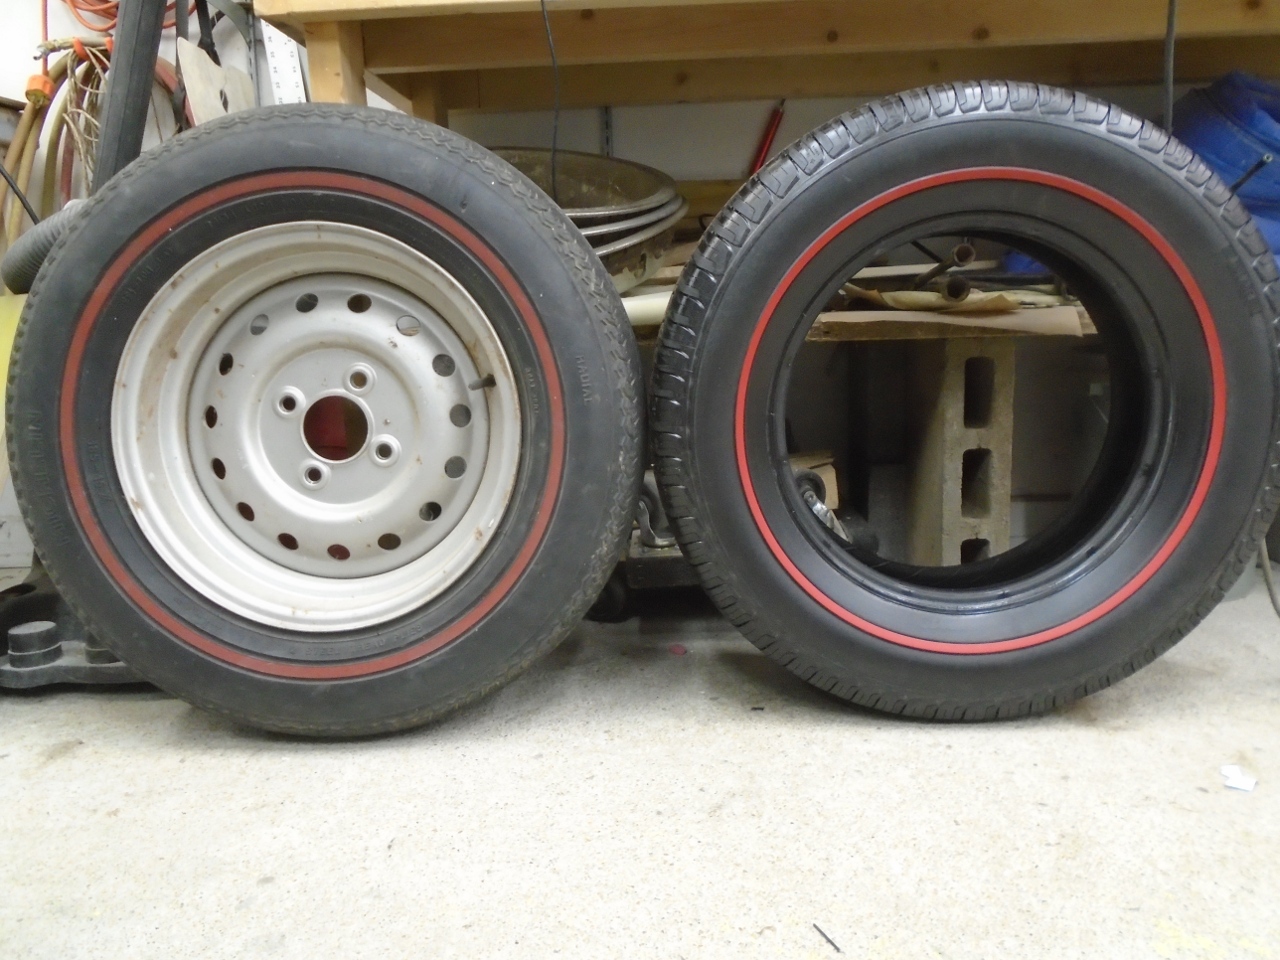
The tires are about 3/4" wider than the already upsized US stock size.
So
the next step was to get the wheels in shape. I really never
considered anything other than the stock wheels. I like them.
I don't always feel that way, though. I'm pretty sure my
GT6 will have some kind of slotted aluminum wheel, while the MGA just
cries for wires.
I took the old wheels to a shop to have the
tires dismounted. I'm glad I did that since, even with their
fancy tire machine, they had a hell of a time getting the tires off the
rims. 45 years in place will do that.
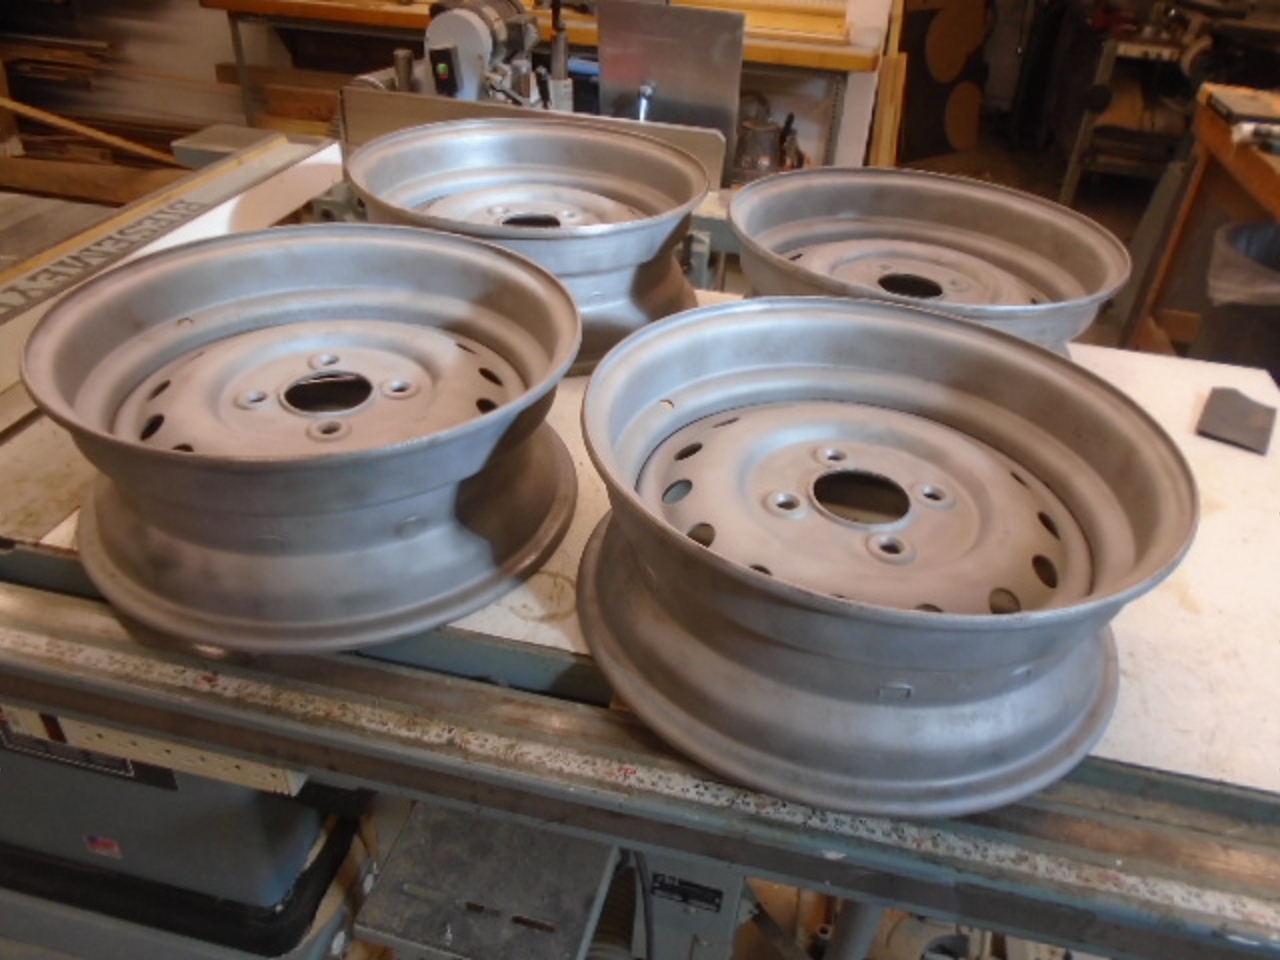
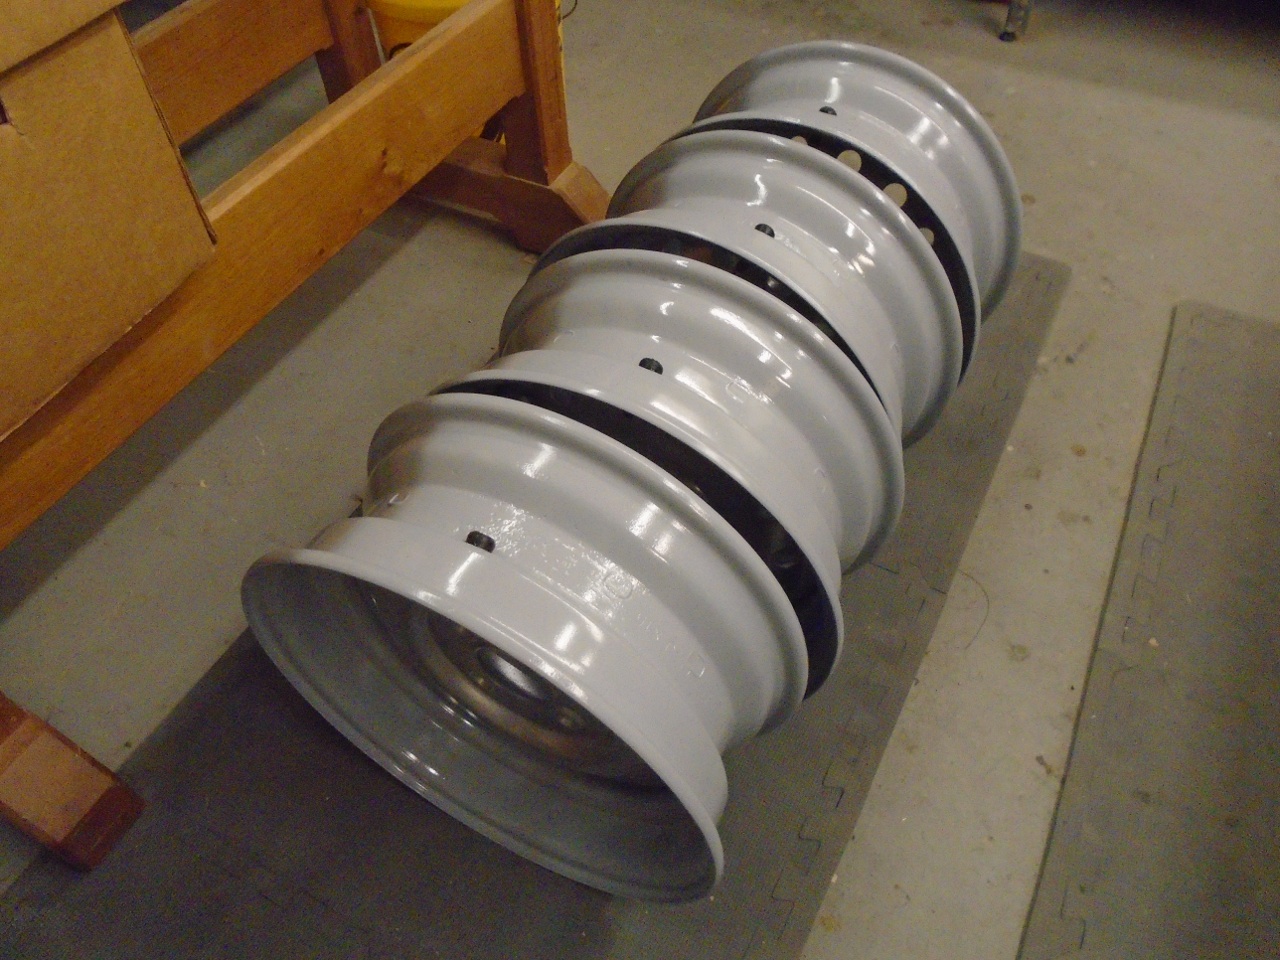
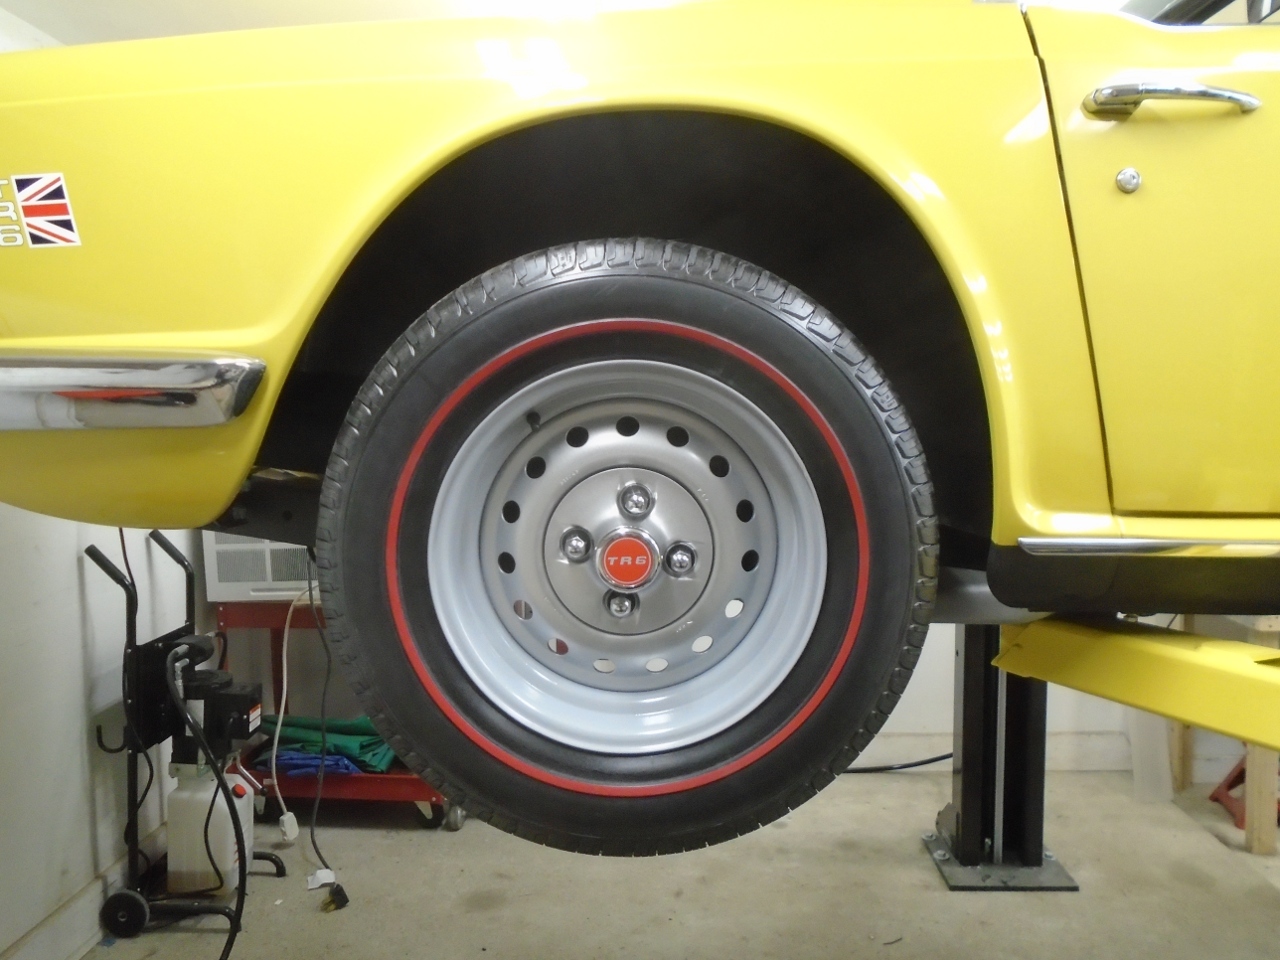
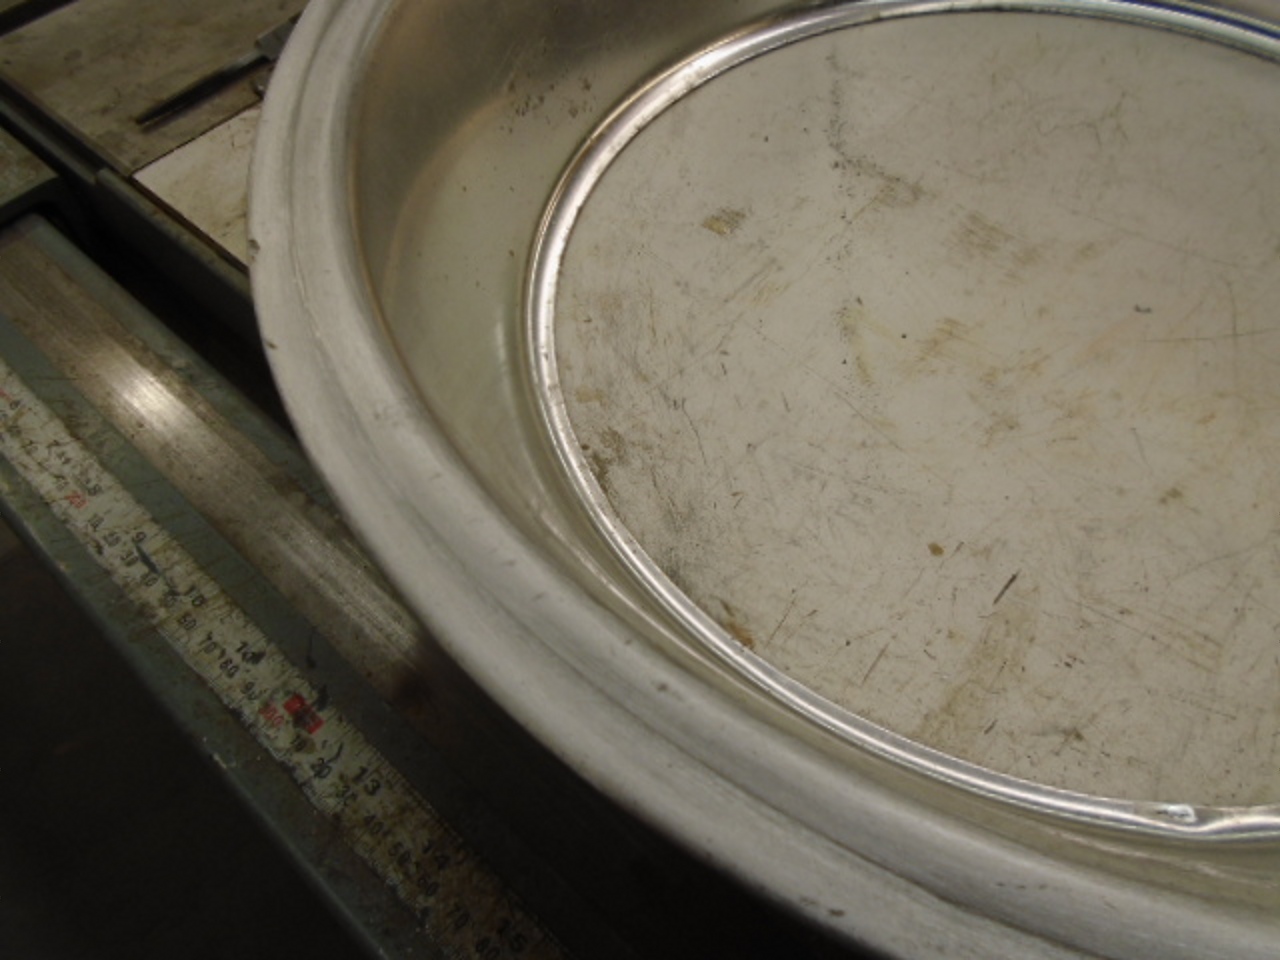
I had done a quick
and dirty cosmetic paint job on four of my five rims some time ago, so
they actually look decievingly good in some of the pictures above.
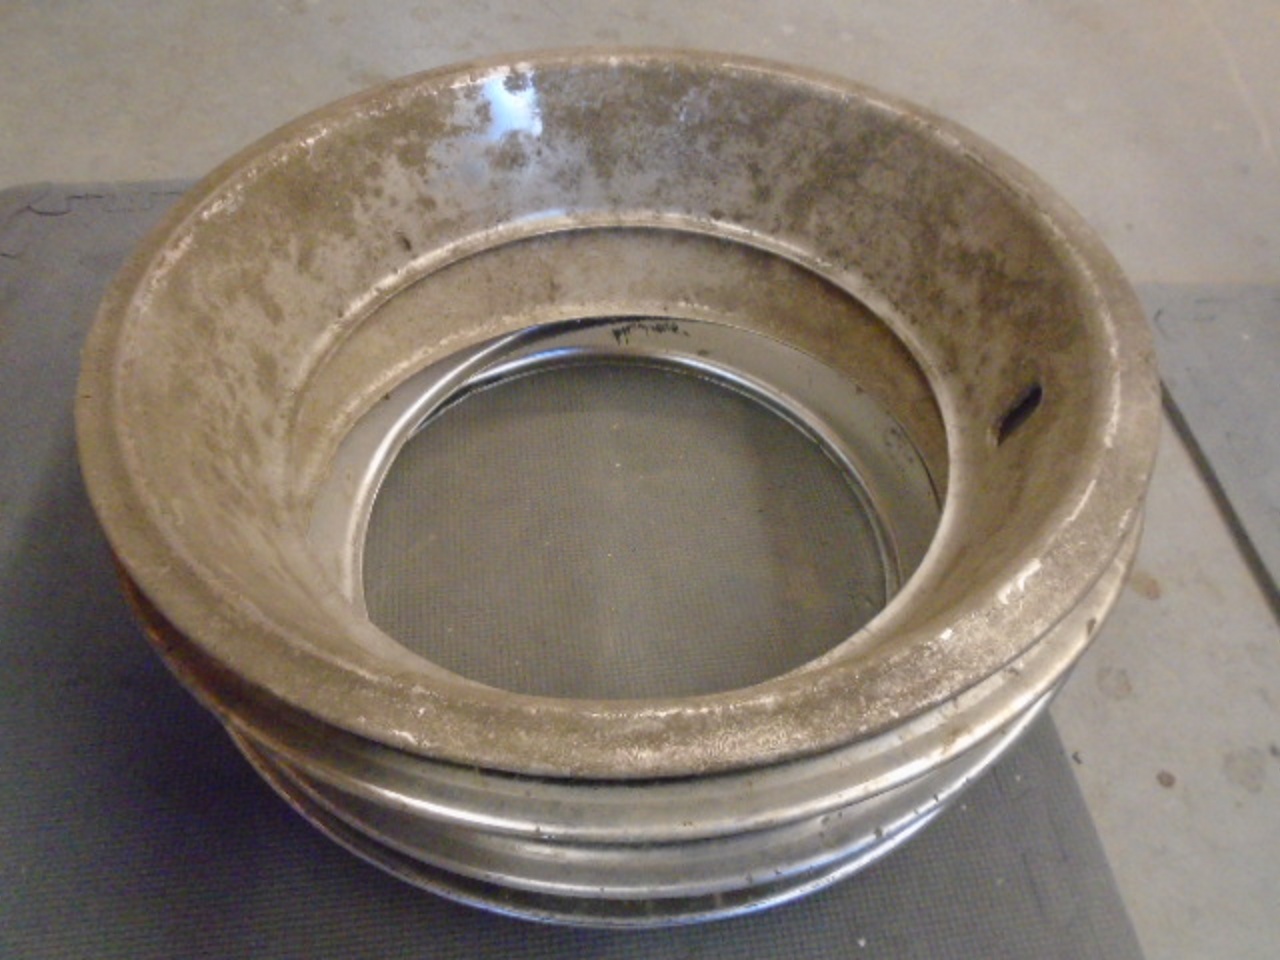
This one shows a truer picture of the condition they were in.
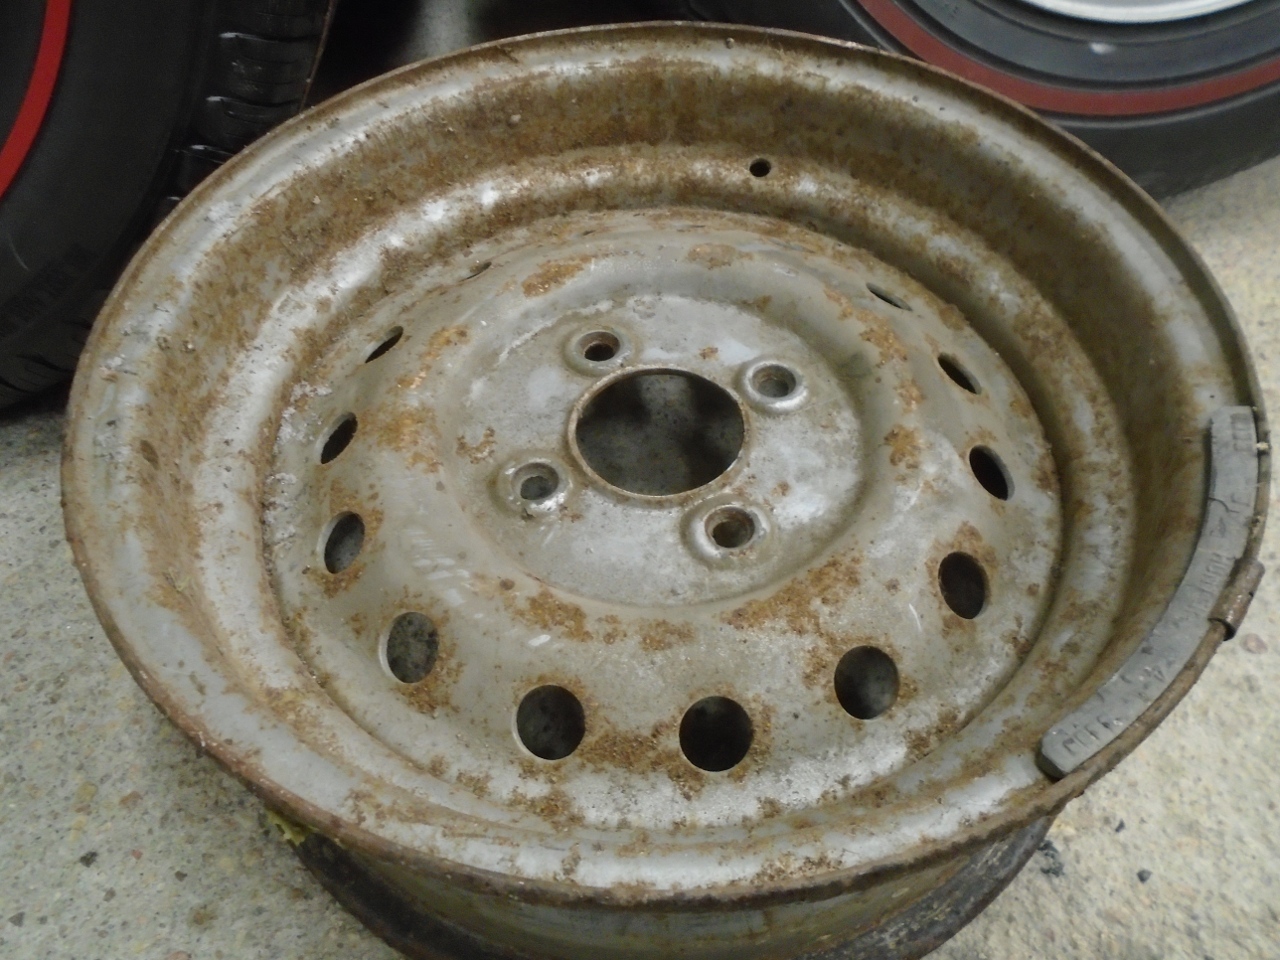
They
were worse in the inside. The original tires were tube type, so
there was no real water seal at the valve stem. This led to a lot
of rust in those areas.
A fortuitous break in the winter weather let me set up the blaster outside to clean up the wheels.
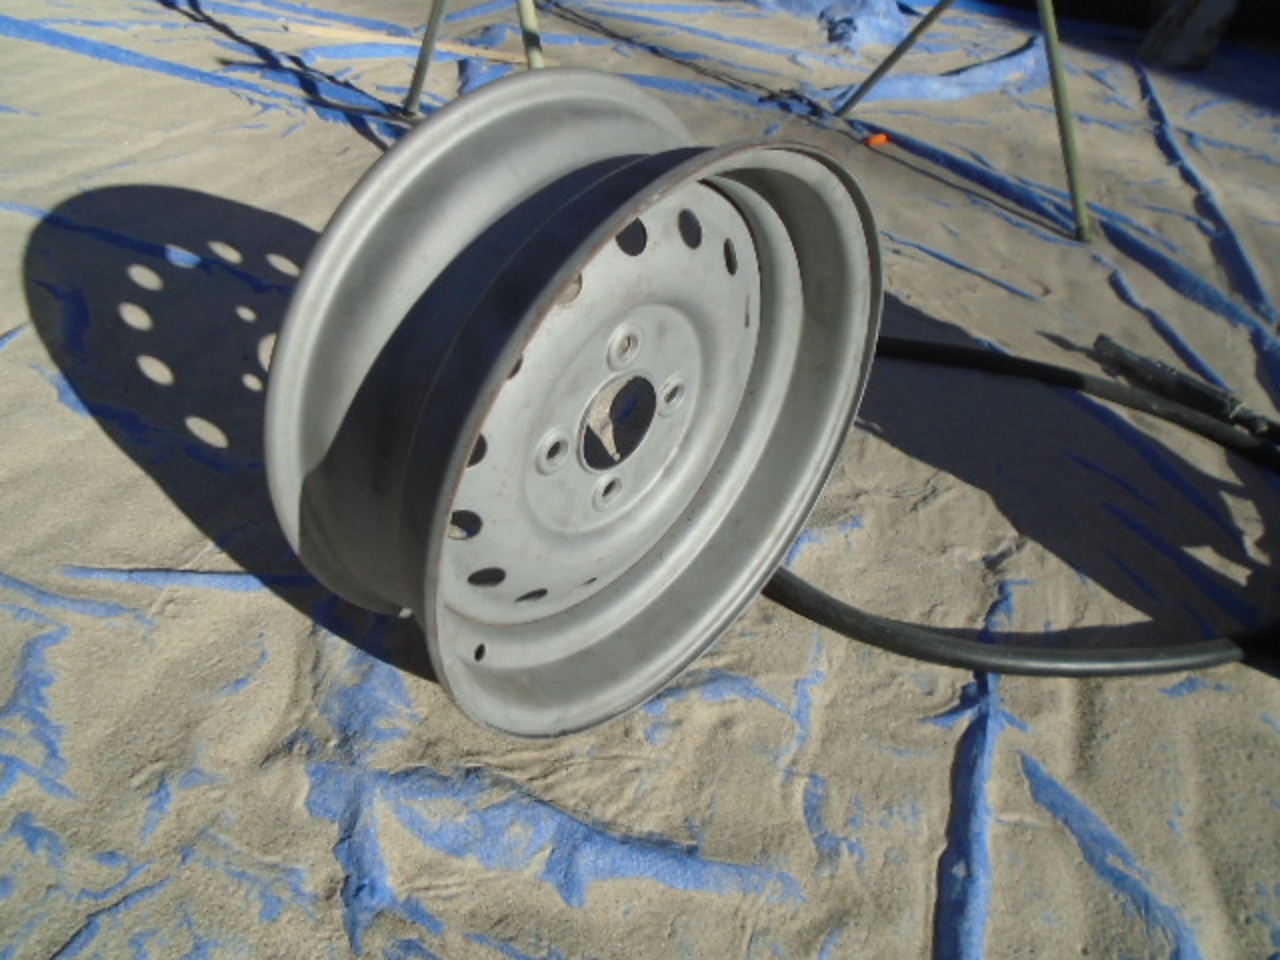
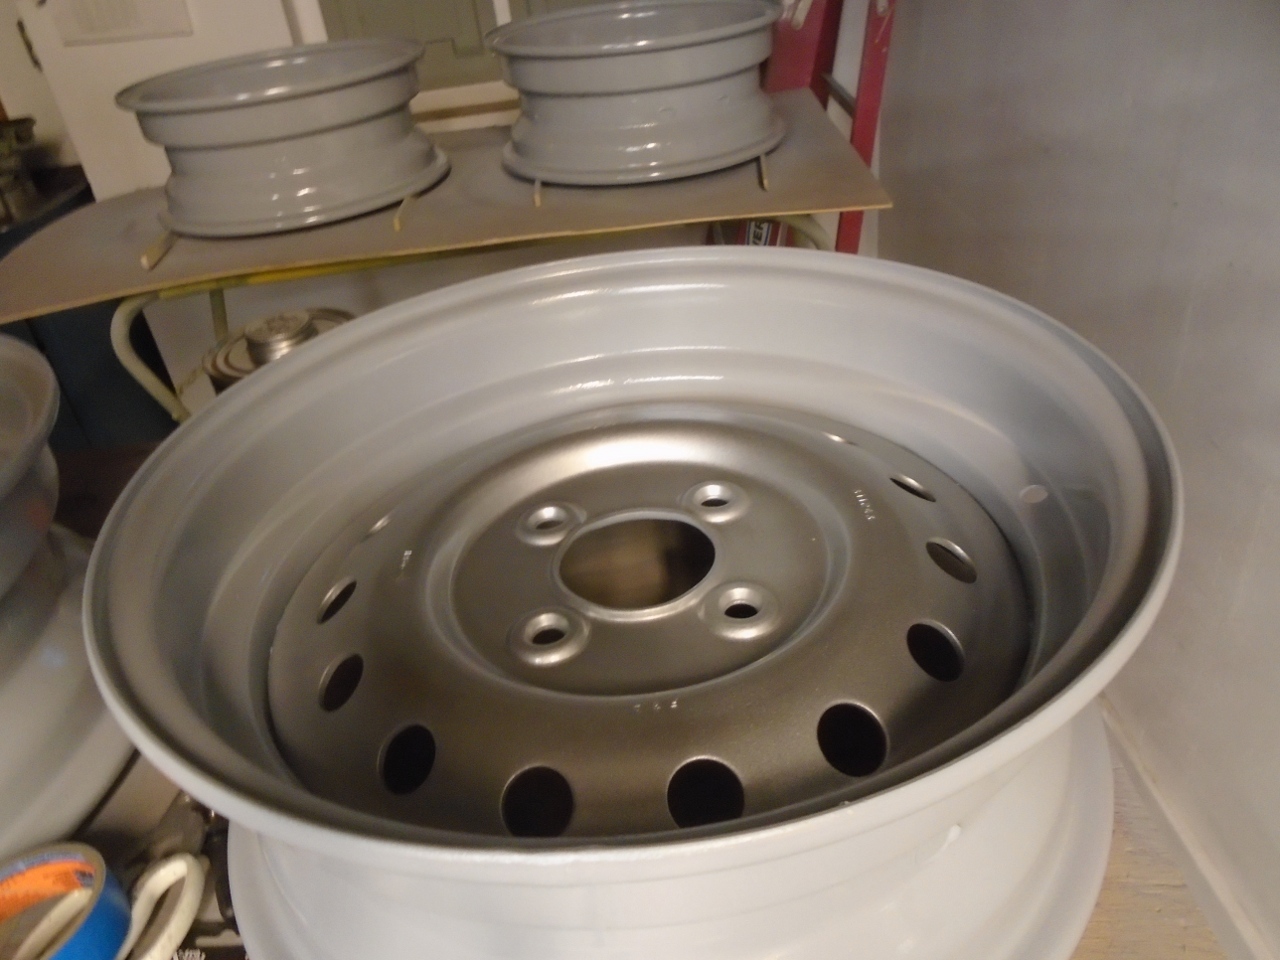
Then a couple of coats of a nice epoxy primer...
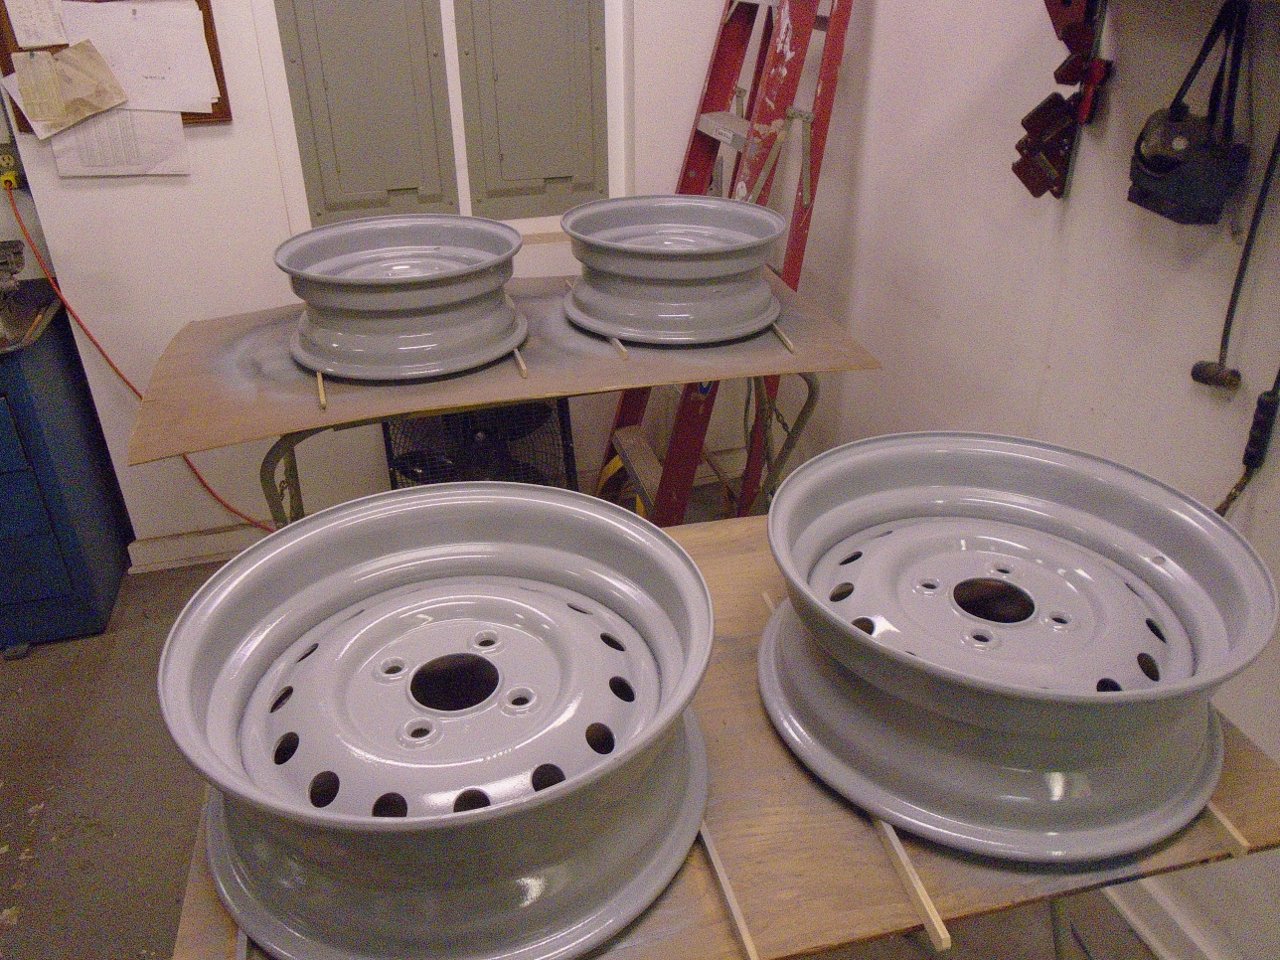
...followed by some silver on the part that will show.
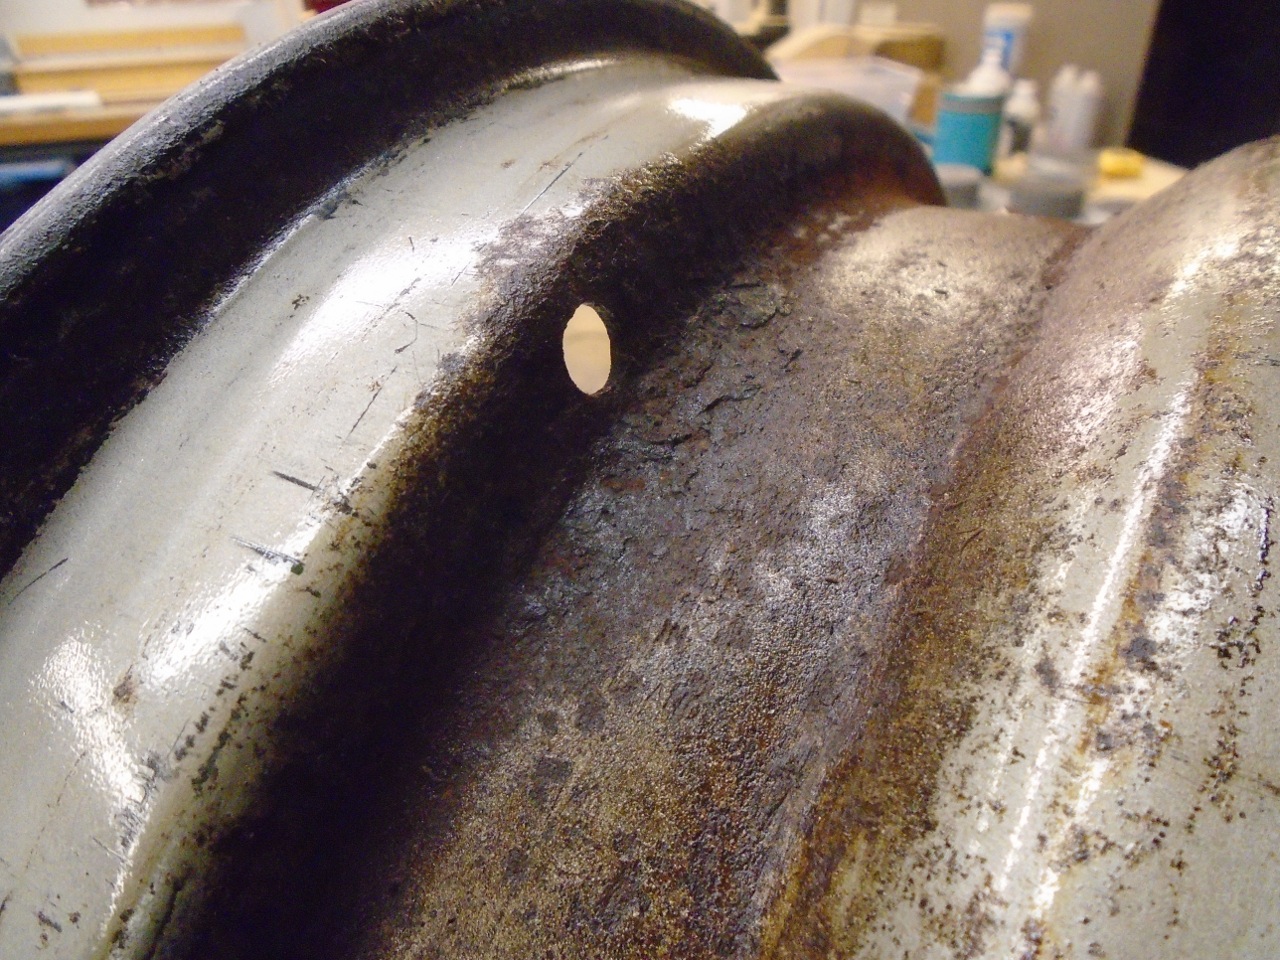
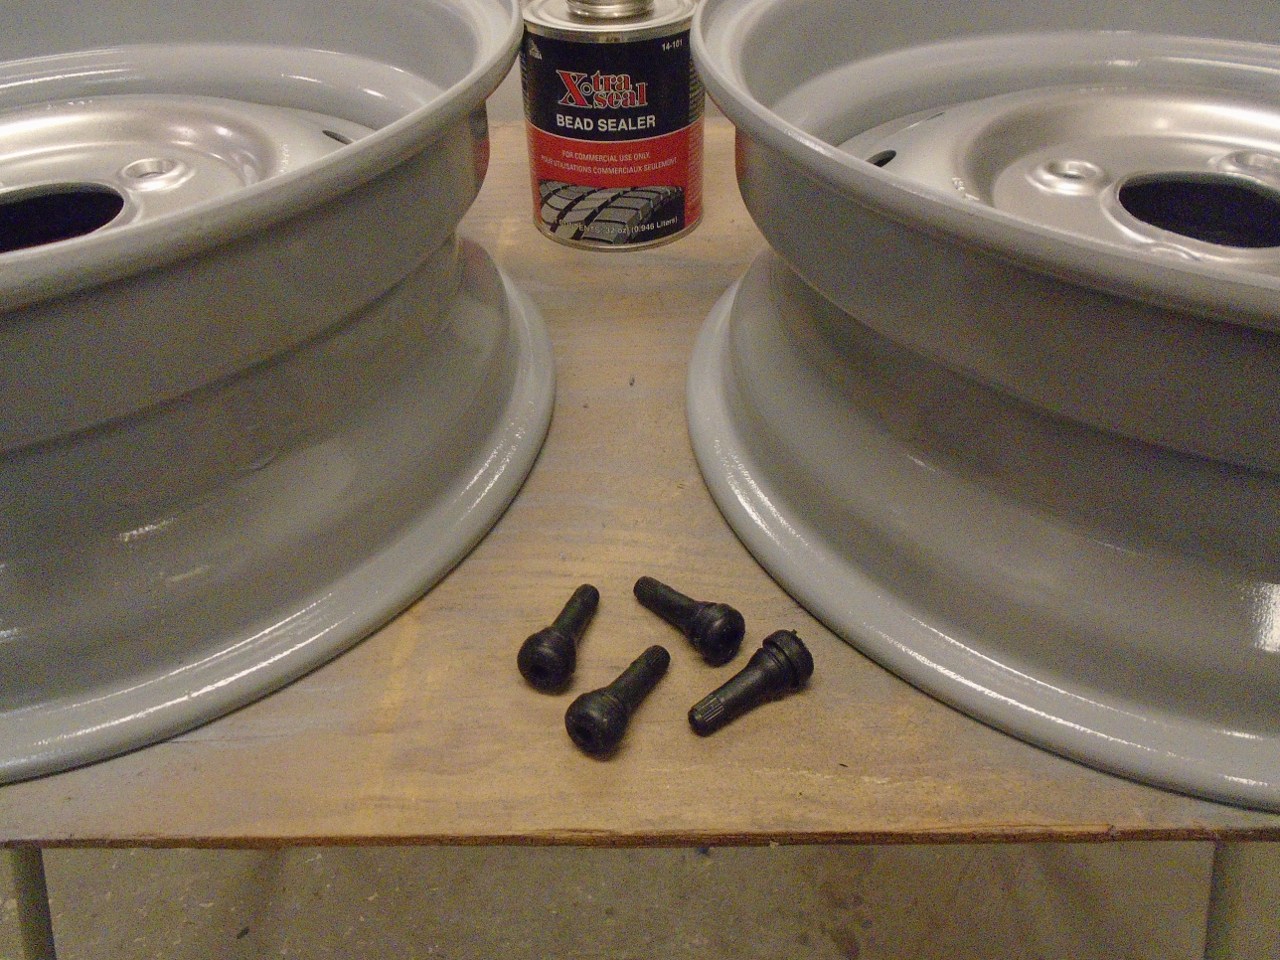
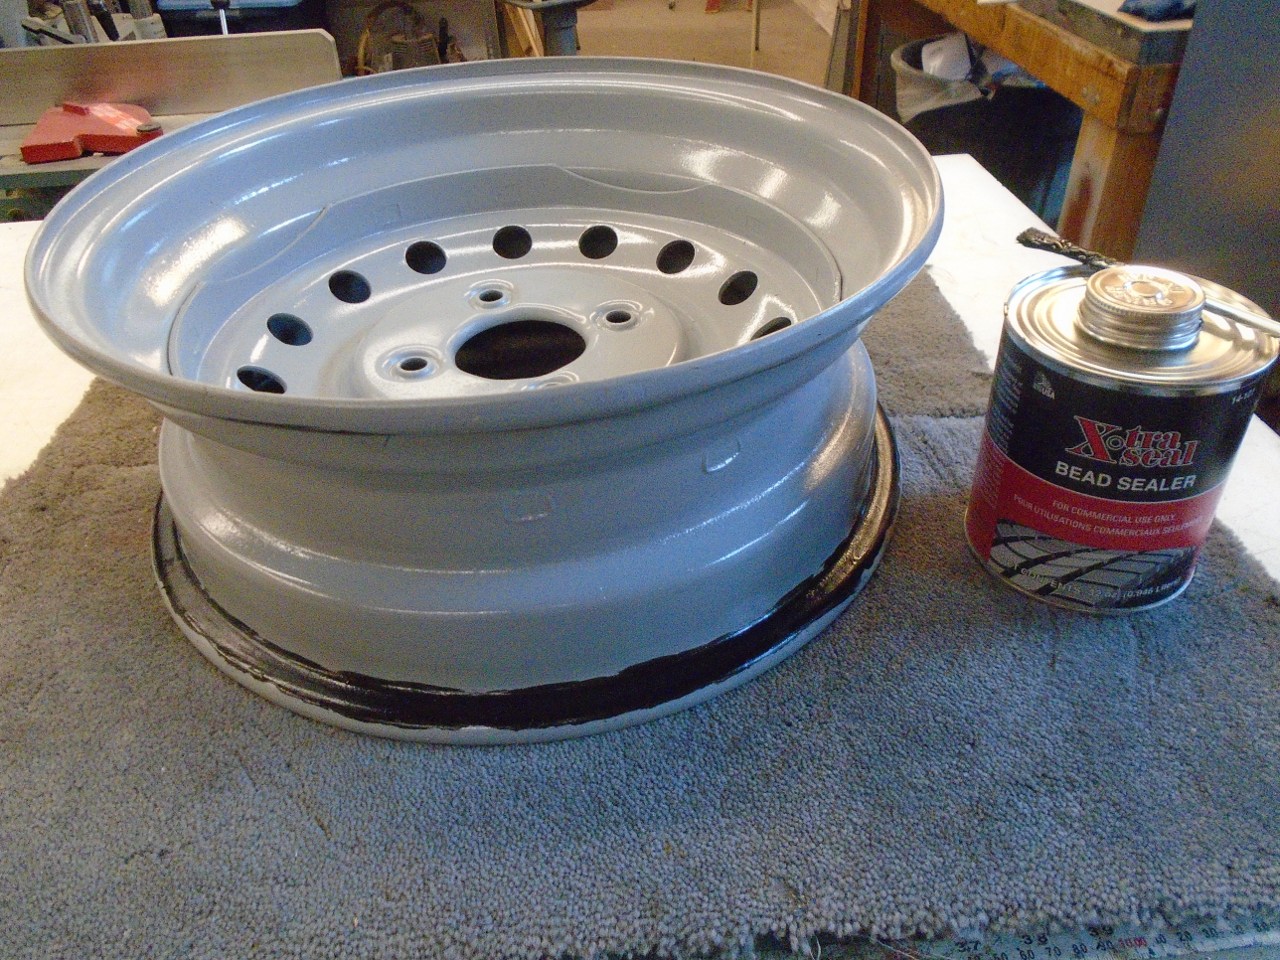
I
was concerned about the rust pitting around the valve stem holes and
the bead flanges, so I opted to use a commercial bead seal product in
those areas.
Well,
at this point, I was anxious to mount the tires on the rims. Then
I realized it was late afternoon of Christmas eve, and I doubted that
any tire shops would be open. Not wanting to wait, I decided to
try to mount the tires myself. How hard could it be? It's
just a matter of shoving that big metal thing into the hole in the big
rubber thing. Never mind that the hole in the big rubber thing is
quite a bit smaller than the big metal thing.
Well,
it was a bit of a wrestling match to start with, but I pretty quickly
learned a few tricks, and the last tire only took a few minutes.
With the money I saved mounting the tires myself, I went out and bought this tire balancer.
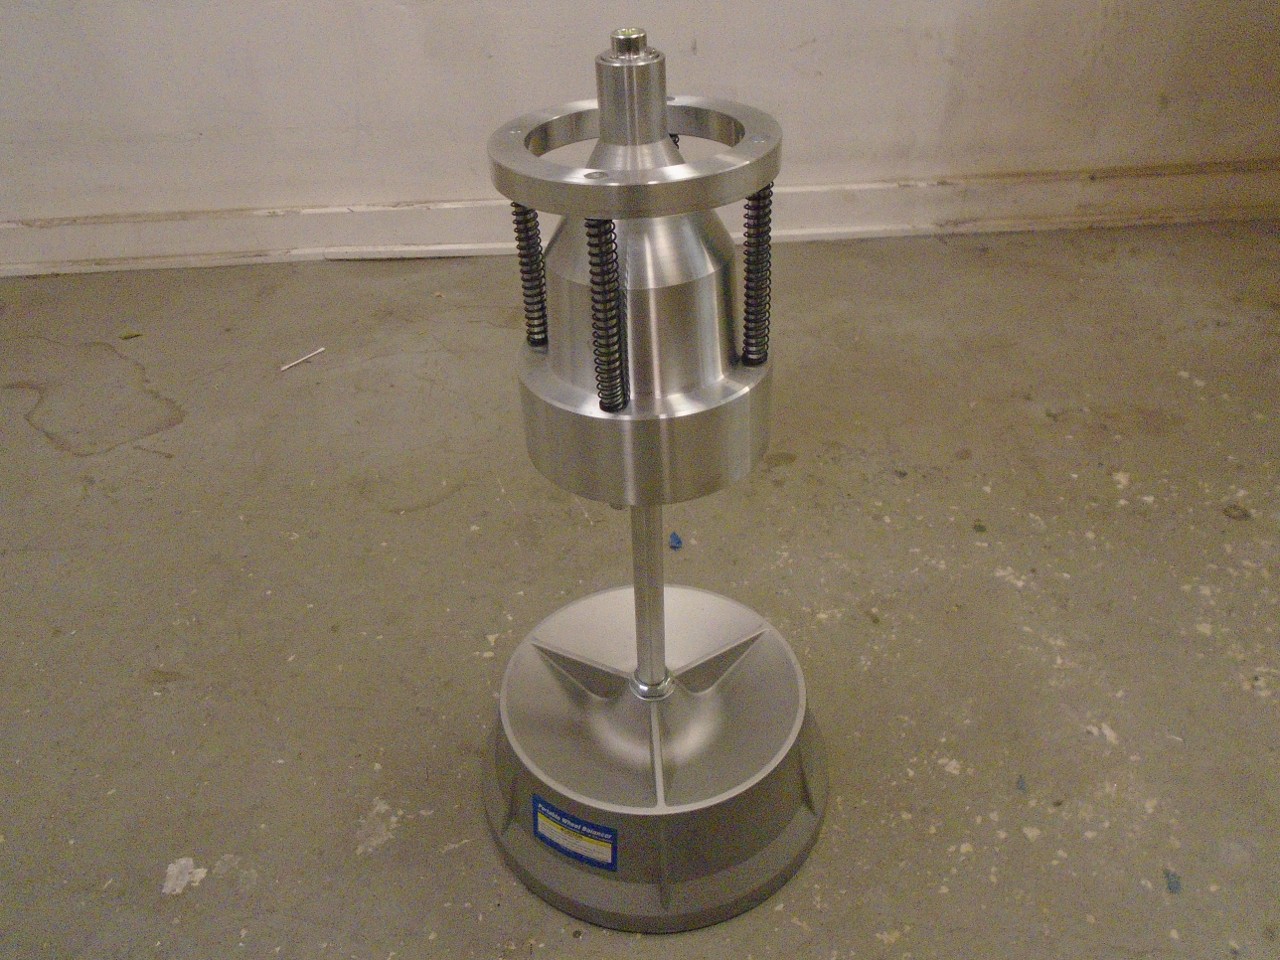
This
is a static balancer. It is dirt simple, works by gravity alone,
and clearly shows which side of the wheel/tire is heavy. Weights
added to the light side will bring the center of gravity of the
assembly onto the spin axis, which is where you want it.
Static
balancing was the only kind of balancing done to wheels until a few
decades ago with the advent of dynamic, or "spin" balancing. Spin
balancing does what static balancing does, but also can indicate
differences in mass on either side of the center plane of the
tire/wheel. These masses can impose a rotating bending torque on
the wheel spindle that will be superimposed on the bending torque due
to the weight of the car. There are apparently those who dispute
some of the advantages of dynamic balincing. I've read a paper or
two on it, but don't feel competent enough on the subject to have a
worthwhile opinion.
So what I'll do is statically balance the
tires, and then run them. If I sense any vibration that could be
due to tires, I'll have the dynamic balance done.
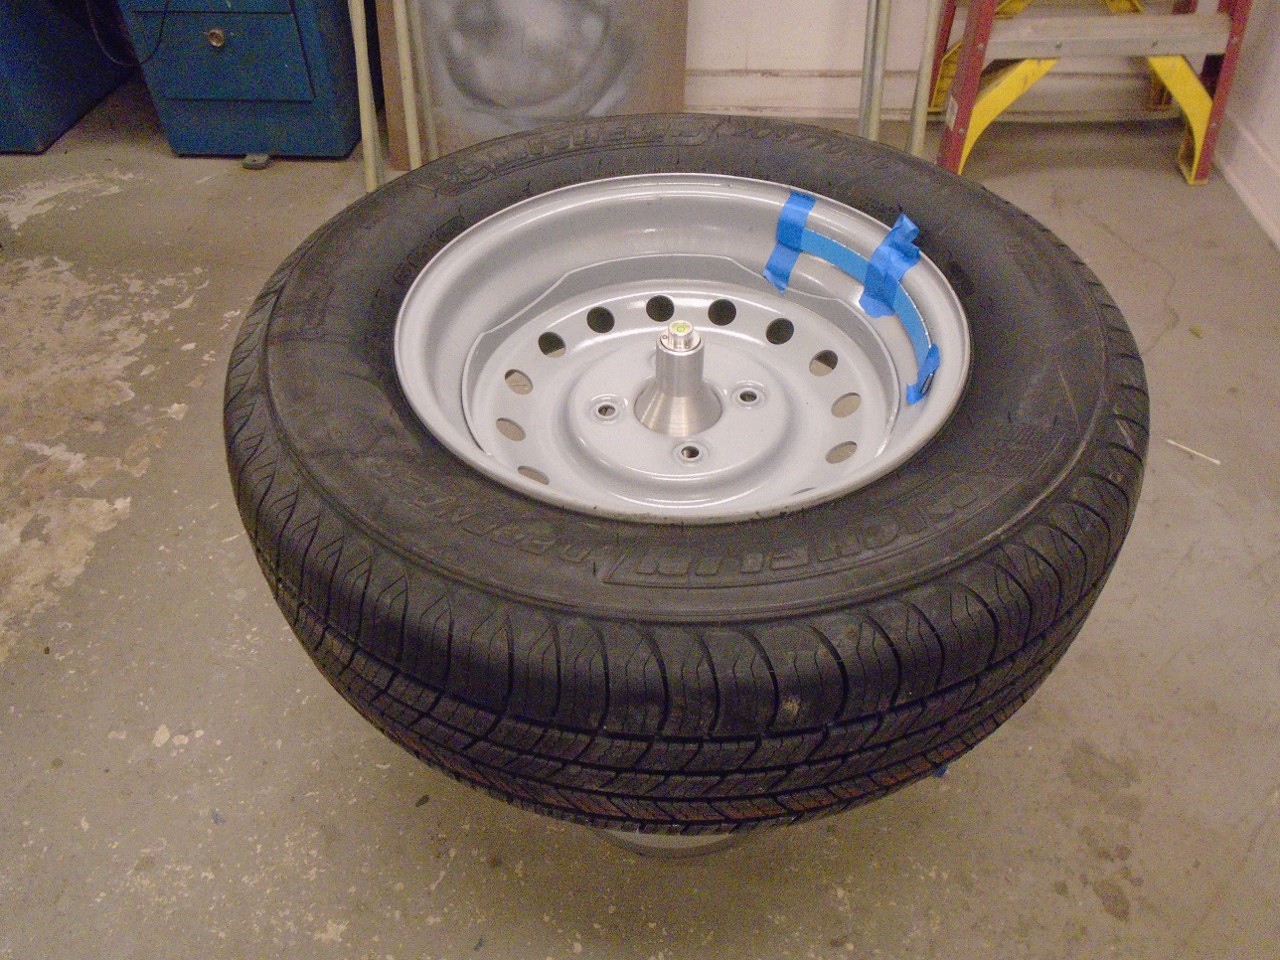
The balancer
can easily resolve down to the 1/4 ounce weights I'm using.
The wheel/tires took between 2.25 and 3.75 ounces of weight.
This is in line with the lead rim weights I removed from the
wheels. I used stick-on weights on the inside, where they won't
show.
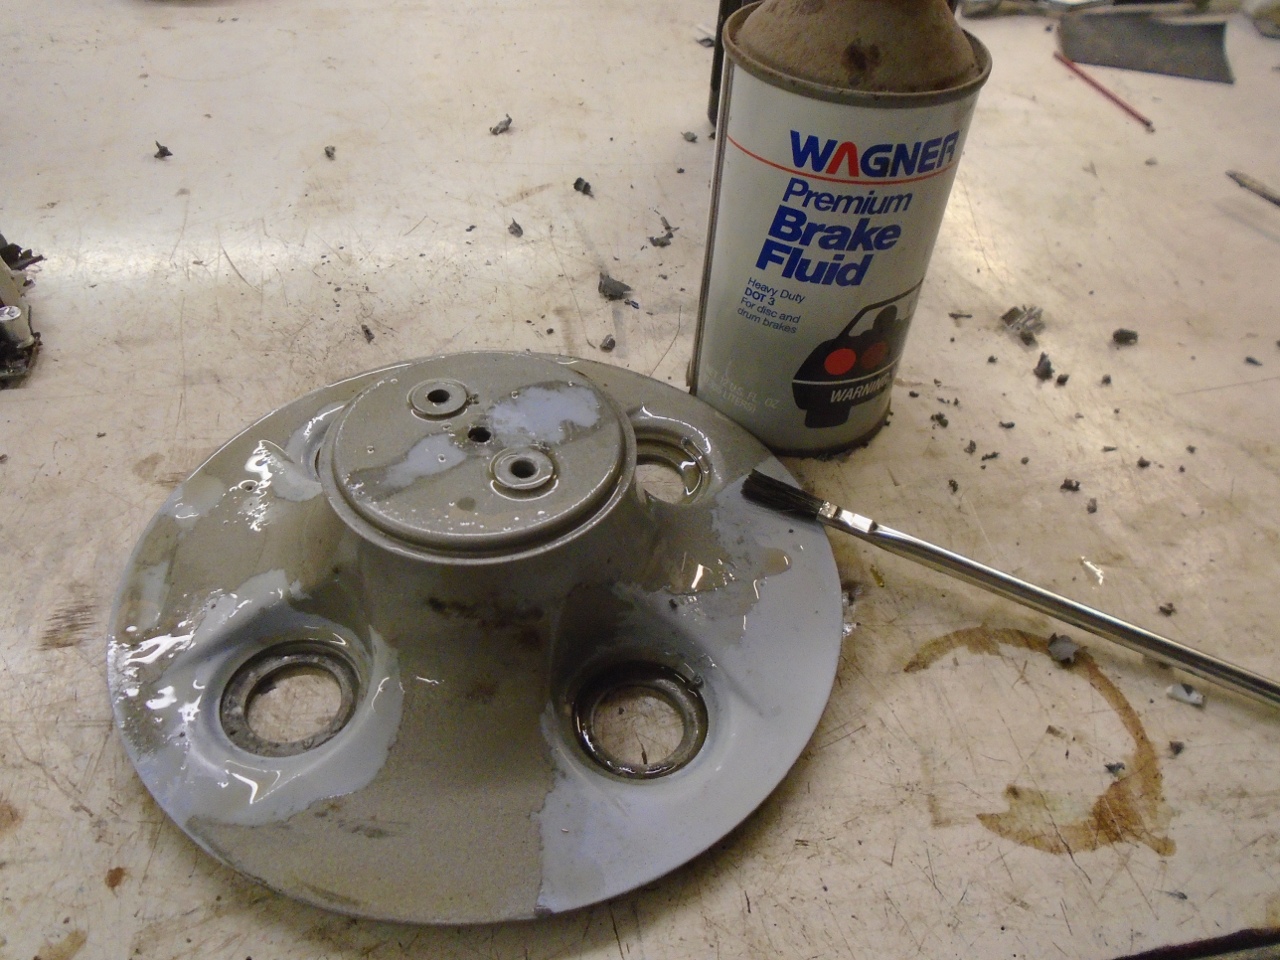
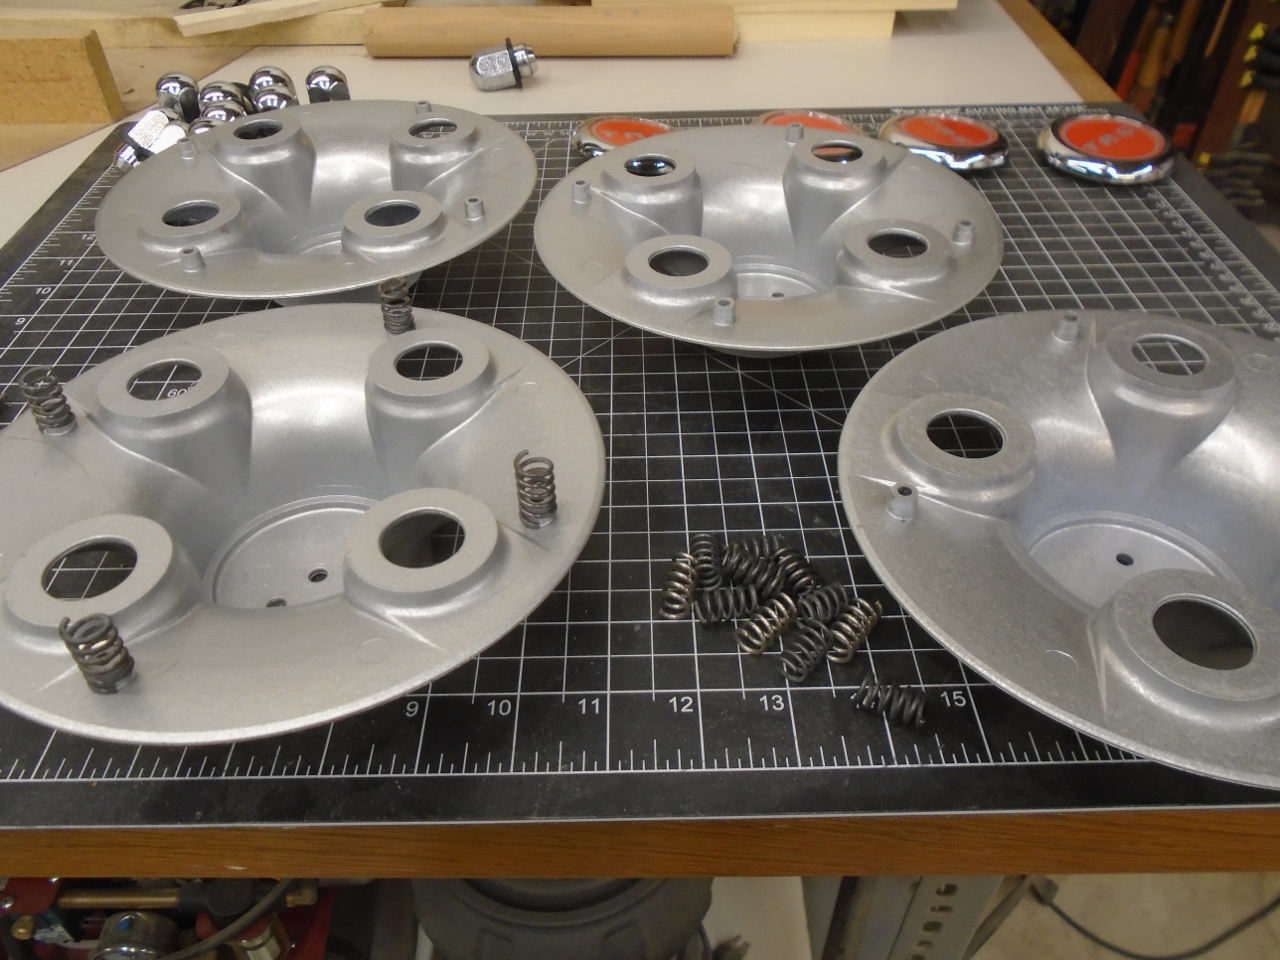
In parallel with the tire work, I was playing with the plastic hub caps. They started out looking pretty sorry.
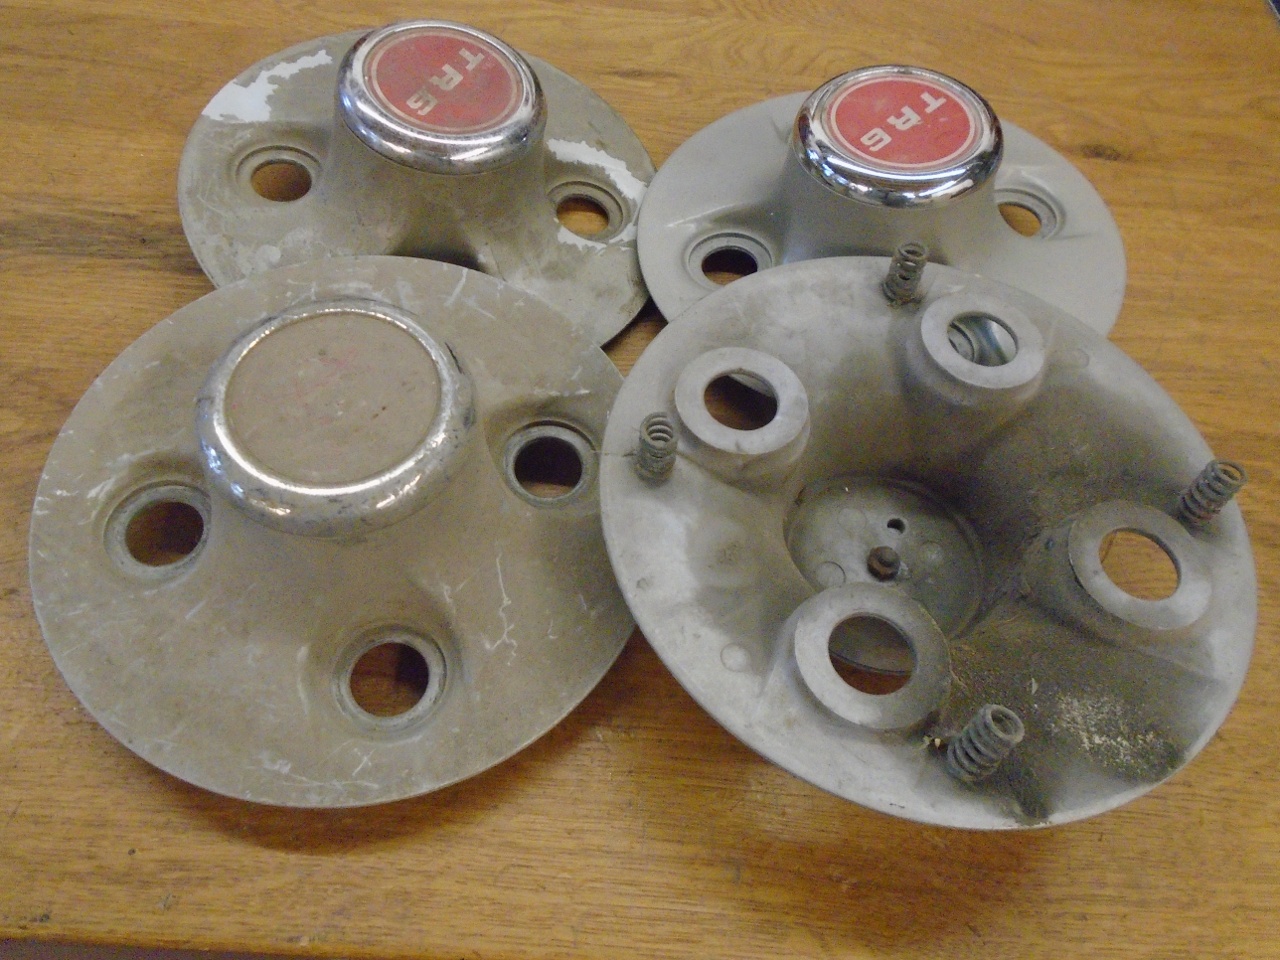
Stripped
of their logo badges, I could see that they were painted plastic.
The paint on one of the caps was damaged, likely from brake fluid
from some past leaking wheel cylinder.
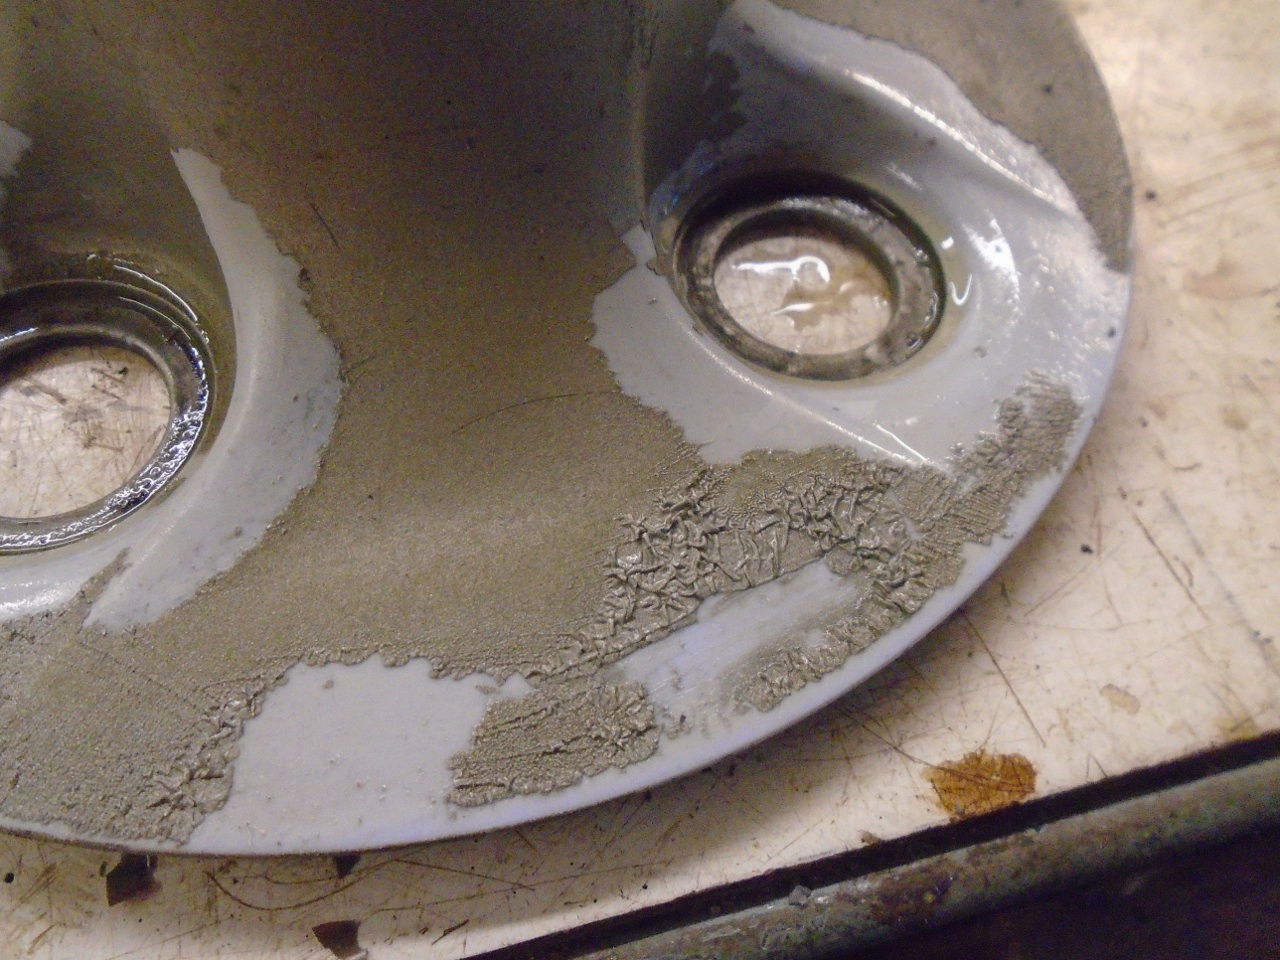
I
wanted to strip the rest of the paint off of that cap. I tested
my very macho methylene chloride based stripper, and as I suspected, it
attacked the plastic about as fast as the paint. I tried my
wimpier citrus based stripper. The paint ignored it.
So what to
do? I'm a little embarassed that I didn't think of it sooner, but
the answer is obvious--brake fluid! The look of the crinkled
paint is sadly familiar.
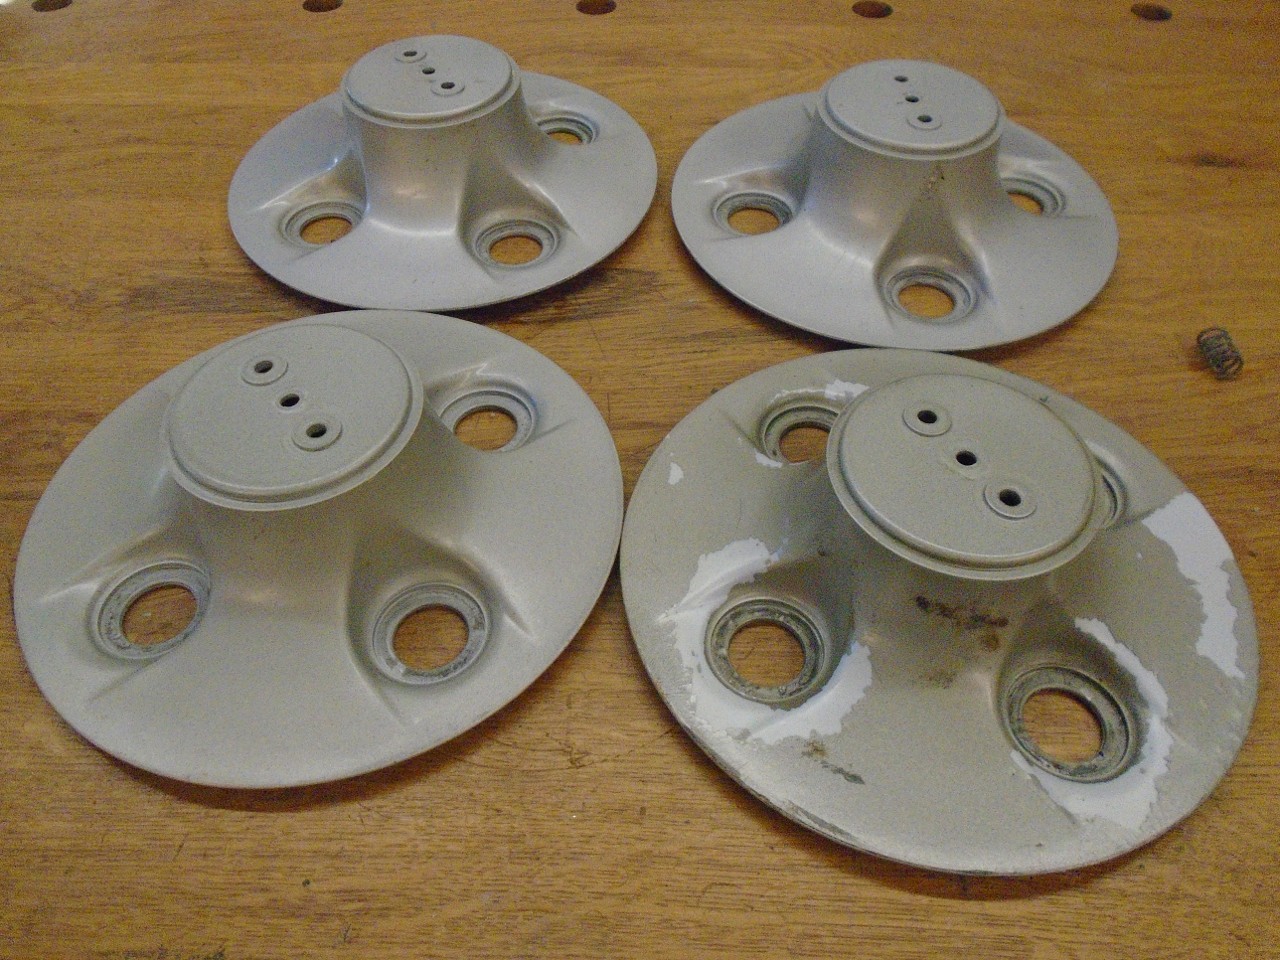
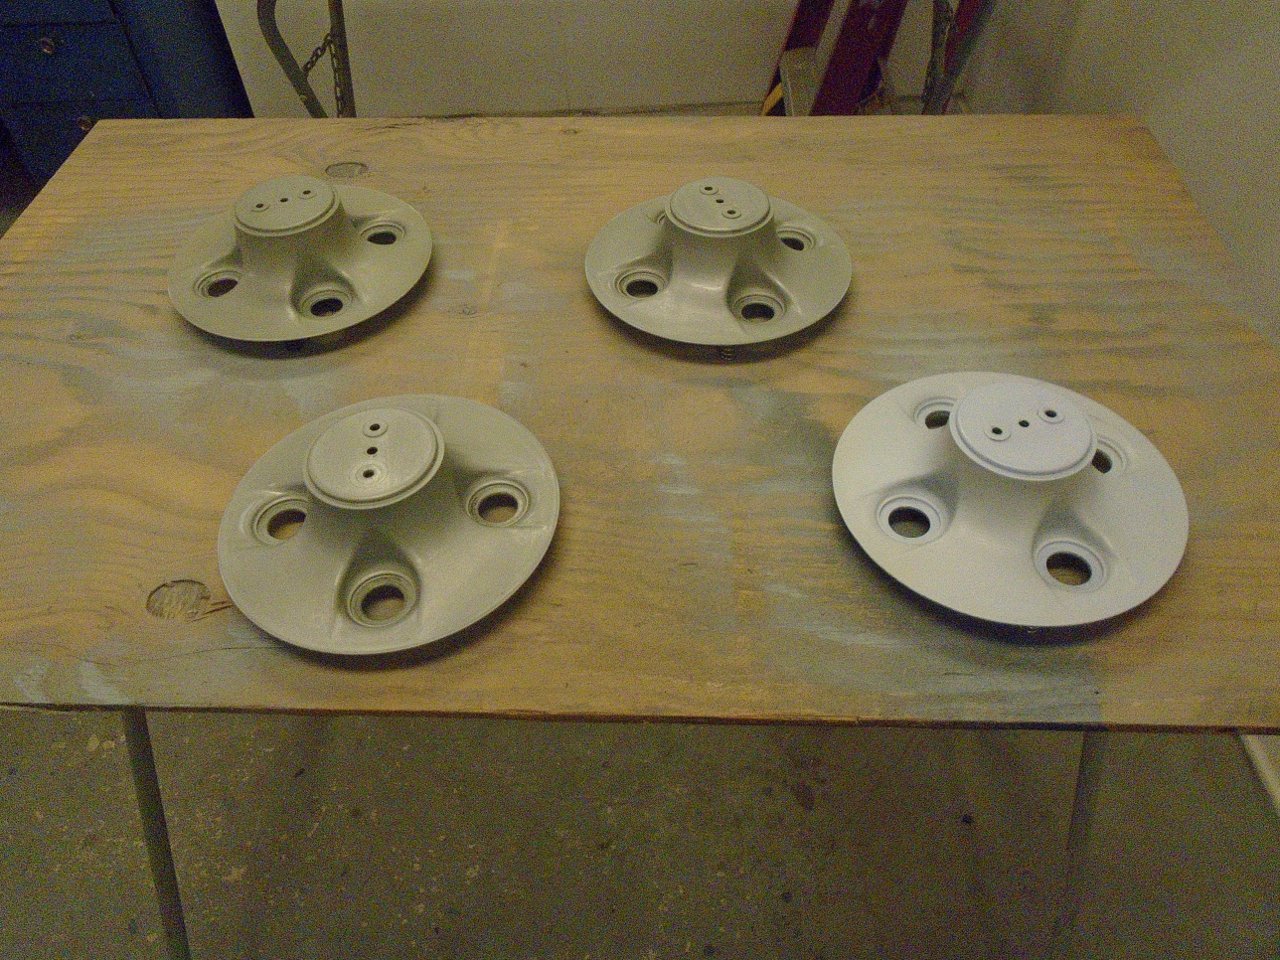
The other caps were OK, so just scuffed them up and painted them all with the silver color.

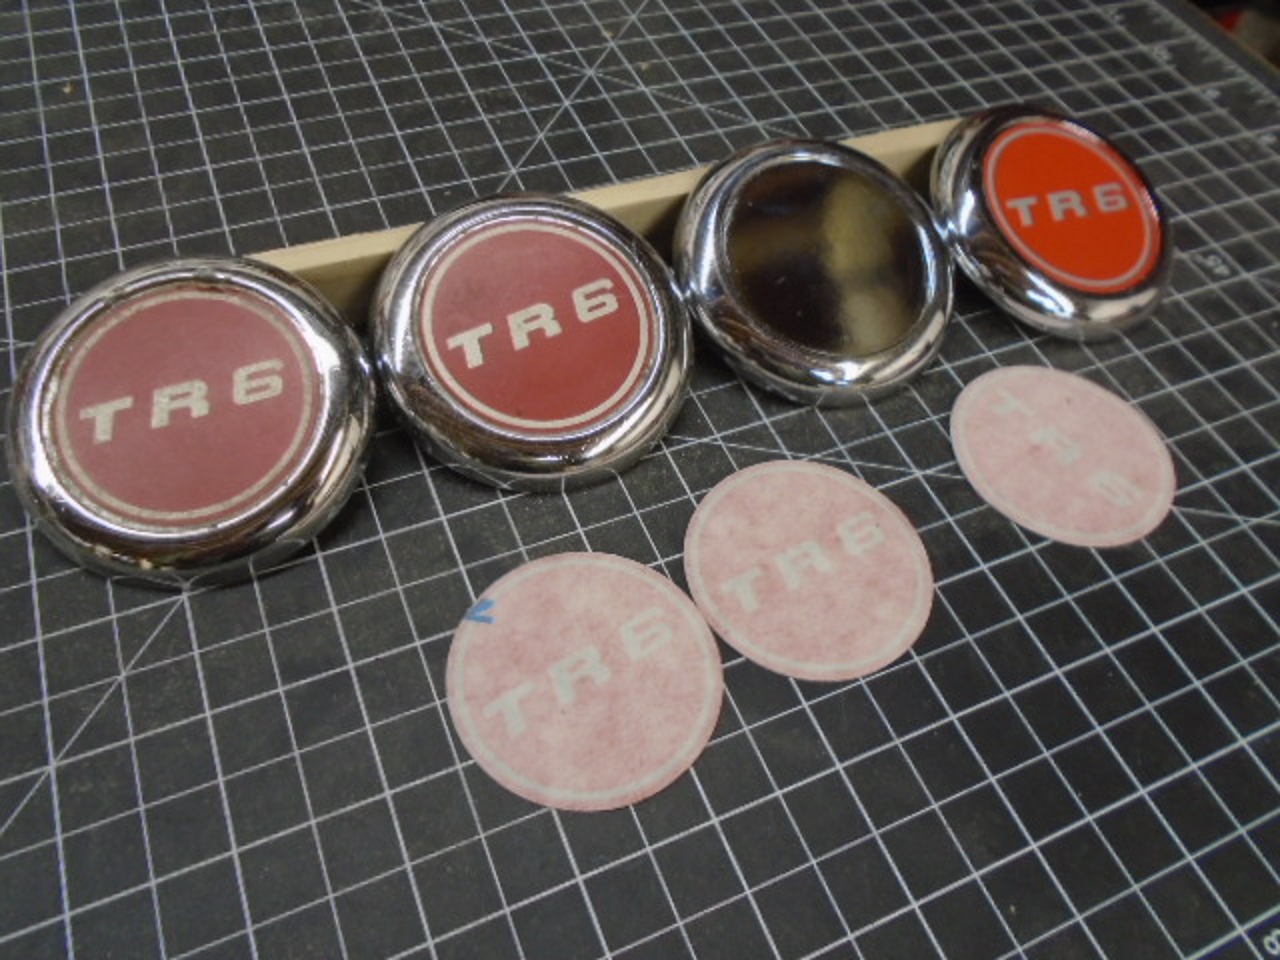
The little medallions were in OK shape, but I cleaned them up and put on new red stick-on logos.
Had to buy a couple of new springs for the backsides.
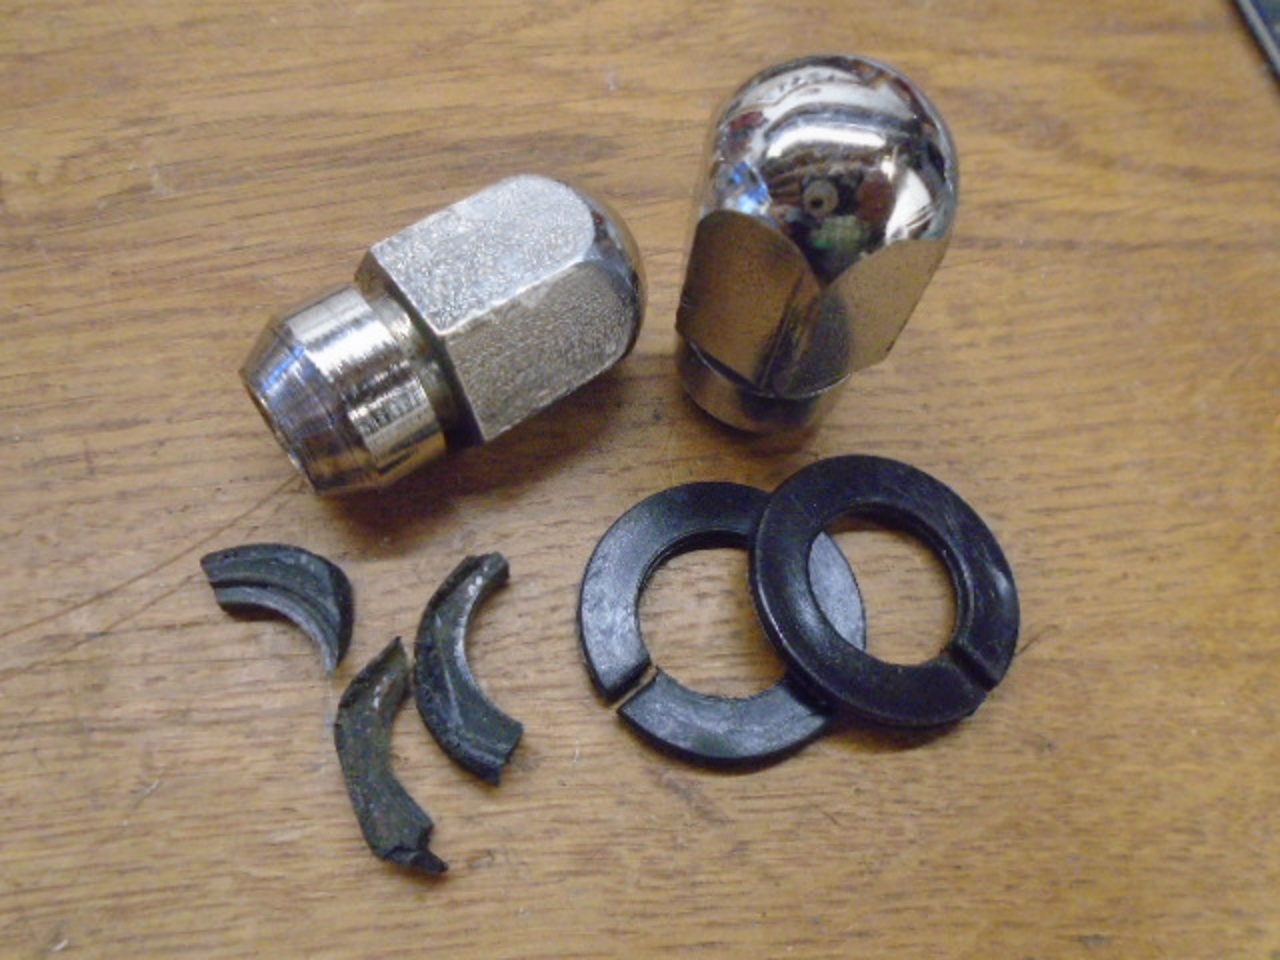
New locknuts to replace the original nuts and lockwashers..
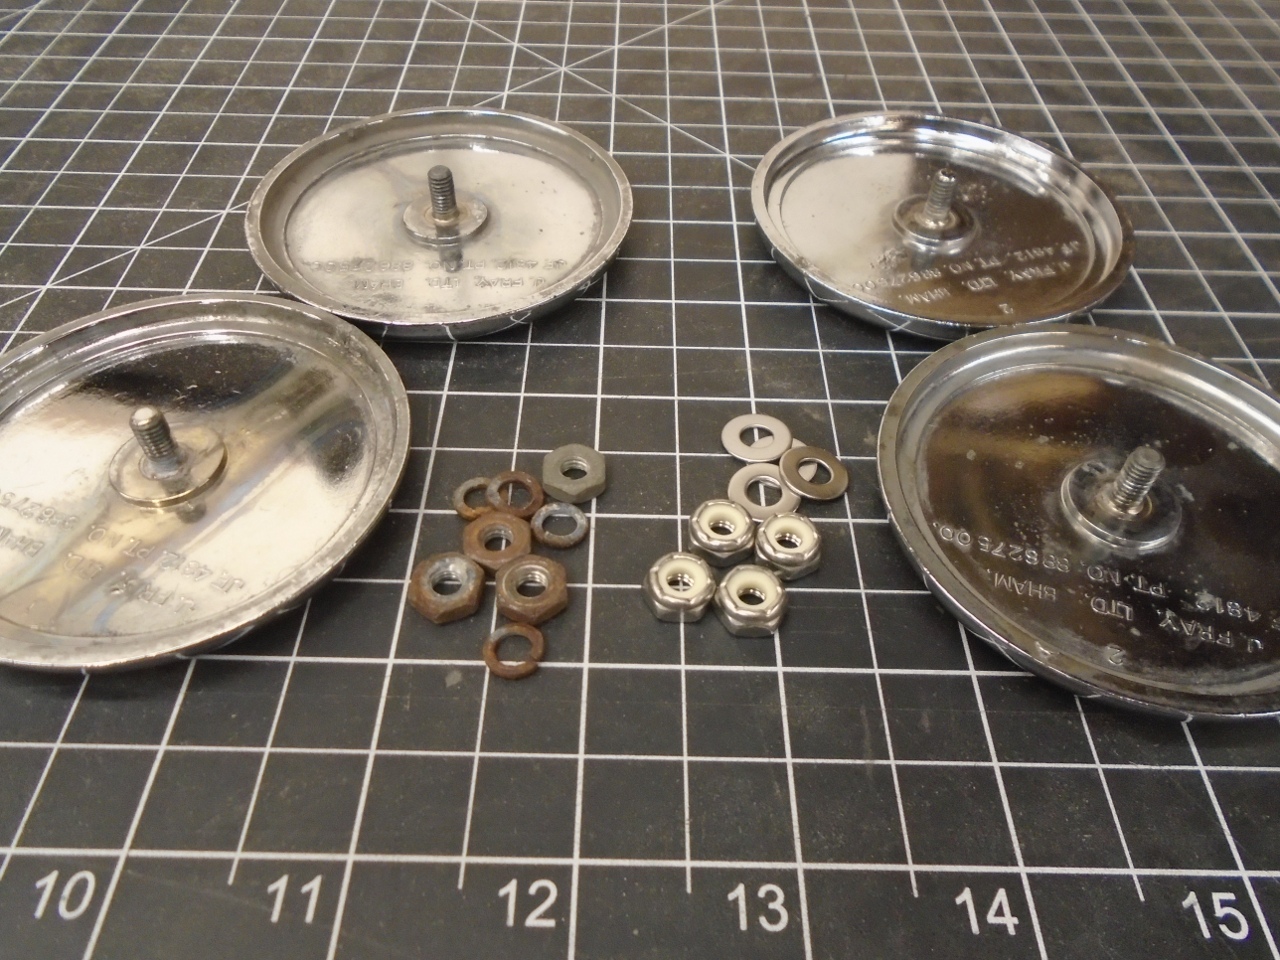
And put the hubcaps together.
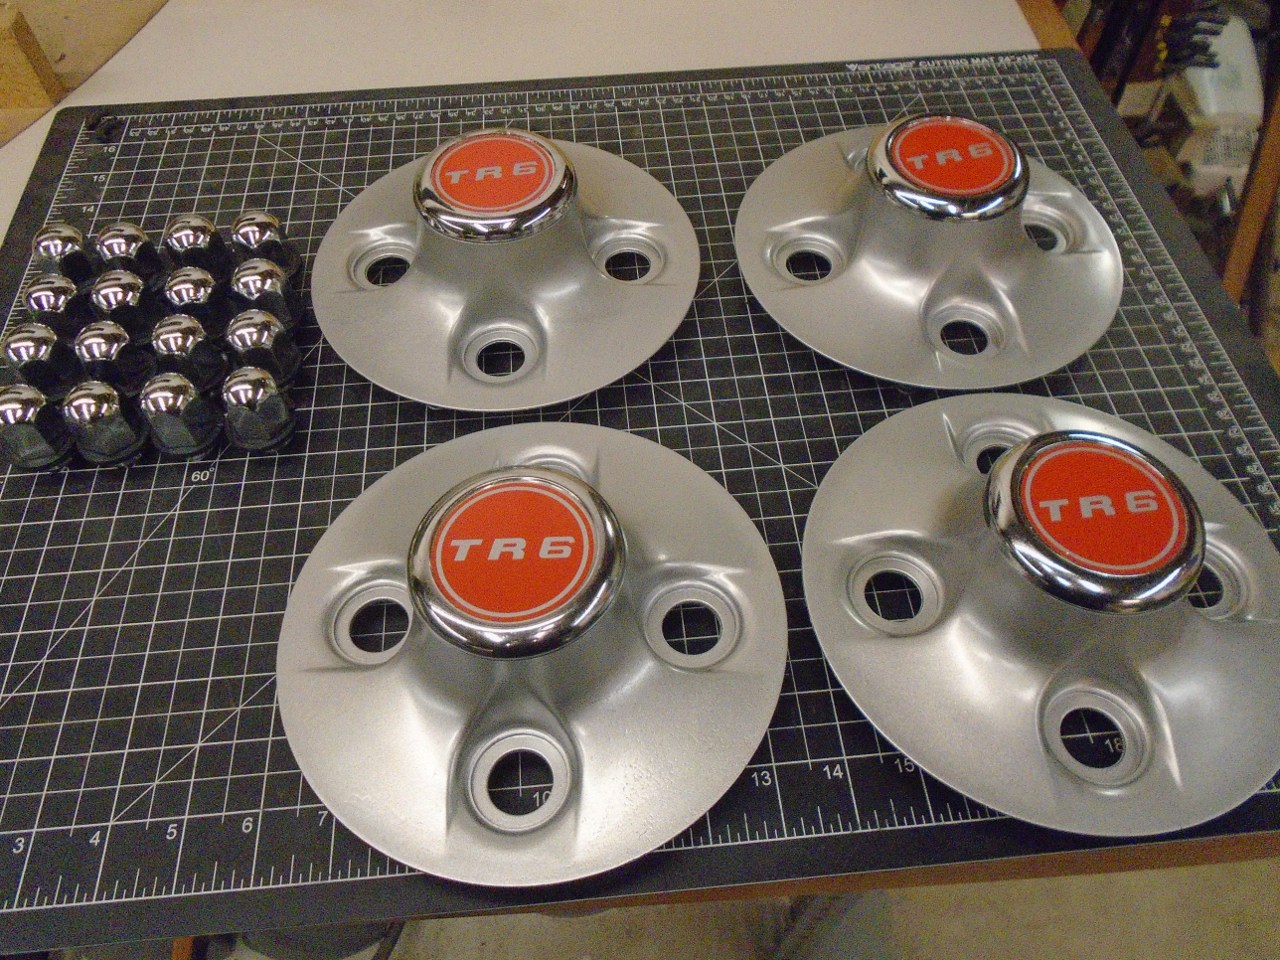
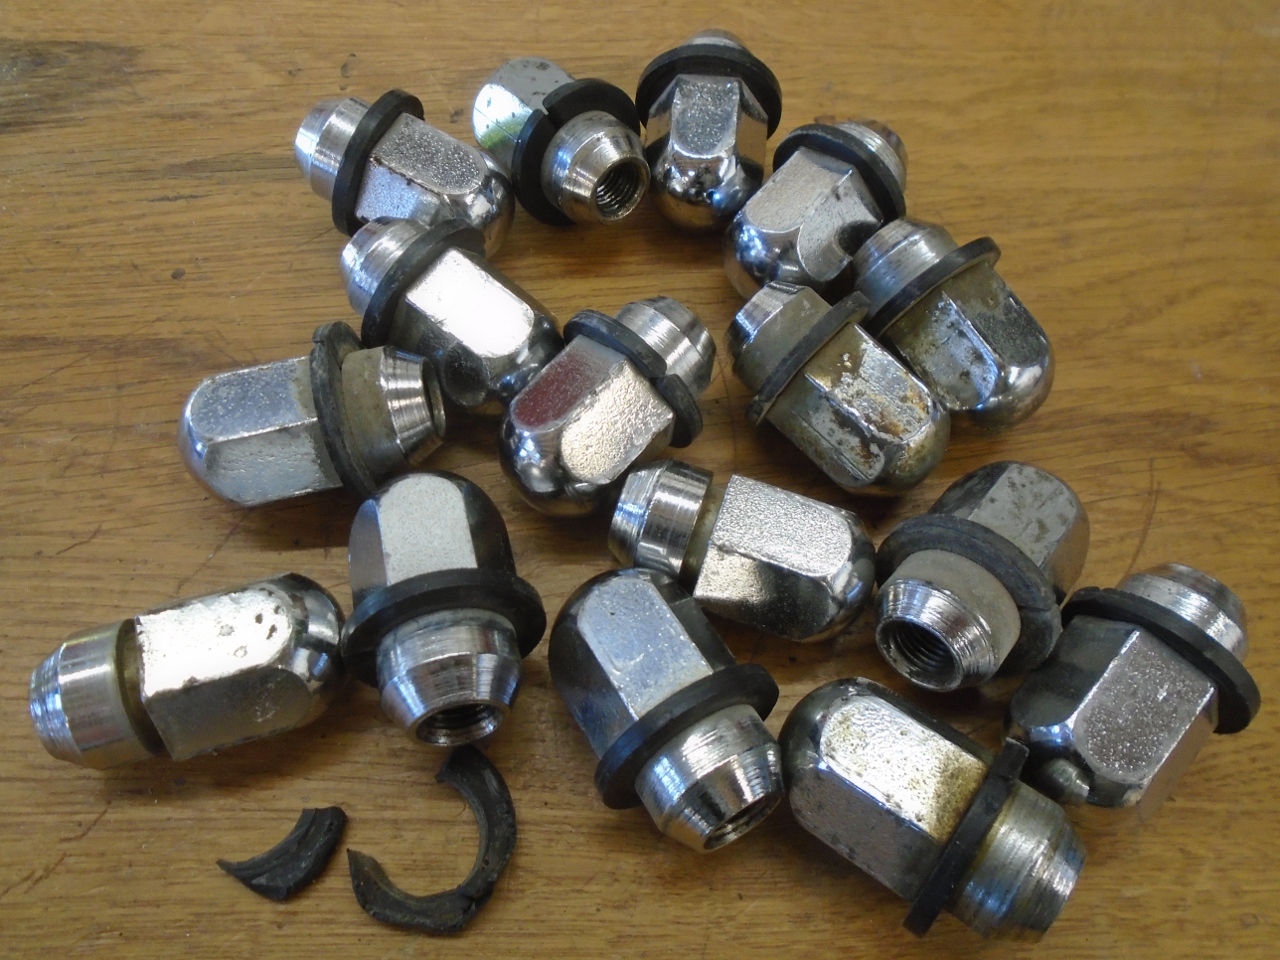
My
chrome lugnuts were all present and cleaned up pretty well. I had
to replace a couple of the plastic inserts that had gone yummy.
The
car had been up on the lift for nearly a month waiting for its new
shoes. At that point, I had everything I needed to mount the
tires.

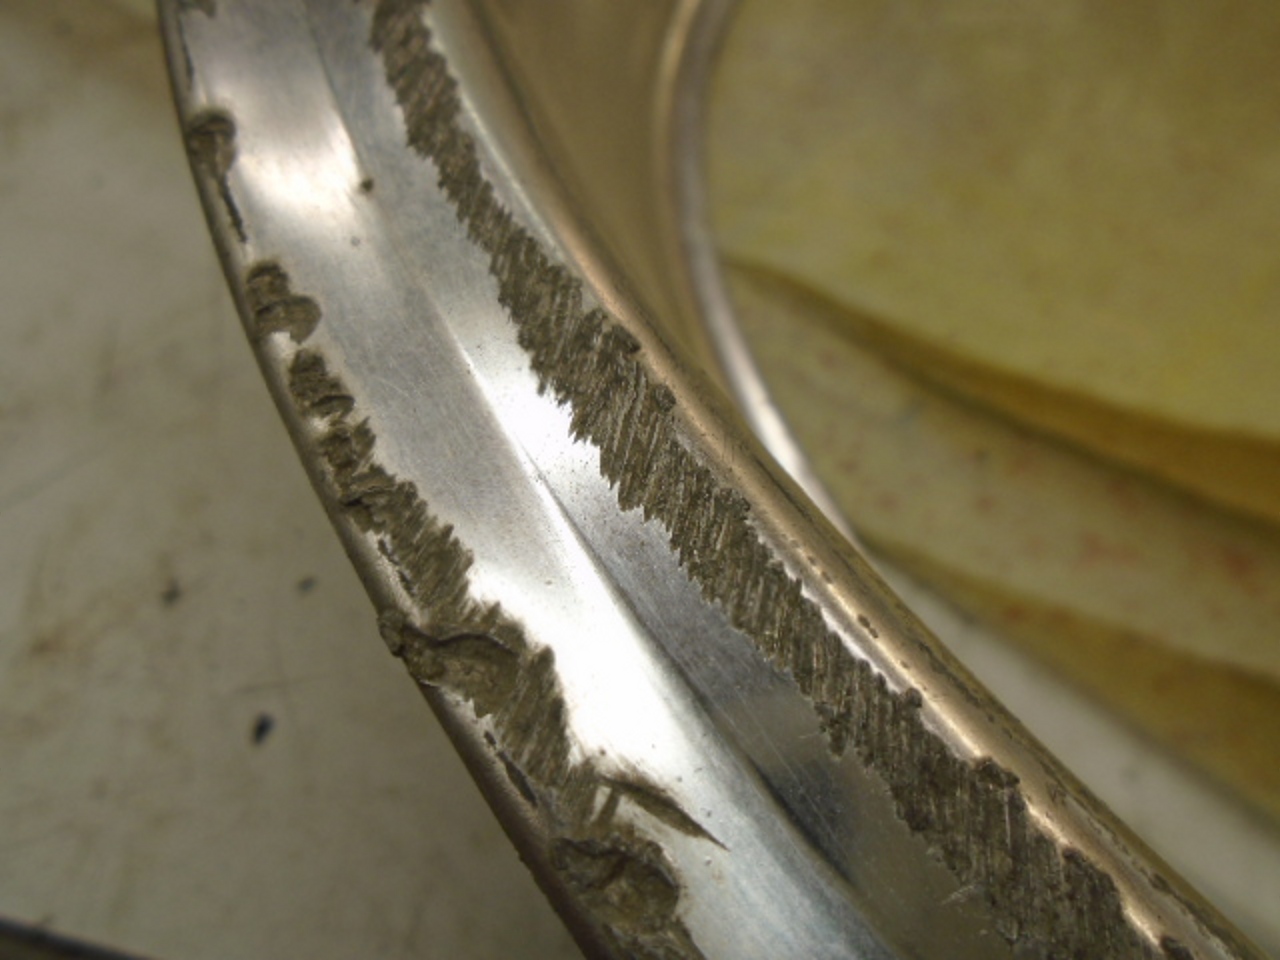
The
last detail on the wheels was the aluminum trim rings. In my
mind, I had written these off long ago. I could see beneath all
of the road grime that they all had bad cases of curb rash. A
couple of them had this kind of damage nearly half way around the rim.
Original
style replacement rings are not available, and being made of soft
aluminum and mounted in a very vulnerable location, not many
decent survivors exist. There are apparently some rings from a
more modern American car that will fit, but they have a different
profile and, being made of polished stainless, the color is
different and they are more "chromey" than the originals, so to
me at least, they don't look quite right.
I figured I didn't have much to lose by seeing what I could do with the rings I had.
In
playing around with the damaged areas, I found that the aluminum
was very soft, and in fact by using a hard polished metal rod and
quite a bit of pressure, I could sort of move the displaced metal back
into place. It was a tedious and imperfect process, but I was
encouraged. Using that process along with some small files and
sandpaper, I eventually decided I could probably make the rings
presentable enopugh to use. There were a few places where there
was just too much metal missing to fully repair it. These
places I now just call "character".
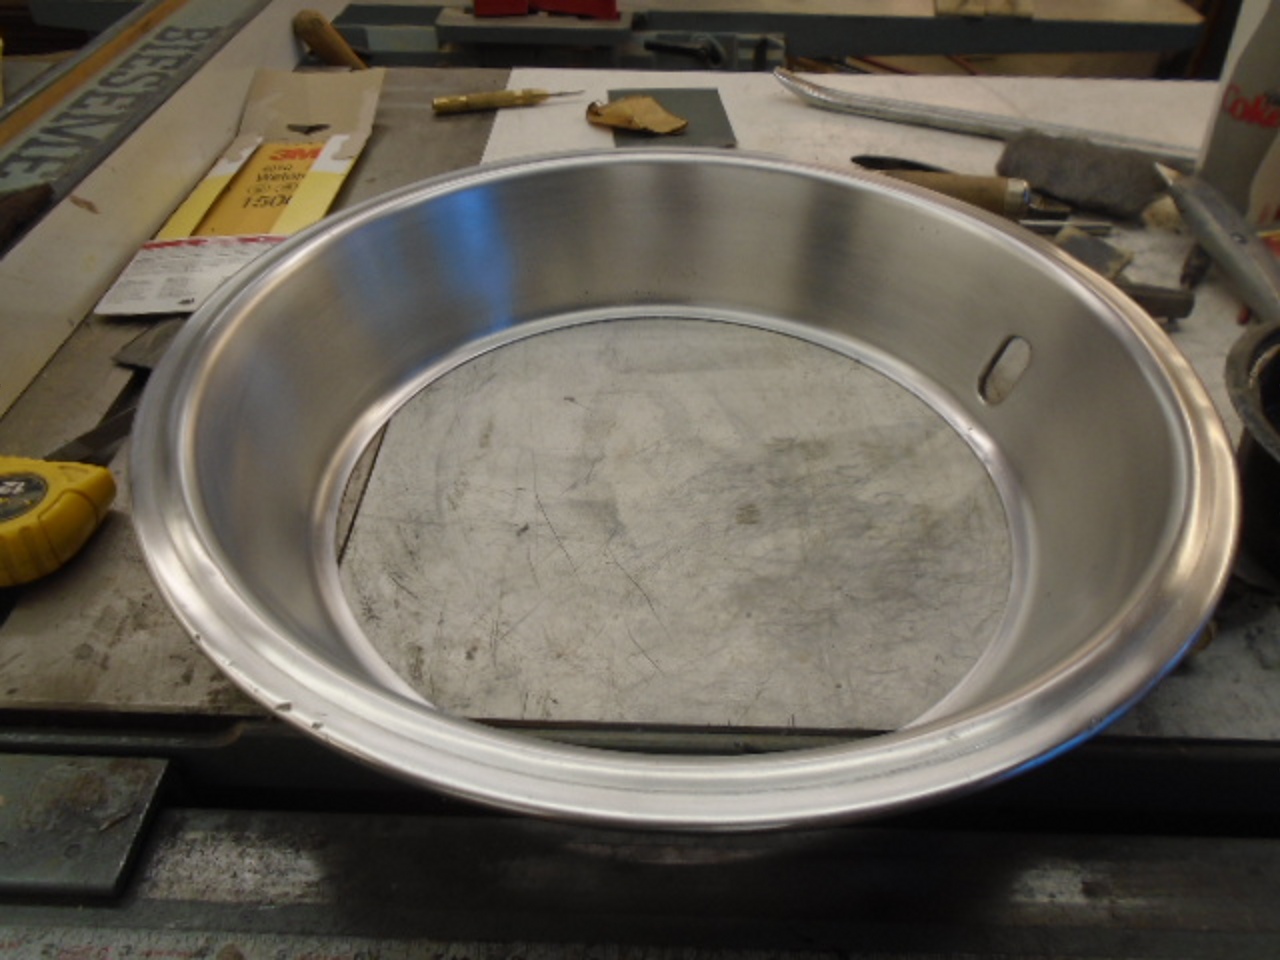
This
process necessarily removes the anodized protective coating on the
metal. In fact, I had to remove the anodizing on the entire
exposed surface of the ring to get a consistent finish. This
changes the sheen a little. It is now more of a brushed aluminum
look, and the color is slightly different. Though certainly not perfect, I think I can live with these
trim rings.
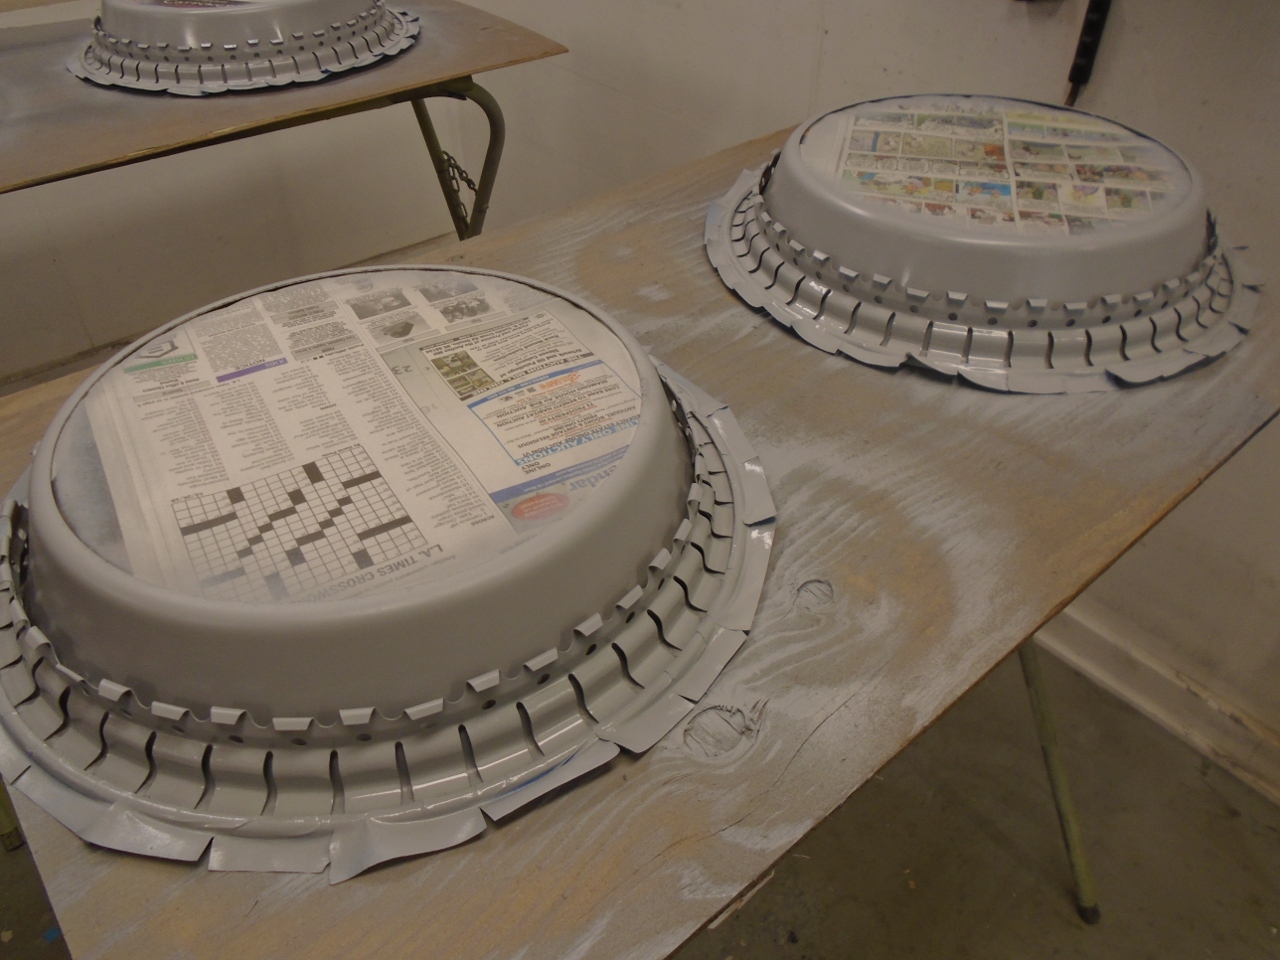
The
trim rings are held on by a friction fit betweem the wheel rim and
these spring steel fingers around the backside of the ring. These
were pretty rusty, so I cleaned them up as well as I could.

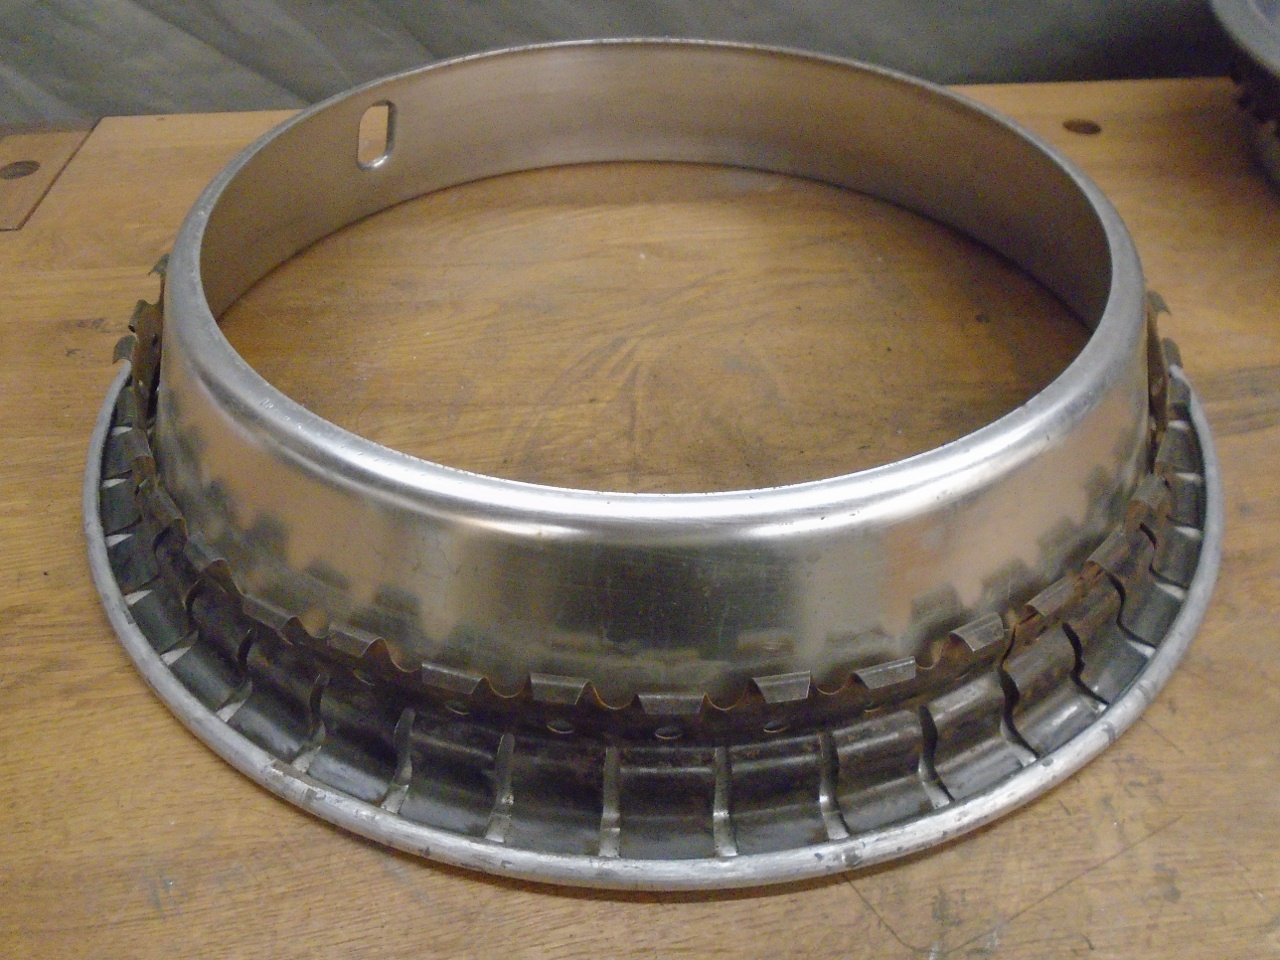
I
wanted to paint the springs to keep them from rusting so badly, but to
save masking time, I just painted the entire backside of the ring.
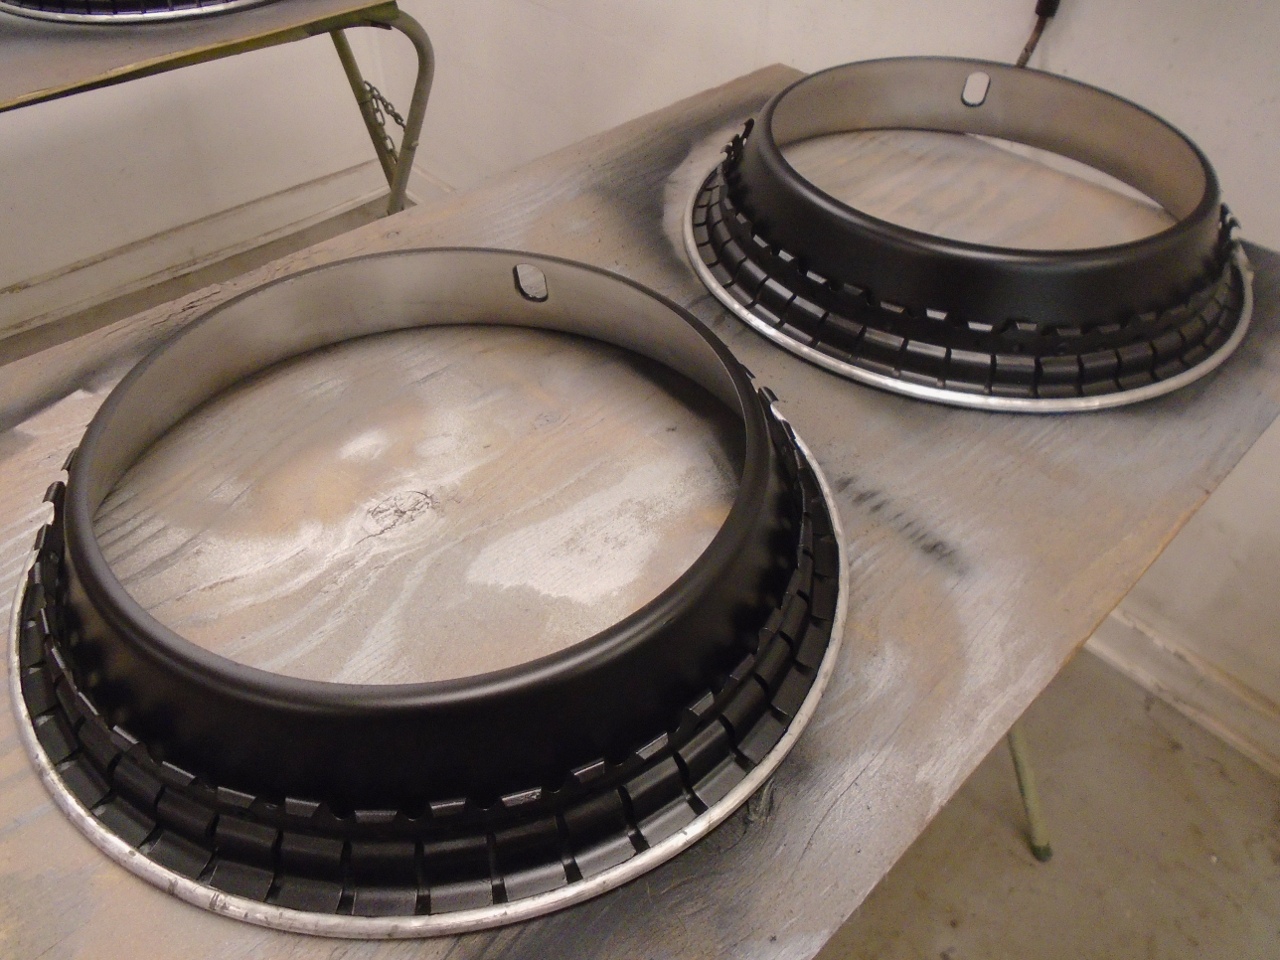
At
some point, I would have liked to re-anodize the rings. The
problem is that the steel retaining springs would not survive the
strong acid anodizing bath, and I didn't see a good way to remove them.
But leaving the rings bare would have them gradually get dull and
even corrode. The best solutioin I could think of was just to
clearcoat them. Not nearly as good as anodizing, but better than
nothing.
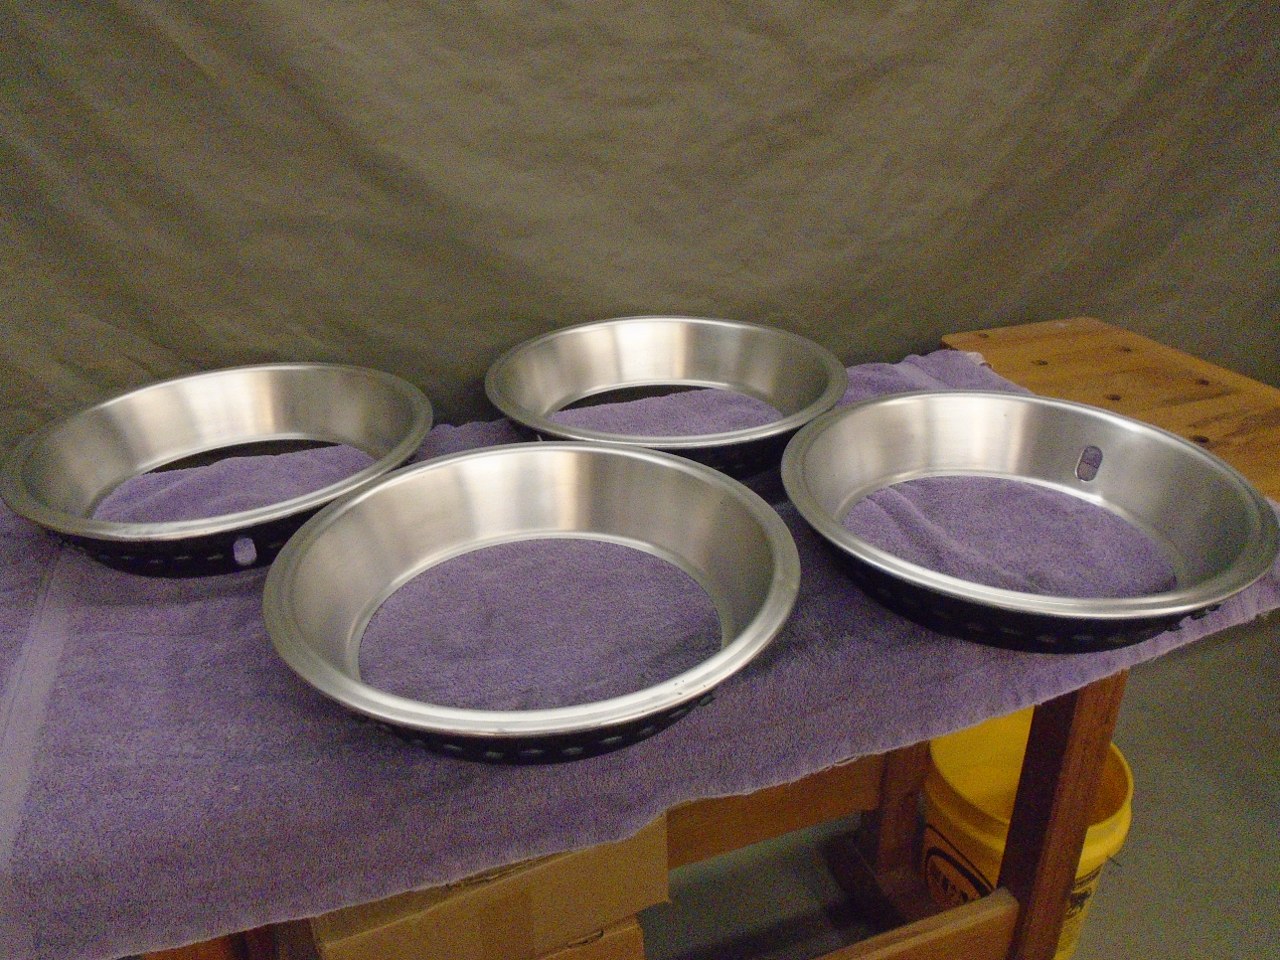
The
trim rings are not perfect, and there are defects that don't really
show in the pictures, but I honestly never thought they would come out
this good.
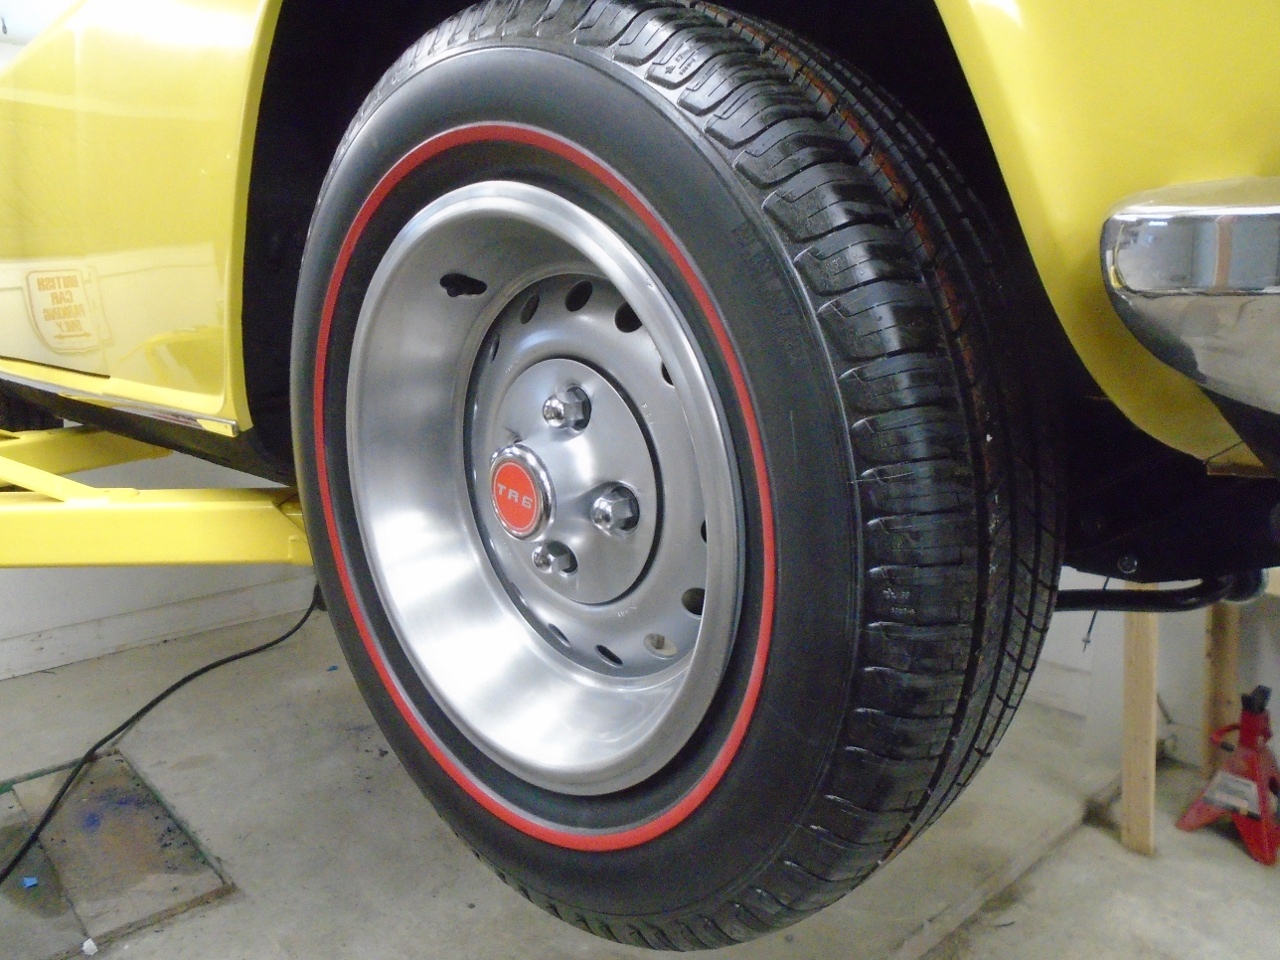

This
was an expensive project. The tires are among the most expensive
items on the car, but I'm pretty satisfied at how they turned out.
Comments to Ed at elhollin1@yahoo.com
To my other TR6 pages