To my other TR6 pages
August 5, 2018
Window Guides
Unlike
some of its more distant forebears, the TR6 had civilized roll-up
windows. A crank in the cabin operated a parallelogram type lift
mechanism which raised or lowered the side windows. Each window
rode in a pair of channels, one fore and one aft, which kept the
pane aligned in the proper plane as it moved up and down. These
guides were simple plated steel channels, with strips of the typical
soft bristle-type manerial to protect the glass from scratches and to
keep it from rattling.
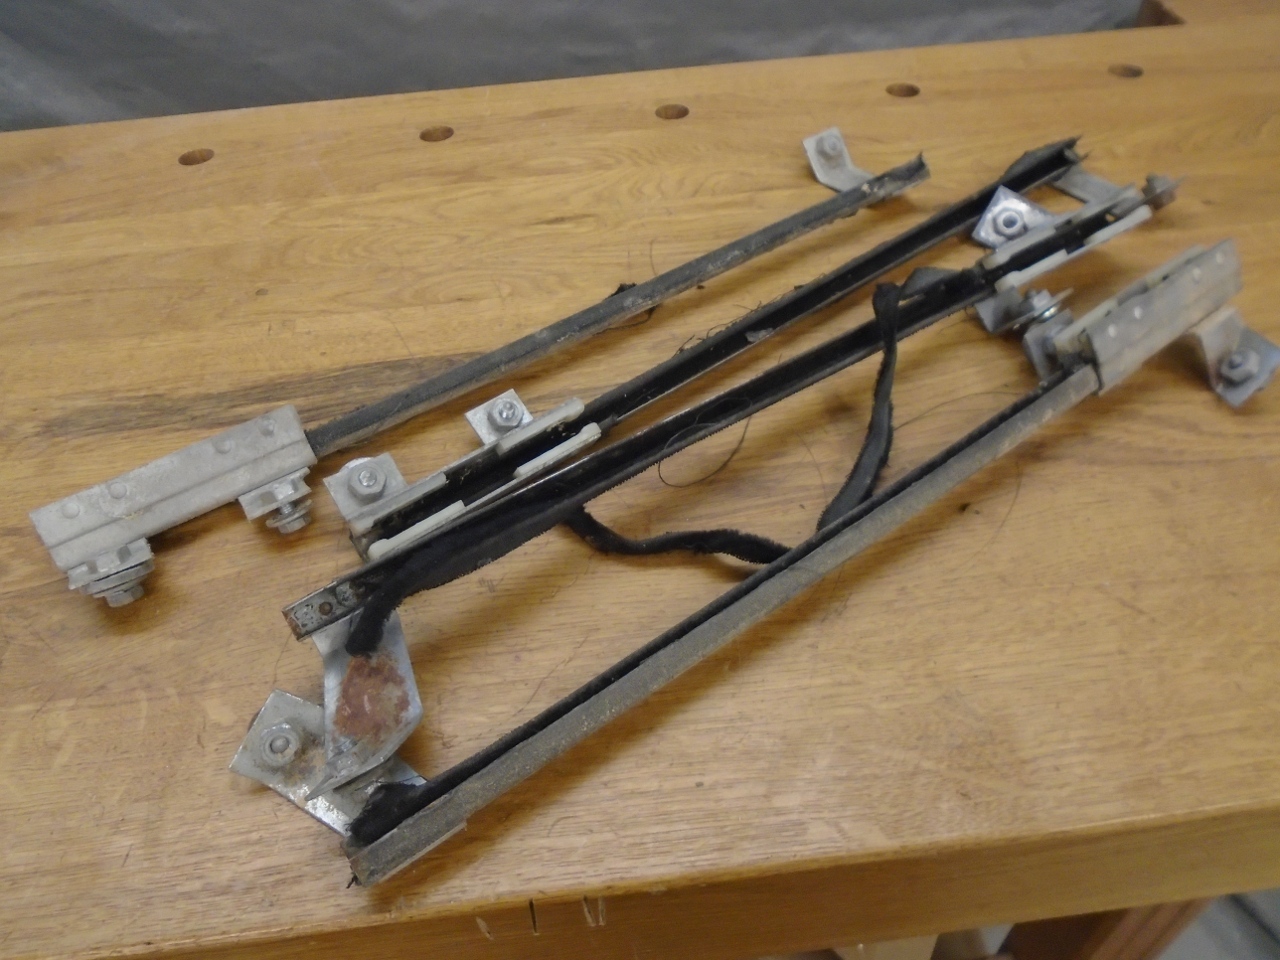
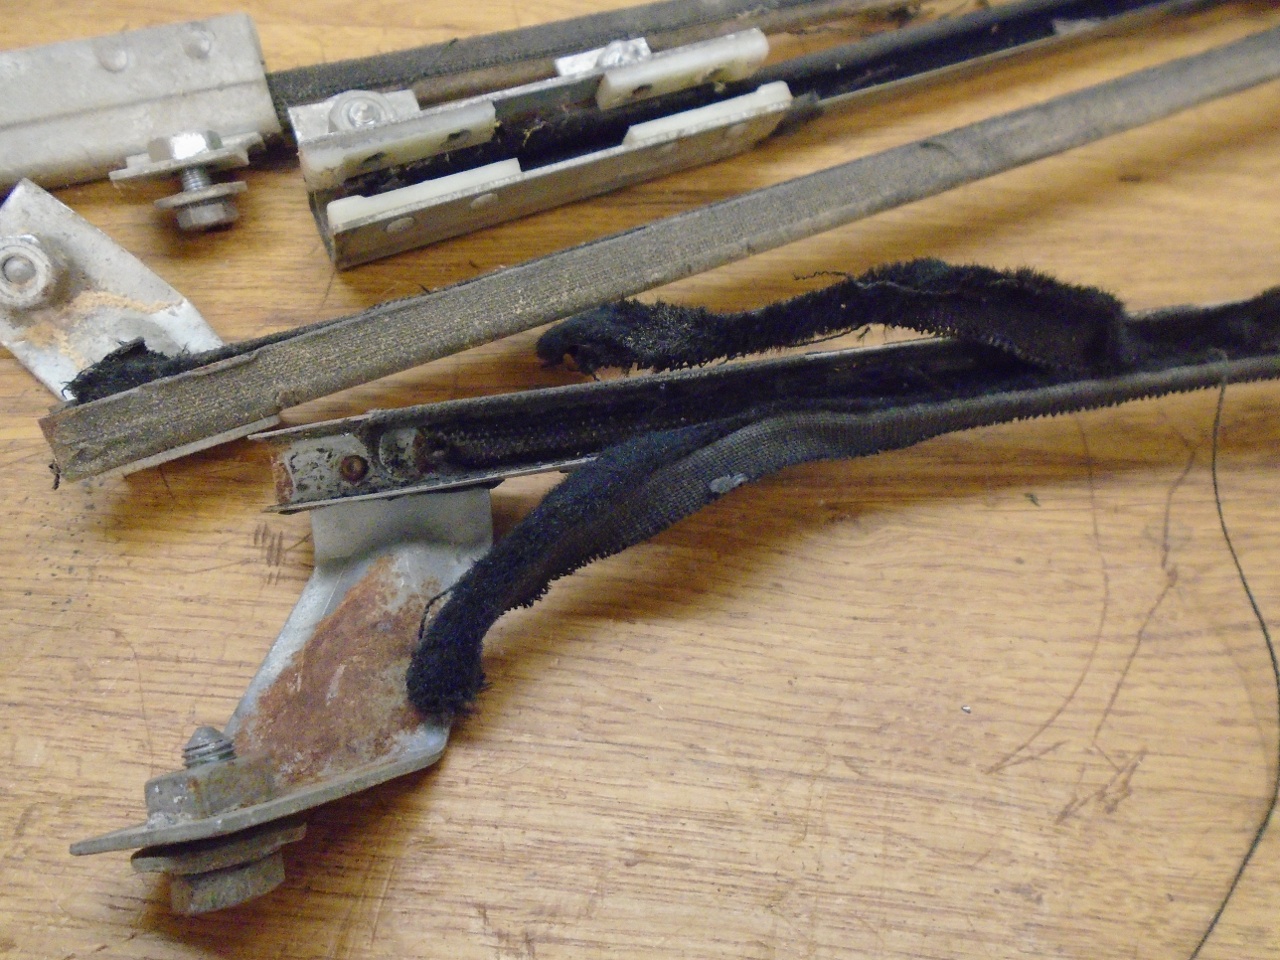
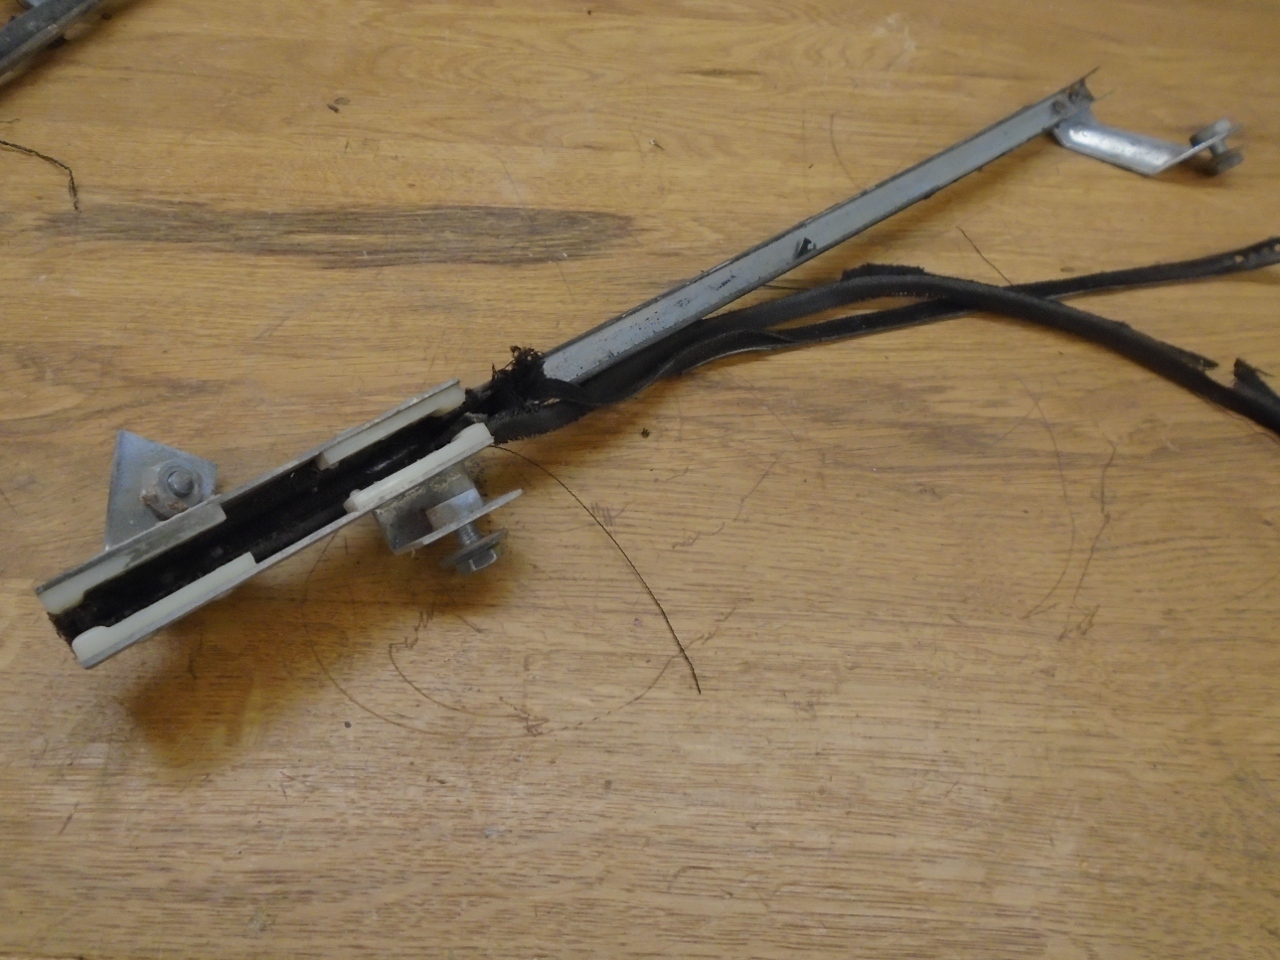
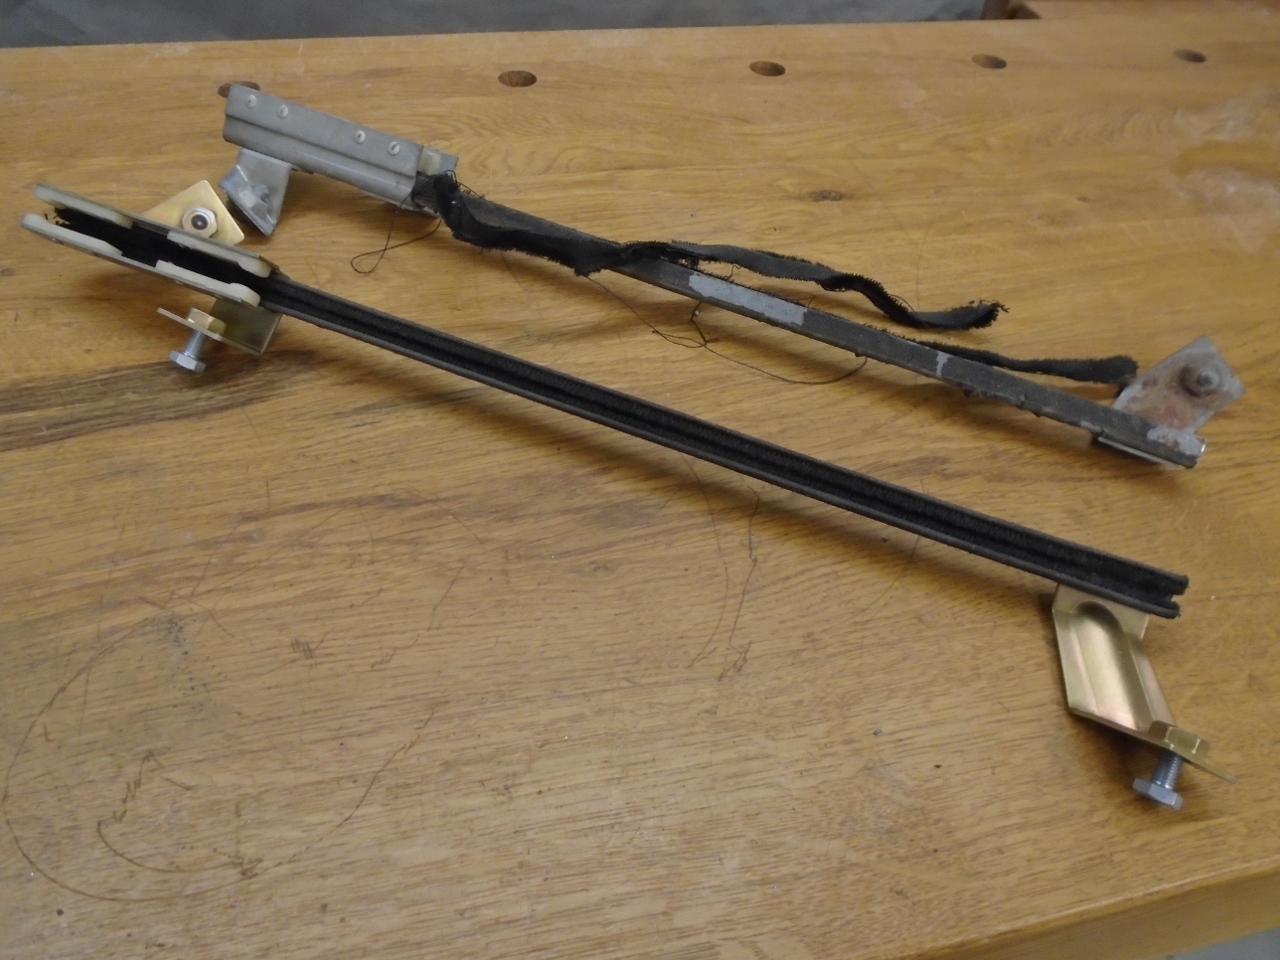
The
structure of my guides was sound and intact, but the bristle material
was worn and had largely separated from the channels. Some of the
bracketry was rusty in places.
Now,
replacement channel assemblies are available, and I will give the
benefit of any doubt and assume that they are completely satisfactory
items. On the other hand, they are not cheap, and it seemed a
waste of good money to replace the entire guide when it was only the
fabric channel lining that was perished.
Some
search time revealed that some people have substituted the loop side of
Velcro-type material for the fuzzy channel lining. I think this
is brilliant, and had planned to follow that path. I had a change
of mind though, when I found that one of our stand-by suppliers was
offering just the channel, sans brackets, complete with the proper
lining. I happily ordered four of them. When I received
them, they did look like proper window guide channels.
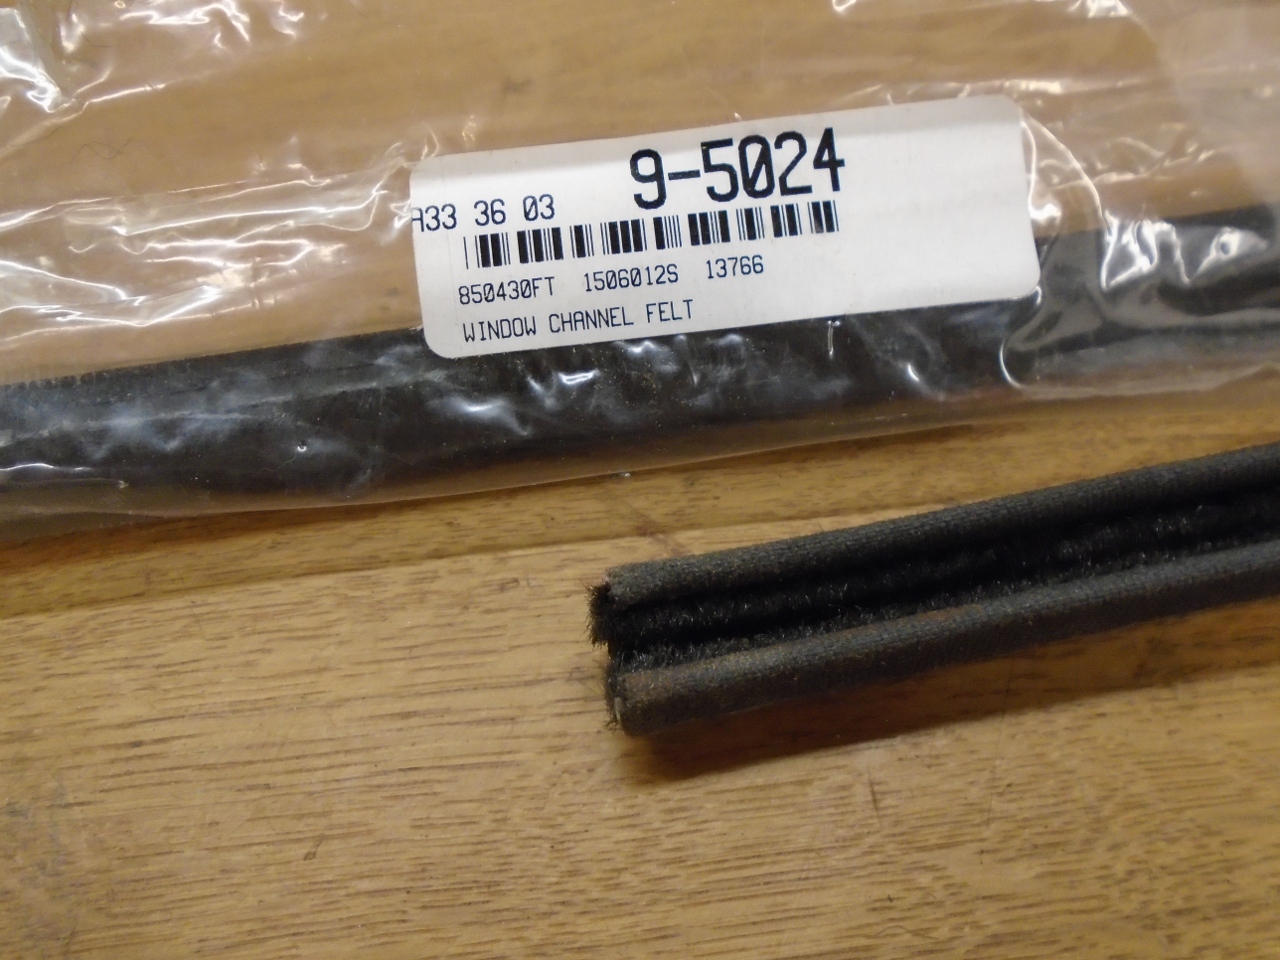
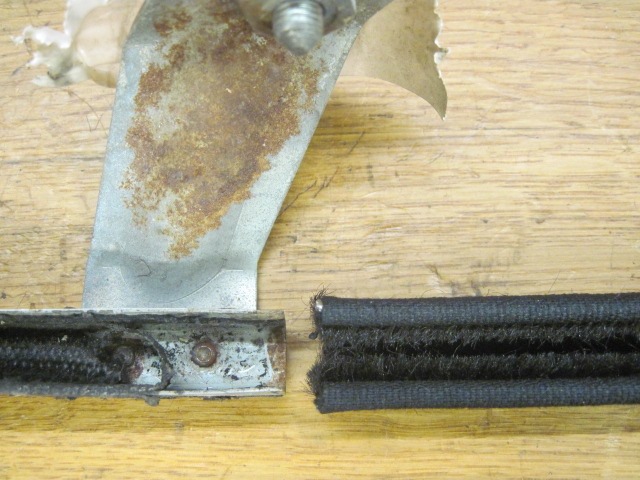
I
was soon to discover, however, that these parts would not work on my
car. At nearly 5/8" wide, they are much wider than the original
channels and had no hope of fitting into the U-shaped bracket that had
to go on one end.
I
called the vendor. No, they had had no complaints from other
customers, and yes, they were sure this was the proper part.
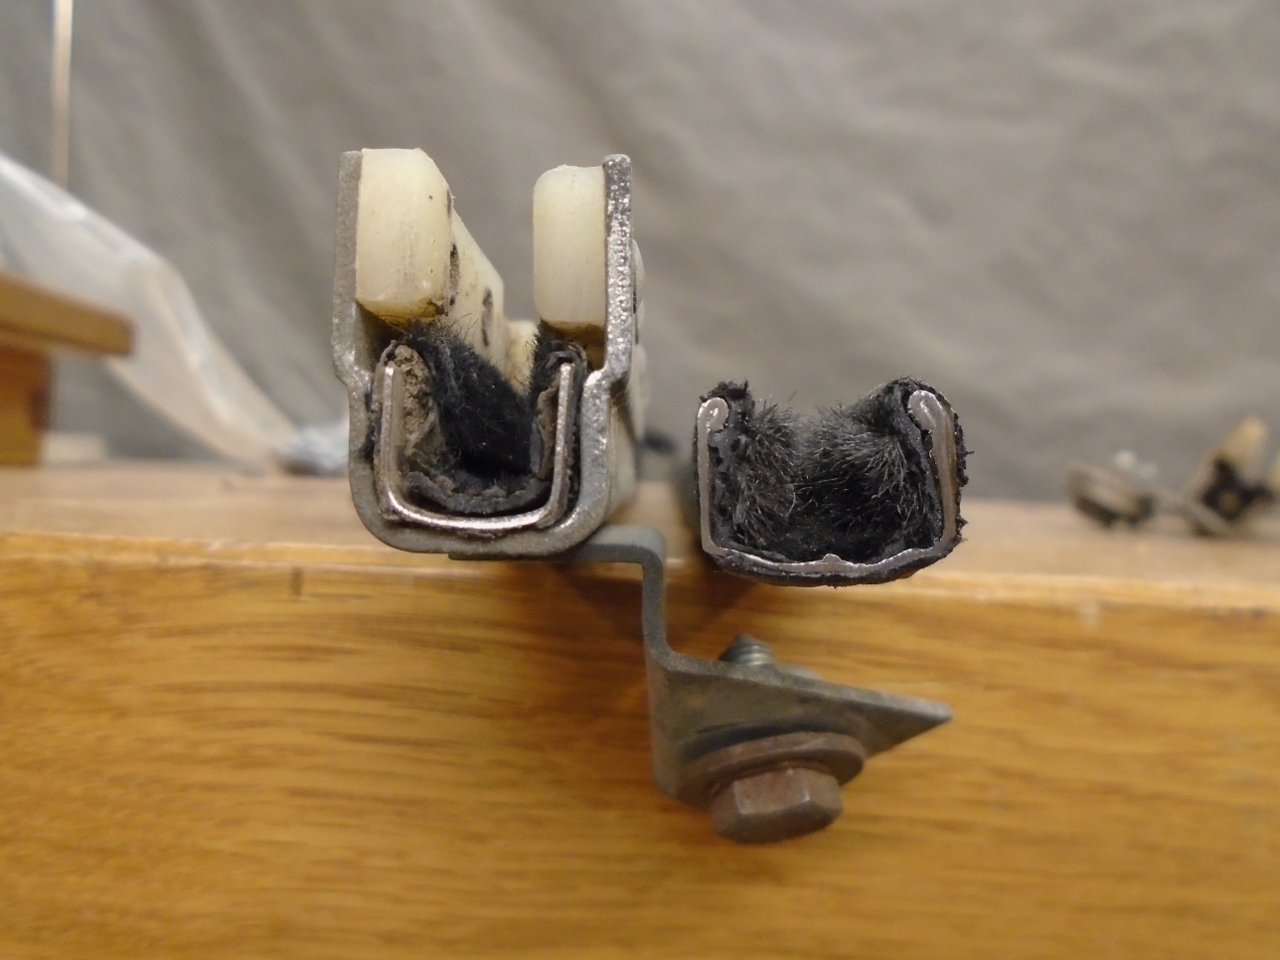
I sent them pictures of the parts side by side, clearly showing the gross mismatch in size. They were unfazed.
At
this point, I would have sent the parts back and proceeded with my
original Velcro plan, but I couldn't do that. The reason I
couldn't return them isn't really relevent to the story, but if anyone
is interested, I'll explain it in a footnote.
So,
as I sat looking at the malfitting channels that I now owned, I thought
it a true shame that I couldn't use them, since they had the perfectly
correct bristle/felt strips. Then it hit me--why not use the
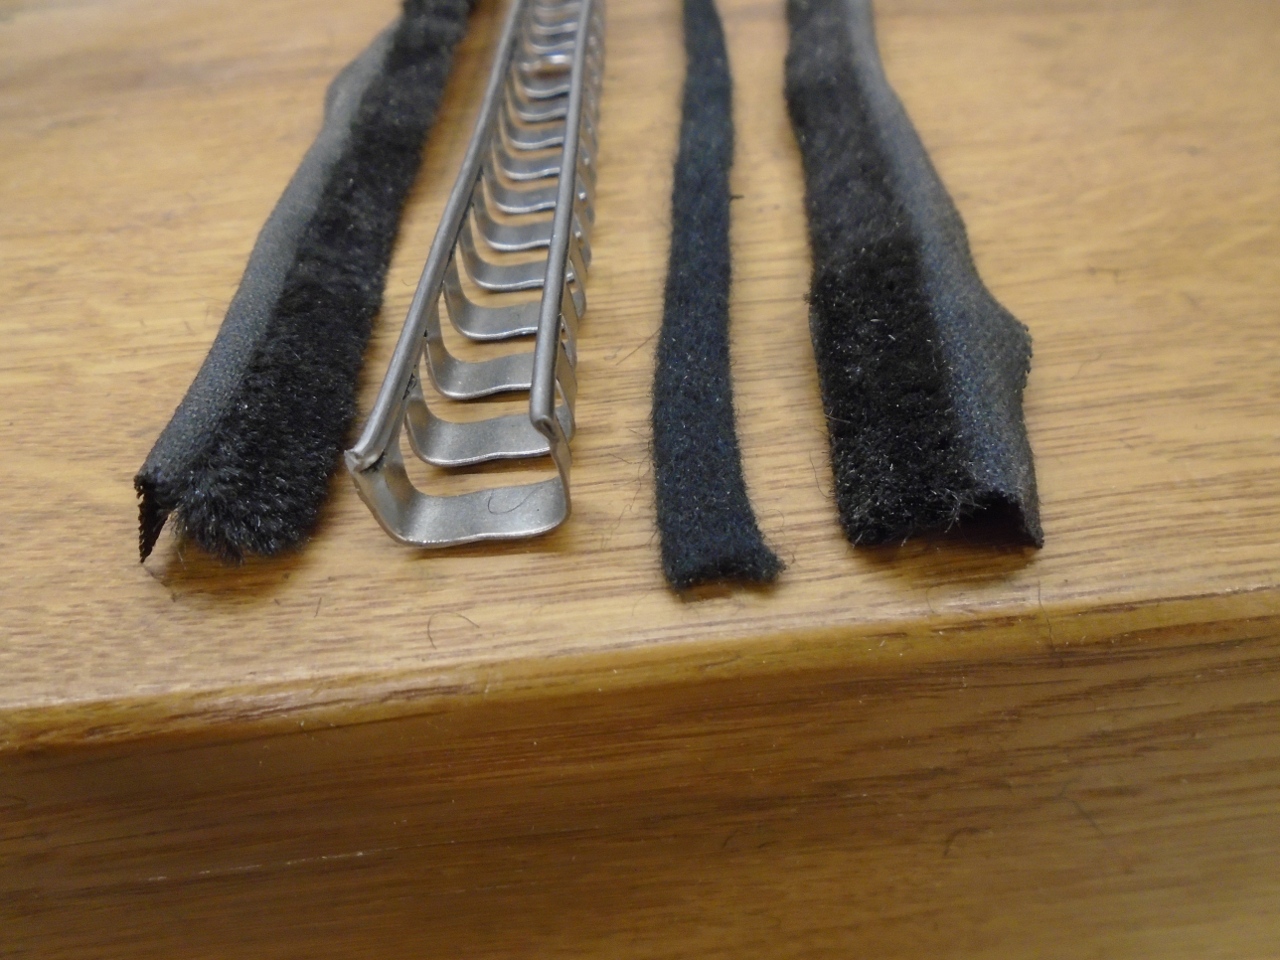
strips and trash the channels? I played with it for a while, and
finally came up with a way to separate the felt from the channels.
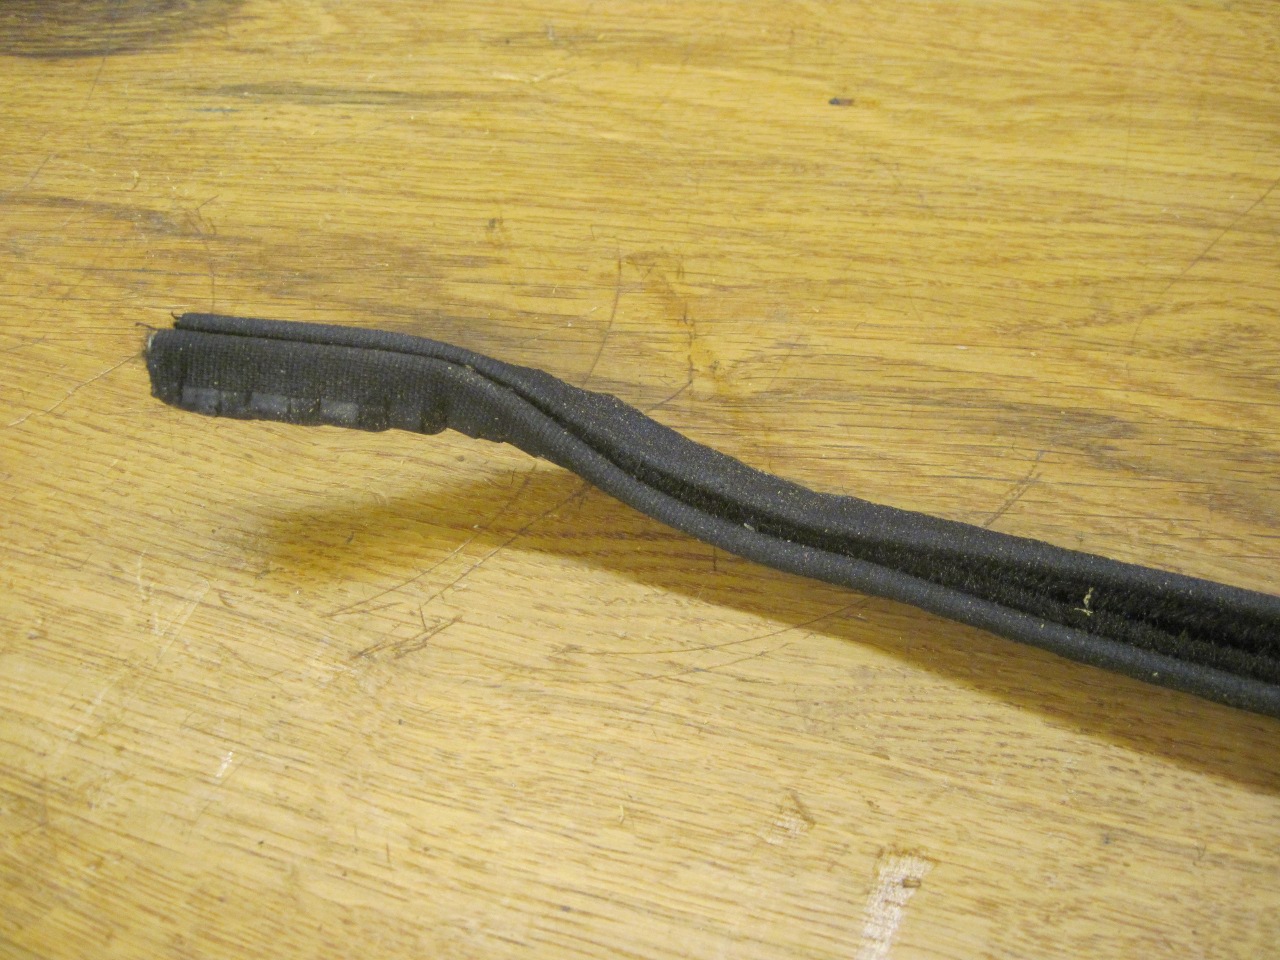
The fabric was adhered to the channels with a sticky black
rubbery compound that was sort of tenacious, but not permanent.
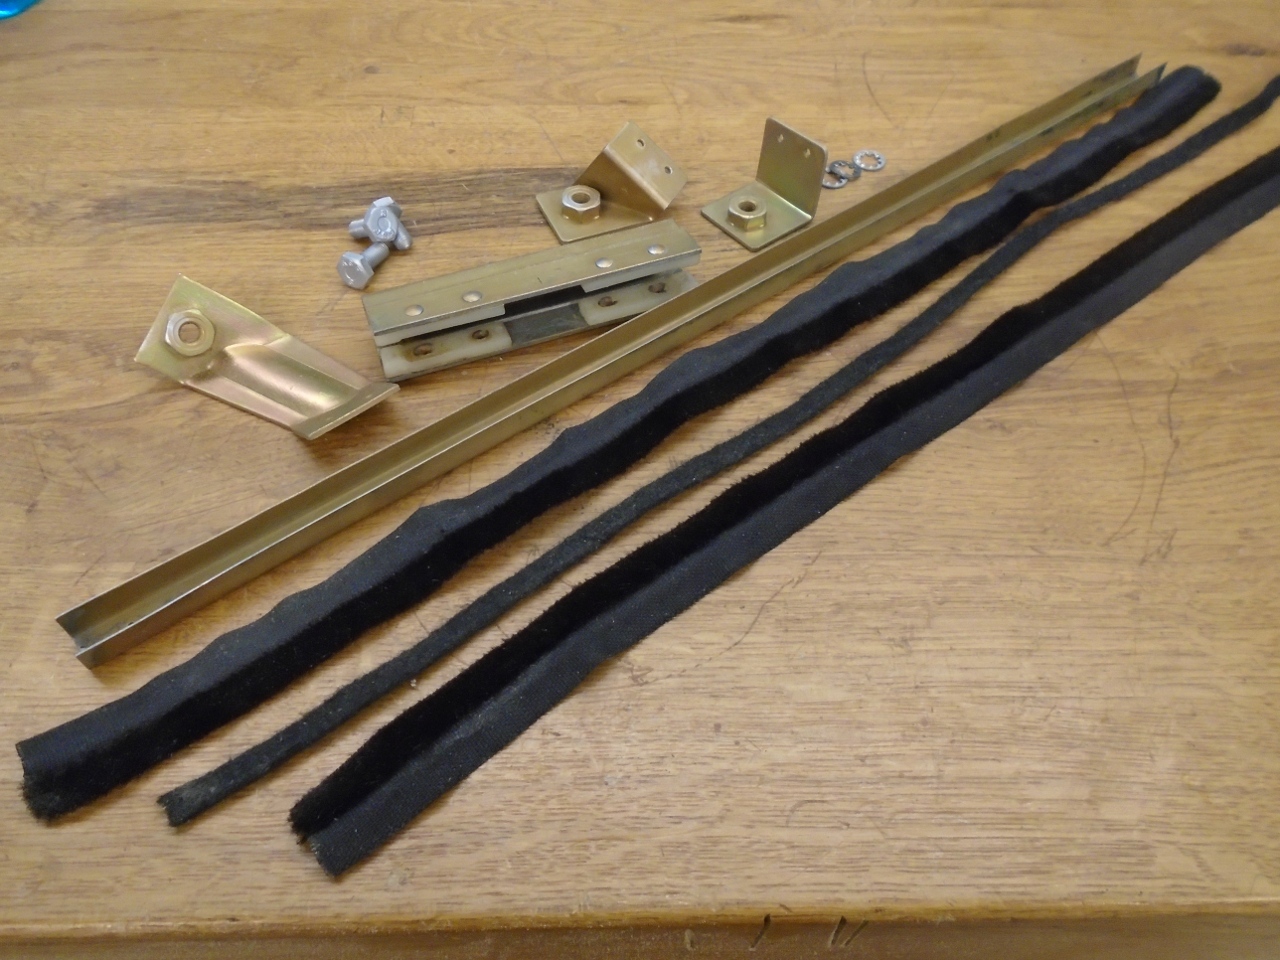
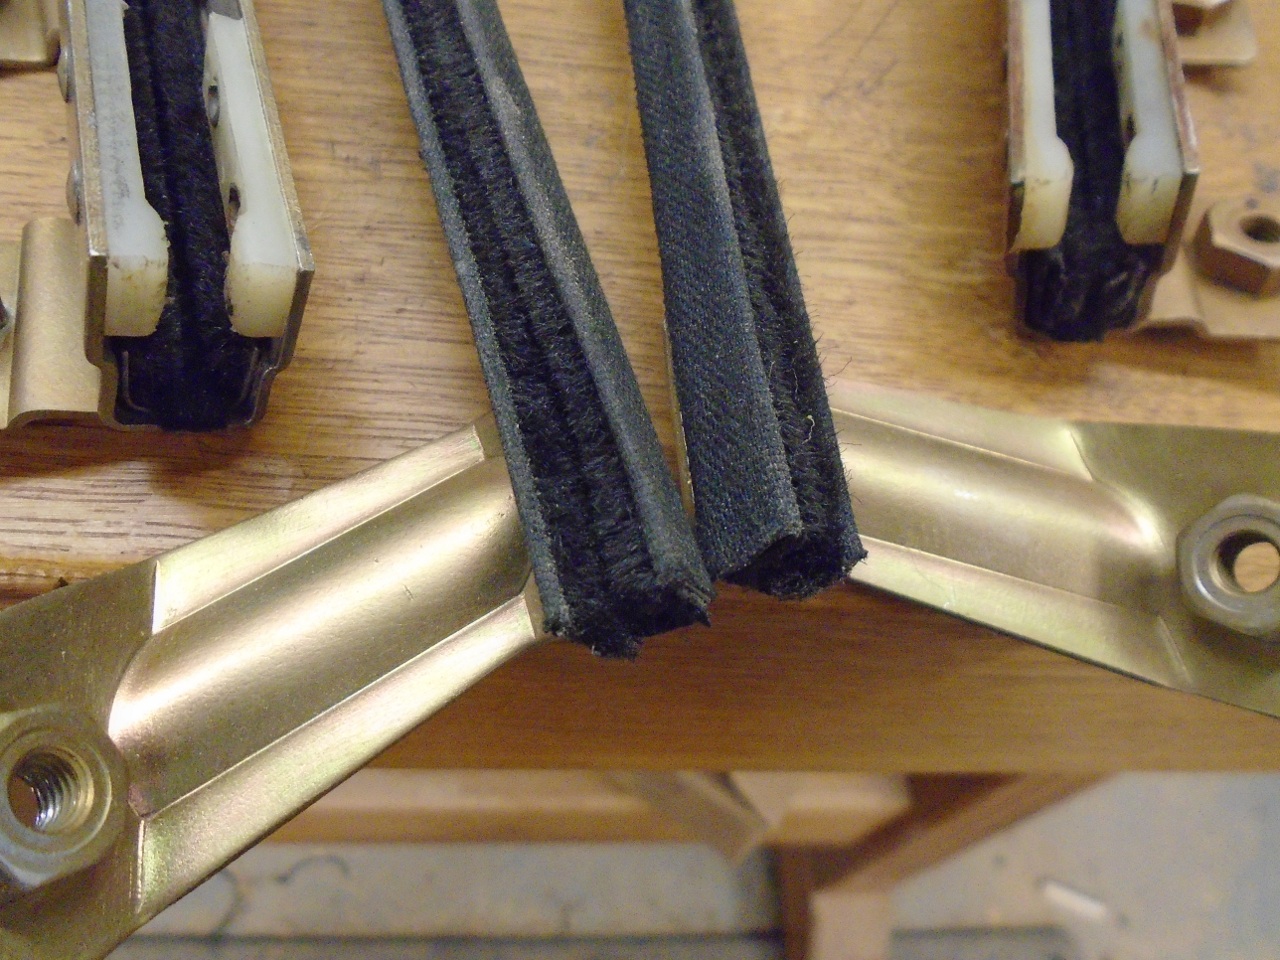
There were three strips removed from each channel--a bristle
material frome each side, and a strip of more conventional felt from
the bottom of the channel. It also became apparent that the
channel itself was segmented, which explains why it wasn't very
rigid--another reason it was probably not suited for this application.
I suspect this is just a generic replacement channel that must
fit many cars that may need curved guides.
OK,
so the next step was to remove teh deceased strips from the
original guides. This revealed another problem. The
original channels obviously had the felts applied before they were
attached to the brackets. I couldn't totally remove the strips
with the large U bracket on the end.
So, off came the brackets. Since everything was now separated, I took the opportunity to re-plate the parts.

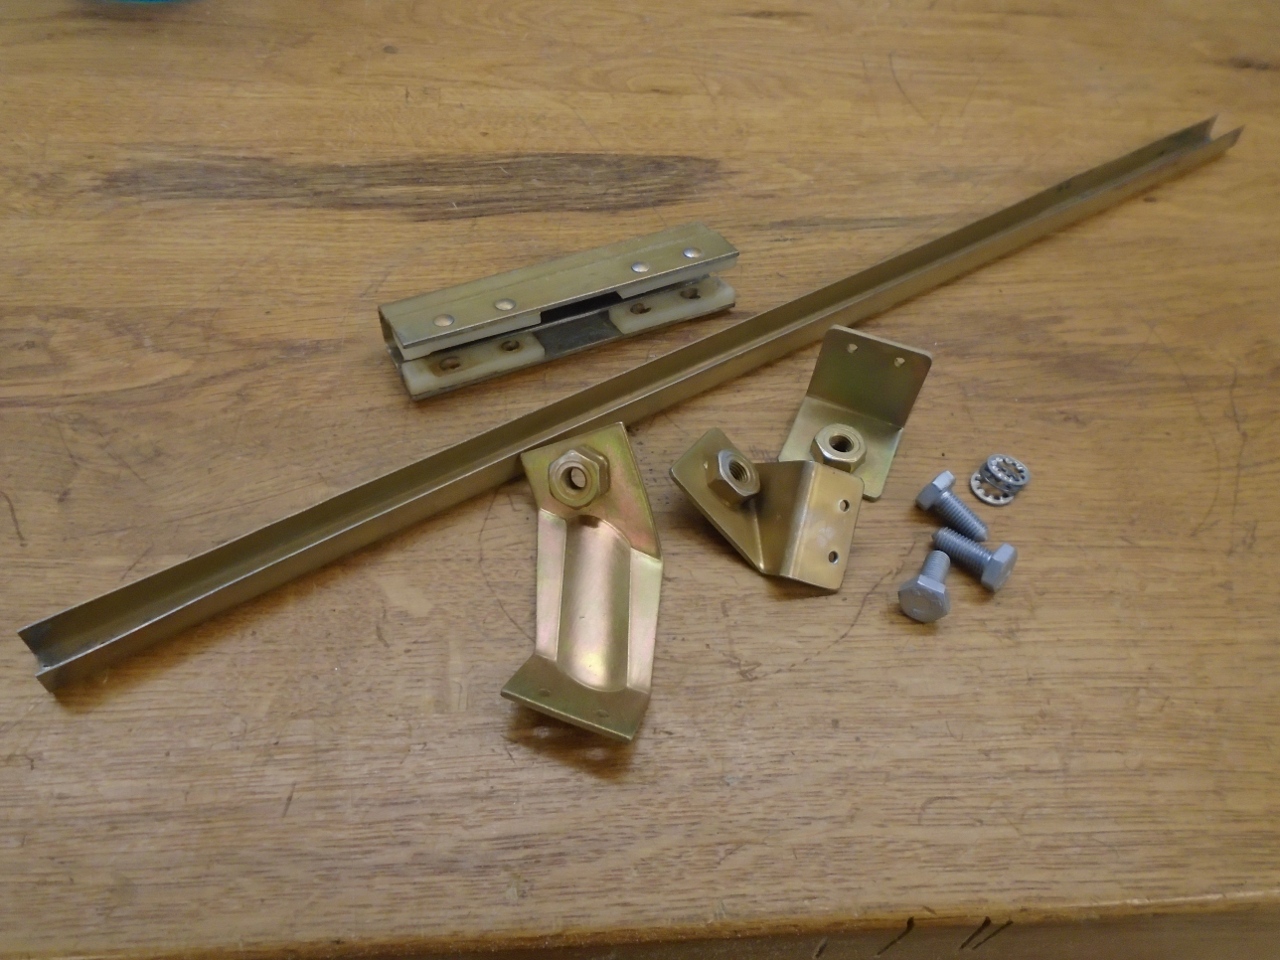
Now this experiment could proceed.
The
reclaimed felt strips were glued onto the outside sides of the channel.
At this point, I could slide the channel into the U-bracket.
Gluing the strips to the inside of the channel had to wait until
all the brackets were attached.
The original parts were riveted
together with semi-tubular rivets. I used the same sized blind
rivets, but not without some slight of hand. Since I didn't want
any significant protrusions inside the channel that might interfere
with the glass movement, the rivets had to be installed from the inside
of the channel. On the end with the U-bracket, this requires a
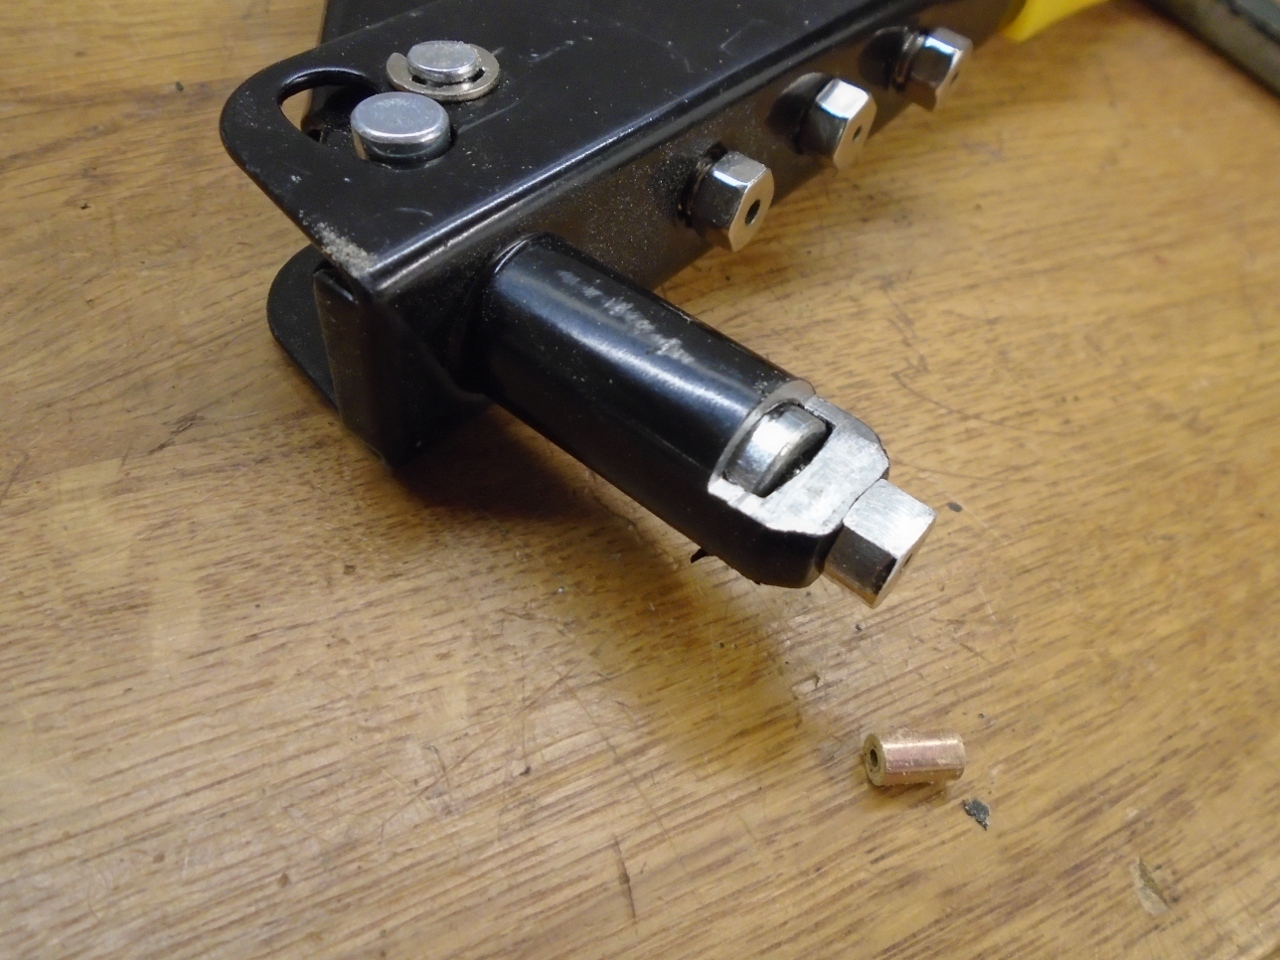
really long reach down to the bottom of the channel. I bought a
cheap blind rivet tool and modified the nose quite a bit so it would
fit into the narrow space. The little brass thingy is a spacer to
extend the reach even more.
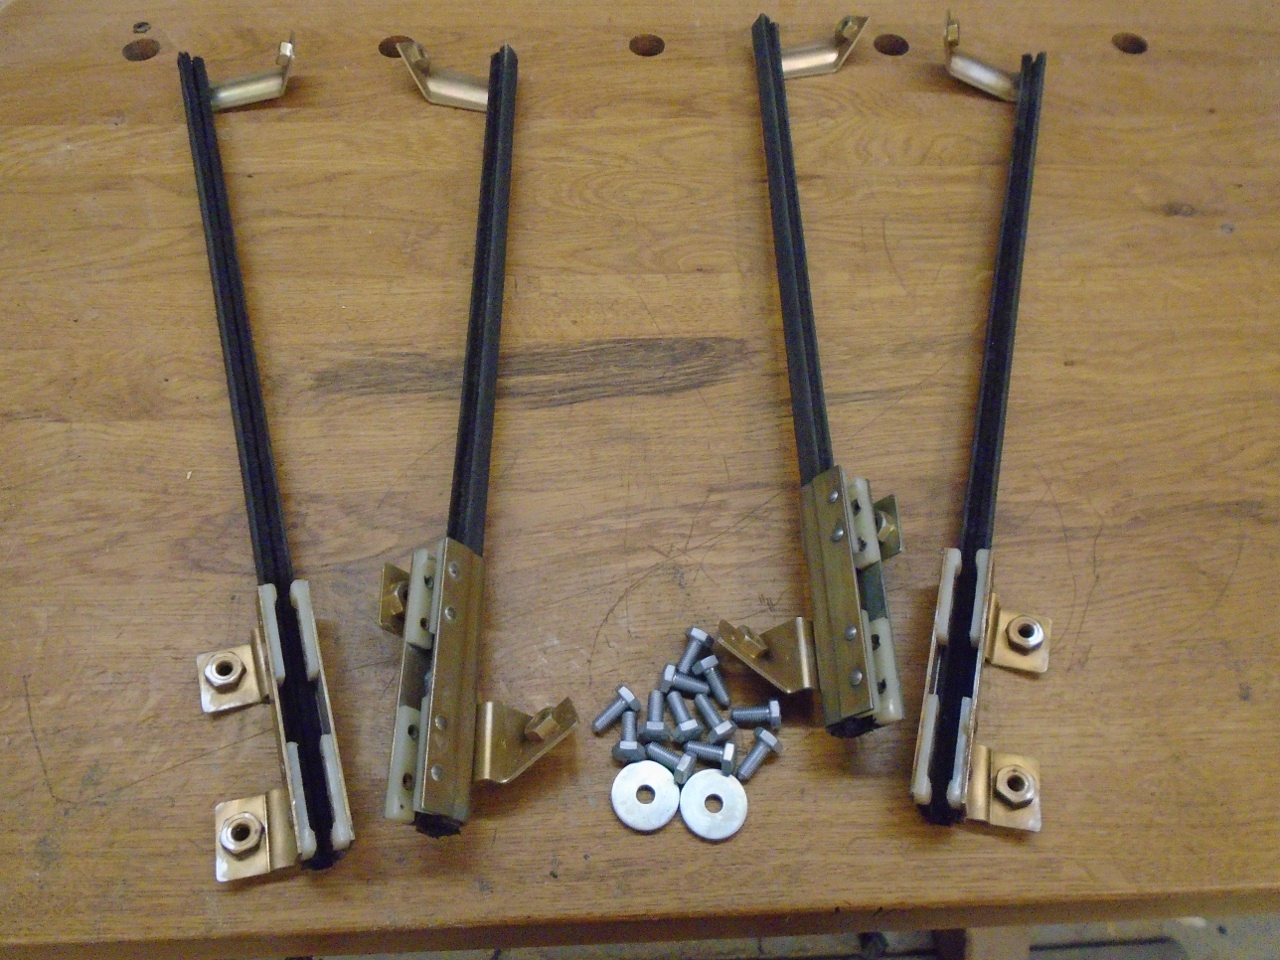
So the first channel went together without too much trouble.
Eventually, all four got done.
Even
though getting the incorrect parts was frustrating, I still enjoyed the
technical challenge of finally making it right. And I saved a
couple of hundred dollars to boot.
Comments to Ed at elhollin1@yahoo.com
To my other TR6 pages
Why I Couldn't Return the Incorrect Channels.
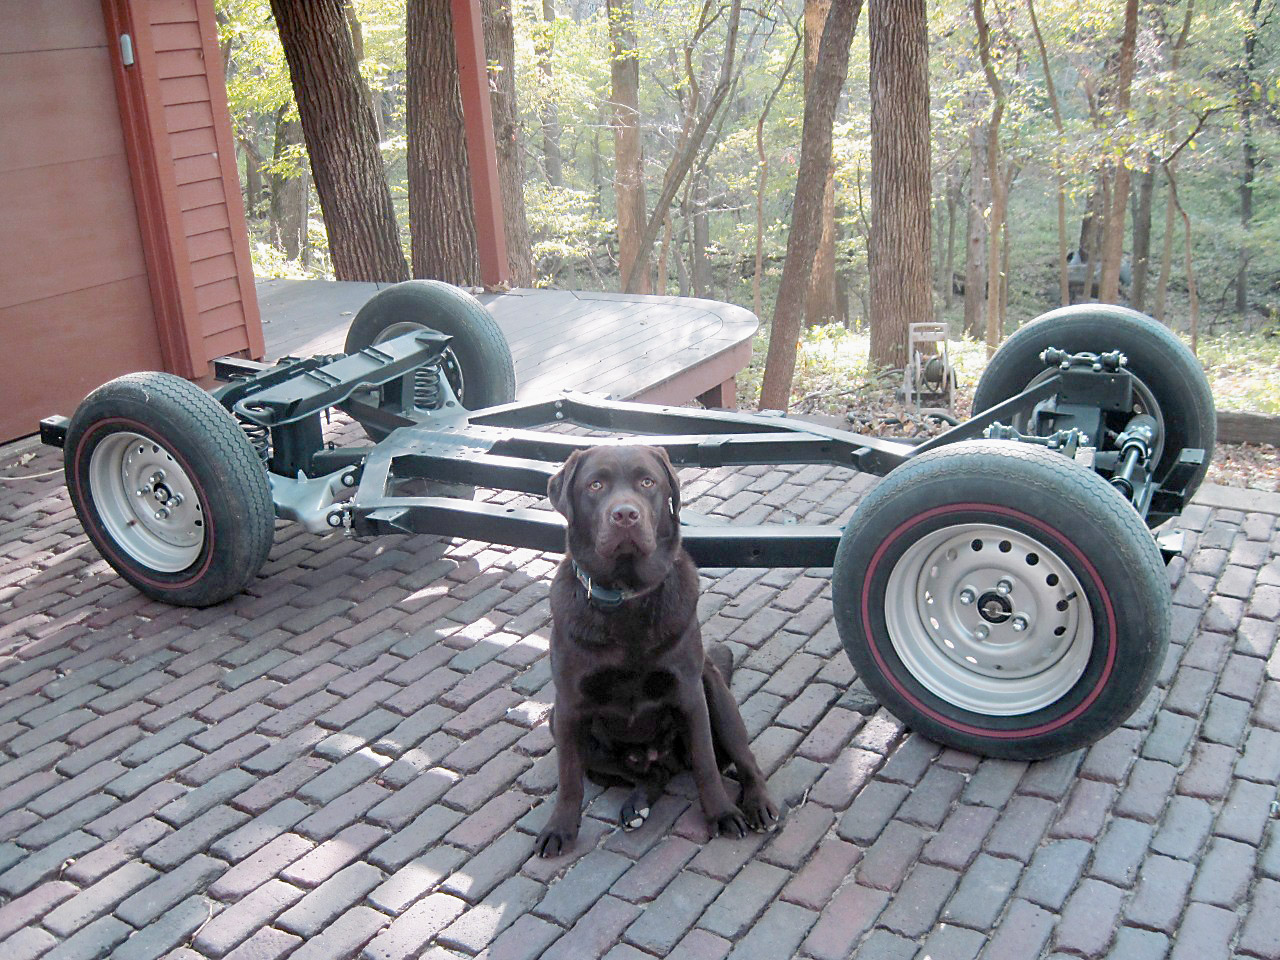
Some
of you may recall that I've mentioned Chippie the Dog on a few
occasions. Chippie is a four year old English Labrador Retreiver.
Chippie really tries to be helpful to everyone, including our
mailman. On at least two occasions, Chippie has greated the
mailman by jumping into his truck and helping him re-organize all the
packages in the back. As of today, if Chippie the Dog is out when
the mailman arrives, we don't get our mail.
So,
we try to make sure Chippie is not at large around mail delivery time.
If we have packages too large for the mailbox, the mailman leaves
them on the bench by our front door.
This
seems to be working OK, unless Chippie sees the packages before we do.
If Chippie sees a package first, he helps us out by opening it
for us, and dragging the contents into the woods for inspection.
Our first indication that we got a package is often the remnants
of the box on the porch. That was the case a while back when I
was expecting an order of parts for the TR6. After forty
minutes of searching the underbrush, I came up with most of the order,
including all four window channels. Three of the channels,
however, were particularly well inspected by Chippie. So I
couldn't really return them.