To my other TR6 pages
July 12, 1018
Rear Bumper
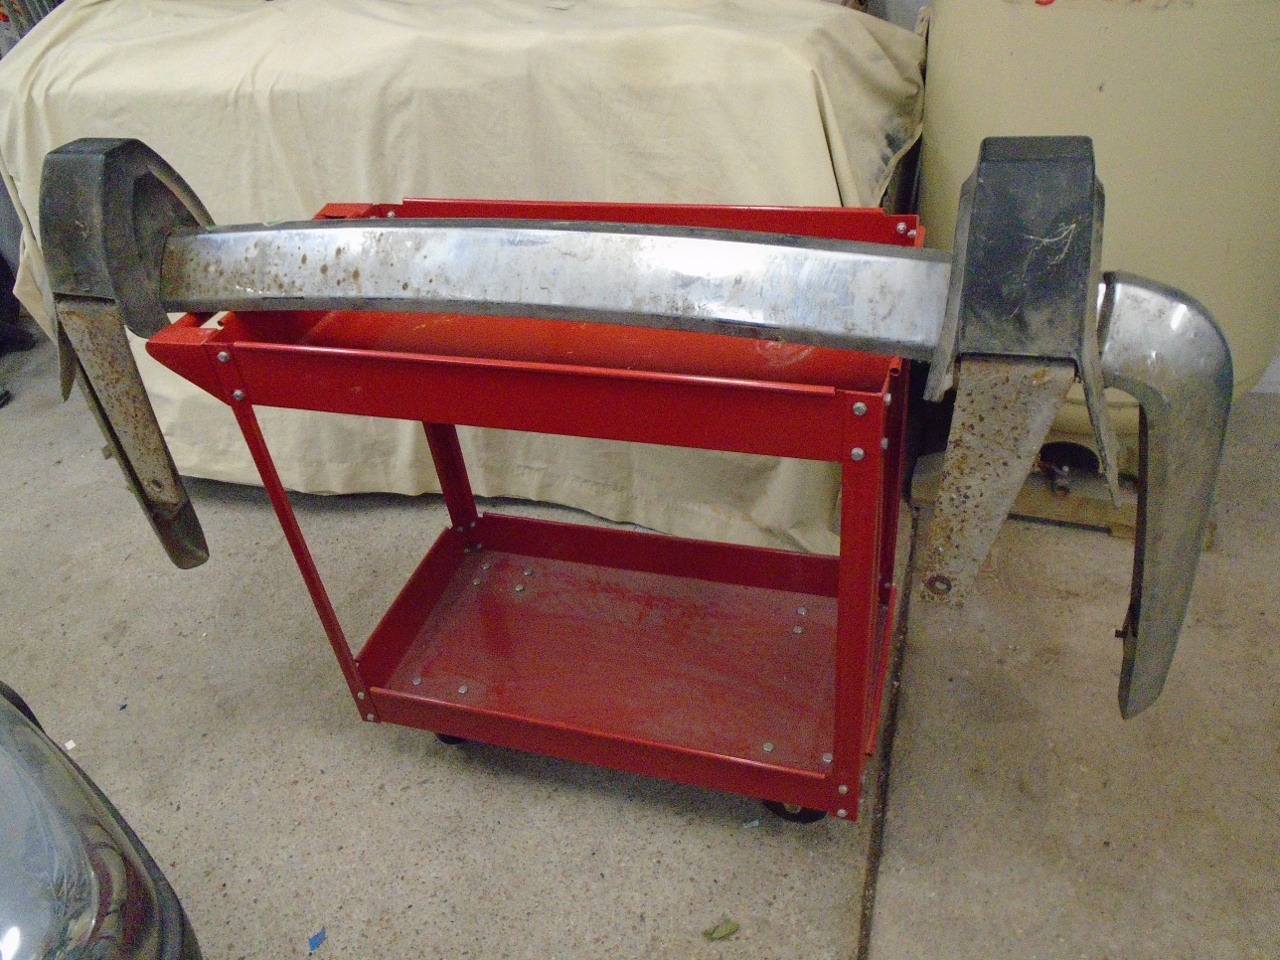
Being
of a certain age, the TR6 cars sported pretty conventional chrome
bumpers. By 1974, the US government had instituted crash
worthiness standards on all new cars, and Triumph met these standards
by adding a pair of large rubber shrouded steel protrusions to both the
front and rear bumpers. I've heard a few people say they like the
looks of the rubber protuberances, but most don't, and it is a popular
mod to remove them. A little over half the 40-pound weight of the
original rear bumper assembly is in the added crash protection.
My bumper looked pretty bad, but I dermined that I should at least
clean it up to see what shape it was in.
First,
off with the rubber warts. As is common in disassembling anything
having to do with bumpers or suspension, most of the bolts broke off
rather than coming out peacefully.
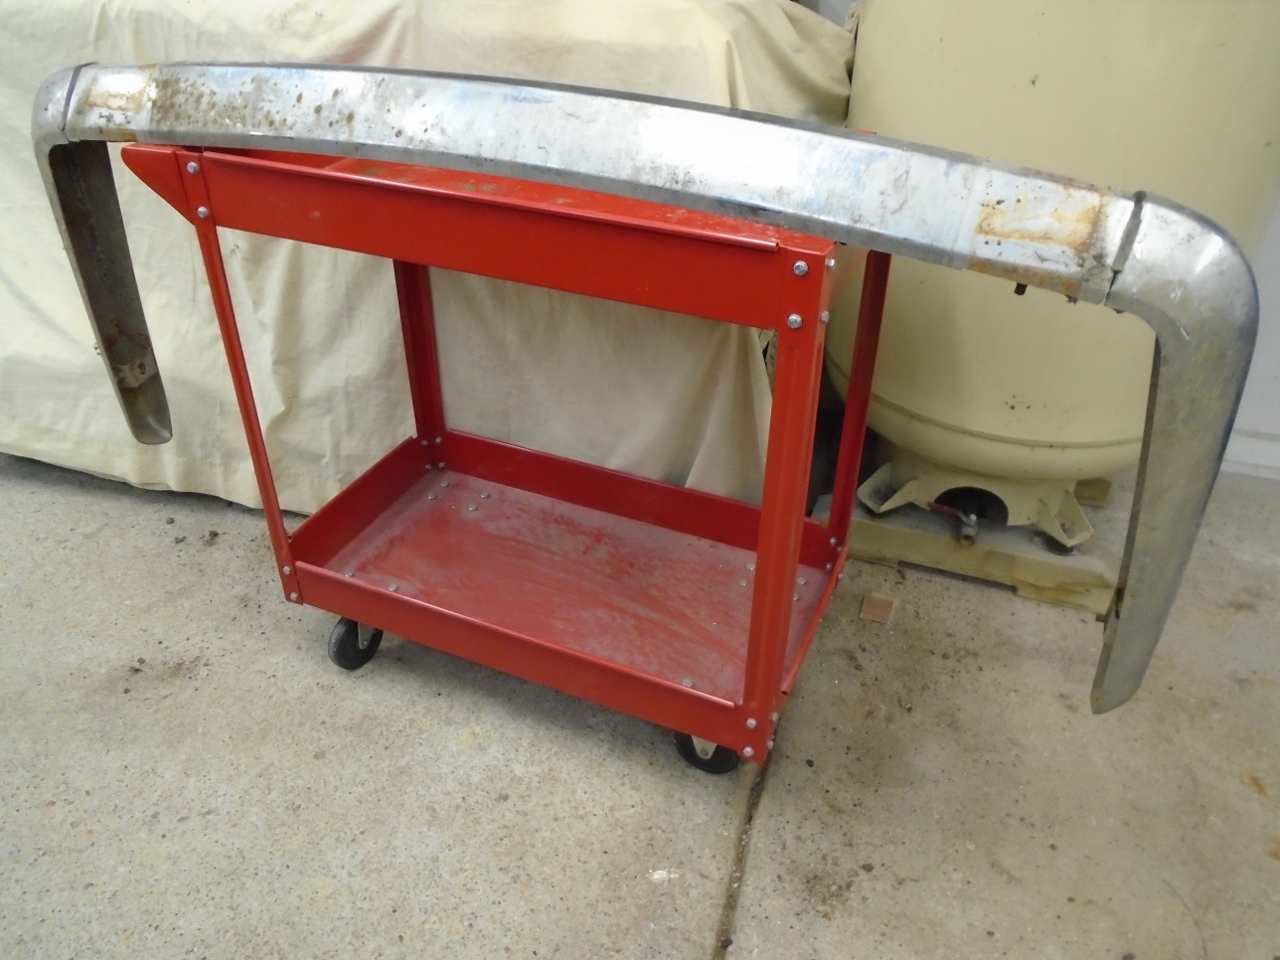
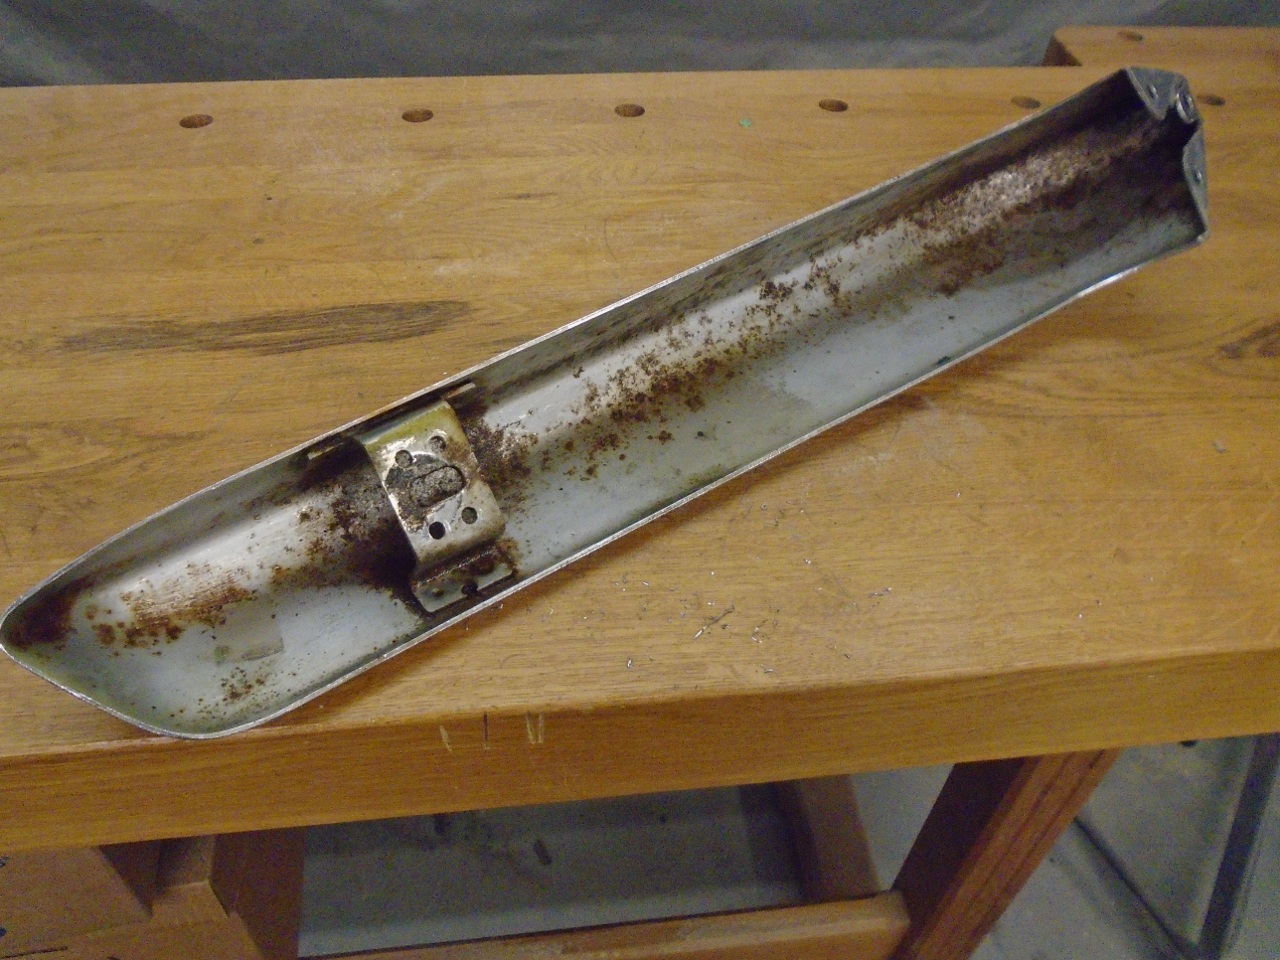
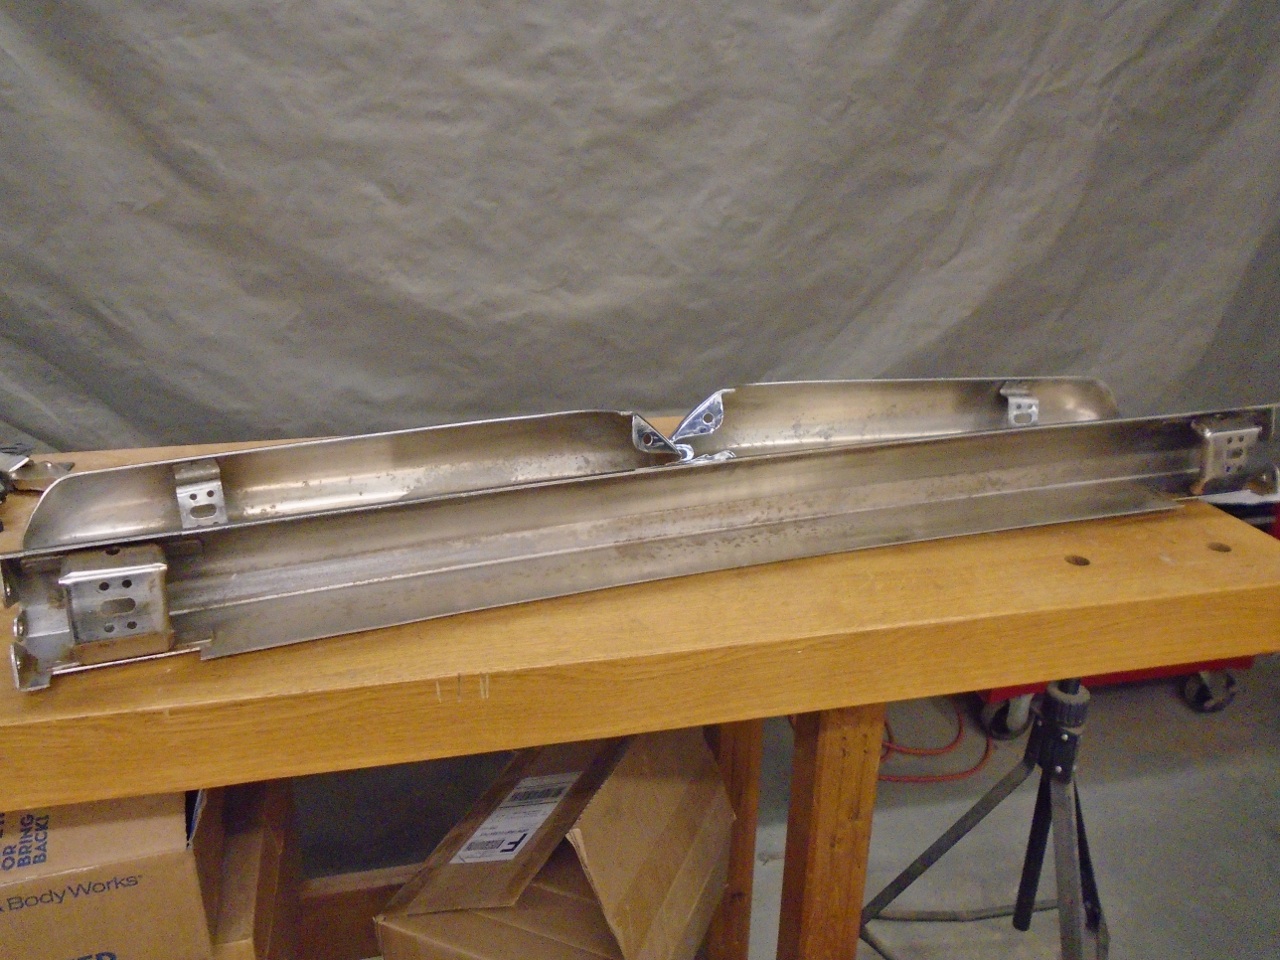
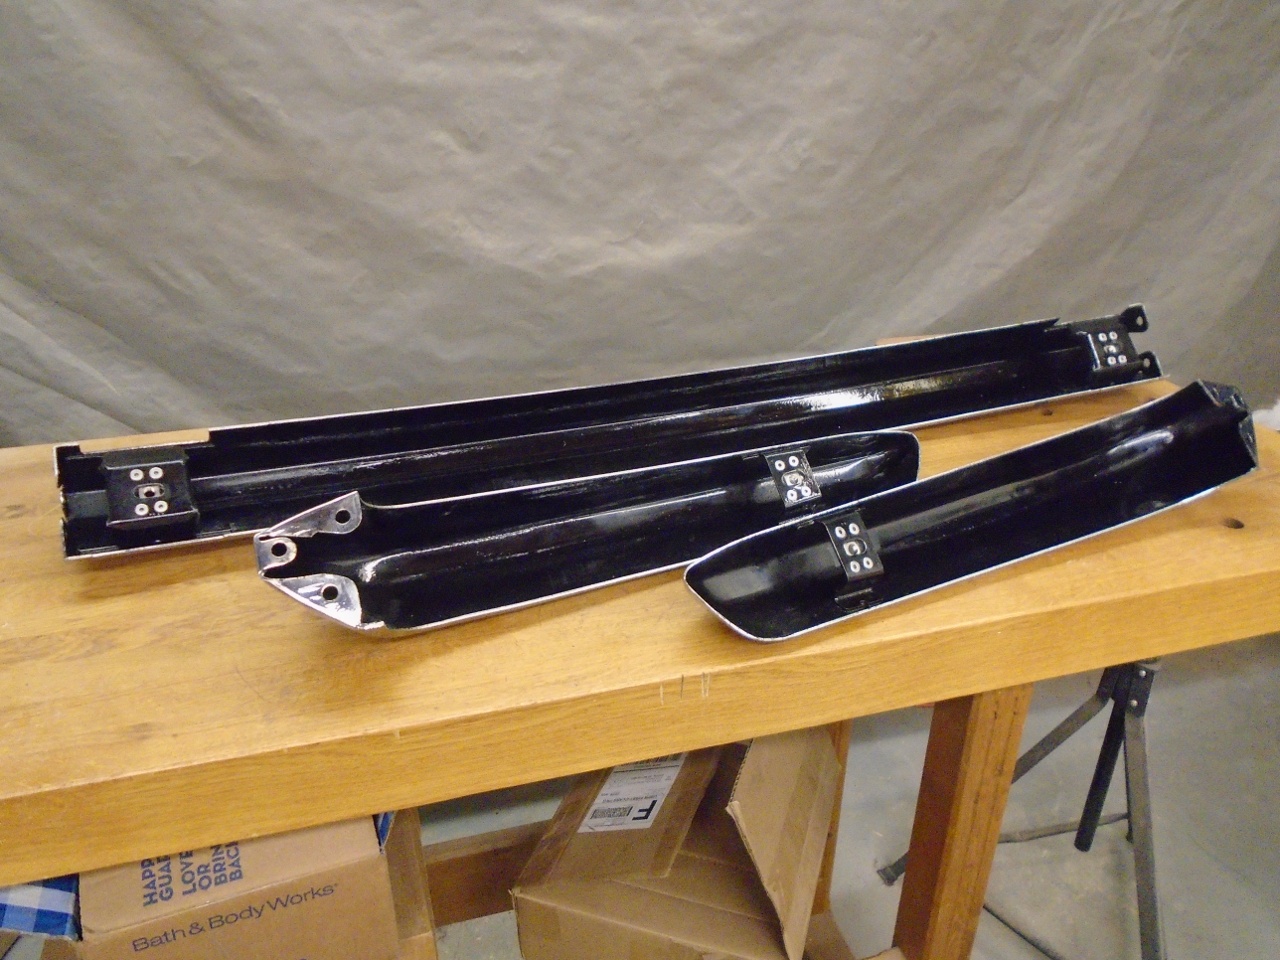
Then
parting the bumper's three component pieces. Again, about half of
the fasteners sacrificed themselves rather than be cooperative.

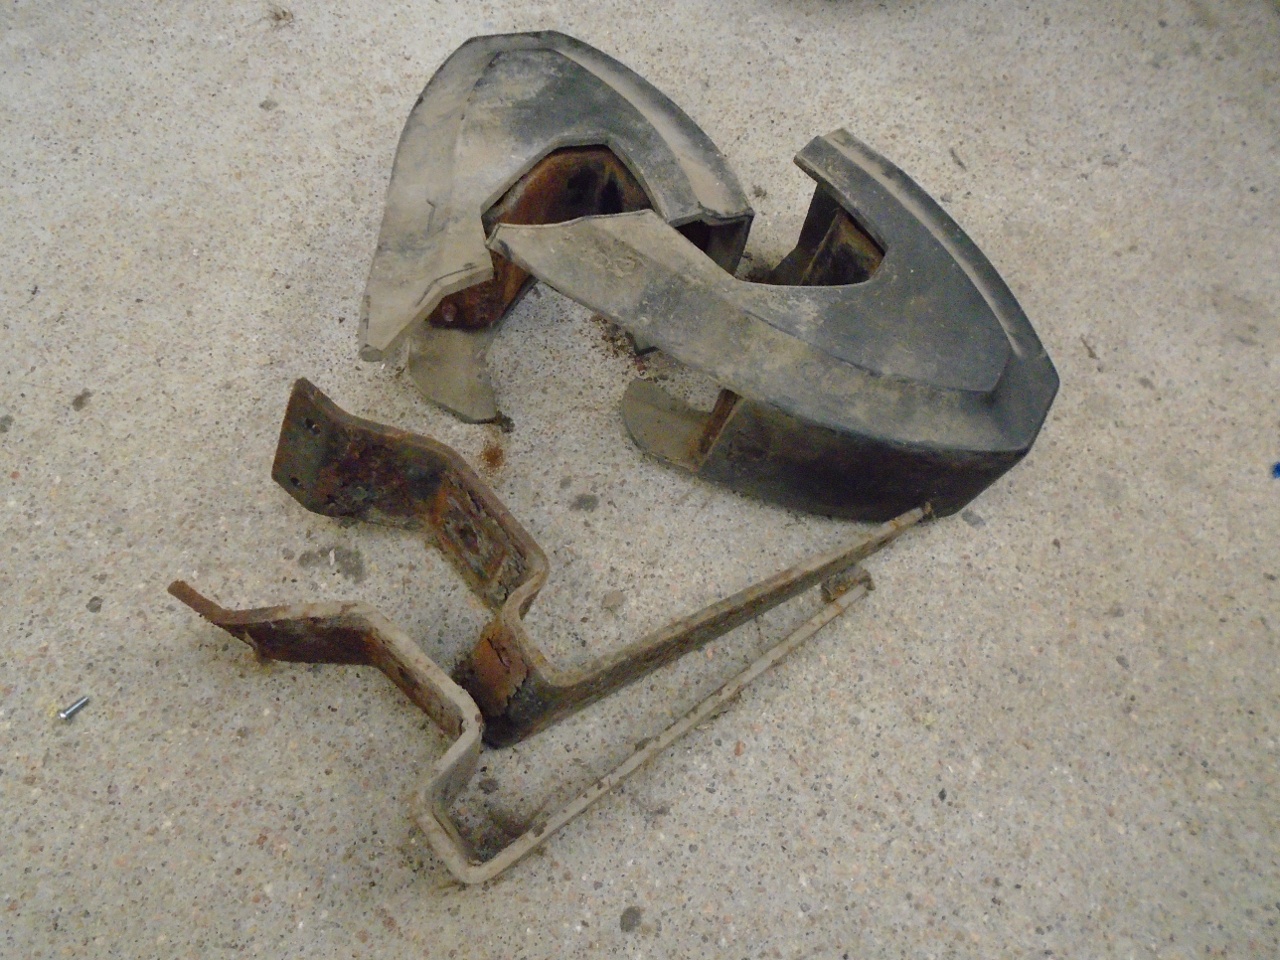
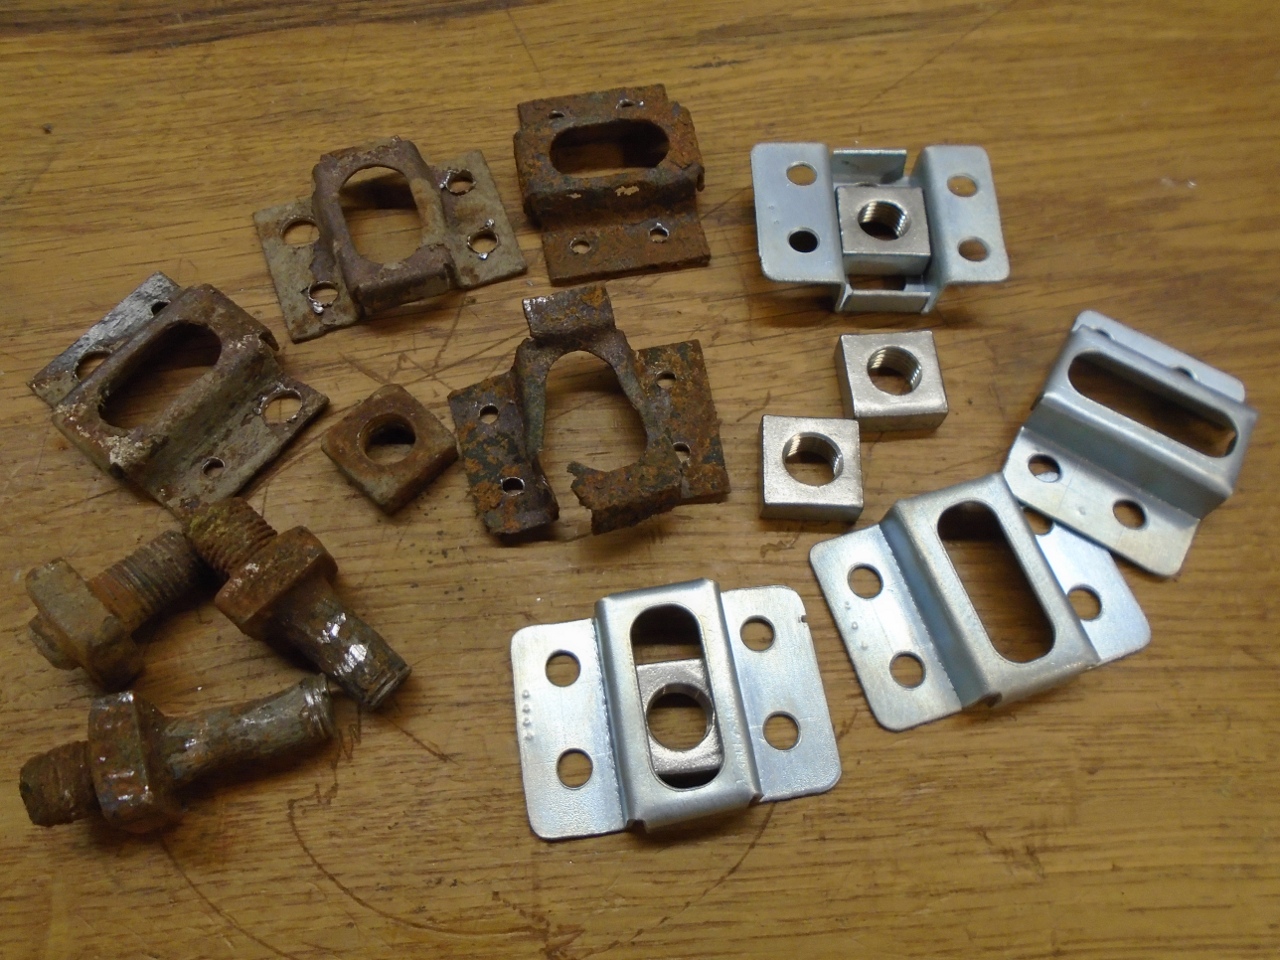
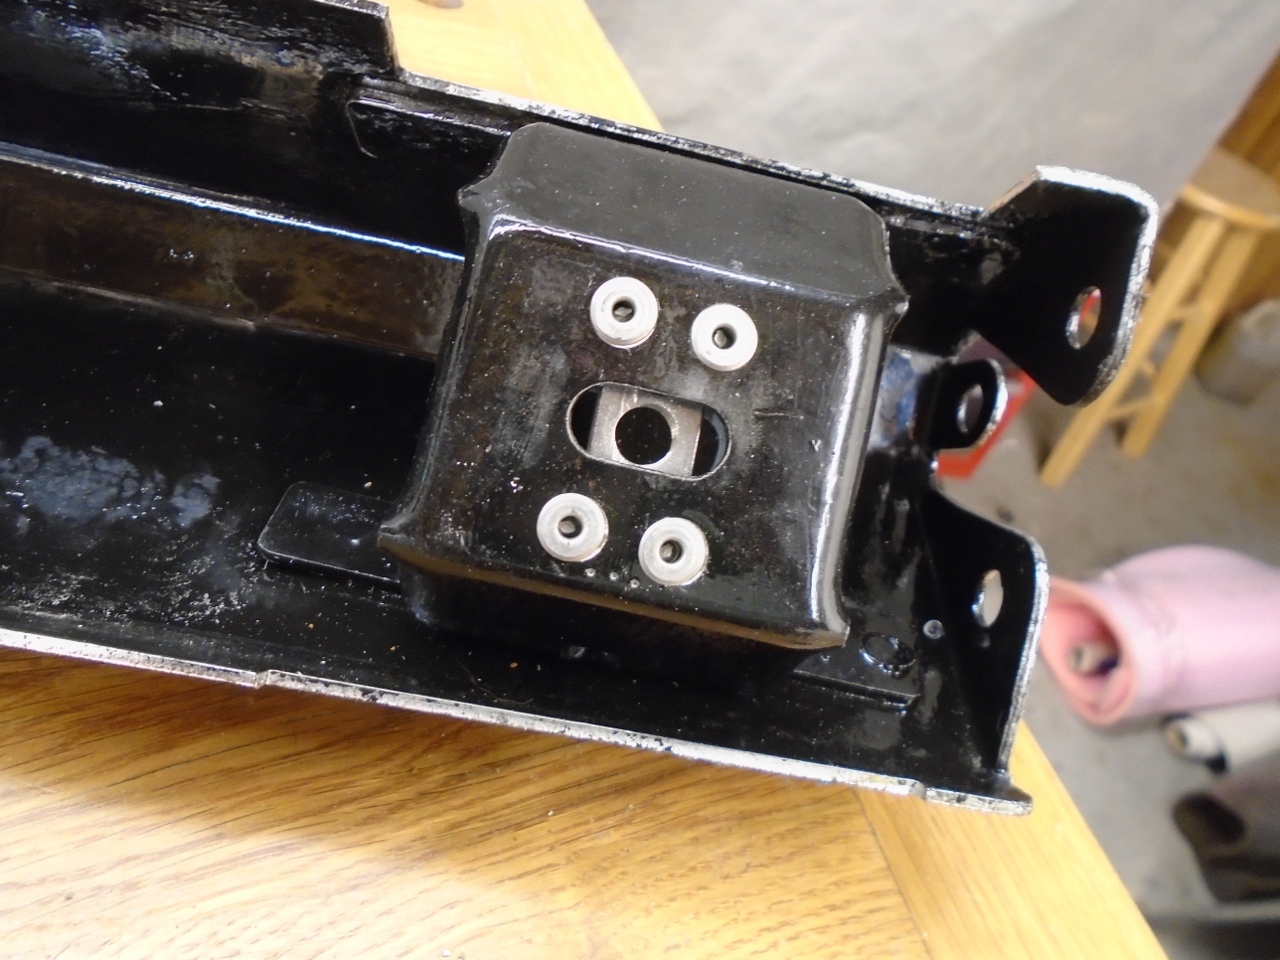
To
mount the bumper to the car, the bumper has four caged square nuts--two
on the center piece, and on each on the two end pieces. True to
form, three of the mounting bolts had broken off on original
dissassembly, leaving rusted stubs in the captive nuts.
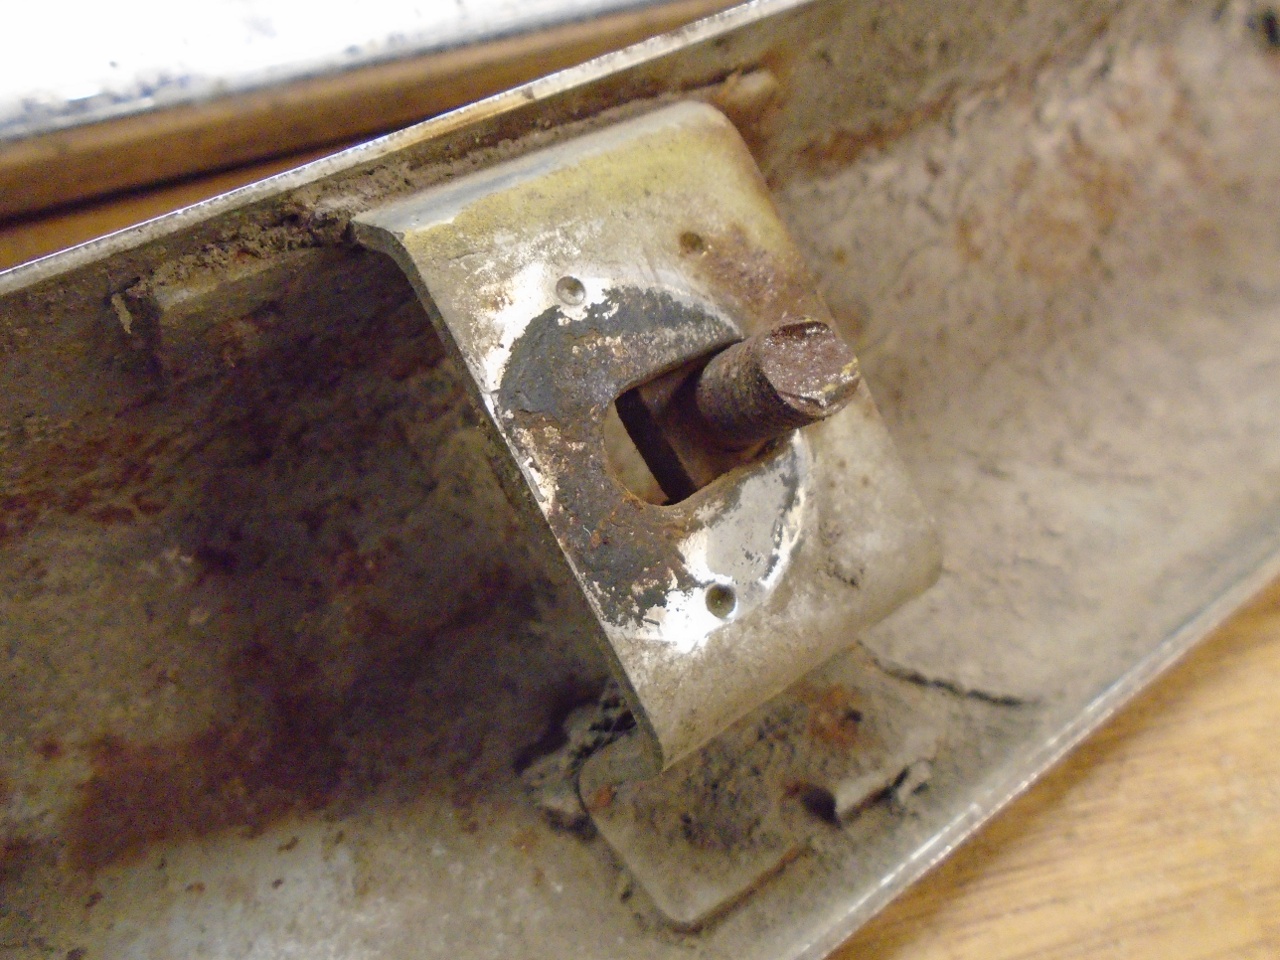
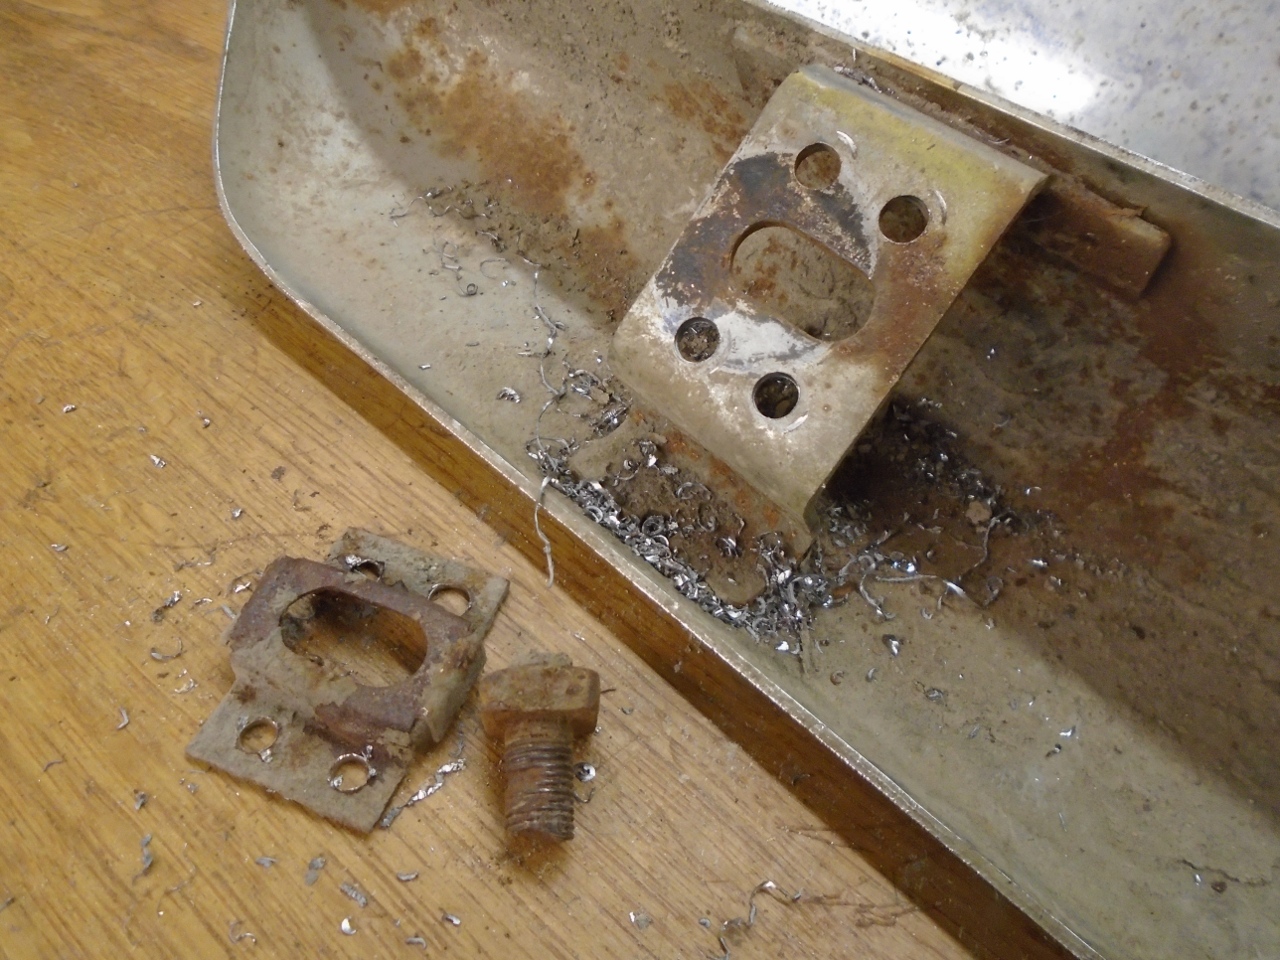
I
made a half-hearted attempt to free the remnants of the bolts, but
mainly just succeeded in mangling the nut cages. In the end, I
just drilled out all the spot welds securing the cages.
While
mulling what to do about bumper fasteners, I turned to the bumpers
themselves. I thought the outside chrome surfaces had a good
chance of looking OK, but the inner surfaces had some patches of rust.
This of course means that the plating is breached, and the
corrosion won't stop on its own.
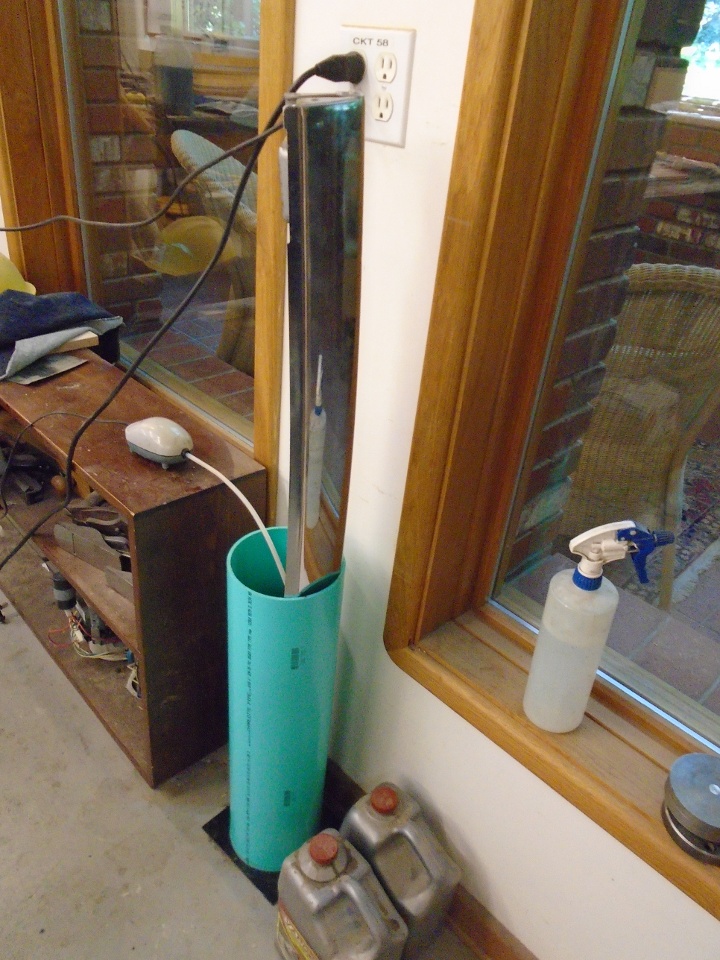
First,
I wanted to remove all the rust. I normally do this by soaking
the part in phosphoric acid, but I was a little concerned that the acid
may attack the chrome. To be safe, I used my backup method for
sensitive materials, Evaporust. I made this 2-foot long
container, filled it with Evaporust, and lowered the parts into it.
Both side pieces fit in the tank, but the center piece had to be
done one end at a time. The white tube going into the
tank is from an aquarium air pump. The bubbling keeps the
liquid agitated, speeding up the process.
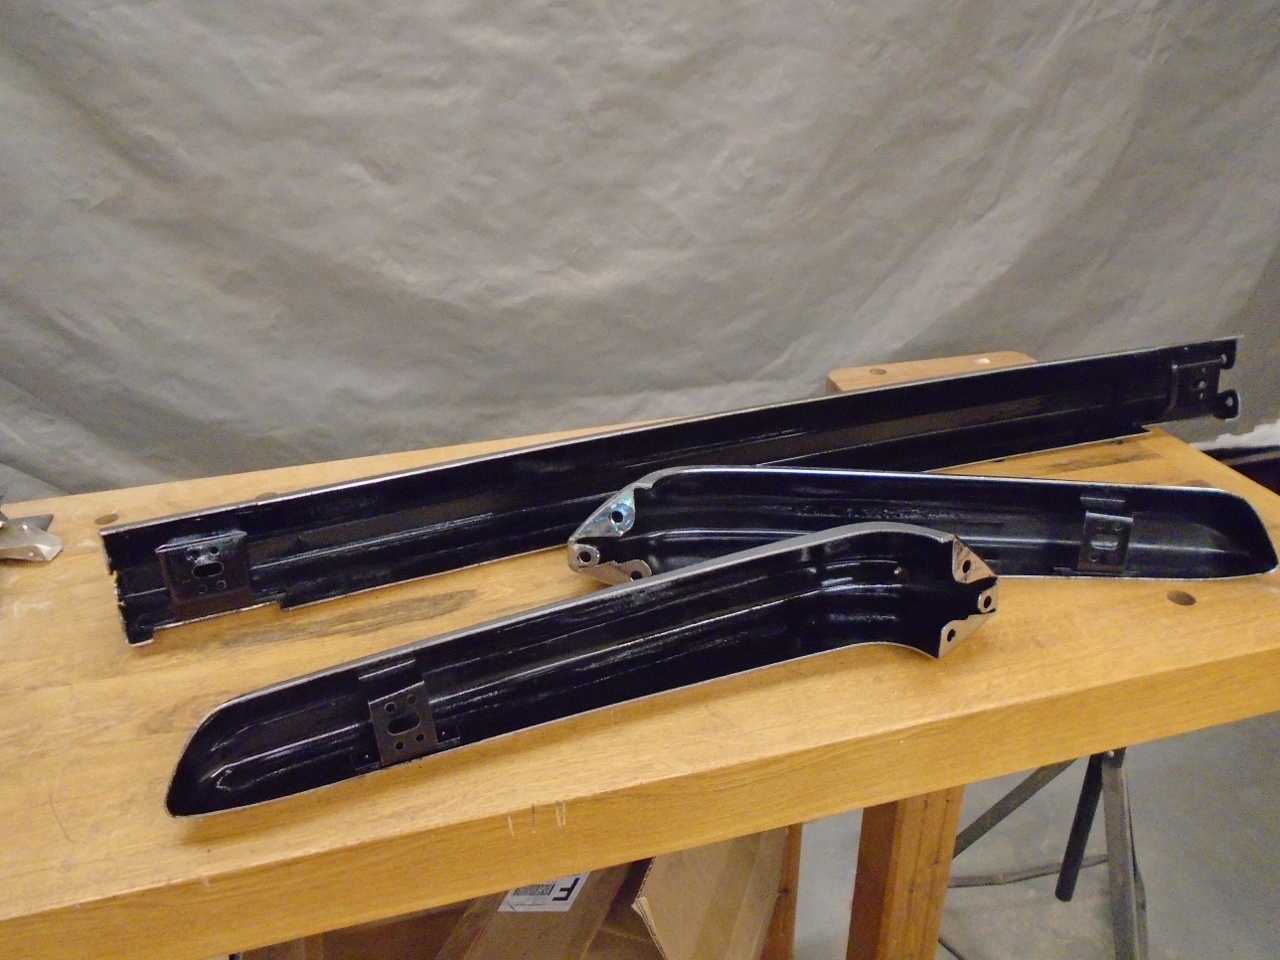
All the rust was removed from the inside, which of course left just bare steel in some areas.
Two
coats of POR15 sealed those surfaces. I would normally prefer to
shoot some epoxy primer on bare steel, but there were some areas on the
bumpers that could really only be reached with a brush. This
favored POR15.
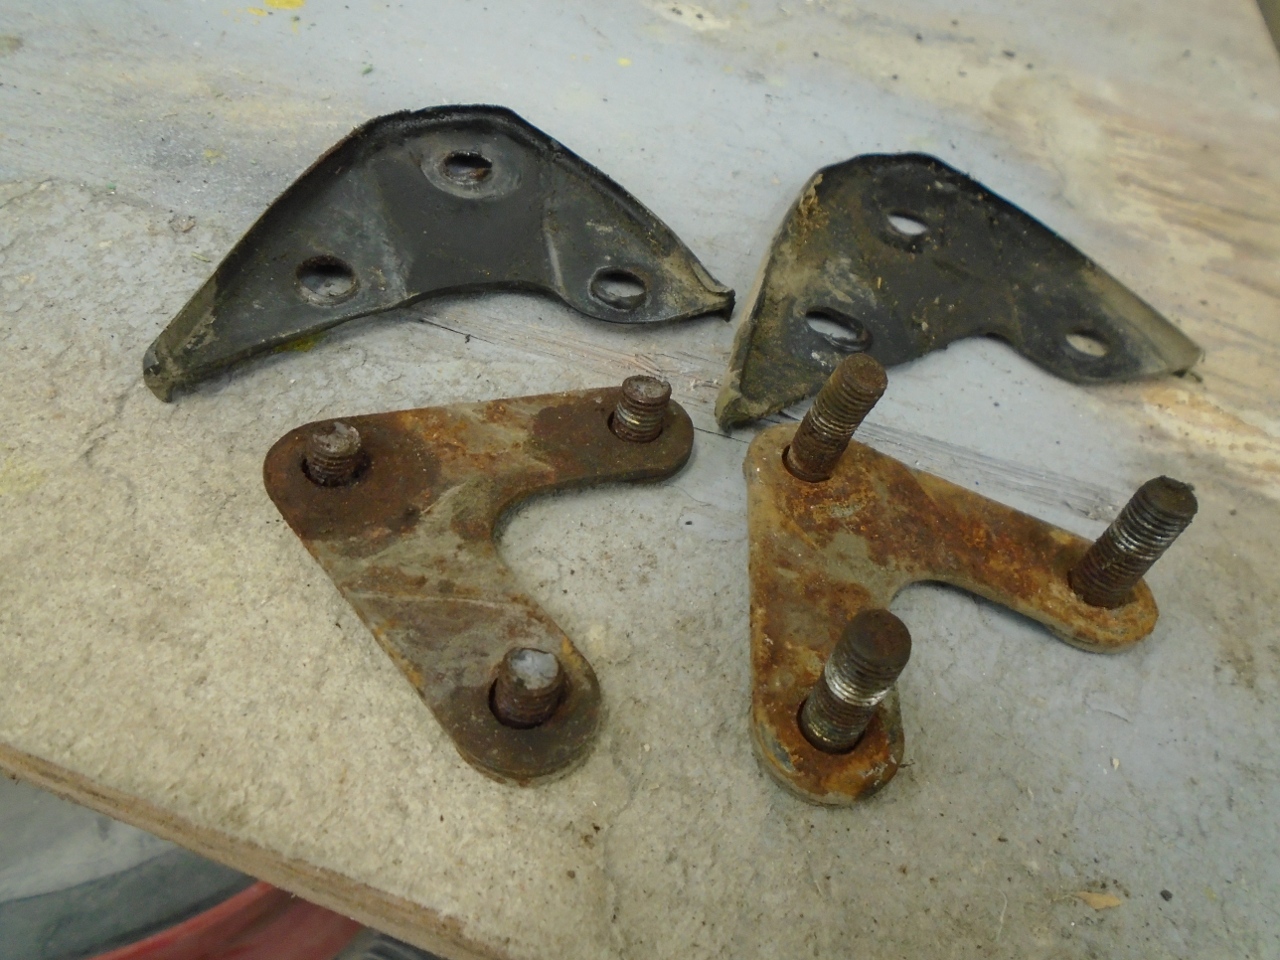
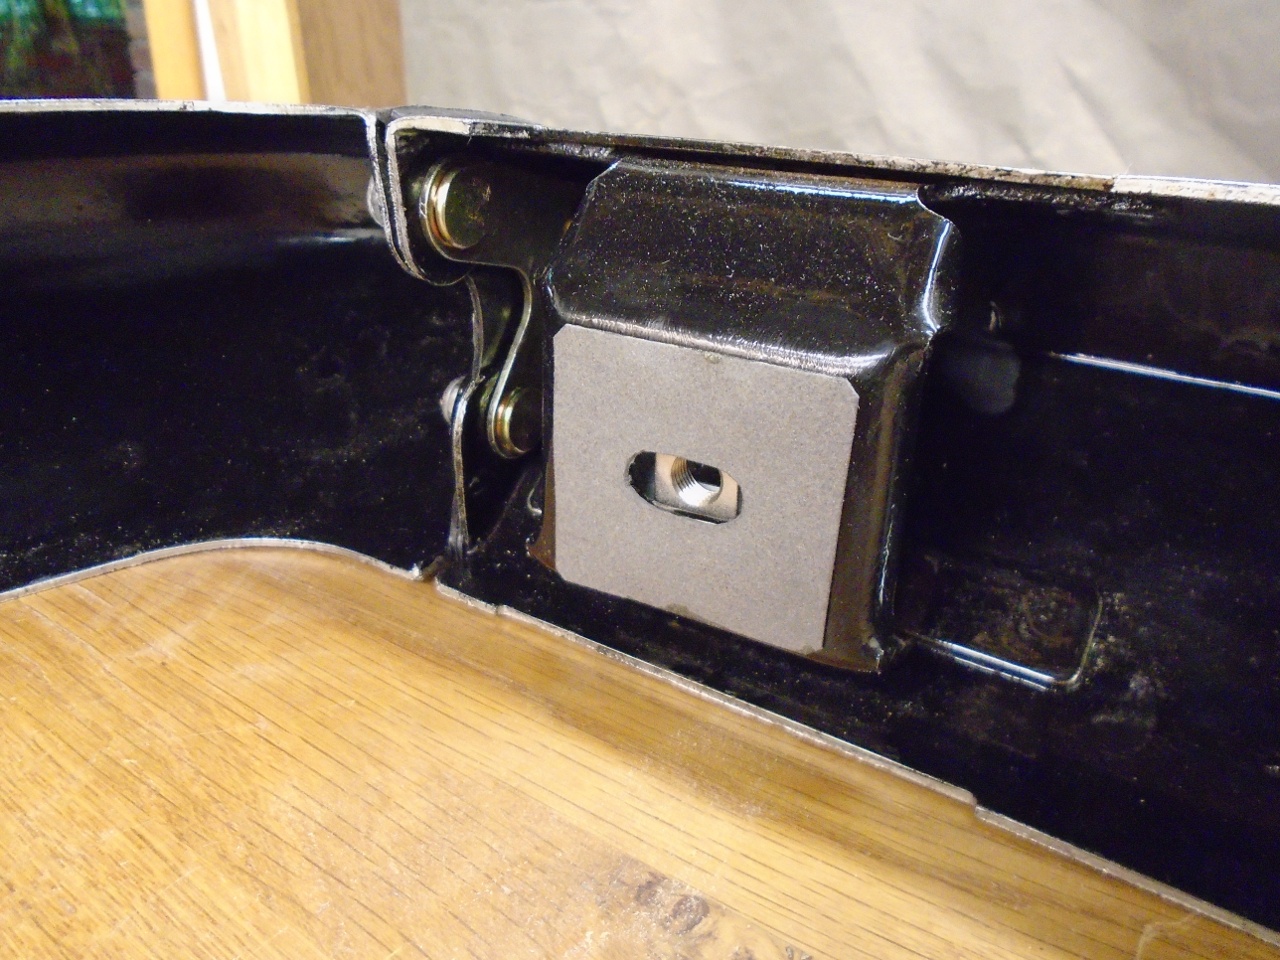
For
the
fasteners, I couldn't think of a better solution than the caged
square nuts, so I made some cages pretty much identical to the
originals, and bought some new stainless square nuts. The cages
were drilled to match the holes left from drilling out the spot welds.
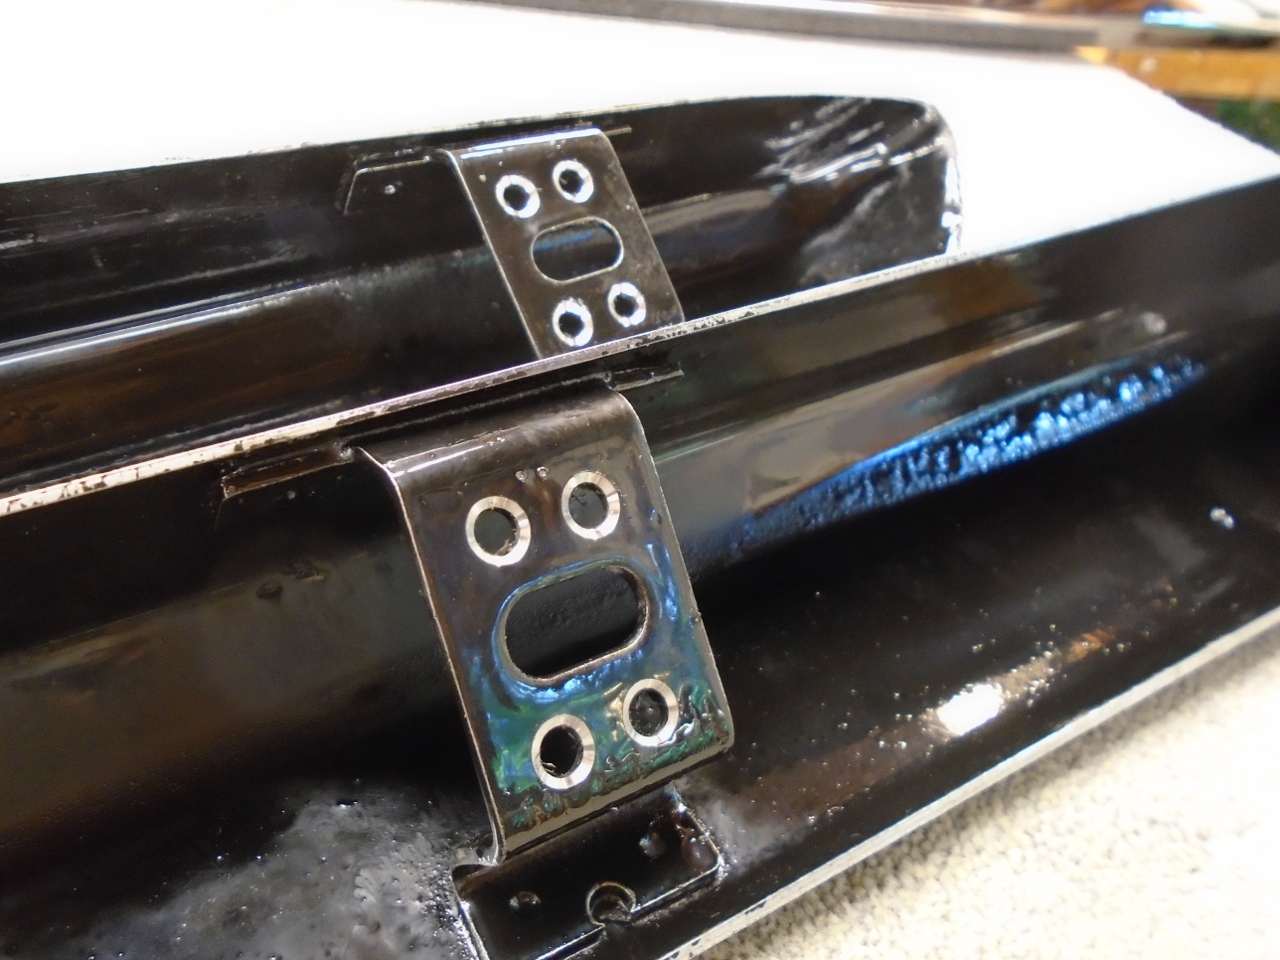
I
got some flat head stainless blind rivets, and countersunk the holes in
the bumper brackets so the rivets would end up more or less flush the
the surface.
Ready to go back together.
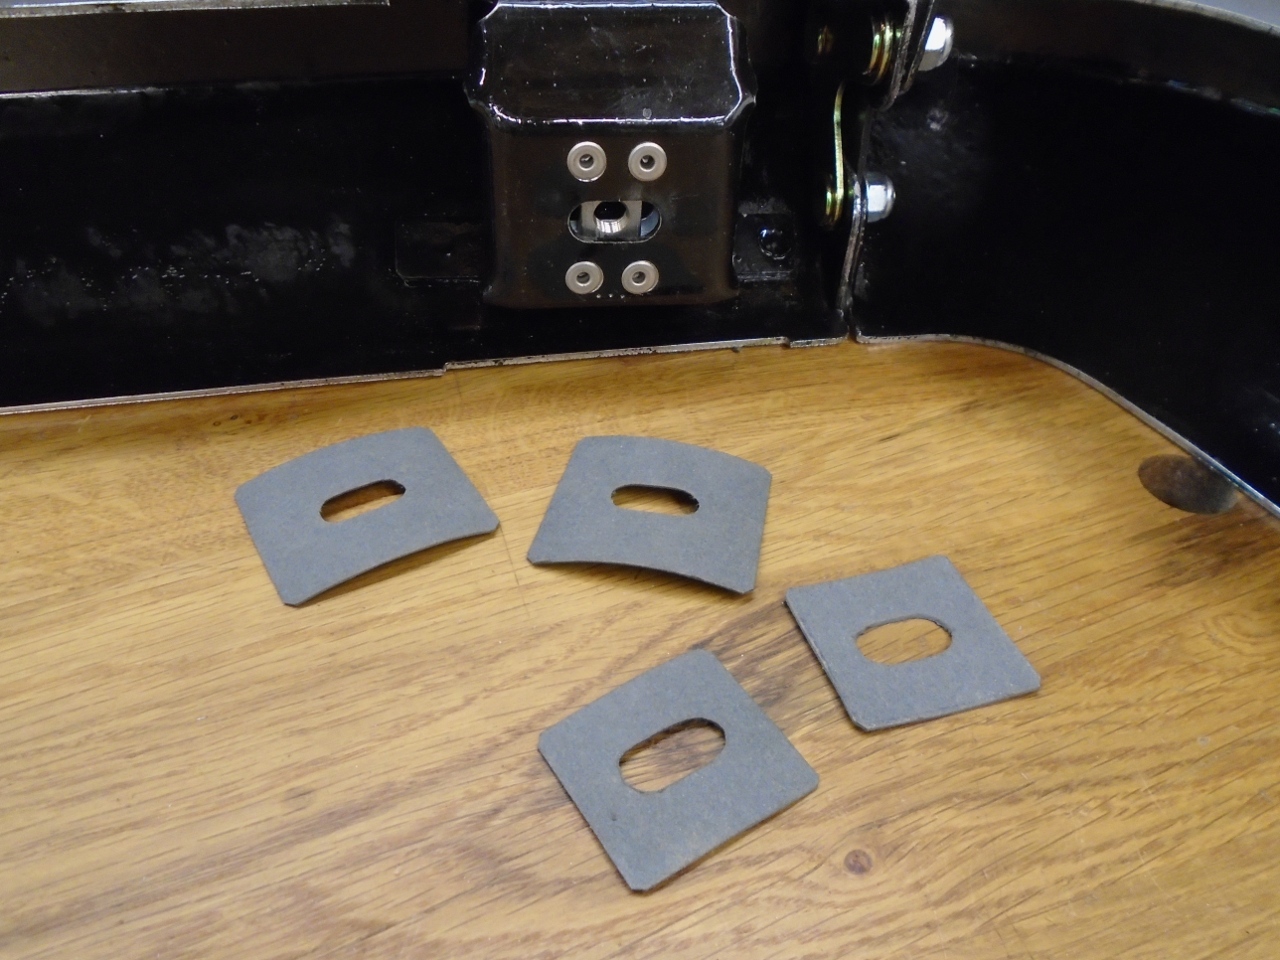
New stud plates and rubber gaskets. The anti-sieze is for the benefit of the next restorer.

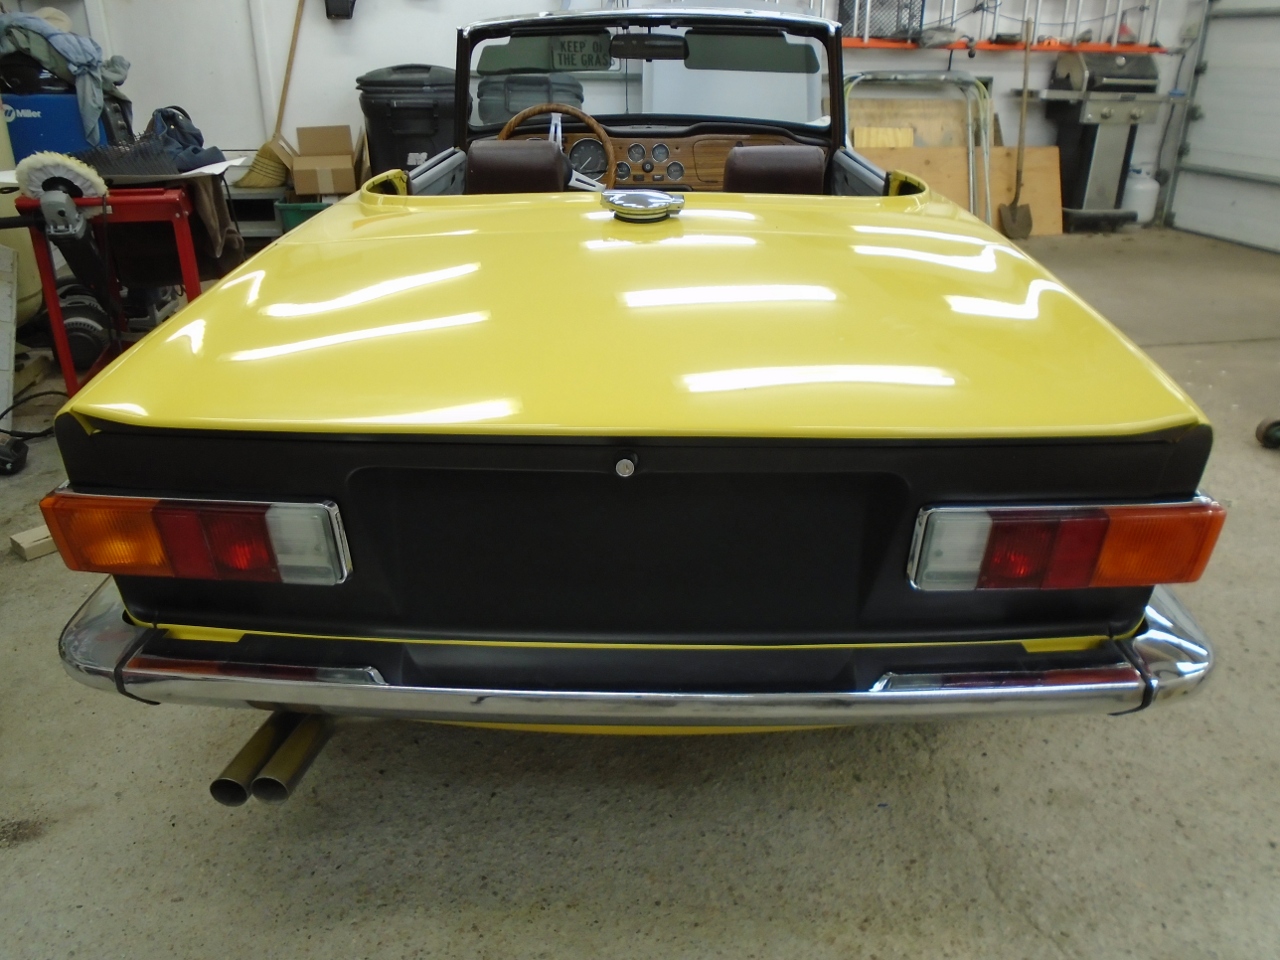
Let's see if it fits on the car.

But first, some little fiber pads to be nice to the fender and valance paint.
Makes
the car look more finished, I guess, but I almost like it better with
no bumper. Paint it black, maybe? I'll have to think about
it.

No
one standing within five feet of the car will mistake this for a
new or perfect bumper, but then again, perfection isn't one of my
goals.
I like projects like this one where I can make something cruddy look pretty darn good for almost nothing.
Comments to Ed at elhollin1@yahoo.com
To my other TR6 pages