To my other TR6 pages.
November 26, 2017
Convertible top
I
was taking stock of the TR6 project a few weeks ago, and realized that
about the only largish subassembly left to do was the convertible top.
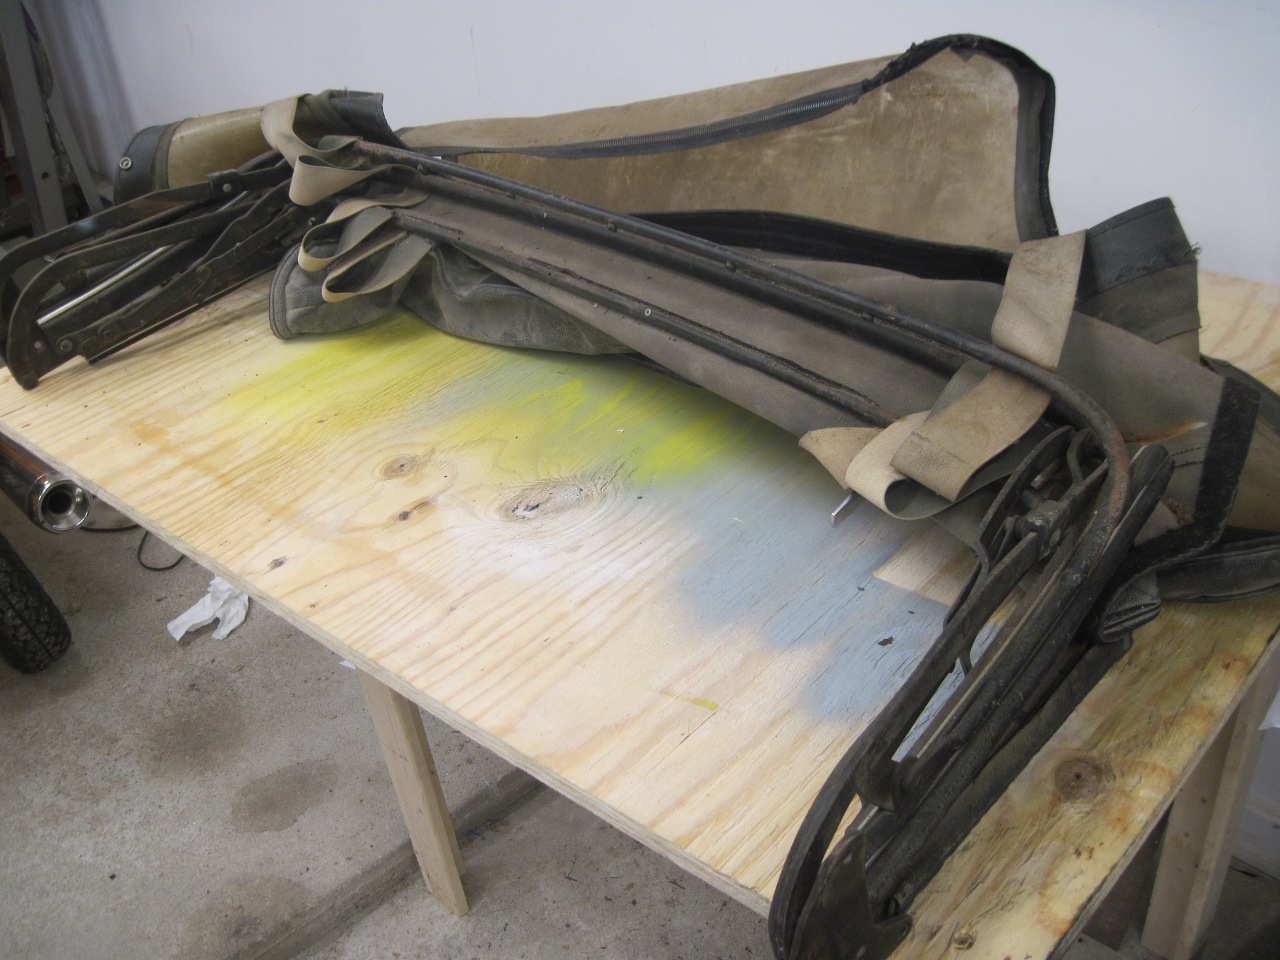
So I dragged it out of the shed and up onto a work table.
As
I recall, this is not the original top, but an early 80s replacement.
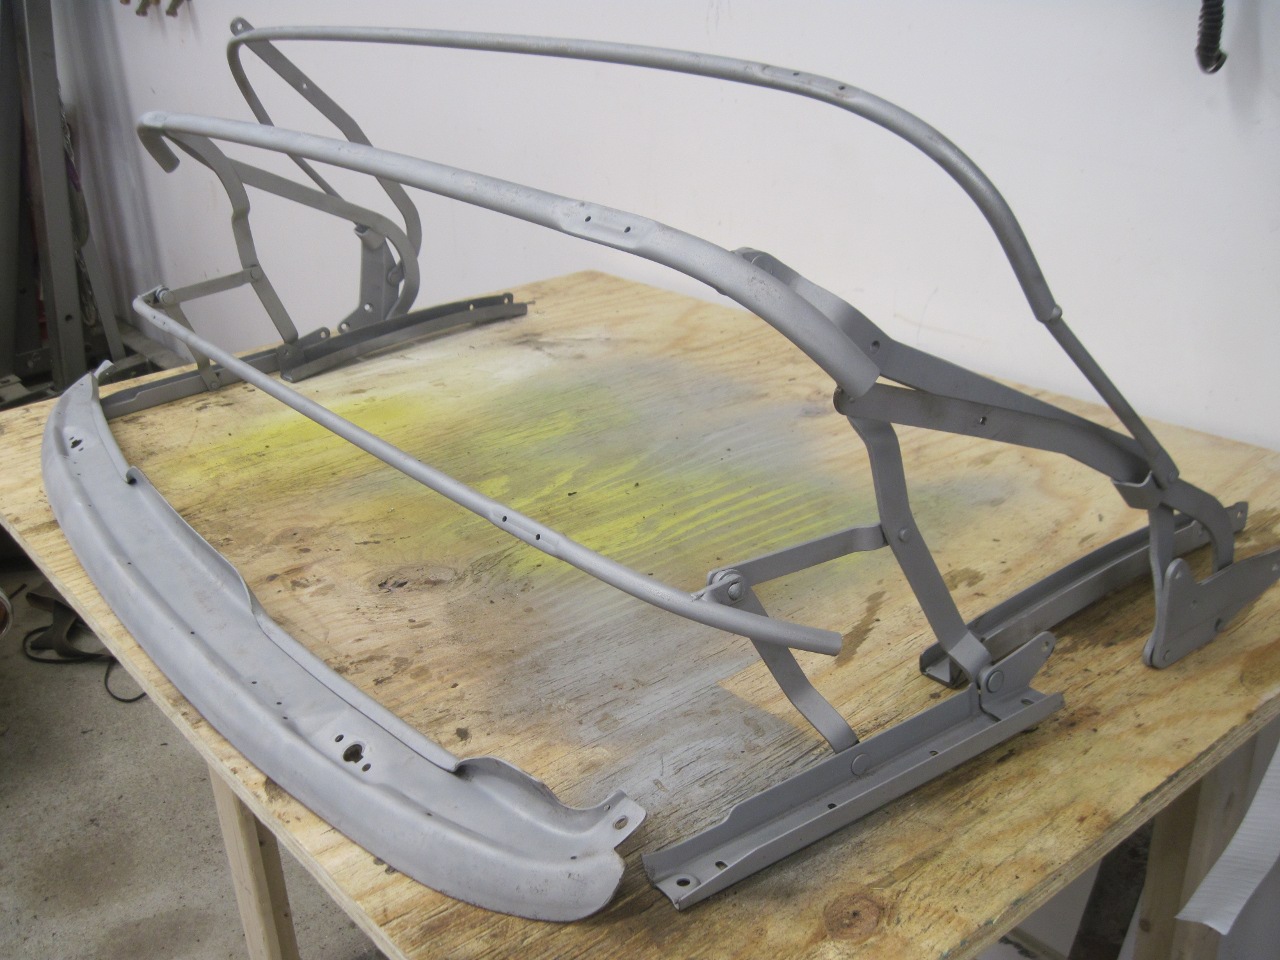
The top itself was of course pretty much toast. The folding
frame assembly on the other hand was dirty, rusty, and loose, but
appeared to be all present and serviceable.
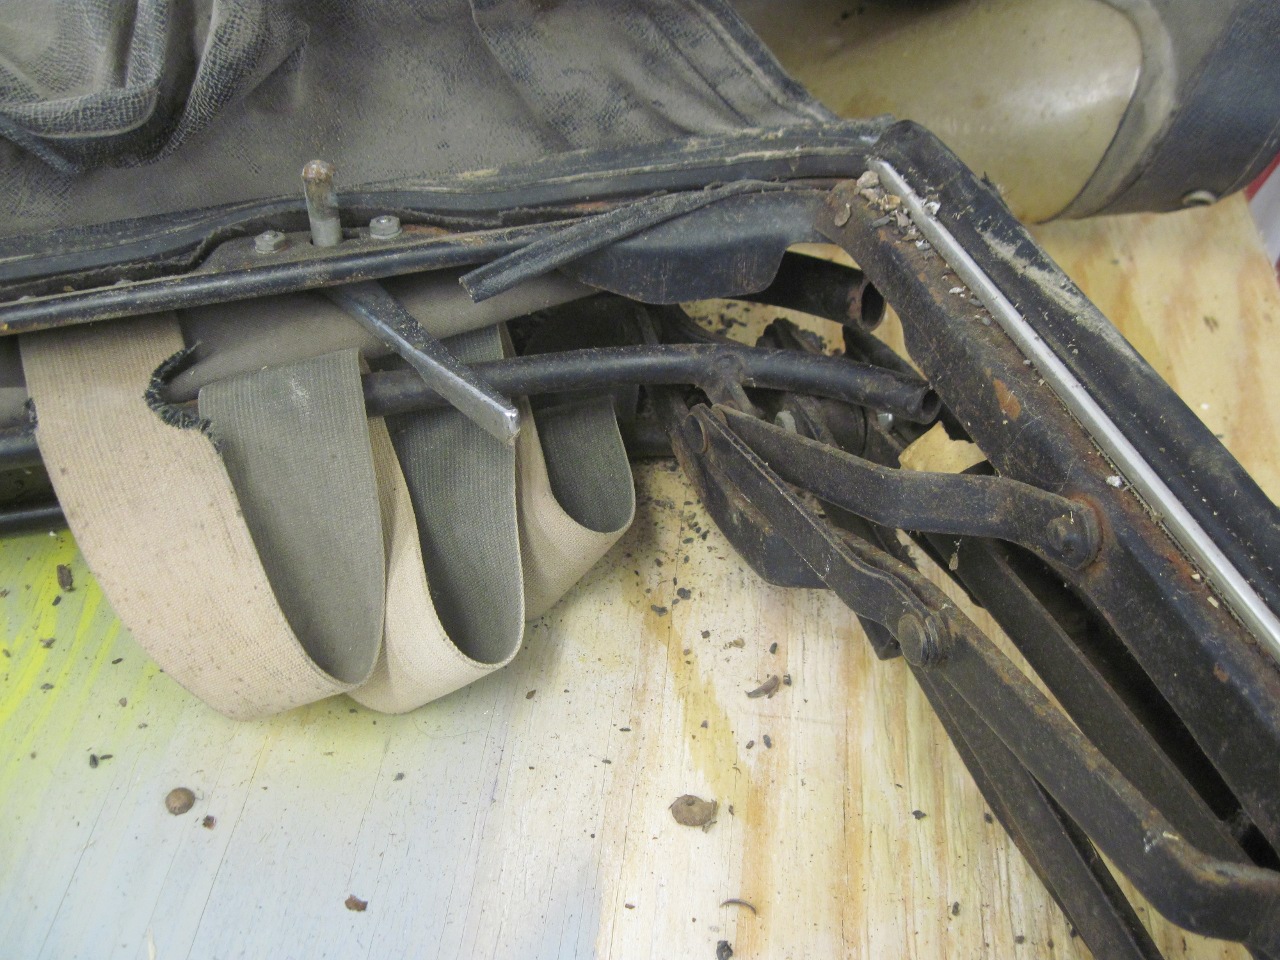
To
make cleaning and painting easier, I took apart what I could.
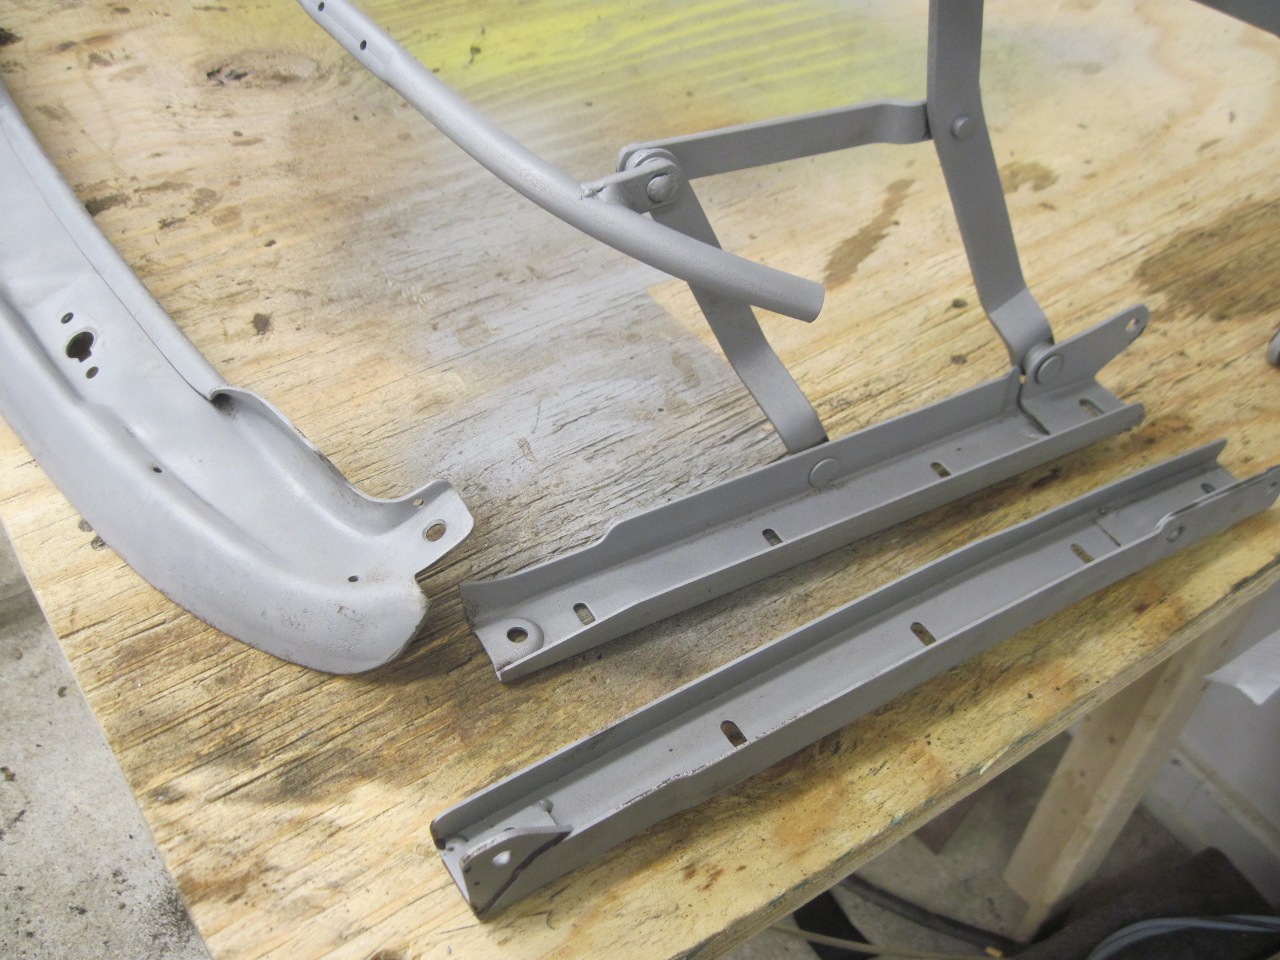
Removing the vinyl cover, I could extract the rear bar that
mounts to the body. The frame itself is mostly riveted together,
except for the rear side channels, which can easily be unbolted.
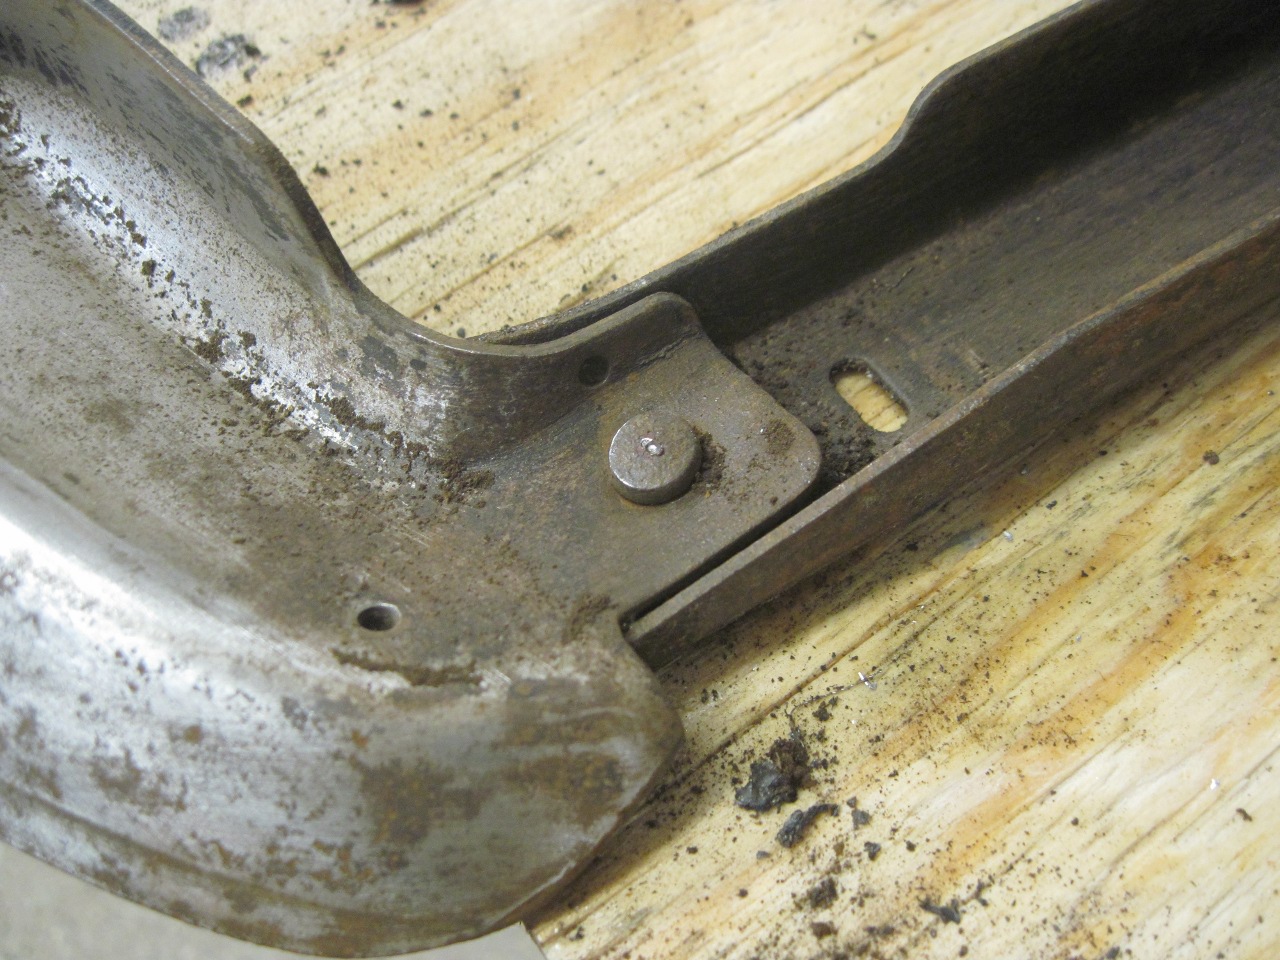
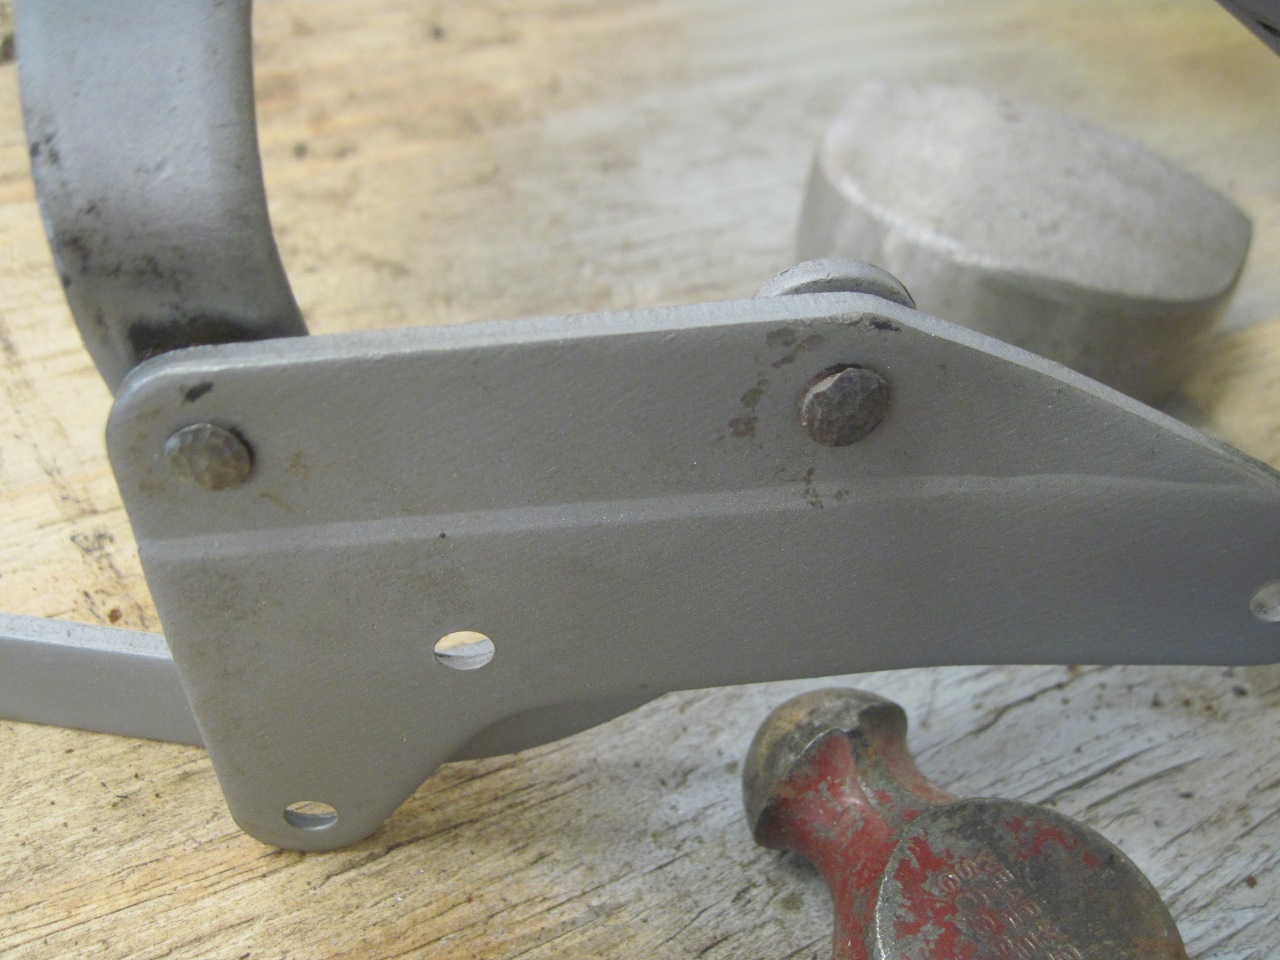
I noted that the front header--the part that mounts to the top of
the windshield frame--seemed loose on its rivets. I wasn't sure
whether this was intentional, to allow a little flex so that the header
could seat. Opinions on some of the forums seem to be split on
this question. At any rate, I didn't think I could do a good job
of cleaning or painting that area with the front header in place, so I
drilled out the beefy rivet.
This made it much easier to do a complete sand blast on the frame.
At
this point, I checked all the pivot points for looseness, and snugged
the floppy ones a little by peening the rivet heads. This helped
a lot to make the frame less rattly and smoother in operation.
I then applied a couple of coats of a two part epoxy primer and a semi gloss black top coat.

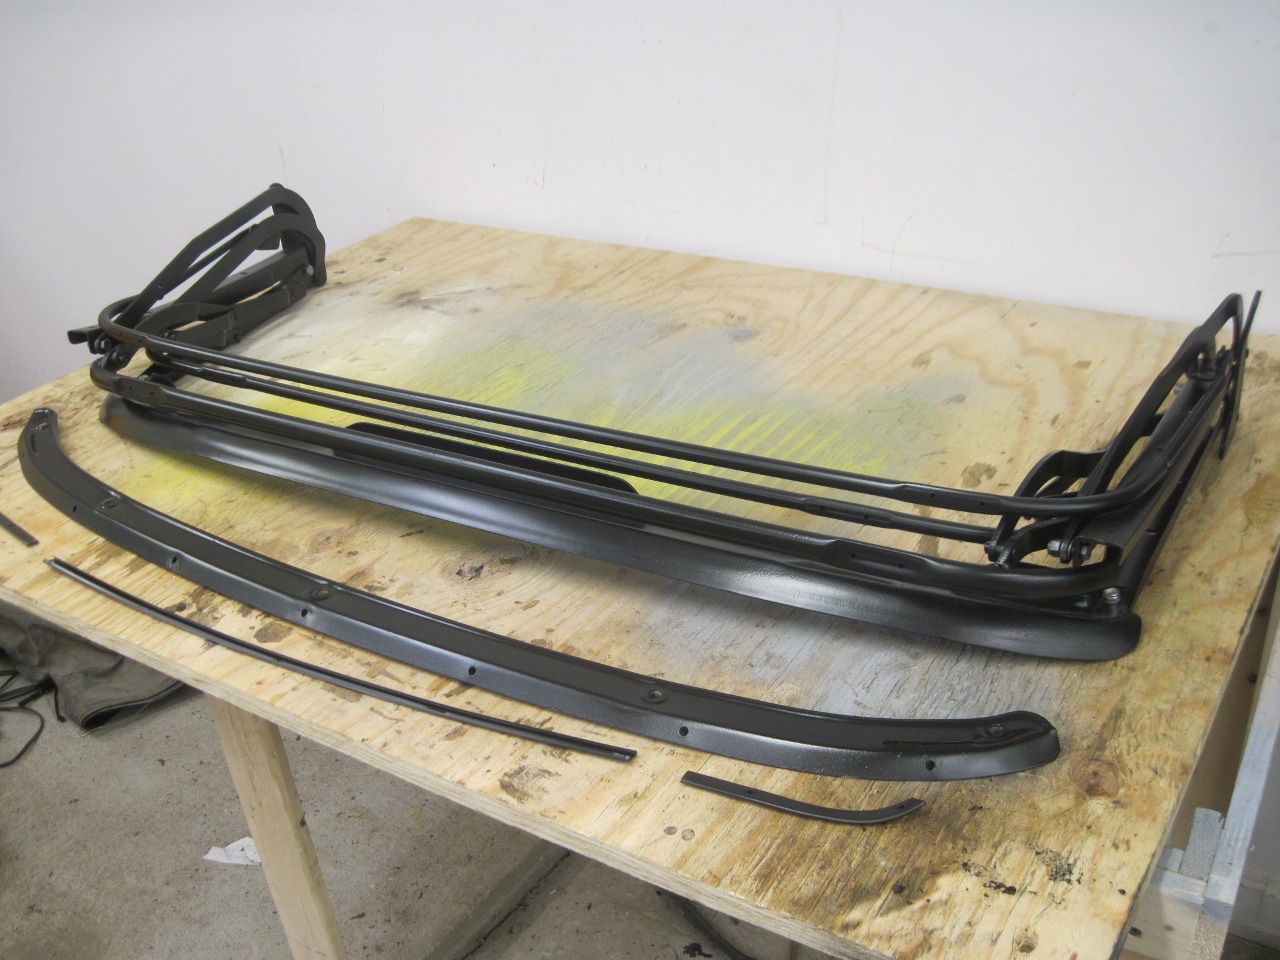
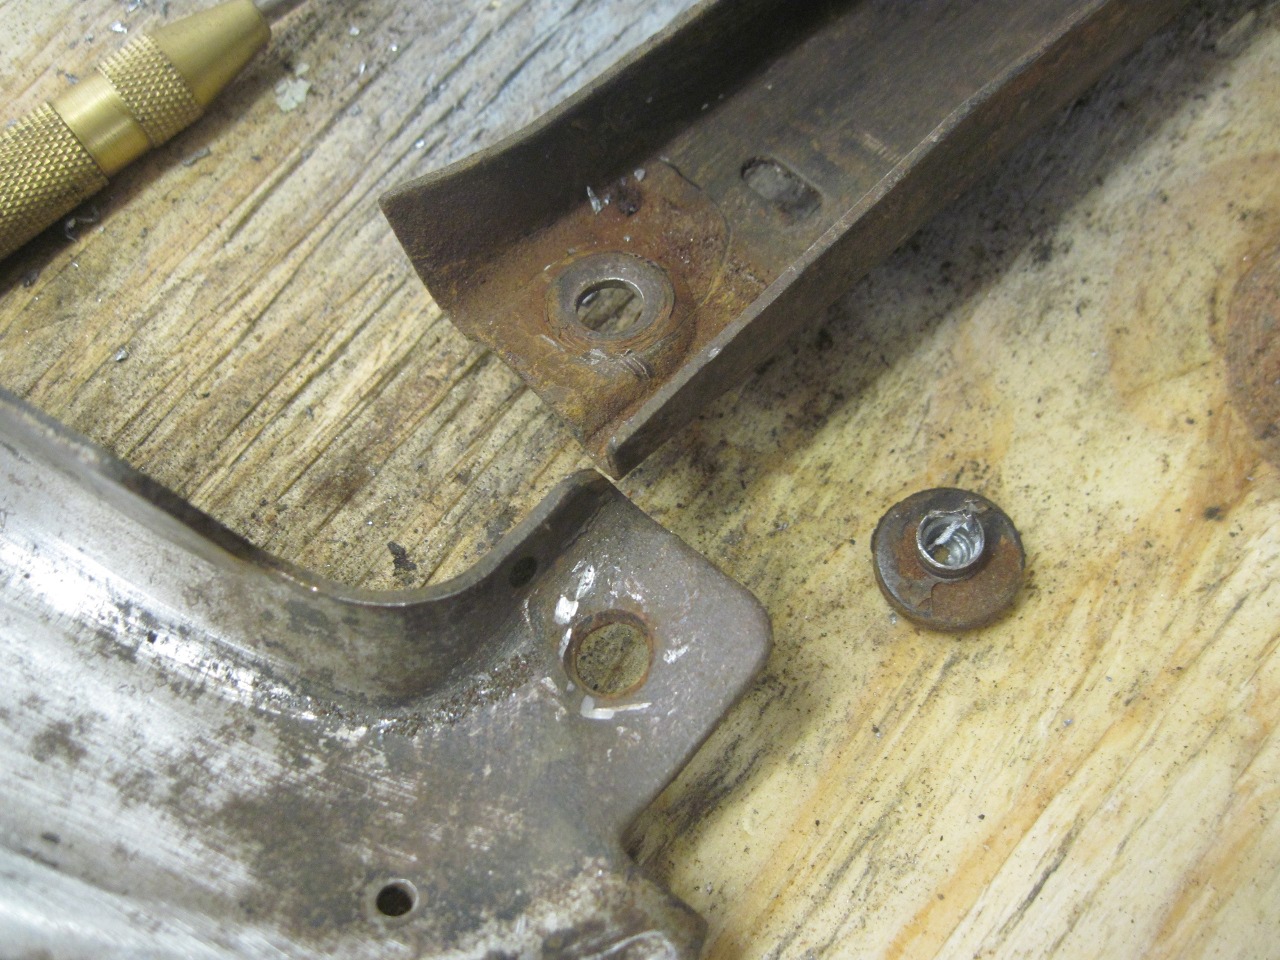
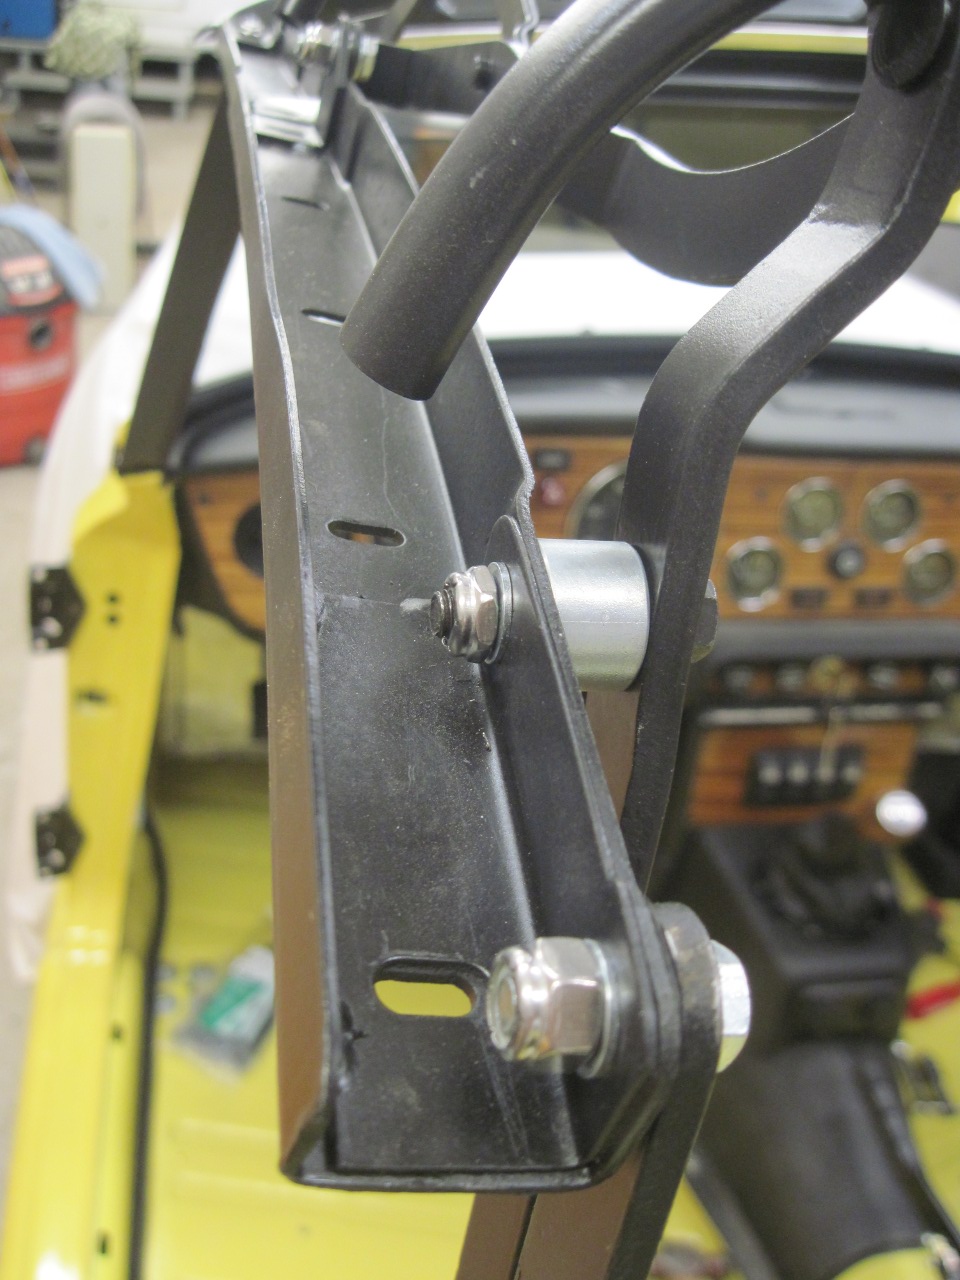
The
front header rivets were replaced with a stainless bolt with a lock
nut. In principle, I could slack the lock nut to restore the flex
to the joint, but right now, I heve it cinched down.
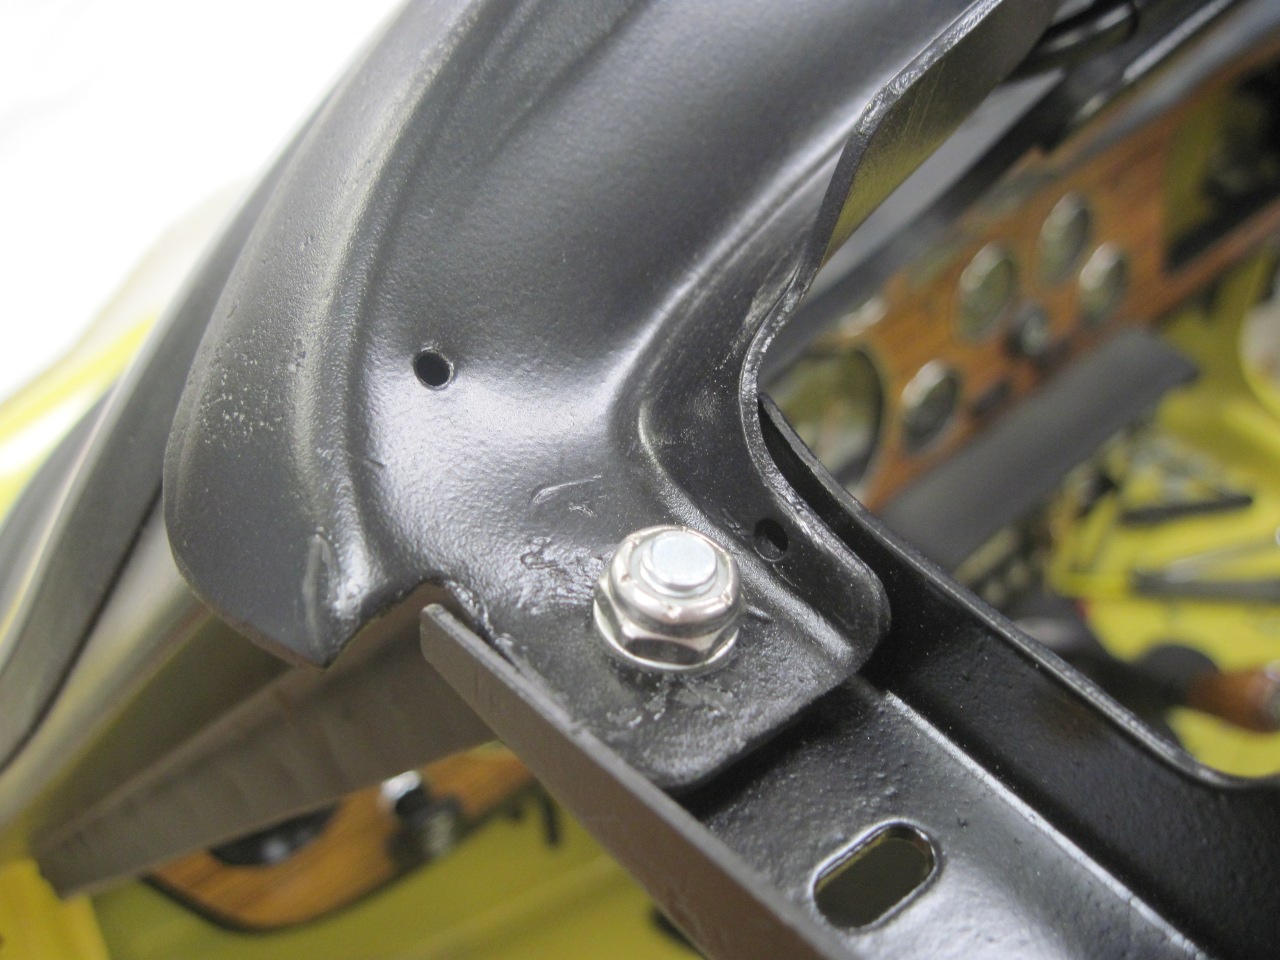
The original bolts and spacers got replated, and the nuts and lockwashters got replaced by stainless locknuts.
One
of the replaceable parts on the top assembly is the velcro strips along
the side rails that secure the sides of the top above the side windows.
Kits are available. I bought one. I was disappointed.
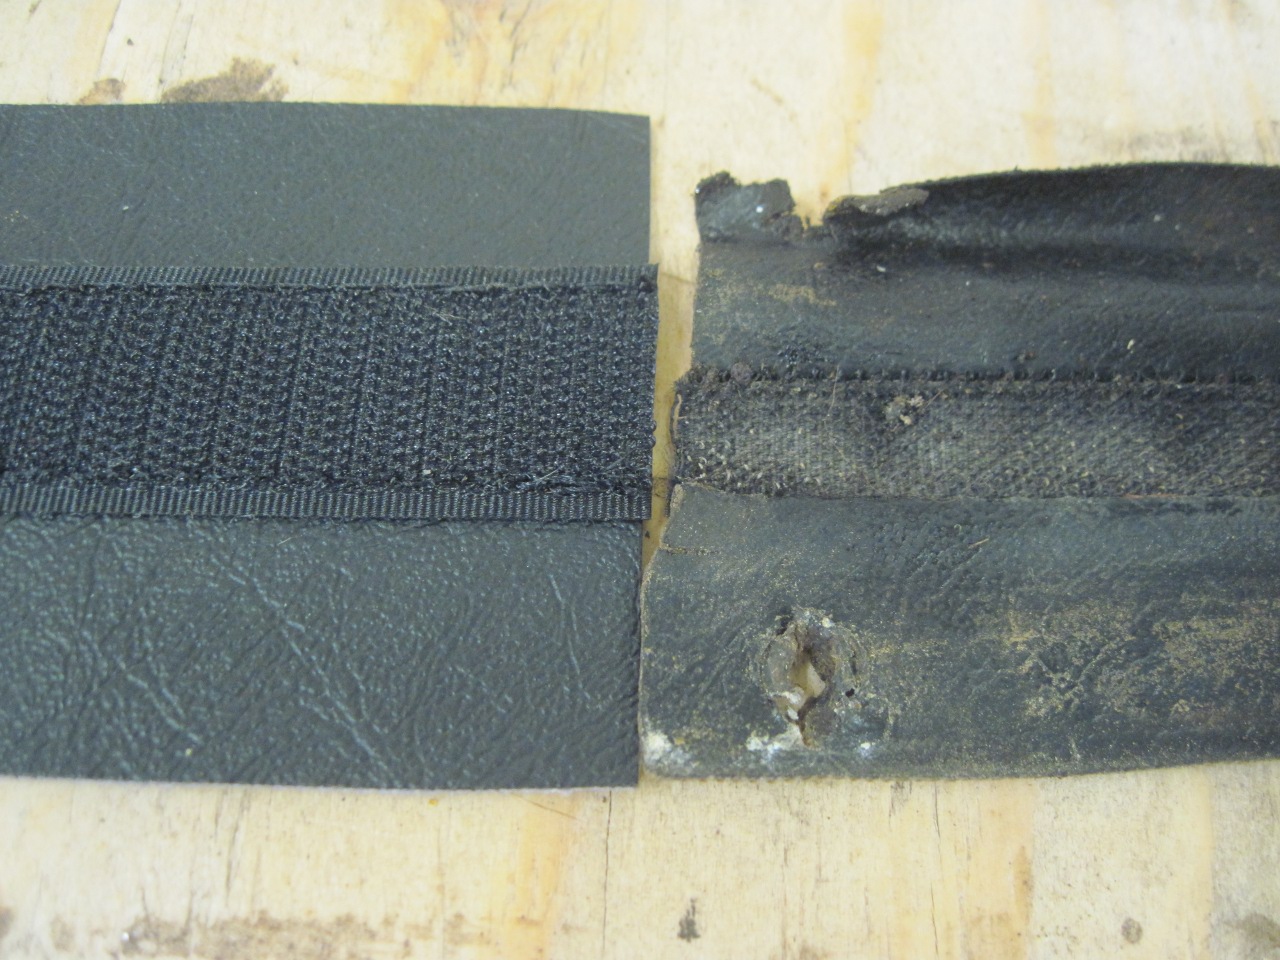
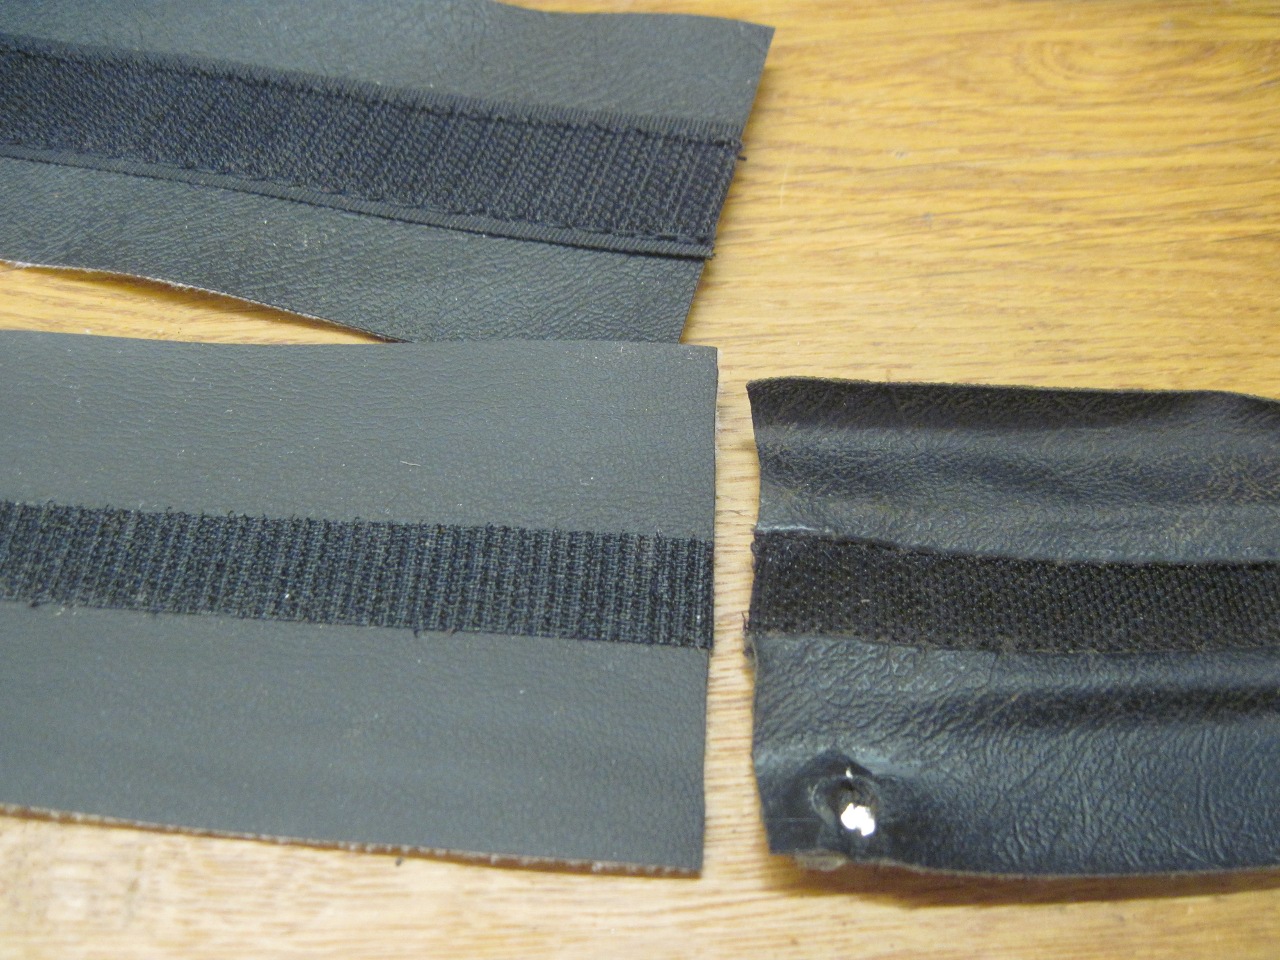
The
original velcro strips were sewn to pieces of vinyl, which were in turn
glued to the frame side rails. The replacement pieces were
constructed the same way, but with gross difference in dimensions.
The velcro strip on the replacement is at least twice as wide as
the original. This makes it much wider than the side of the rail
it attaches to, and would require the velcro to wrap around the edge of
the rail. The velcro is too stiff to do that gracefully.
In
researching the issue, I came across a thread on a forum that discusses
this exact problem. In the last post in the thread, the original
poster reported that he had discussed this with the vendor, and that
the vendor had agreed that the parts were wrong and would fix it
immediately. That thread was over four years old.
Unfortunately,
I had butchered one of my new strips trying to modify it, so I couldn't
return them. It's a $30 lesson that reinforces my bias against
buying replacement parts if it is at all possible to fix the old ones,
or make new ones.
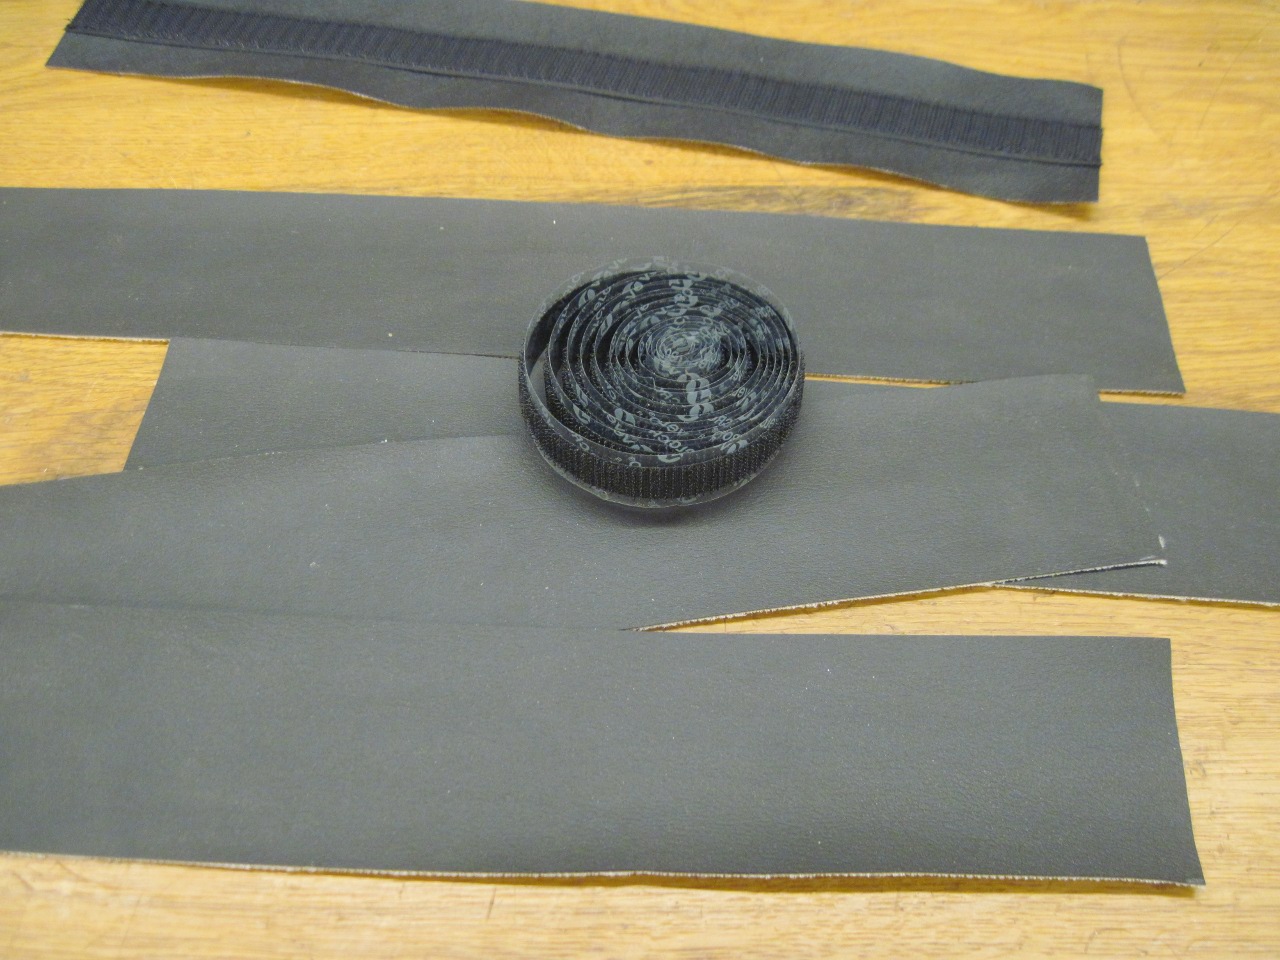
For
less than $10 in materials, I made replacements using 1/2" wide
self-adjesive velcro and some vinyl left over form covering the crash
pads. Whether the adhesive proves up to the task in service, I'll
find out, but during install, it seemed fine.
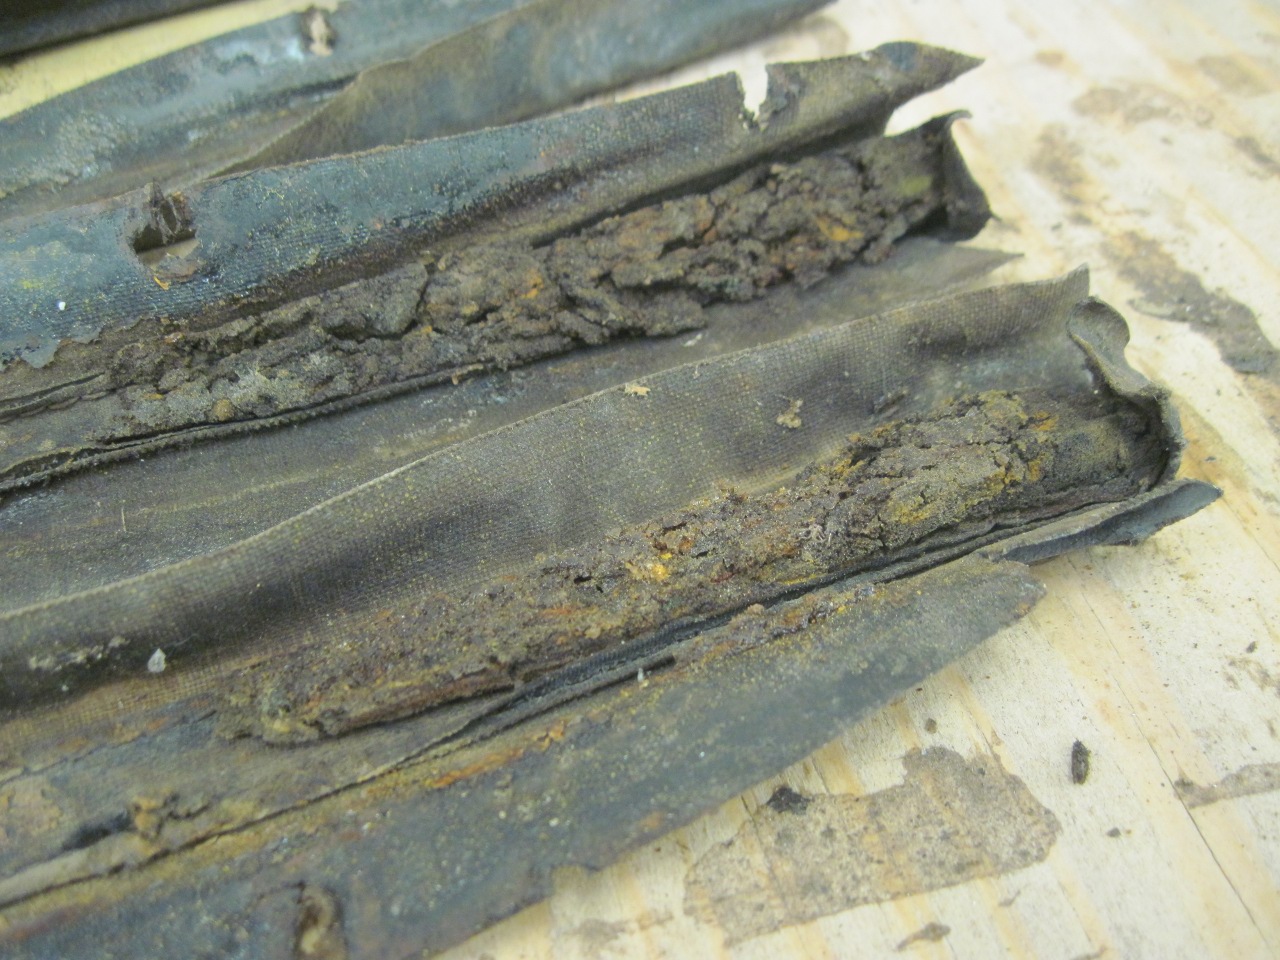
One
other
thing on these velcro/vinyl pieces. A forensic examination
suggested that there were at one time some foam wedges under the vinyl
where it approached the front header. This fills in what would
otherwise be a gap between the end of the header and the rail.
Estimating the dimensions from the remains of the originals, I made a couple of wedges from some pretty stiff foam.
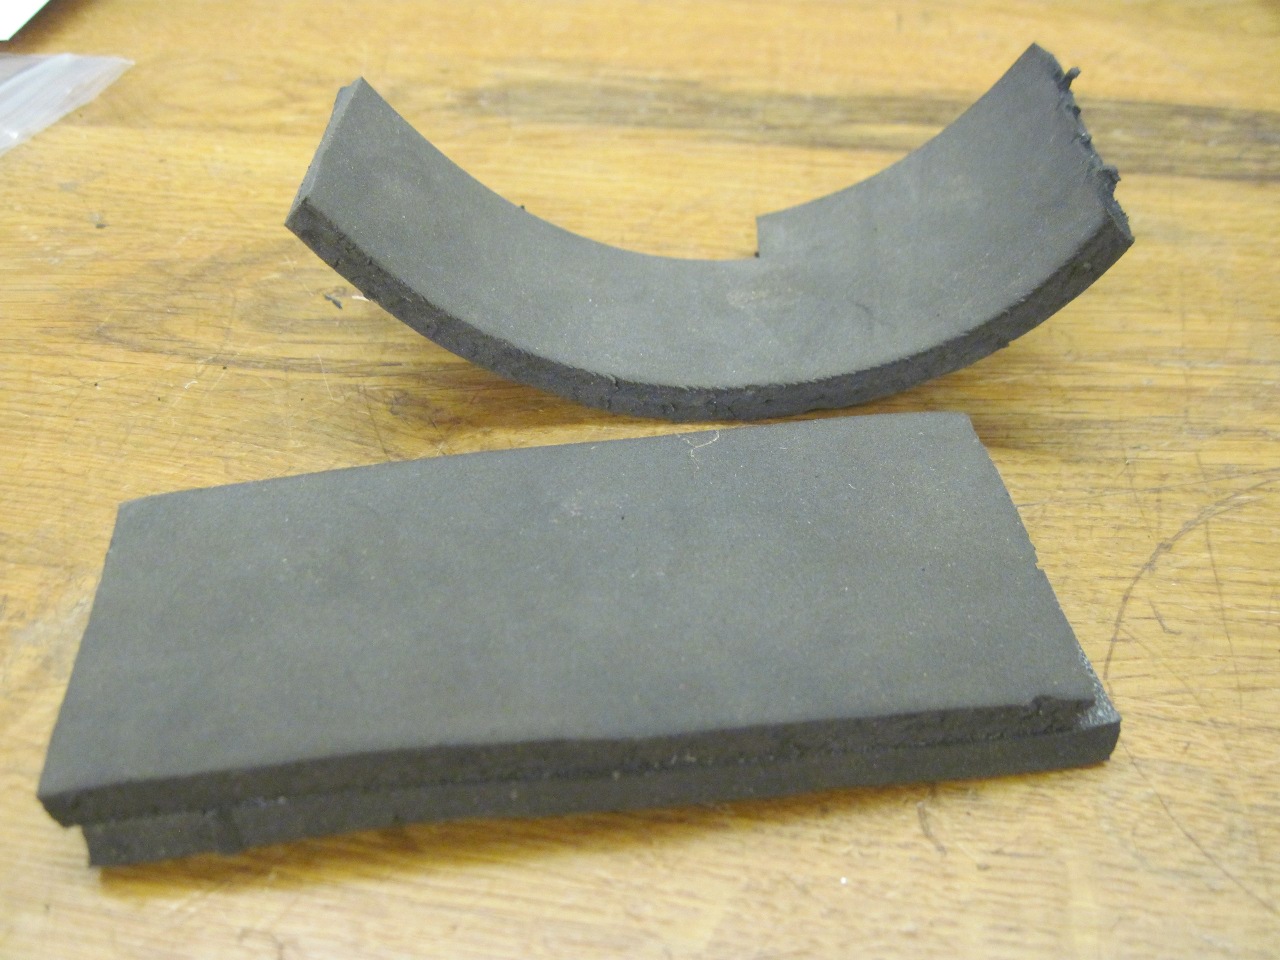
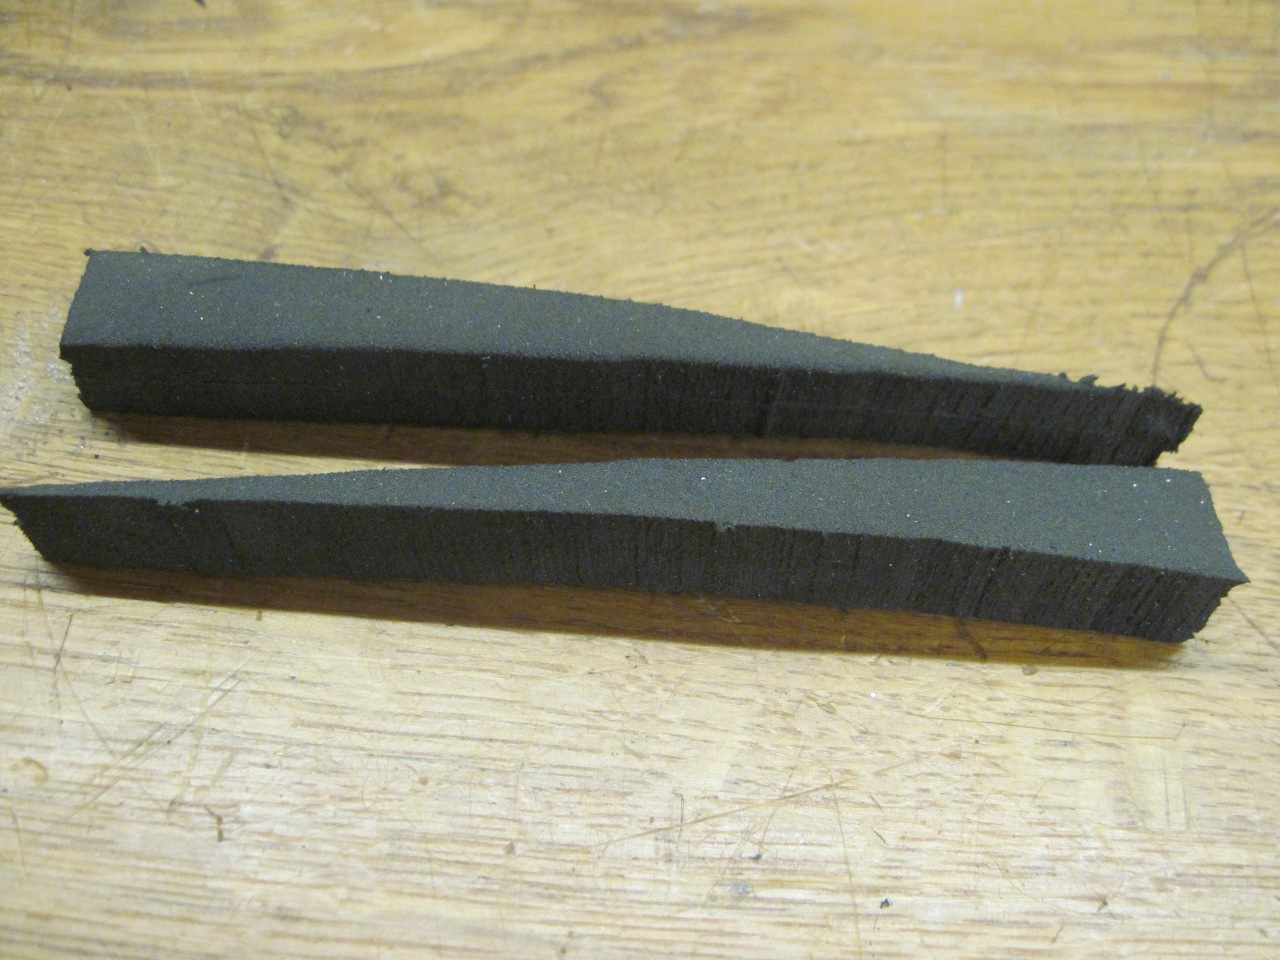
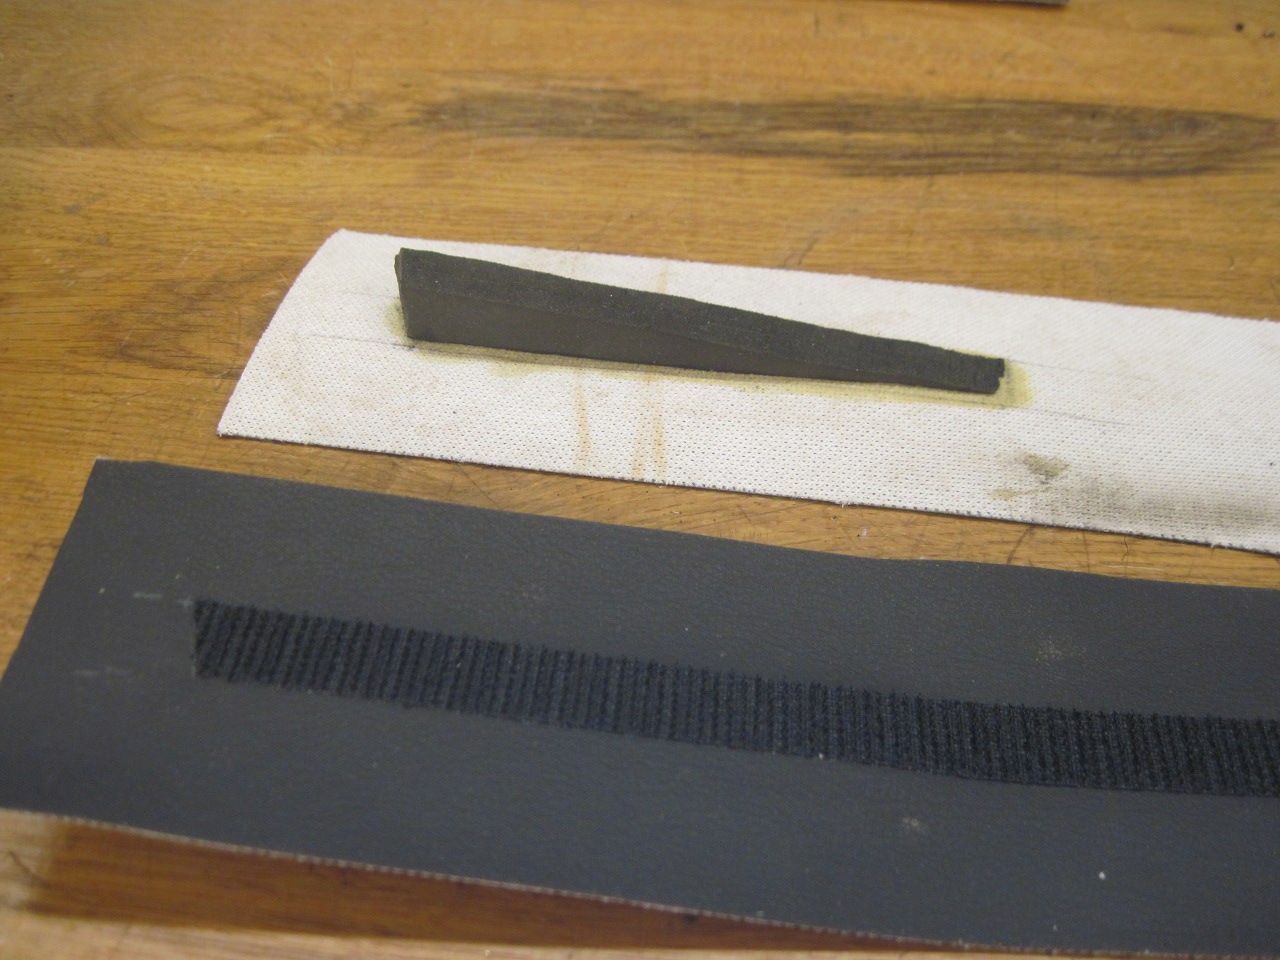
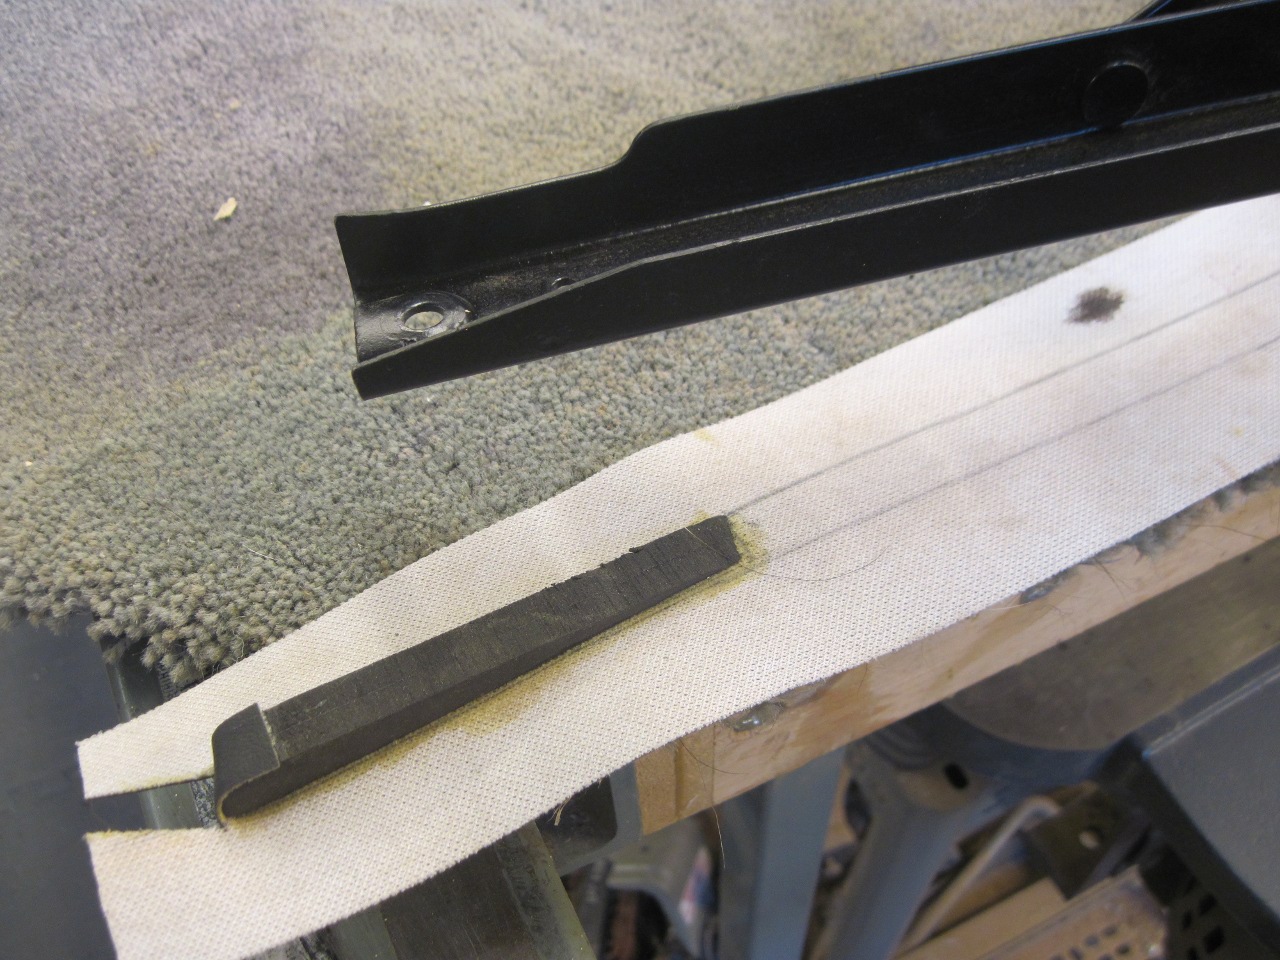
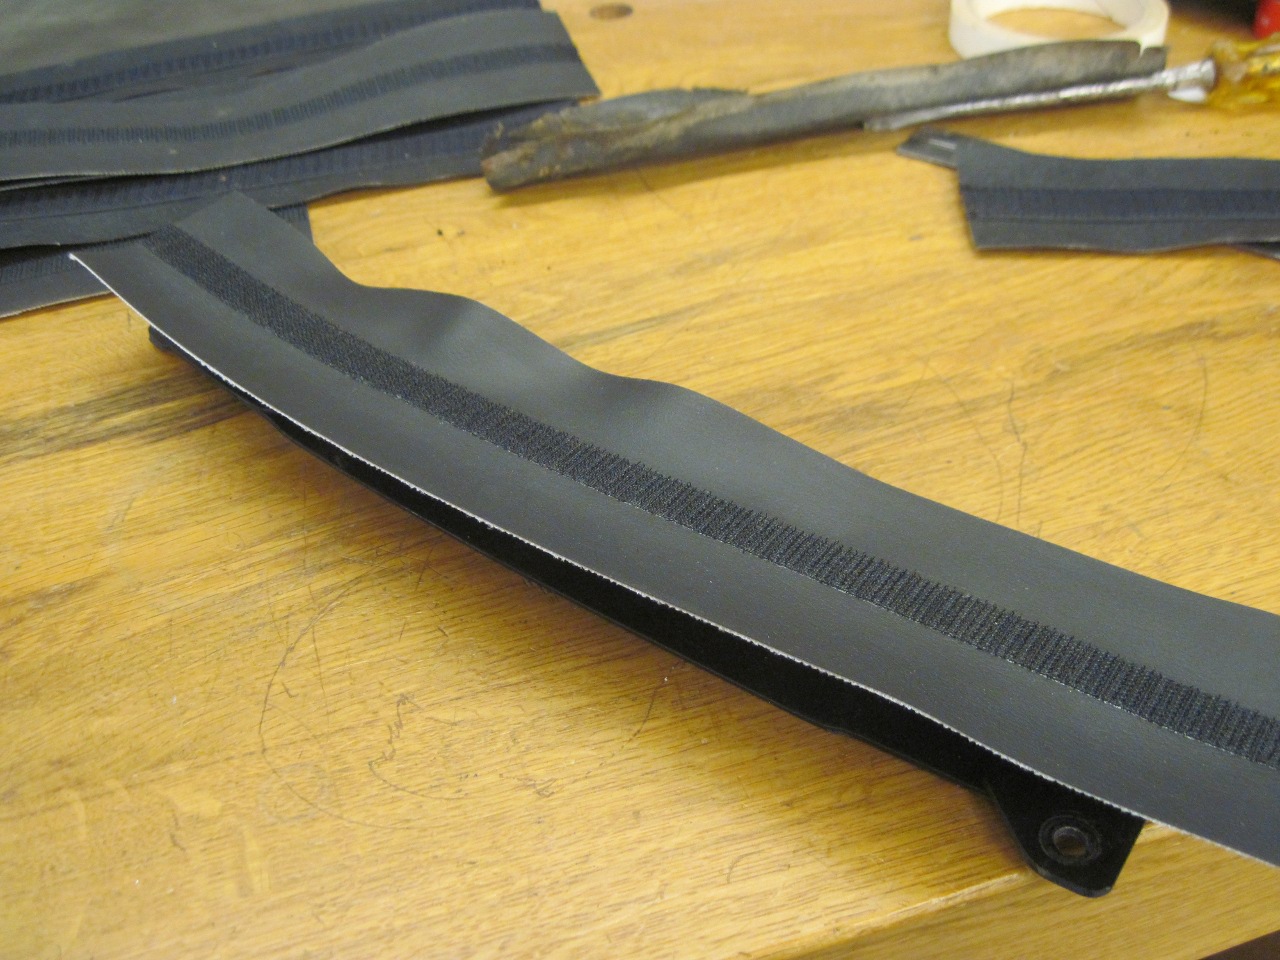
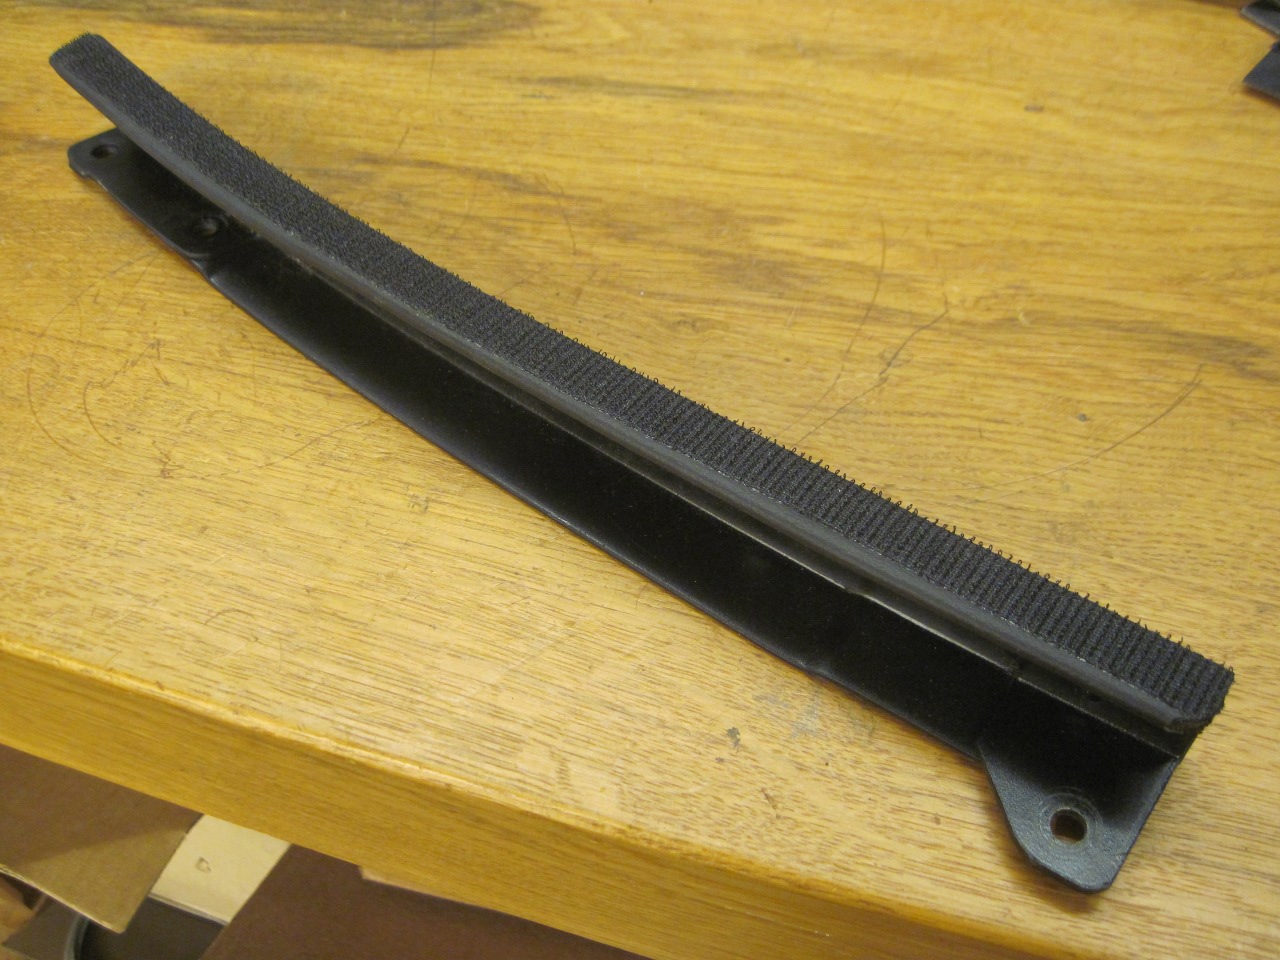
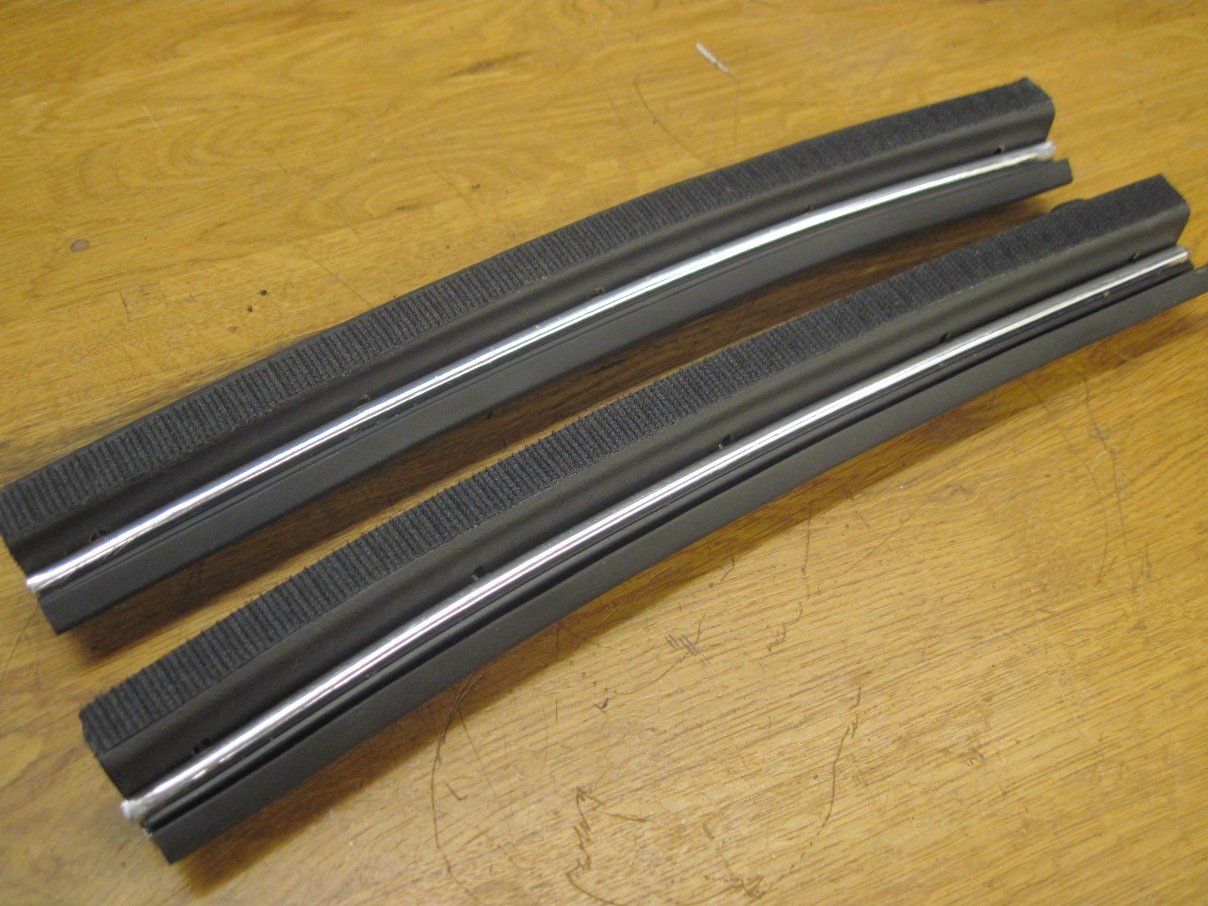
Then applied the velcro to the channels.

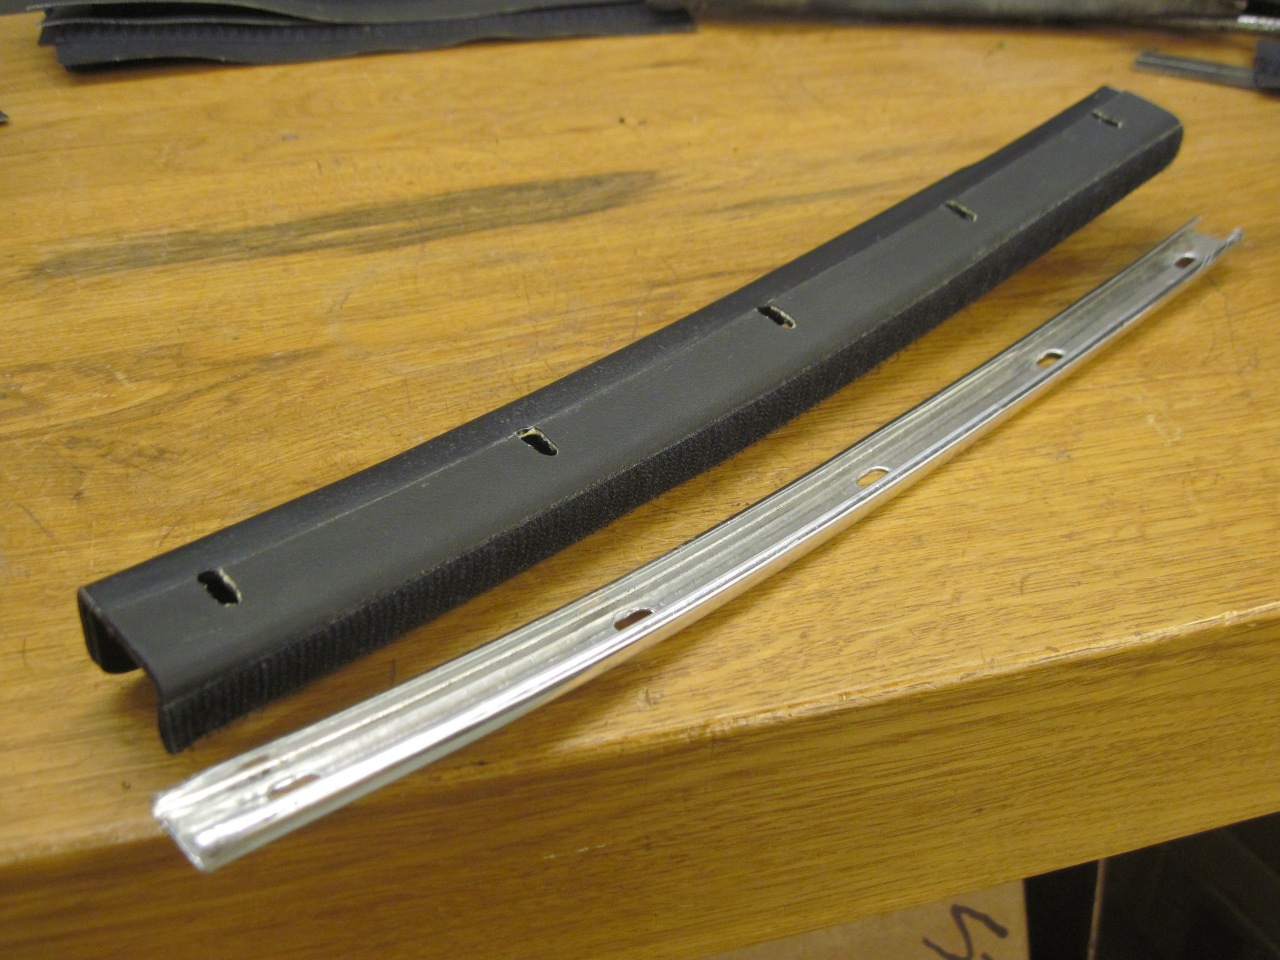
I
fixed up and reused the anodized aluminum strips that hold the rubber
window seals. Interestingly, the original screws that hold the
alumium strip to the channel, which look like 8-32, are in fact 3BA.
You never know where this fetish the Brits seem to have
for odd-ball threads will turn up next.
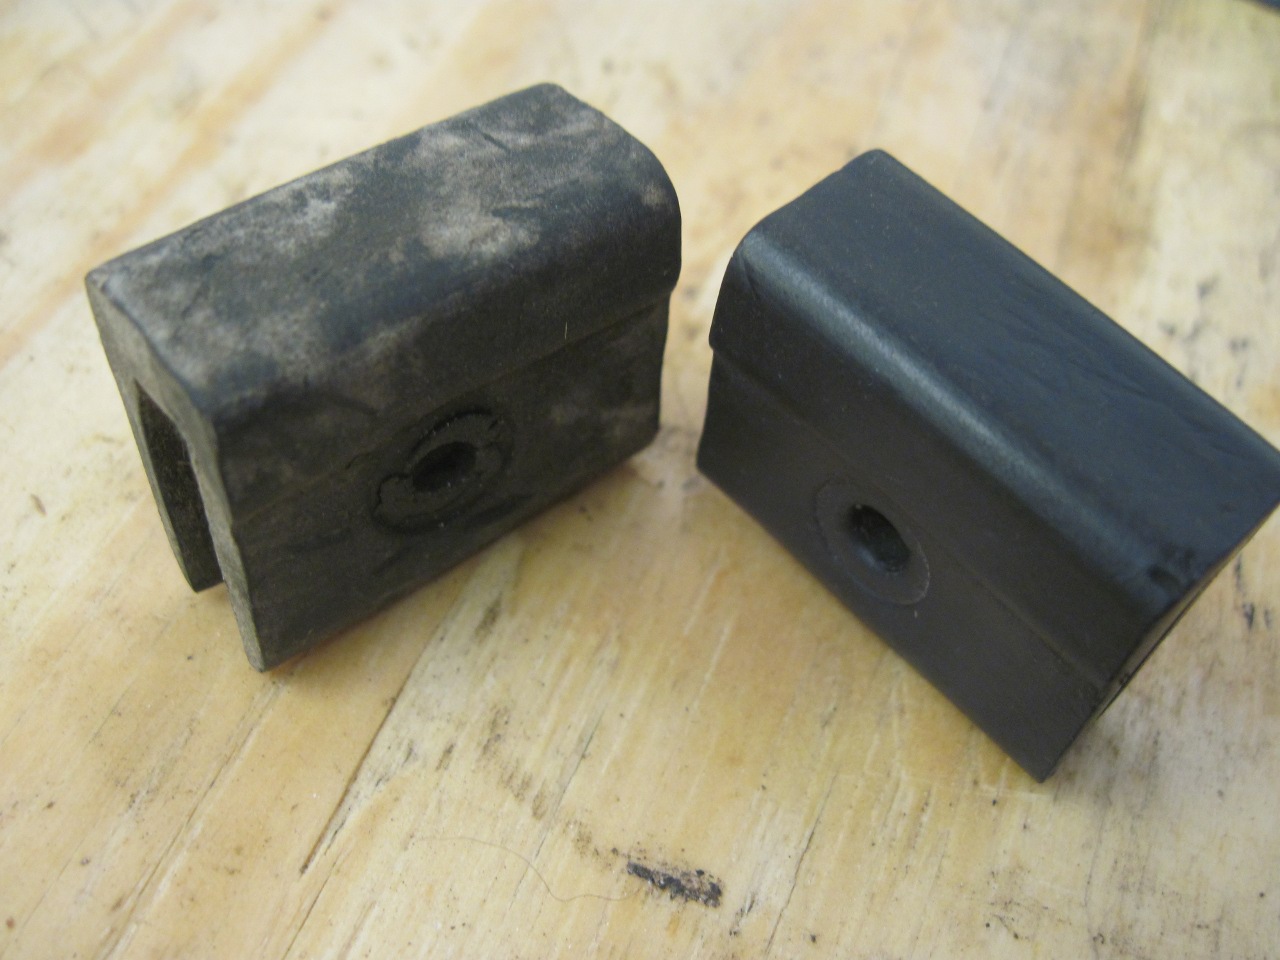
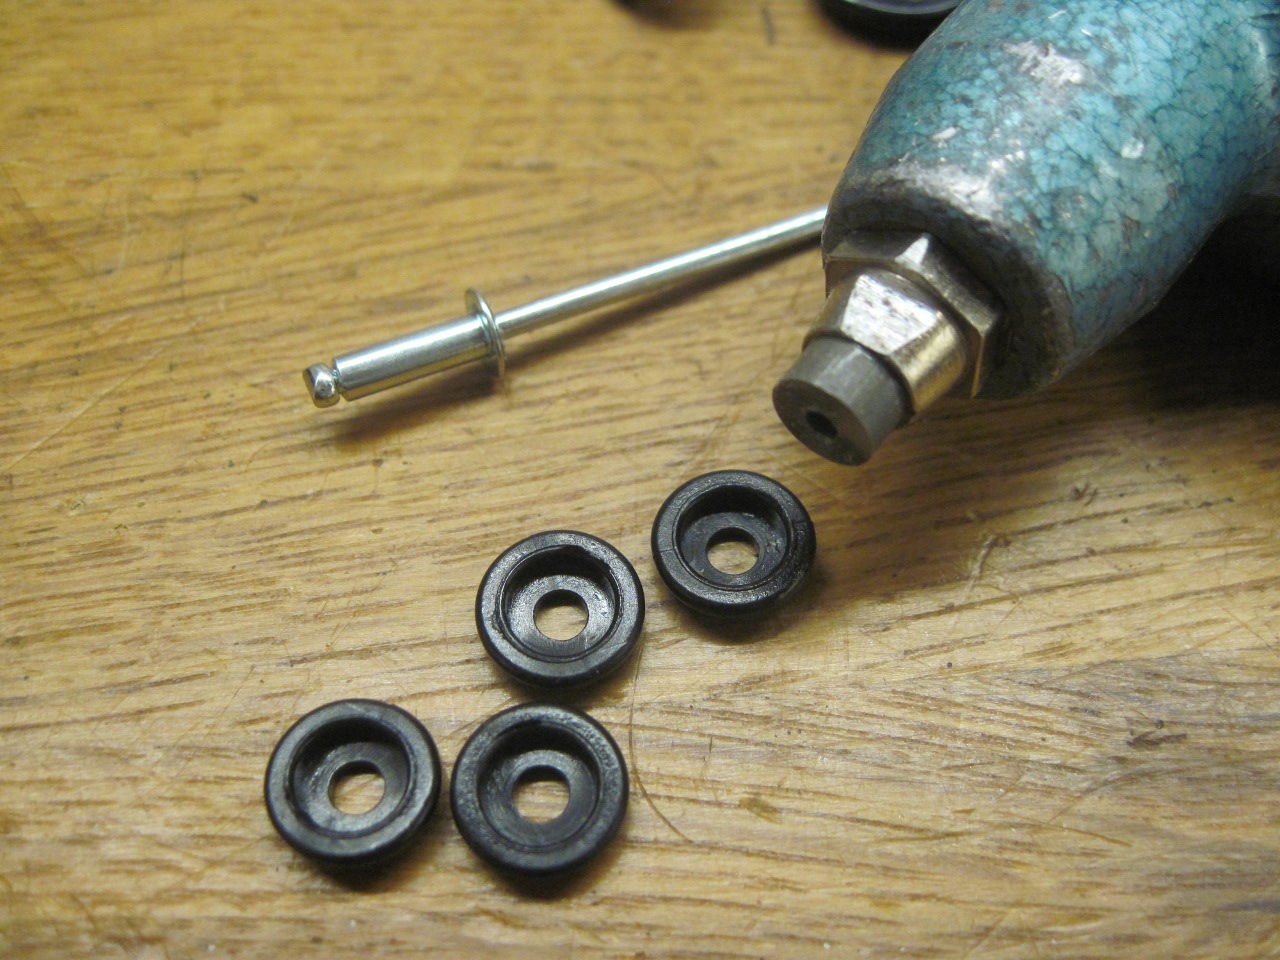
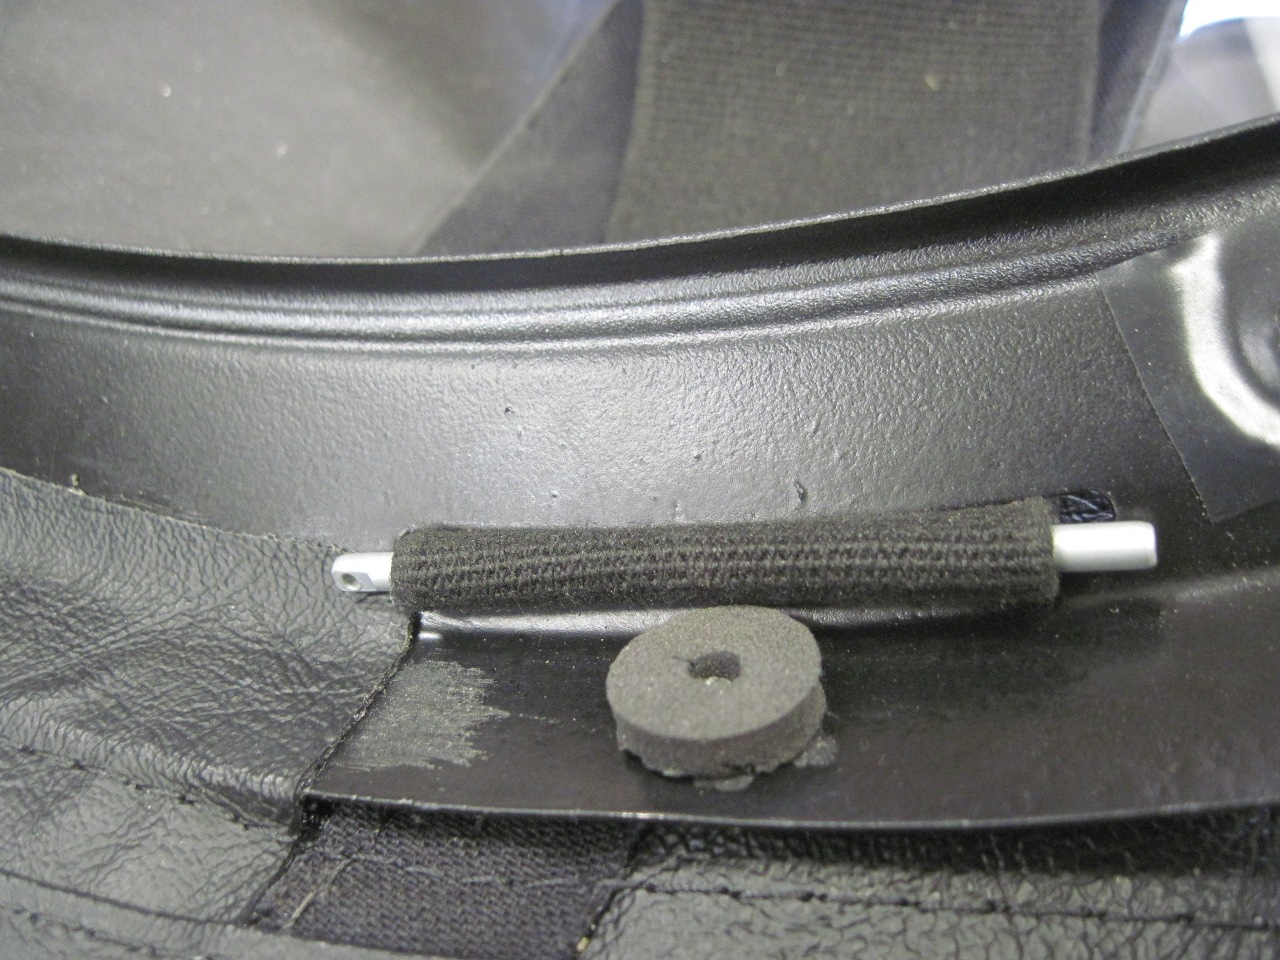
I
figured I should reattach these bumpers before I lost them. They
are apparently NLA. Old rubber sometimes acquires an oxidized
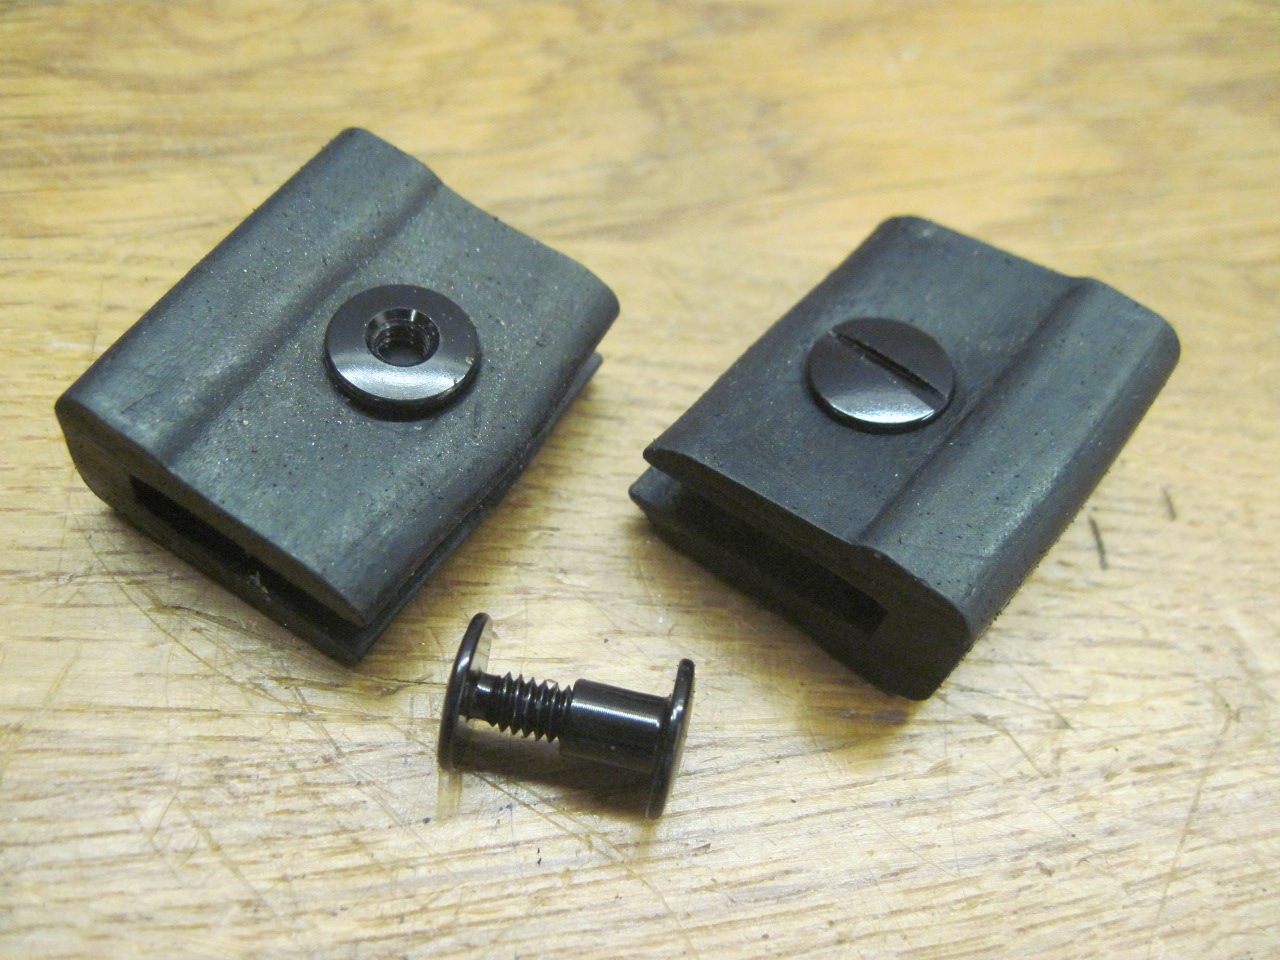
layer that makes the part look bad, but it often comes off easily.
Though a tubular rivet wouold look more original, I had some of
these binder screws that do the job and look sort of cool.
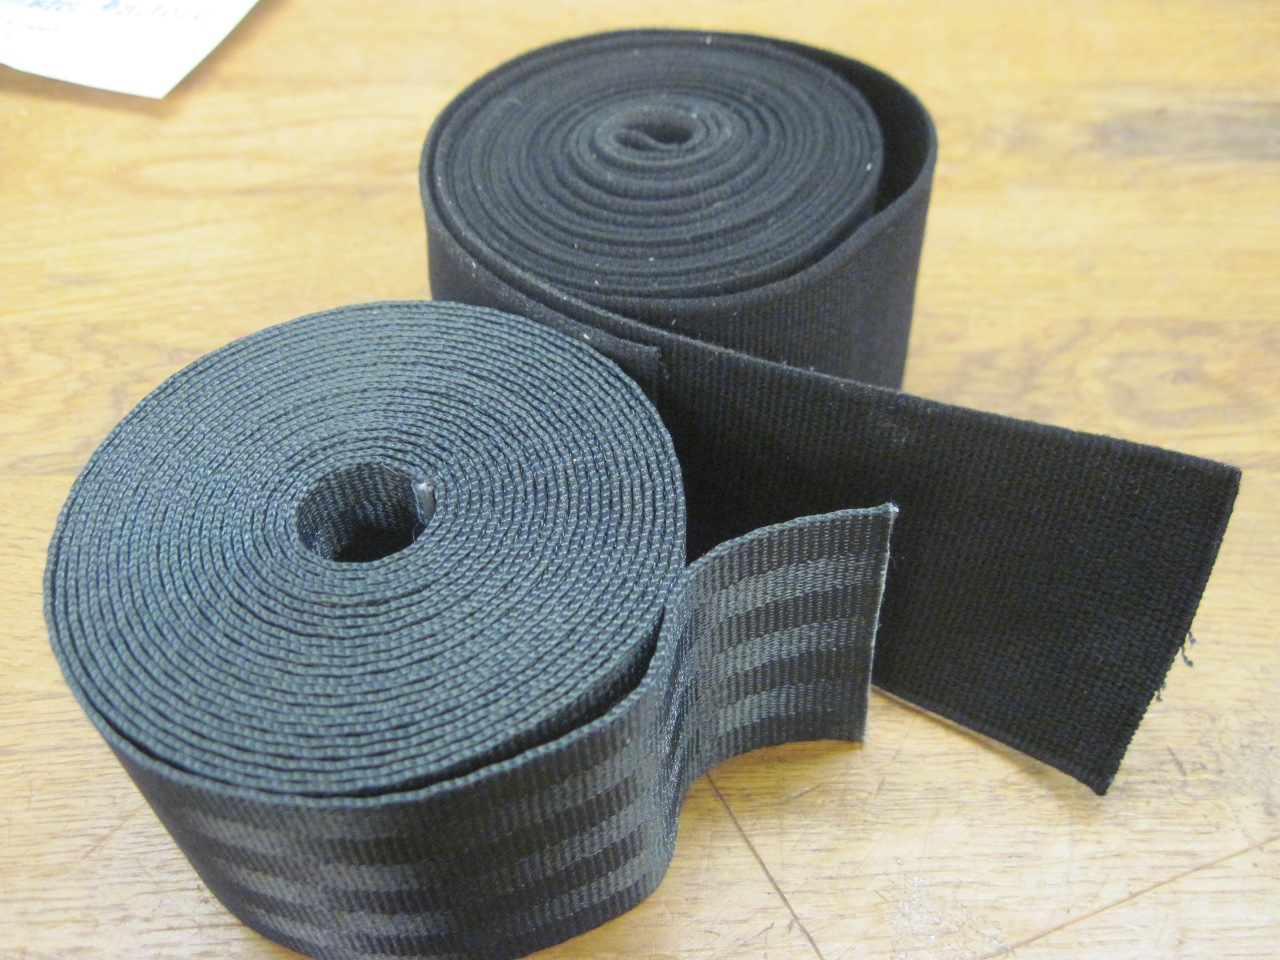
Next up was the webbing. The original pieces were in no condition to be used. Mouse-eaten, probably.
I
came really close to deciding to use webbing left over from my seat
belt rebuild. It is the same size, but I think it stretches less.
In the end, I ordered the proper stuff.
Before
installing the webbing, the top needs to be attached to the rear
header. Since the tonneau snaps hold it in place, I'm not sure it
is necessary to glue it, but I did.

The
snaps required a small mod to my rivet gun. A little spacer that
fits inside the snap. On a whim, powder coated the heads of
the visible rivets black.

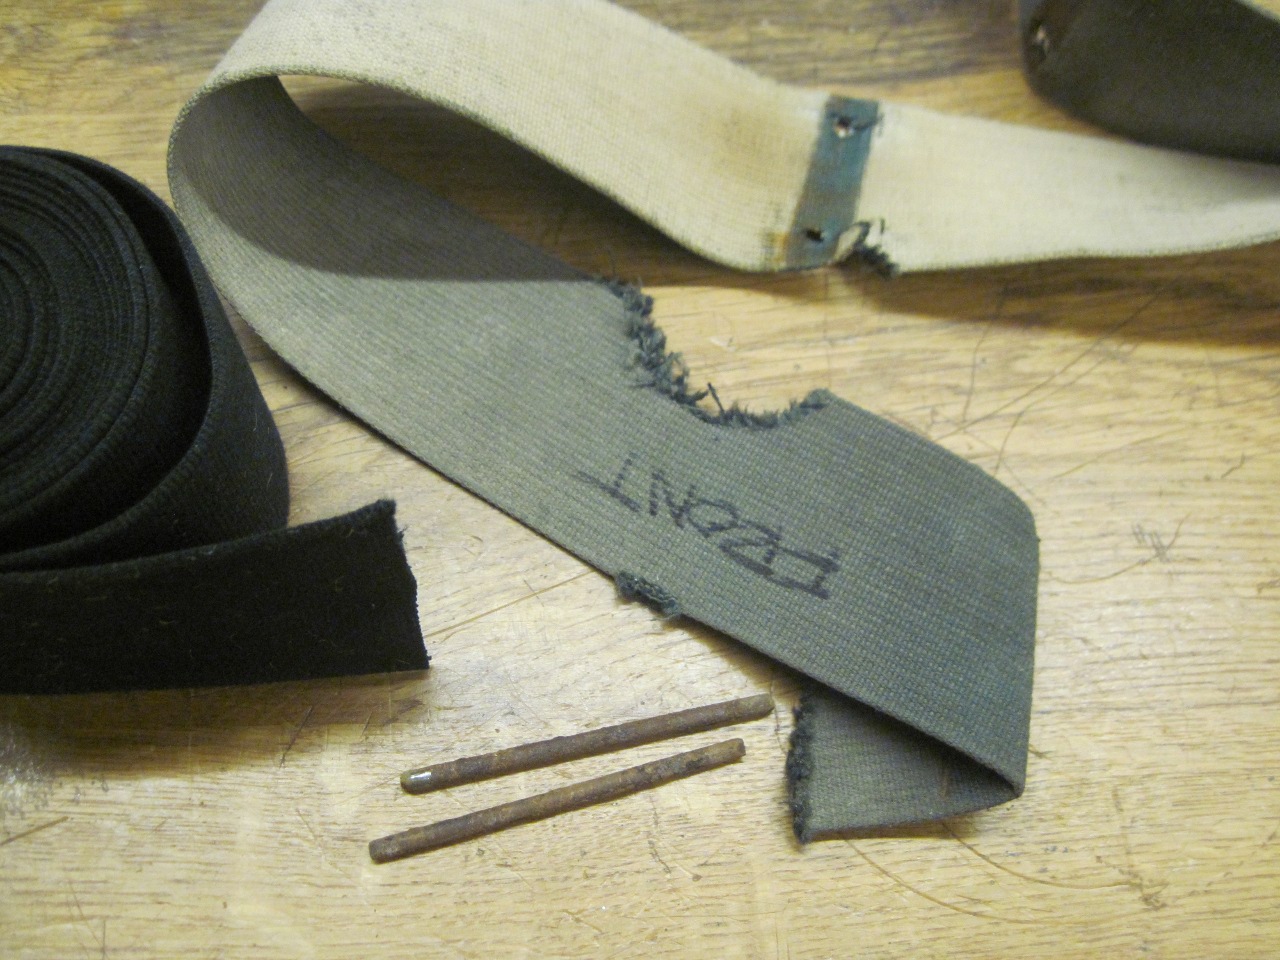
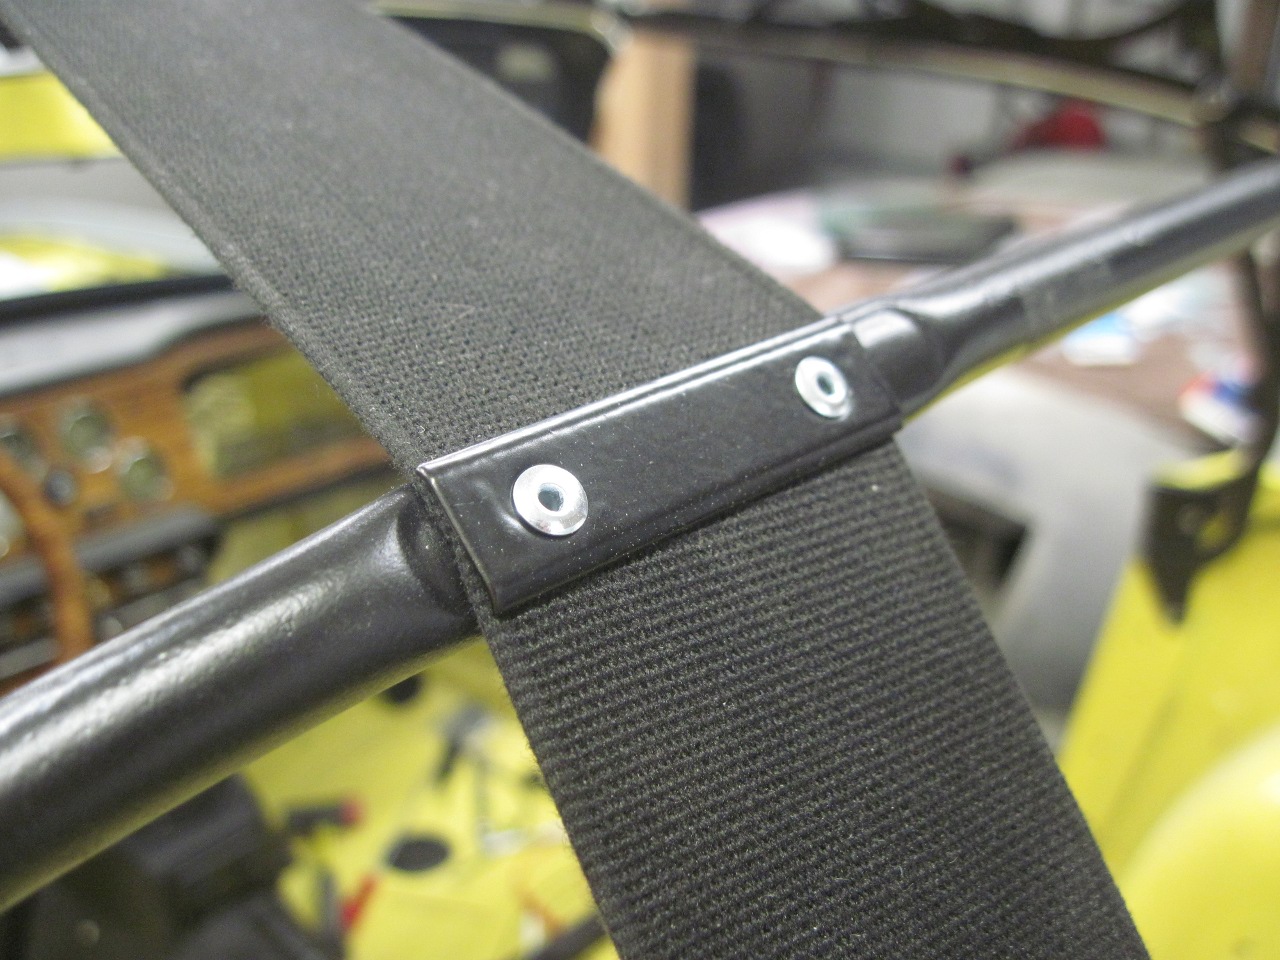
Now
back to the webbing. The webs are held in place at the rear
header by a little "keeper" pin that goes in a loop in the end of the
web strap. Since the webbing is supplied without that loop, it
has to be installed. Falling back on some sewing skills gained in
my seat belt rebuild, this was pretty easy.

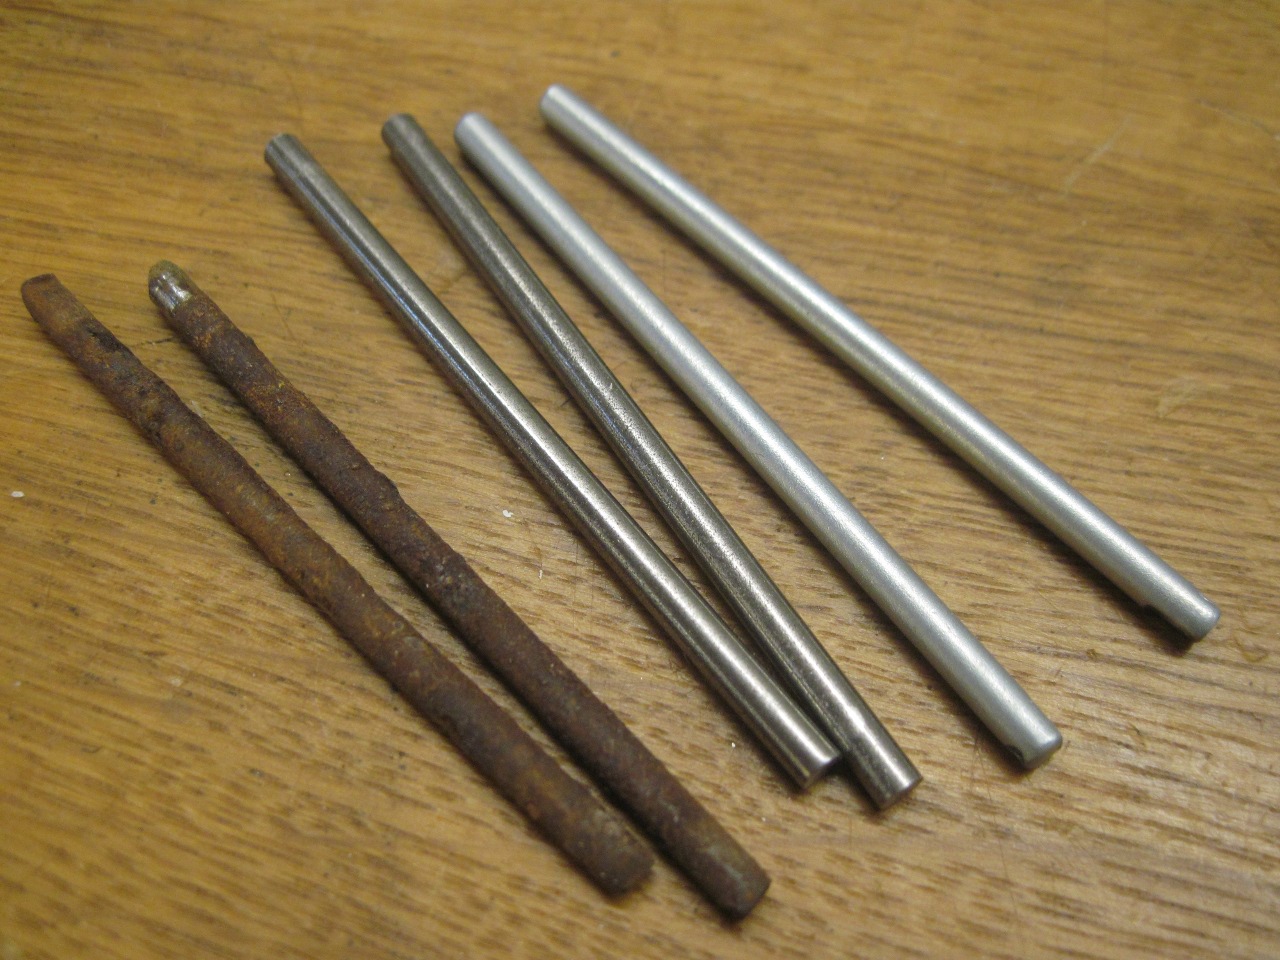
The
original pins were really rusty. Before I realized that new pins
were supplied in the webbing kit, I made a couple of new ones.
I don't think the supplied pins are plated, but mine are.
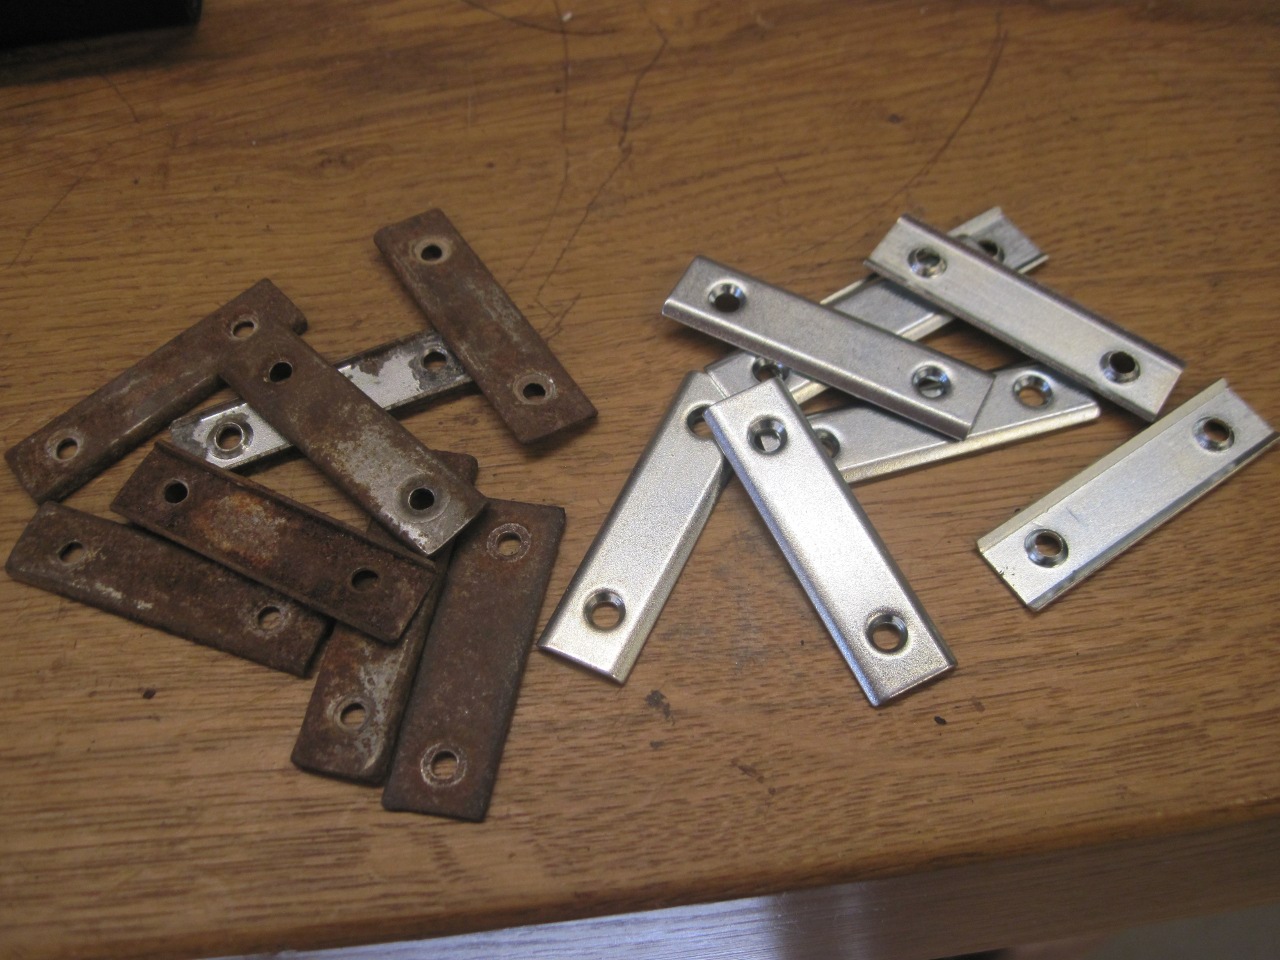
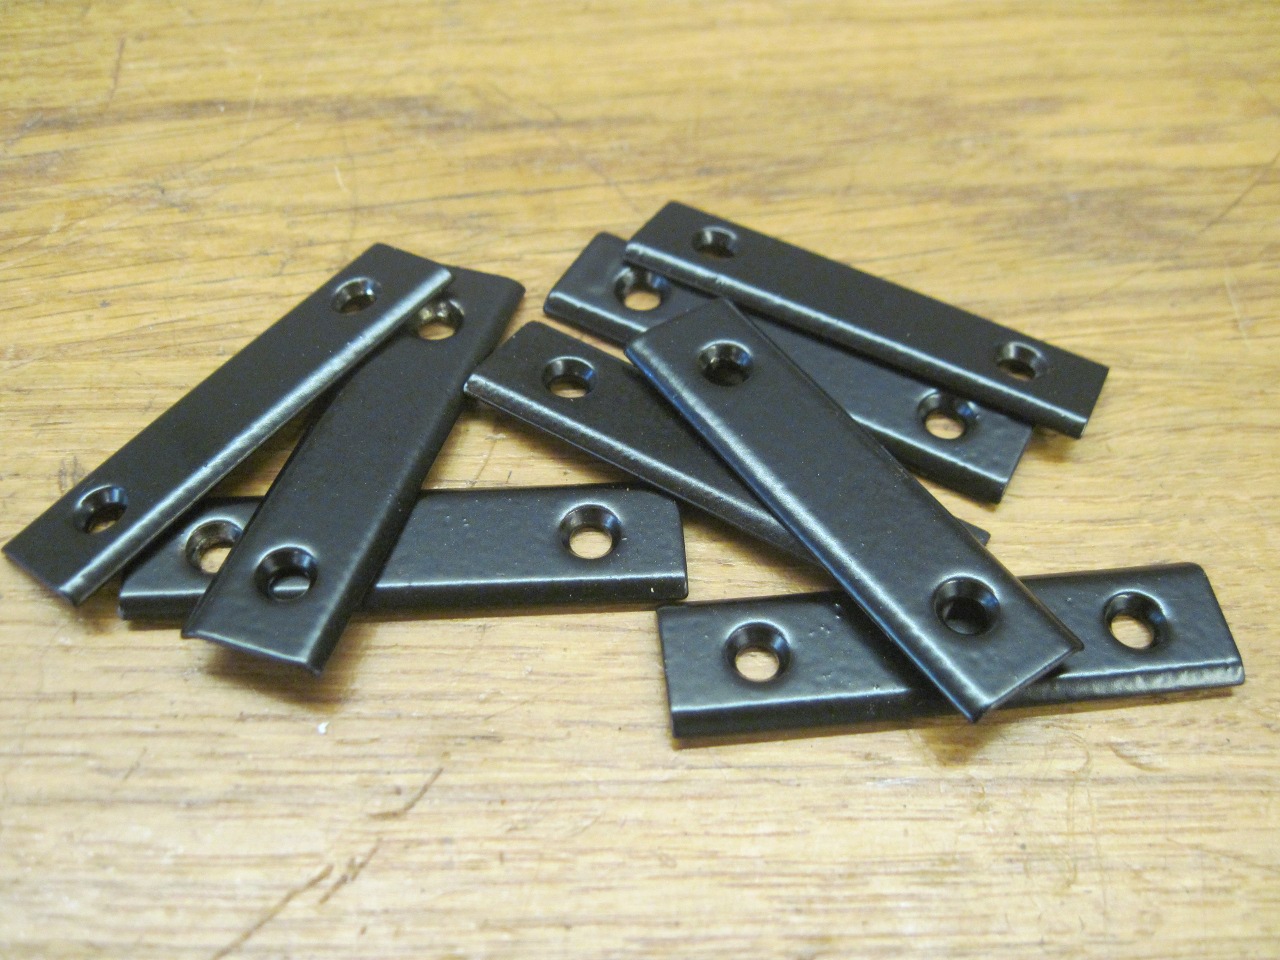
The
original rivet plates were pretty rusty, too. In a moment of
weakness, I wimped out and ordered new ones. Powder coated them,
though, just because.
So
now the web straps can be fixed to the rear header. The little
foam donuts are supposed to protect the paint on the body from the snap
rivets, but I think they are too soft to really do that. I ground
down the back of the rivets to the minimum needed to hold.
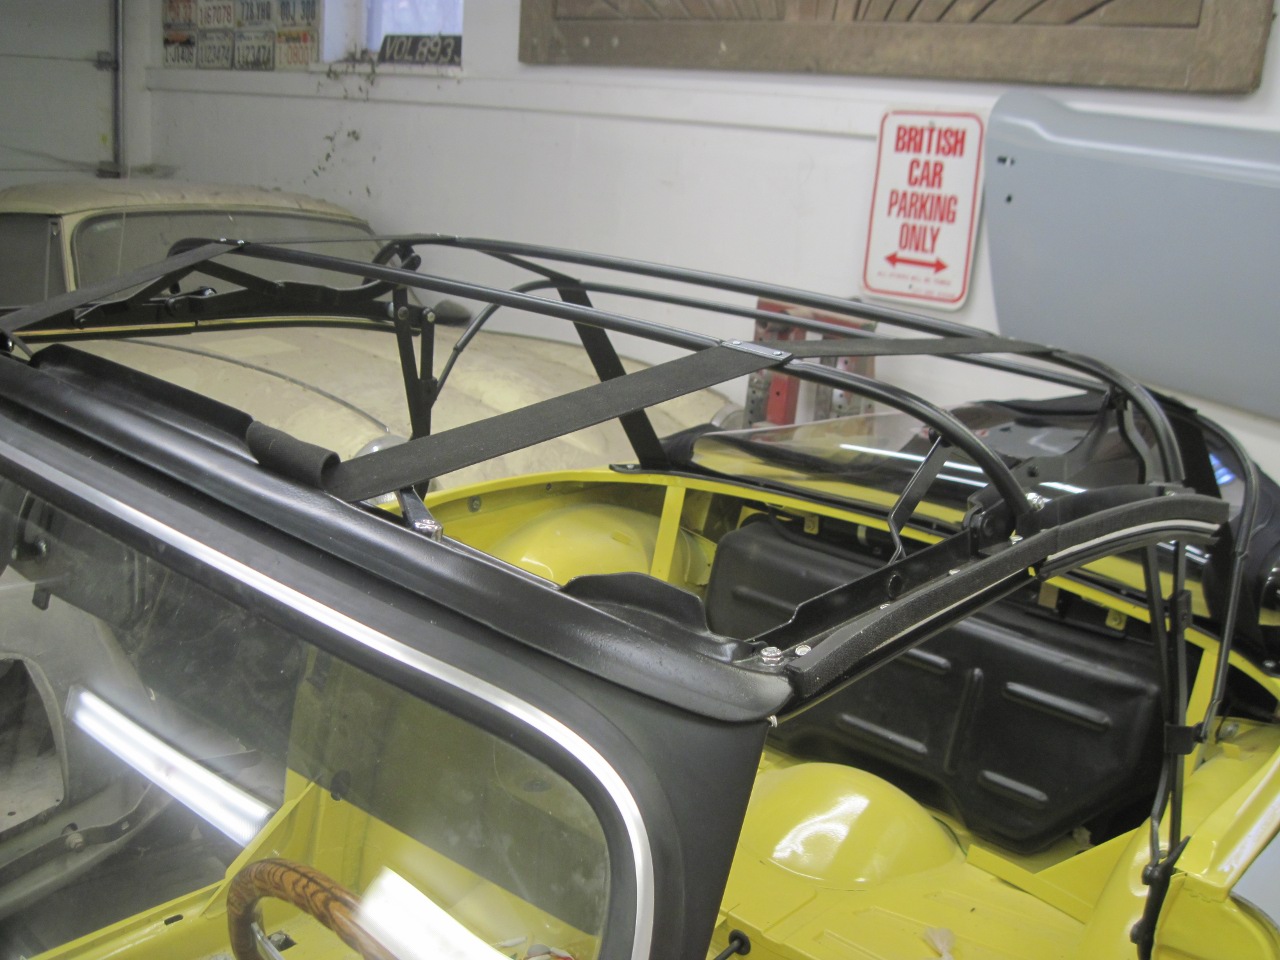
I
spaced up the front header and pulled the web straps very tight and
marked them. Then fastened them to the front header.
Intermediate bows were adjusted so that they would end up on
seams of the vinyl top, and then were riveted in place.
This
pic is a little blurry, but I used the other half of the velcro from
the side rails, and applied it to the bows where they touch the top
material.
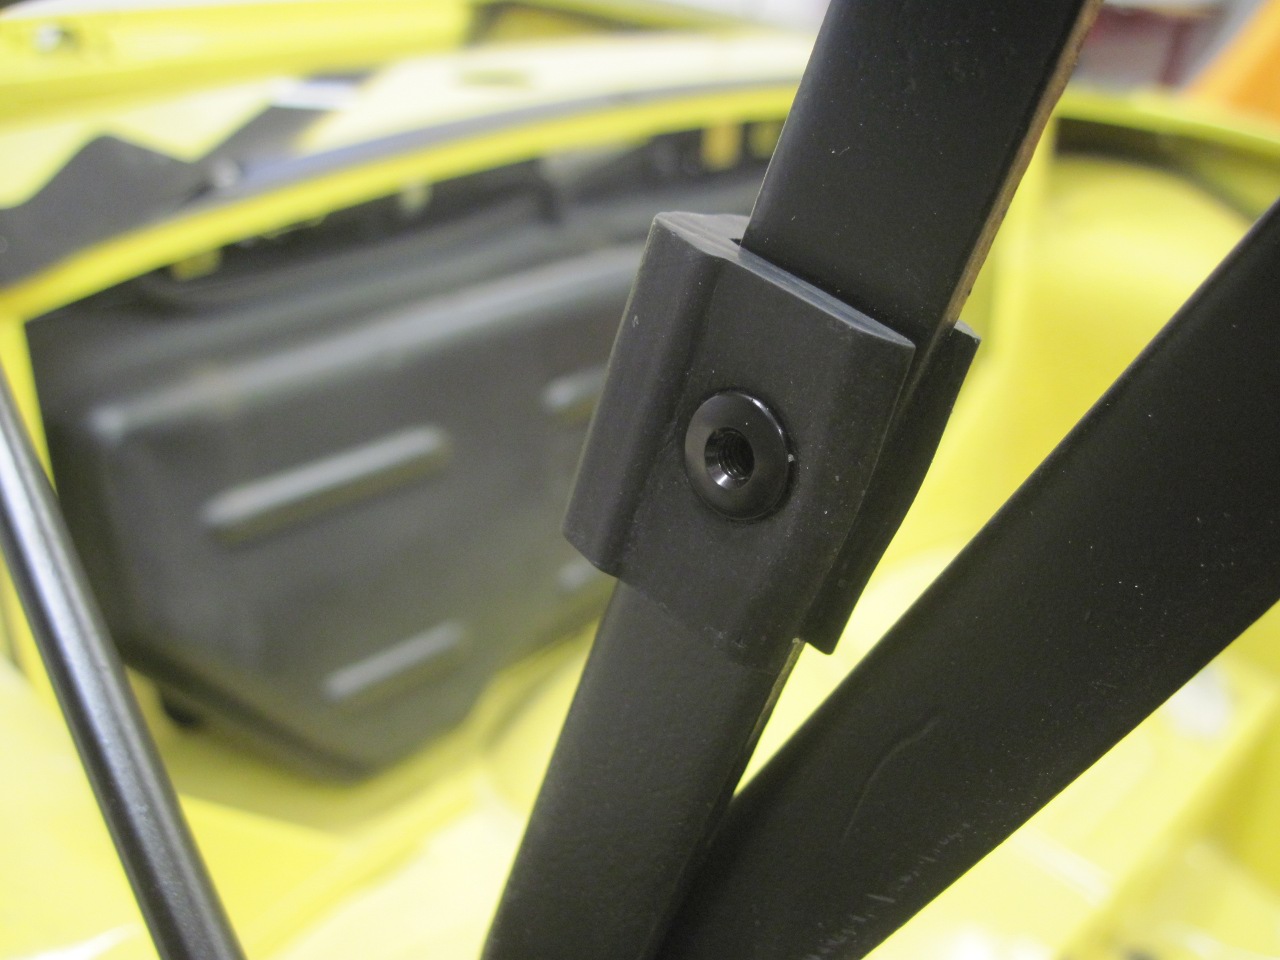
There
is a pair of cam arrangements that hold the front bow tight to the
windshield frame. Mine weren't in bad shape, but were missing the
little wavy spring washers that hopefully help prevent rattles.

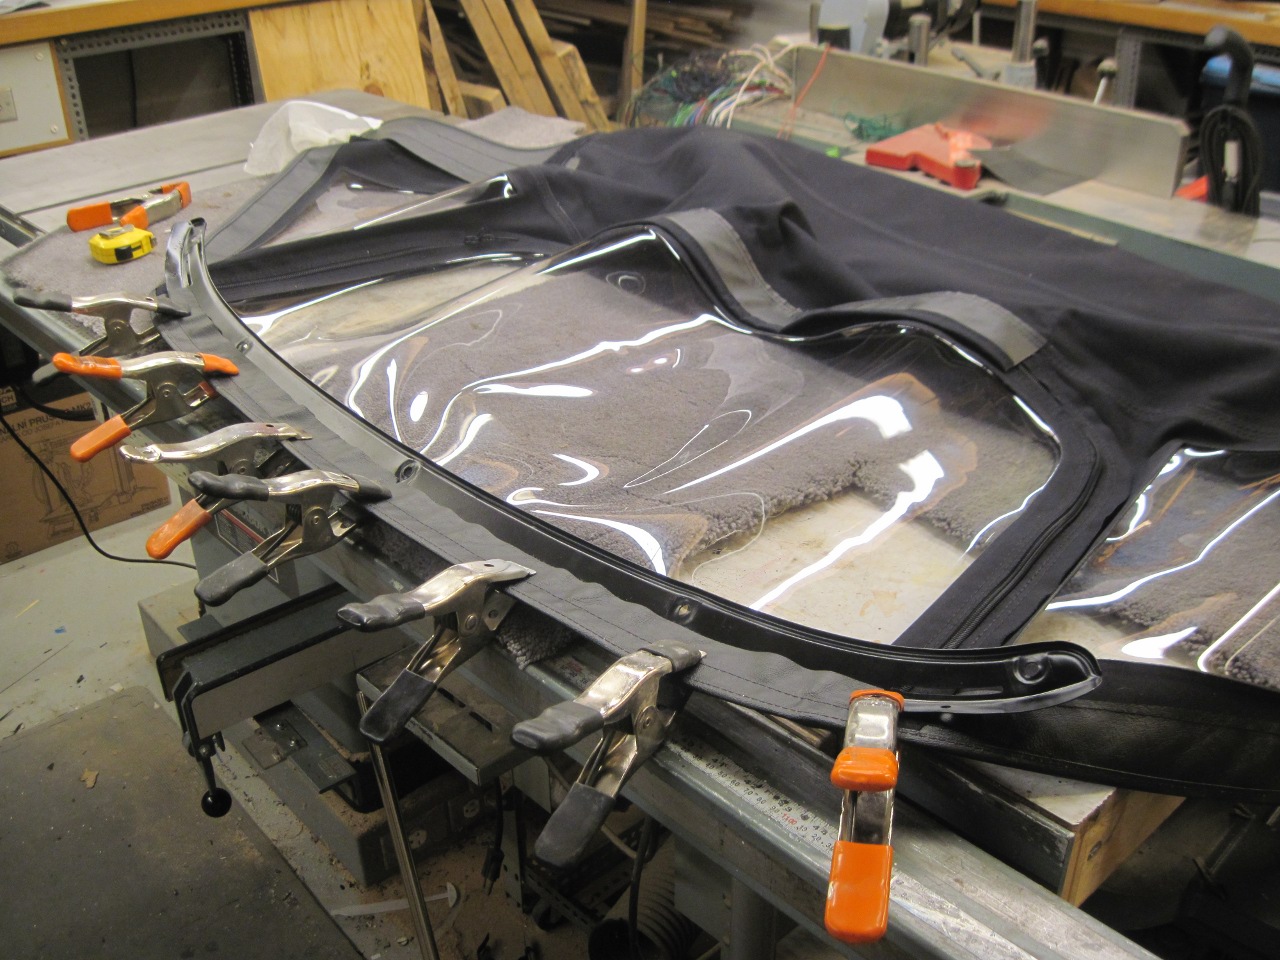
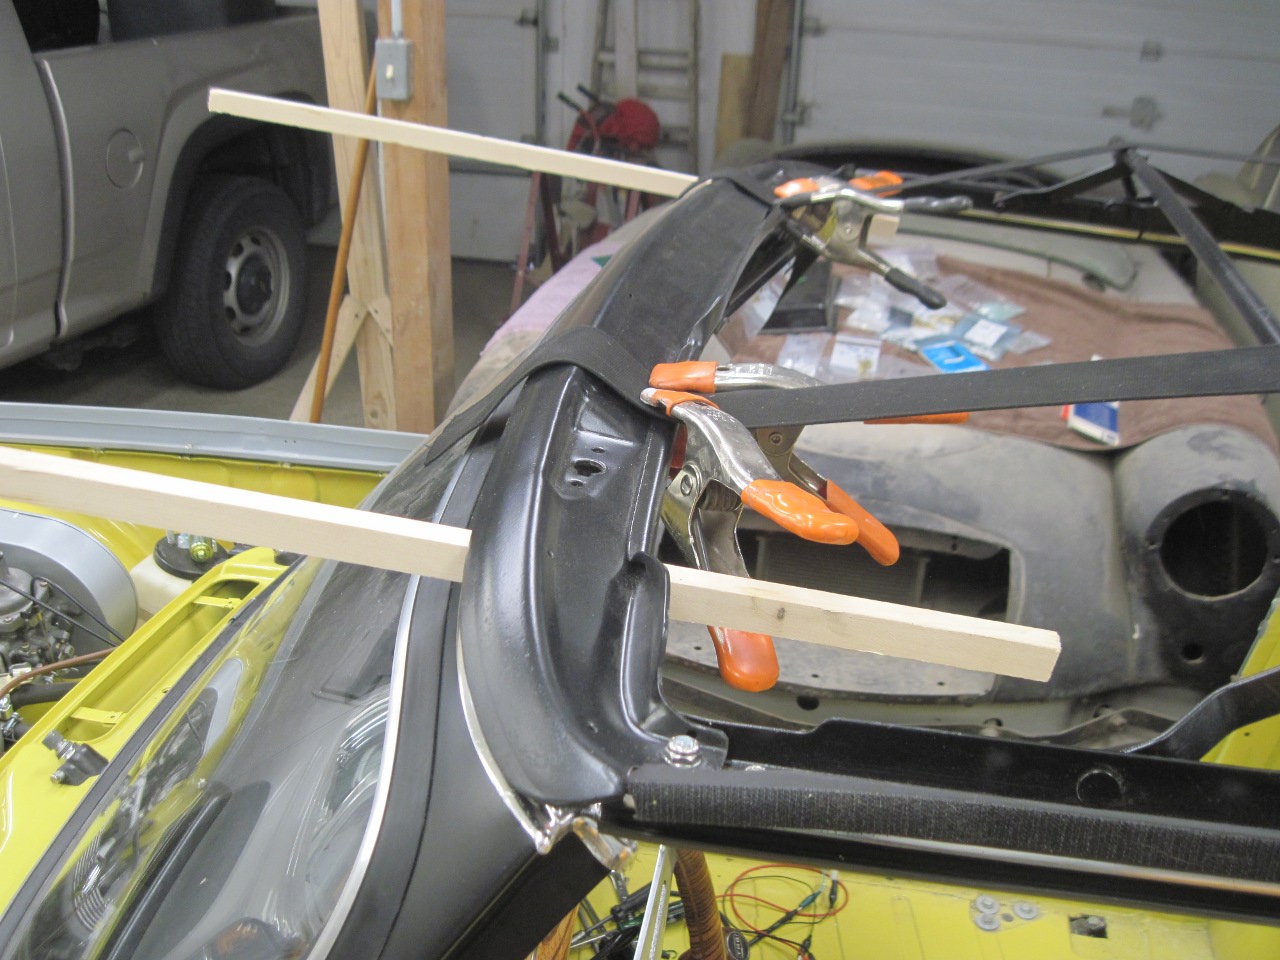
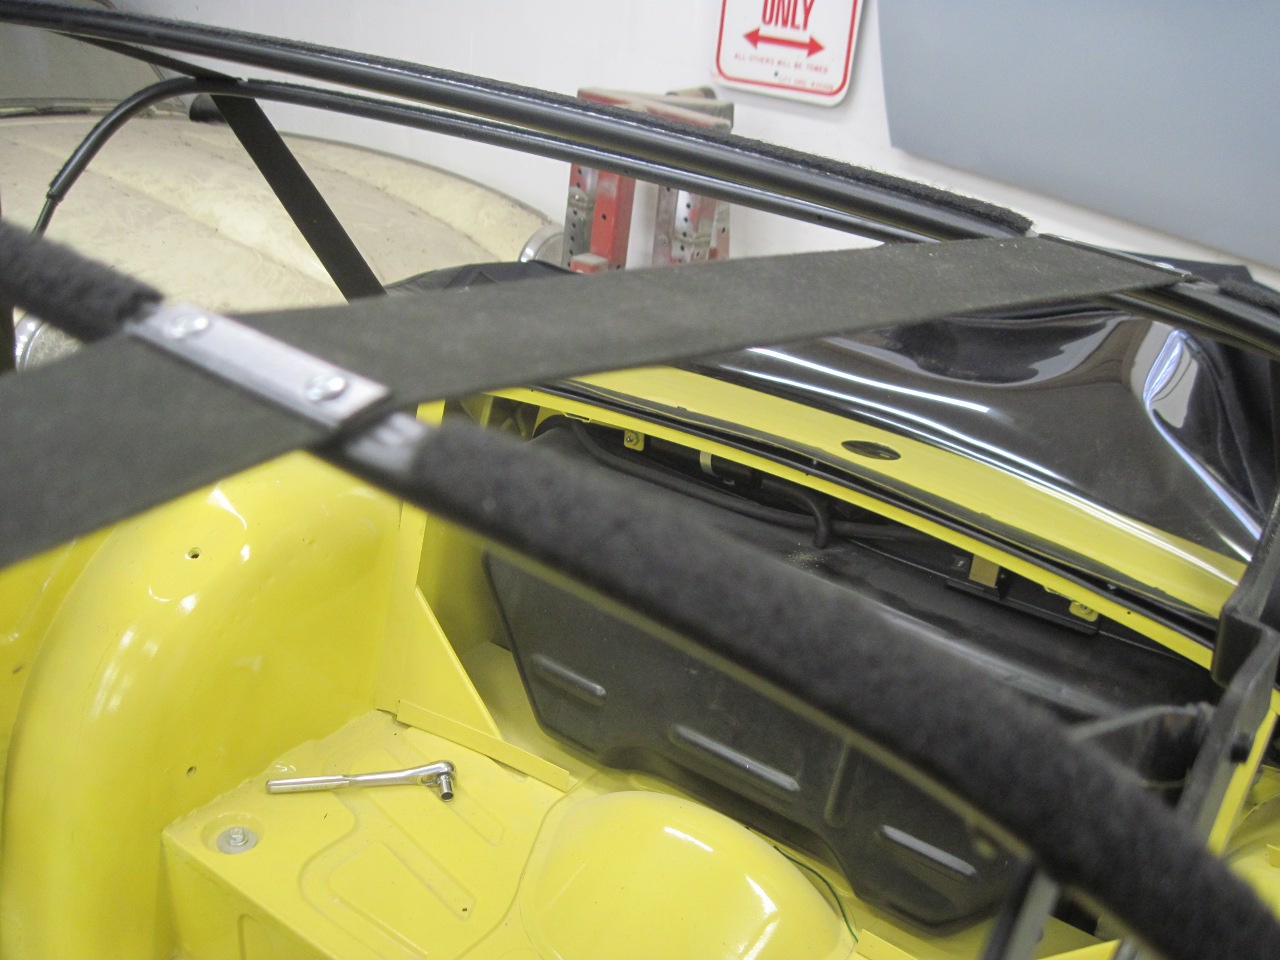
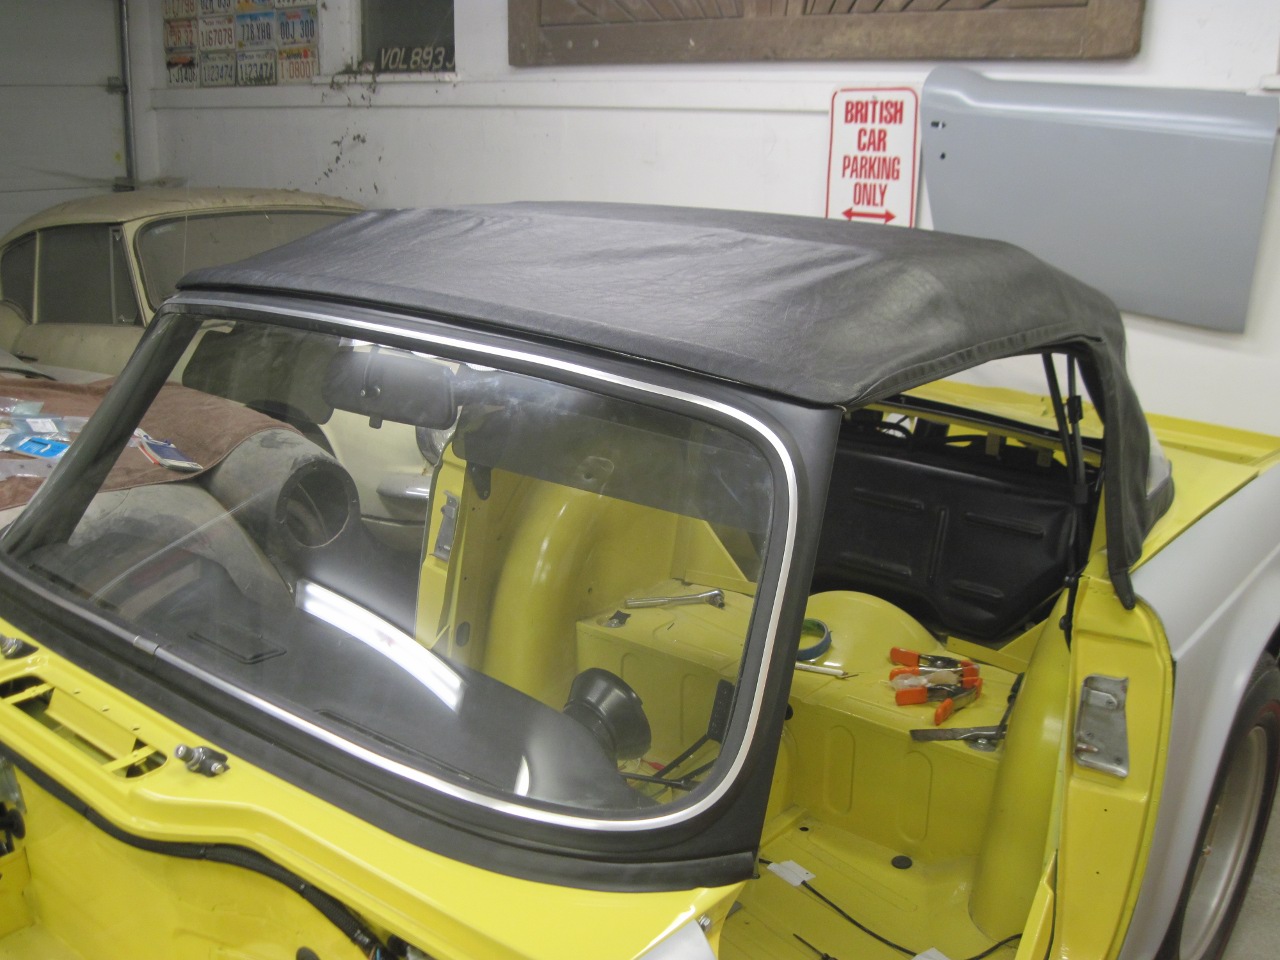
Then
it was time to stretch the top. I pulled the top as tight as I
could get it and marked it at the front edge of the front header.
I clamped the top in place, and checked the fit.

After
gluing the top to the front bow and trimming it, I added the channel
for the front seal. The seal itself is a challenge. If the
factory took as long as I did to install that seal, we'd still have
TR6s rolling off the line.

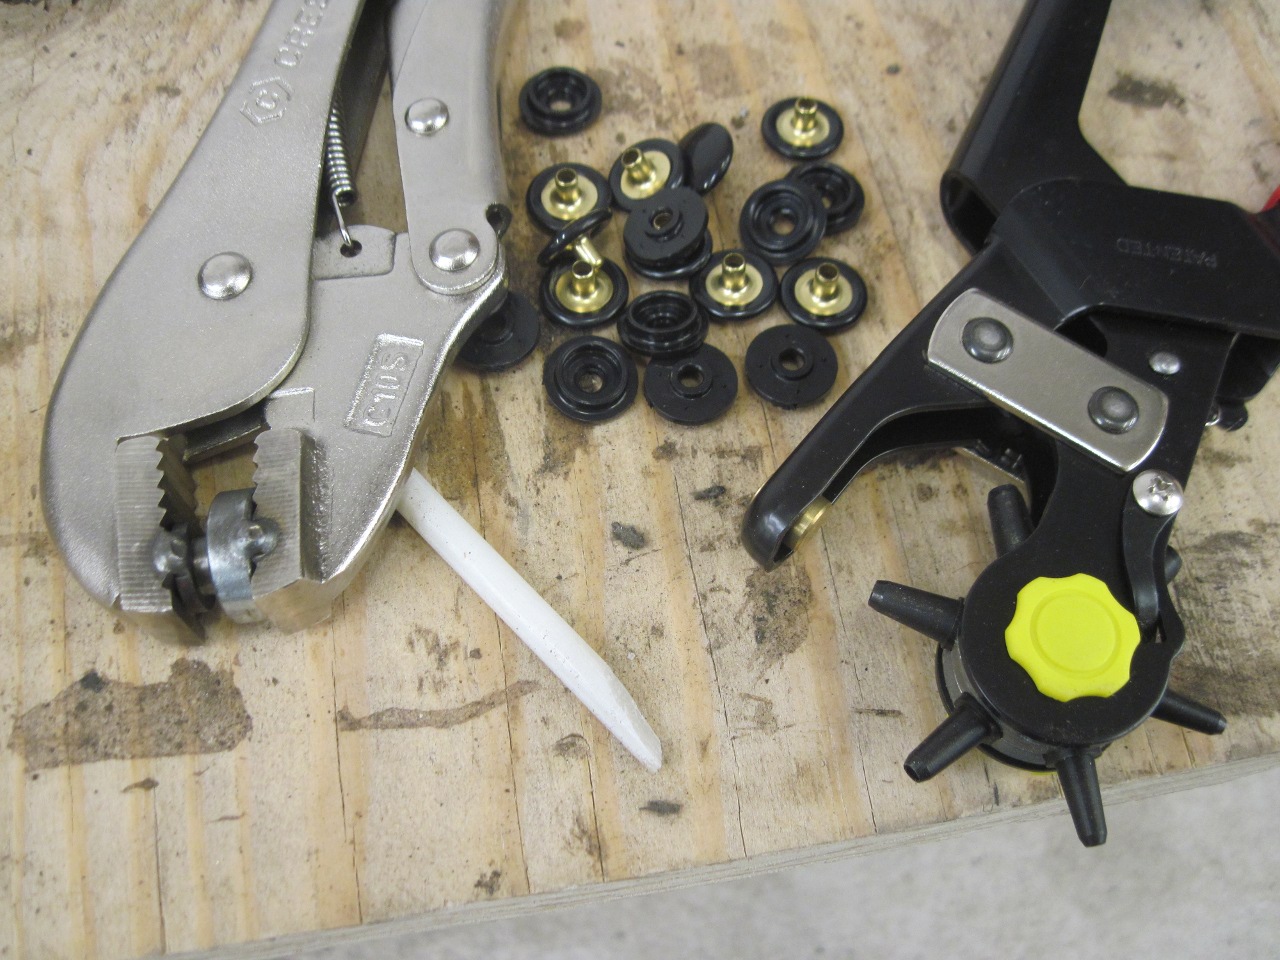
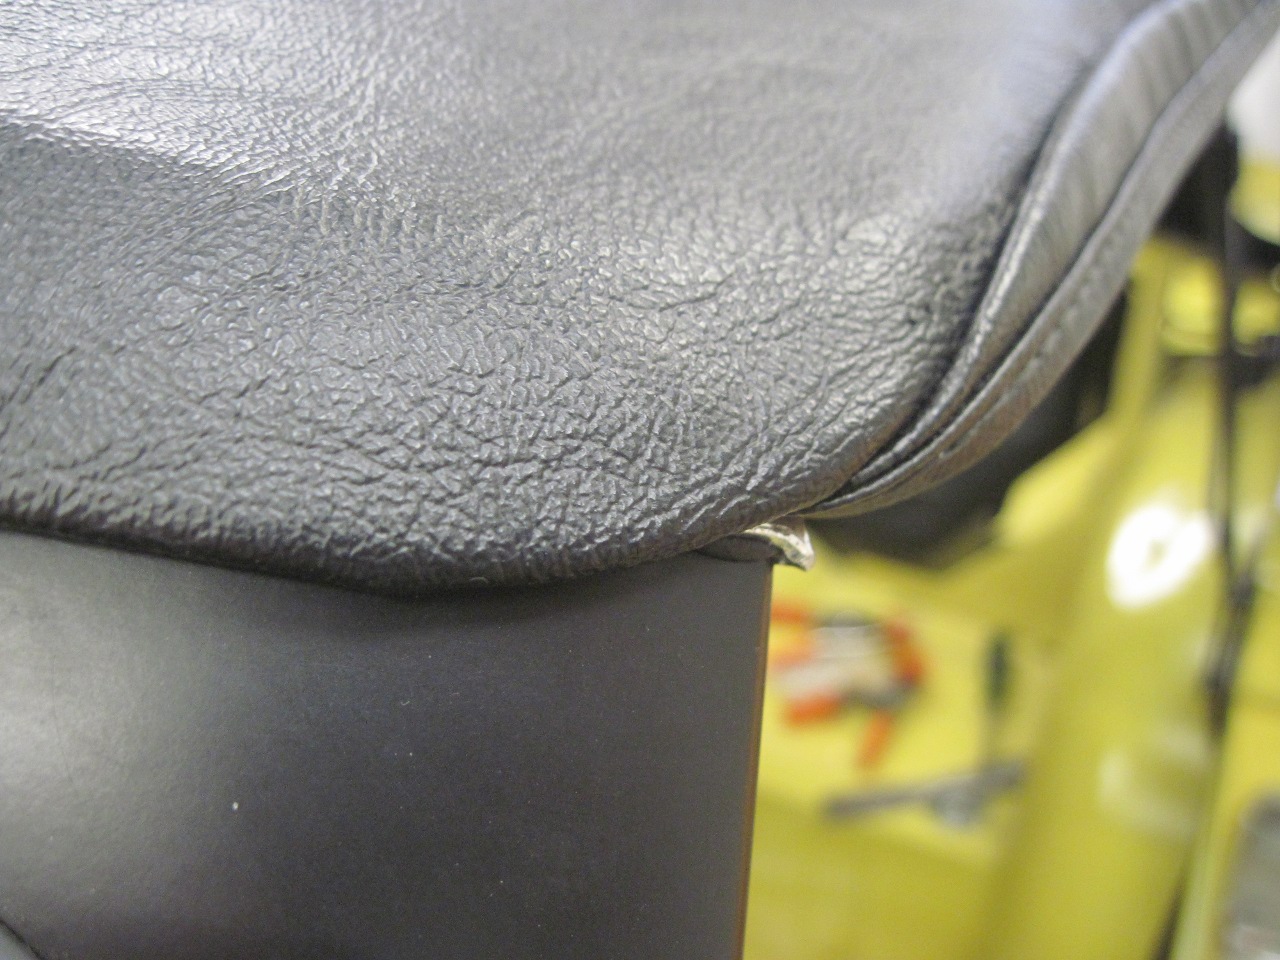
Then,
with the top up, I installed the snaps for the inside flaps that wrap
around the bows. To install the female side of the snaps in
fabric, there is the ubiquitous tool comprised of a form punch and a
plastic anvil. The snap back is placed in the anvil, the
fabric pulled over, and the snap front is pushed on then the
punch is positioned and whacked with a hammer. I have one of
these sets and it works fine, but it looked like it was going to be
sort of awkward to use it inside the car, working basically overhead.
I
imagined a plier-like tool that would do the operation much more easily
in any position. While planning to make one, I happened to see
one identical to what I was thinking. It was cheap, too, so I
bought it.
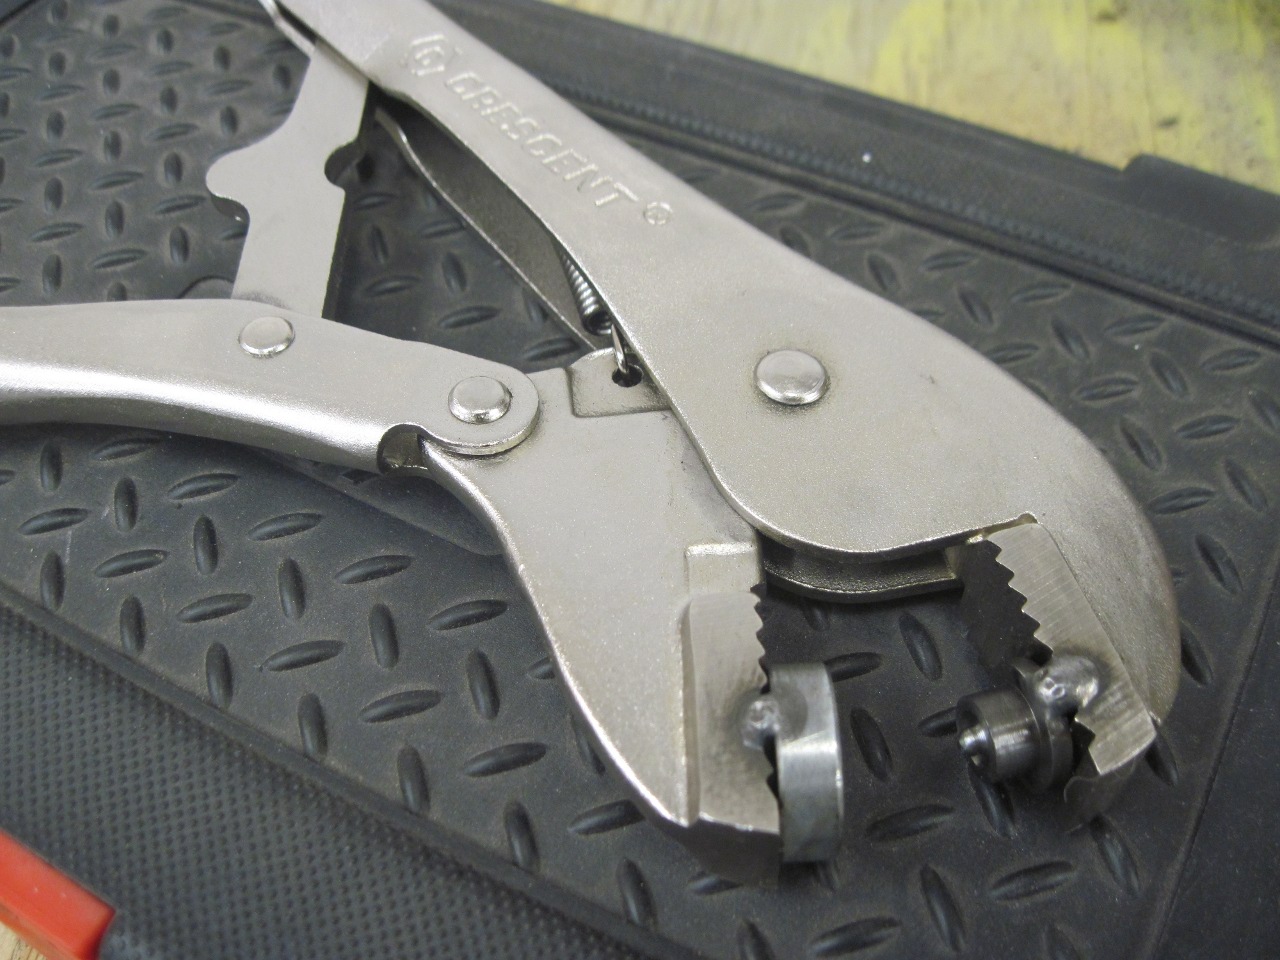
That tool and the leather punch to make the holes in the vinyl made the snap job a snap.
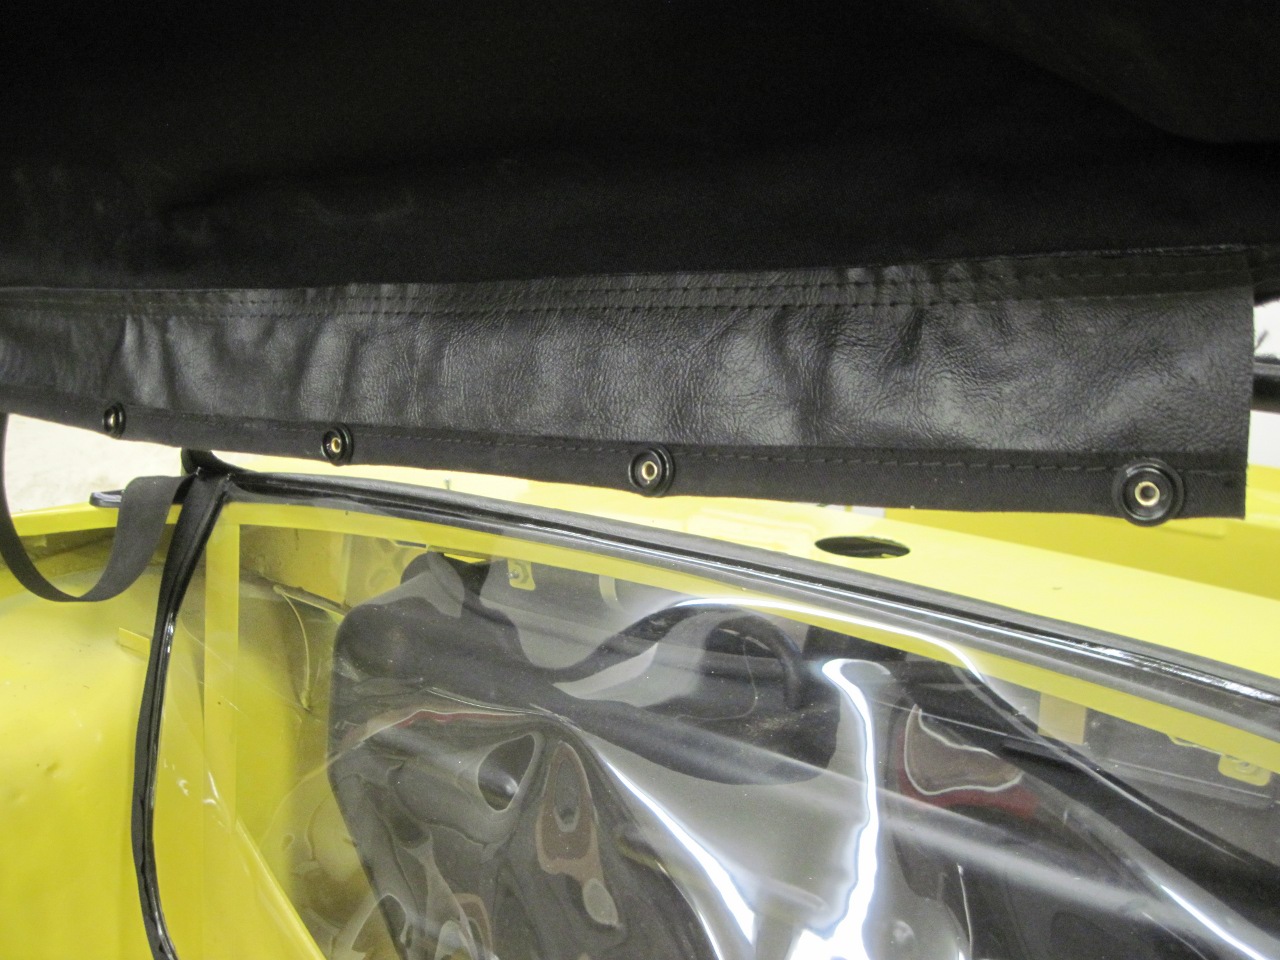
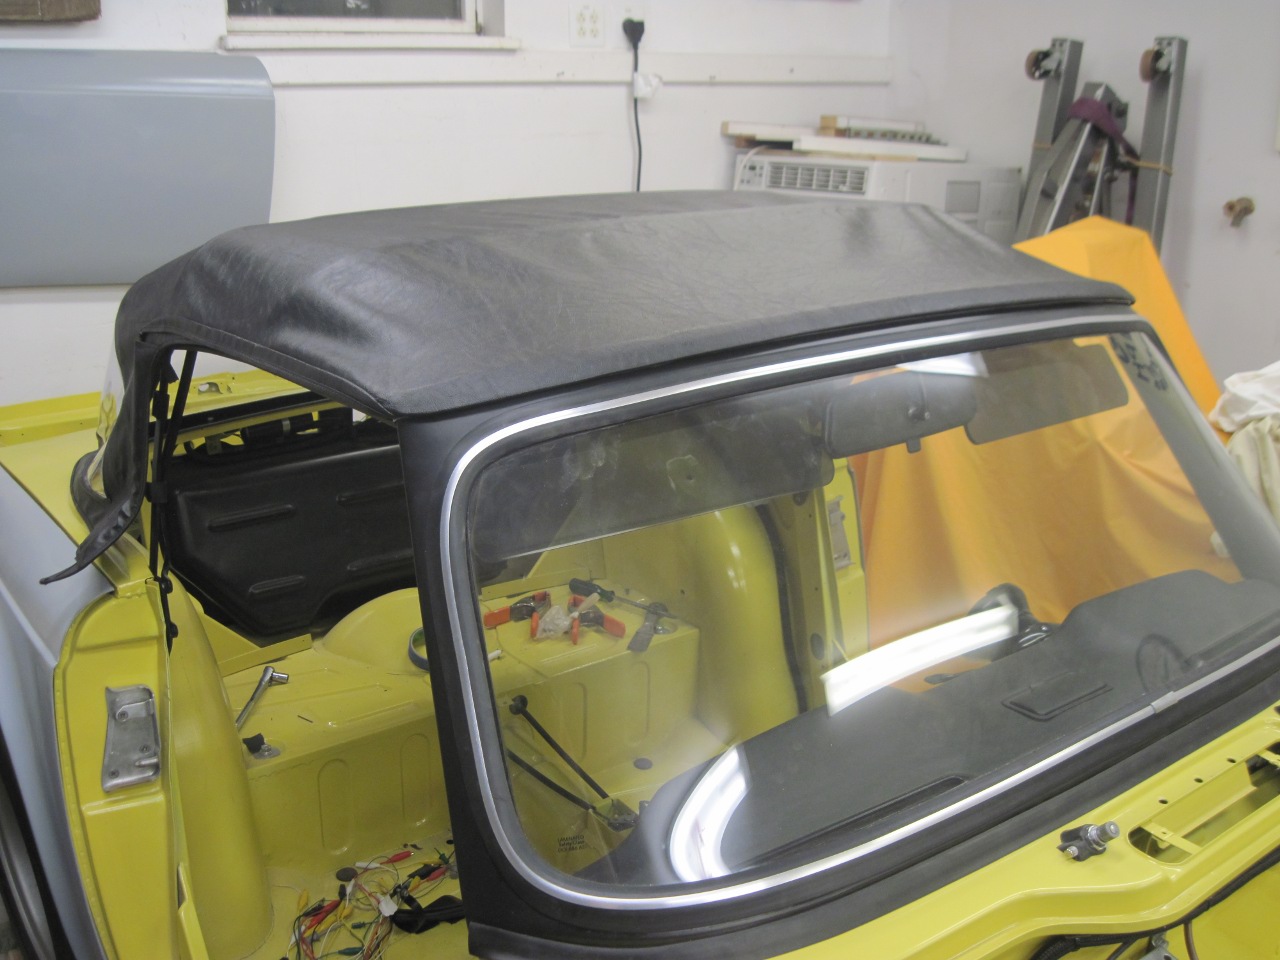
In
the end, I'm not satisfied with this job yet. To effectively
stretch vinyl, it really needs to be warm, and we are probably all done
with warm here for a while. The vinyl was a little too stiff to
stretch like I wanted. Lights and a hair dryer helped a little,
but what I really need is a warm Summer day. So, I'll table
this job until next Spring/Summer when I'll see what a few
temperature cycles do to the fit. I'm prepared to unglue the
front header and restretch it if that's what it takes. I didn't
even attempt the snaps for the rear side flaps because the vinyl was
just too cold and stiff.
I
liked this project. It makes a noticable difference in the car,
and it looks like progress. The top is one of the more expensive
items on the car, and it made me a little nervous taking punches and
sissors to it.
Comments to Ed at elhollin1@yahoo.com
To my other TR6 pages.