To my other GT6 pages
June 26, 2022
Front Valance
GT6 cars and their Spitfire cousins had a separate bolt-on front valance
fitted below the grille. In fact, I believe the GT6 Mk2 (GT6+)
and the Spitfire Mk3 share the same part.
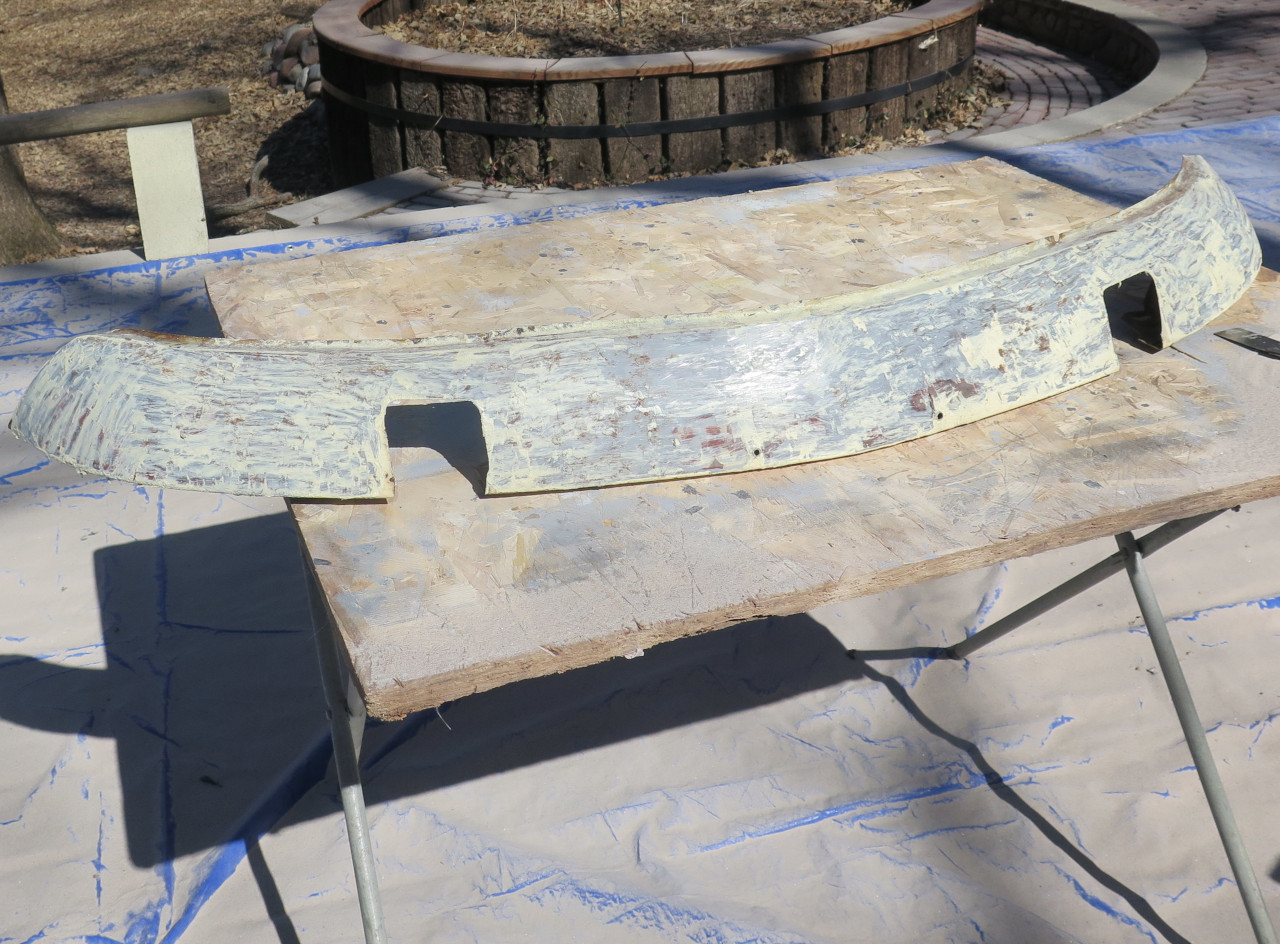
The front valance lives in a pretty exposed place on the car, close to
the leading edge and close to the road, so it is often found in pretty
bad shape. My valance didn't appear to have seen much trauma in
it's life, but there was some rust-through in a few places around the
mounting brackets.
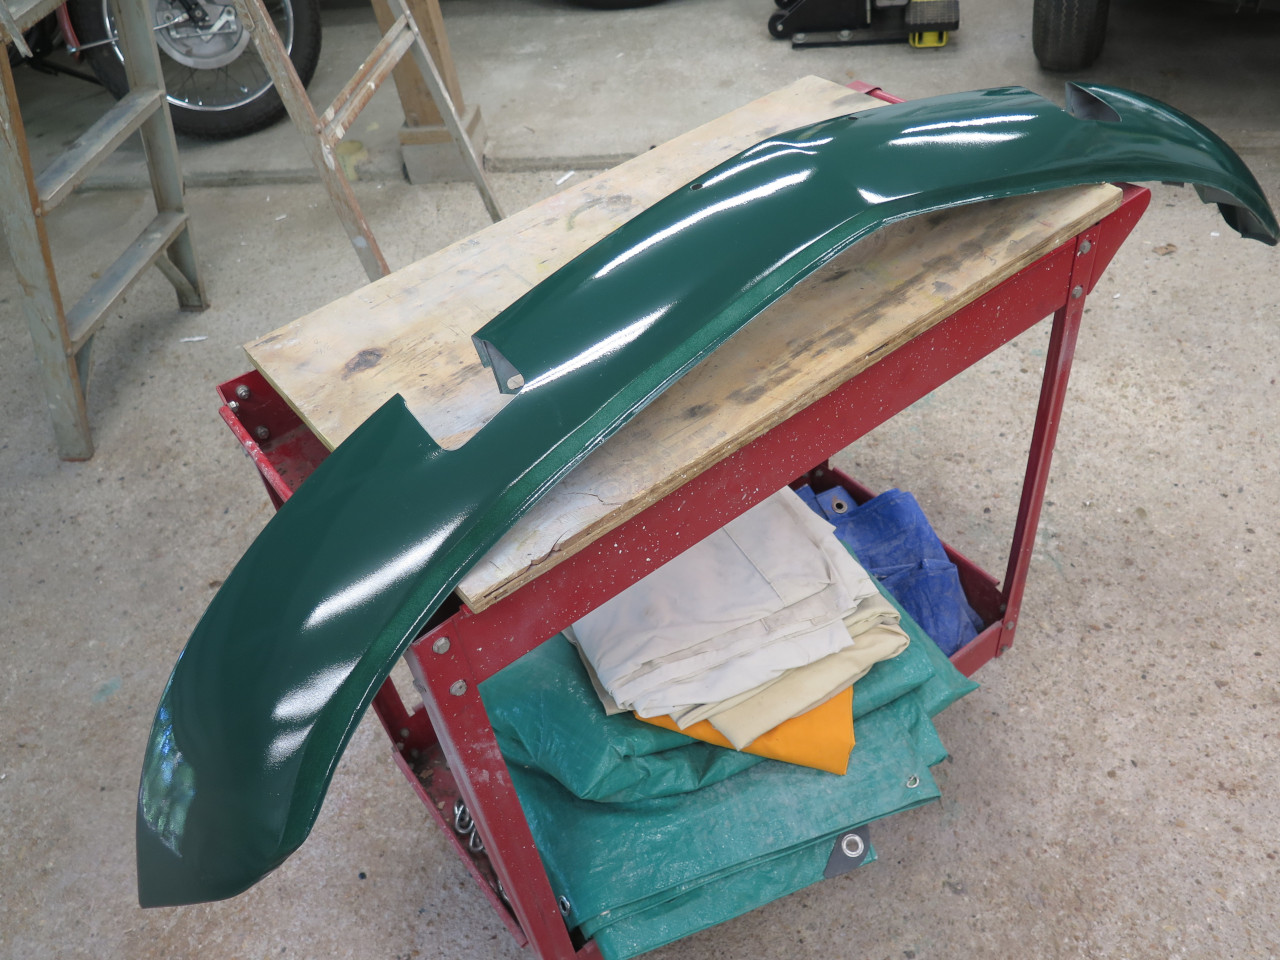
This is the valance after some chemical stripping, but before sand blasting.
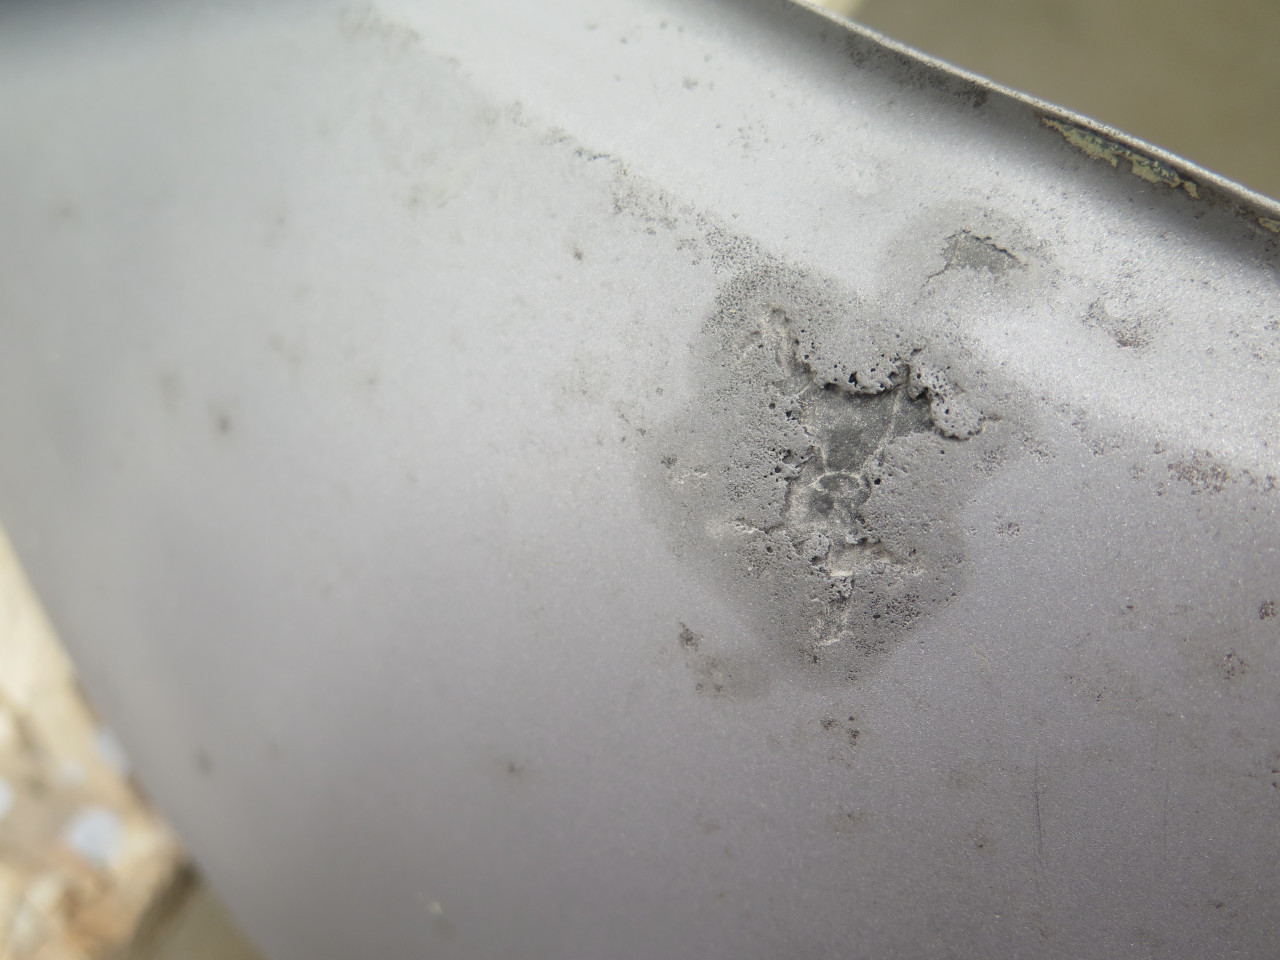
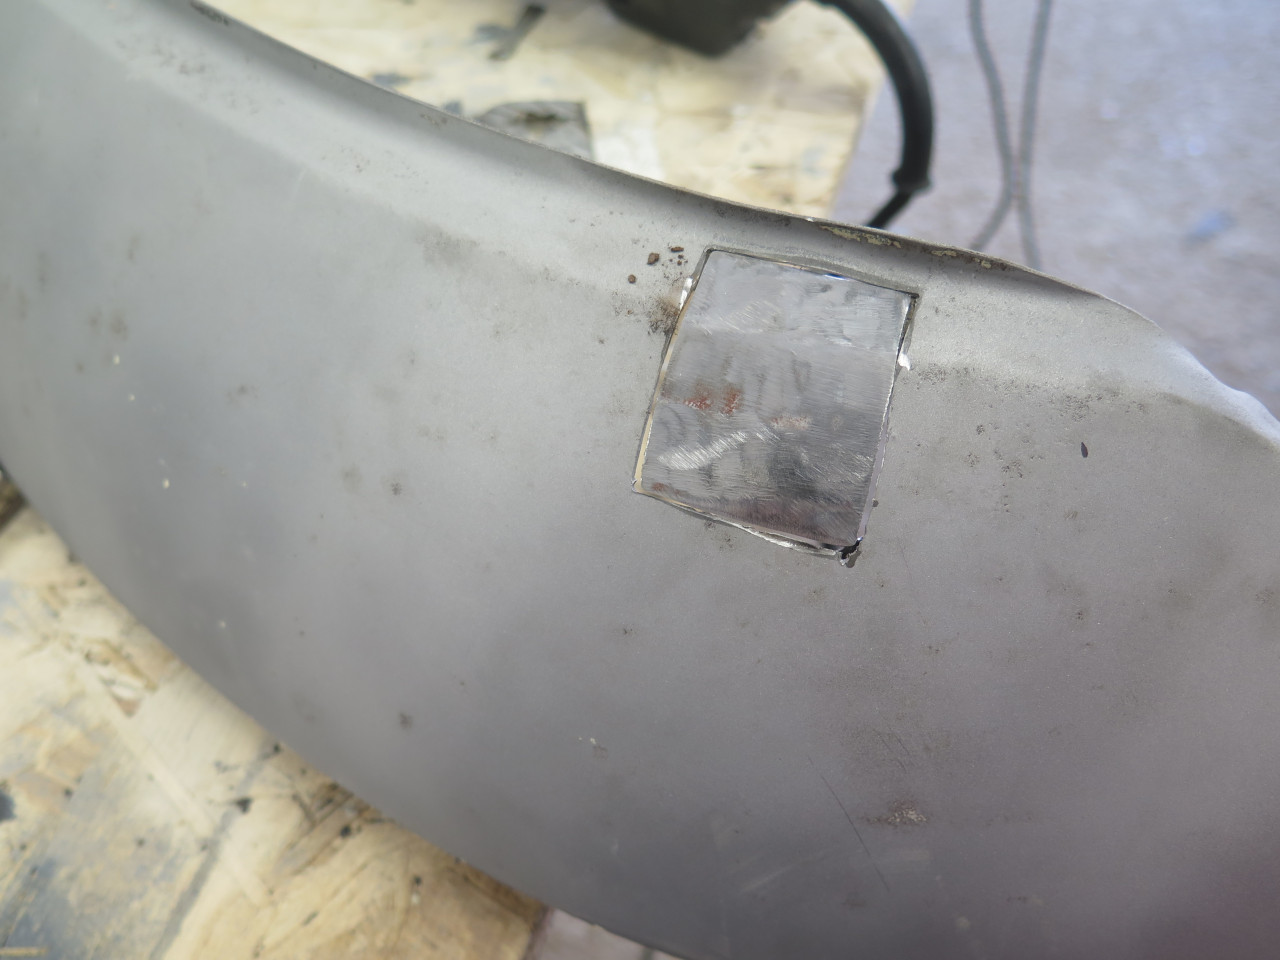
Blasting revealed some ugliness on each side, where water obviously got
between the outer skin and the mounting brackets, and rusted through
both.

I cut away part of the bracket, both because it was bad, and to get access to the surface below.
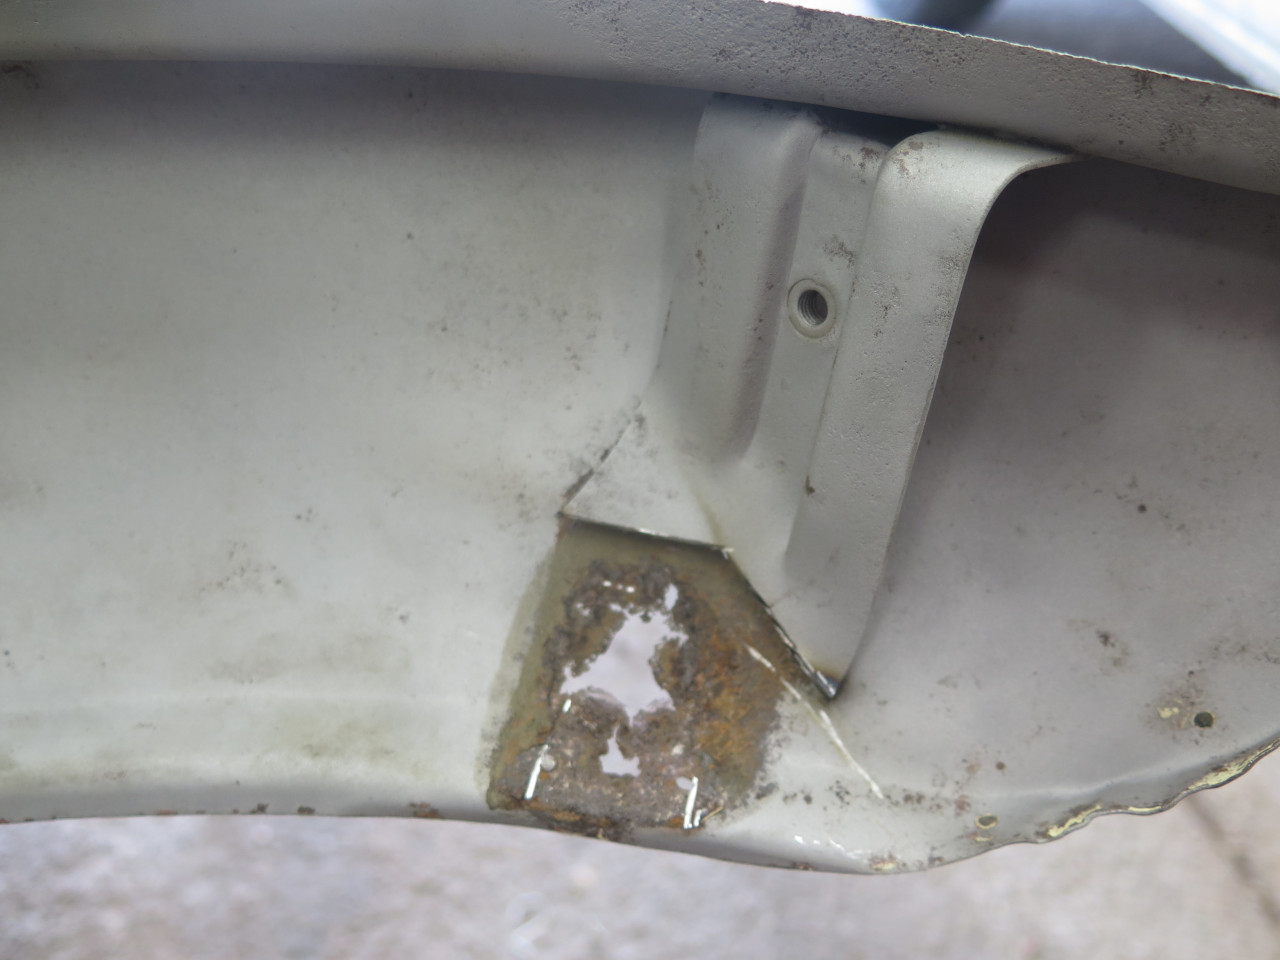
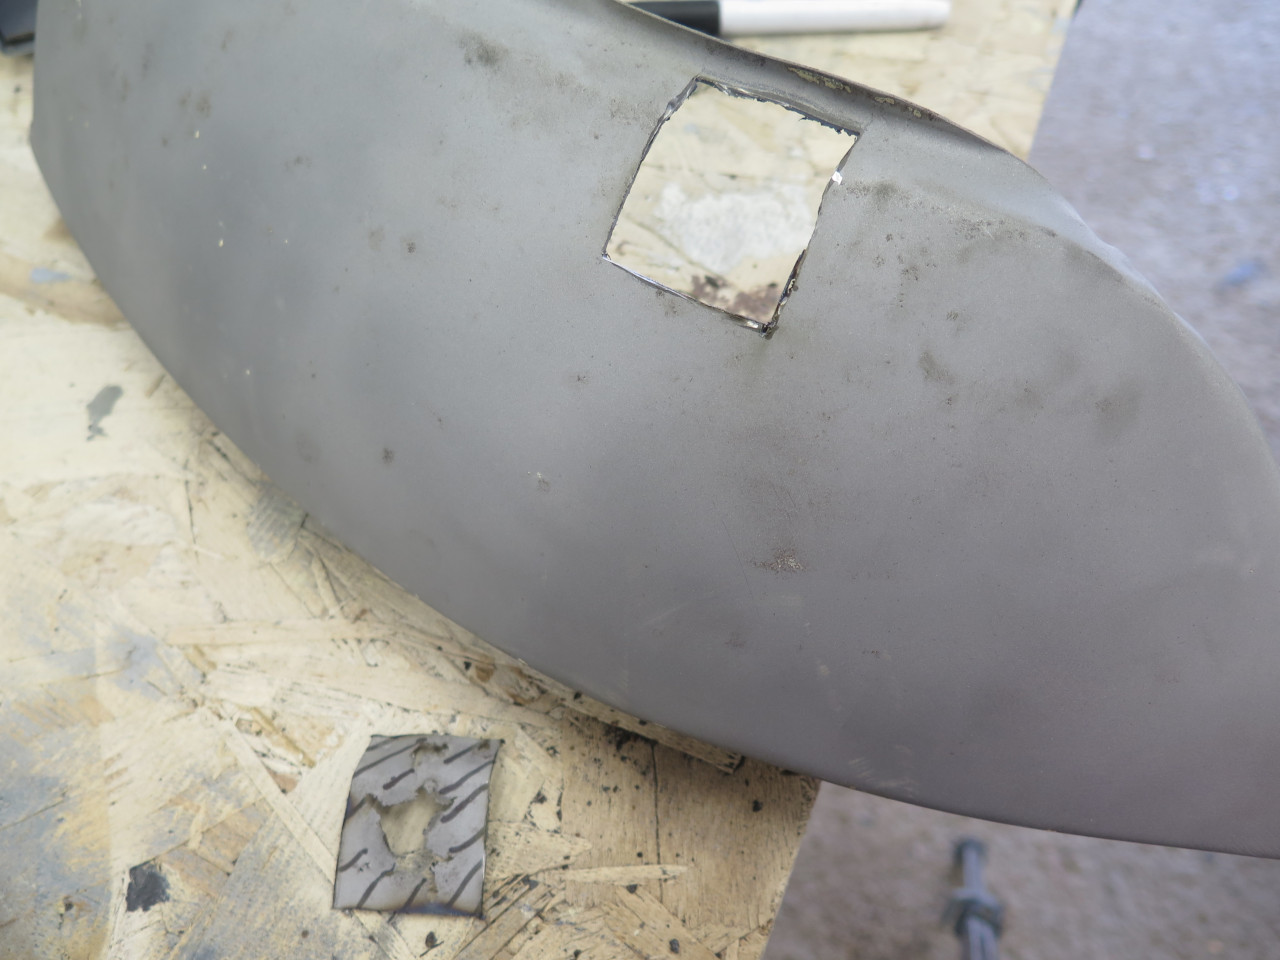
Then cut out and patched the damaged area of the skin.
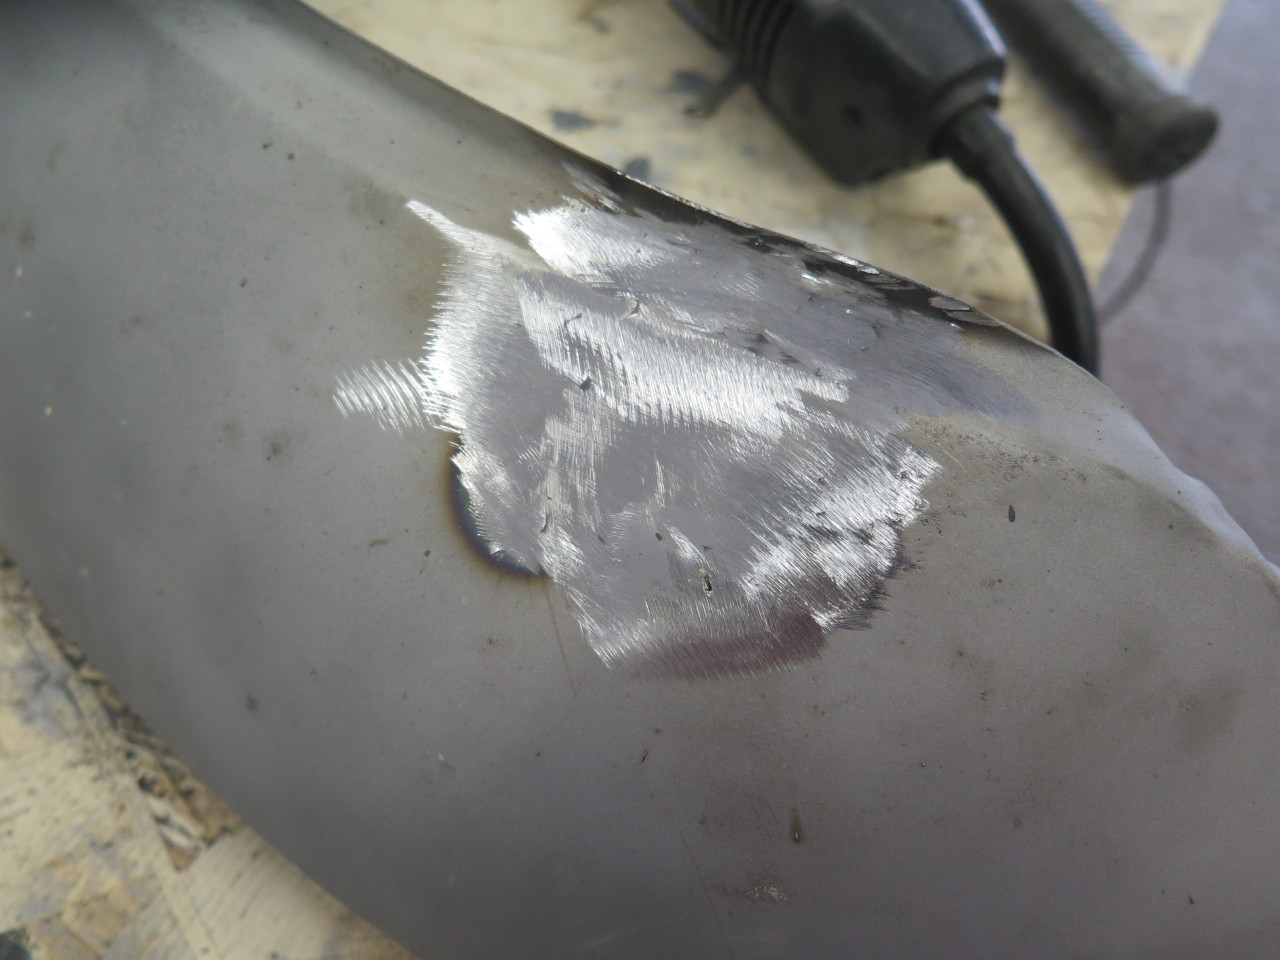
Then fixed the bracket.


After fixing almost identical damage on the other side, there were some
nits, like a few if these little tears on the bottom edge.

Then is was general paint prep: A couple of coats of epoxy primer and some minor surface filling.

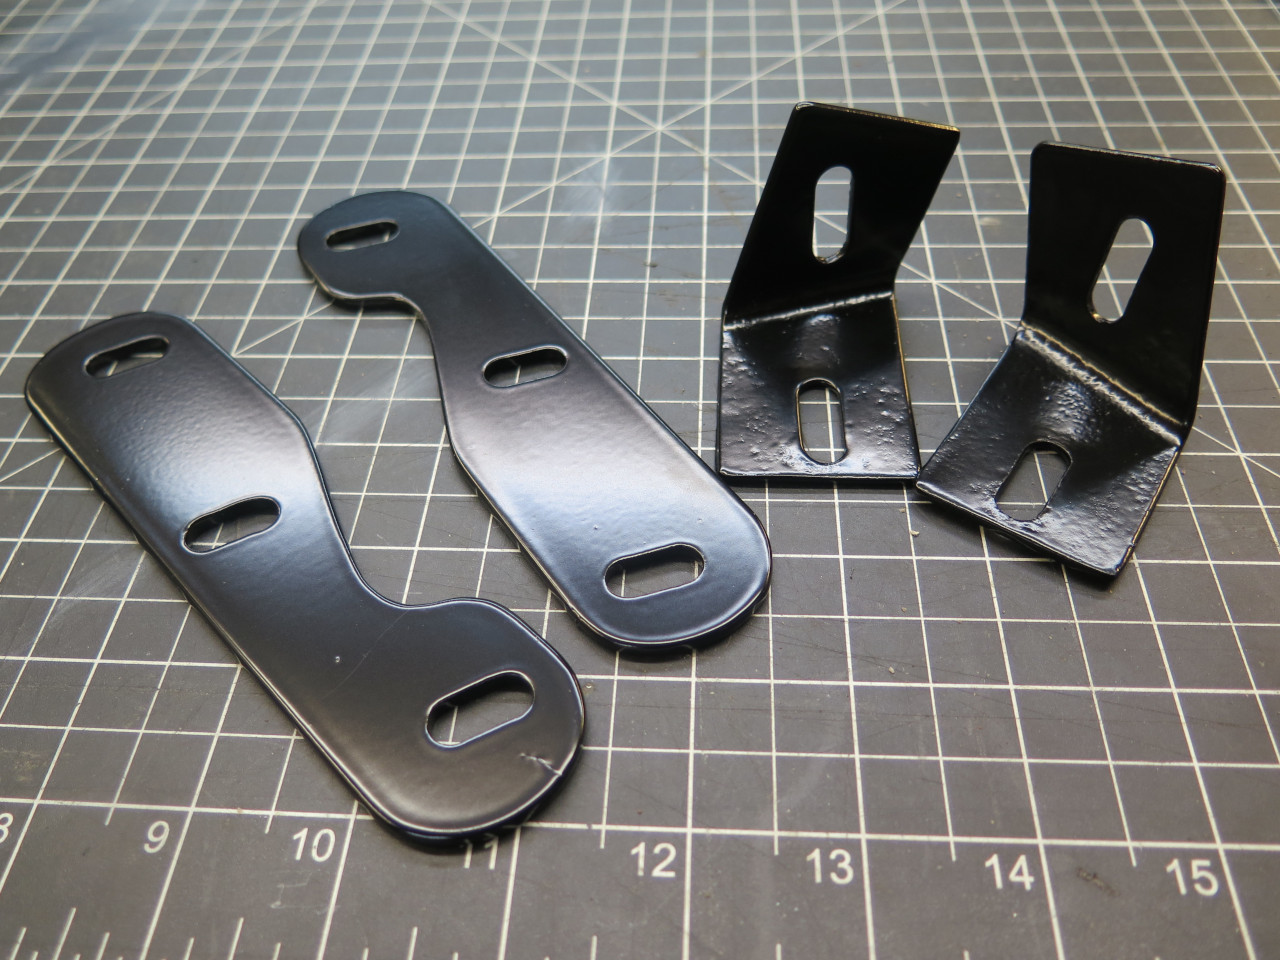
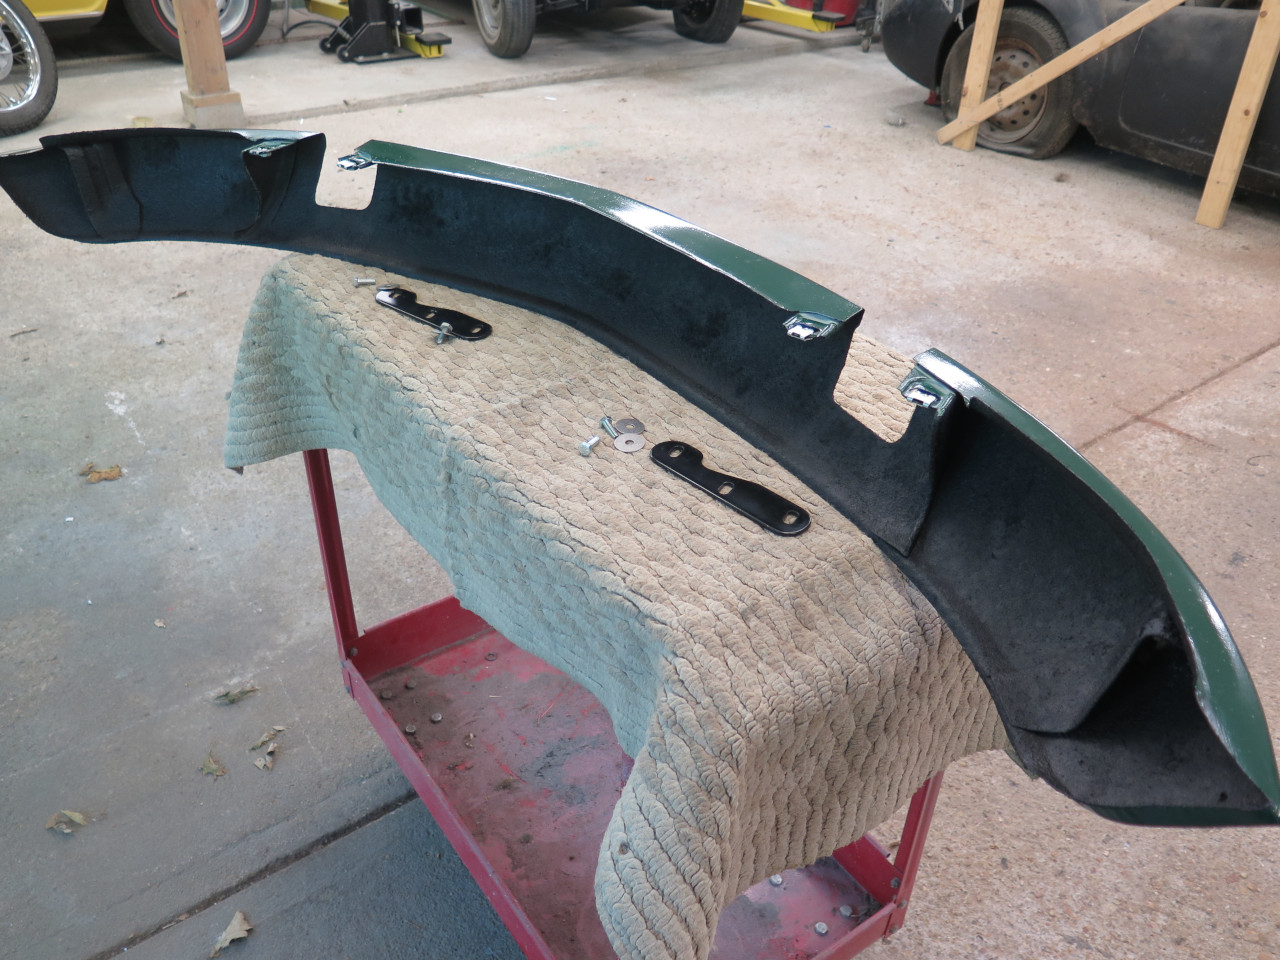
At this point, I dug out the bag with the valance mounting
hardware. It included two of these little sheet metal
brackets. The valance has a cutout on each side where the frame
rails pass through to accommodate the bonnet hinges and the front
bumper. The brackets bridge those gaps, and mount the valance to
the frame rails. The brackets were in sad shape. They were
distorted, and both were torn in the same place.

I straightened the brackets and fixed the tears, but it was clear that
they were not up to the task they were designed for. In the end, I
decided to just make some more substantial brackets. I started
with some 1/8" thick mild steel strap.

And made the new brackets identical to the originals, except more macho. They were solid instead of formed wimpy sheet metal.

Then powder coated them along with the two angle brackets that fix the ends of the valence.
The long brackets attach to the valance with some captive nuts clipped
to tabs on the valance. They were pretty rusty, and I didn't see a
good way to clean them up and protect them from further rust. I
found some similar clip-on nuts that worked well. I couldn't find
them with UNF threads though, so this is one of the few places on the
car with UNC fasteners. At this point, the valance had a coat of a
surfacer-primer over the filler.


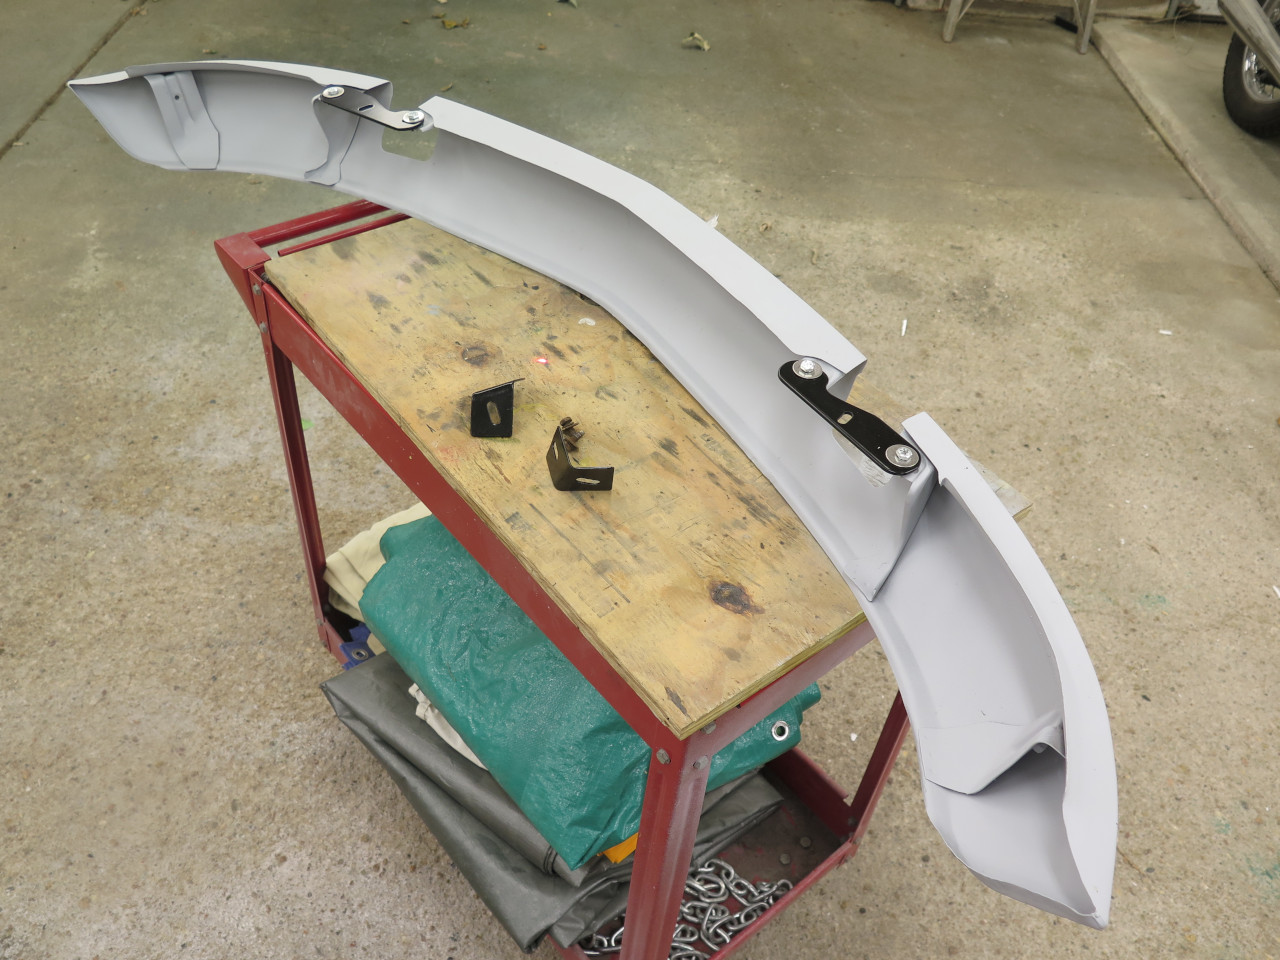
A test fit-up showed that the valance fit pretty well.

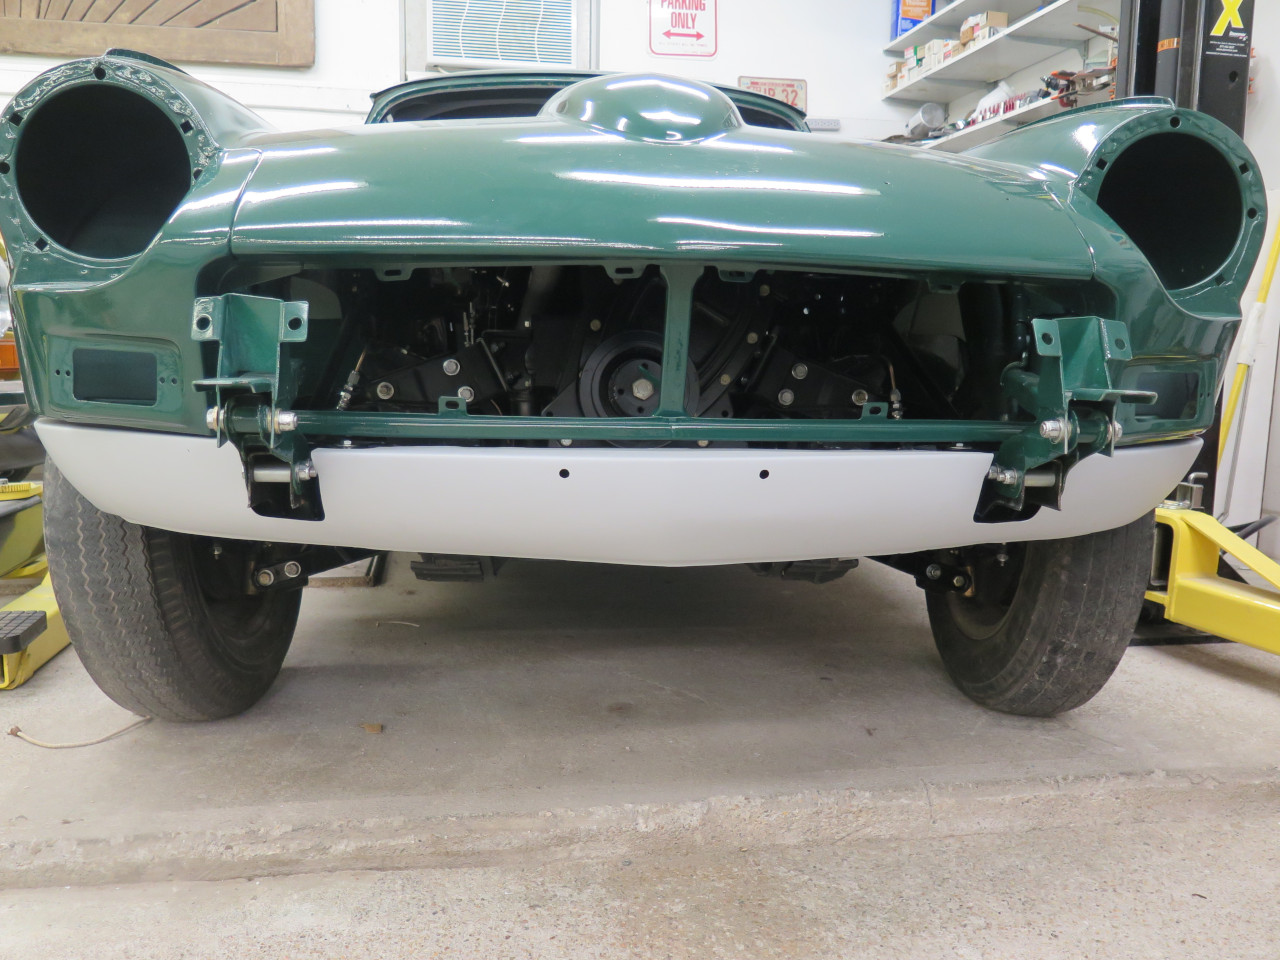
Then, some final block sanding, and some color.
On this car, I used an undercoating on the underside of the body.
The backside of the valance seemed to be a good candidate to also get
some undercoat protection.

I was able to clean up, replate, and re-use some of the original
bolts. Because of the potential hostile environment of the
valance, it seemed that the extra chromate step was worthwhile.

It took some tweaking to get decent final results. The cutouts in
the valance make the ends sort of floppy, which is why the angled end
brackets are necessary. They have to be adjusted to hold the
ends up to get good gaps.


This step really made a difference in the look of the front of the
car. It took a little time, but the cost was just for the clip
nuts and some consumables.
Comments to Ed at elhollin1@yahoo.com