To my other GT6 pages
February 7, 2022
Seats
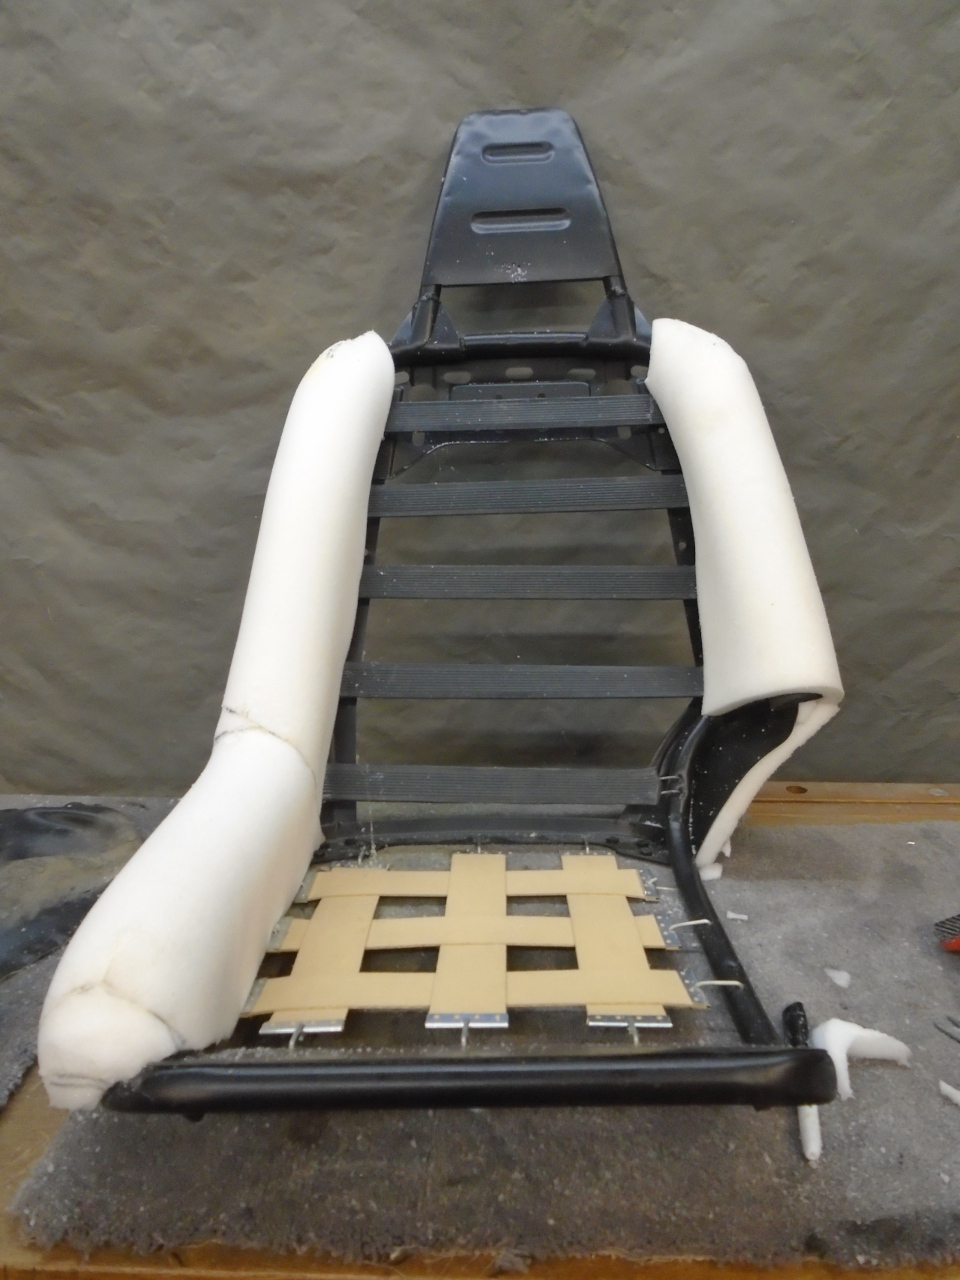
So, I'd been circling this partially done GT6 seat
up on the work bench for a couple of weeks, trying to decide how to
move on. Do I buy foam kits? Seat cover kits? Vinyl or
leather? What color? I had a bad case of decision
paralysis.
I was wandering aimlessly through some options online when Inner Engineer strolled through.
"Wassup?" he said, looking over my shoulder, munching on a carrot.
"Oh, I'm struggling with what to do with these seats," I replied.
"So, what the prob, Dude?"
"Well, I did the foam on the side bolsters the same way some of the
commercial kits do it. They came out fine, but seem a little
fatter than they were. I'm worried that a cover kit may not fit
right. I've read horror stories."
"Wow, sucks, Dude. Why not make your own?"
I paused, trying to grasp what he was suggesting. "Say what?"
"Yeah, Dude, make your own. You still got that sewing machine, don't you?"
"Well, yeah, but I've only made a few flat panels for the TR."
"Same-same, Dude. Sewing is sewing."
"I don't know. Even the commercial places say these are some of the most complicated seats that Triumph made."
"Look--you'd make them to fit, one piece at a time," he said, waving the
carrot like a pointer, "You're a smart guy. You'd figure it out".
"I'd be way over my head."
"Exactly! Tempting, isn't it?"
I was letting that soak in when he leaned in and said "How--"
"I know! I know! How hard can it be?"
"You got this, Dude," he said as he left the room.
I let this steep for thirty seconds, clicked on Google, and typed in "Leather".
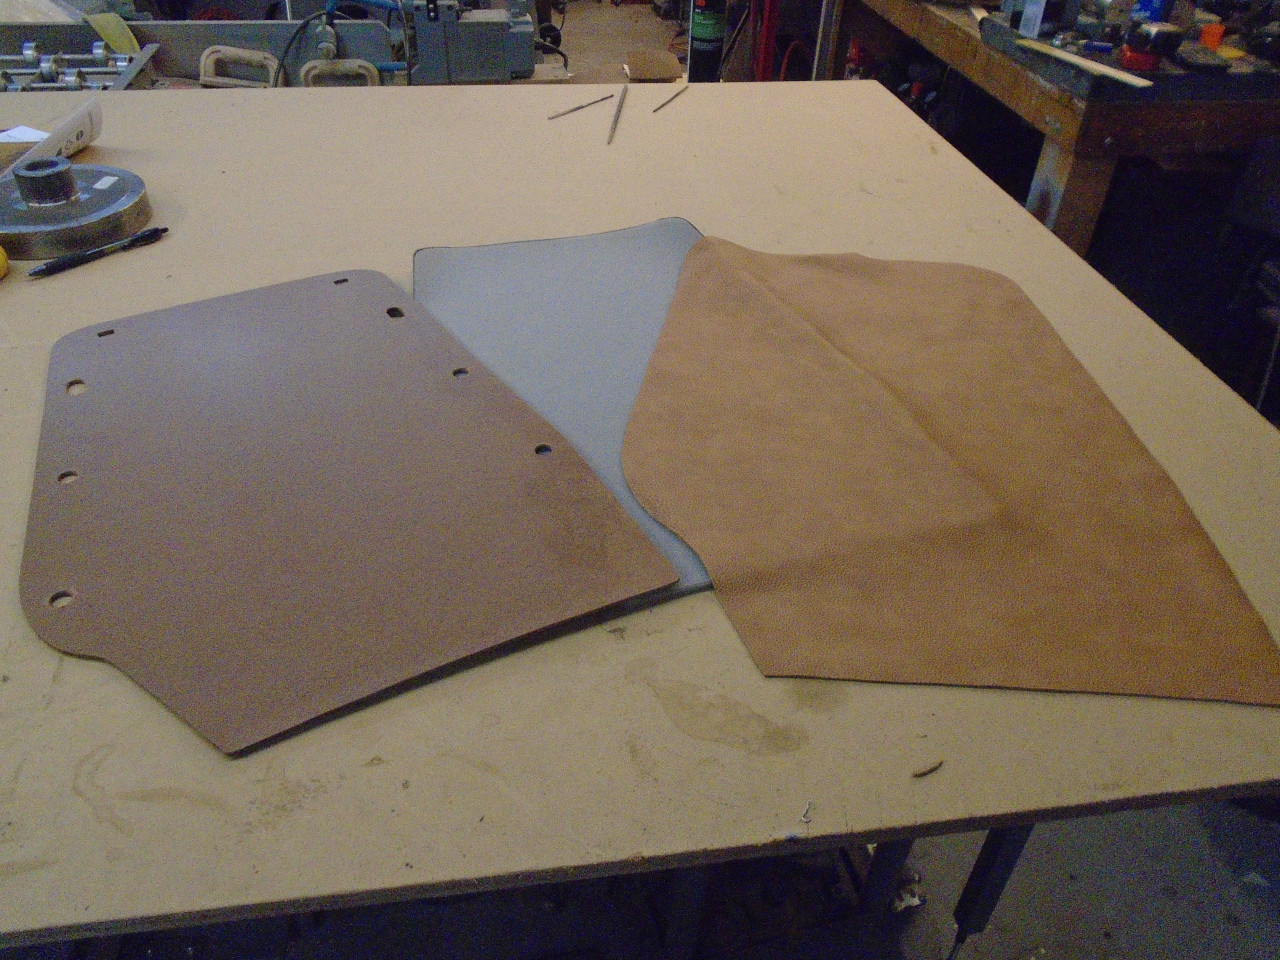
A few days later I got these.
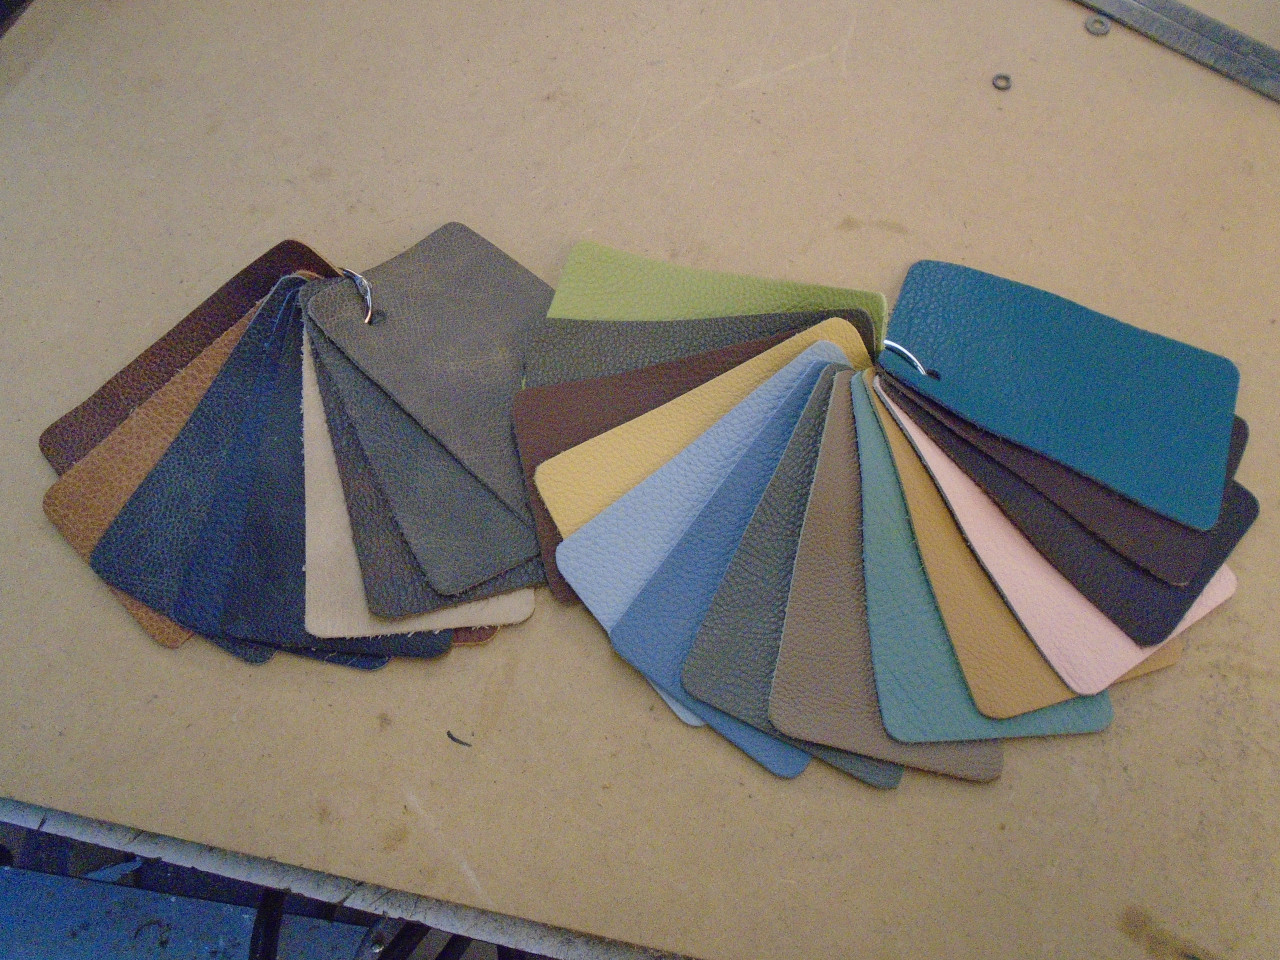
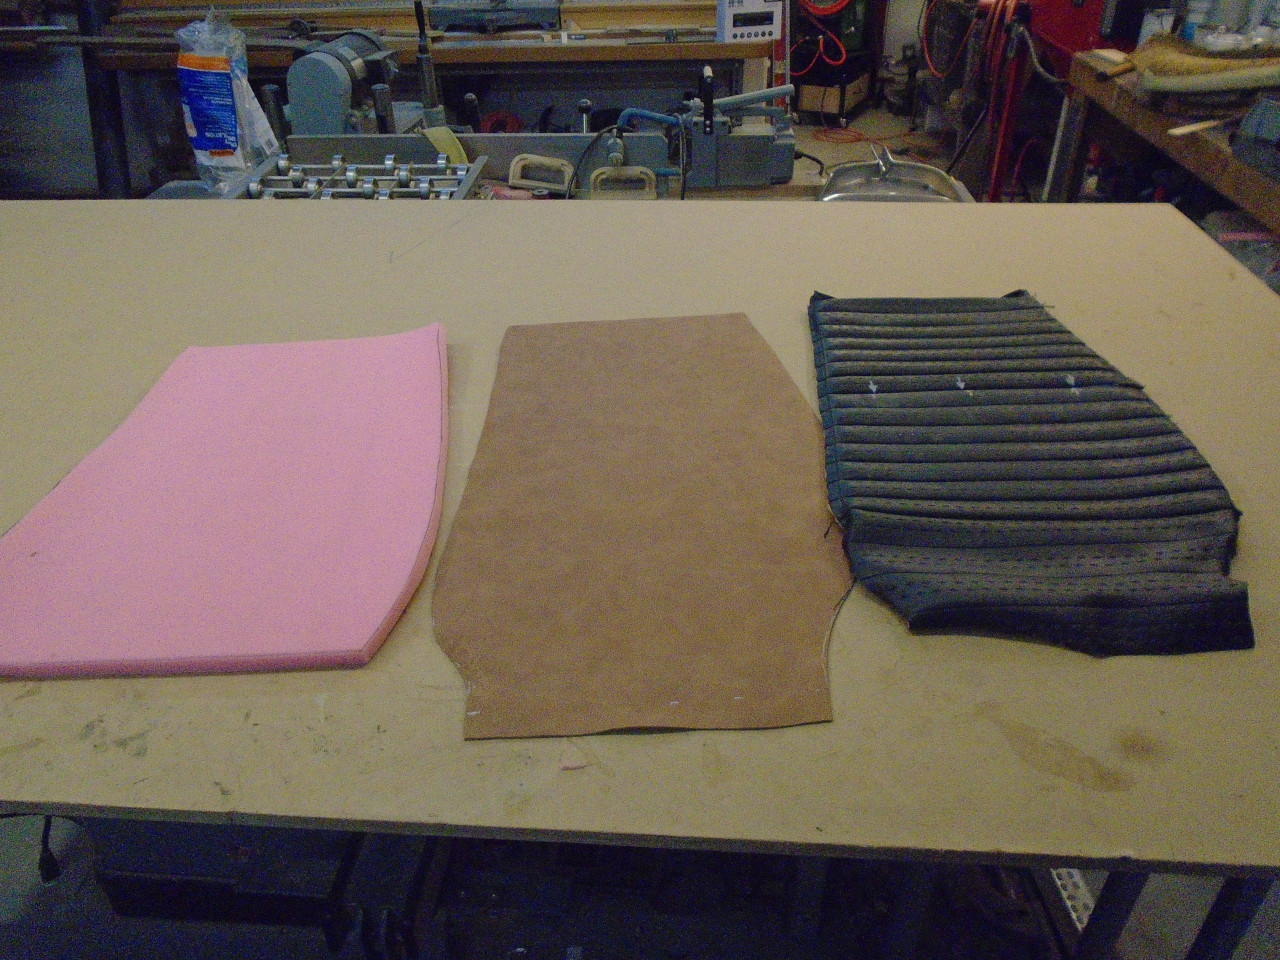
I consulted LOML for some design advice, since this is technically her car. We narrowed the field to a short list...
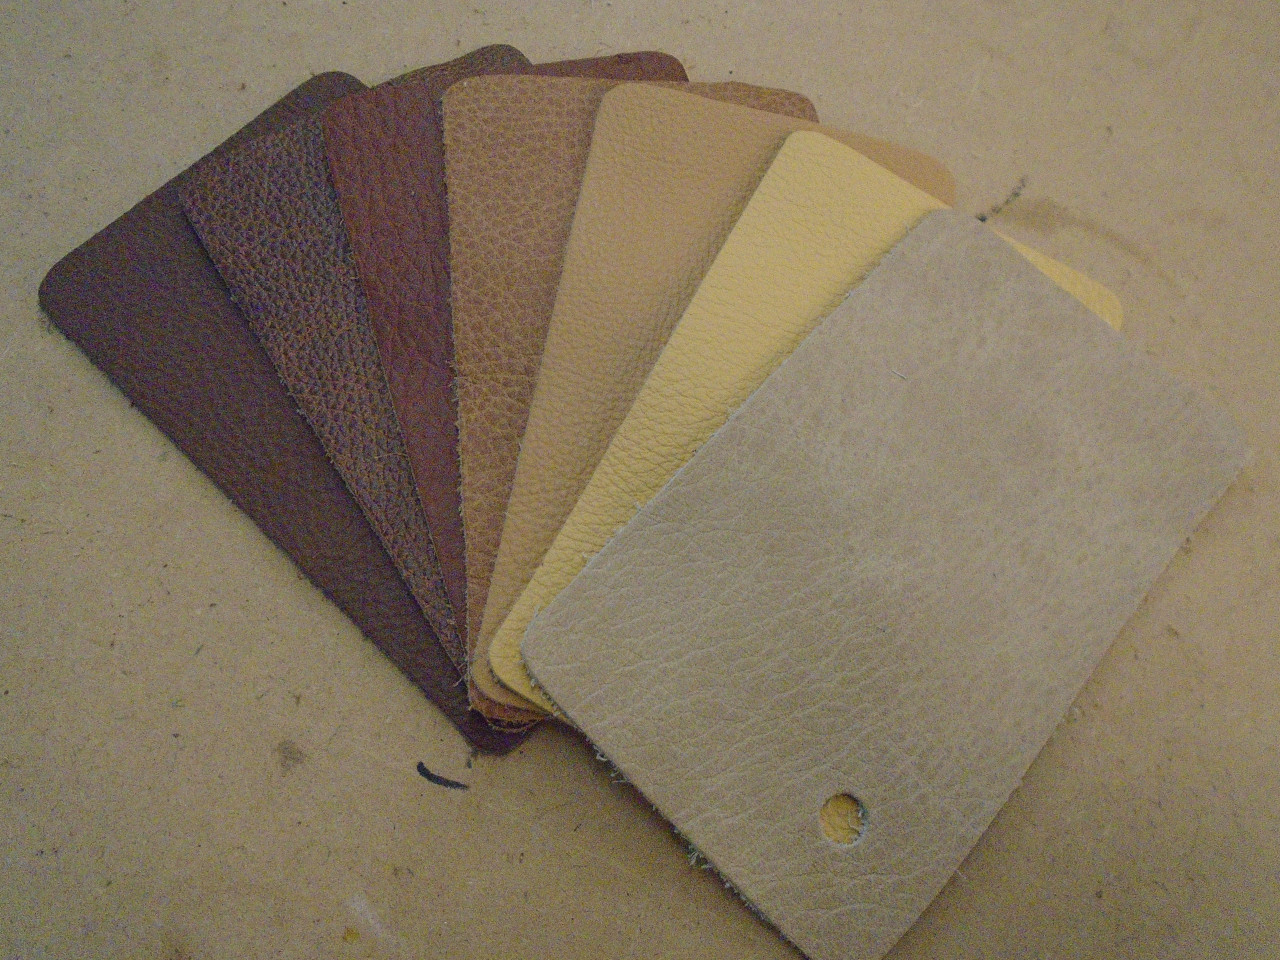
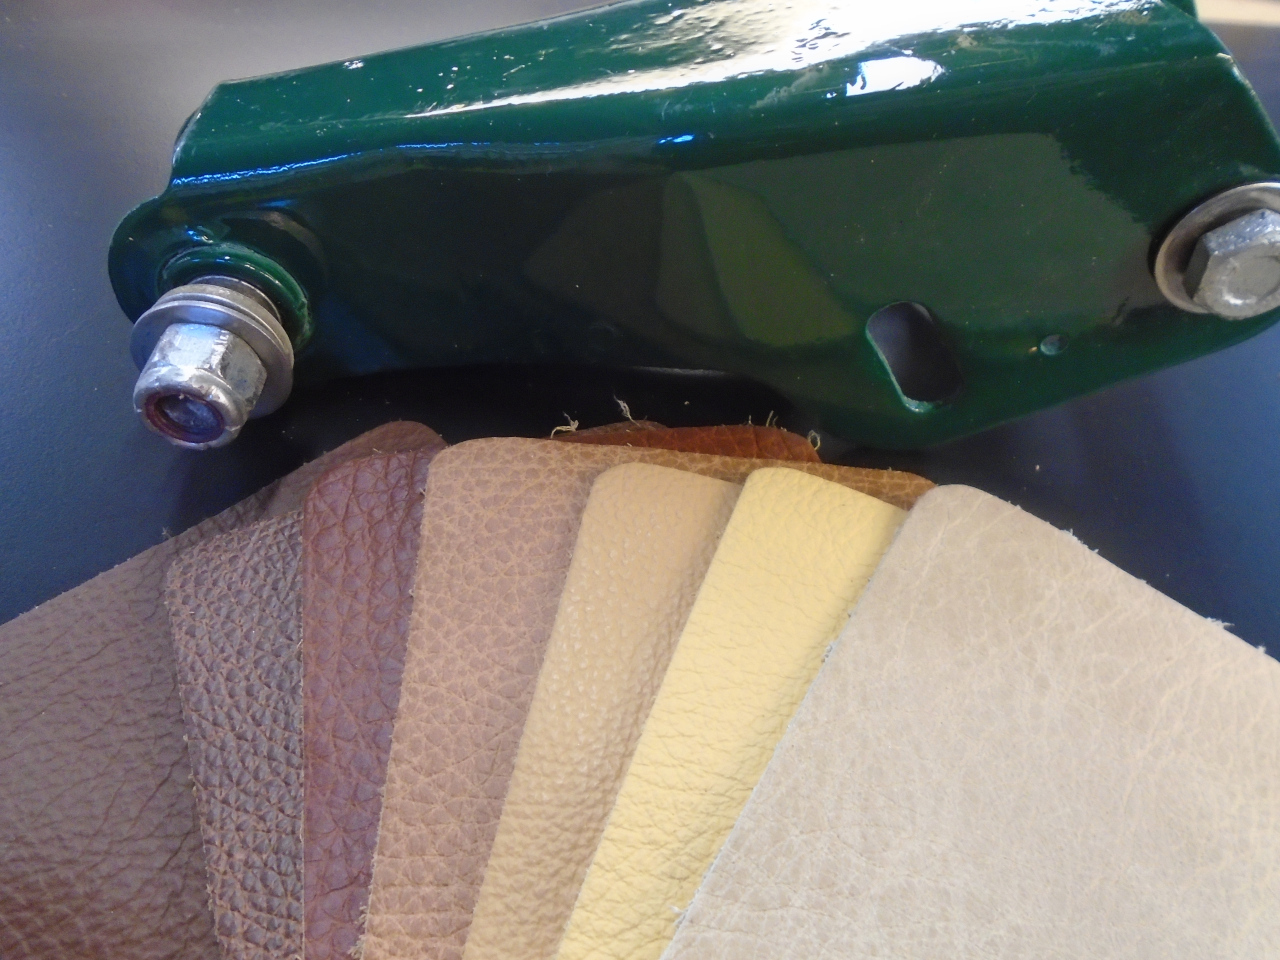
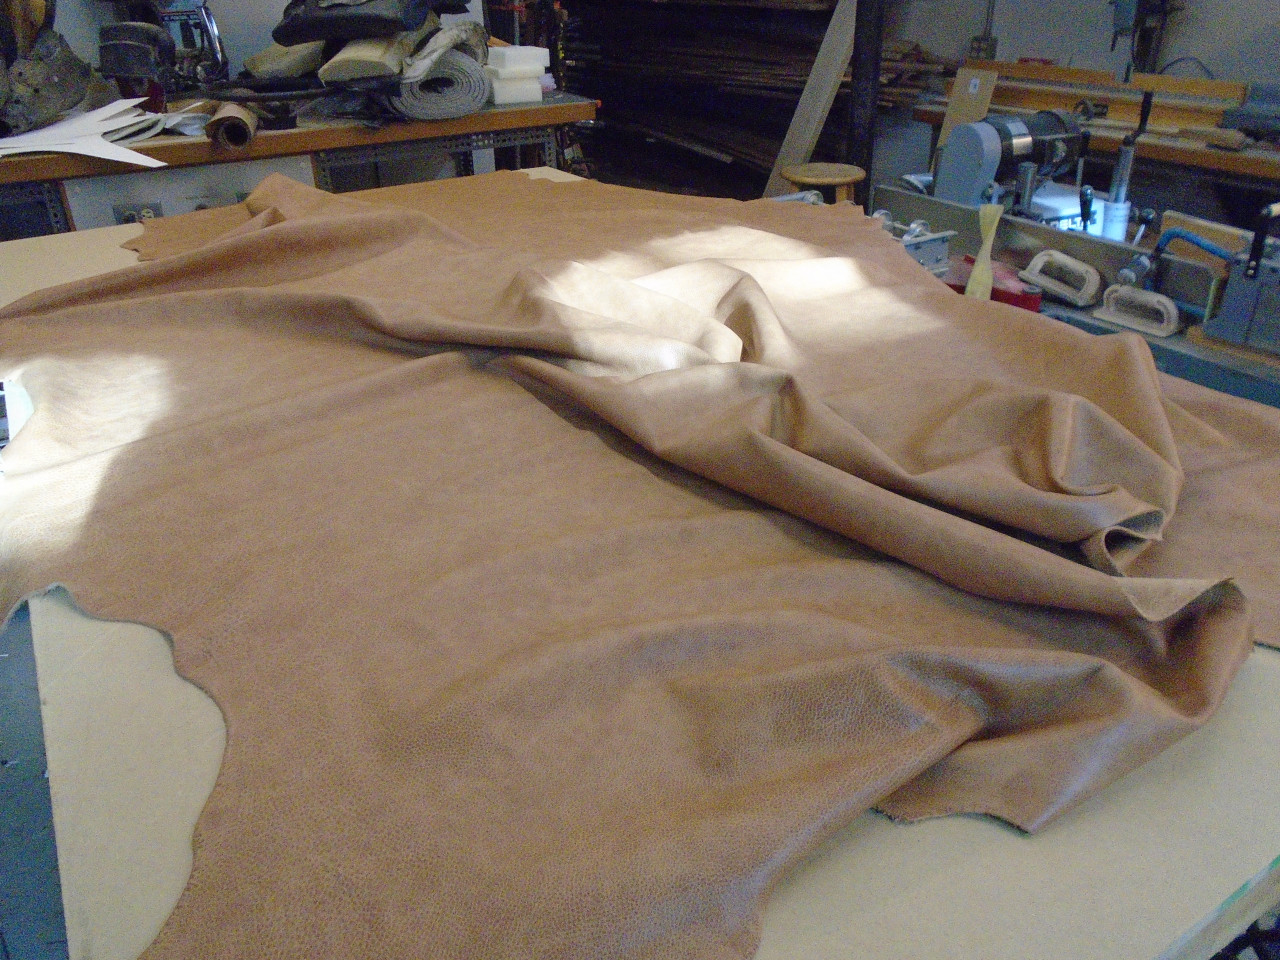
...and finally chose one called "Canyon Gold" (the middle sample in the
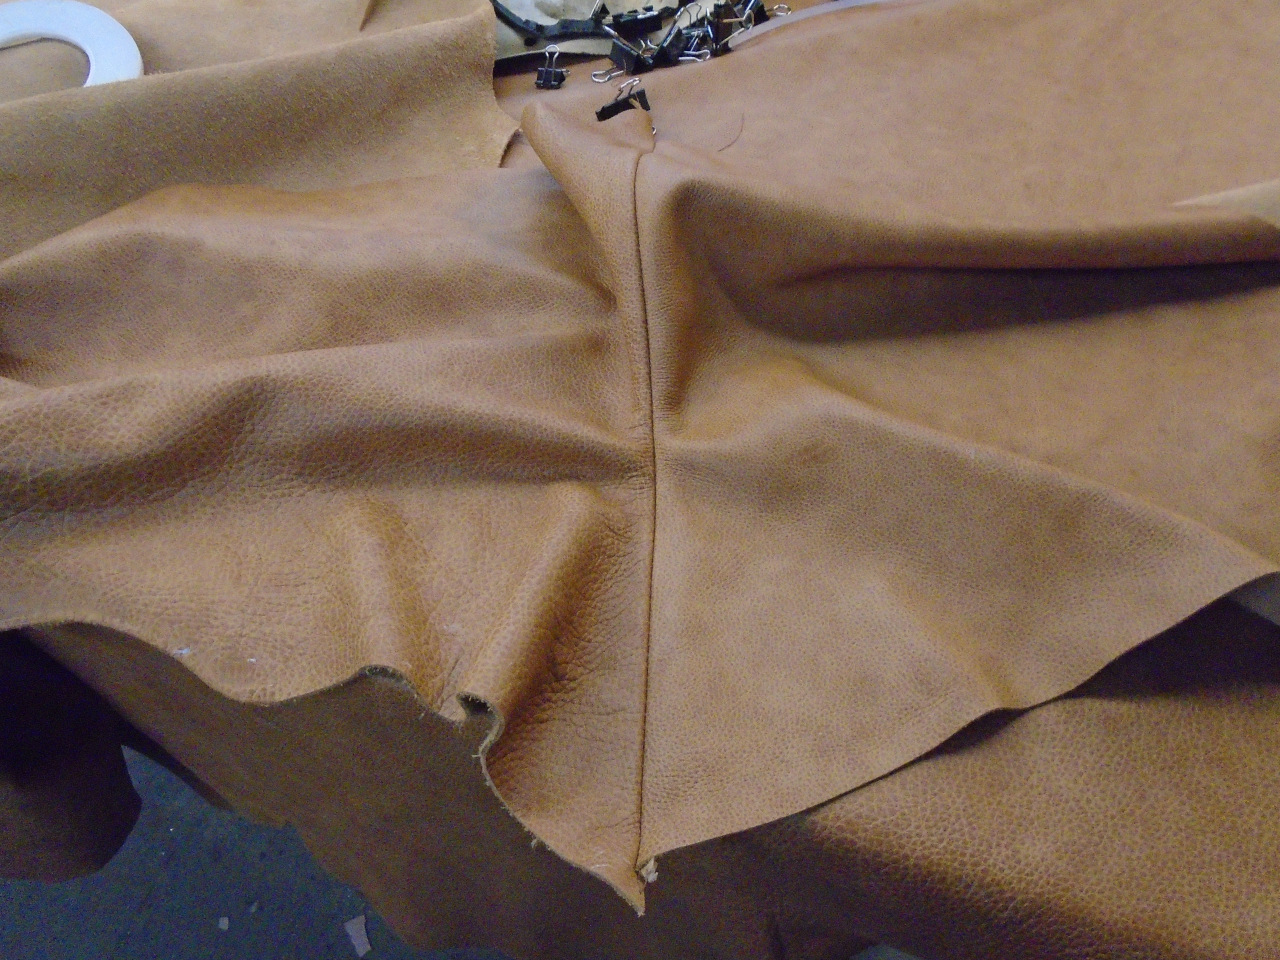
pics above). I ordered two hides. A leather hide is roughly
cow-shaped, and is surprisingly big. I laid one out on a 4' x 8'
table, and it hung over on all four sides.
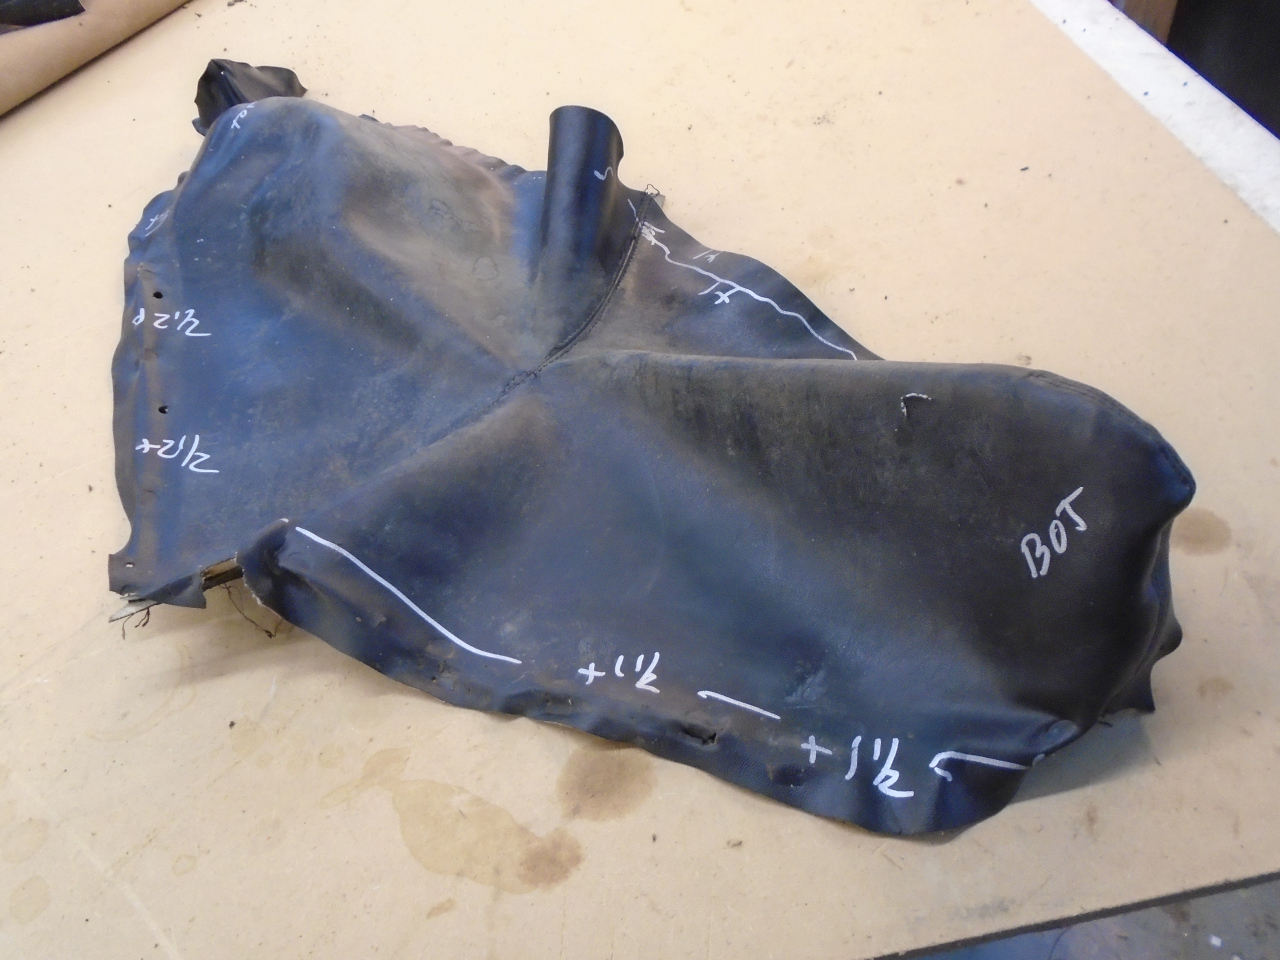
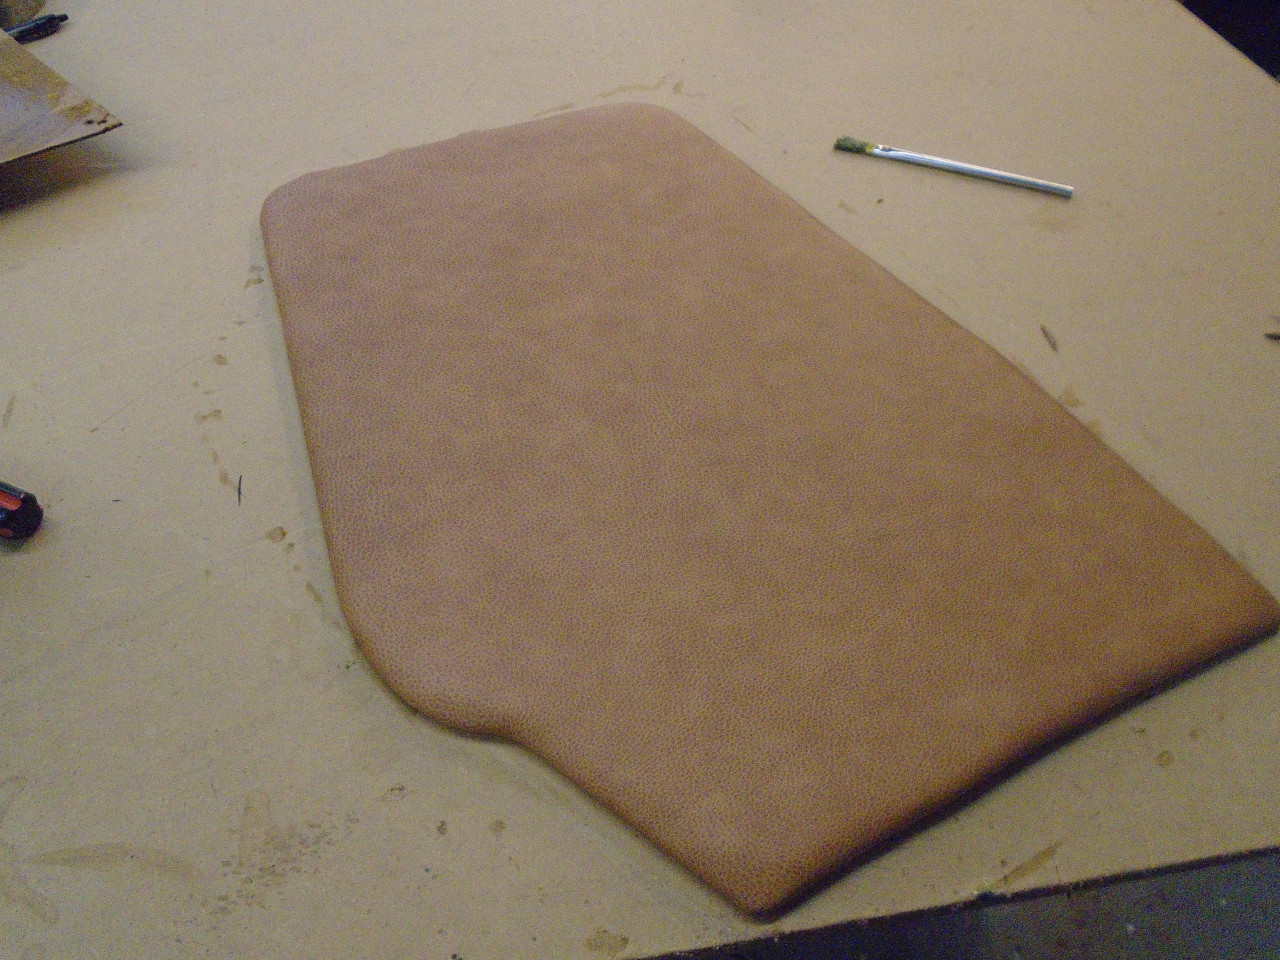
To get my bearings, I started with what I thought would be the simplest
piece--the smaller inboard side bolster. I put the original vinyl
cover on it, and it was considerably too small, but I was able to mark
how much bigger it would have to be at intervals around the perimeter.

One thing was obvious when trying to lay out the original piece as a
pattern--it wasn't flat. It had a pronounced bulge in the center
where it was stretched over the shoulder of the bolster.
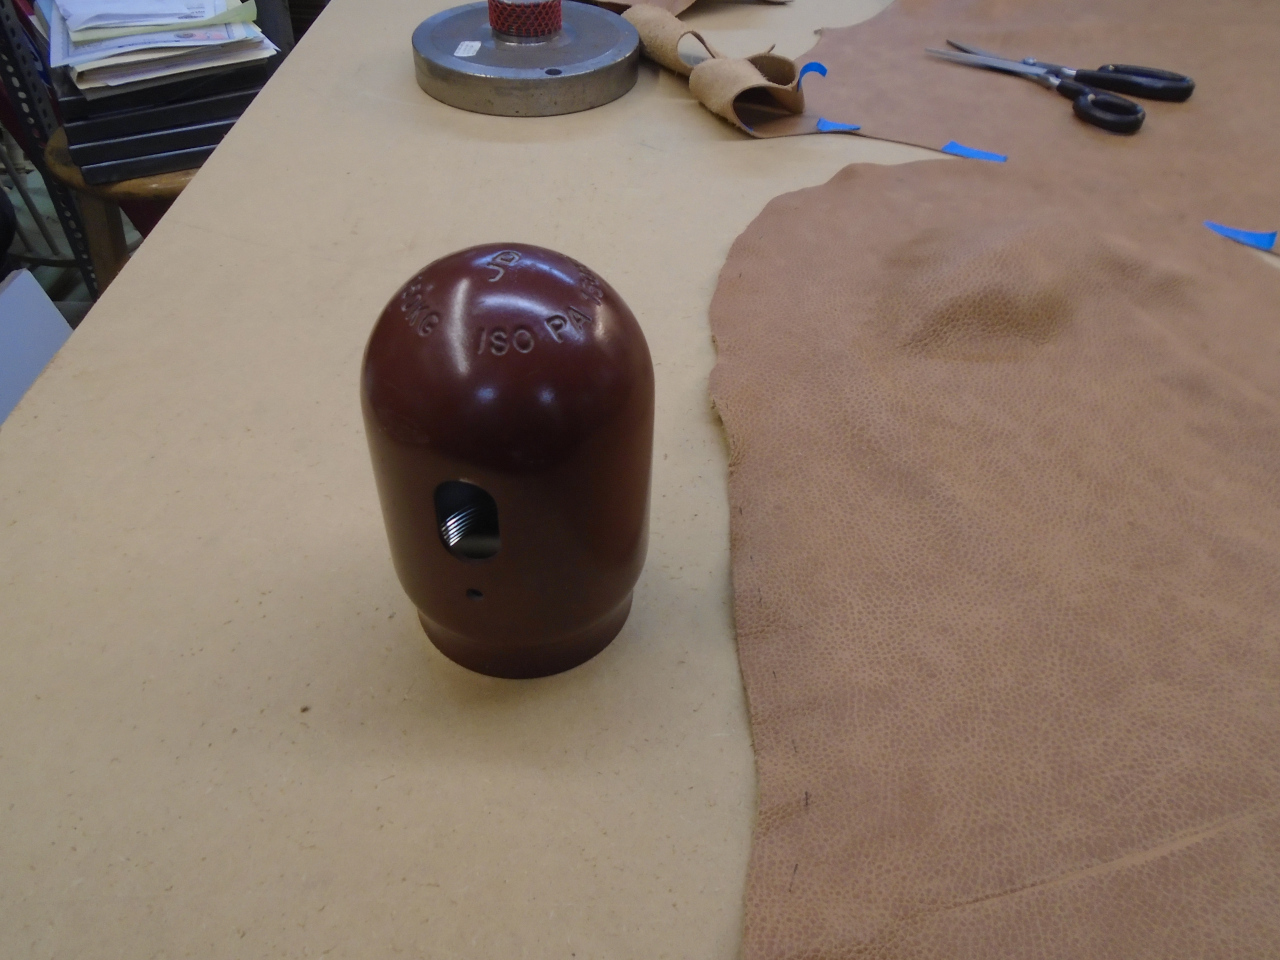
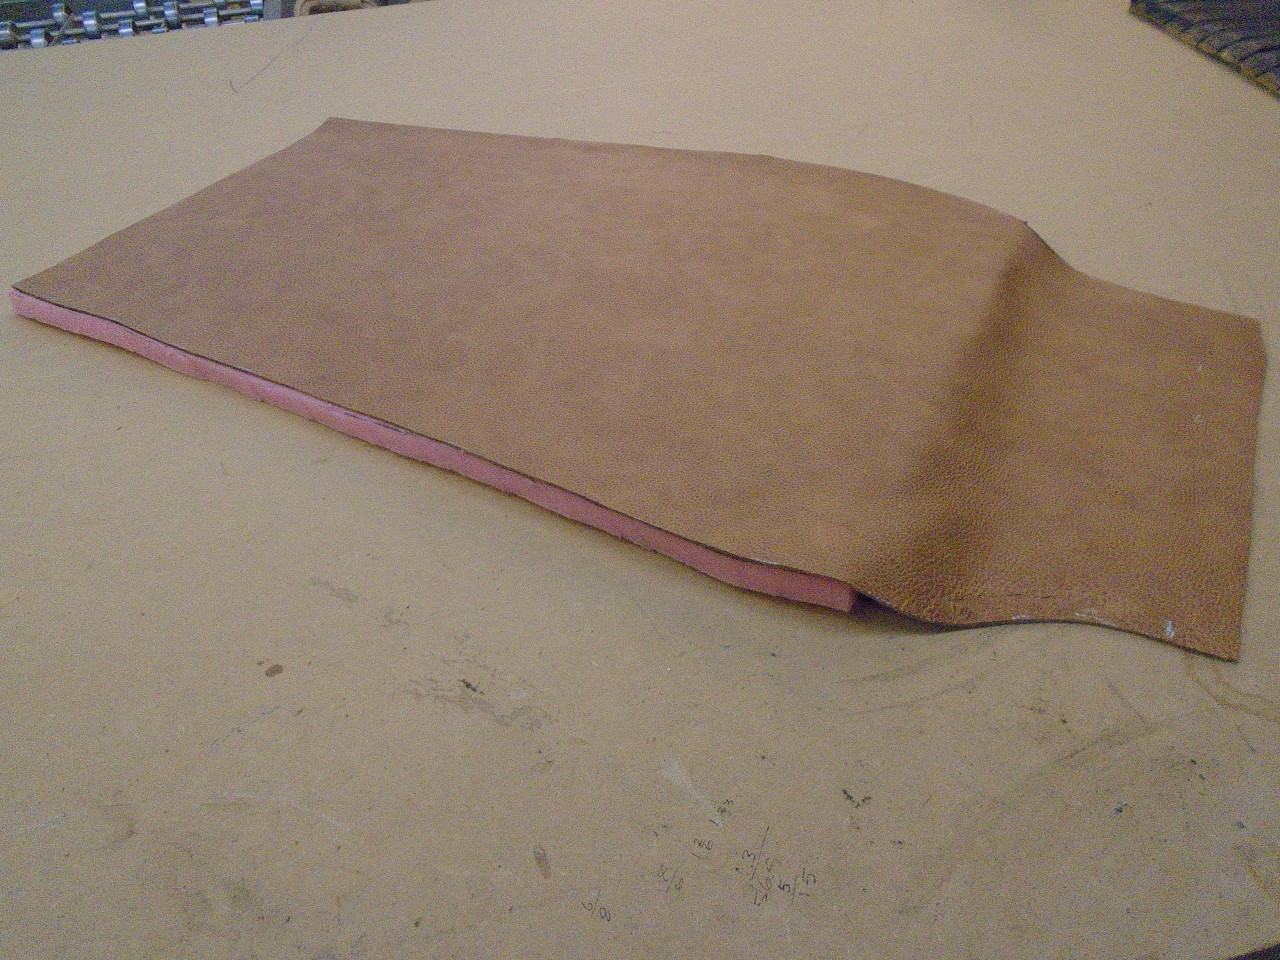
I had to stretch the leather to get it even close. There are
"leather stretching" solutions, and I bought some, but apparently
home-brew concoctions work just as well. I wet the backside of the
leather with the solution, and pulled it over a rounded buck.
Leather is quite stretchy, and if it is worked enough, the stretch is
permanent.
Gradually, it fit better.
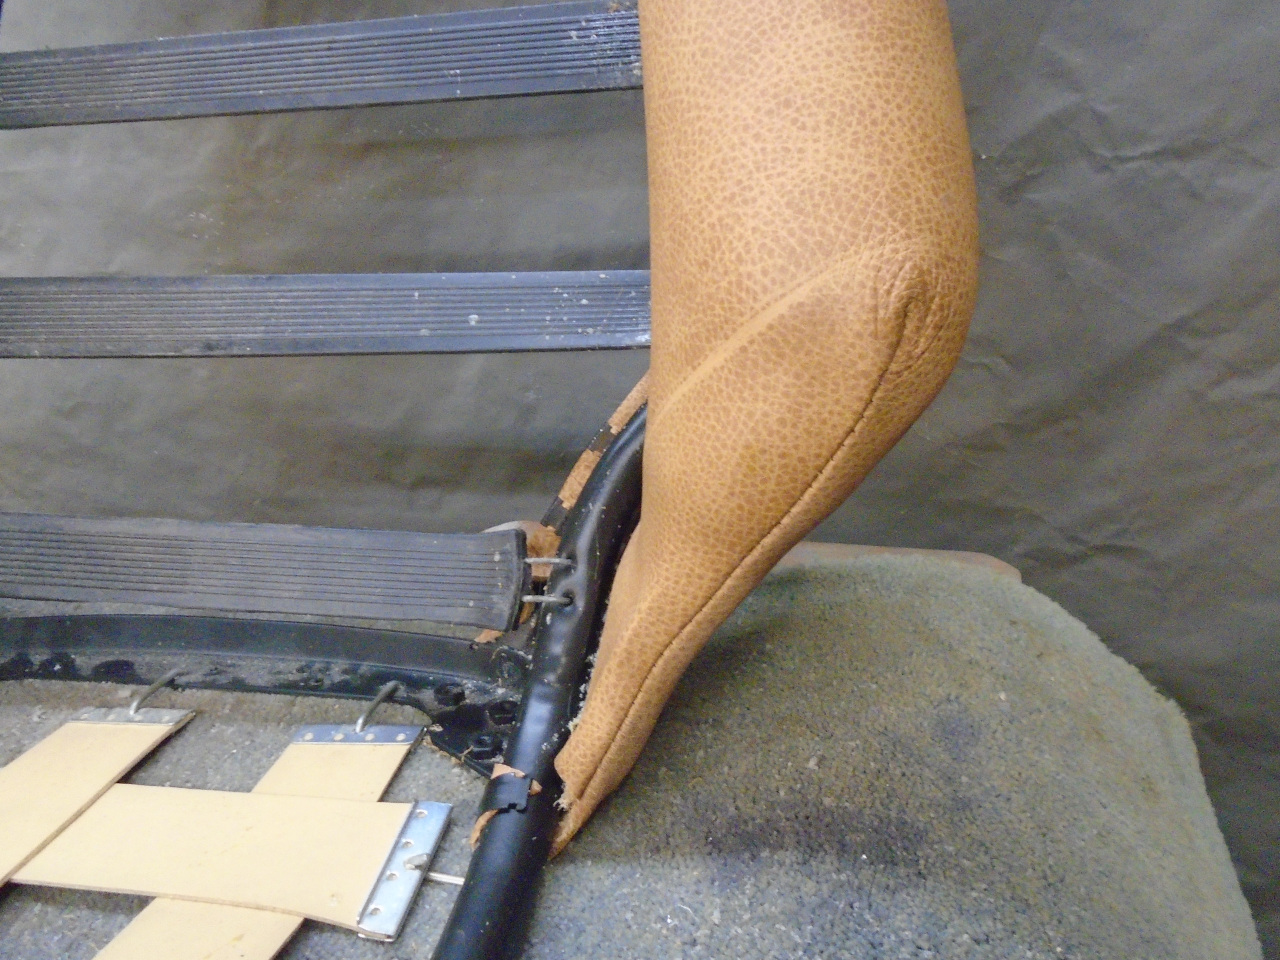
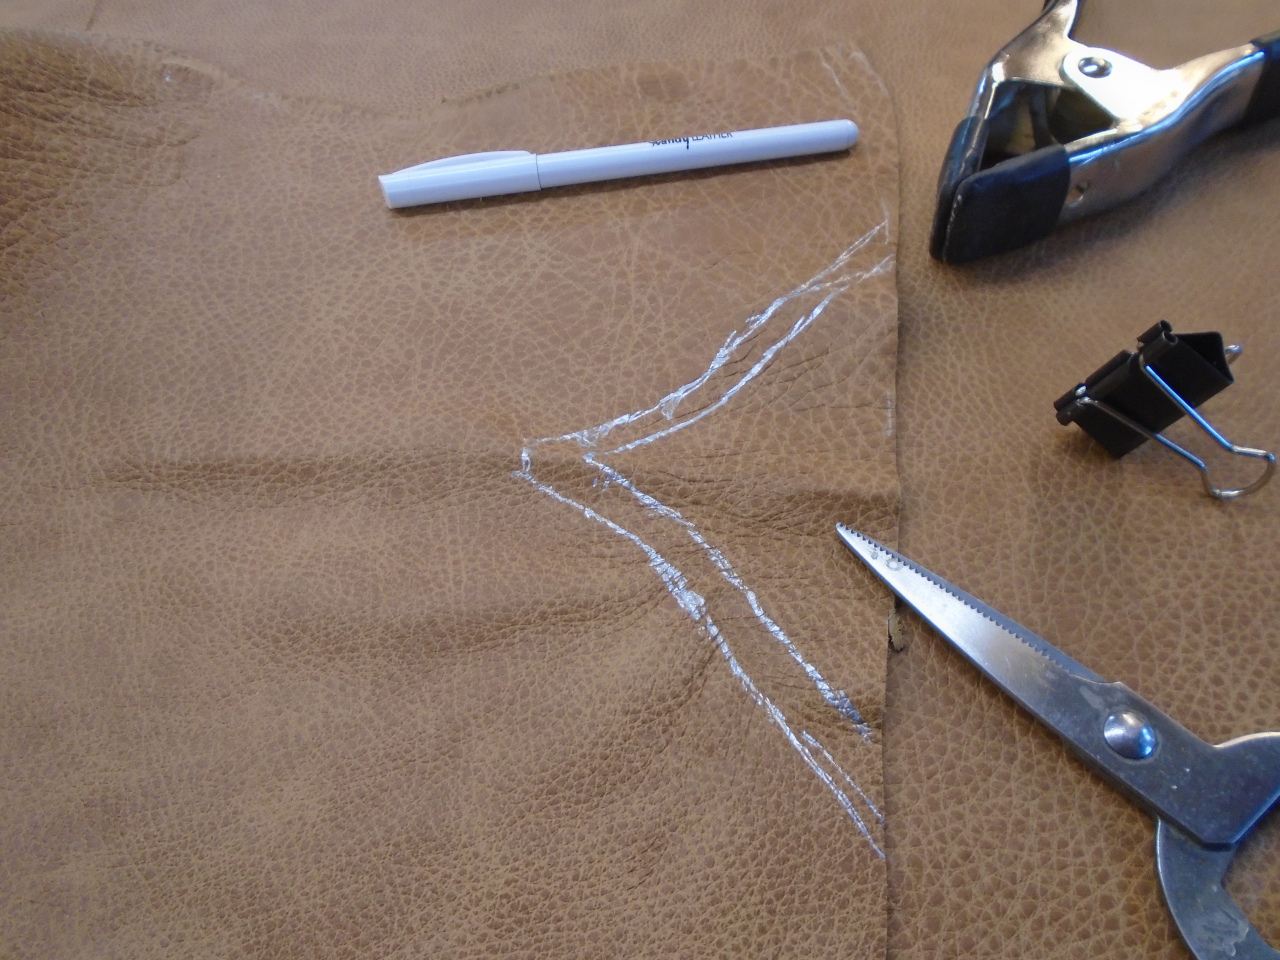
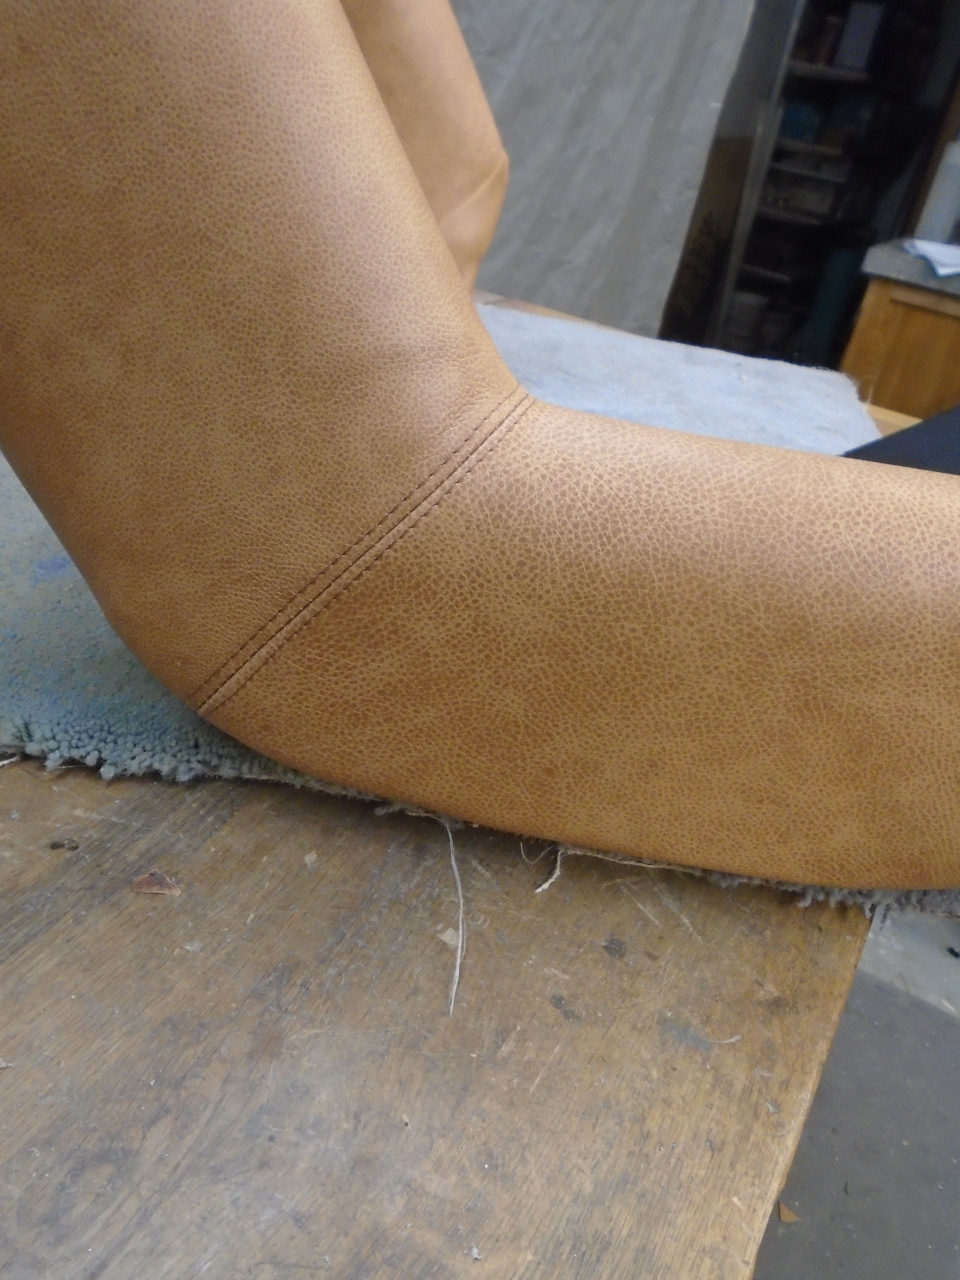
Then there was the excess material at the bottom that had to be
removed. I think it's called a "dart", where a triangular section
of material is removed, and the edges are sewn back together. That
light stripe above the seam is a defect in the leather that I didn't
notice when laying it out. The camera seems to accentuate it--it's
not really that noticeable in person.
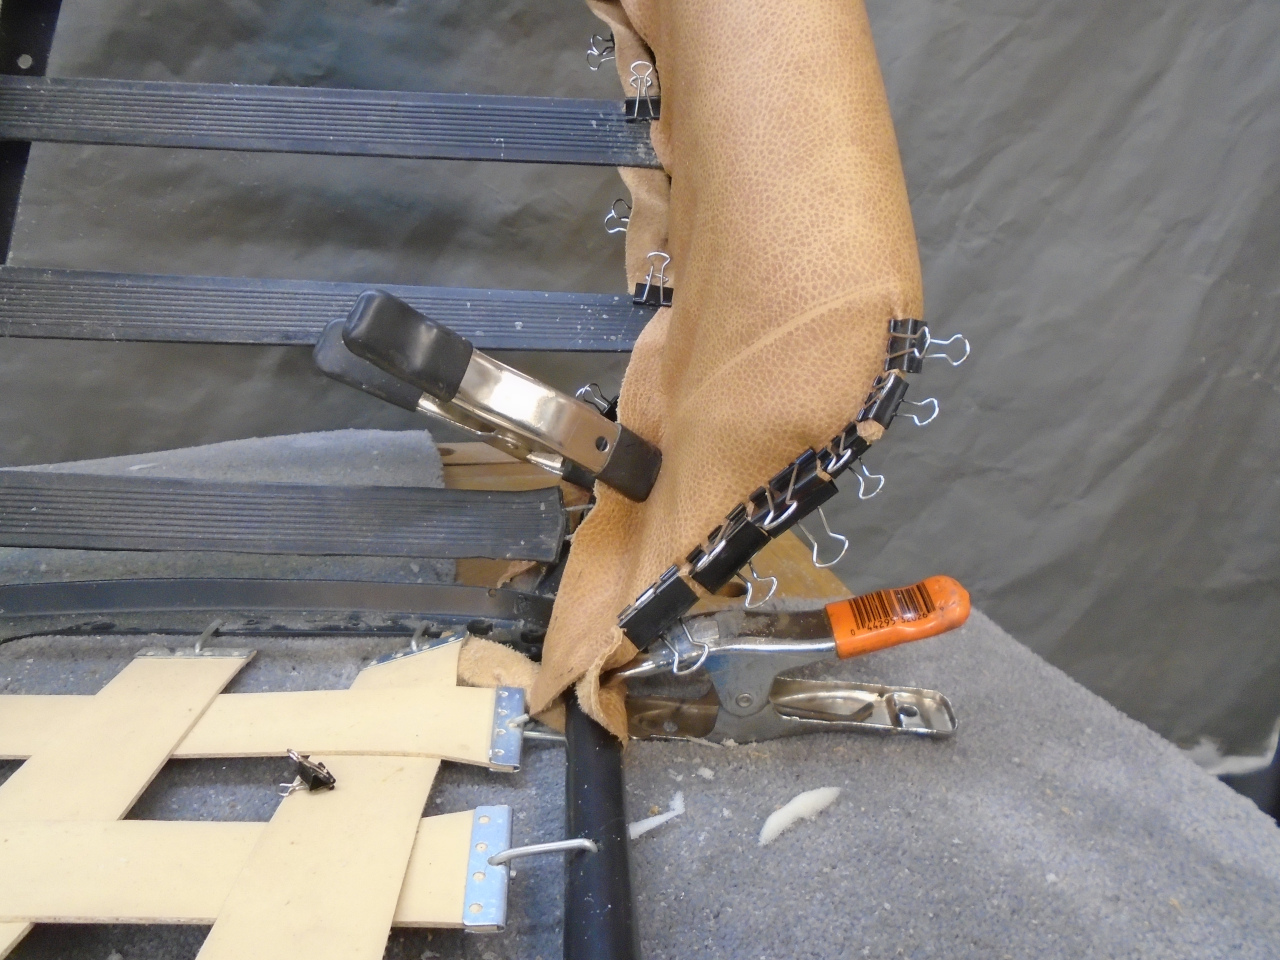
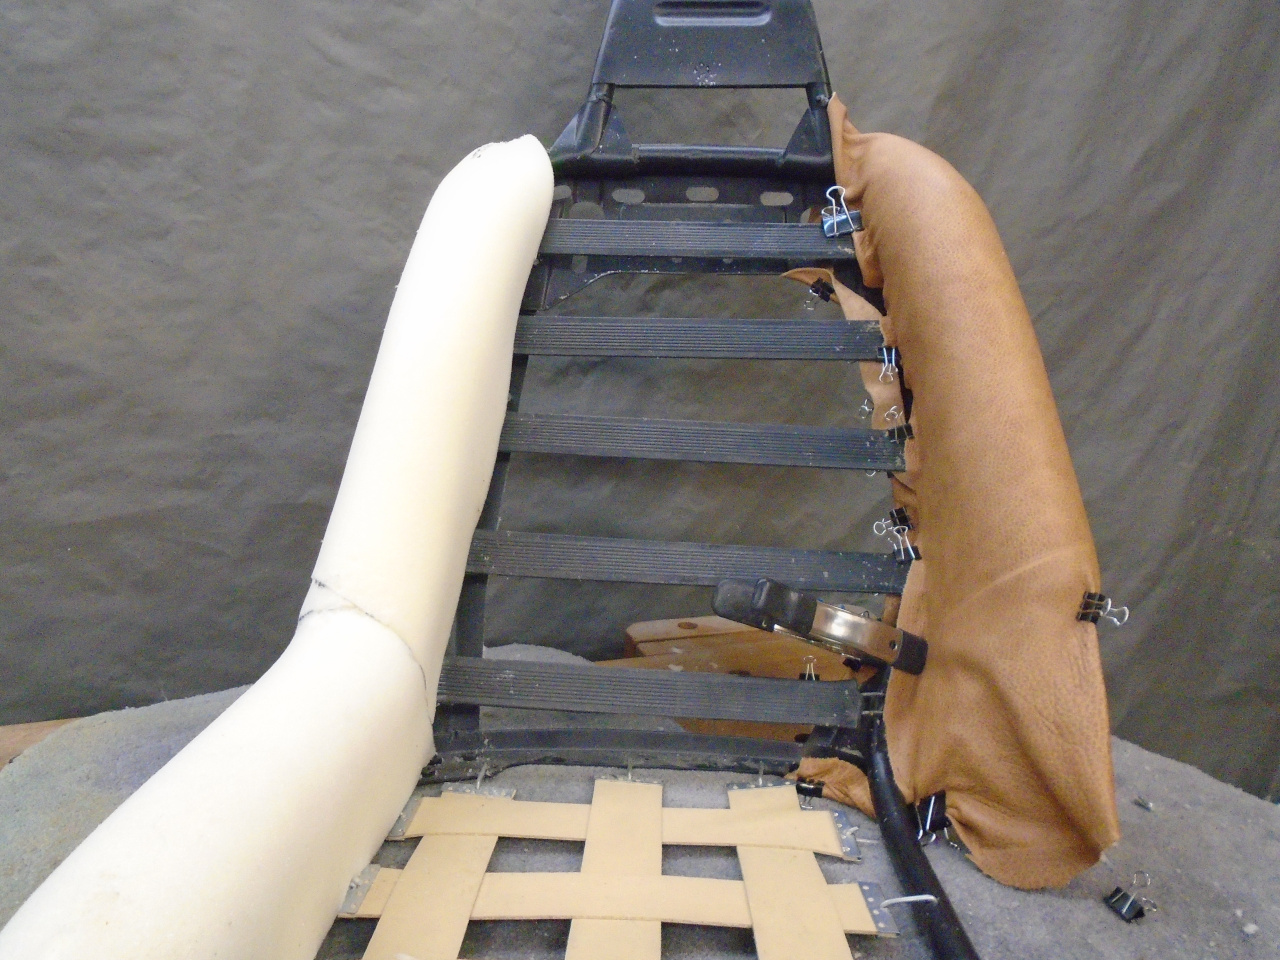
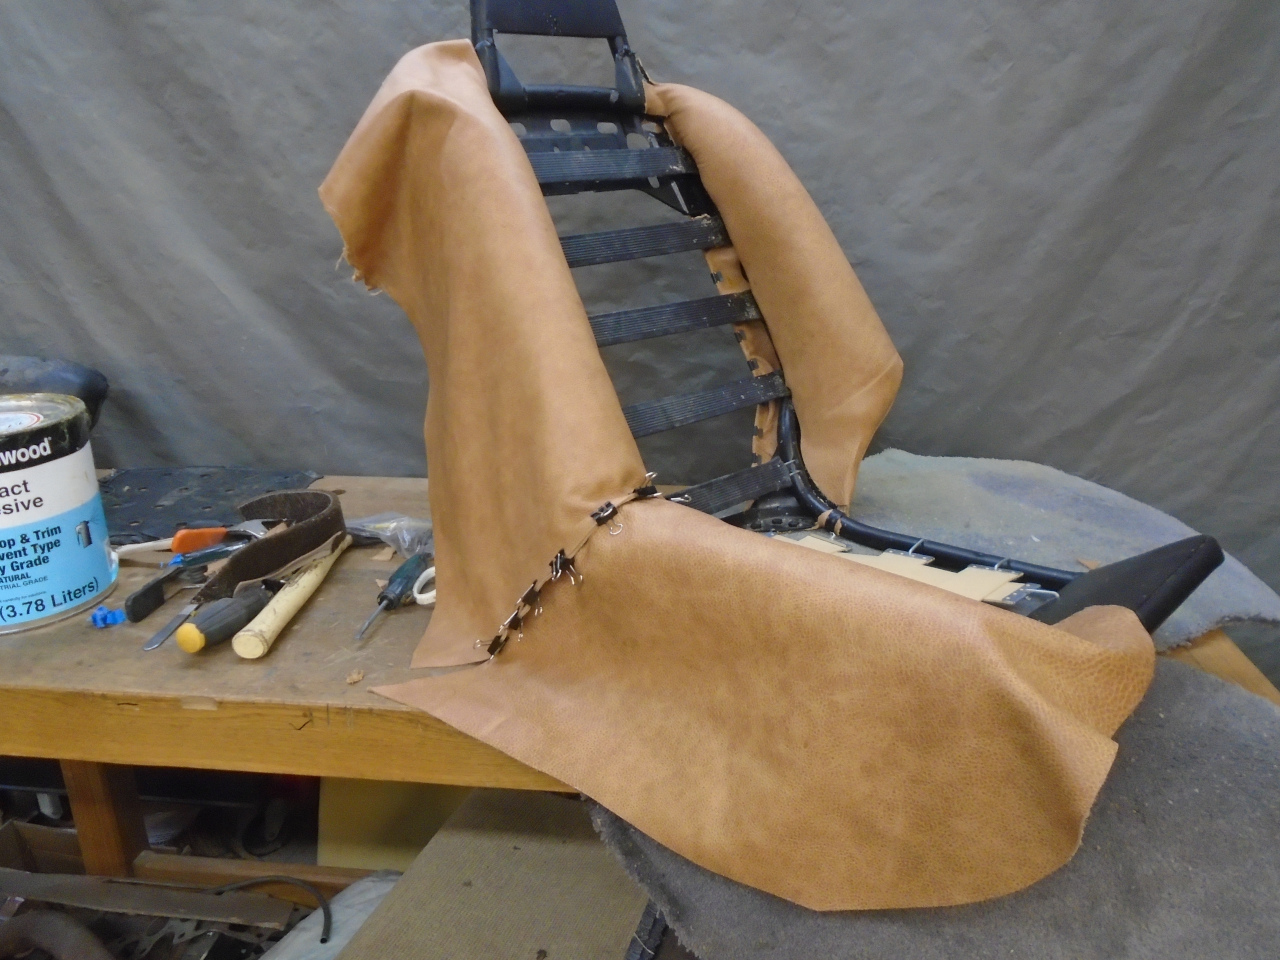
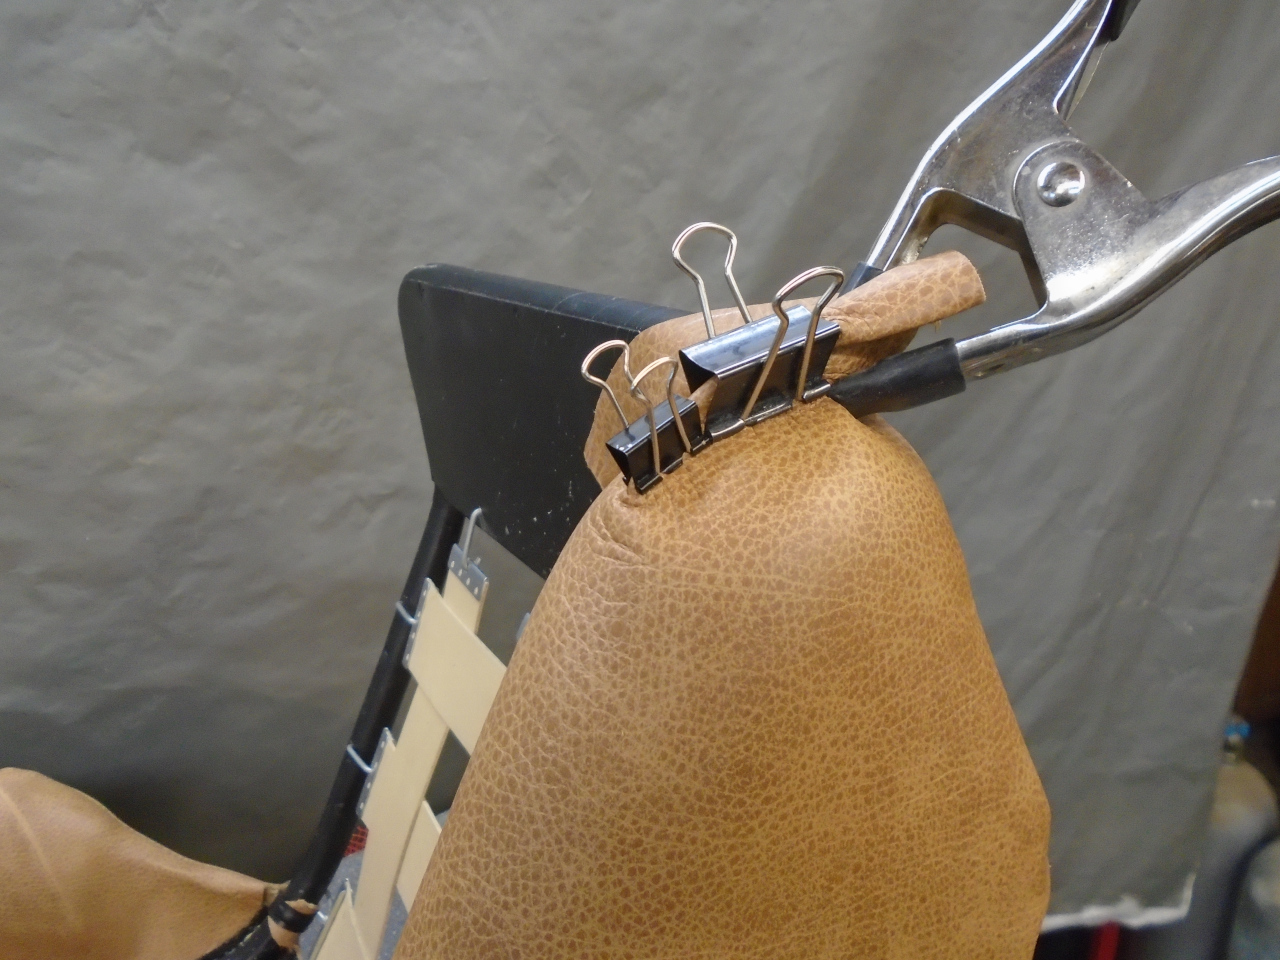
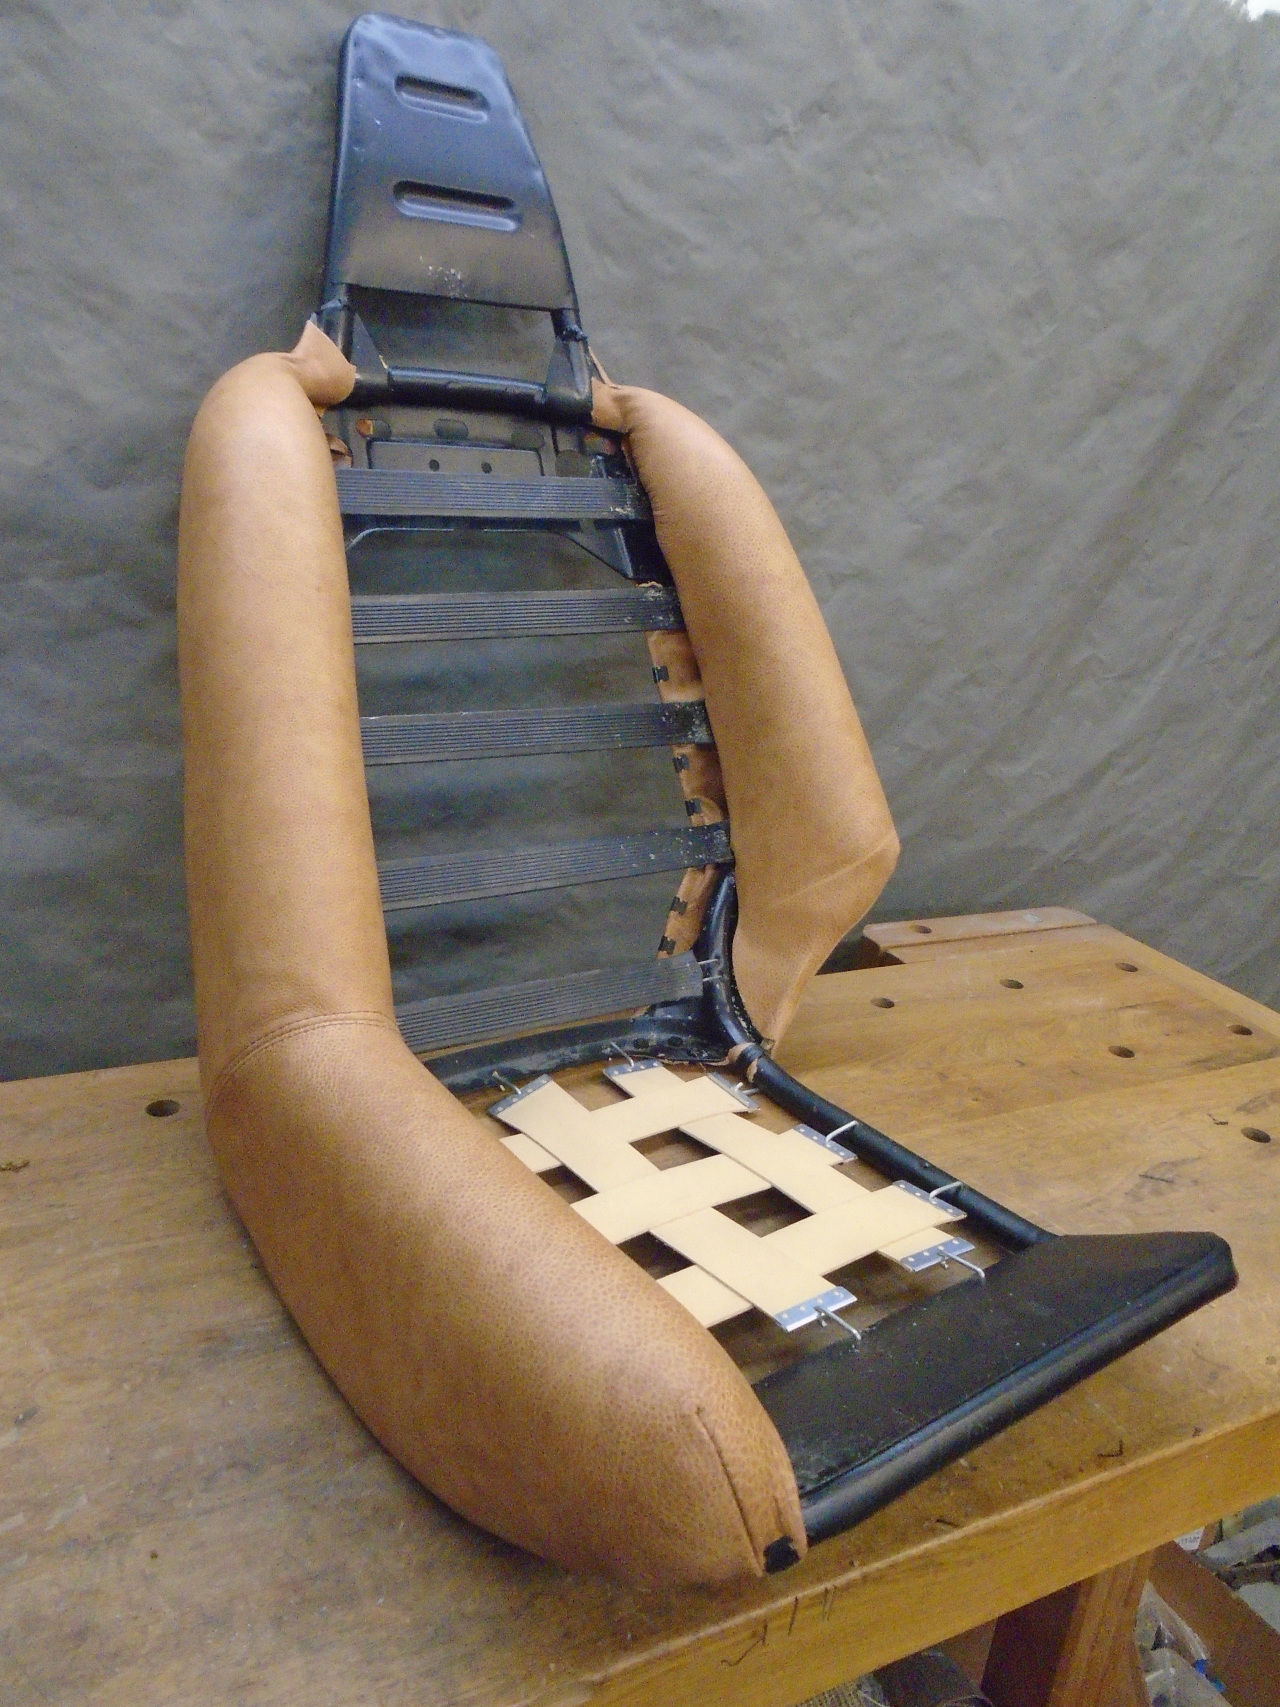
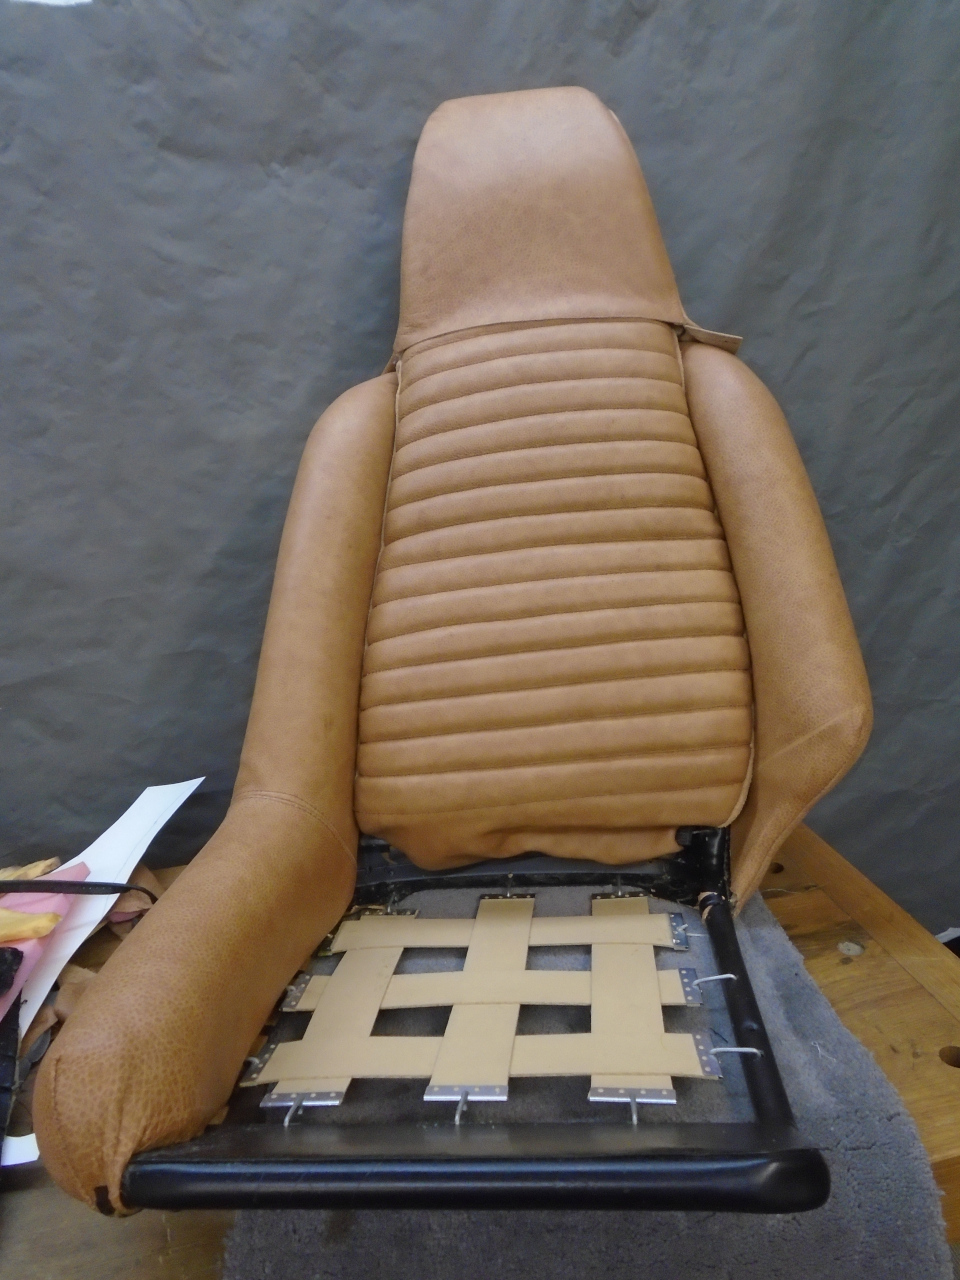
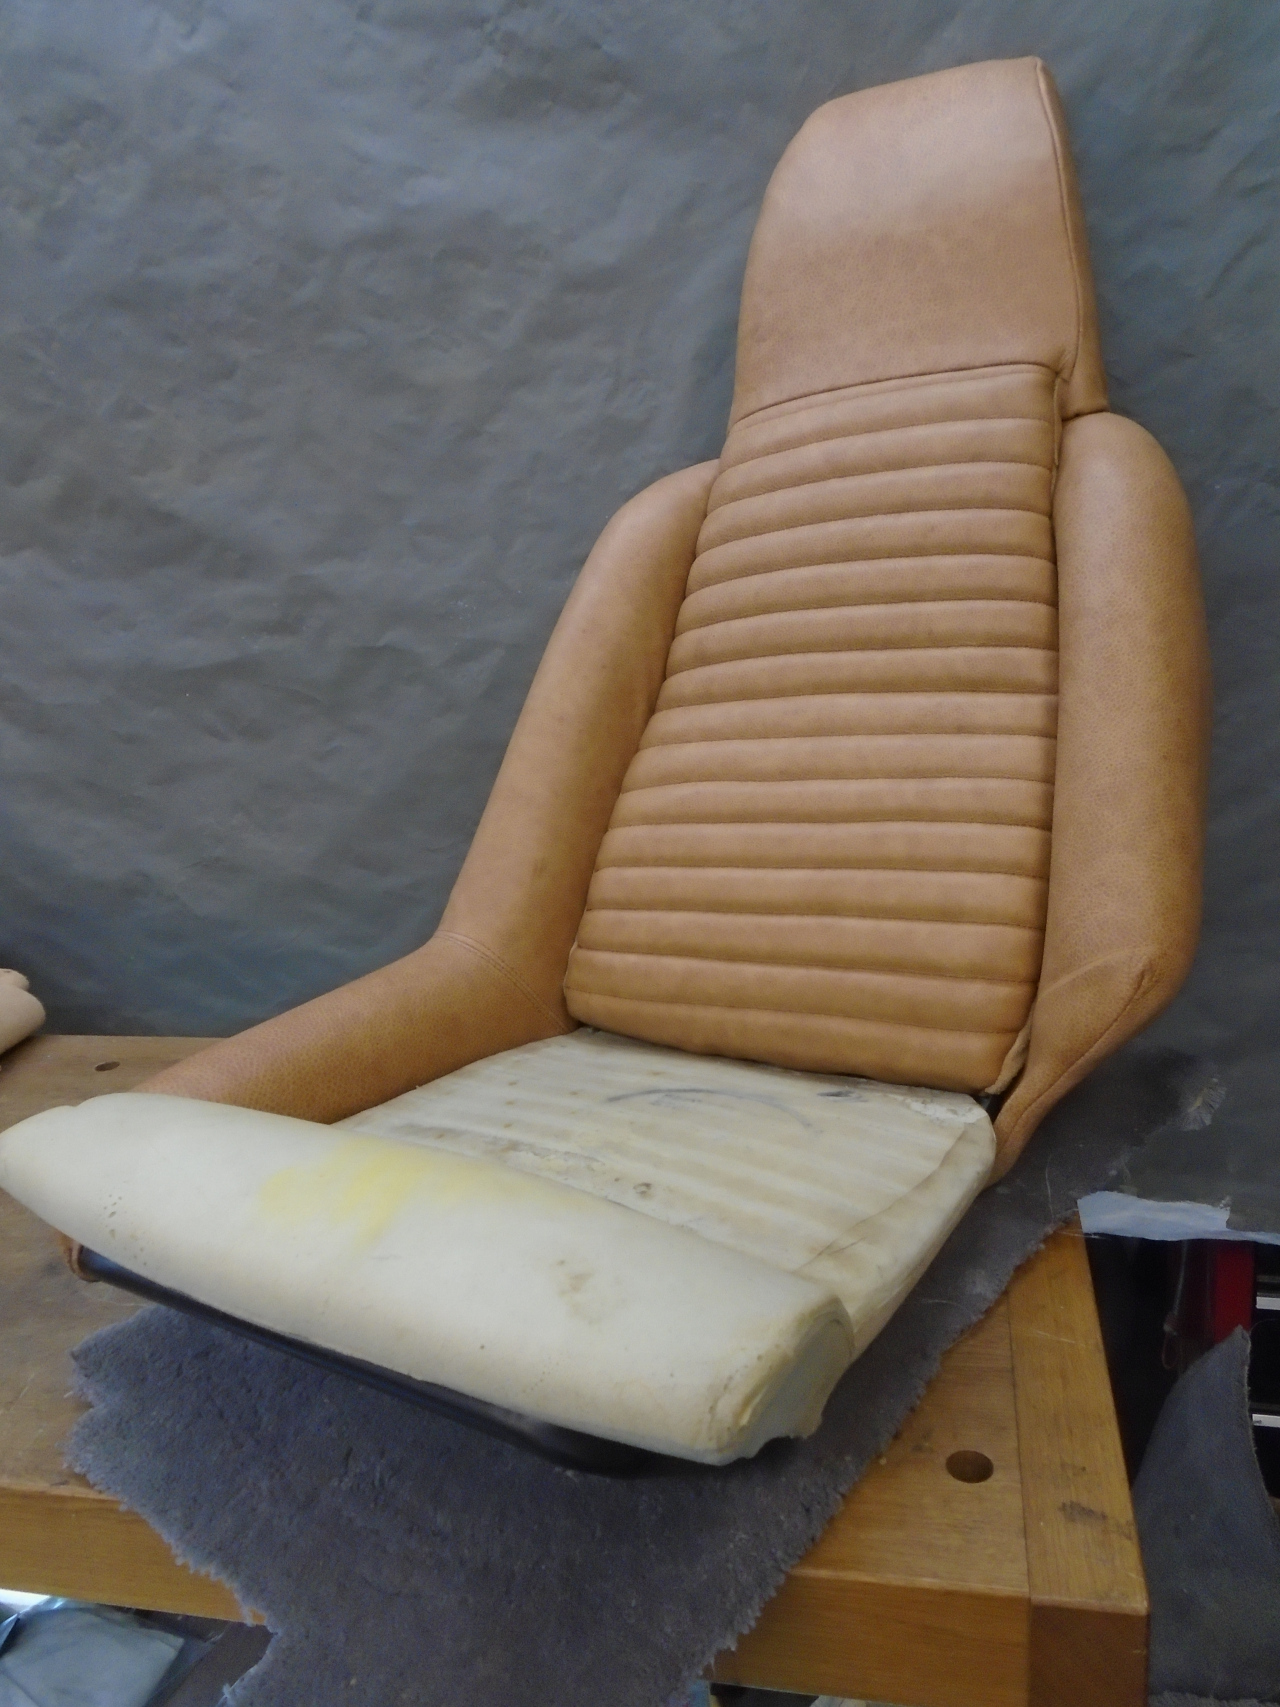
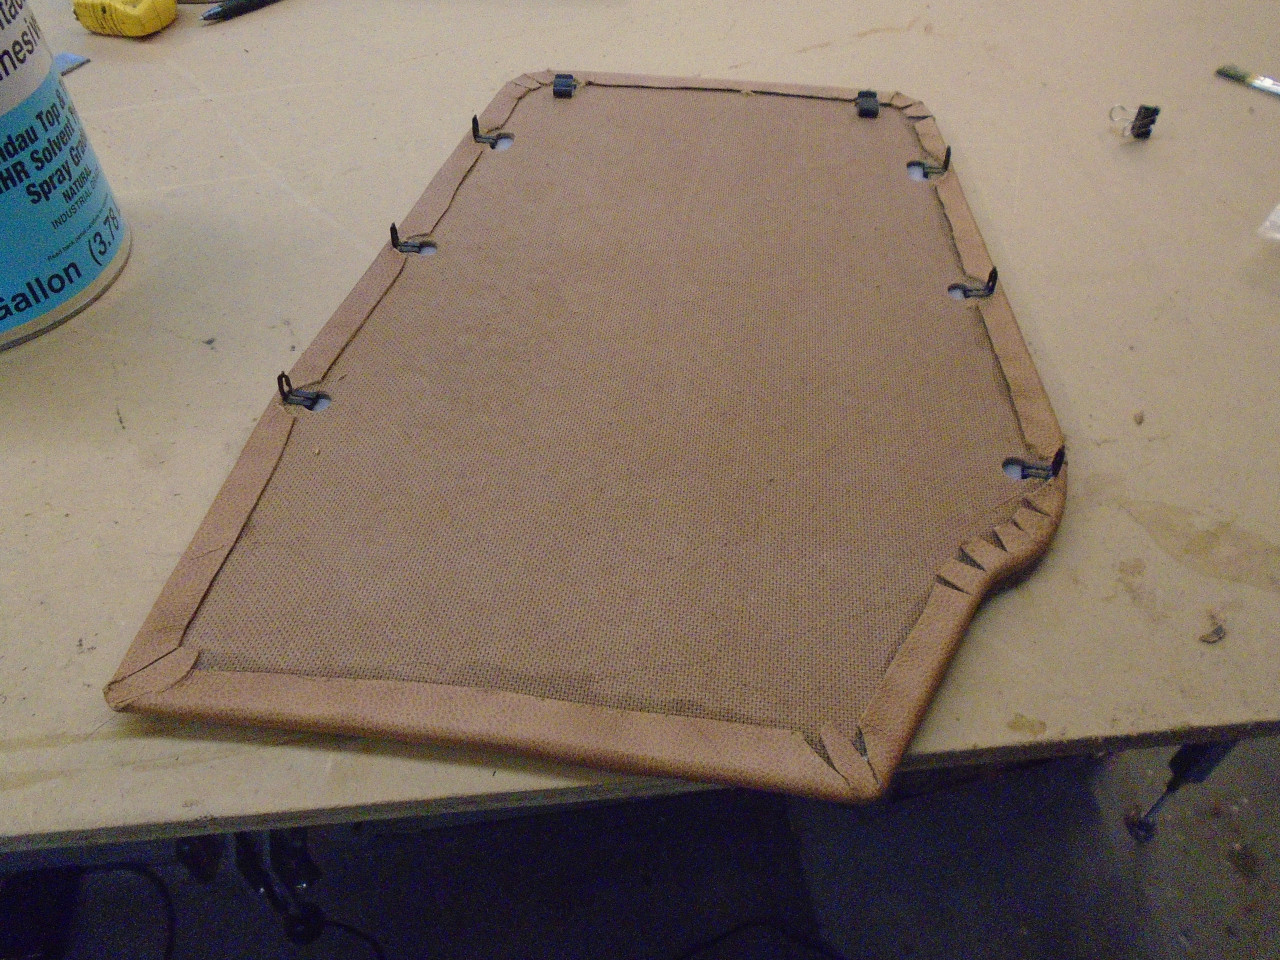
So here is the cover installed, clipped at the rear, and glued to the
underside of the foam at the front. Also, the other original
bolster cover is in place for measuring.
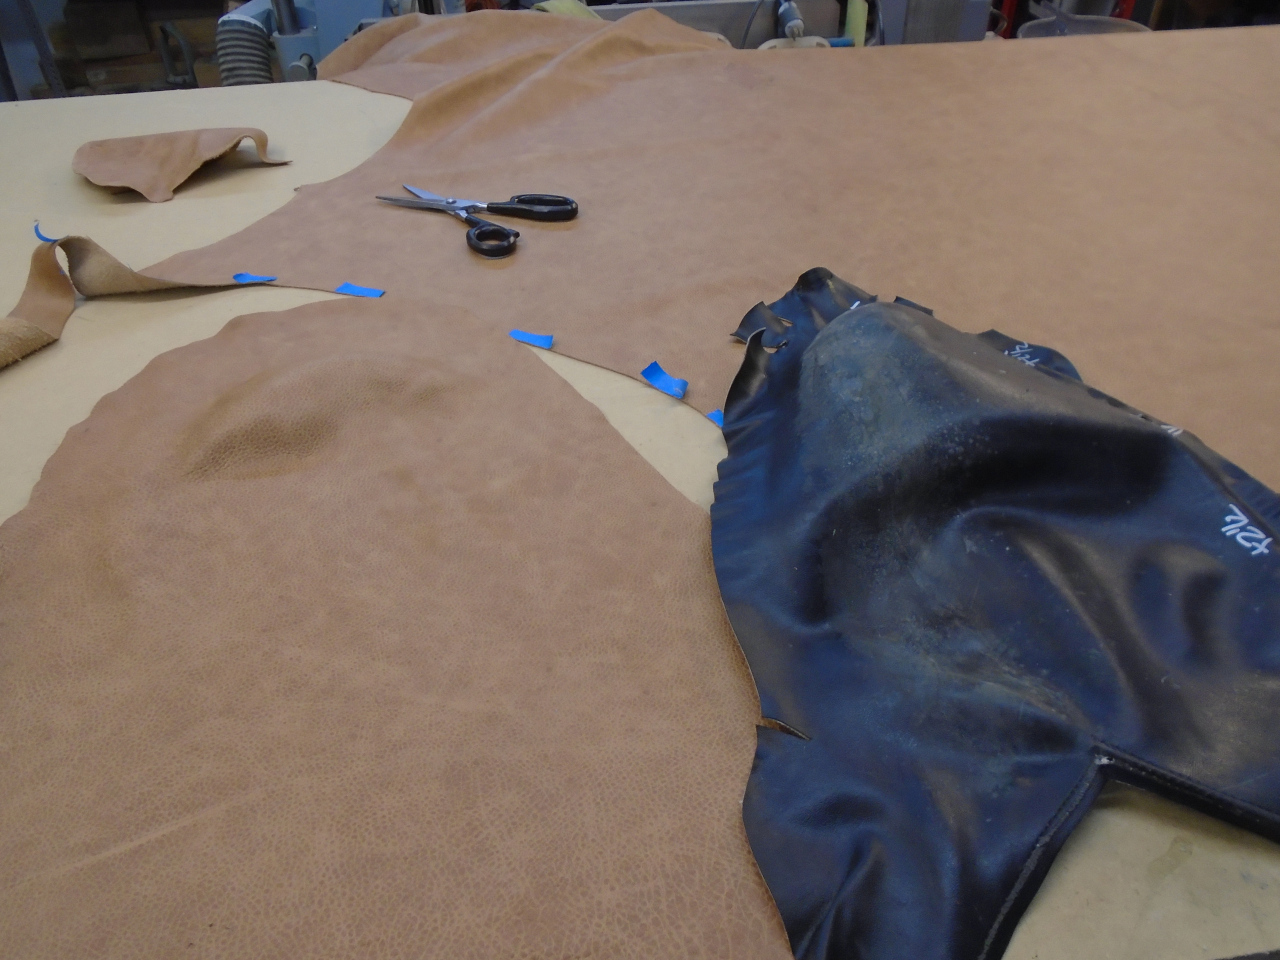
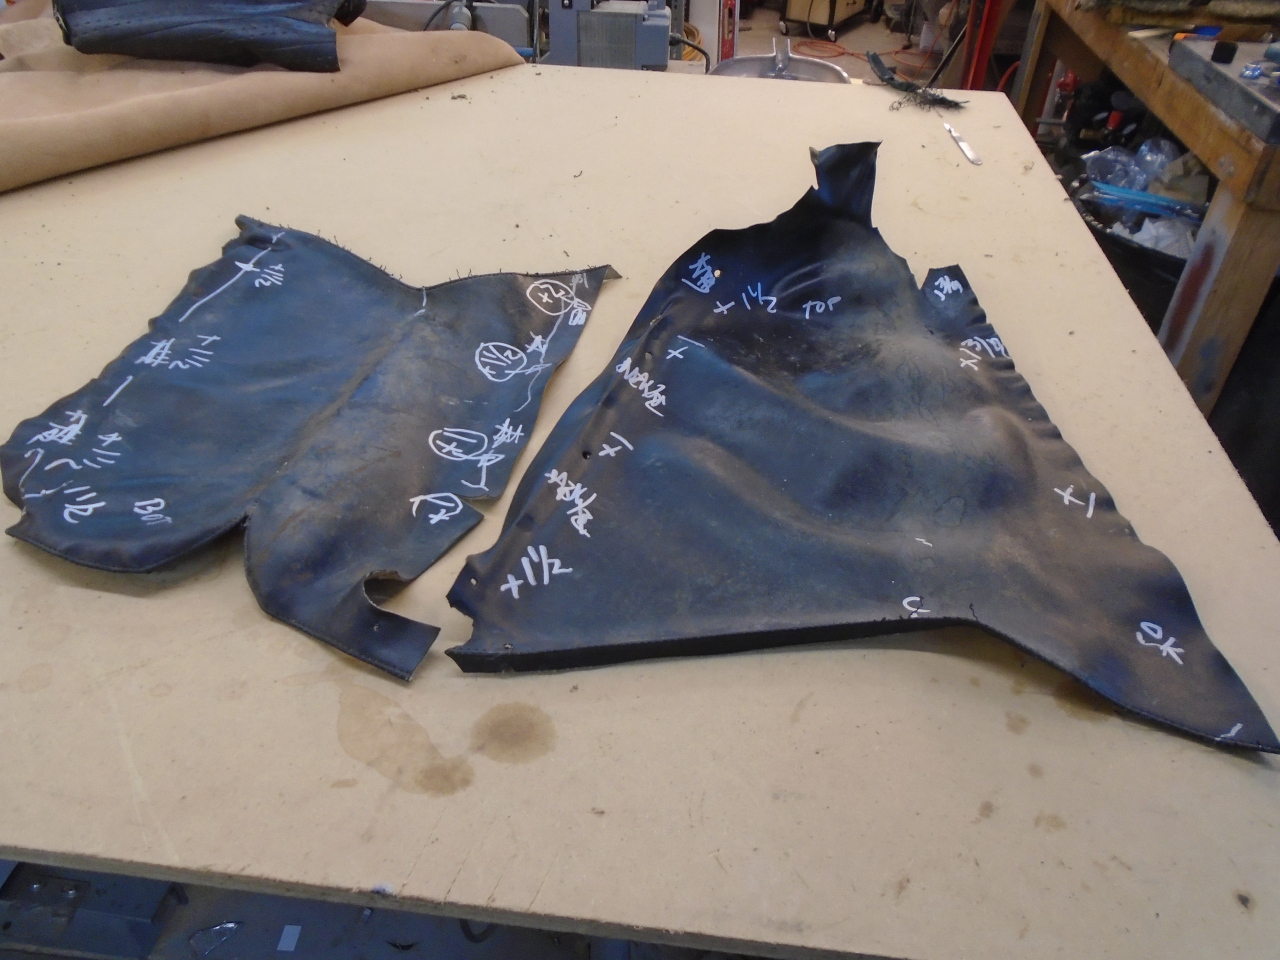
The outboard bolster is a dogleg shape made in two pieces with a seam at
the bend. I marked how much larger the new piece would have to
be. Then cut apart the seam to get the two patterns.
Then laid the pieces on the seat to make sure the seam would be right.
Then sewed it together. I'm still a rank neophyte seamster, but my seams are getting straighter.
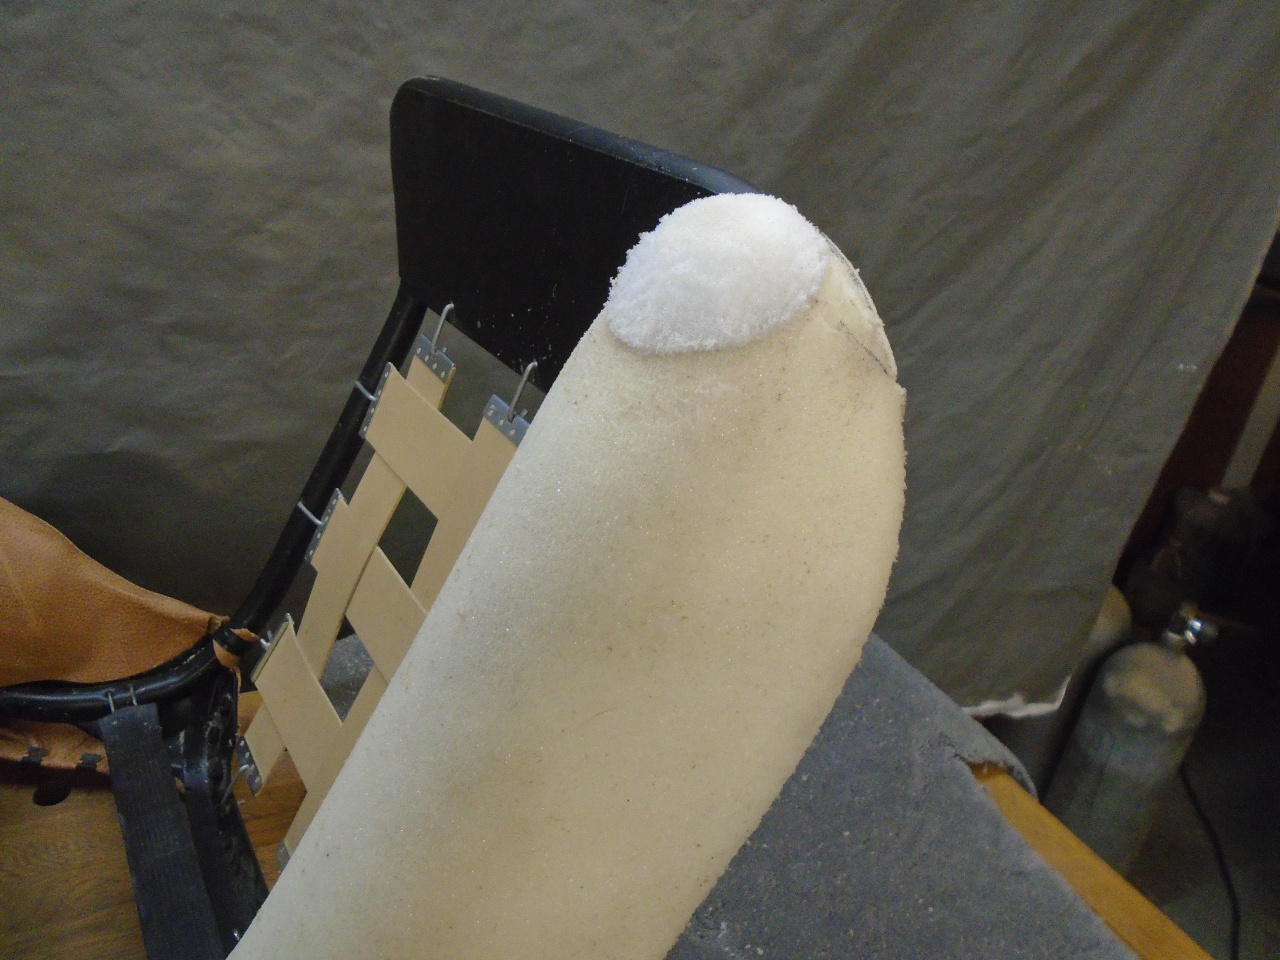
And a dart to close the bottom end. The seat is lying on its back in the first pic.
When installed, that dart felt a little empty behind it, so I added a nub of foam and shaped it to fill in the void.
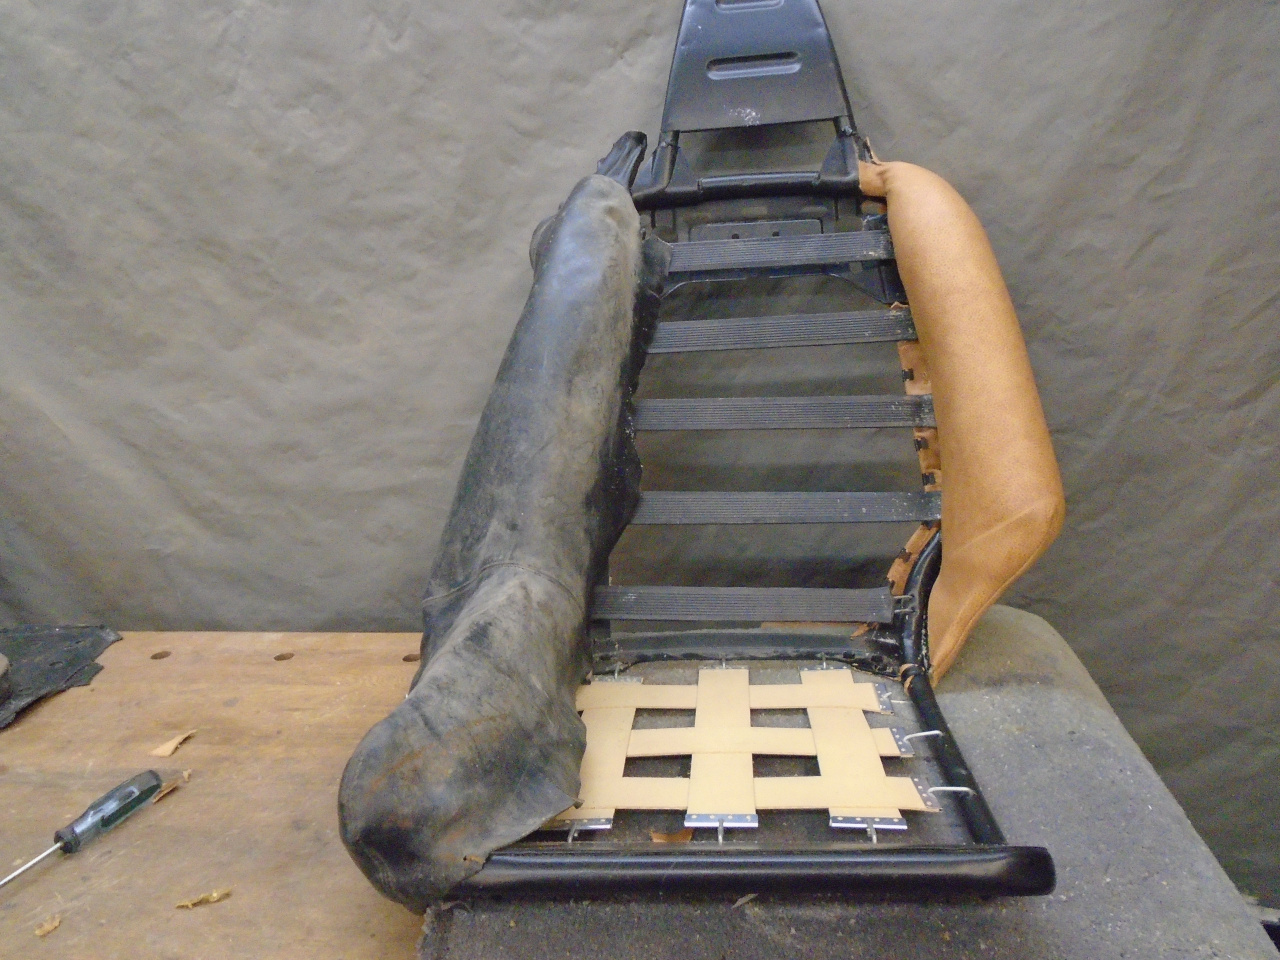
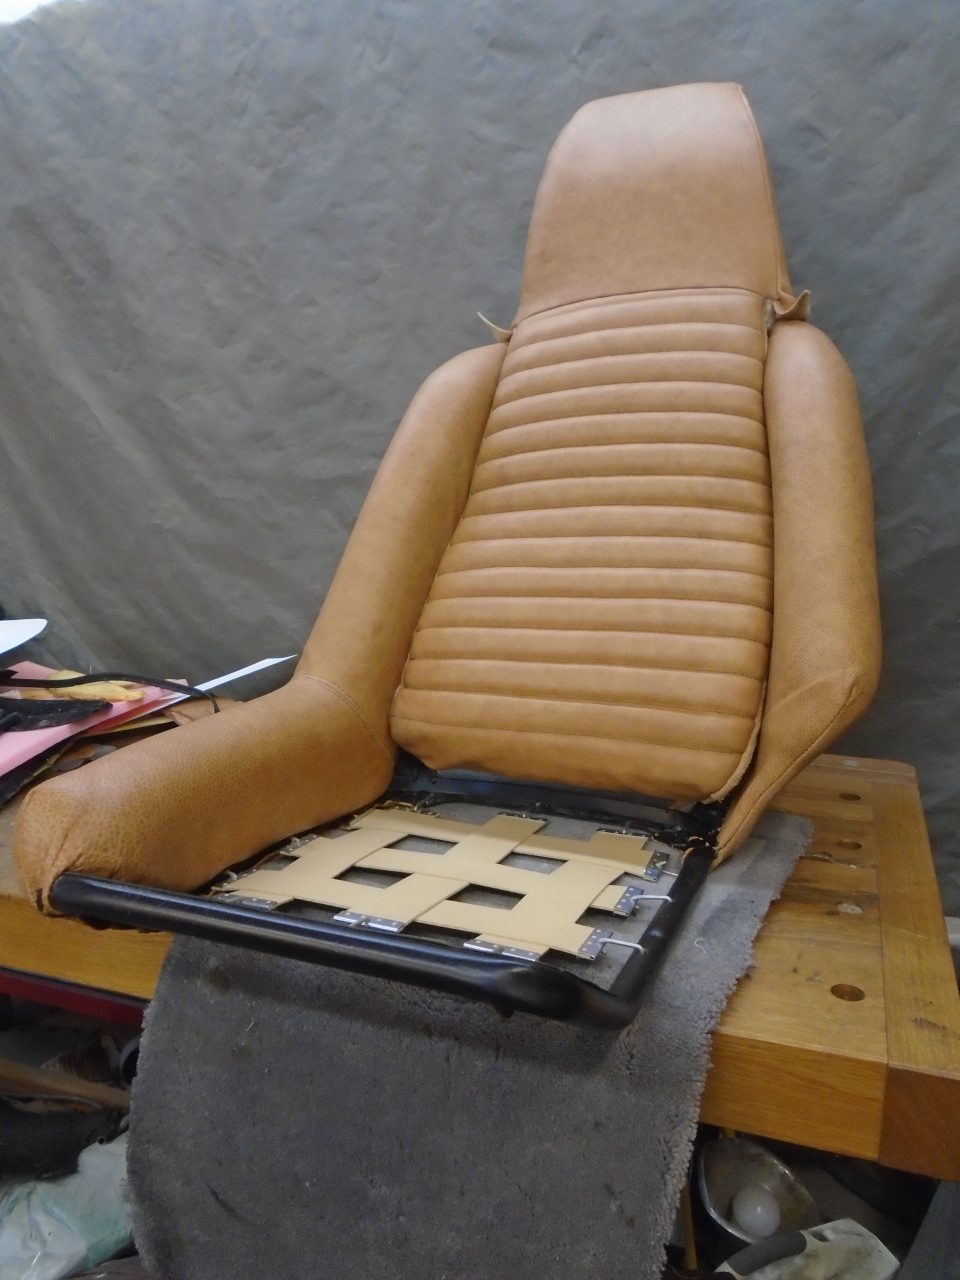
The two bolsters done.
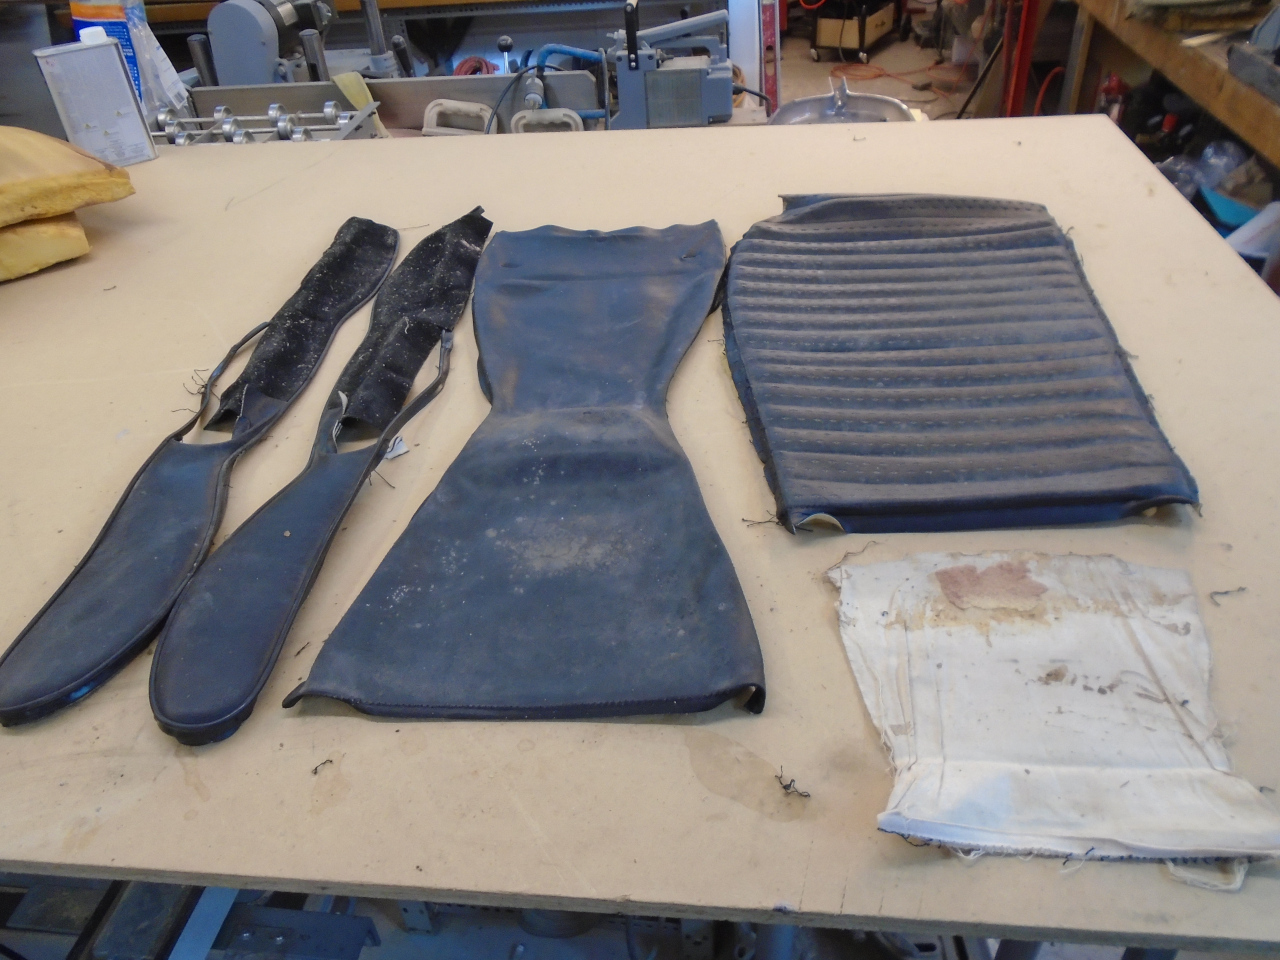
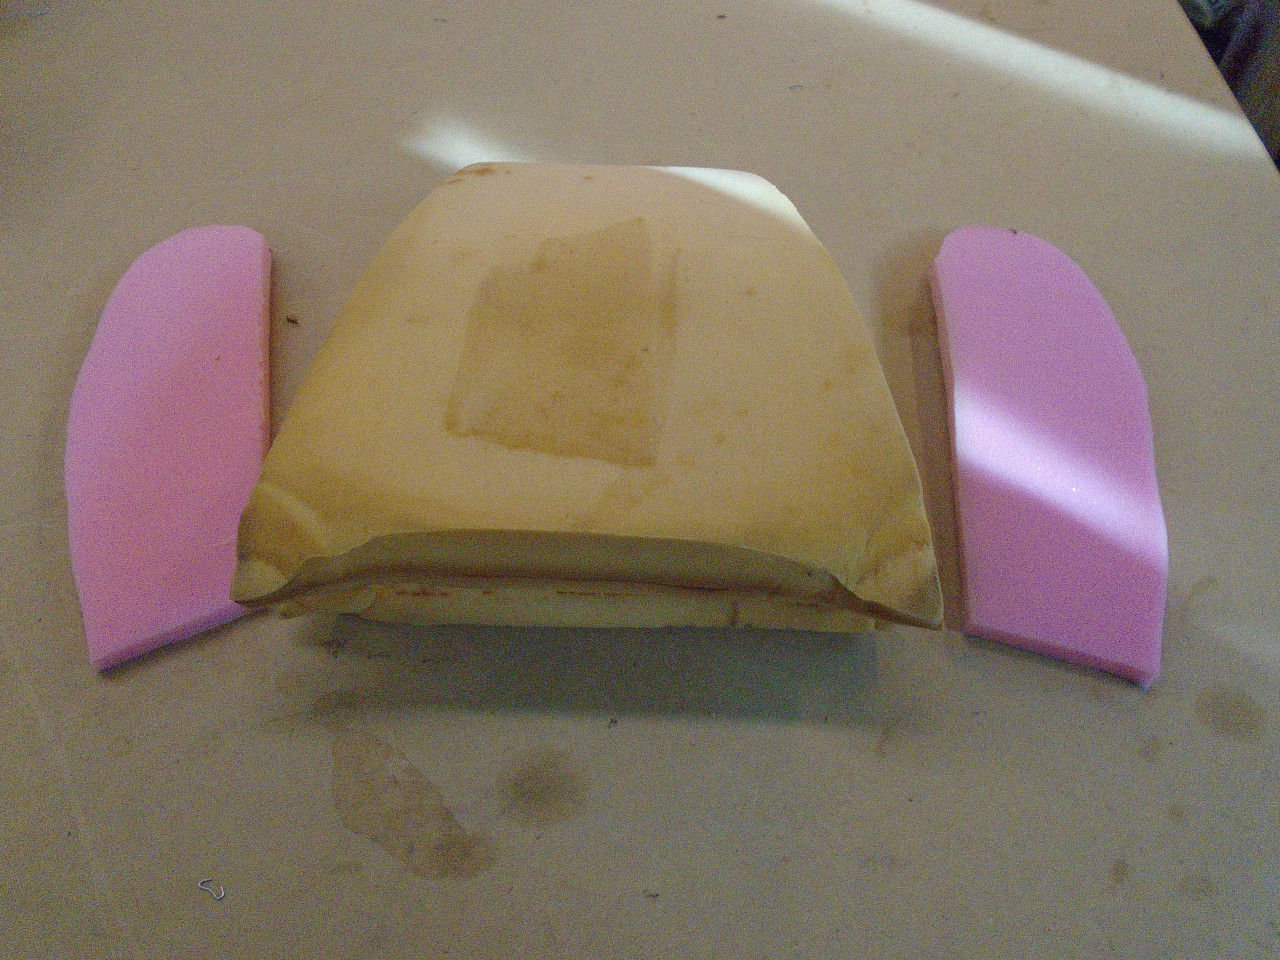
Next up was the seat back. It includes the integral headrest cover,
There are three foams--one for the headrest, and two for the seat back.
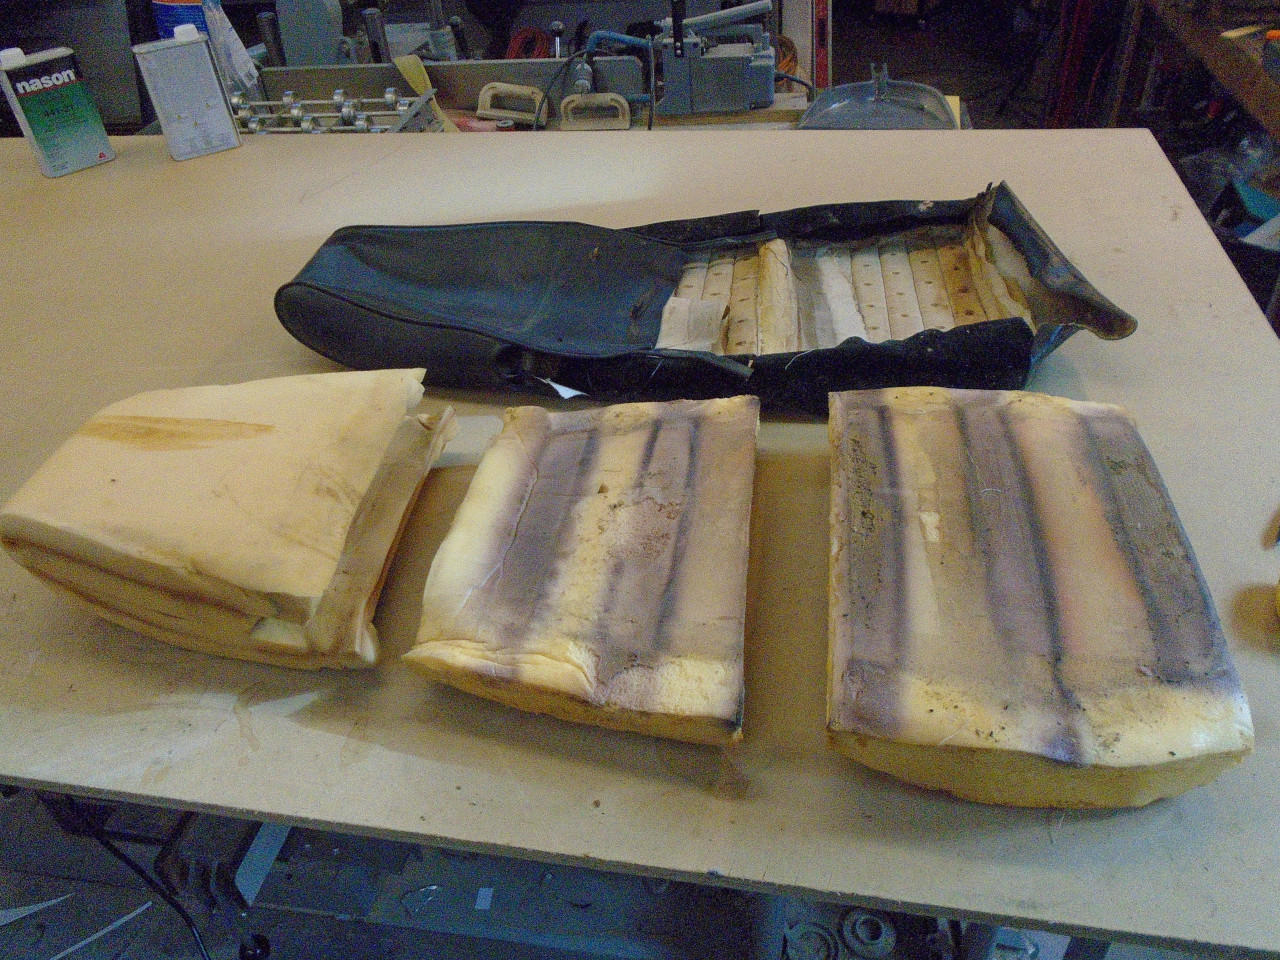
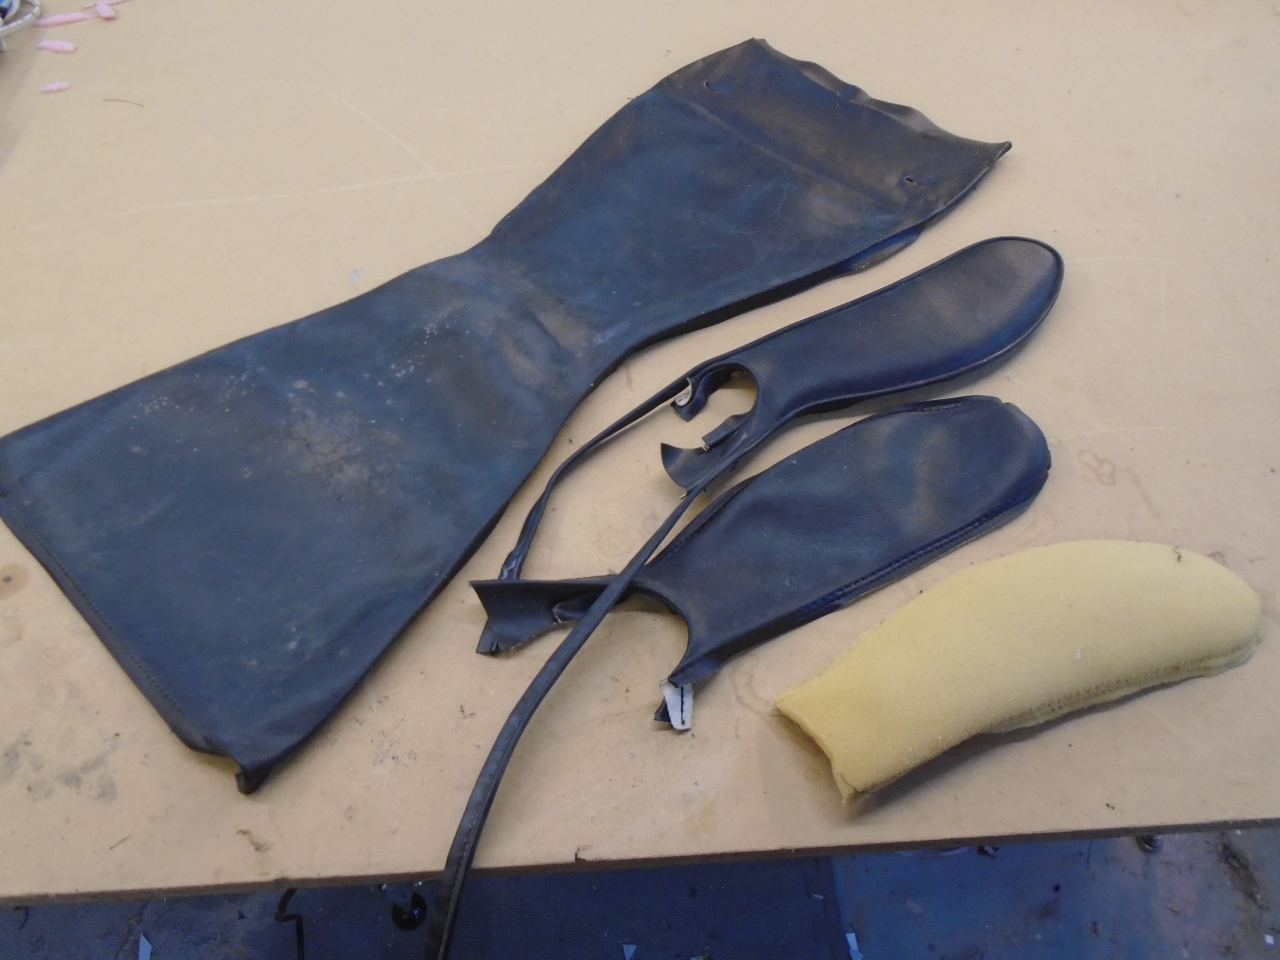
I first took the side panels off to better see the construction.
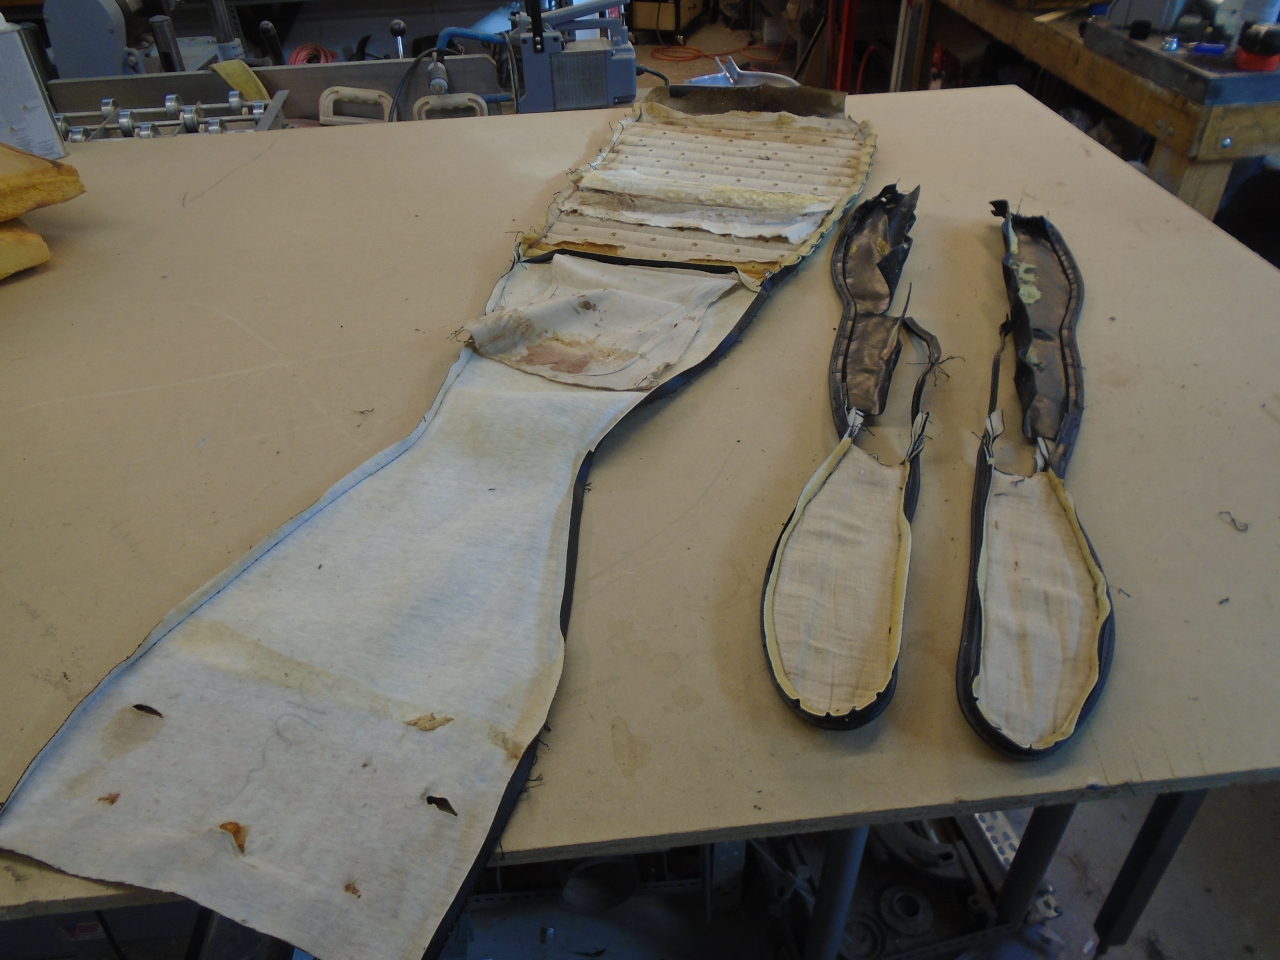
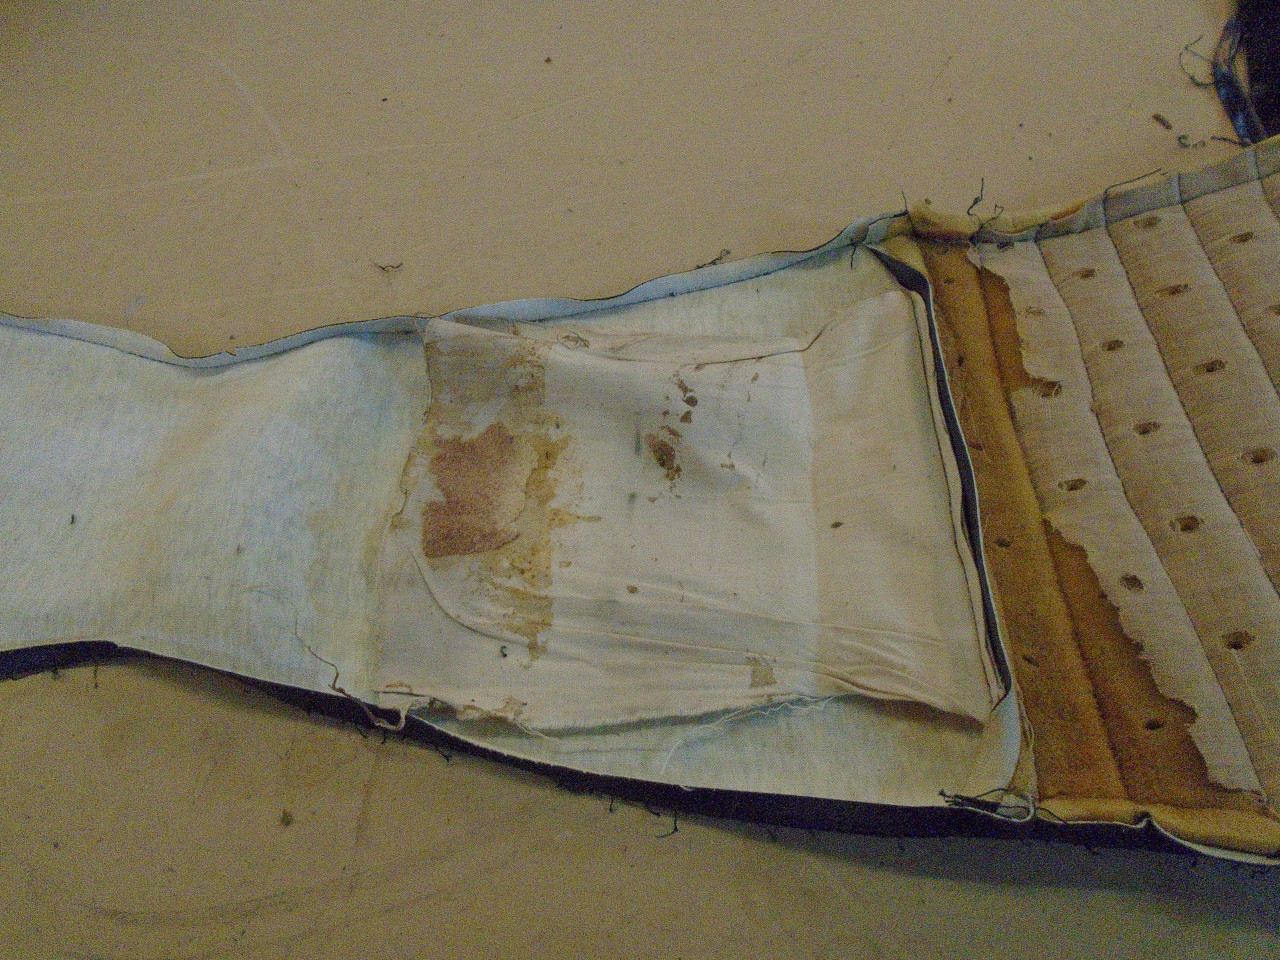
The seat back cover had two "tensioners" sewn to it. These are
flaps of fabric that are glued to something internal to pull the cover
inward to hug the foams and to give it some shape. One tensioner
is at the base of the headrest, while the other is in the middle of the
seat back.

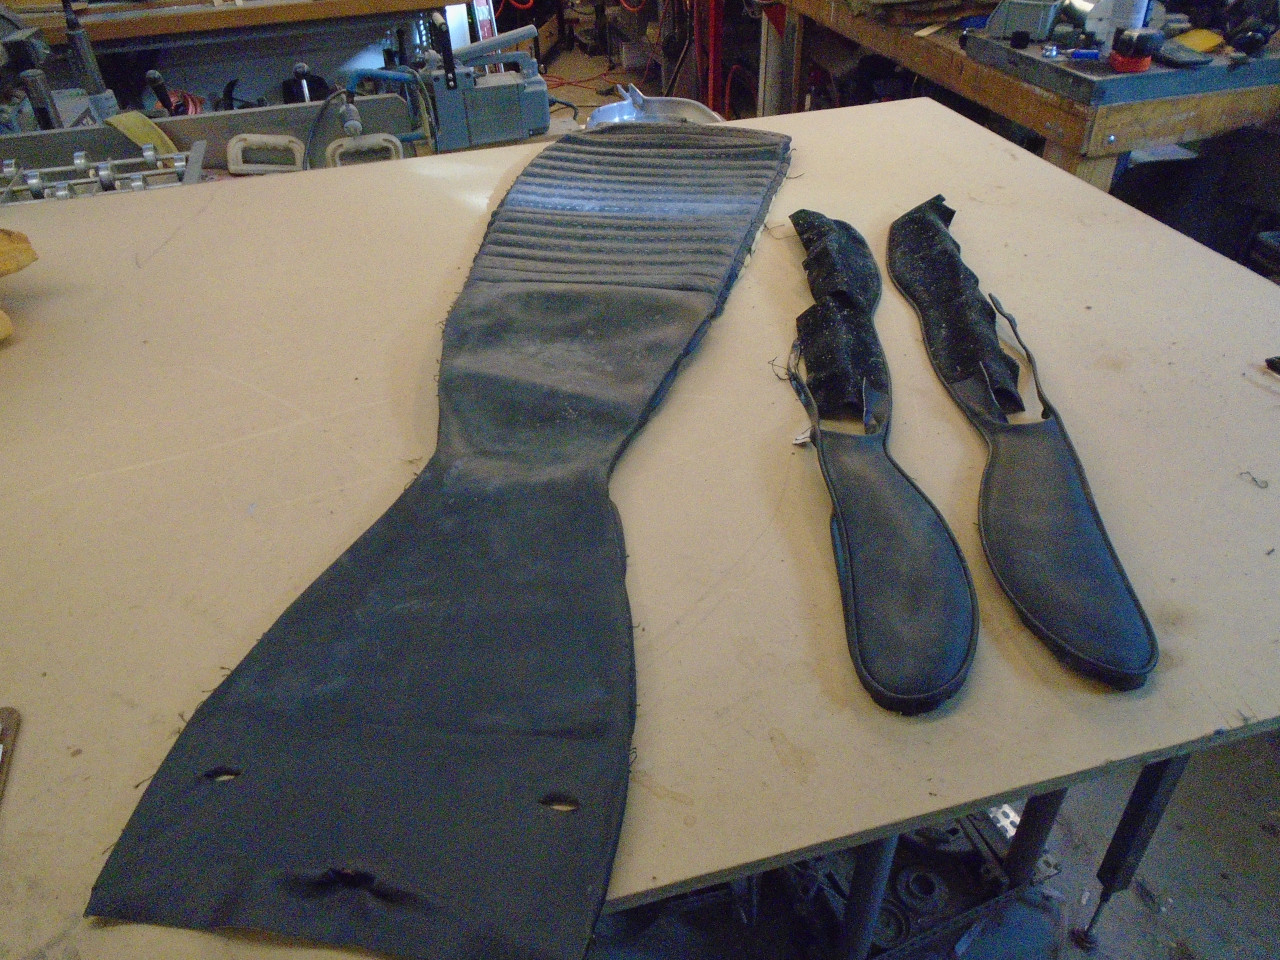
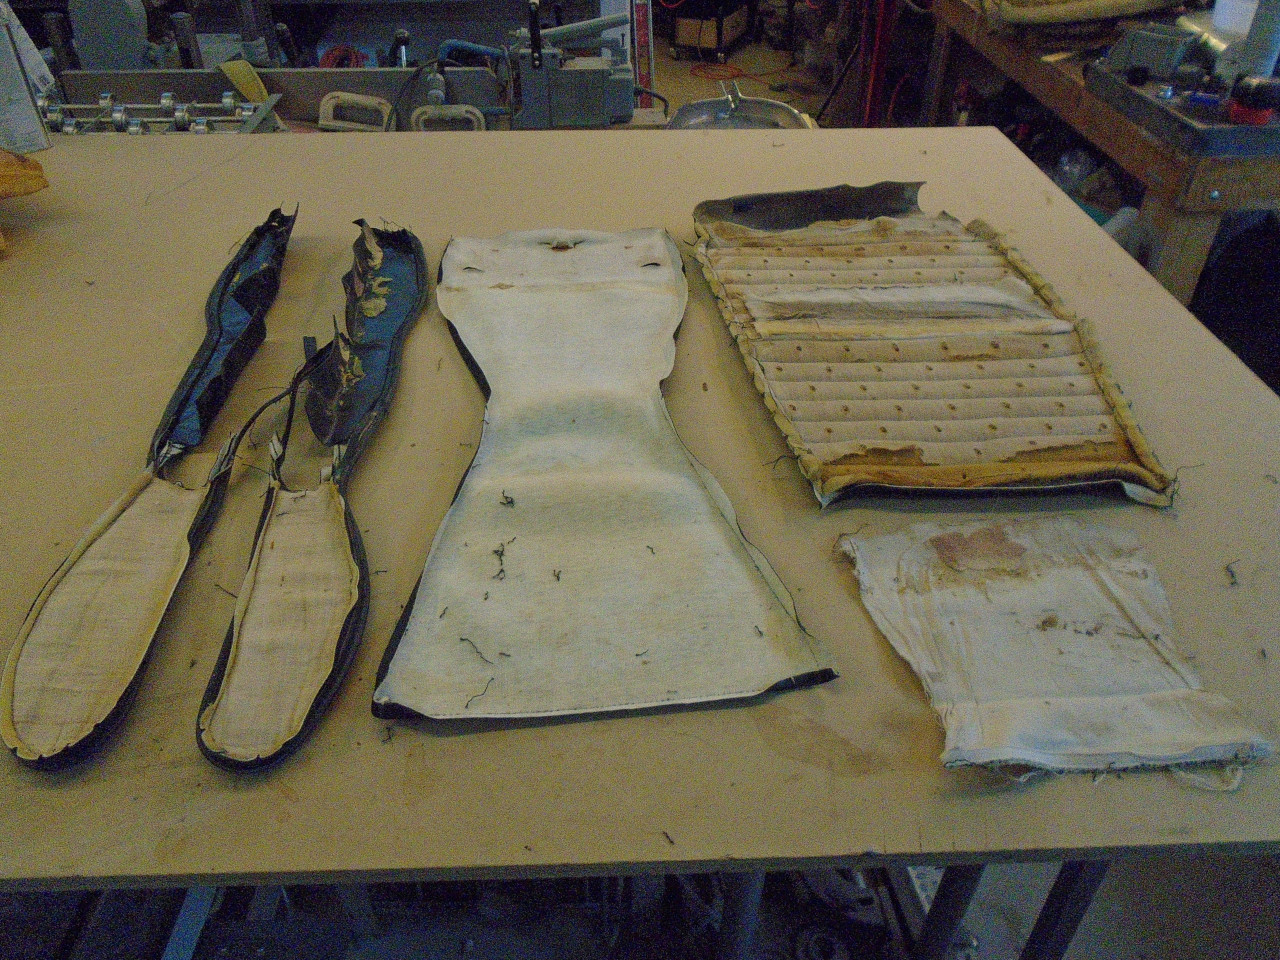
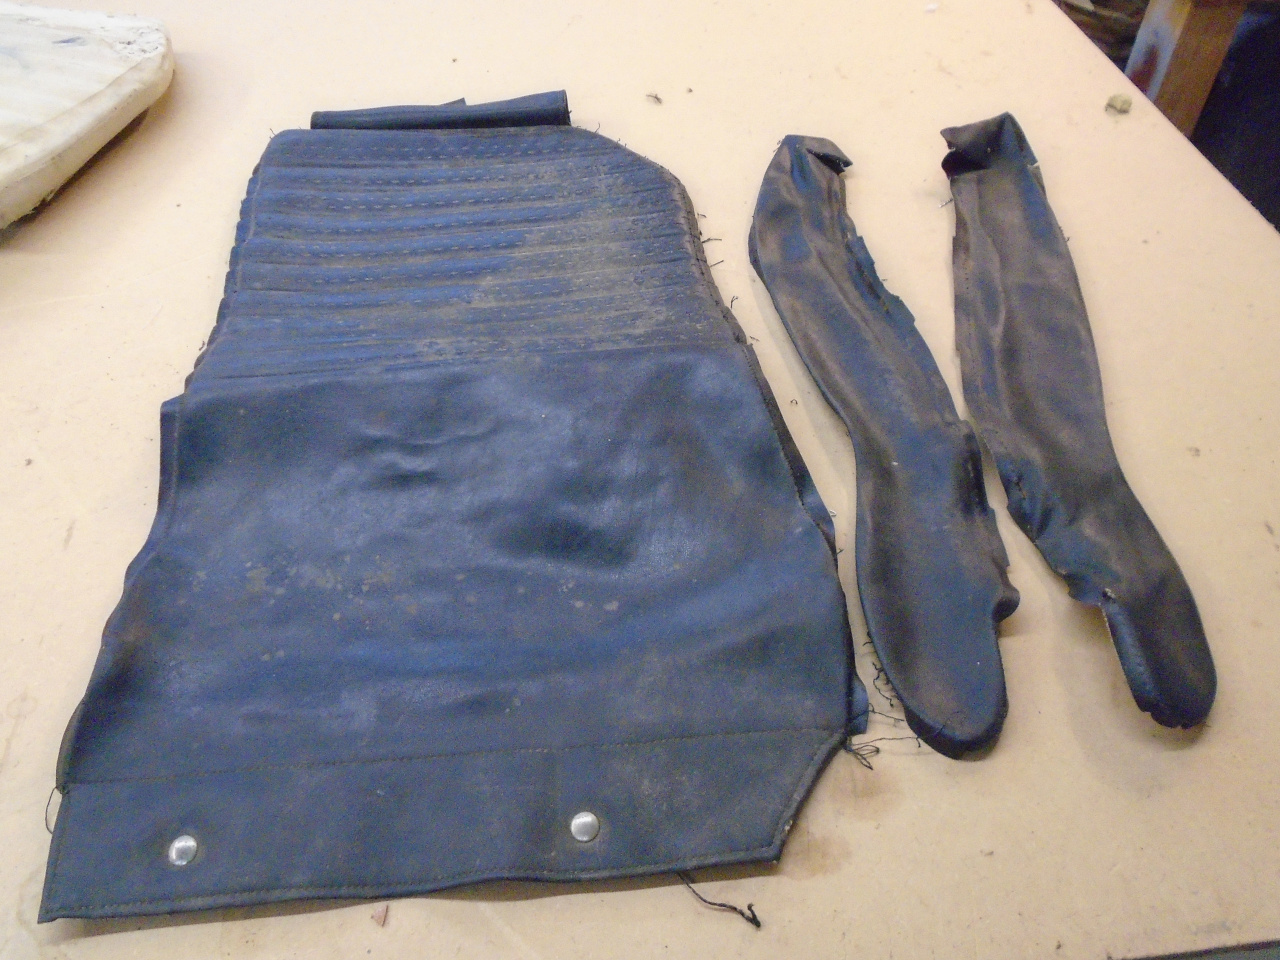
Here are the pieces of the seat back cover. The mid seat back
tensioner is still in place, and the side panels are each two pieces
still sewn together.
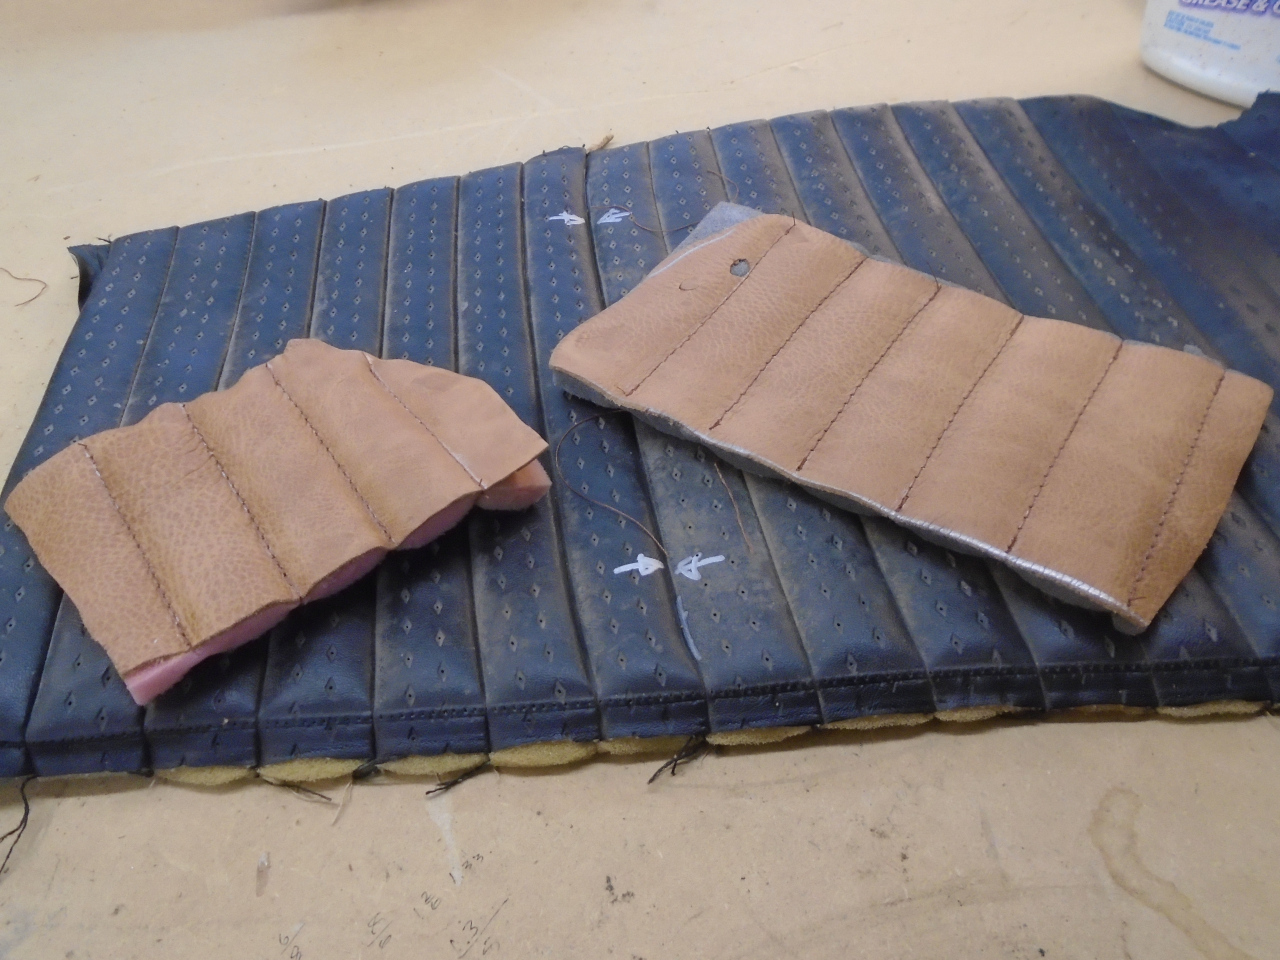
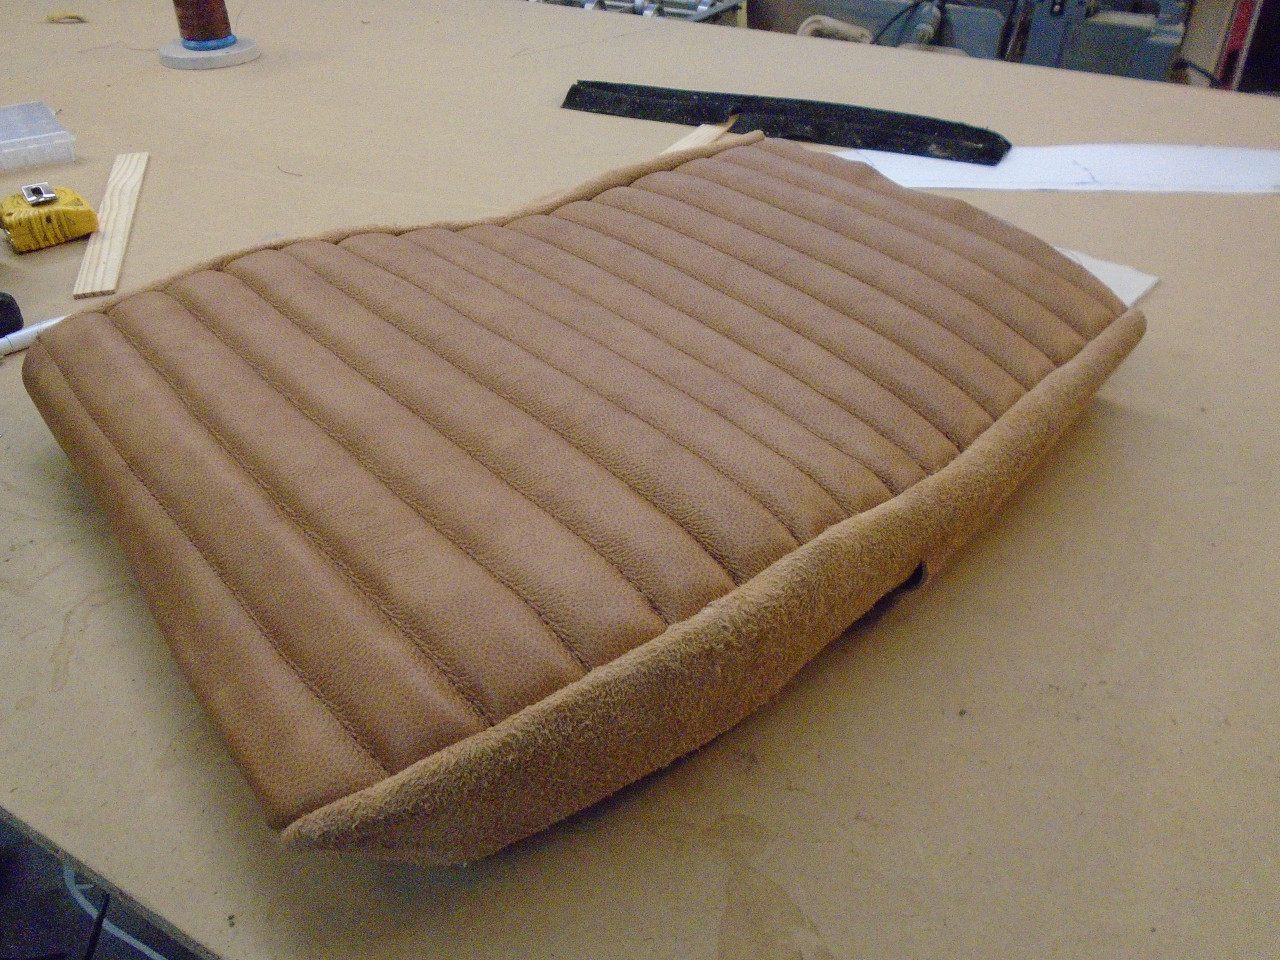
The seat back is "pleated". This was done by laminating the vinyl
with a piece of foam, then stitching parallel horizontal lines.
Between the lines, the foam puffs the vinyl up a bit. I did a
couple of trial pleated pieces. The original cover used 3/8" foam,
and I tried that first, but liked the trial with 1/2" foam
better. I guess it's an "upgrade".
Using the original vinyl as a pattern, I cut some leather and 1/2"
foam. One thing I learned about pleats is that they take up
material. Each pleat shortens the panel by around 1/8", so the raw
leather piece had to be cut about two inches longer than the pattern.
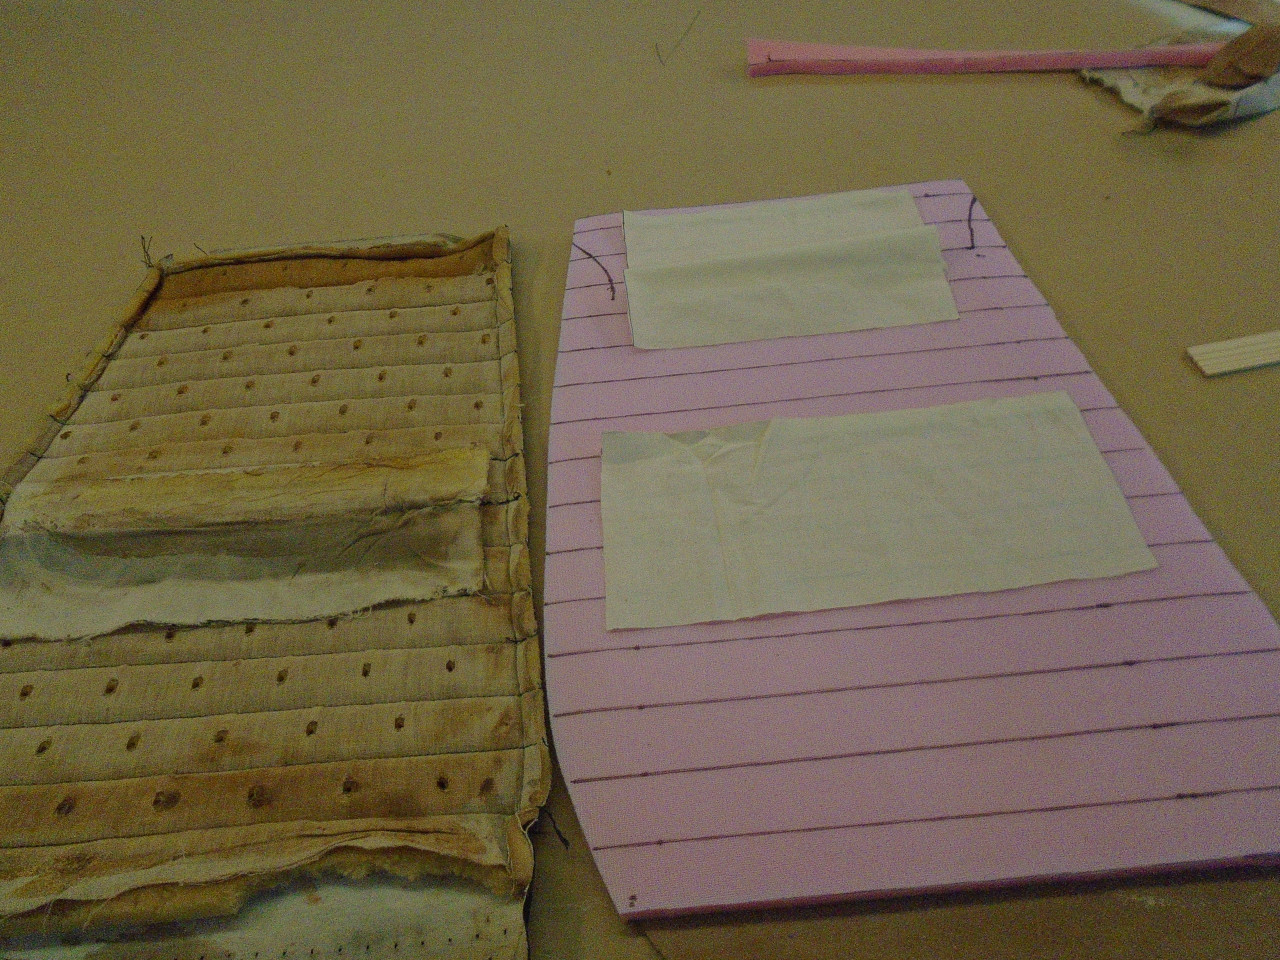
New muslin tensioners were cut, and the foam was marked for the pleat
lines. This is a special foam that has a fabric bonded to one side
so that it will hold stitches.
After the pleating.
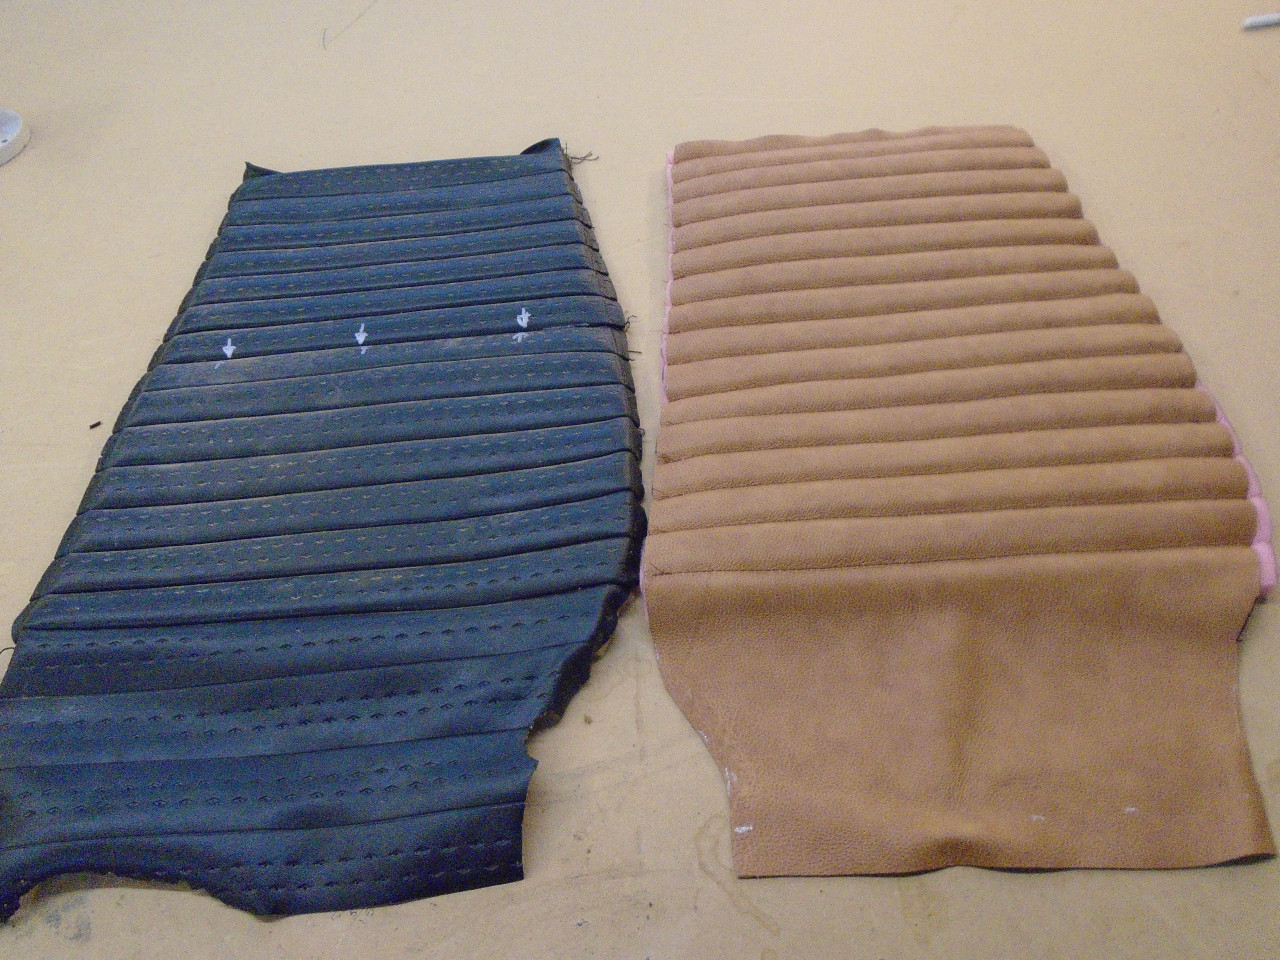
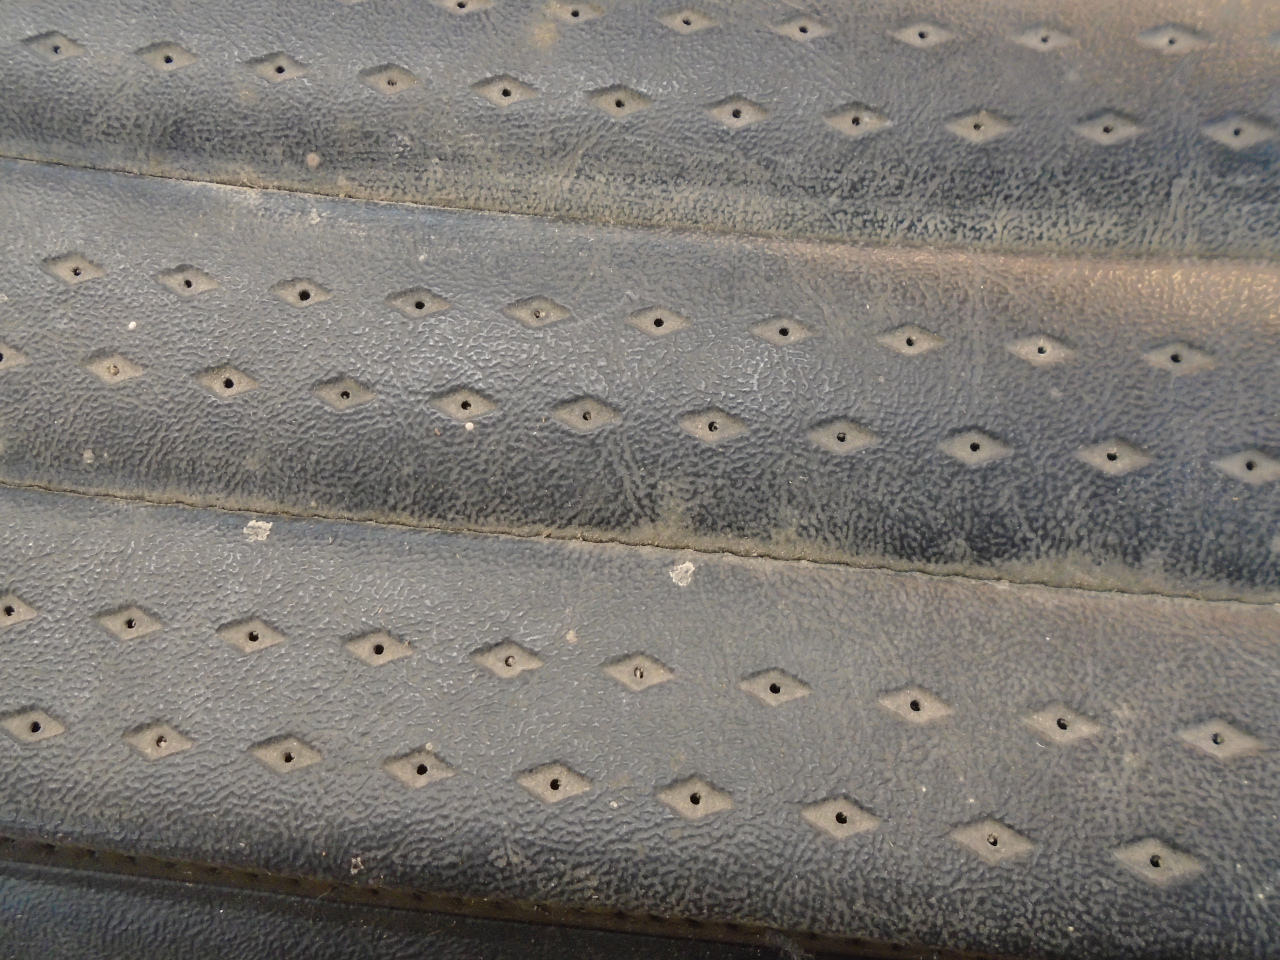
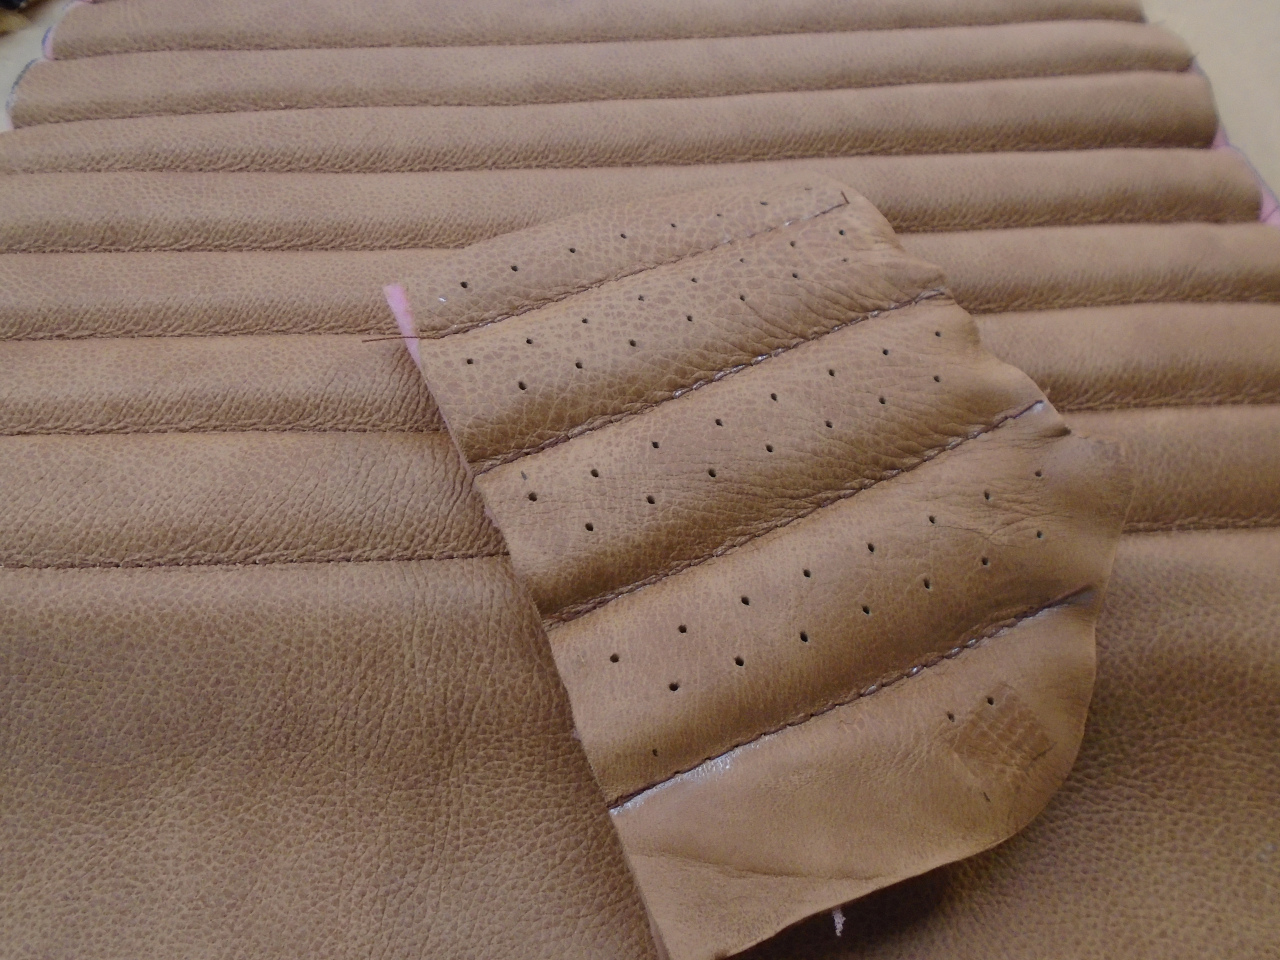
The original vinyl has a pattern with perforations in it. These
perforations allegedly help with ventilation on hot days. I
considered doing my own perforations, and did a test sample. I
didn't really care for it, so gave up the idea. I guess I'll just
sweat a little more.
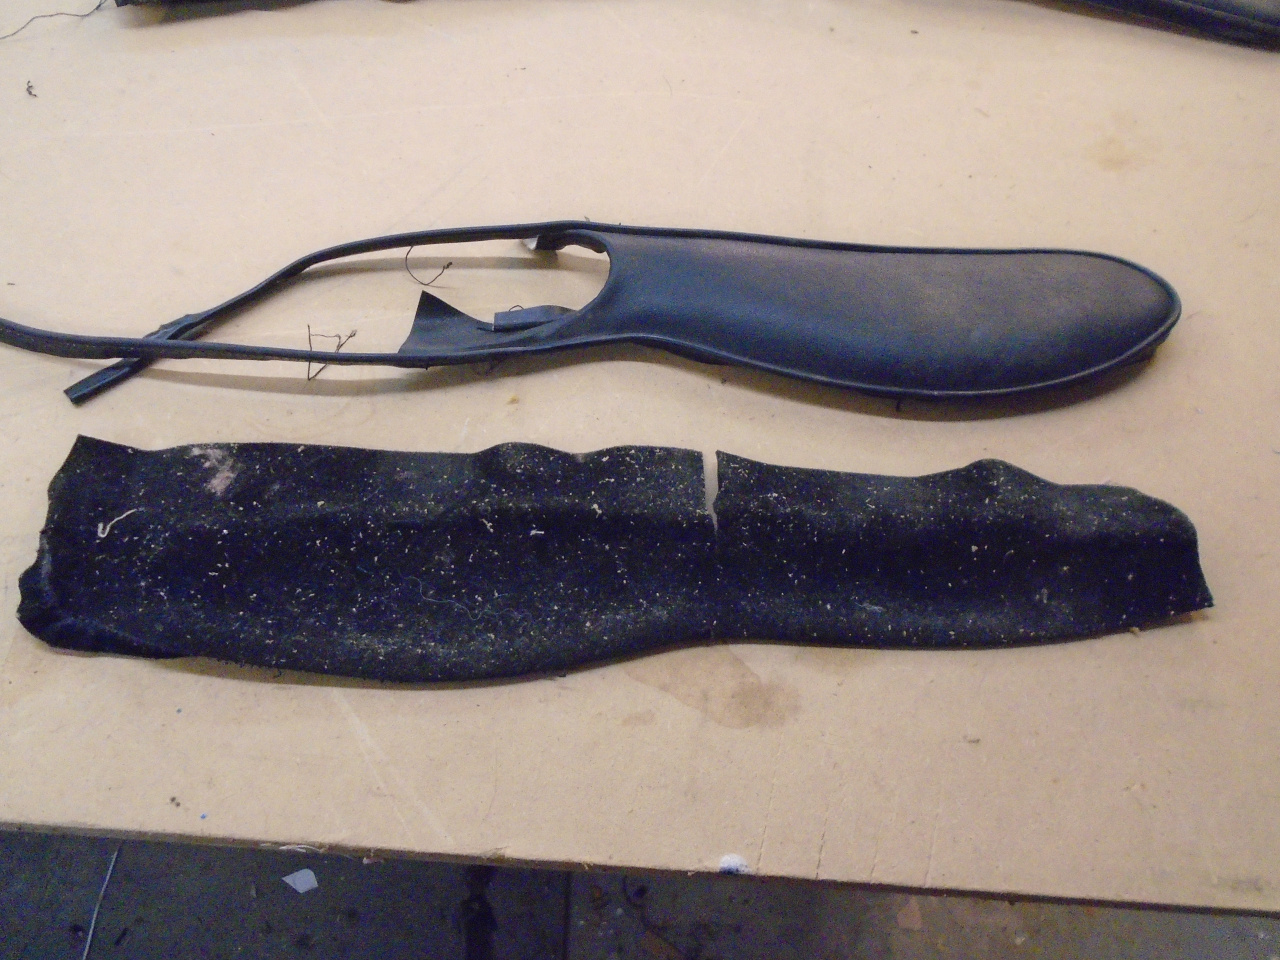
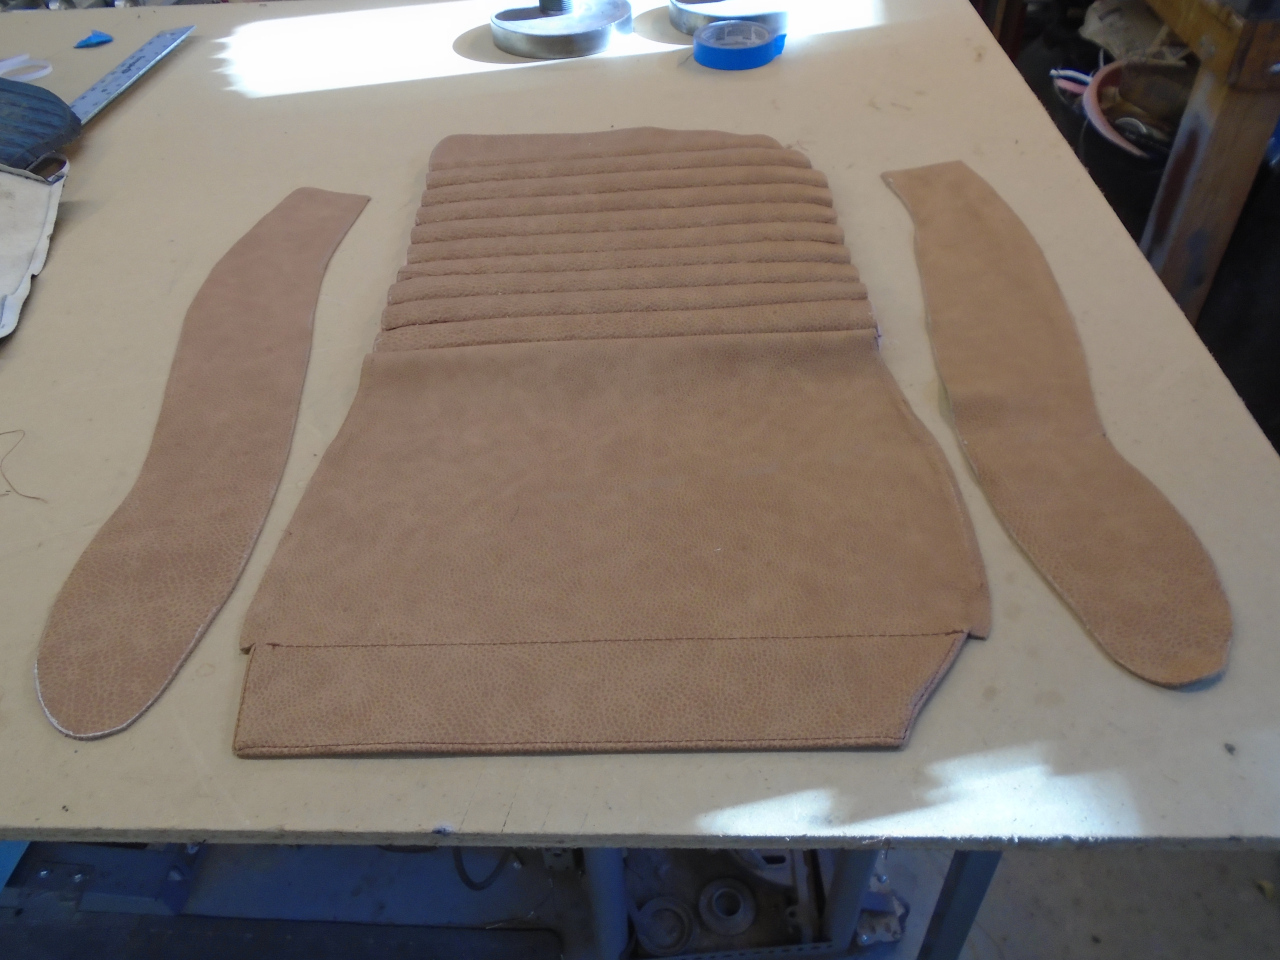
Next task was the side panels. This is the seat back side panel
separated from the headrest side panel. The seat back panels of
the were some kind of fuzzy material. Maybe it was to prevent
vinyl-on-vinyl "squeaking".
I made a paper pattern that could be flipped for the other side.
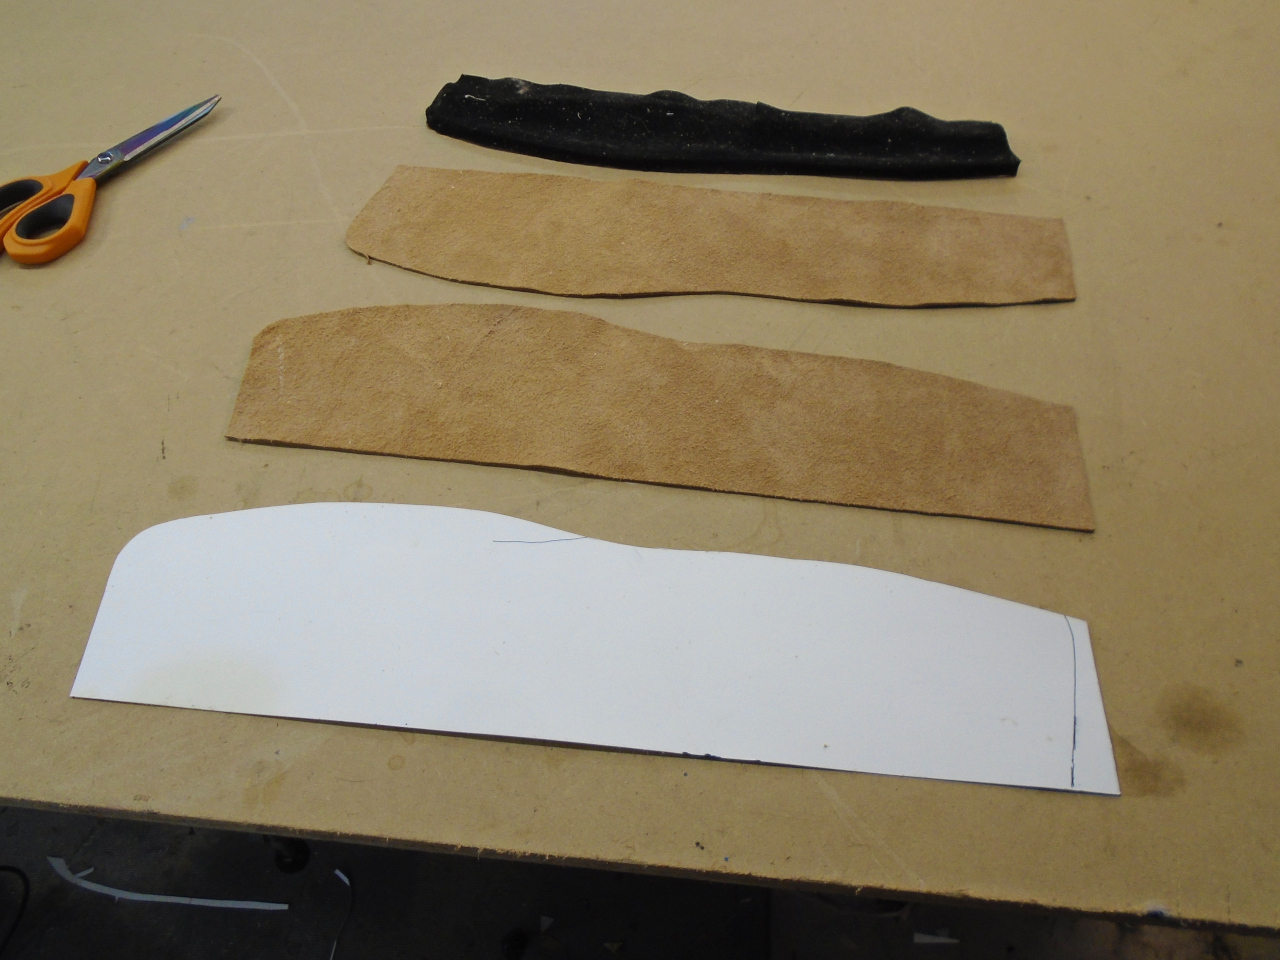
And then attached to the seat back panel. To emulate the fuzzy
material in the originals, I sewed the sides with the suede surface out.
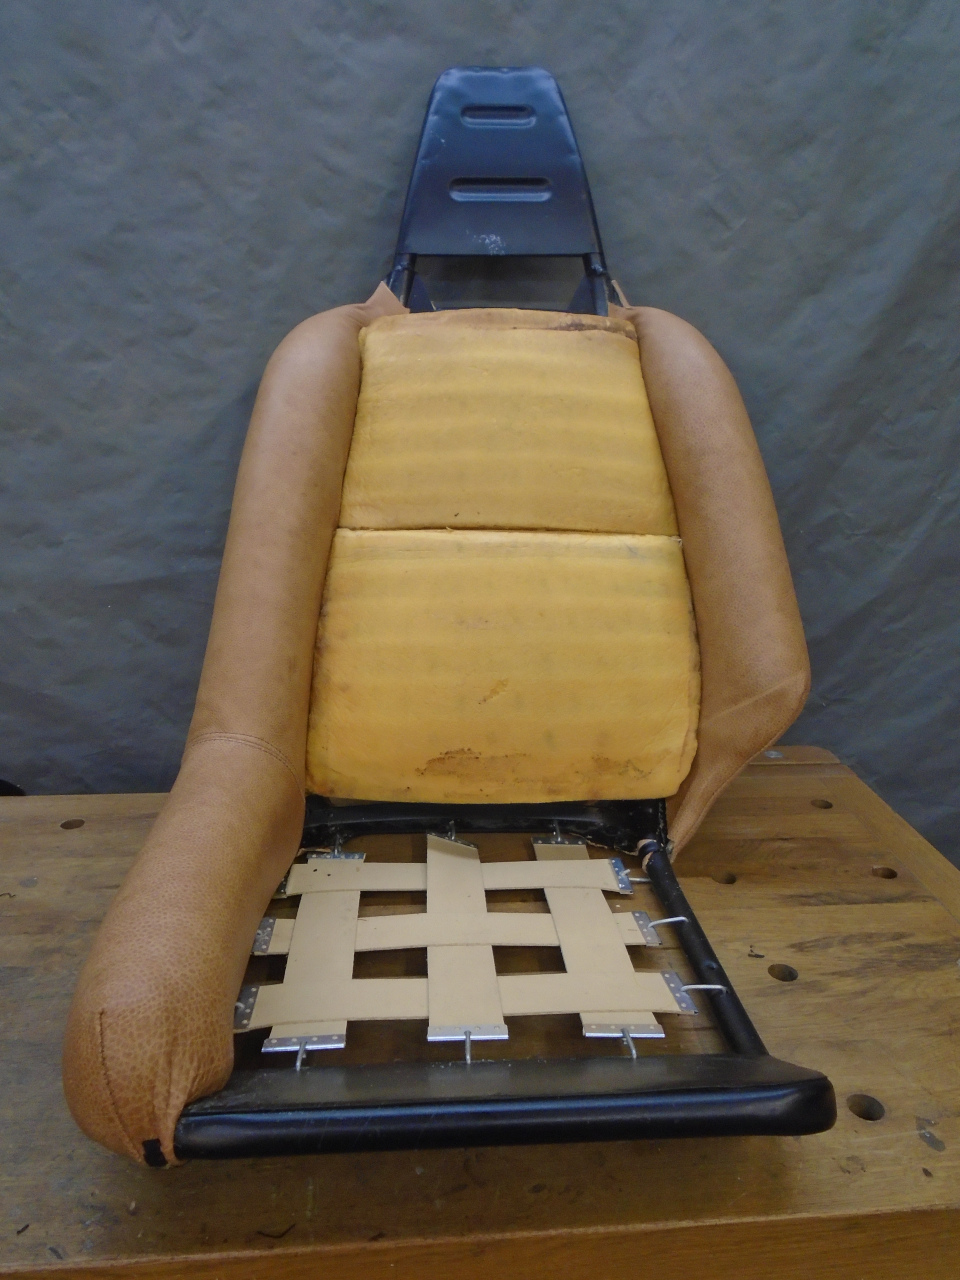
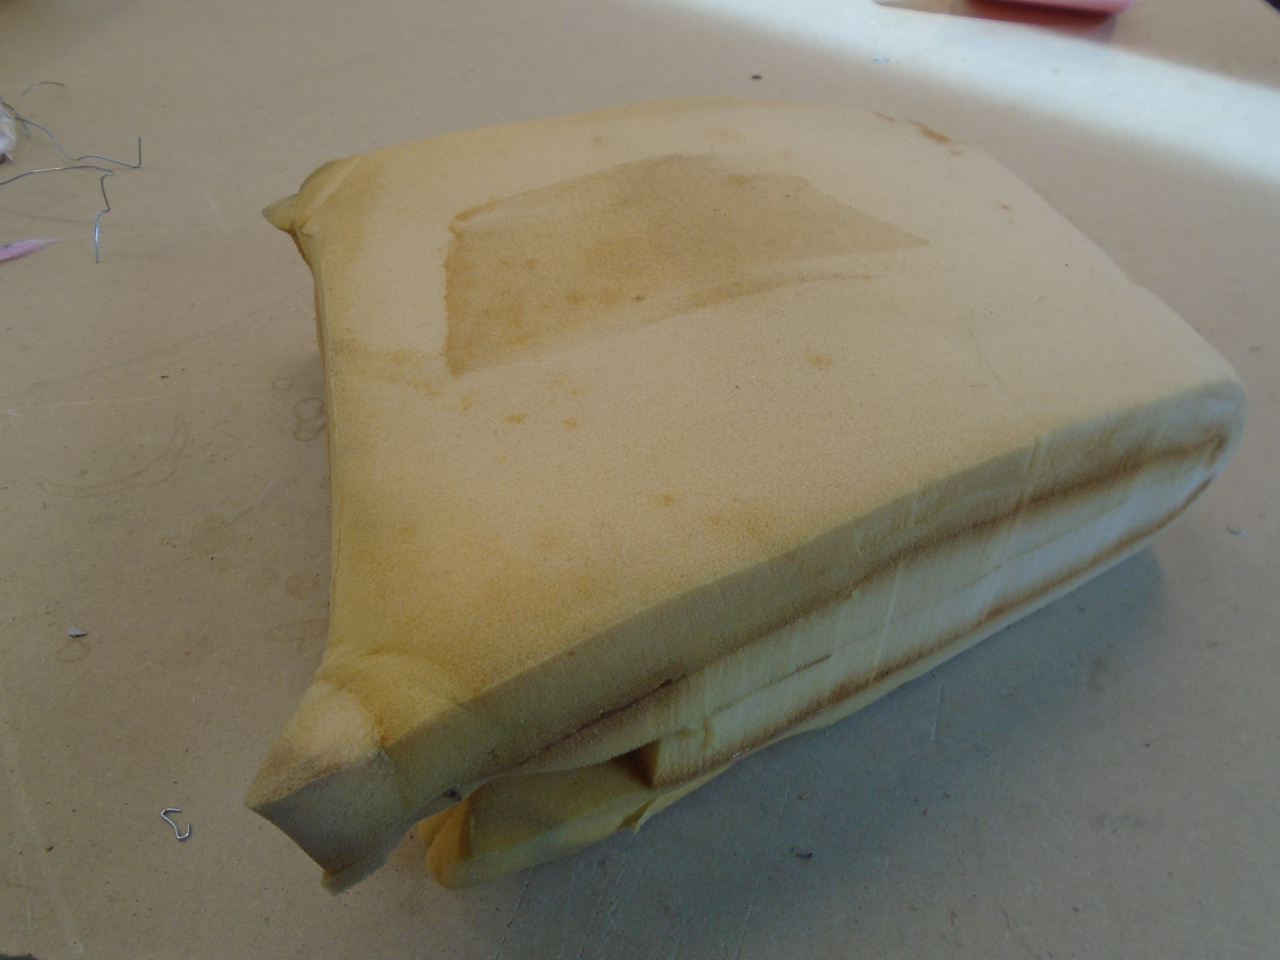
Then I came to the foams. I had originally worried that the foams
may have collapsed or otherwise degraded over the decades. The
foams were dirty for sure, and had some minor surface damage where
something was glued to them, but they felt fine. I tried them out
in the seat, and if anything, they seemed a little too big, certainly
due to the fatter bolsters.
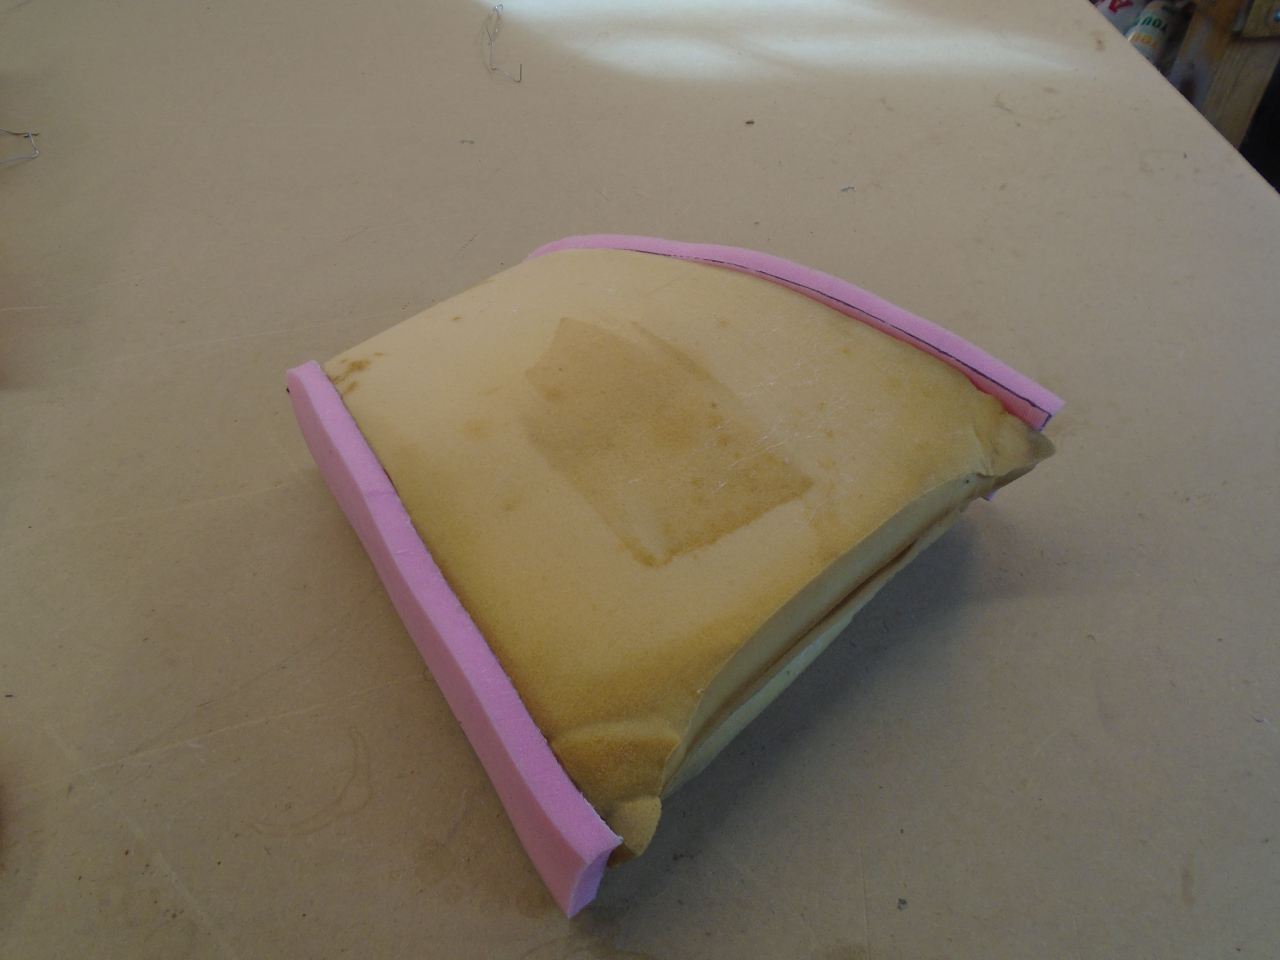
A generous contributor to one of the forums posted some pictures and
measurements of foams from a replacement kit, and mine were essentially
still full dimension. This, and my chronic fear of disappointment
with
aftermarket parts, led to my decision to reuse the seat back
foams. I even trimmed them slightly to fit the bolsters better.
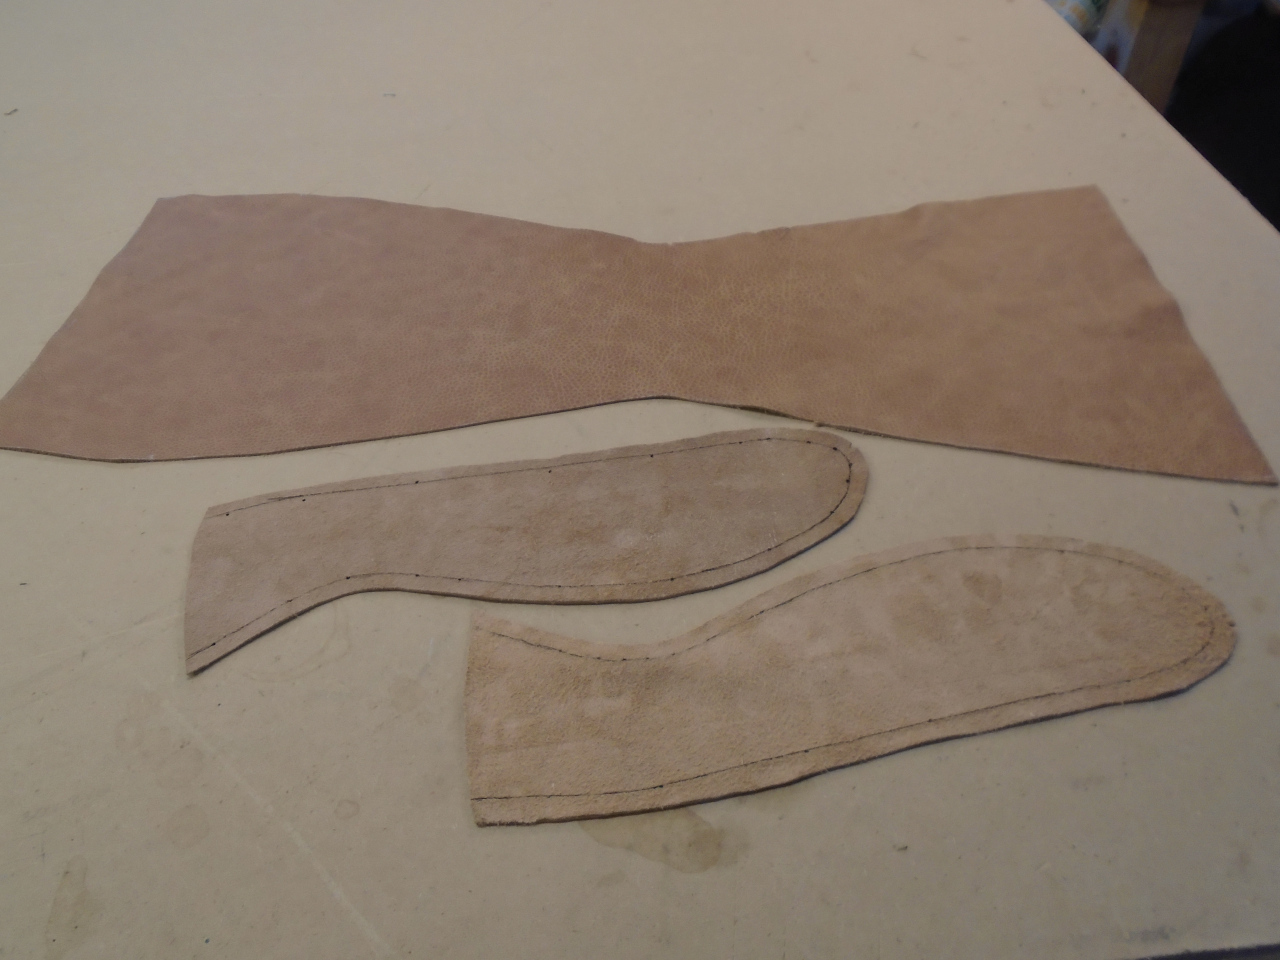
On to the headrest. The vinyl pieces made good templates.
The original vinyl seats used piping om many of the seams. I'm not
a real fan of piping, especially the cheap extruded plastic piping the
factory used, so I used mainly just plain seams.
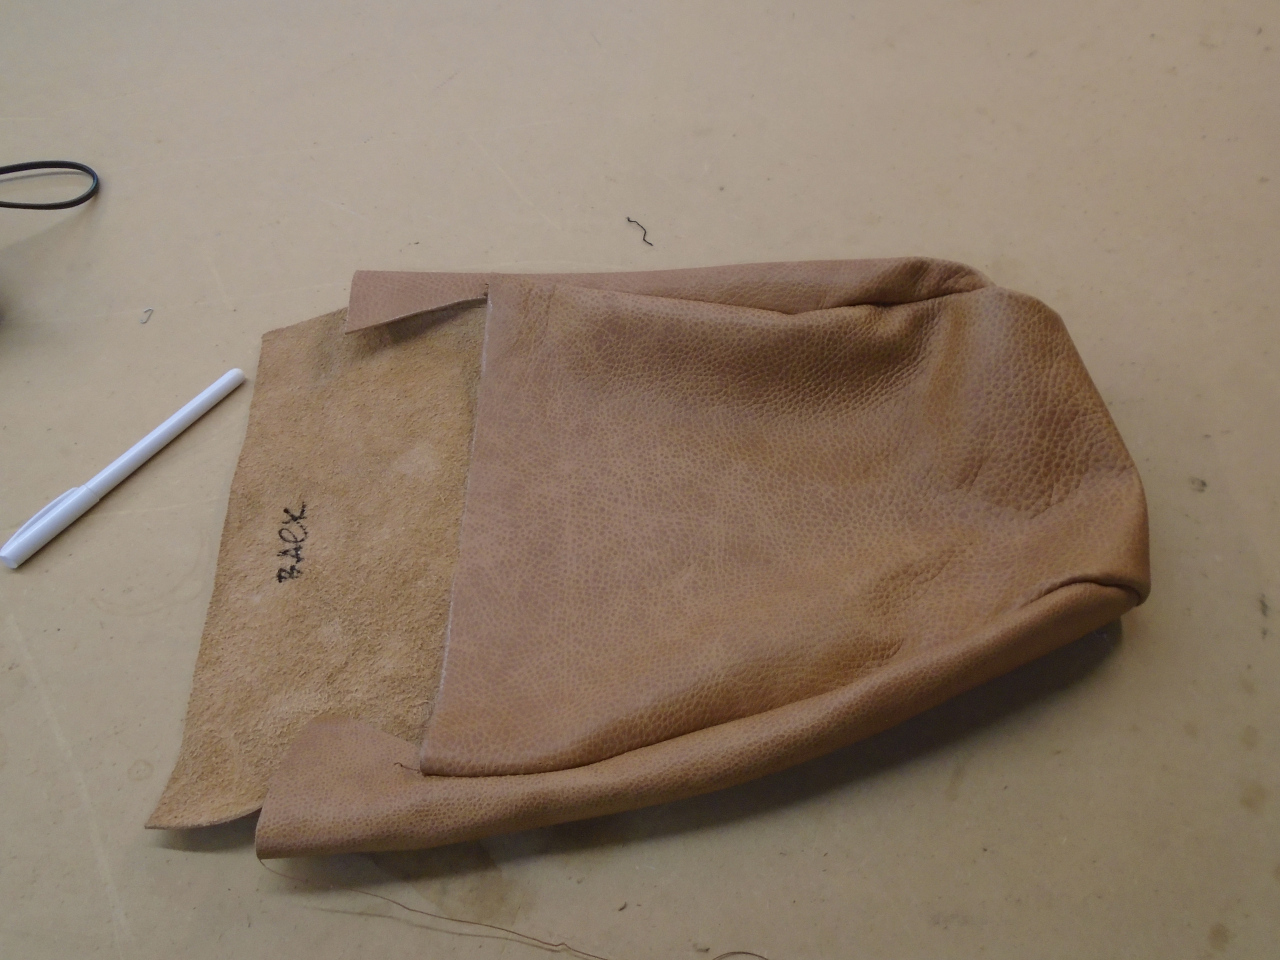
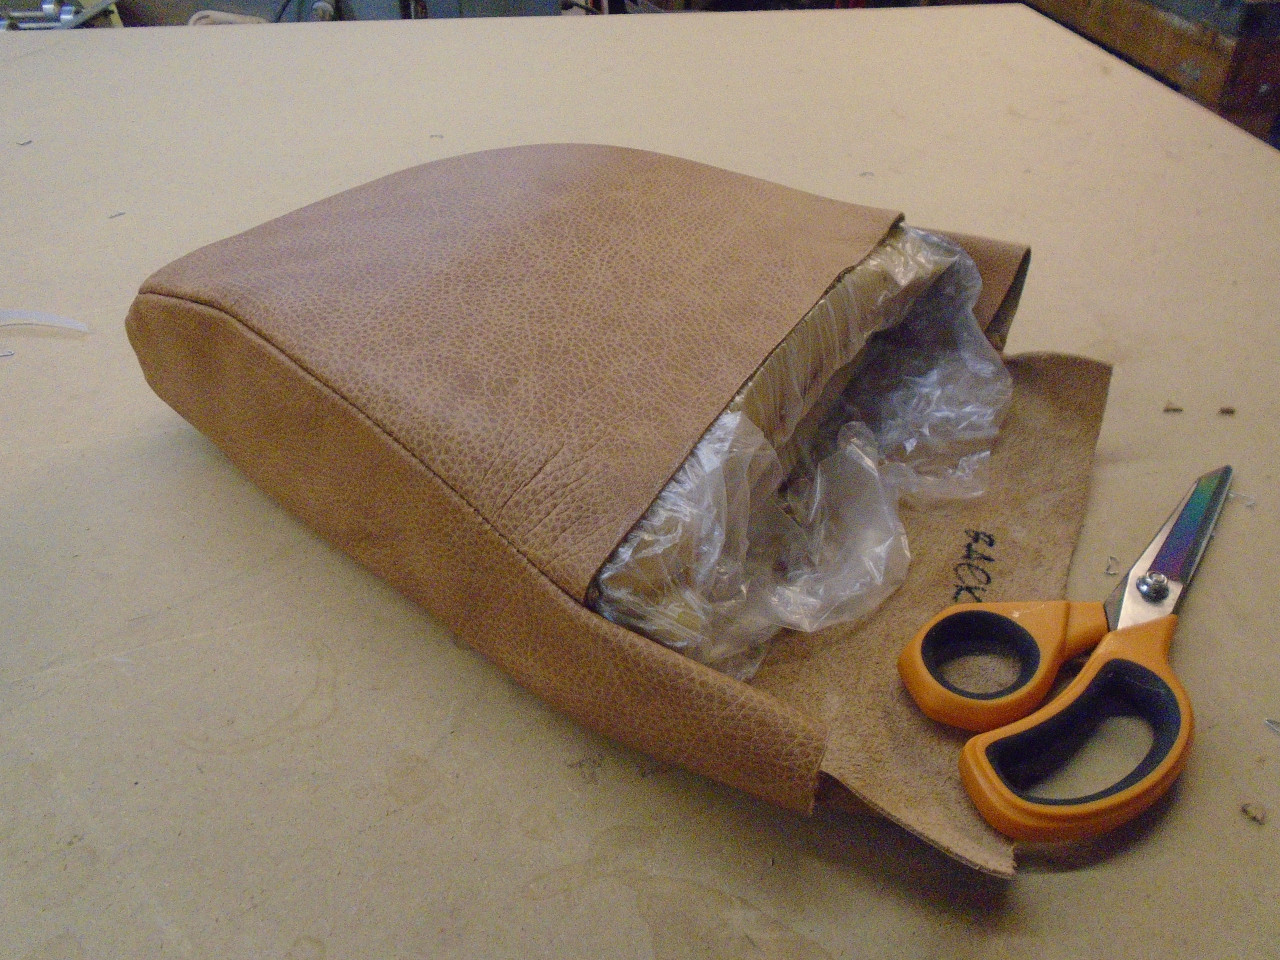
The headrest cover is basically just a leather bag. The foam is
wrapped in a plastic film to make it slide into the cover more easily.
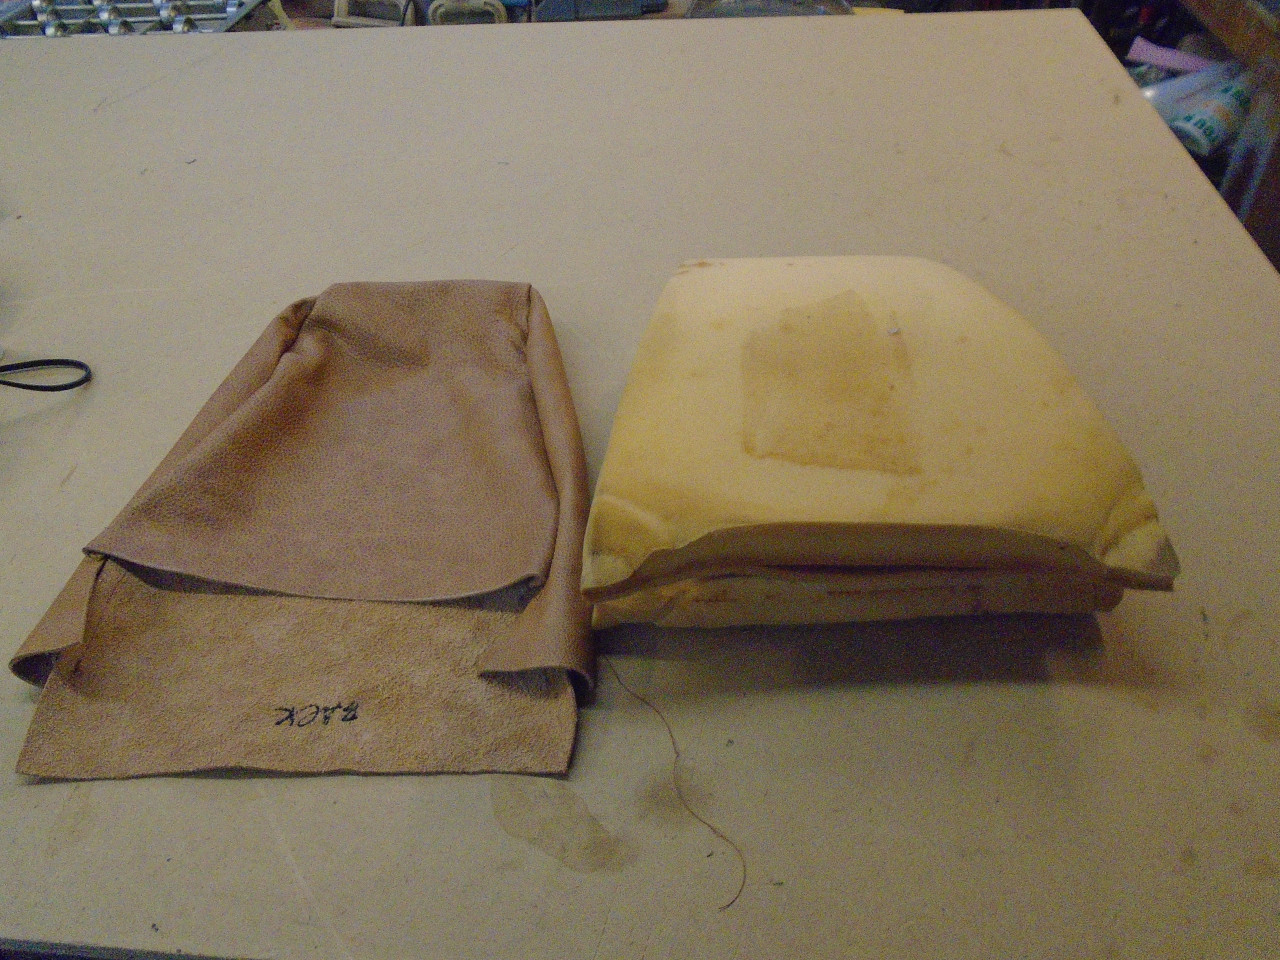
The headrest foam was also in very good shape. I did have to square off the sides and add a little foam.
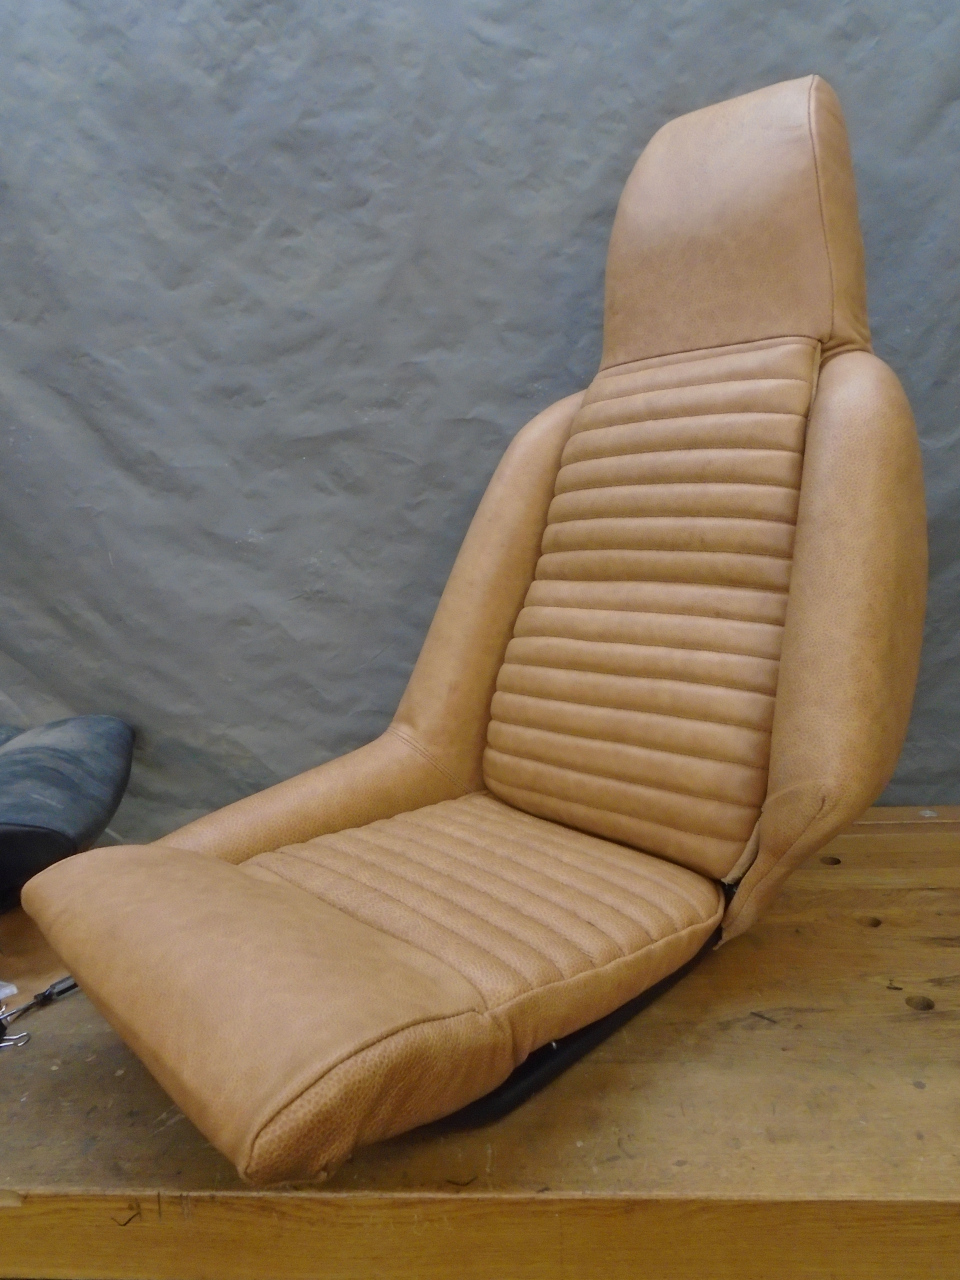
A trial fit...
...and joined the headrest to the seat back.
Before closing up the seat back assembly, there was one more "upgrade" I
wanted to apply. These are aftermarket seat heater pads.
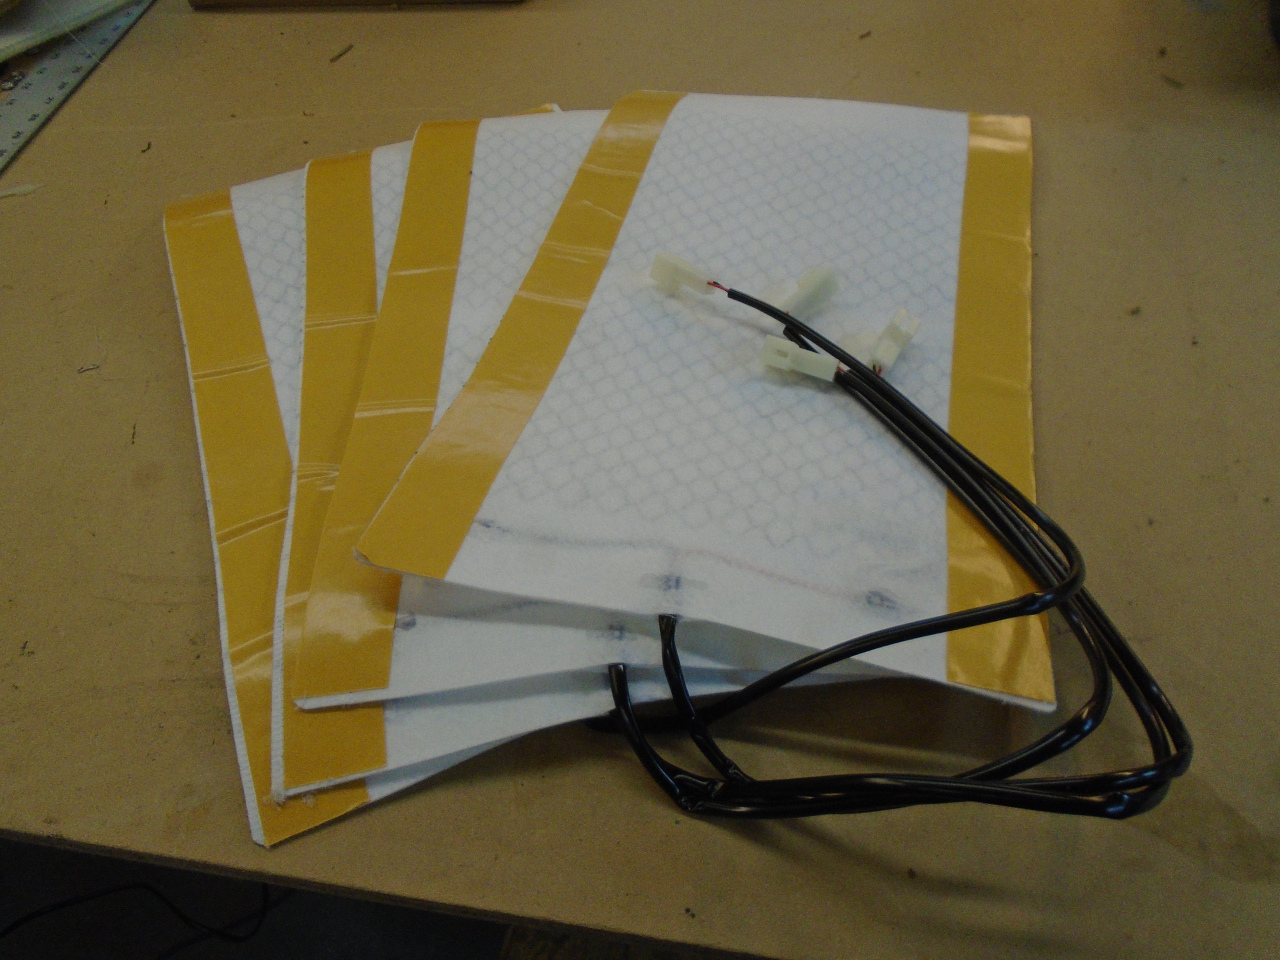
Fortunately, these pads anticipate the use of tensioners, so they have
an area in the middle of the pad that can be cut for tensioners to pass
through. The width of the slot is limited, though, since there are
electrical conductors running down the sides of the pads.
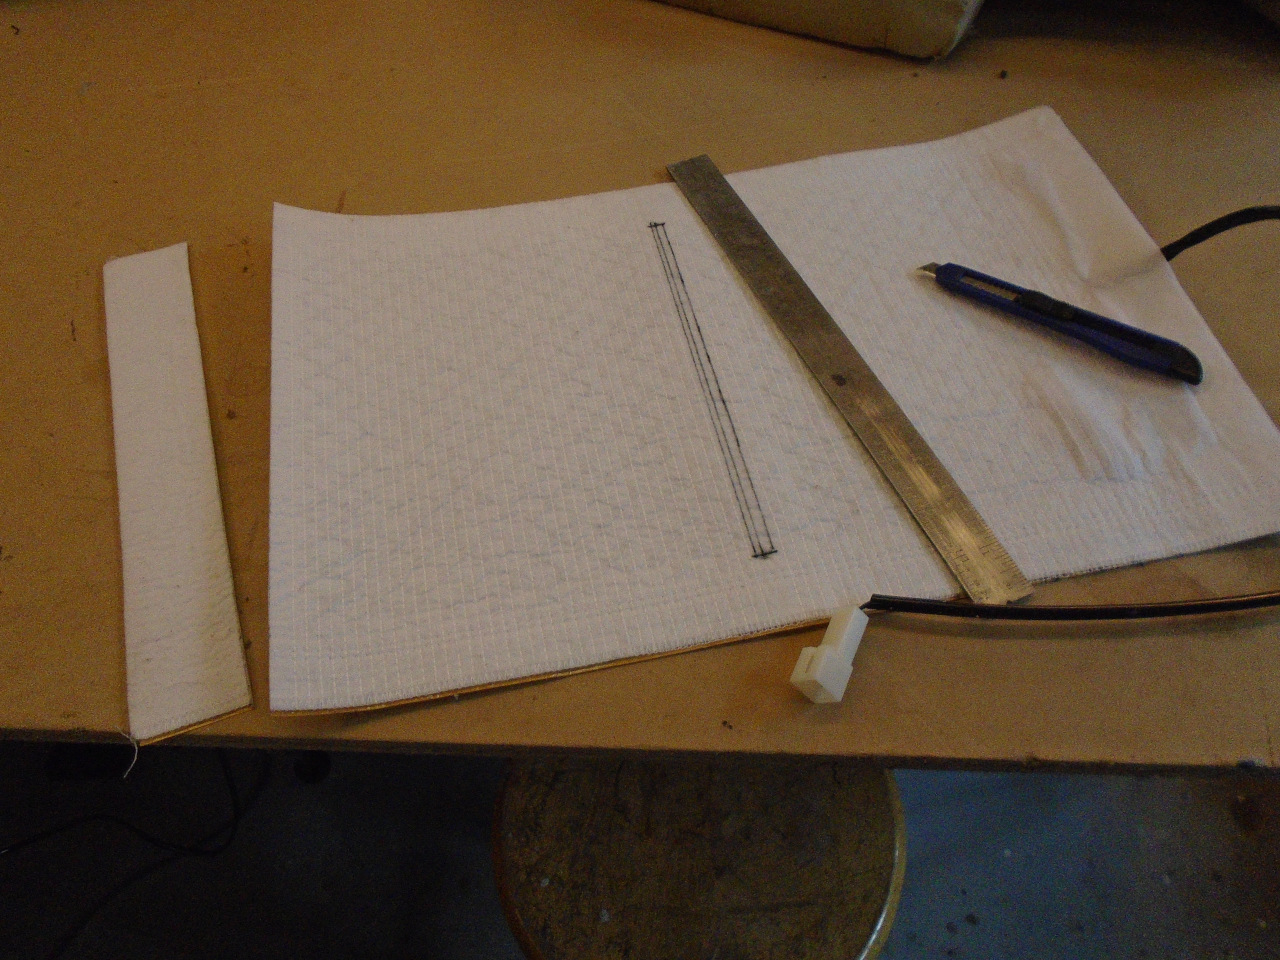
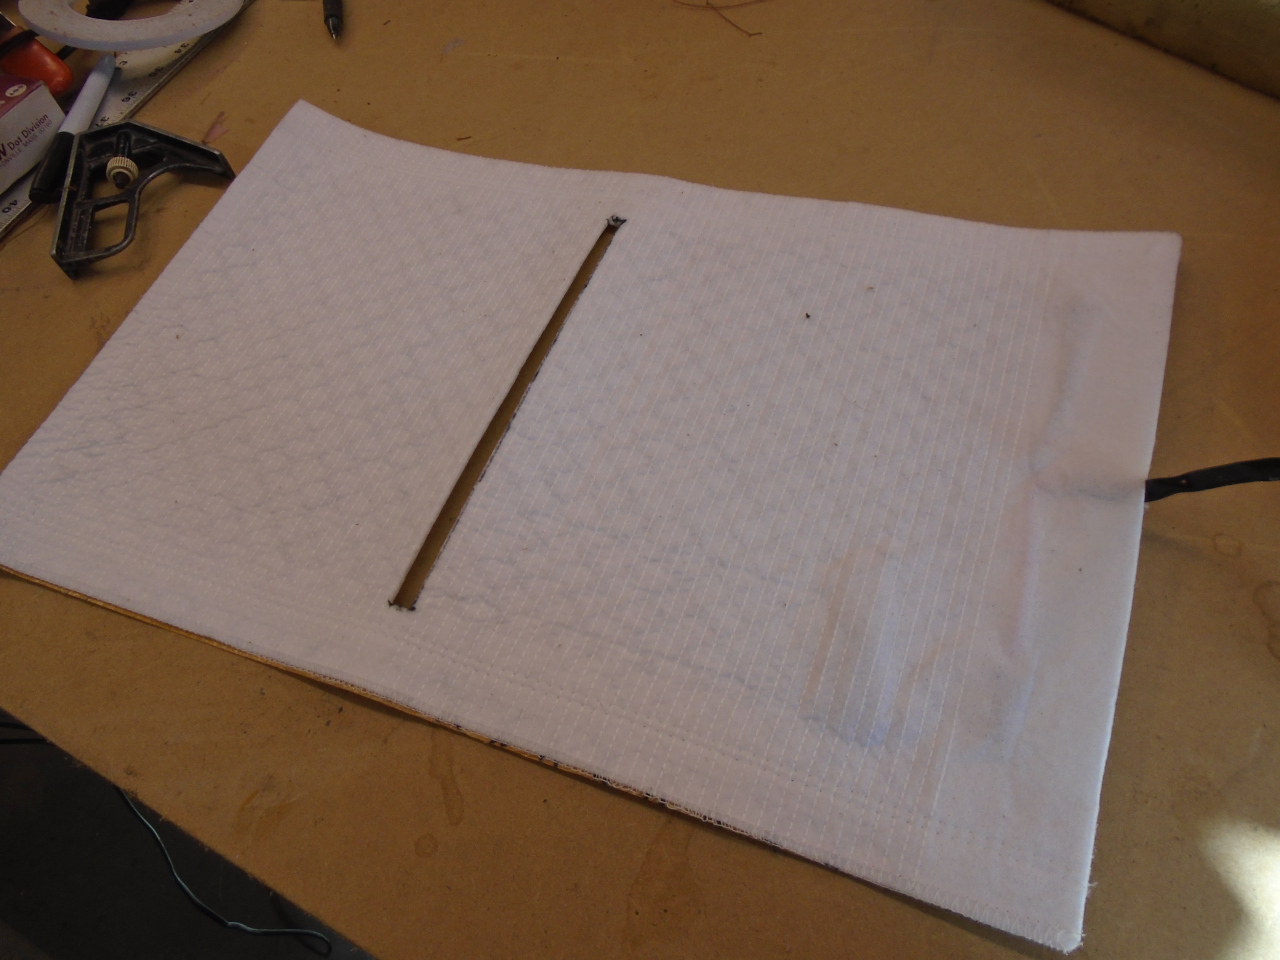
Also, the tensioner had to be cut to pass through the slot.
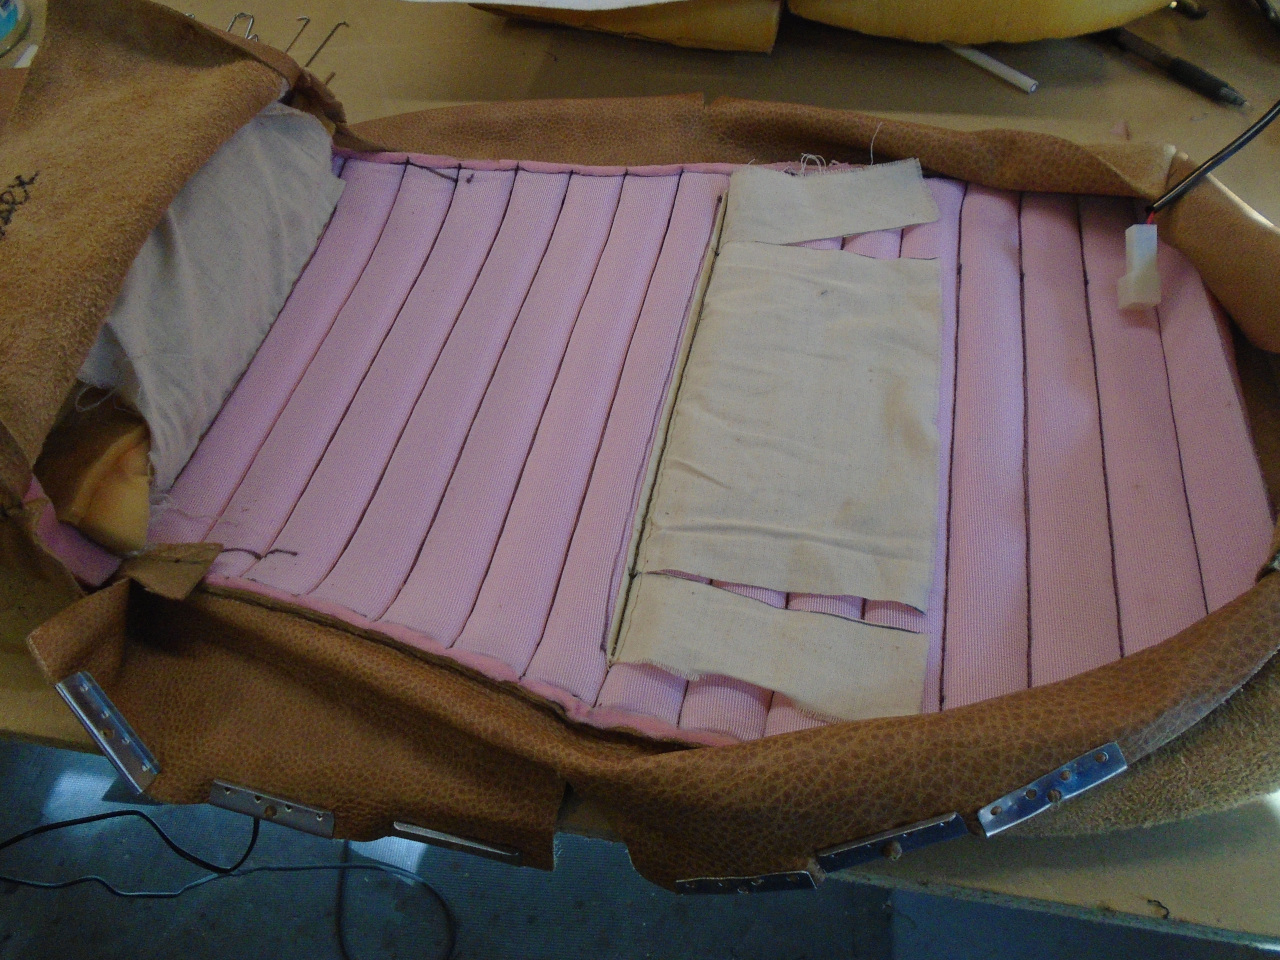
I could then insert the foams, and button up the backside. I did
this by using some of the same clamps used for the Pirelli straps, and
tying them together with some wire hooks.

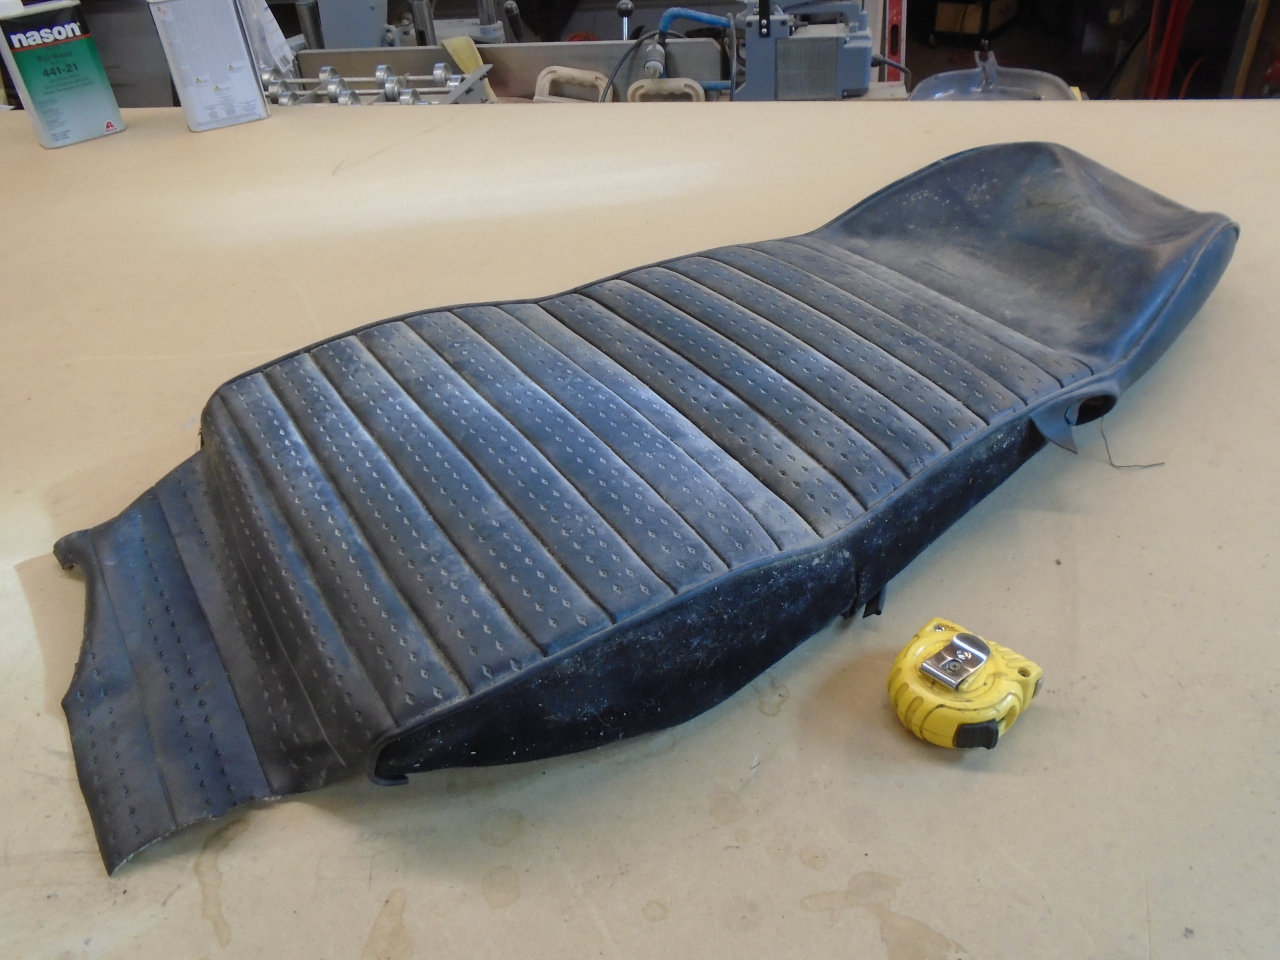
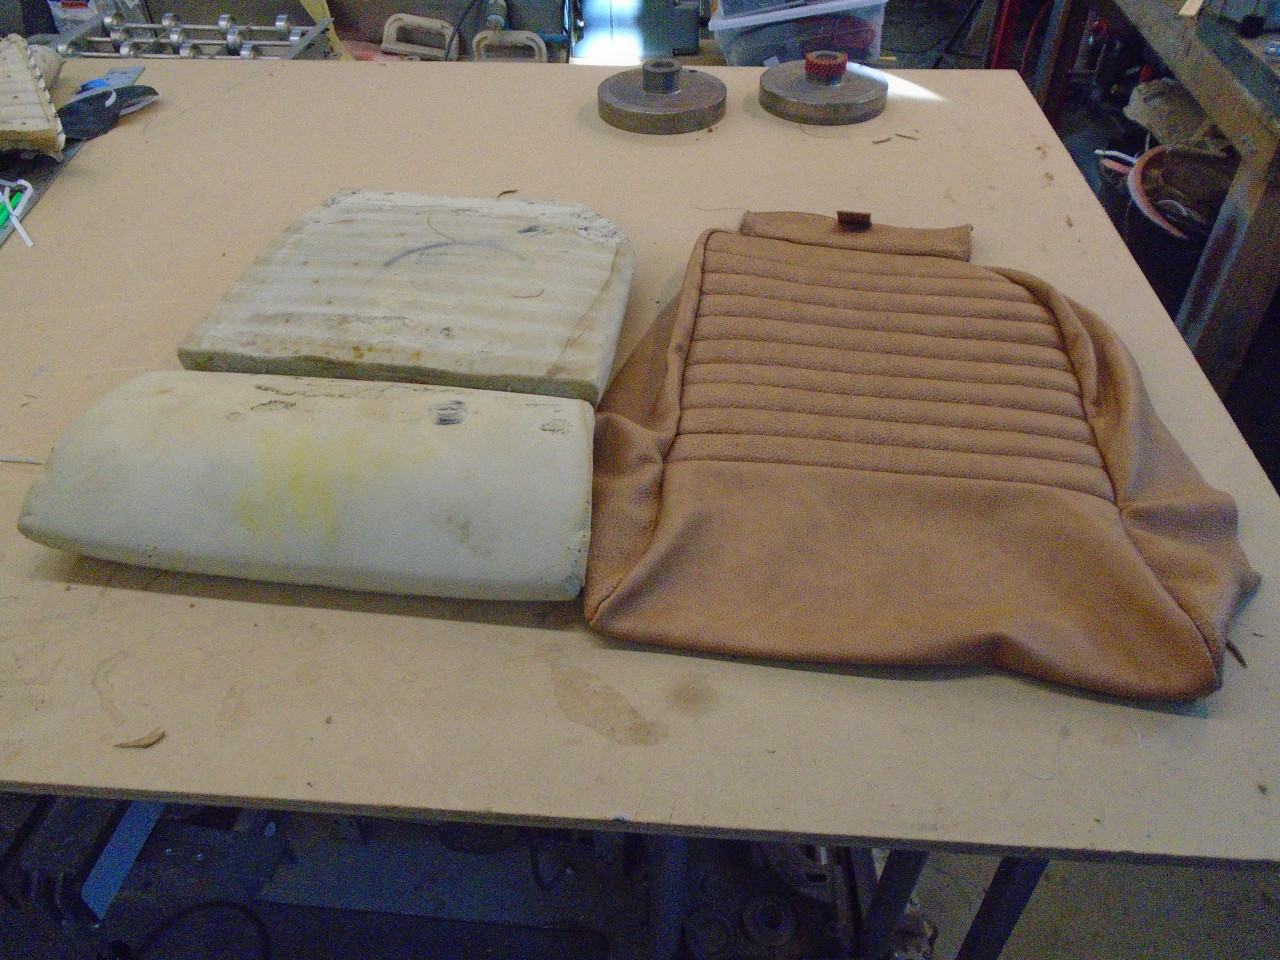
Then, on to the seat bottom.
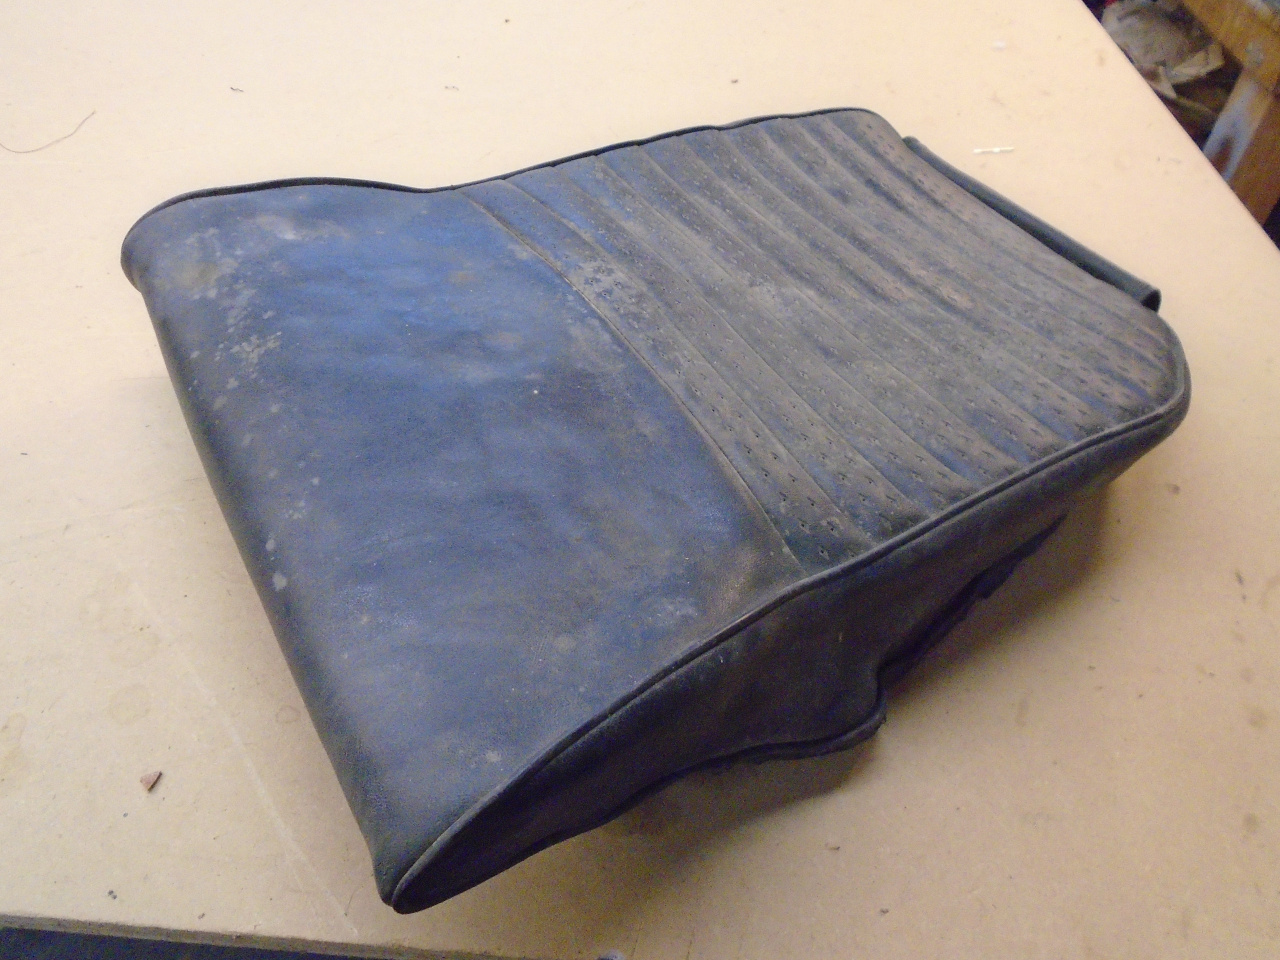
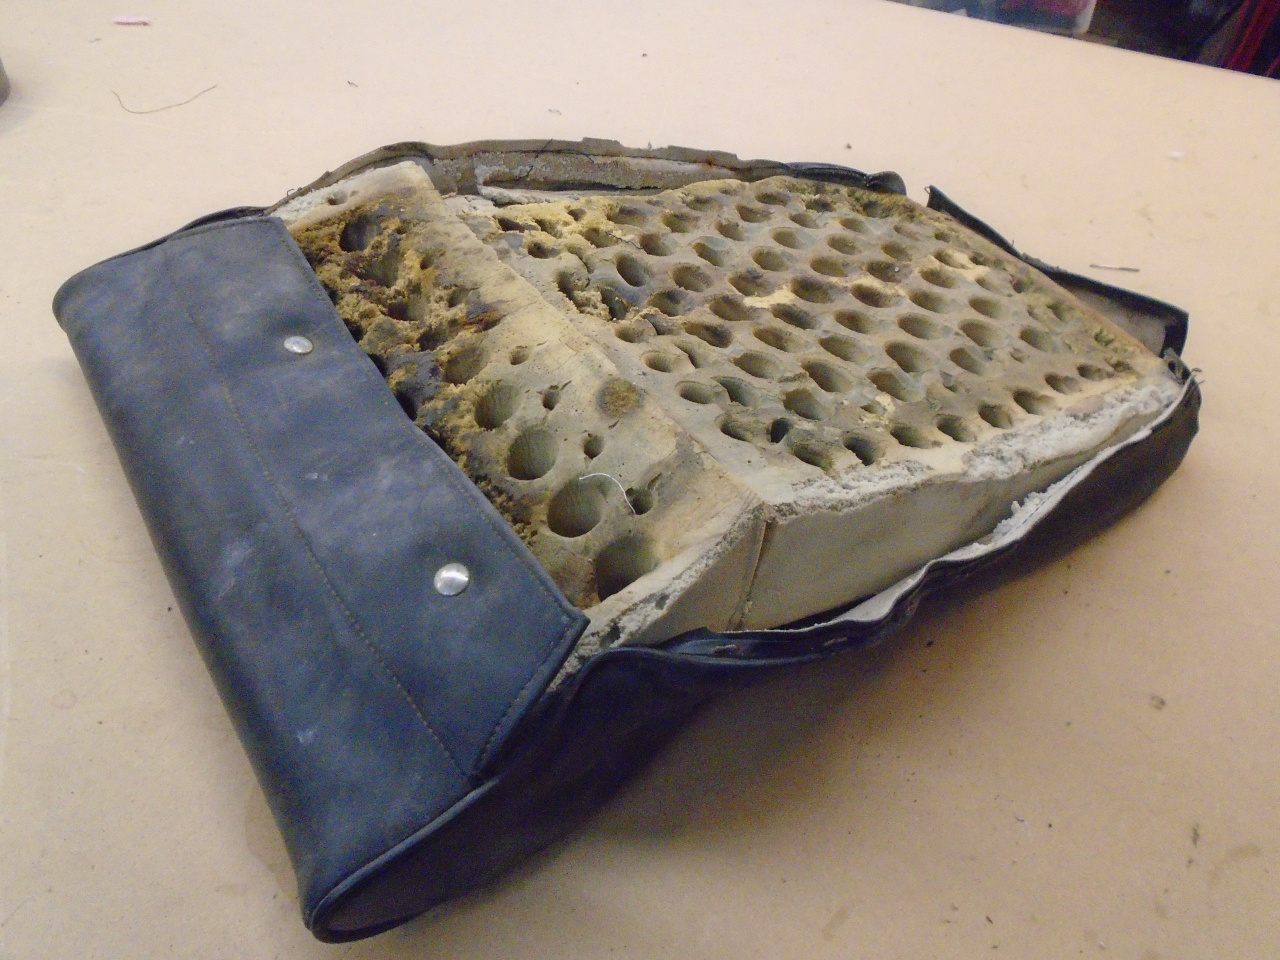
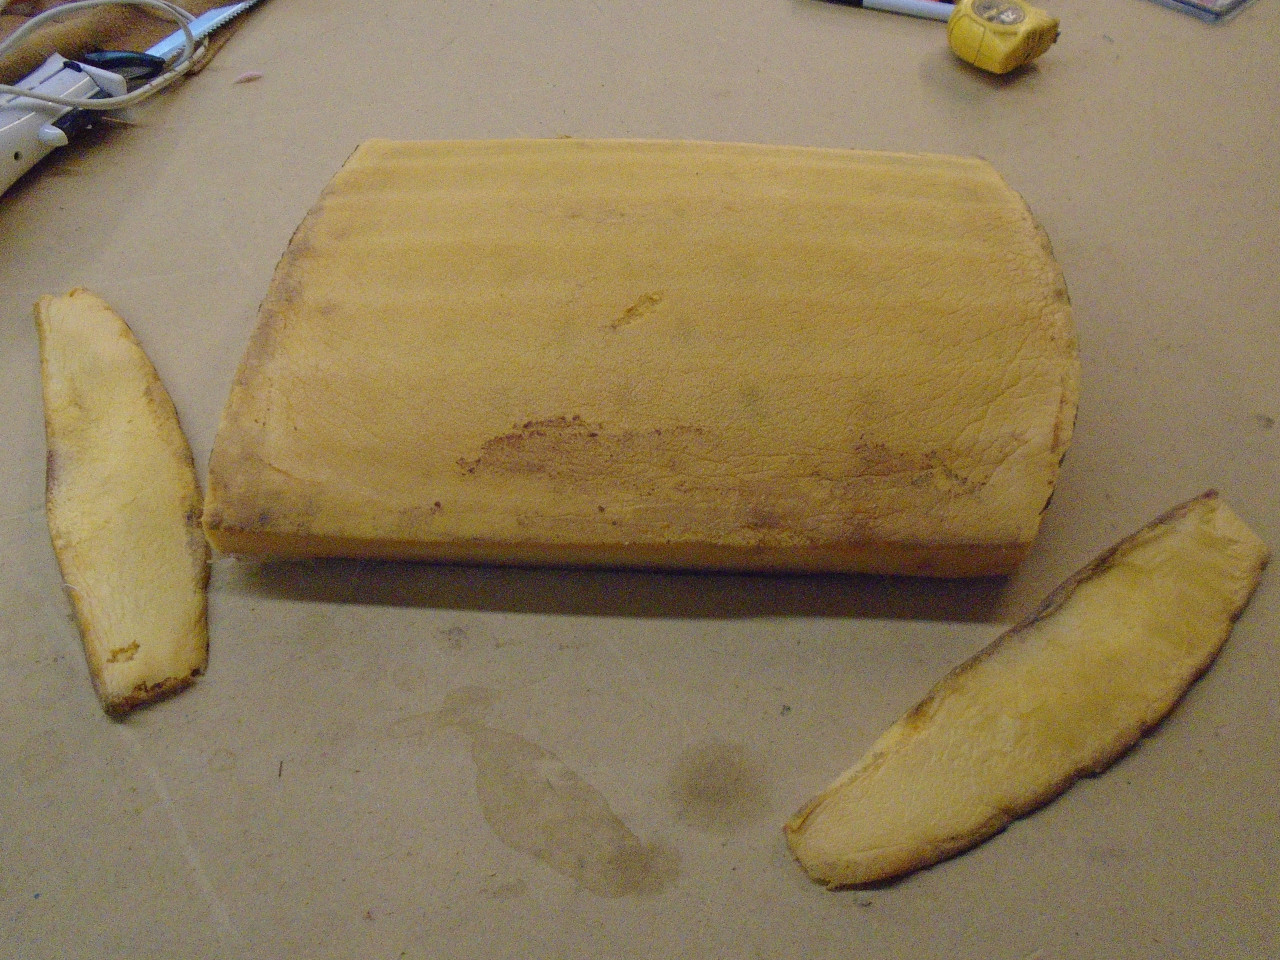
It also uses two foams, one under the pleated rear part of the cover,
and one under the front bolster. I believe these are latex
foams. For one, they have the holes on the undersides that are
characteristic of latex, and also, they feel much more "rubbery" than
the other conventional foams.
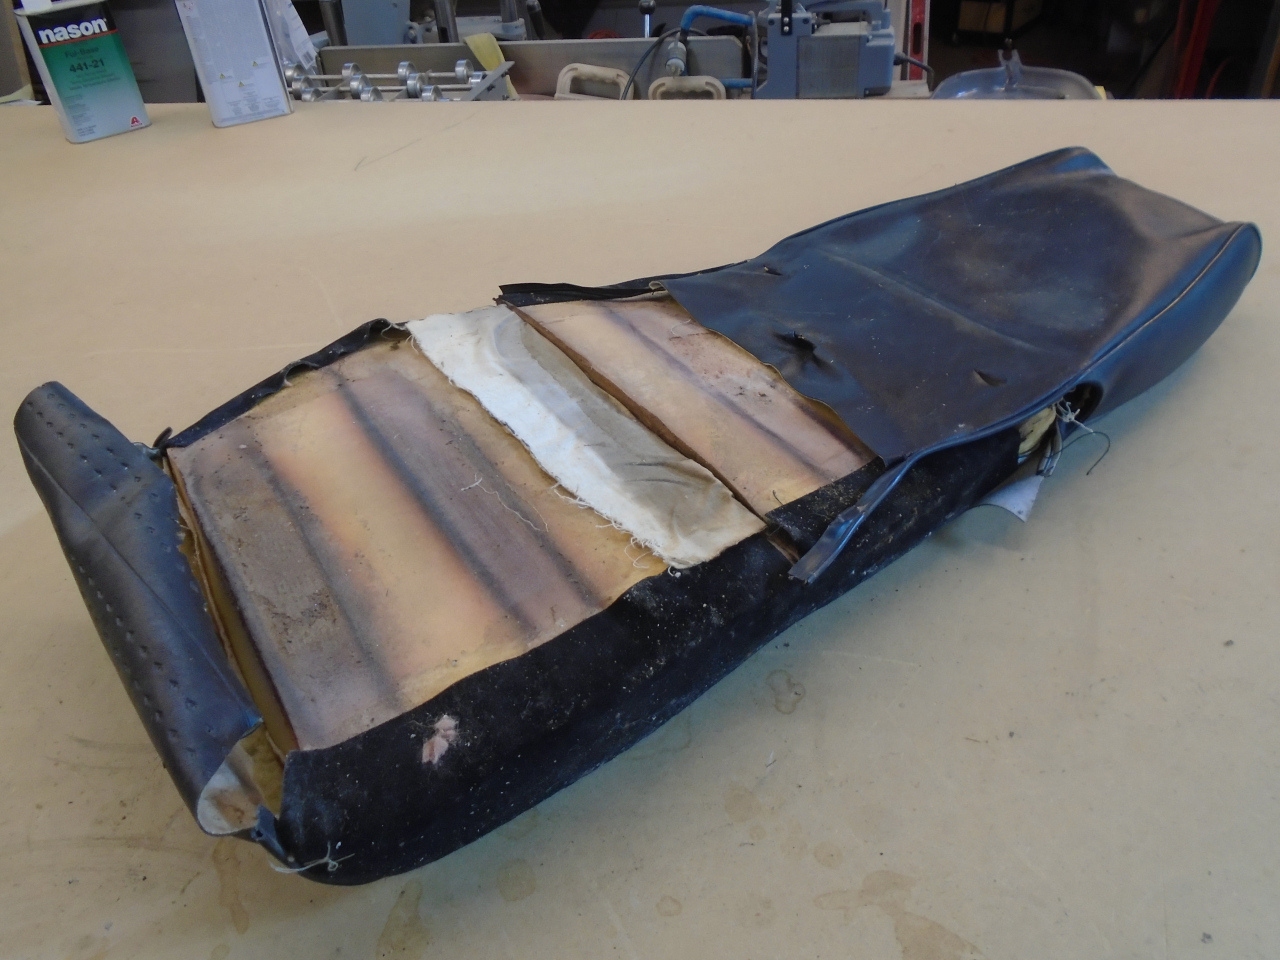
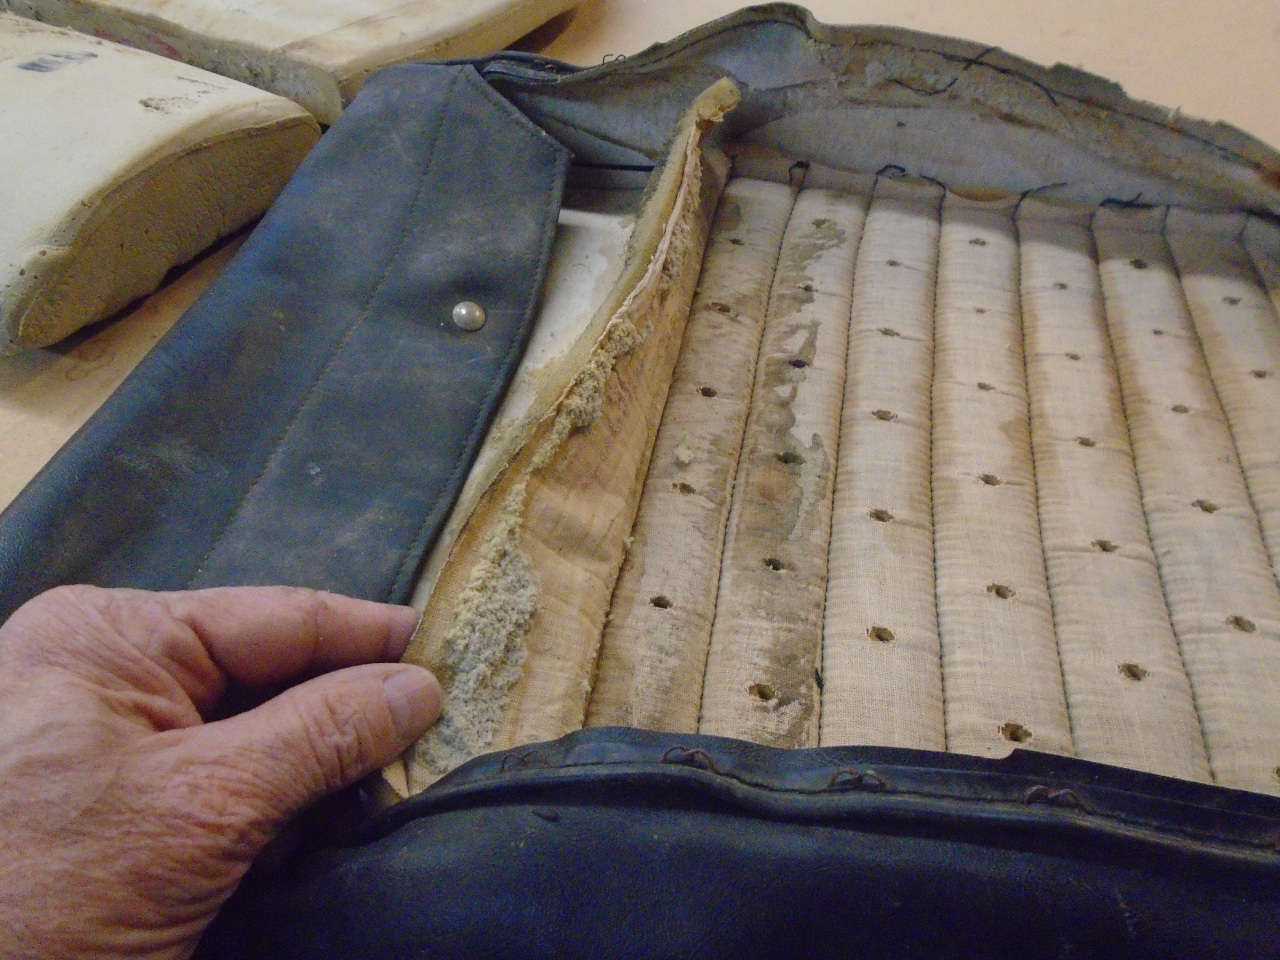
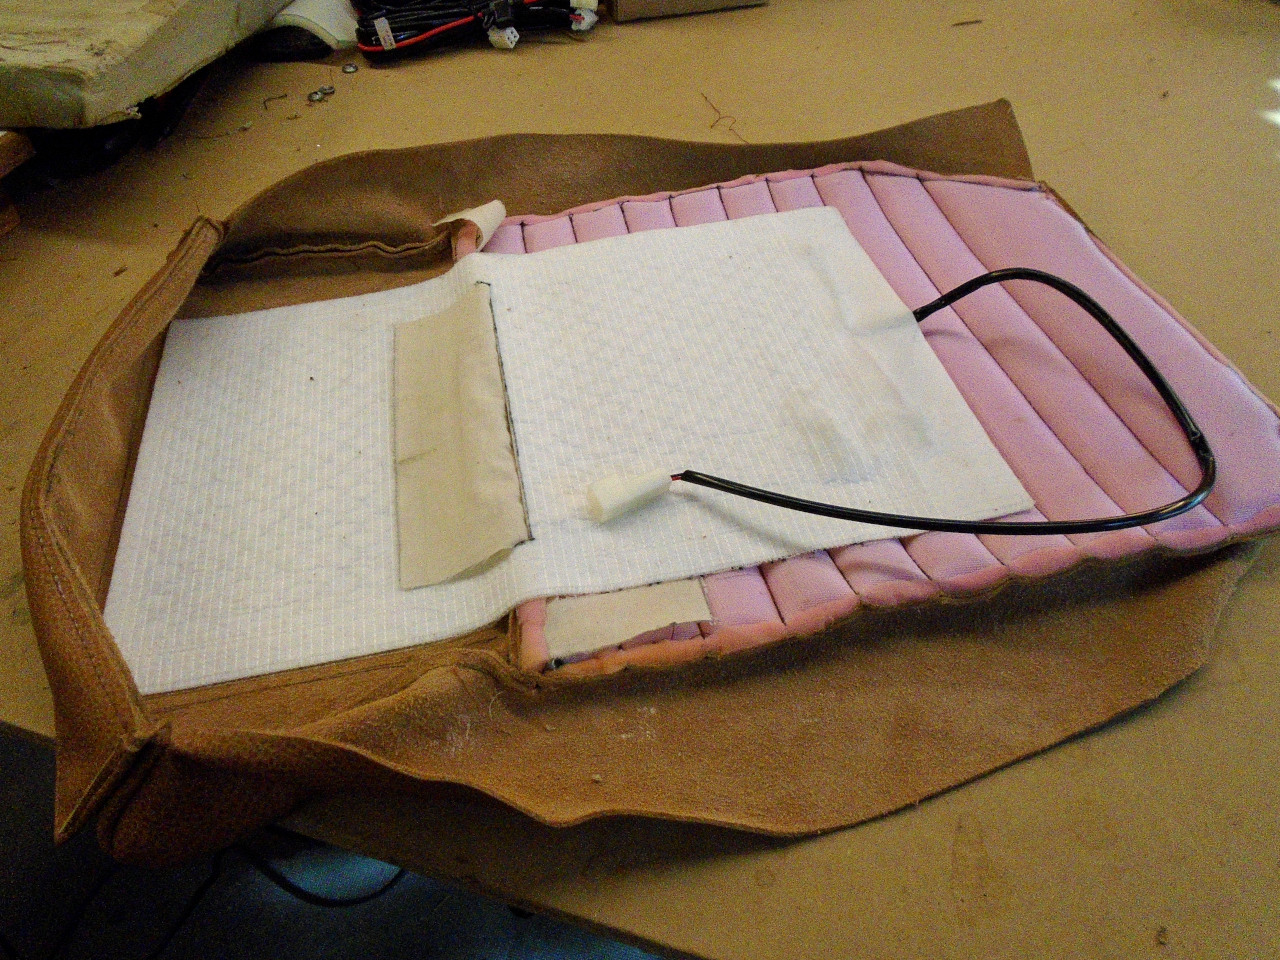
There is a tensioner that goes between he foams to pull the cover down at the rear of the bolster.
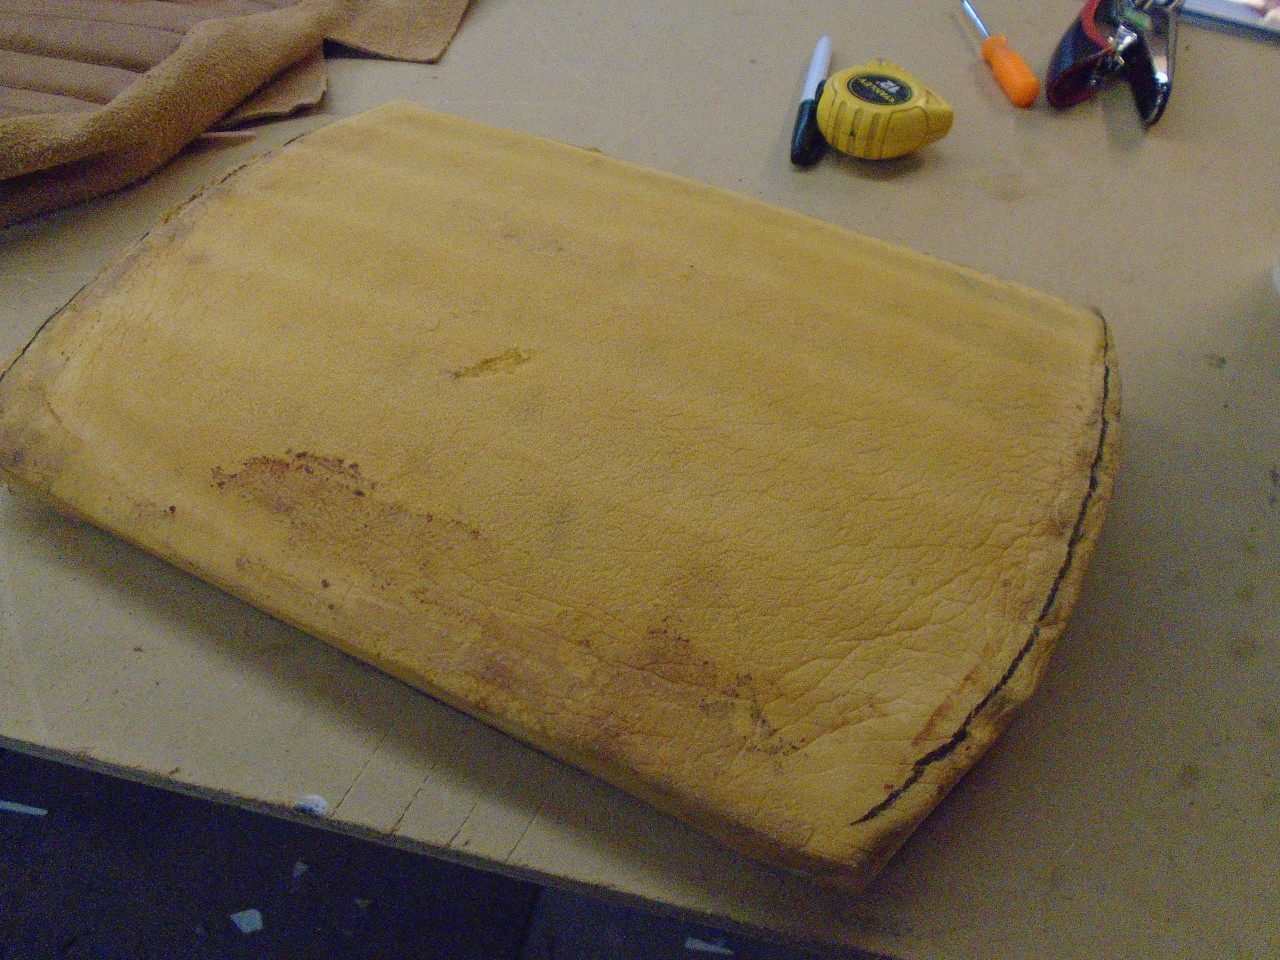
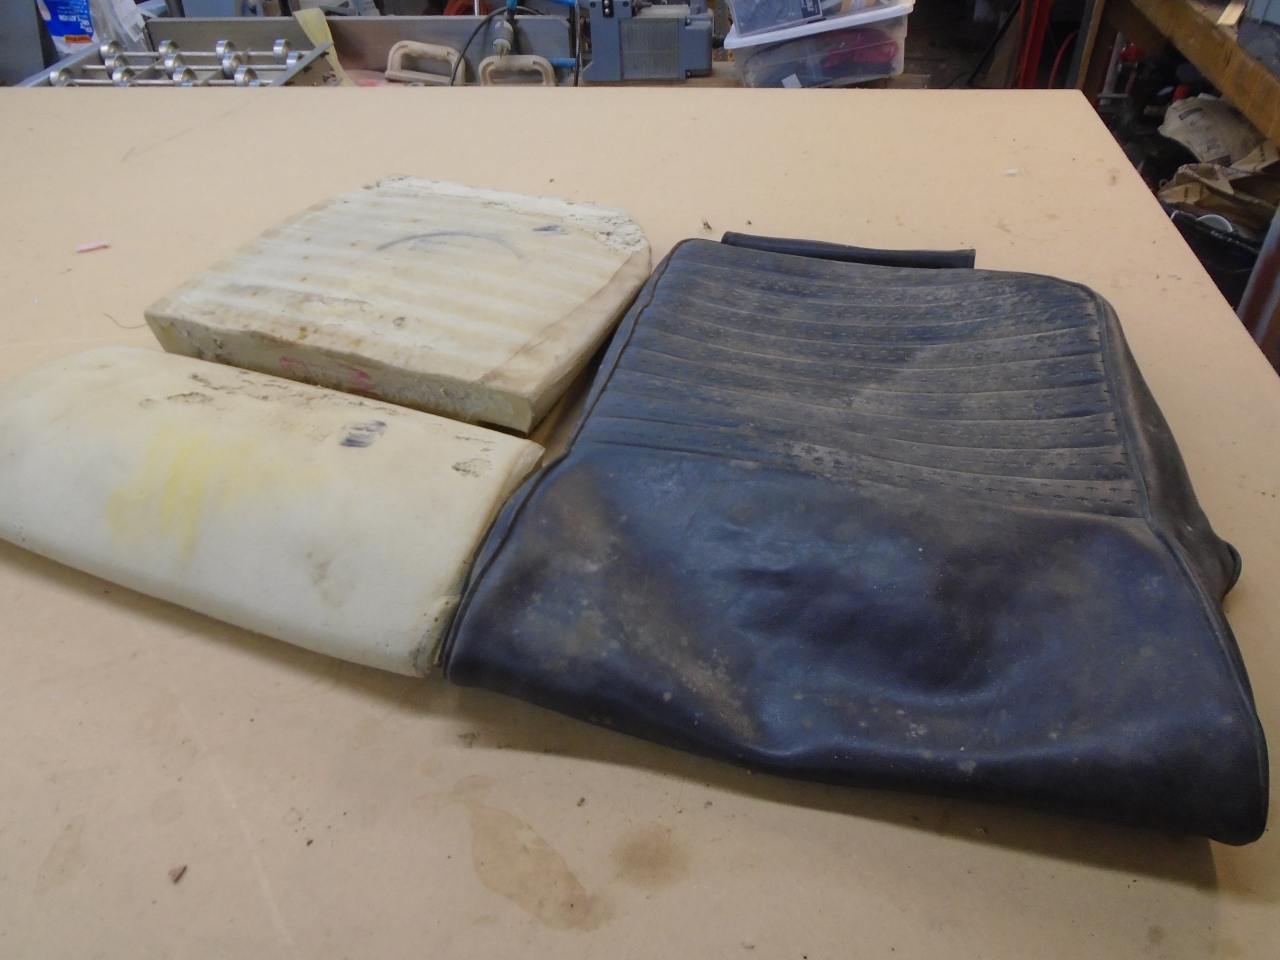
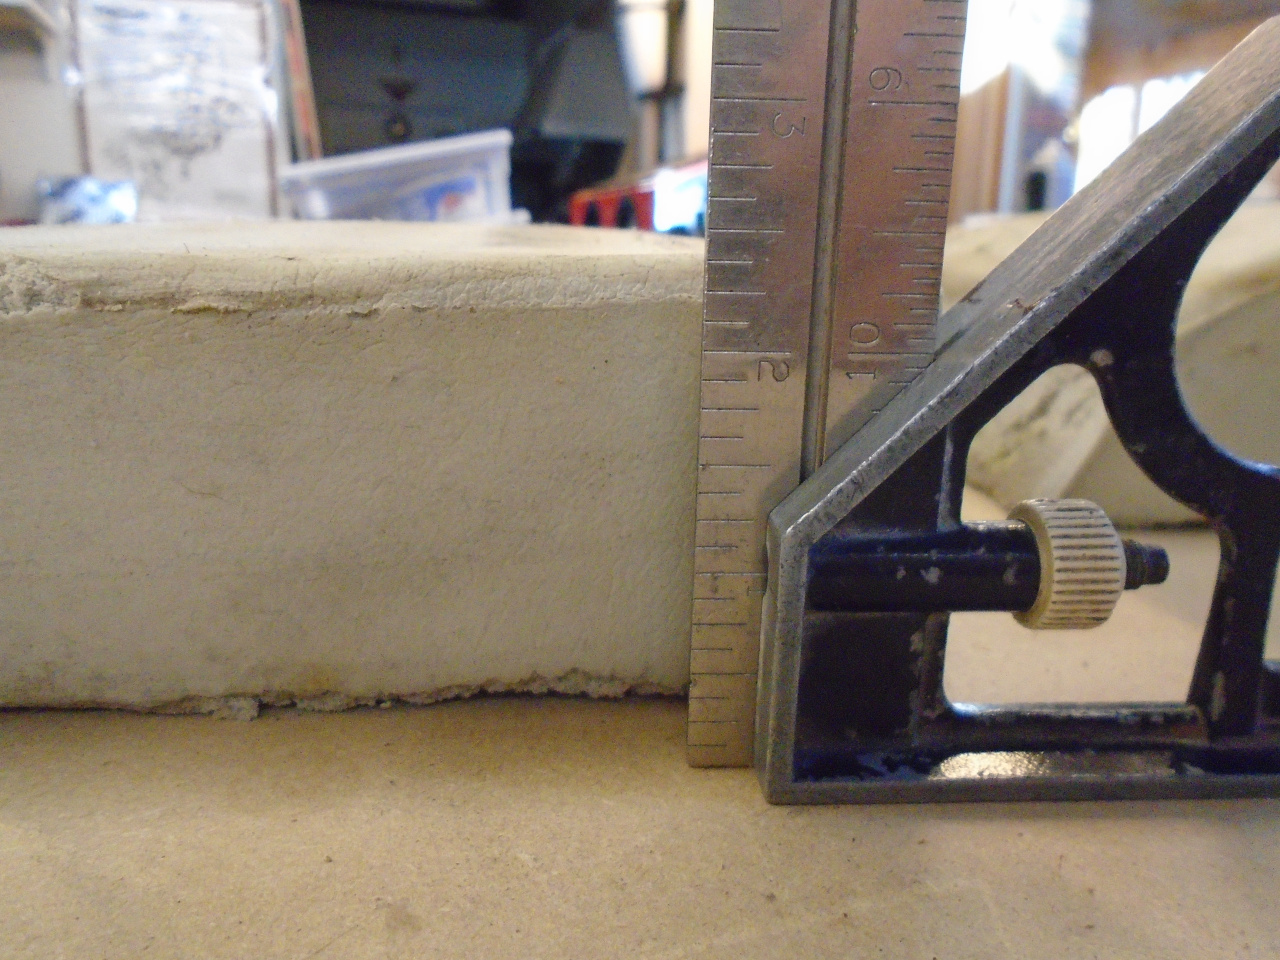
The seat foams looked a little worse than the seat back foams, with
maybe some water damage, but actually felt really good. They both
measured to full stock thickness.
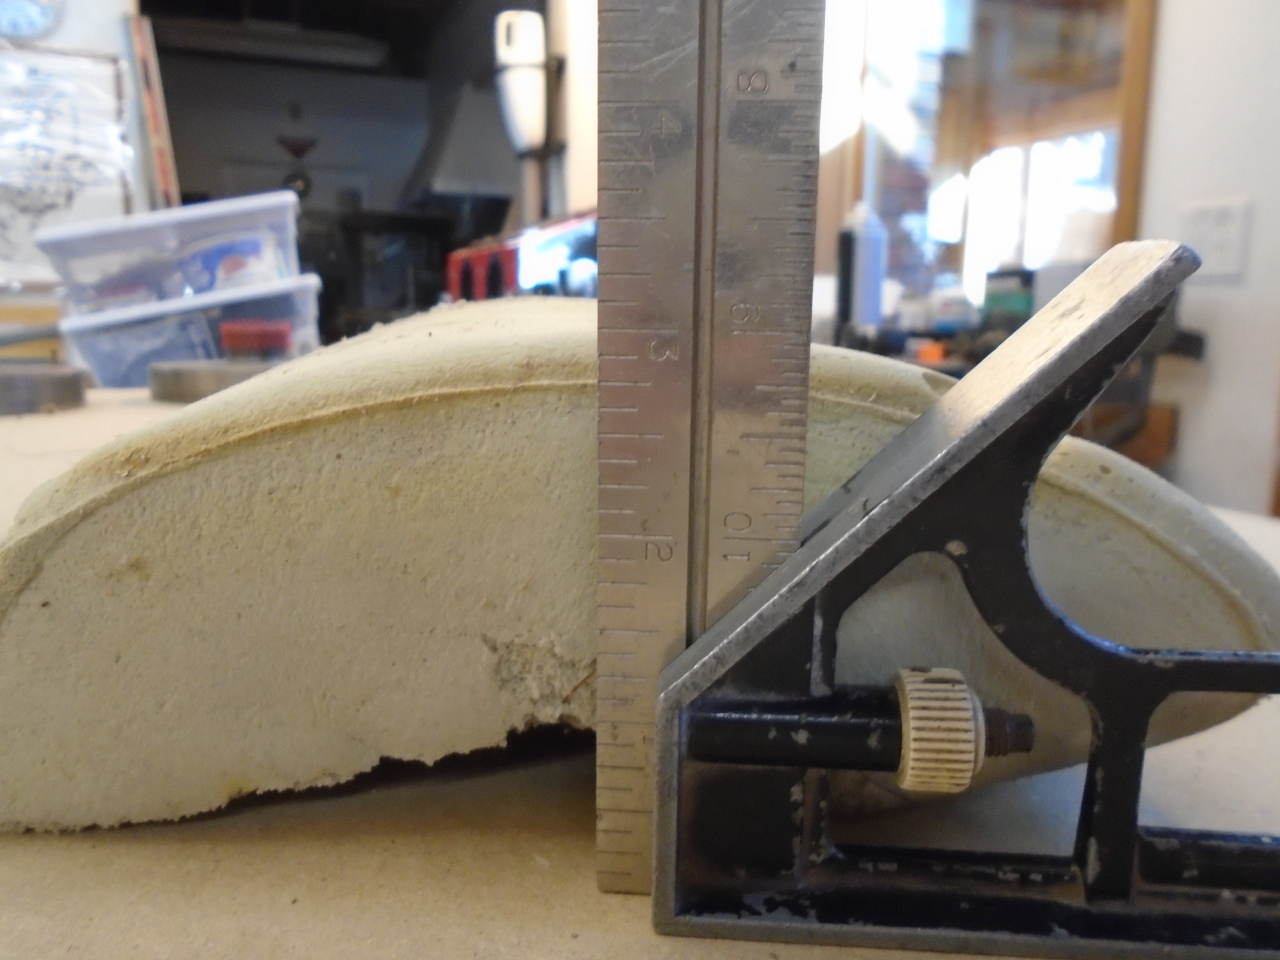
I did some minor repair to some of the damaged areas, and they seemed to still fit very well. I decided to reuse them.
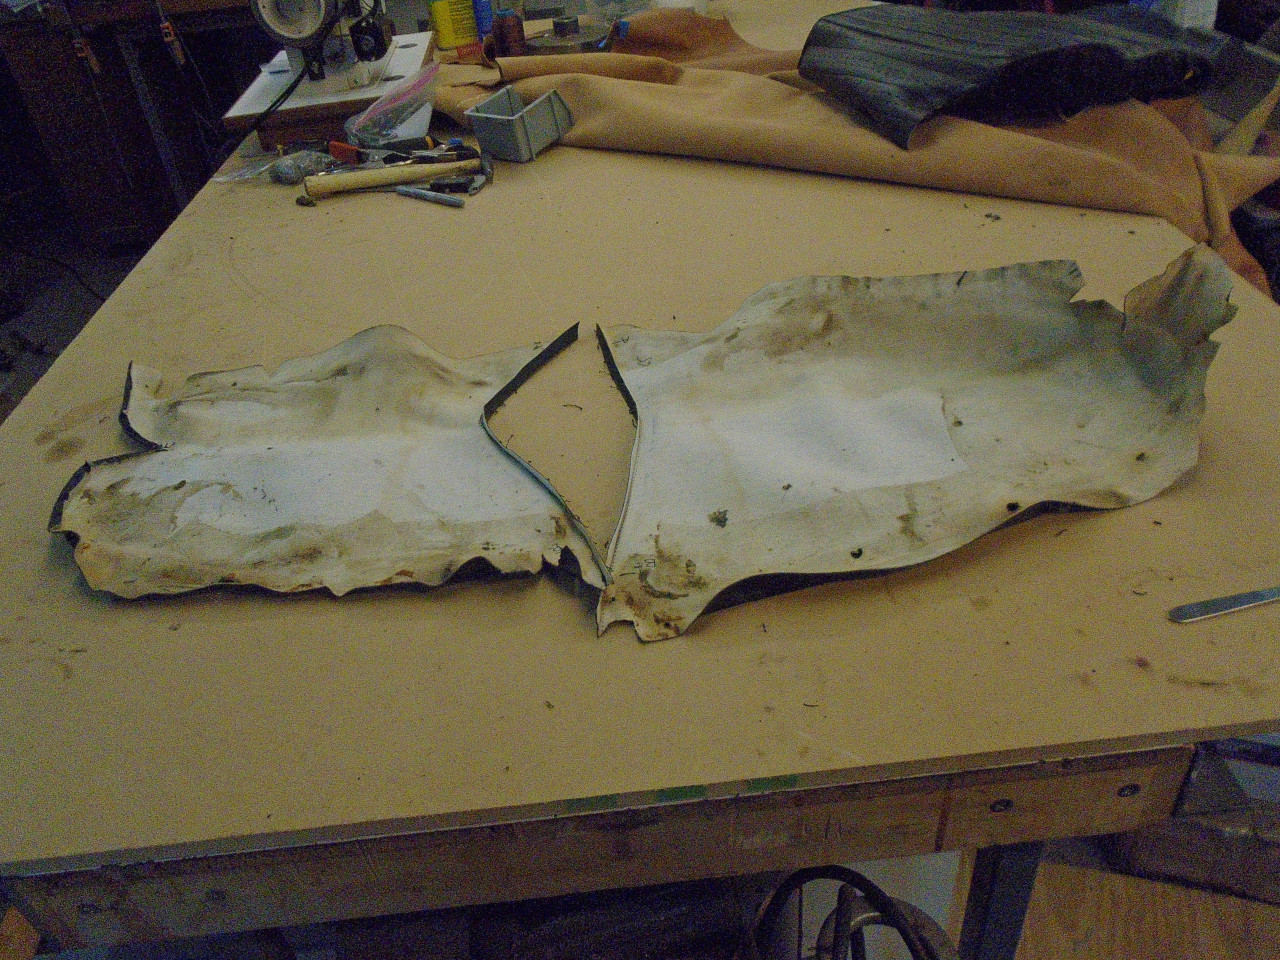
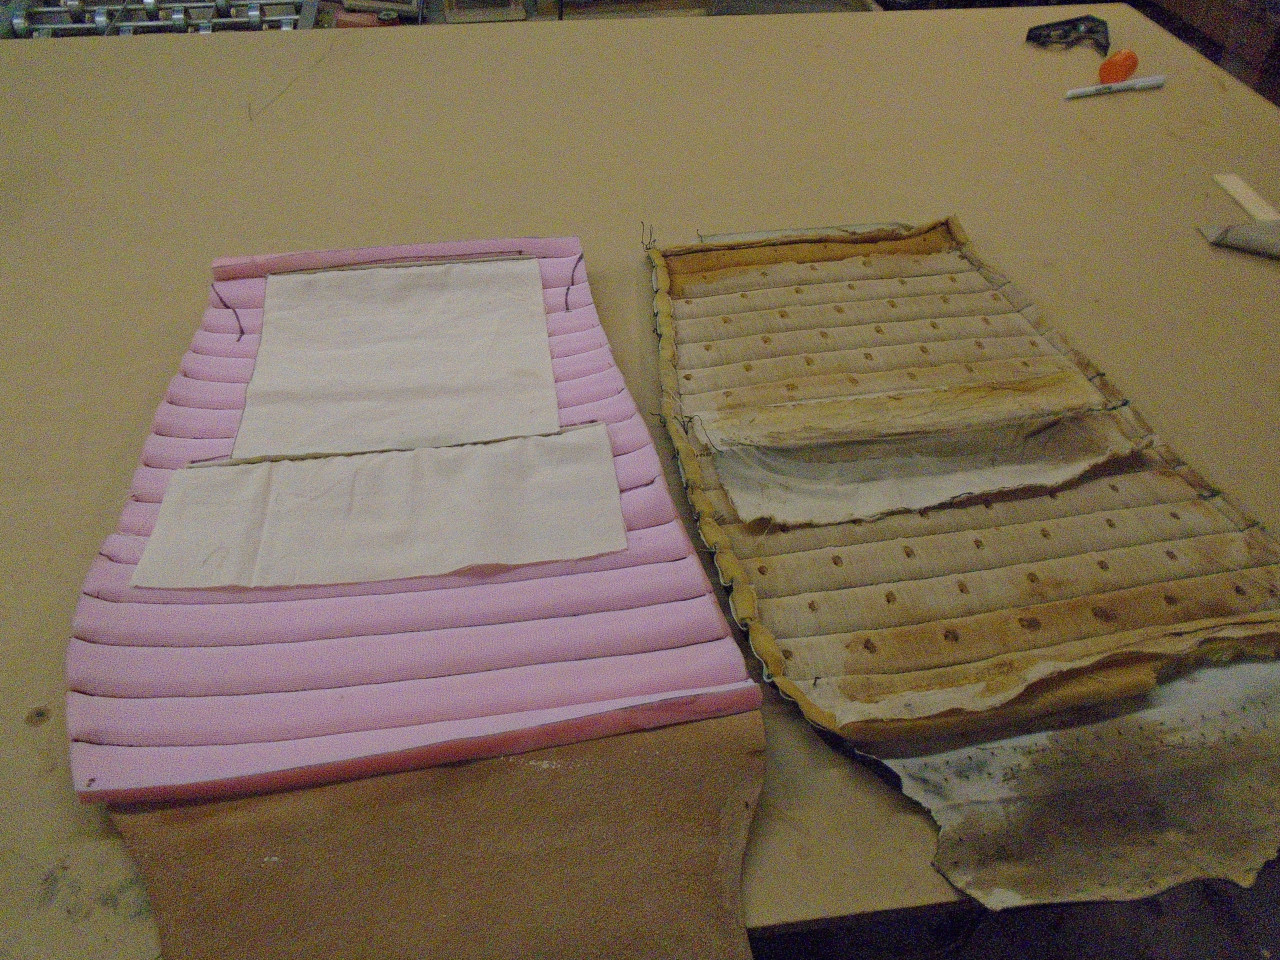
I disassembled the cover to get pieces for templates.
Cut the pieces out, pleated the top panel, and sewed on the sides.
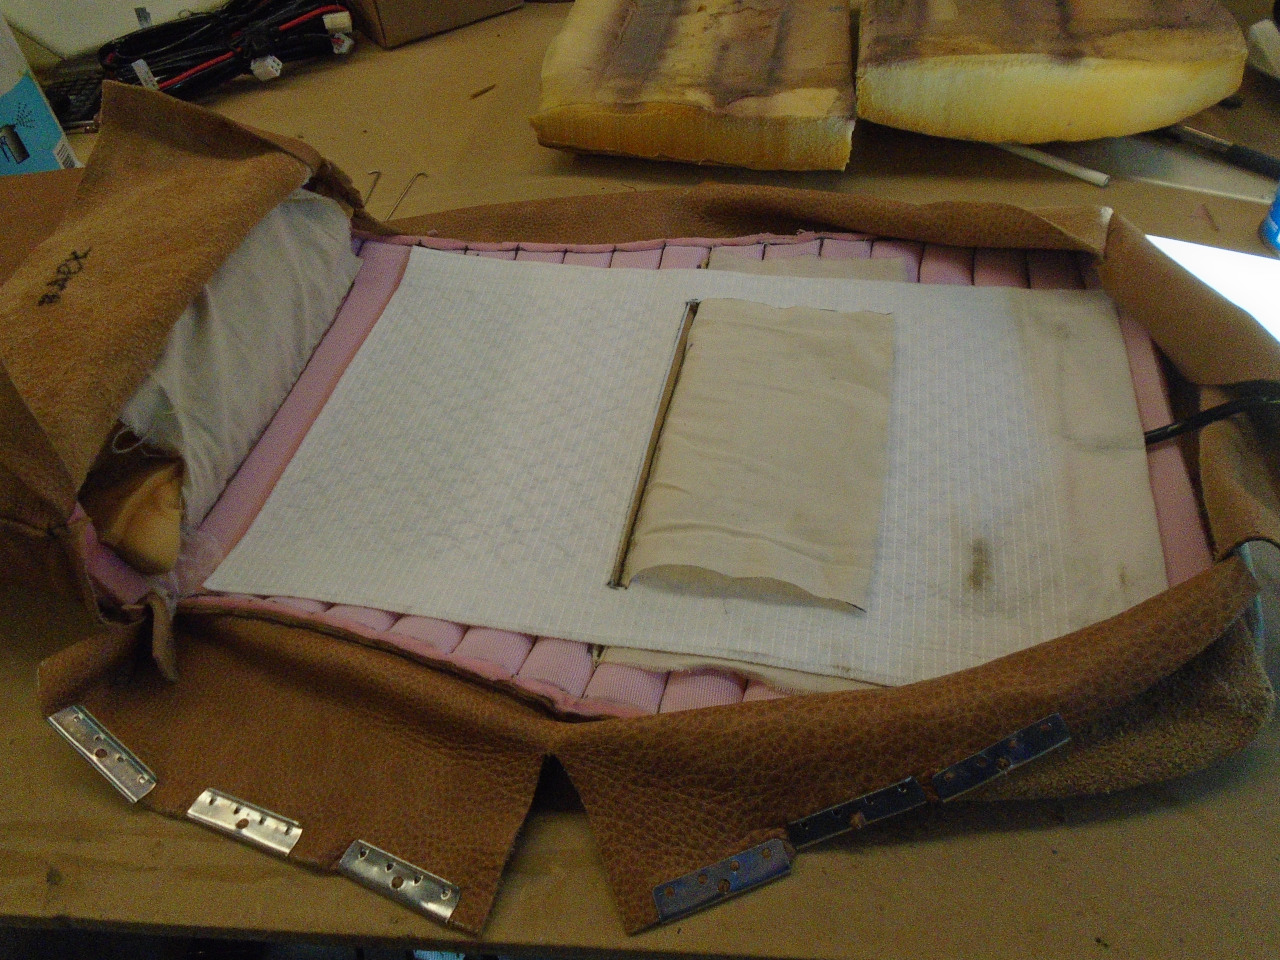
Installed the seat heater pad, just like for the seat back.
I wrapped the foams in muslin fort a better gluing surface, and closed 'er up.
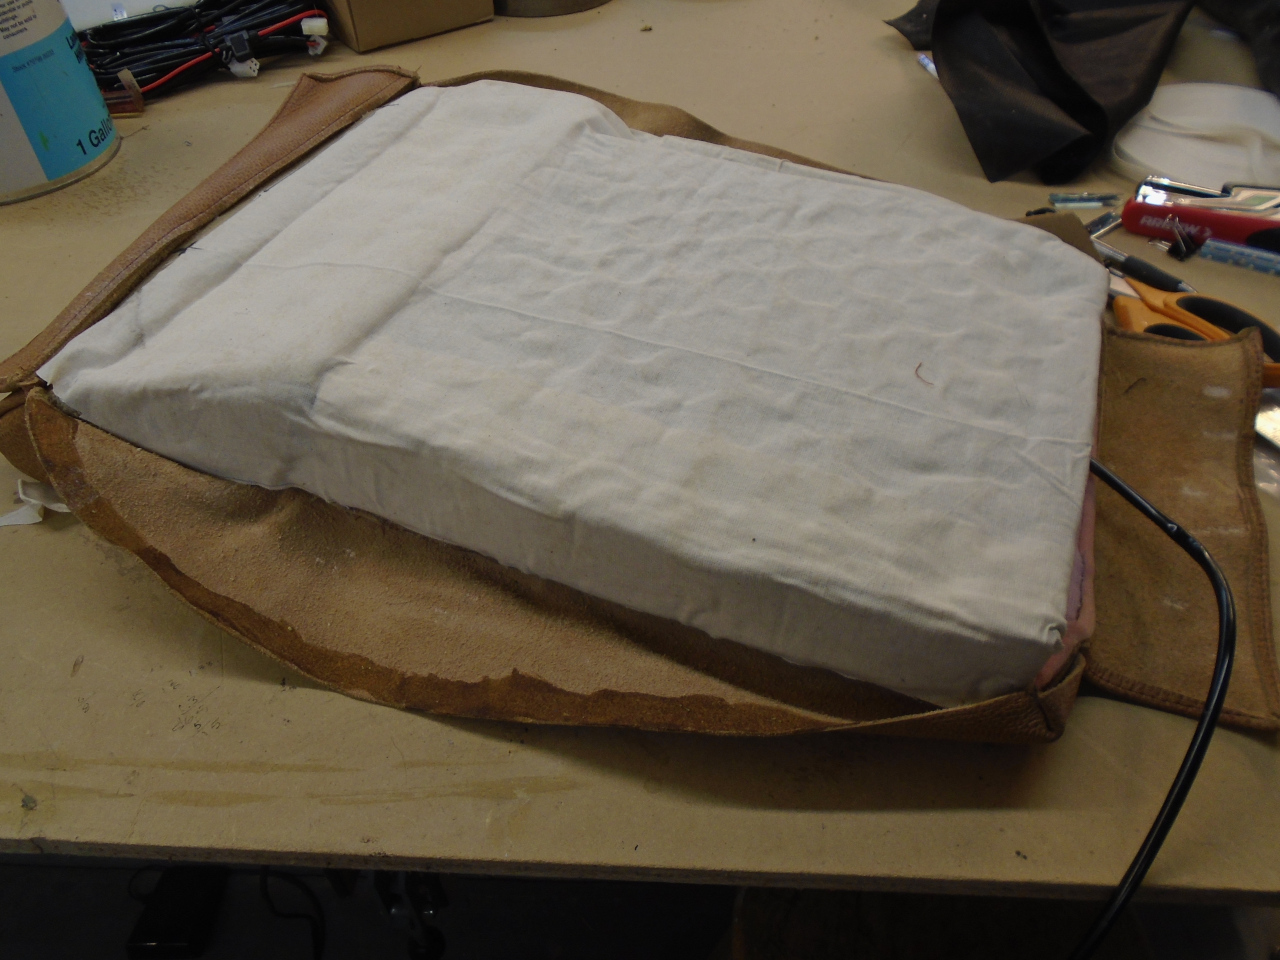
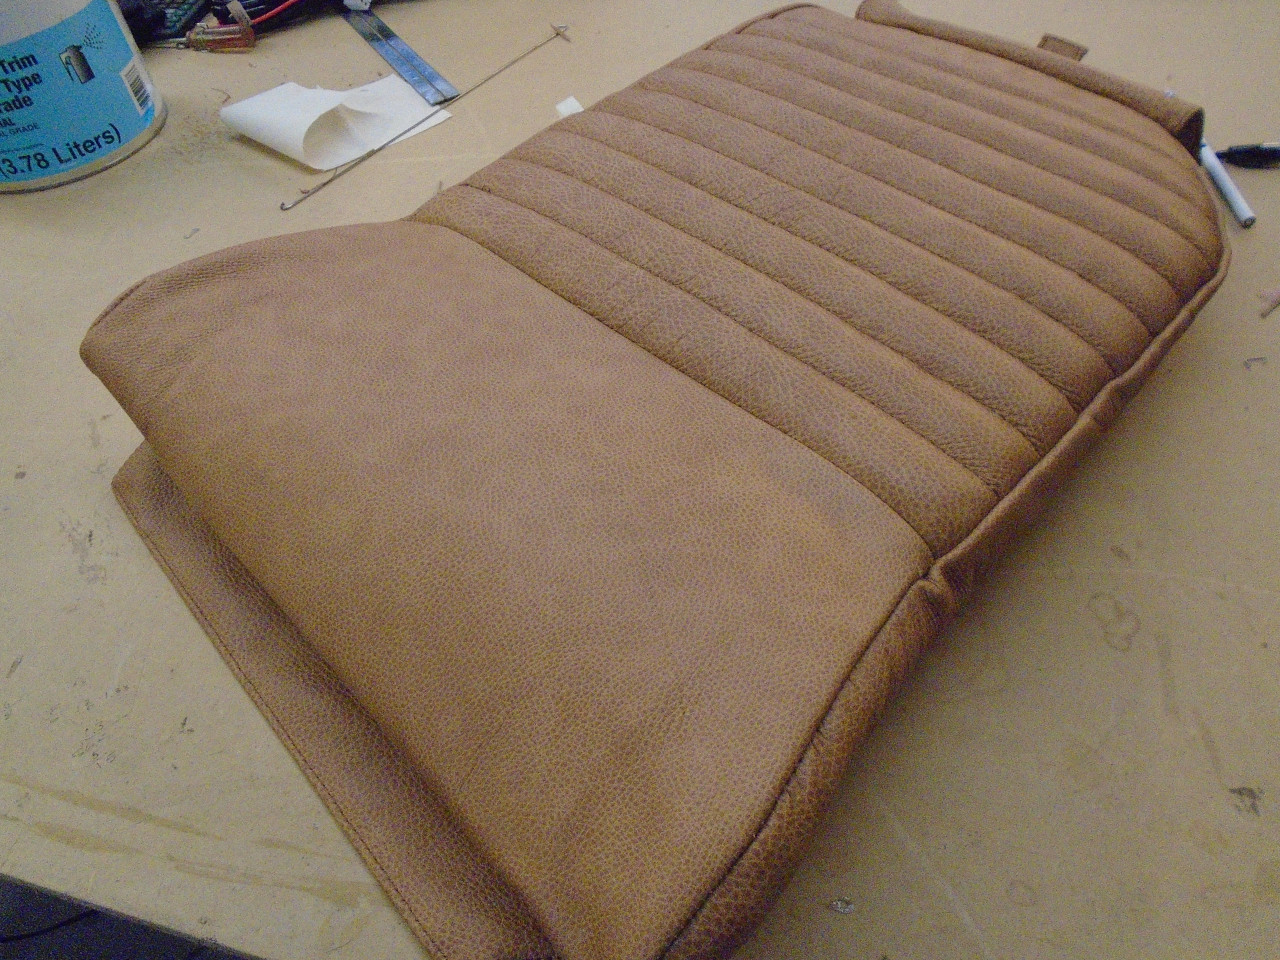
The two cushion assemblies ready for install.
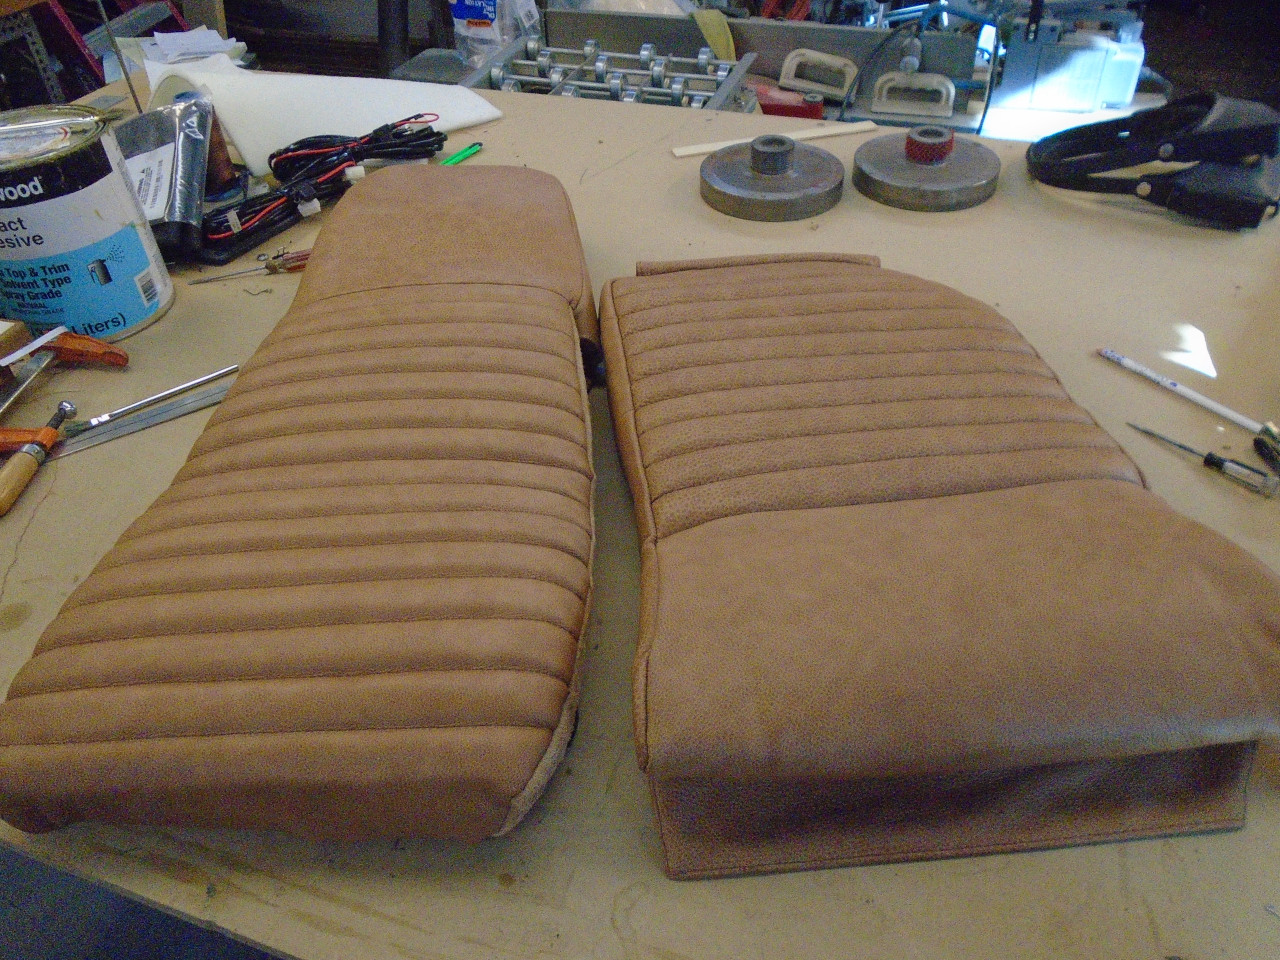
They seem to fit OK.
The last panel is the back. It was just a piece of flat hardboard covered with vinyl over 1/8" of foam.

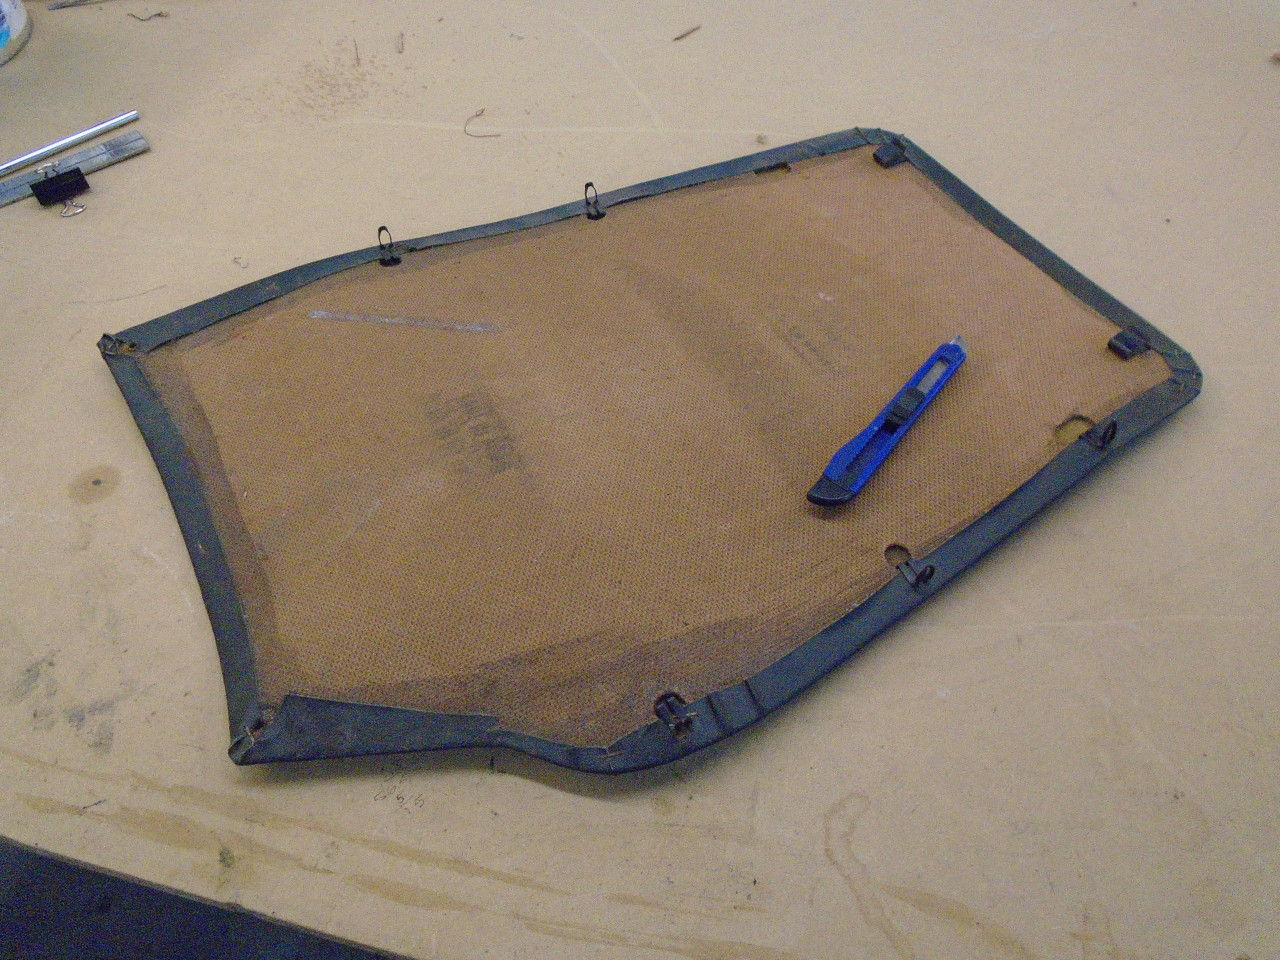
The board was water stsained, warped, and some of the fastener holes
were buggered up, so I made a new one. The original appeared to be
a nominal 2 mm material. I used 3 mm. Another upgrade!
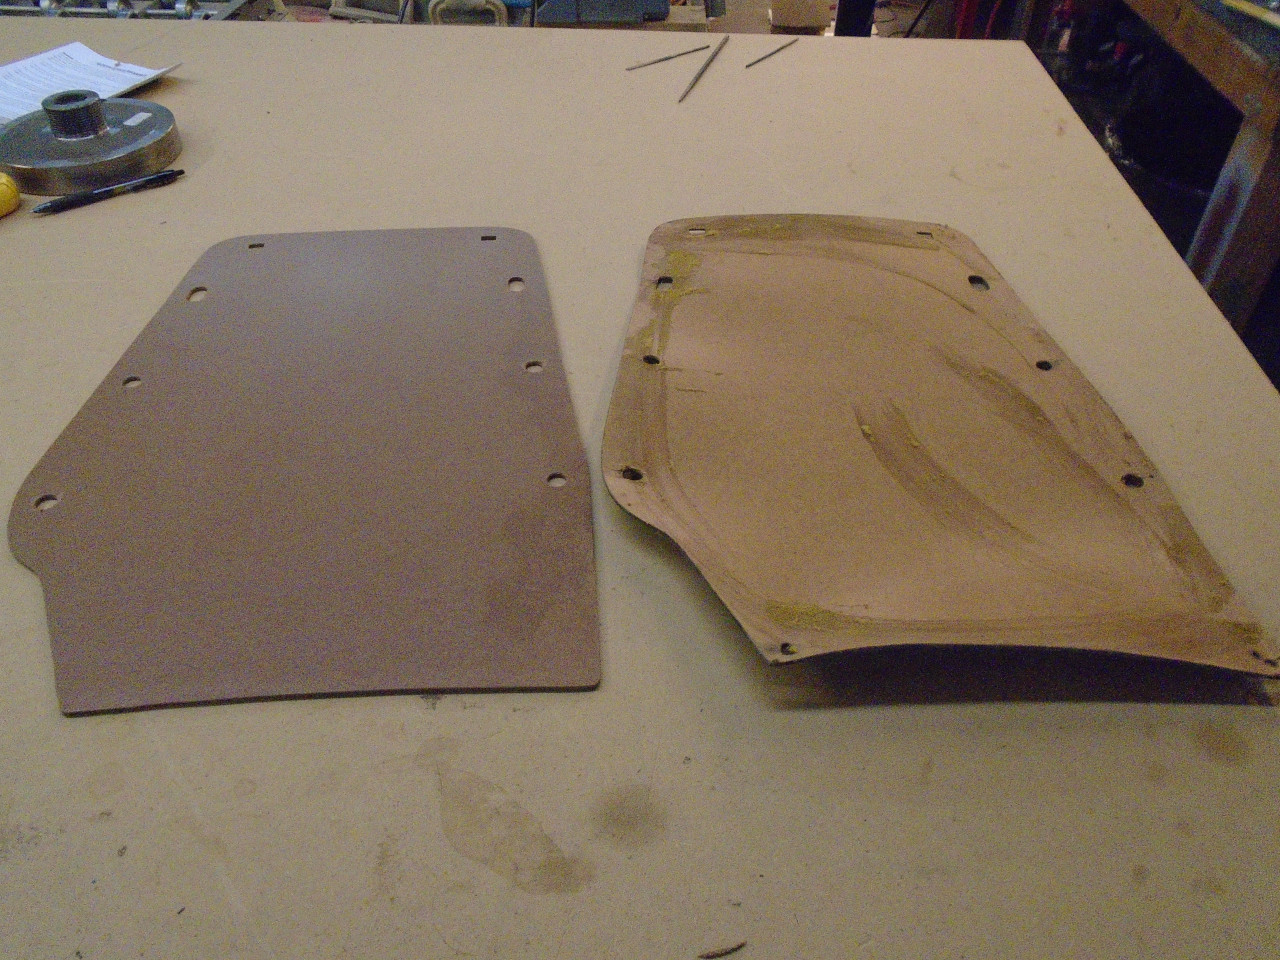
Covering the back panel was a comparative piece of cake. I used 1/4" foam. Yet another upgrade!
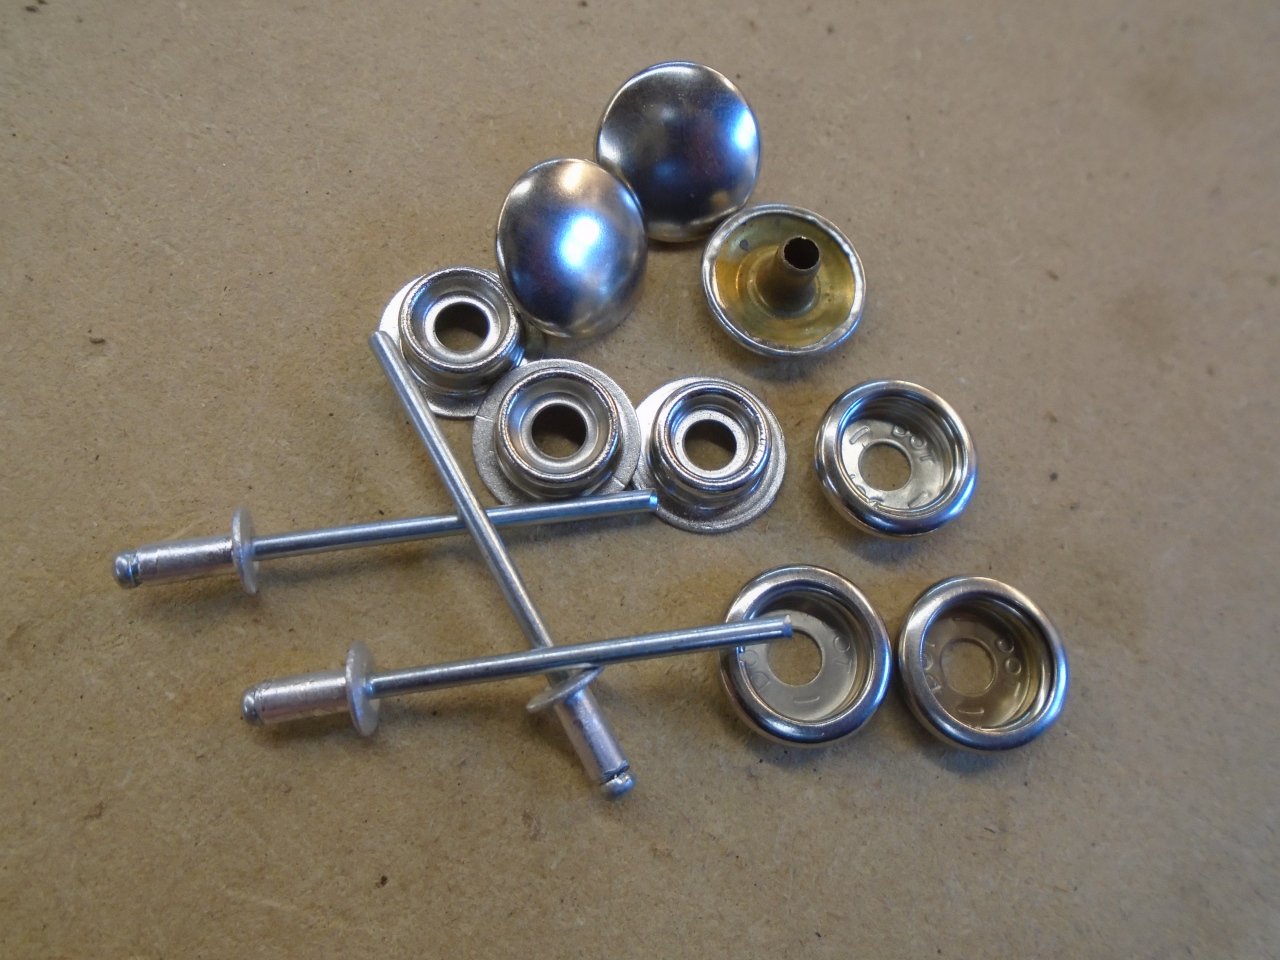
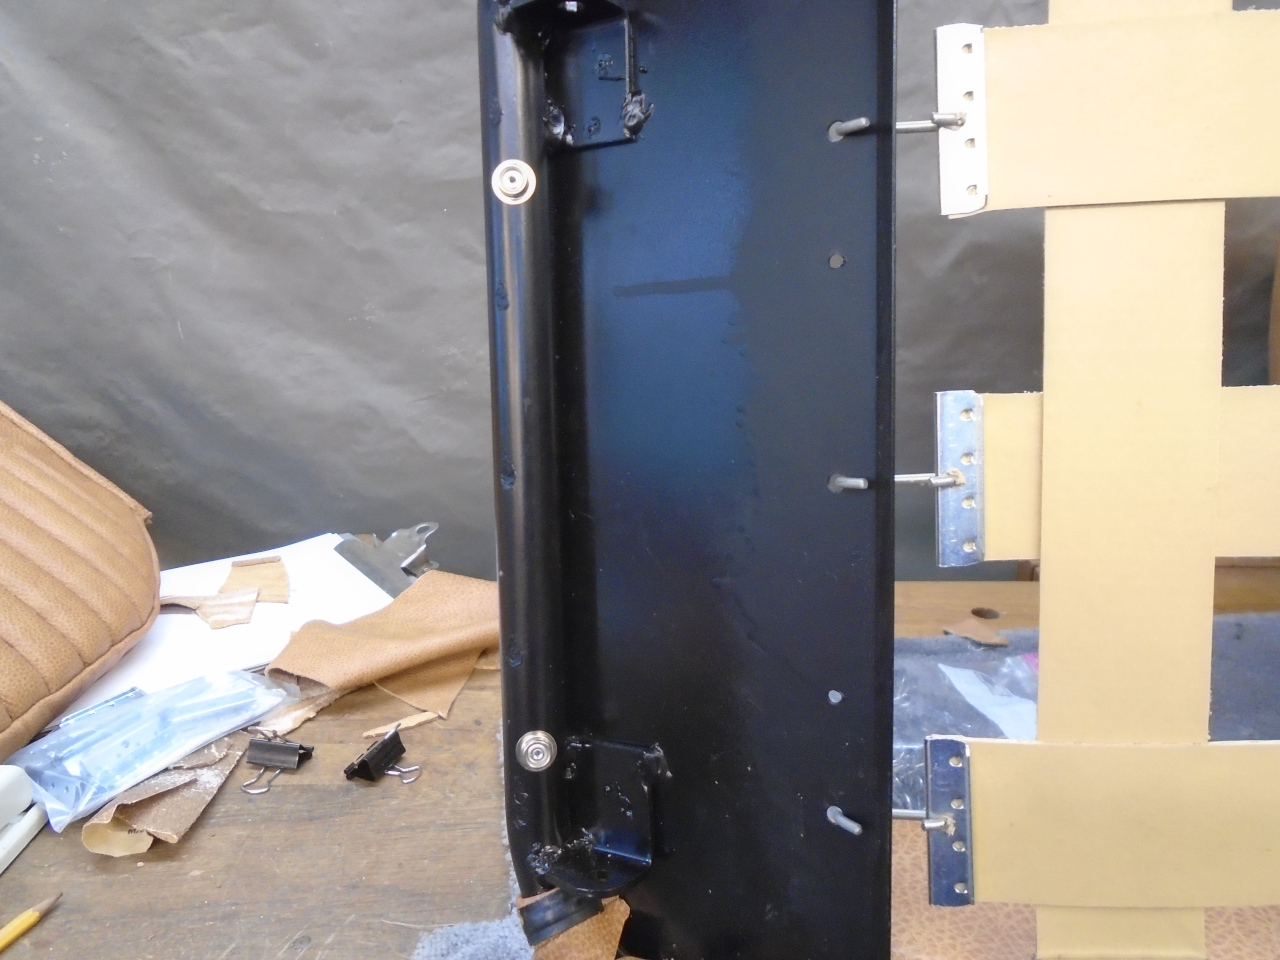
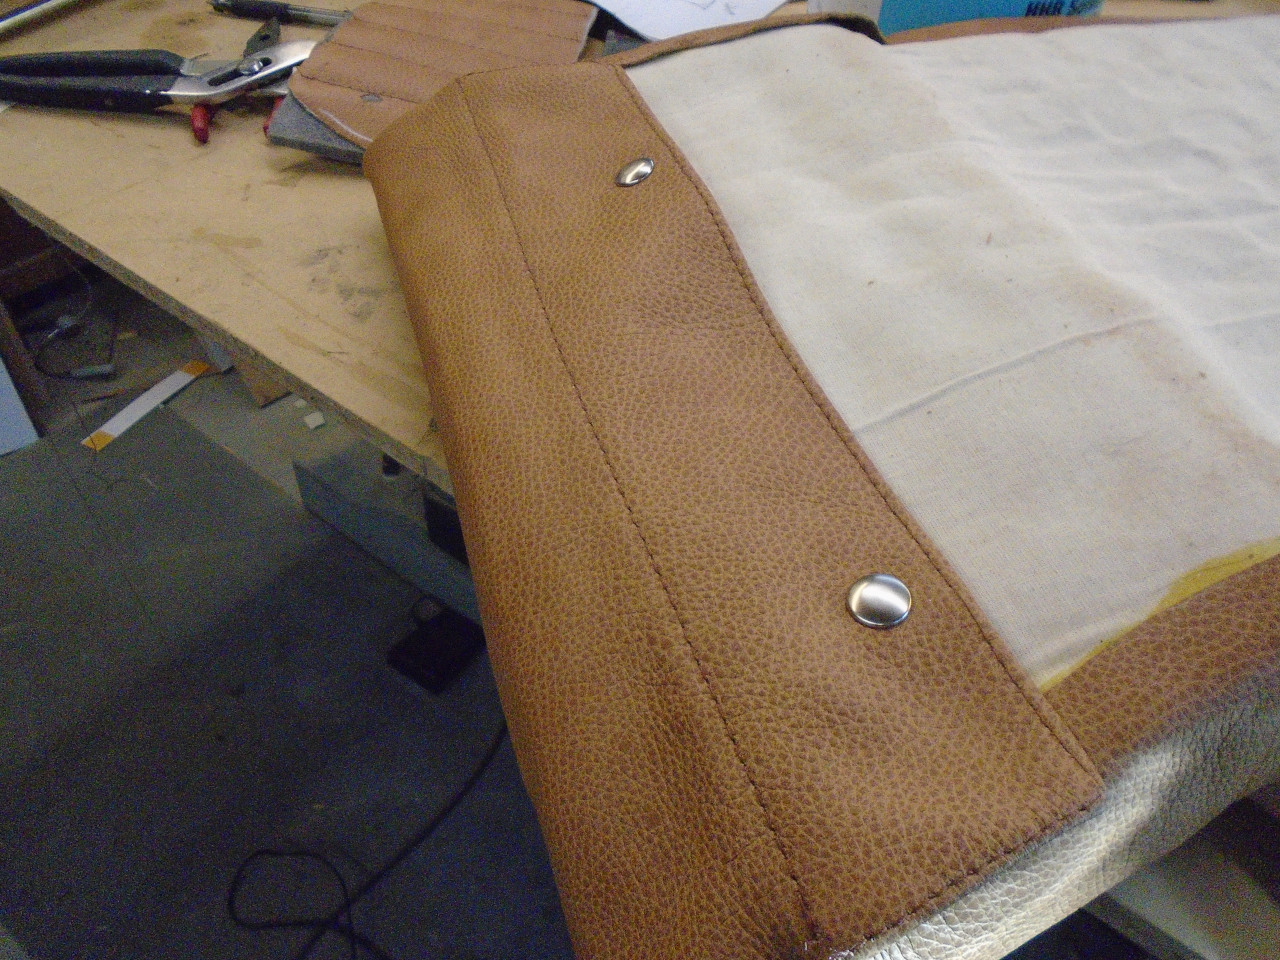
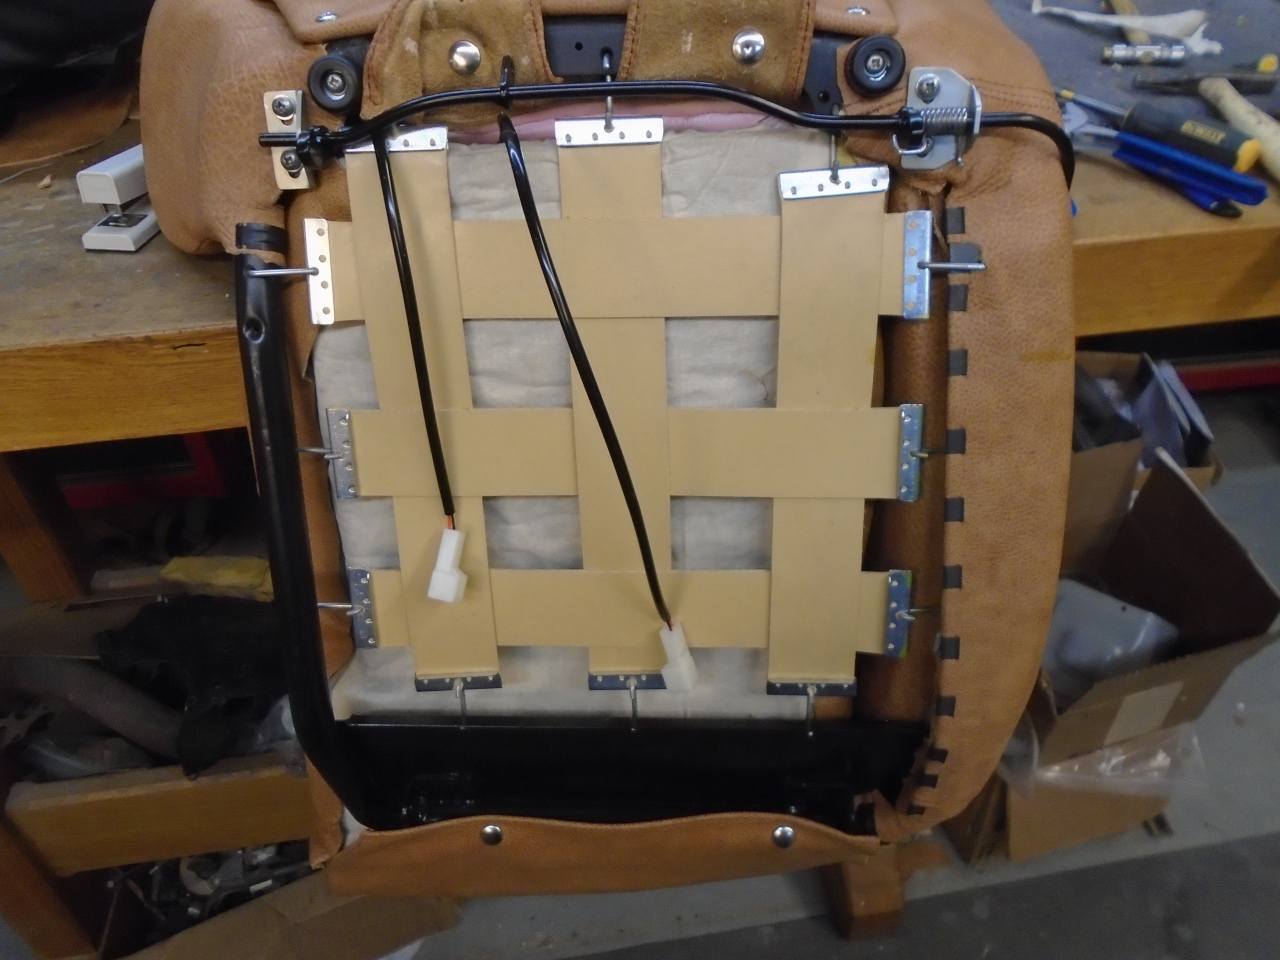
Some finishing touches. The bottom seat cushion is held in place
by snaps at the front and rear. The fastening at the rear had to
be improvised, since the middle Pirelli strap attachment
interfered with the original method. That's maybe why commercial
strap kits only have two front-to-back straps.
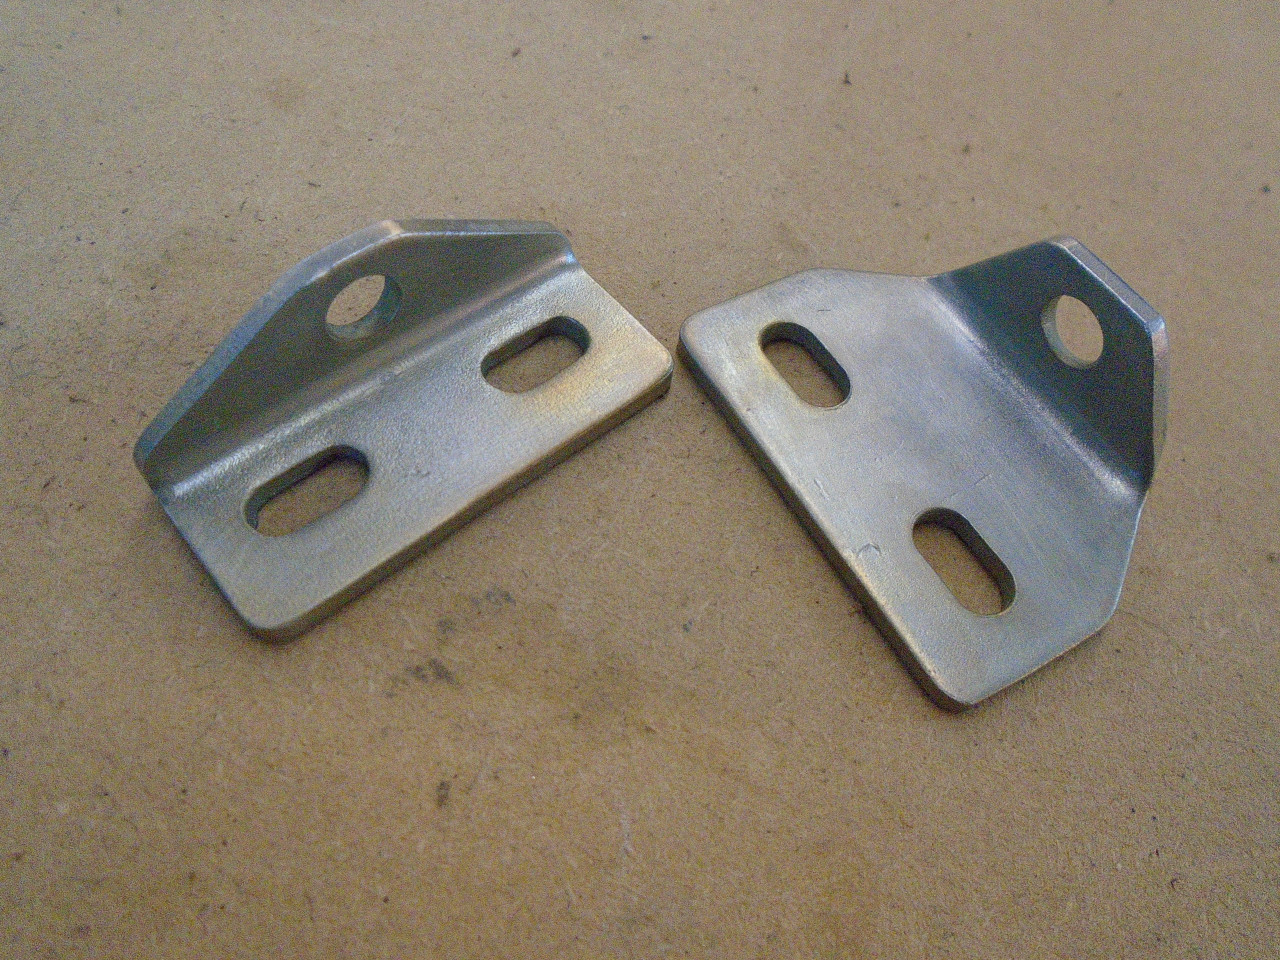
The seat latch parts. Replated the brackets, Powder coated the shaft.
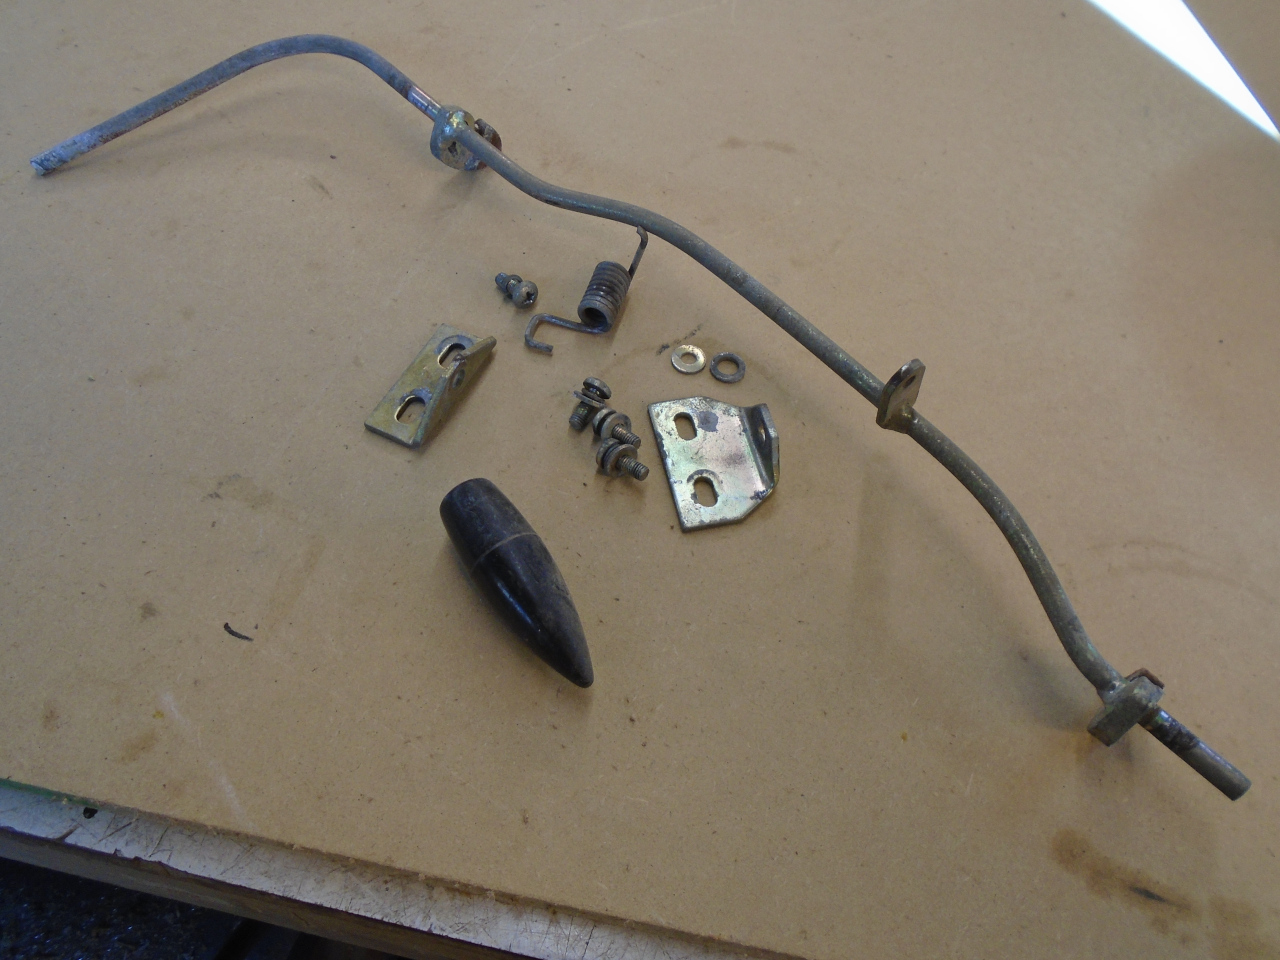
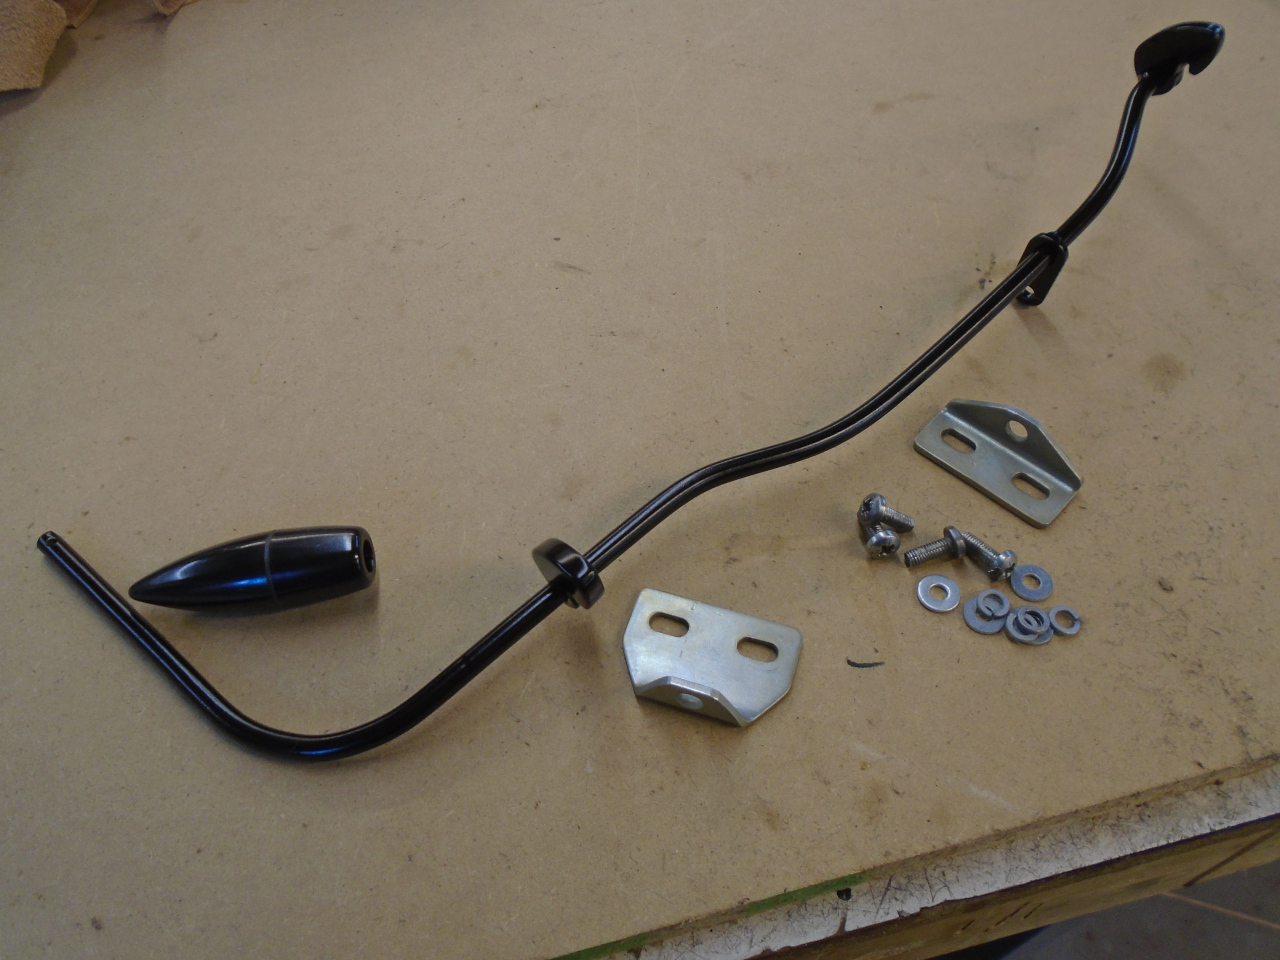
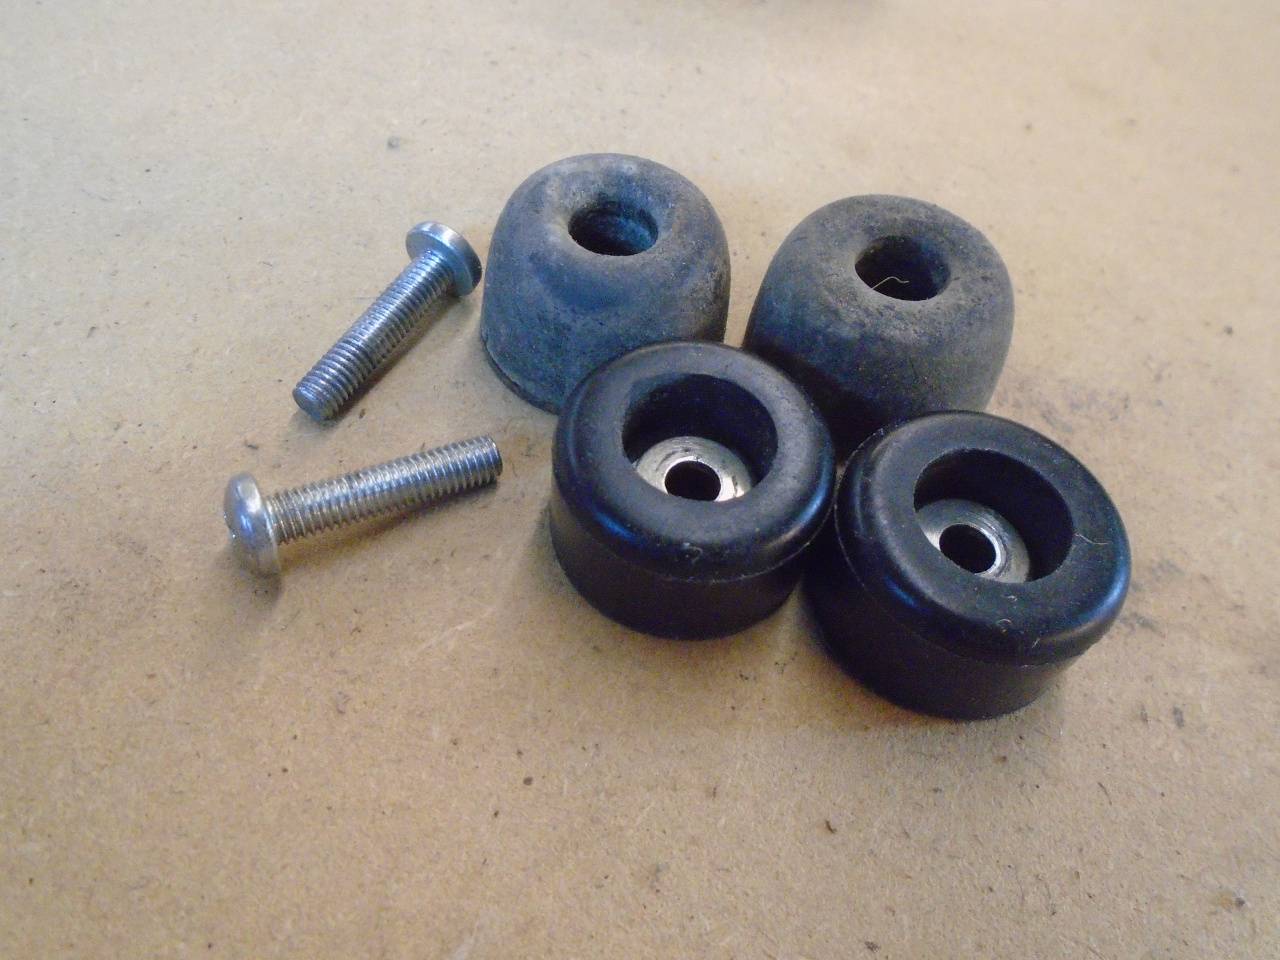
New bumpers similar to the hardened originals.
Here's what the seat bottom looks like with everything in place.
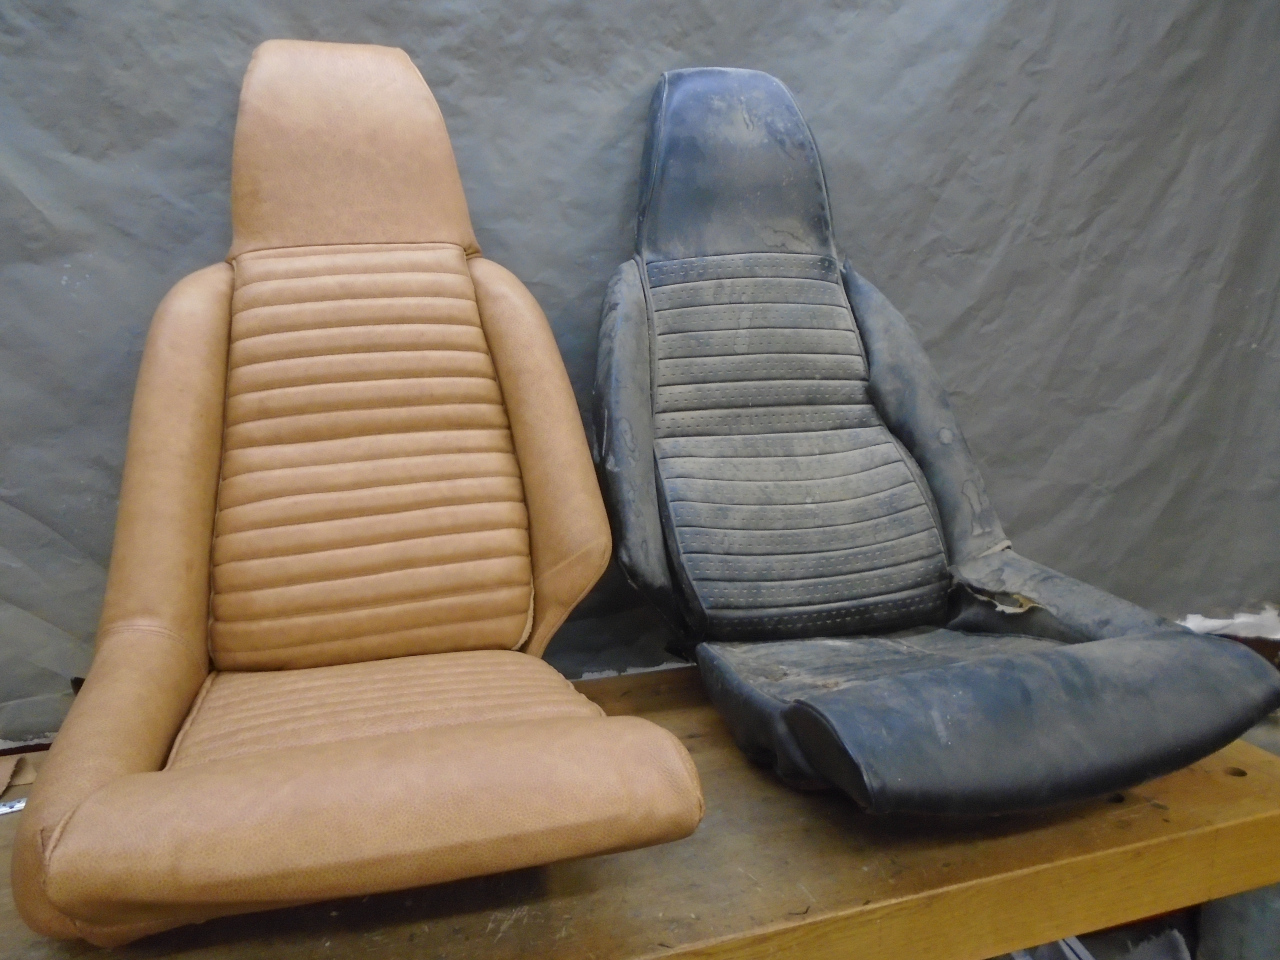
Old and new.
This was a long one, and sometimes it felt like one barely controlled
disaster after another. The result is not so bad, but I can point
to half a dozen cases of ineptitude. The other seat will likely be
better, but it will probably have to wait until spring when I can blast
the frame. Cost wasn't too bad. I have about 3/4 of a $200
hide in the seat, plus some incidentals.
Comments to Ed at elhollin1@yahoo.com
To my other GT6 pages