To my other GT6 pages
September 6, 2019
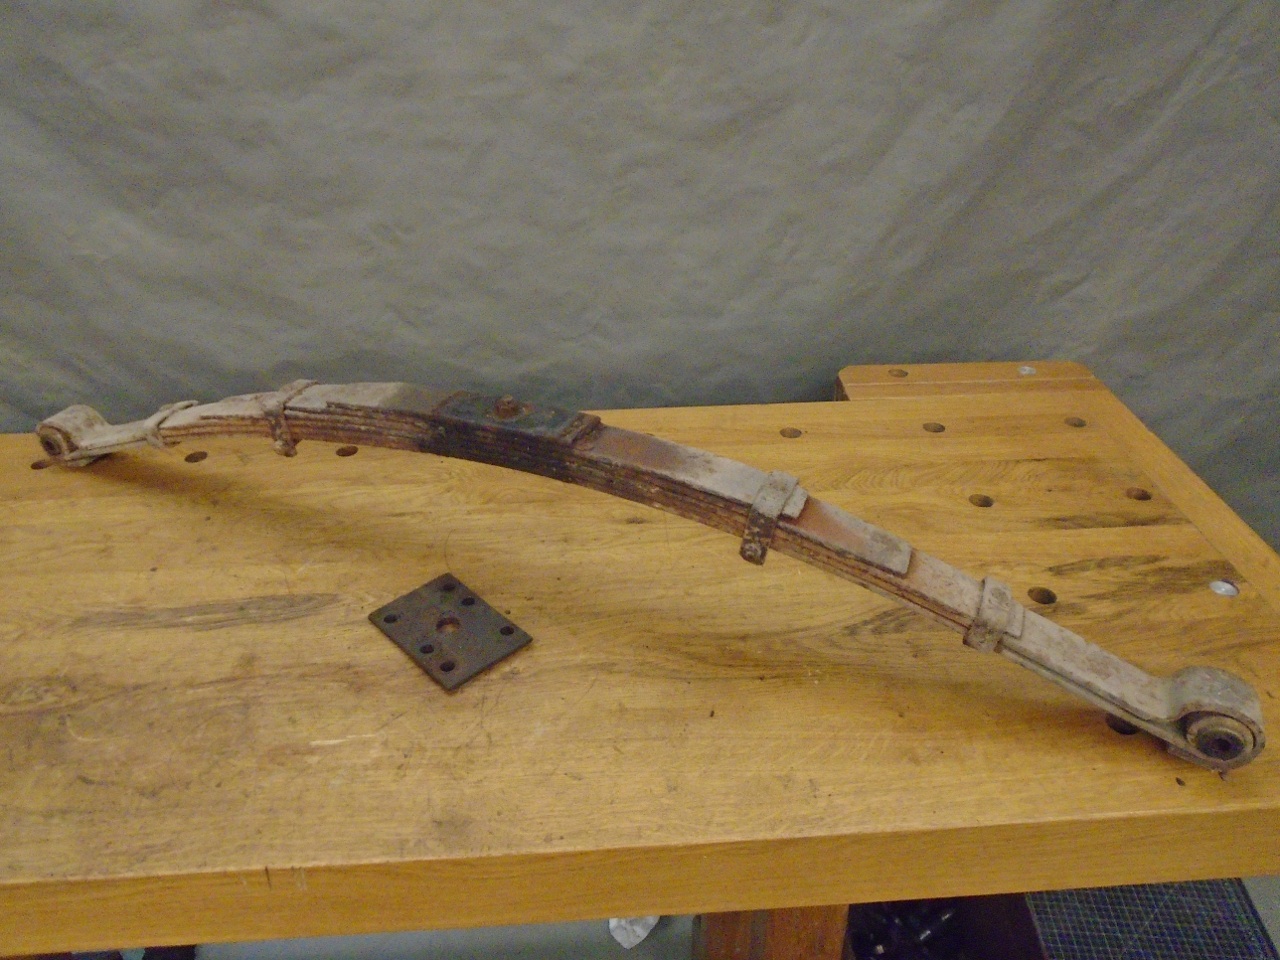
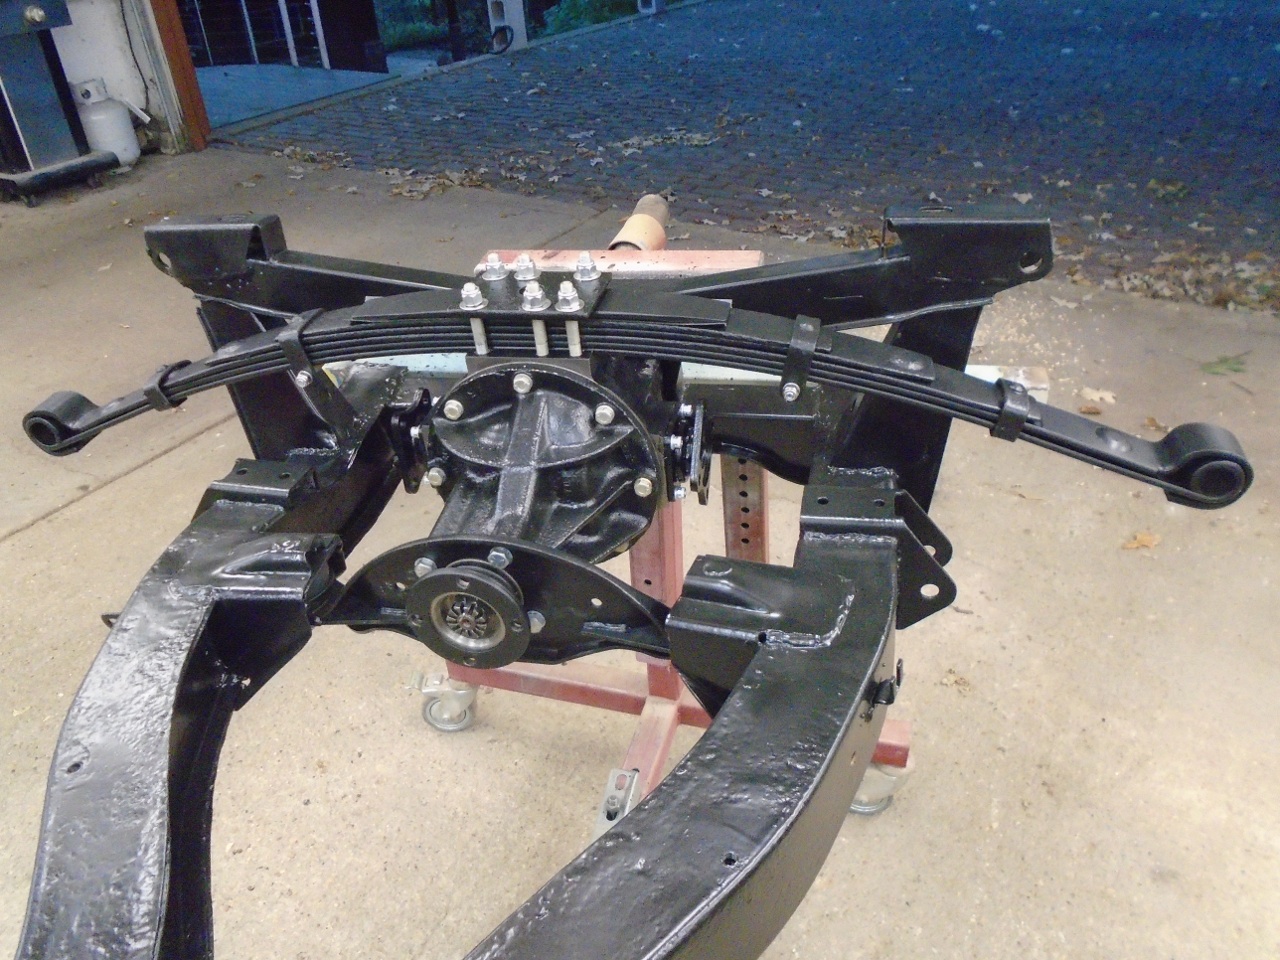
Rear Leaf Spring
[Click the pics for a better view]
GT6
and Spitfire cars had a transverse leaf spring at the rear. The
center of the spring was attached firmly to the top of the
differential, which in turn was firmly mounted to the frame through
resilient mounts. The arms of the spring form the top members of
the SLA (Short-Long Arm) suspension on each side. This spring
arrangement is compact, relatively light weight, and has been used on a
number of cars, including some very high performance models.
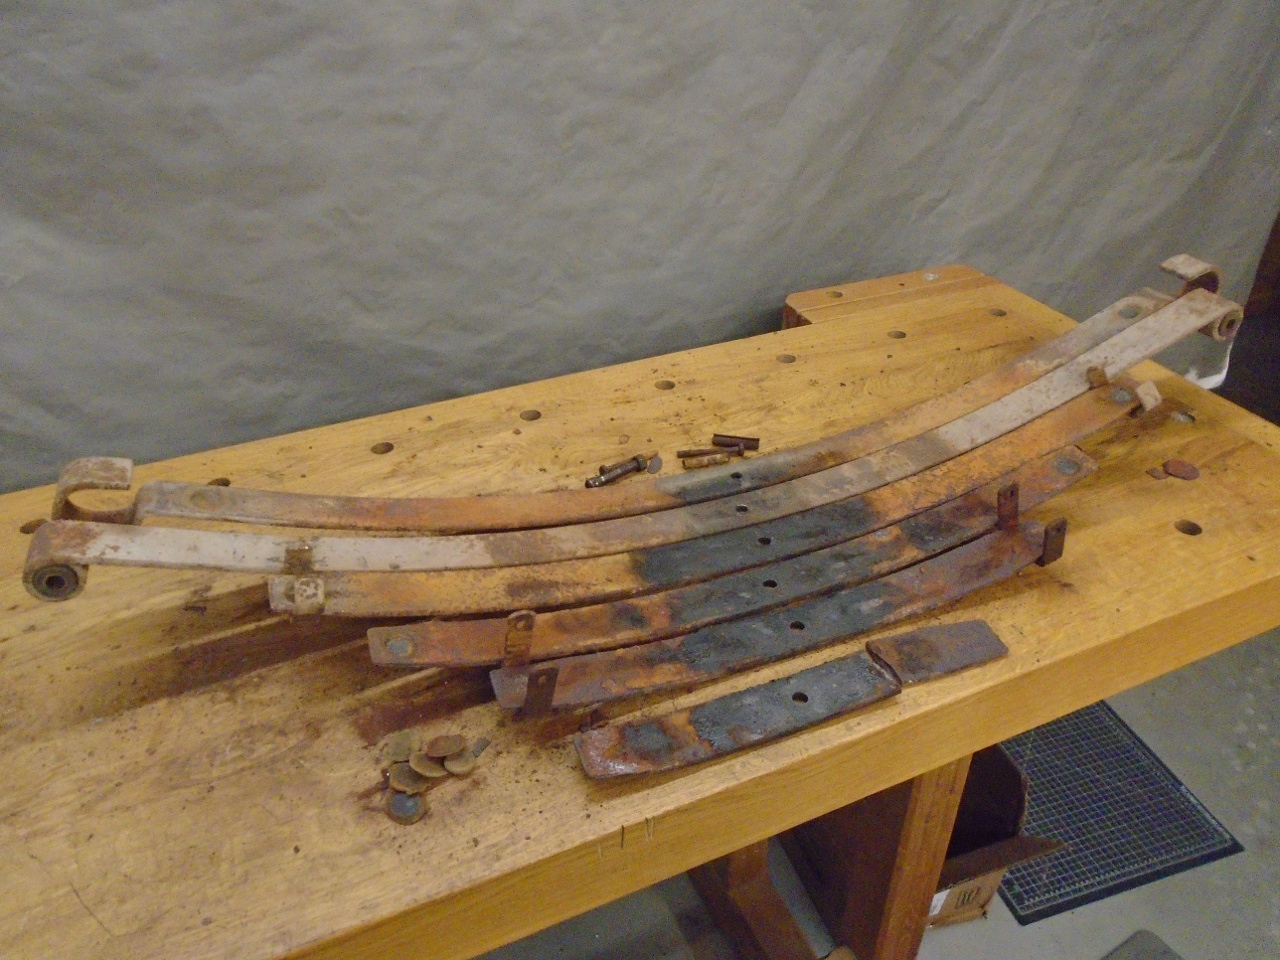
My
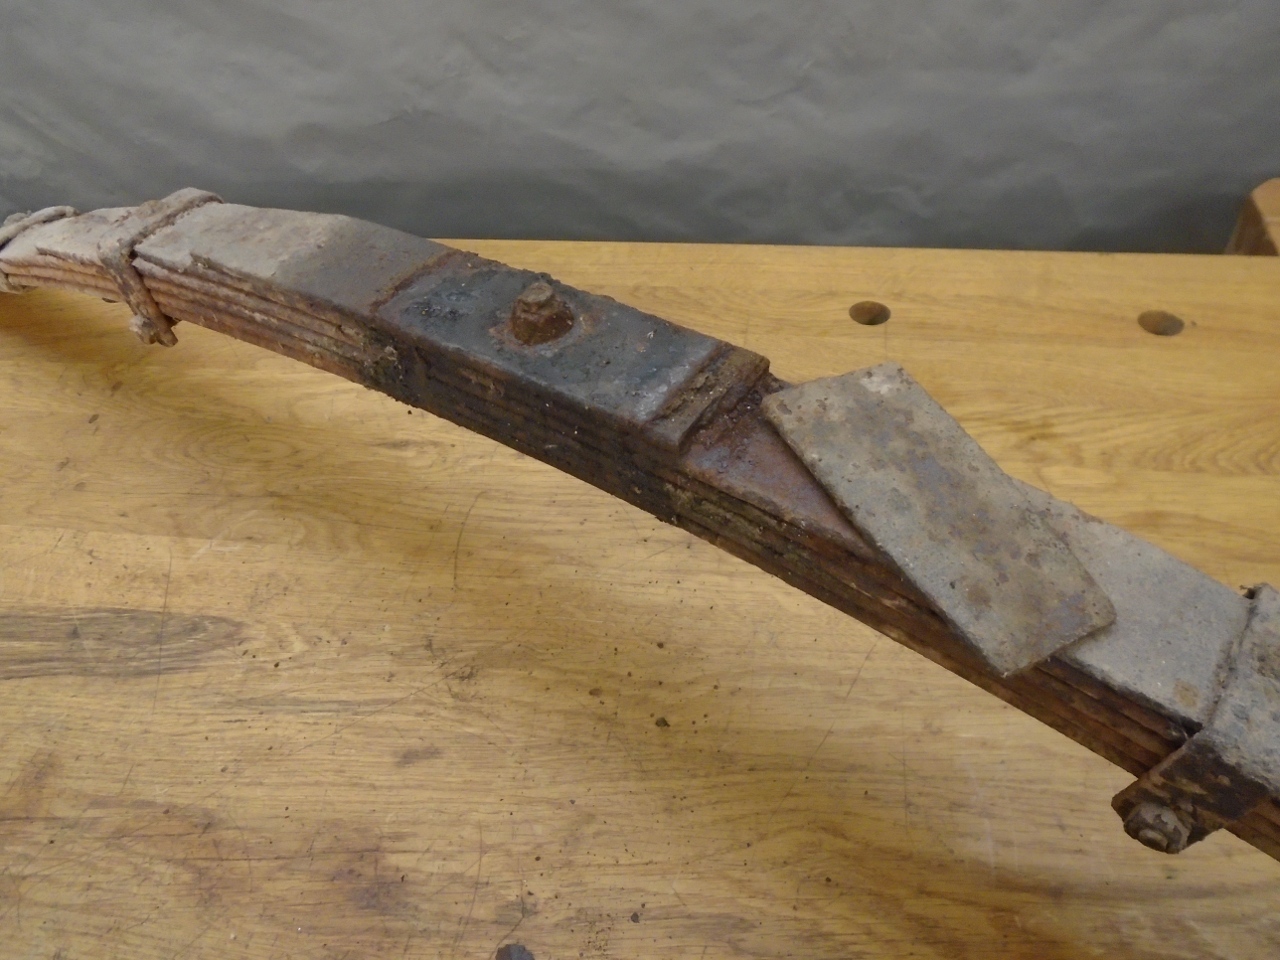
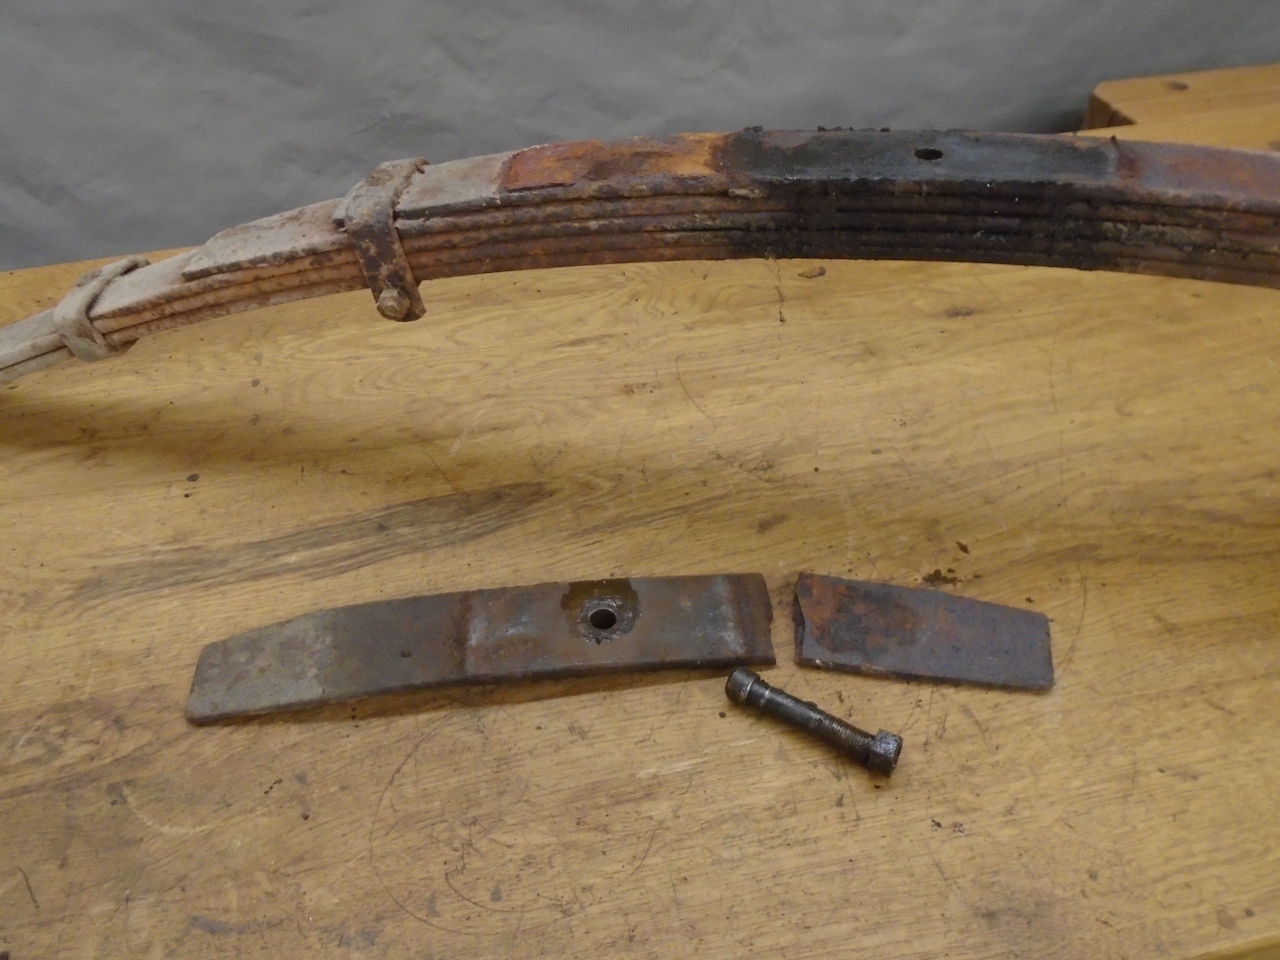
spring was really crusty. I realized as I was removing it that it
had a broken top leaf. Through some miracle, the broken piece was
still sitting on top of the spring.
I
know that replacement springs are available. However, my
understanding is that there were a number differences in the
original springs over the various models and years, and that
replacement springs are to some extent generic, trying to cover a range
of original part numbers. This would explain the not uncommon
stories of new springs making cars sit too high or too low.
Also, since the spirit of this restoration is to retain original parts
wherever possible, I resolved to at least explore rebuilding the
original spring.
I
decided to disassemble the spring to better assess its condition.
There is a center pin bolt that has to be removed first.
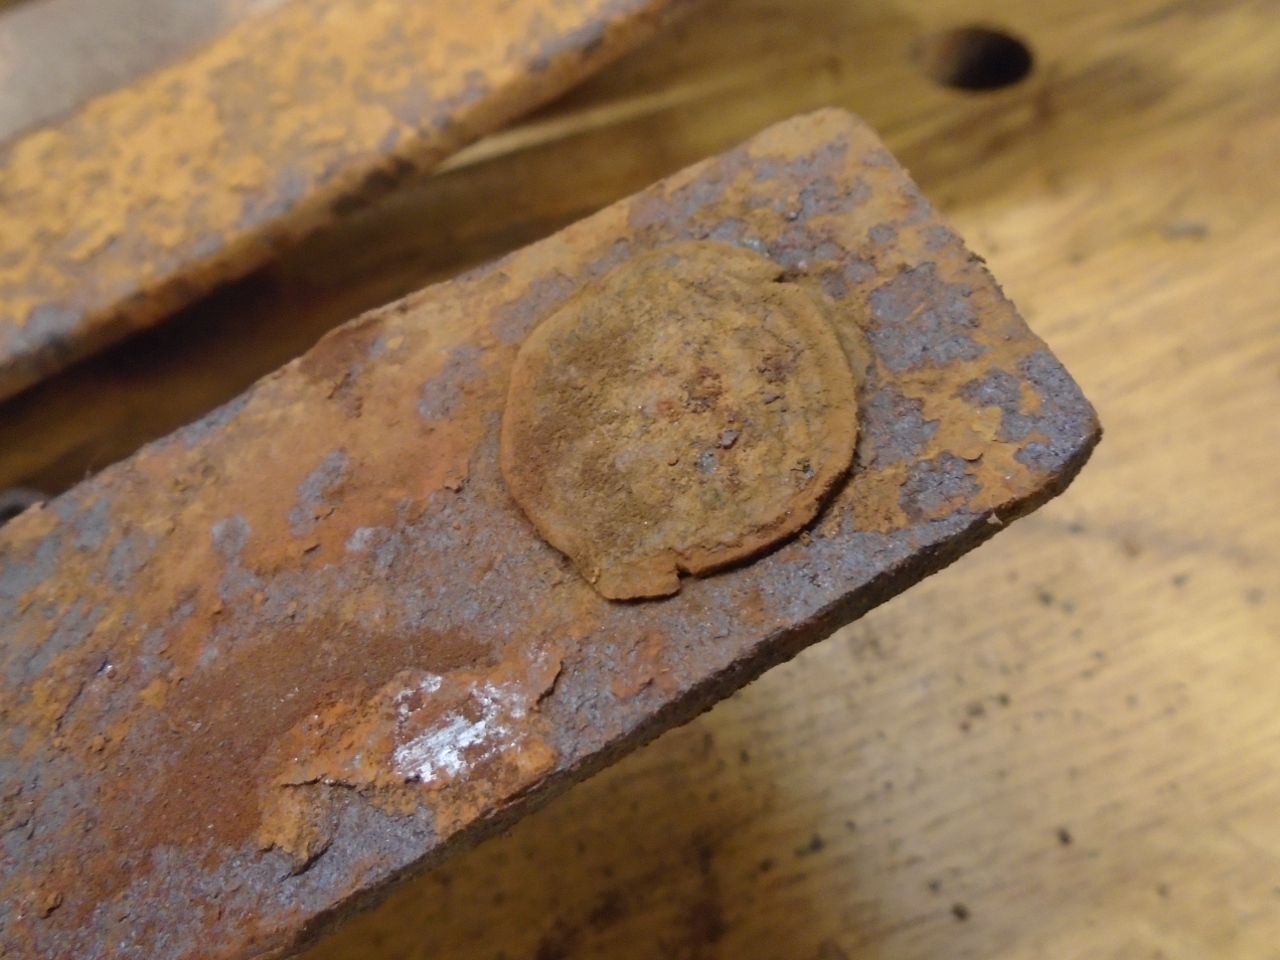
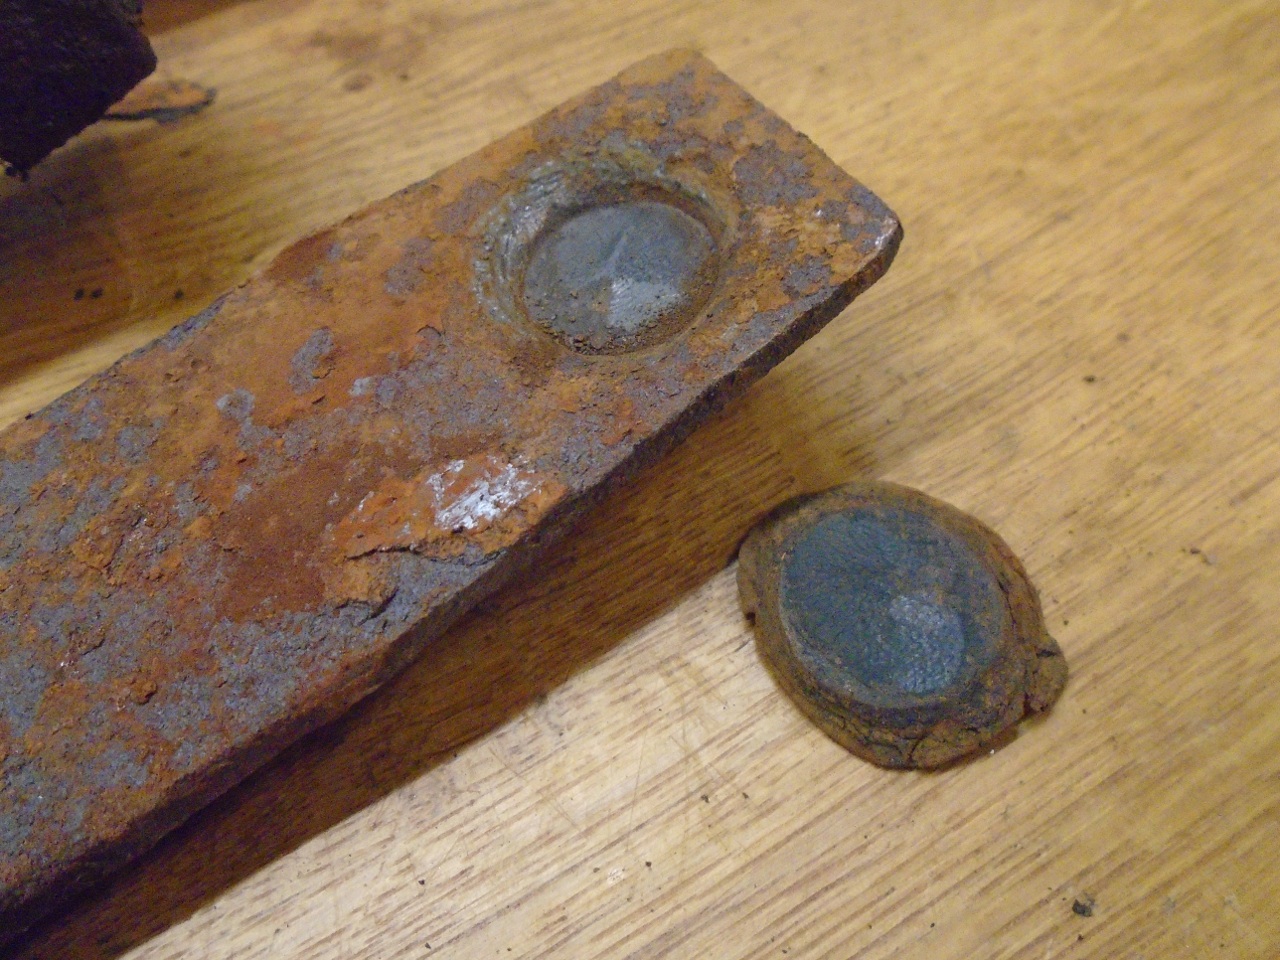
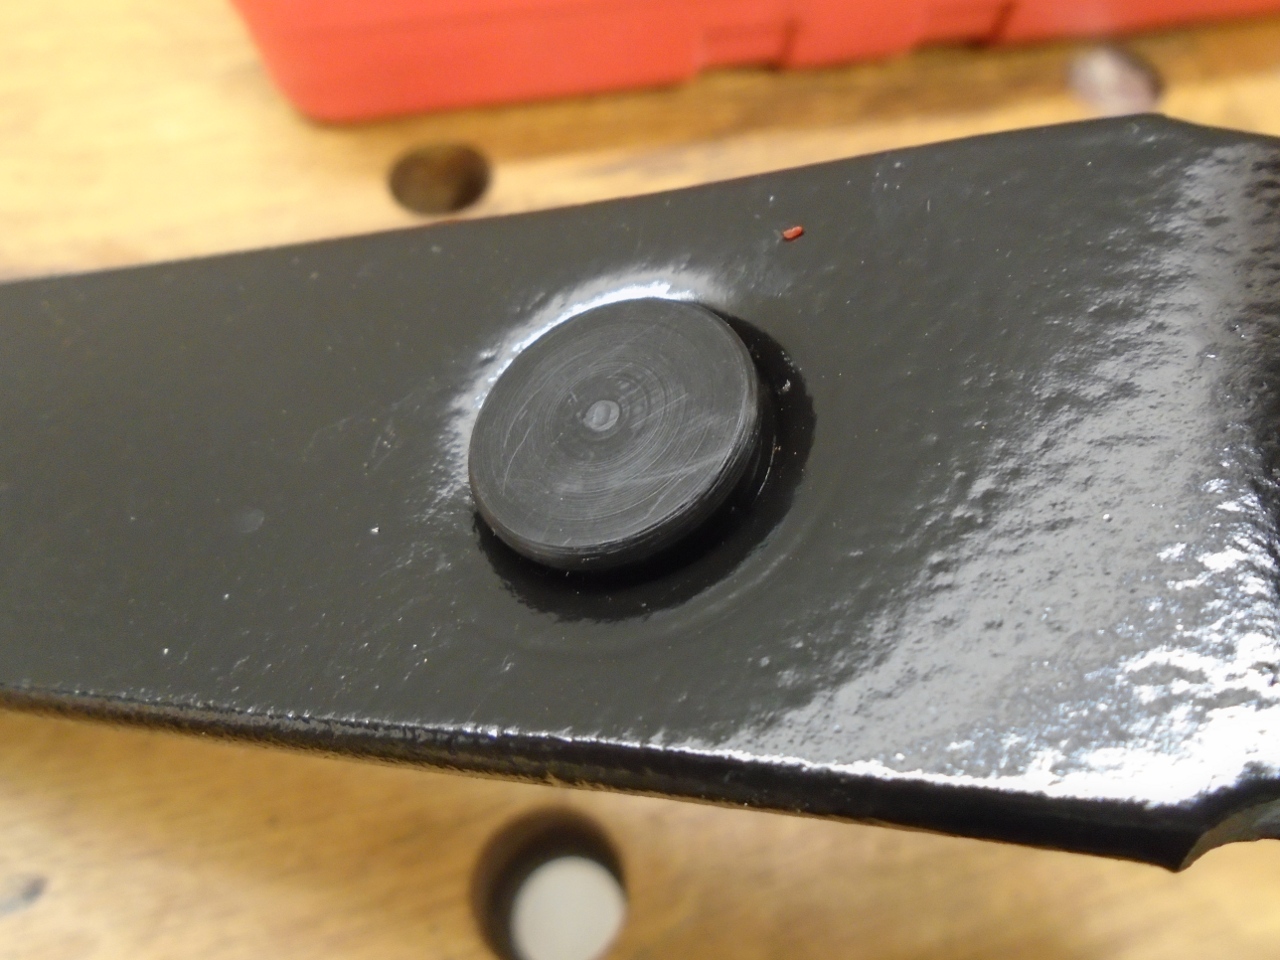
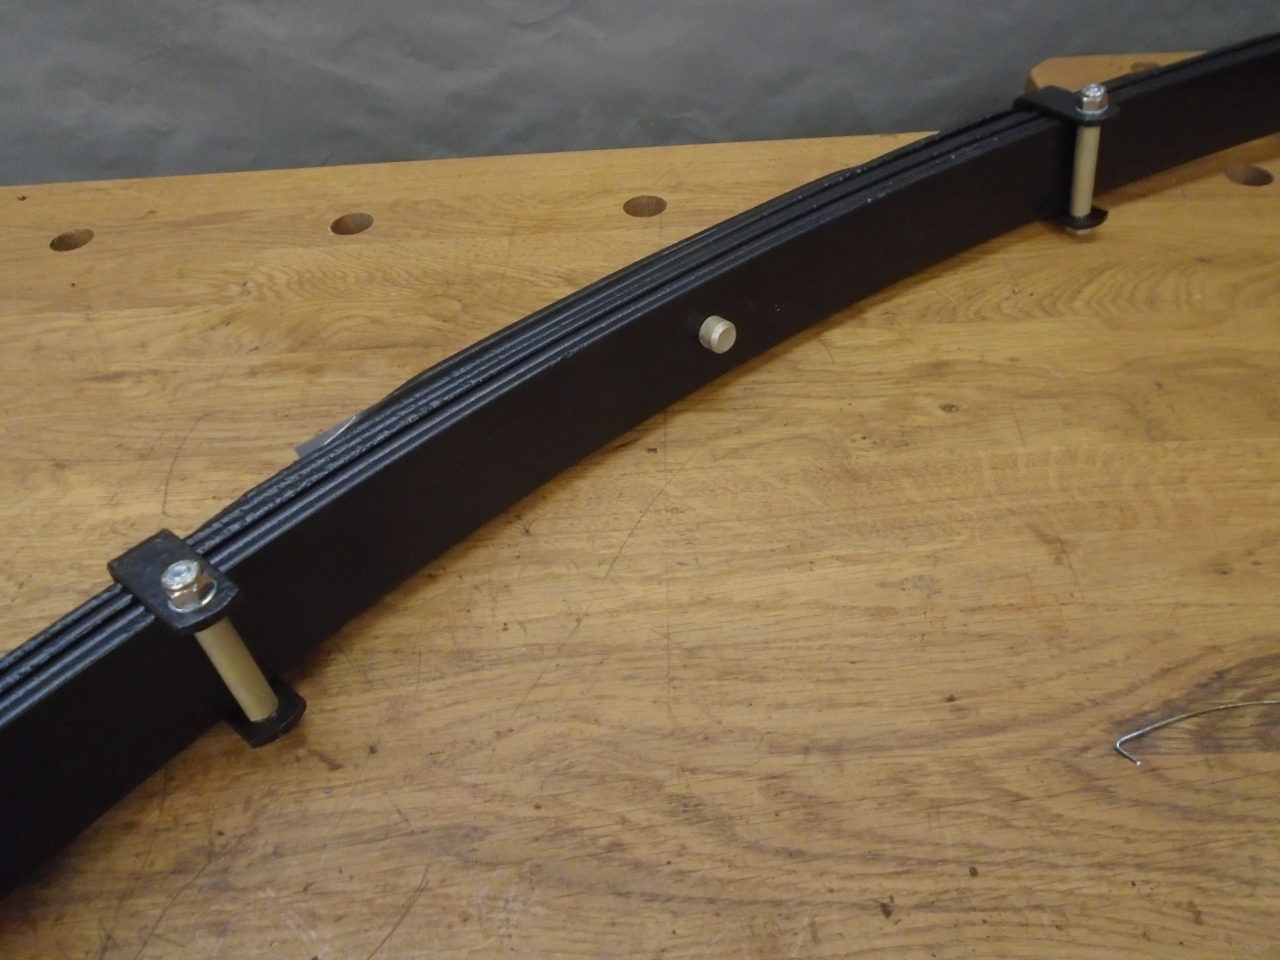
I
noticed while taking the spring apart that there were some plastic-like
buttons in some depressions in the leaves. They were obviously to
provide a low friction sliding action for the ends of the leaves, but
most of them were so smashed and distorted that they probably weren't
doing much at all.
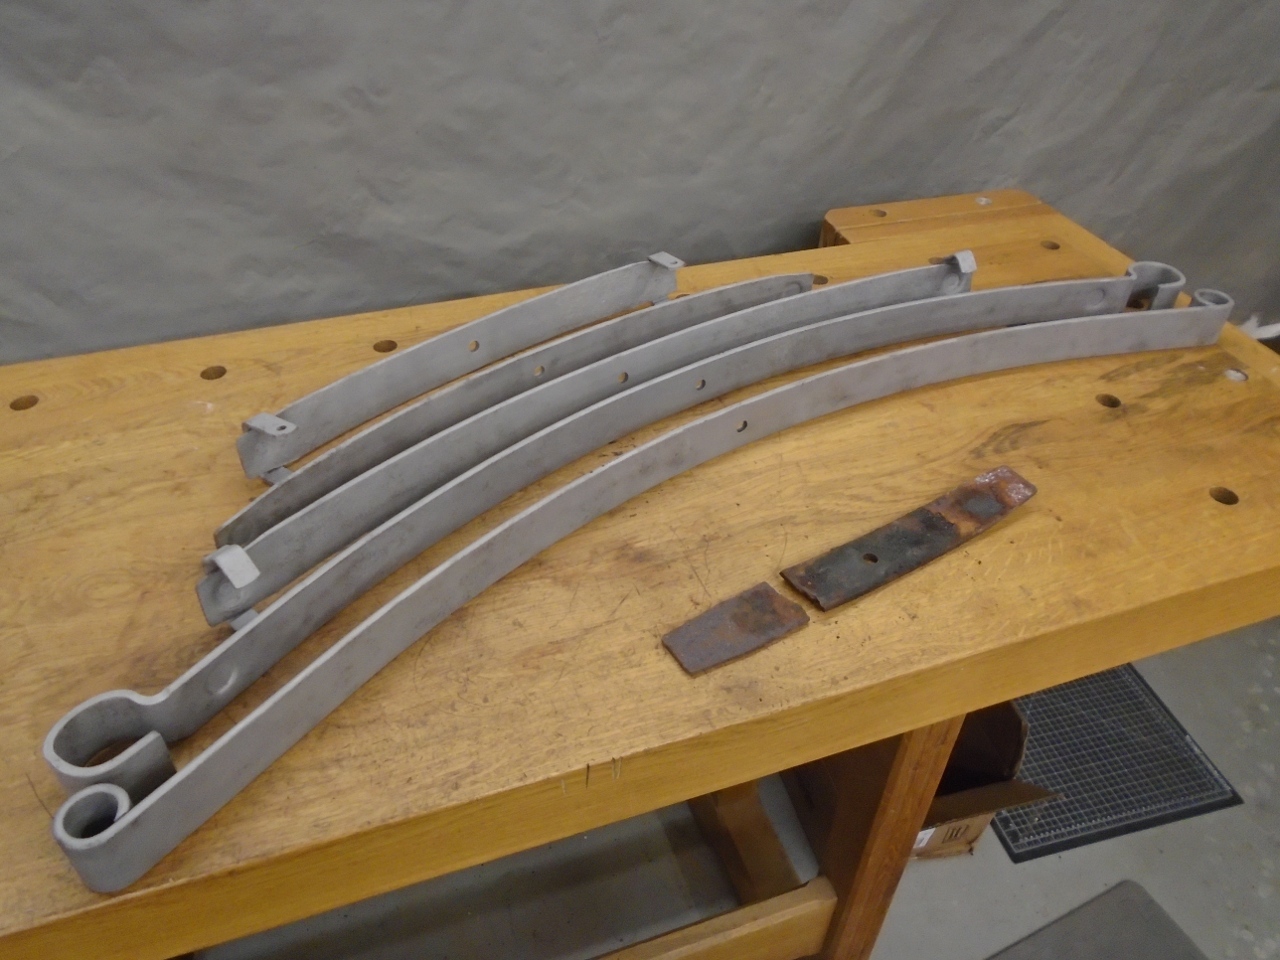
Other than the broken one, all of the leaves, though rust pitted in places, were intact.
Sand blasting made them look much better.
I
really wasn't sure how serious the broken top leaf was. It seemed
that its contribution to spring action would be smallish. On the
other hand, it was there for a reason, and Triumph in these years
wasn't spending any money they didn't absolutely have to on the
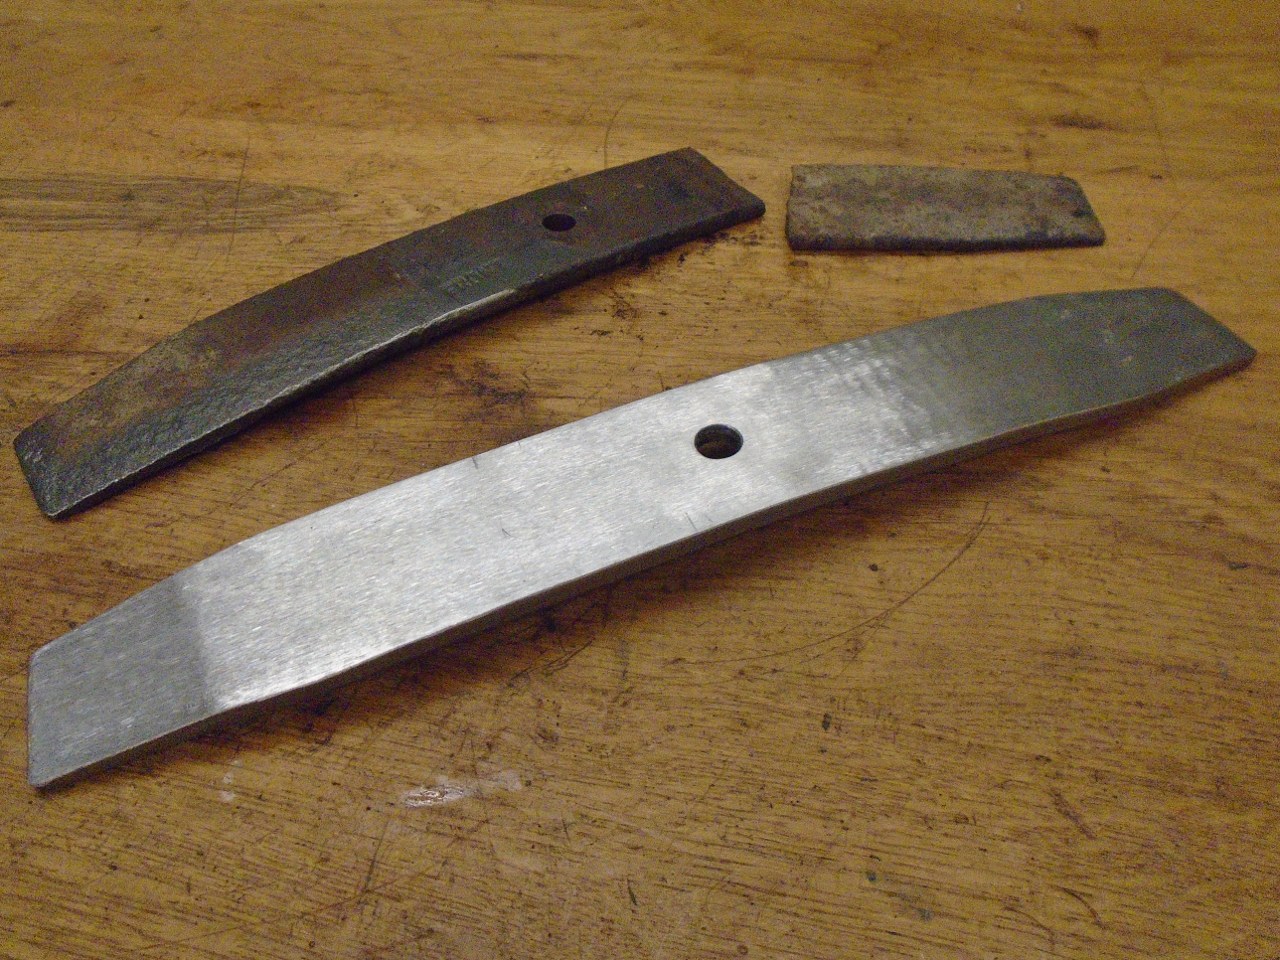
building of these cars. I decided to try my hand at making a top
leaf.
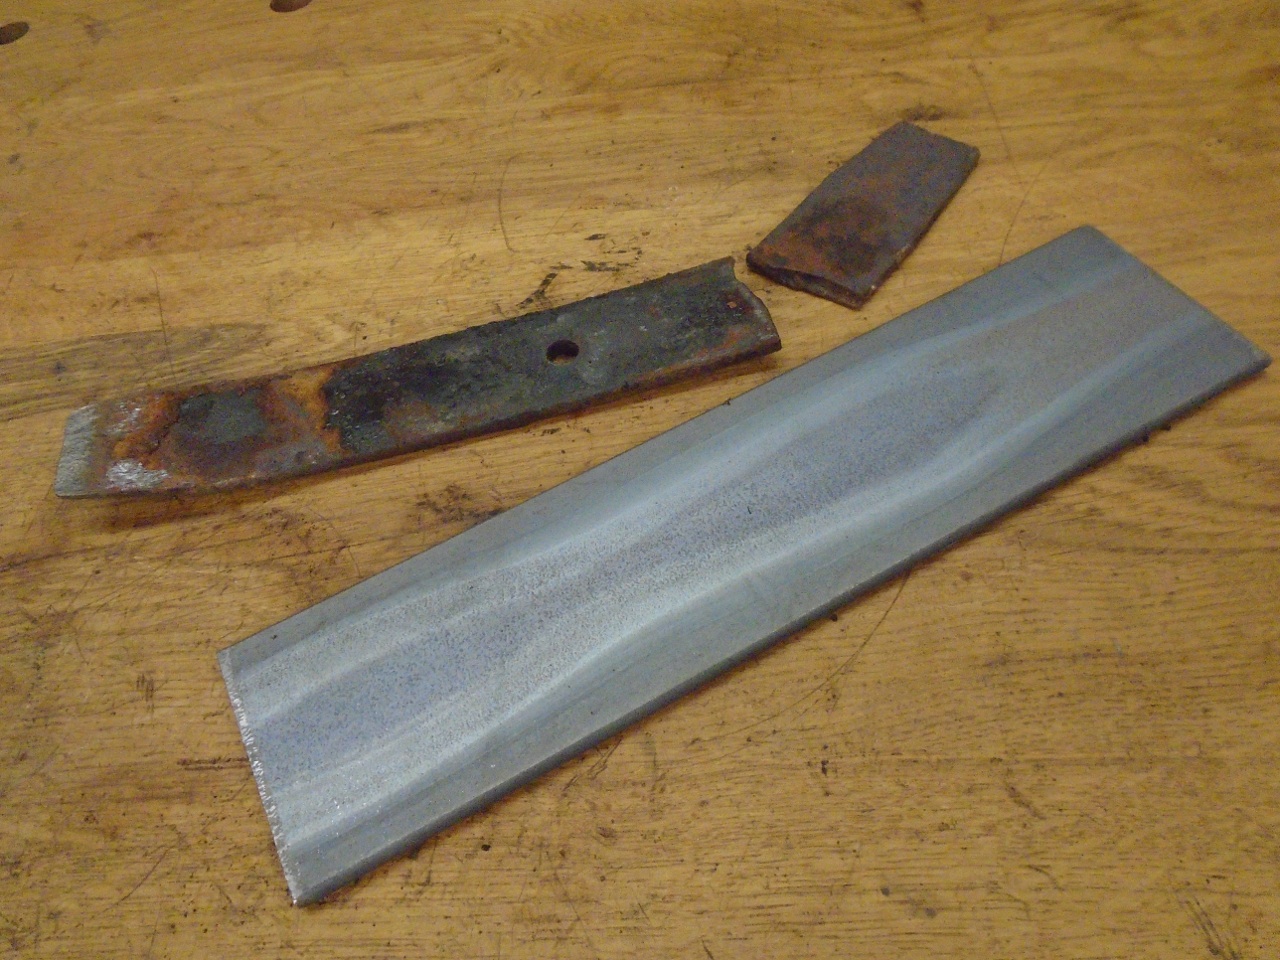
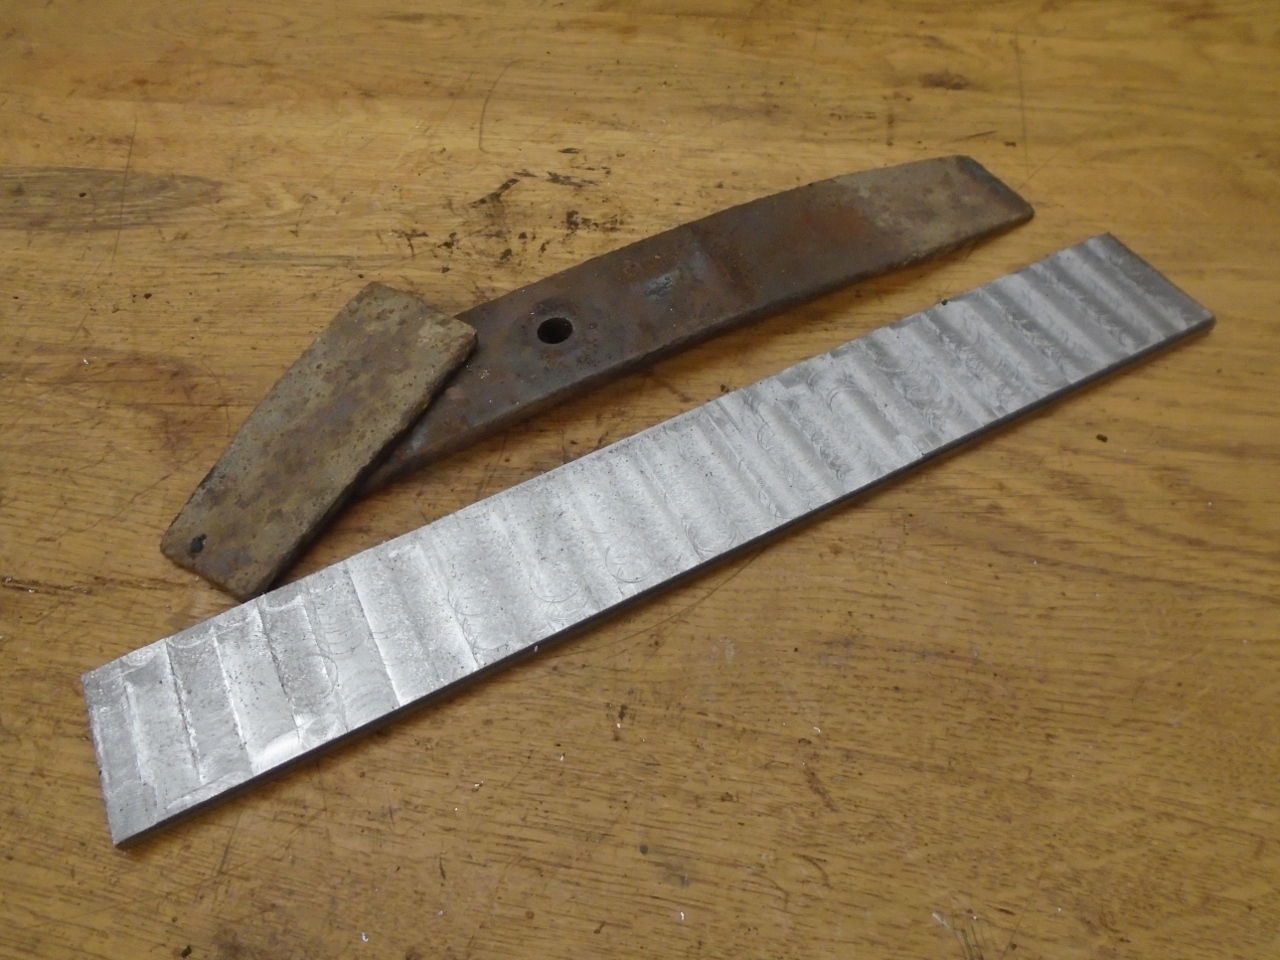
This is a hunk of 5160 spring steel. It is used to make leaf springs.
Springs
are typically made of pretty hard metal, and I was a little concerned
as to whether I'd be able to machine the 5160. Another concern
was whether I'd need to heat treat the new leaf.
One
way to assess the hardness of metal is with a file test. If an
ordinary file can cut the metal, the metal is softer than the file.
If the file won't cut it, and just skates over it, then the metal
is harder than the file. How well the file cuts is an indication of the
hardness of the metal. Using a file test on the old spring and on
the new chunk of steel told me two things: The two materials
were roughly the same hardness, and though fairly hard, that I
might be able to machine the 5160.
The
chunk of spring steel I had was 1/4" thick, but the spring leaves were
0.234", so the first ting to do was to shave off 0.016" from the raw
piece.
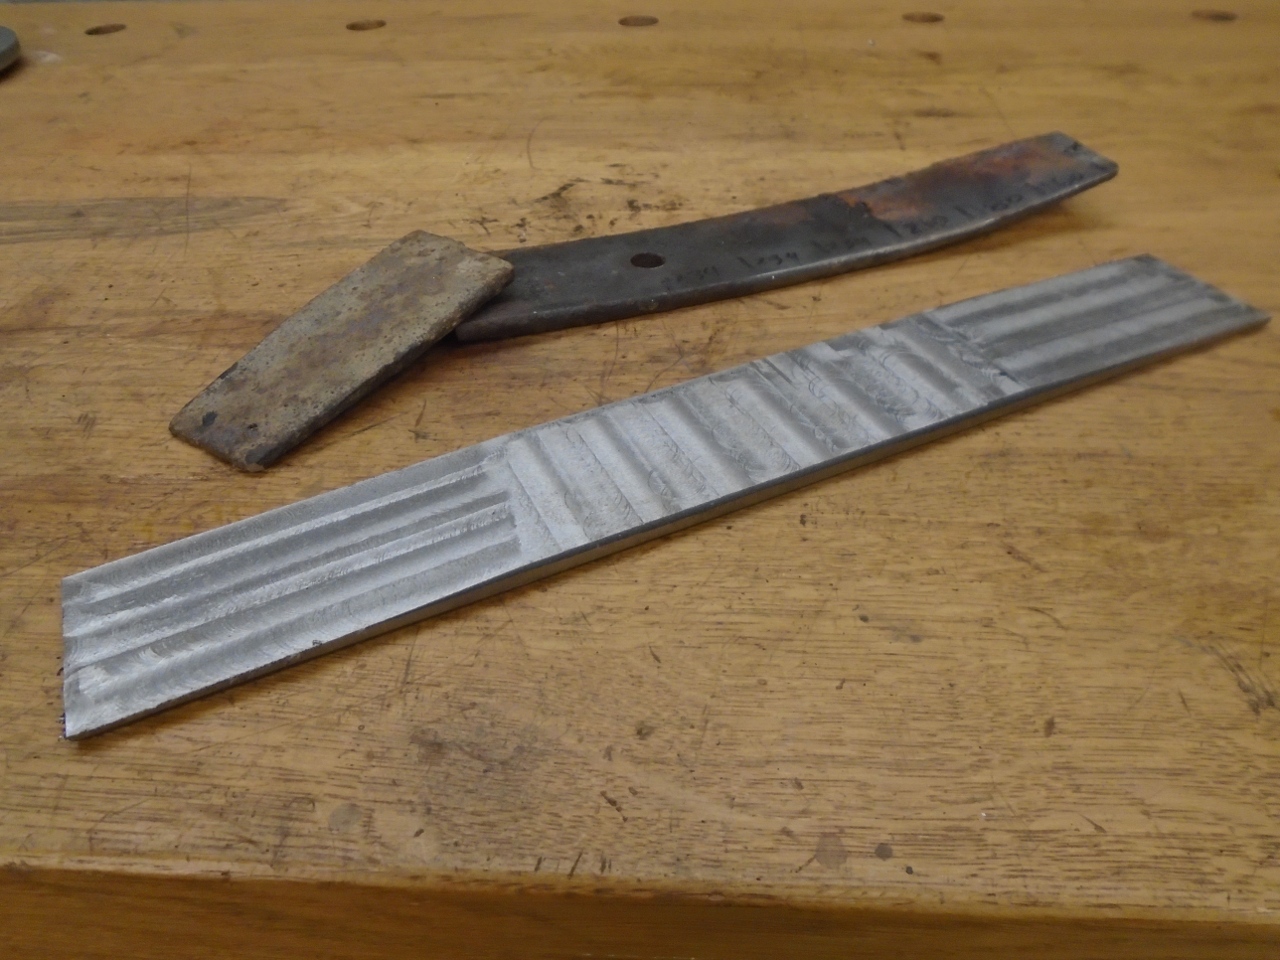
Then taper the thickness at the ends as in the original pieces, and also taper the width.
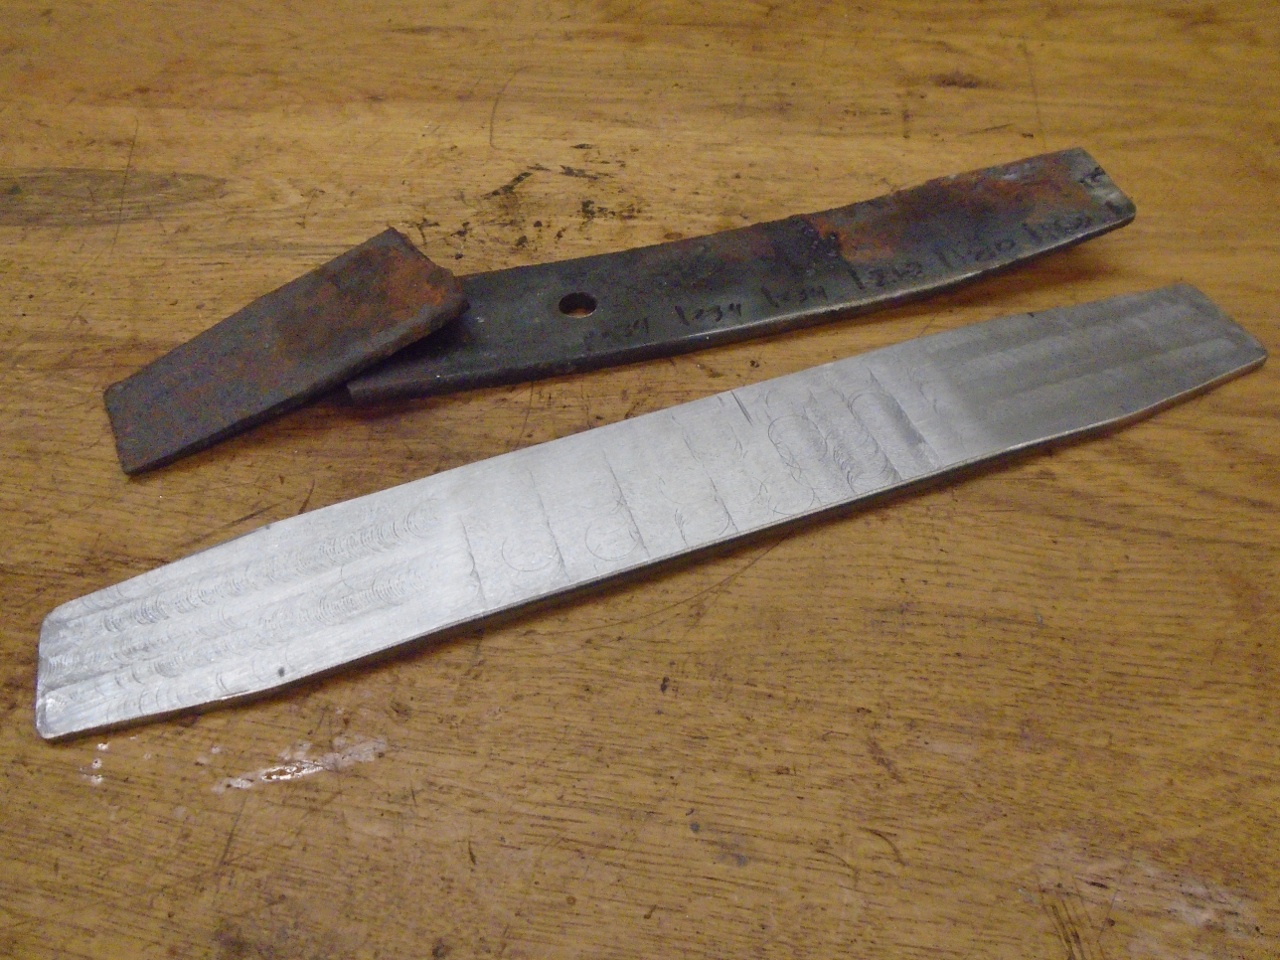
Then
arch the piece to match the leaf that goes below it. Being spring
steel, I had to bend it quite a ways beyond where I wanted it to
get it to spring back to the right shape. This was done in a
small hydraulic press, and didn't actually take that much tonnage.
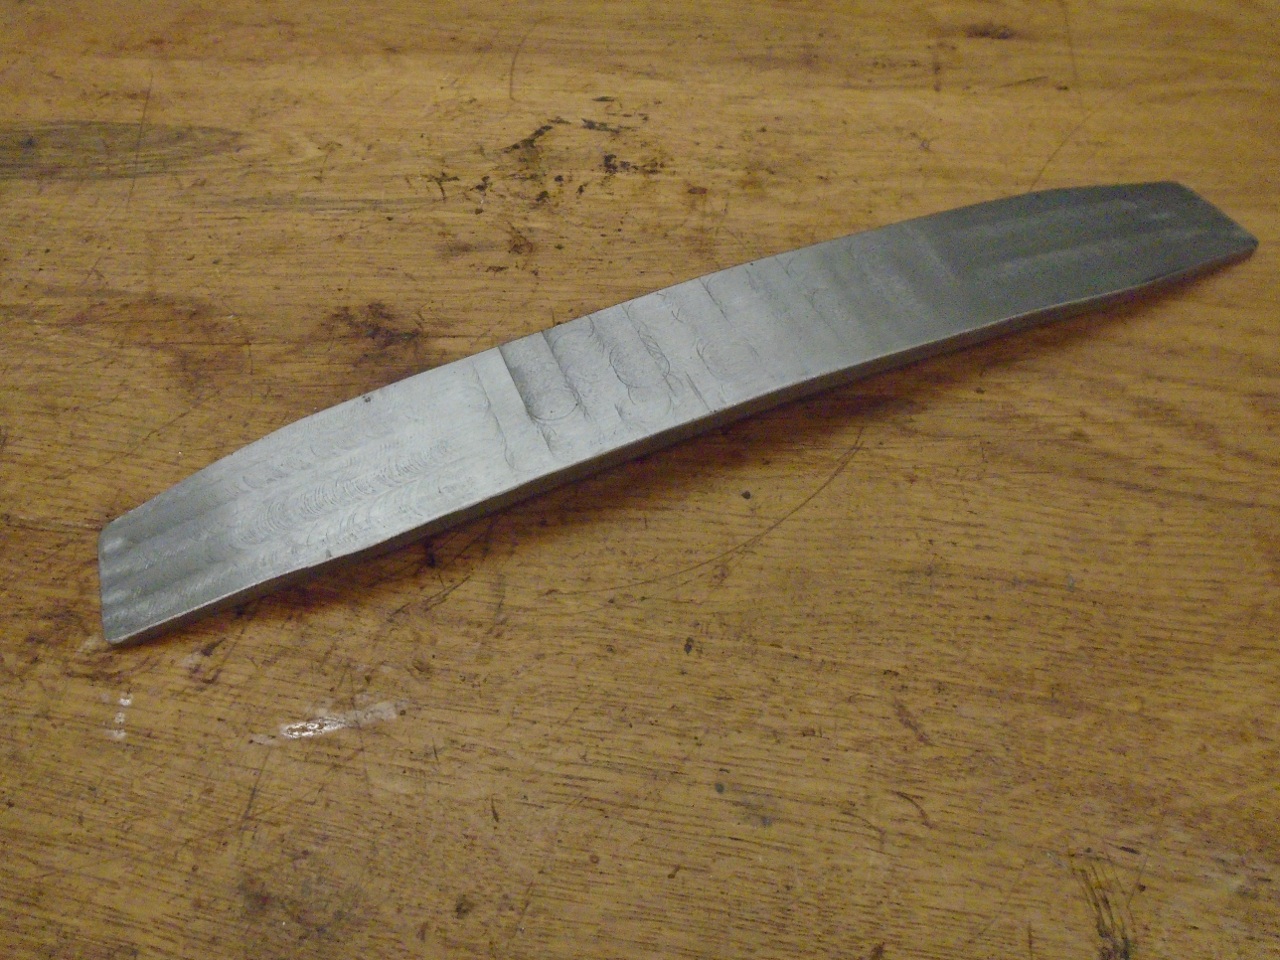
Then drill the hole. Due to the hardness, I sacrificed a drill bit to this piece.
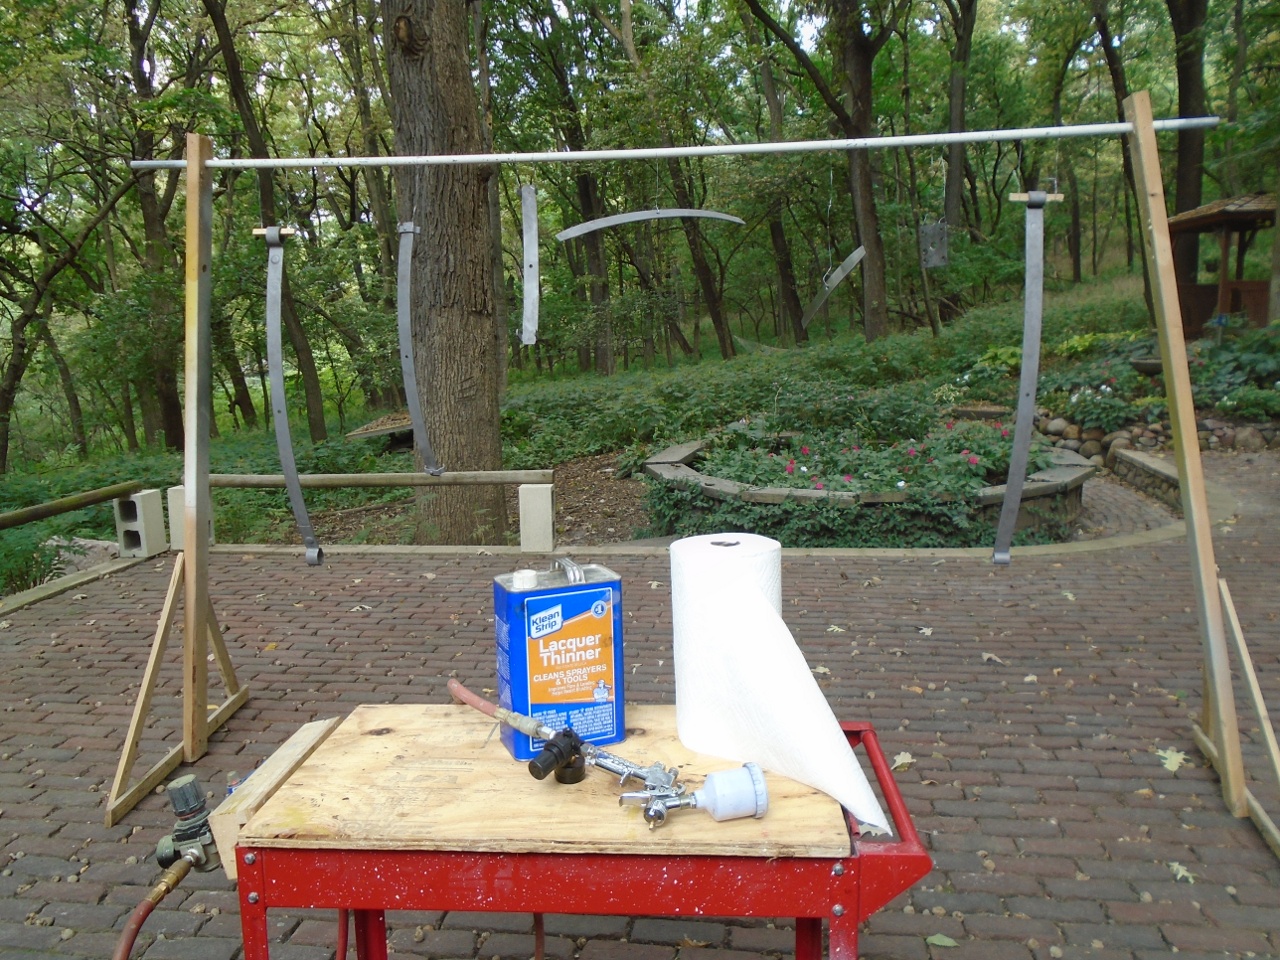
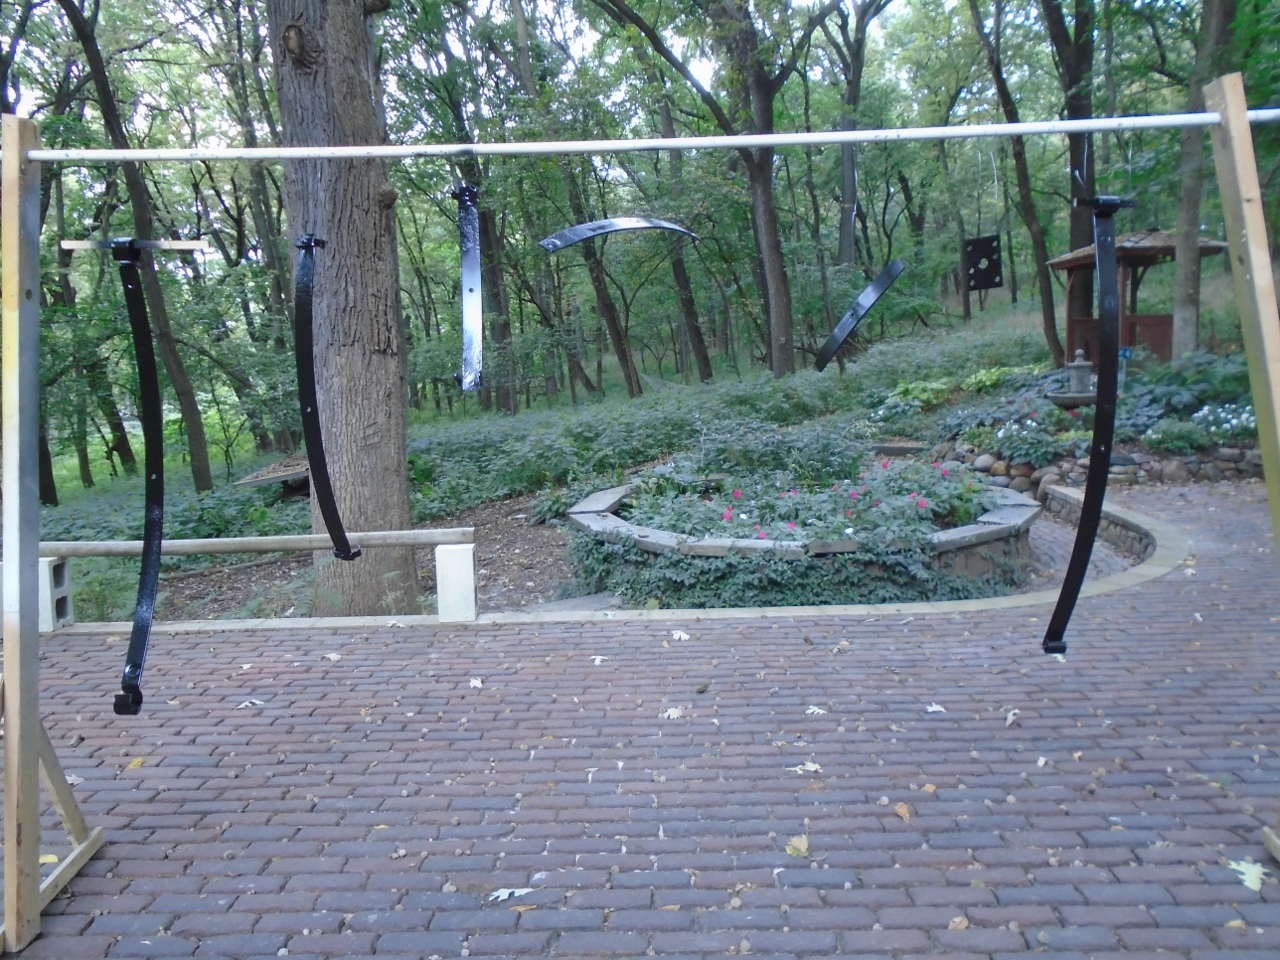
Then
applied a few coats of a 2-pack epoxy primer. There are those who
say you shouldn't paint leaf springs. I'm not sure of the
reasoning--friction between the leaves, maybe, but since these leaves
had plastic cushions to control friction, I didn't see a realistic
downside.
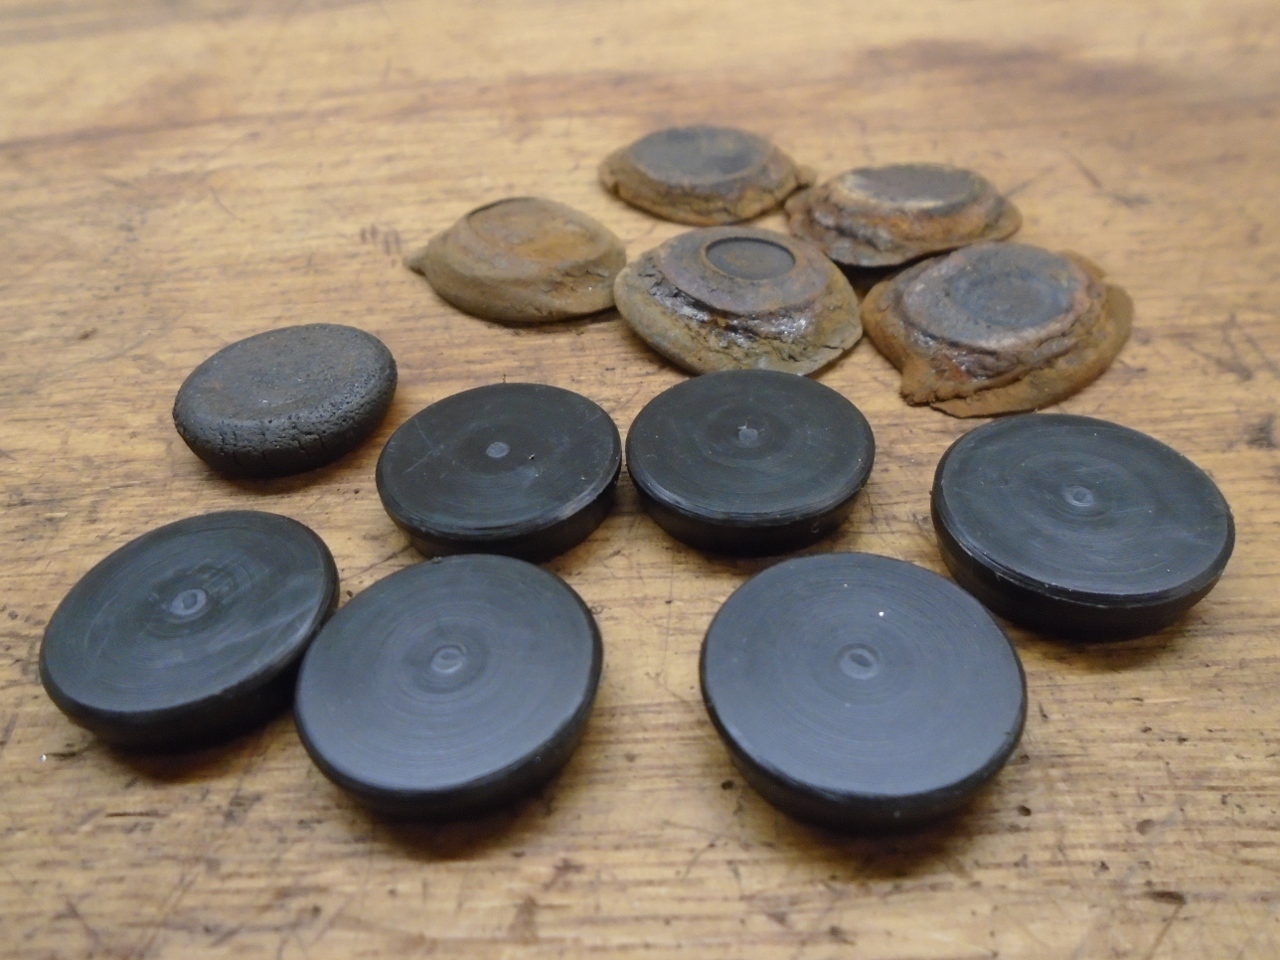
Now, before reassembly, I had to do something about those bearing buttons. Most of the originals weren't usable.
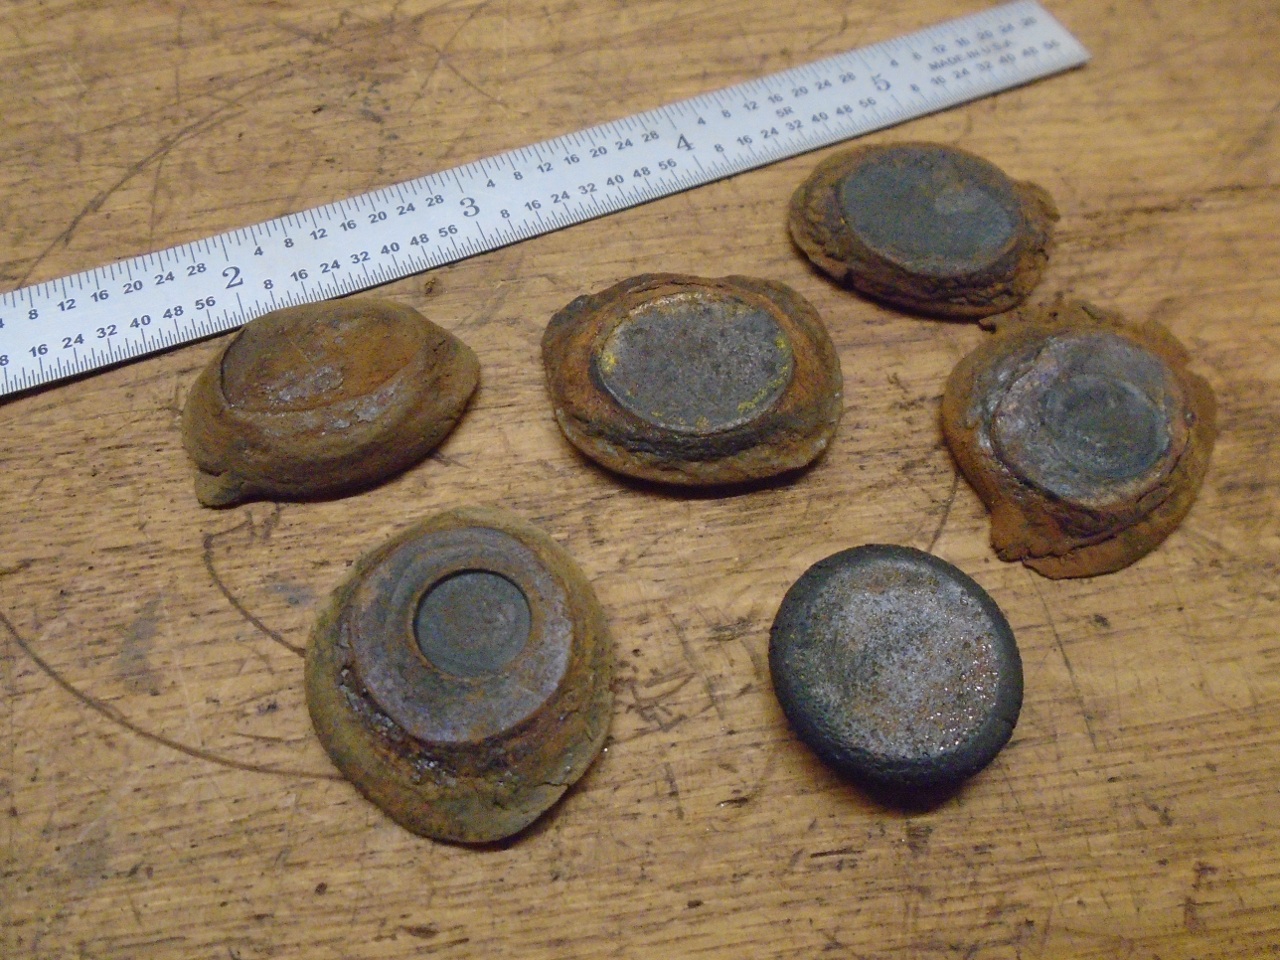
There
was one button that looked relatively unsquashed, and between that one
and measuring the size of the dimples, I was able to surmise the
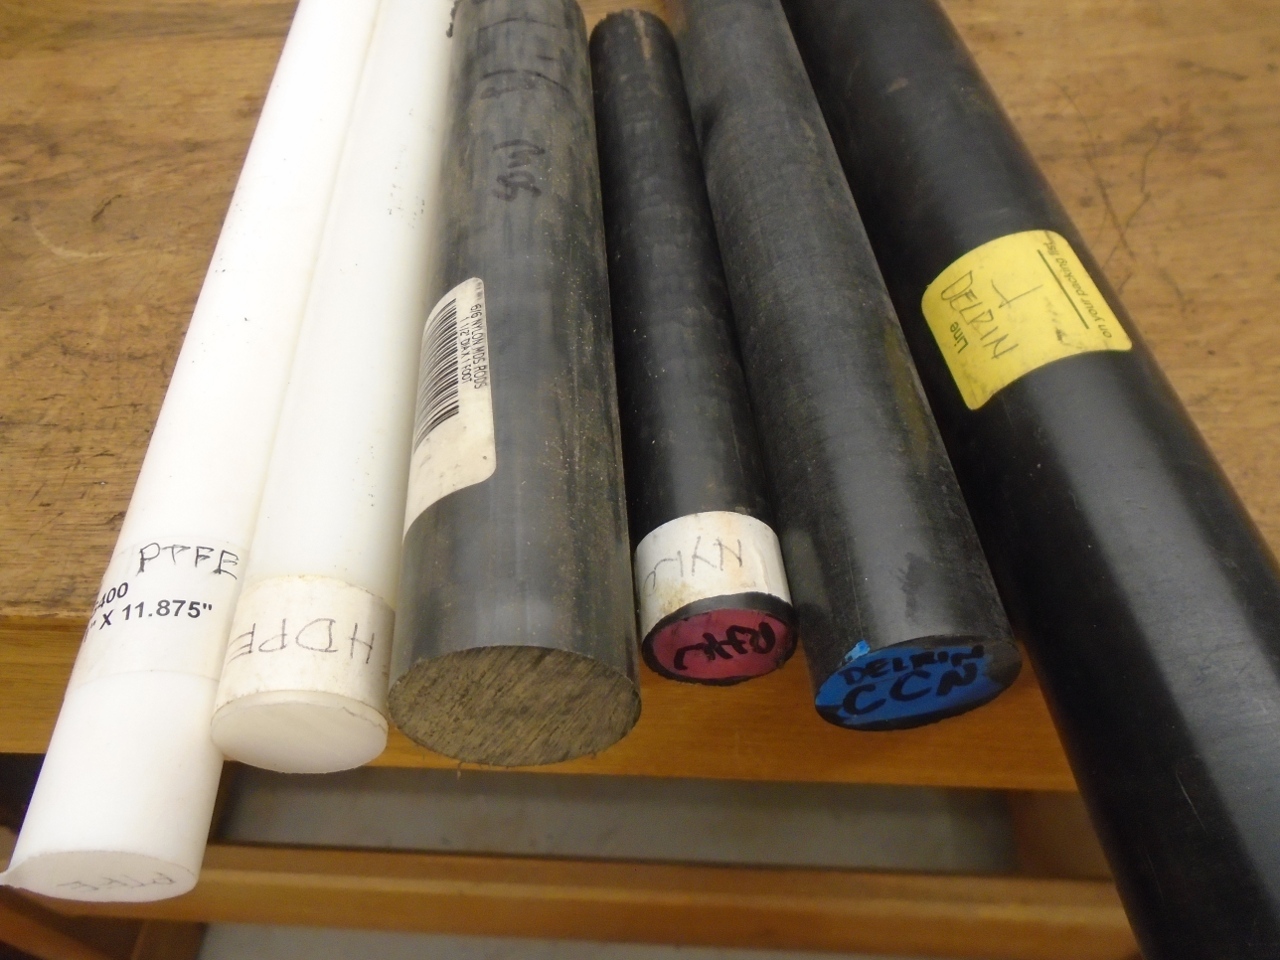
original dimensions. I had a choice of a few different palstics
to make the buttons from. I had planned to use PTFE (aka Teflon)
because of it's low froction coeffecient, but after checking some
tables of plastics properties, switched to Delrin, which has a
much higher compressive strength and is almost as slippery. It
appeared that most of the original buttons failed in compression.
It
was then time to rebuild the spring. The third leaf has some
clamp arms that had to be bent back to get the leaves apart.
Luckily, (by design, I assume) the arms are very soft and bend
pretty easily.

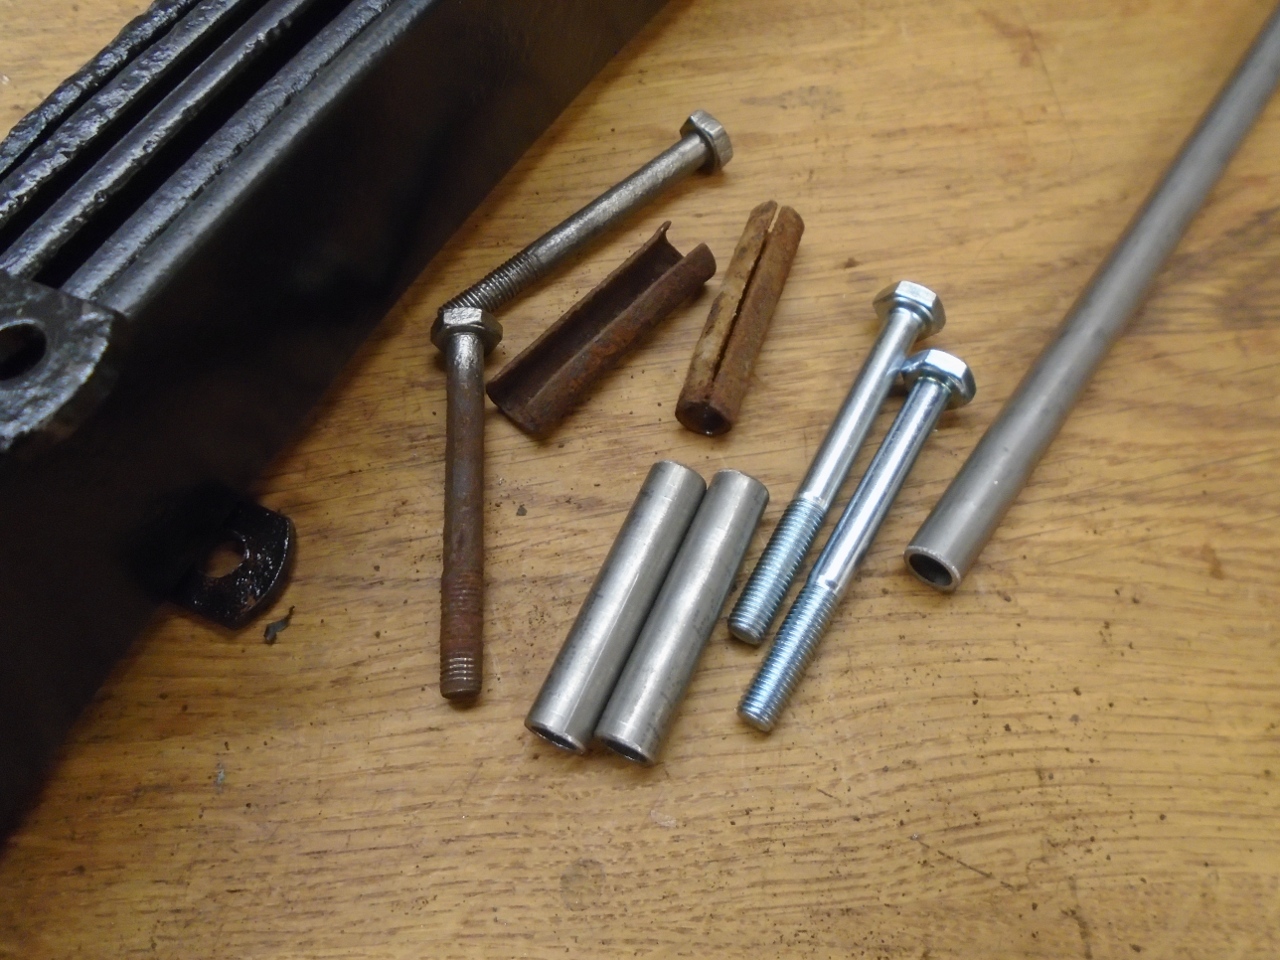
The
fifth leaf has a couple of brackets that cary bolts that hold the
leaves together. The old bolts and spacers were toast.
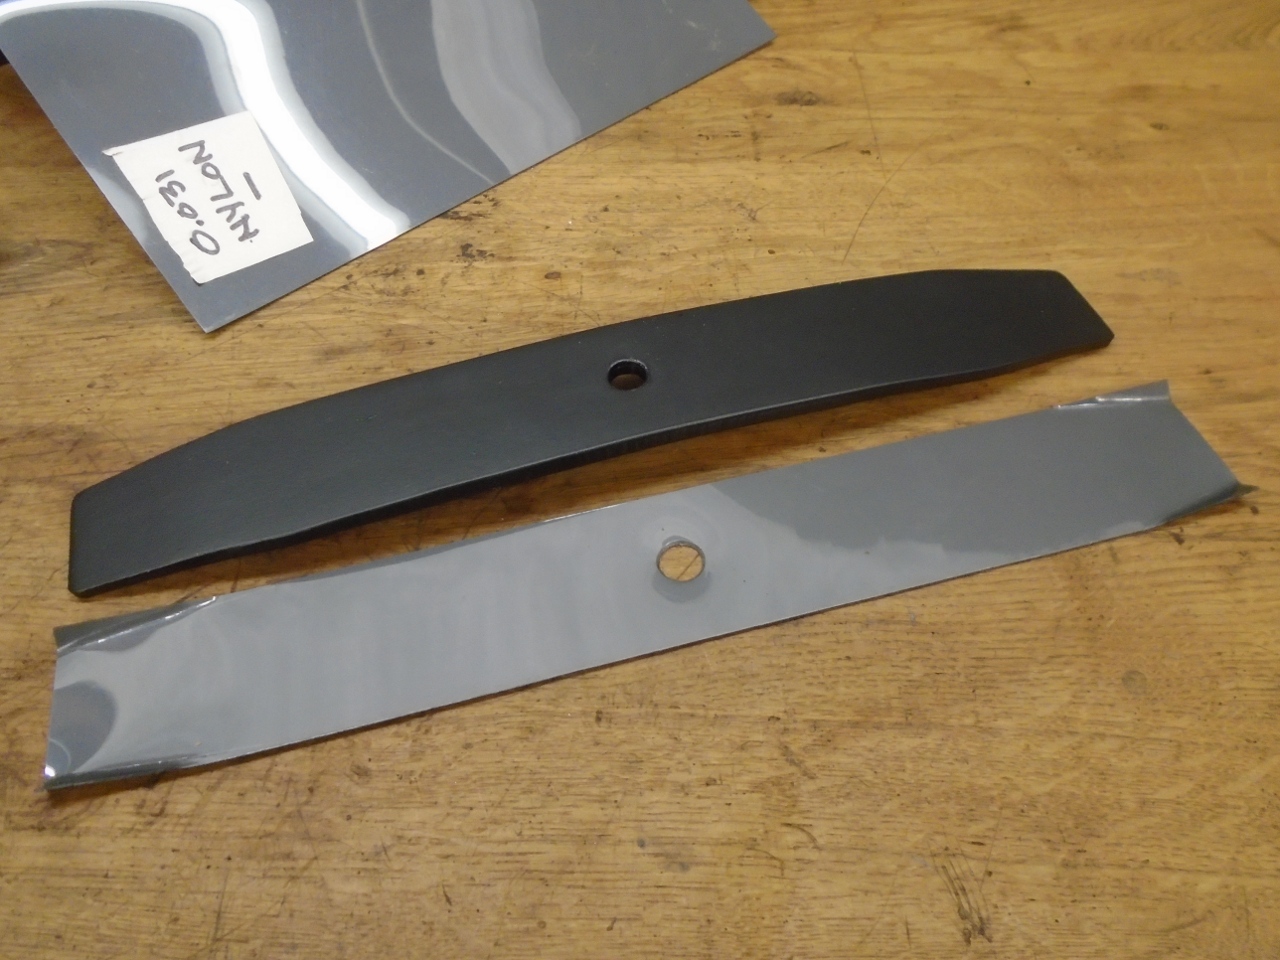
The
top leaf (the new one) didn't have any provision for friction
mitigation, so I cut a piece of 0.031" nylon sheet to go under it.
This nylon is very slippery and very tough.
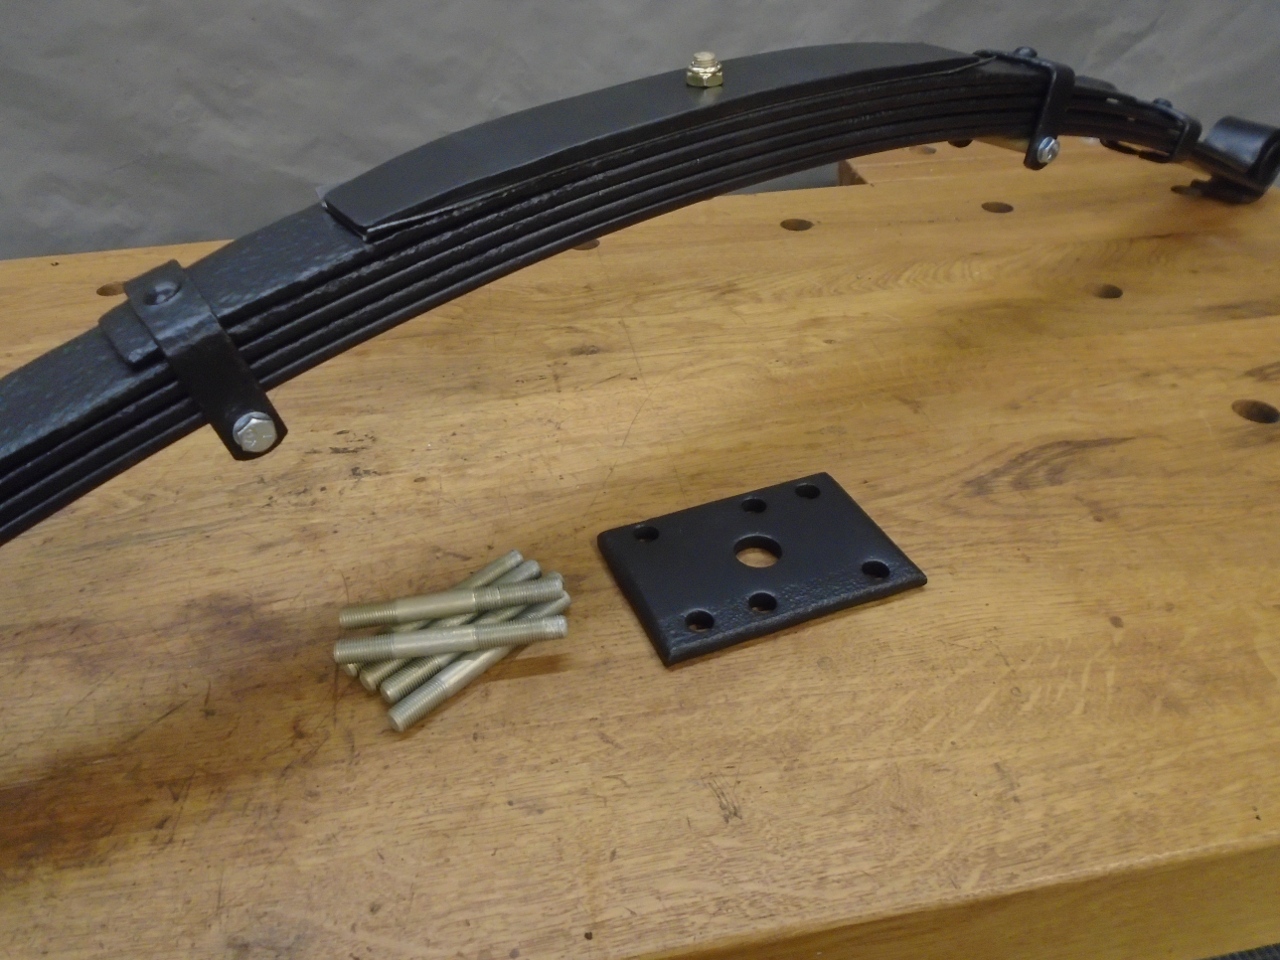
So
here is the rebuilt leaf spring and the replated mounting studs.
One interesting thing is that the arch of the rebuilt spring is
about 1/2" more than I measured on the original before disassembly.
A assume this is due to the new friction buttons or the new leaf,
or both.
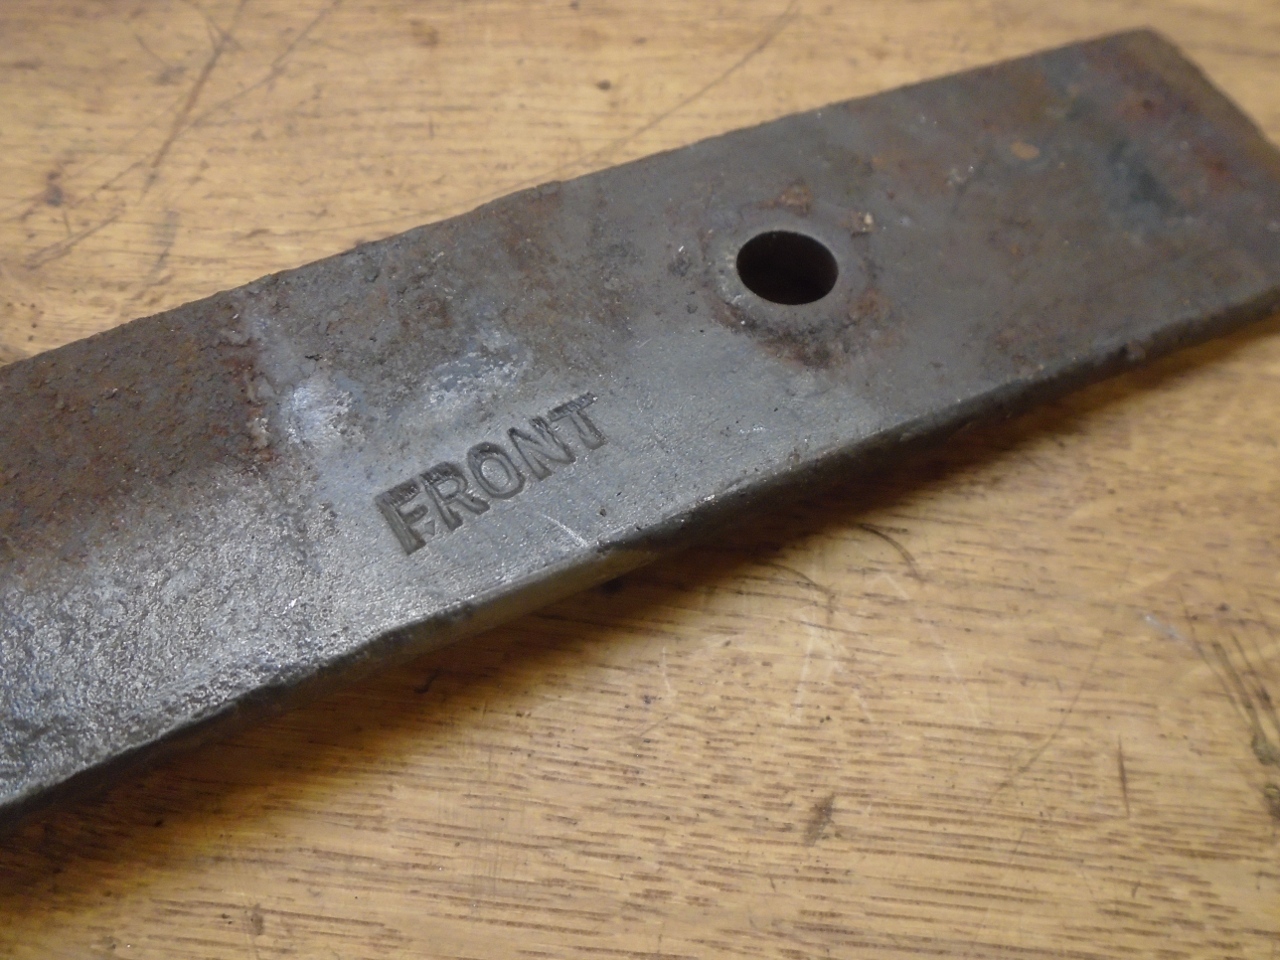
Here's
a curious thing. The original top leaf had "FRONT" stamped on one
side. This seemed strange, since the spring appeared to be
totally symmetrical. I have it on pretty good authority that the
marking might just be a guide to make sure that a removed spring is
replaced facing the same way it came out. It seems that in
service, the spring may take a subtle set, so that it could be
difficult to attach the vertical links if it is reversed.
On the car--
I
sort of liked this project. This spring is probably something
that would normally just be scrapped. But considering some things
I've read, there might have been fewer headaches this way. Total
cost was maybe around $30 for raw materials and for the toasted drill
bit and milling cutter.
Commnets to Ed at elhollin1@yahoo.com
To my other GT6 pages