To my other GT6
pages.
December 9, 2020
Propeller Shaft
A car's propeller shaft, or drive shaft to the Yanks, has a pretty
simple job--just transmit rotational motion from the aft end of
the gearbox to the front end of the differential. To
accommodate the fact that the gearbox output and the differential
input shaft axes are usually not coaxial, a prop shaft normally
incorporates a pair of universal joints. The U joints also
permit a little relative motion between the shafts it couples
to. The relative motion also requires a sliding spline
joint.
My prop shaft was dirty and rusty, but appeared to be
intact. Though the U joints felt OK, I decided to replace
them with ones of known quality and condition.
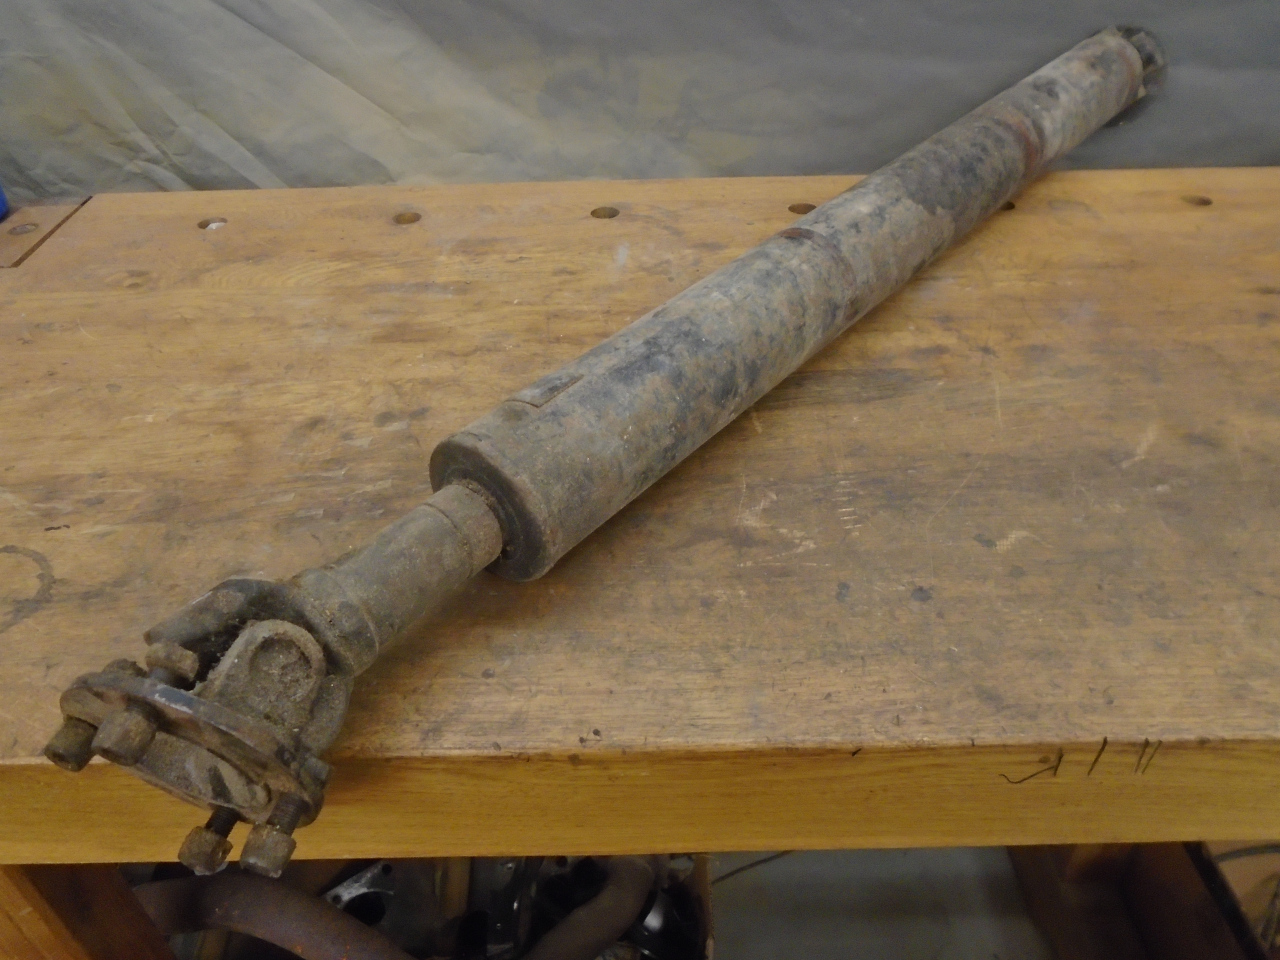
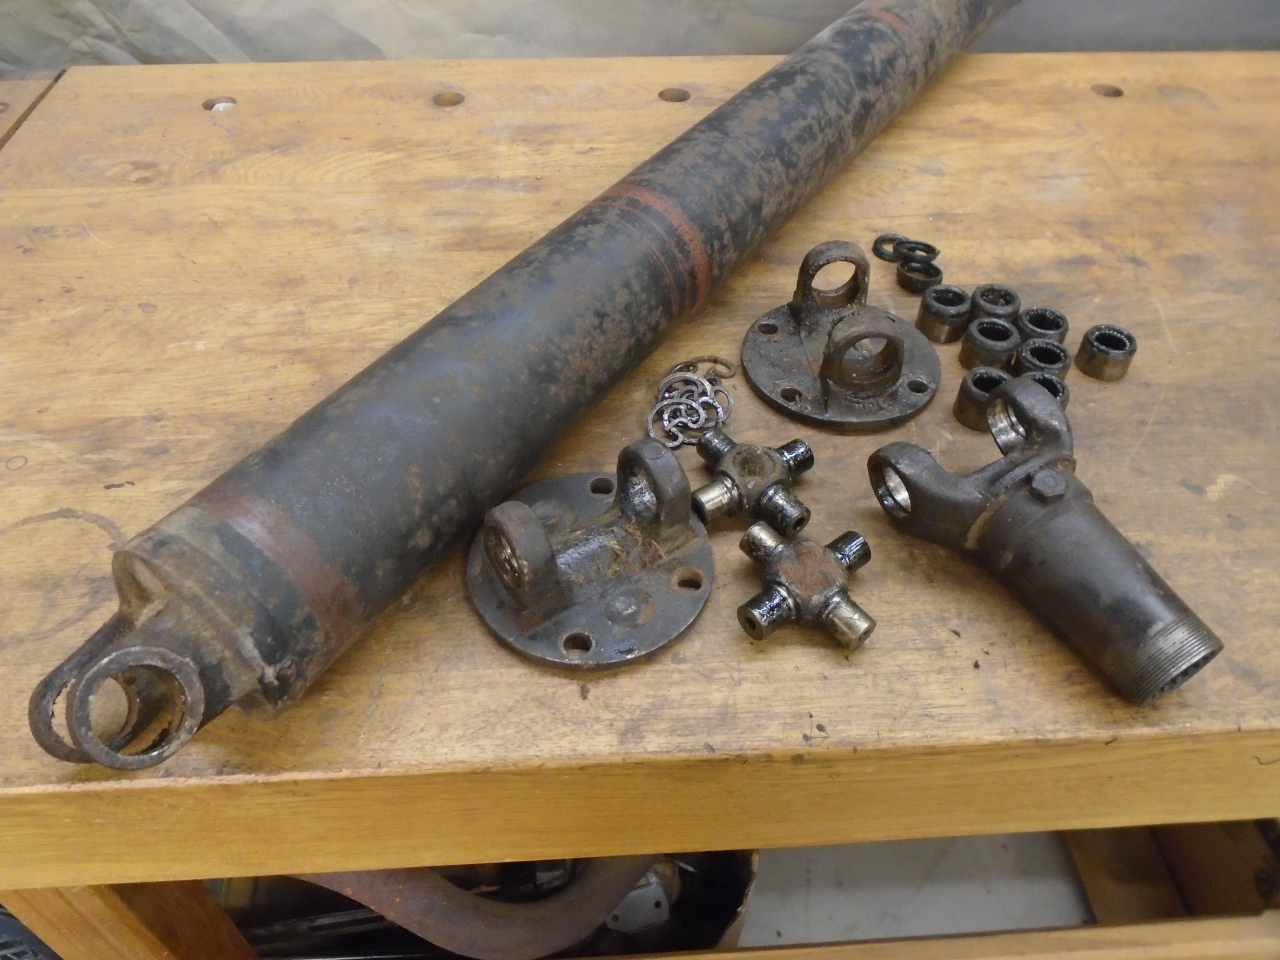
Disassembling U-joints gracefully is an acquired skill that I
don't really have yet. It wasn't pretty, but they did
eventually yield to my brutish efforts.
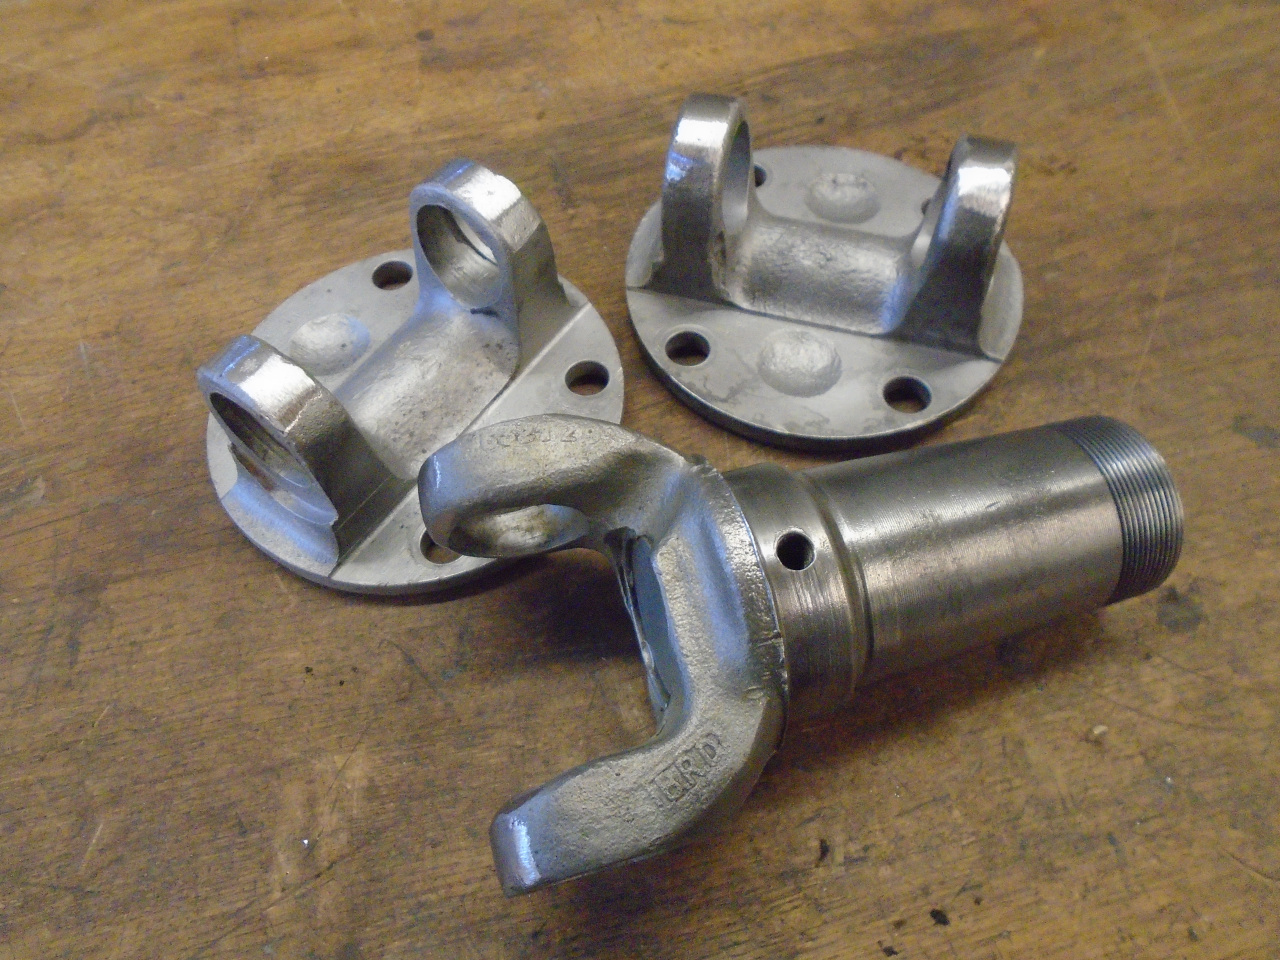
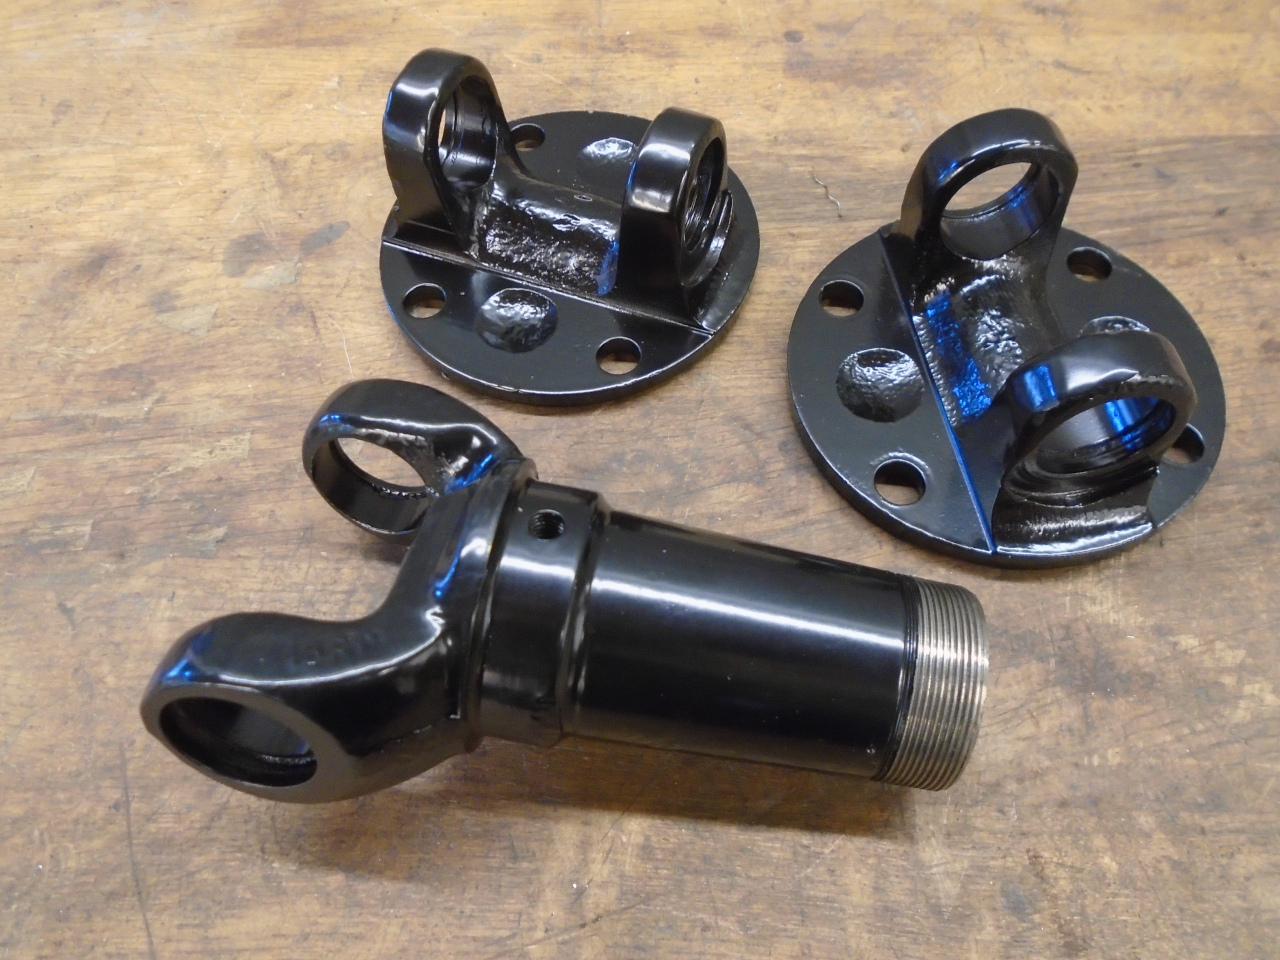
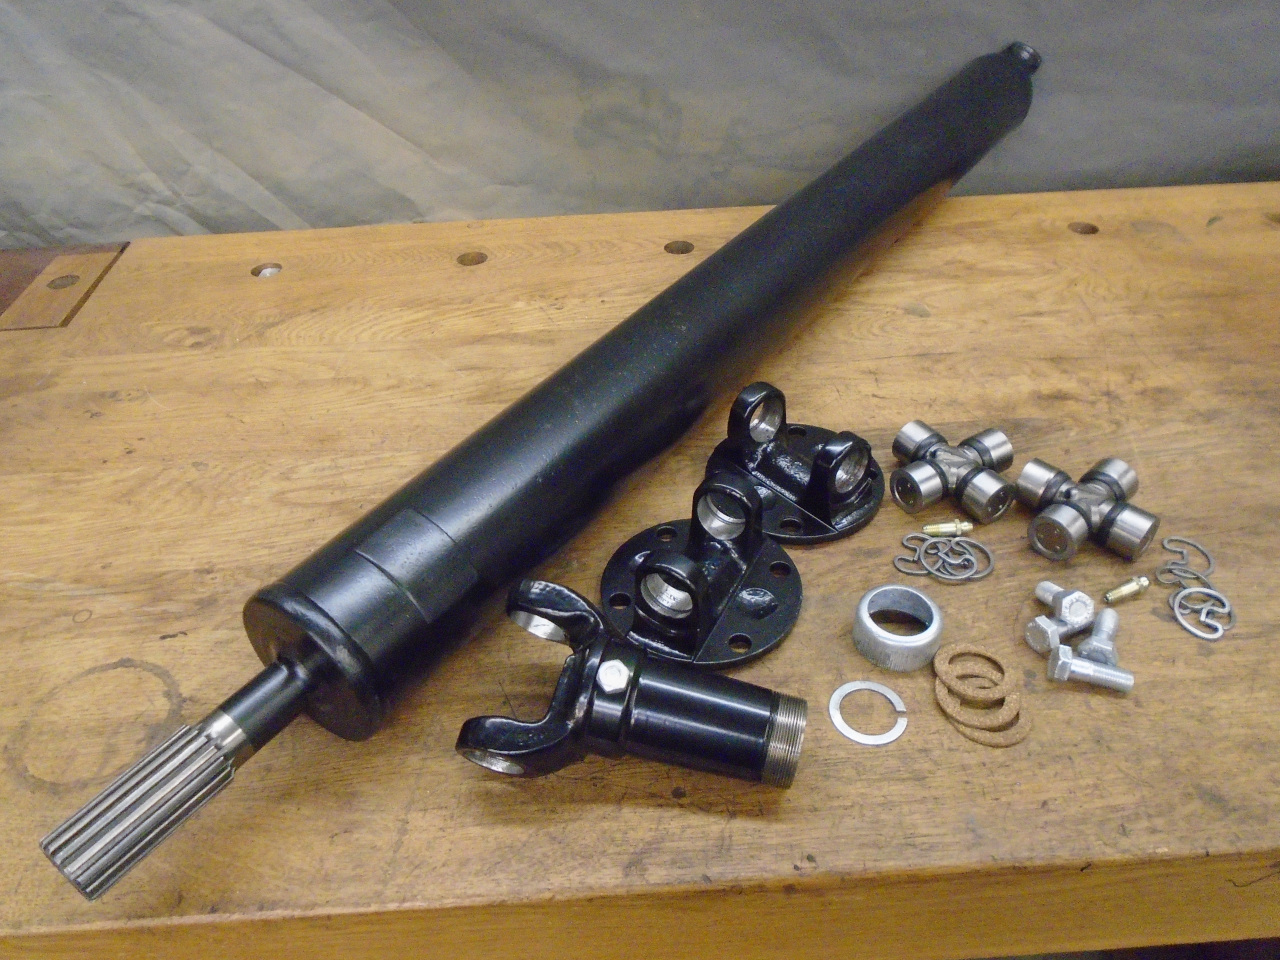
The smaller parts cleaned up well and didn't reveal any damage
that would prevent using them. They got a nice powder coat.
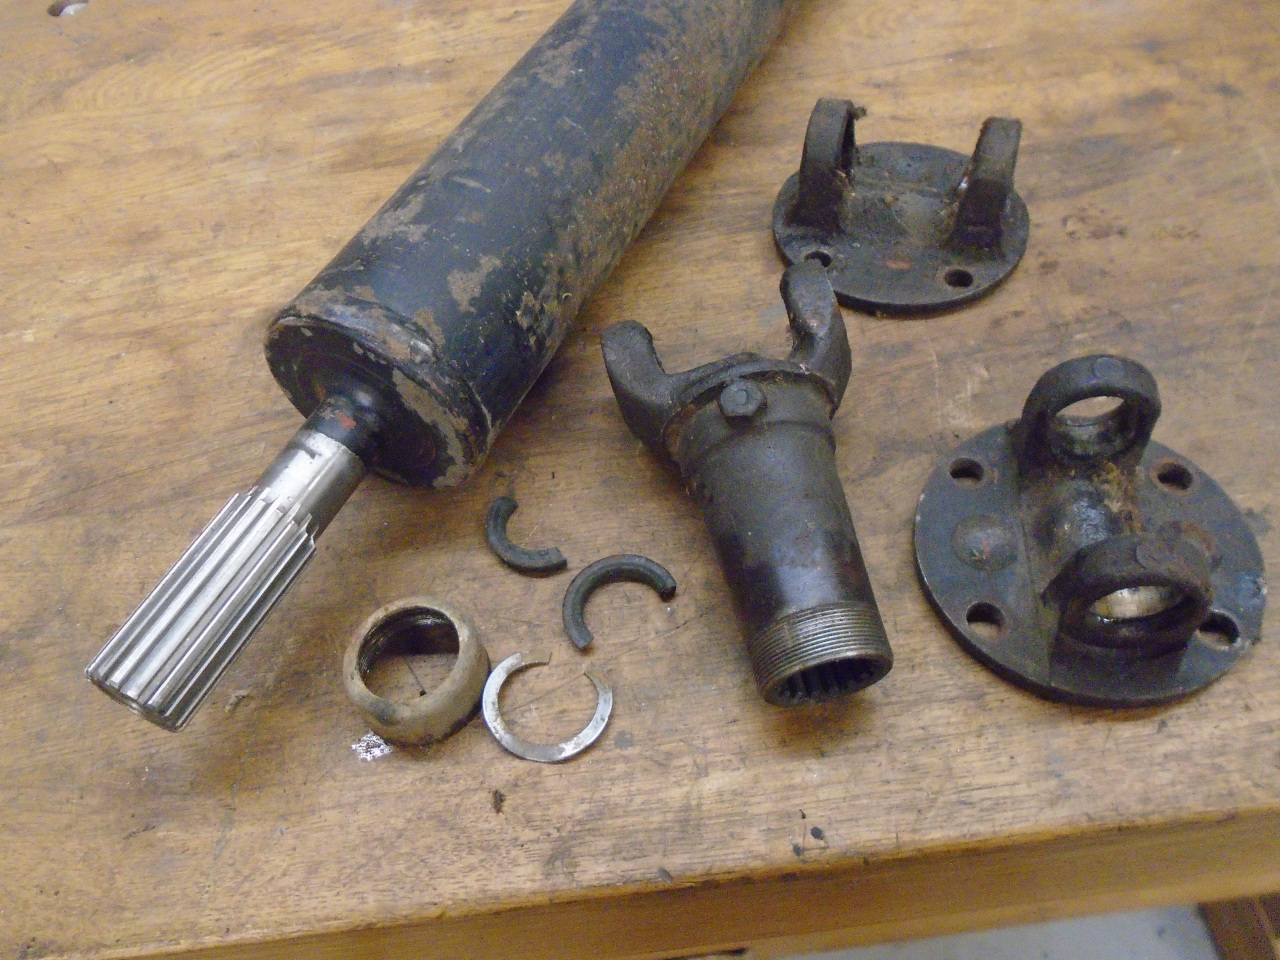
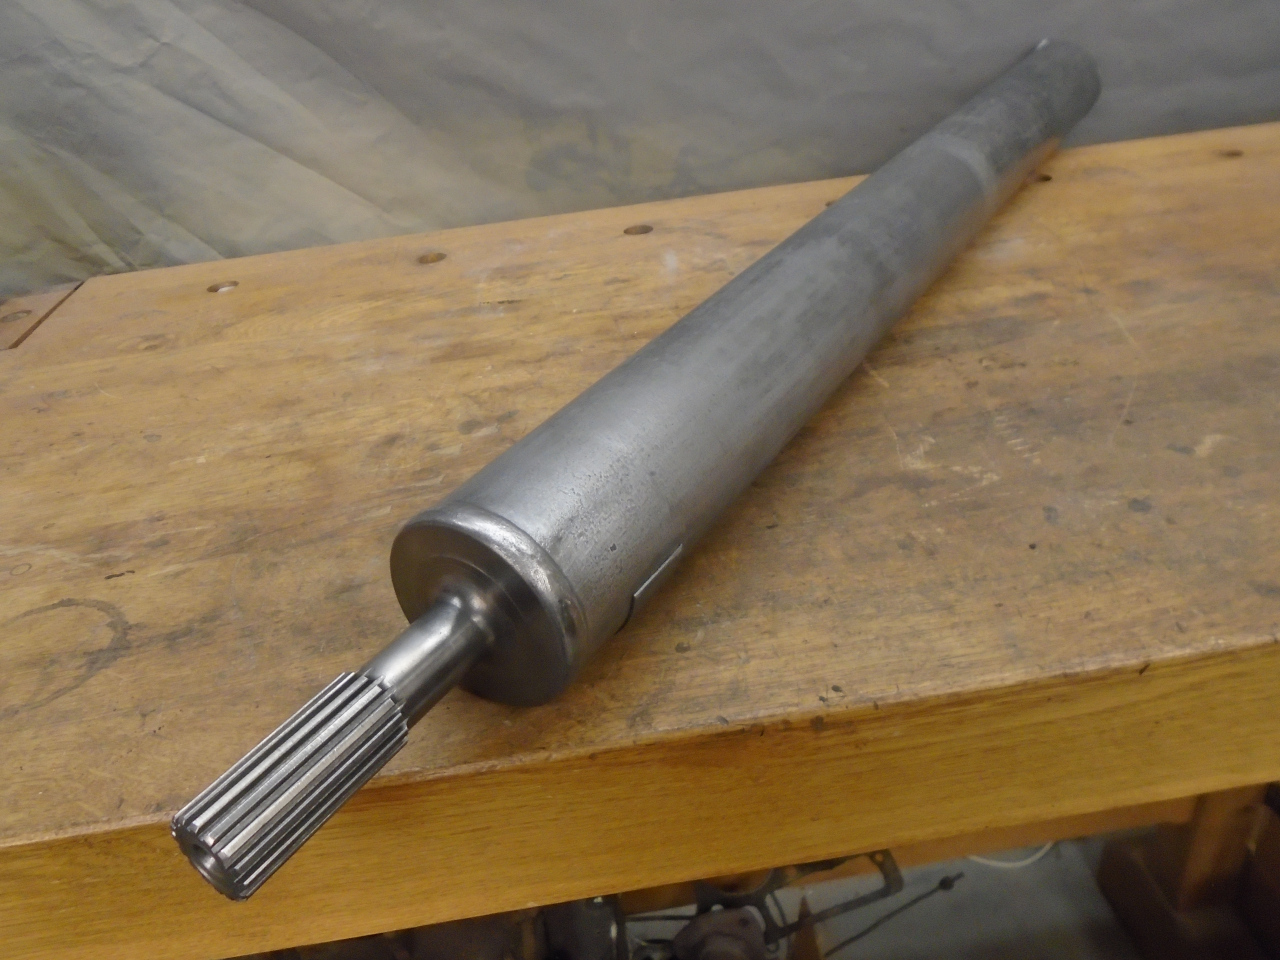
The main shaft had some rust pitting, but the splines appeared
perfect.
There was a deceased seal in the chamber that holds the
splines. It looks like it was cork.
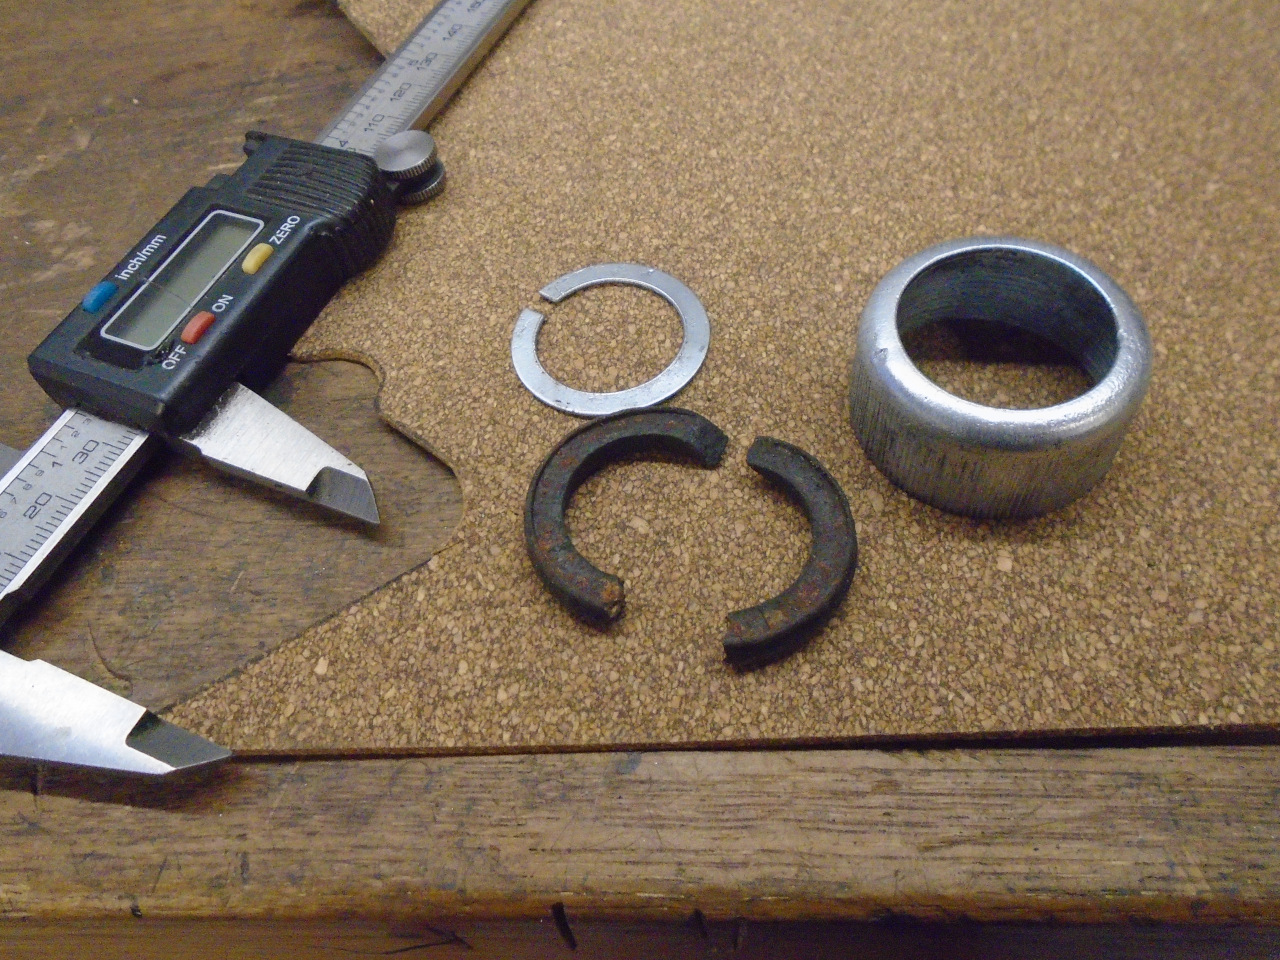
Forensic examination of the seal suggests that it started out at
about 3/16" thick. All I had on hand was some 1/16 cork
gasket material, so I cut three rings of appropriate size.
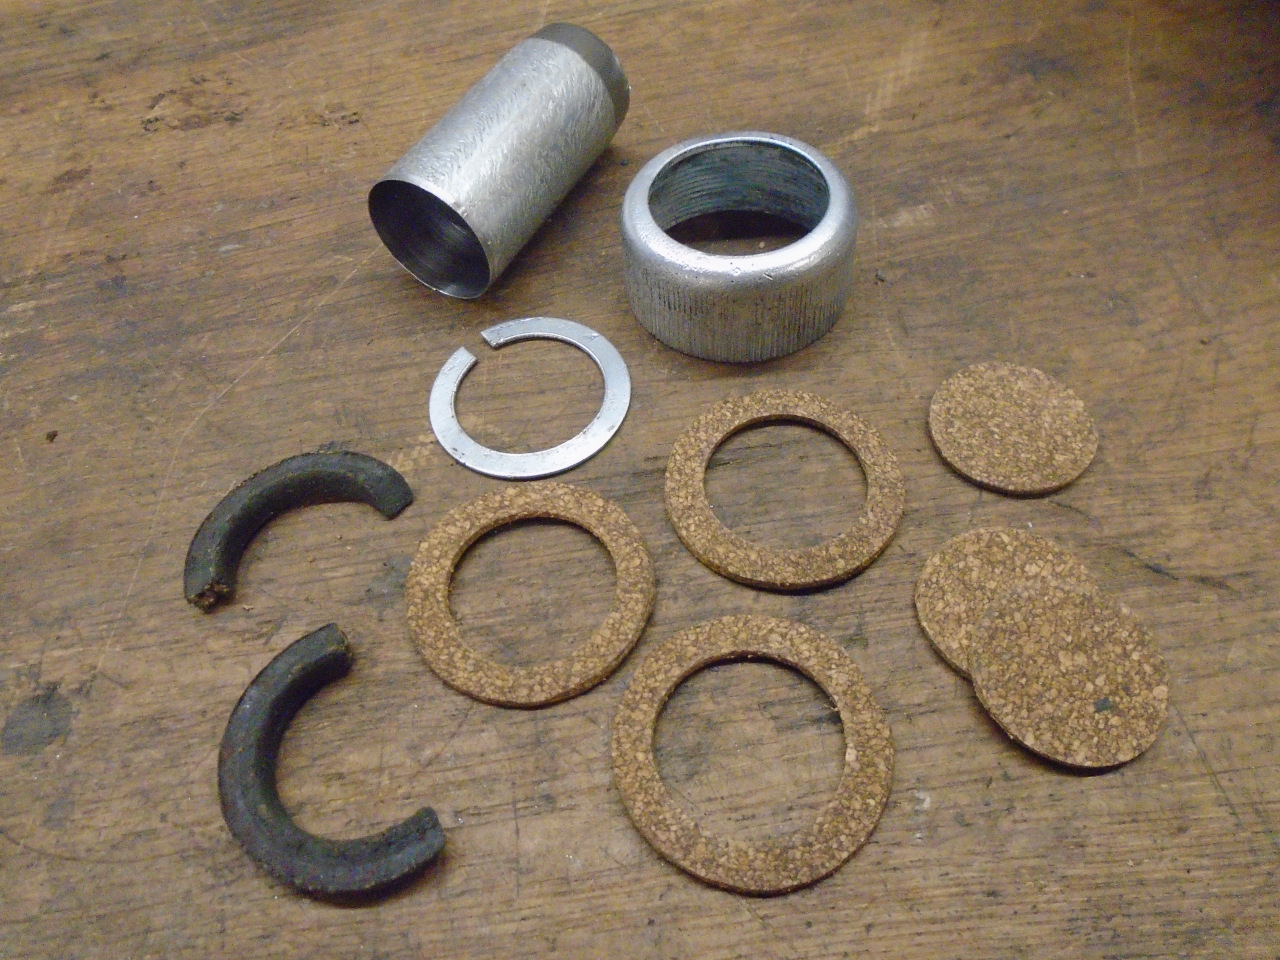
So finally, all the parts were ready for reassembly. U
joints were first.
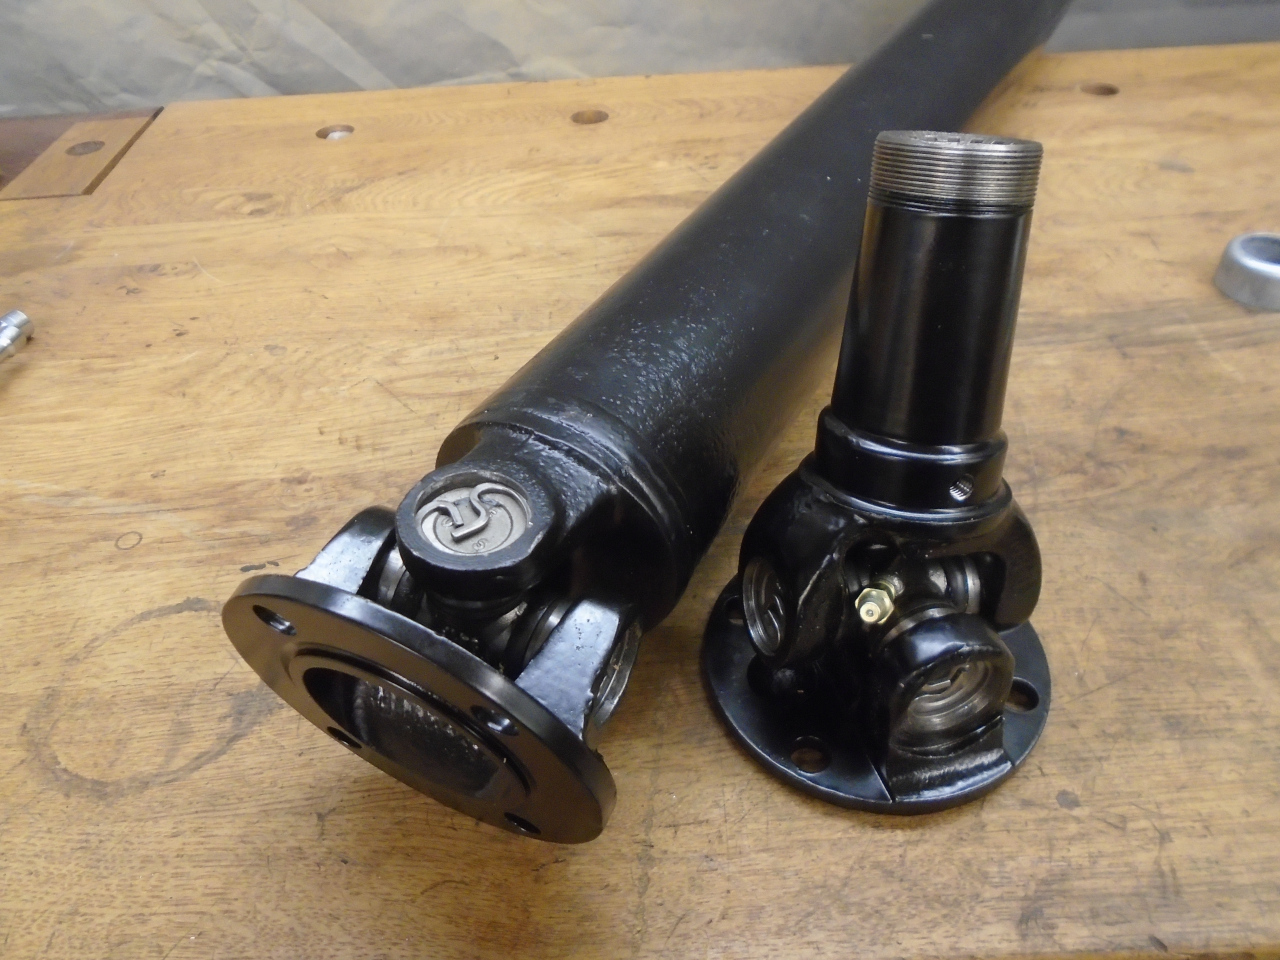
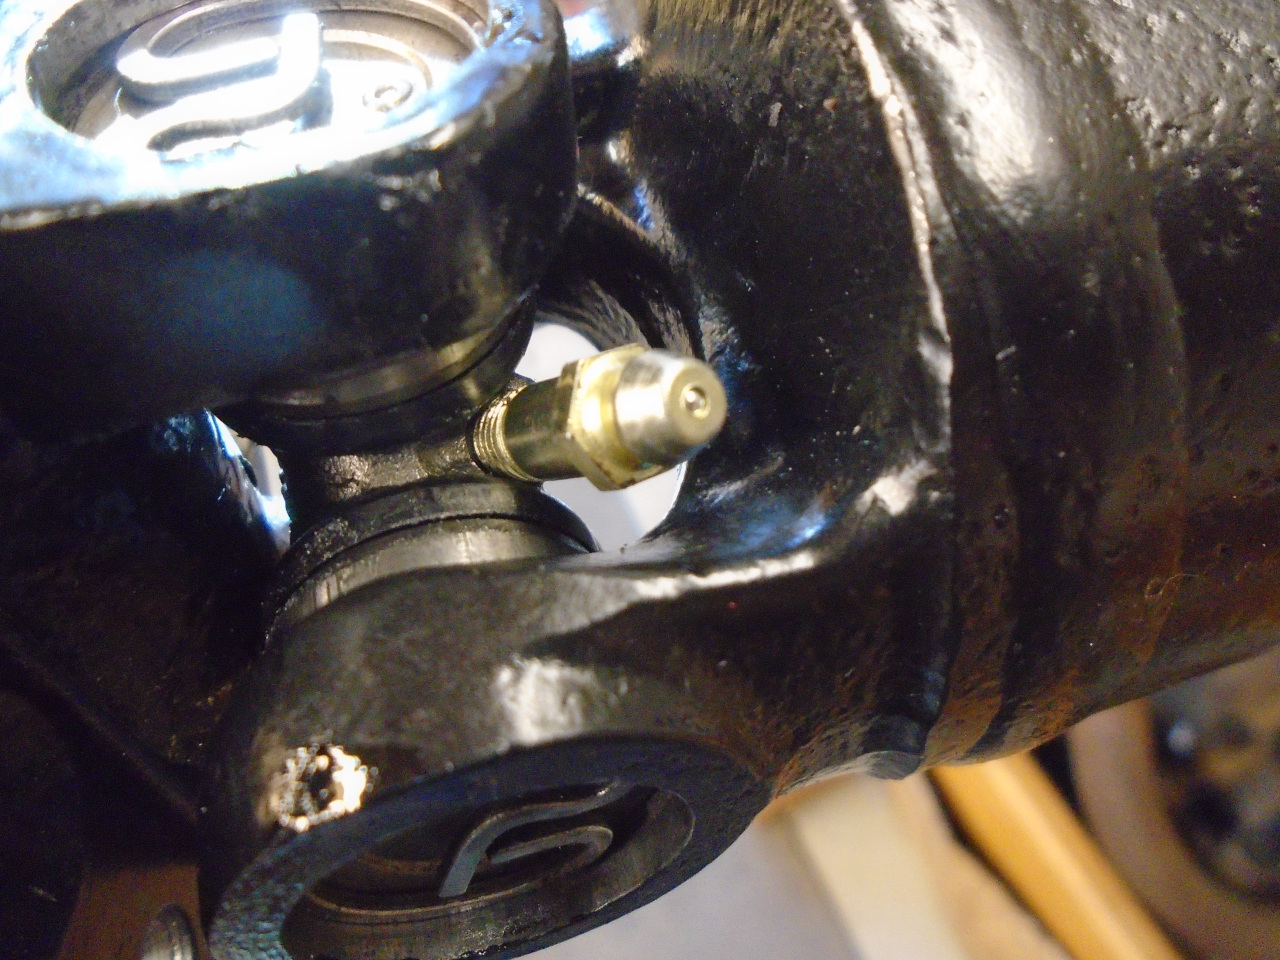
These U joints had grease zerk holes on the cross pieces. On
the spline end of the shaft, there eight ways to install the cross
piece in the yokes, and seven of them are wrong. Only one
orientation will end up with the longish zerk fitting nested in a
cutout in the spline side yoke. Otherwise, the zerk fouls
the yoke on deflection, and will likely get bent or broken off.
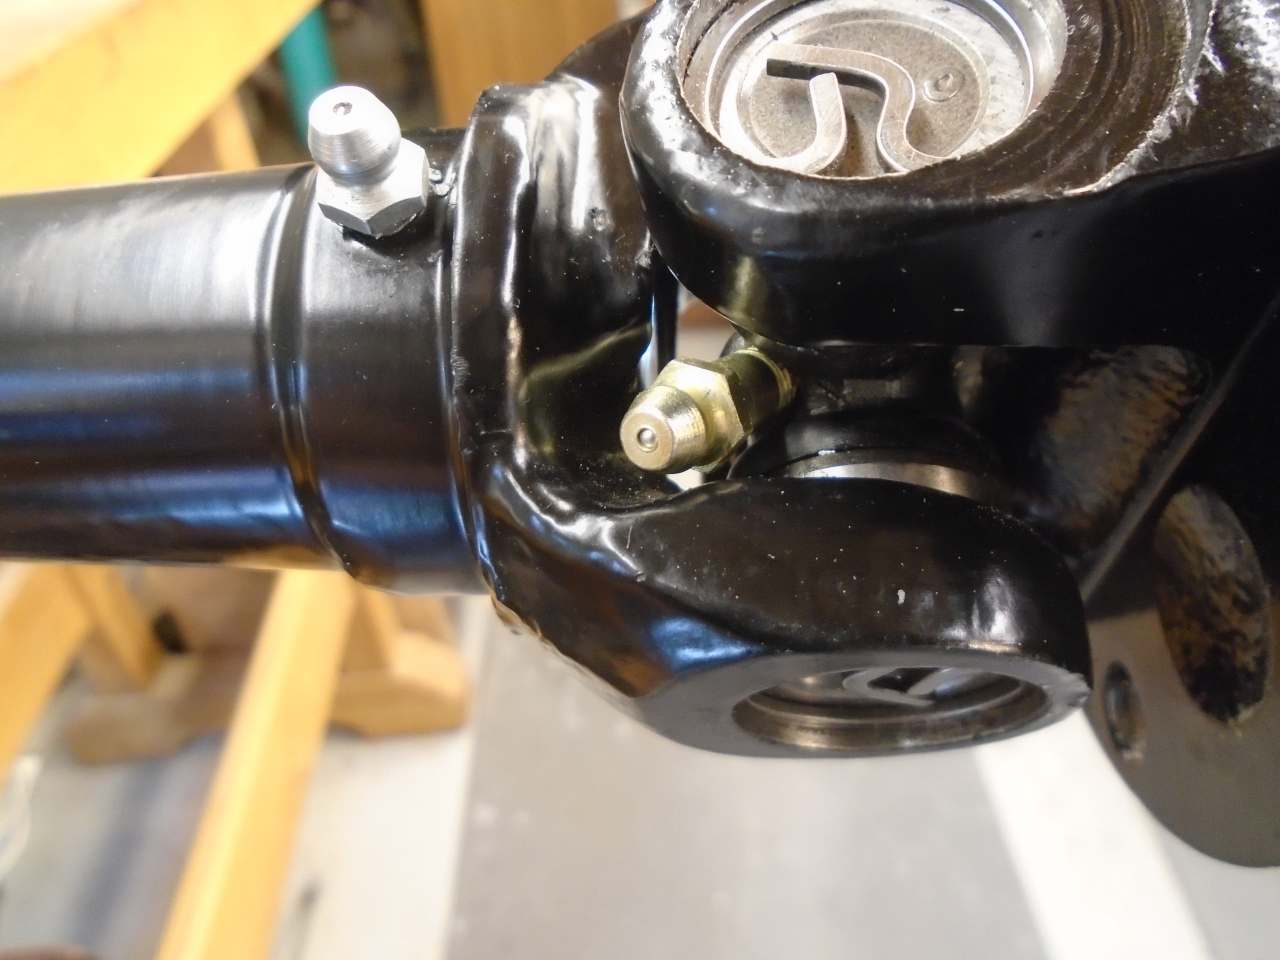
On the other U joint, the odds are a little better. There
are only six wrong orientations. There is a bevel cut on one
side of each shaft yoke arm that gives a little extra clearance
for the zerk.
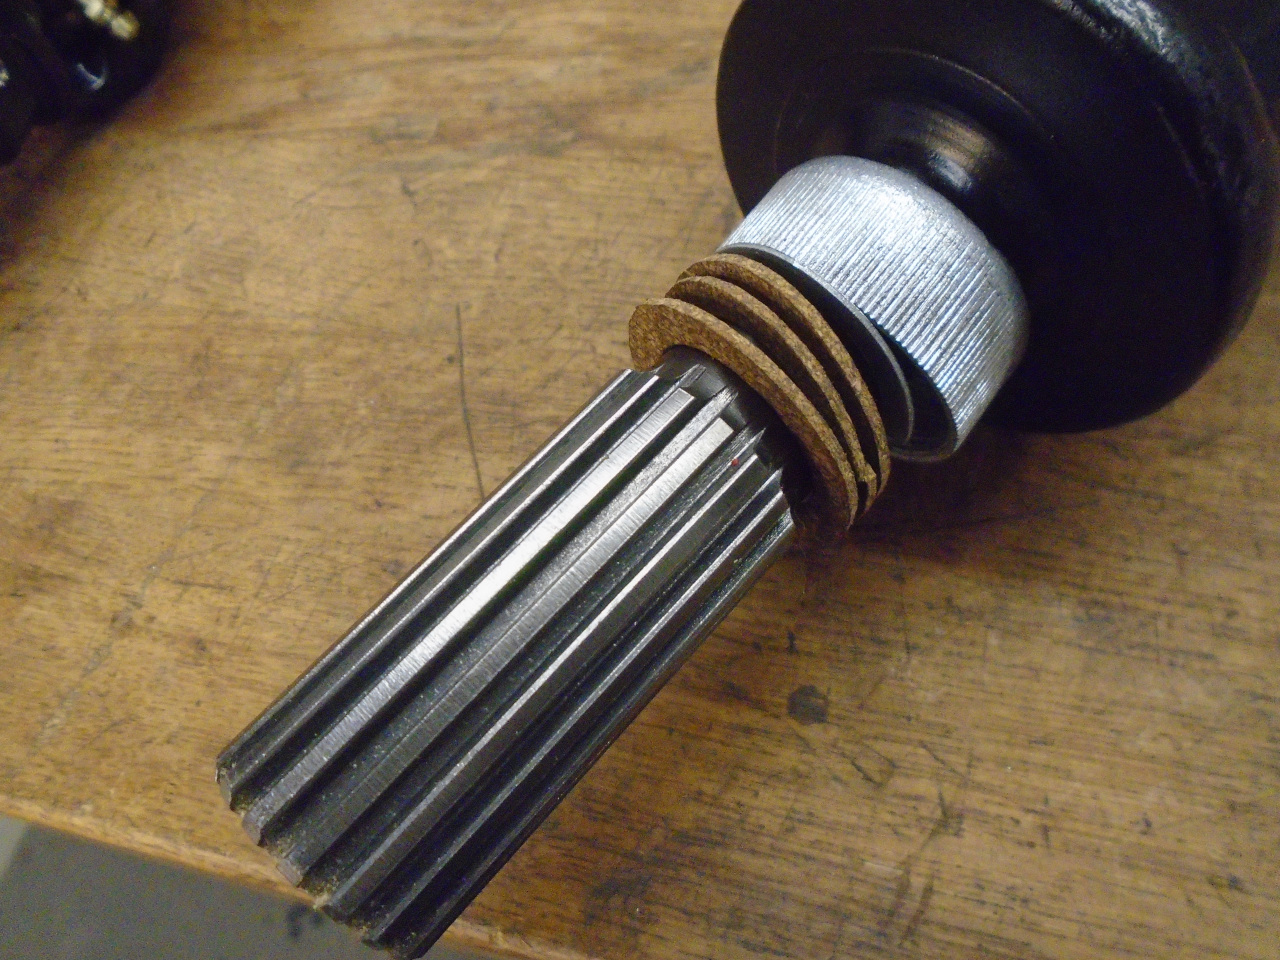
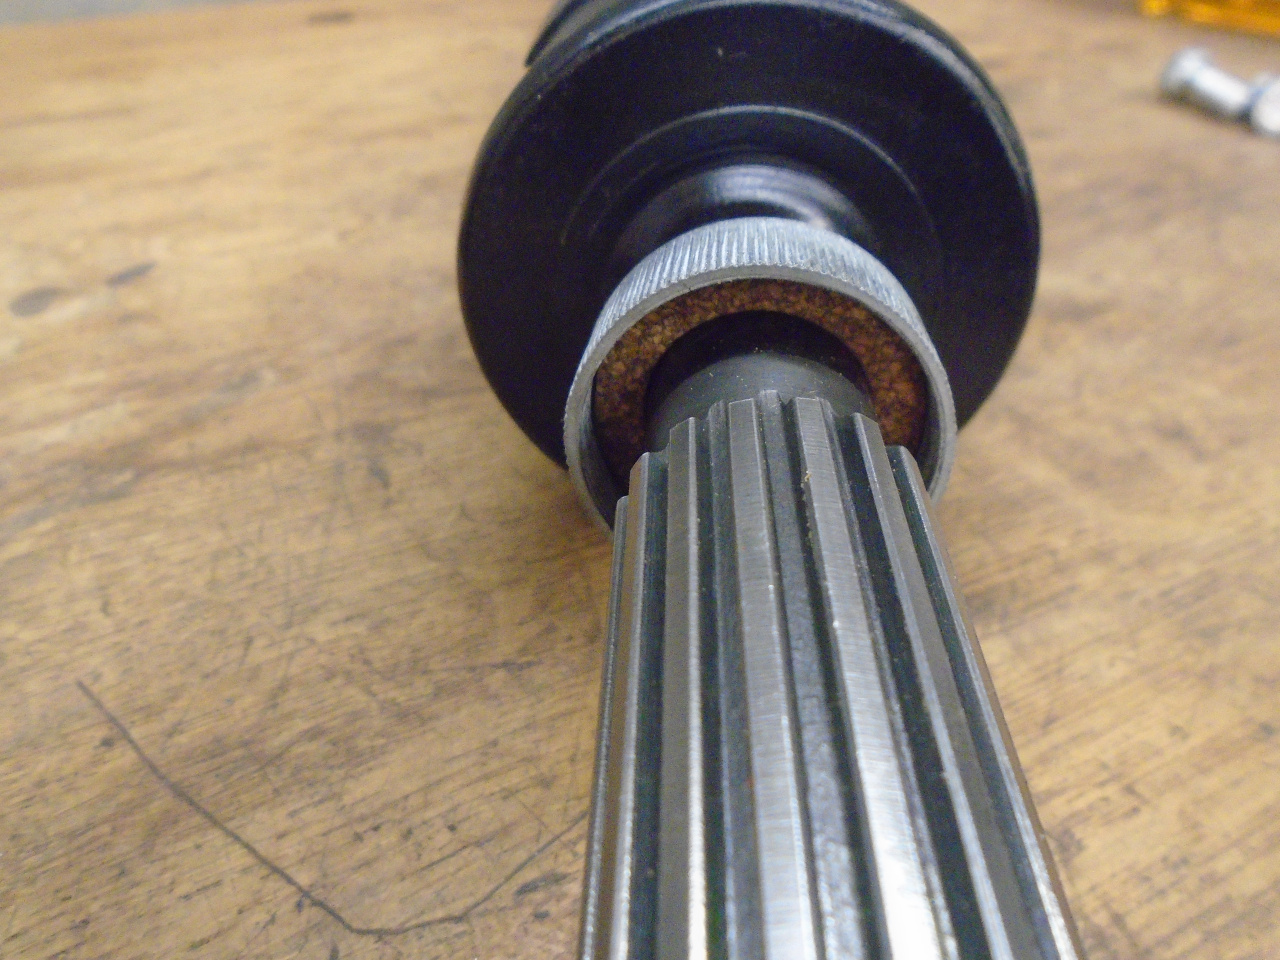
For the spline grease seal, there is a split steel backer ring
that has to go in the cap first. Then the spline seal has to
be cut to fit over the splines, and the original had a scarf joint
to try to limit the grease leakage. With my new triple seal,
I could stagger the joints for an even better seal. It's an
upgrade!
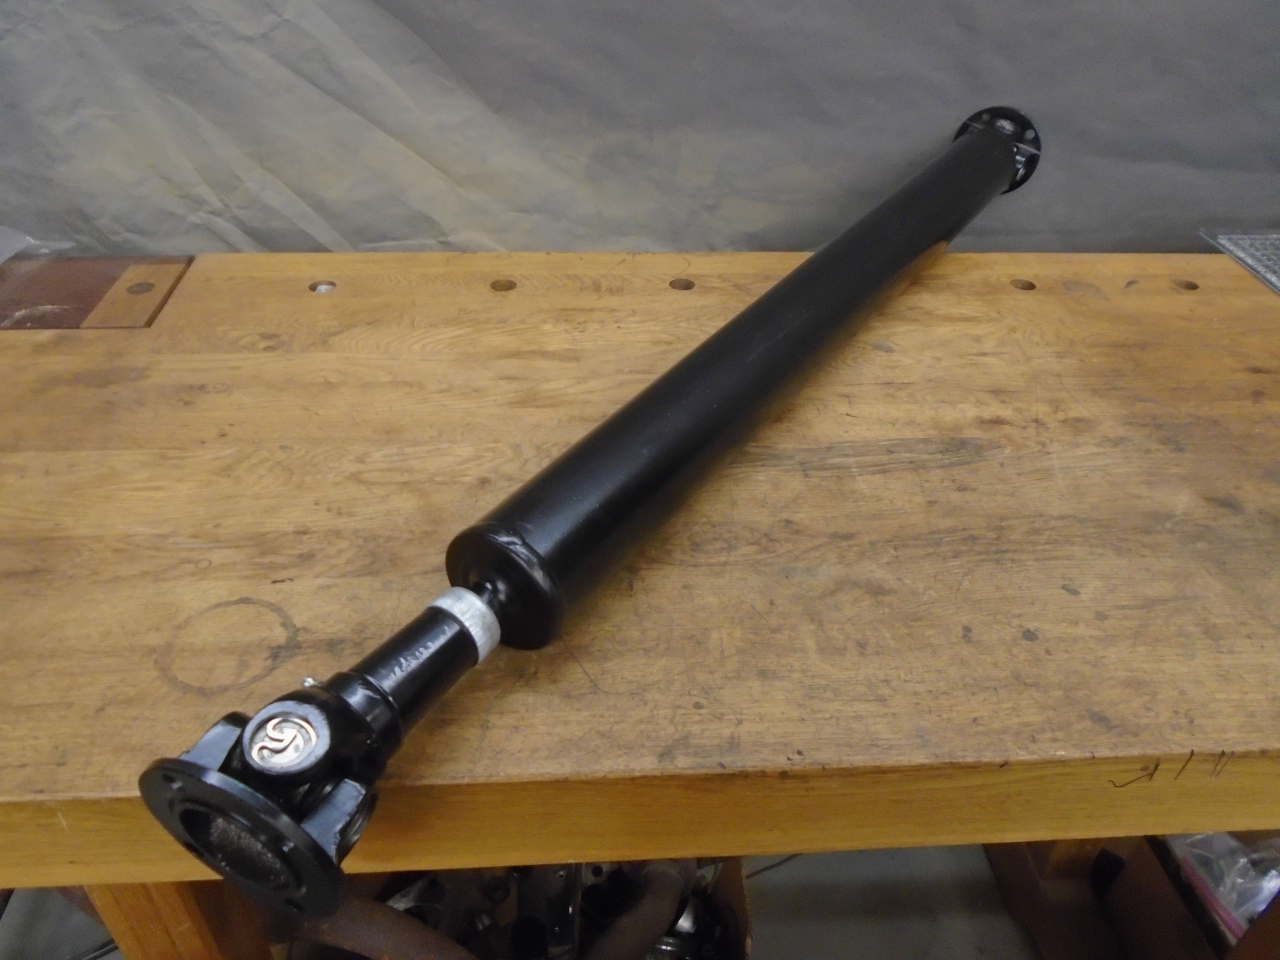
So now this puppy goes on the shelf to wait it's turn for install.
I should mention here that there is one other more serious way
that a propeller shaft can be assembled incorrectly. When a
U joint has an angle between it's input and output axes, as it
normally will in use, it will impart a distortion to the
rotation. That is, the output rotation is not a perfect
reproduction of the input rotation. There is a periodic
variation of the output angular motion. The good news is
that, under specific conditions, a second U joint will exactly
cancel these distortions. This is why U joints are usually
found in pairs. One of these specific conditions is that the
joints be "phased" correctly. In correct phasing, the
driving yoke of one joint must be rotated 90 degrees from the
driving yoke of the other joint. Otherwise, the distortions
double instead of canceling, causing driveline vibration.
For those with an unwholesome desire to see some of the math
associated with this situation, and some of the other conditions
that have to be met, look here.
Further, I was very careful to mark the parts on this shaft so I
could reassemble it with everything in the same relative place as
original. By doing this, I feel I obviated the need for
balancing the shaft. If I'm wrong, removing he shaft is not
that difficult.
This was a pretty quick, fun project. It only took a few
hours, and the cost was around $40 for the U joints.
Comments to Ed at elhollin1@yahoo.com
To my other GT6
pages.