To my other GT6
pages
June 2, 2020
A & B Posts, Sills, Inner Wings
With the right side floor
finished, I had a good foundation for the inner sill, but
the A and B posts really needed to be repaired first, so I
pulled the car outside, and blasted those areas. In
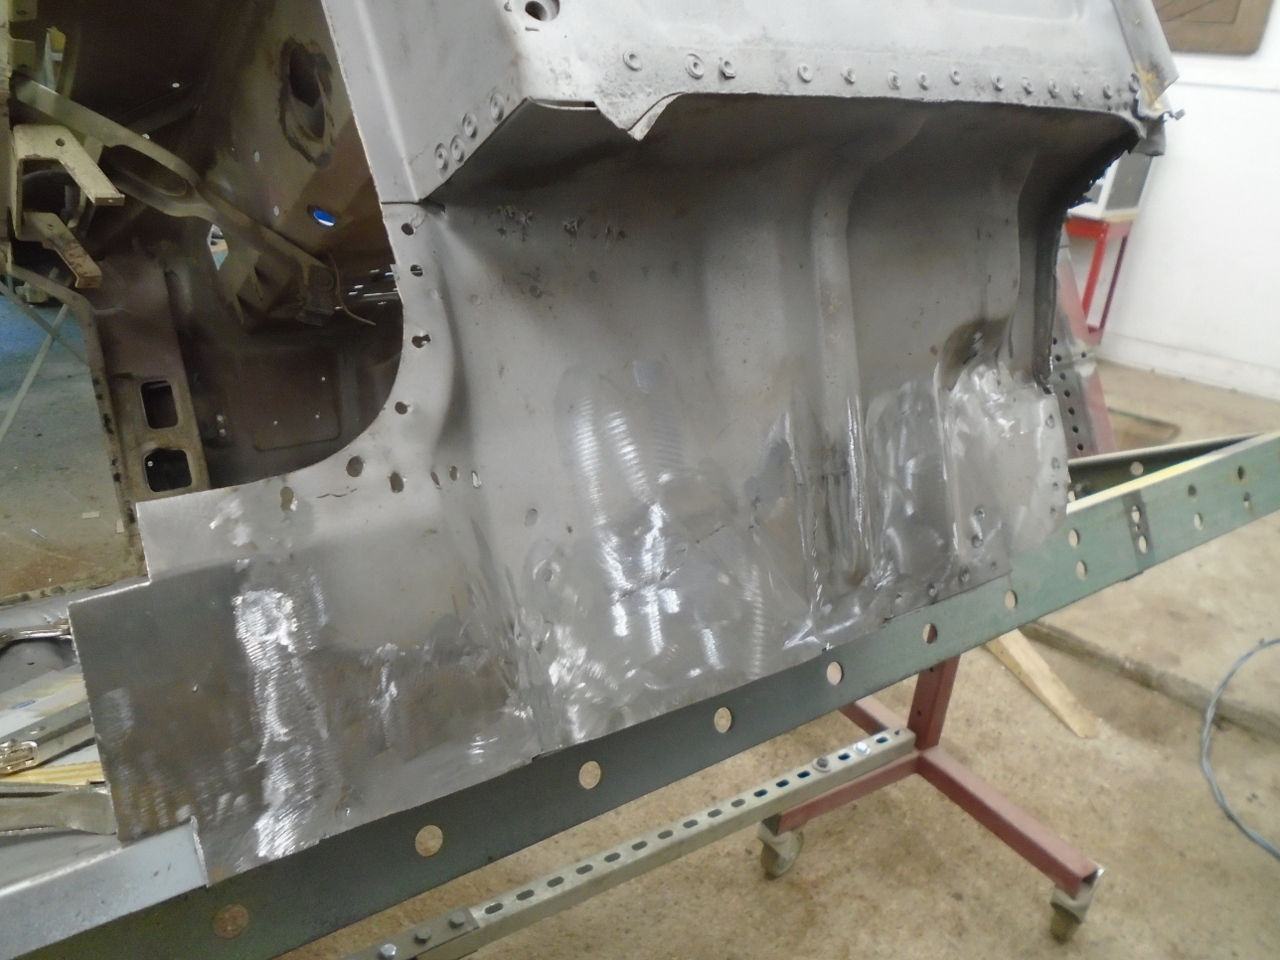
GT6-speak, the "A post" is really everything in front of the
door. The lower three of four inches of my A post was
essentially missing. The new floor flange at least showed
what had to be done.
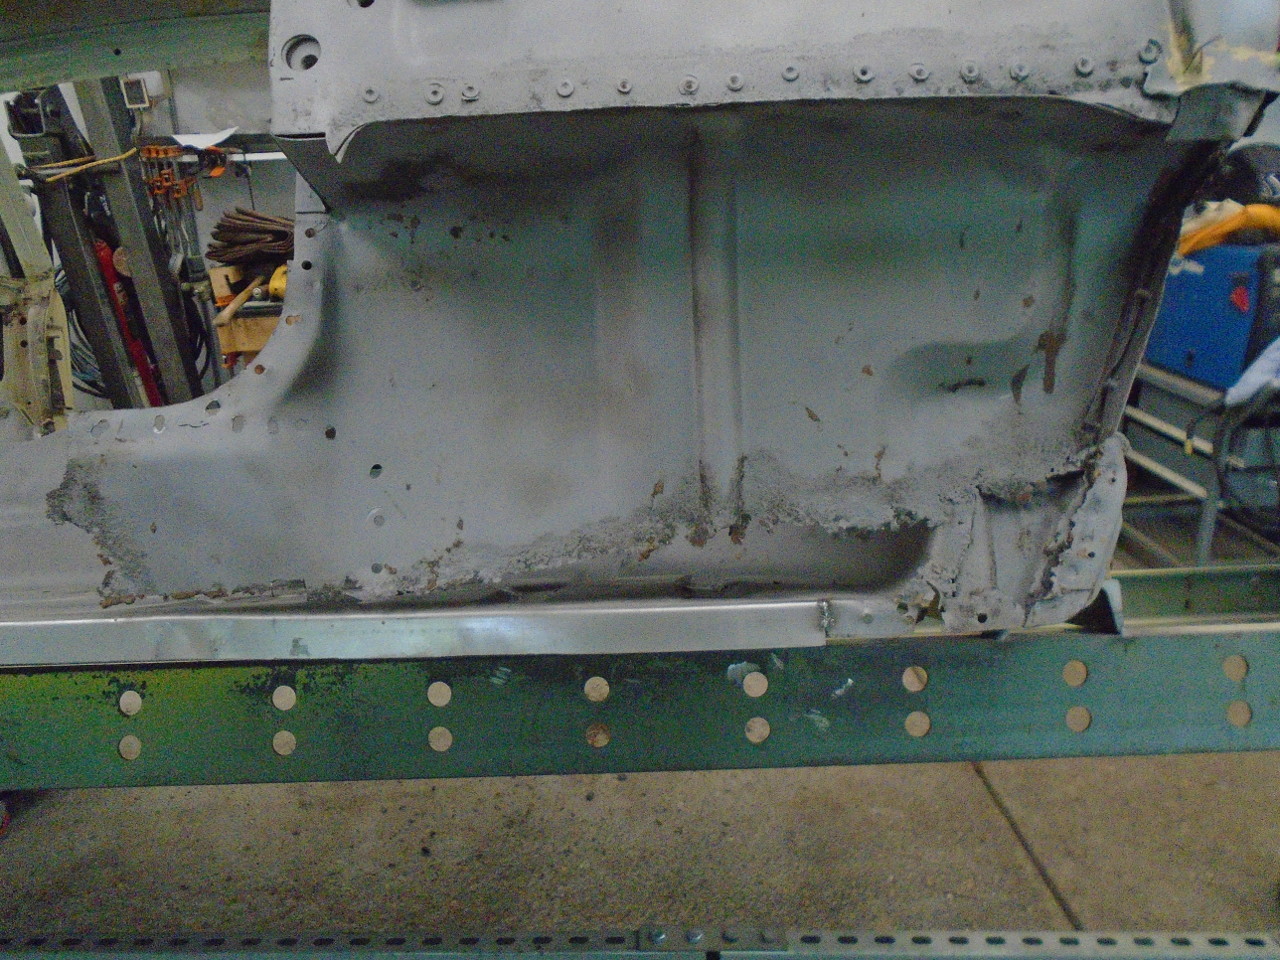
A little piece of the floor had to be patched, and the flange
fixed.
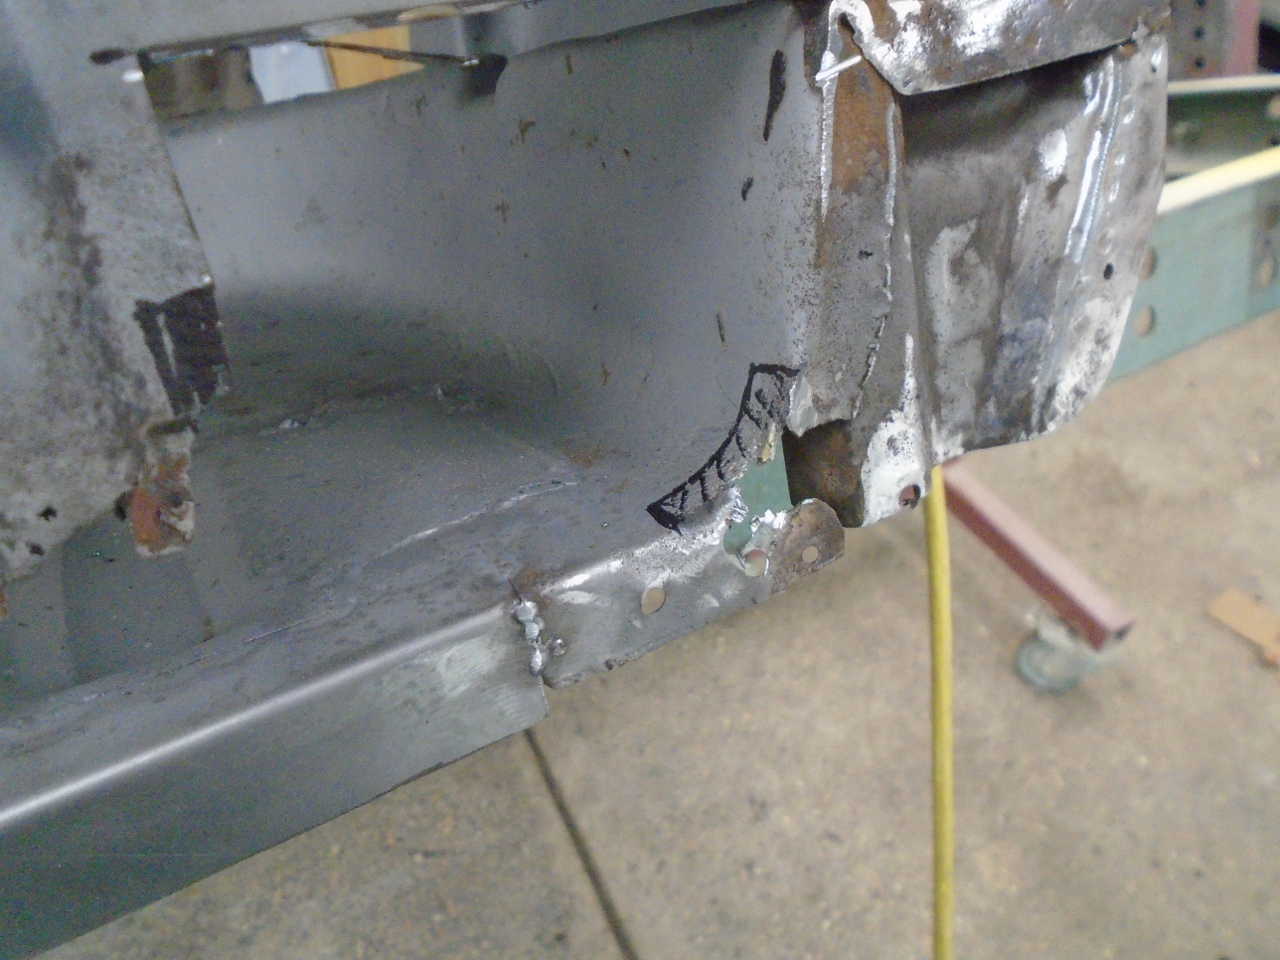
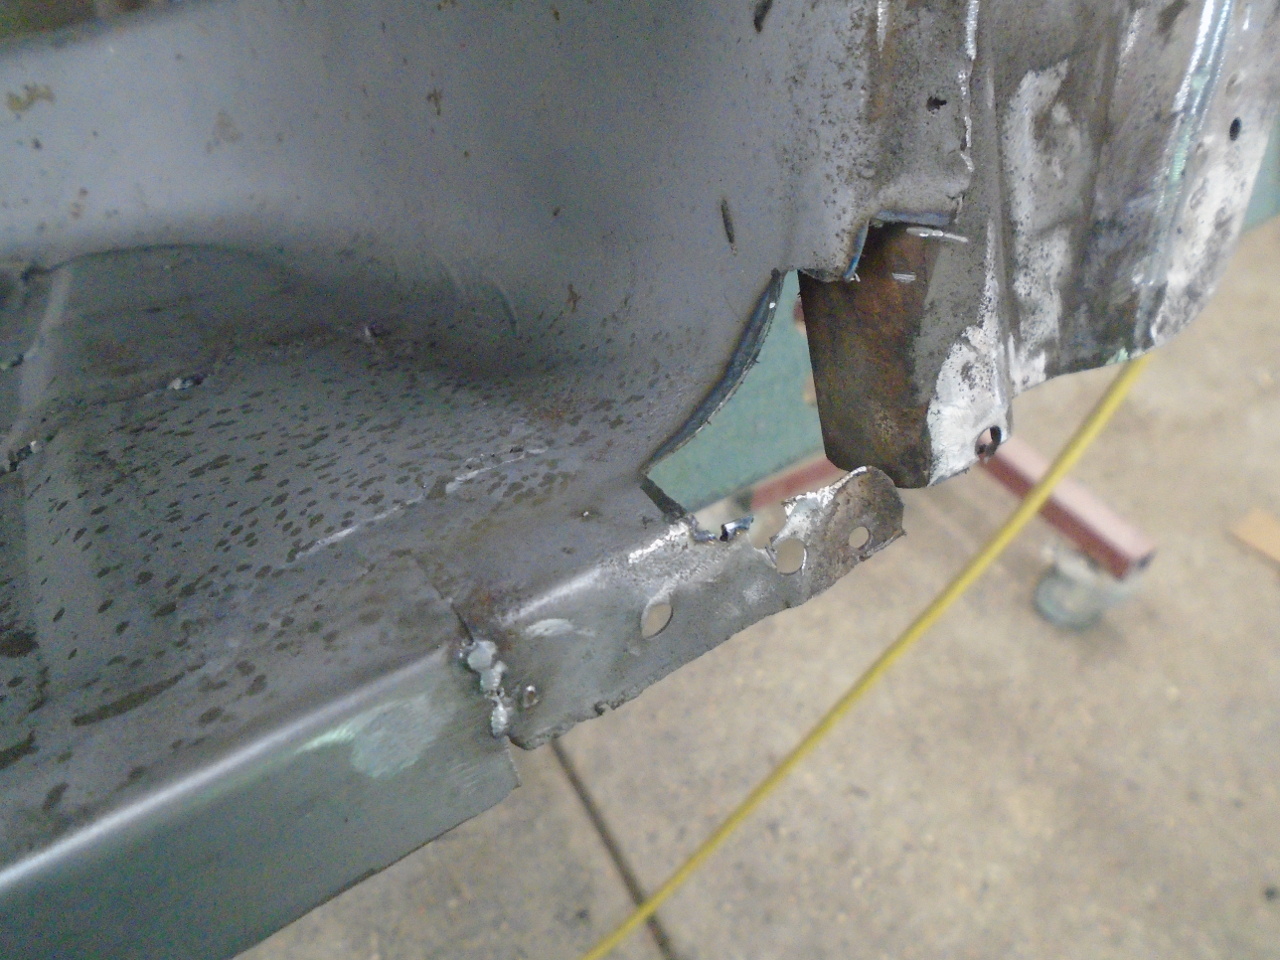
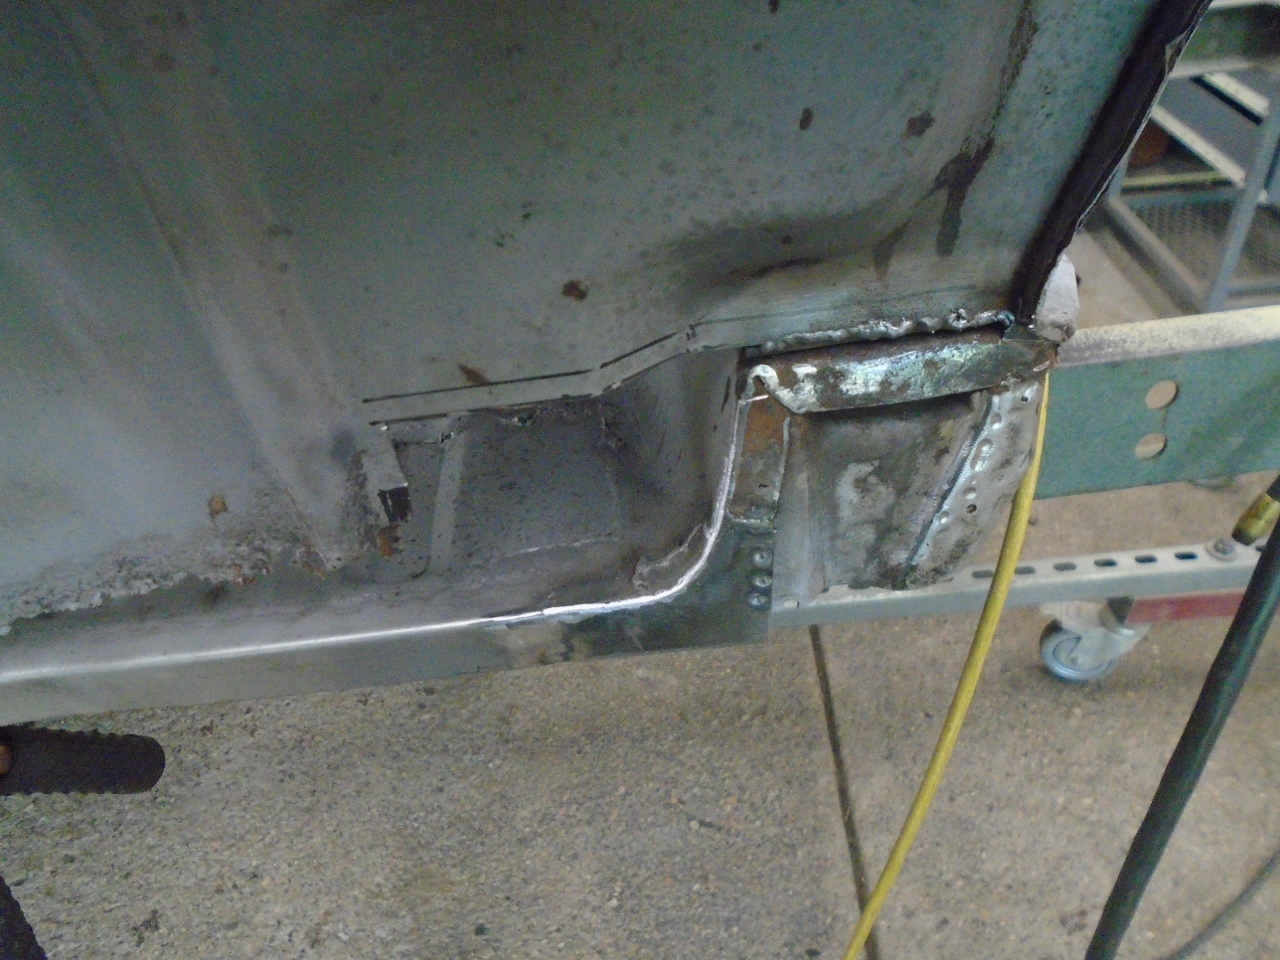
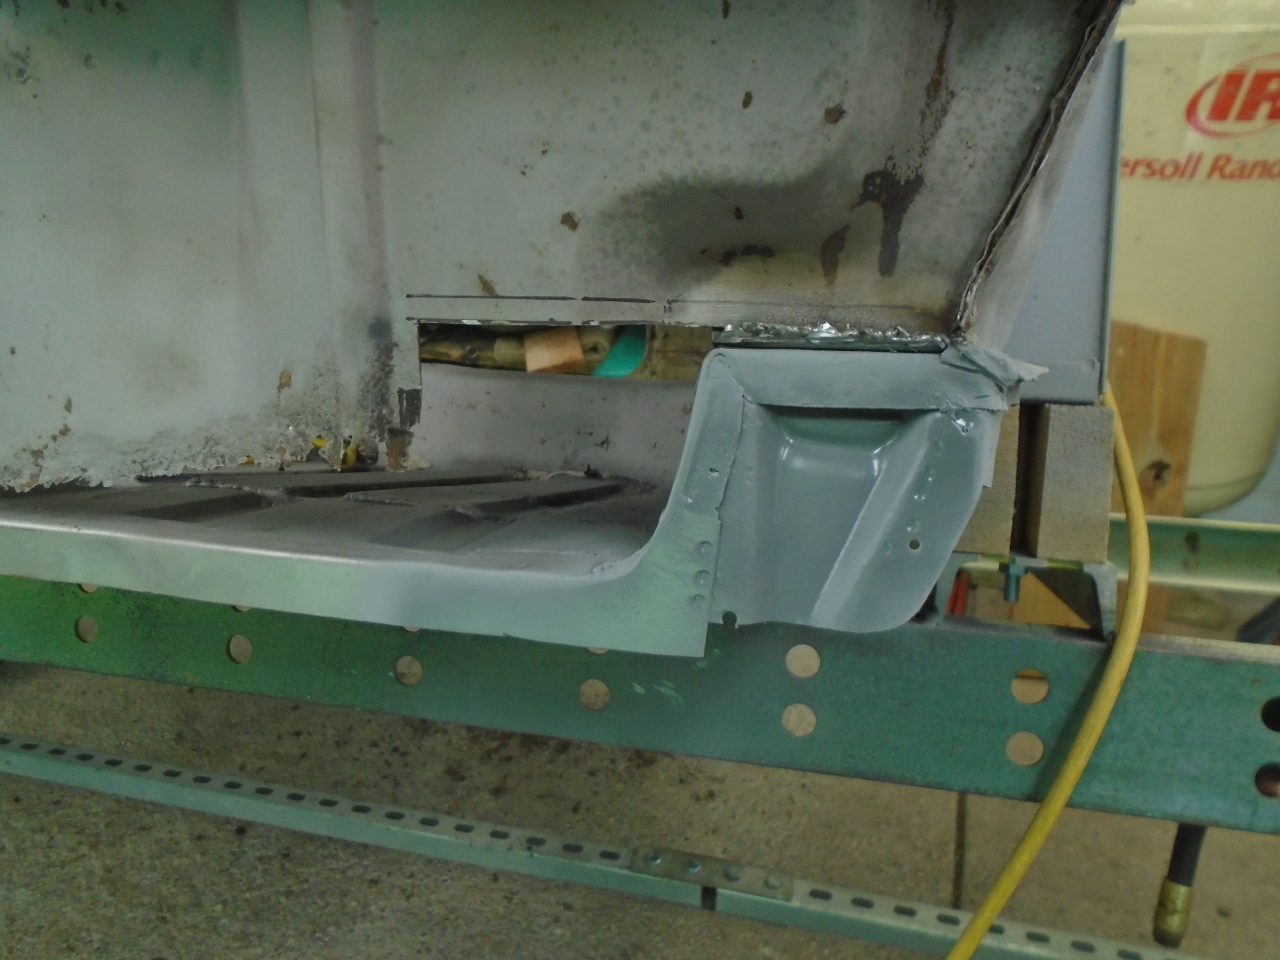
There is actually quite a bit of shape in the piece of the A
post that I needed to replace--several angles, and a sort of
half-round channel feature. I briefly considered trying to
make it all in one piece, but finally wimped out and decided to
make patches with one feature each. A man has to know his
limitations.
The pieces with the angled bends weren't too challenging, but
the half-round feature had me spooked. The fact that it
ends in mid-panel freaked me a little. I have a bead
roller, but it has no rollers that matched the contour, and no
good way to do a nice end shape.
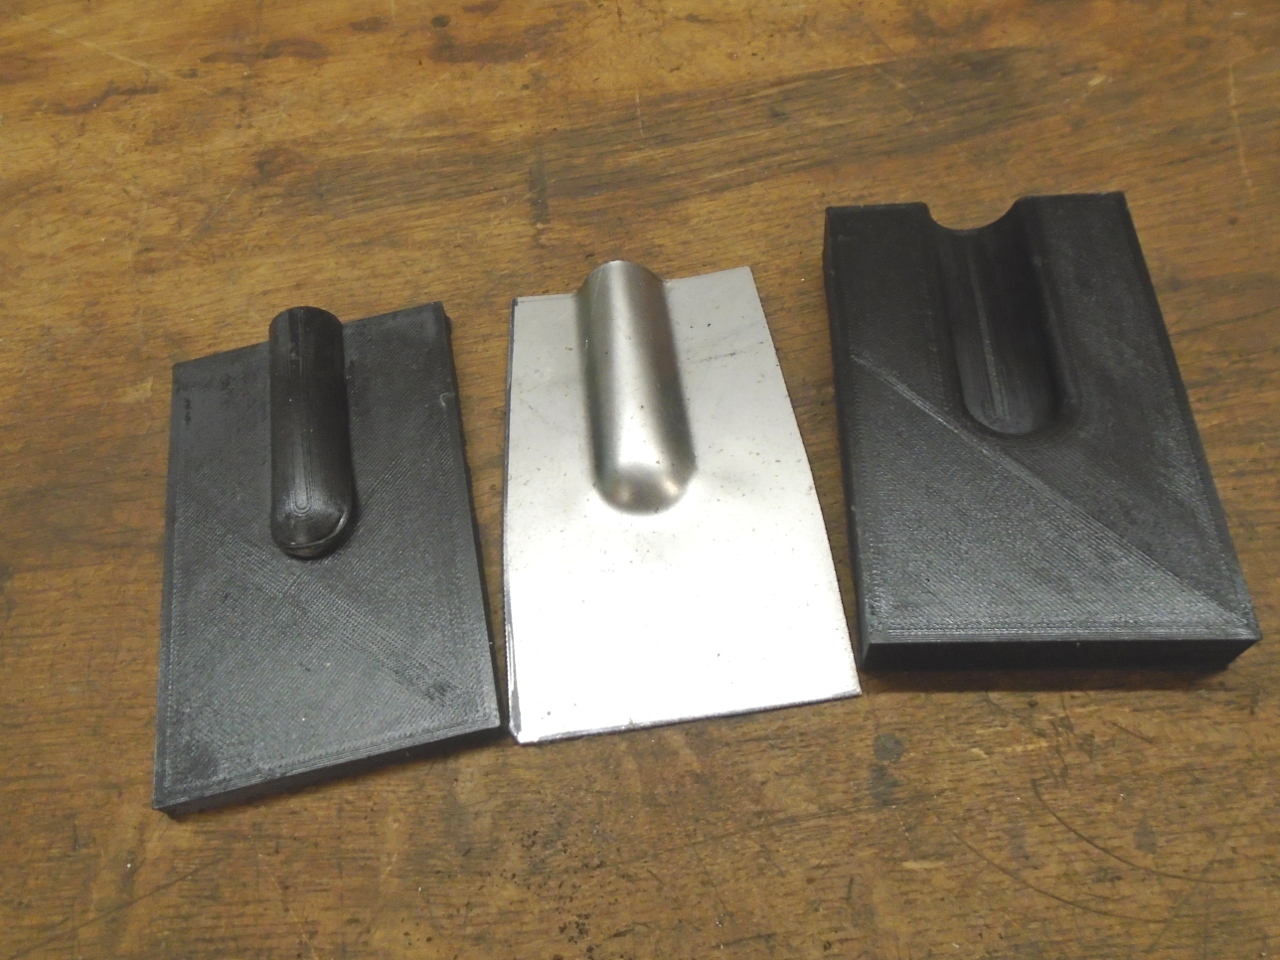
Enter the 3D printer to the rescue. I printed a simple
tool and die that did the job. Certainly not production
tooling, but for one or two pieces, it worked great.
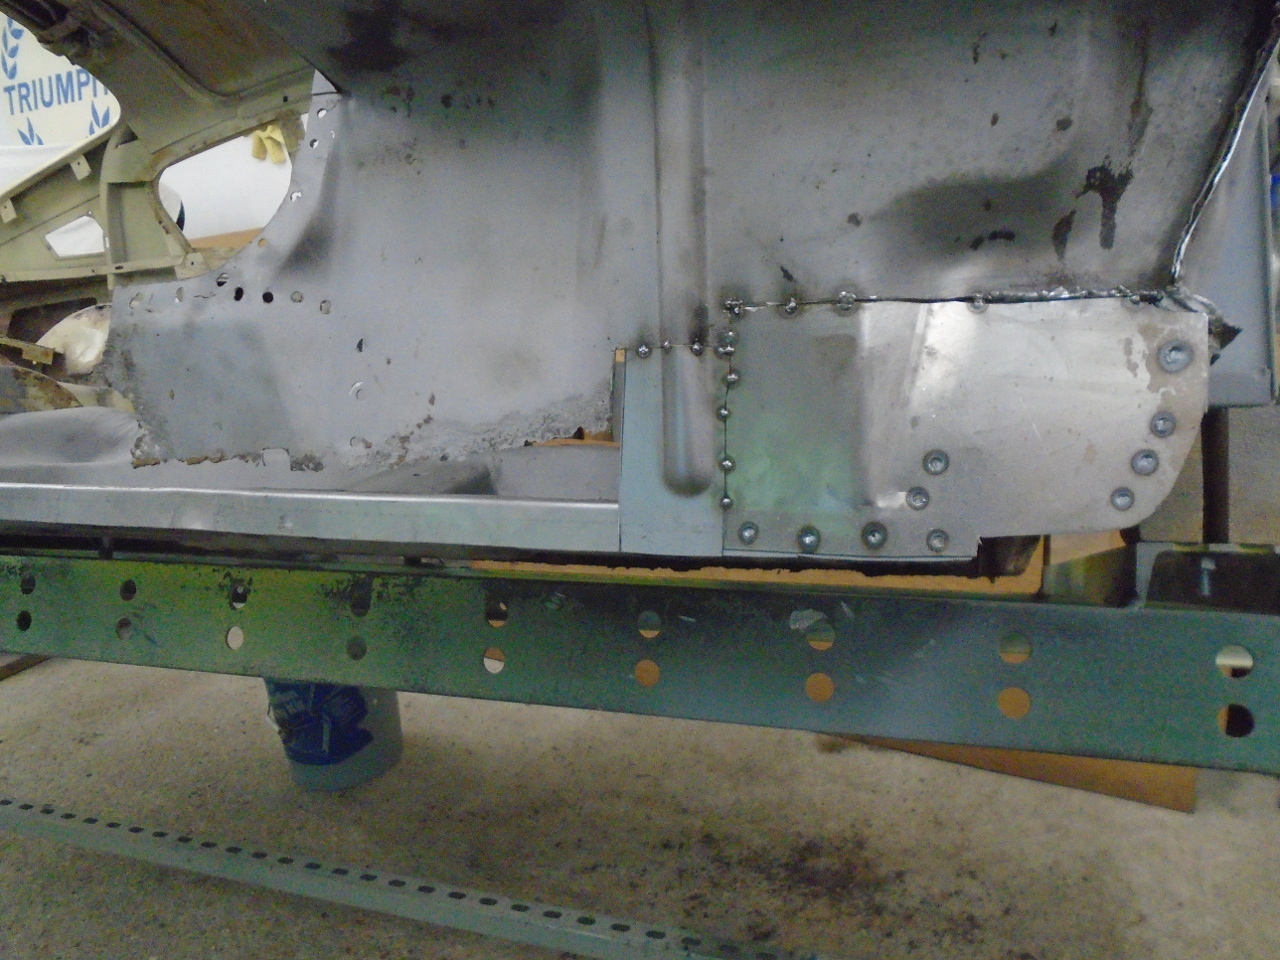
The rest was easy by comparison.
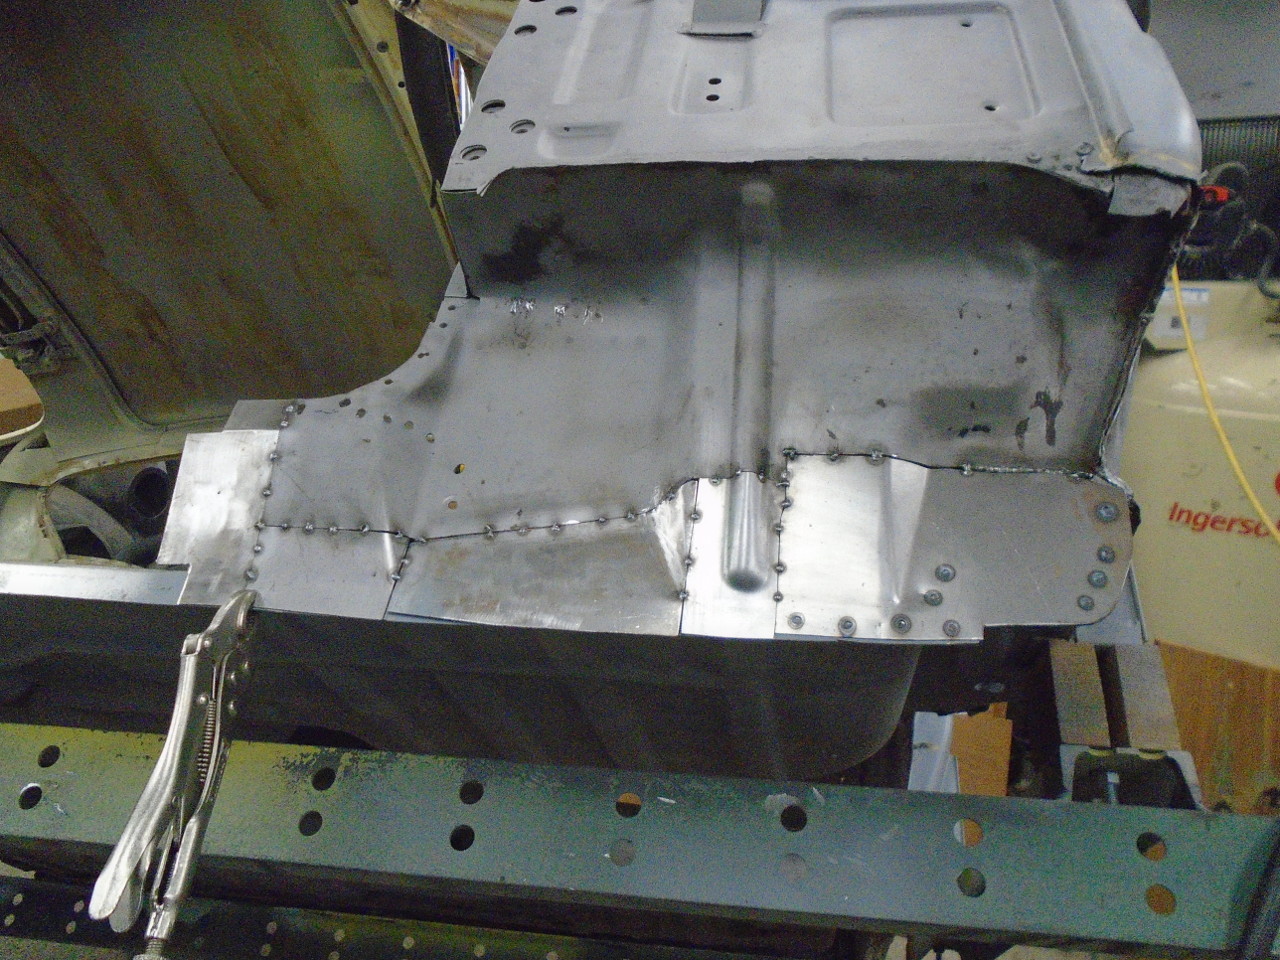
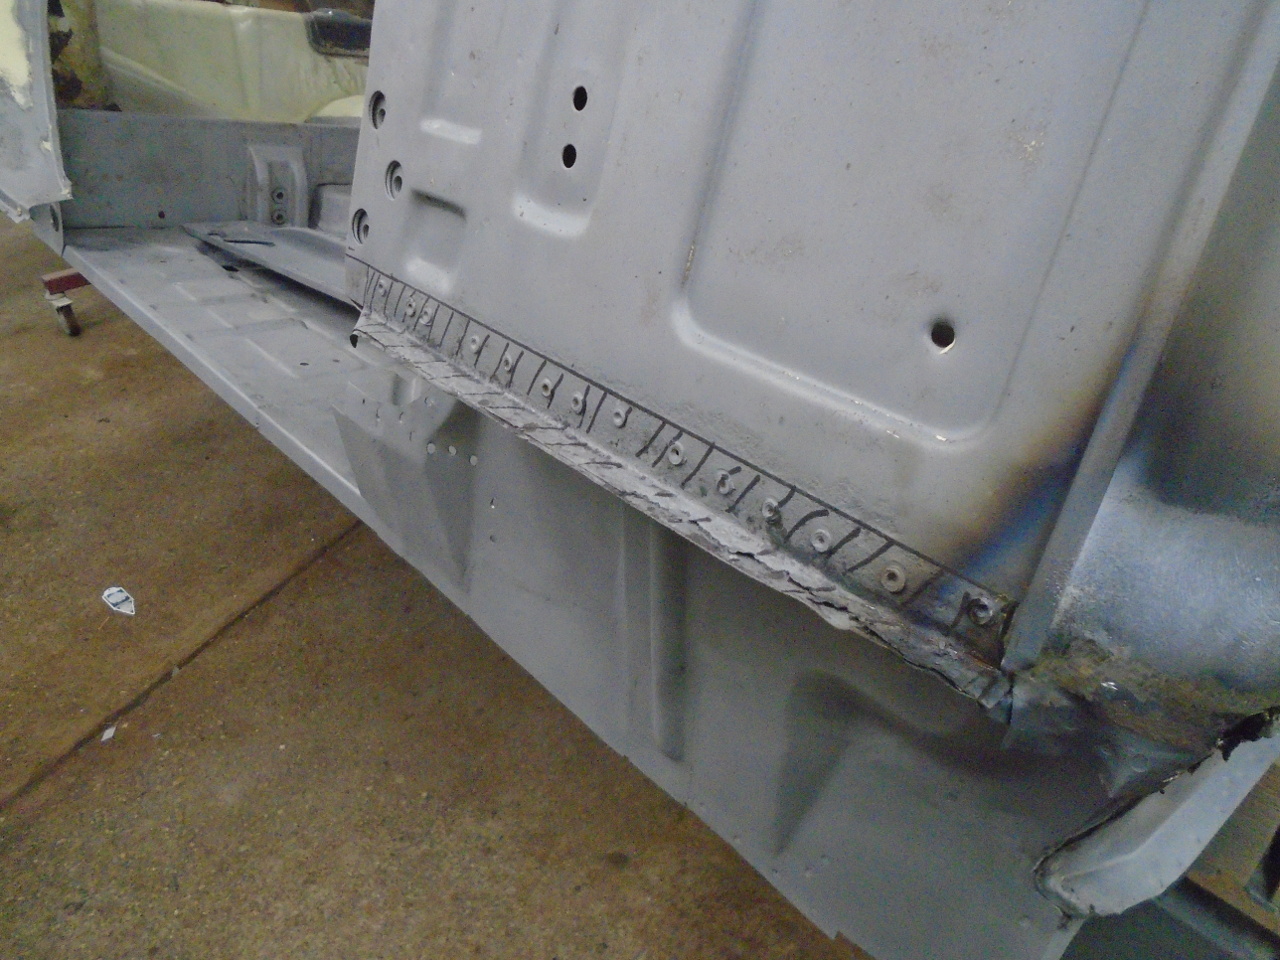
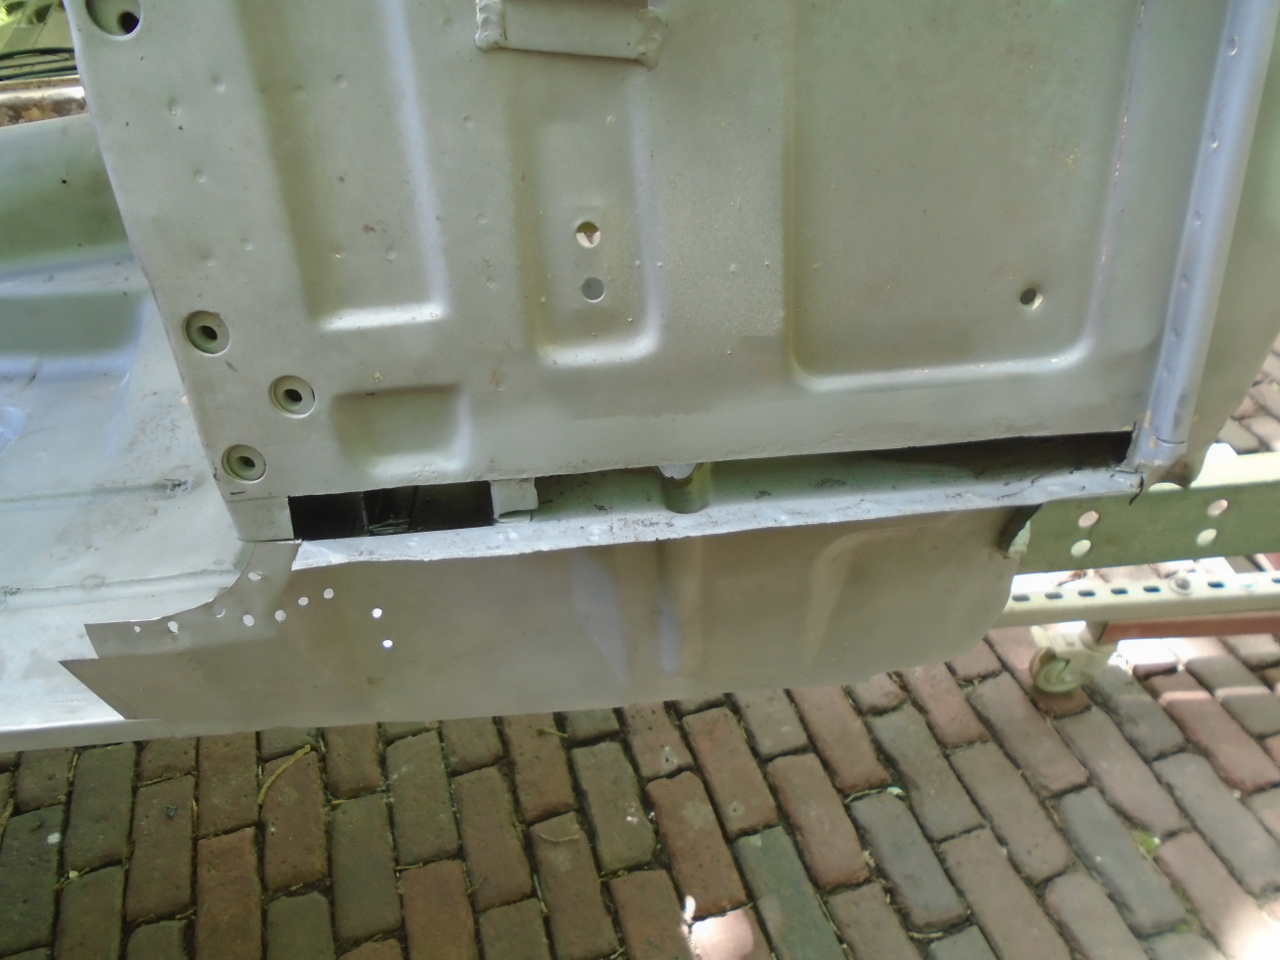
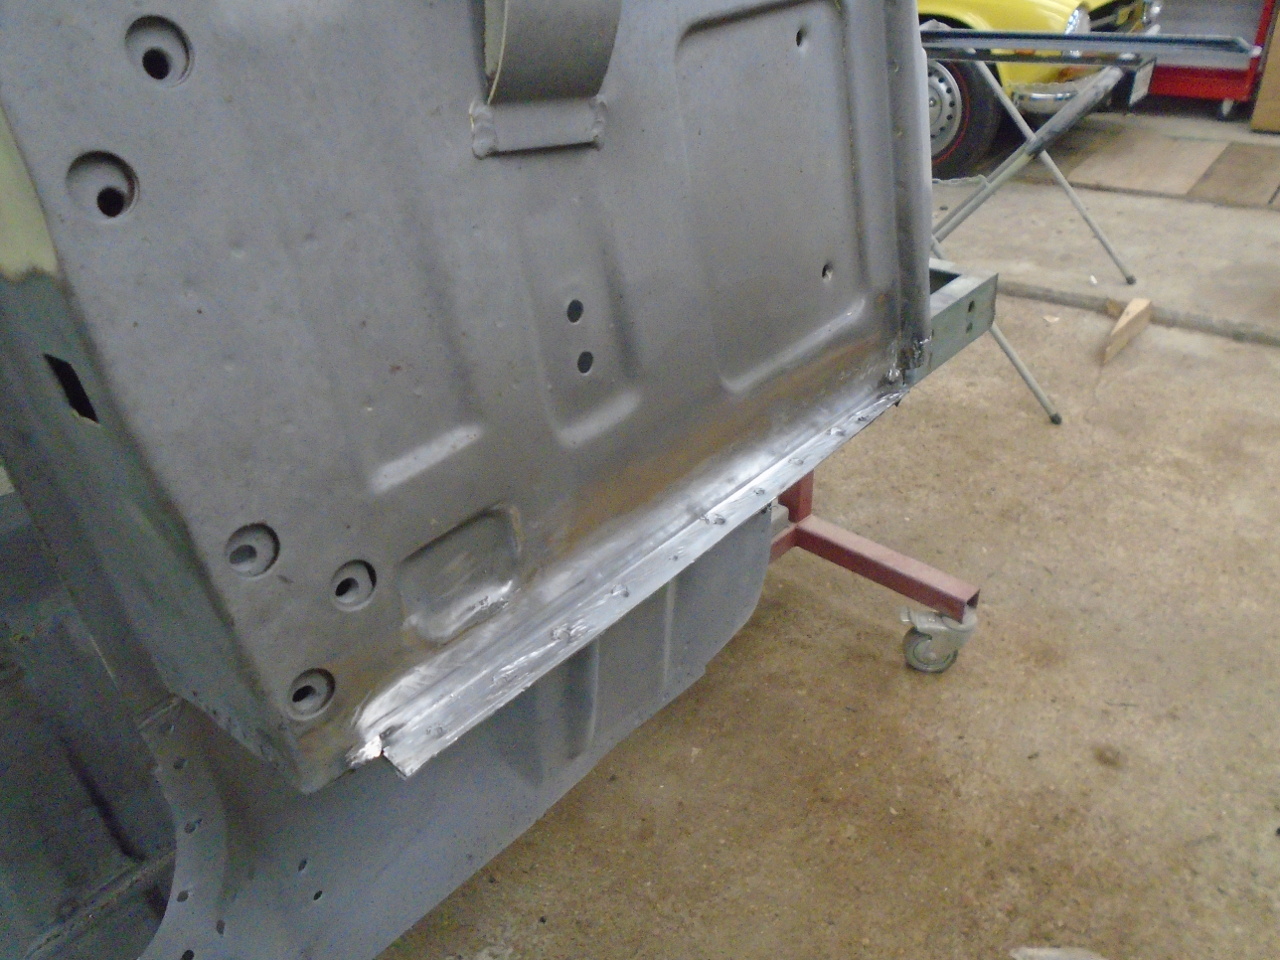
Then, another common rust area on these cars is this seam midway
up the A post.
Moving to the B post, I was having a hard time seeing exactly
what the construction and the damage was. Considering all
the rust on the wing, I decided to remove it. That
revealed a lot of rust damage that would be hard to see, let
alone fix otherwise.
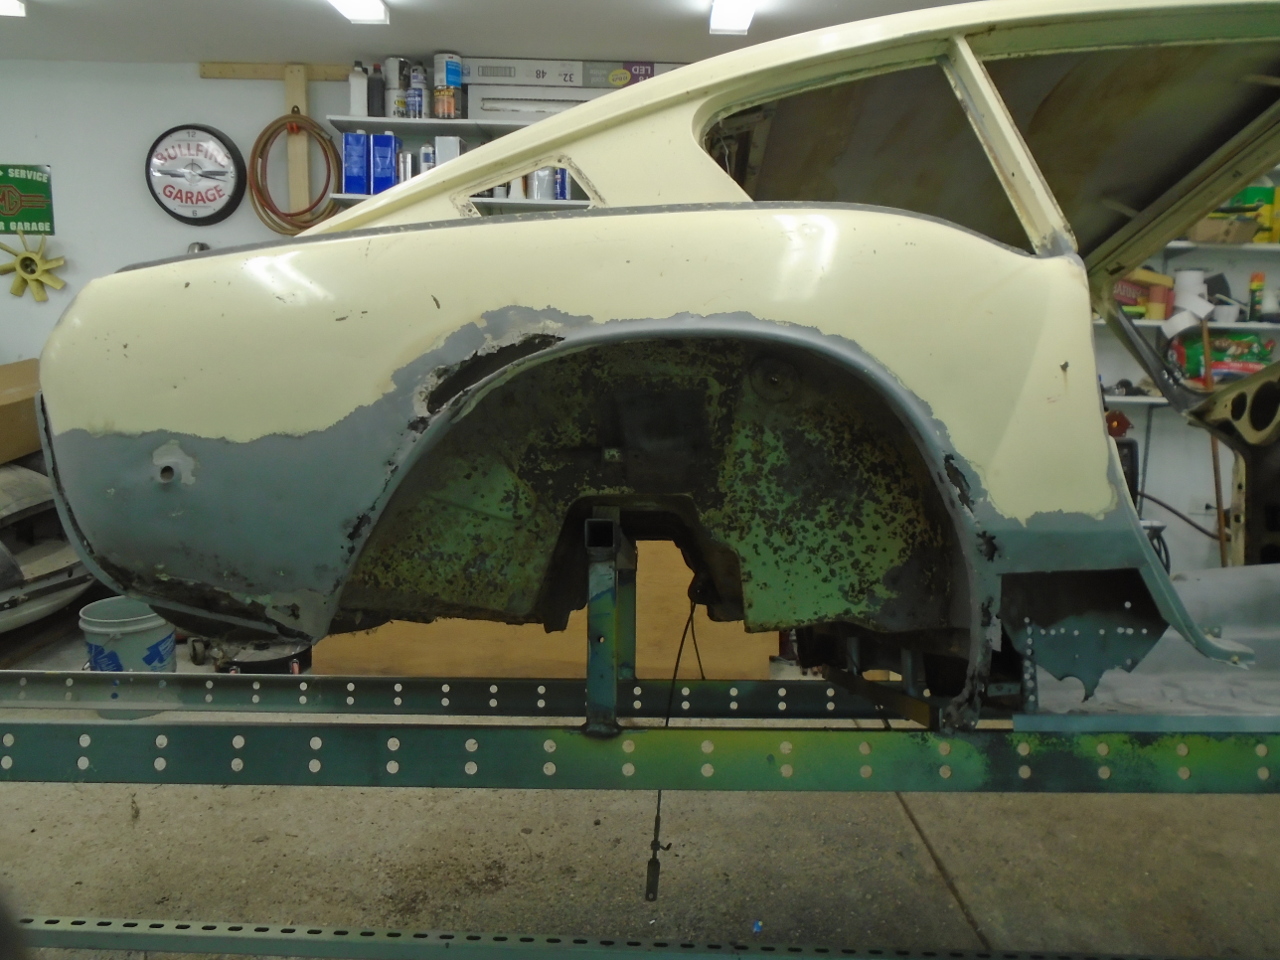
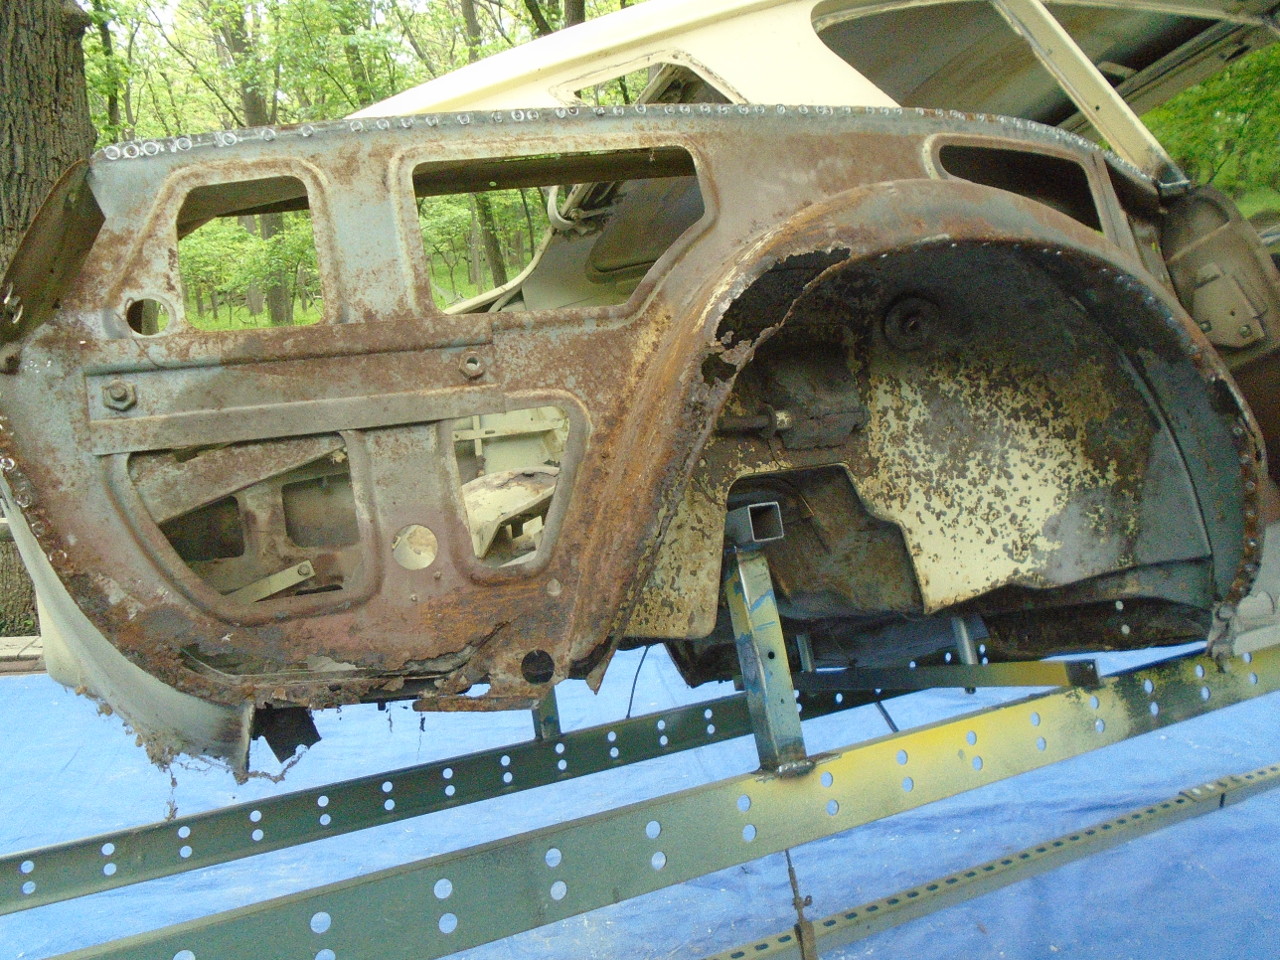
Tabling the B post repair for the time being, I started rust
repair at the rear. Blasting the area really gave a much
clearer picture of the damage.
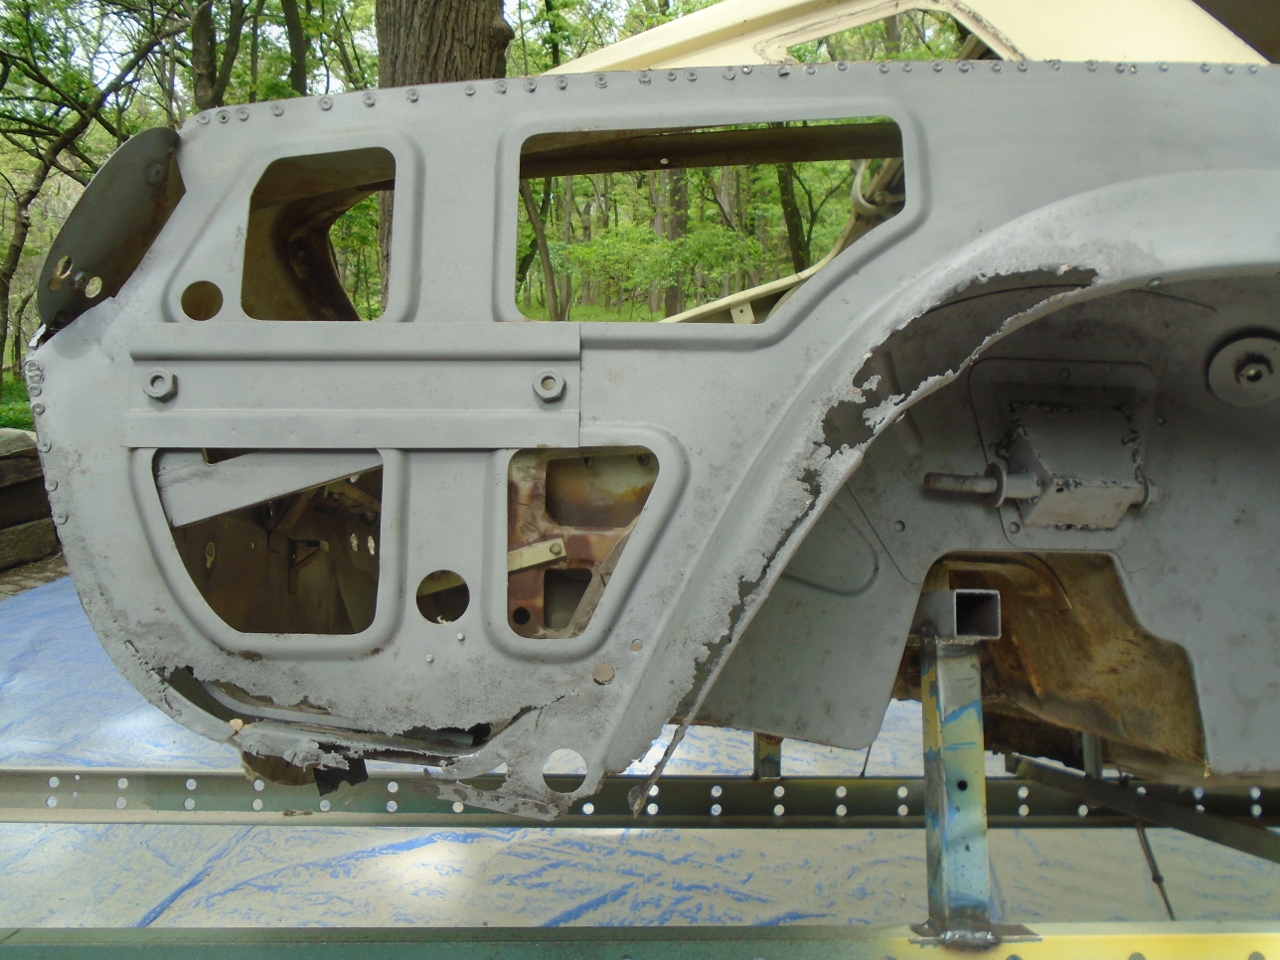
A plan emerged.
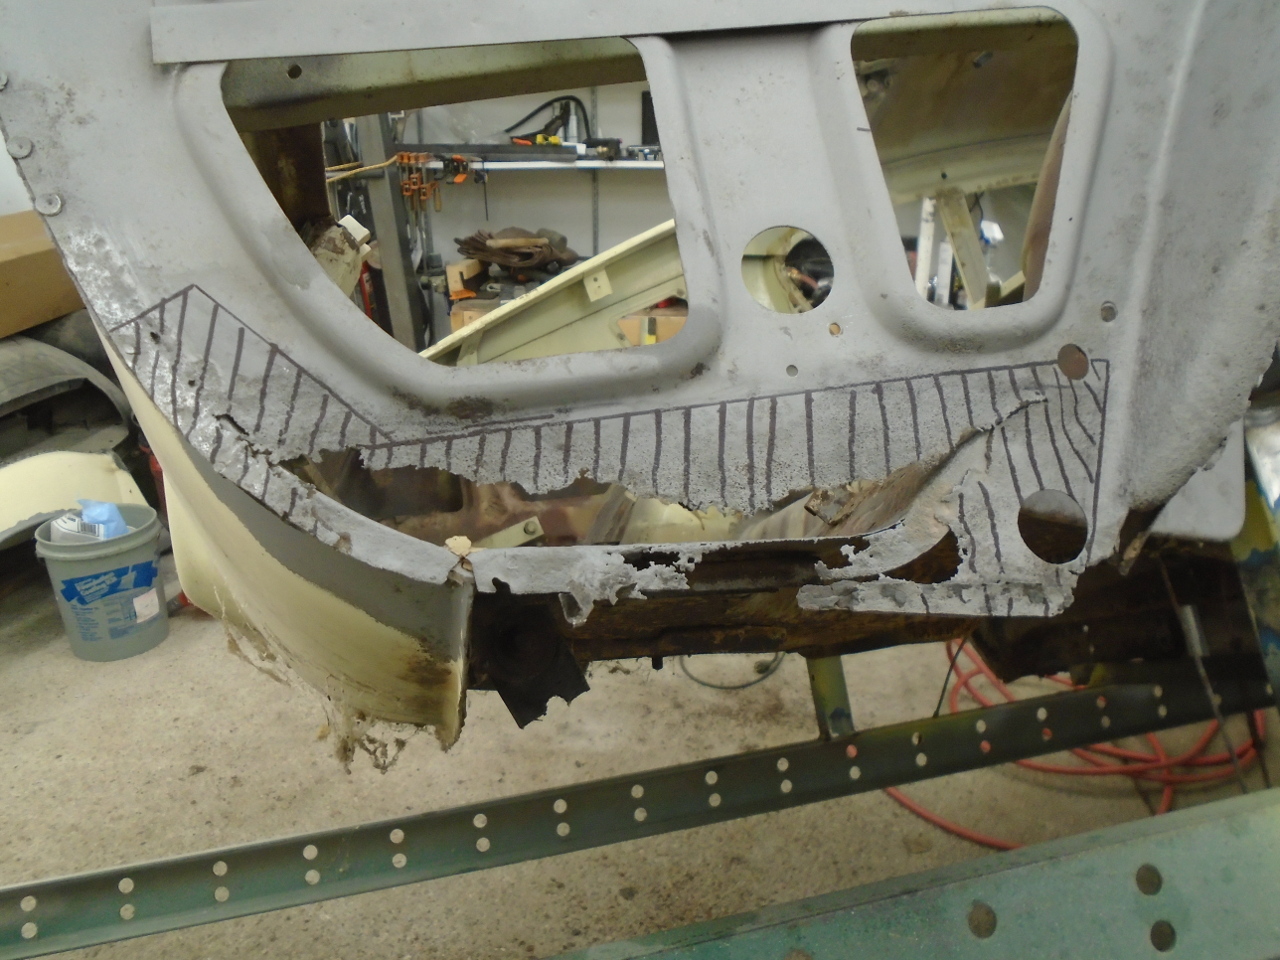
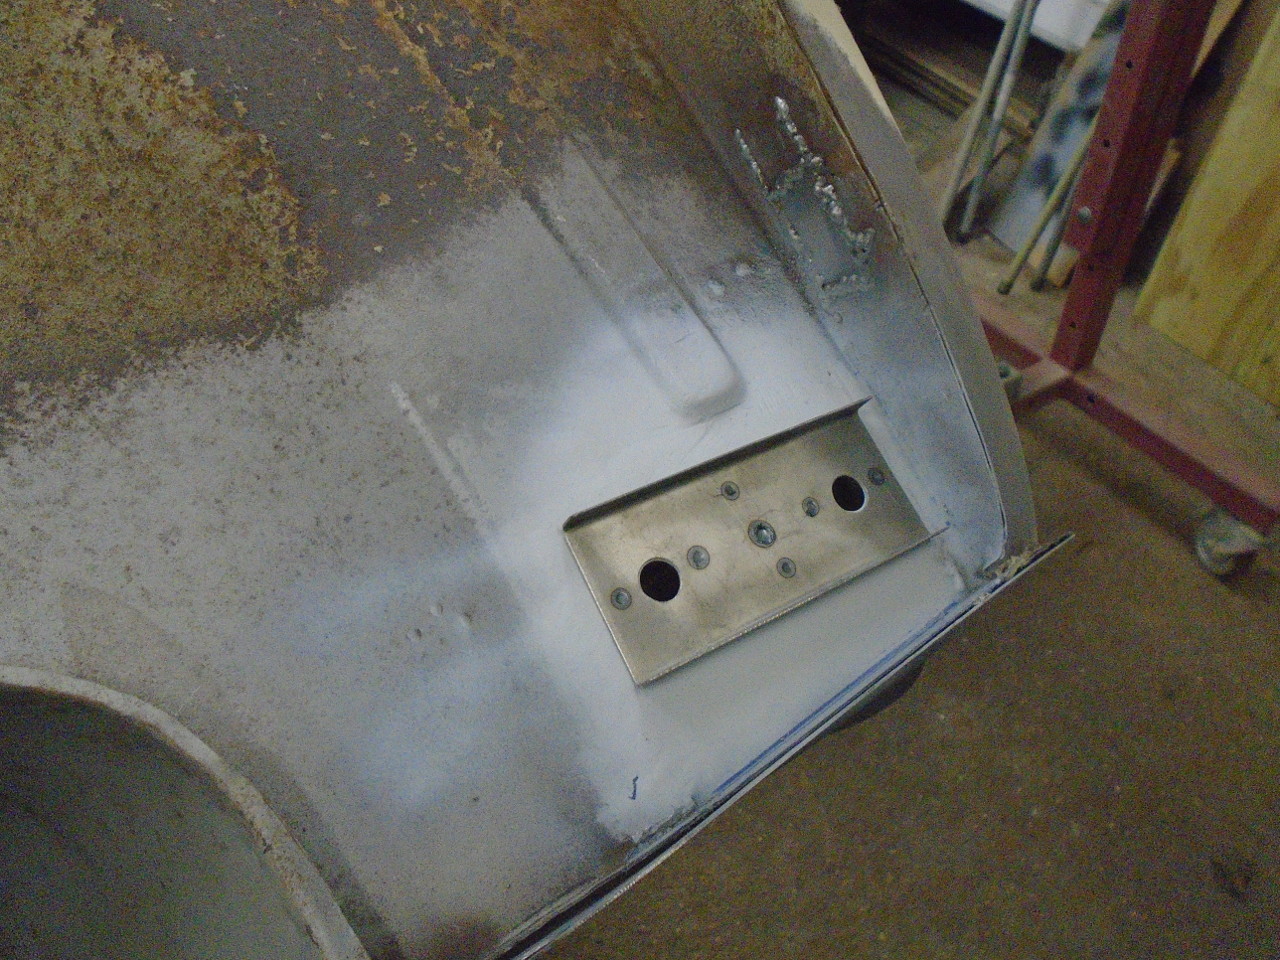
The boot floor first had to be patched under the stiffener for
the bumper brackets.
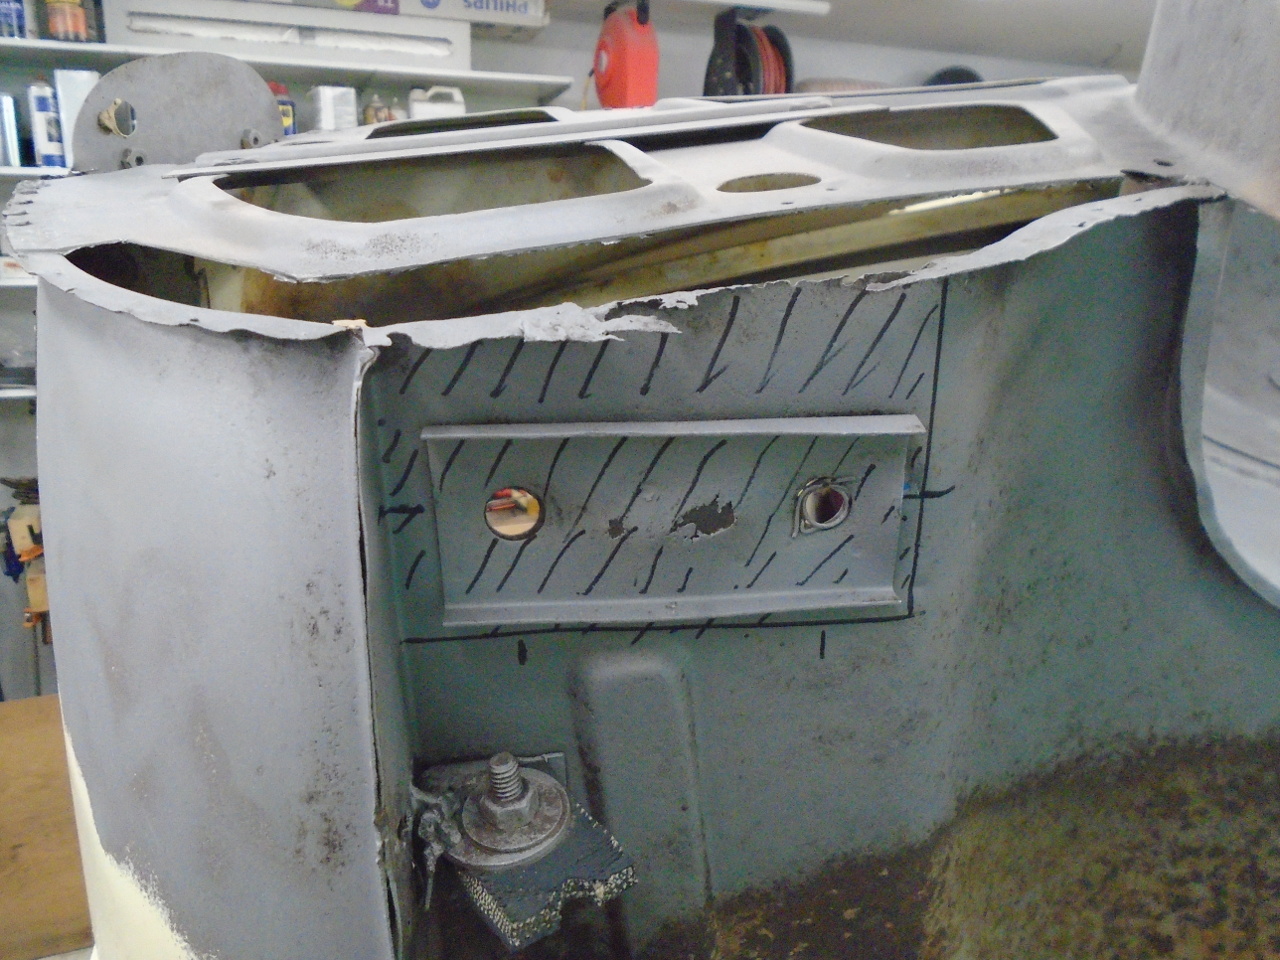
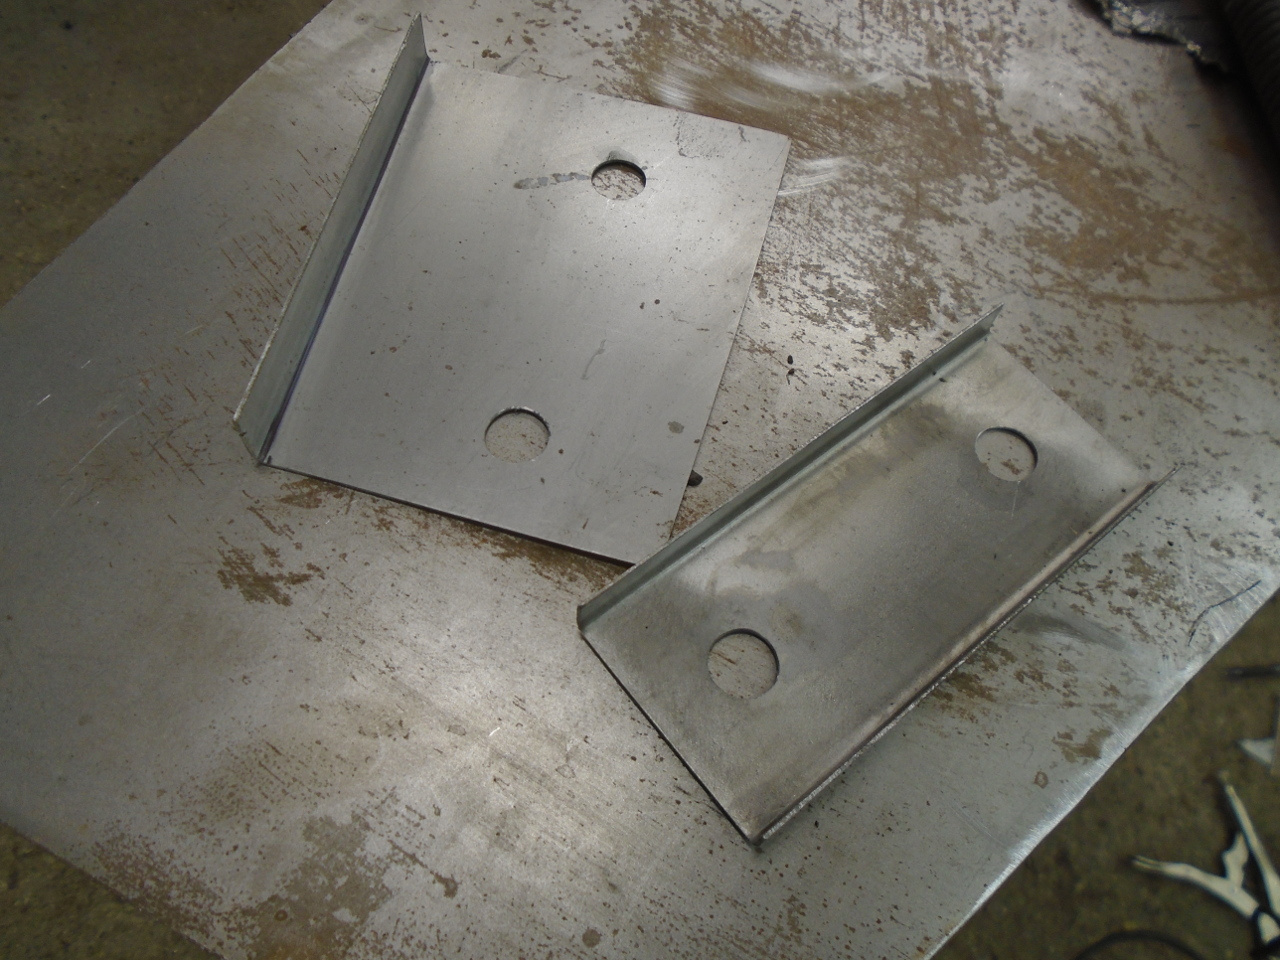
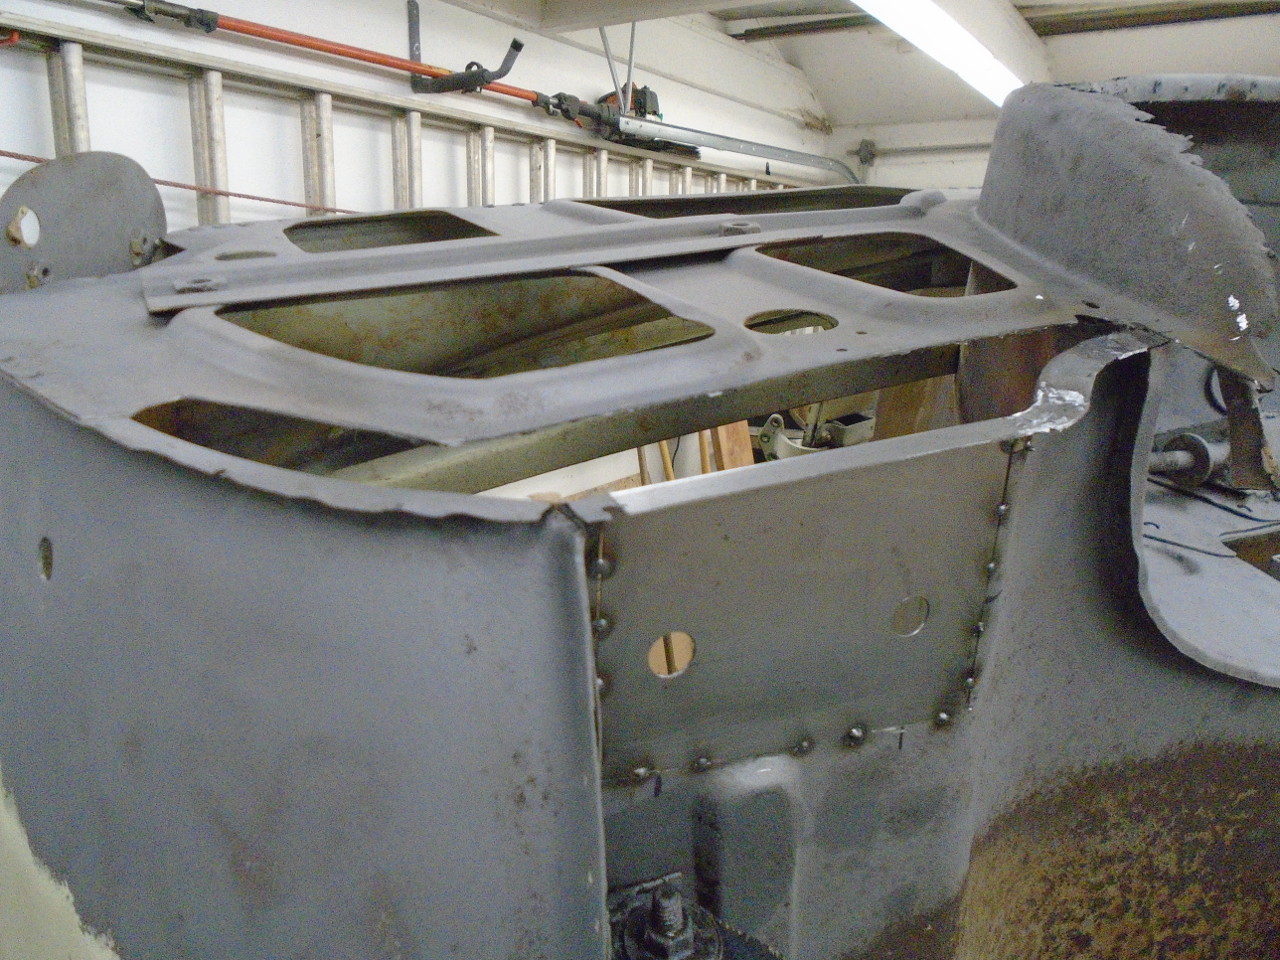
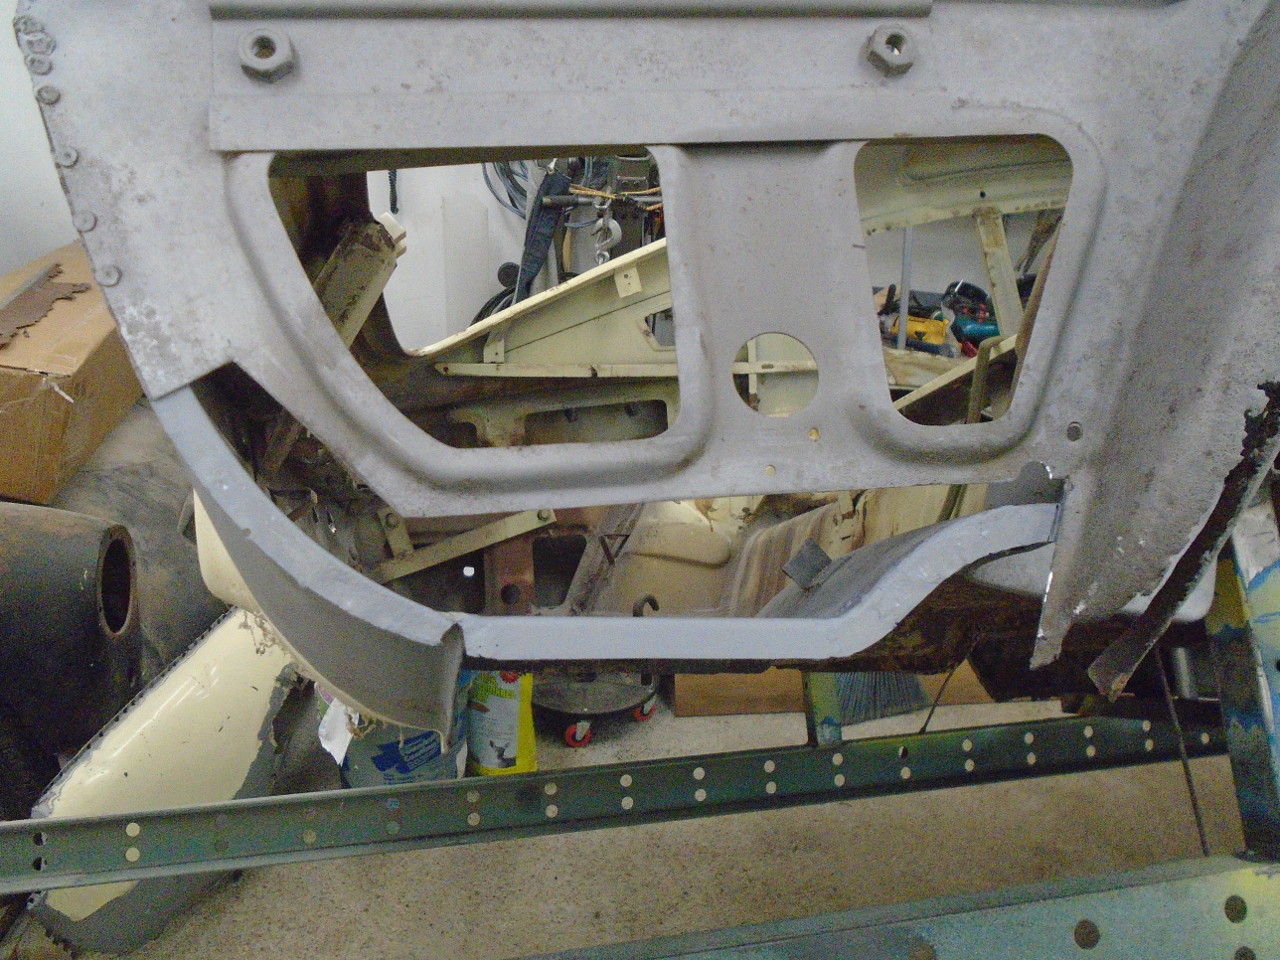
Finally applied inner wing the patch. Almost forgot the
stiffener underneath the boot floor.
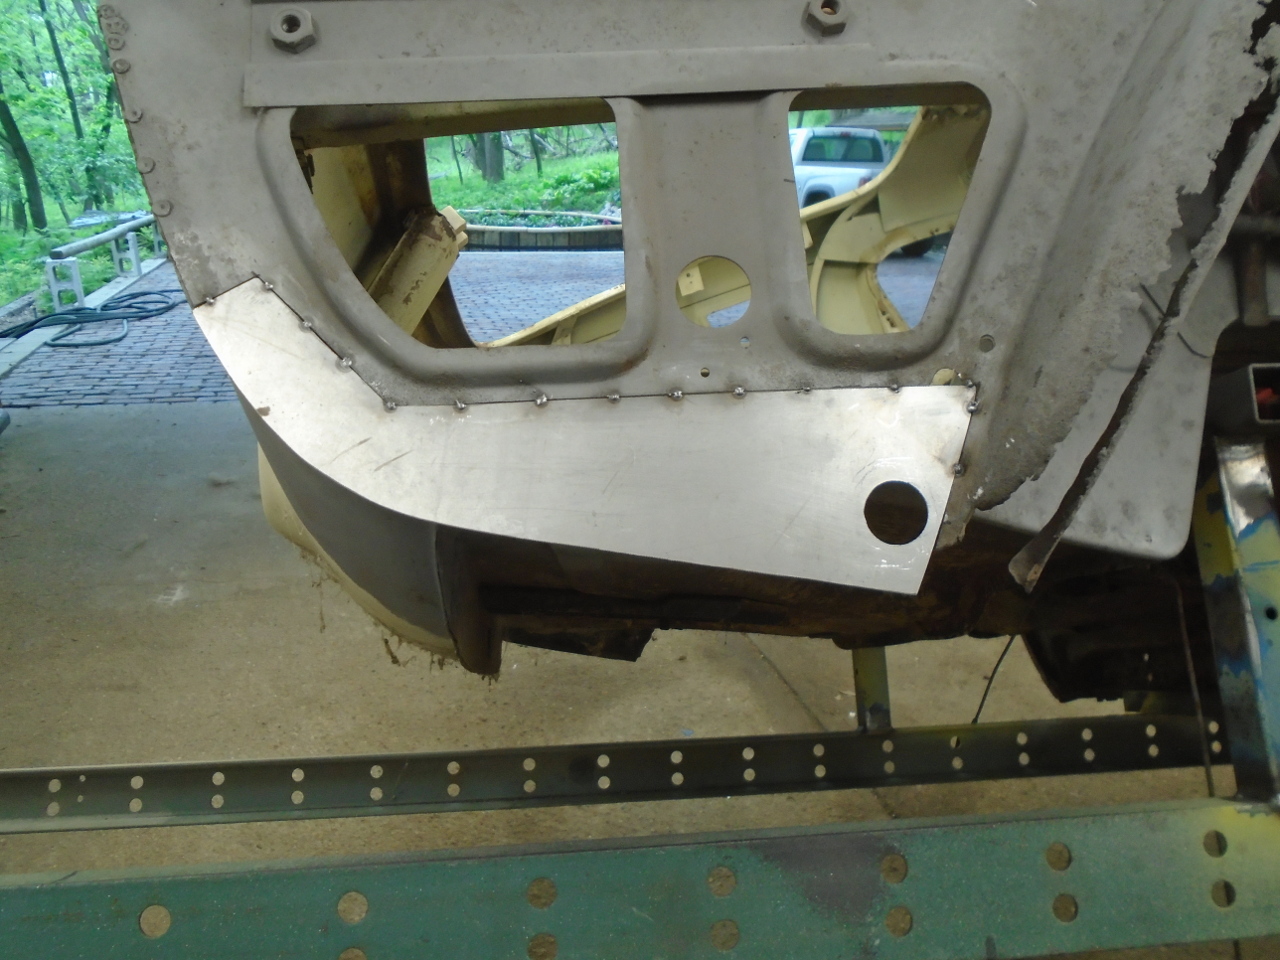
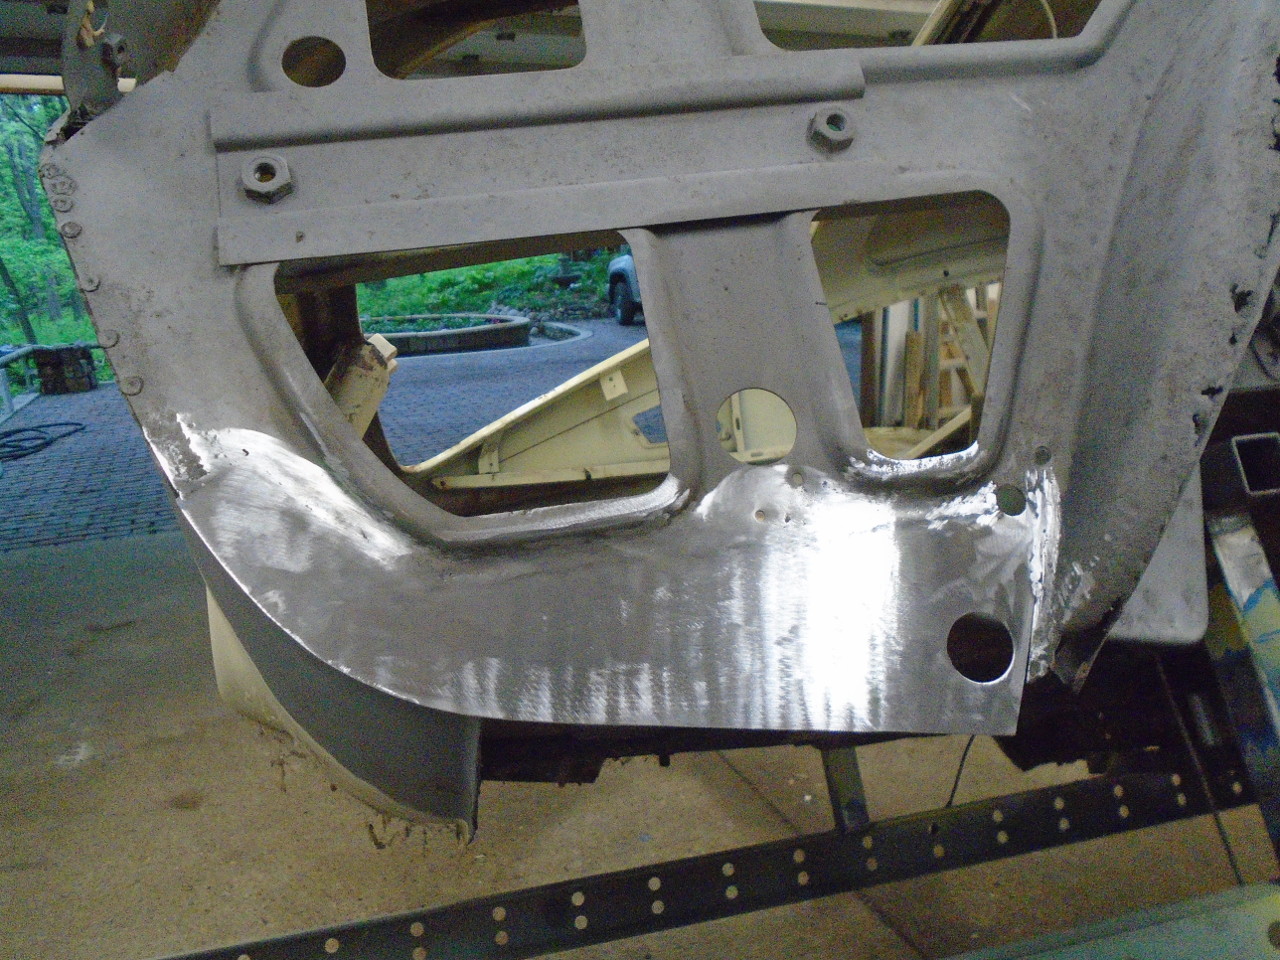
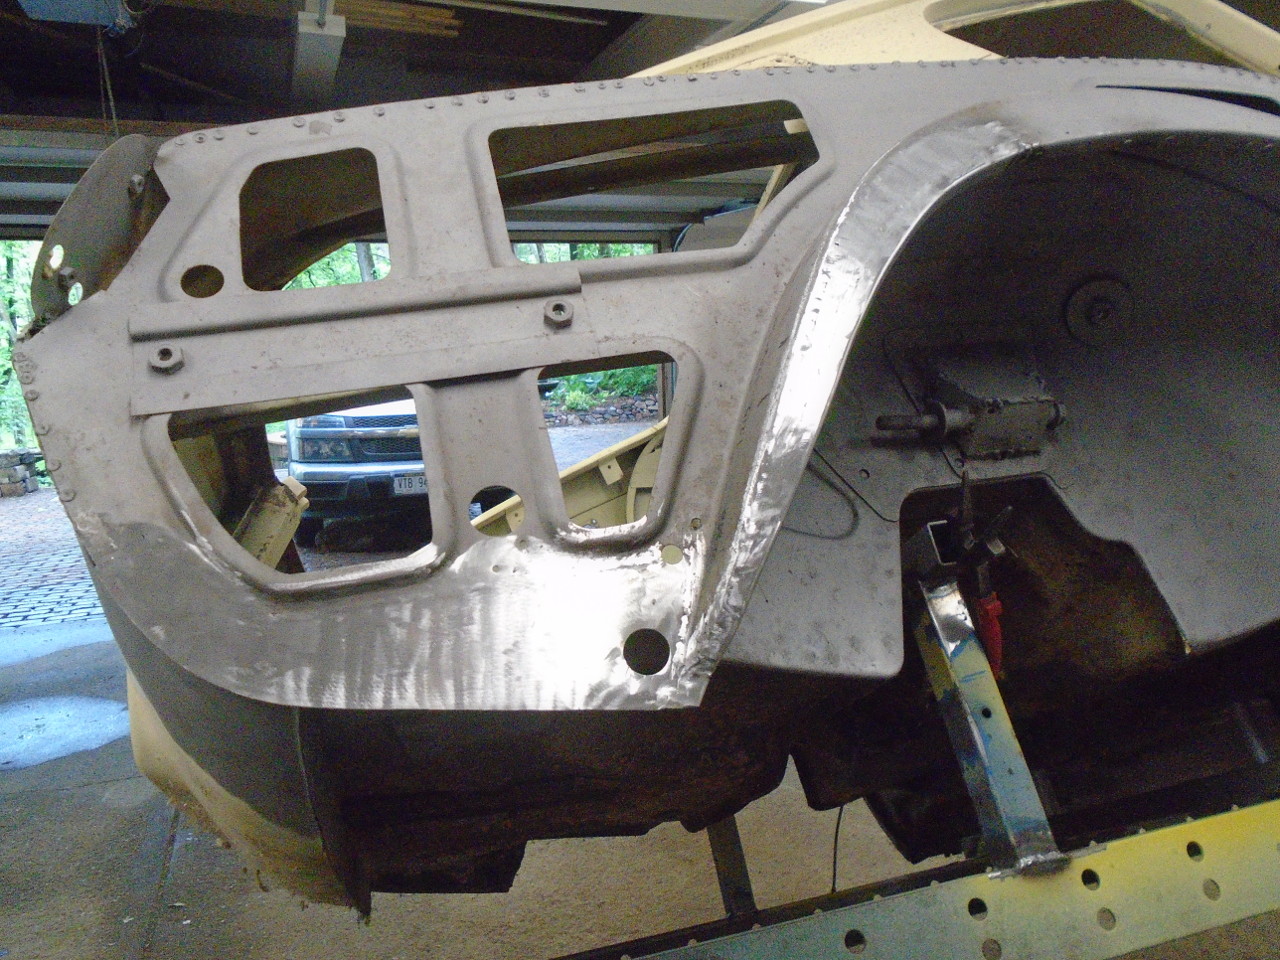
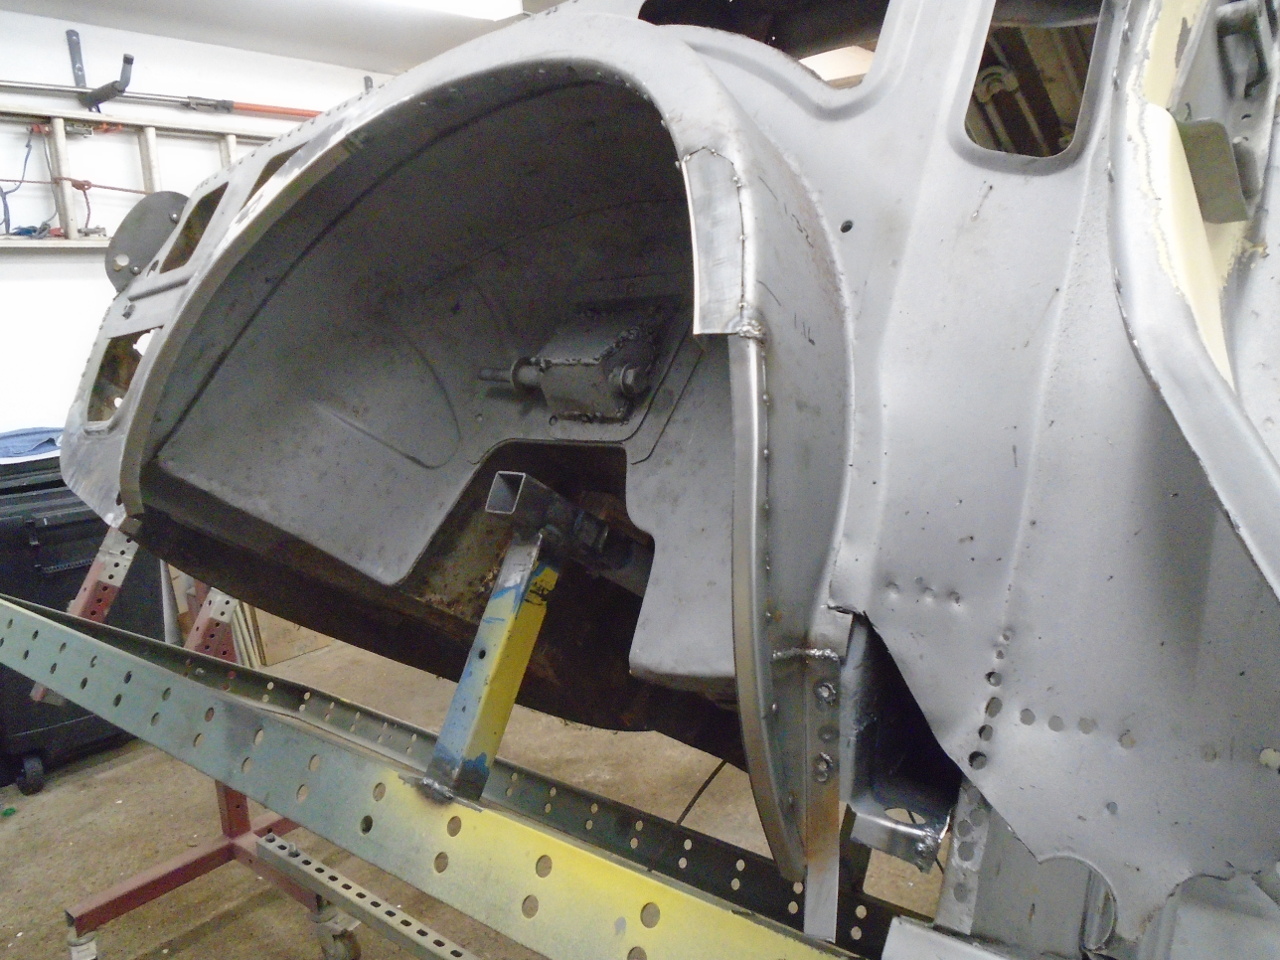
This brought me to the really scary part: the wheel
arch. It was pretty much all curves. Compound
curves. There were two rusted areas: one on the trailing
edge of the arch, all the way to the top, and a smaller area on
the leading edge. The rear one was up first.
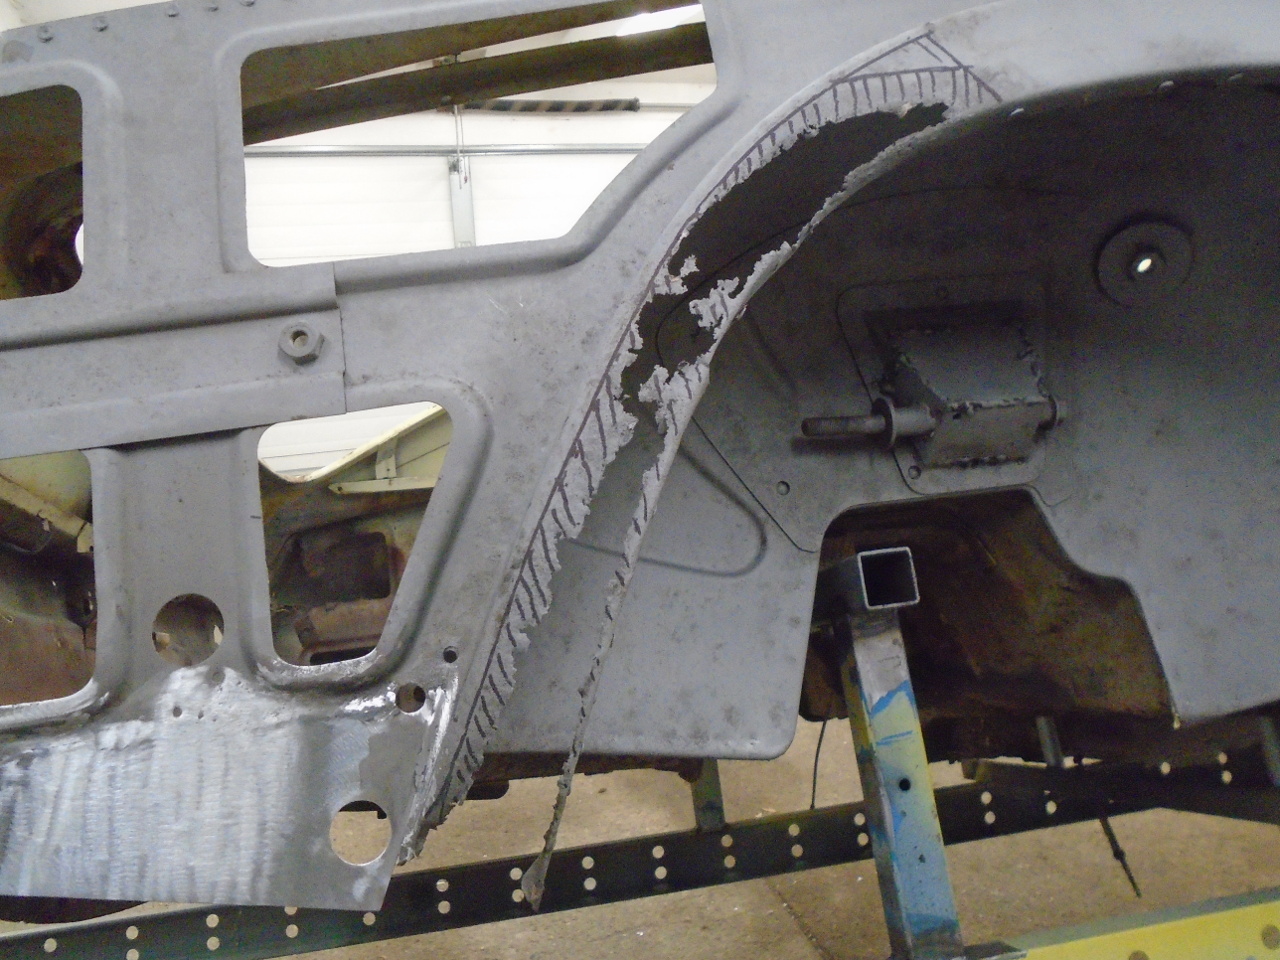
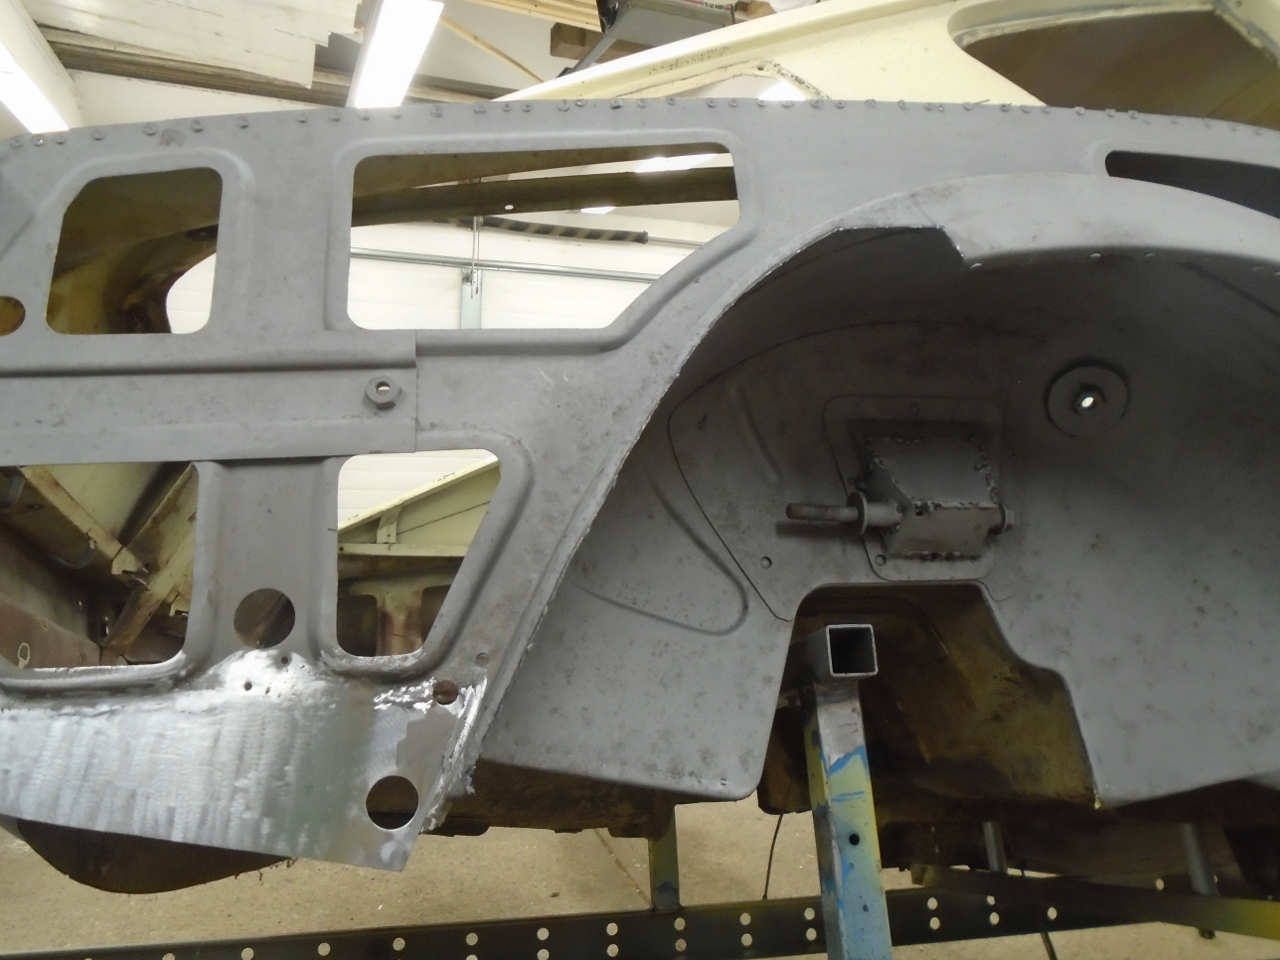
Not confident that I was good enough to do it in one piece, I
did it in two. The first one was the easy one.
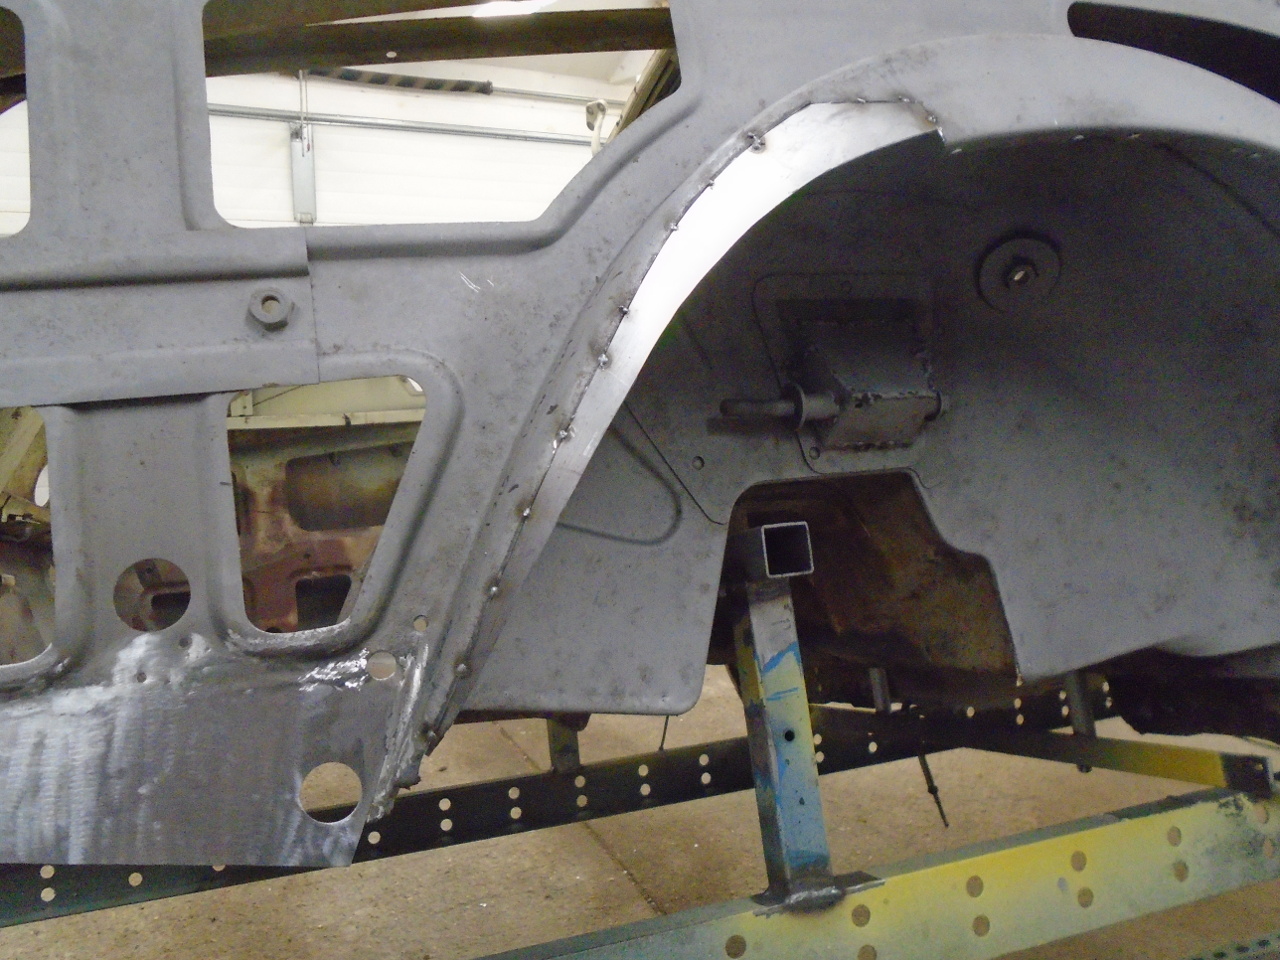
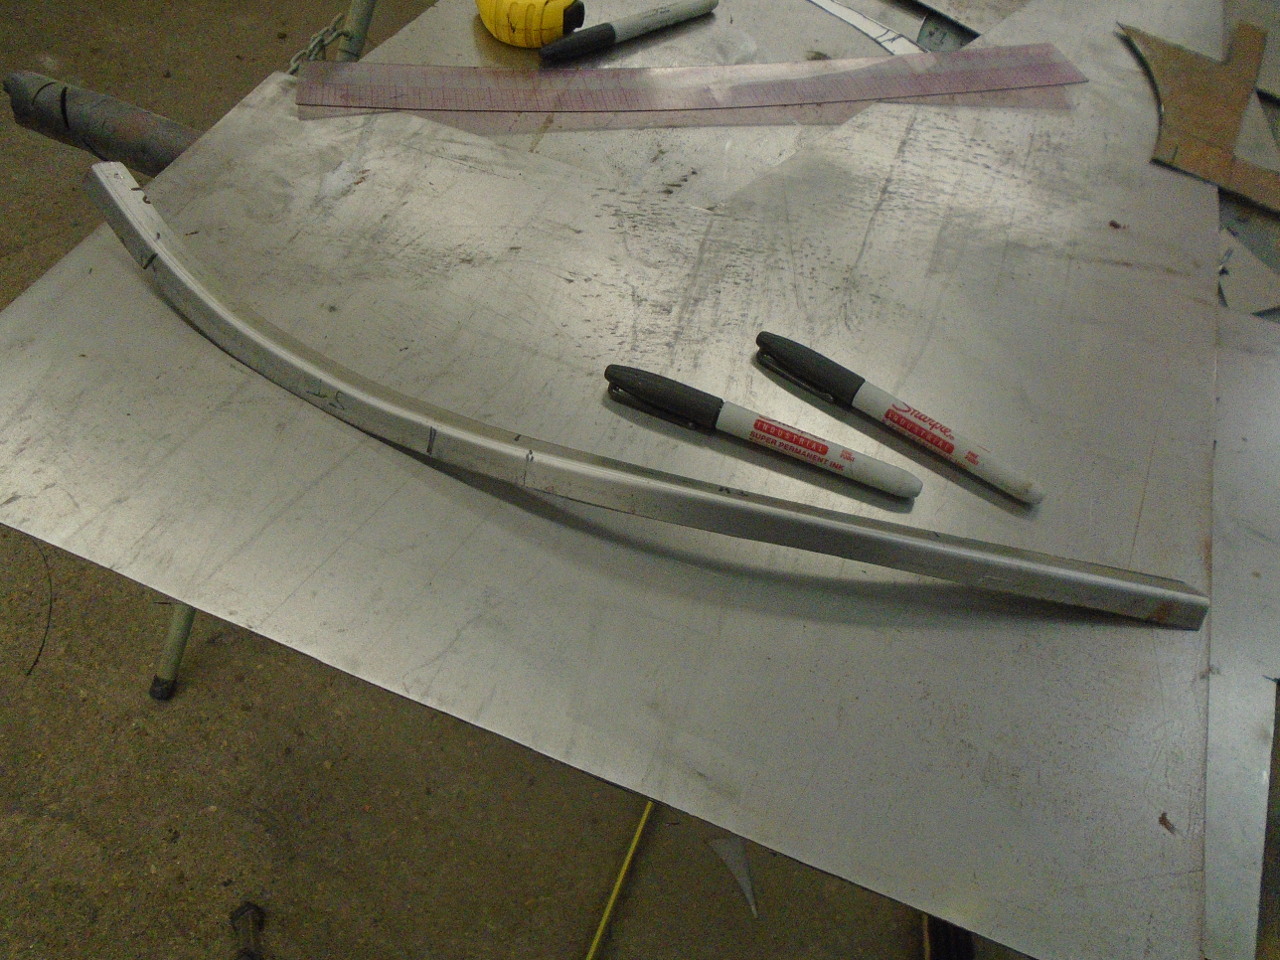
With maybe 50 trips between the car and my Harbor Freight
shrinker-stretcher, I had something that seemed to fit OK.
The numbers on the arch are measurements of the thickness of the
face of the arch, taken from the remnants of the original metal.
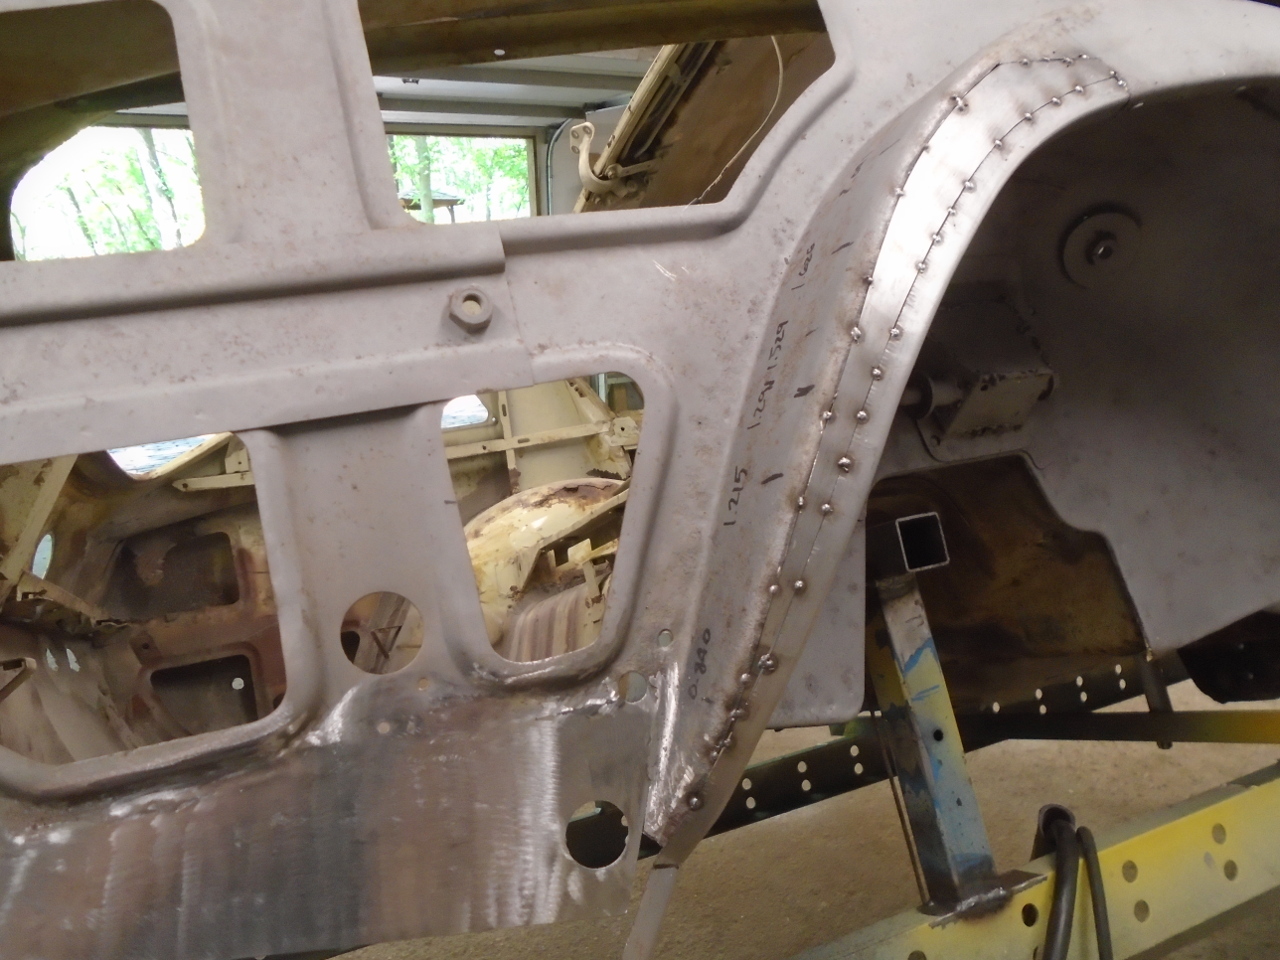
Then to the front of the arch.
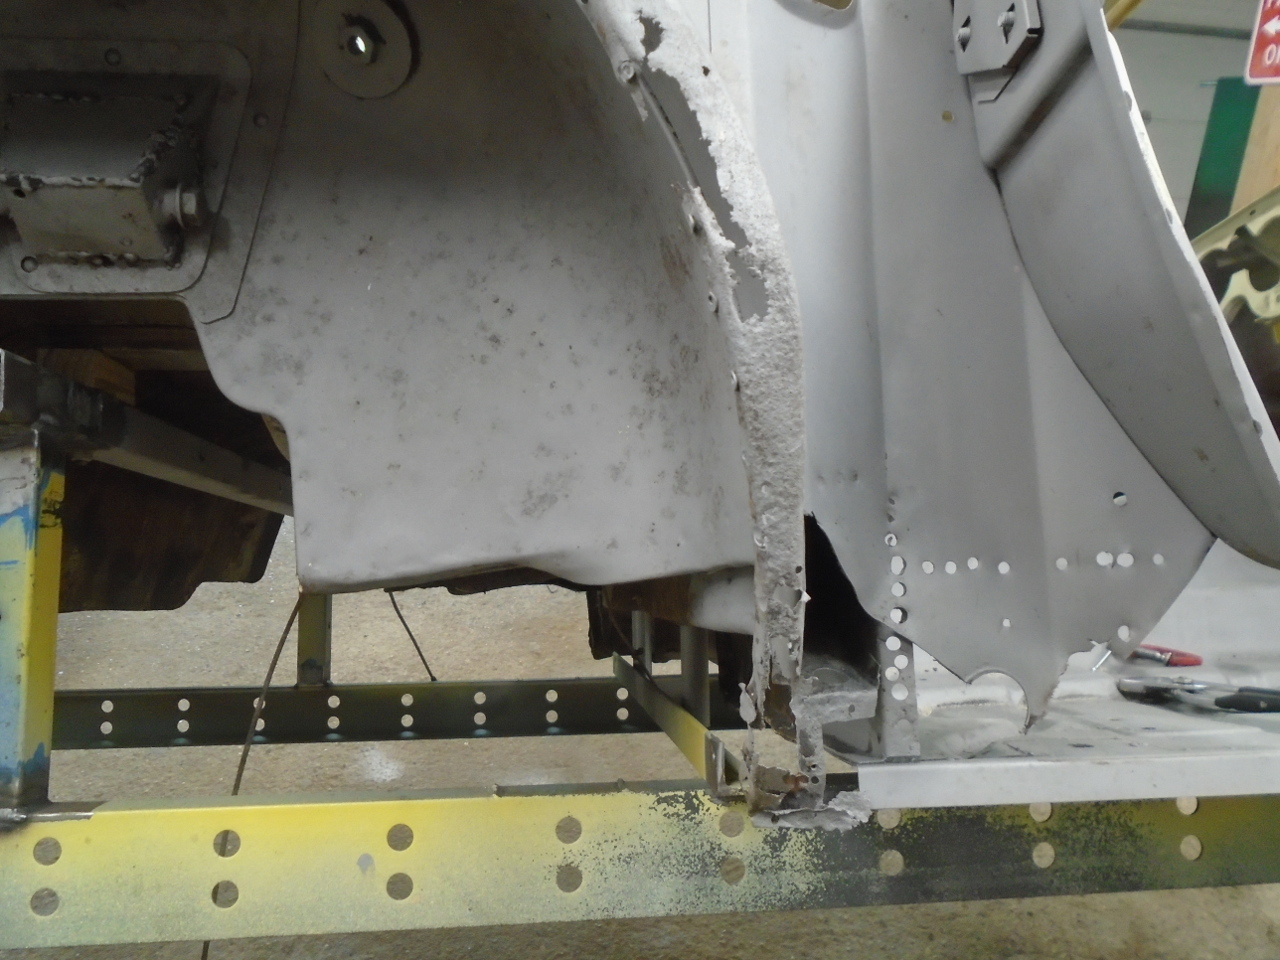
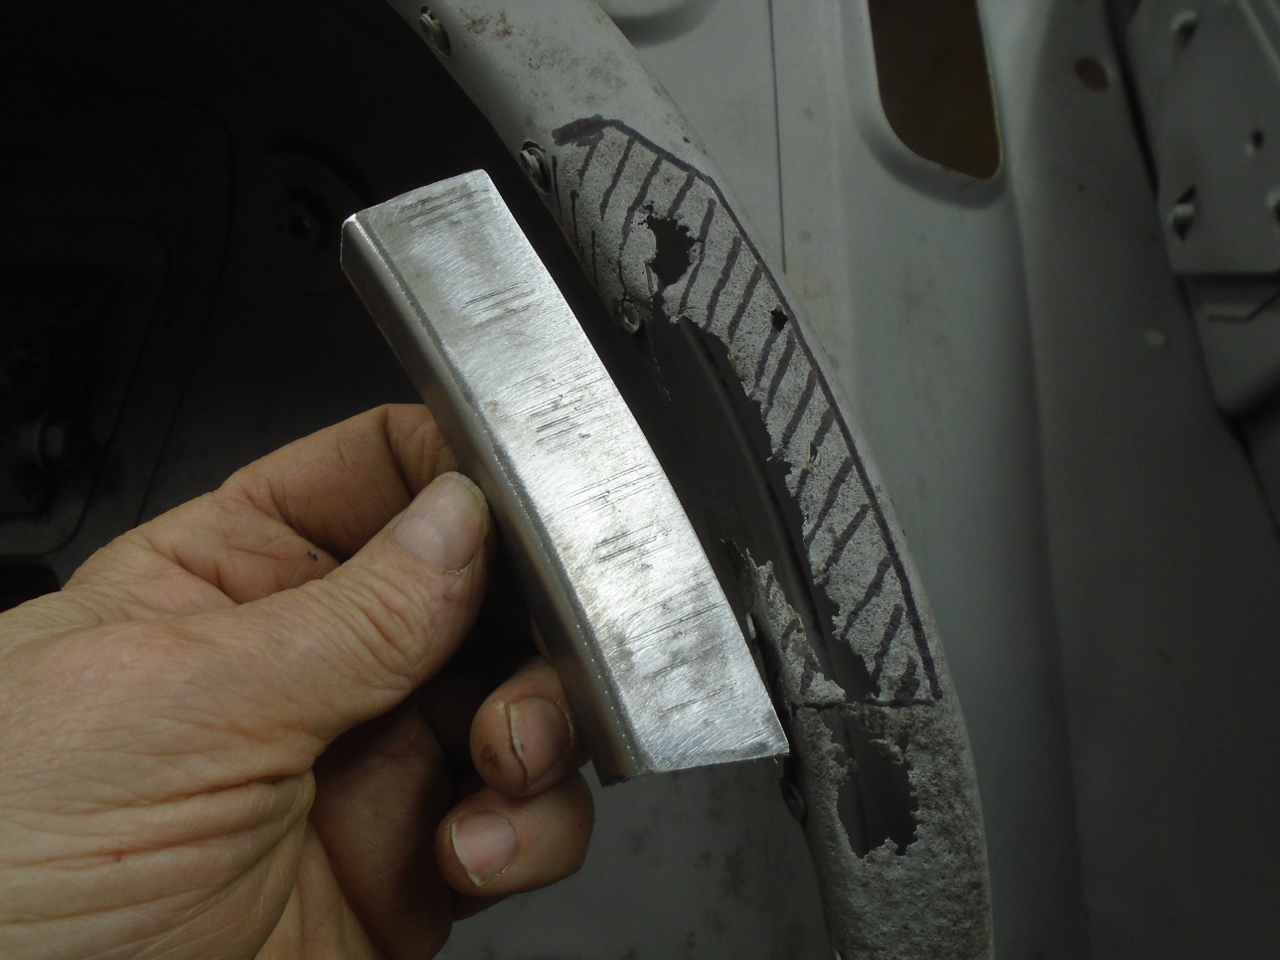
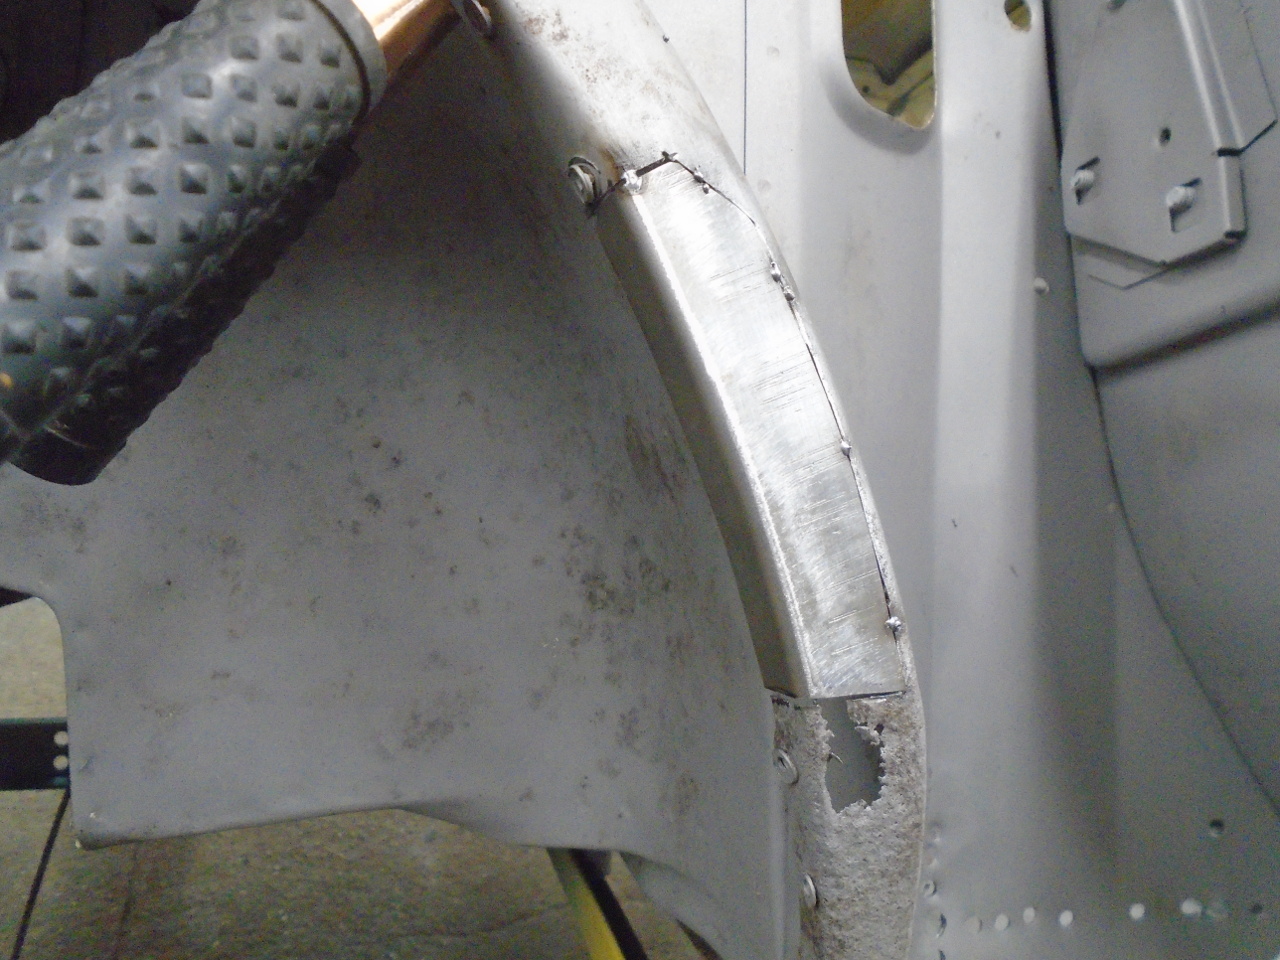
Before the lower part of the arch front, a little patch on the
cross member, and one on the front face of the arch. The
body is upside down in these pics.
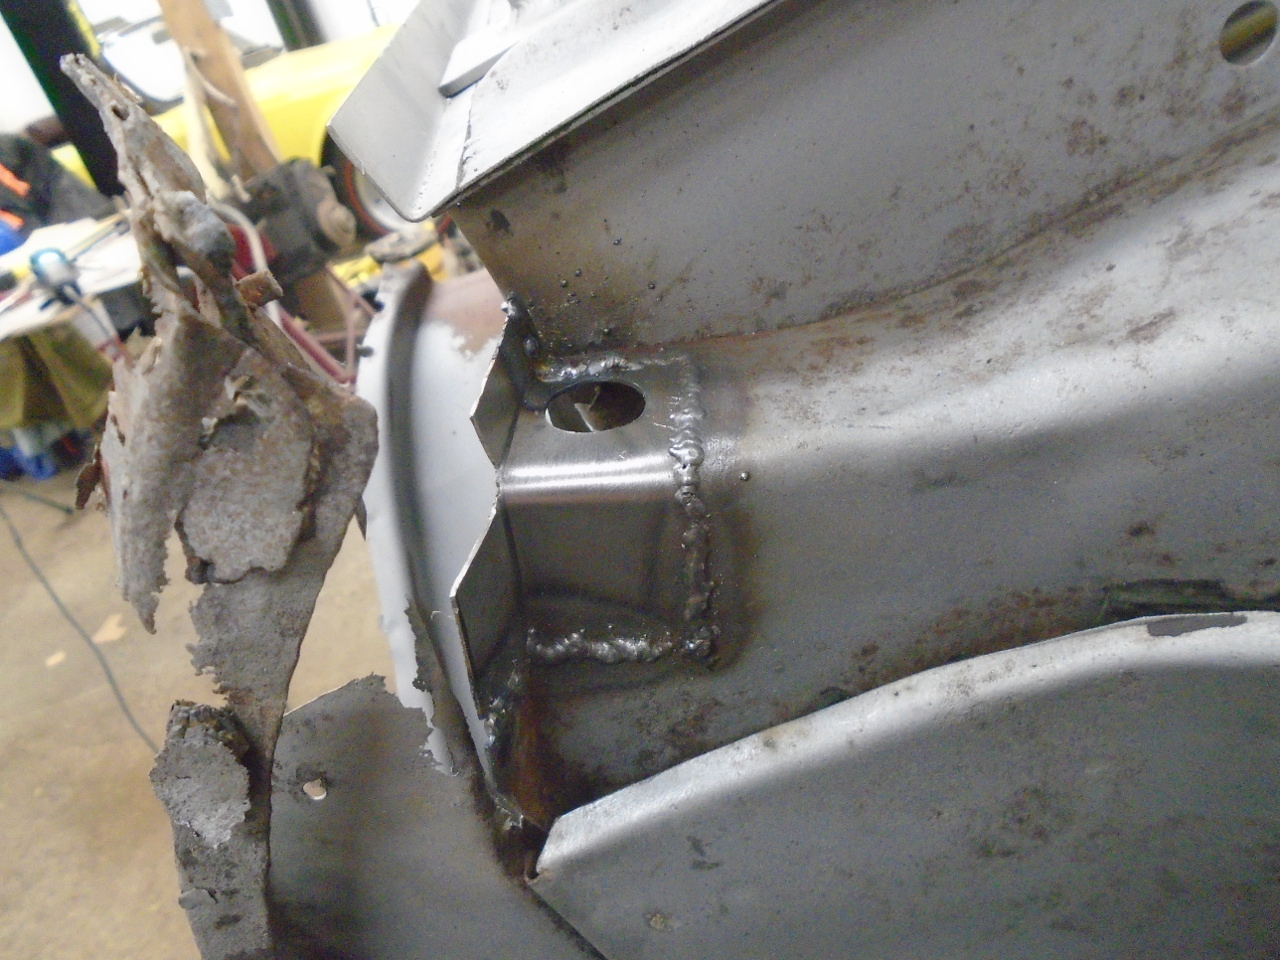
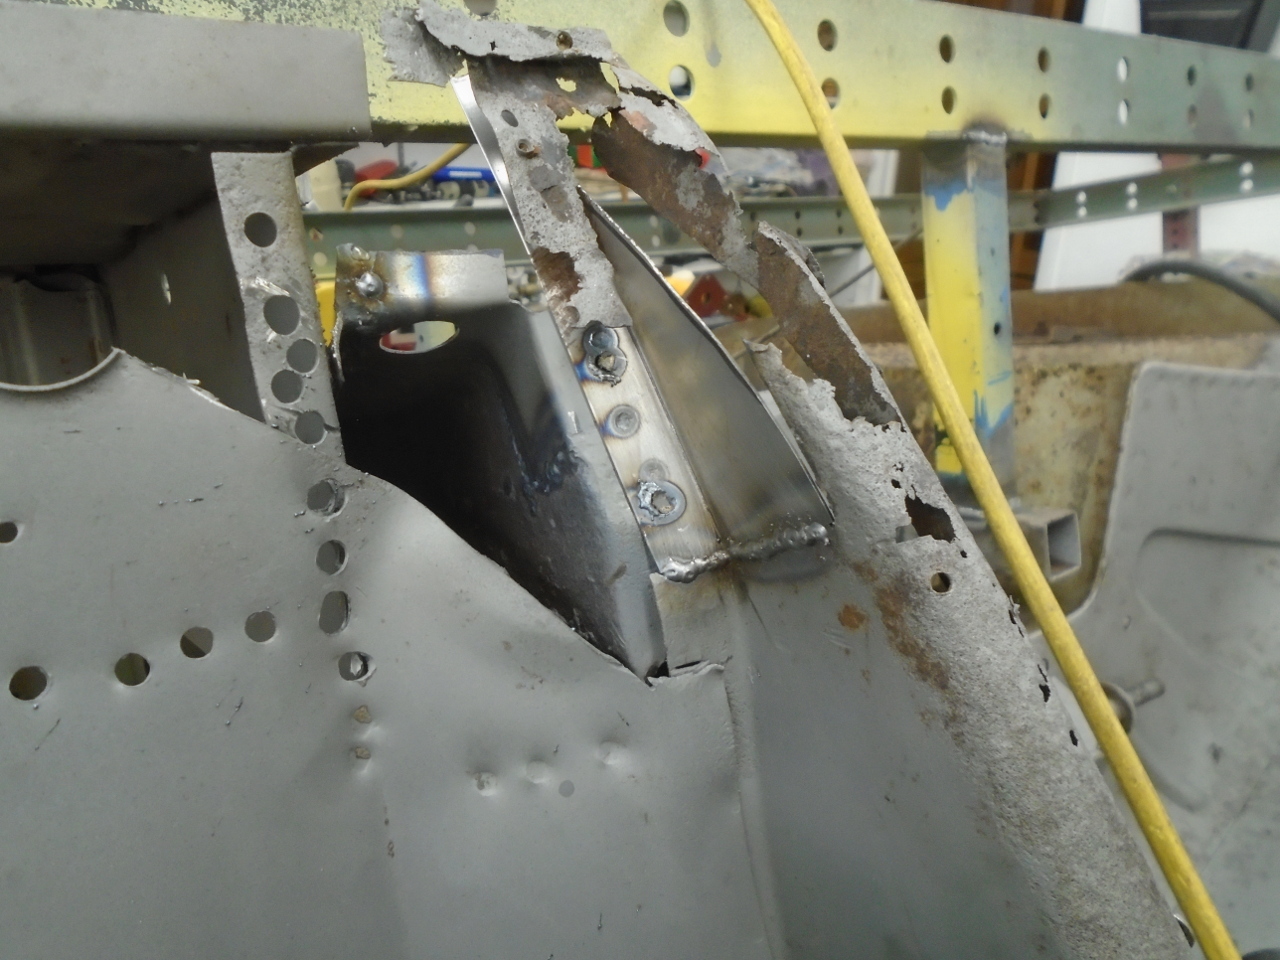
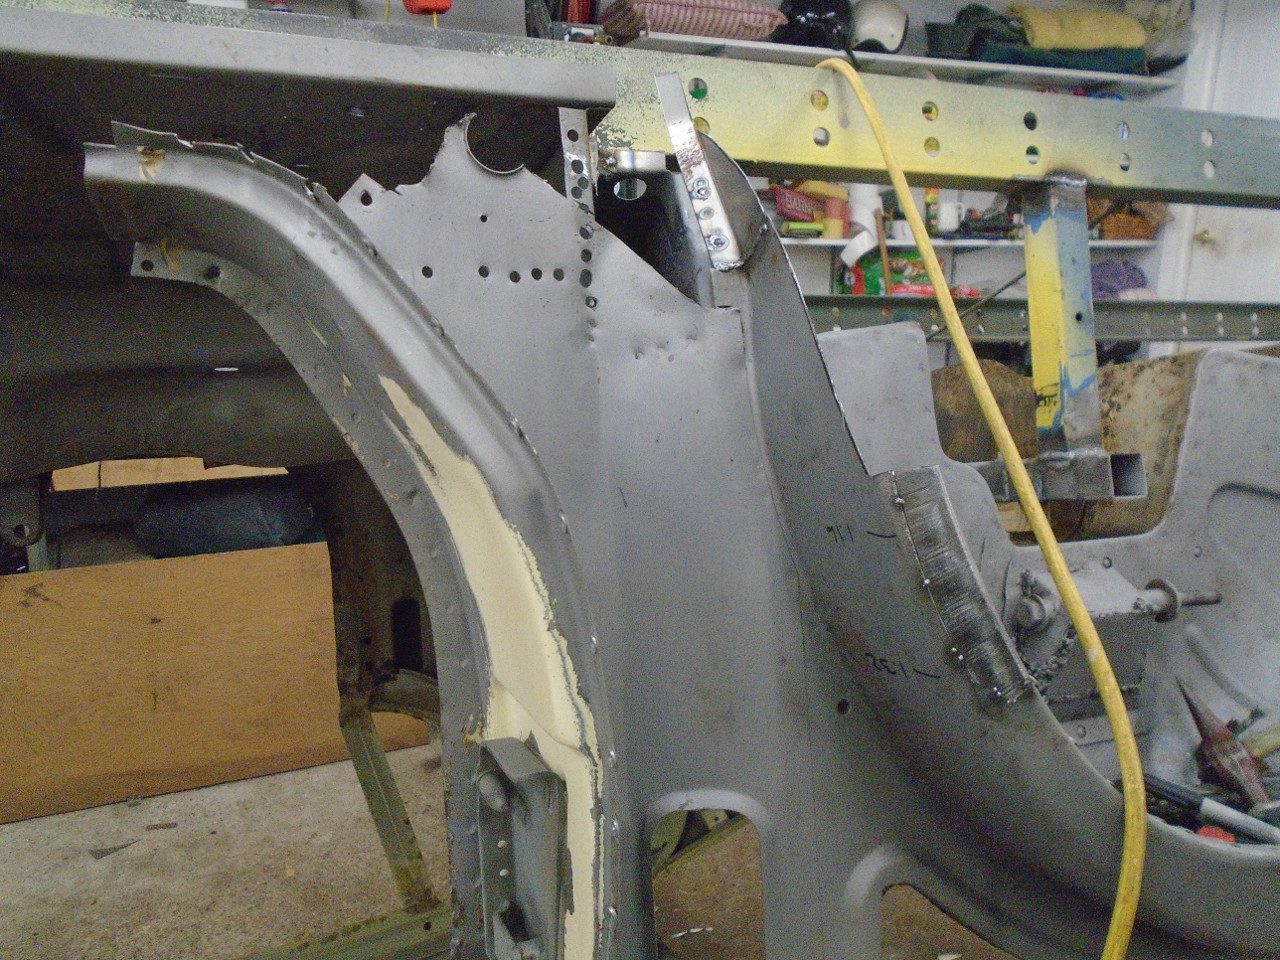
Then a curly pieces.
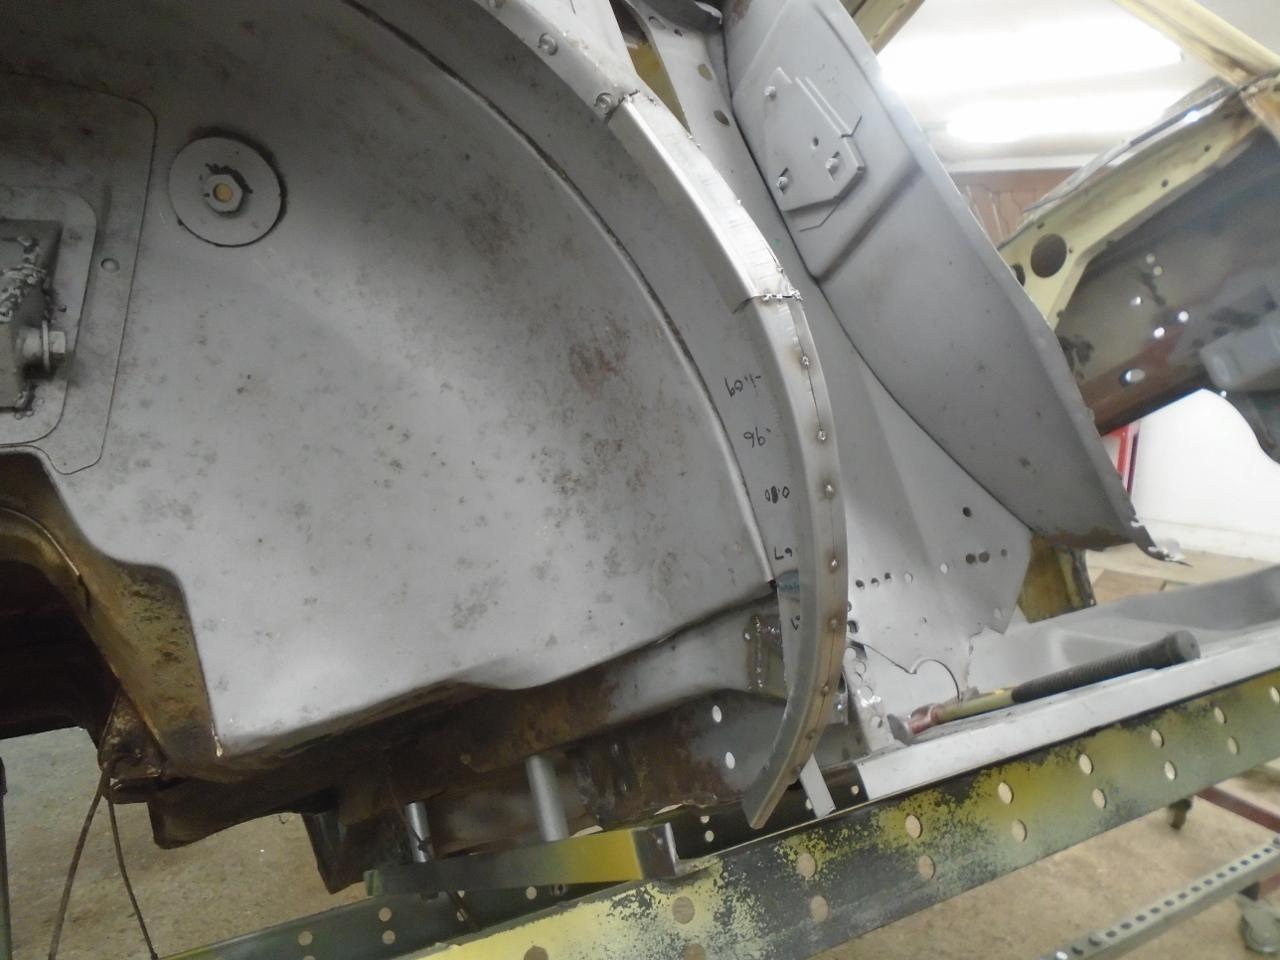
So, now finally back to the B post where this all started.
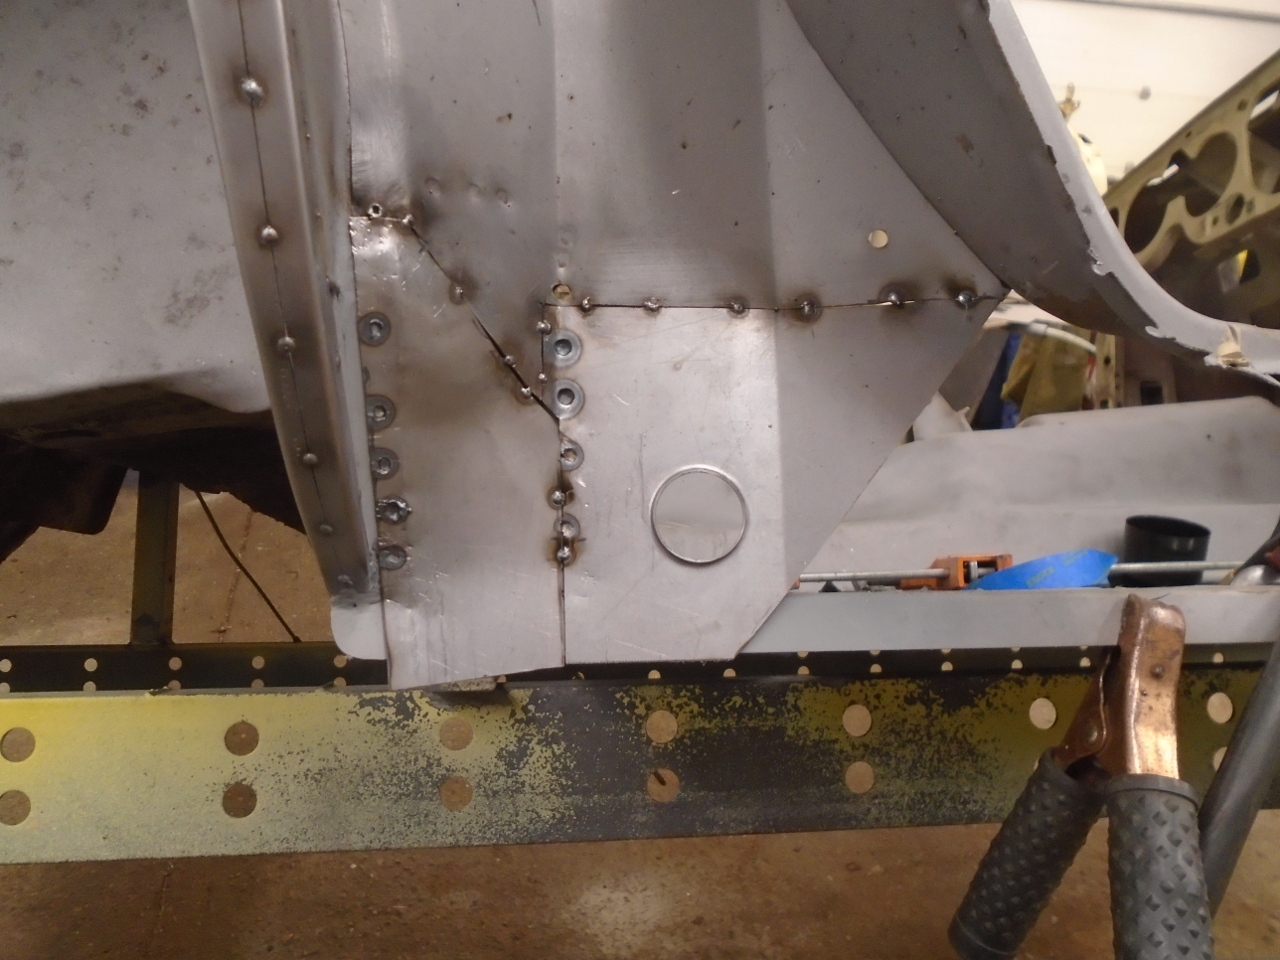
I cut back the original metal beyond all the holes left from
removing spot welds., and also replaced that swiss-cheese
flange.
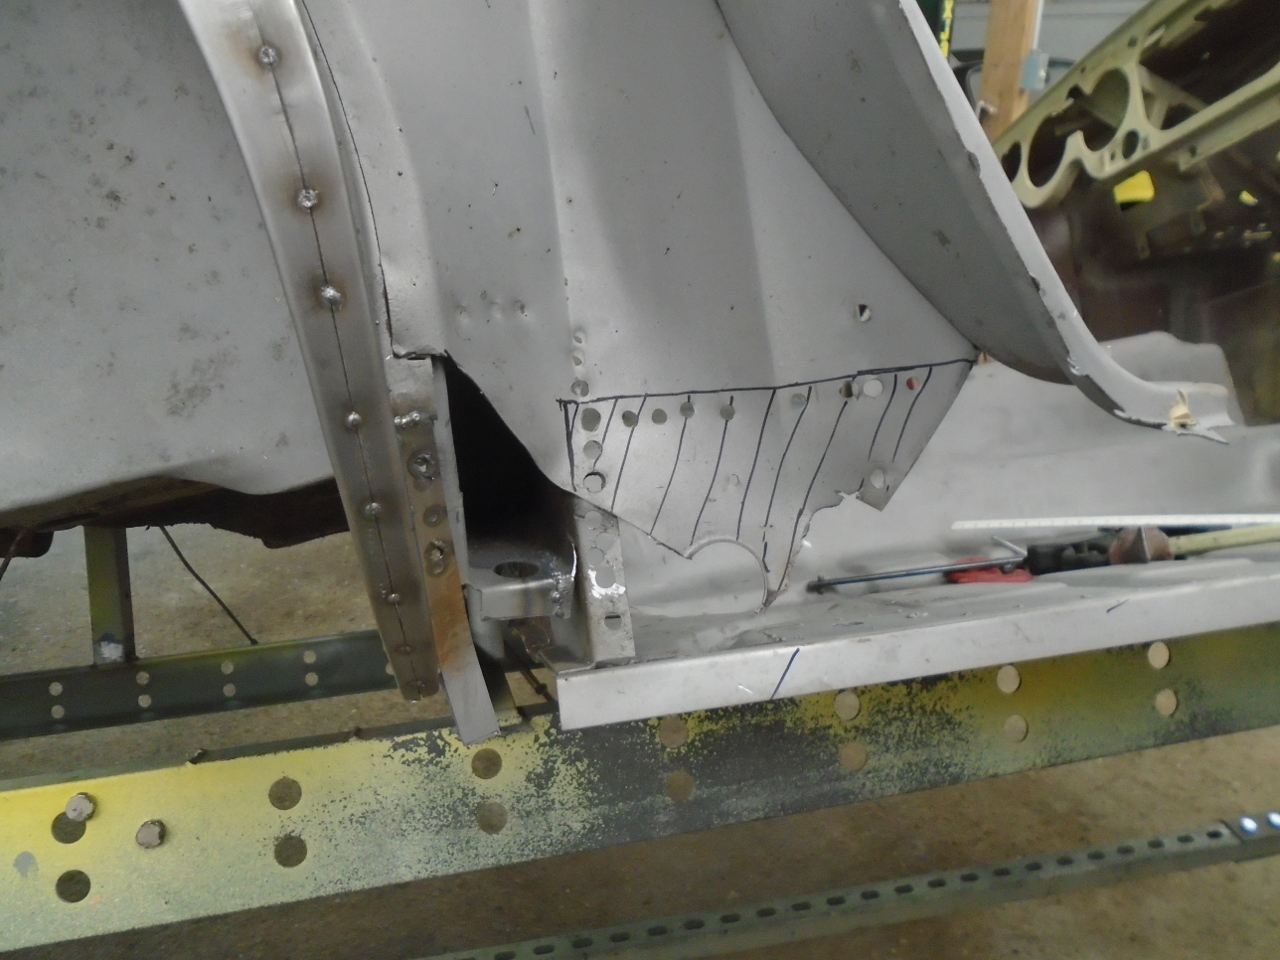
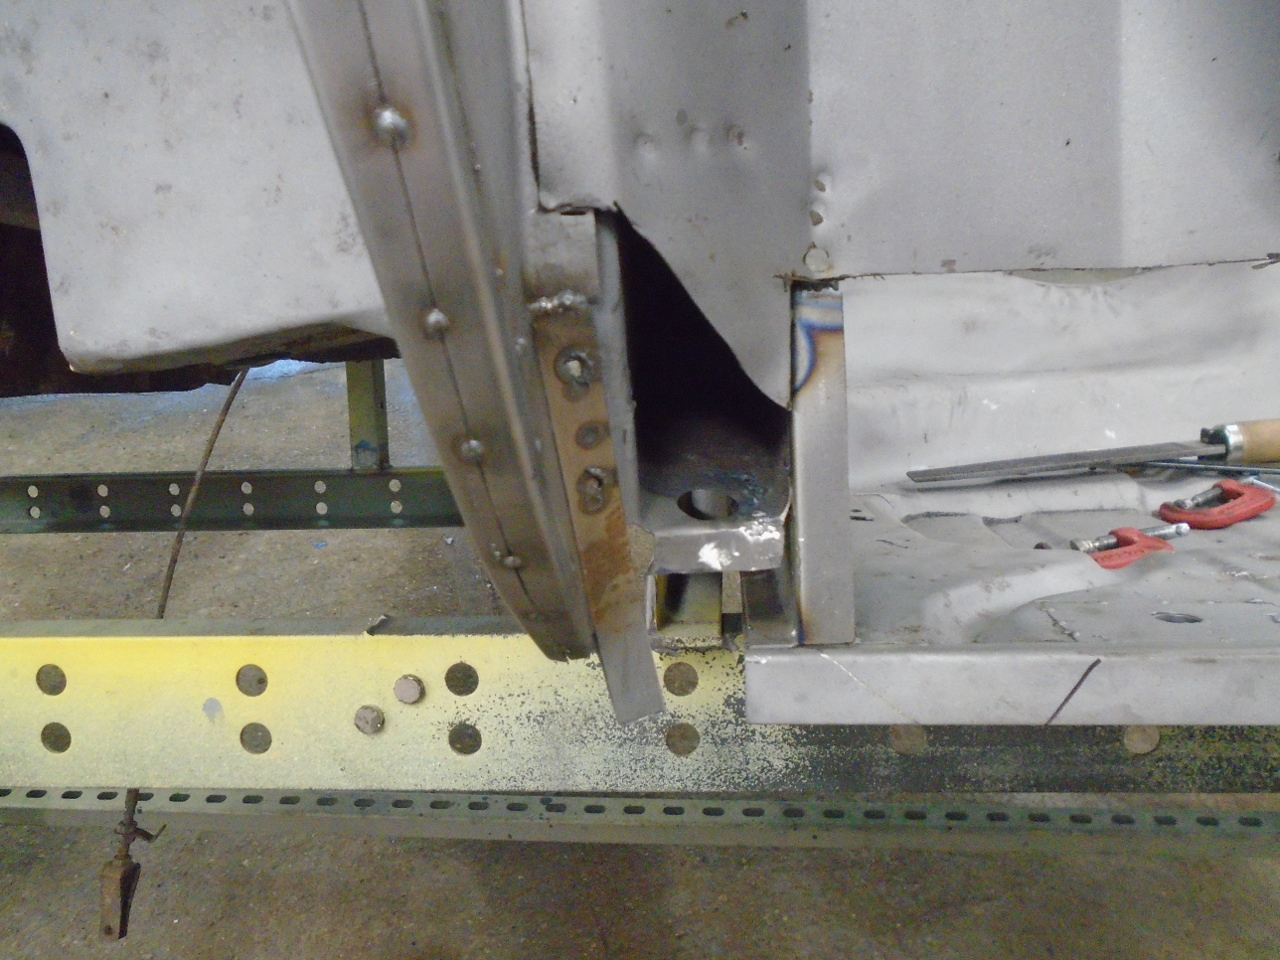
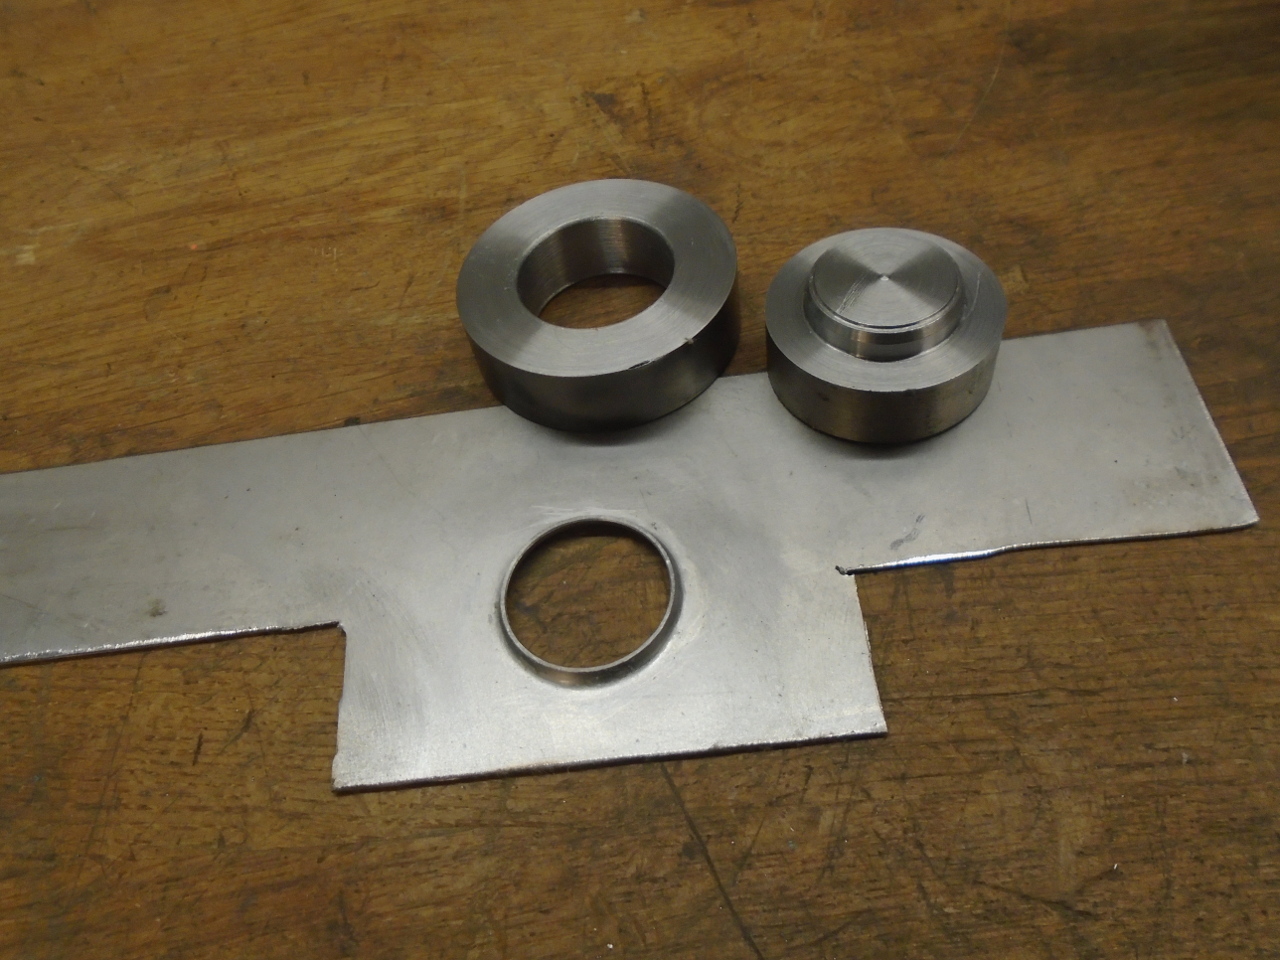
Then cut a new piece to fit. The original panel had a
largish hole that was "dimpled" around its perimeter. A
simple little die and a large washer made a nice reproduction
dimple.
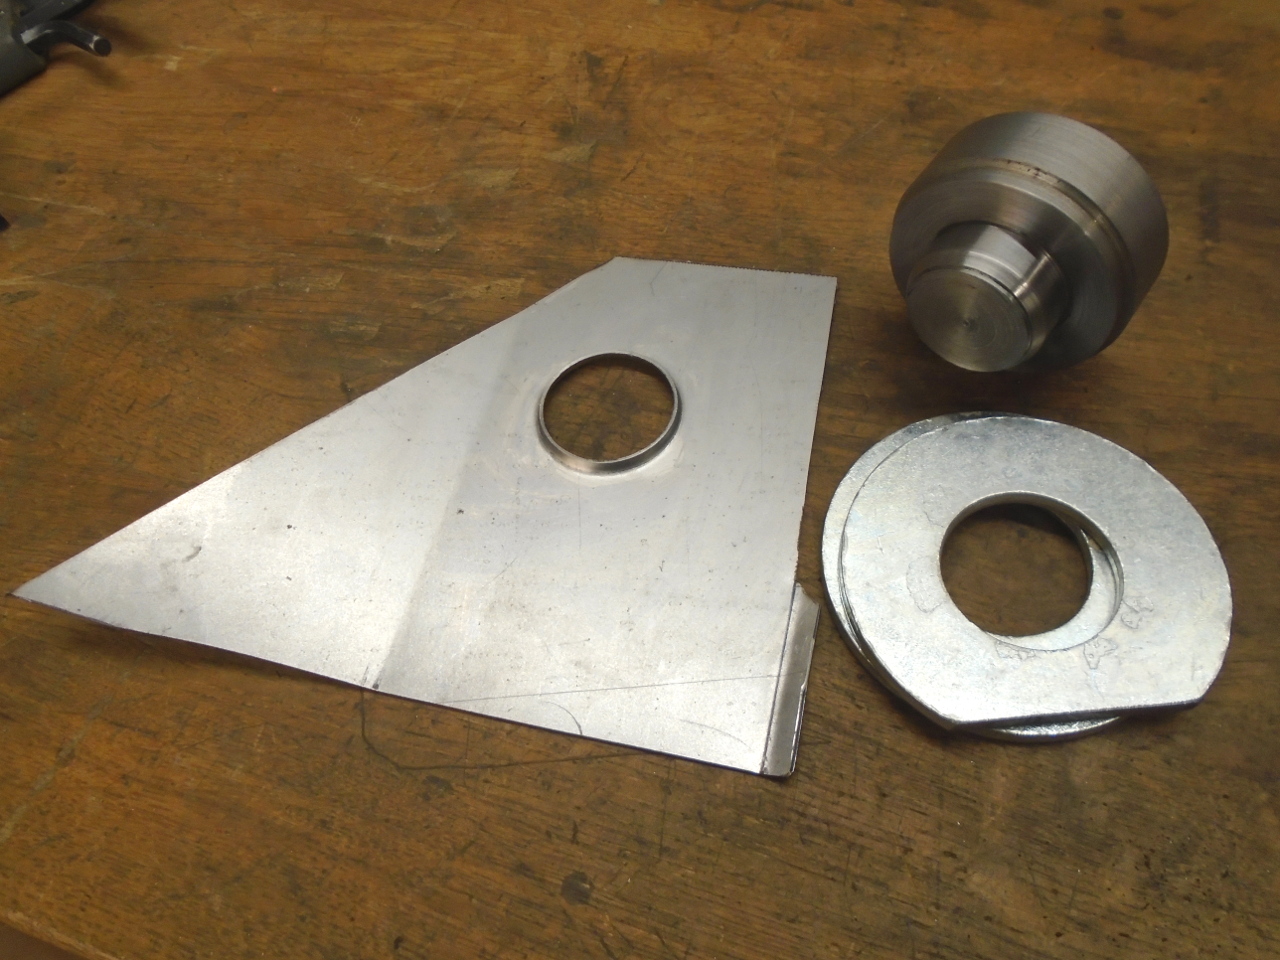
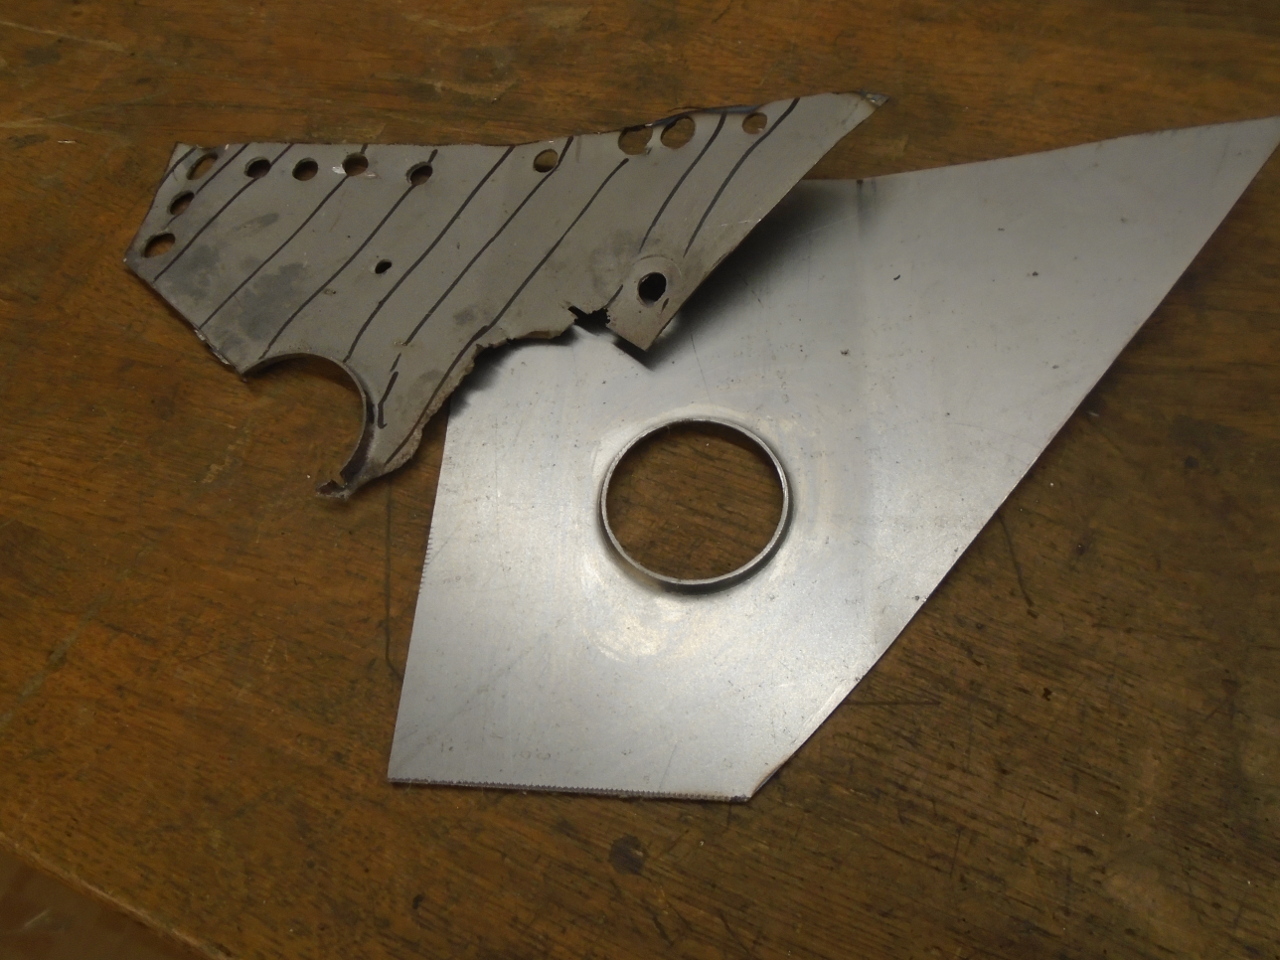
Here it is in place.
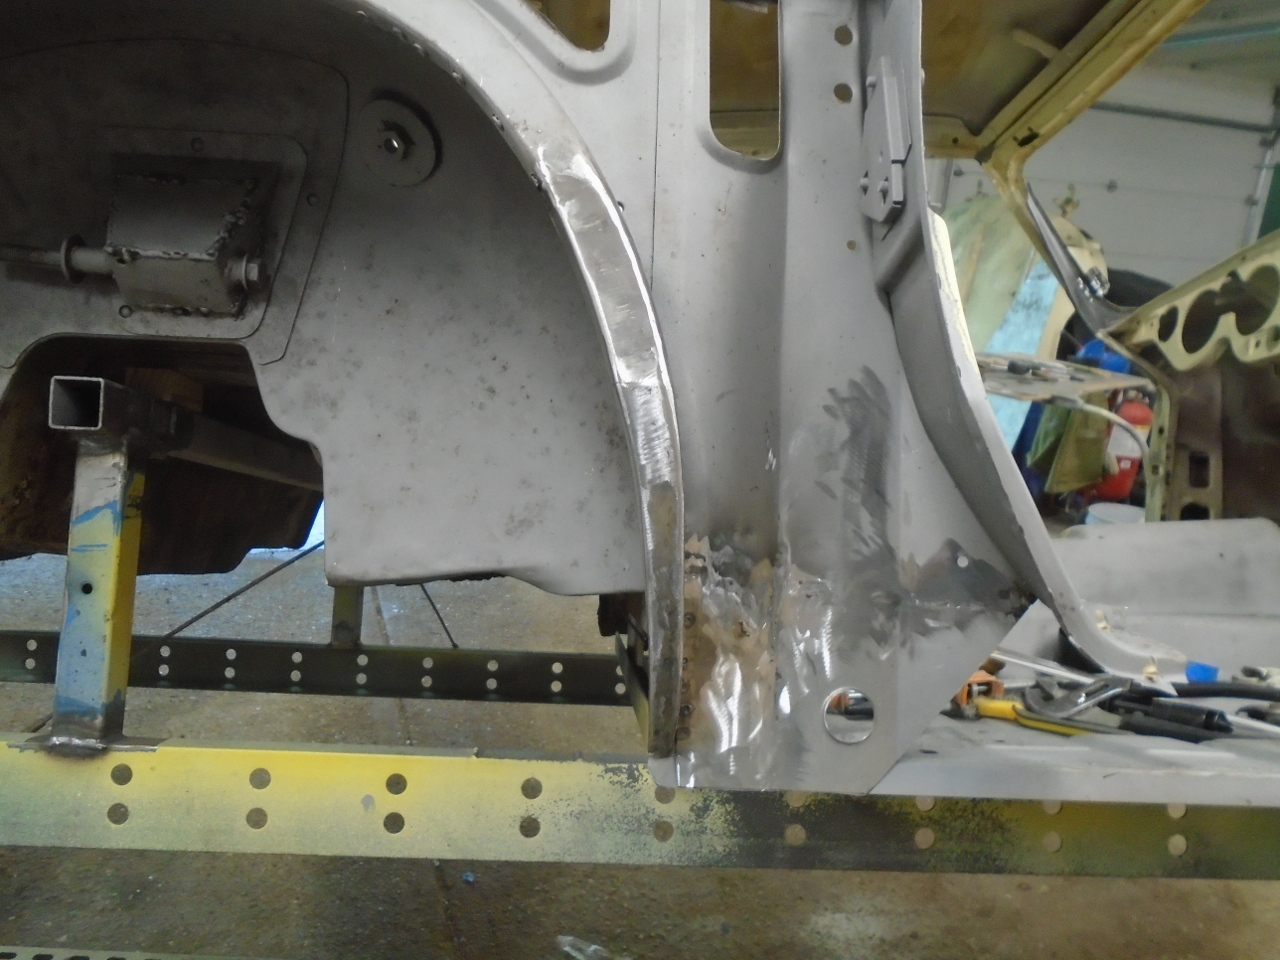
All of this was in preparation for the inner sill.
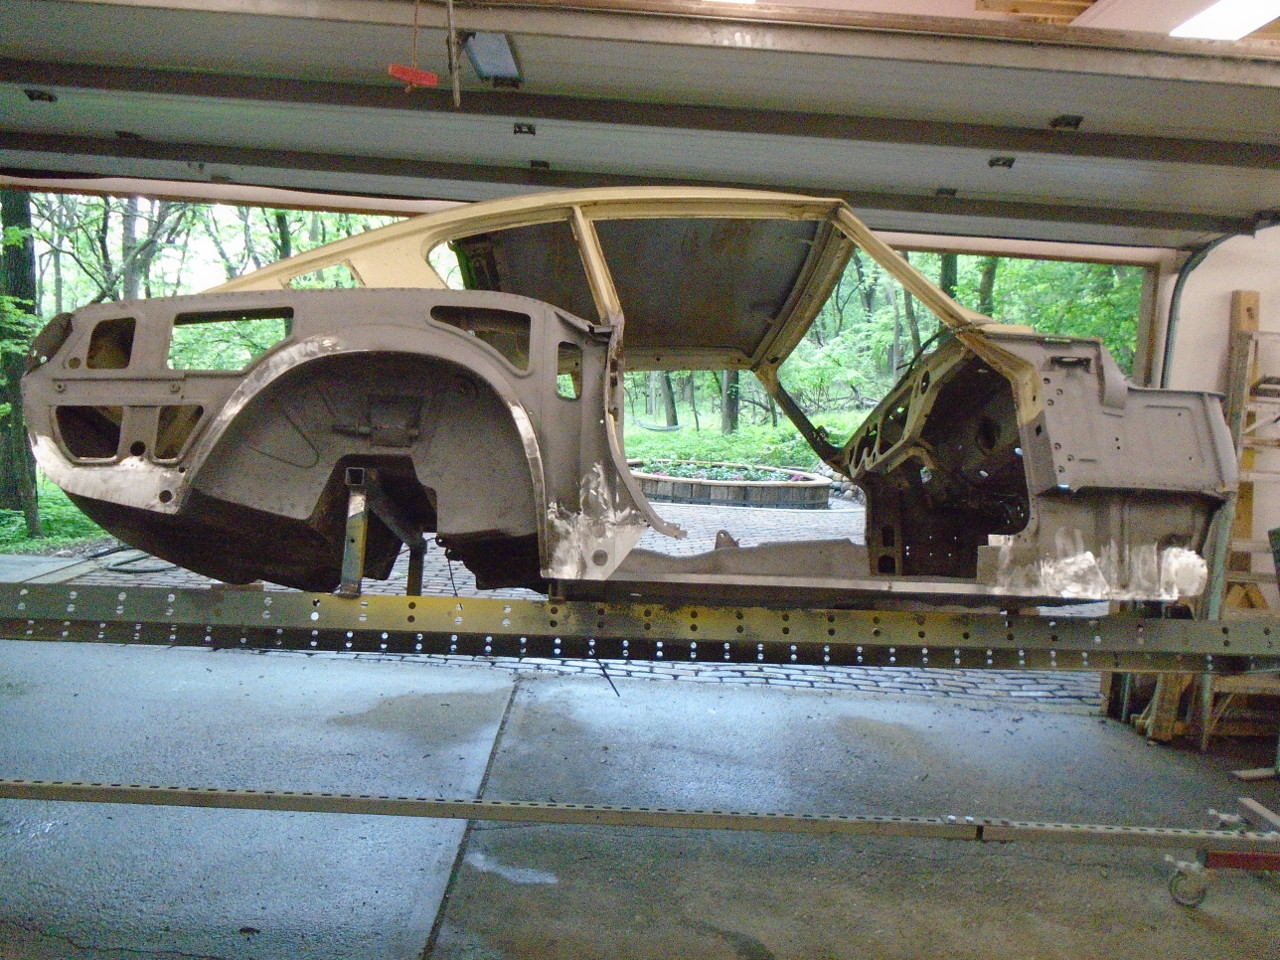
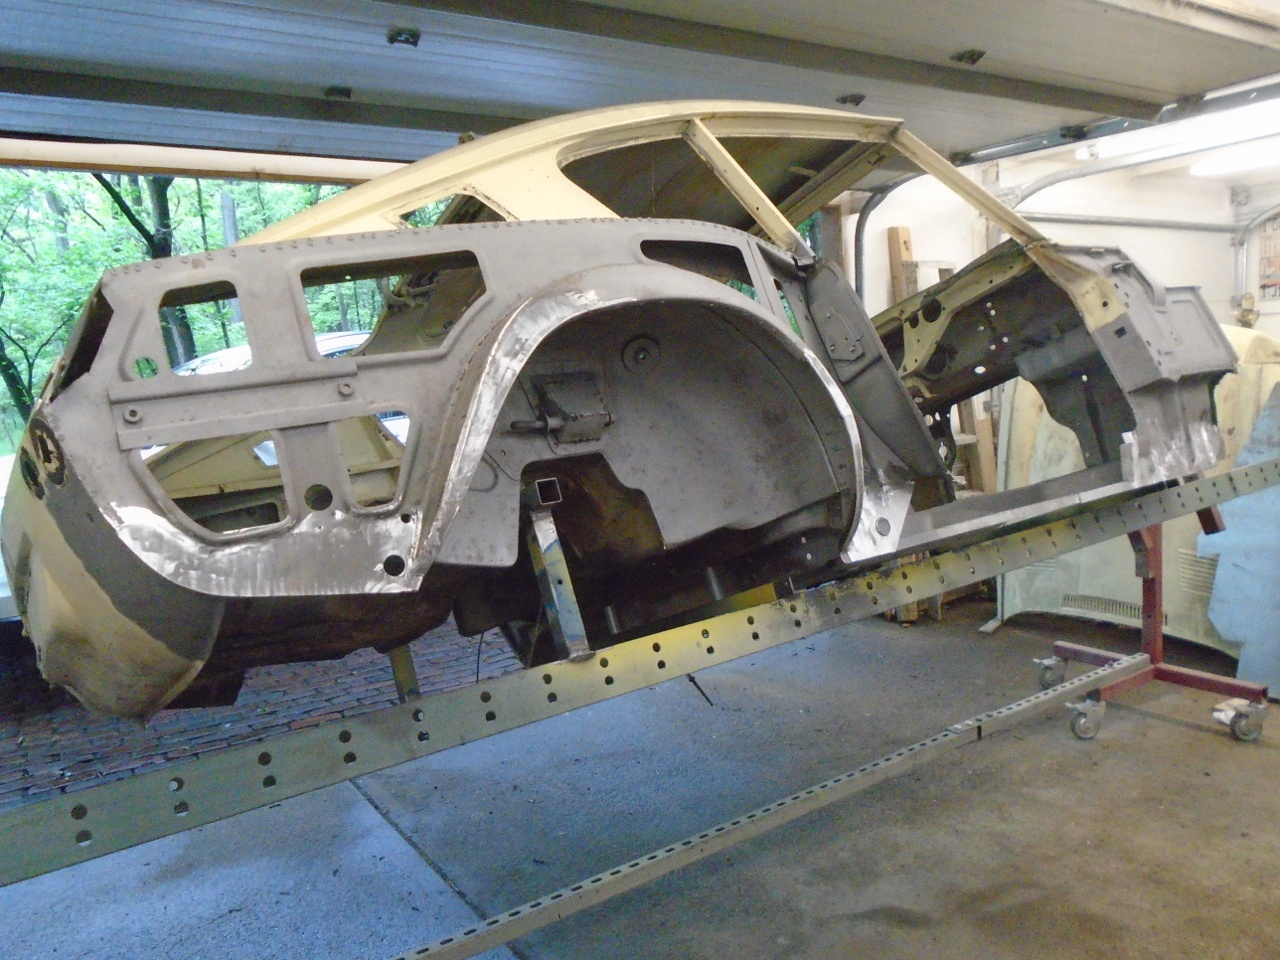
The inner sill itself was in OK shape except for the bottom inch
and the bottom flange. These are available as
reproductions, but I thought I could repair the one I had.
At least I knew it would fit.
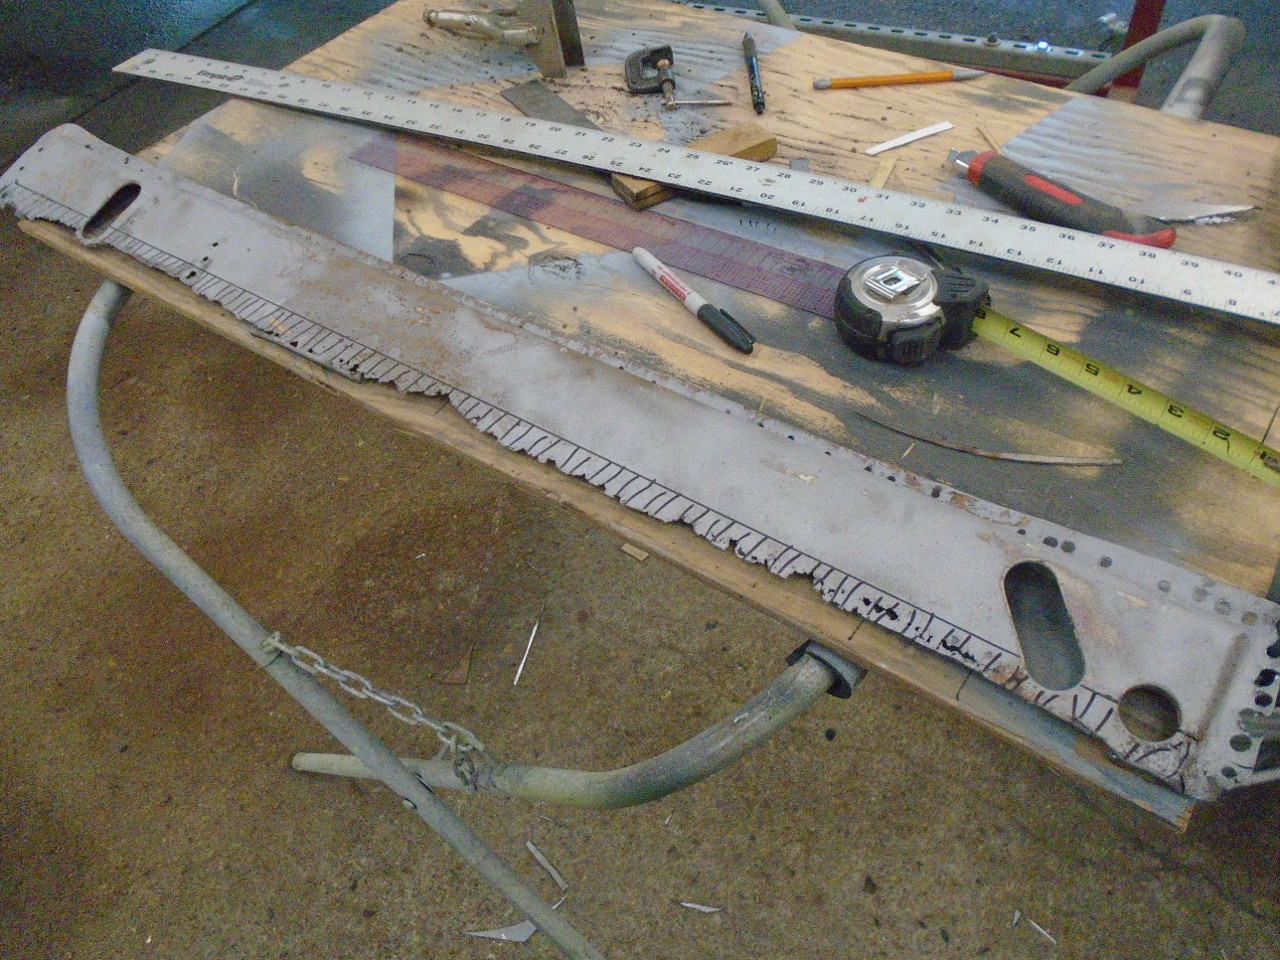
There were a pair of elongated holes in the inner sill. I
wouldn't realize what they were for until later, but the bottom
portion of both of them was gone. The holes were dimpled,
but sadly, a different size from the dimple die I had already
made.
I made a new dimple tool, and made a flared hole to match the
ones in the sill. I only needed half the hole.
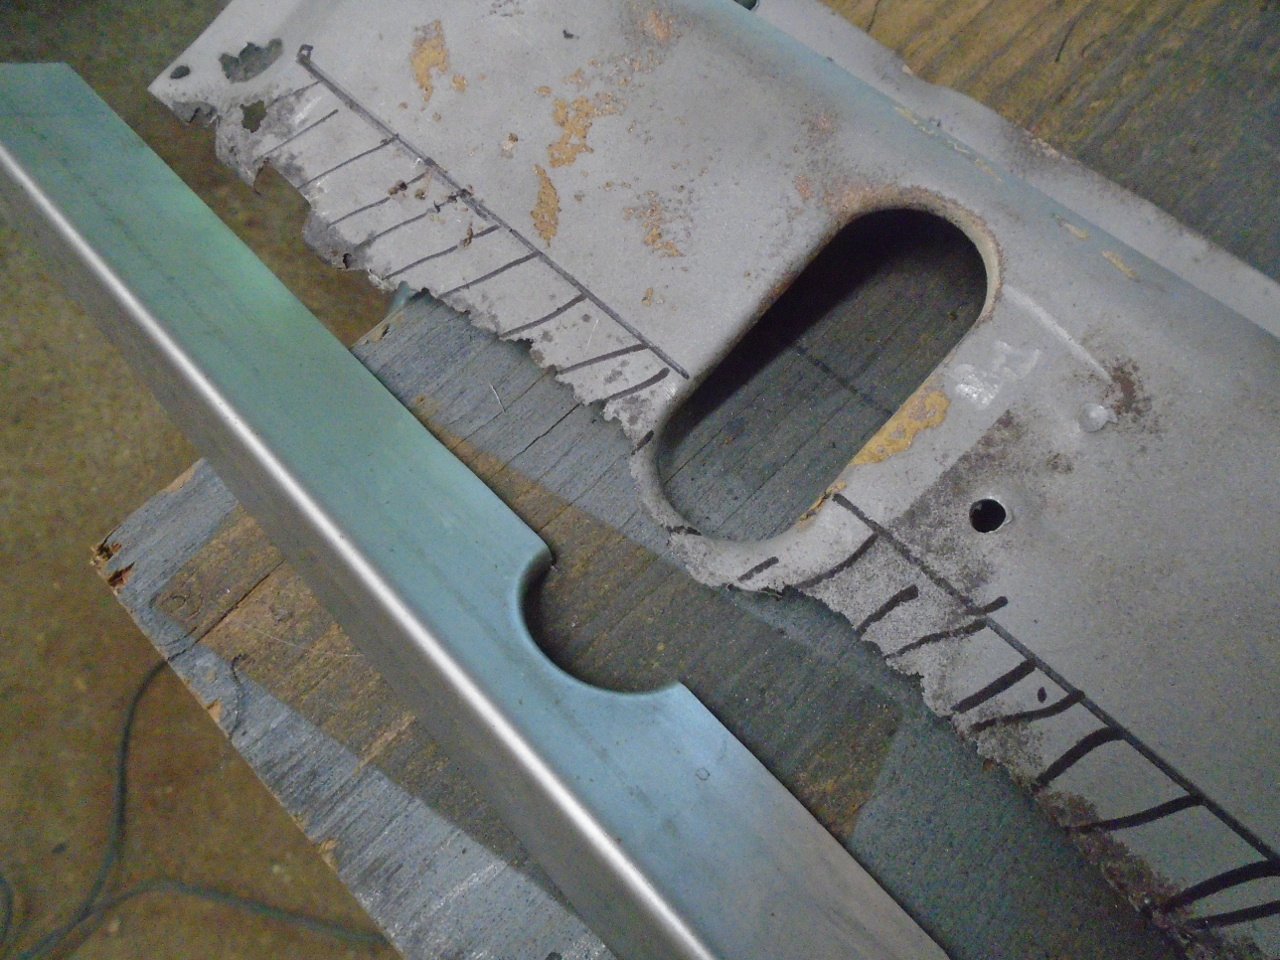
Similar for the other end.
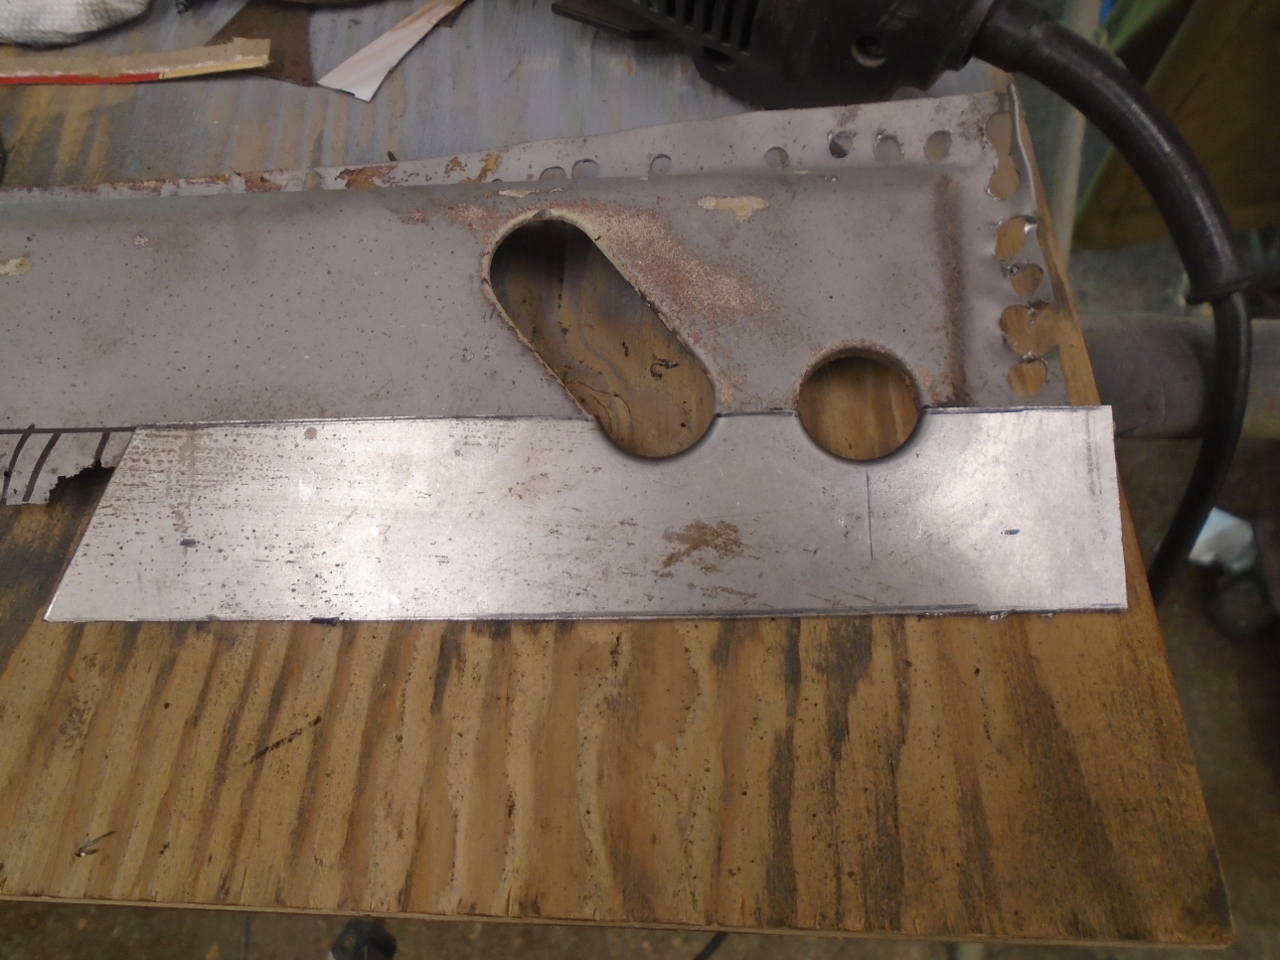
Then cut off the bad part and replaced it with good metal.
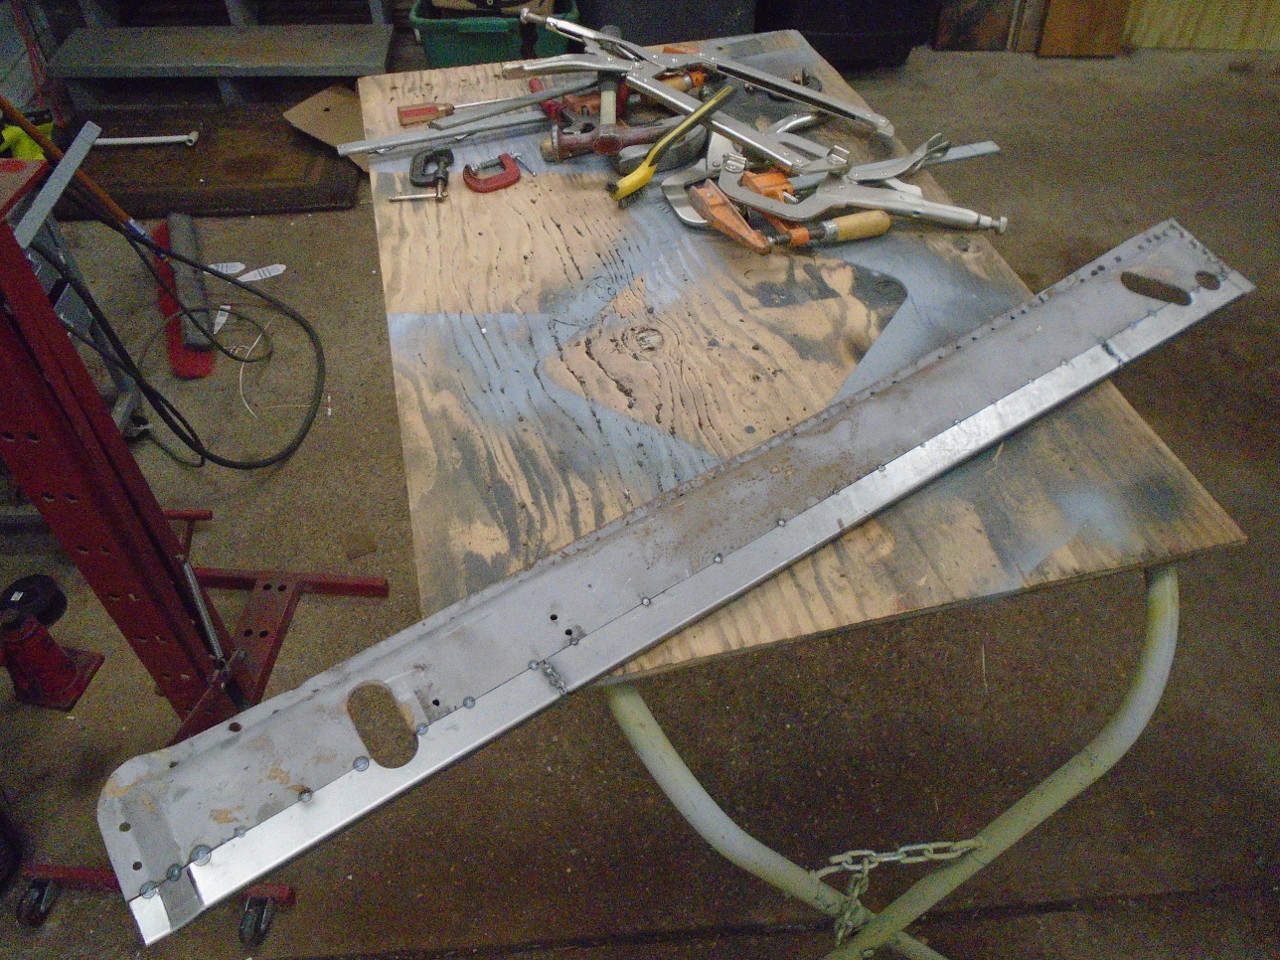
Replaced the end flange. There wasn't much left of it
after removing the spot welds.
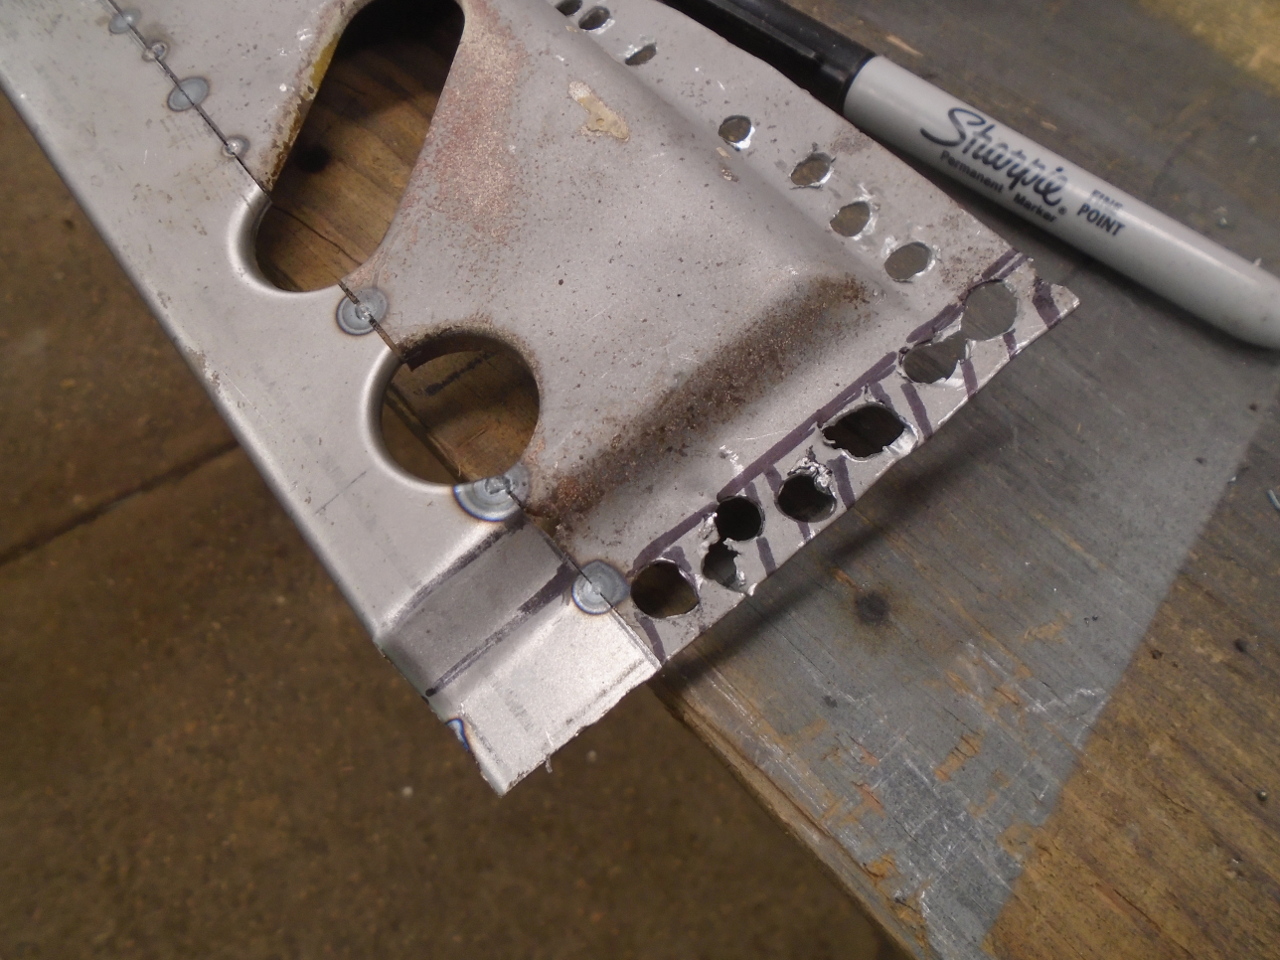
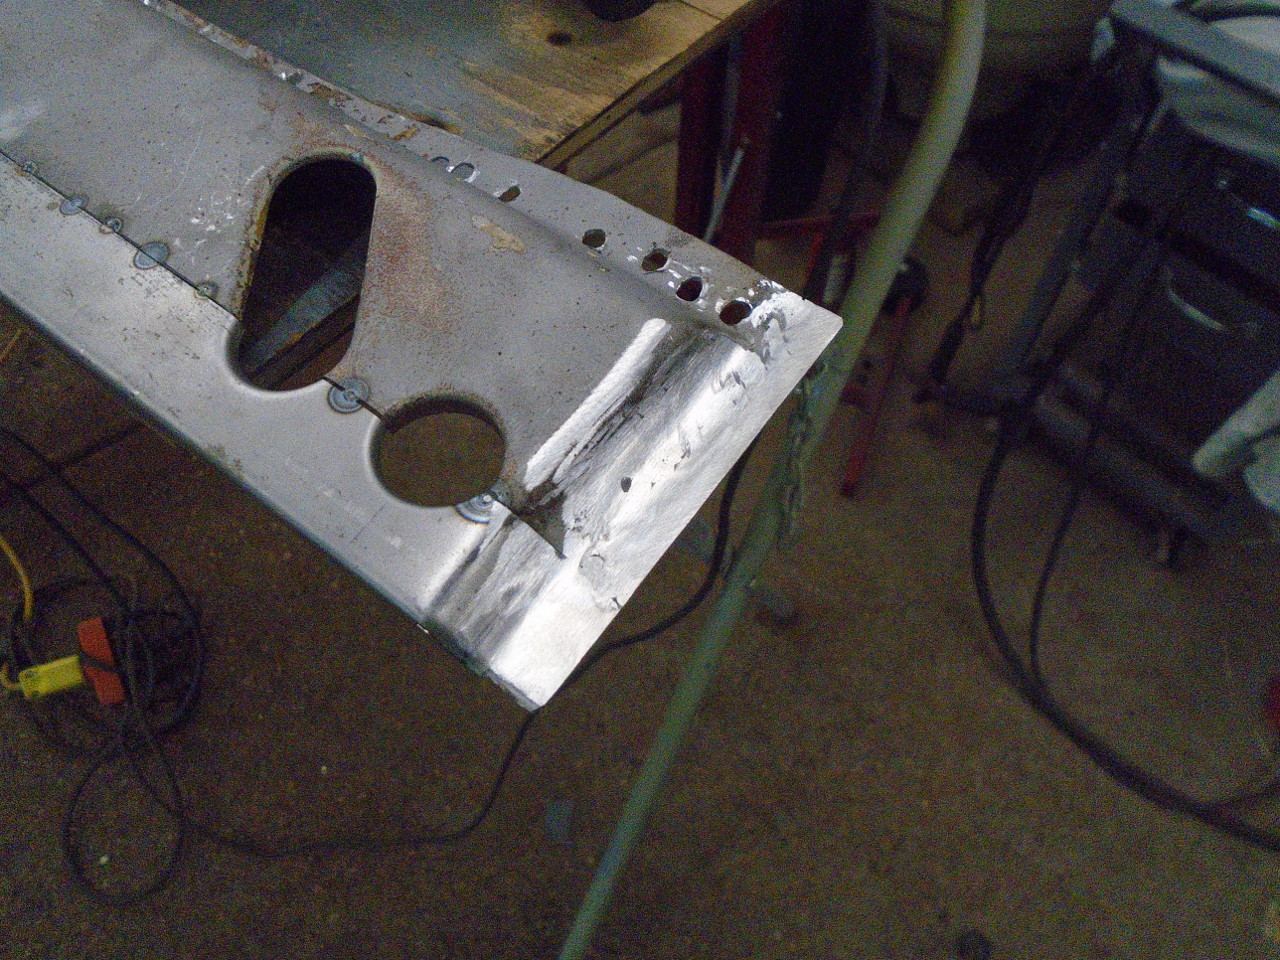
Test fit went OK. I could use the old spot weld holes for
alignment.
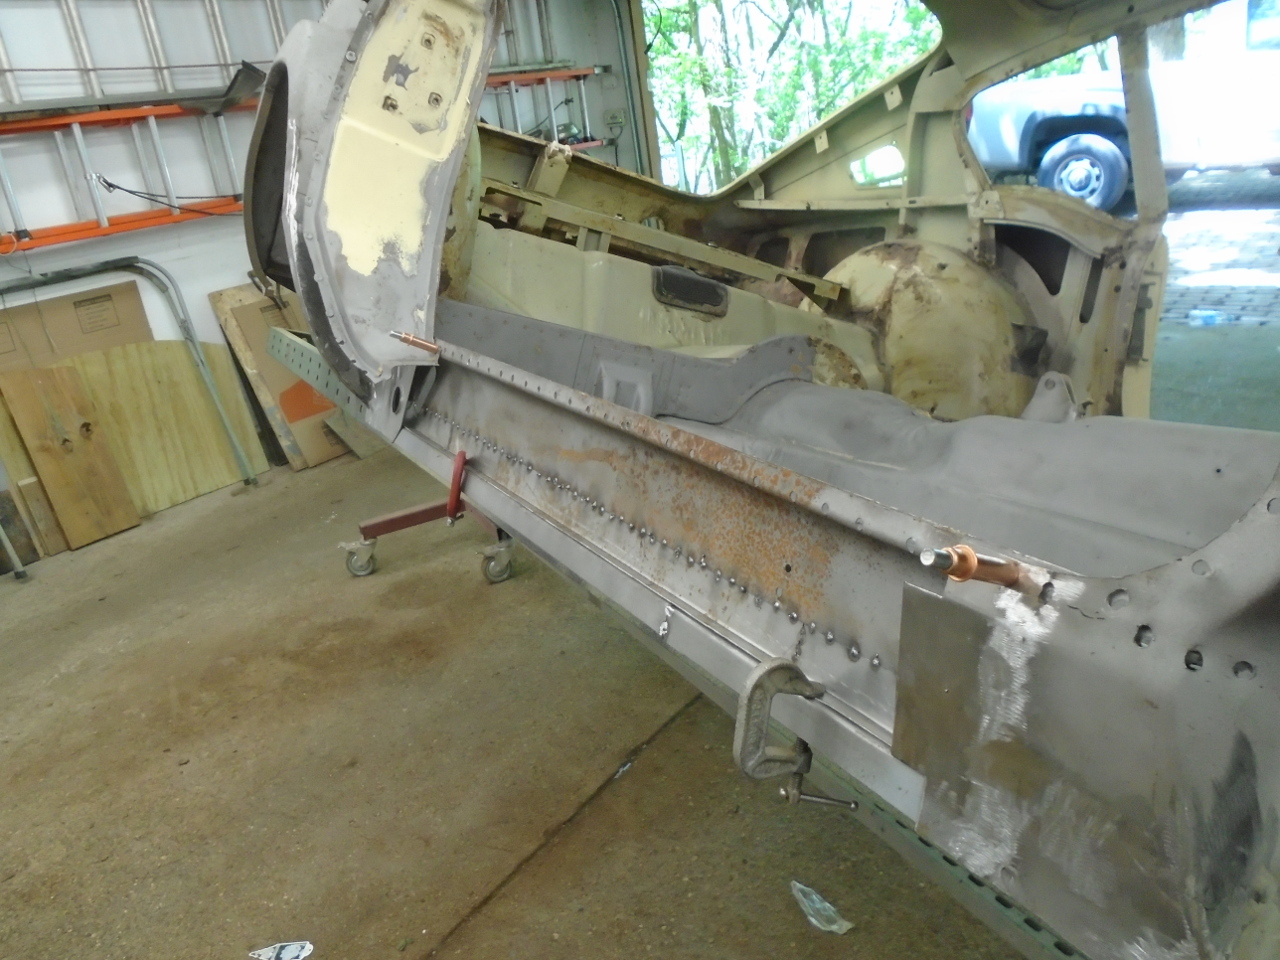
I went to great lengths to keep the bottom flange straight while
welding the seam. The minor warpage I had was fixed by the
shrinker/stretcher. I welded the sill from the inside to
keep the outside looking better. I only did minor grinding
on the inside.
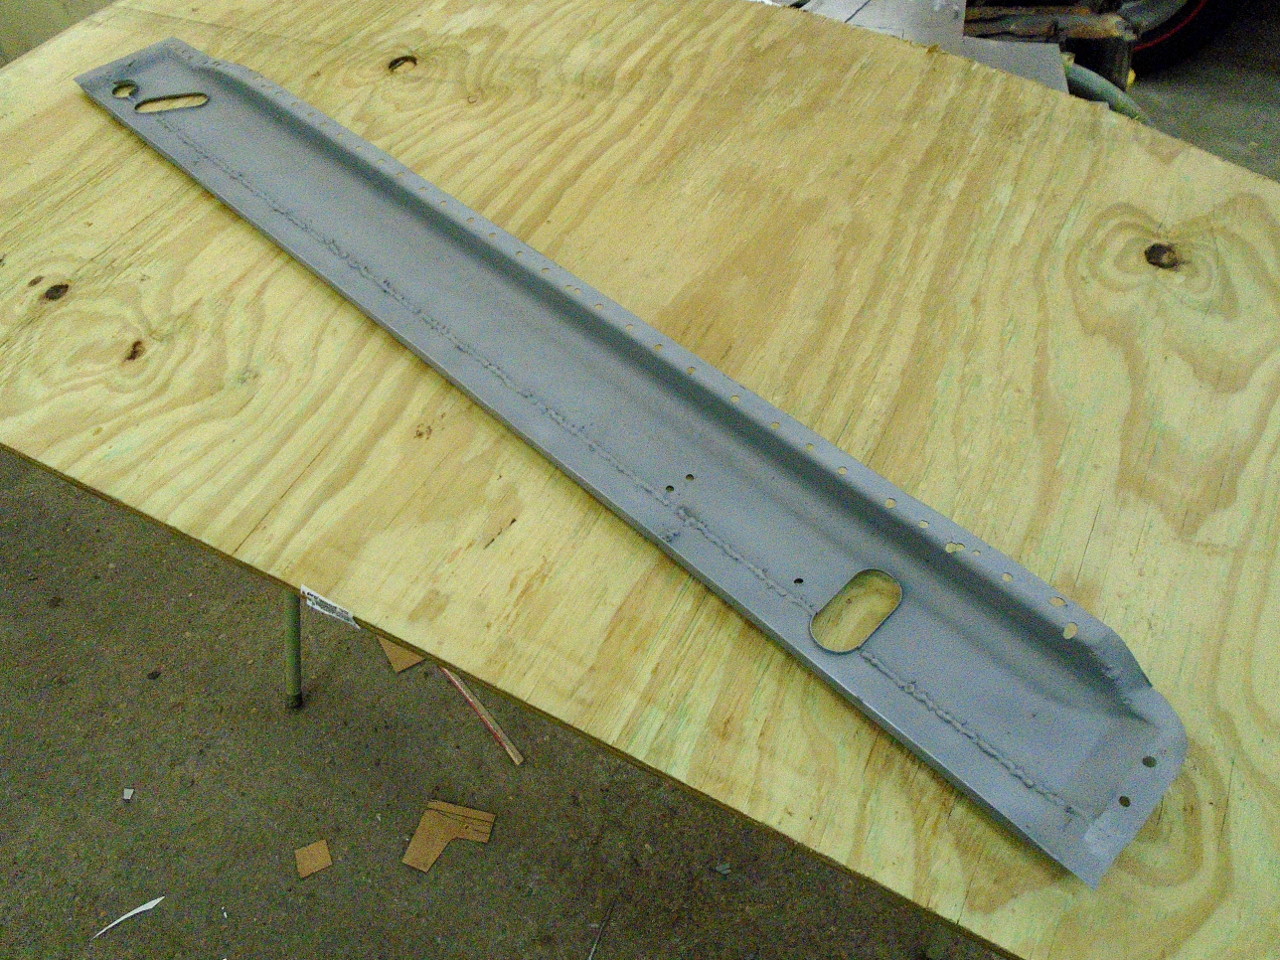
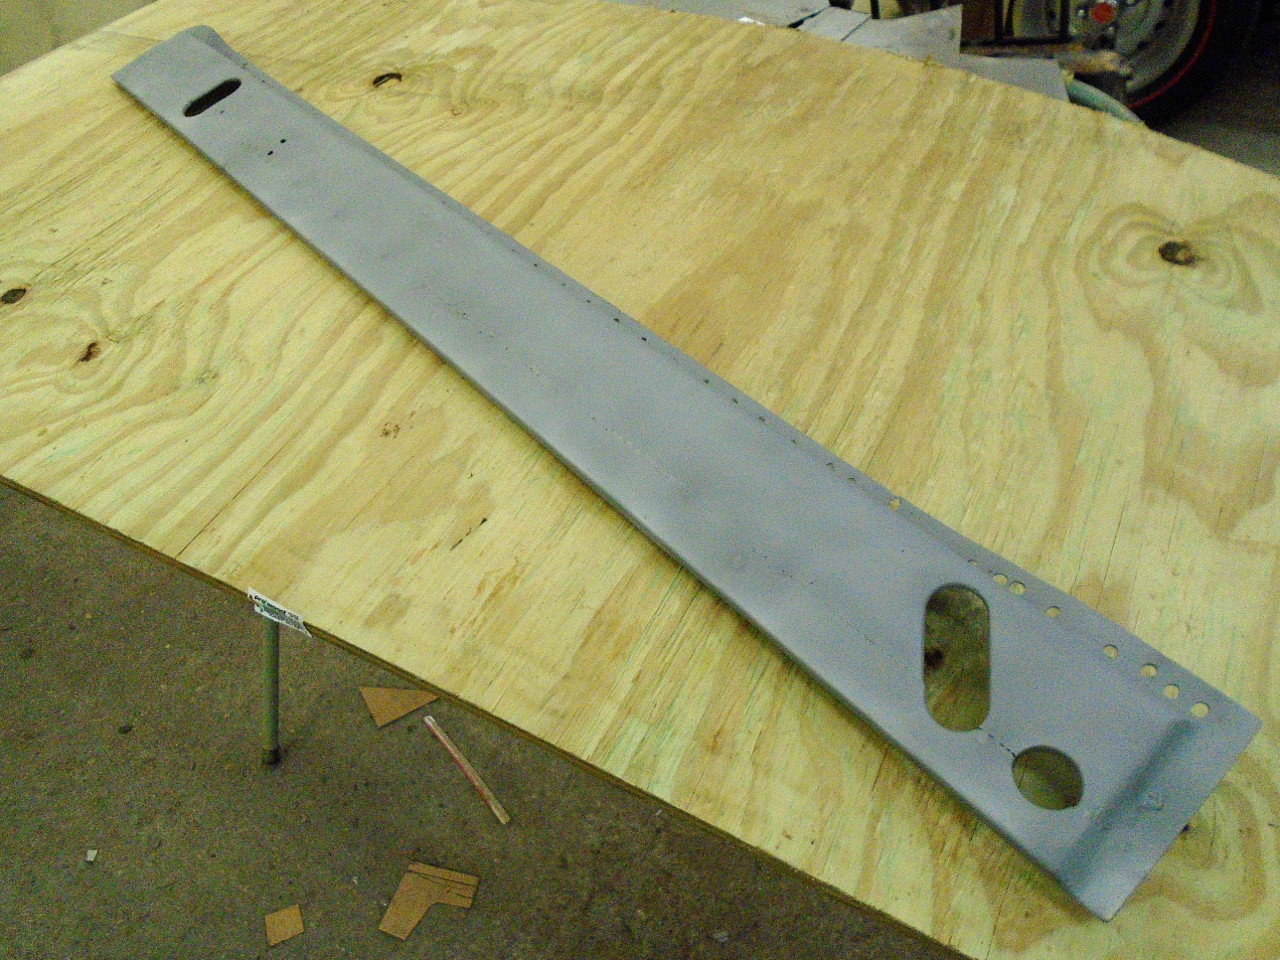
Between the inner and outer sills is a "strengthener"
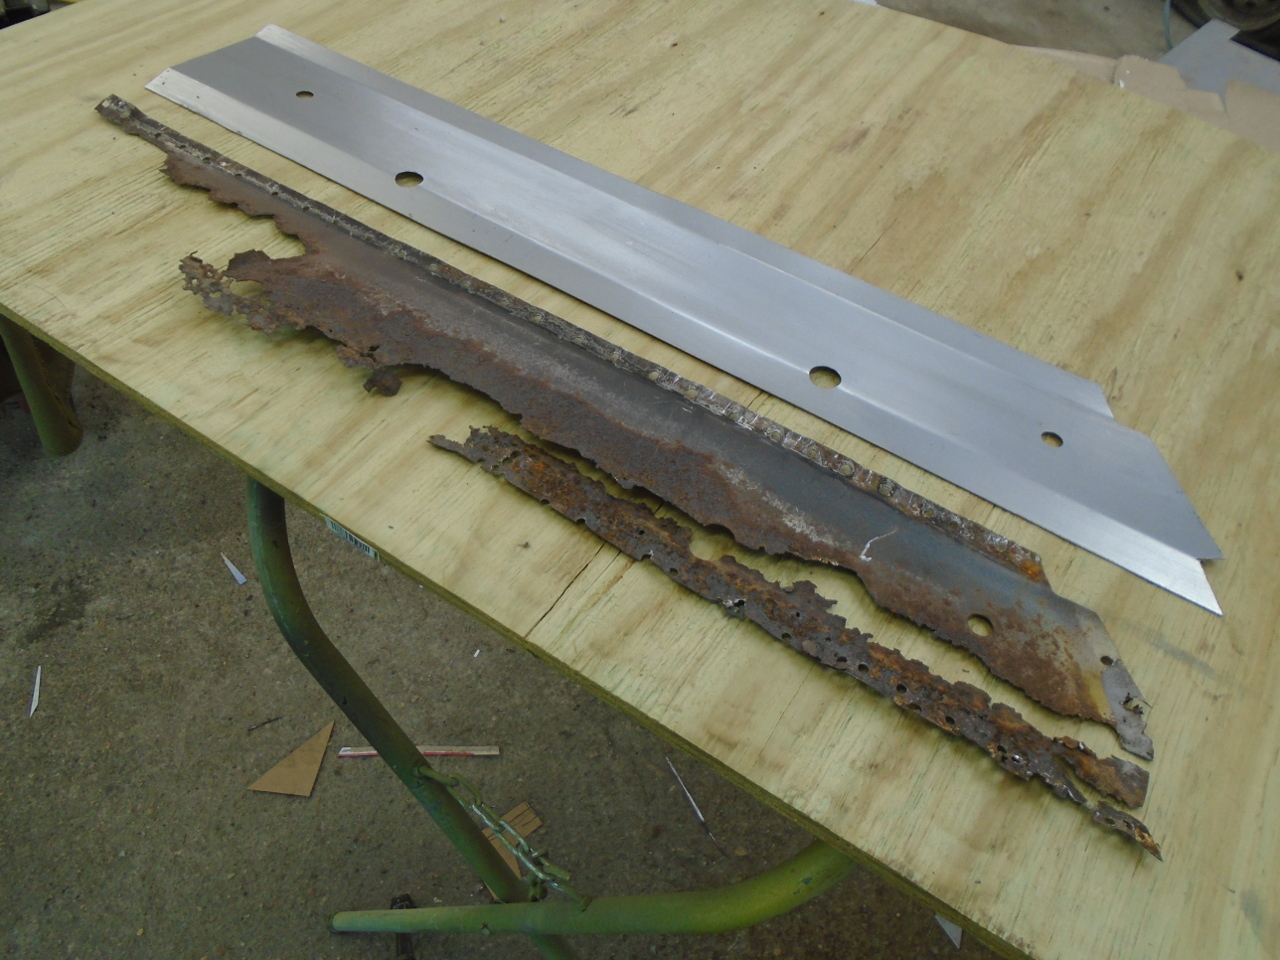
piece. Mine was mostly toast, but making one is pretty
simple. Forensic examination of the remains suggested the
size and shape, and the location of holes. Online pics
helped, too.
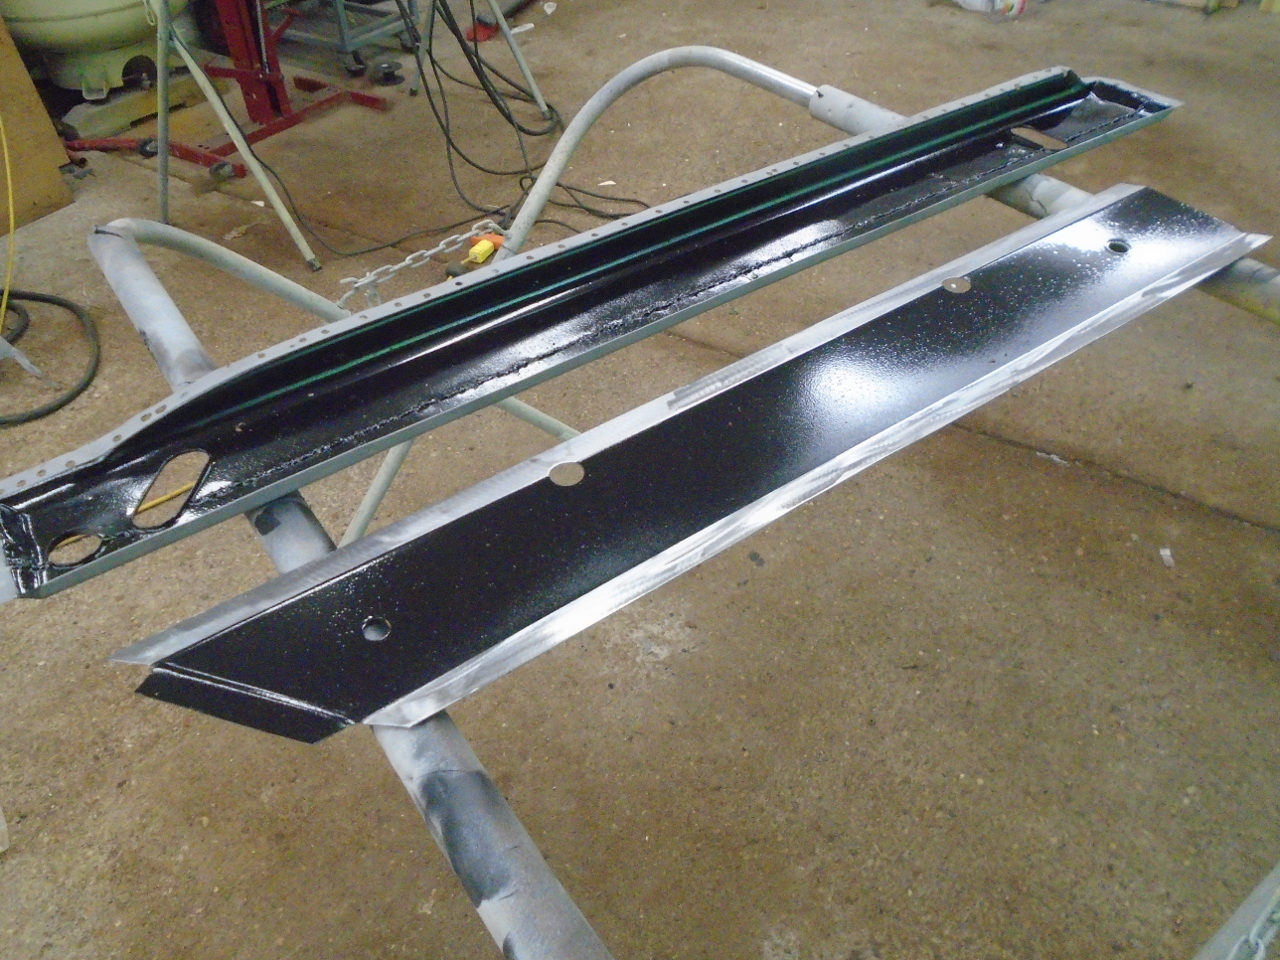
Since the space between the inner sill and strengthener would be
inaccessible after put together, it made sense to coat them
before assembly. Two coats of a good epoxy primer should
hopefully be adequate. The flanges got a couple of coats
of weld-through primer instead.
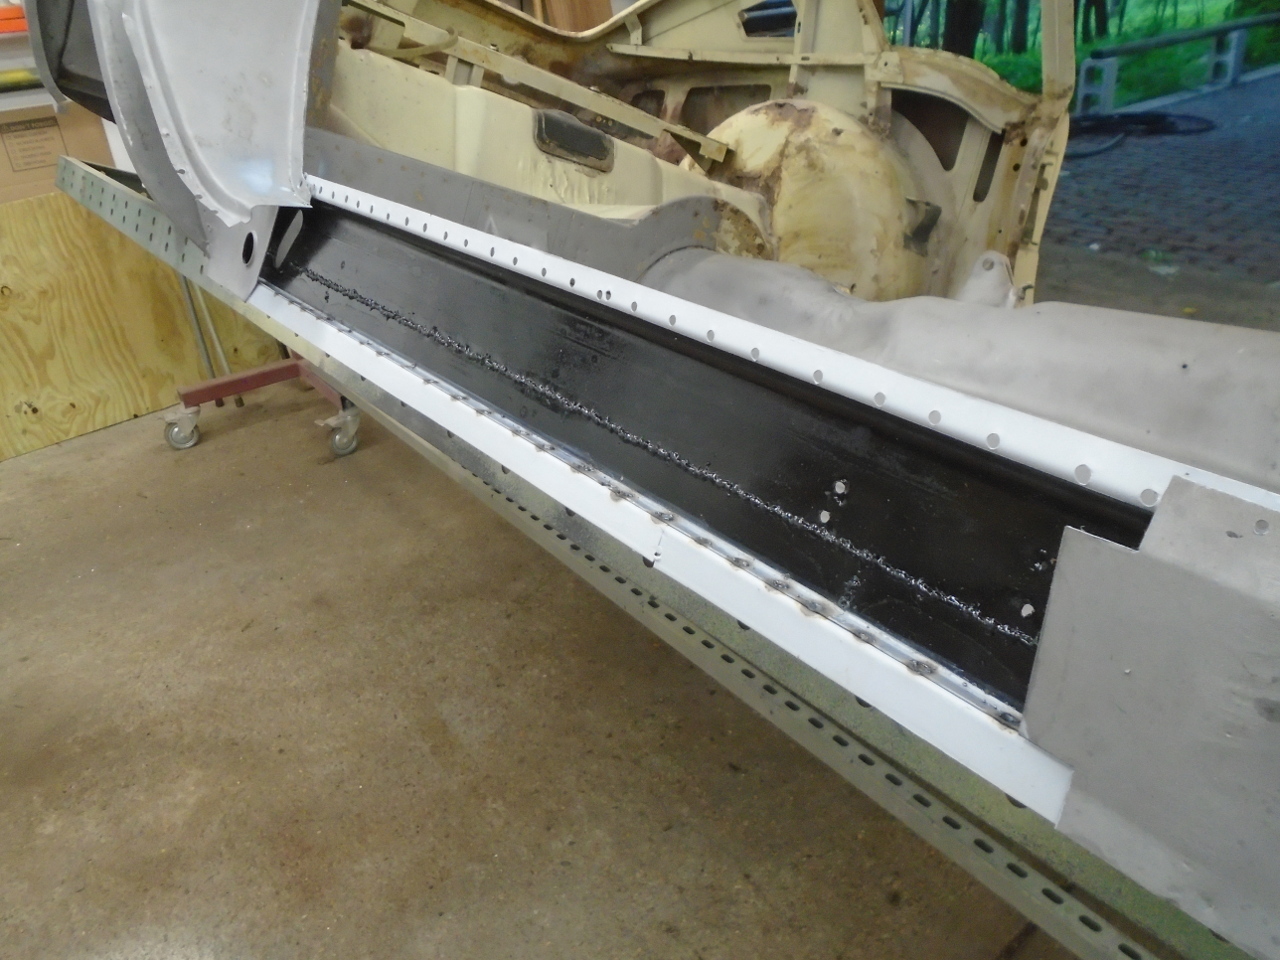
Mounting surfaces on the body were prepped with weld-through
primer, and the inner sill was positioned and spot welded.
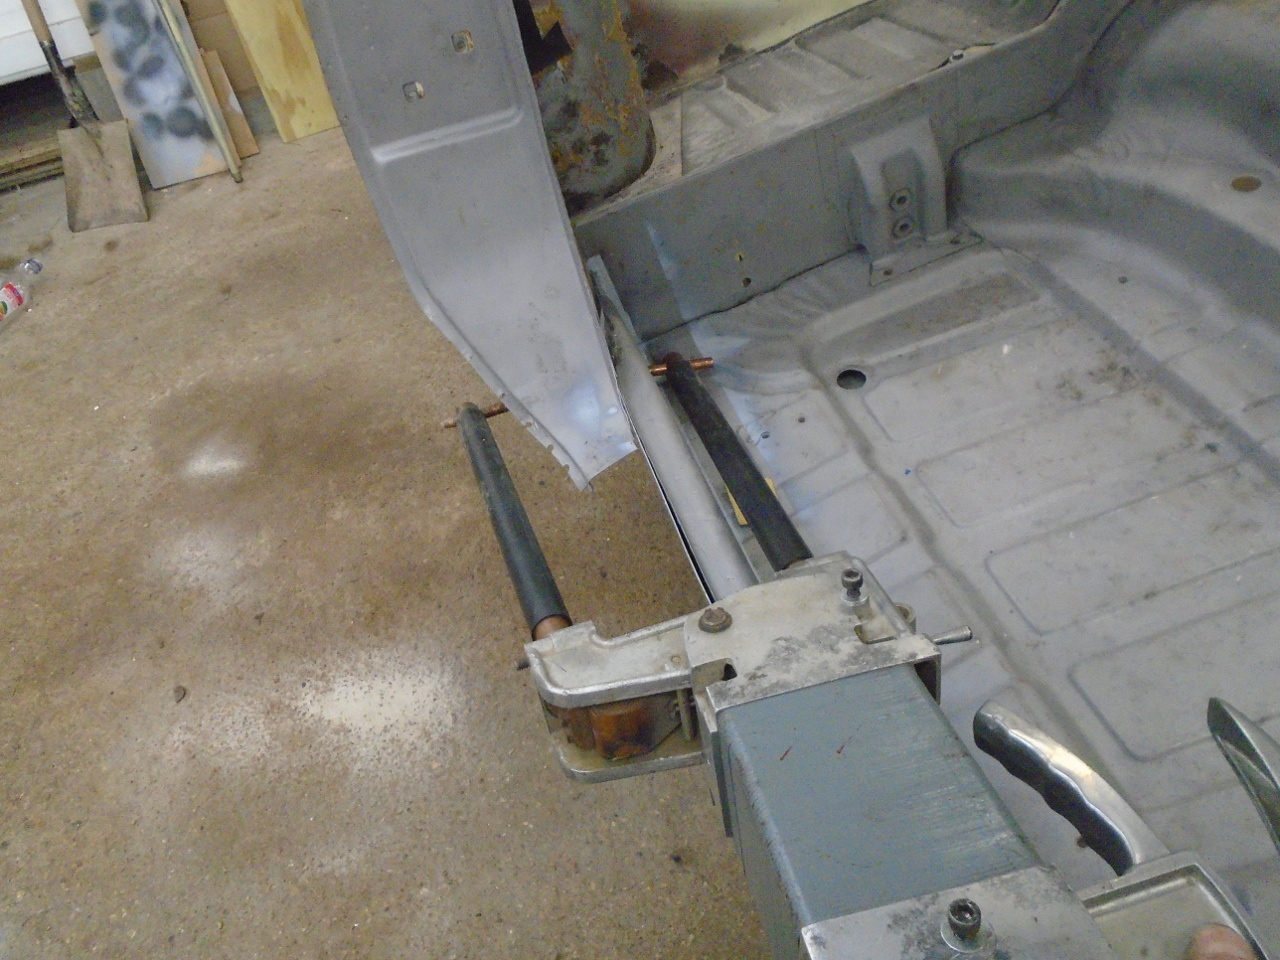
Then inserted the strengthener. This is when I realized
what those big slots were for in the inner sill. They are
for spot welder access for the ends of the strengthener.
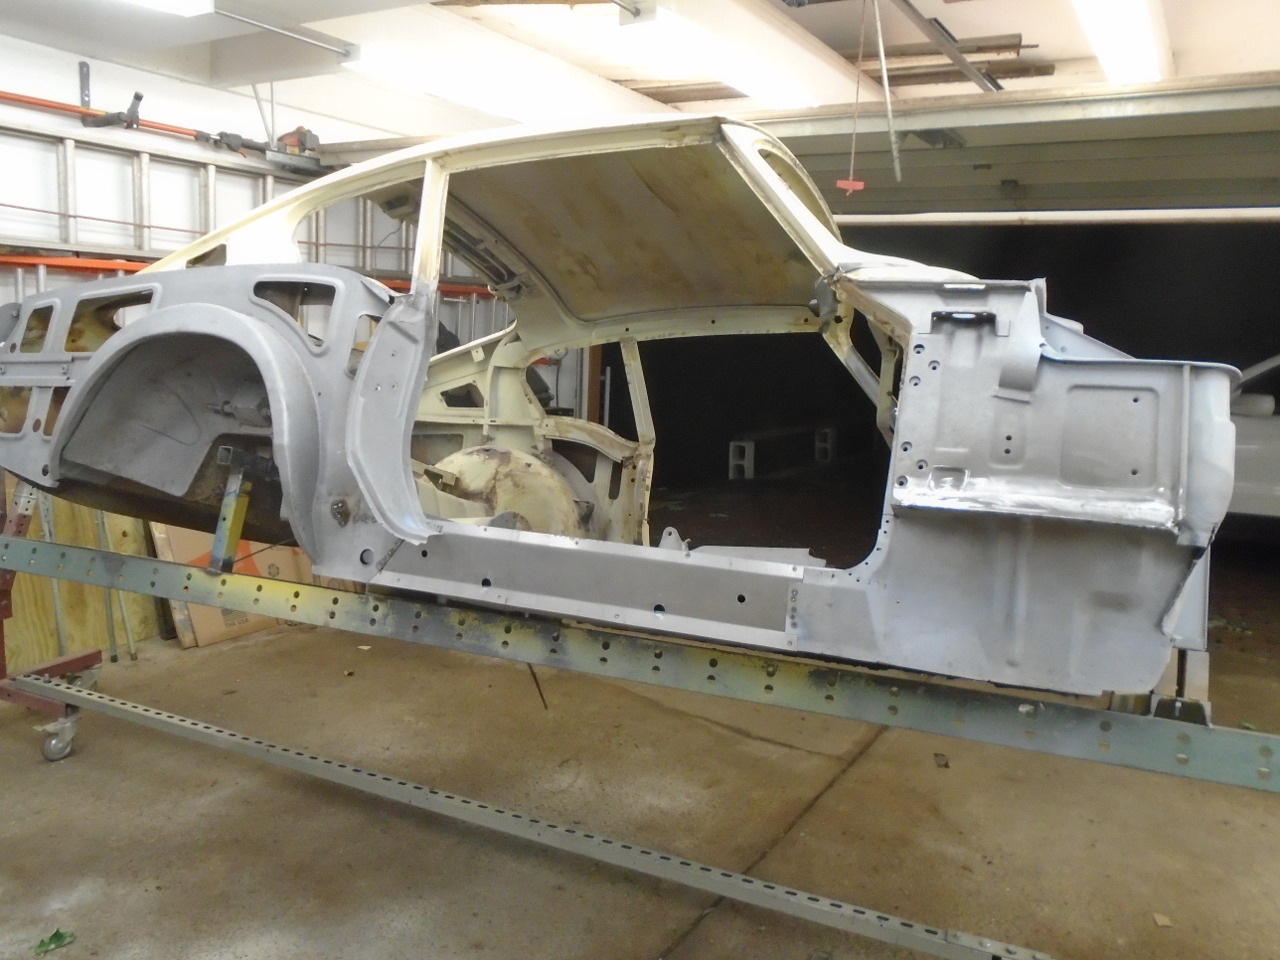
At this point, I thought it prudent to get this side of the car
under some kind of rust protectant in anticipation of our
wonderful Midwest summer humidity. A coat or two of a
2-part epoxy primer.
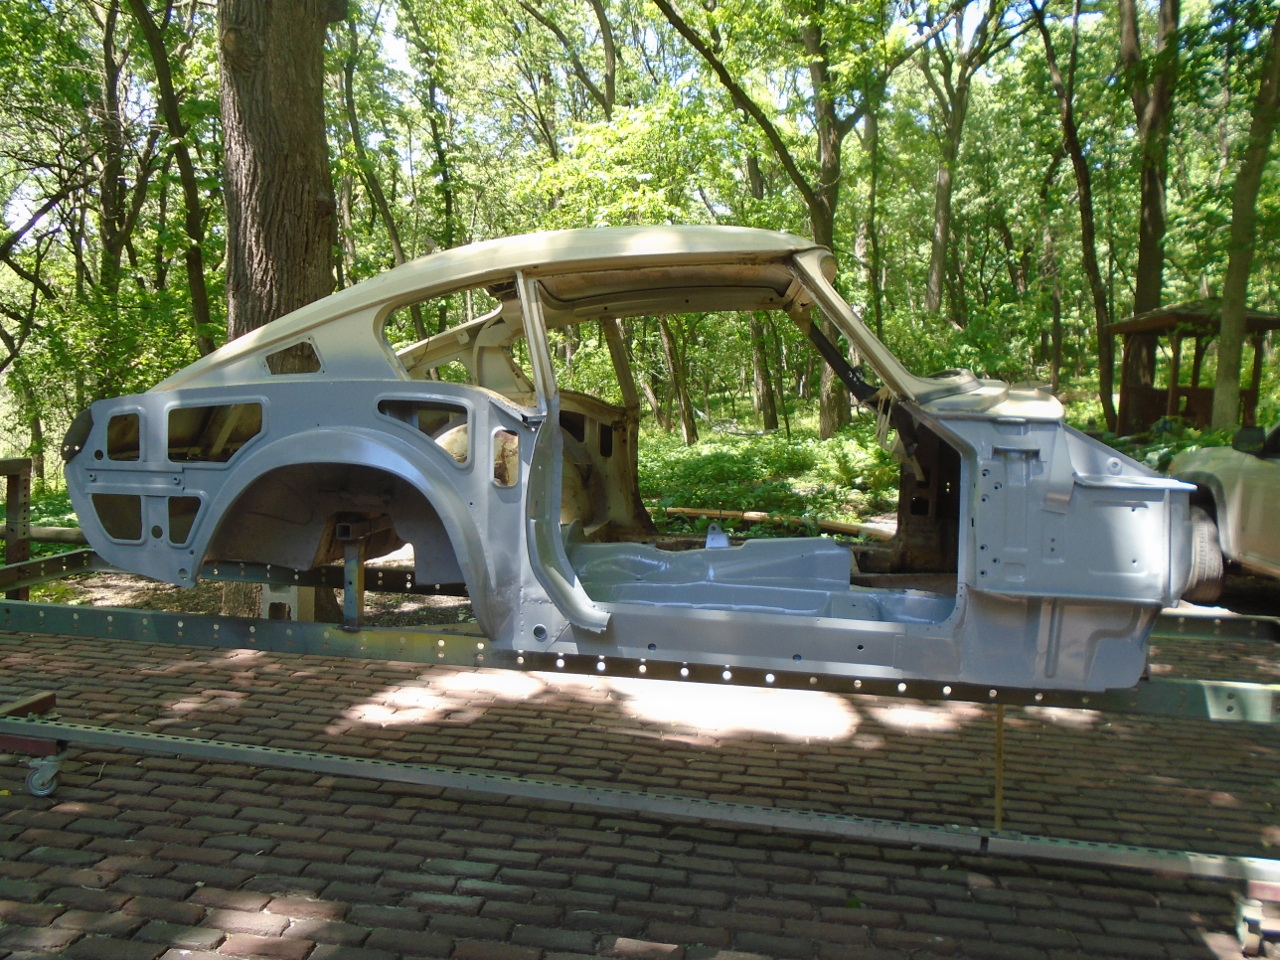
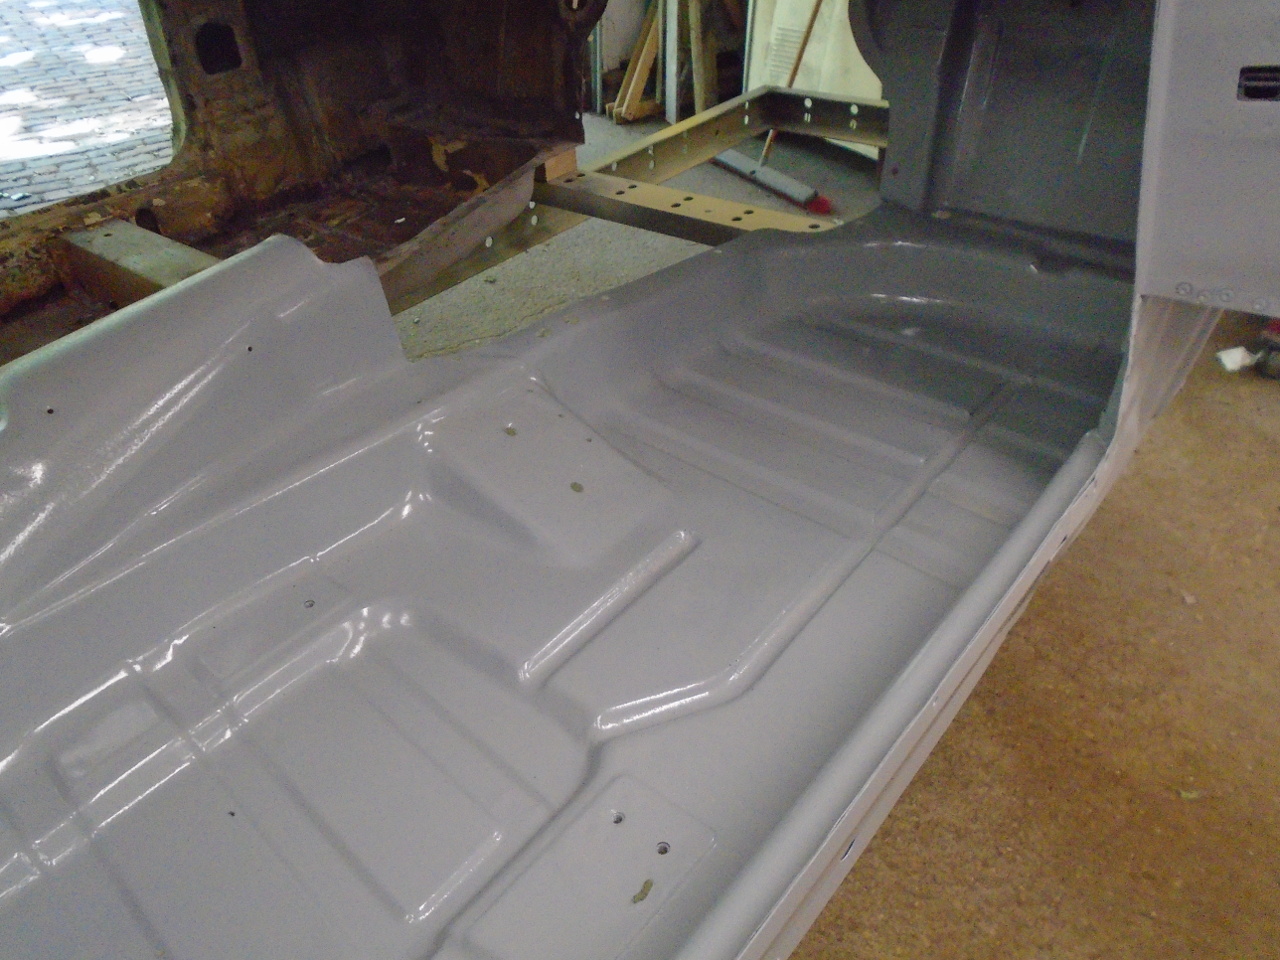
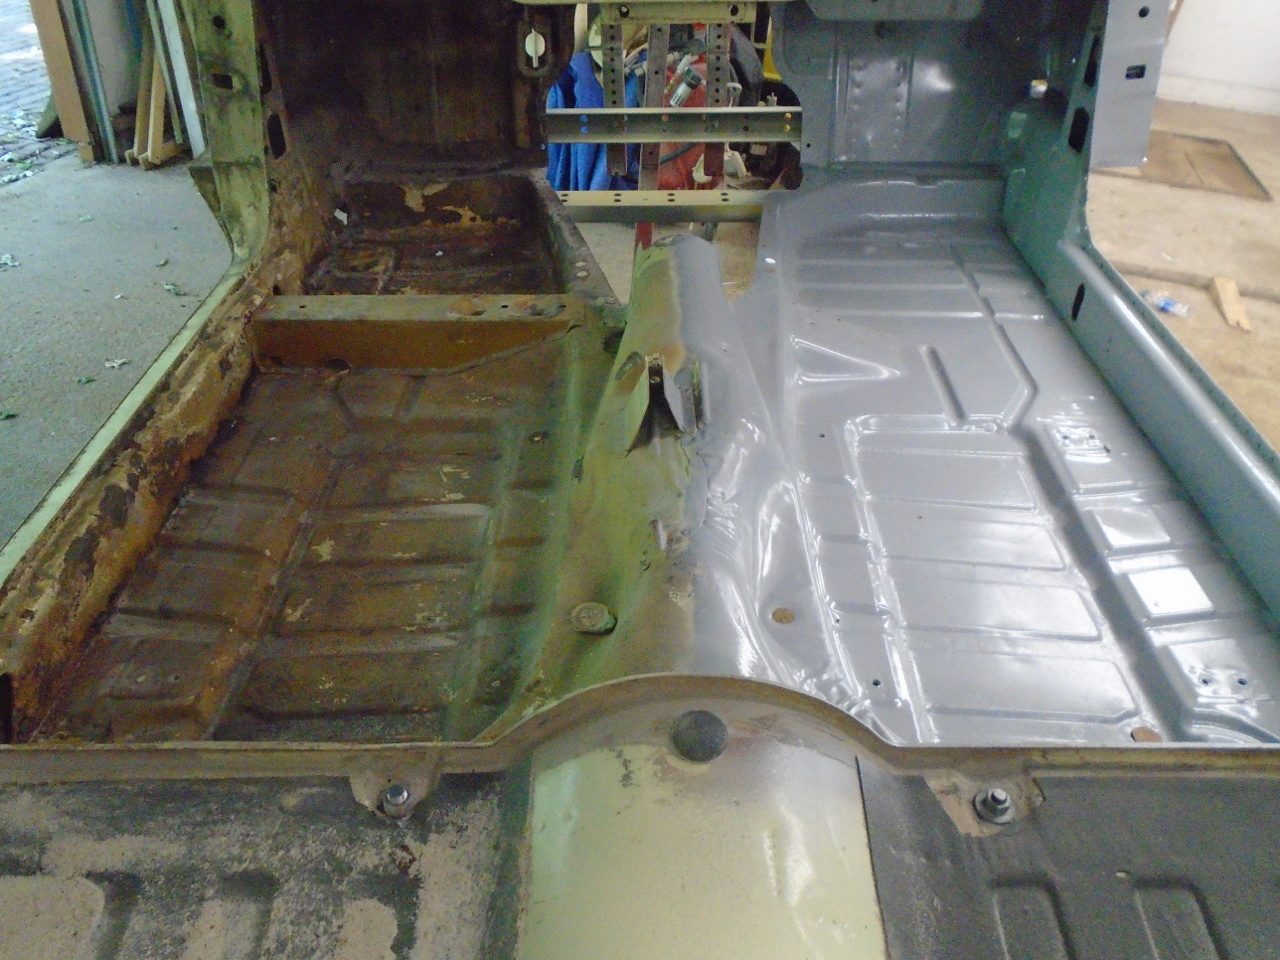
Not much doubt about where to go next.
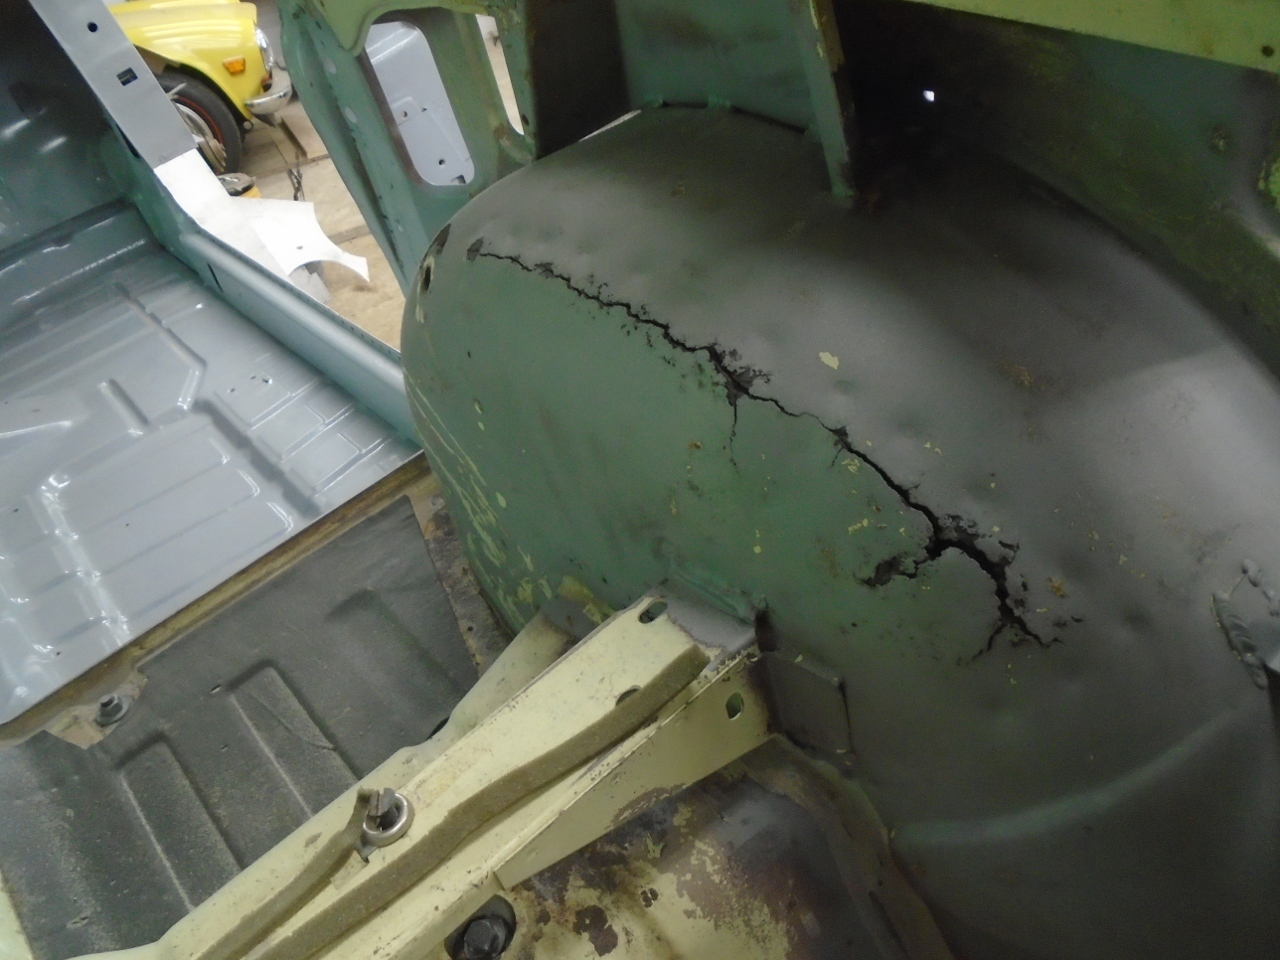
The only thing I didn't finish on this side of the car is this
rust damage to the bump stop and wheel well. Both sides
are similar, and I think I'll wait until both sides are done to
do those areas.
This has been a pretty involved job, taking over a month so far,
including the floor repair. Hopefully, the other side will
be quicker now that I know what to expect, and have some of the
tools made. Cost was just some consumables.
UPDATE
June 28, 2020
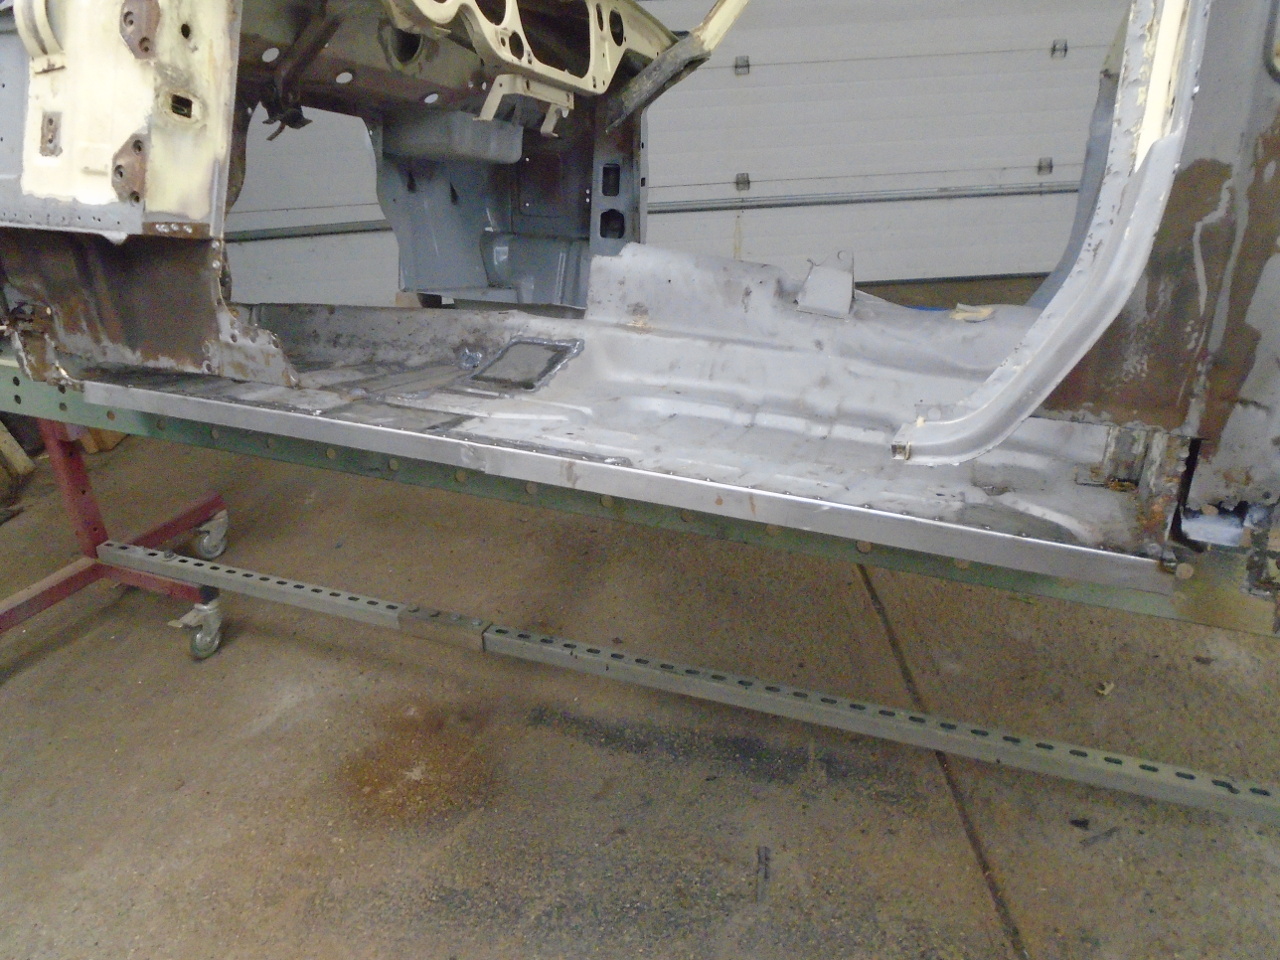
Today, I finished the drivers' side floor, sills, posts, and
crossmembers. Starting point was similar to the passenger
side...
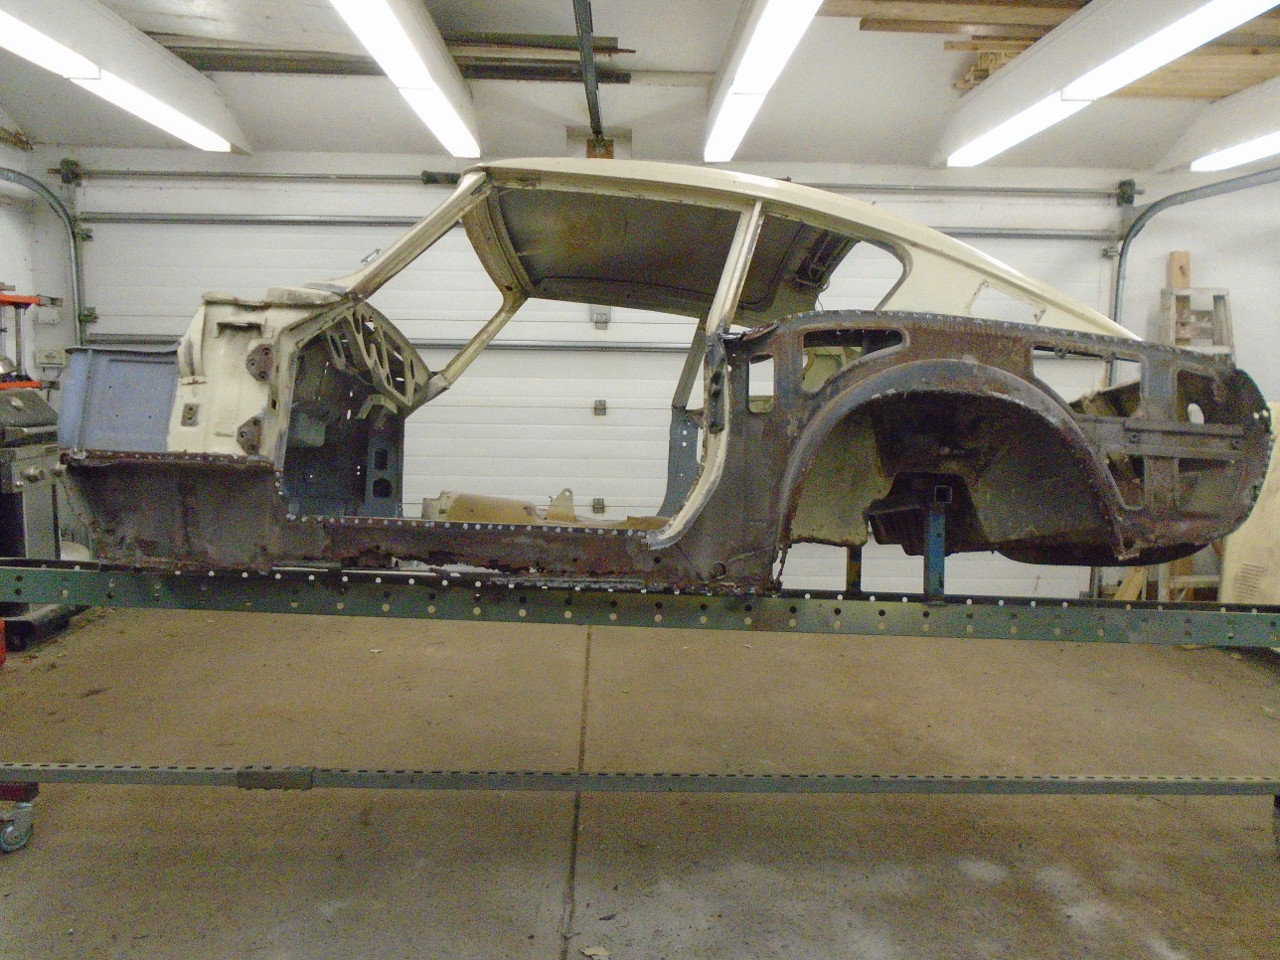
...but the front section of the floor was a little worse.
It might have been easier to just fabricate a front pan and
install it wholesale. I call this the Frankenfloor.
The new drop flange on the floor.
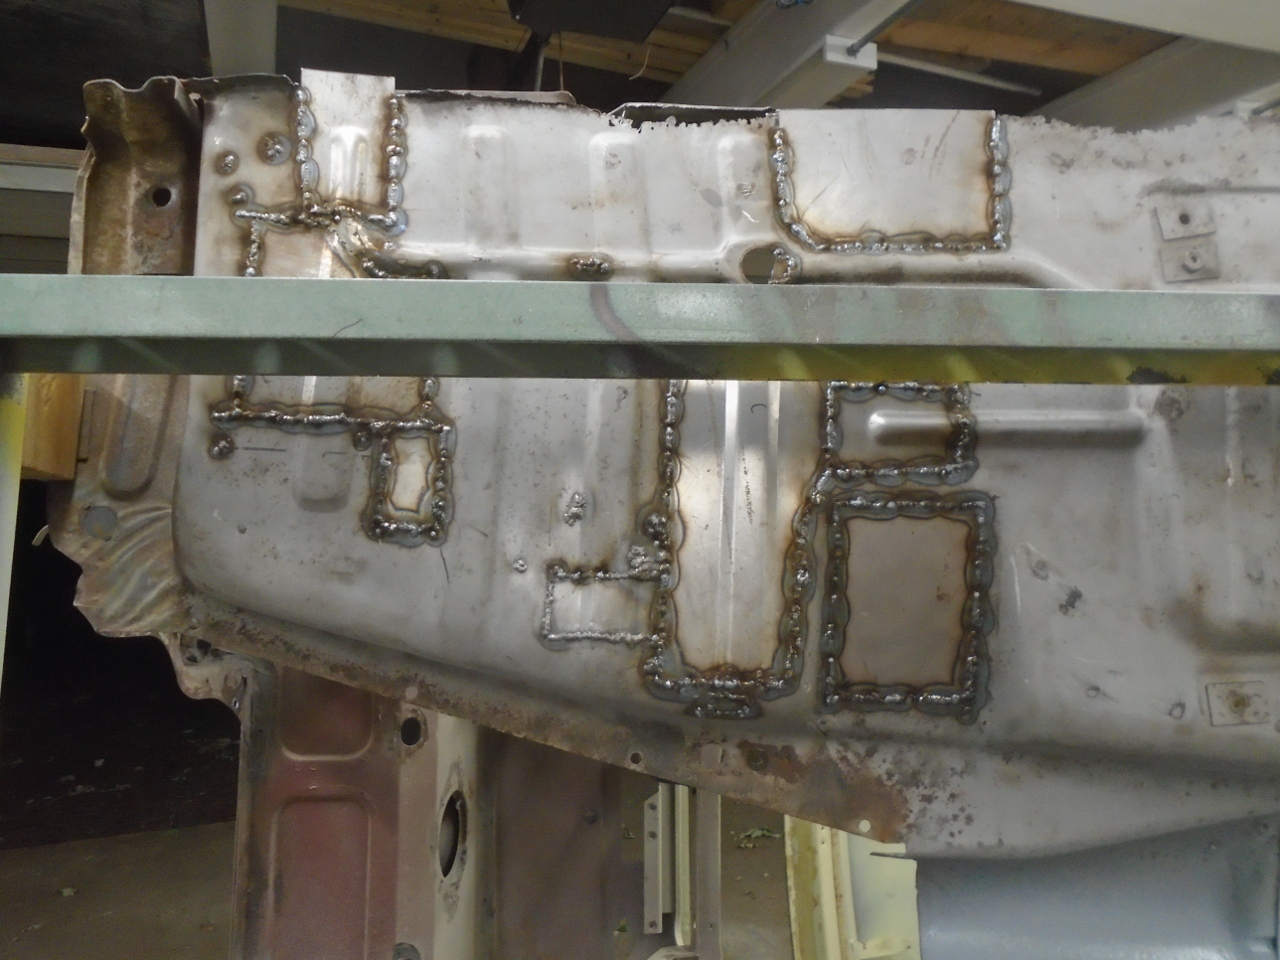
On this side of the car, there was some accident damage on the
rear corner, which was repaired (by me) over 30 years ago.
Part of that repair required cutting out a section of the inner
wing.
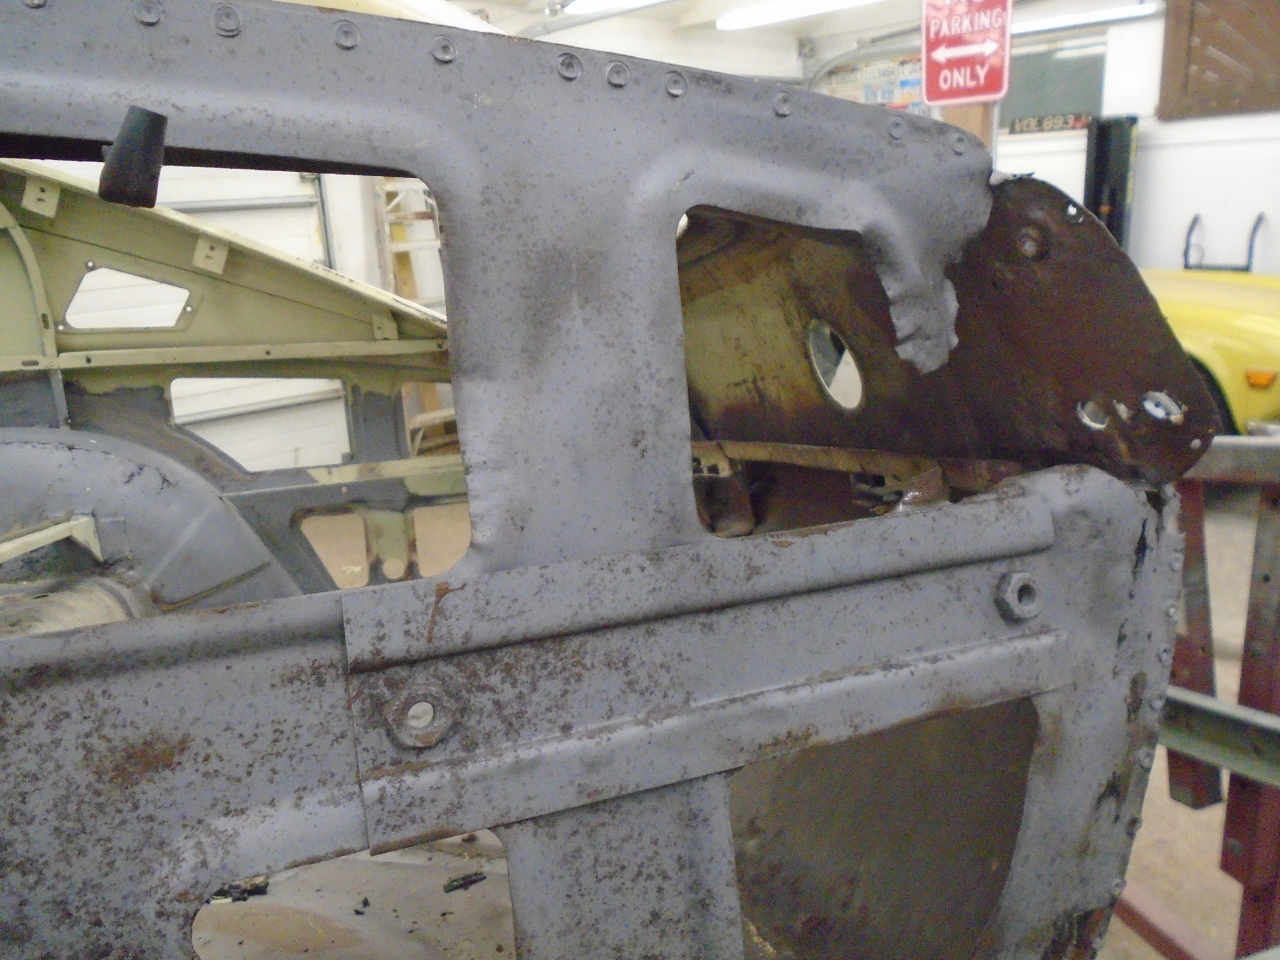
That got fixed, along with the lower edge of the inner wing, and
the rear of the wheel arch.
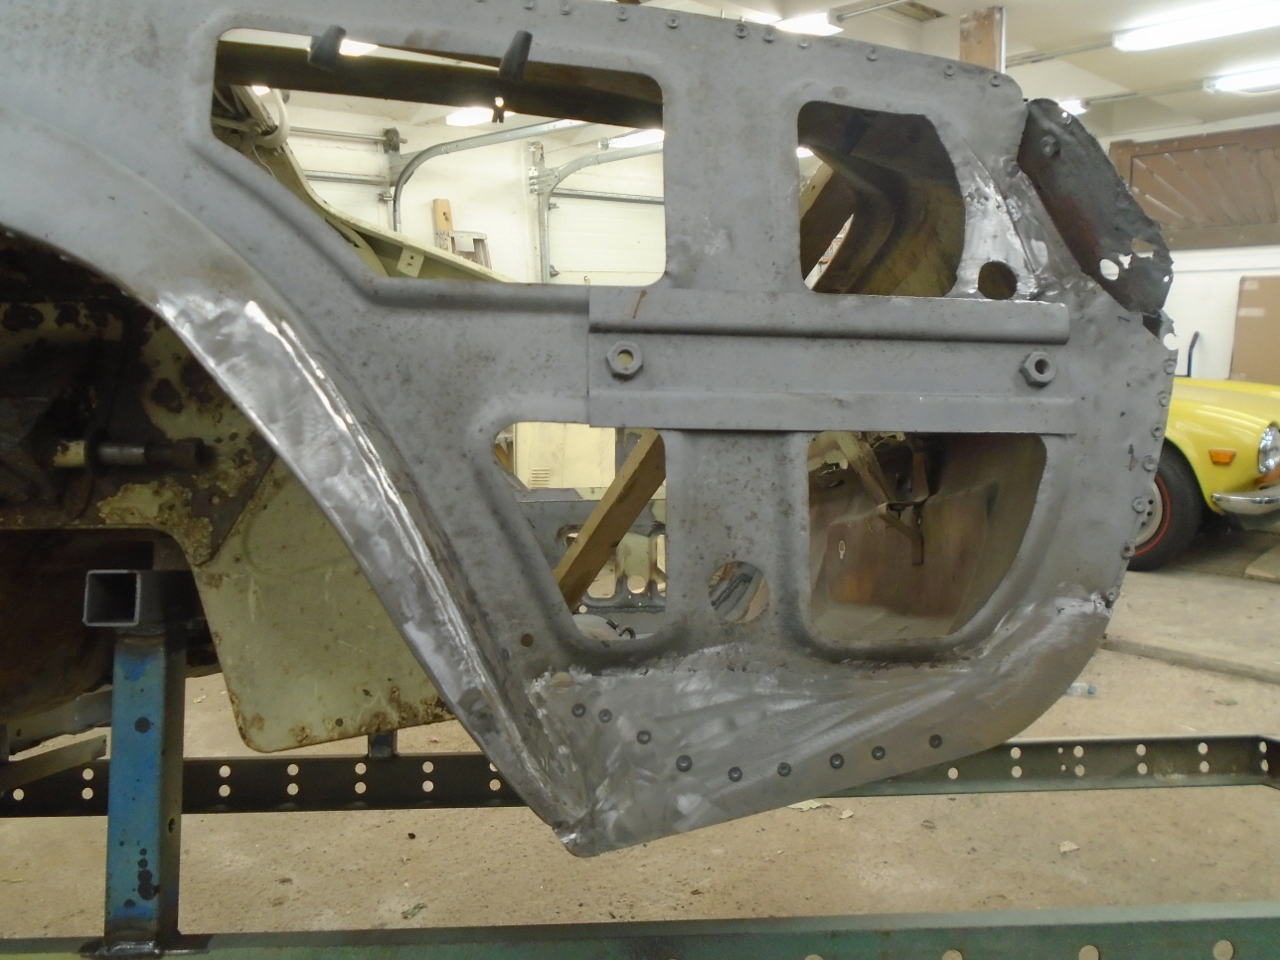
A and B post rust repairs were similar to the other side.
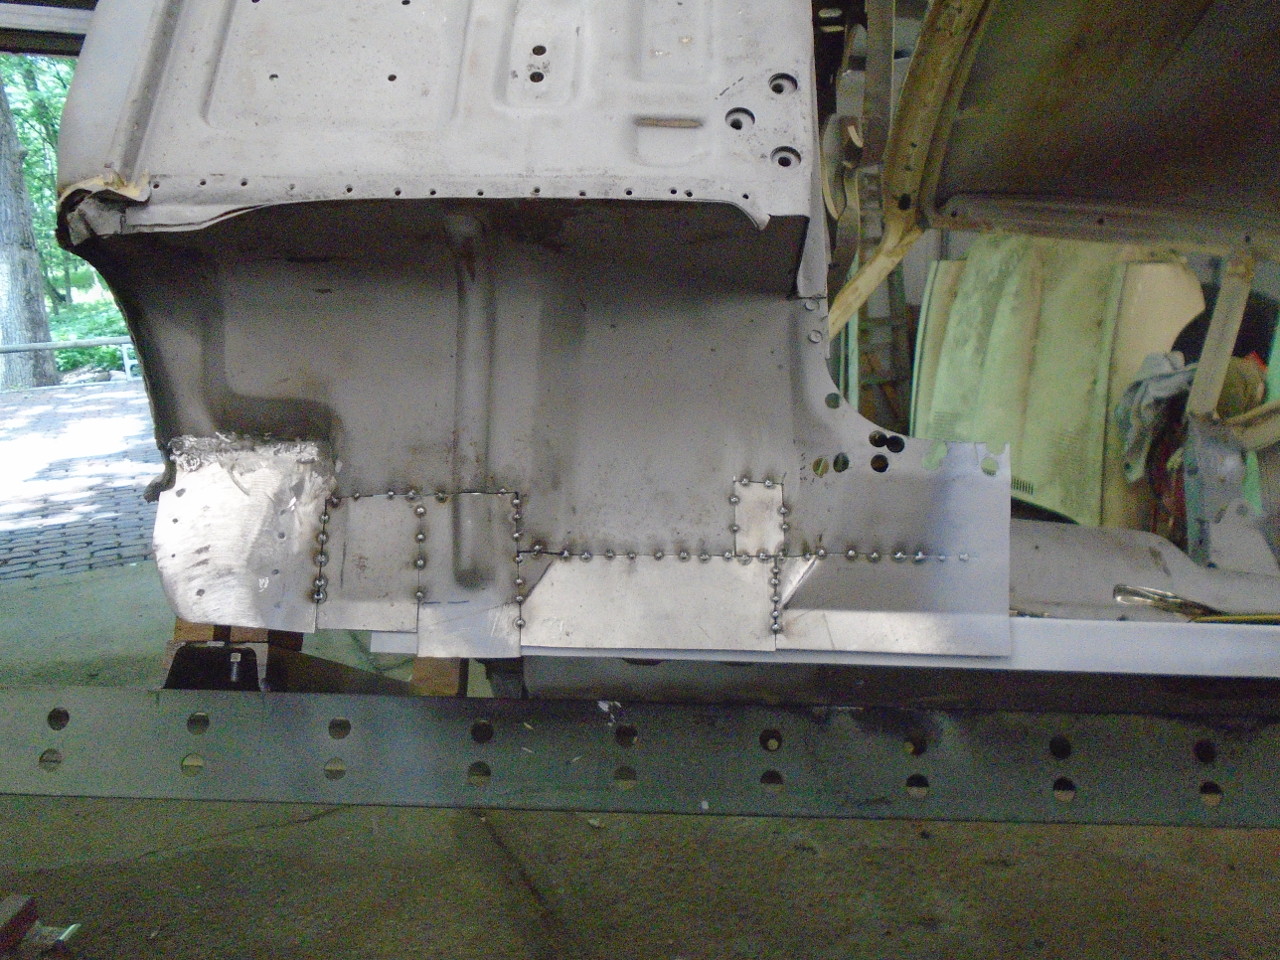
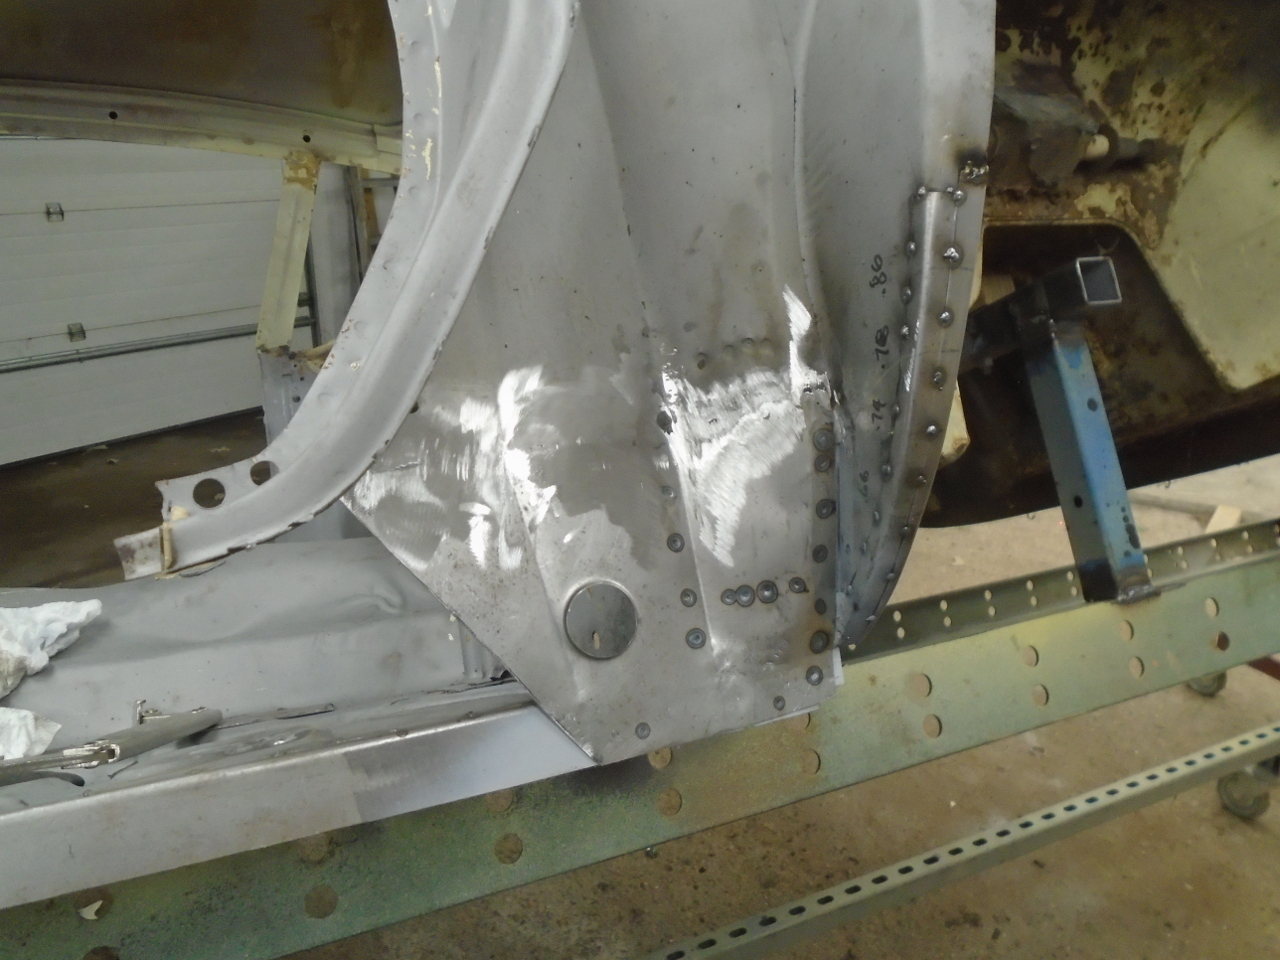
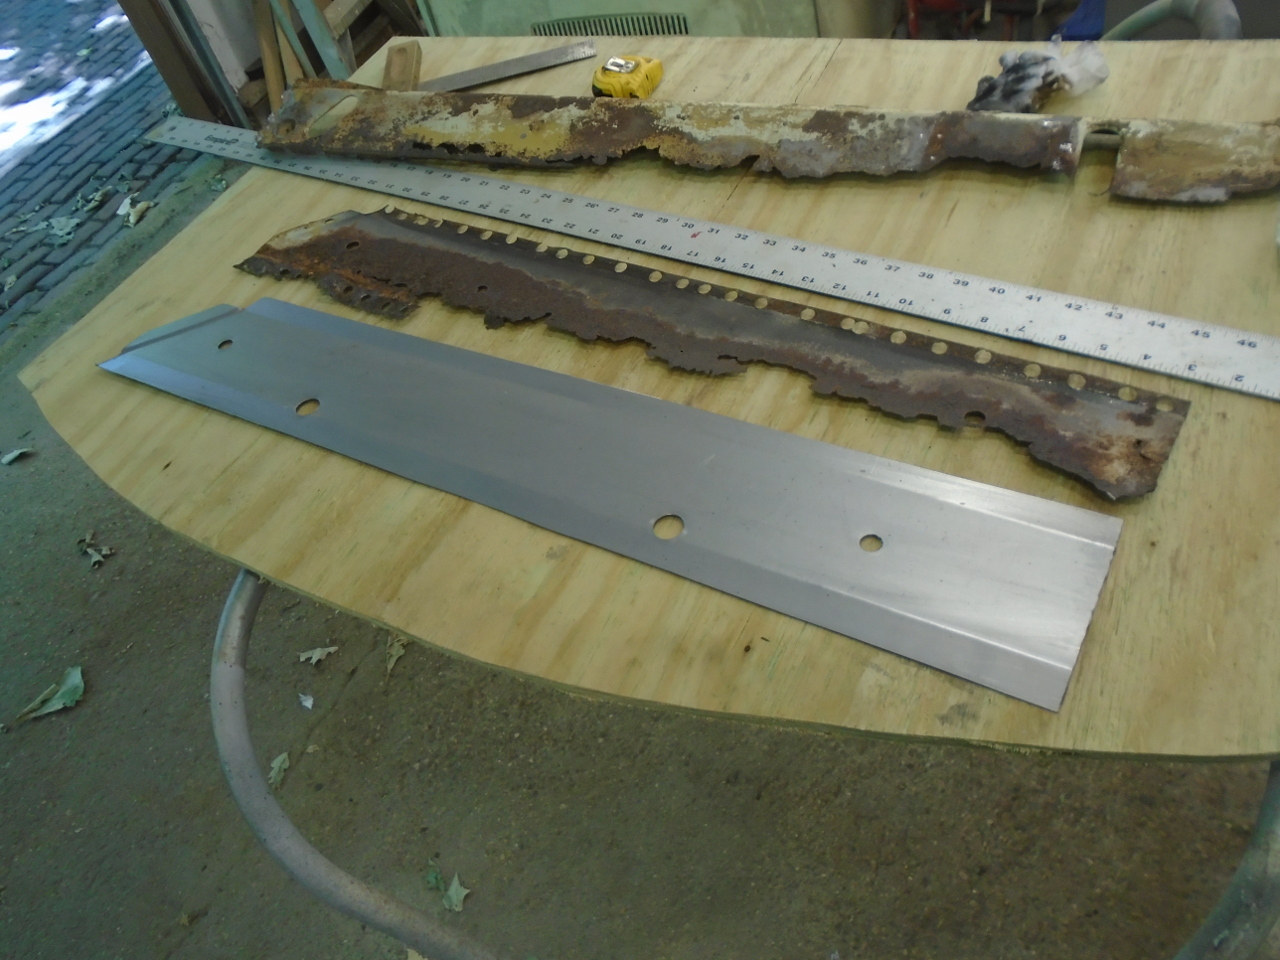
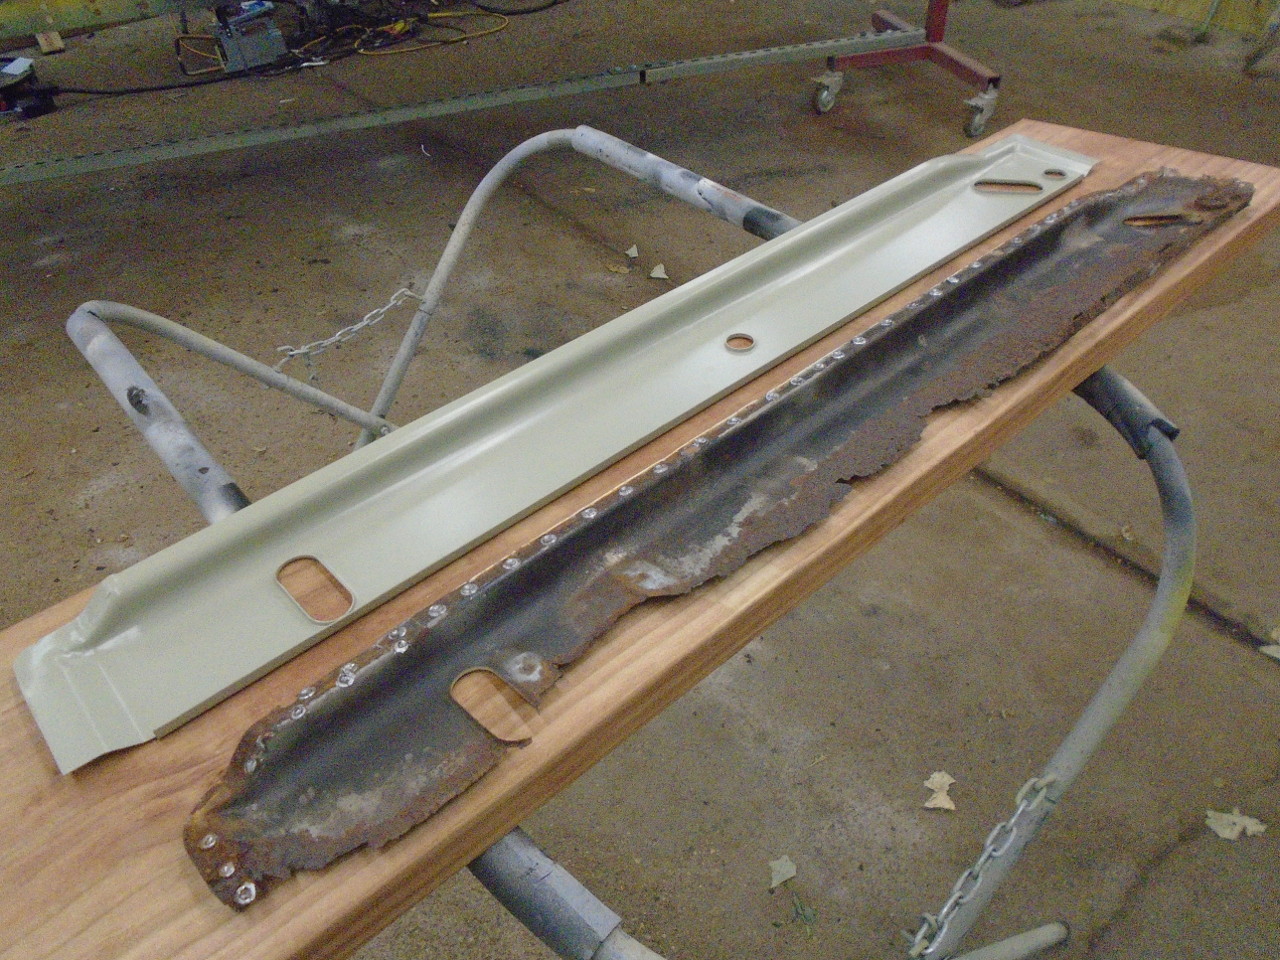
The inner sill and strengthener panel were in worse shape than
the other side.
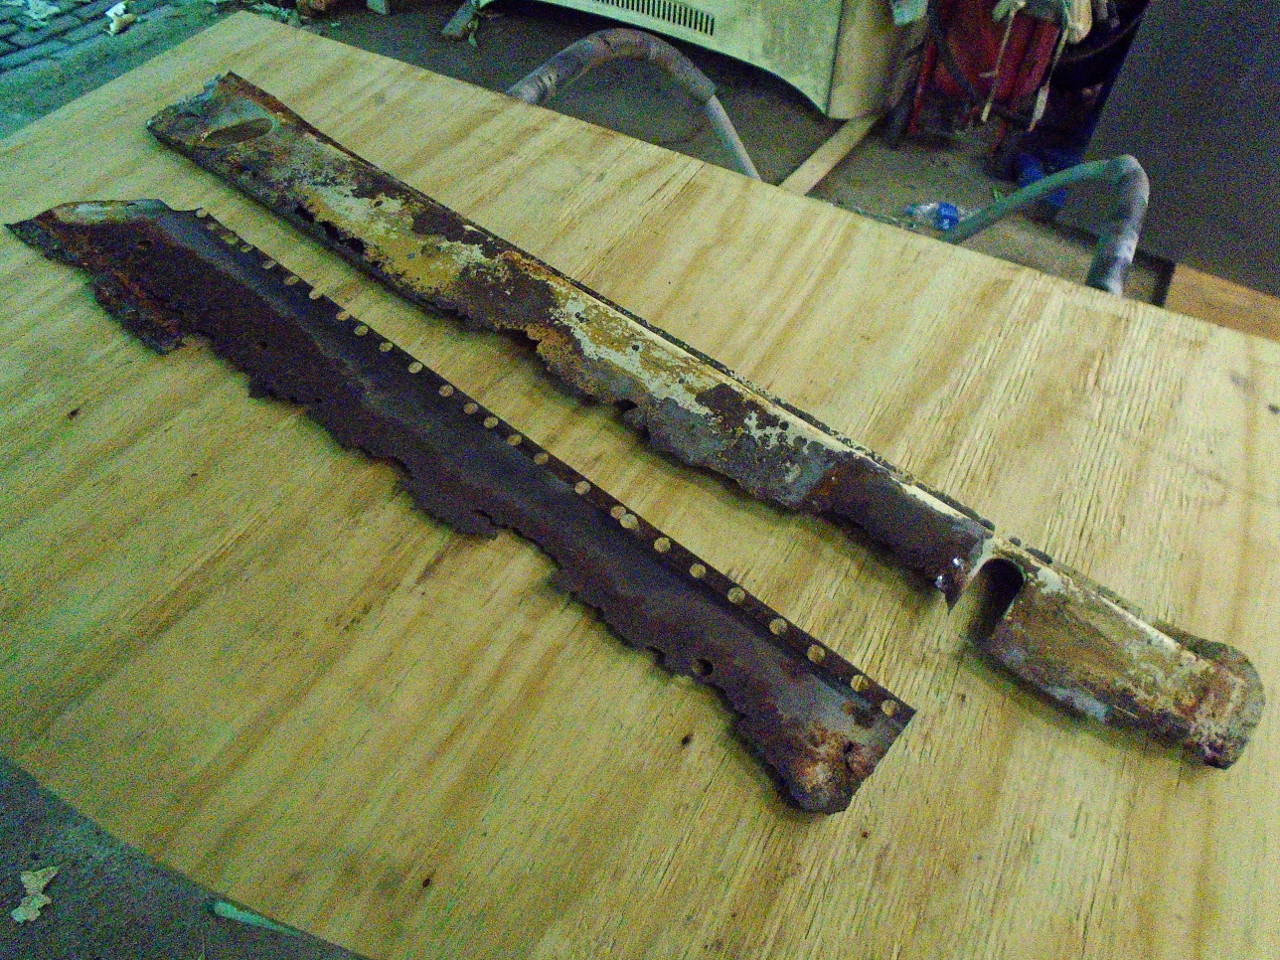
I made a new strengthener, but wimped out and just bought an
inner sill.
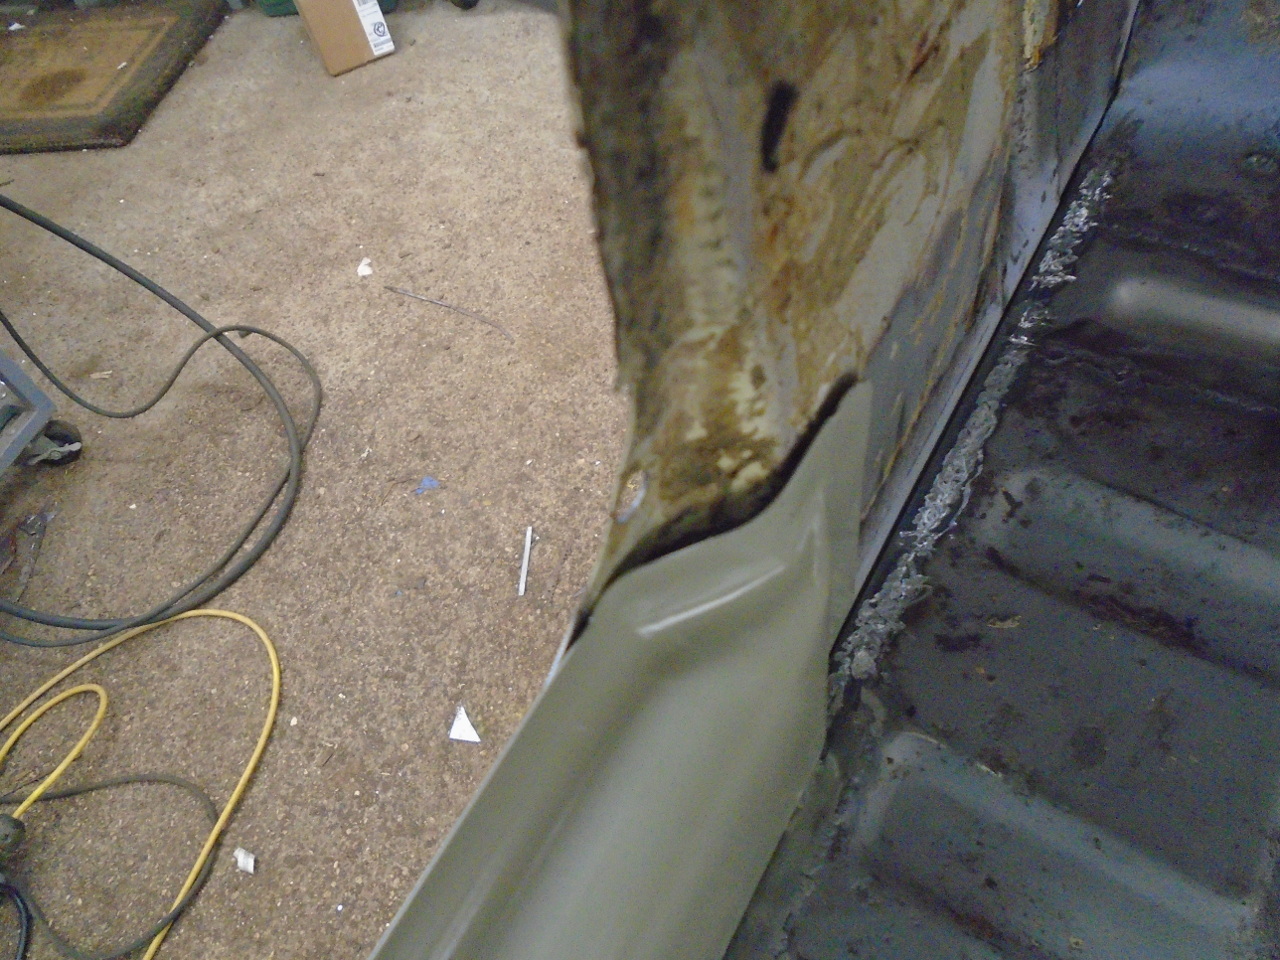
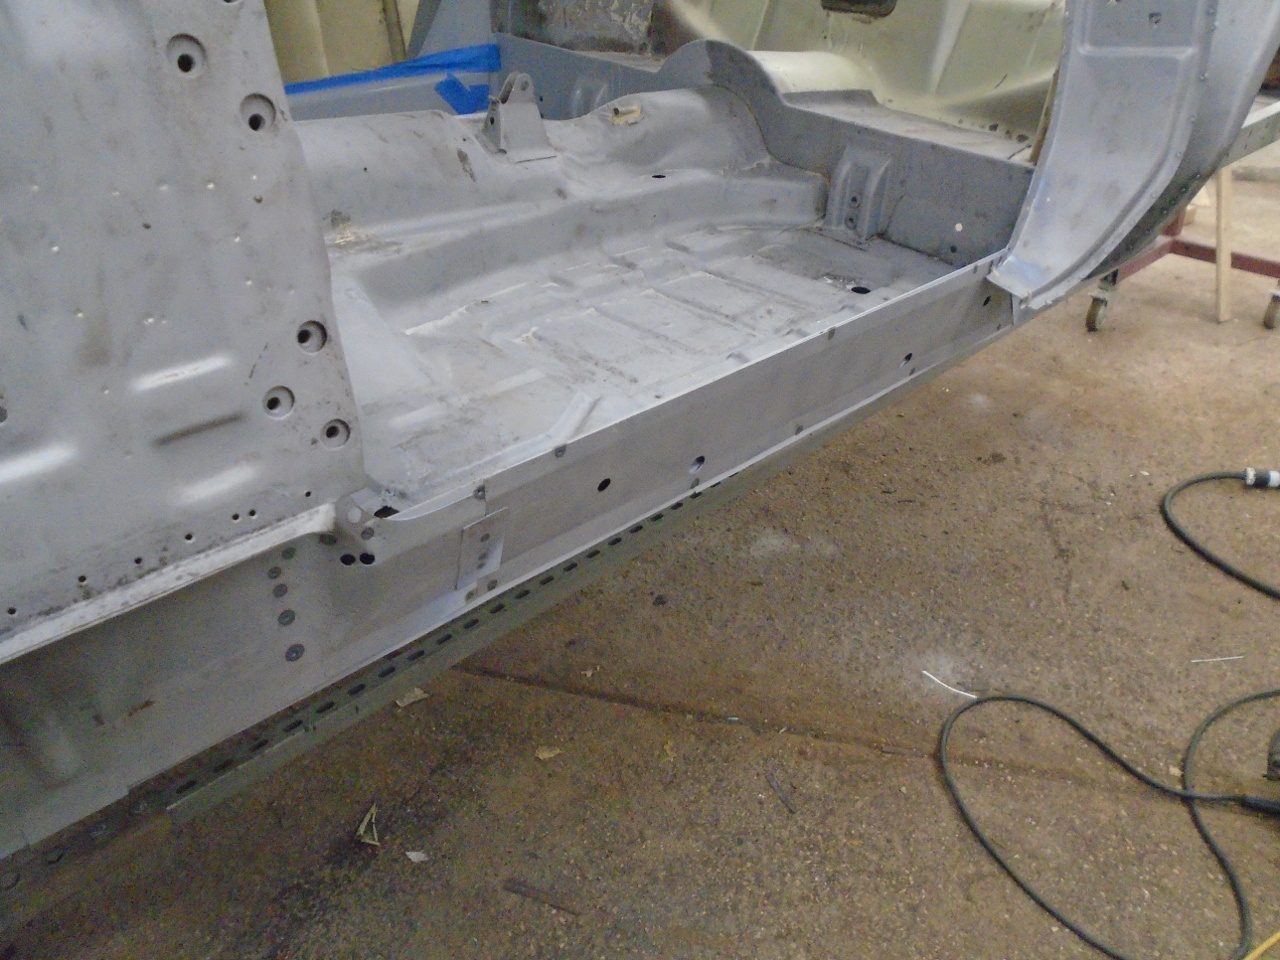
I always cringe when I'm forced to buy panels, since the fit is
so often not great. With it's rear end fitting snugly, the
inner sill had a 1/2 inch gap at the front, but with a little
encouragement, it finally fit better.
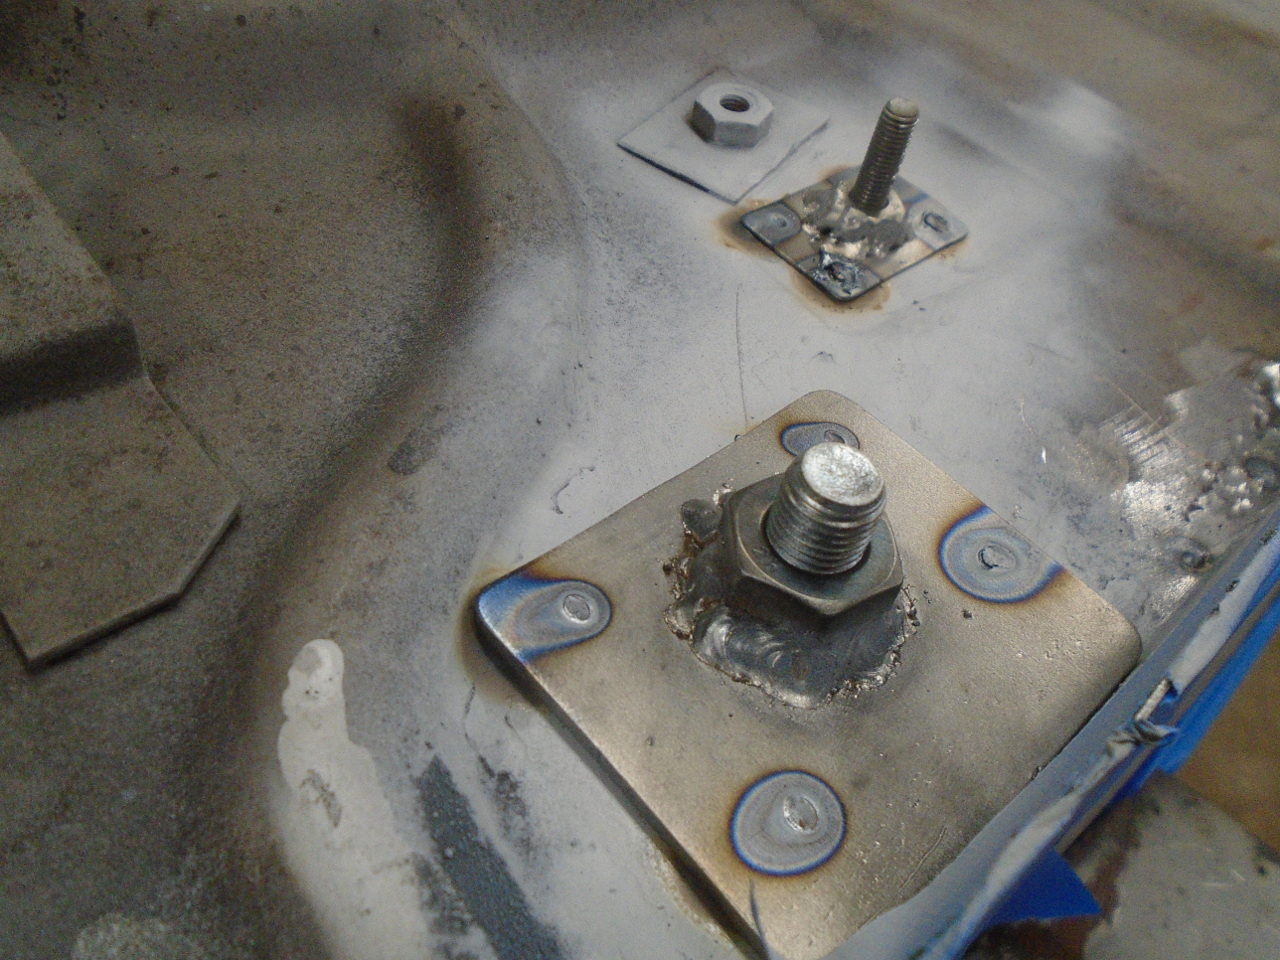
A number of the welded nuts on the bottom of the floor pan had
to be replaced.
The last item up for the floors/sills was the floor cross
members. They stiffen the floor and attach it firmly to
the frame. Mine were largely missing the flanges that
attach to the floors.
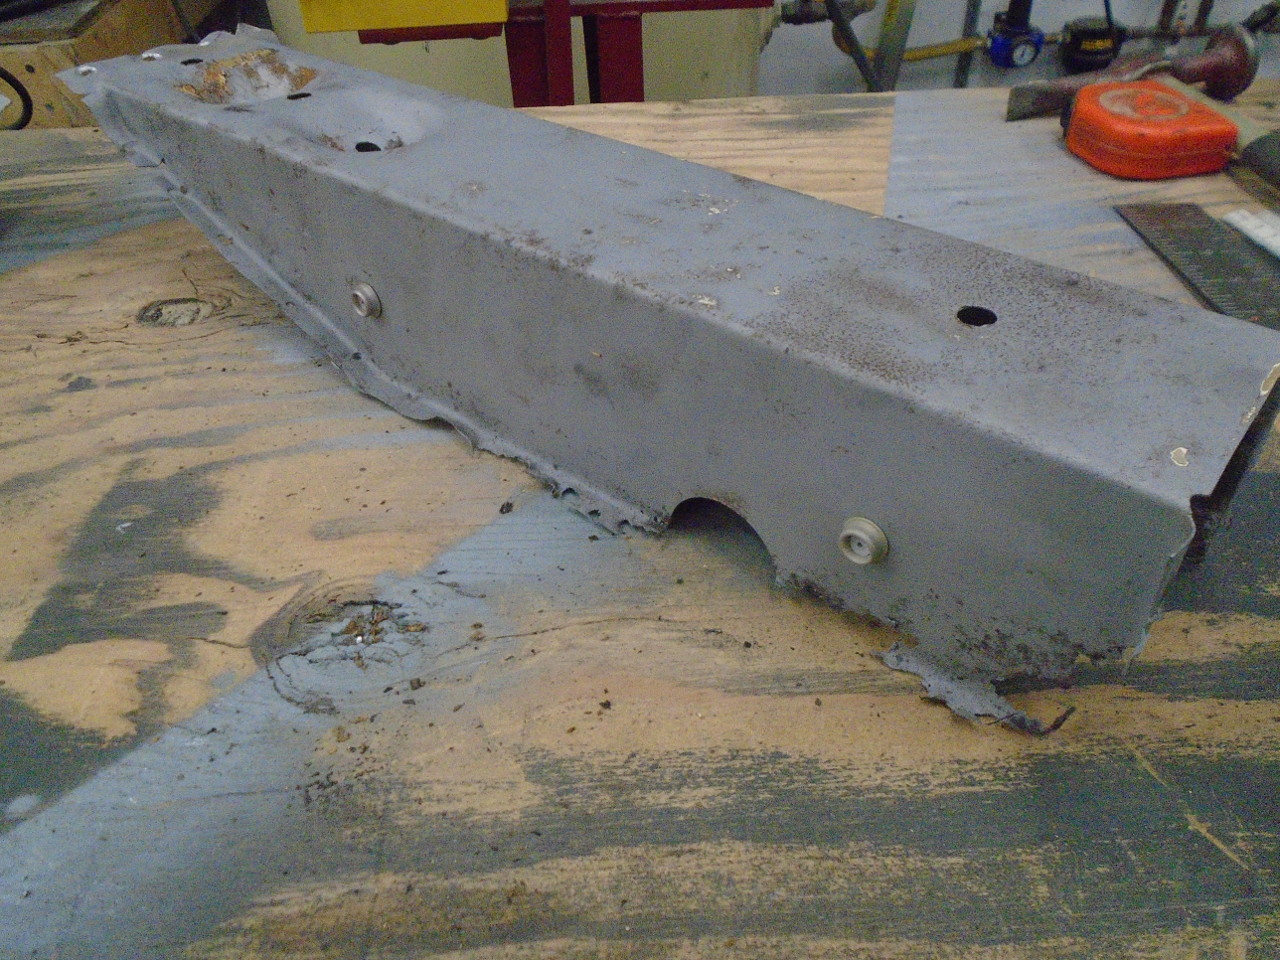
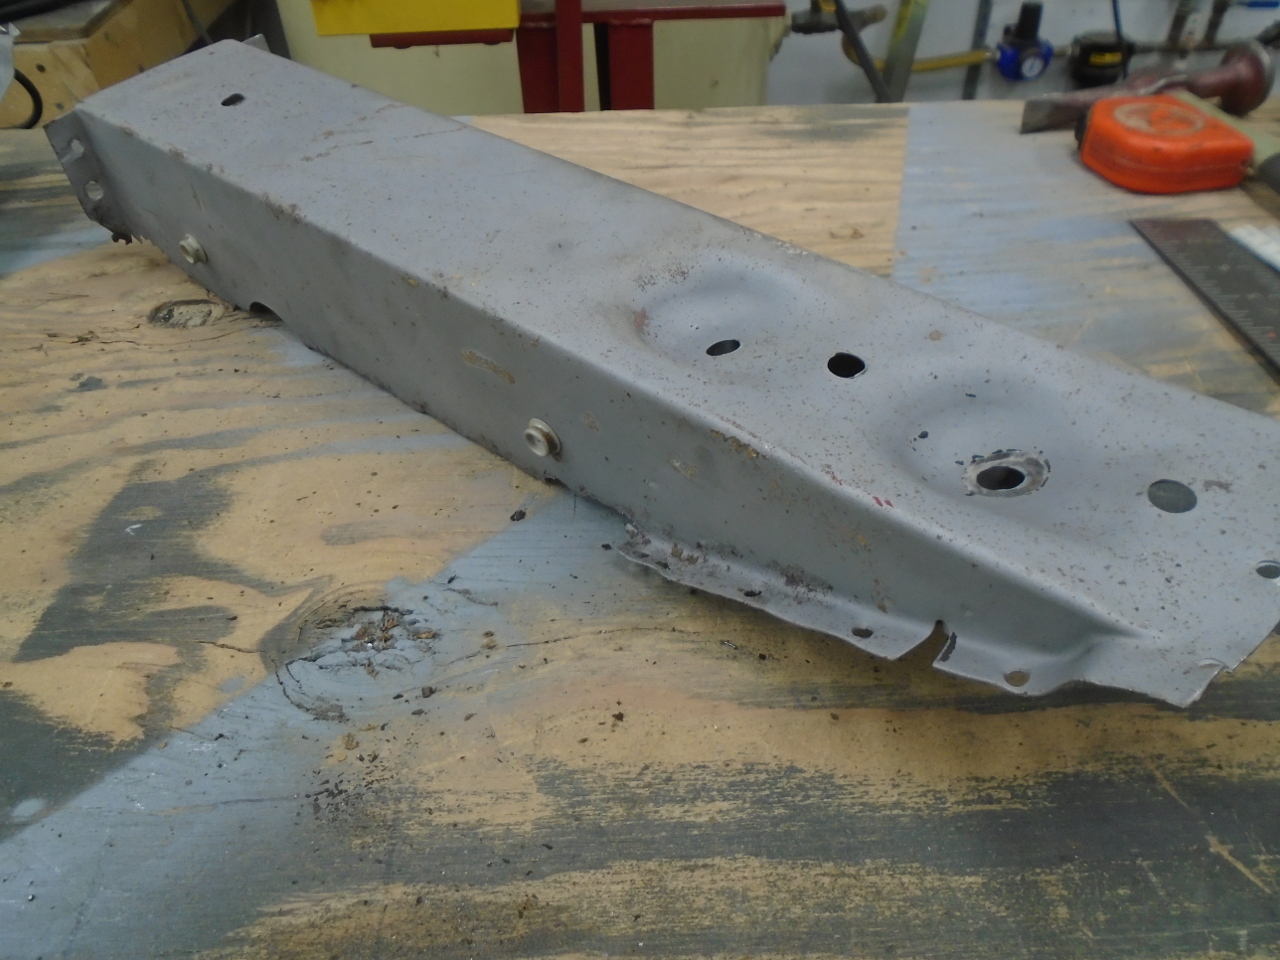
A few patches here and there fixed that right up.
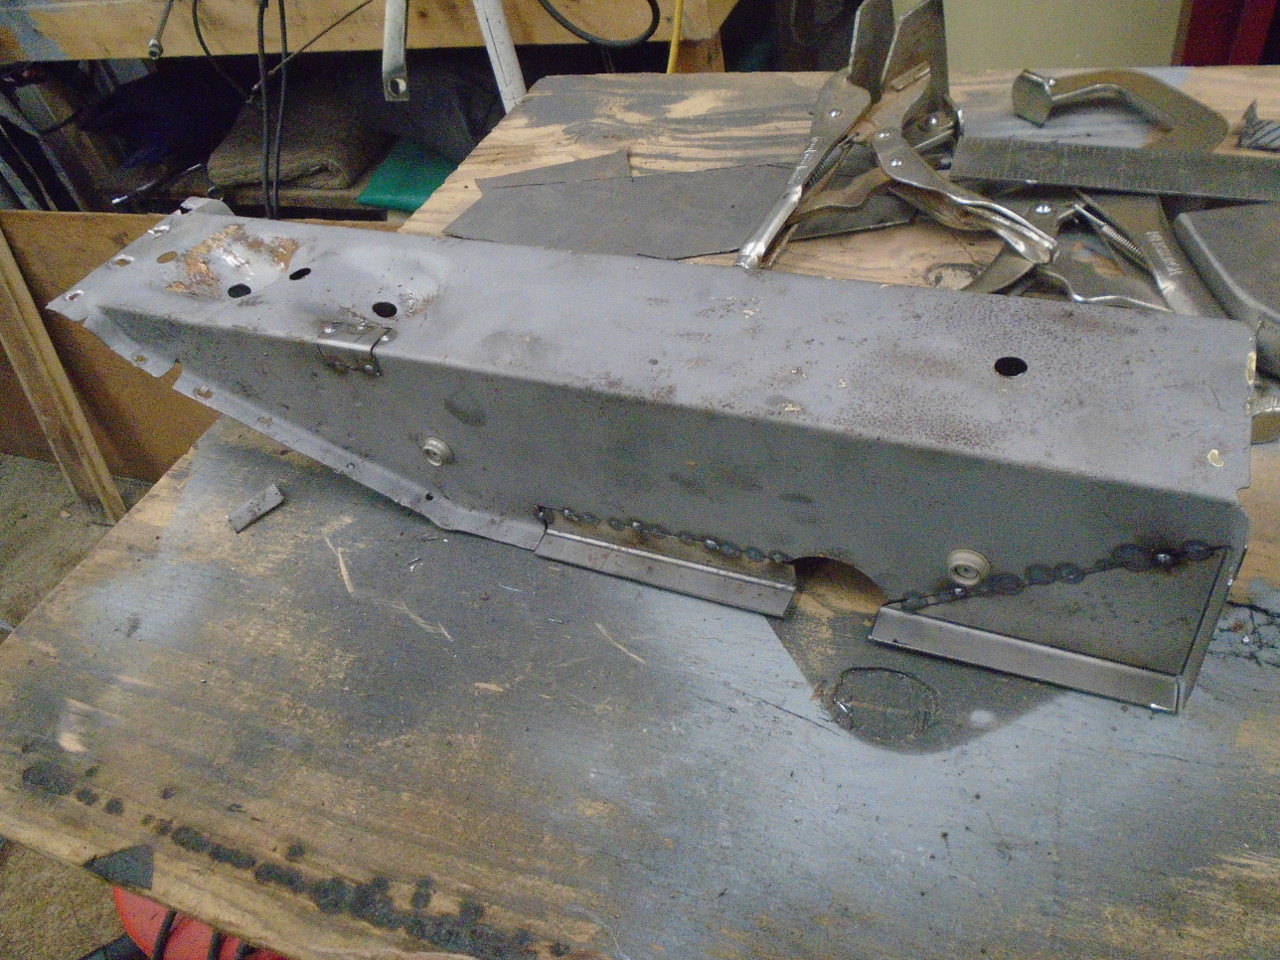
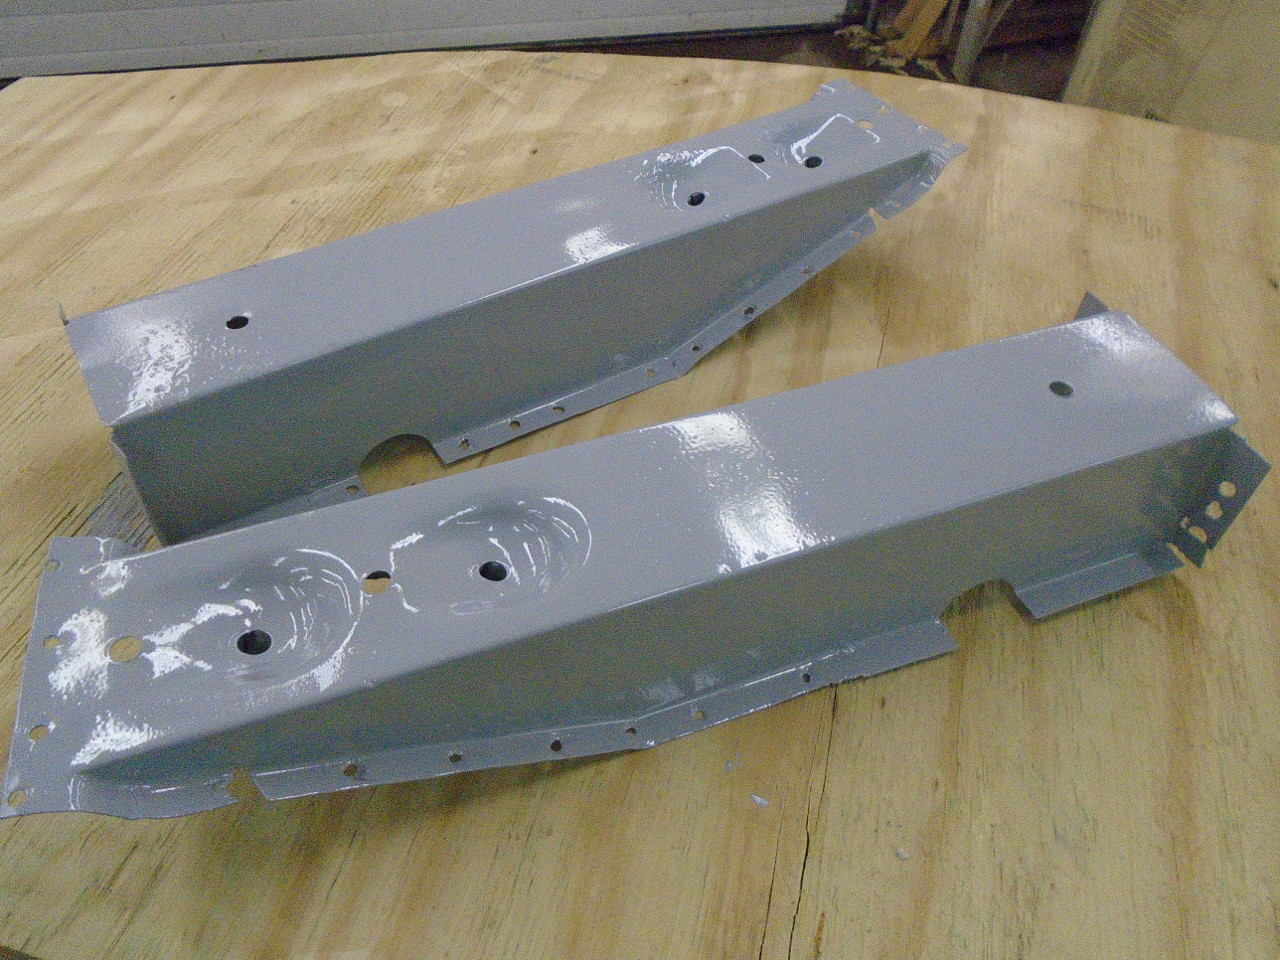
Test fit them, applied a few tweaks, and finally plug welded
them in place...
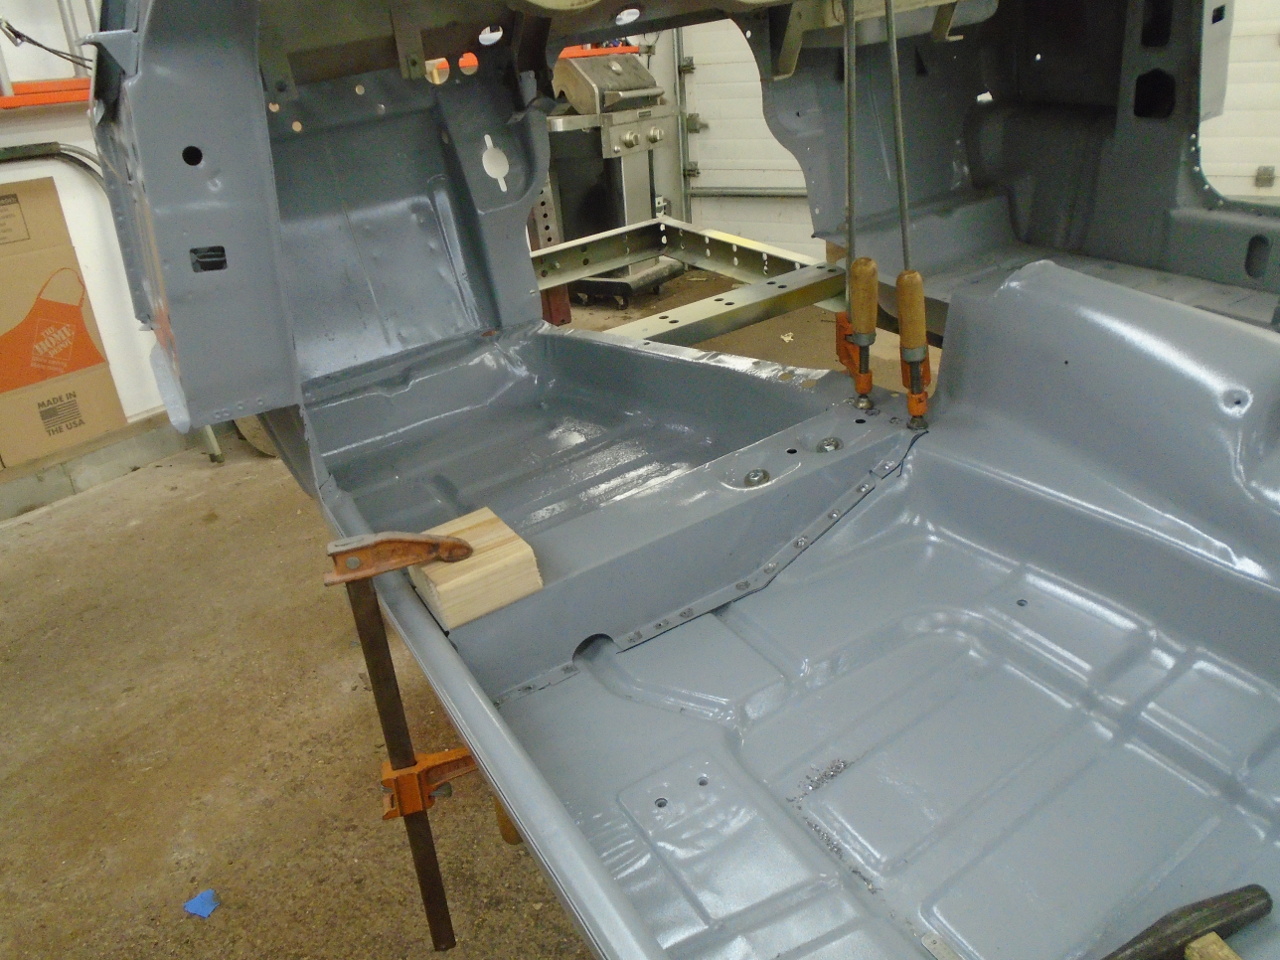
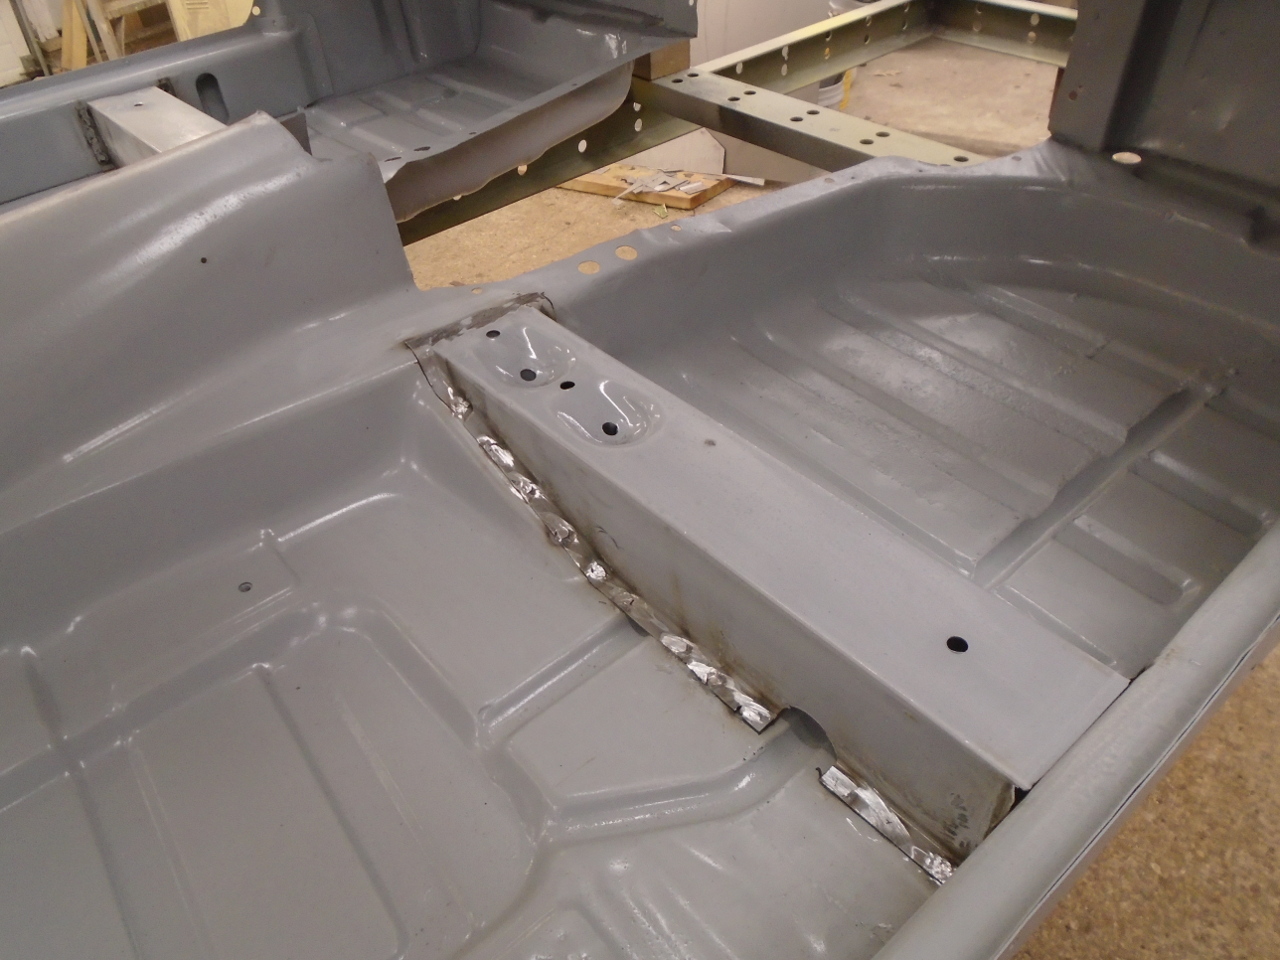
...which of course messed up my fresh primer underneath.
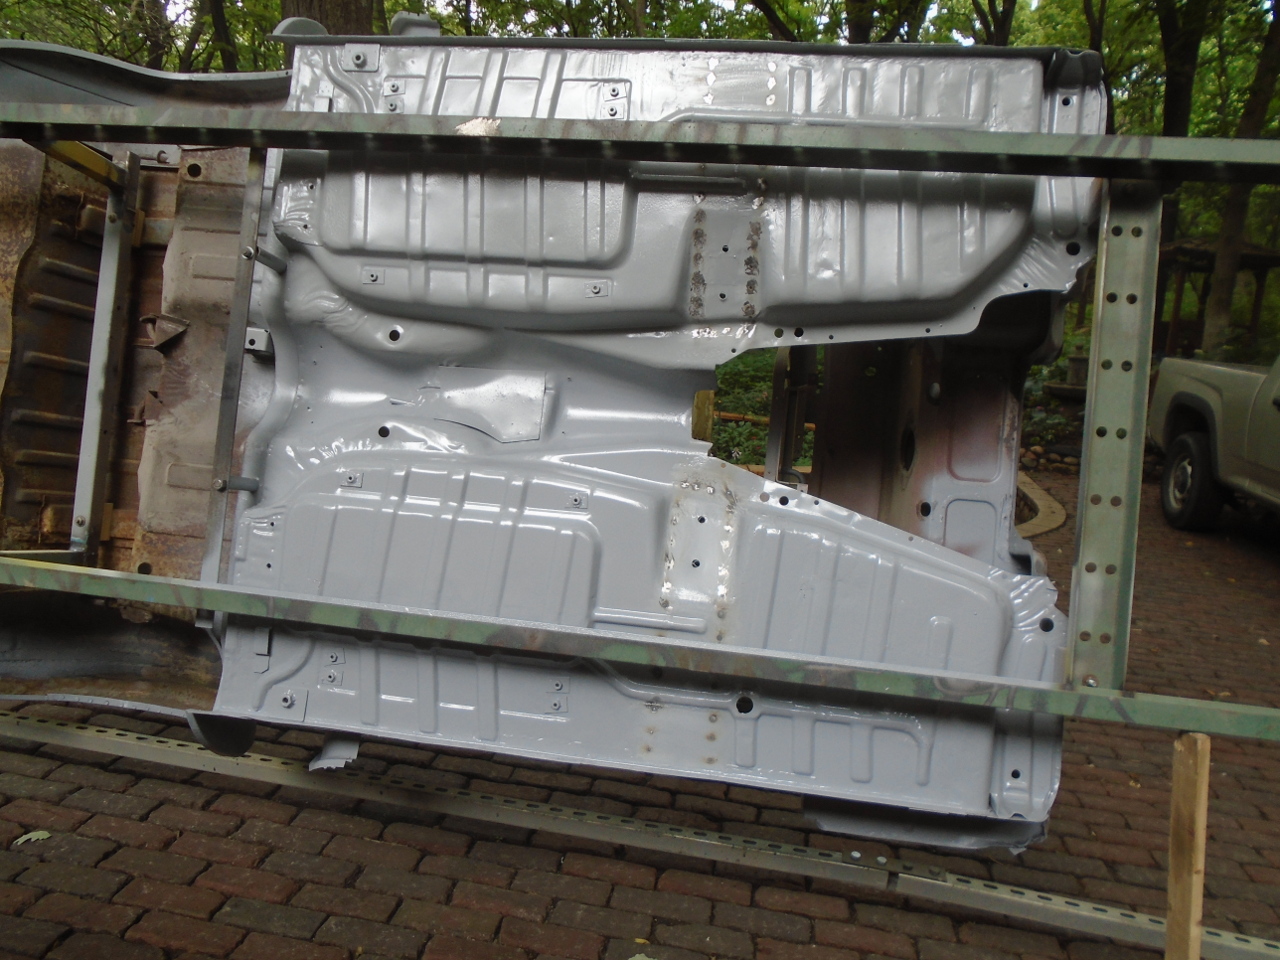
But a little more primer, and we're good again.
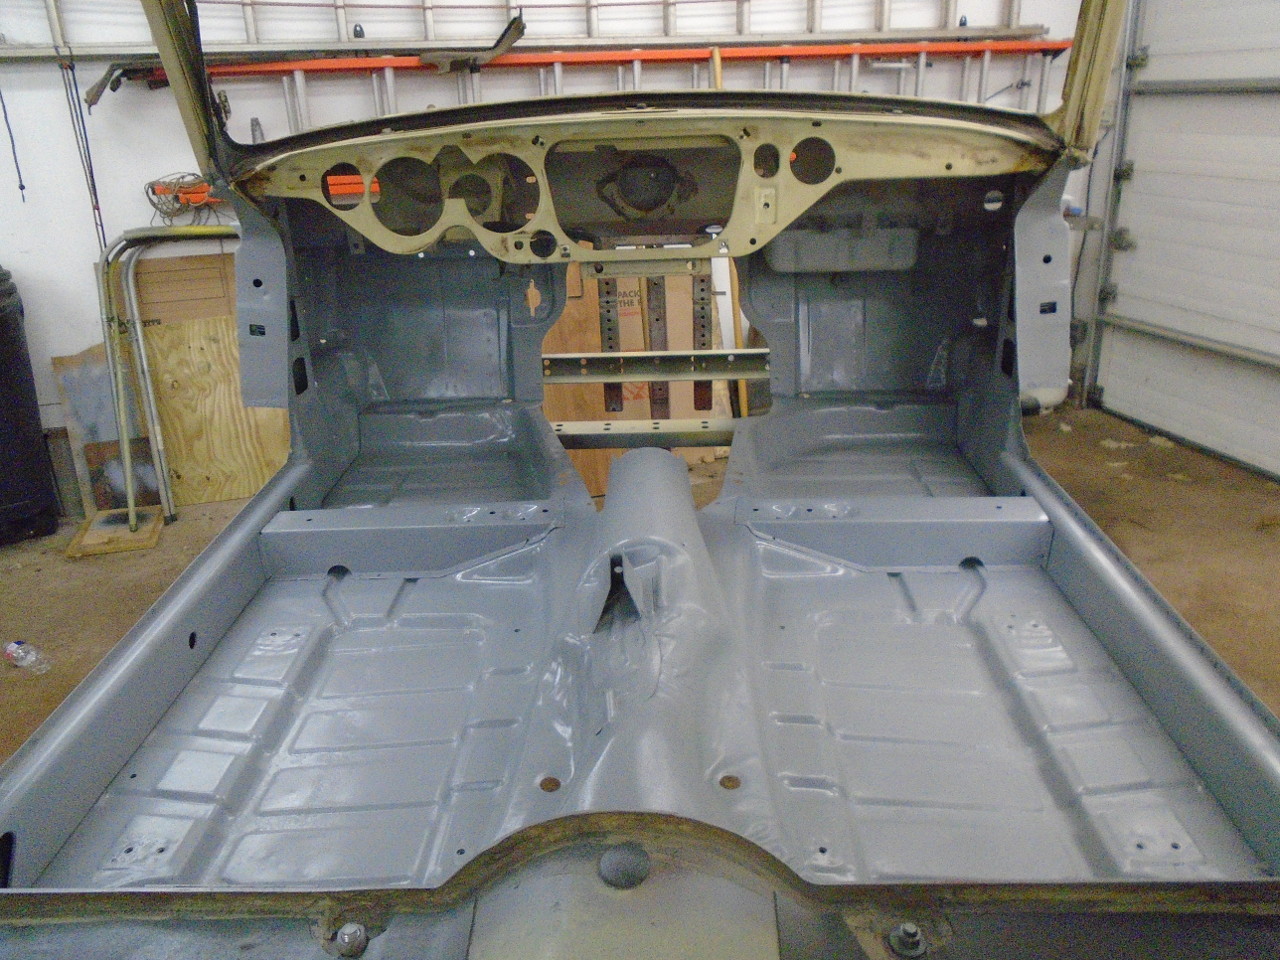
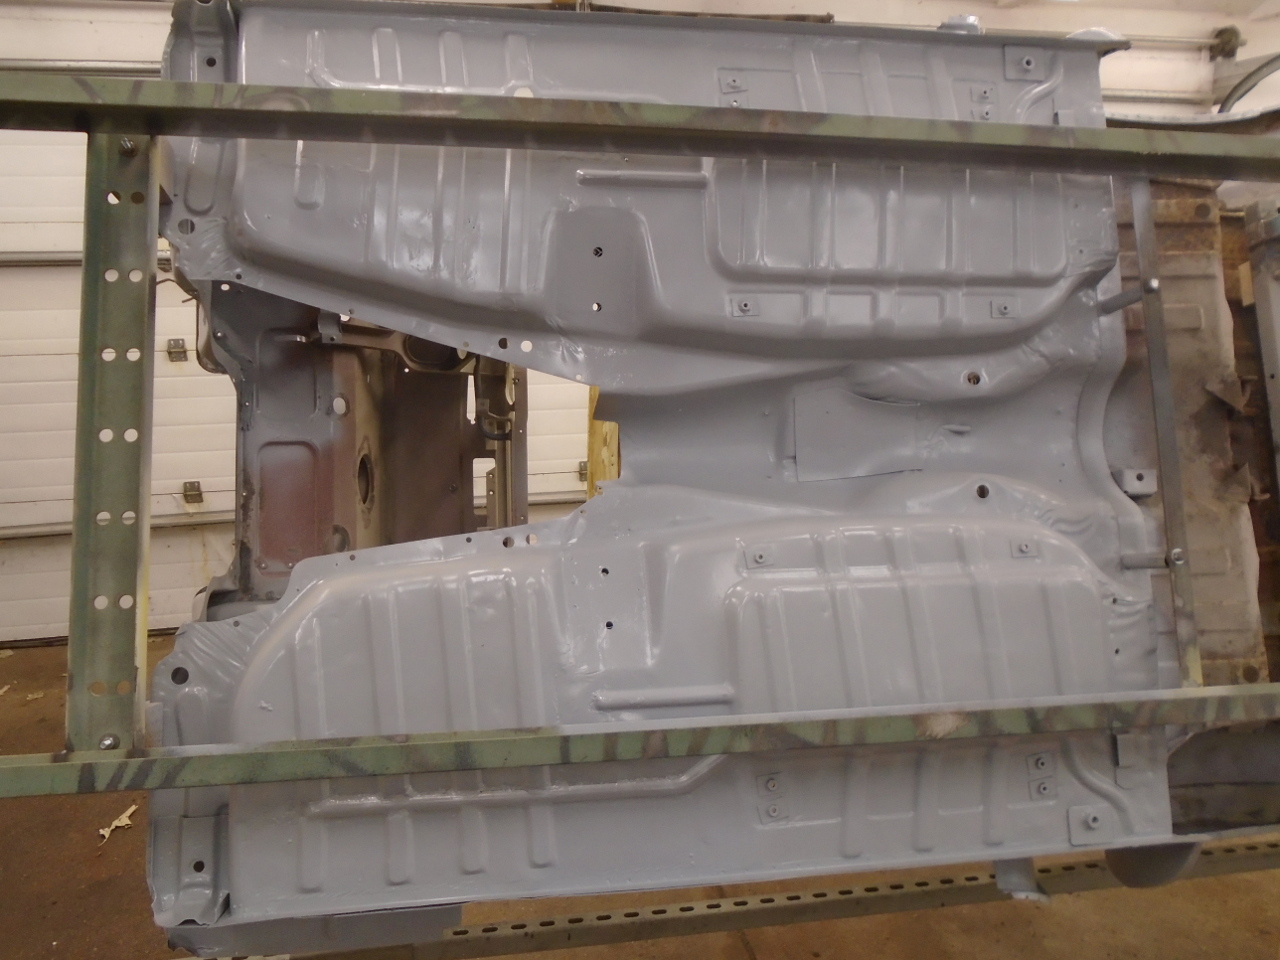
This marks the end of the floor/sill/post parts of the
body. On to the rear wheel wells.
Comments to Ed at elhollin1@yahoo.com
To my other GT6
pages