To my other GT6
pages
May 14, 2020
Floors
Many, if not all British cars of this era are
notorious rusters. Rust is the bane of restorers, and any
British car of much age will have plenty of it unless it's been
exceptionally well cared for in a dry climate. Parts of
the car closest to the ground are the most vulnerable, and the
floors have the double threat of road splash from below, and wet
carpets from above.
When I started this project, I assumed it likely that I'd be
replacing the floors. To see what was what, I dragged the
car out for a nice blast of the bottomside.
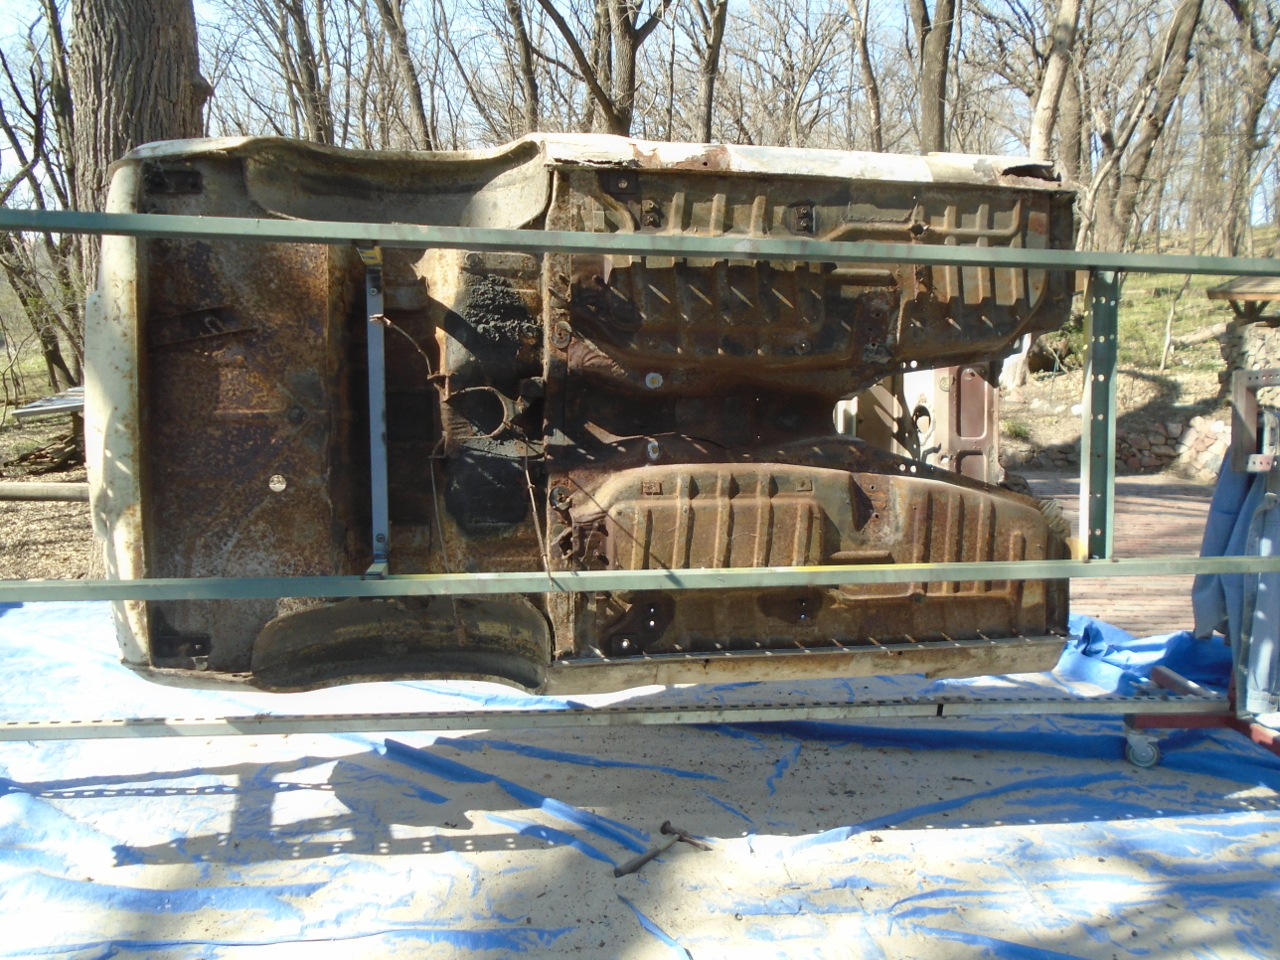
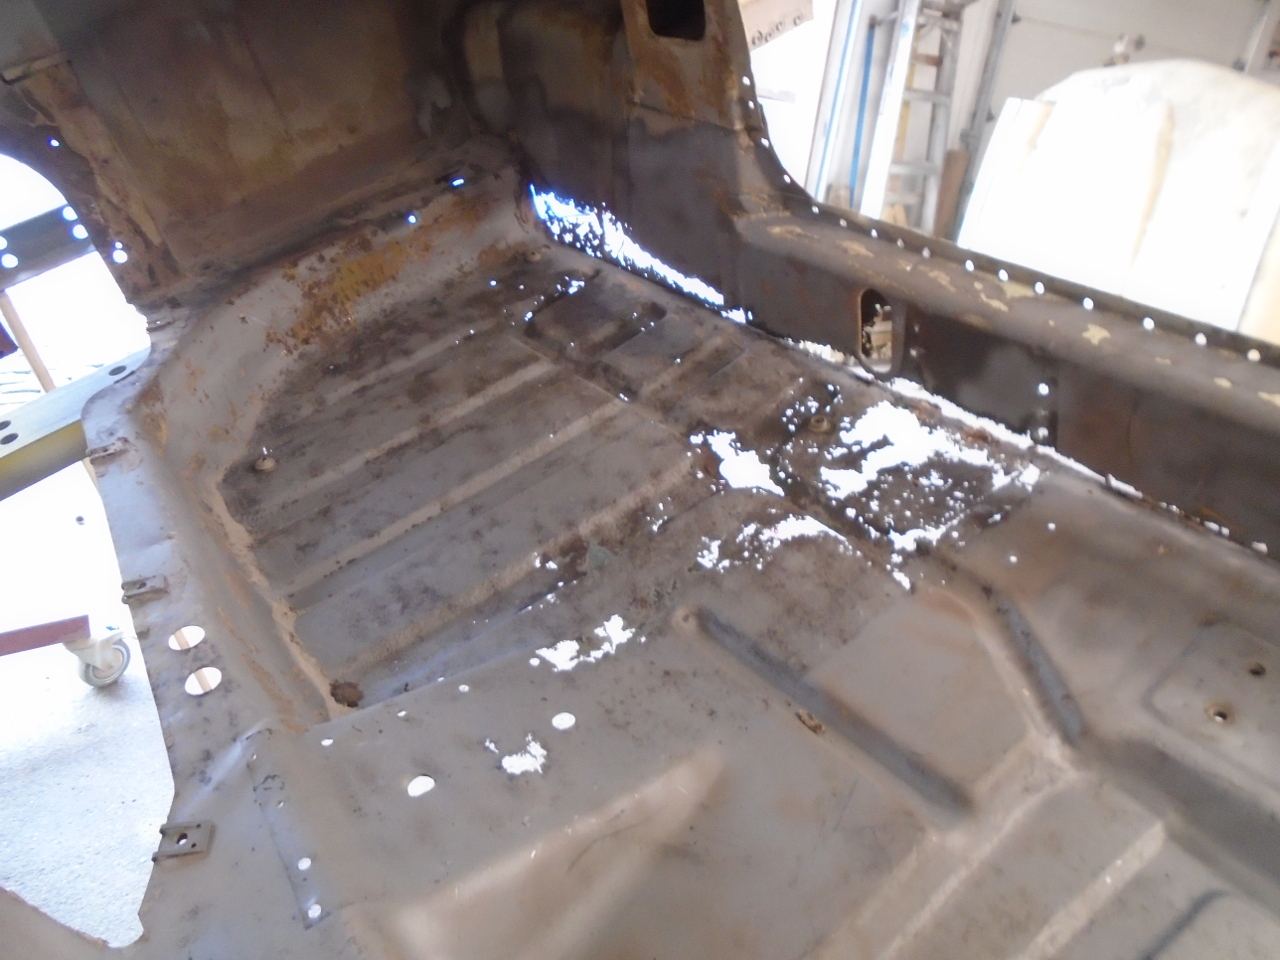
Cleaning all the rust and other foreign material down to the
metal gives a much better picture of what rust damage is
present. I did the passenger side first.
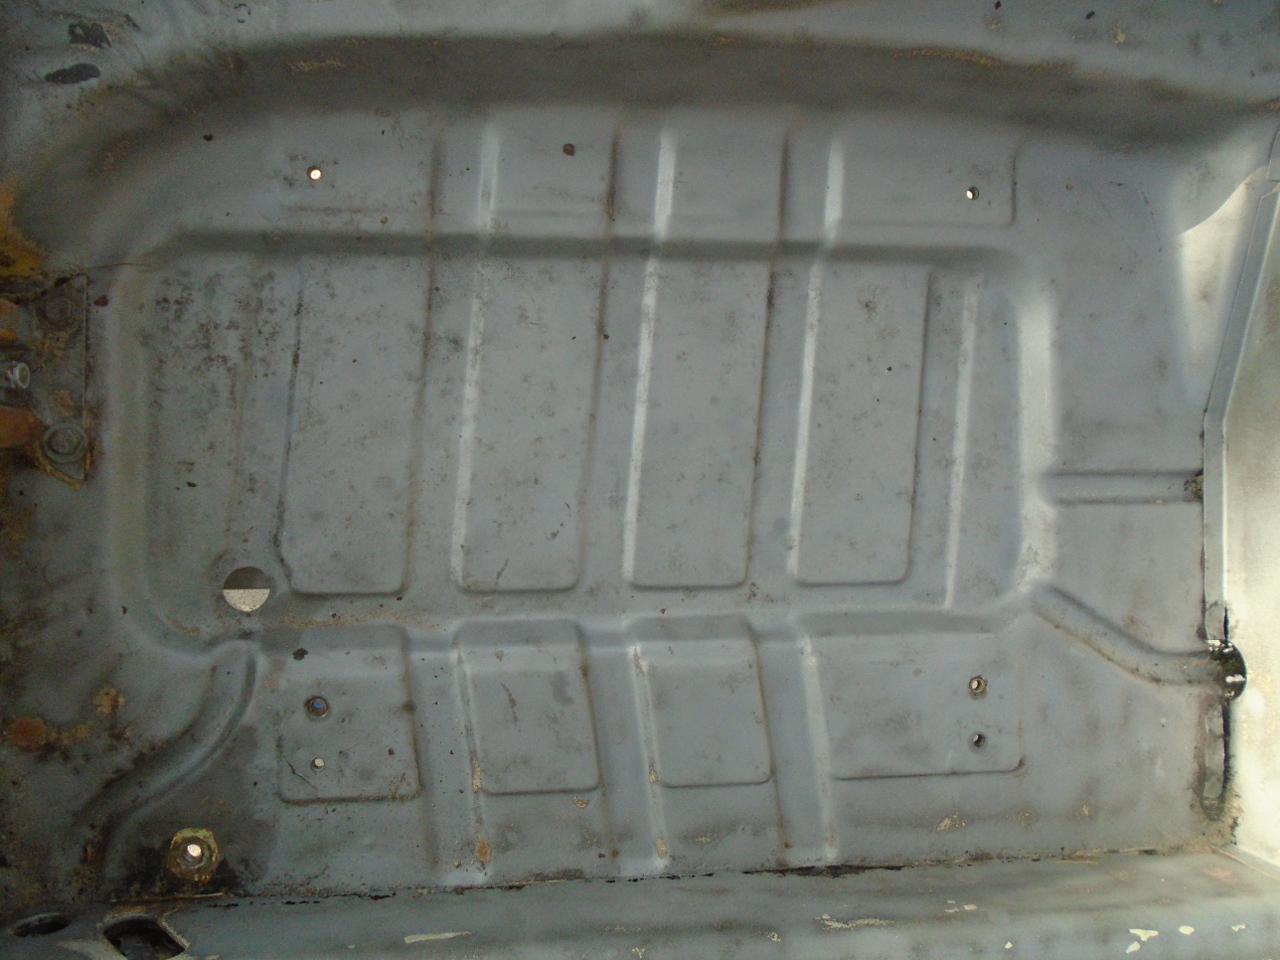
To my surprise, the rearmost part of the floor, under the seats,
looked remarkably good.
But the forward part, in the footwell, not so much.
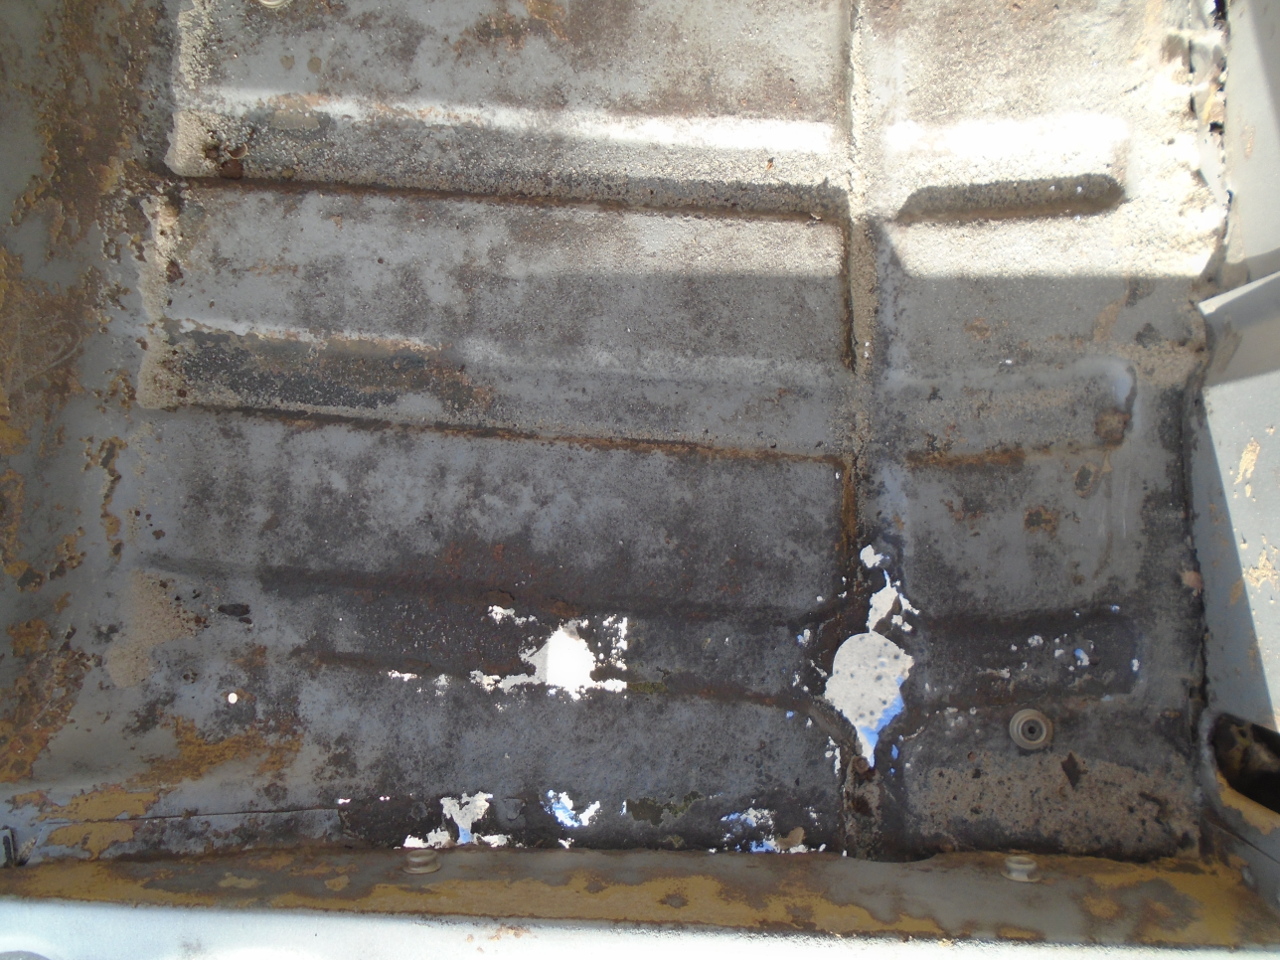
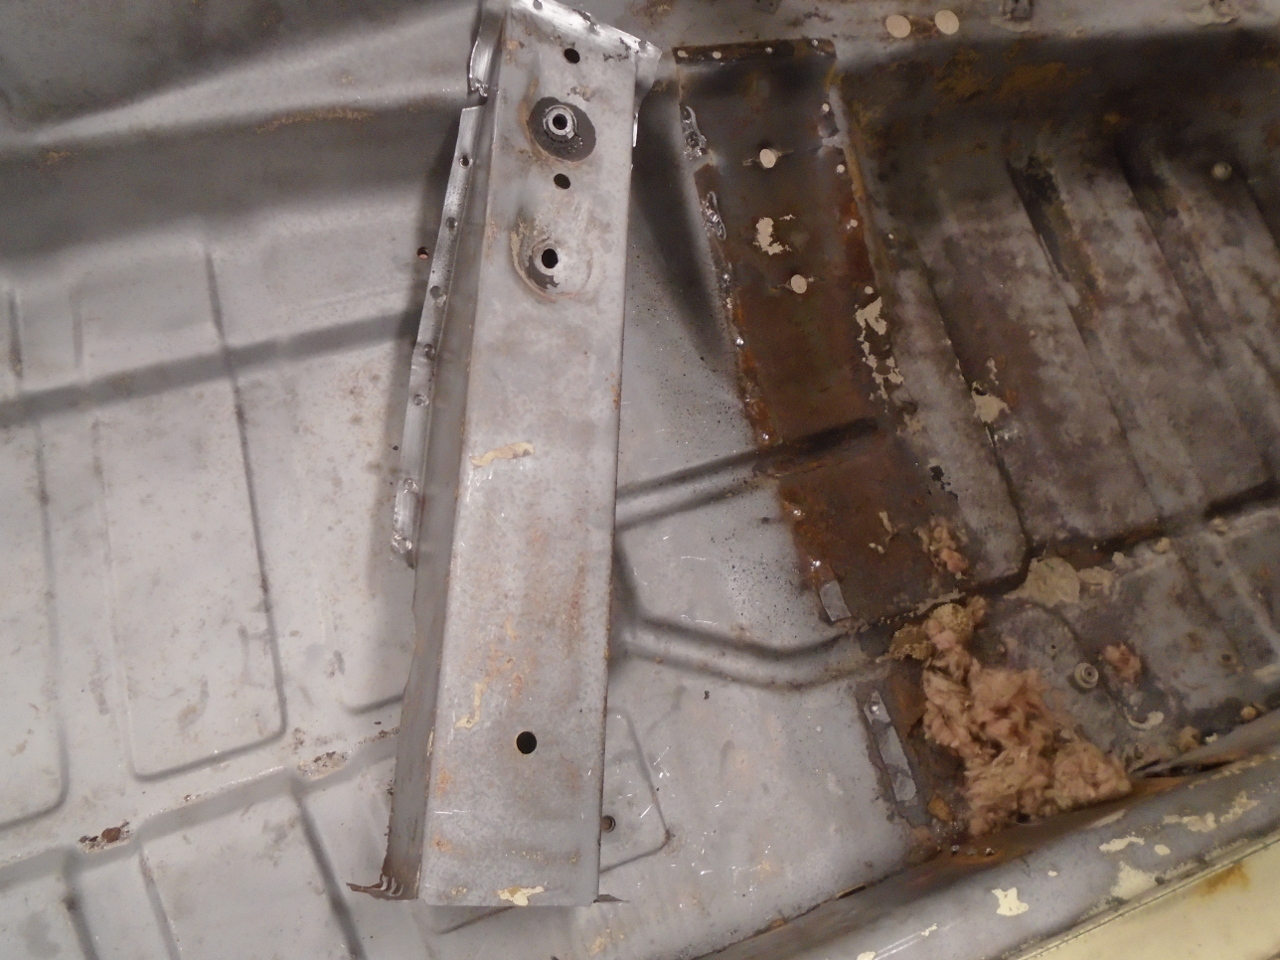
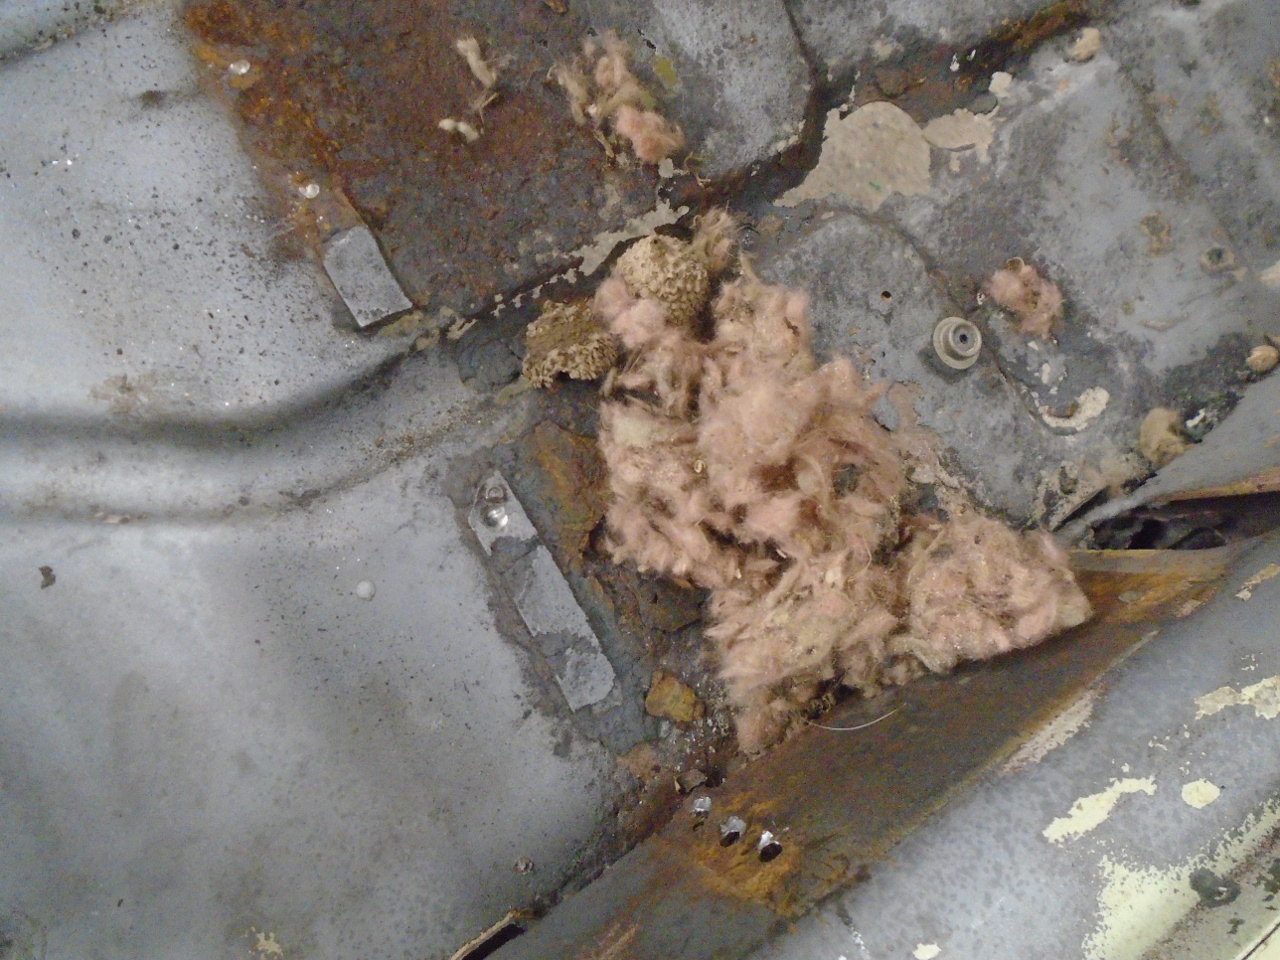
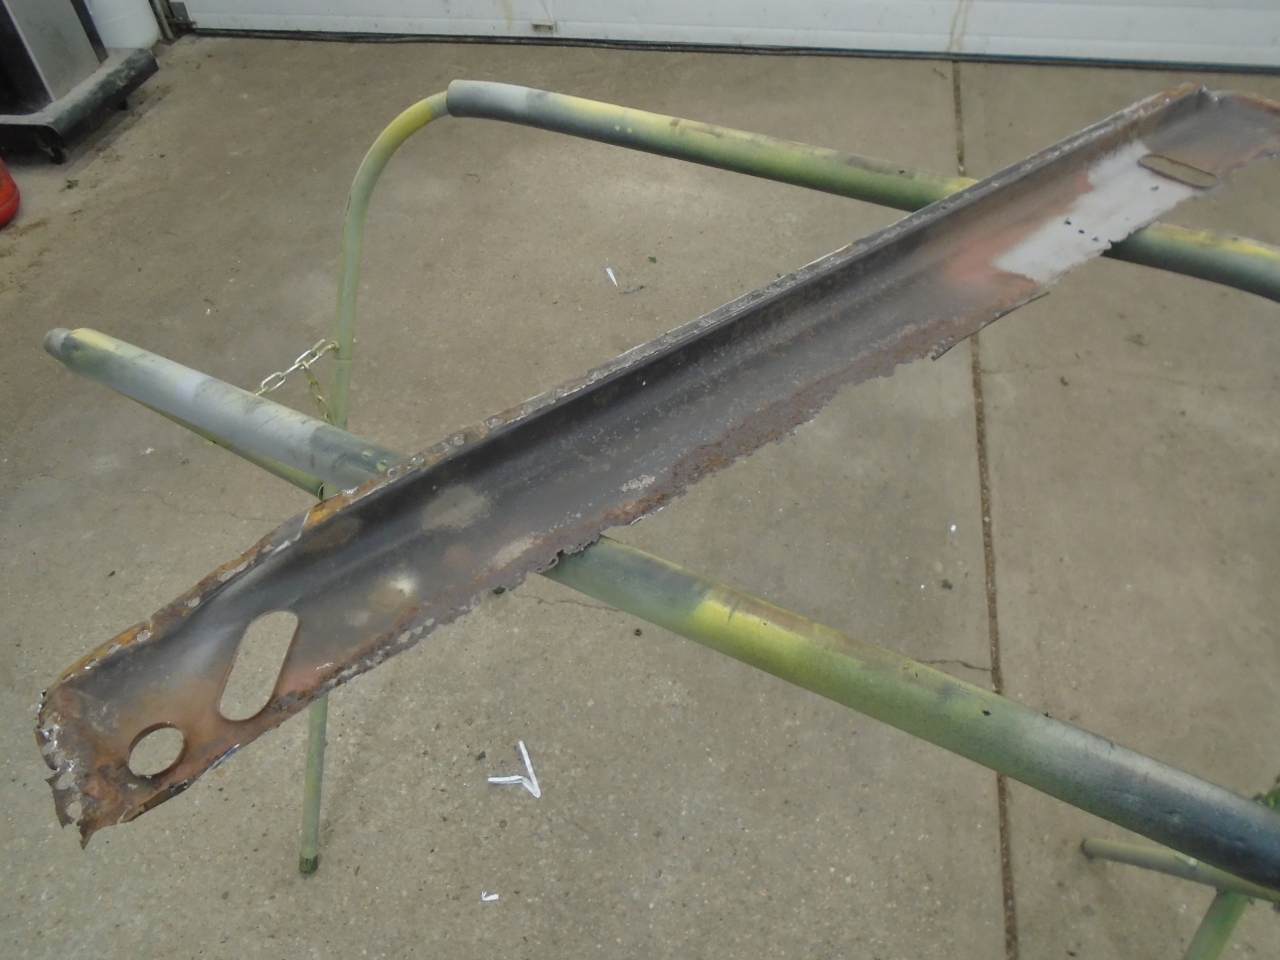
I took out the cross member to have a look under it. It
was not good. There were rust holes and animal nests.
So then it was time to step back and decide what to do.
Full floor pans are available for this car, and they look like
decent quality pressed parts, but it seemed a waste to replace
the two-thirds of my pan that was good. It also seemed a
waste to buy the full pans and only use the front parts. I
also found a few places that offered just the front pans, but
instead of being pressed, they appeared to be made on a bead
roller, and weren't a very good reproduction of the original.
In the end, I decided to try to rebuild the front pans. If
I failed, I at least had a couple of fall-back options.
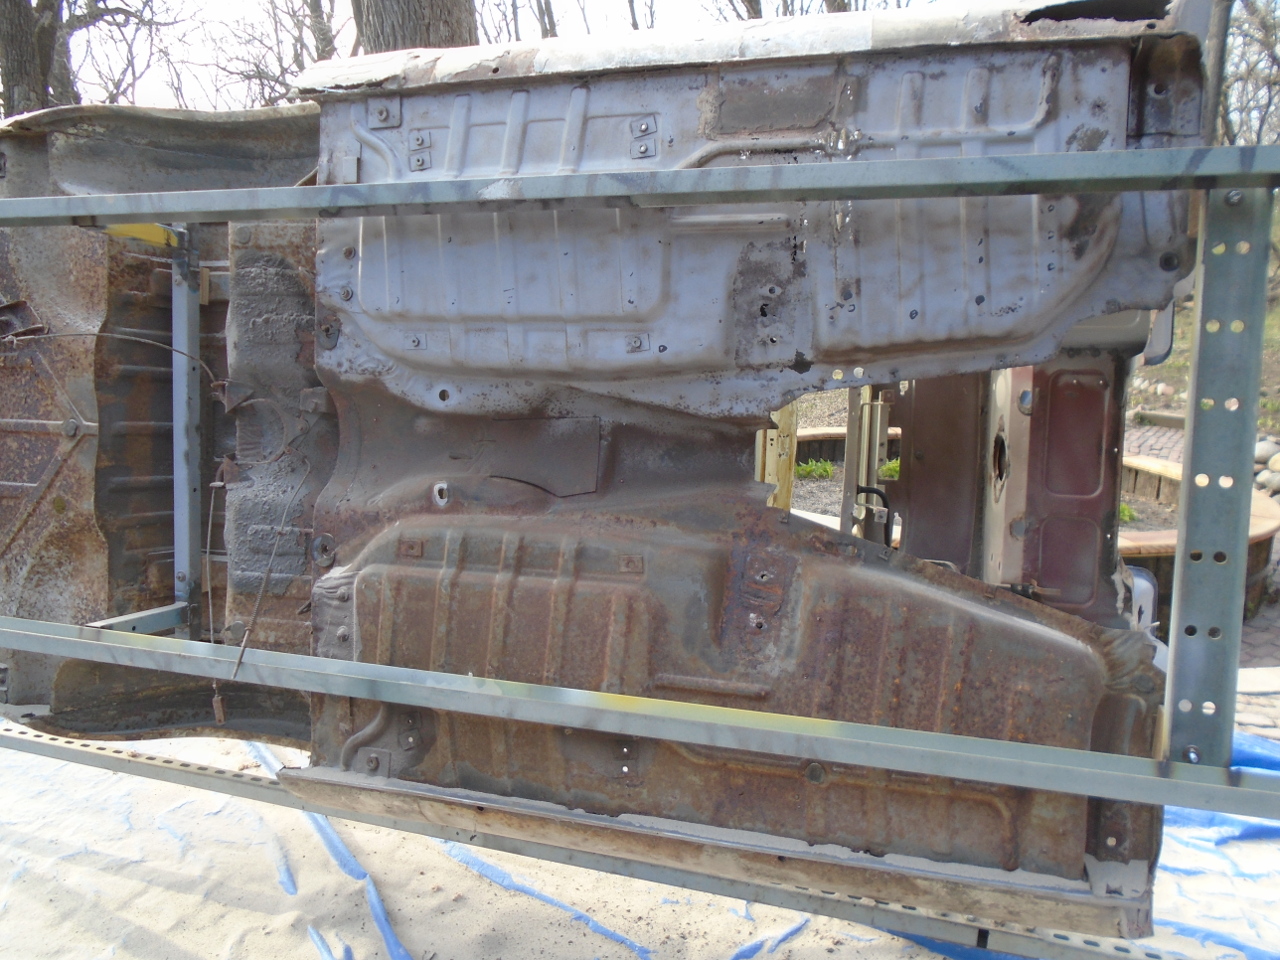
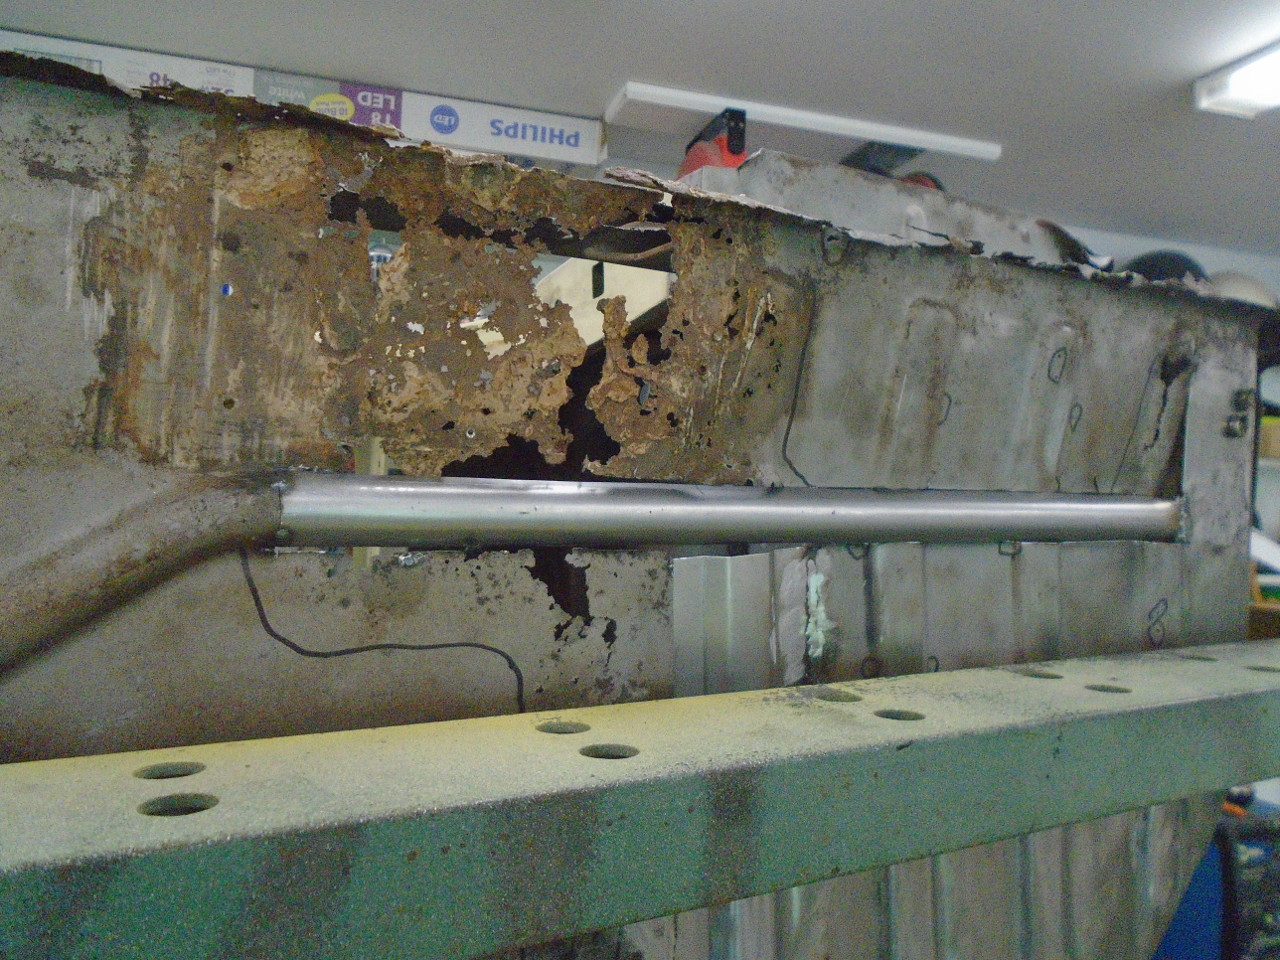
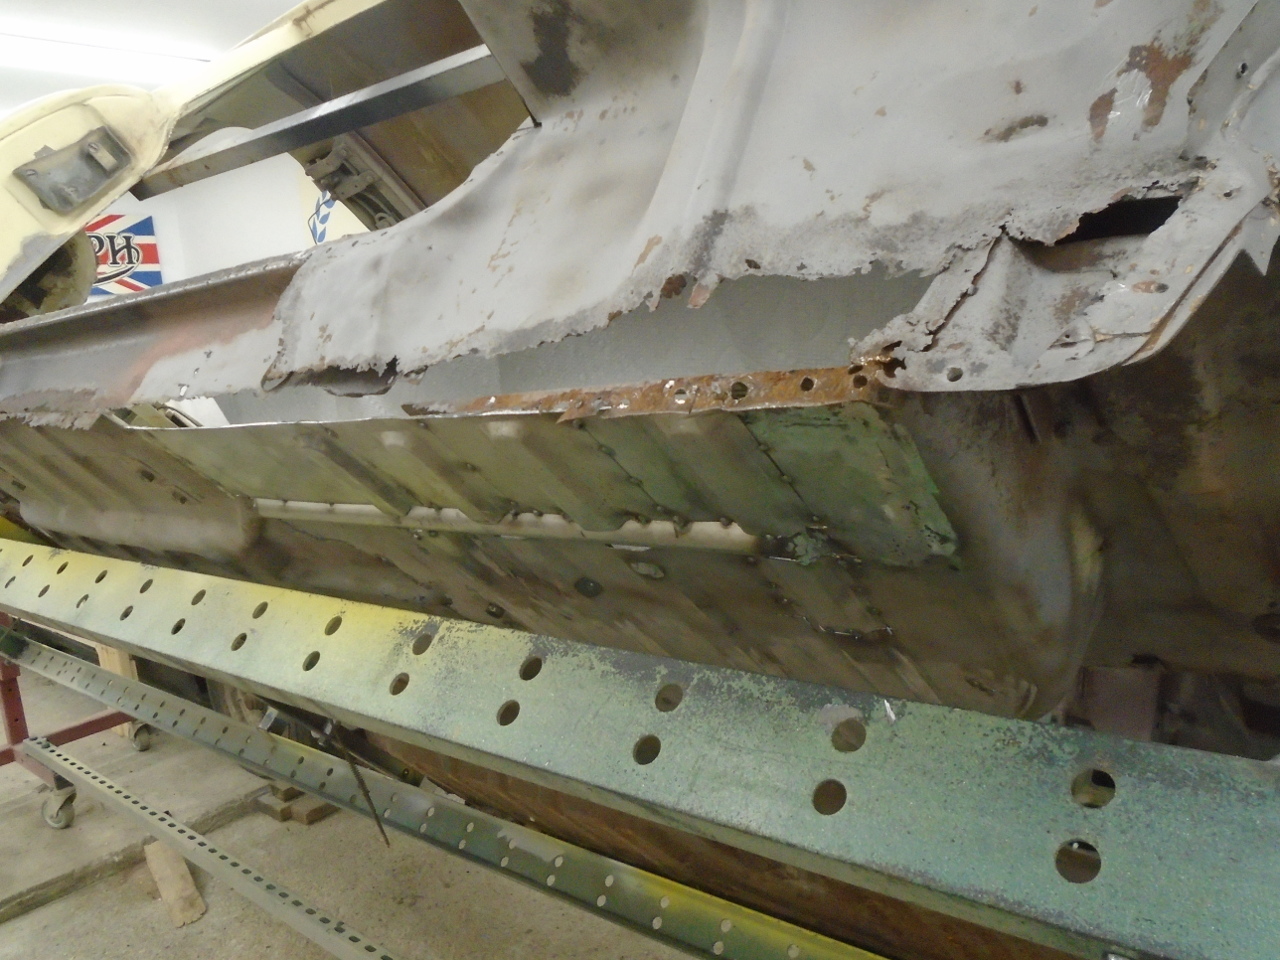
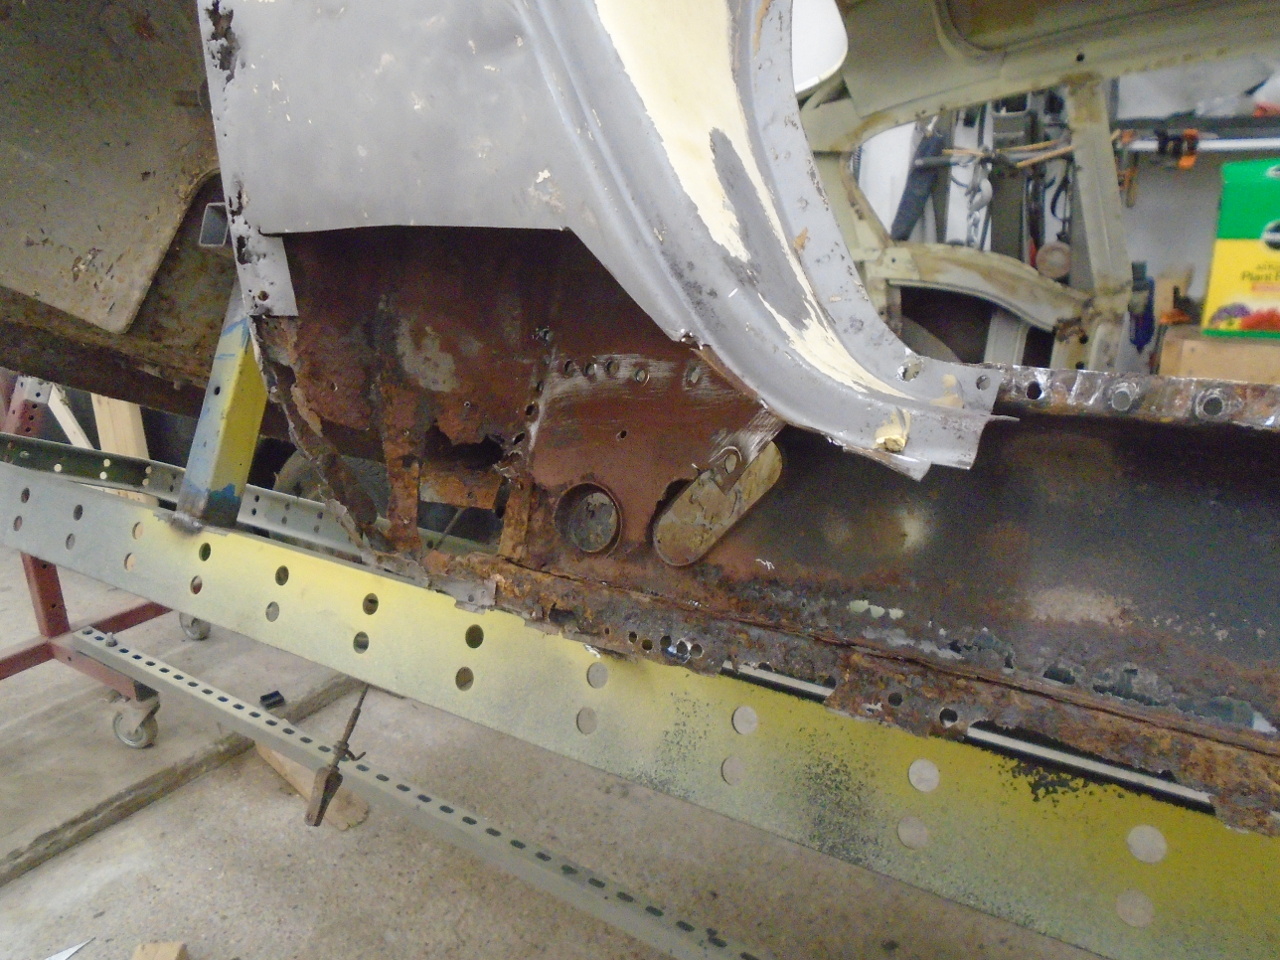
To get access to the full floor, the sill had to come
off. This wasn't a big deal, since I knew they
had to be replaced, too. The first pic is what they looked
like after I removed my '80s repairs. Removing them
revealed more rust carnage.
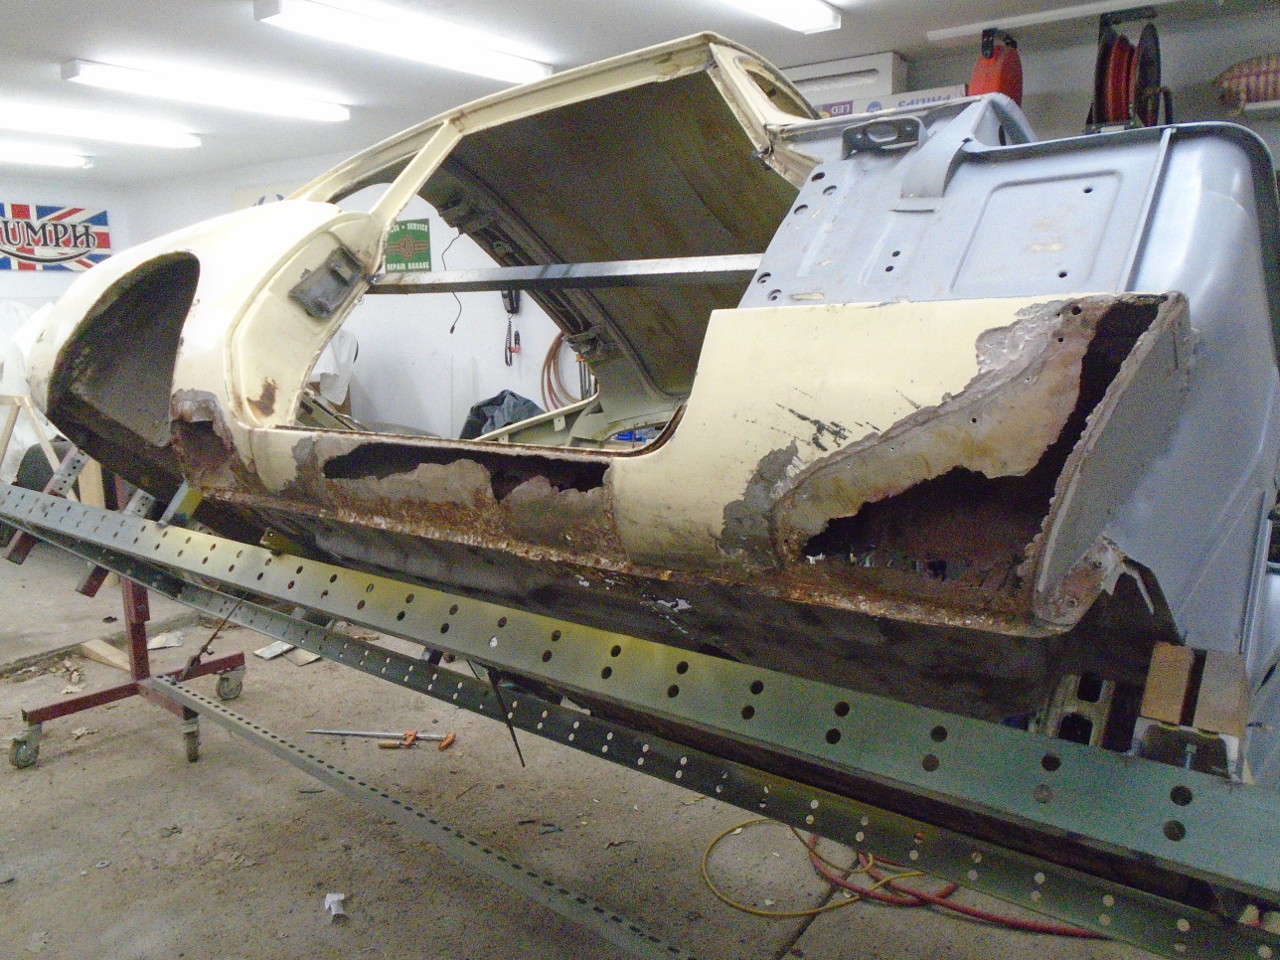
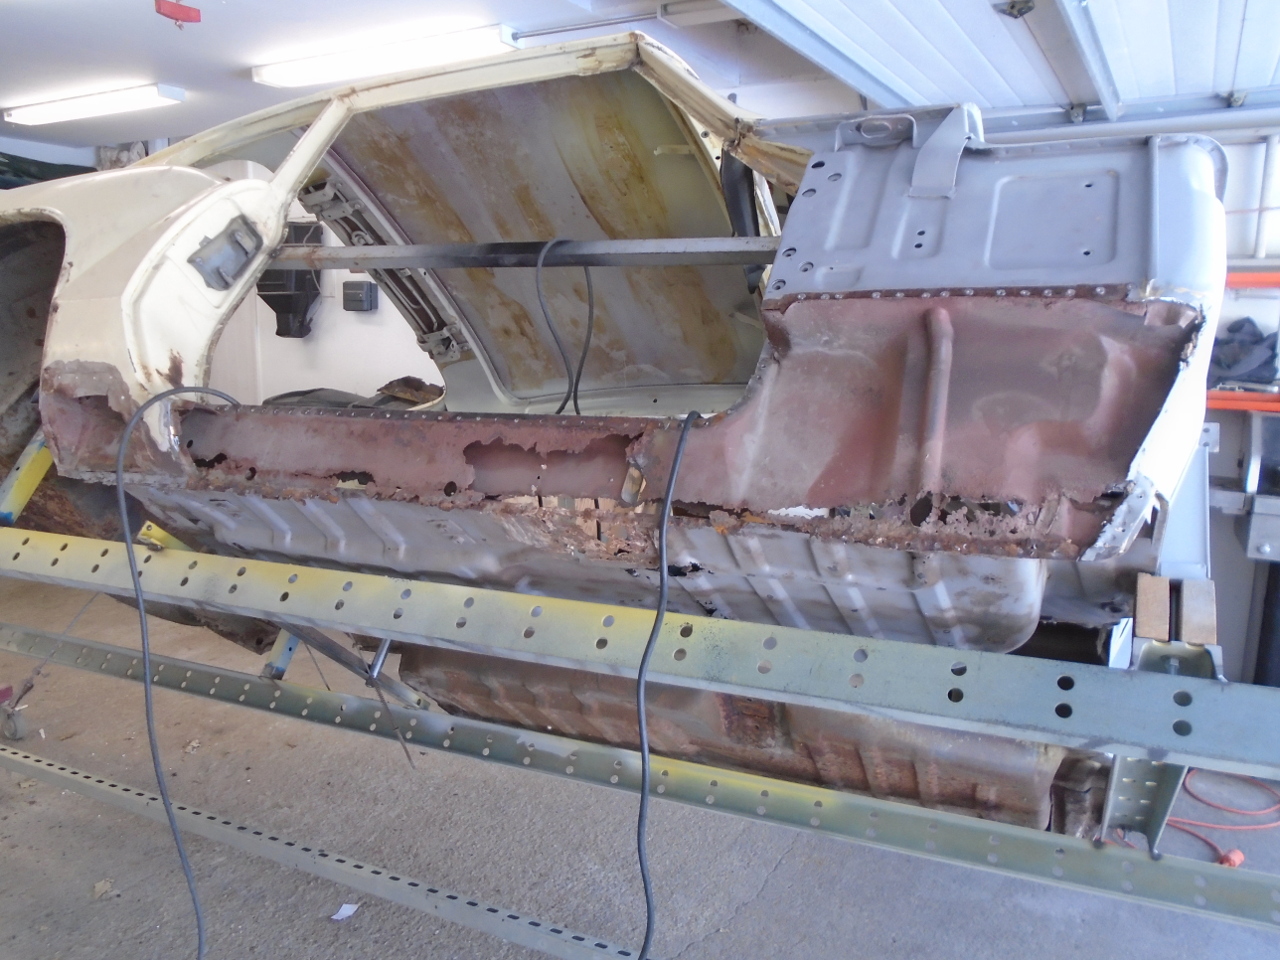
My mission was clear.
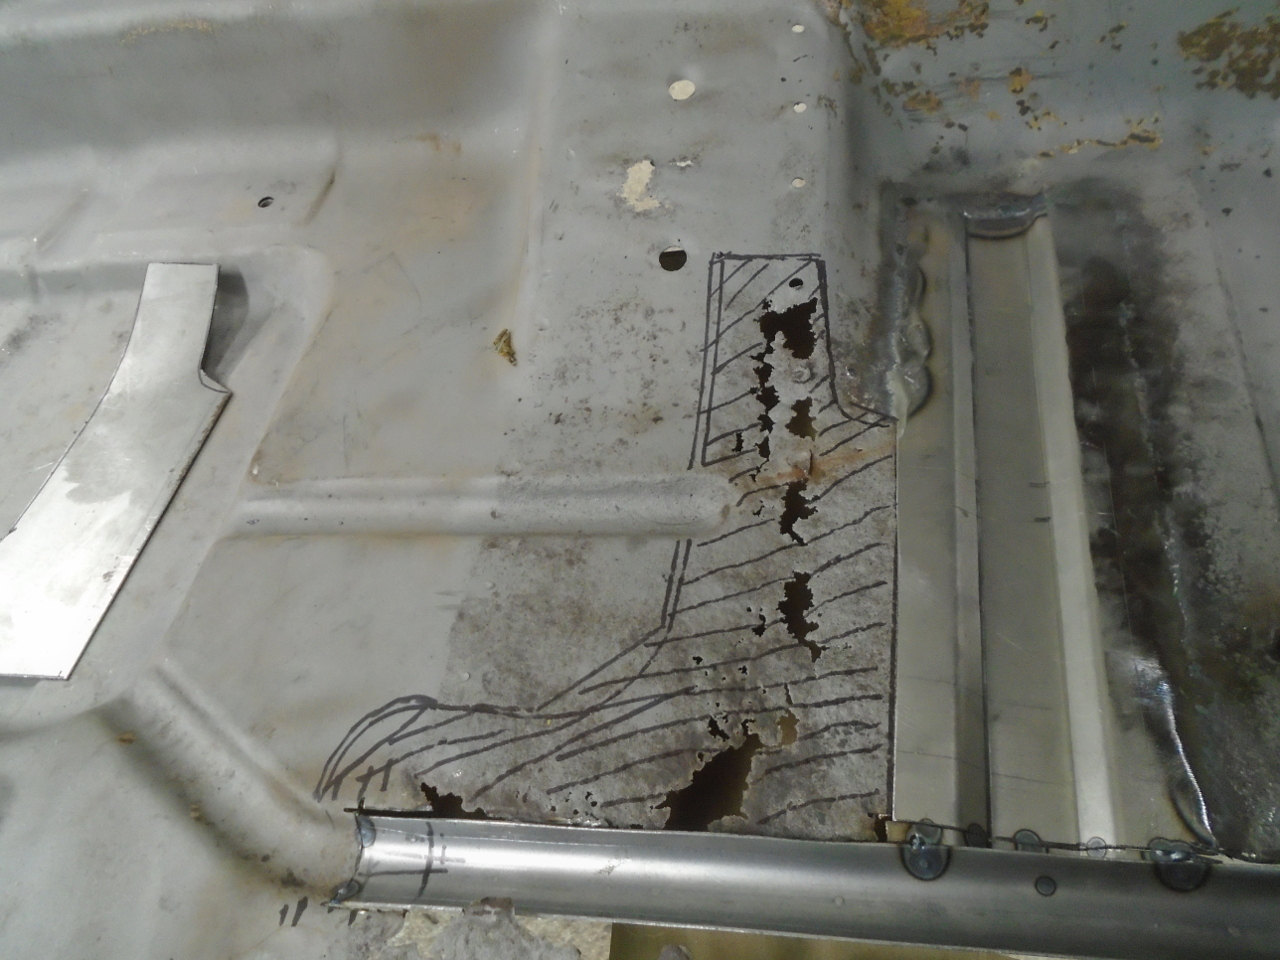
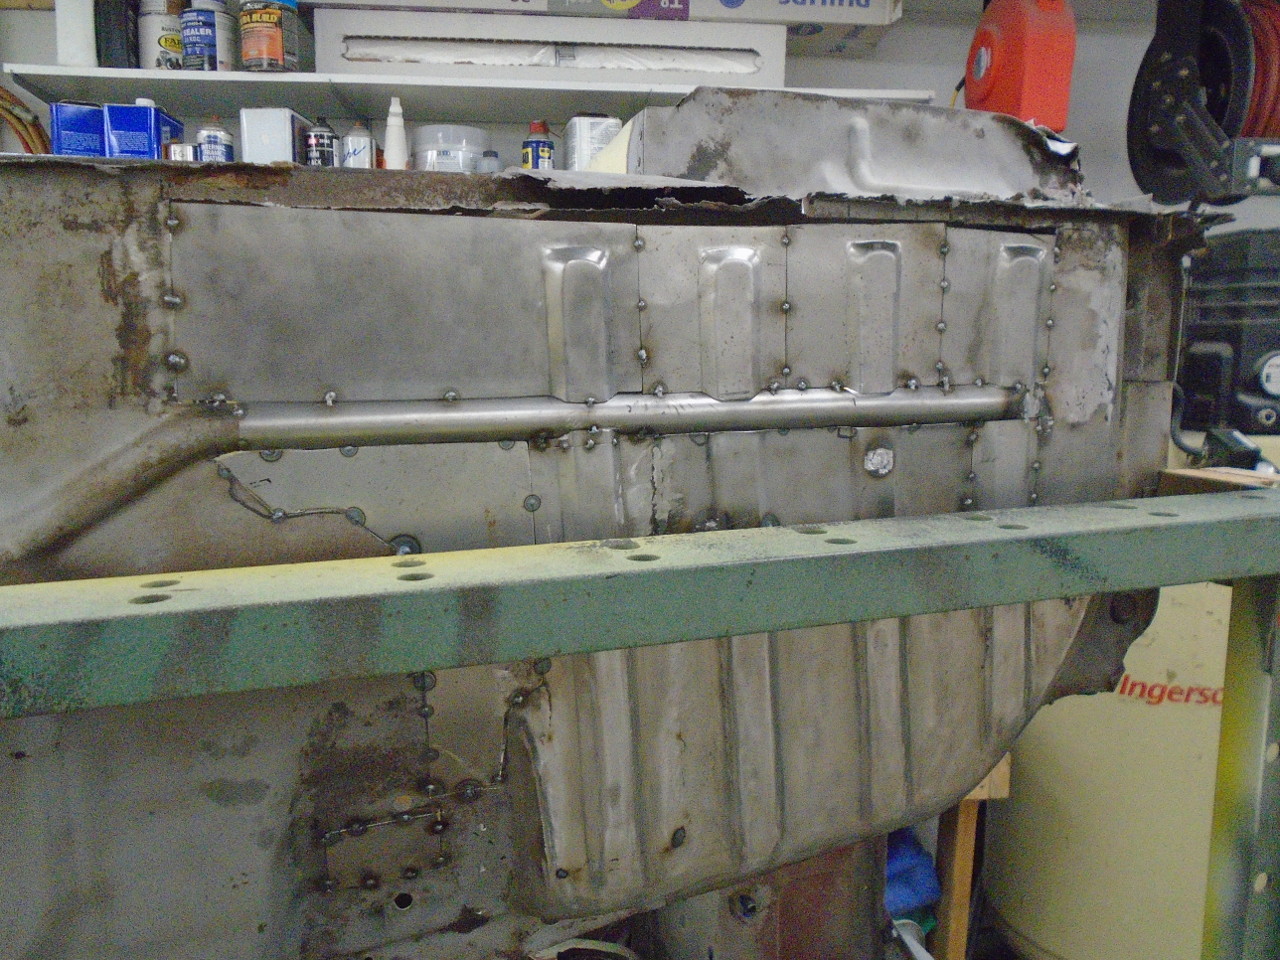
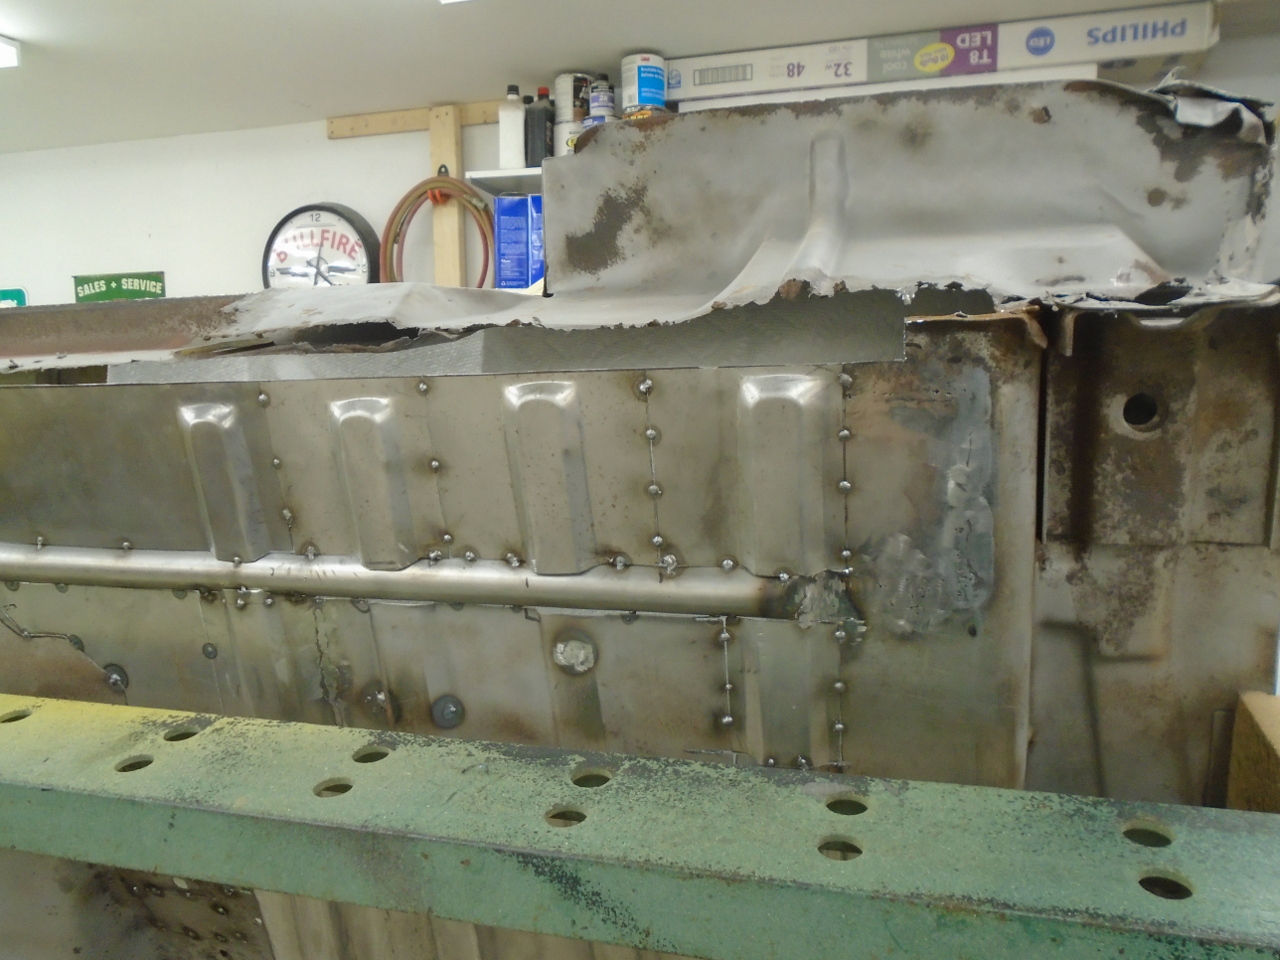
The complication in fixing the rusty floor is that it is full of
formed channels. A half-round channel runs fore-aft, and
four shallower flat-bottom channels connect to it from each
side. I'm not sure of the purpose of the channels.
They are stiffeners, certainly, but they also appear to be
drainage channels to lead water to a basin under the seat.
On one side, a wiring cable runs in the round channel.Most of
the rust was in these channels.
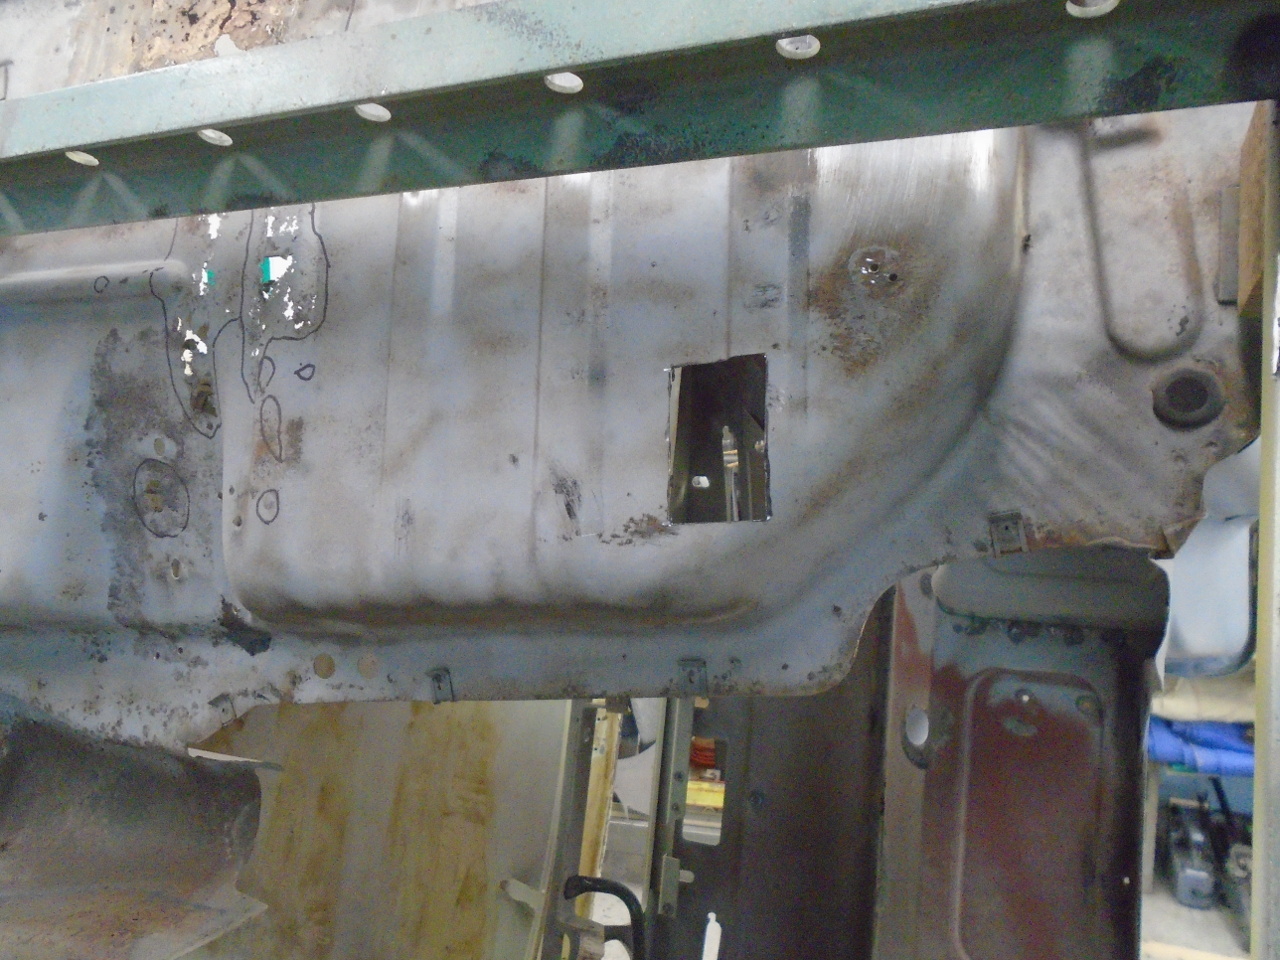
I dove in near the front, cutting out a rust-through area, and
replacing it with a patch. I have a cheap Harbor Freight
bead roller that helped with the step.
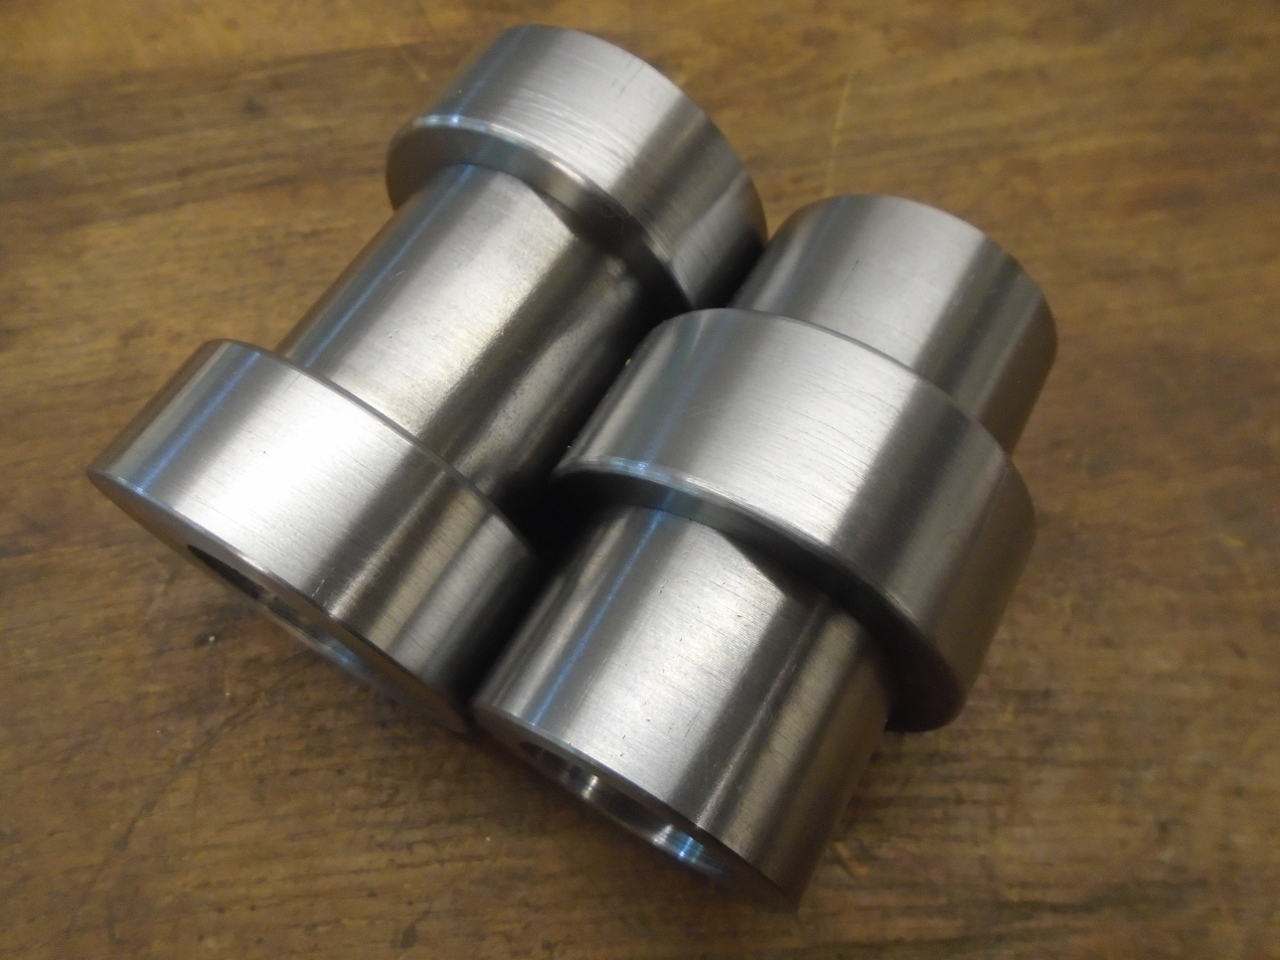
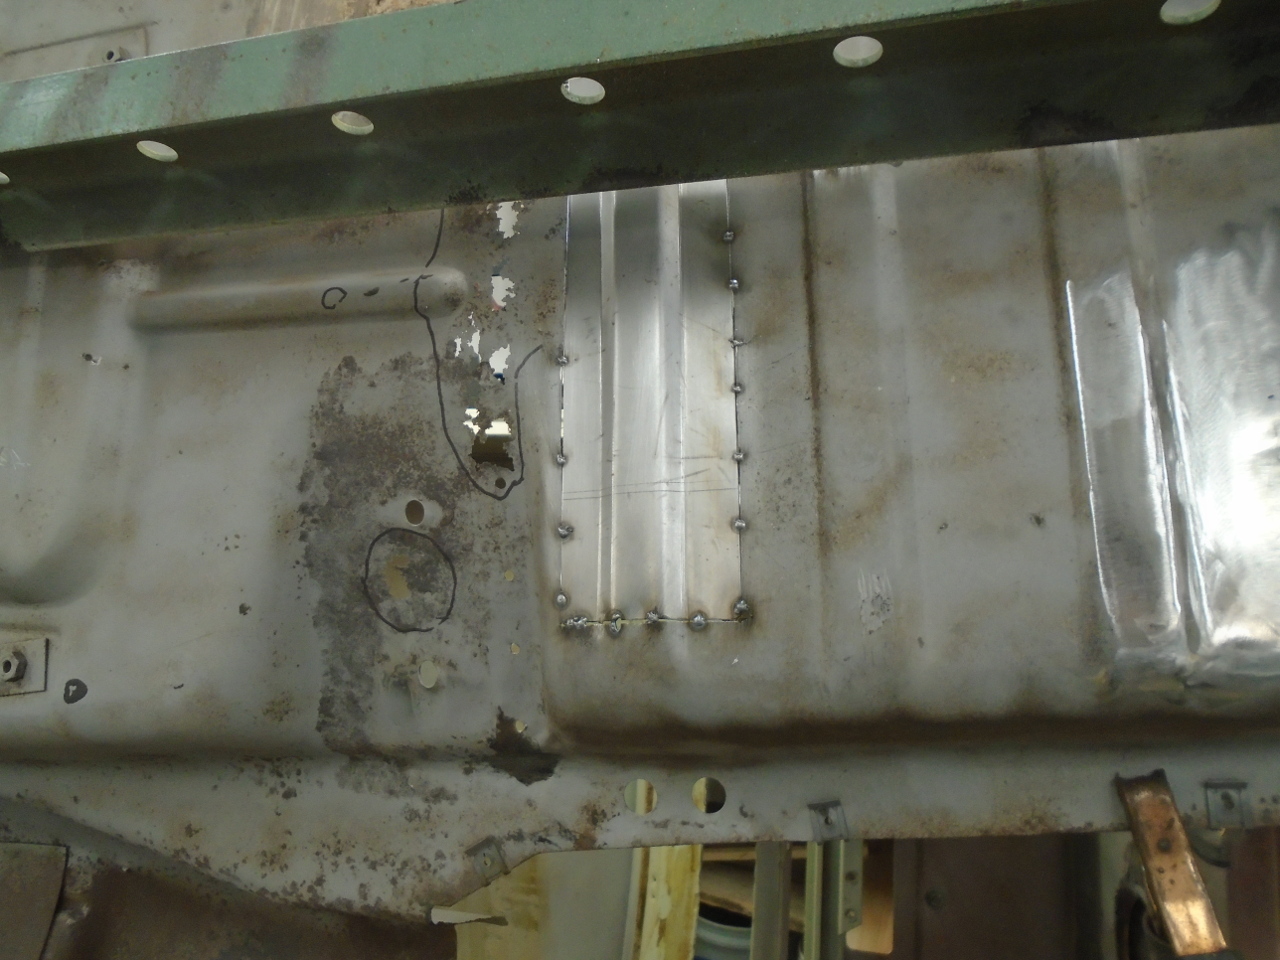
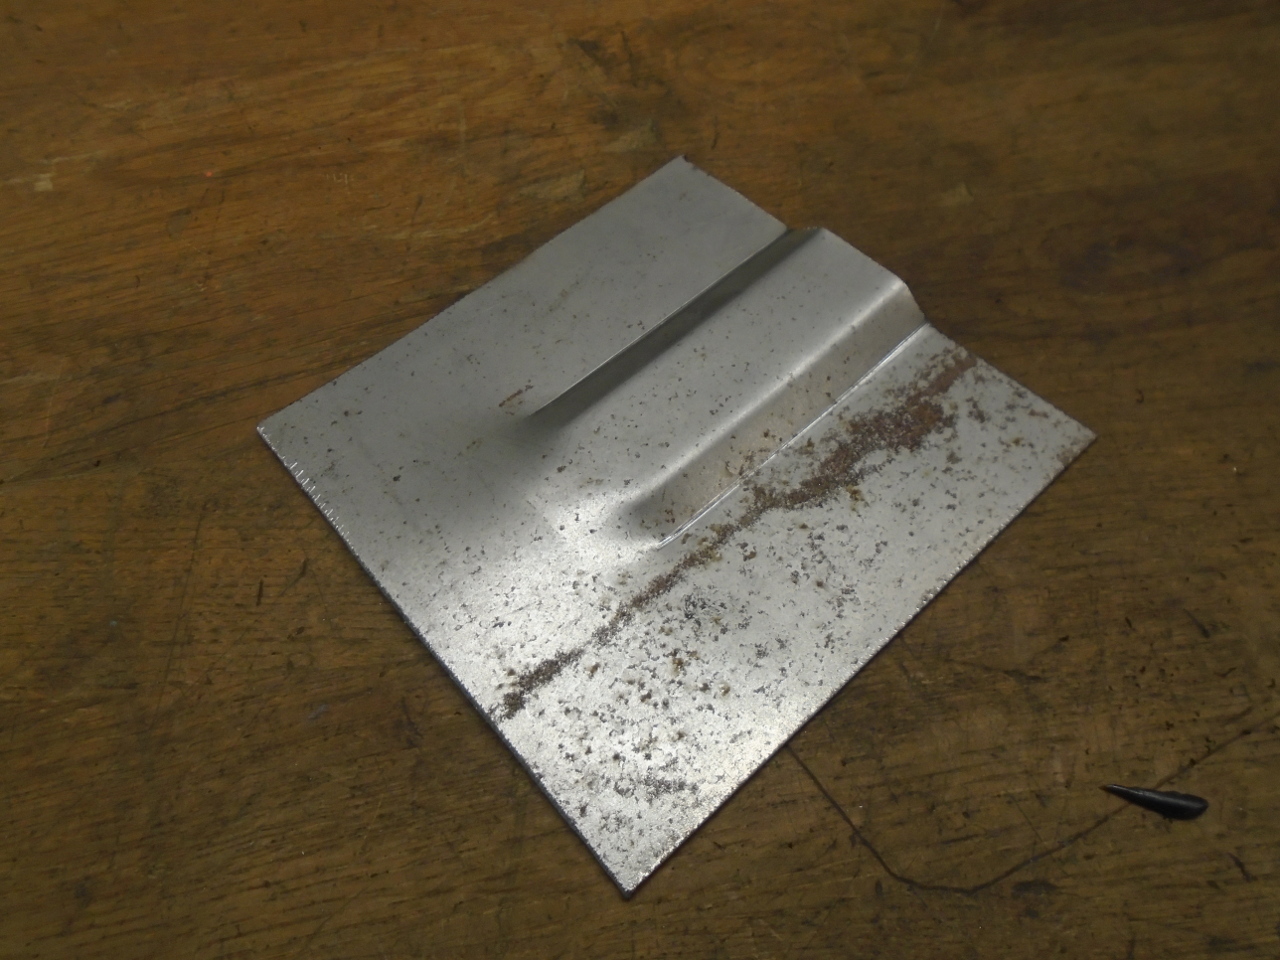
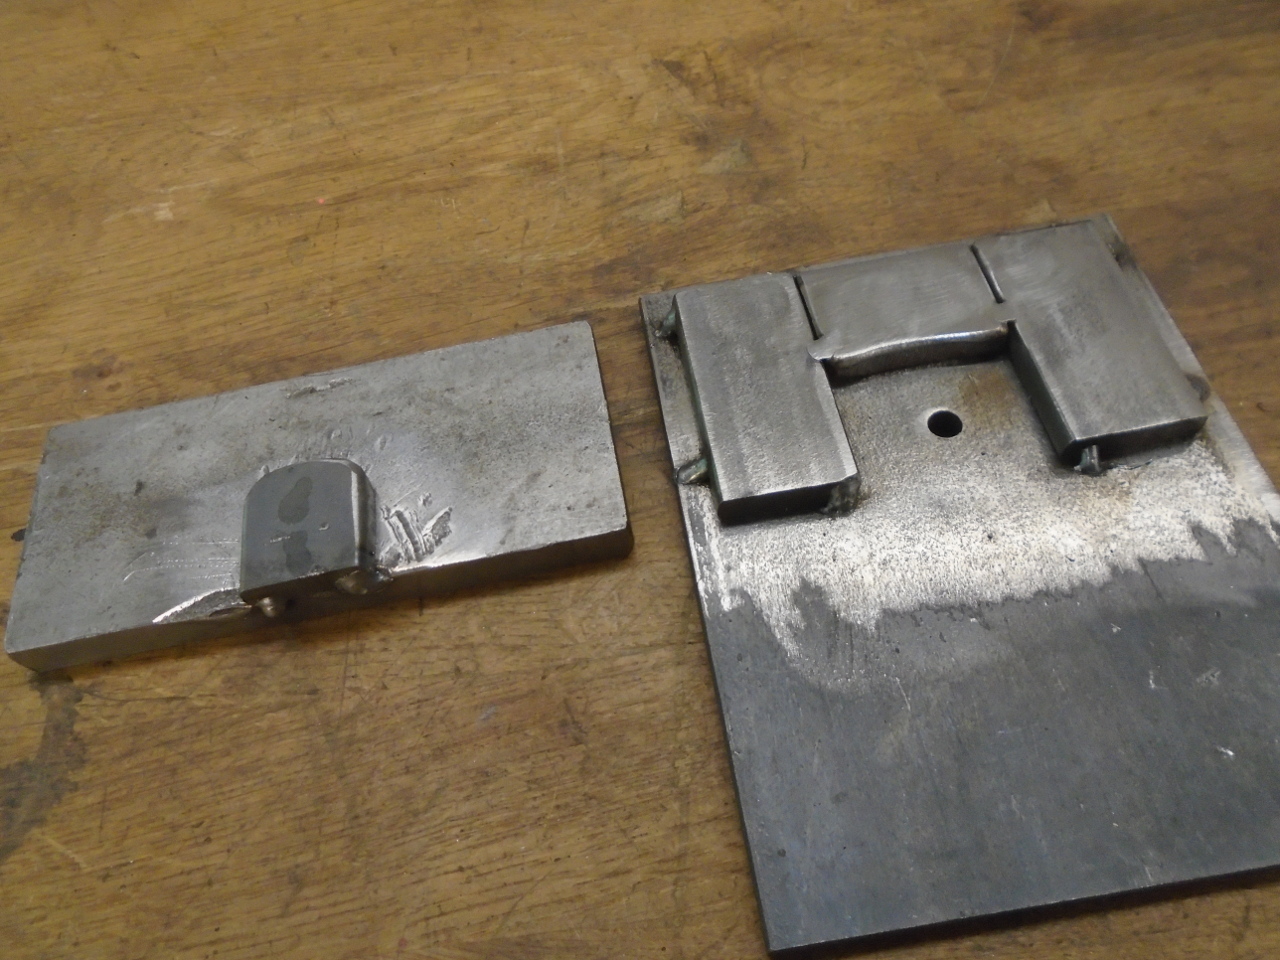
Some of the other patches would require replacing entire
channels. I played with the bead roller and couldn't seem
to get consistently well-shaped channels, so I took some time
and made this custom set of rollers that make a pretty good
facsimile of the channel shape.
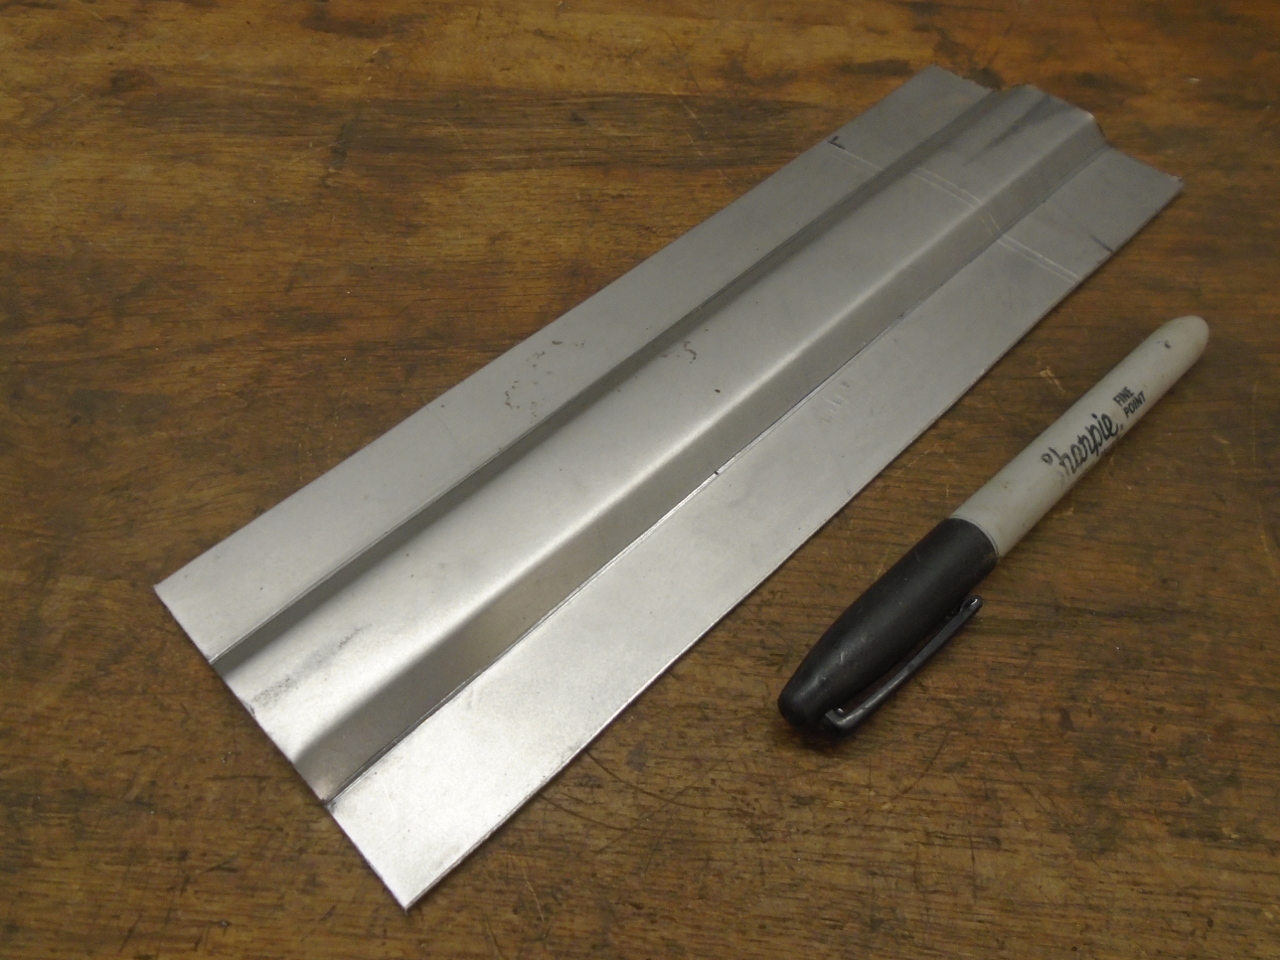
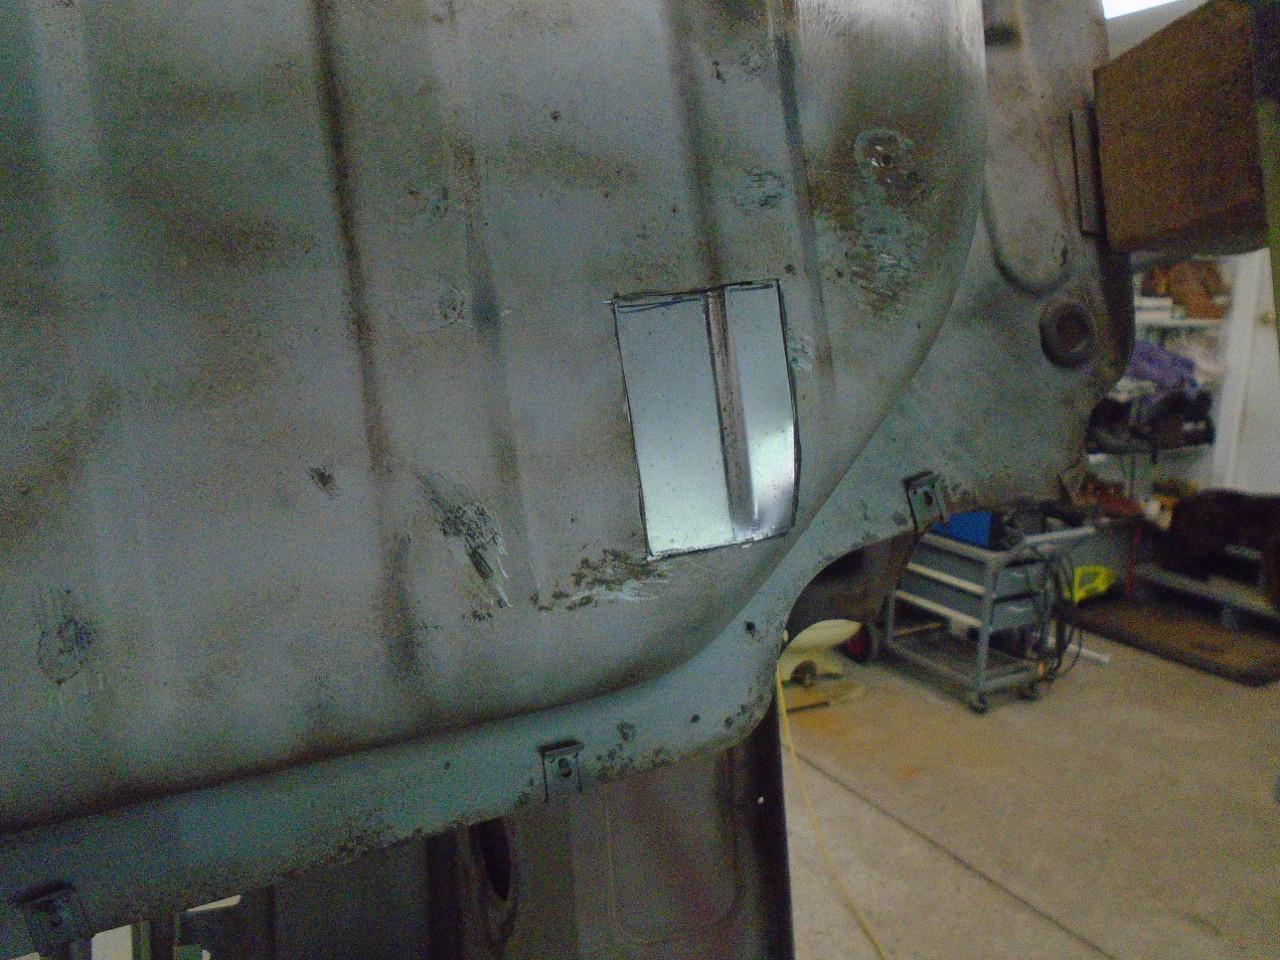
I tried it out on one of the bad channels.
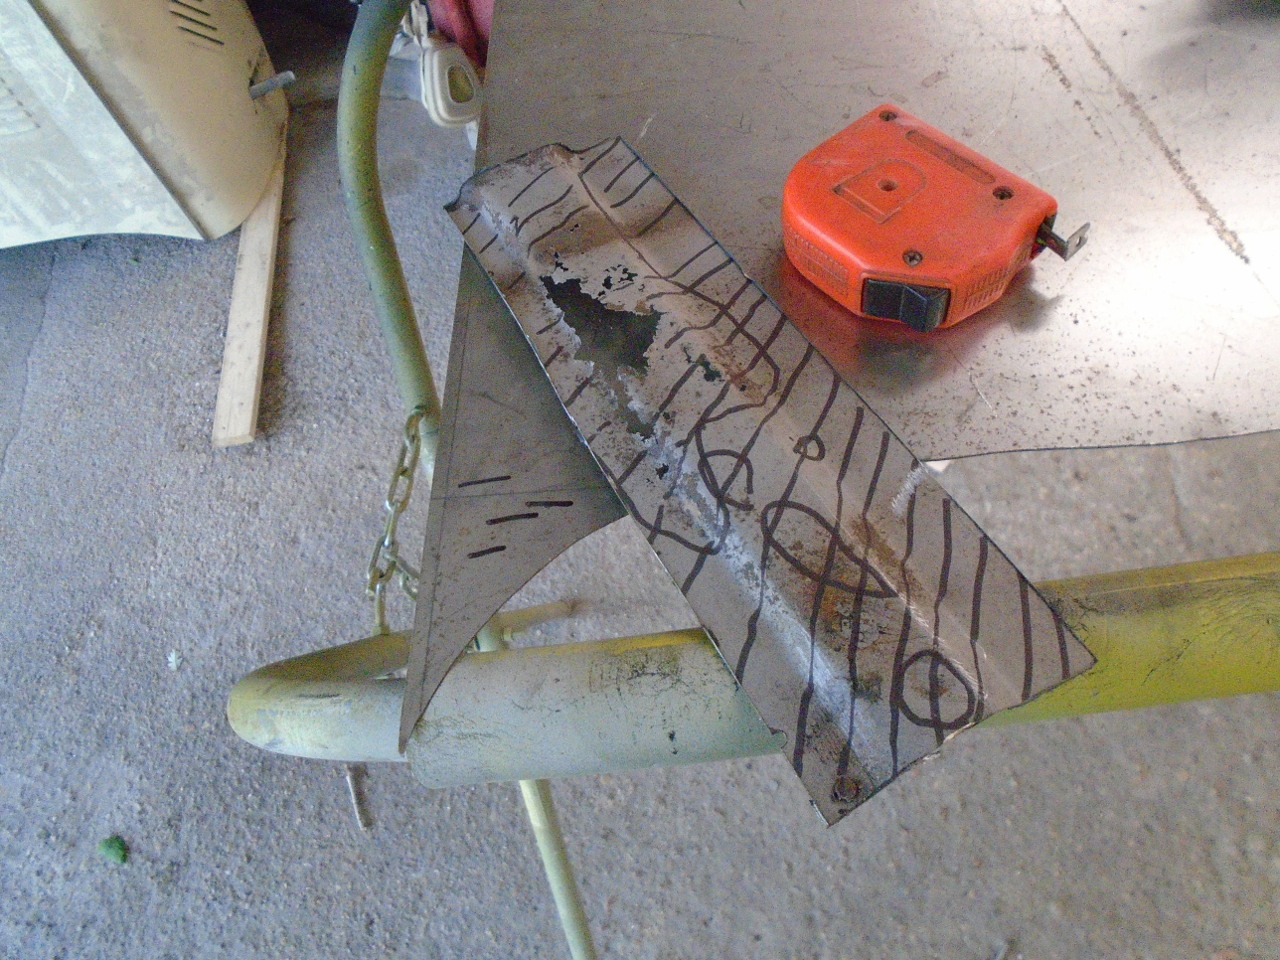
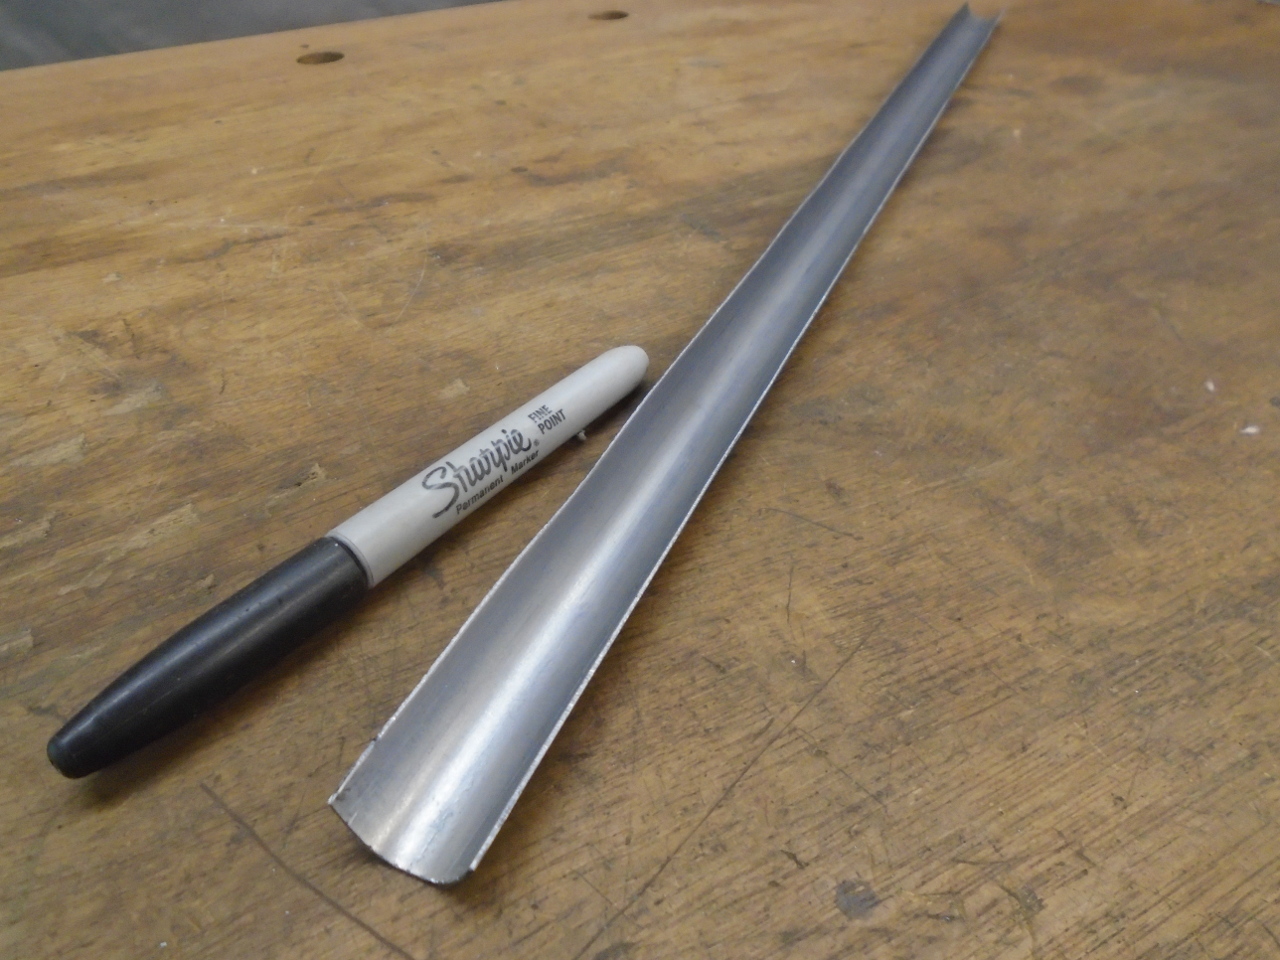
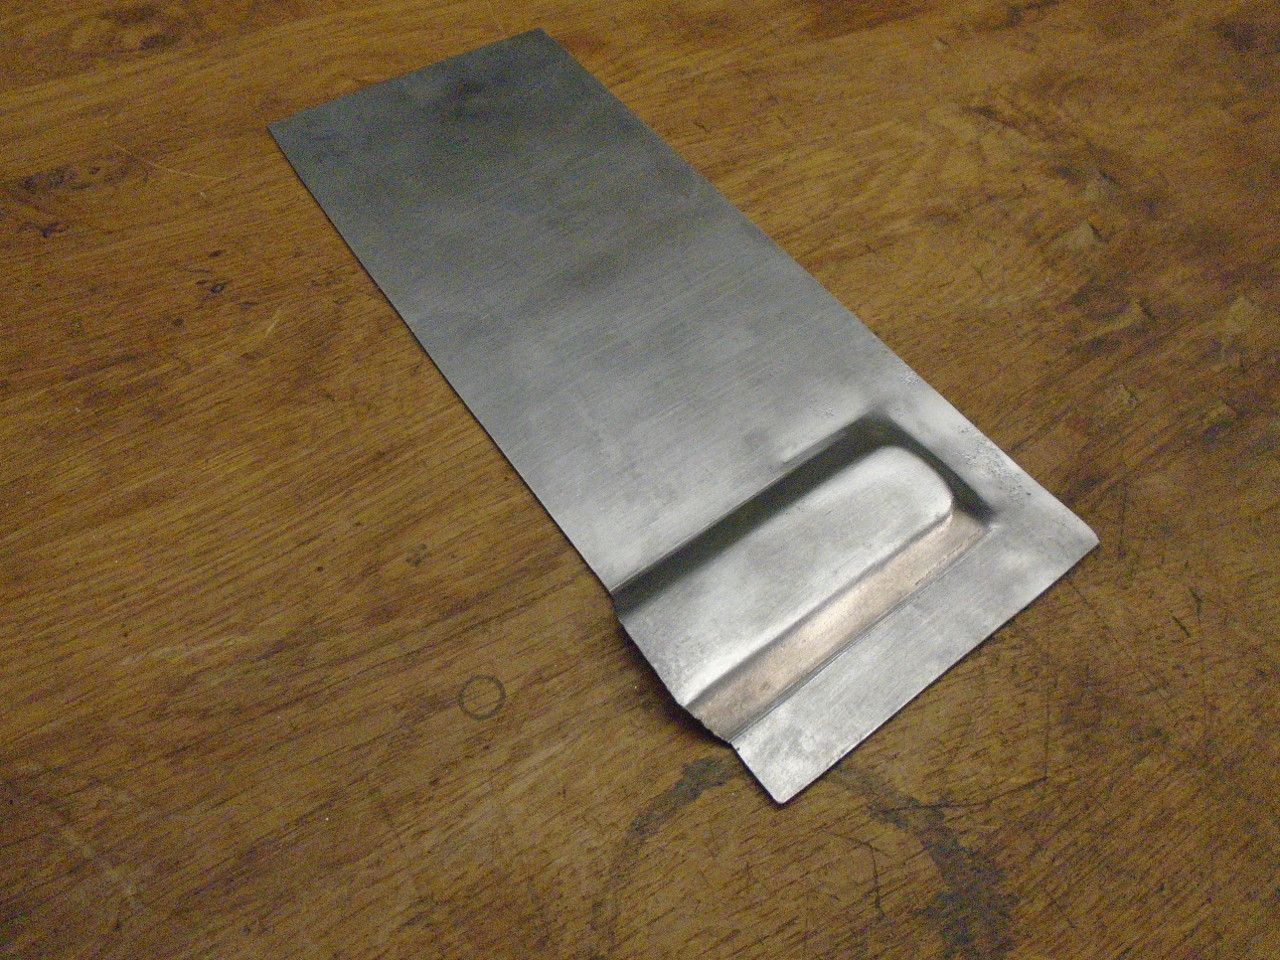
Well, this seemed like a good solution for the flat channels,
but didn't help for the round one. I made this shape by
forcing some metal into a slot with a round bar.
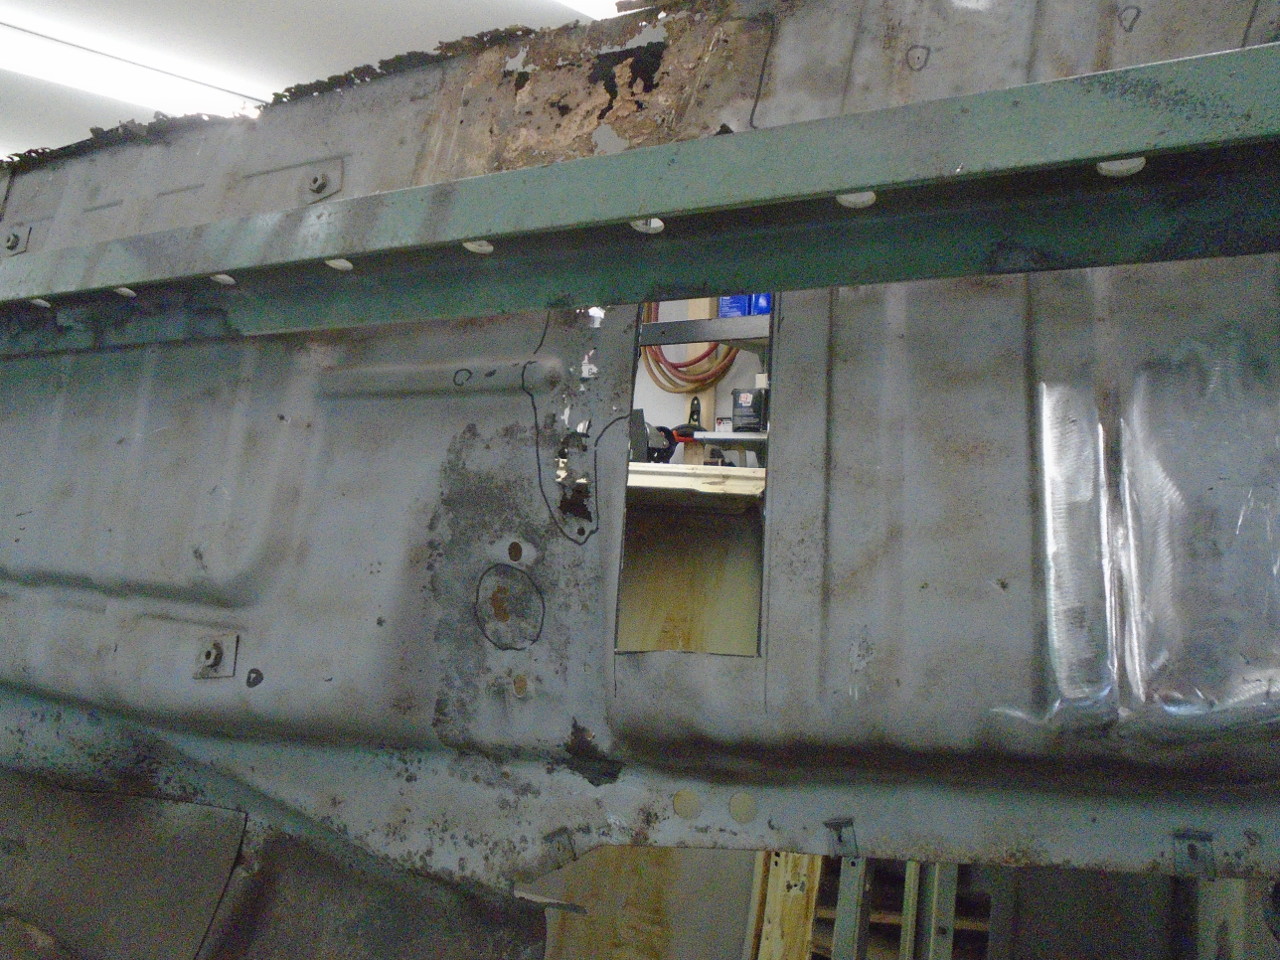
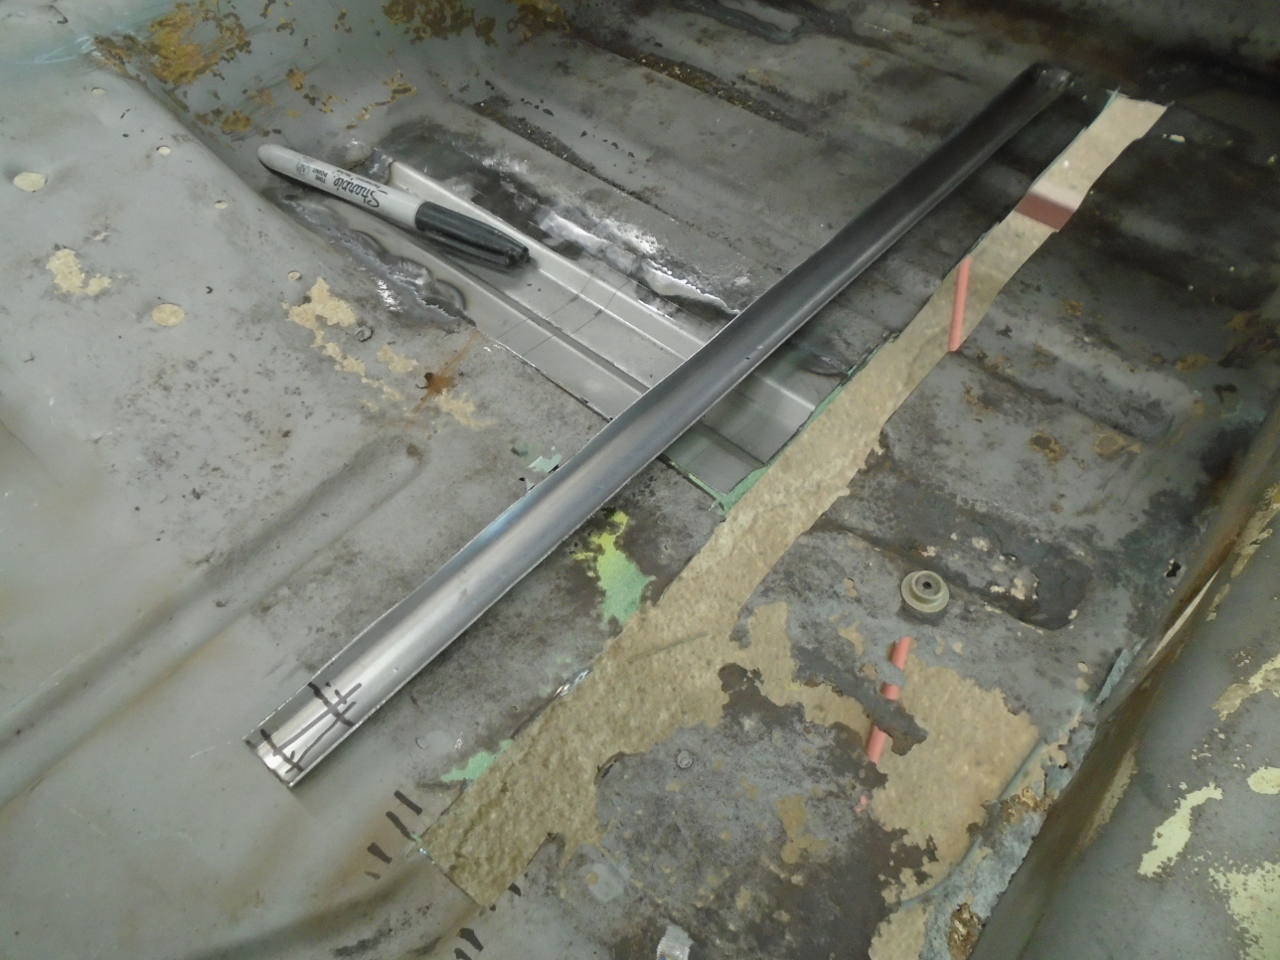
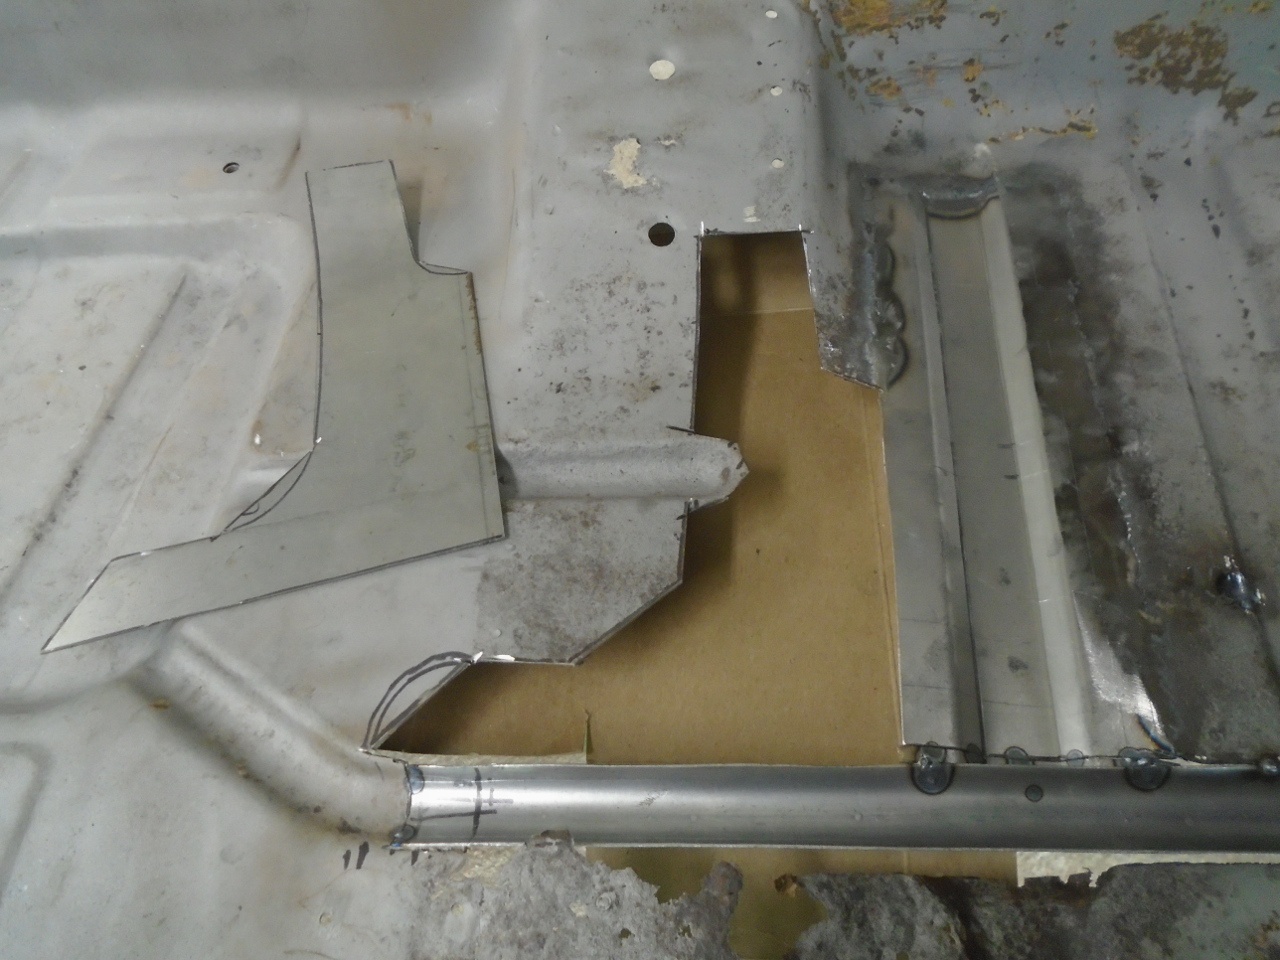
Cut out the old round channel and put in my new one.
This was a pretty large patch under the cross member. This
area is not included in the commercially available front pans.
Some of the remaining channels had to end in the panel.
The bead roller doesn't do that very well.
But this little makeshift press puts a nicer end on the
channels.
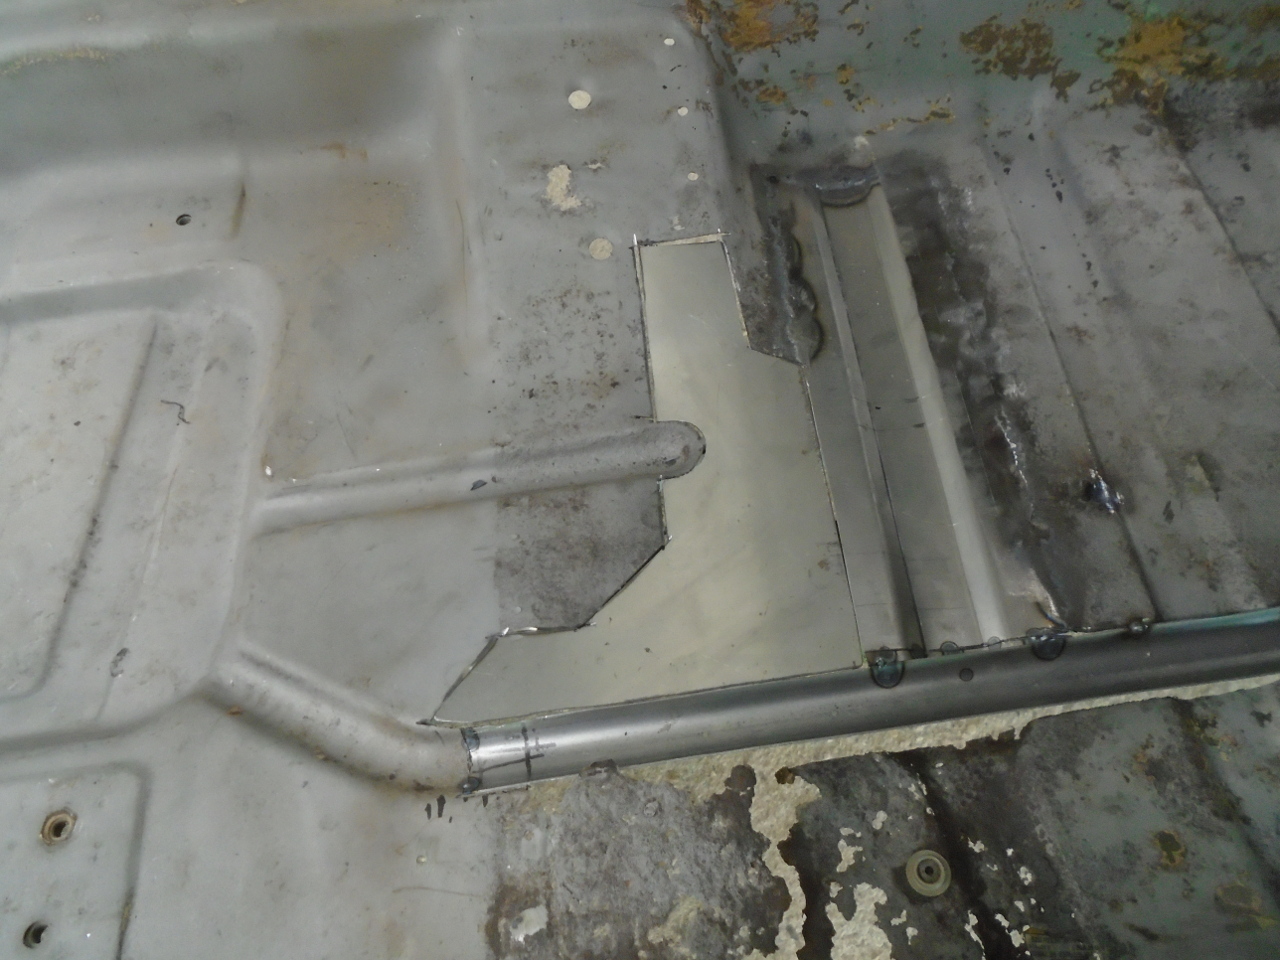
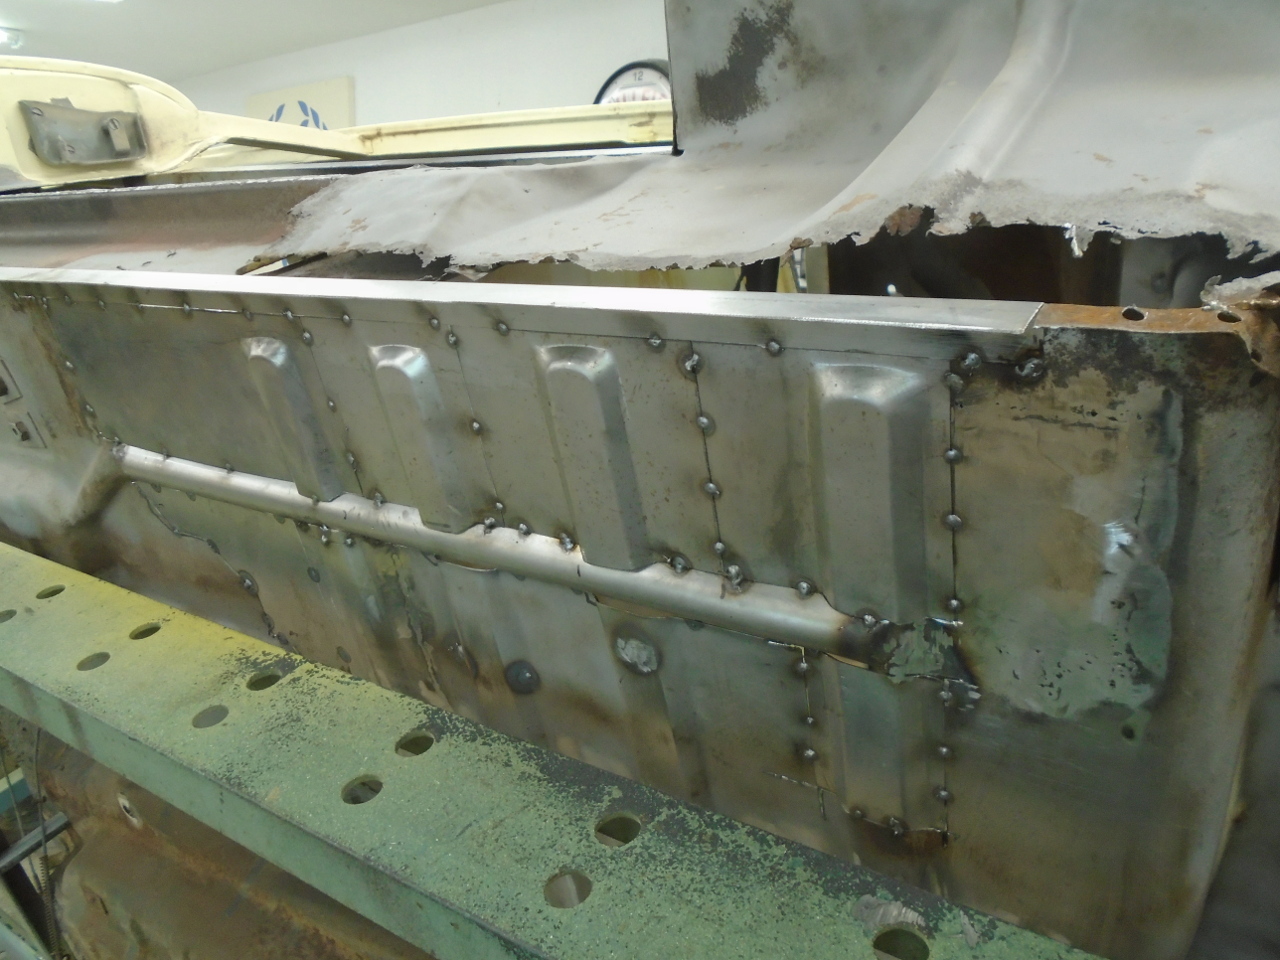
So finally, all of the new channel patches got tacked in.
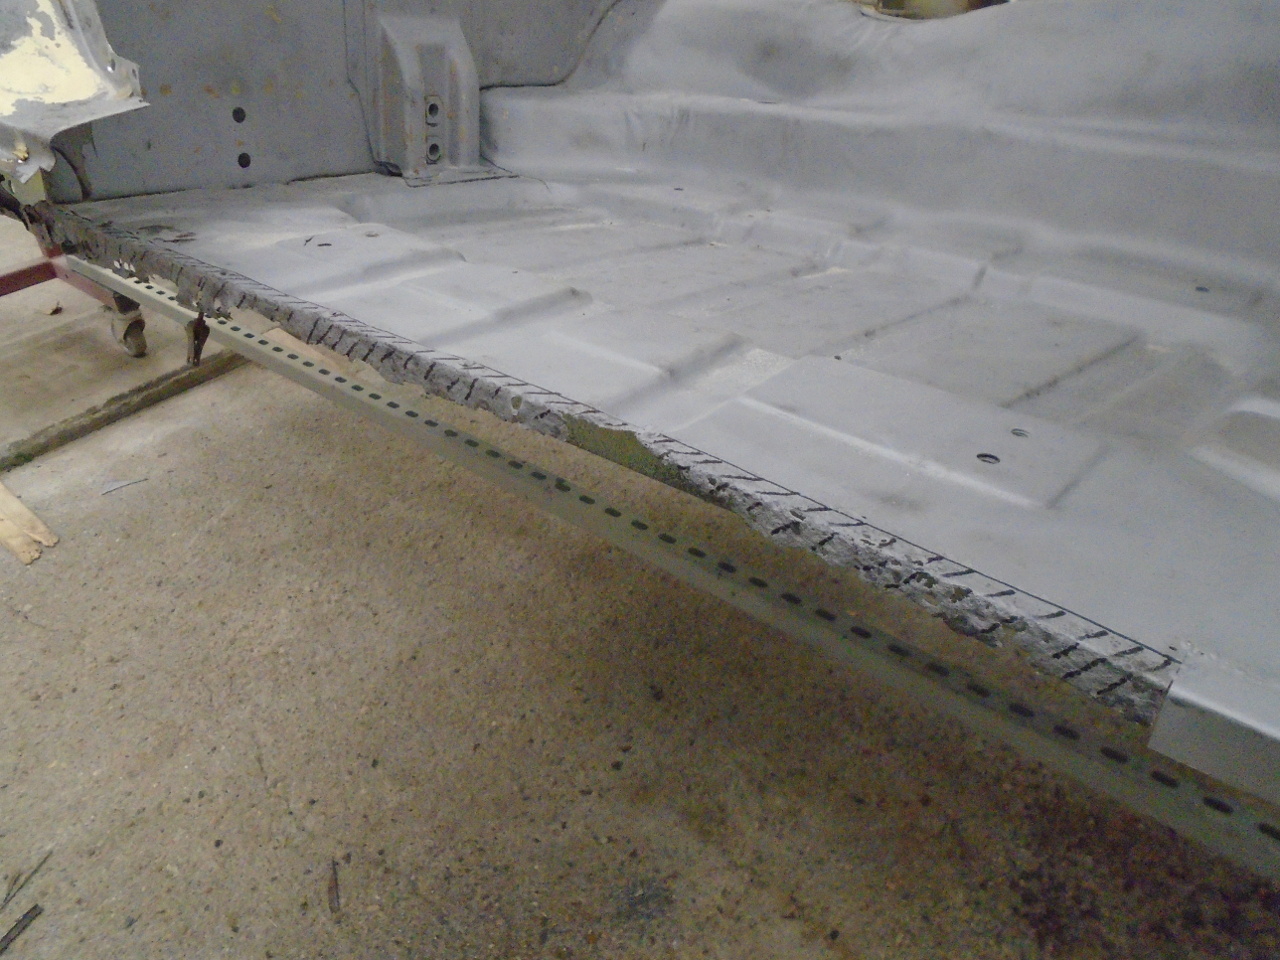
But one more important feature remained. The floors have a
flange dropped vertically on their outboard edges. This is
where the sills attach at the bottom. That flange was
mostly missing.
So I cut out what remained of it, and cut back to solid metal on
the floor surface, and tacked in a new flange.
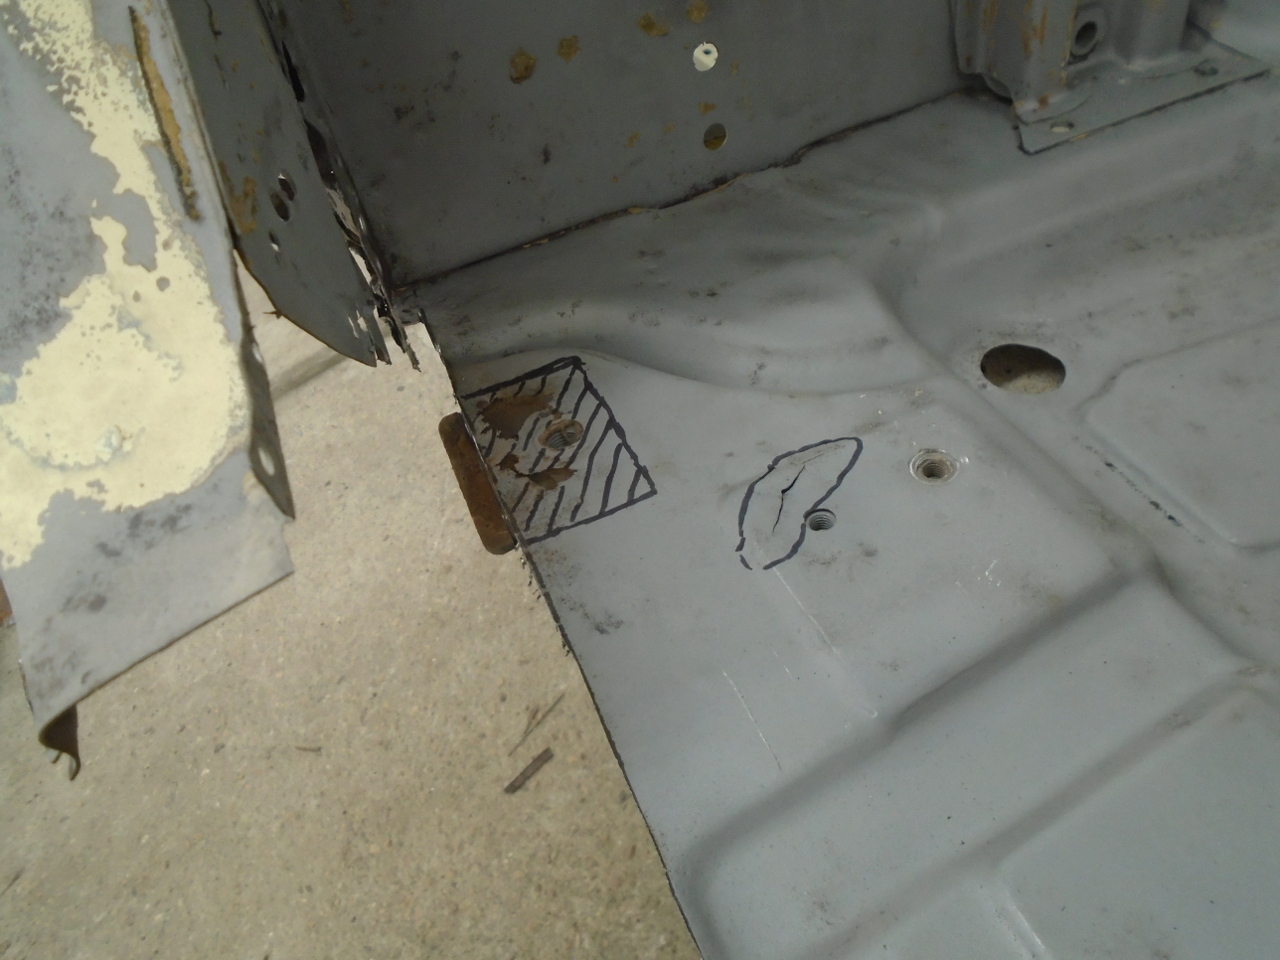
Going rearward from there, though the rest of the floor pan was
in good shape, the vertical flange was not. To replace it,
the inner sill had to be removed.
And then the bad flange.
There was a bad rust area around a welded in nut at the
rear. I think it is a seat belt attachment point.
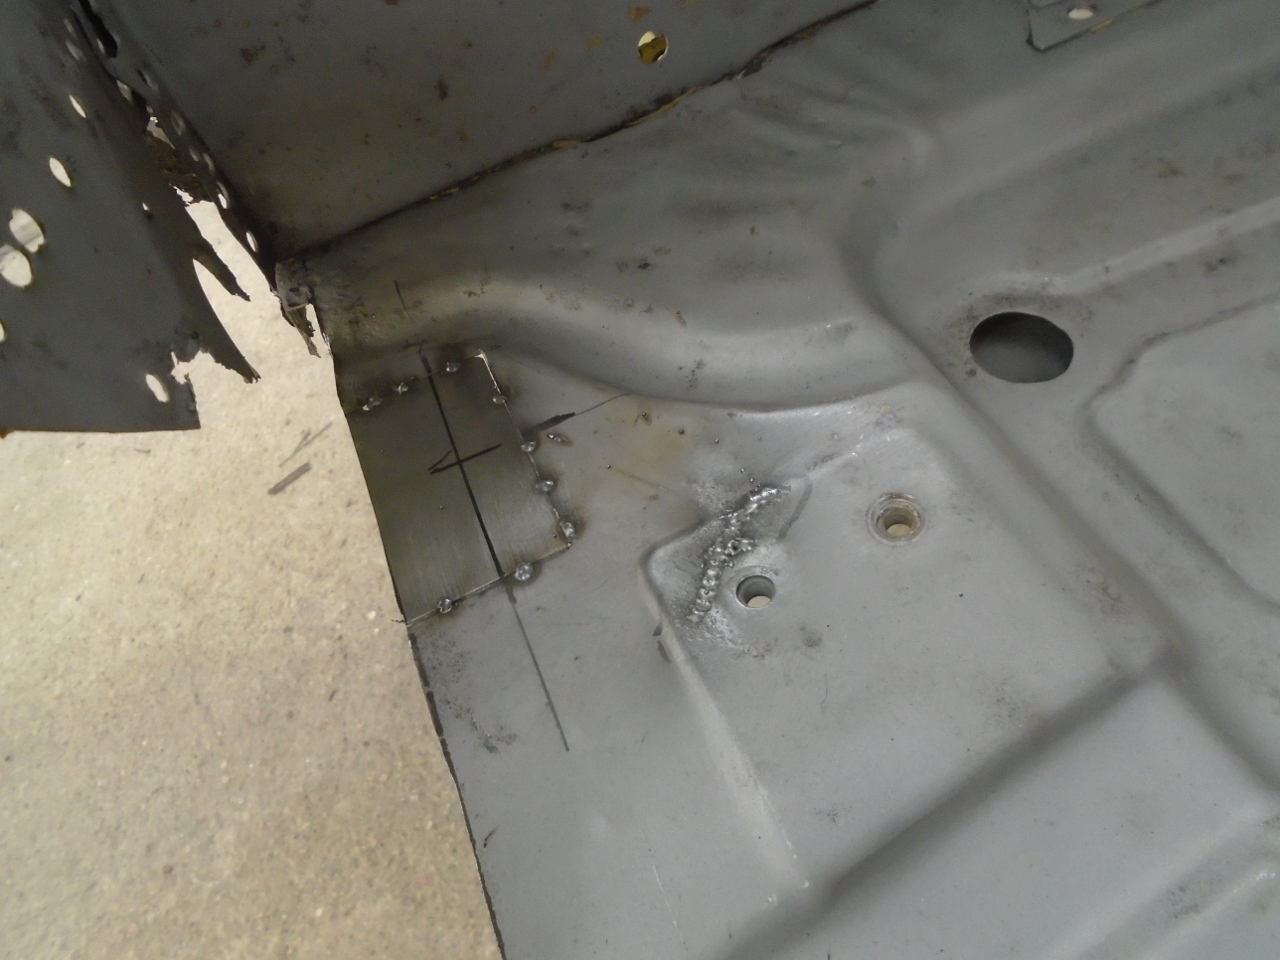
The new flange and a new nut plate for the seat belt.
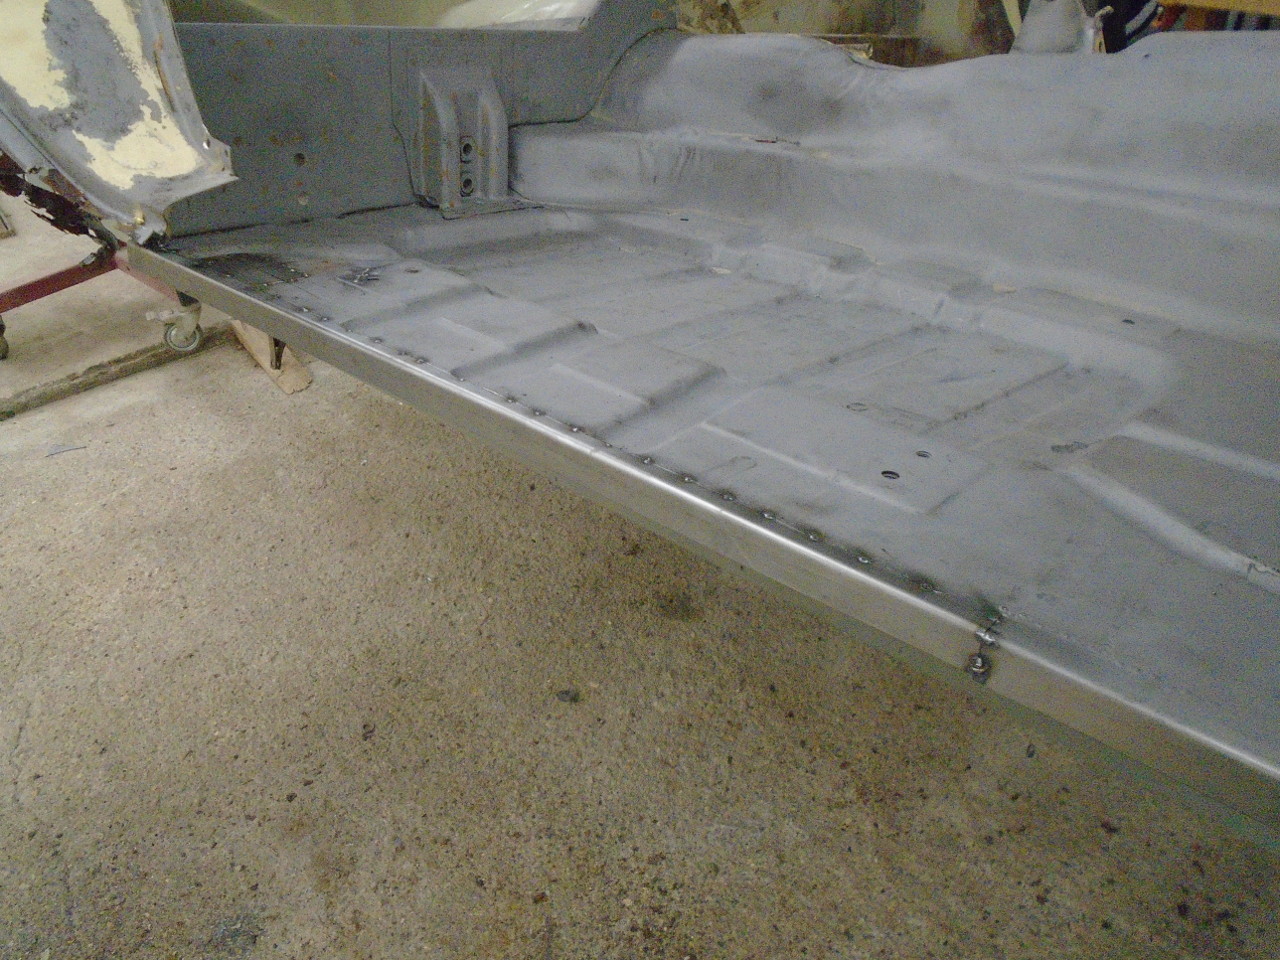
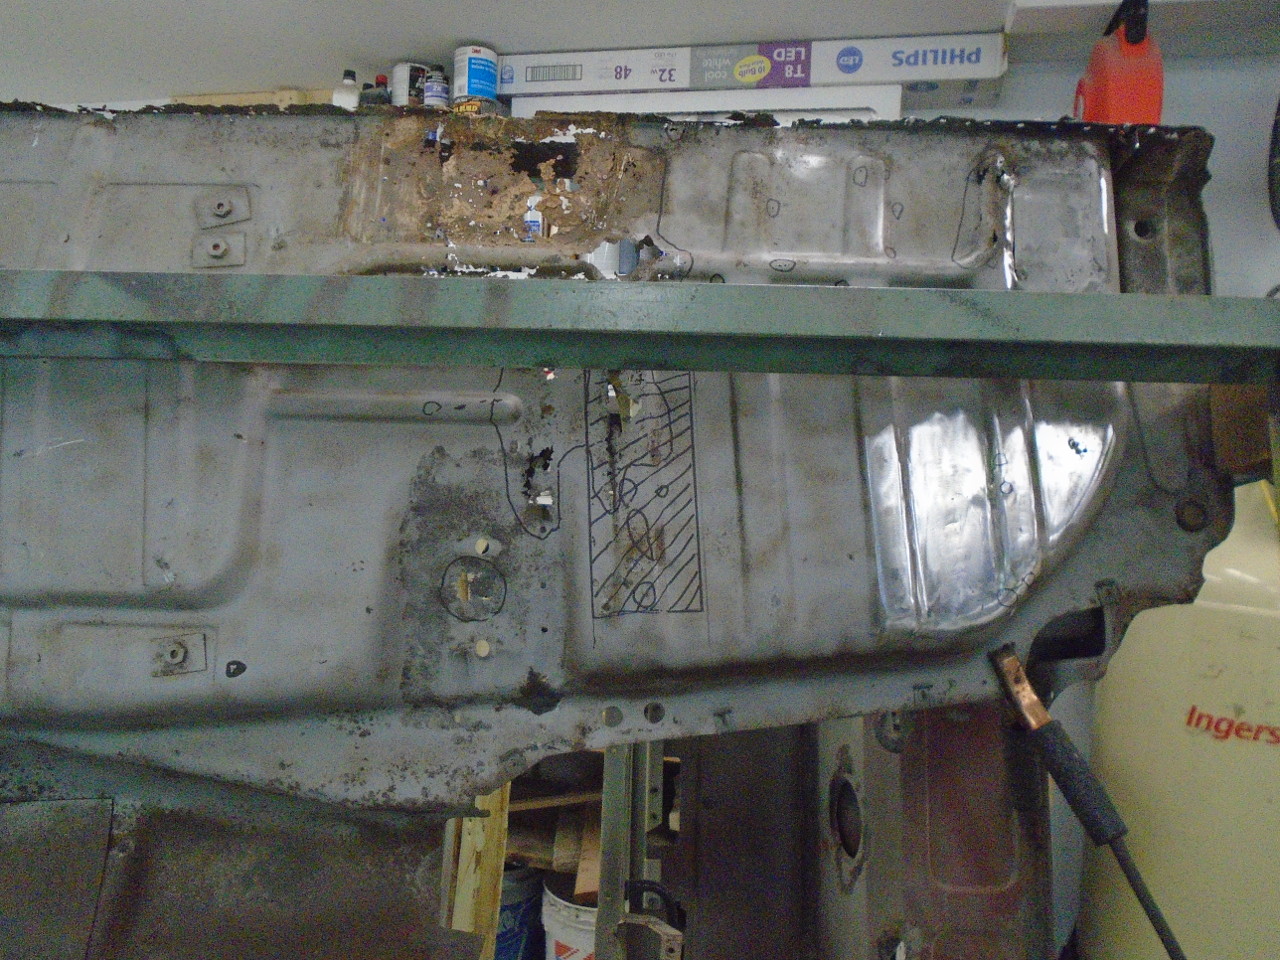
One more blast to clean up the heat discoloring, and it looks
pretty OK. The drivers side (at the bottom) just got it's
initial inspection blast. No work done on that side yet.
Inside looks presentable, too. There's no paint or primer
on either side of the floor--just freshly blasted.
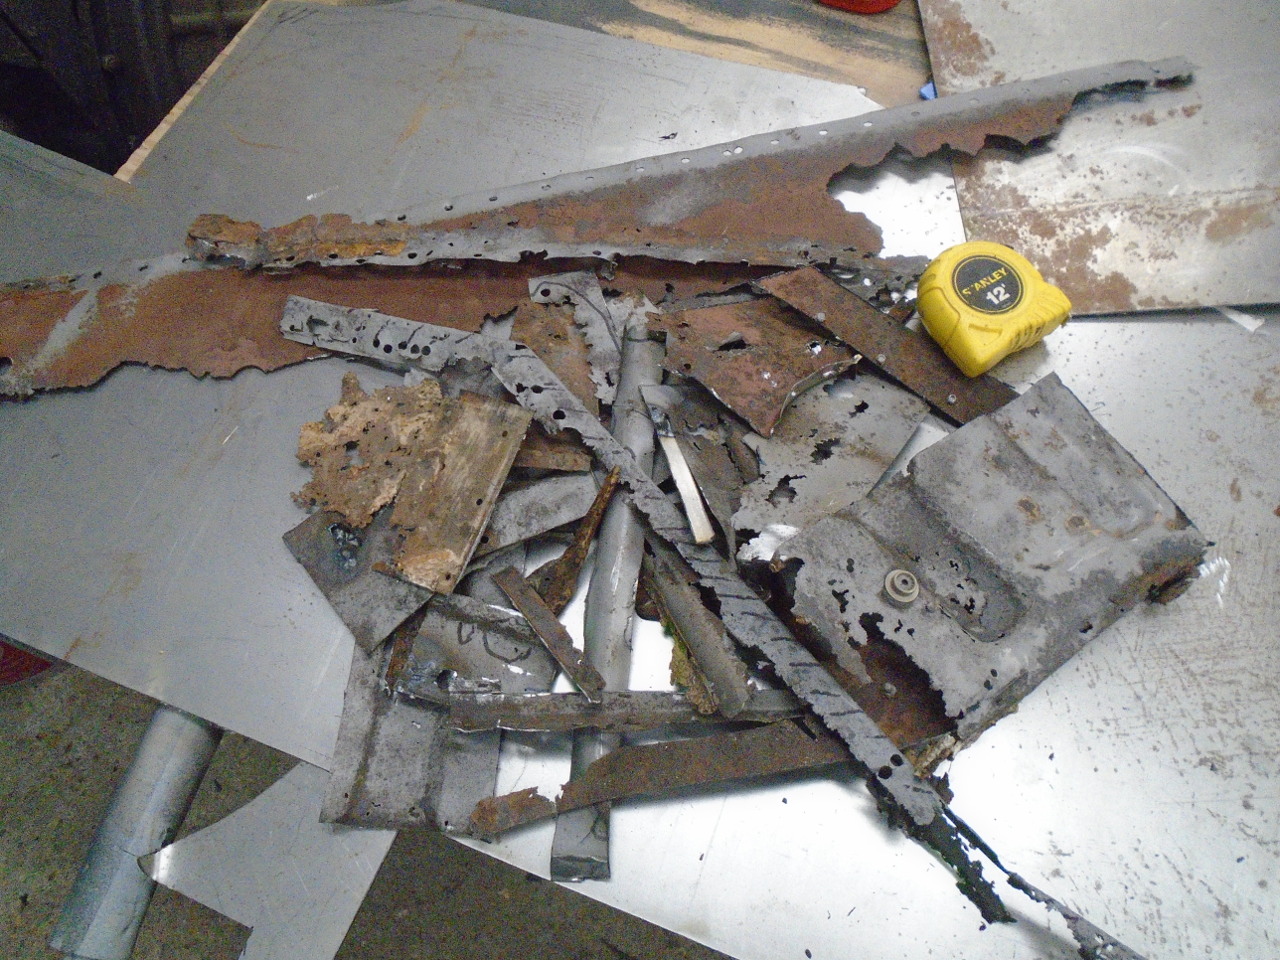
Here's the small pile of fine British steel that came out of the
floor and environs.
Now, on to the other side, which looks too be in similar shape.
For a commercial car restoration enterprise, this approach to
the project may not make any sense. There is too much time
involved. But for a hobbyist, it might be reasonable to
consider it. Certainly the price is right--just some
consumables.
Comments to Ed at elhollin1@yahoo.com
To my other GT6
pages