To my other GT6 pages
July 31, 2019
Front Suspension
[Click the pics for a better view]
The
front suspension on the GT6 is a pretty typical double wishbone
arrangement. Specifically, it is an SLA (Short-Long Arm) type,
where the upper wishbone is shorter than the lower one. SLA
suspensions allow good control of tire contact patch by varying camber
angle during cornering.
So this task is to basically to make some sense of this:
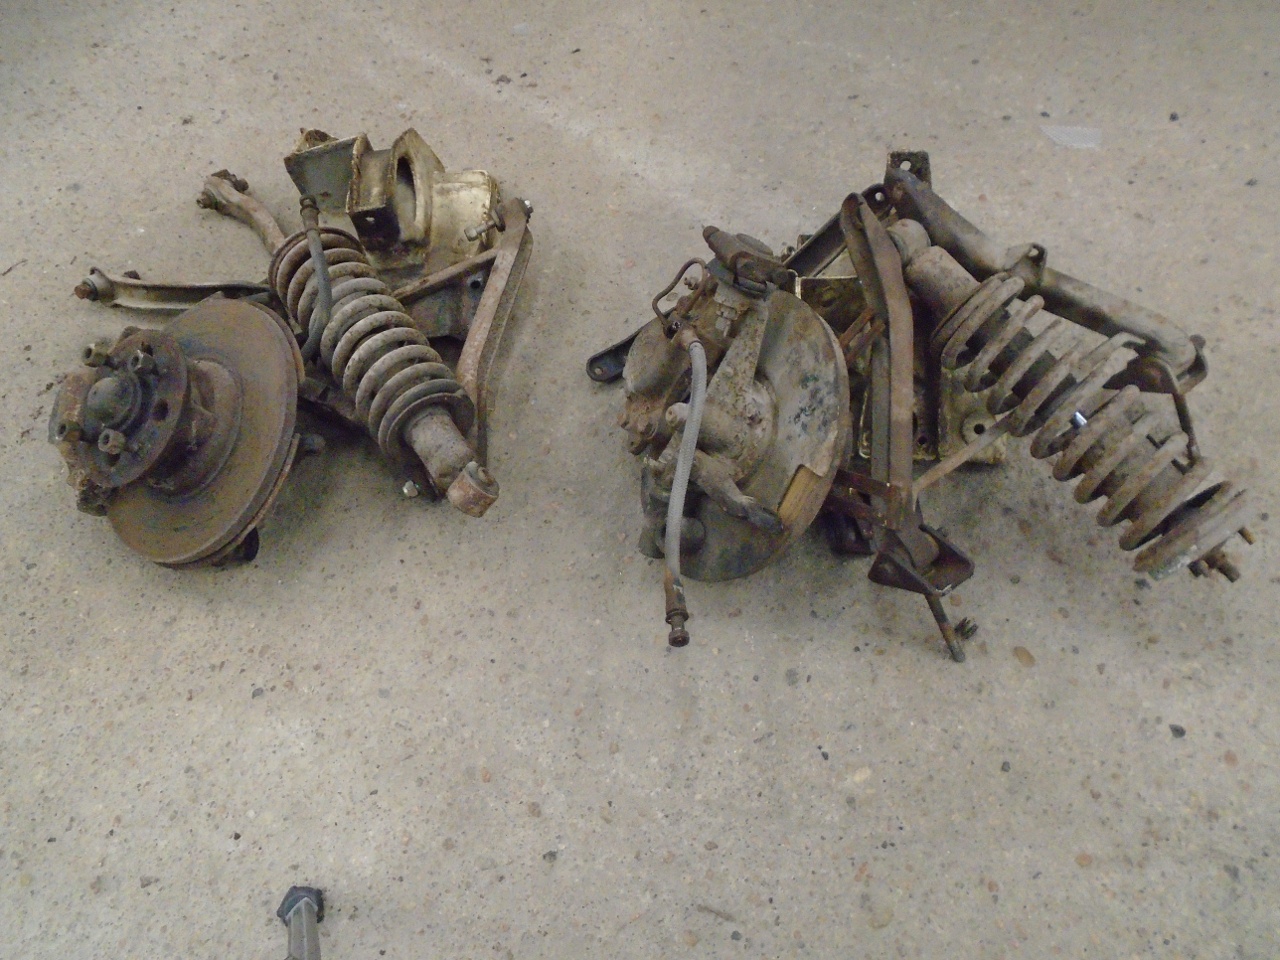
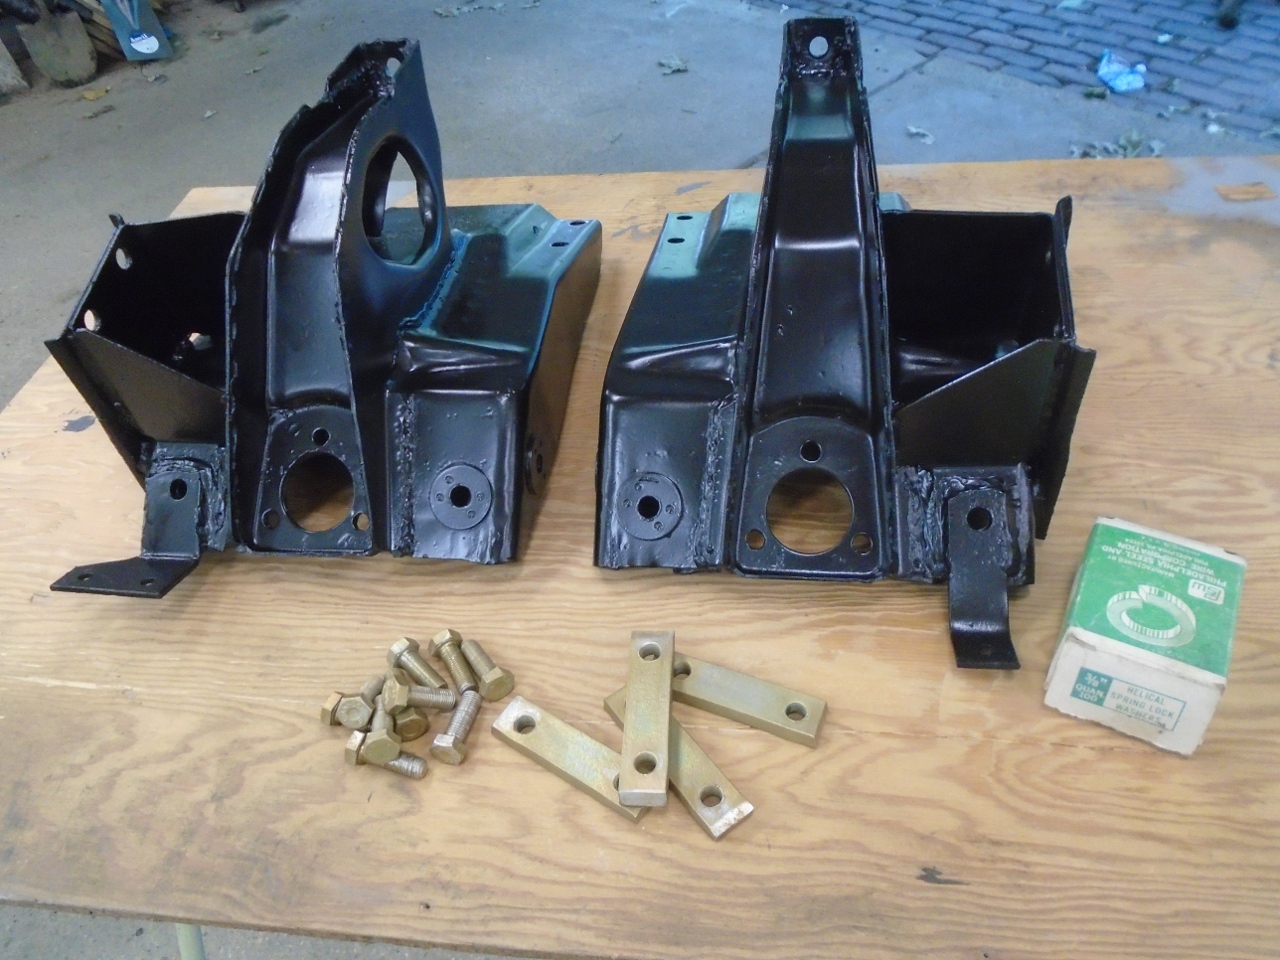
The
suspension components mount to a pair of subframes, or "turrets" which
are bolted to the frame. The subframes are fairly complex
weldments.
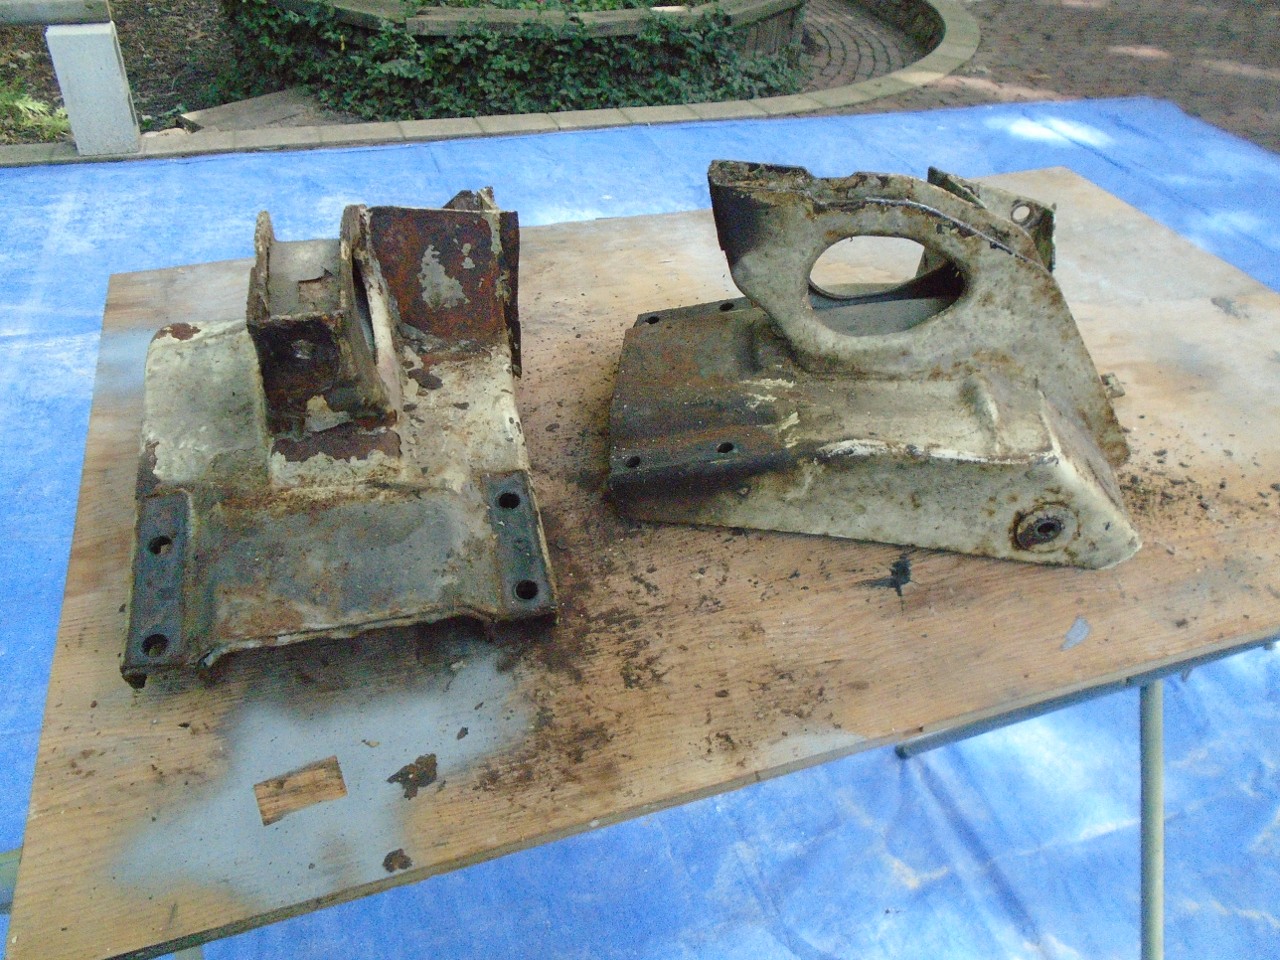
Some kind of blasting is about the only DIY way to get at all of the rust.

Then a couple of coats of a good 2-part epoxy primer.
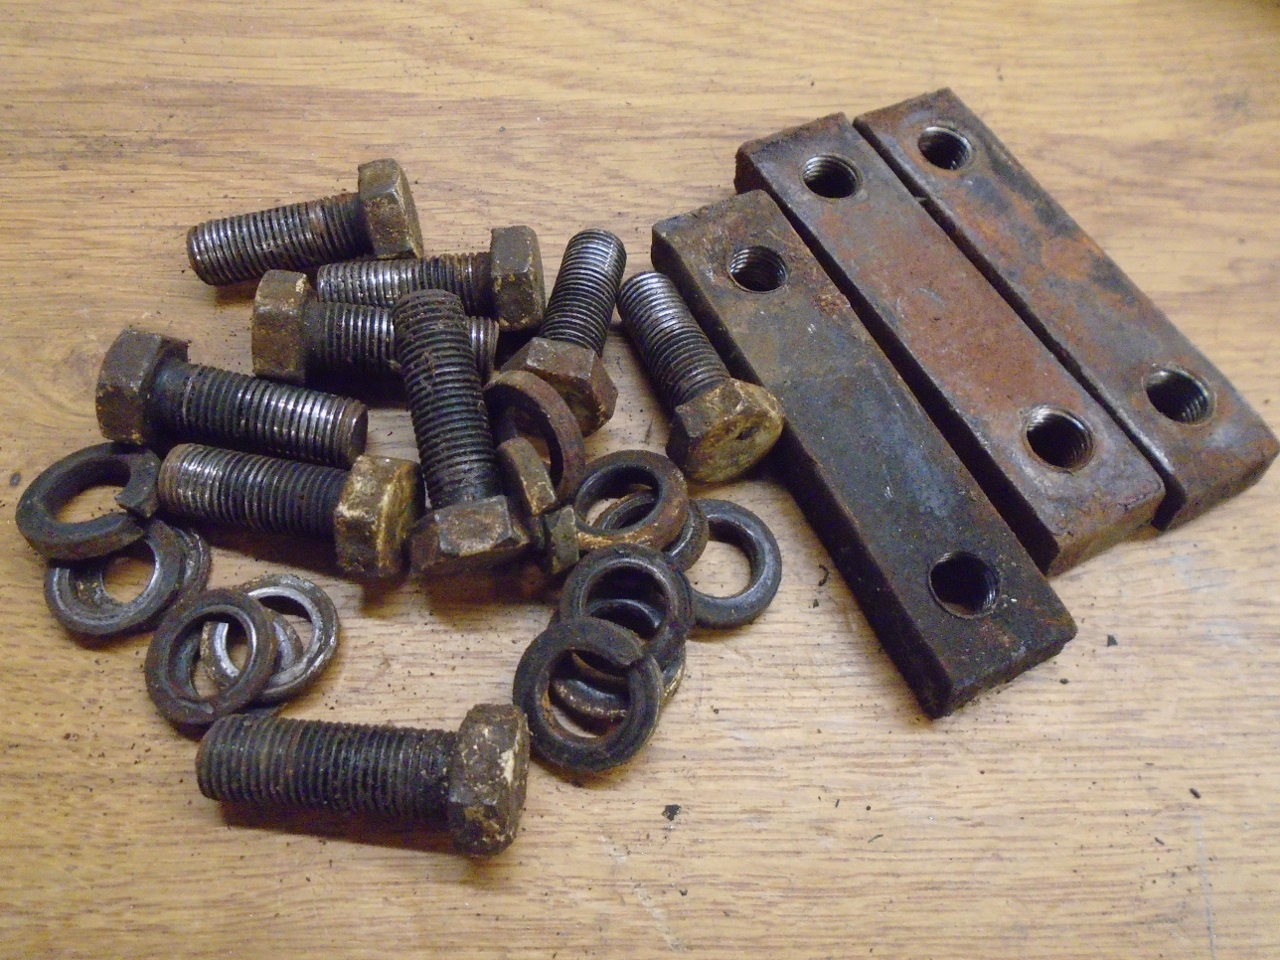
The
mounting hardware for the turrets includes these threaded bars that
slip into channels in the frame. I like to re-use original
hardware where practical. It's not just being cheap--most of
the original British bolts had distinctive head patterns, and
keeping them is a nice touch that some people appreciate. Much of
the zinc or cad plating on the hardware--if it had any in the first
place--is pretty much long gone 50 years later, so I typically replate
with zinc.
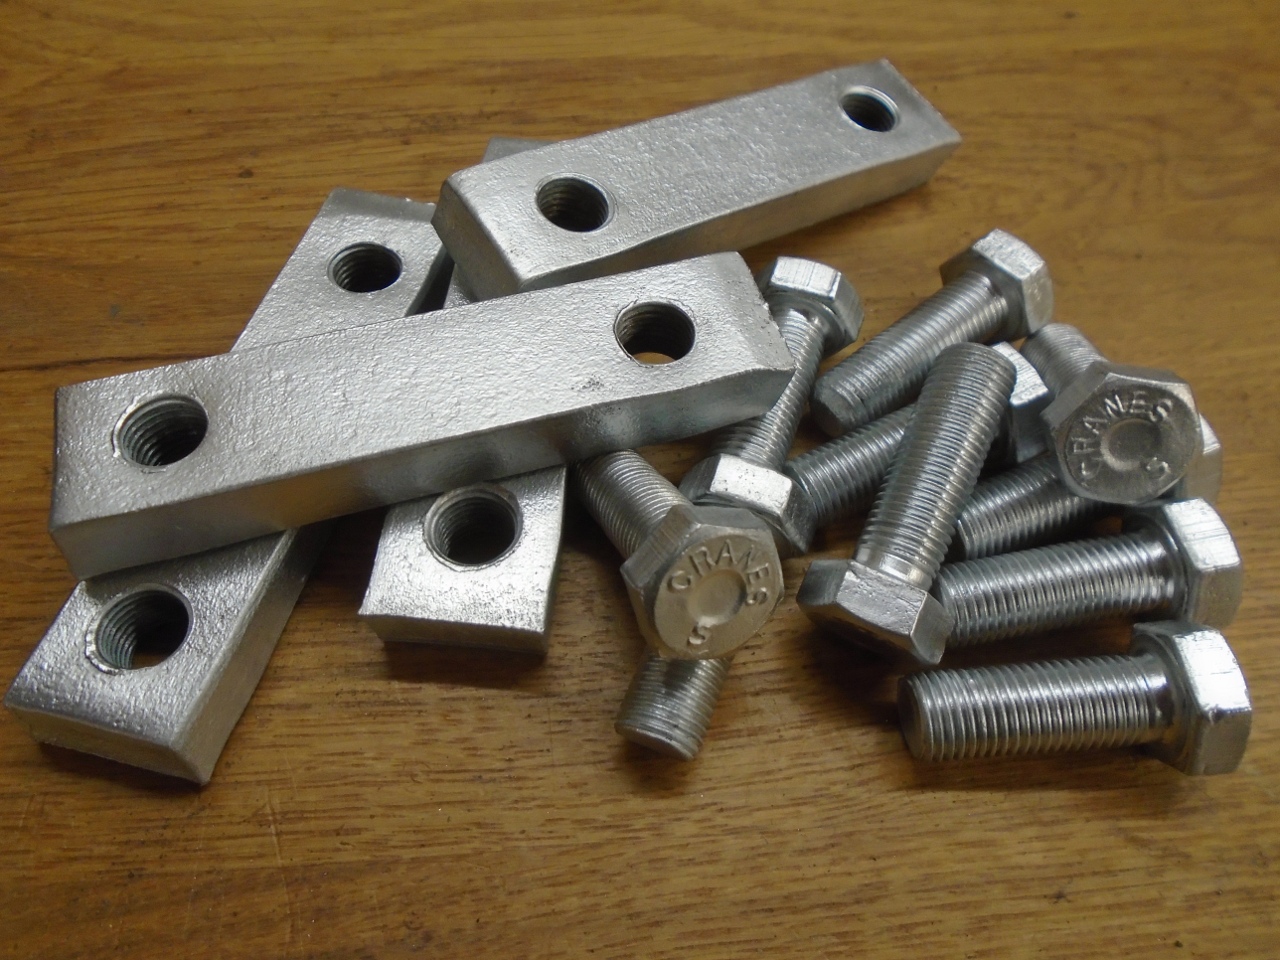
Ready to go back on the frame. The yellow color on the hardware is a chromate coating that helps the zinc last longer.
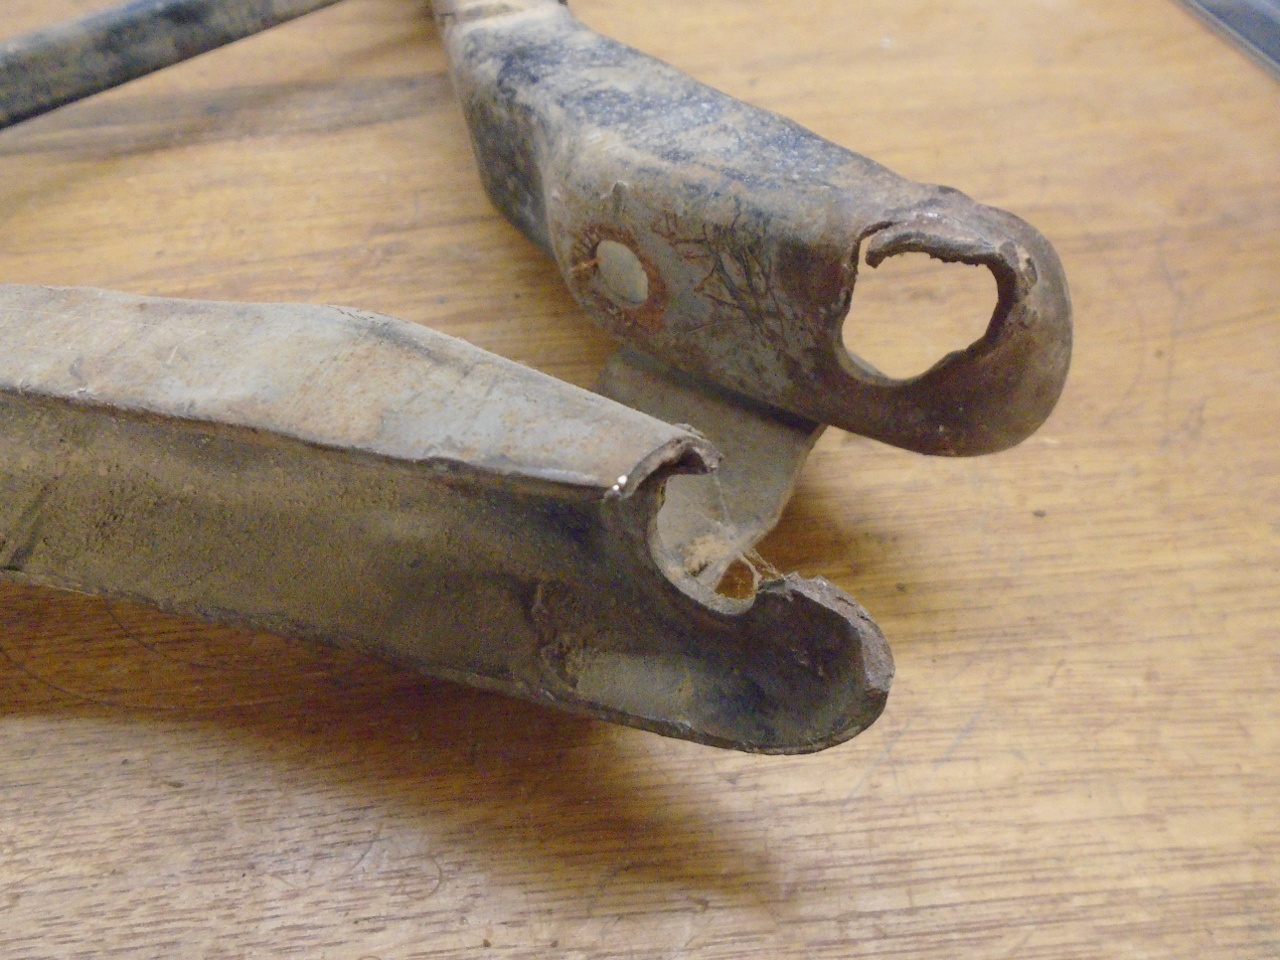
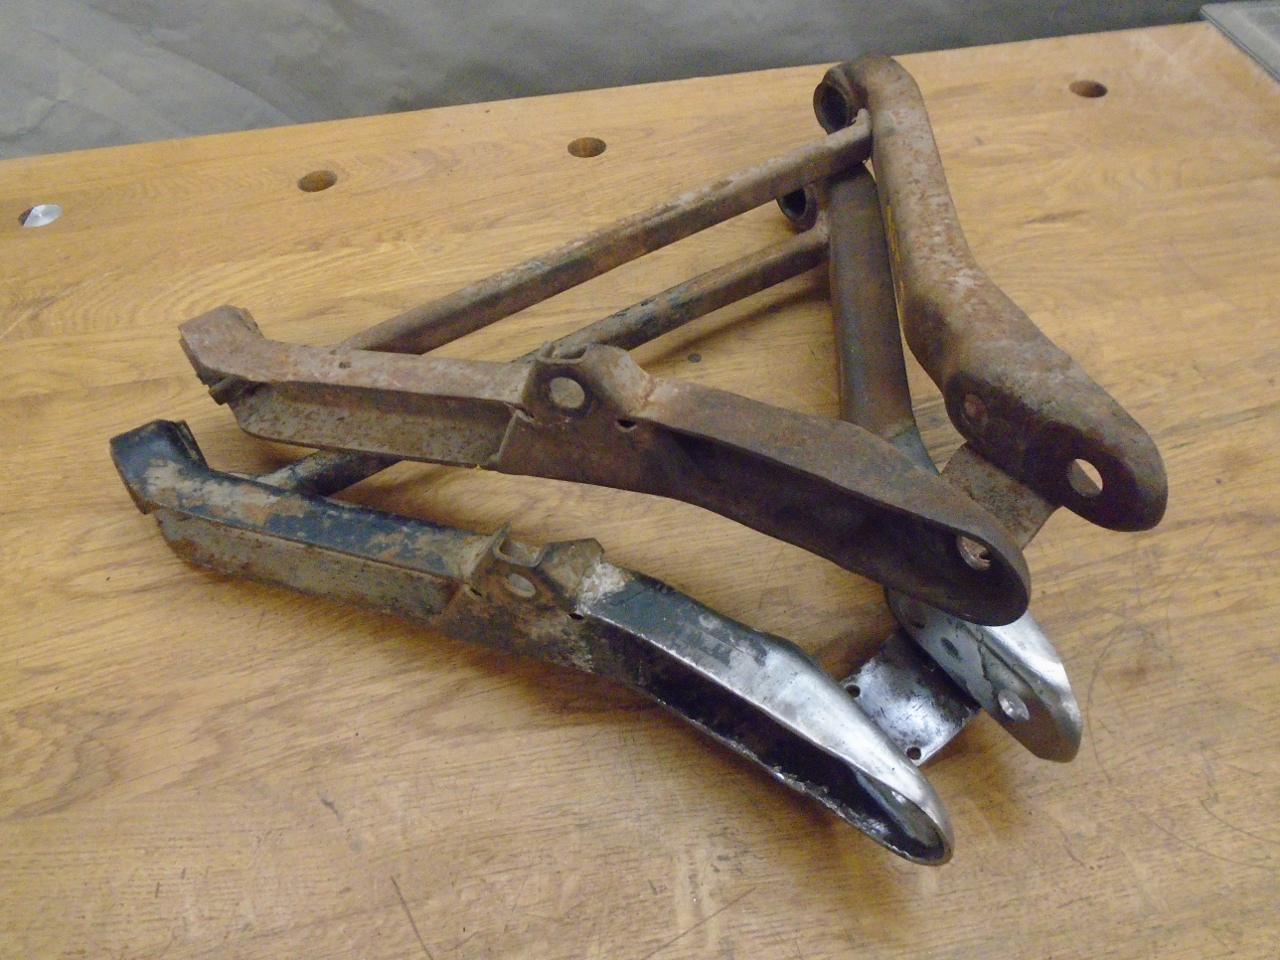
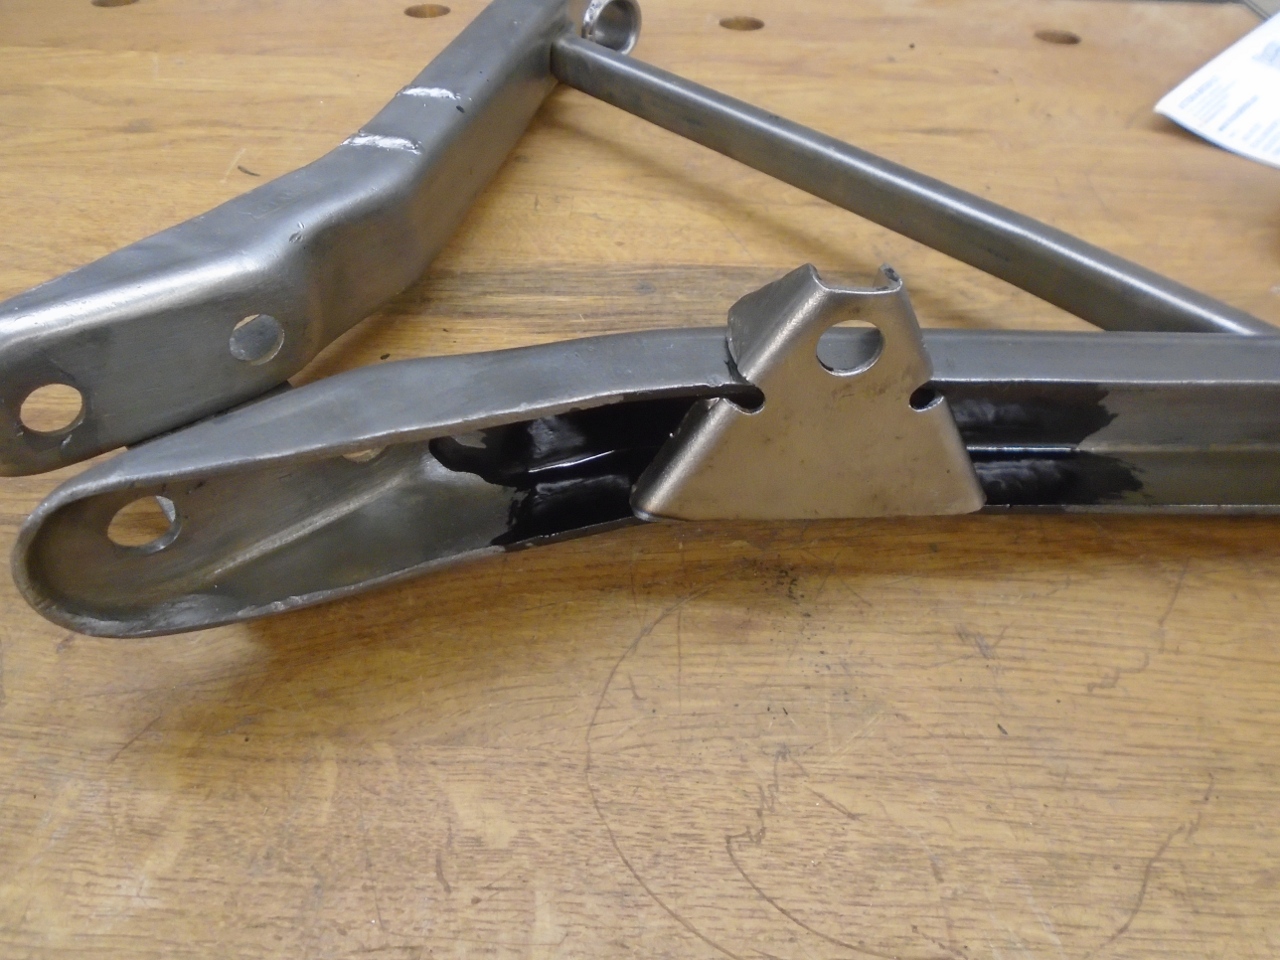
Next
up was the lower wishbones. As soon as I forced, pried, or cut
them away from all of their attachments, I remembered vividly why the
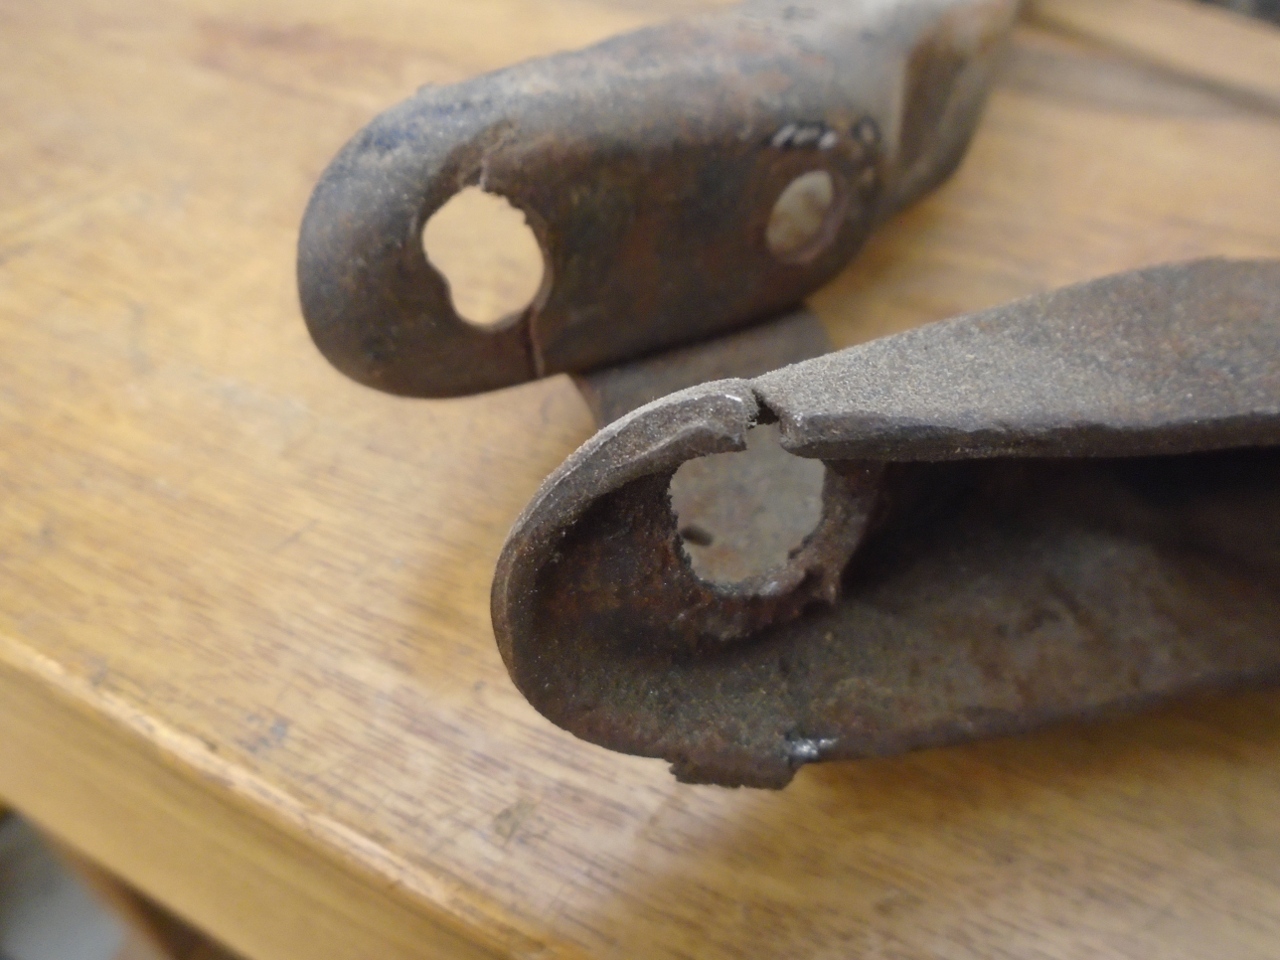
car was put in storage over 30 years ago. I don't know if this is
common for GT6/Spitfire cars, but both A arms had similar damage to the
holes that mate to the trunnion. In fact, I suddenly remembered
exactly the place where the trunnion let go and the front wheel went
wonky.

This
also explains the used, but serviceable lower wishbone I found in the
boot as I was preparing to remove the body. I must have bought it
at a bone yard decades ago, planning a repair that never happened.
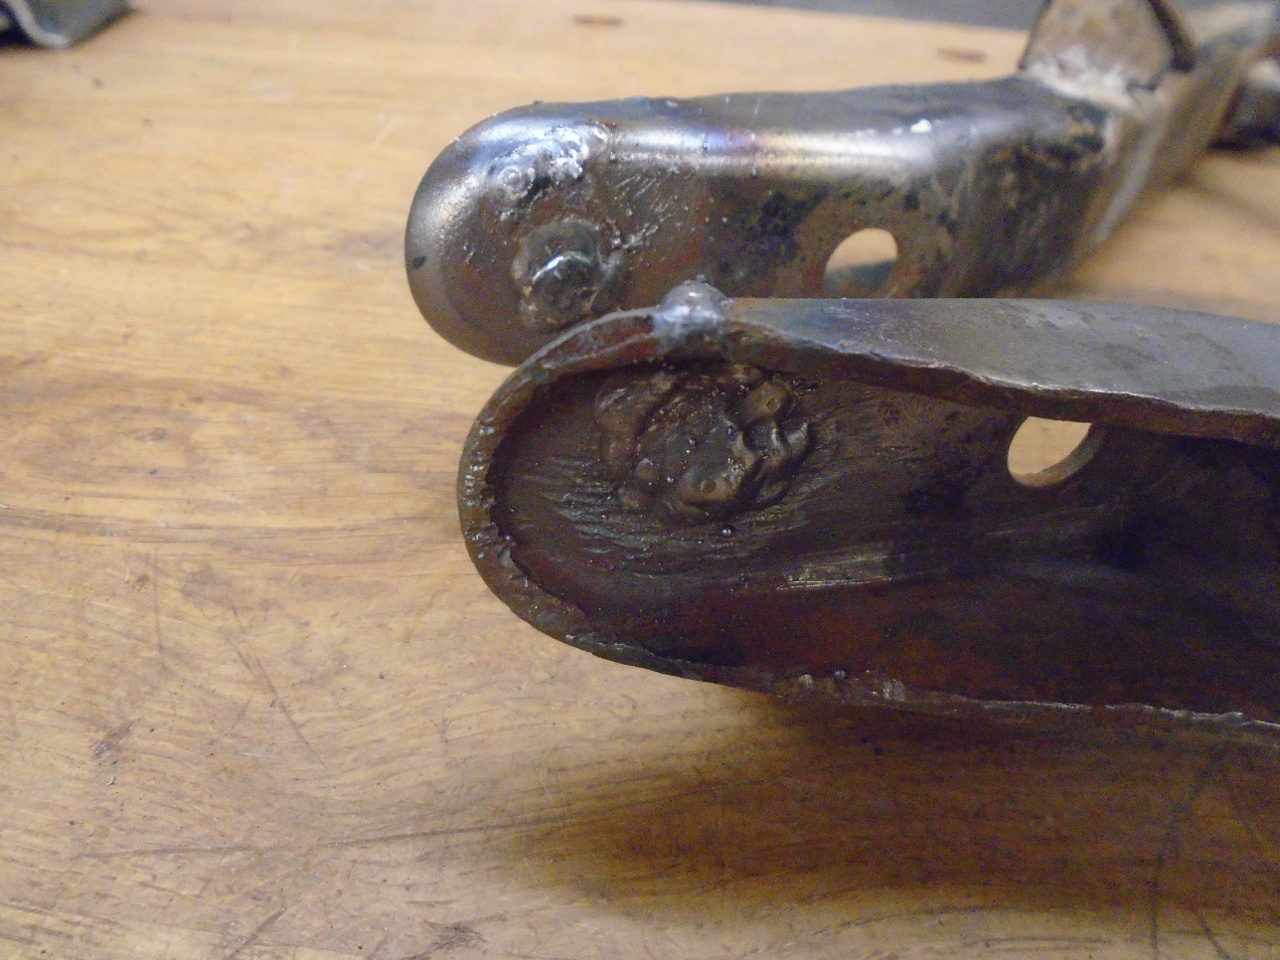
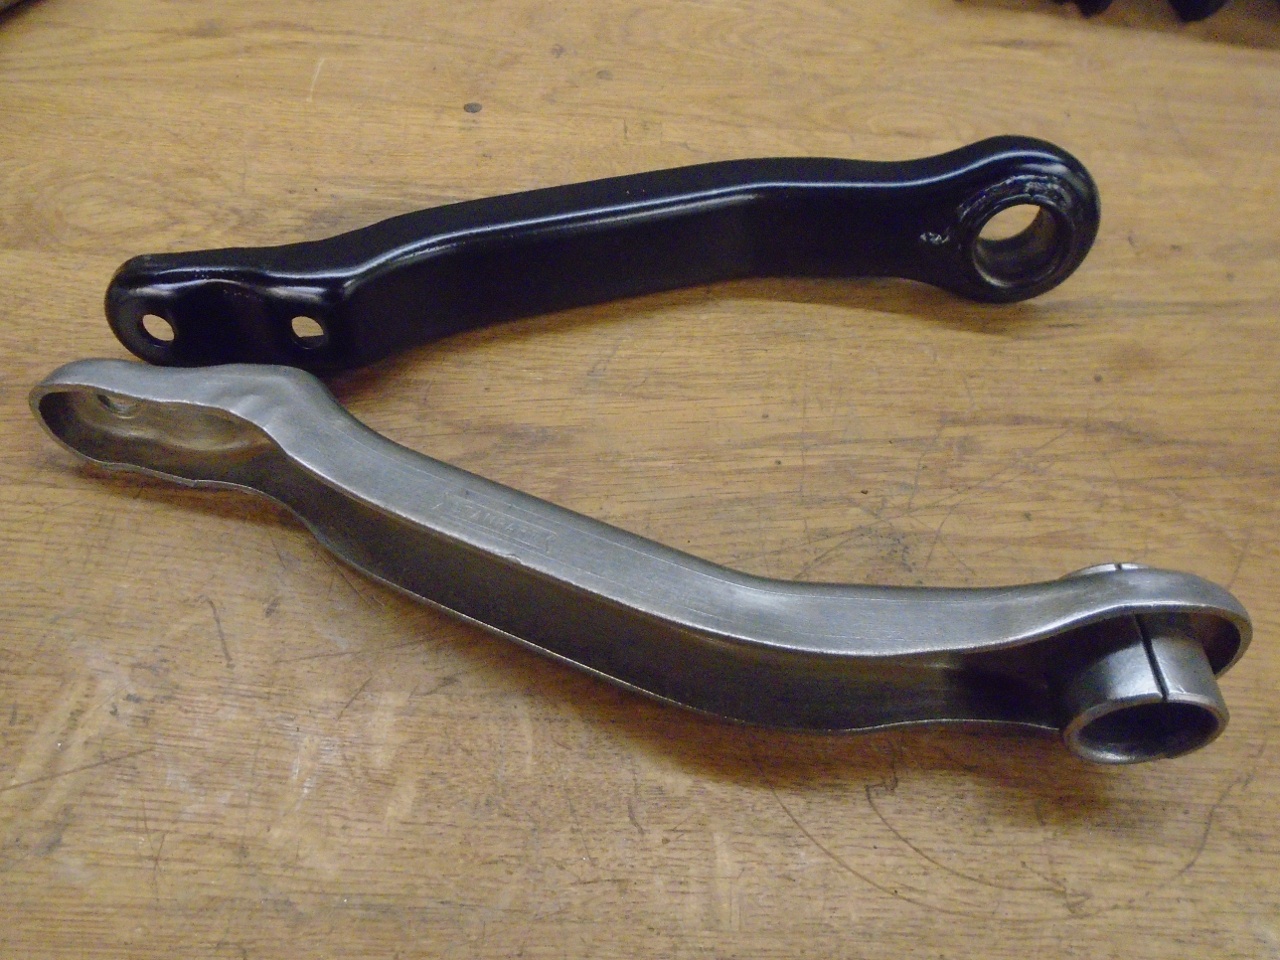
So
my plan became to try to fix the better of the two bad arms. I
hammered a few areas back into place, then welded up the holes on
either side.
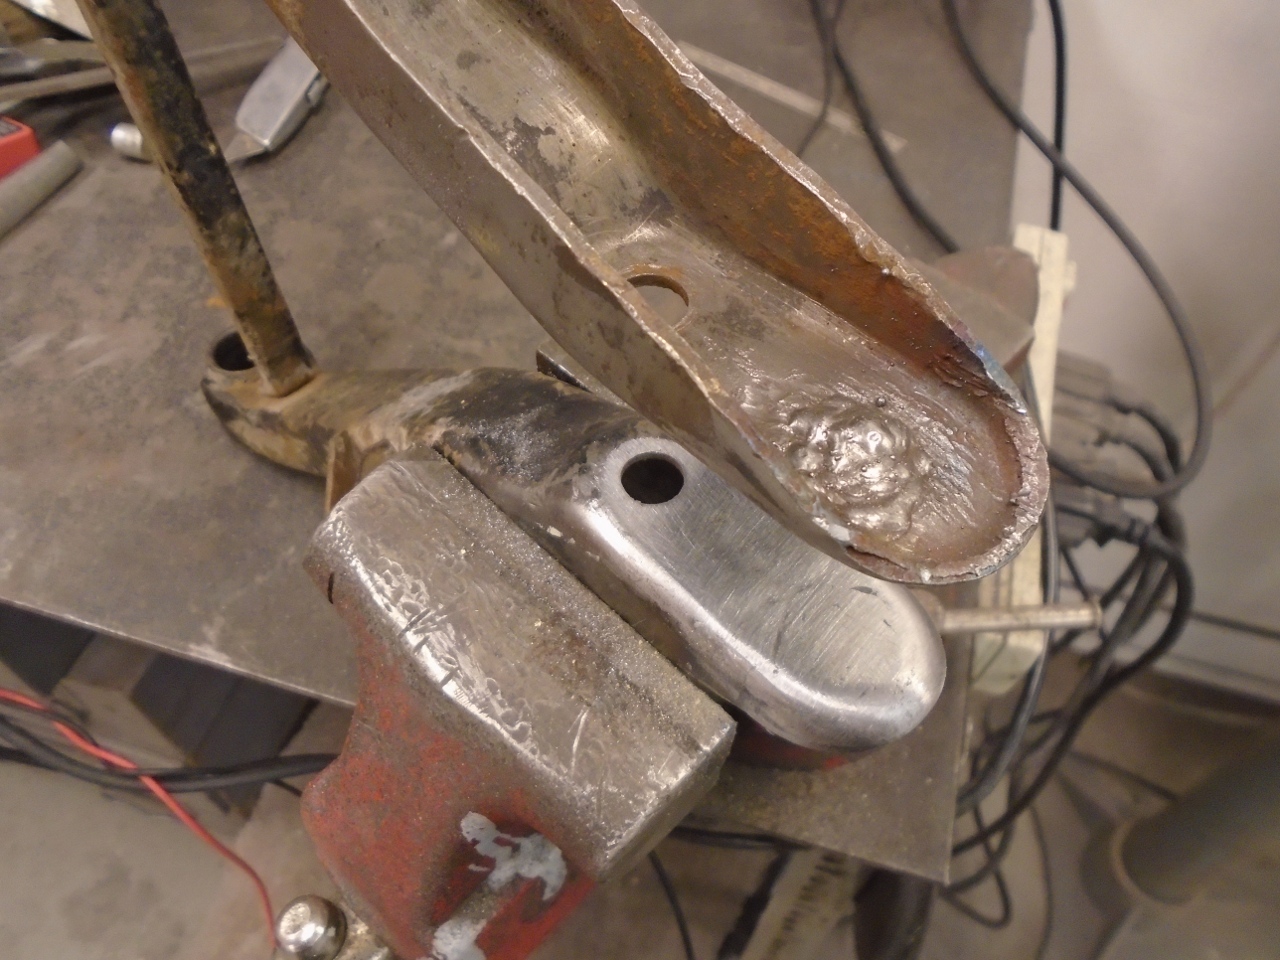
Then faced the surfaces off smooth...
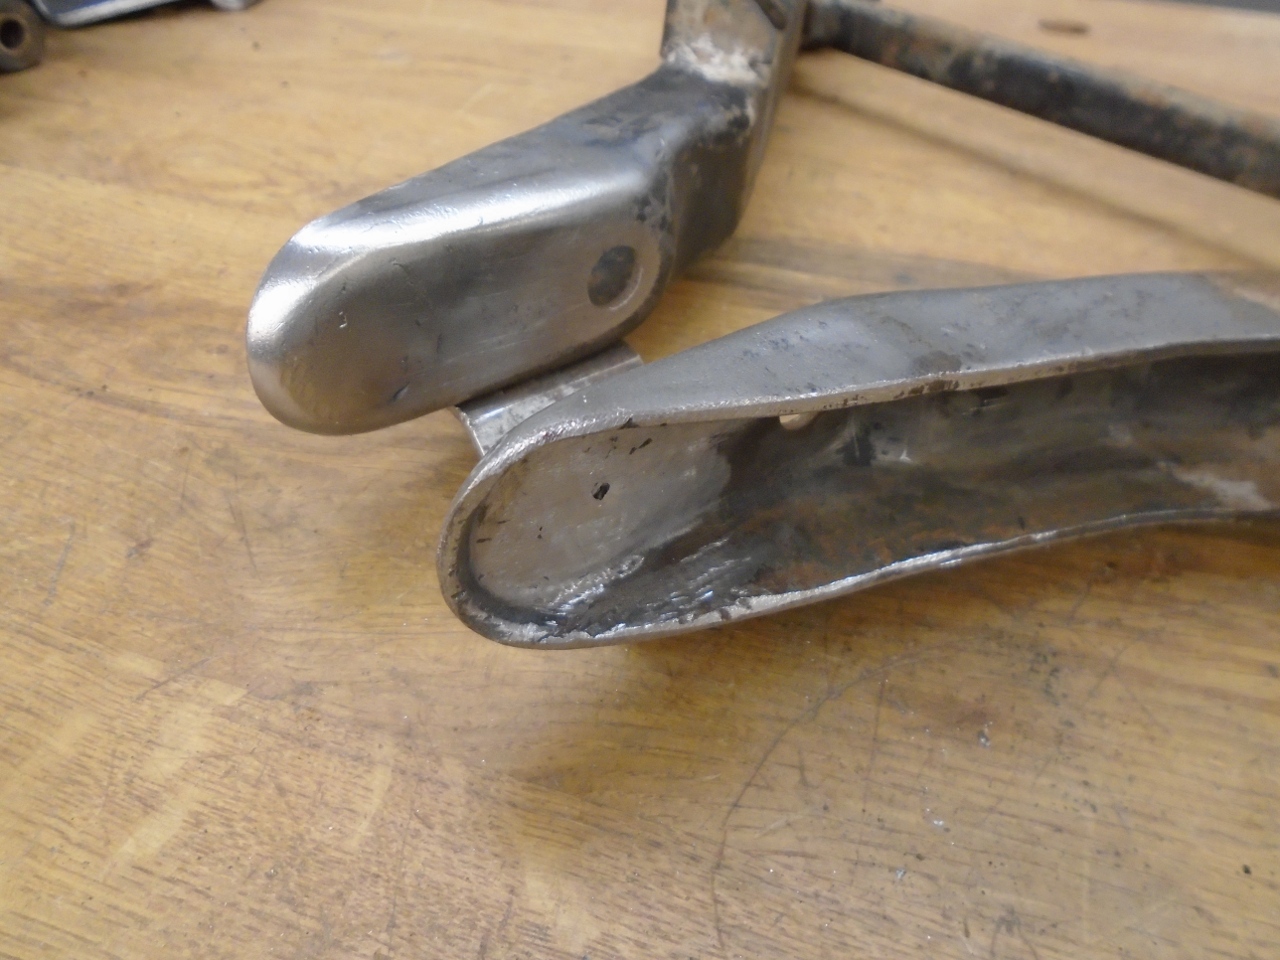
...and redrilled the holes.
I was
pretty happy with how the arm came out, and was fine with using it,
paired with the good used arm. I must have had a surplus of bad
karma that day, though. When I compared the two arms, it slowly
dawned on me that they were both for the left side of the car.
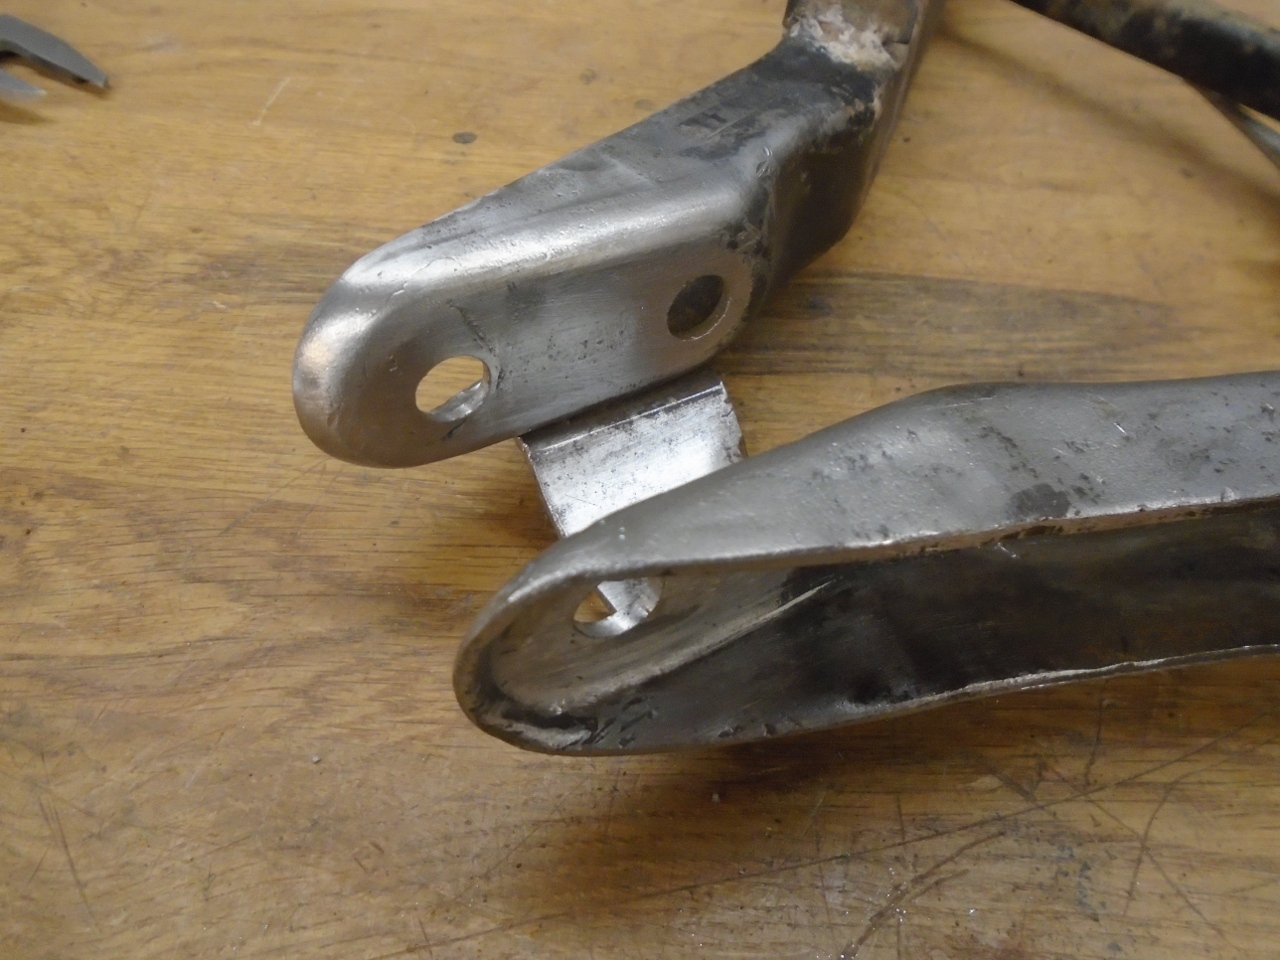
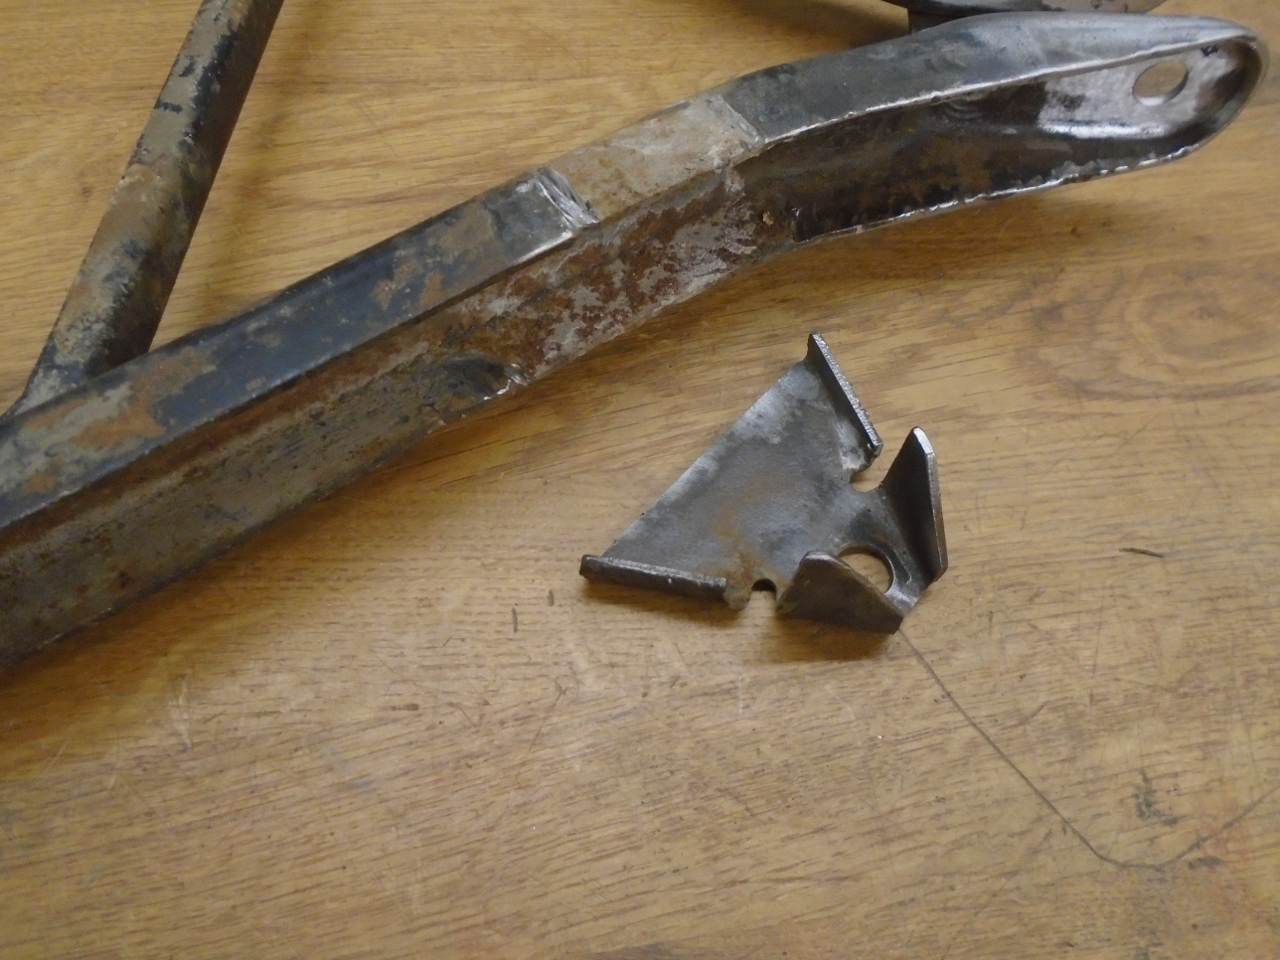
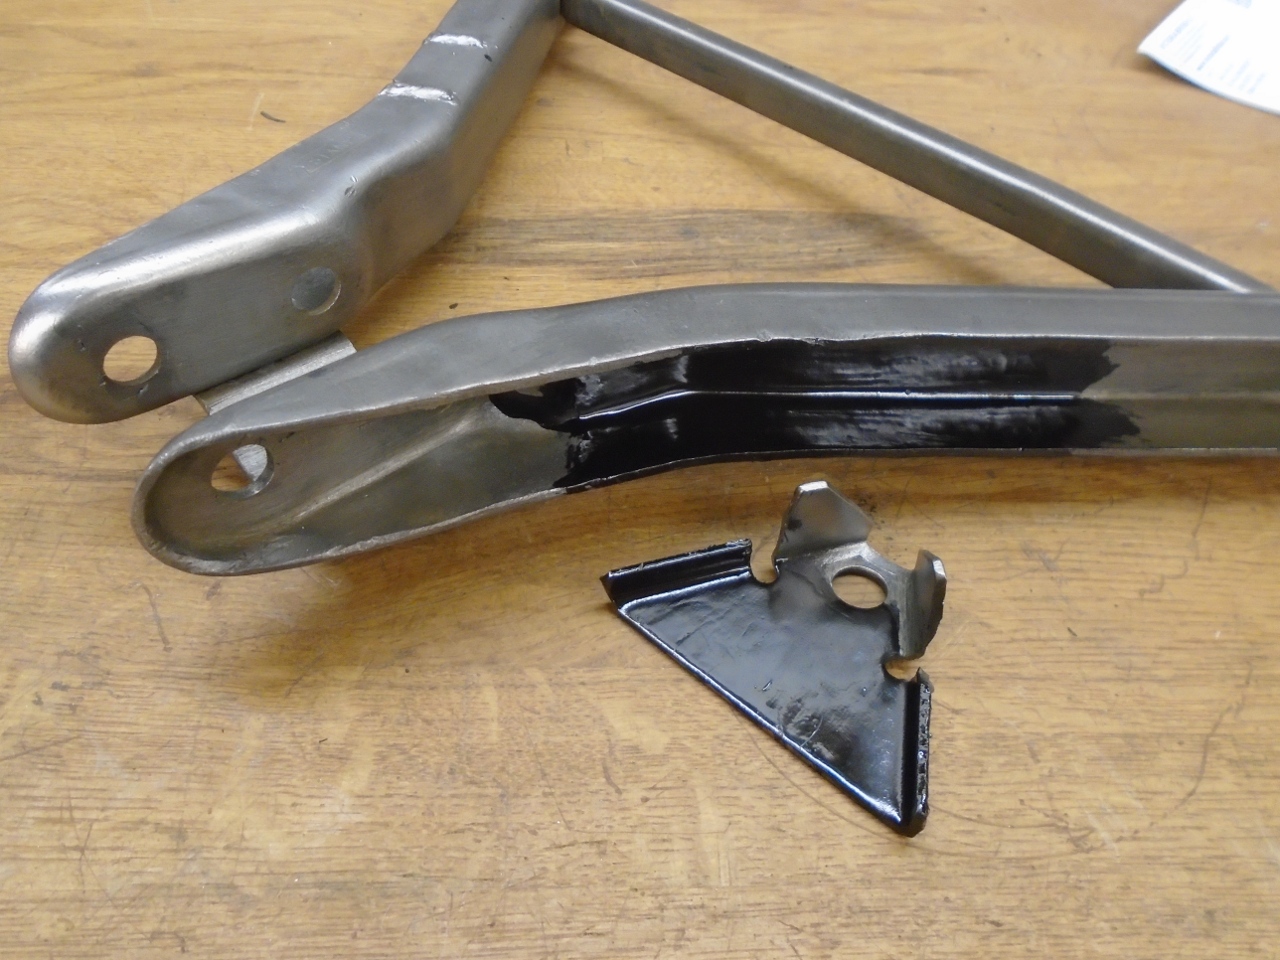
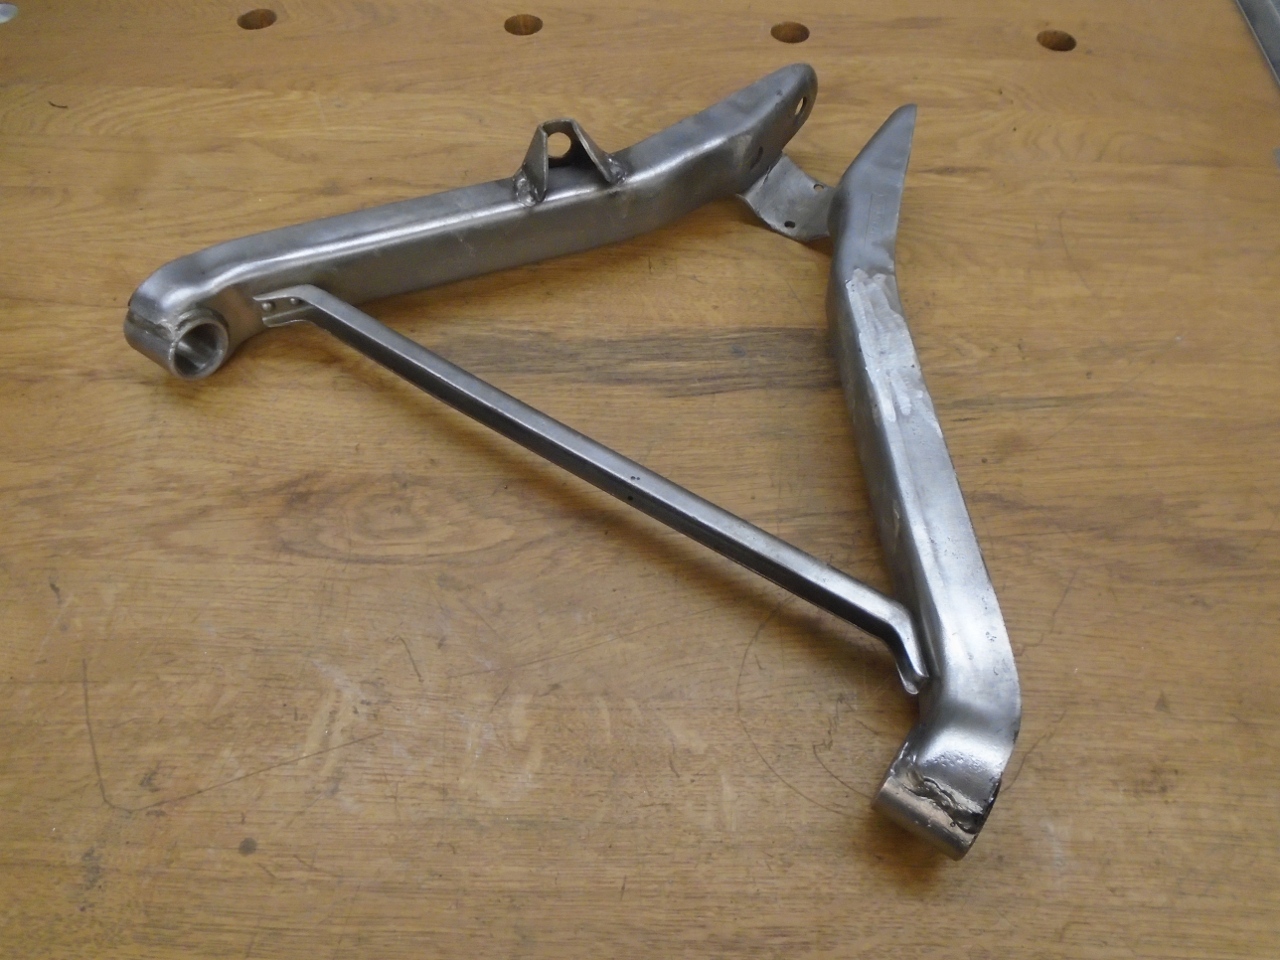
After
the facepalm, I slipped into damage control mode. The arms are
identical, I reasoned, except for the sway bar bracket. It looked
like I could save the day if I could just move one of the brackets
to the other side of the arm. So that's what I did. I
painted the backside of the bracket and the inside of the arm whare it
would be hard to reach after the bracket was in place.
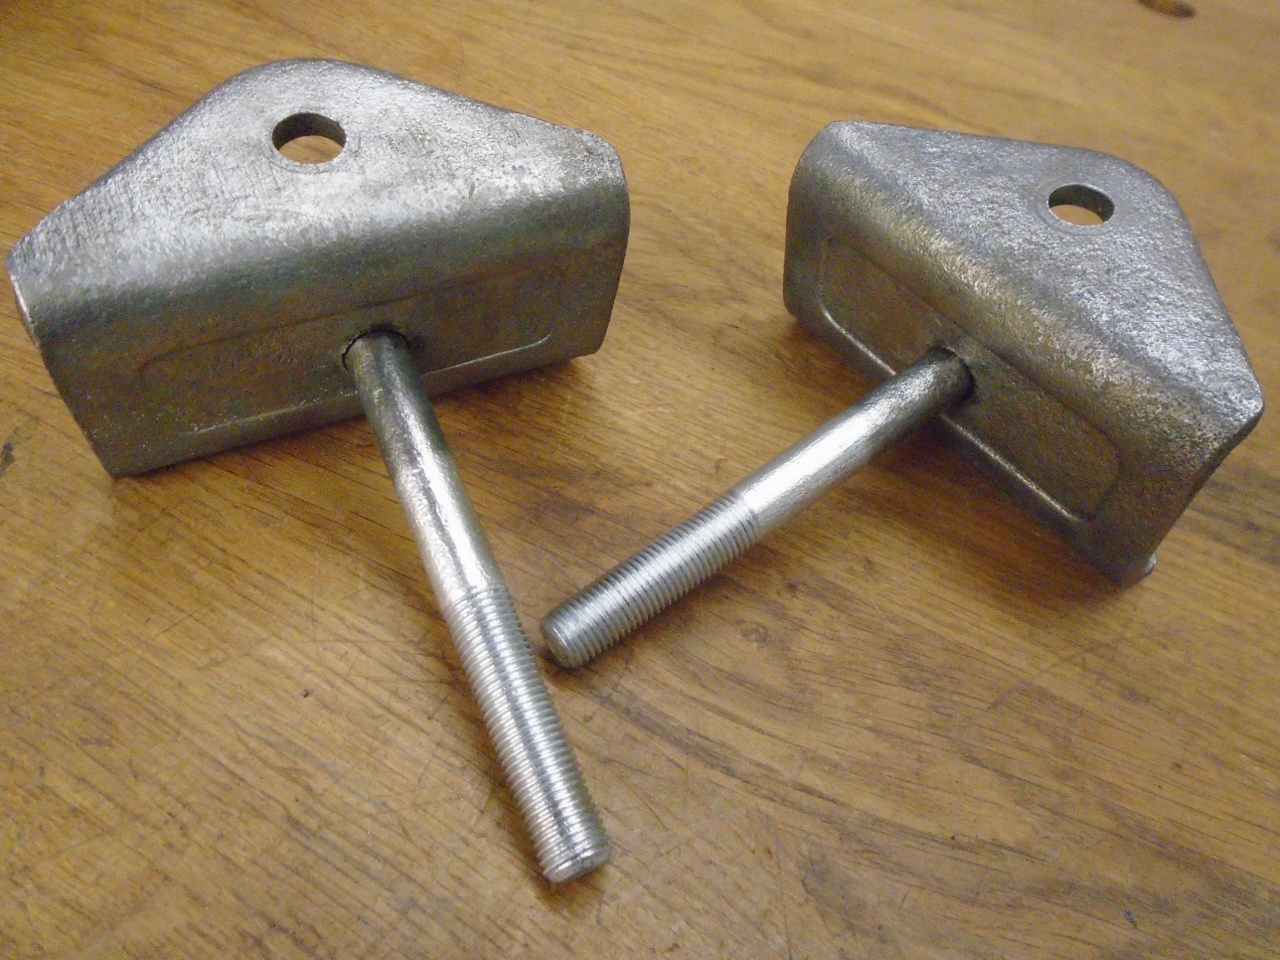
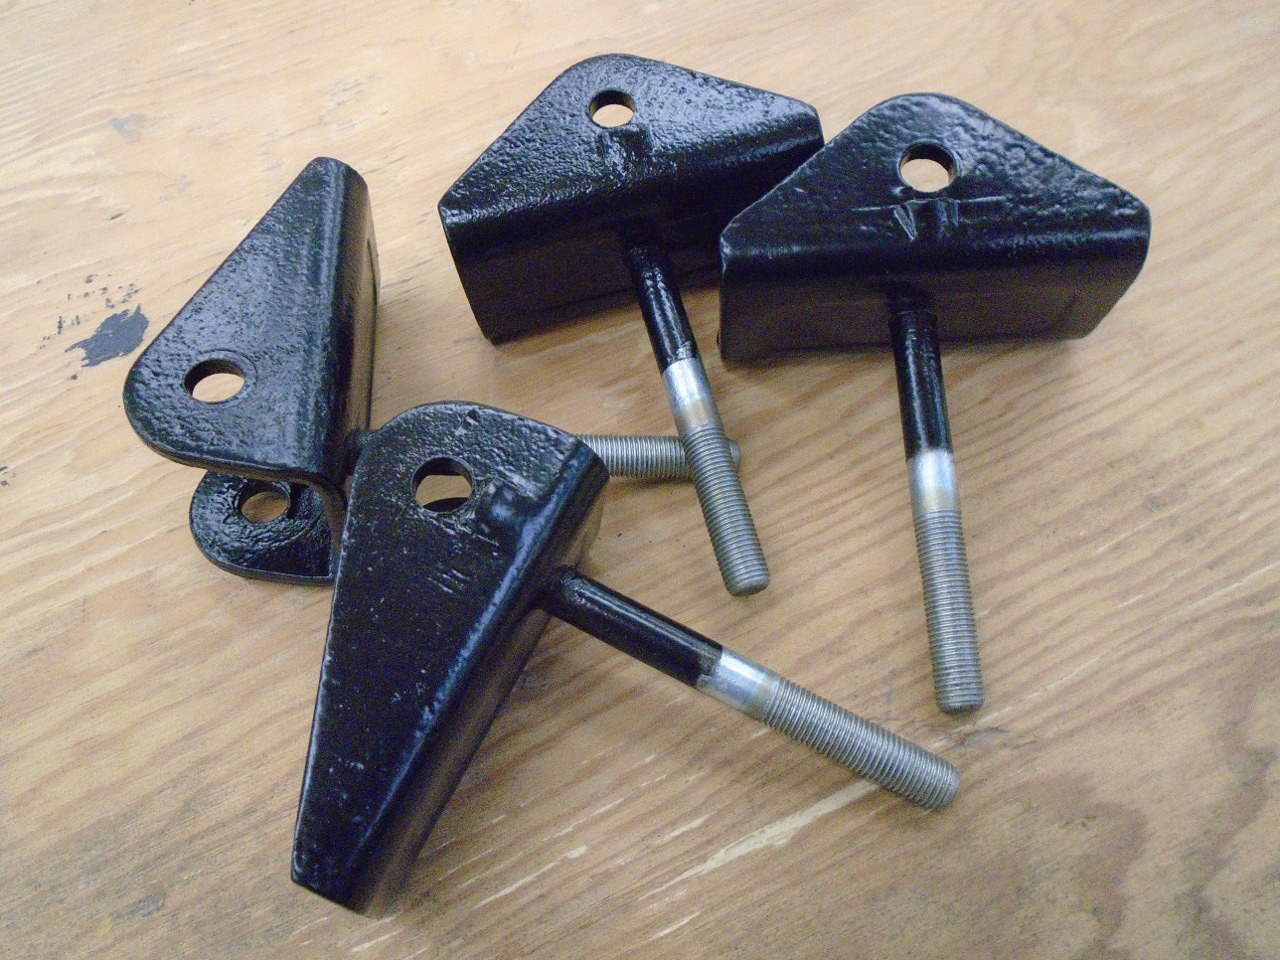
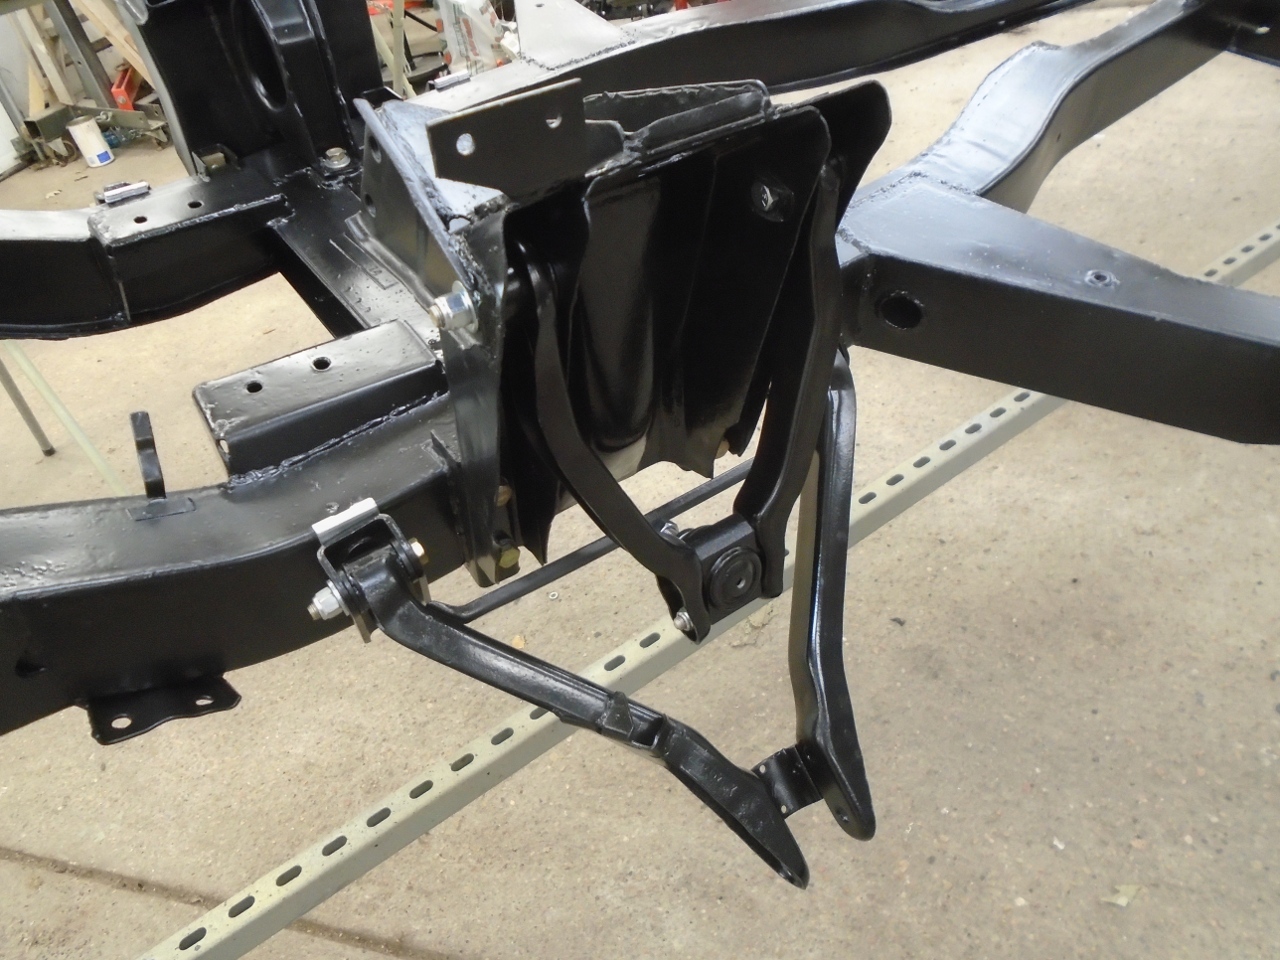
The lower arms attach to these brackets, which in turn attach to the frame.
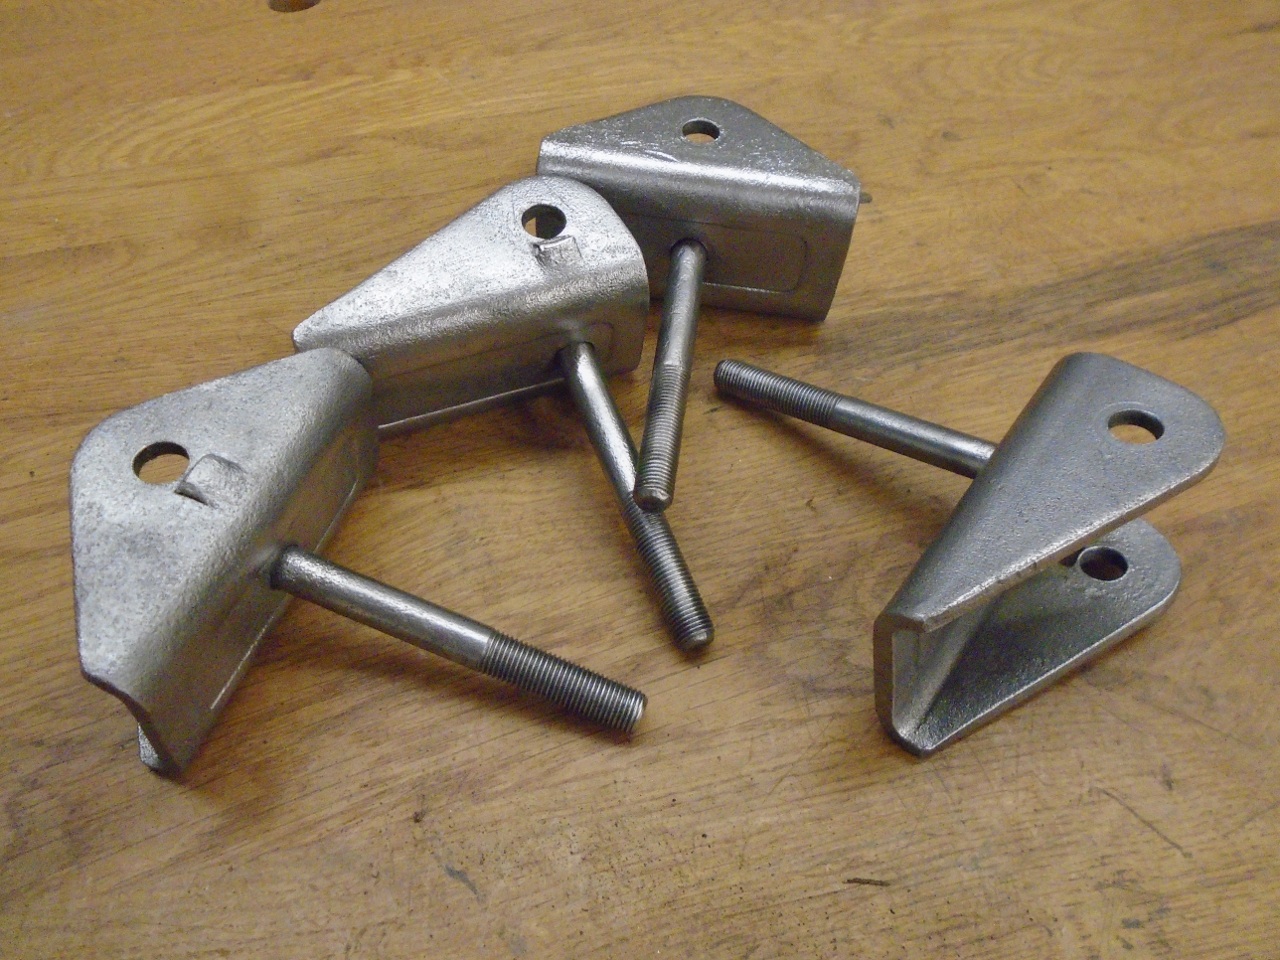
One
of the reasons that cars are often so disagreeable to dismantle is the
rusted fasteners. Some fasteners rust sooner than they might
because they have no protective plating. As far as I can tell,
these brackets were not plated. So as a service to the next
restorer, I selectively plated the threaded studs. The rest of
the bracket was powder coated, but powder coat doesn't work well on
threads.
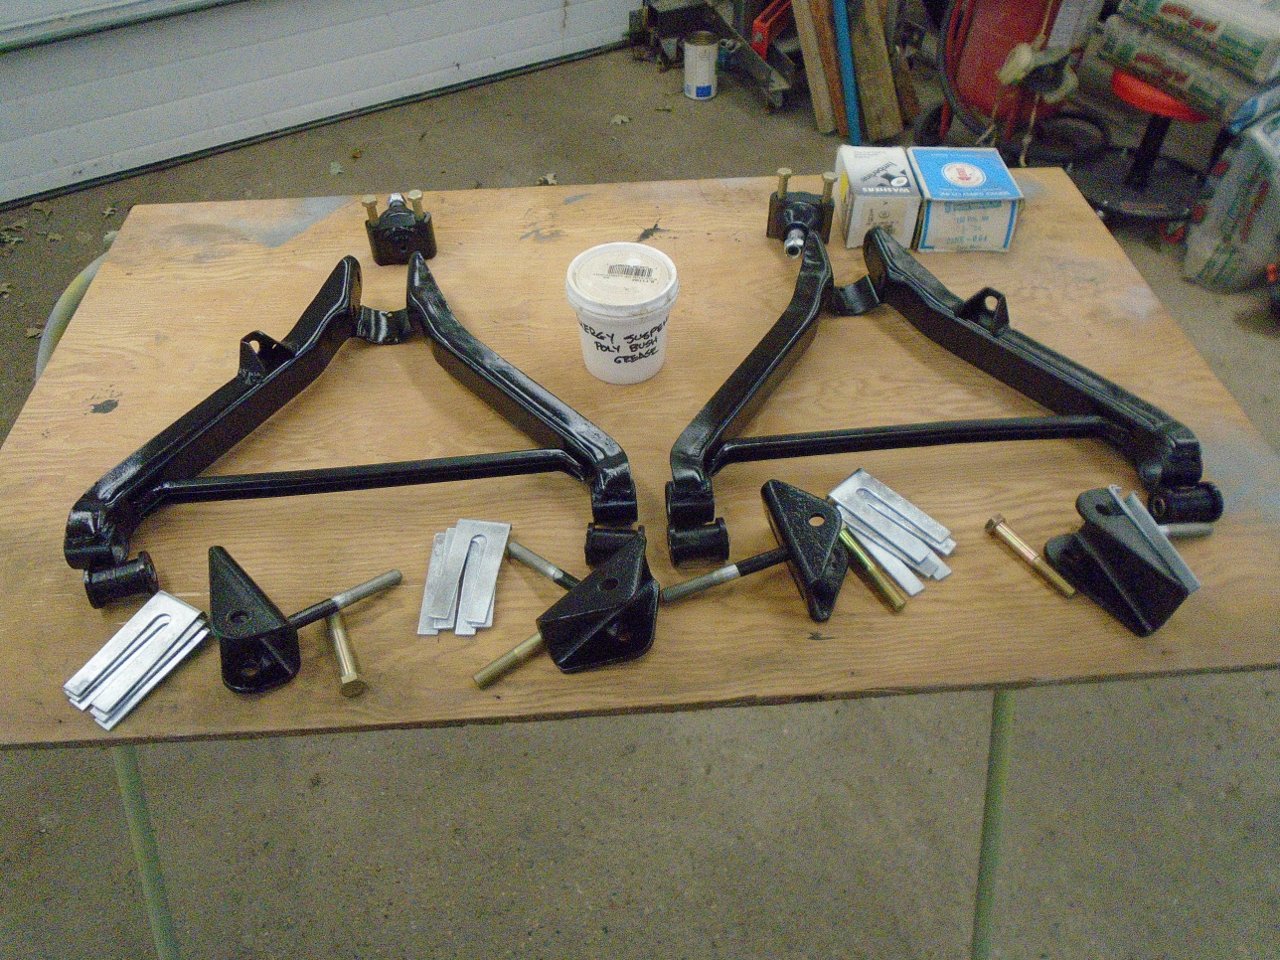
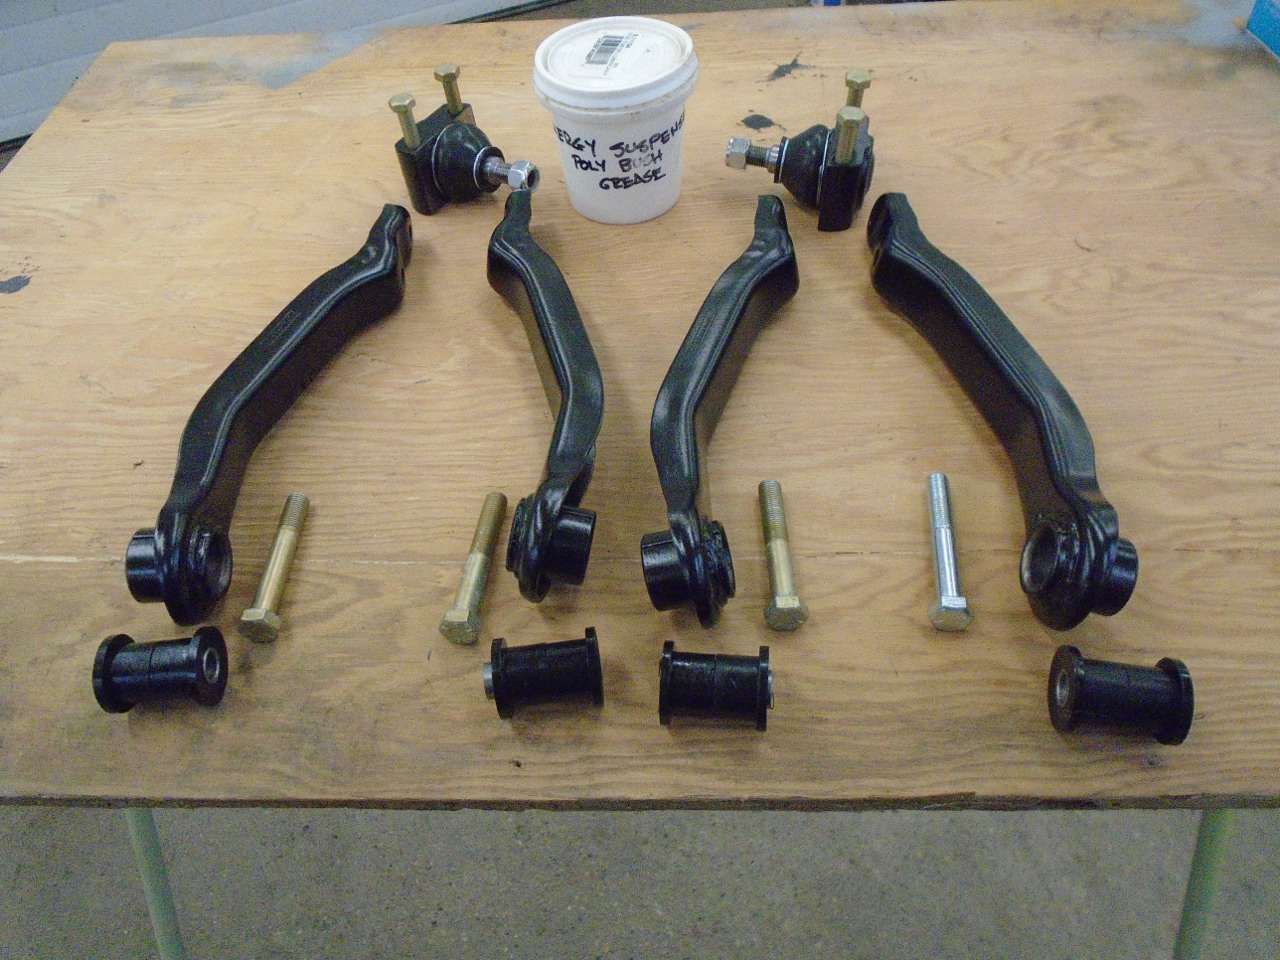
Lower
arms ready for install. I'm using polyurethane bushes throughout
the suspension, but I'm avoiding the heavily-marketed, neon-colored,
high-priced ones because I don't like paying for hype. Poly
bushes work fundamentally differently from the stock rubber bushes.
They require lubrication. I use a tenaciously sticky
silicone grease sold specifically for poly bushes.
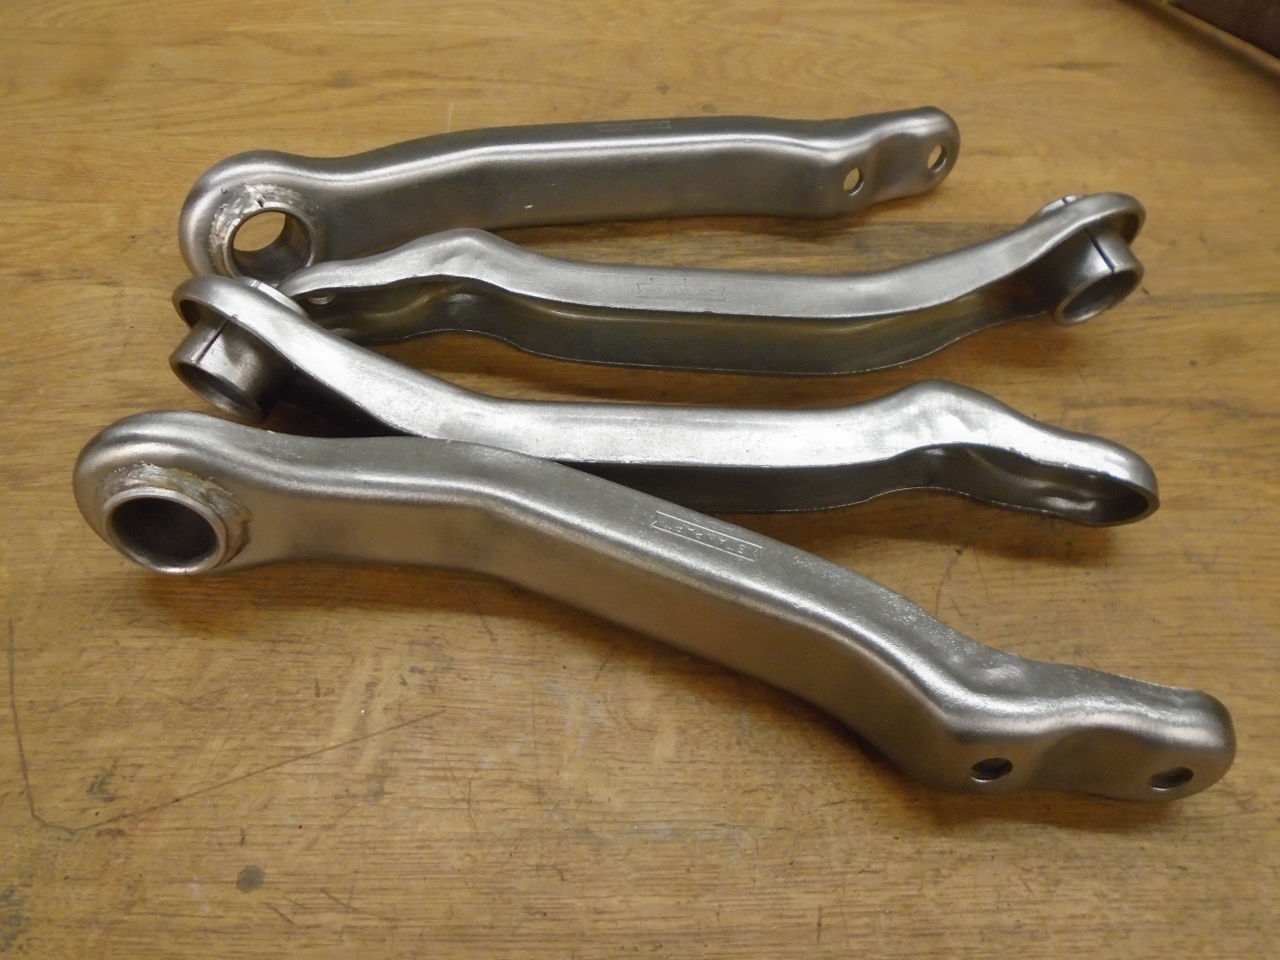
The upper arms didn't prove to be as interesting as the lower ones. They powder coated nicely.
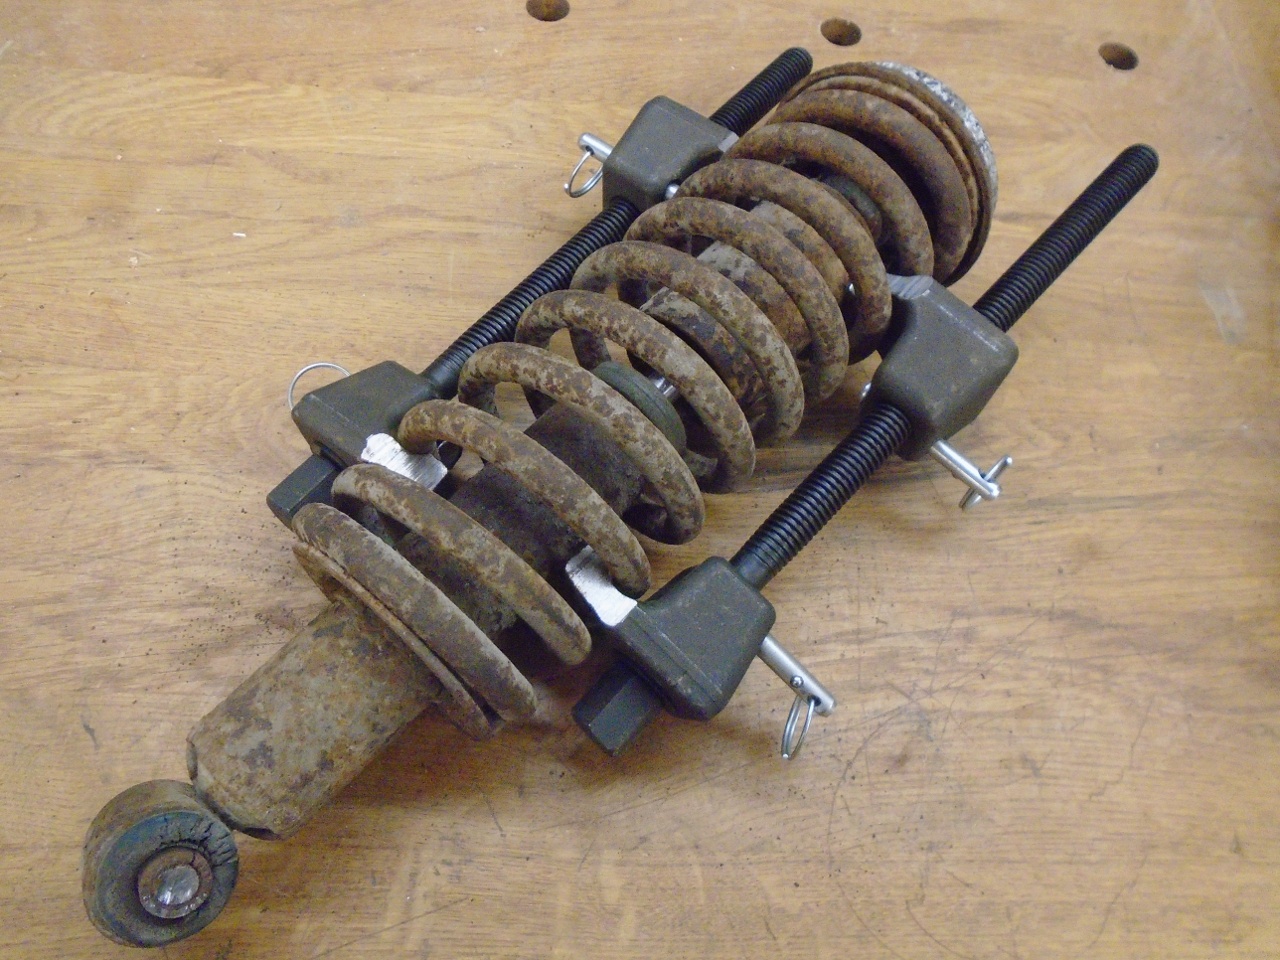
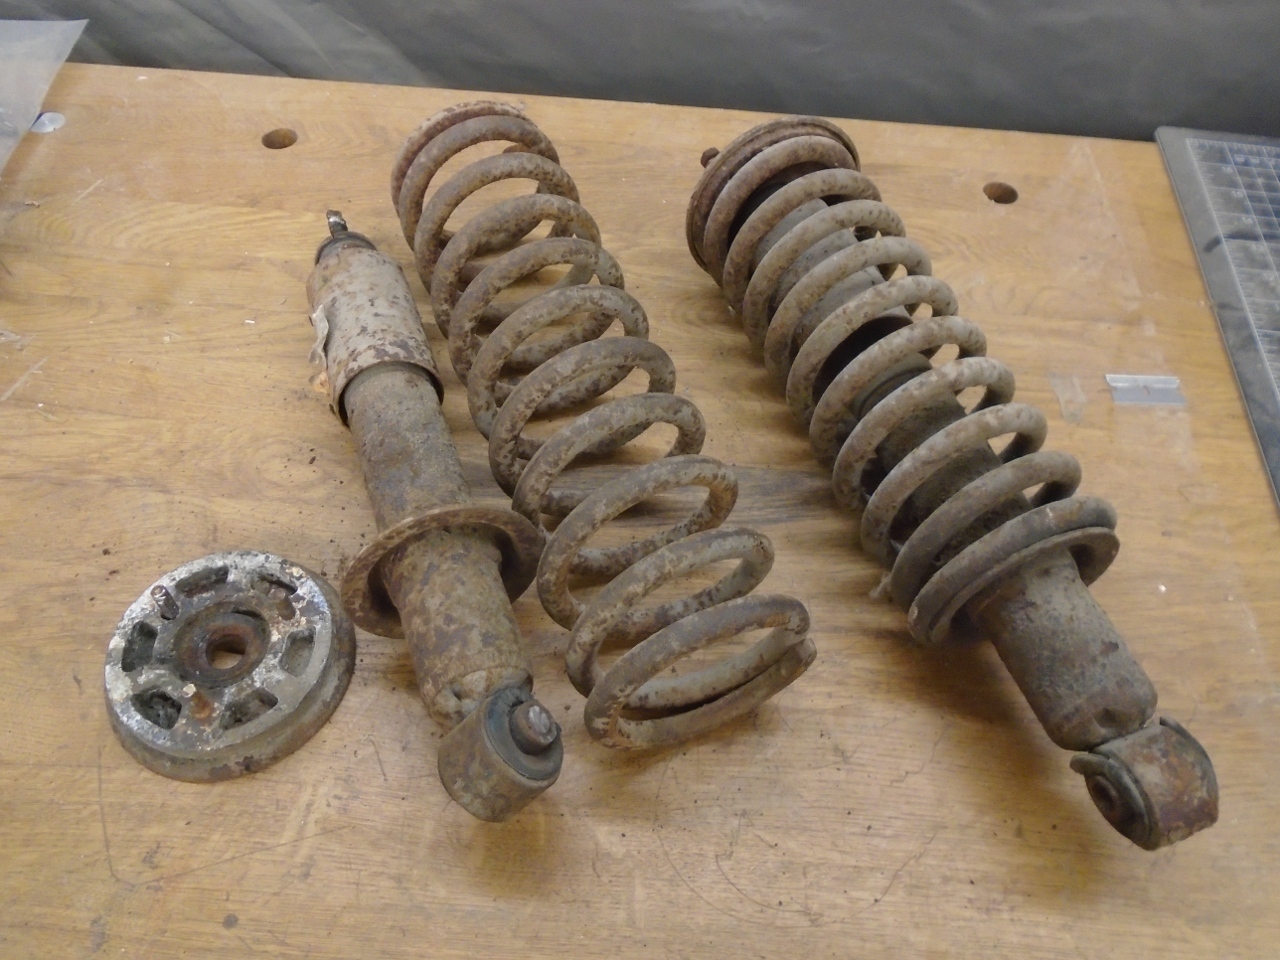
Then
for the spring/shock assemblies. I bought this spring compresser,
but it turned out to really be for much bigger springs, so I had to
modify it pretty heavily to get it to work.
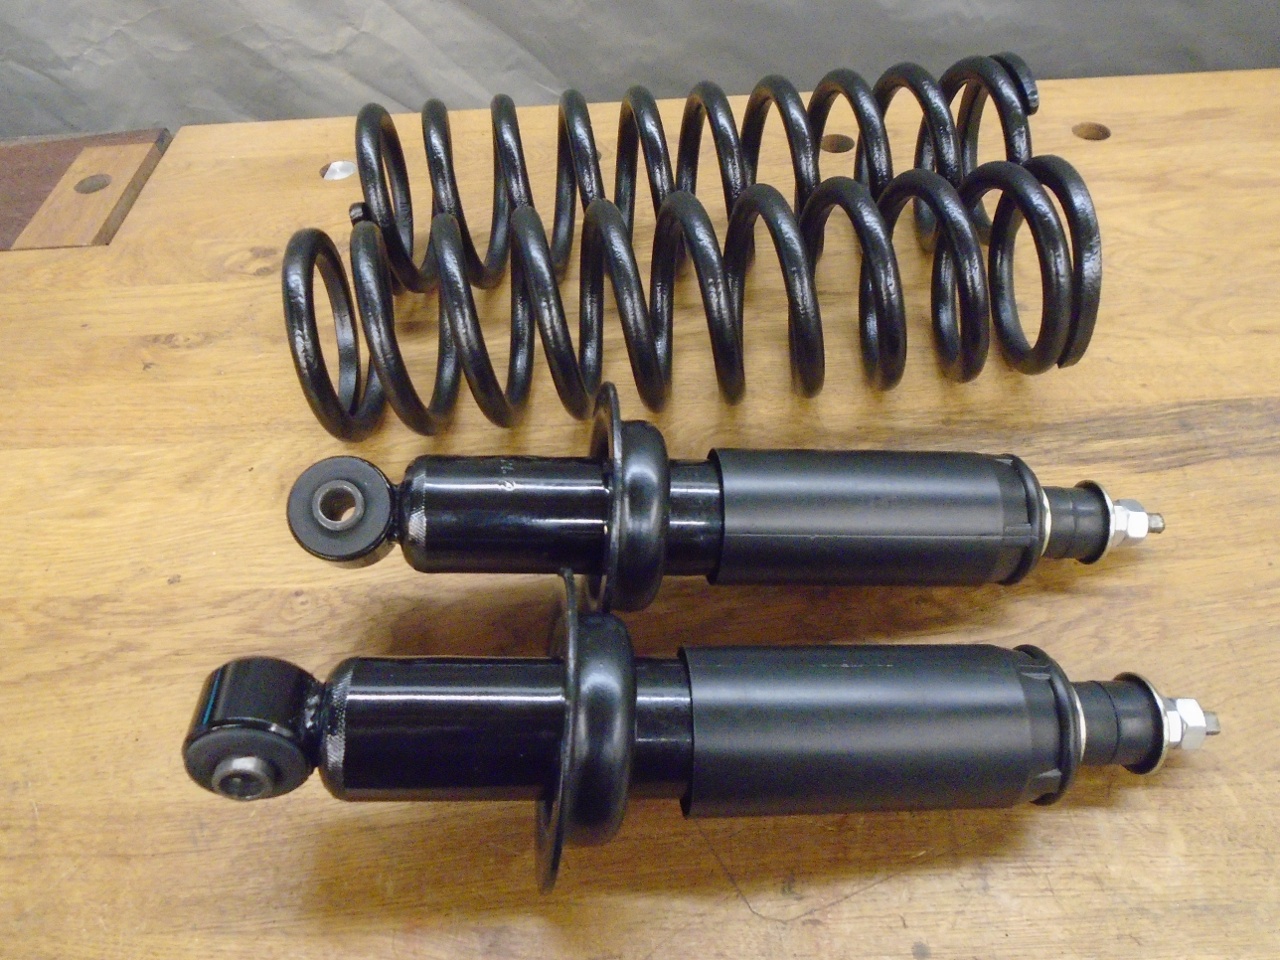
On
the TR6, I opted for fairly expensive adjustable Koni front shocks. As
suggested by quite a few on-line posters, I initially set them for
the softest setting, which I imagine to be more or less equivalent to
the damping from a stock type shock. Well, after driving a couple
of hundred miles in the TR, I don't have much inclination to change the
shock settings. So now I'm thinking that the whole Koni thing
might have just been me caving to marketing or peer pressure. As
a backlash measure, for this project I bought stock replacement shocks
for a fraction of the price of "premium" shocks.
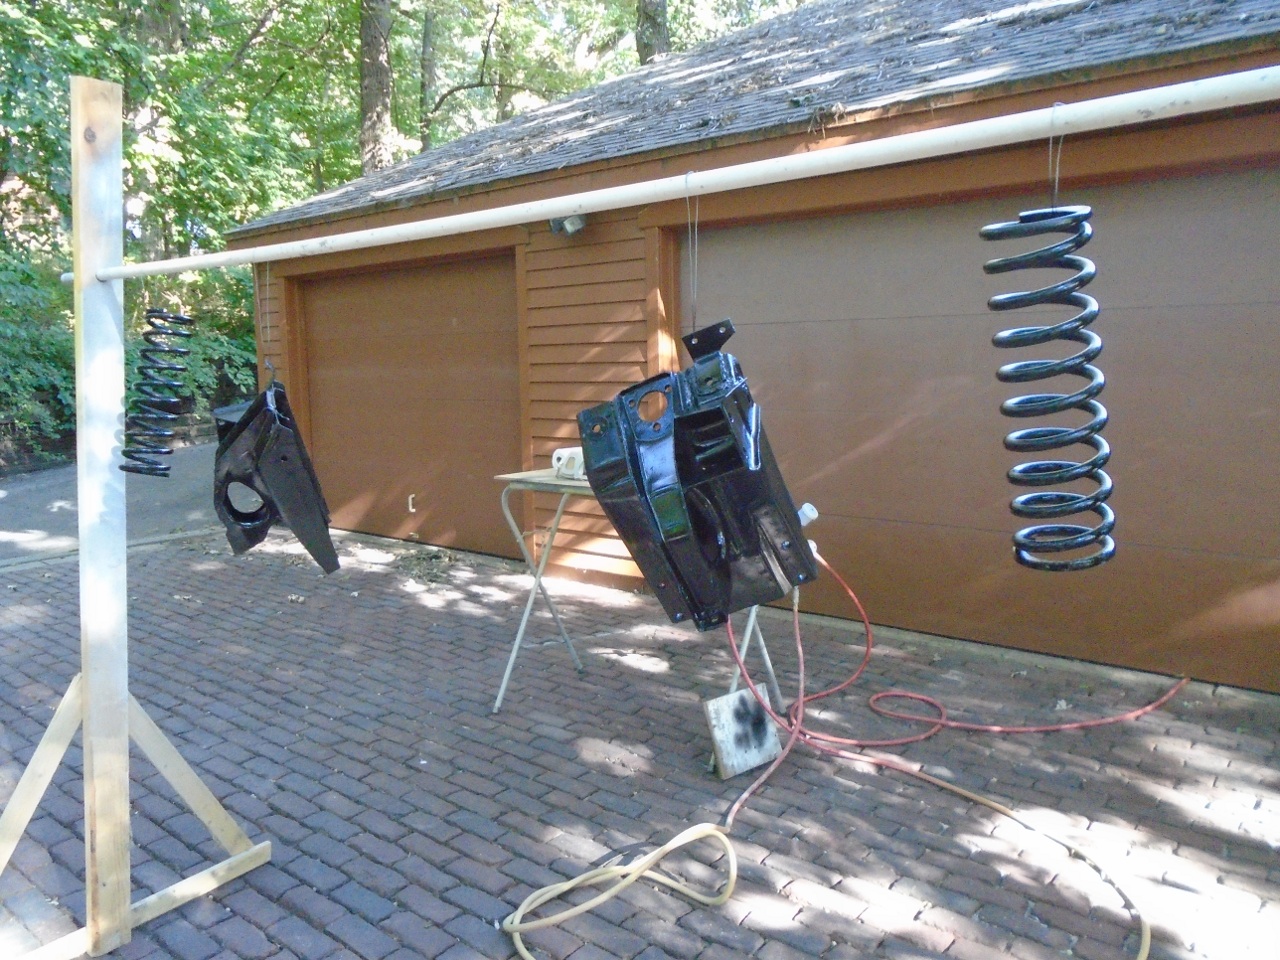
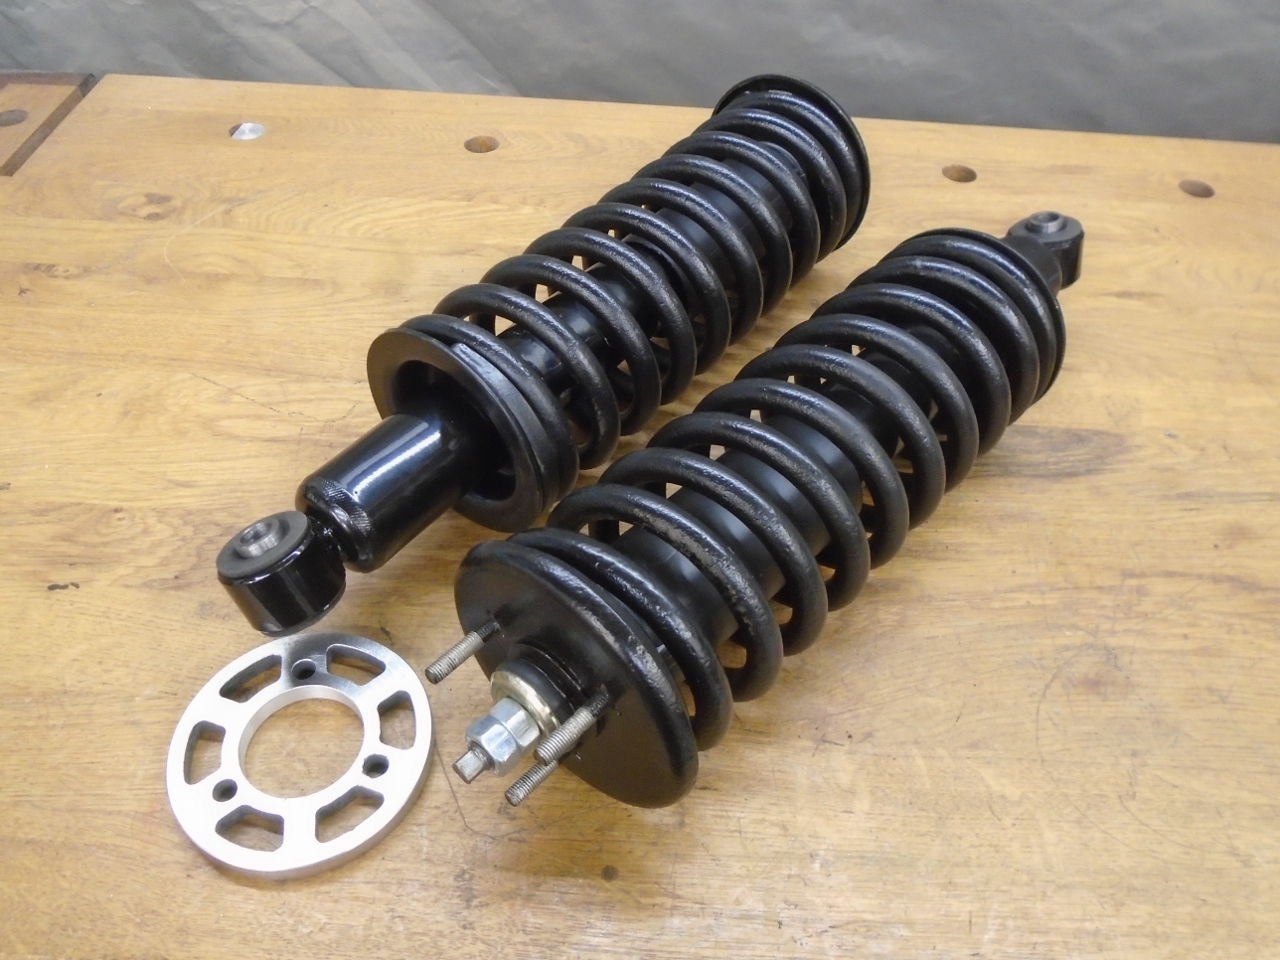
The
springs measured right on spec for free length, so I didn't see any
reason to replace them. I shot them with a nice epoxy.
Using
the spring compresser is a bit of a sweaty-palm operation, at least for
me. The spring has to be compressed at least 2-1/2 inches to
capture the shock, and at a spring rate of a couple of hundred pounds
per inch, there is some pretty good energy stored there.
That
aluminum disc was a mystery for a while. It goes on top of the
spring assembIy, but I found only one of them. I discovered on
one of the forums that since on a GT6, the fuel tank is on the left
side of the car, this shim was only installed on the left side of LHD
GT6 cars to offset the asymmetrical weight of the fuel and the driver.

Next job was to extract a vertical link from this crusty mess.
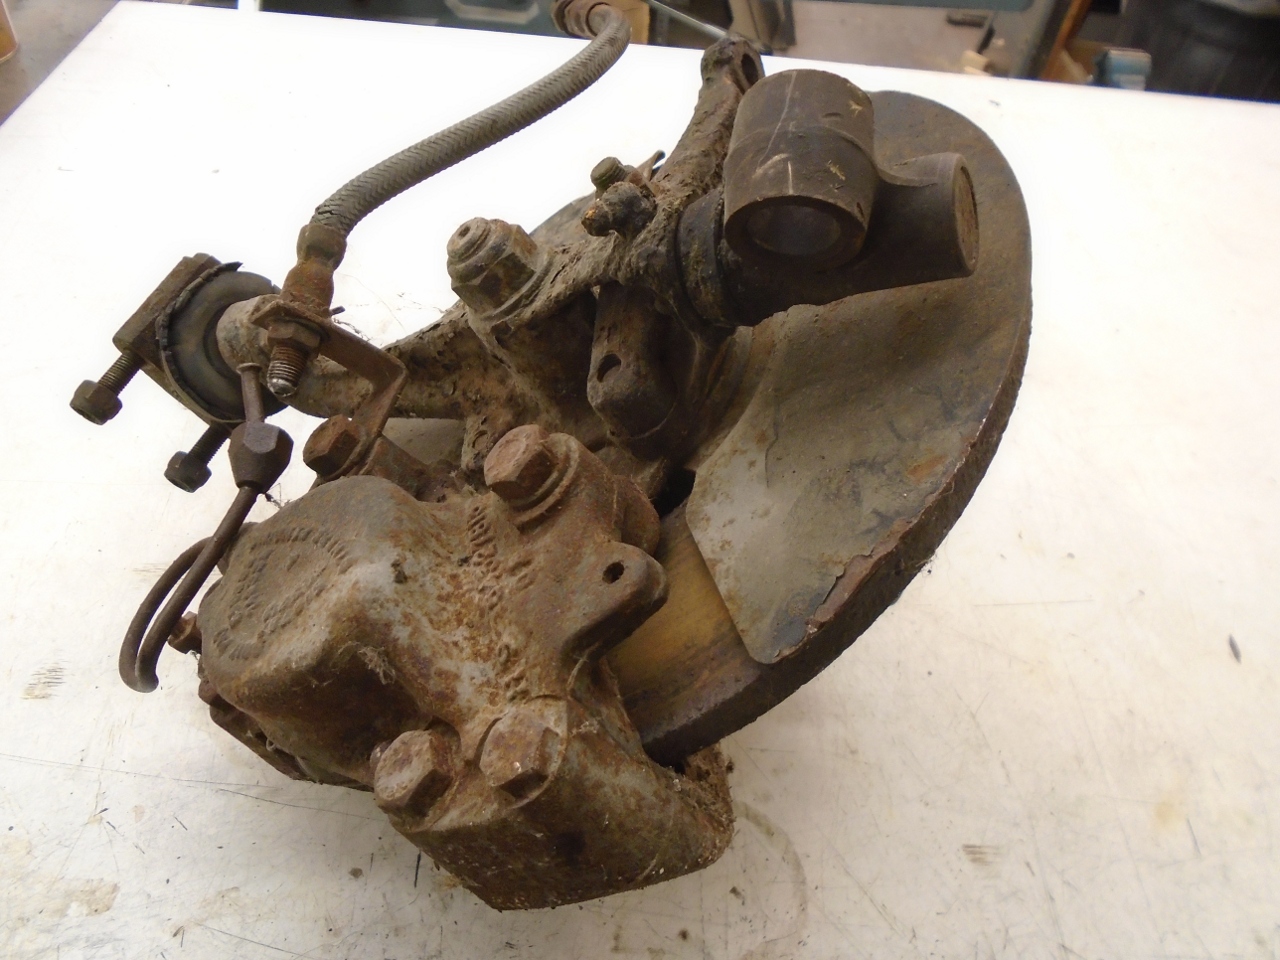
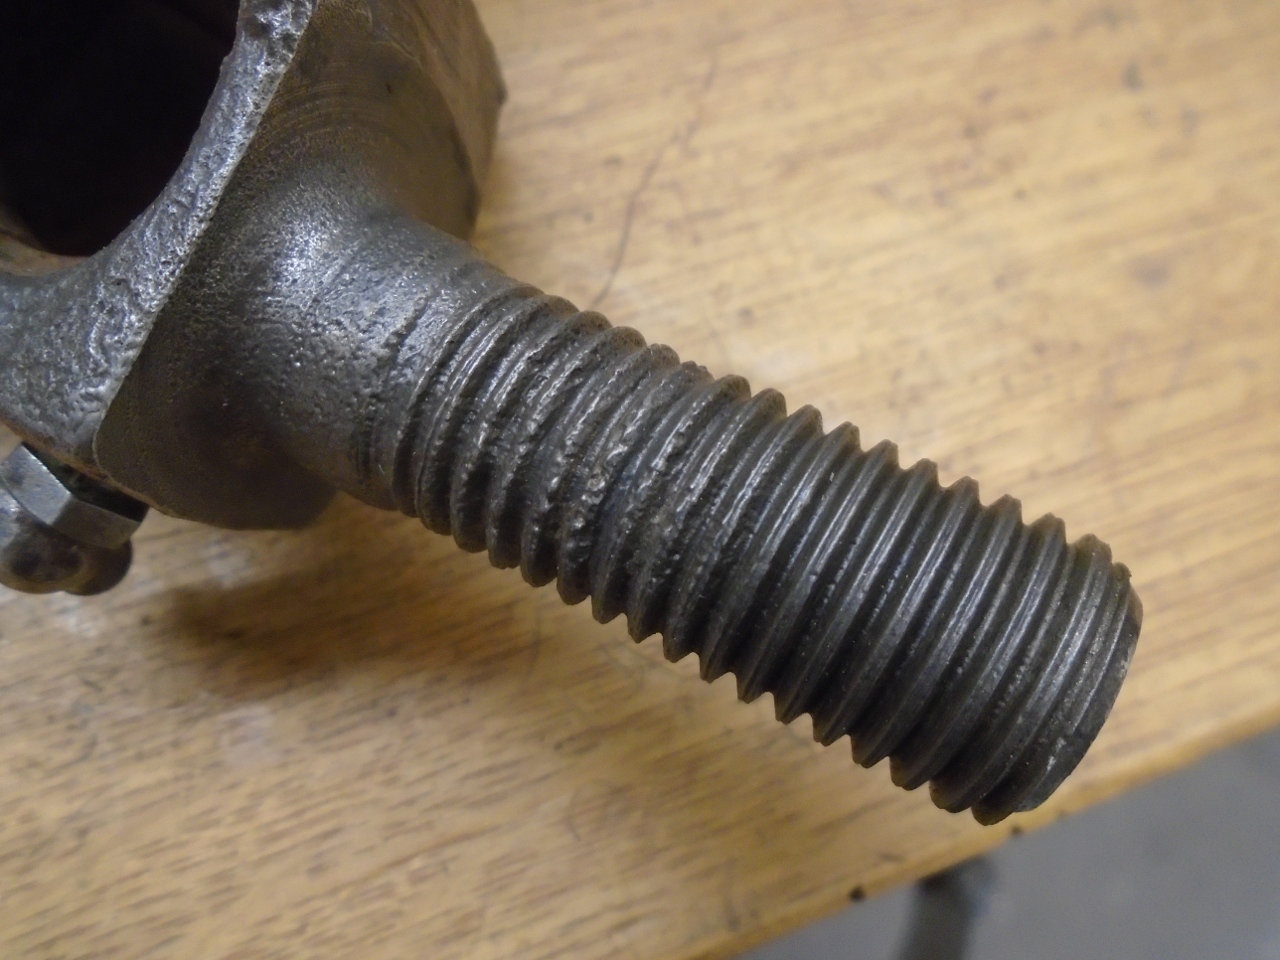
On inspection I sadly found some significant corrosion damage to the trunnion threads on one of the links.
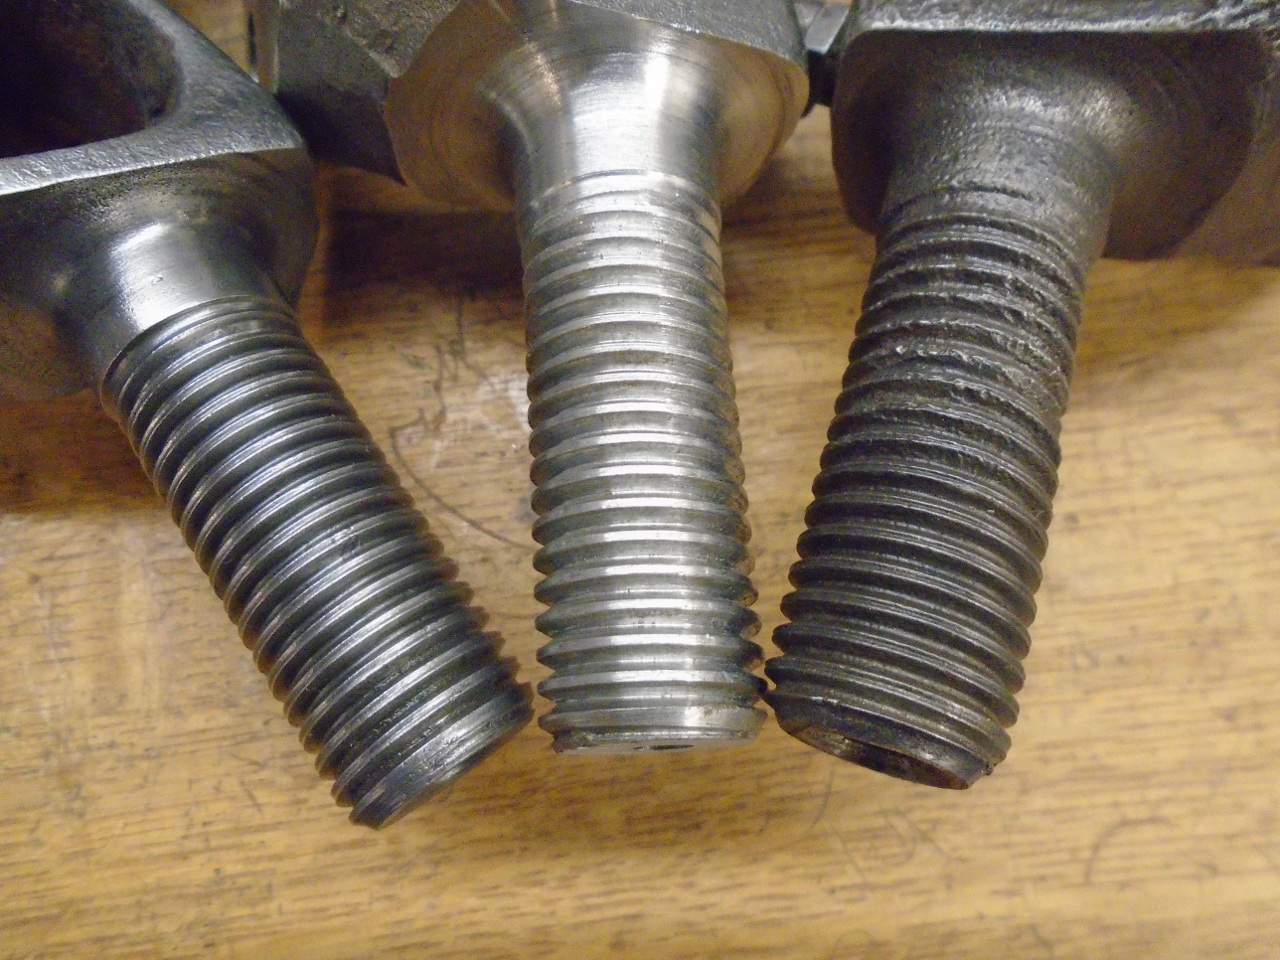
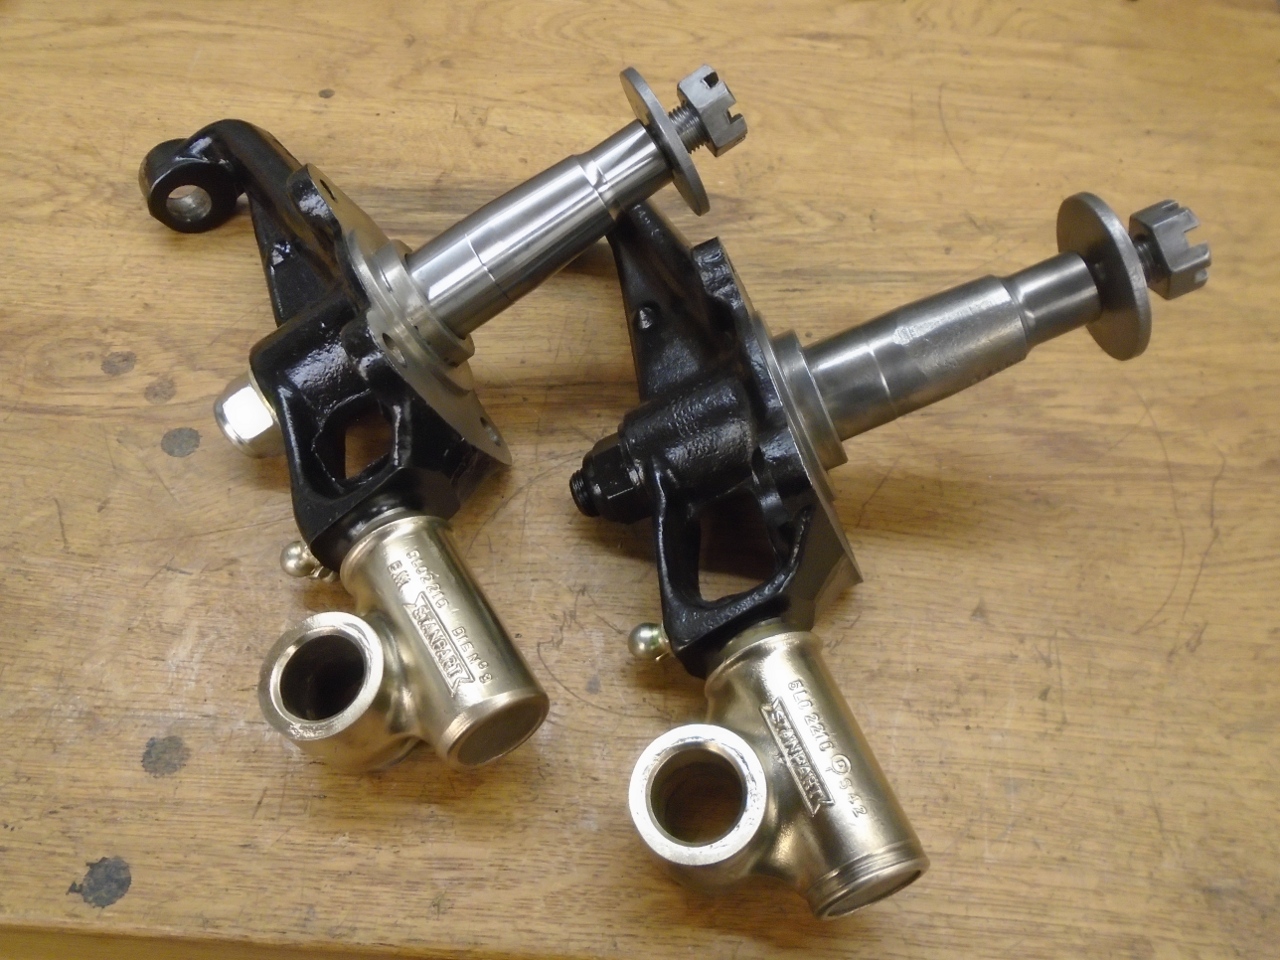
So
I reluctantly ordered a vertical link. On the right is the bad
link, on the left is the good original link, in the middle is the new
link.
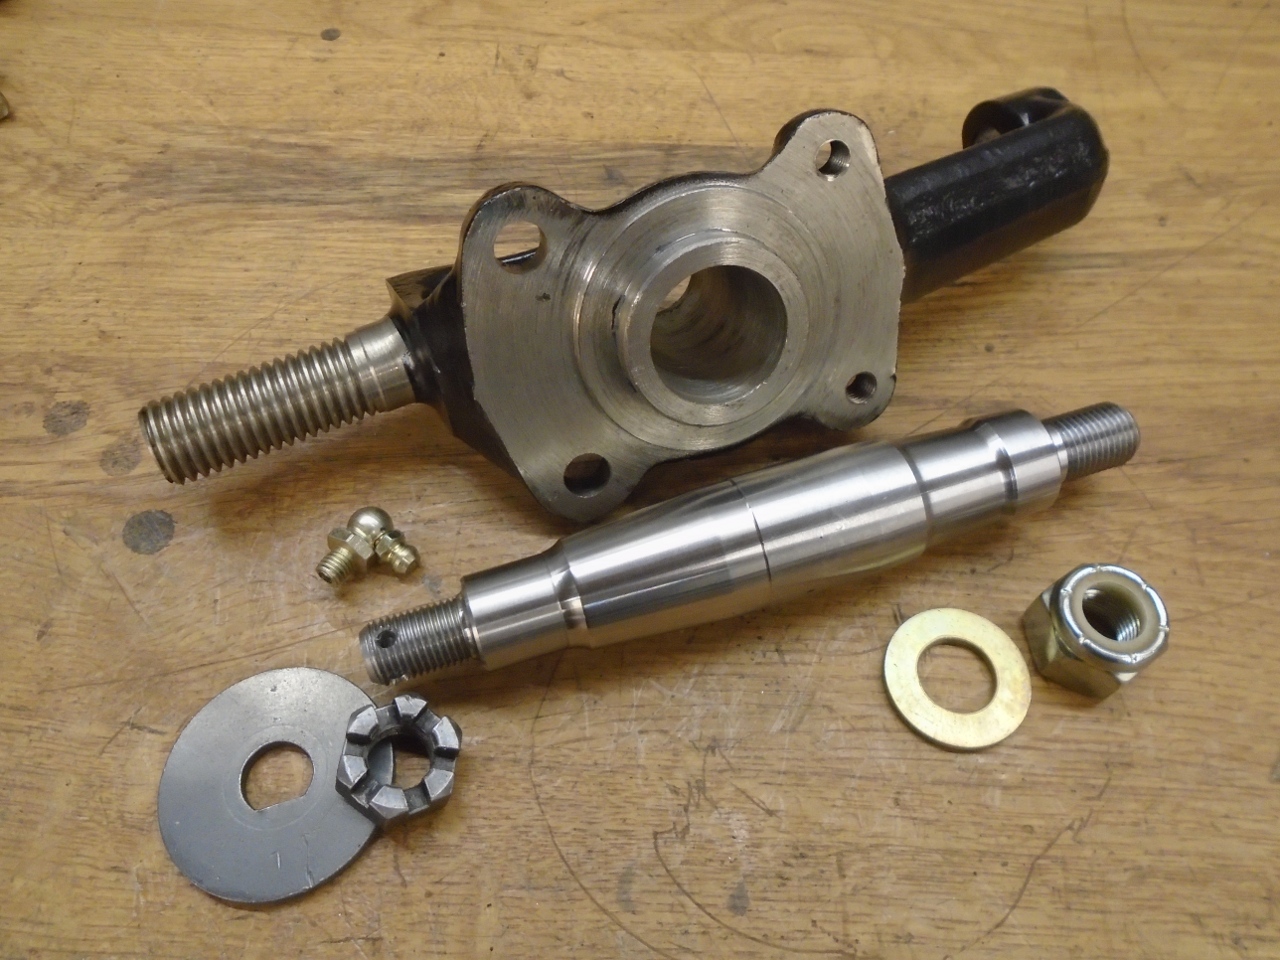
Since
the stub axle on the bad vertical link appeared to be fine, I had
planned to remove it and use it in the new link. The axle had
other plans. The nut galled on the axle and brought most of the
axle's threads with it.

So I reluctantly ordered a stub axle.
Powder coated the links, cleaned up the trunnions, which were both a good fit.
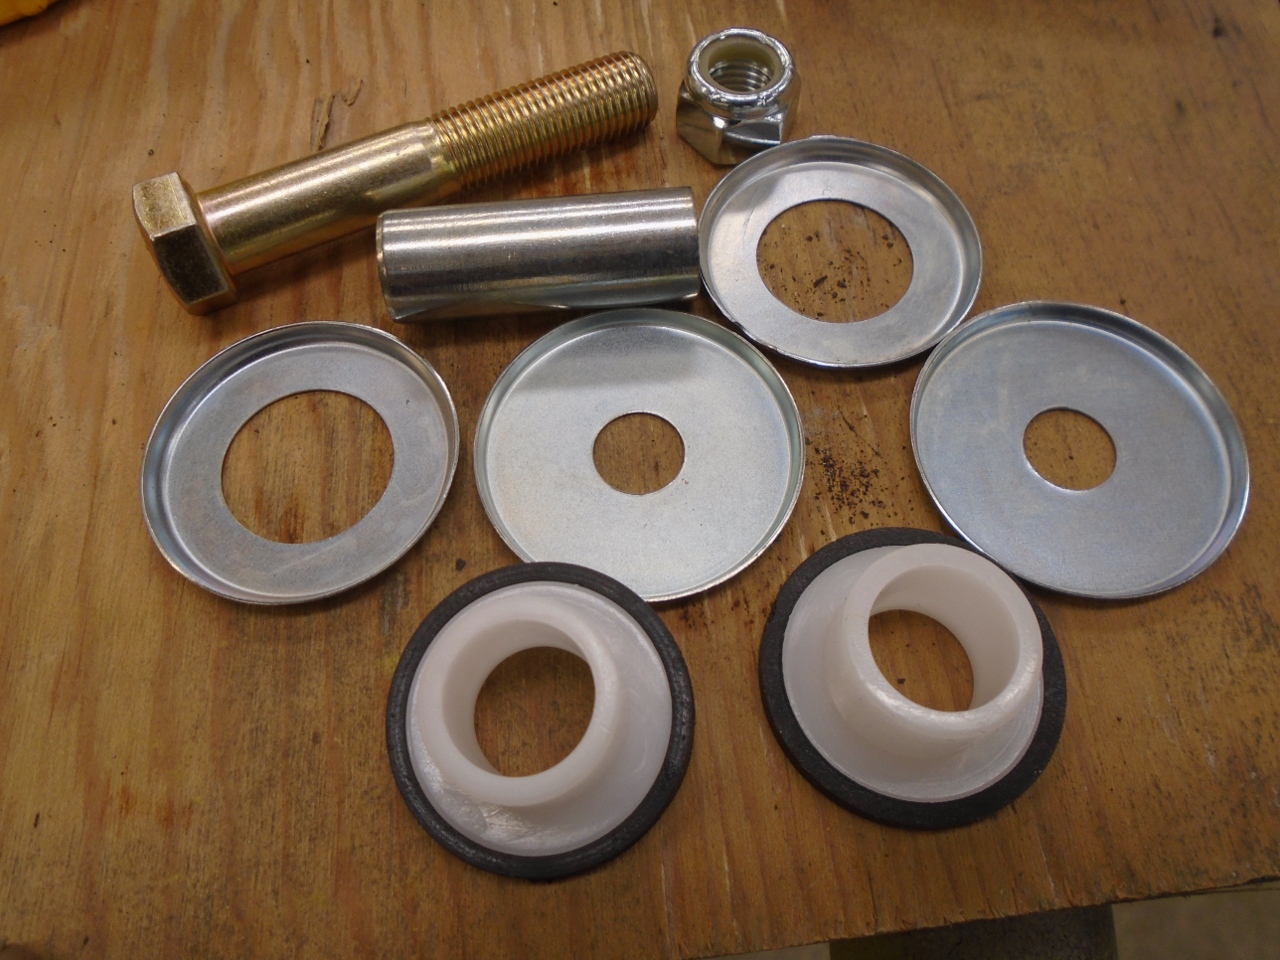
The bush assembly for the trunnion looks complicated, but it can really only go together one way.
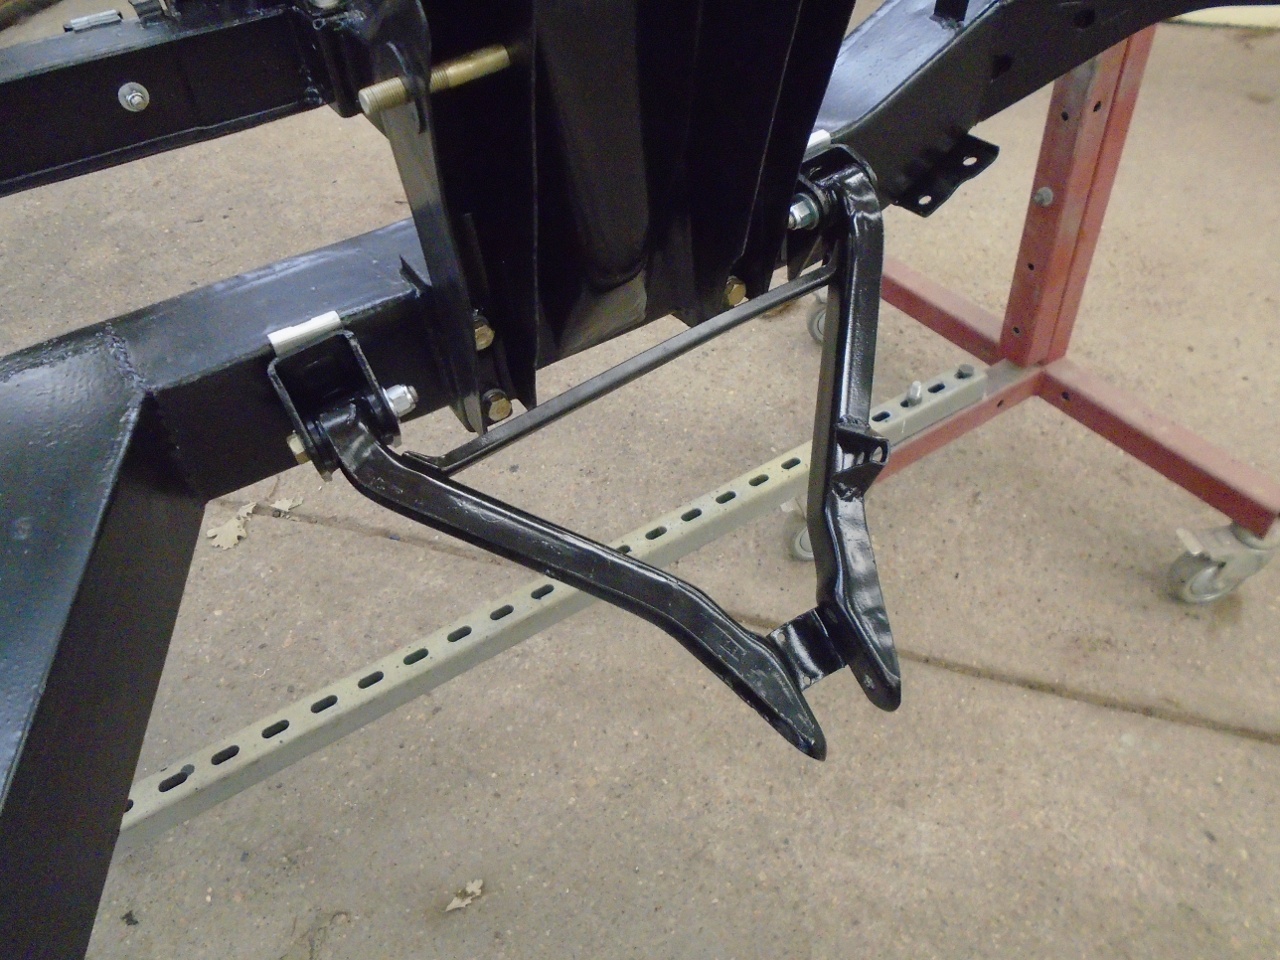
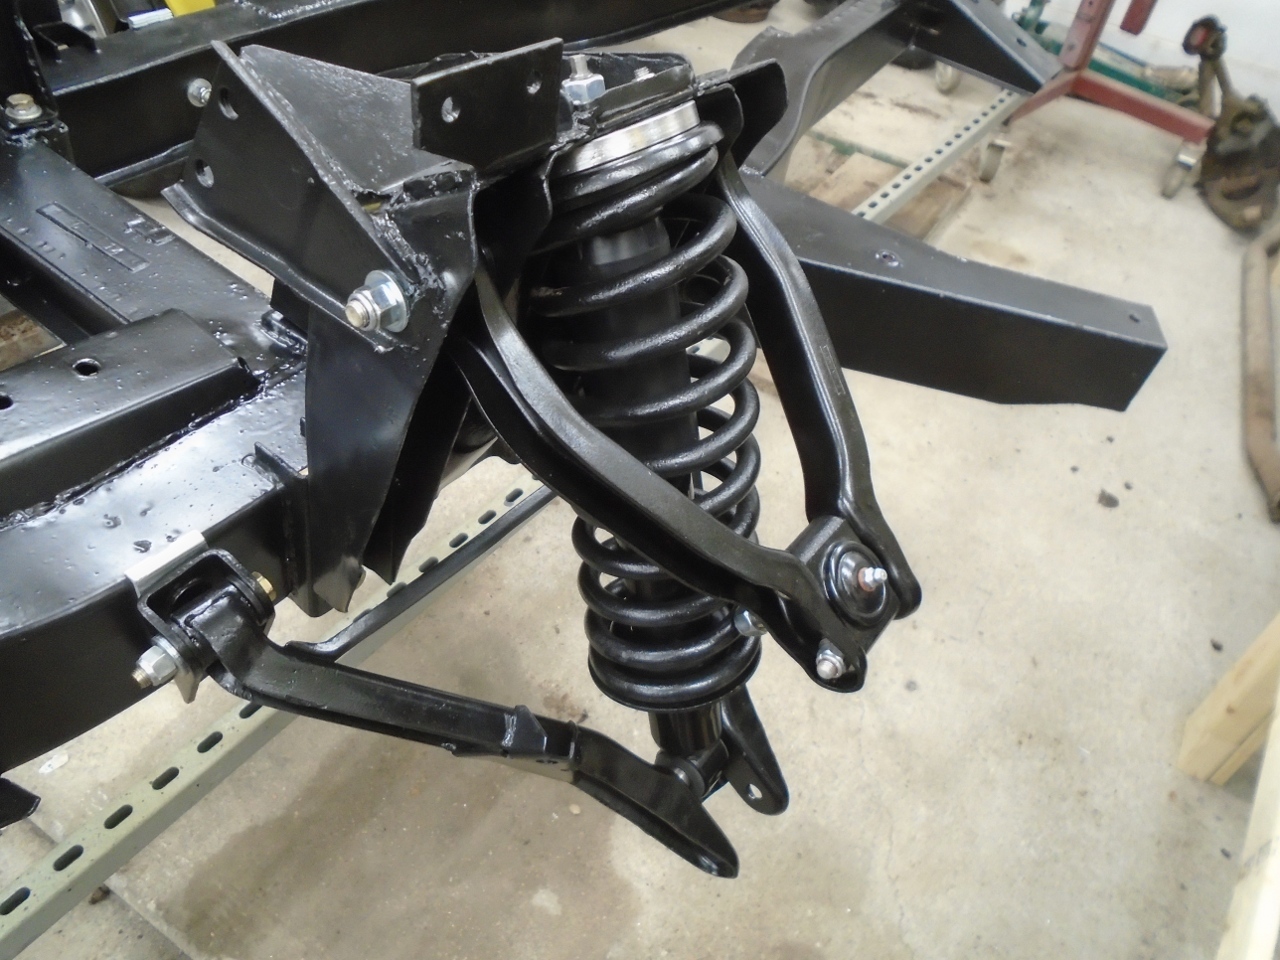
This job be done.
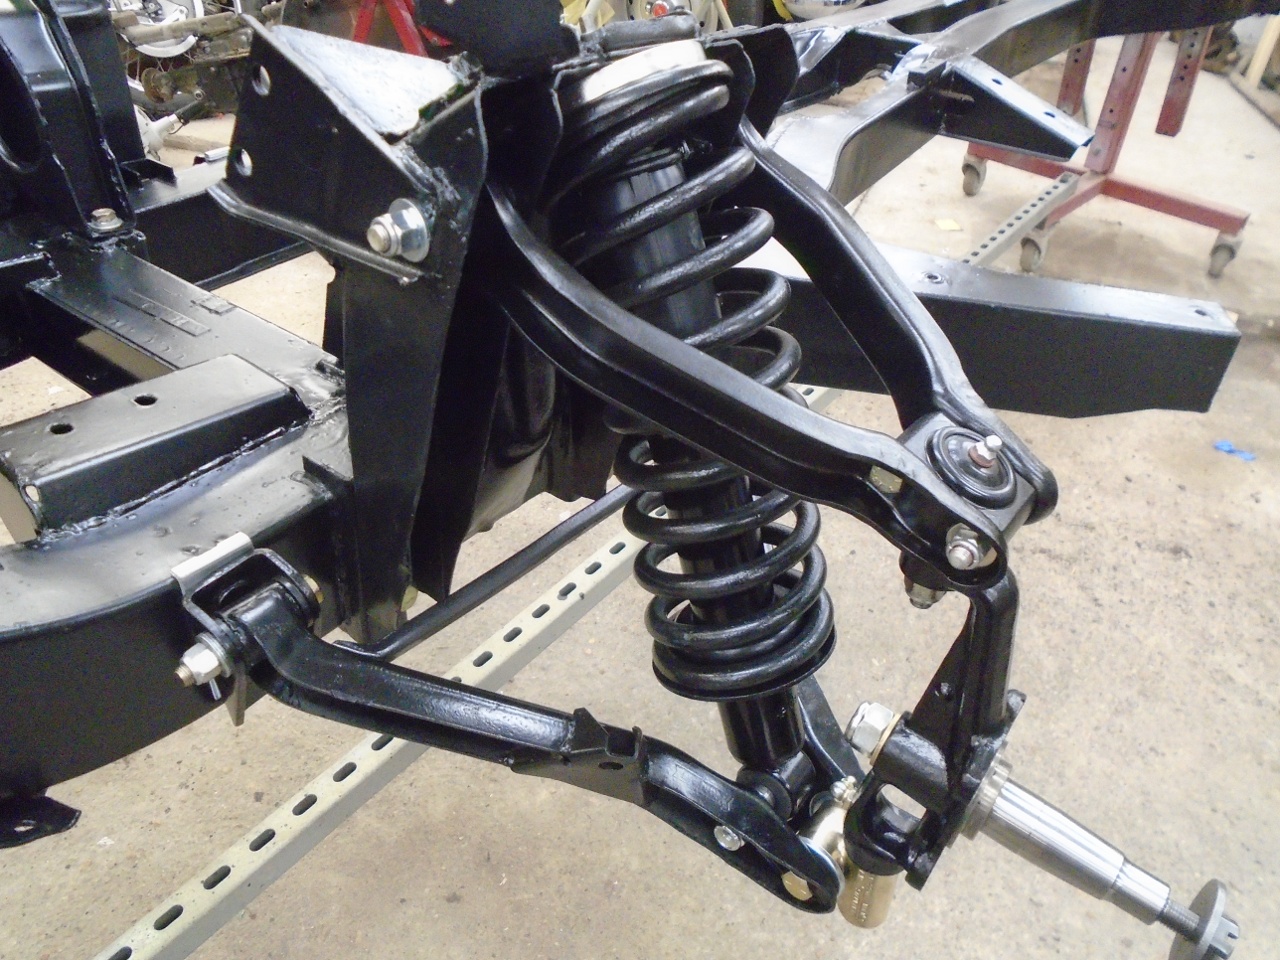
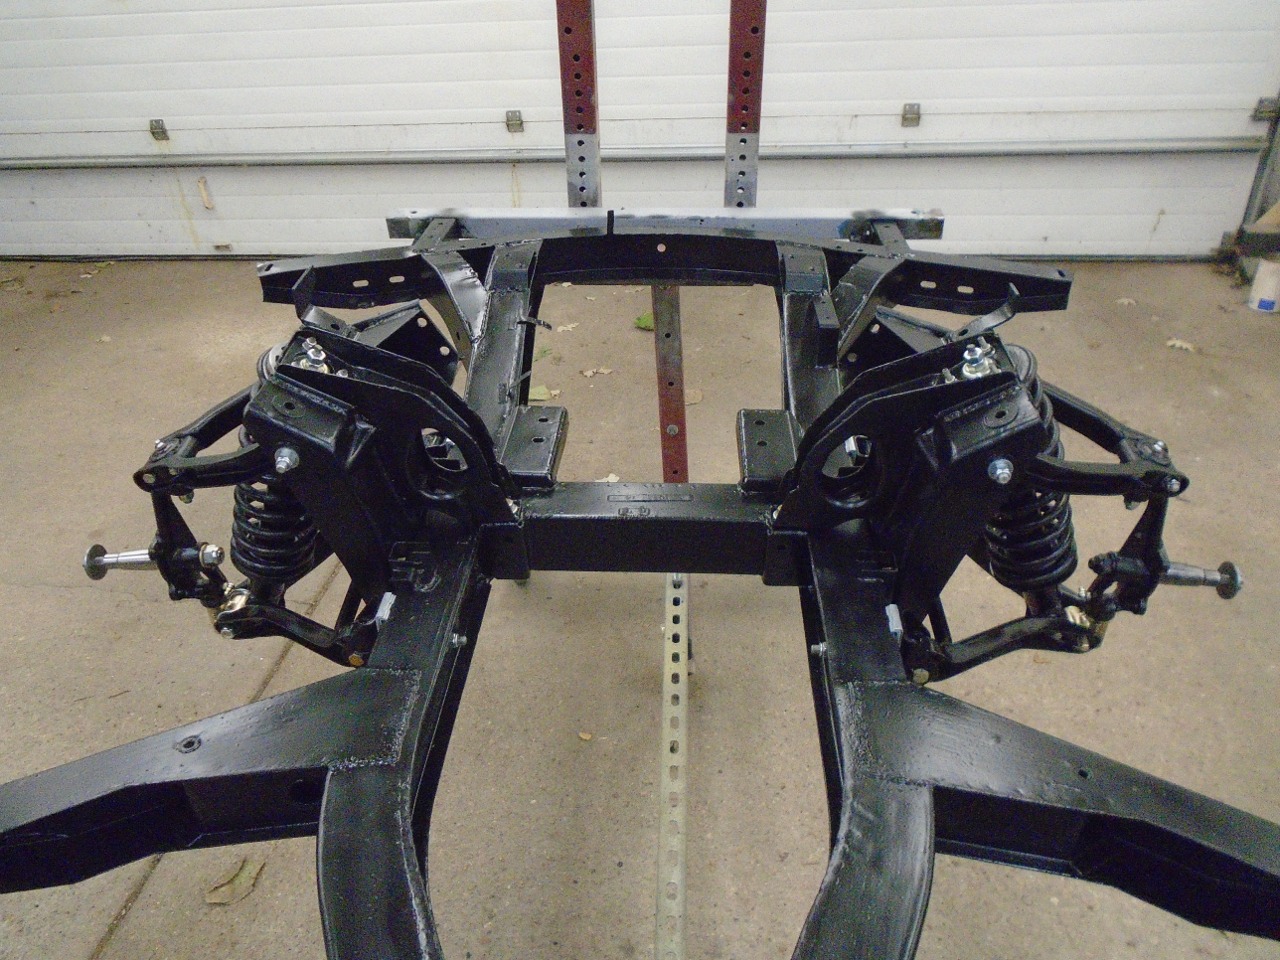
The
GT6 front suspension is really pretty similar to the that of the
TR6, so this job went fairly quickly. I think I have around $350
in this part of the project, and the majority of that was for the
vertical link and stub axle.
Now, on to hubs and brakes.
Comments to Ed at elhollin1@yshoo.com
To my other GT6 pages