To my other GT6
pages
February 18, 2020
Master Cylinders & Pedals
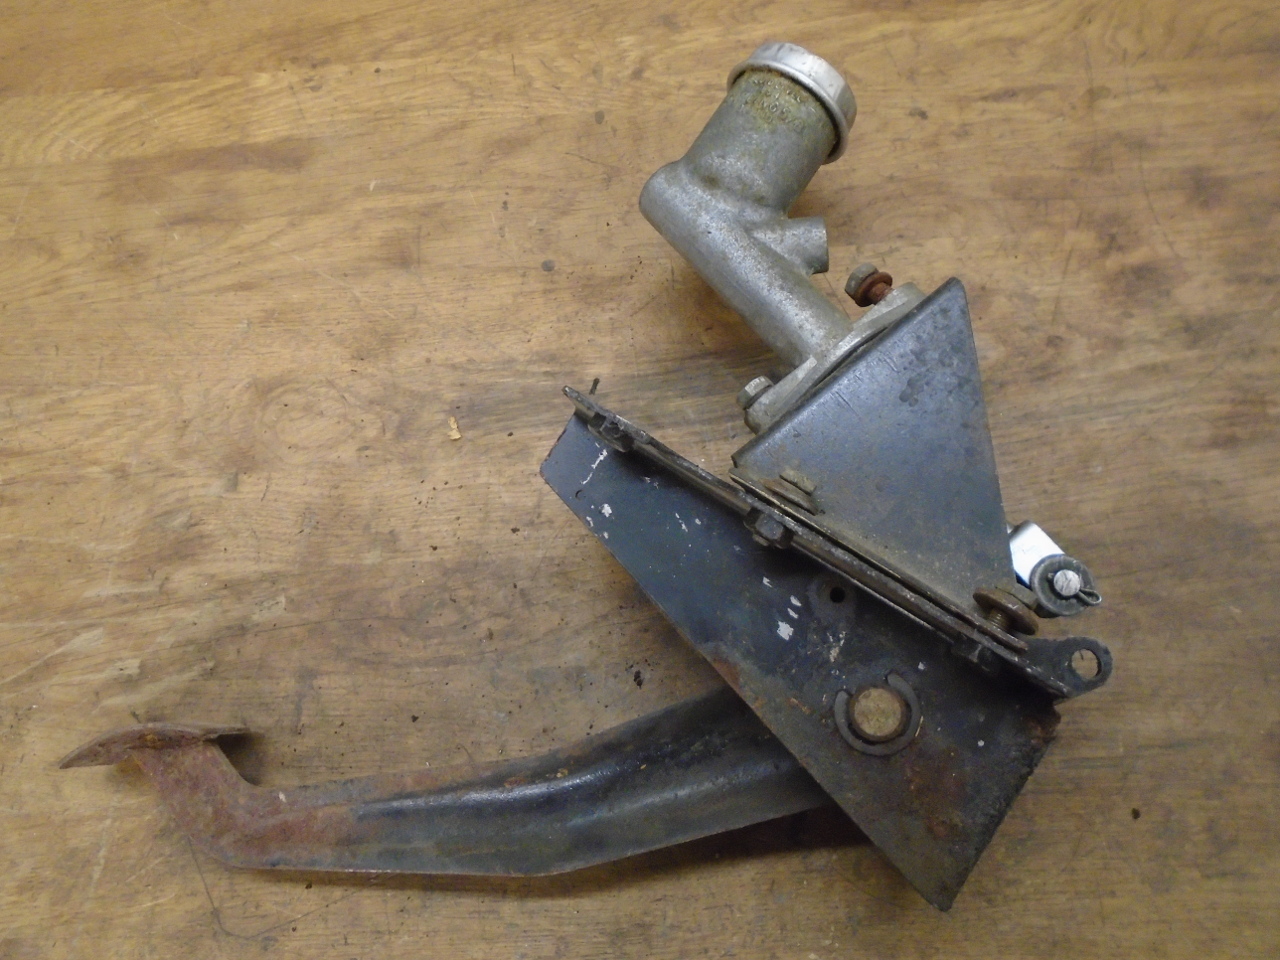
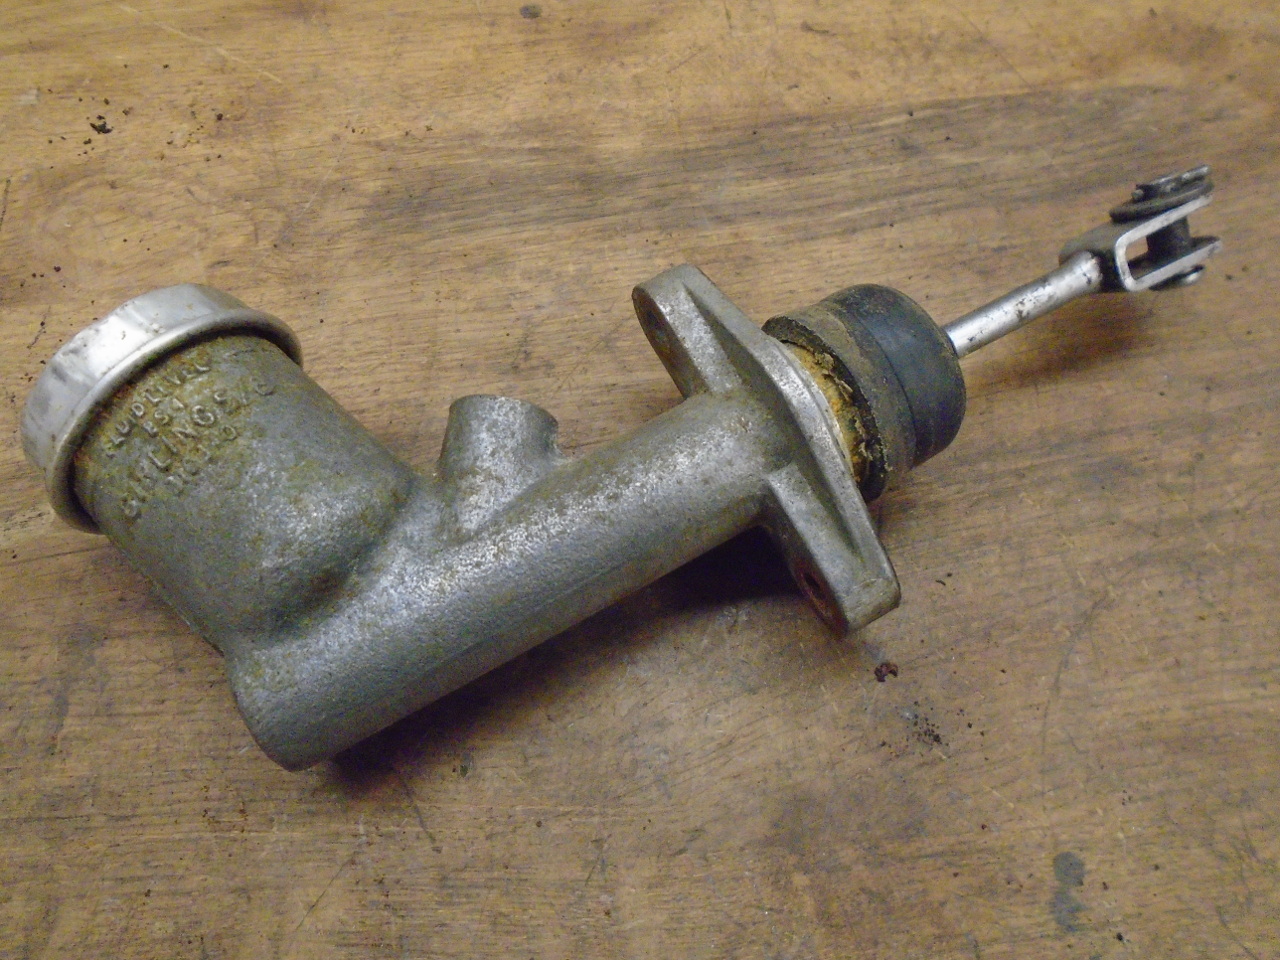
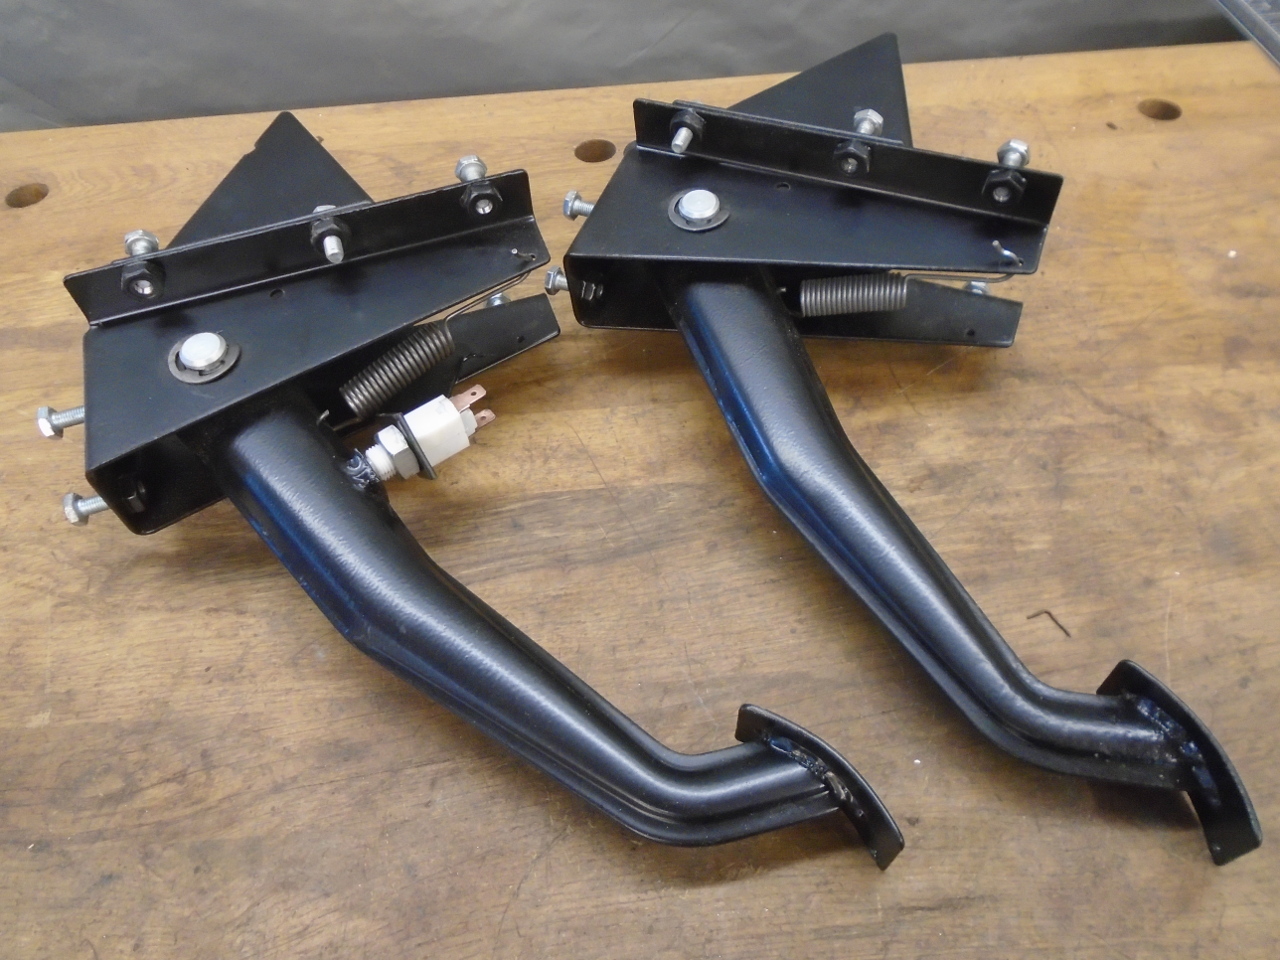
GT6 cars had a pair of hydraulic master cylinders
mounted on the cowl--a dual cylinder for the split (front &
rear) brake system, and a simple cylinder for the clutch.
Each cylinder was attached to its own pedal assembly, making for
a very robust, modular design.
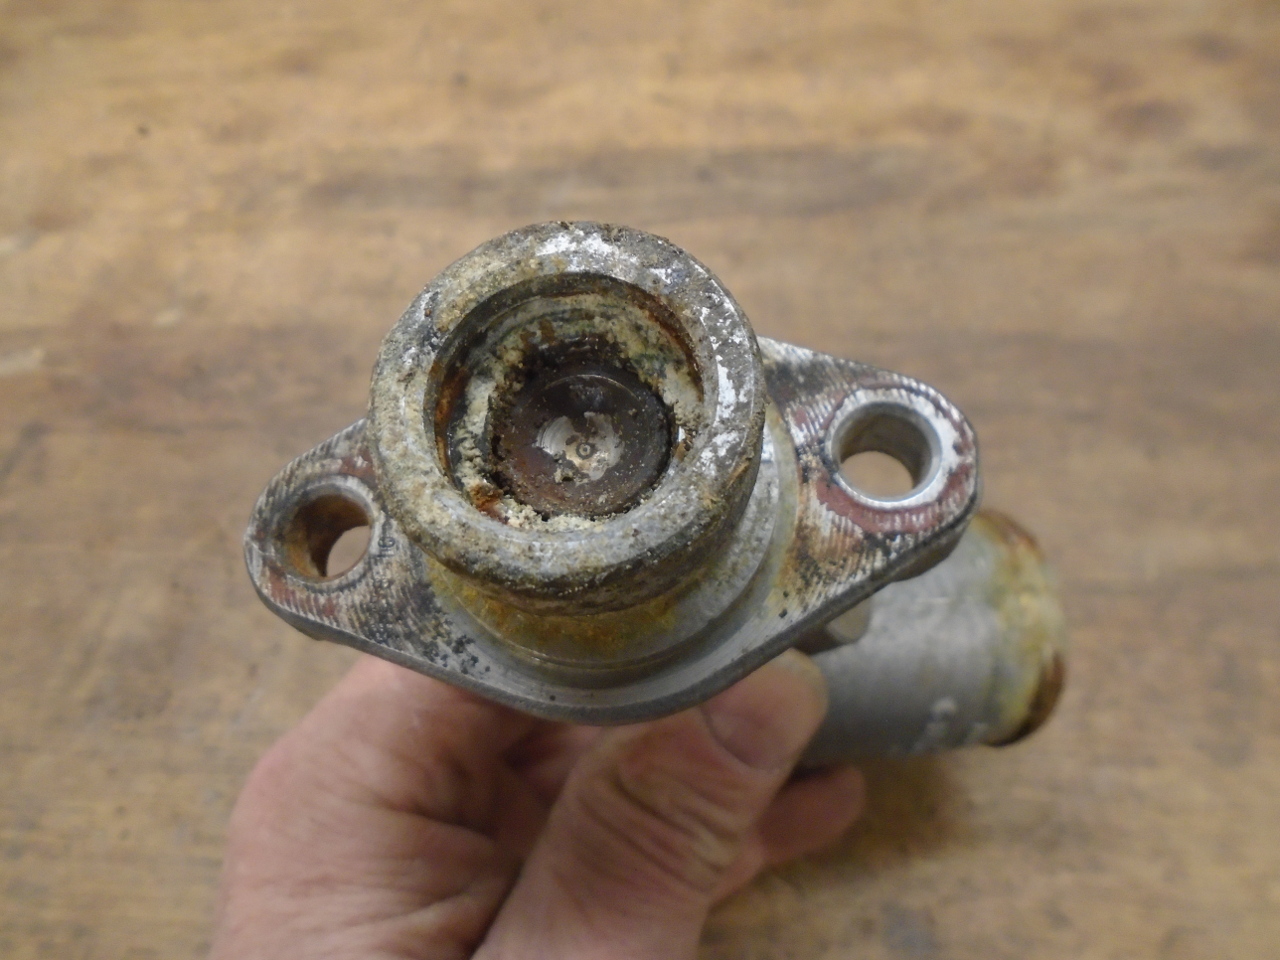
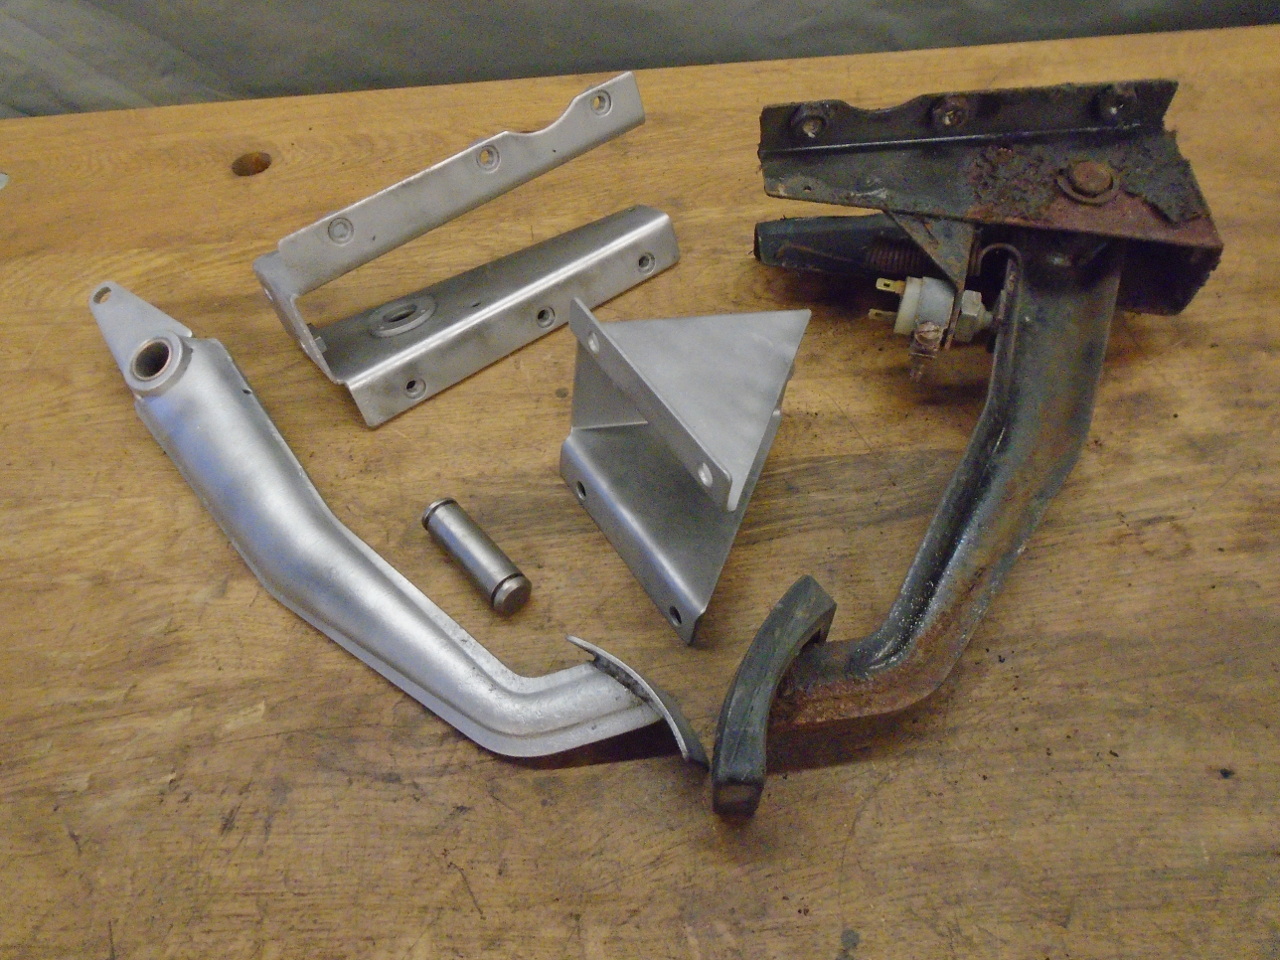
The assemblies in my car were apparently complete and intact,
though there was a lot of grime in addition to the very common
evidence of brake fluid damage.
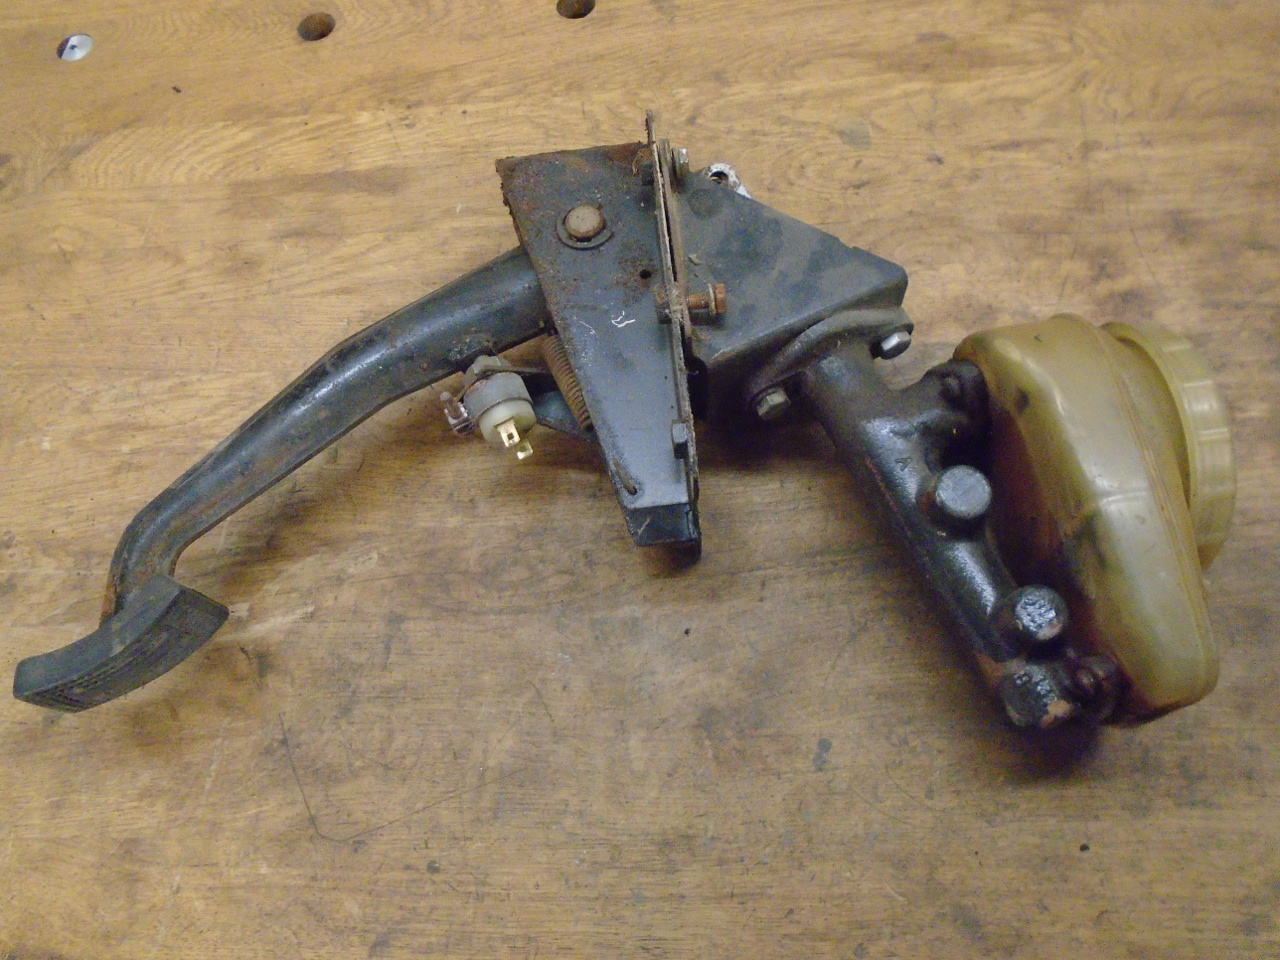
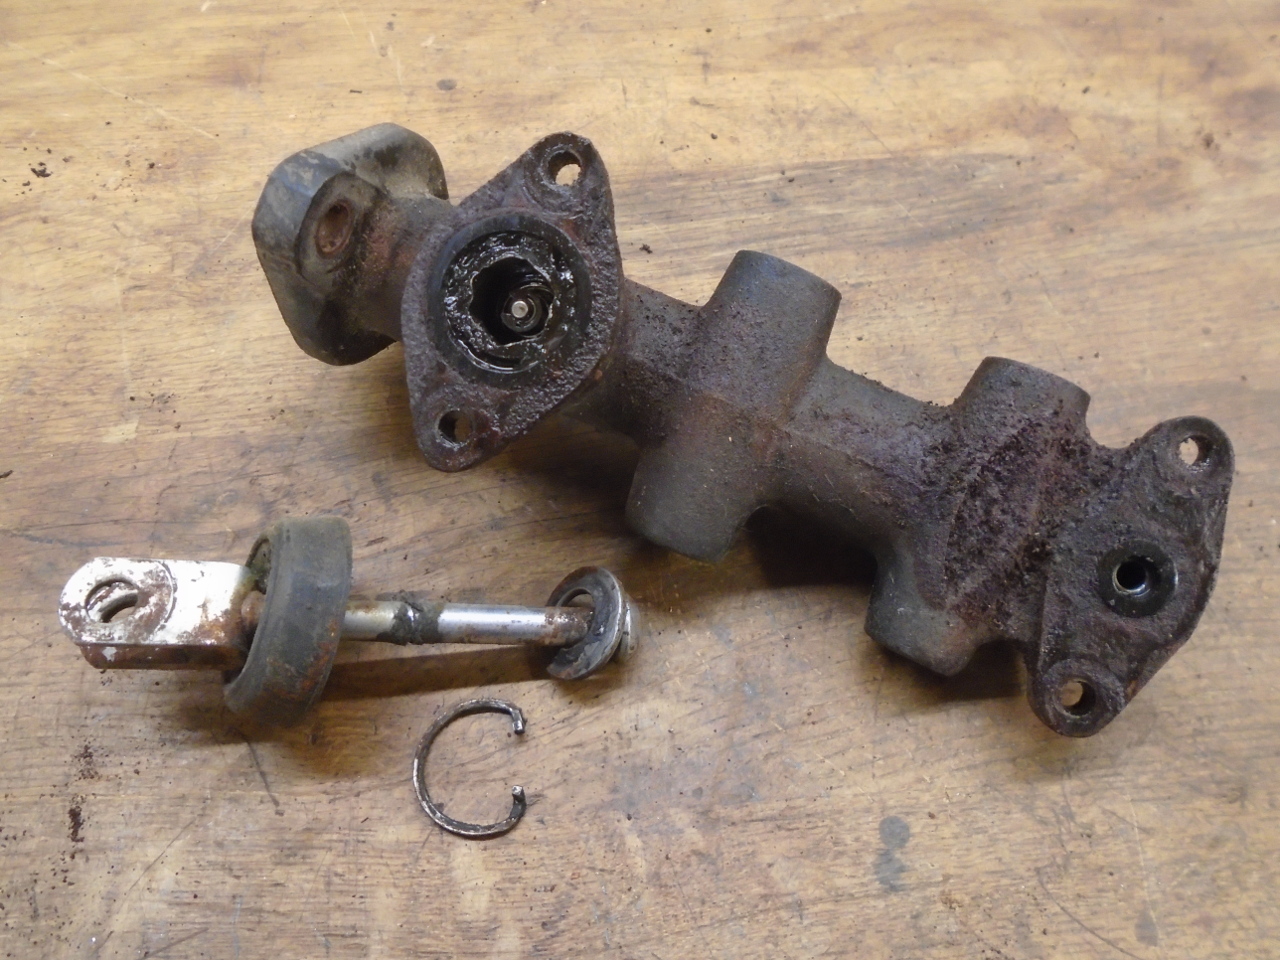
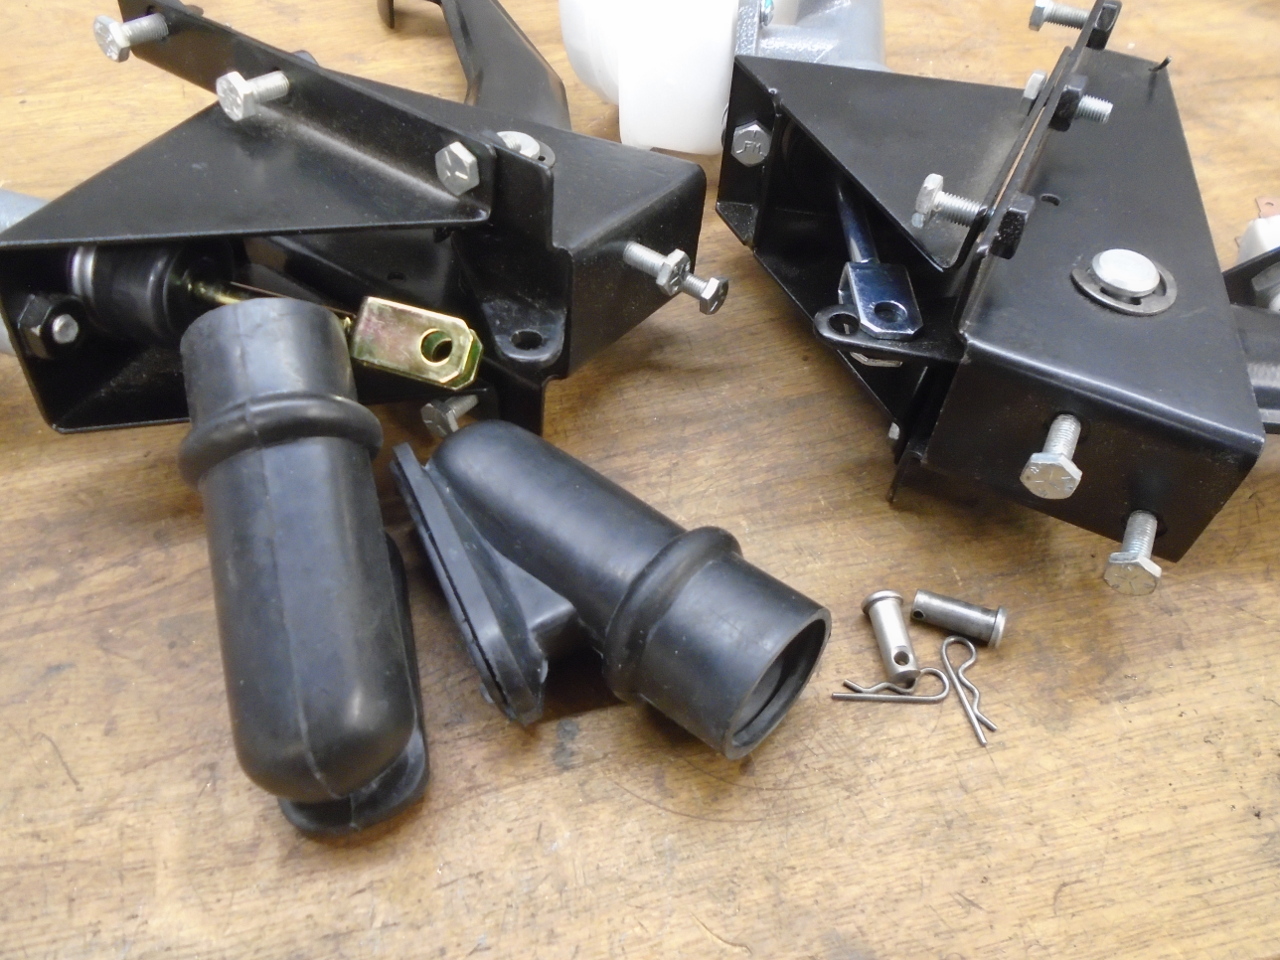
I seperated the cylinders from the bracketry to get a better
look.
Both cylinders were pretty cruddy, but the deal breaker for both
was significant corrosion pitting in the bores. I looked
briefly into having the bores sleeved, but it didn't seem to be
that cost effective for parts that are easy to buy.
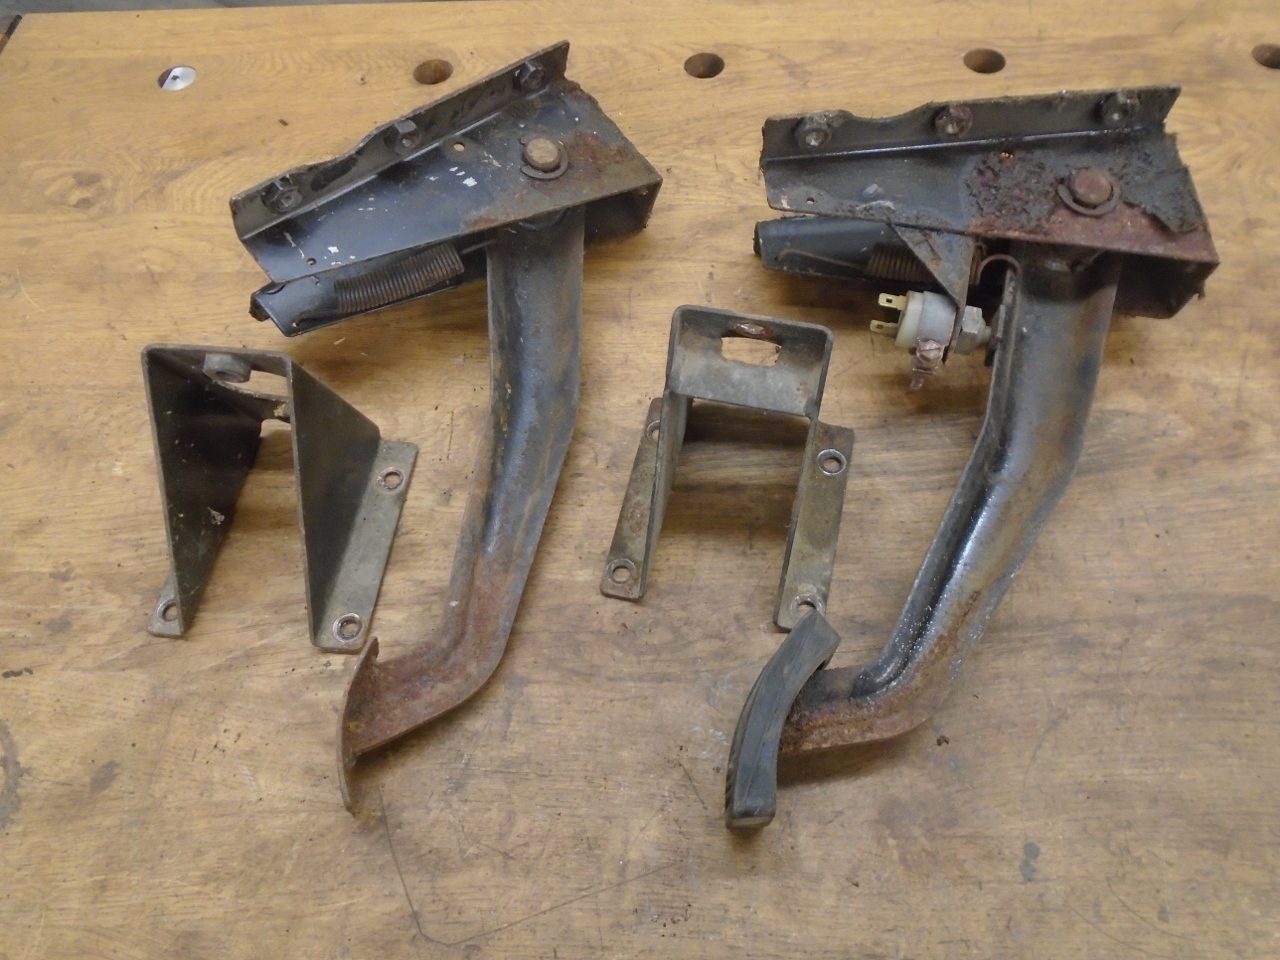
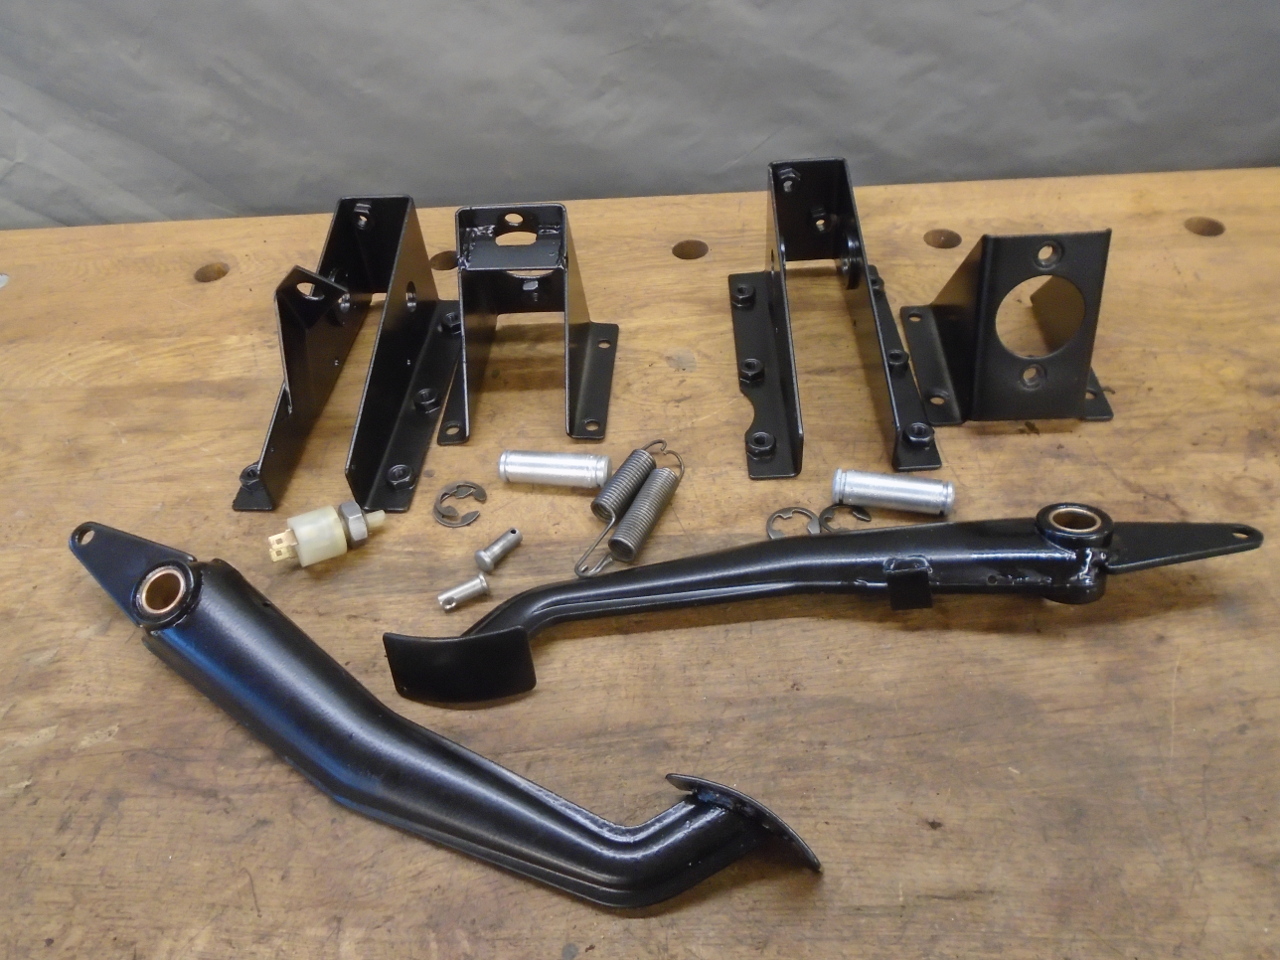
I ordered new cylinders and turned to the pedal
assemblies. Each pedal is just a simple lever with a
mechanical advantage of about four to one. The
Oilite-bushed fulcrums ride on beefy 5/8 inch pins. A
fairly stiff spring pulls each pedal to its home position.
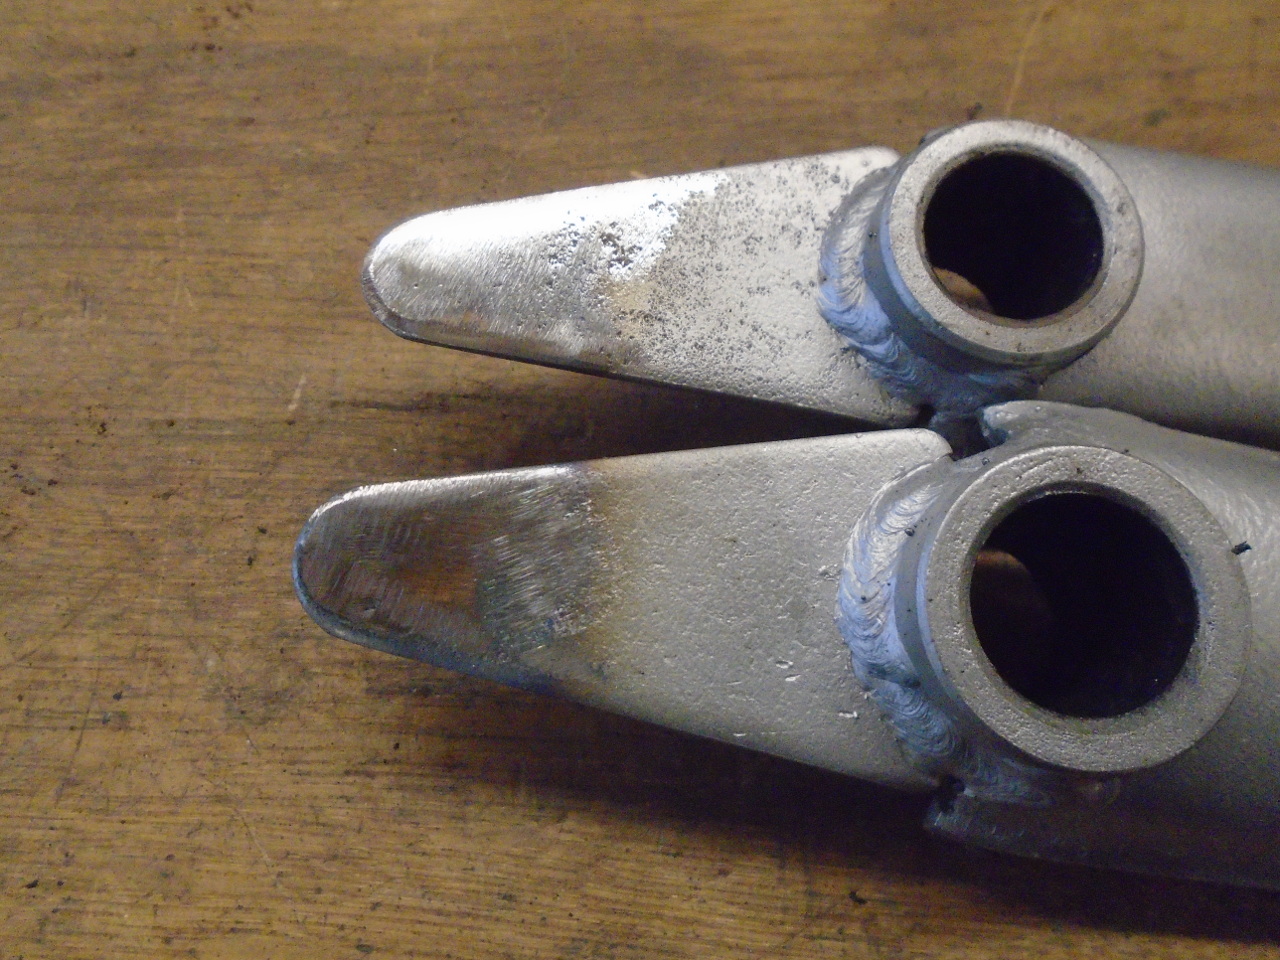
A quick sand blast did away with the paint and rust, making any
defects easier to see.
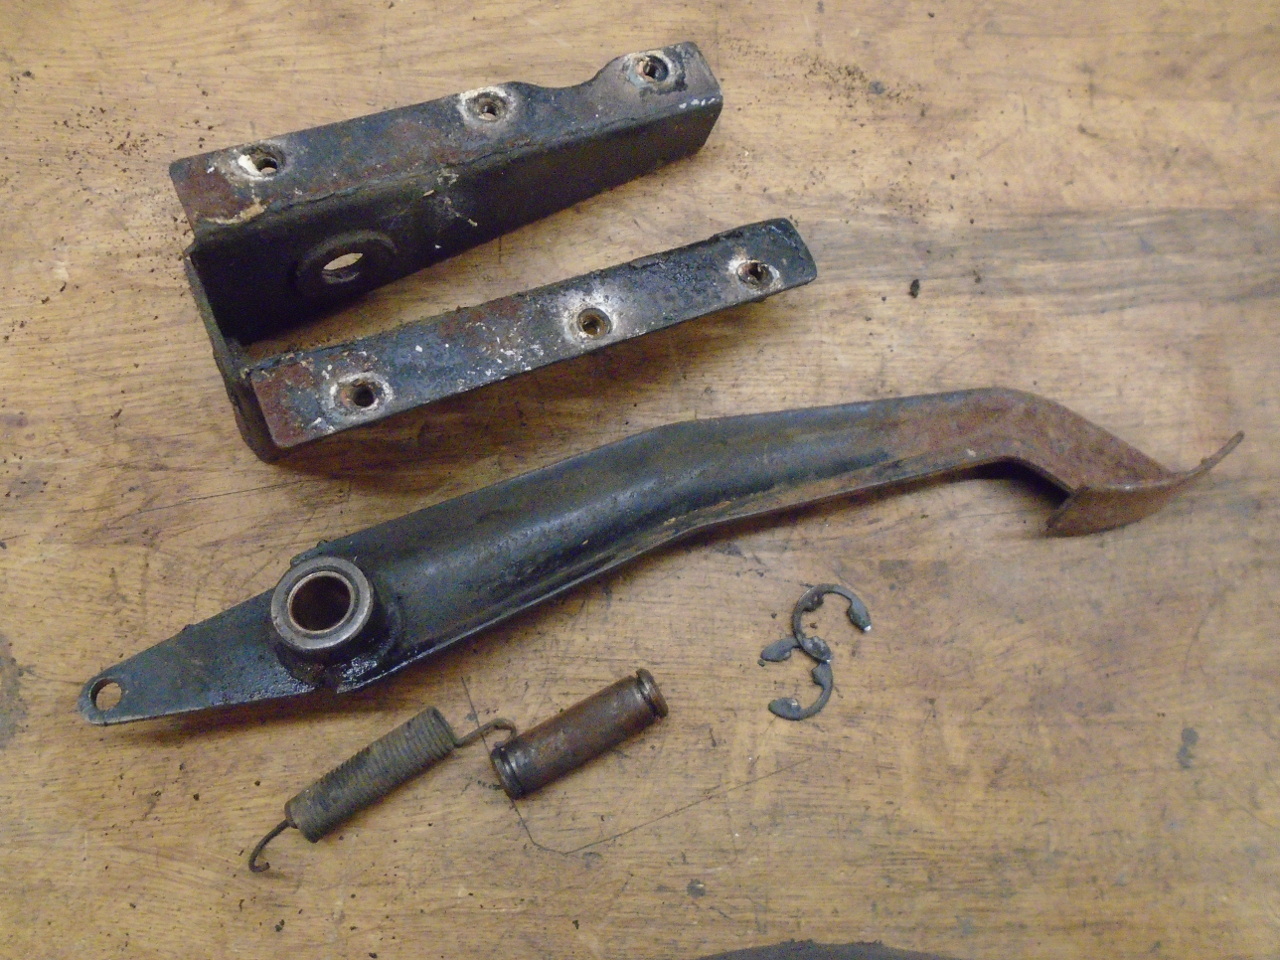
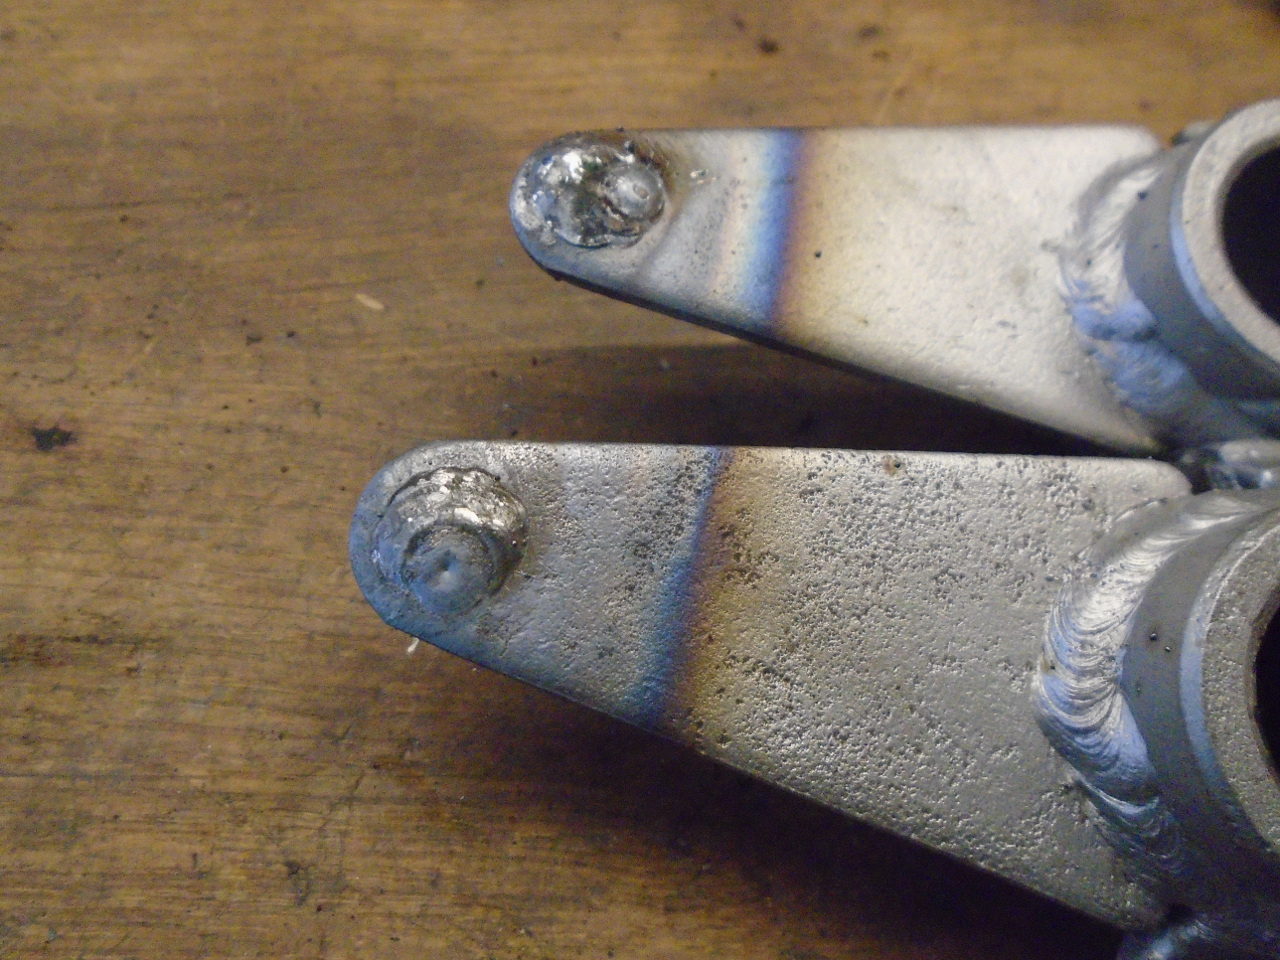
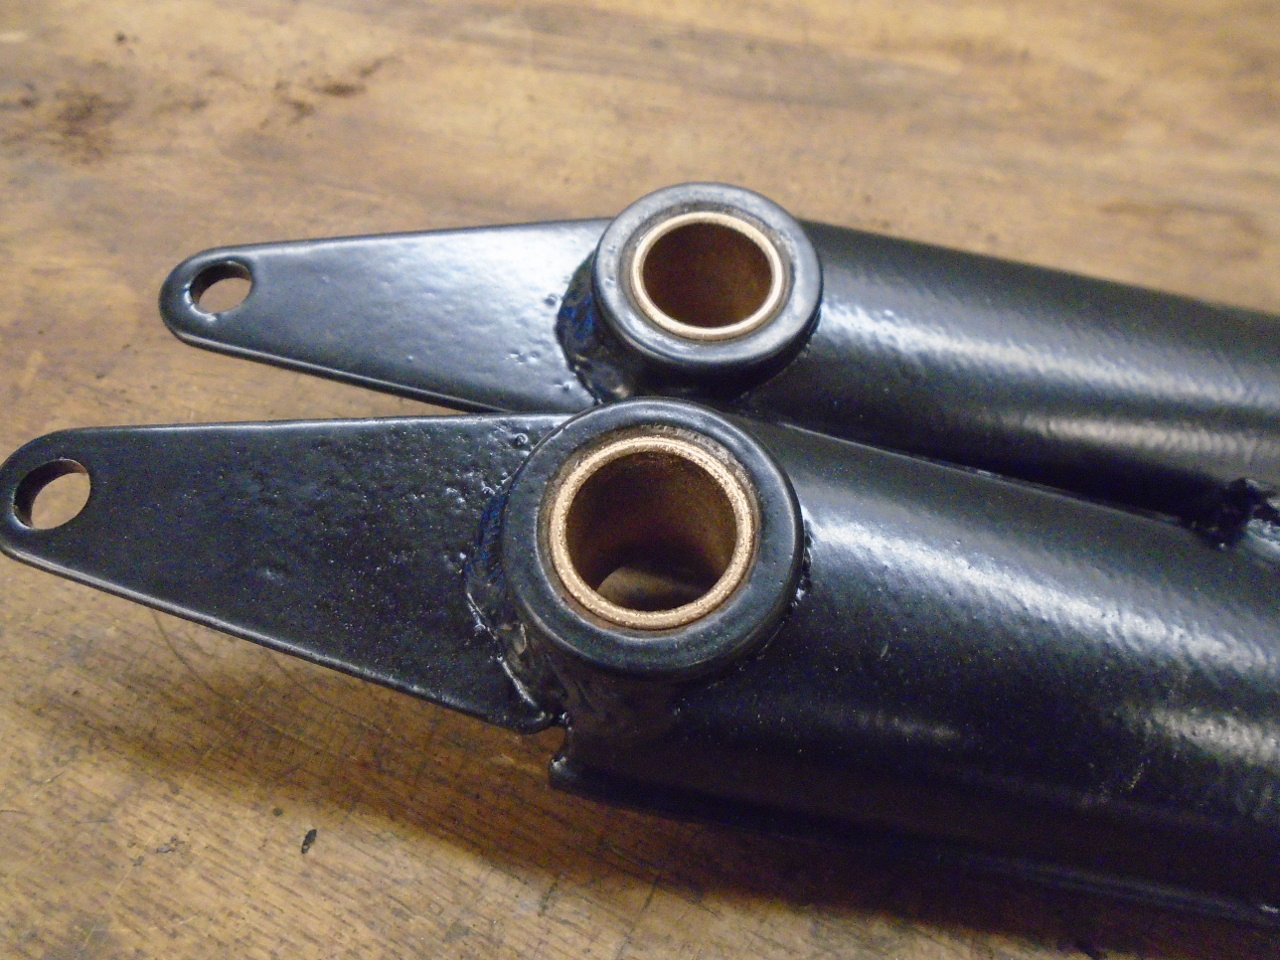
Most noticeable was the ovaled holes on the cylinder ends of the
predal arms, especially on the clutch arm.
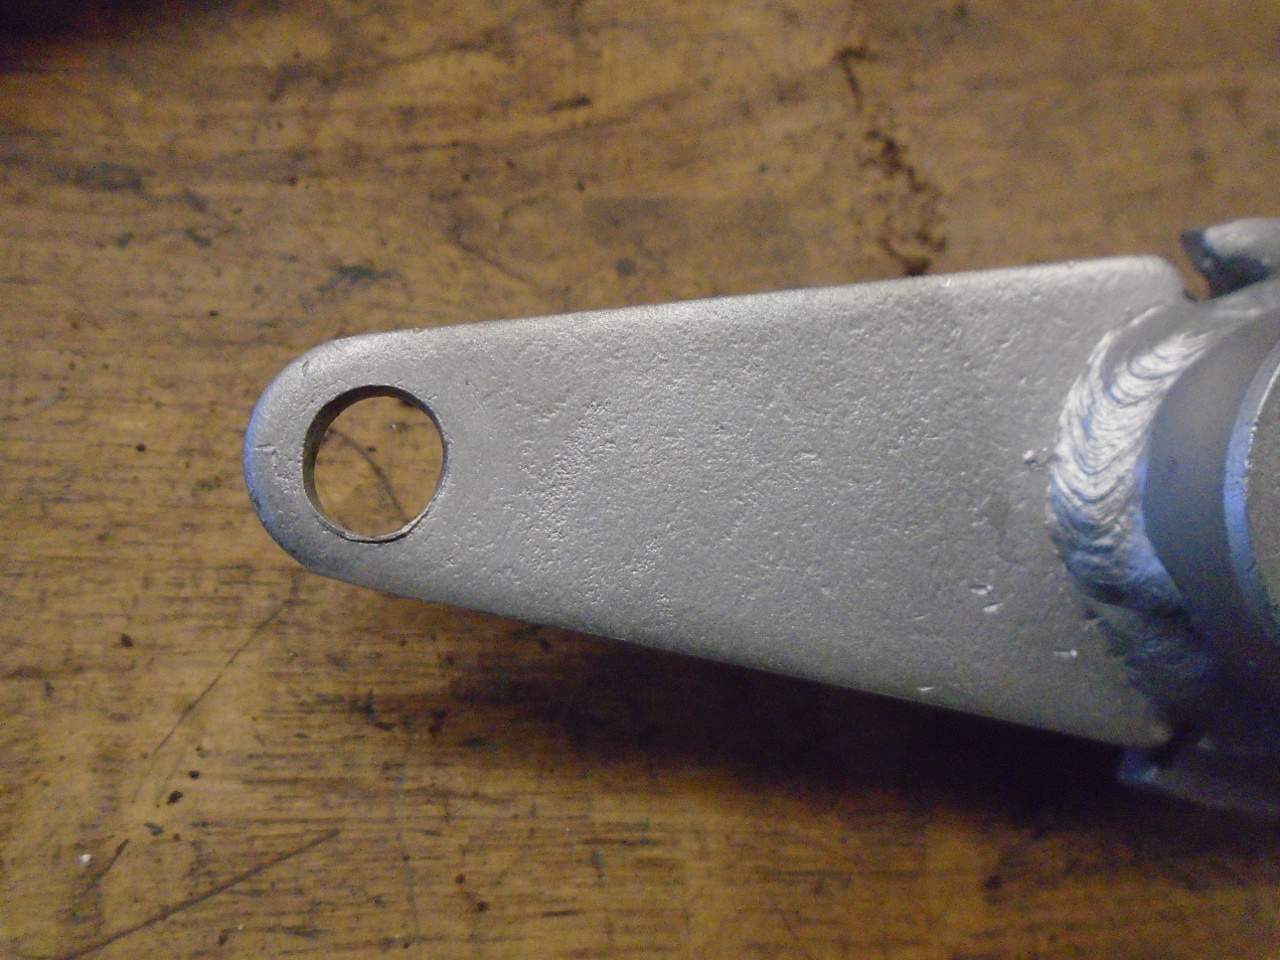
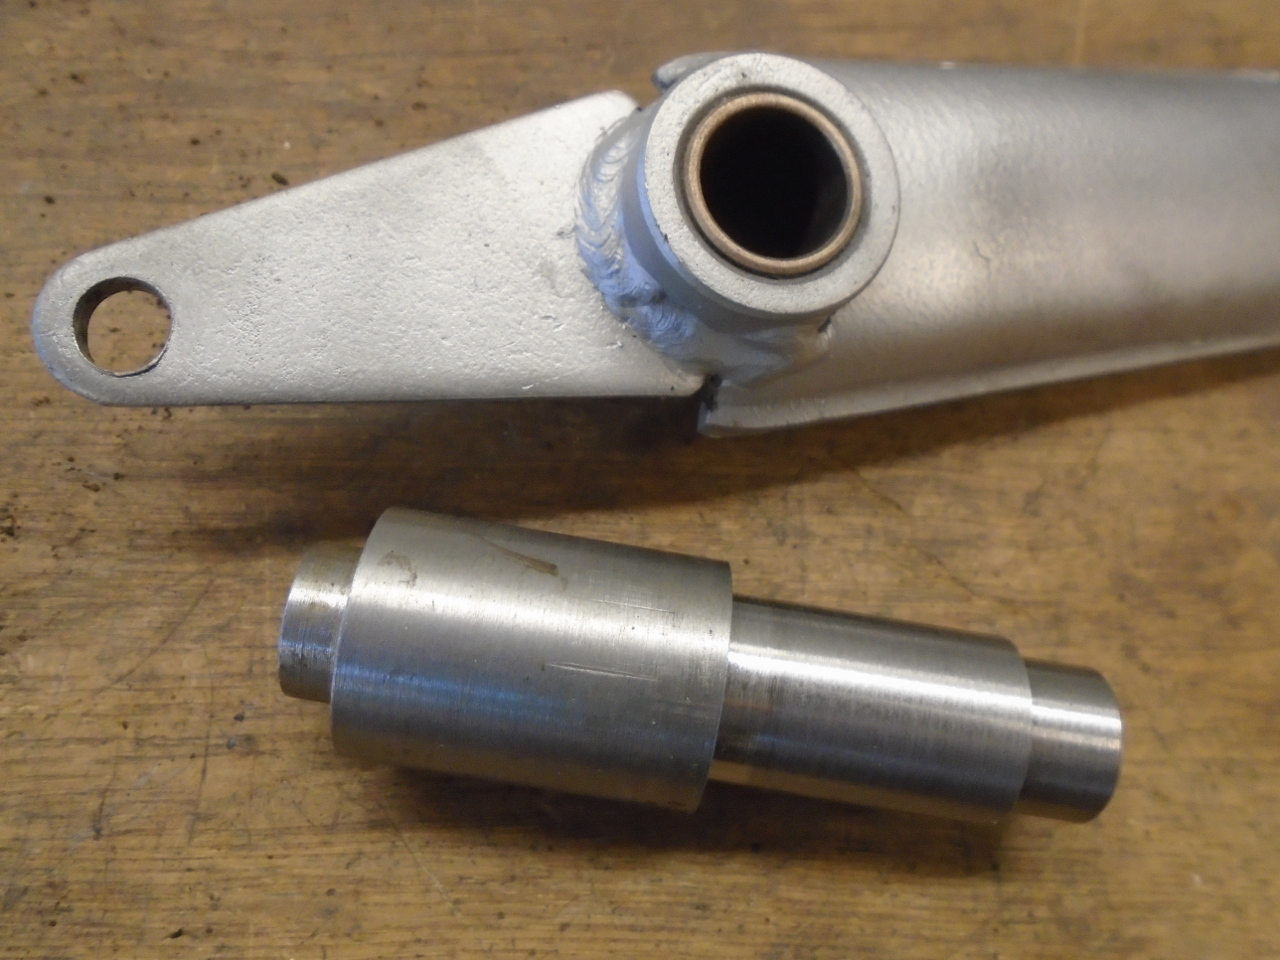
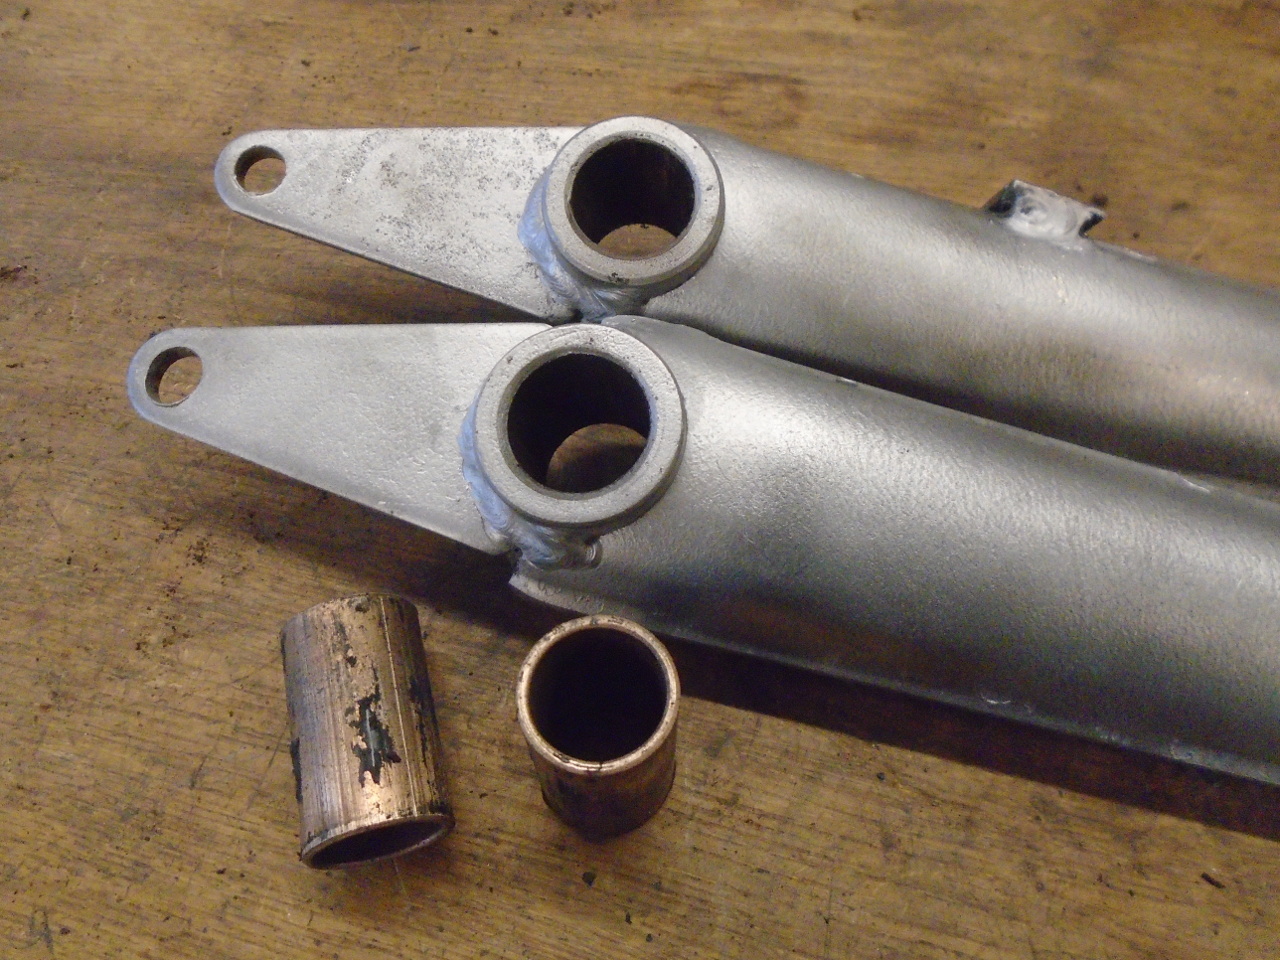
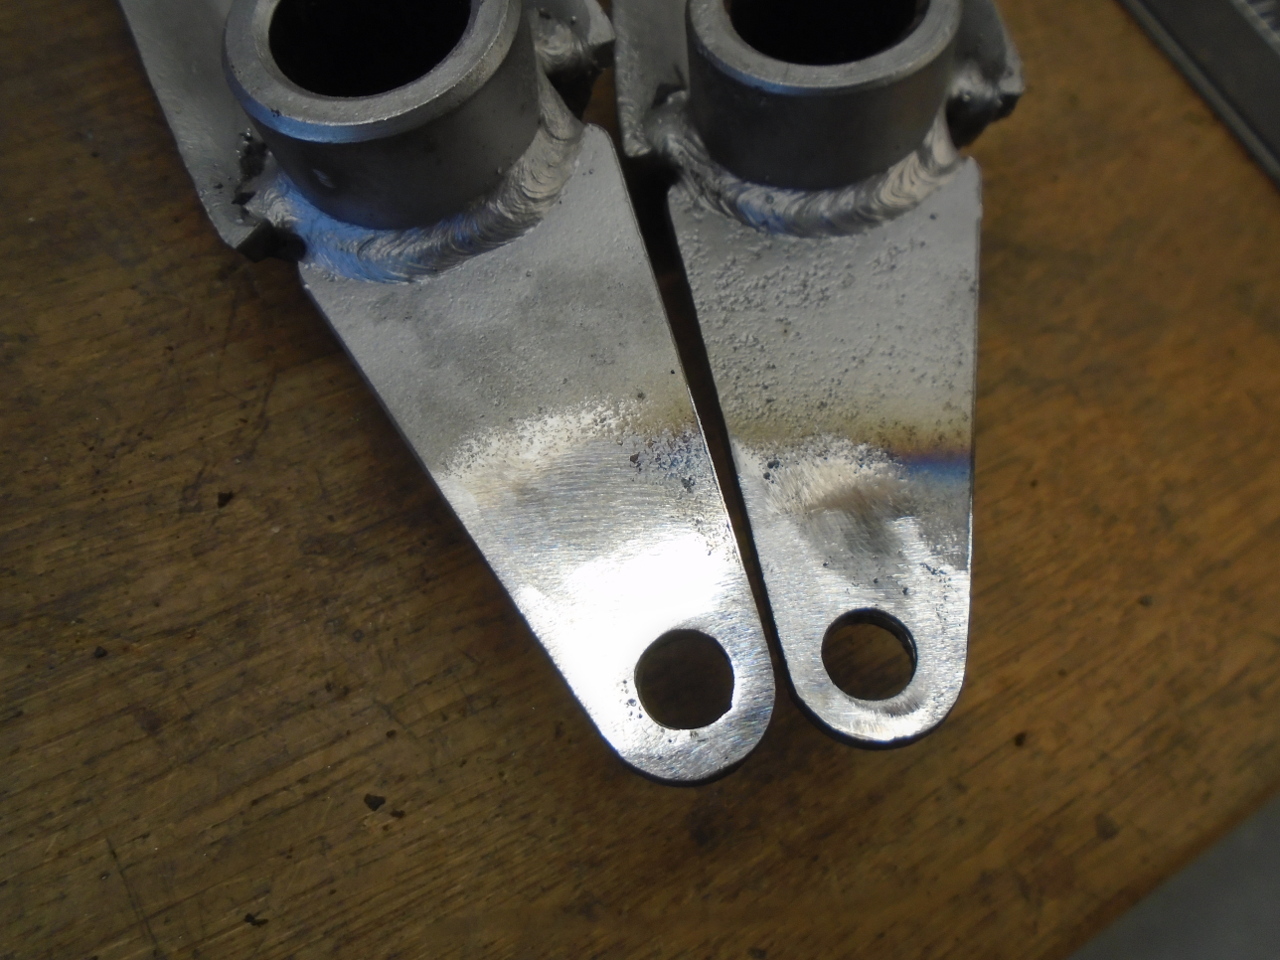
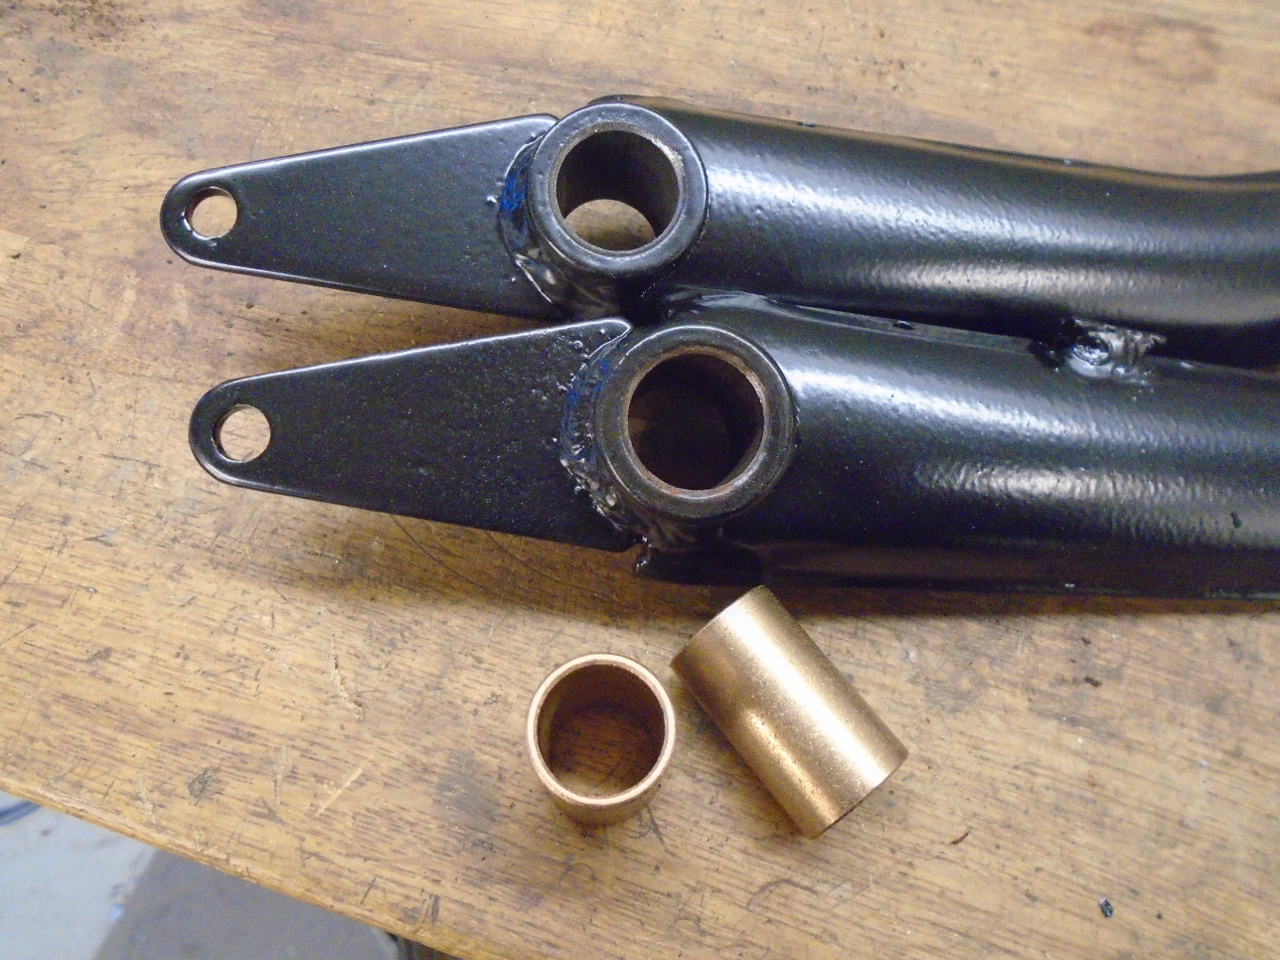
Beside that, the pins seemed a little loose on the bushes, so
out came the bushes using that little shouldered drift.
Then welded up the distorted clevis holes and re-drilled them.
Powder coated the arms, and installed new bushes. The pins
got a nice zinc plate, but this made them fit a little too tight
in the bushes, so I had to remove some of it.
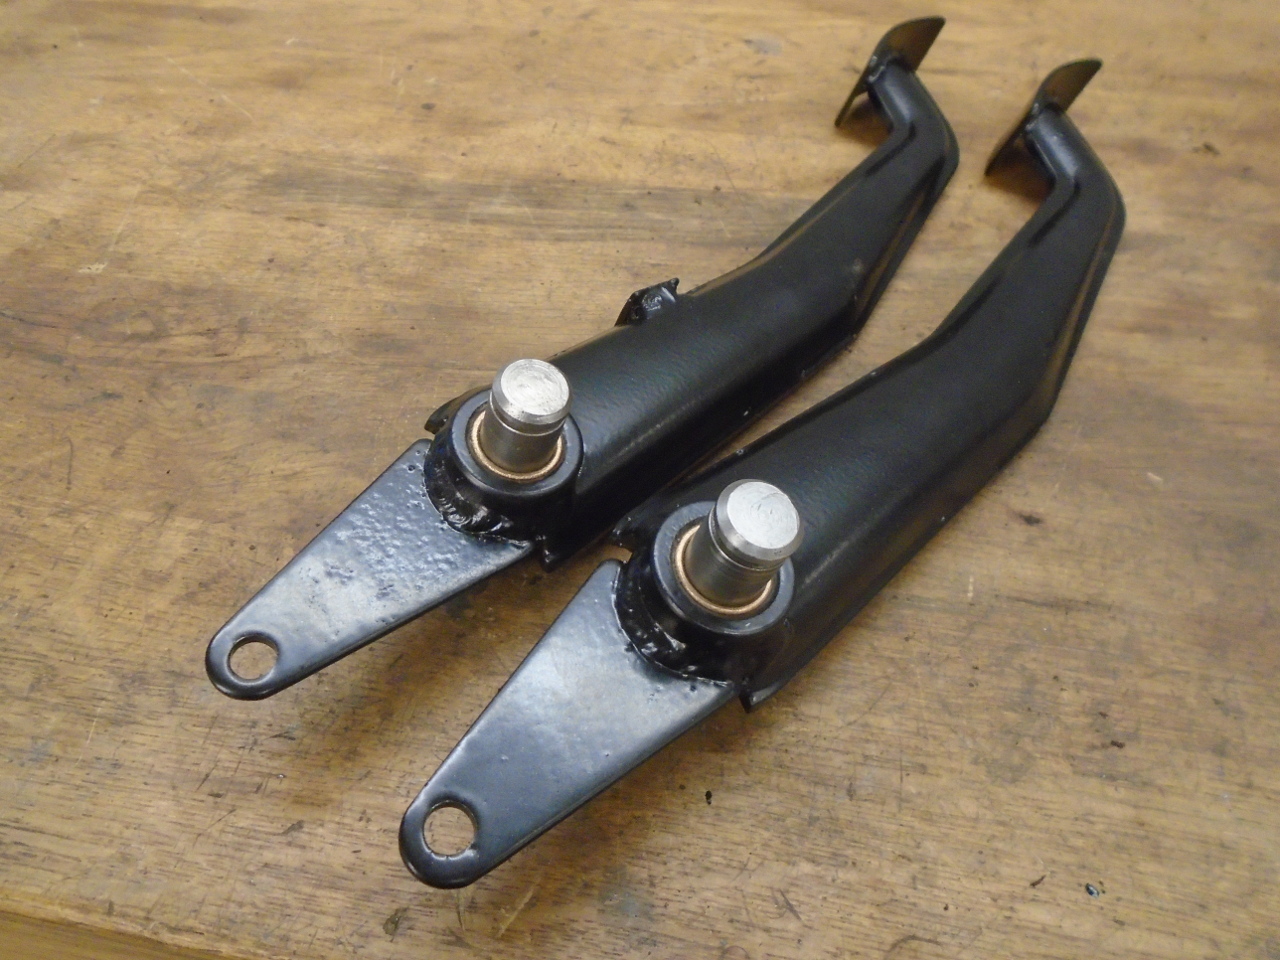
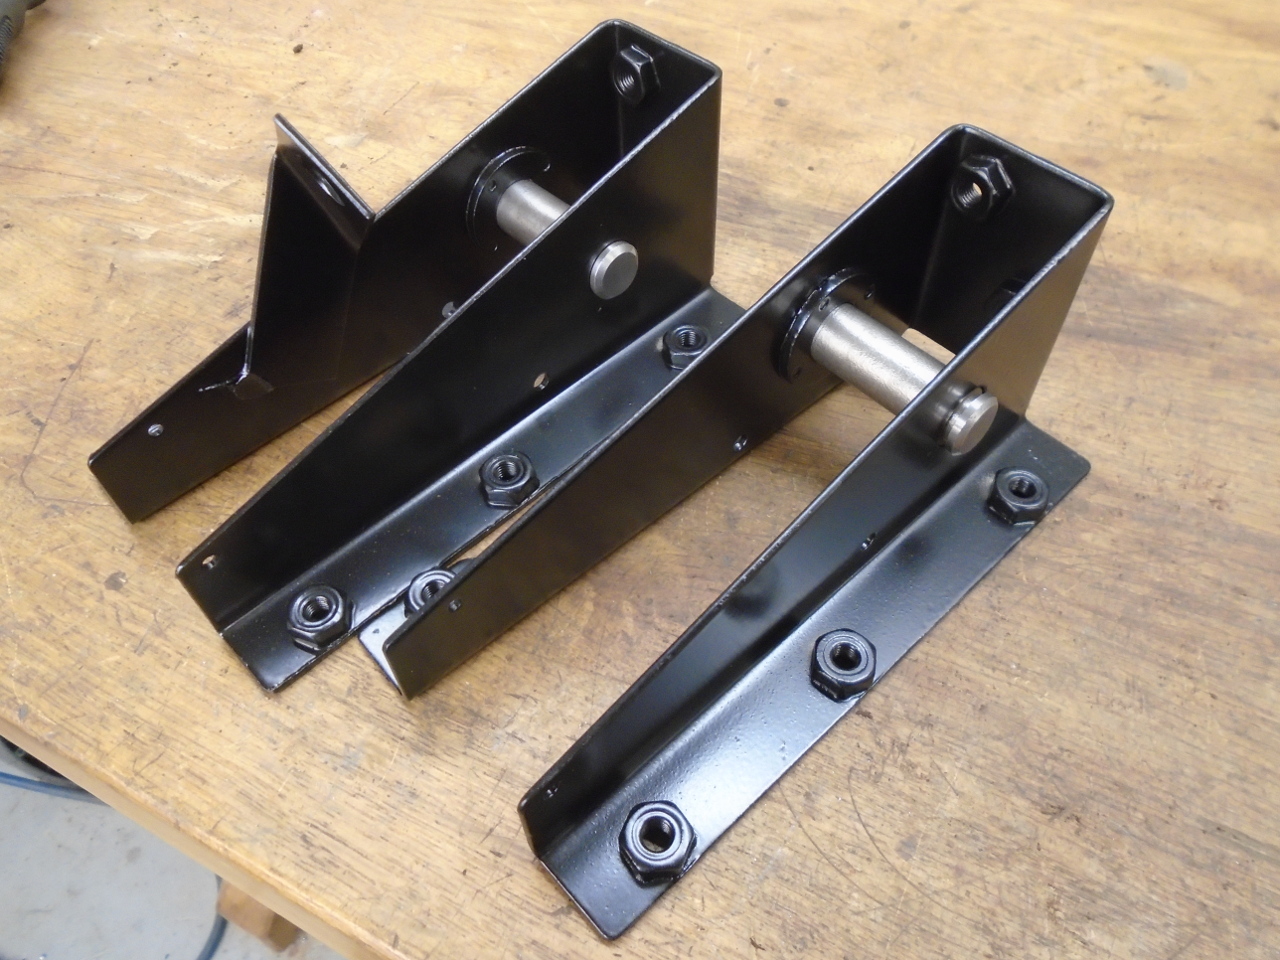
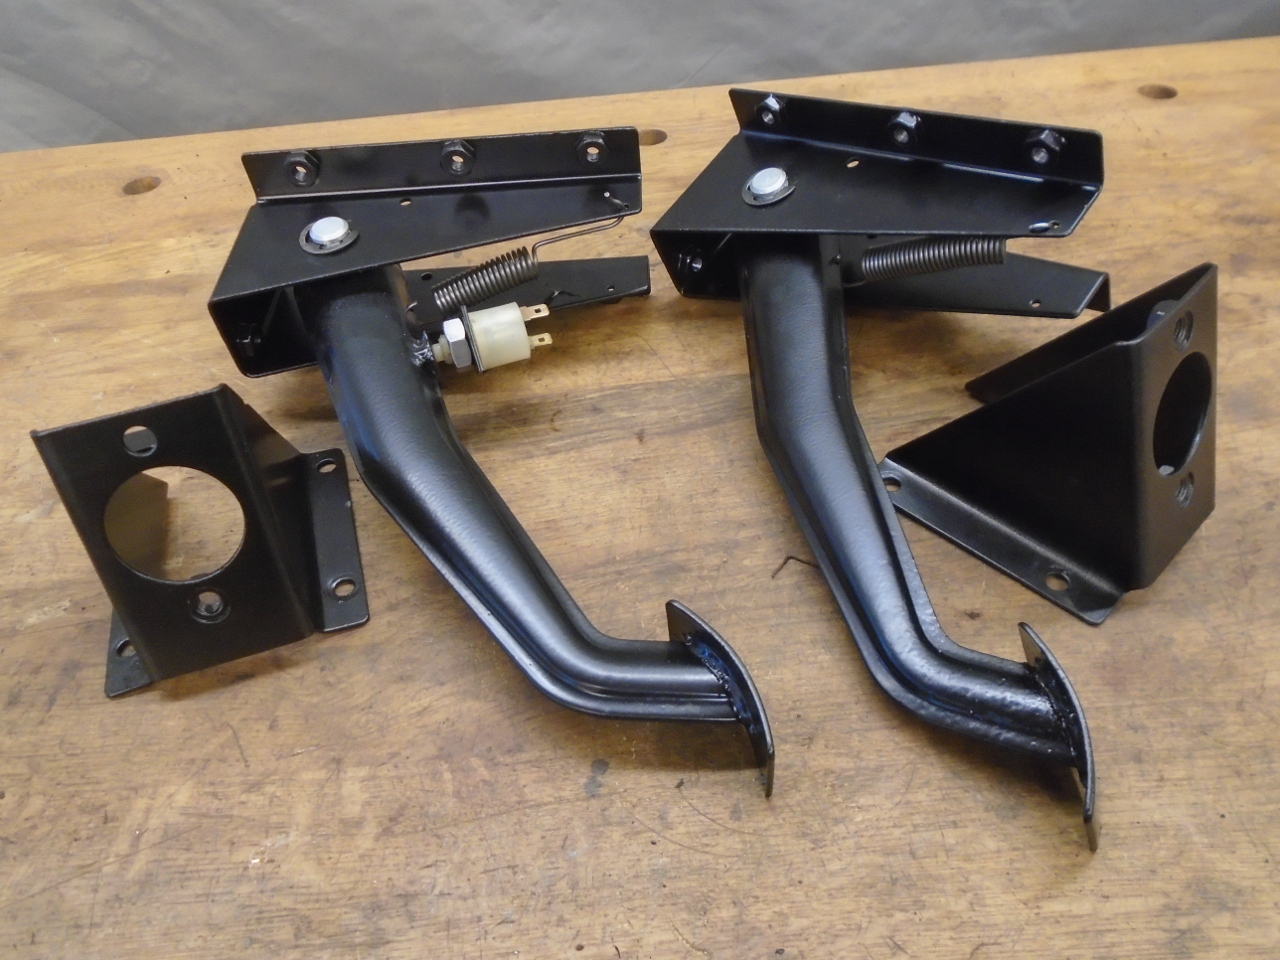
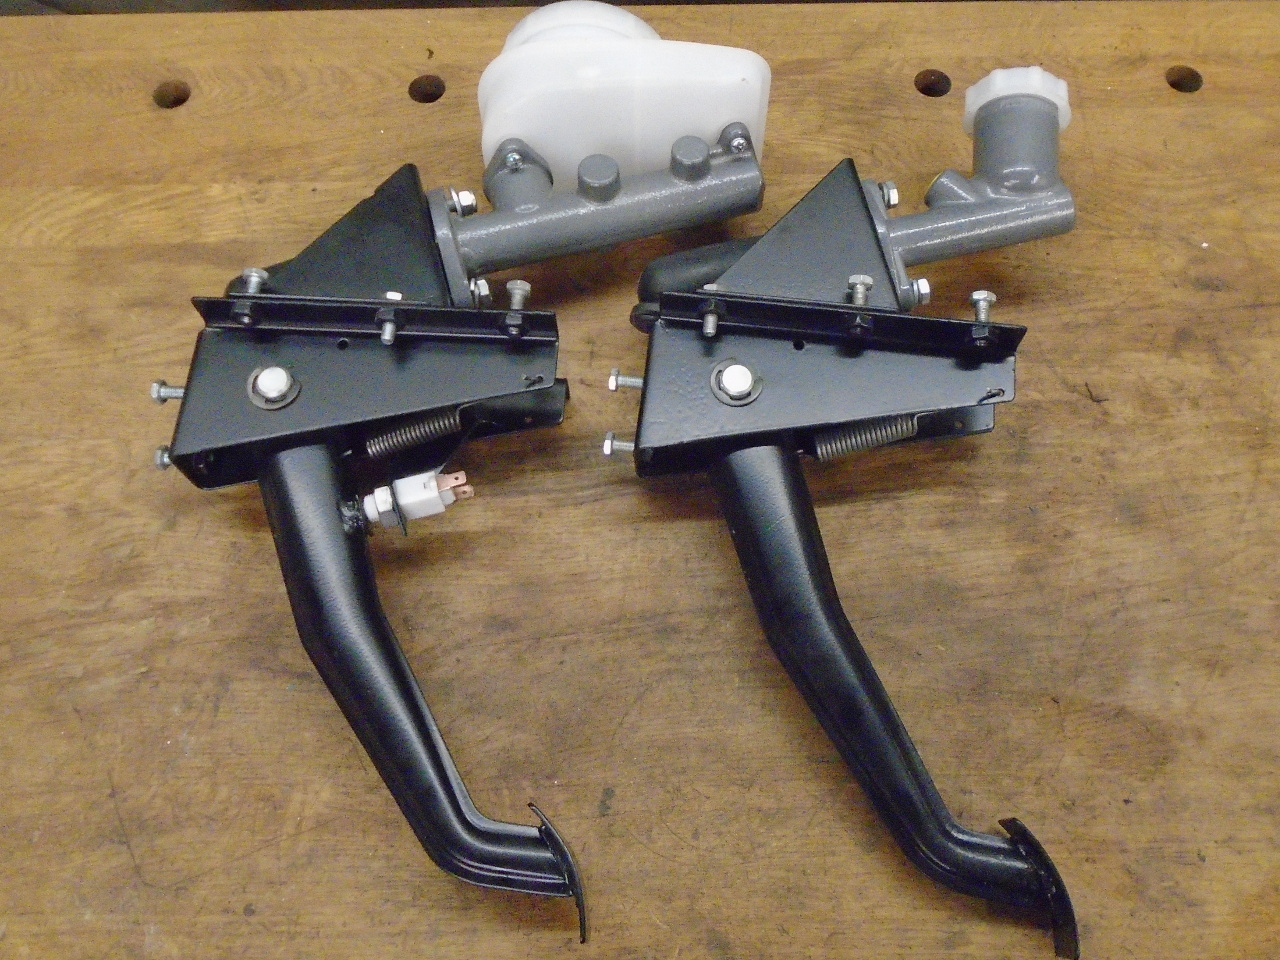
Then Powder coated the brackets and did a test fit.

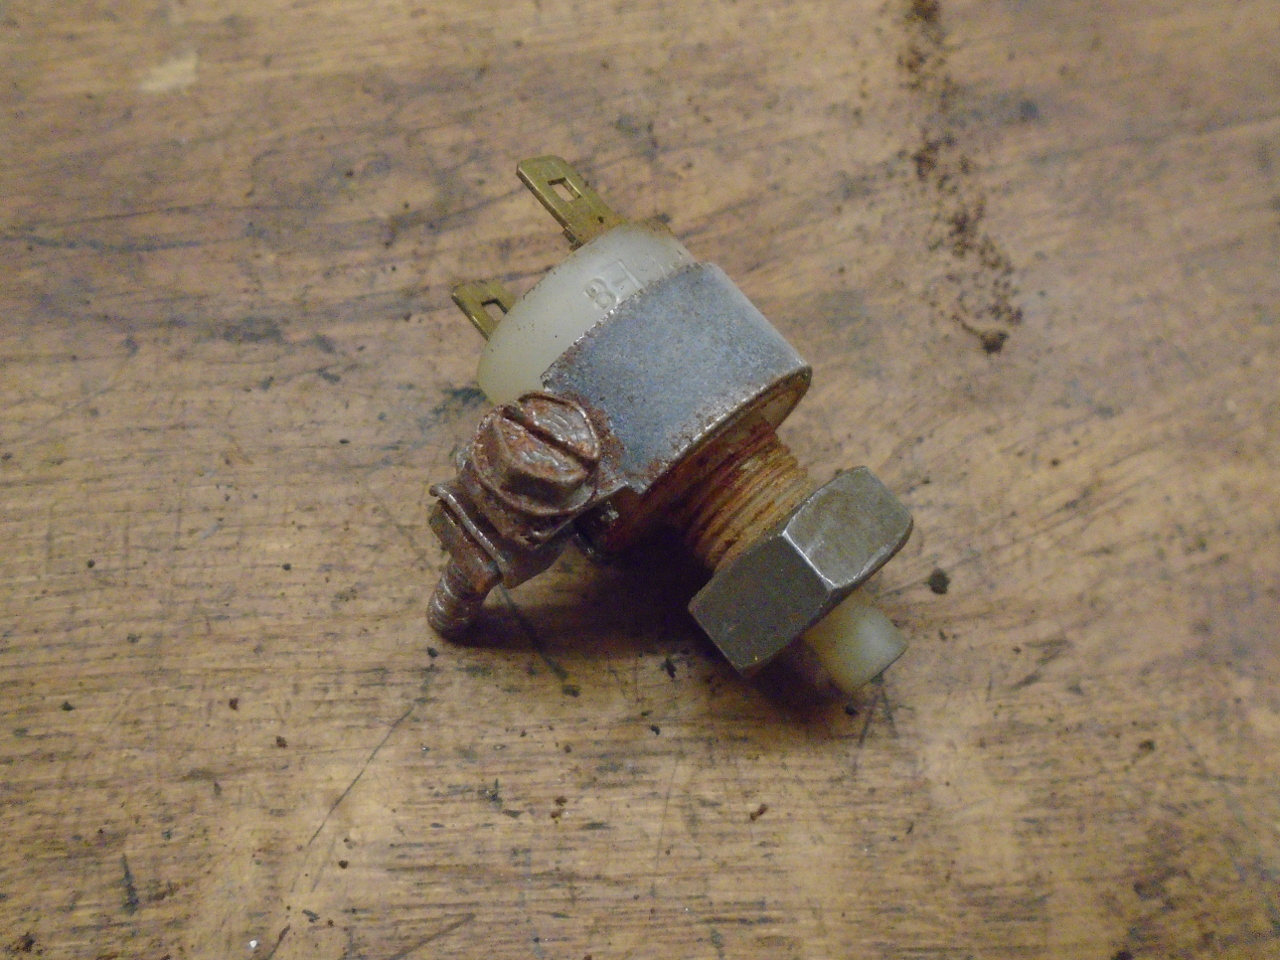
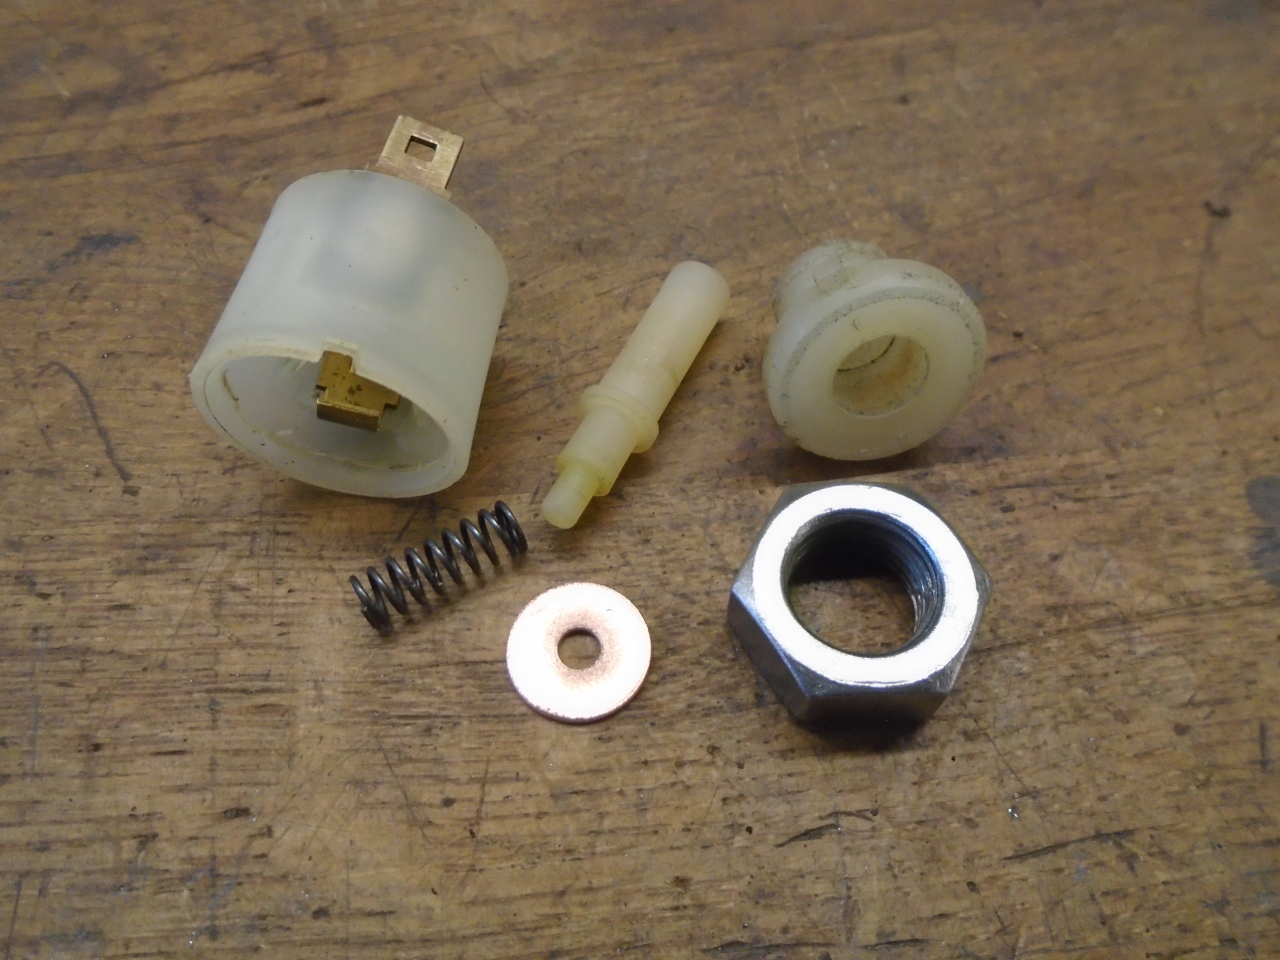
The brake switch looked a little odd with that hose clamp around
it. I sort of suspected why it was there, but proceeded as
if I didn't. There was a lot of dried up grease inside,
but it all cleaned up and went together well.
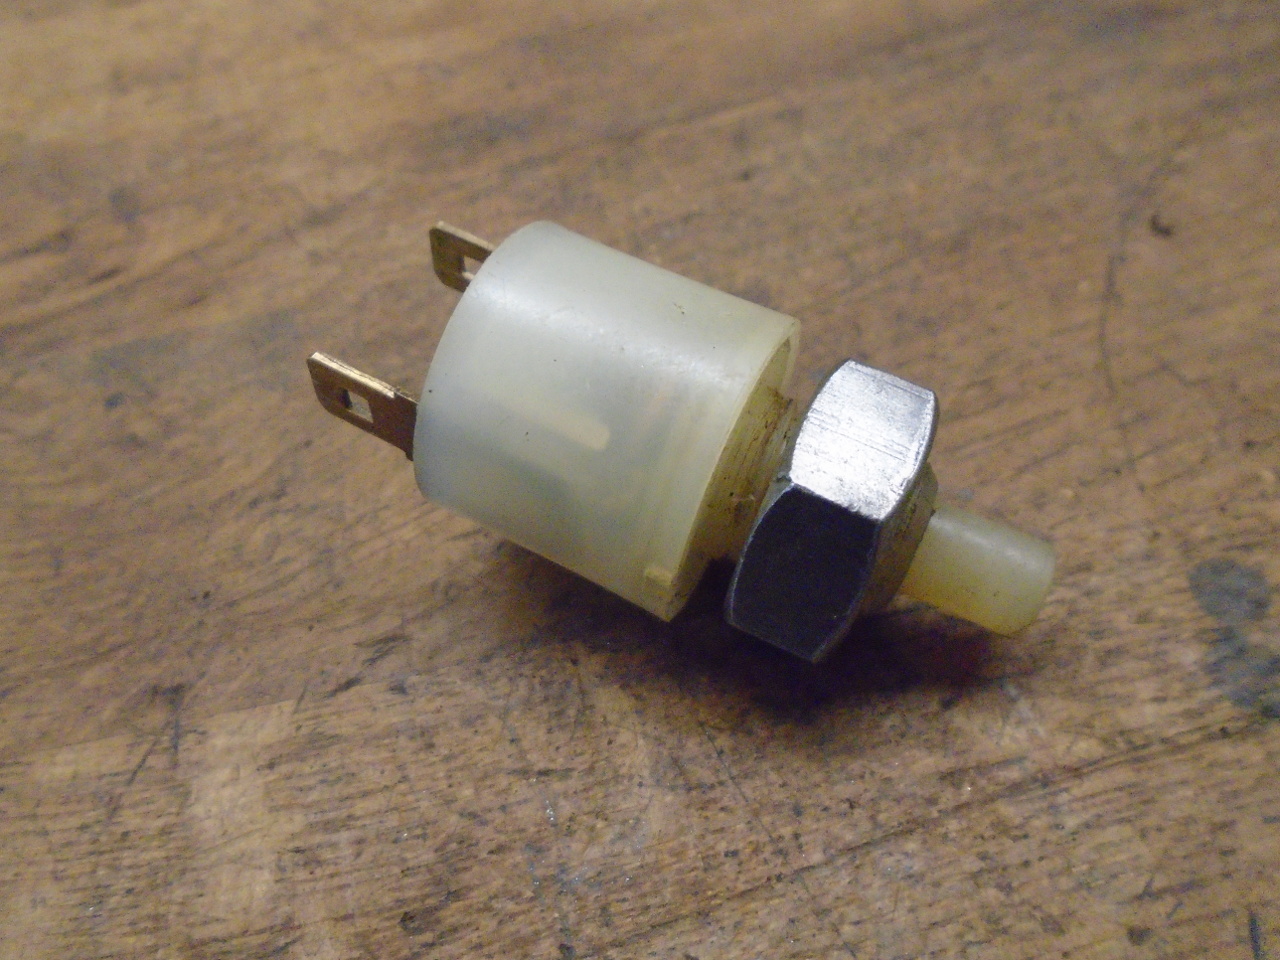
All the parts for the pedal assemblies. Notice the new
brake switch in the second and third pics. The old one
would just pop apart without much provocation. I was right
about the hose clamp.
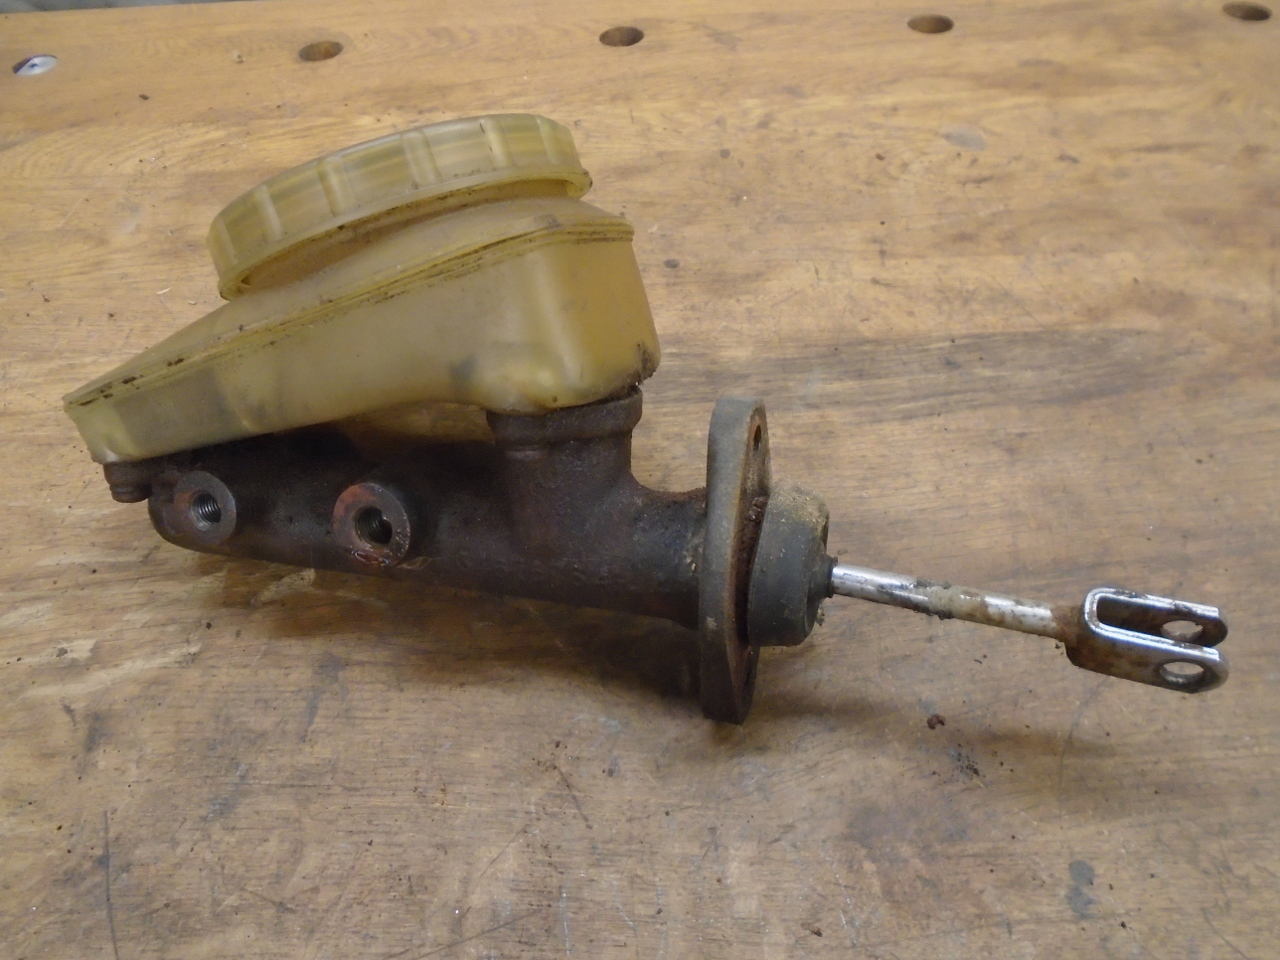
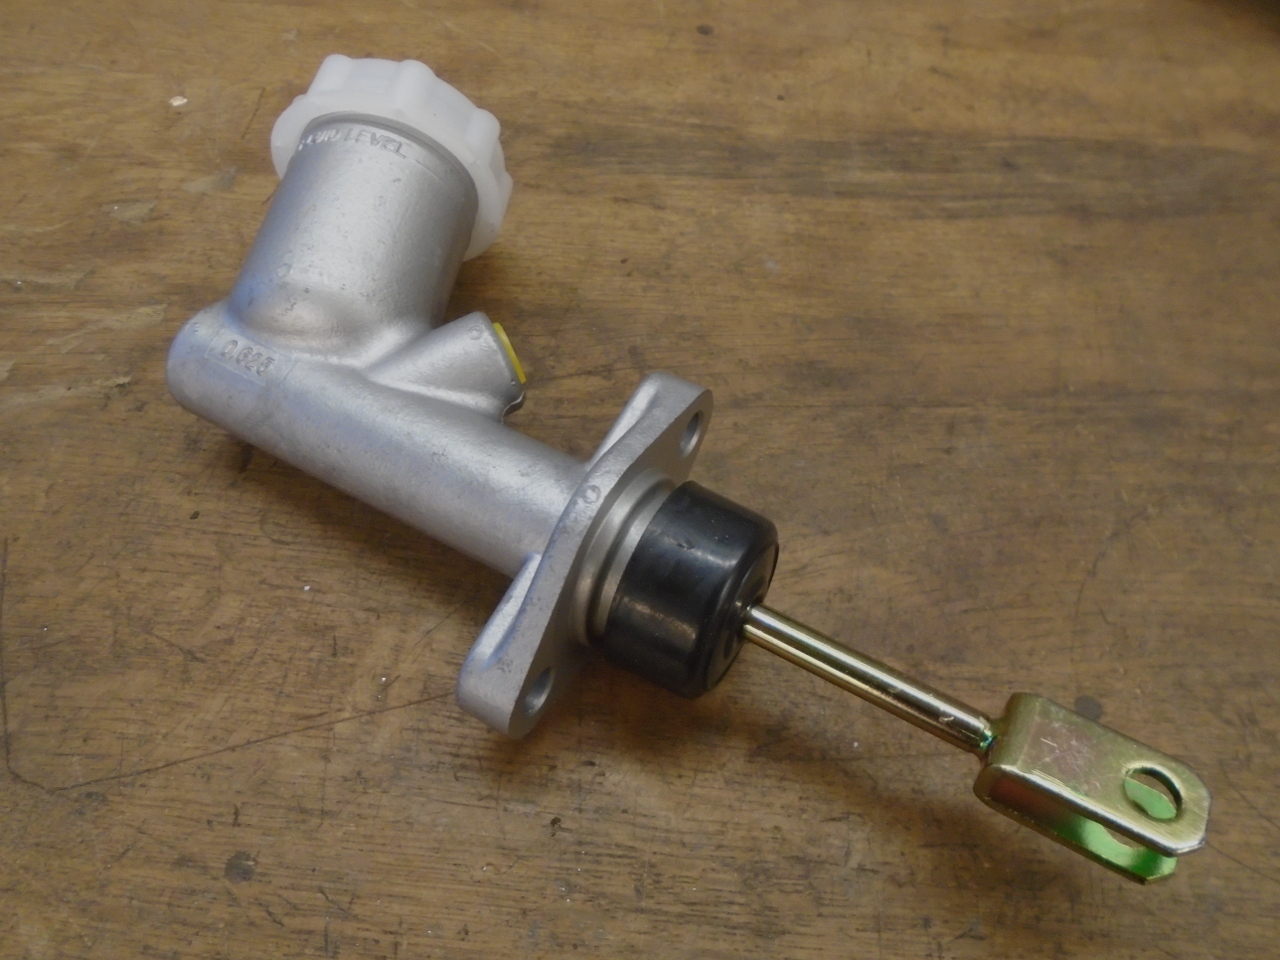
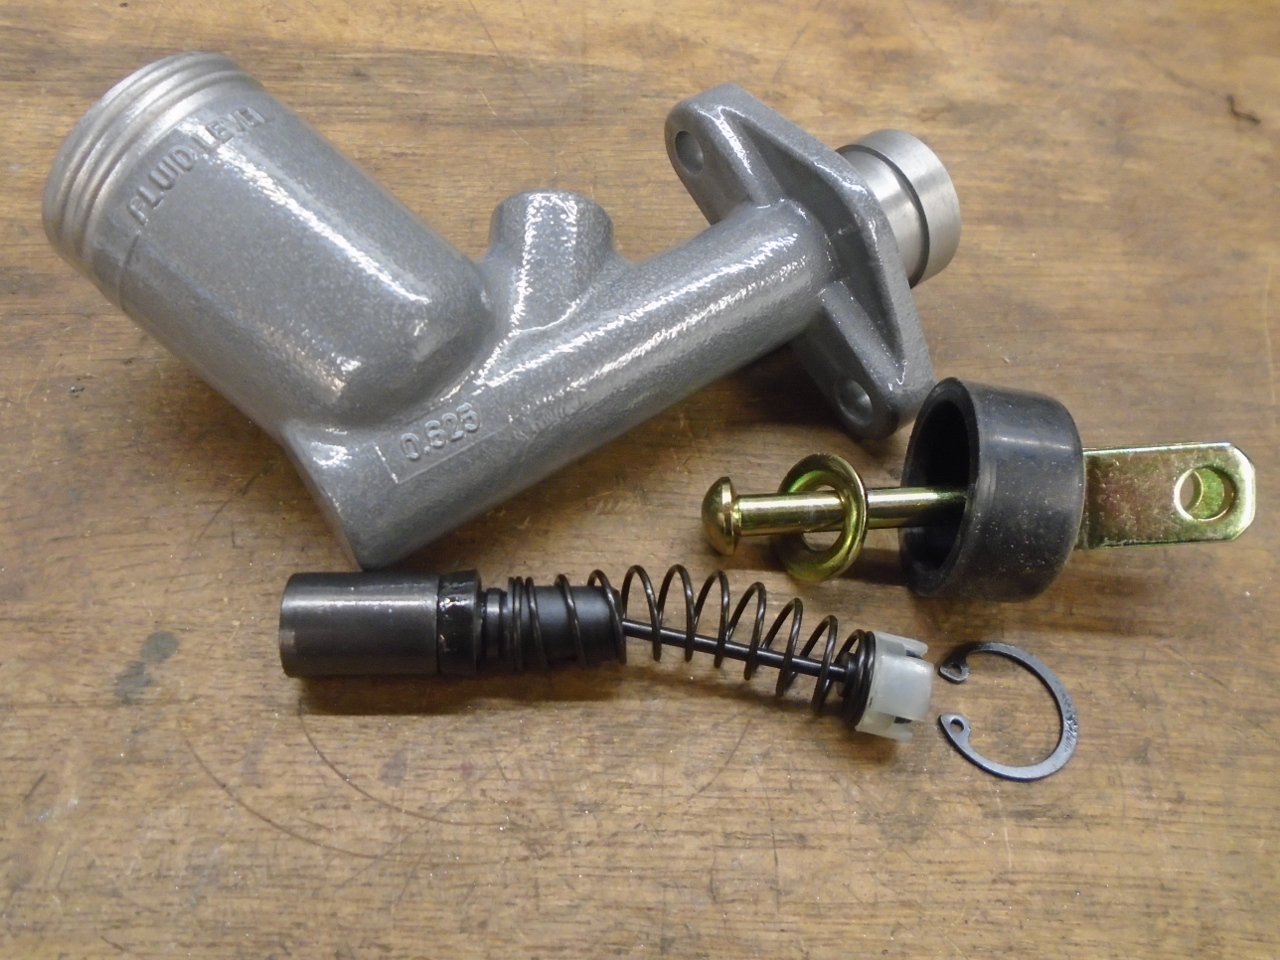
About this time, the new master cylinders came in. The
clutch cylinder is very simple. Considering my experience
with aftermarket parts, I took it apart for inspection and
cleaning.
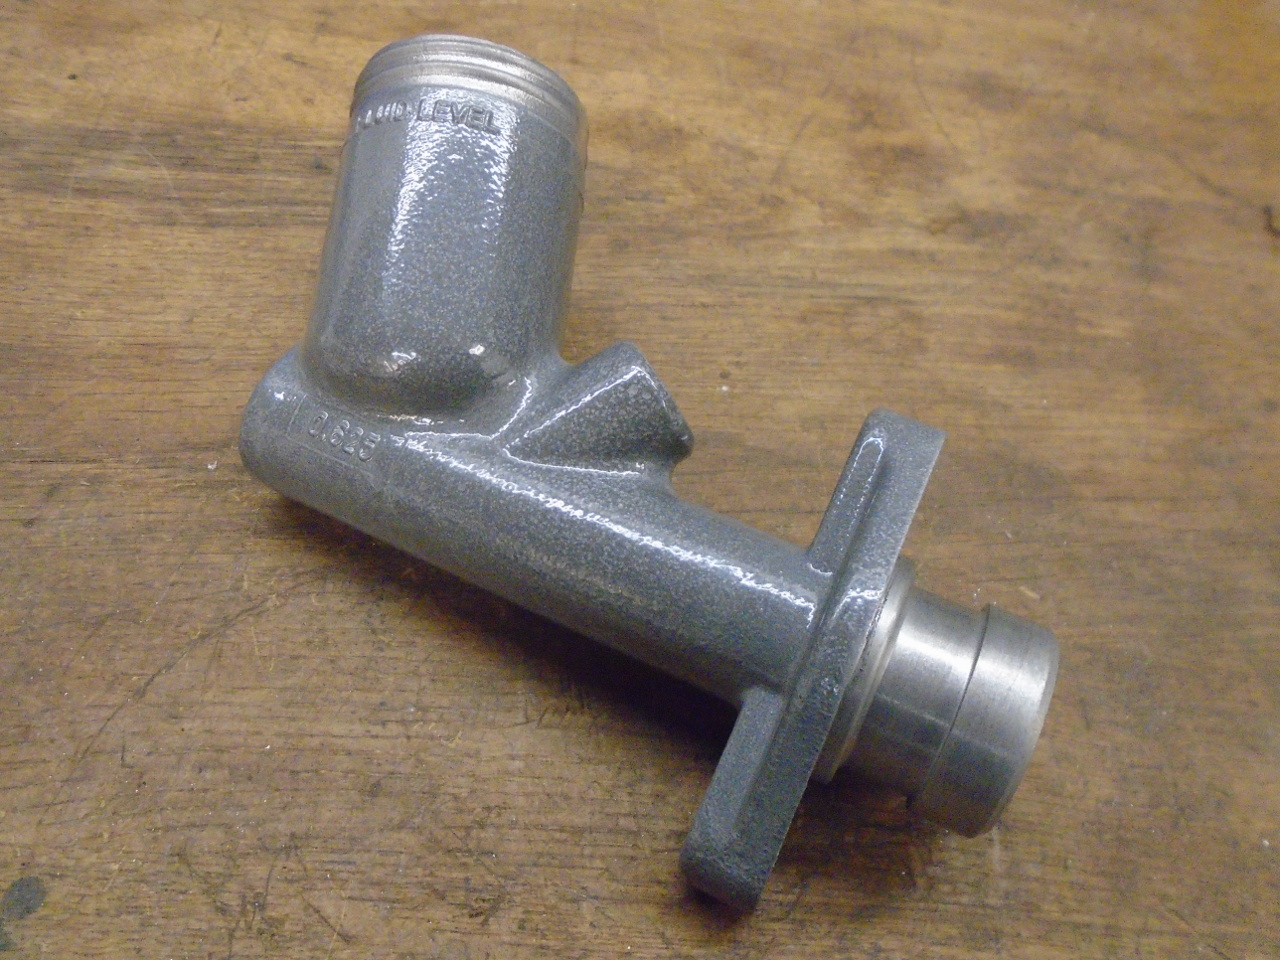
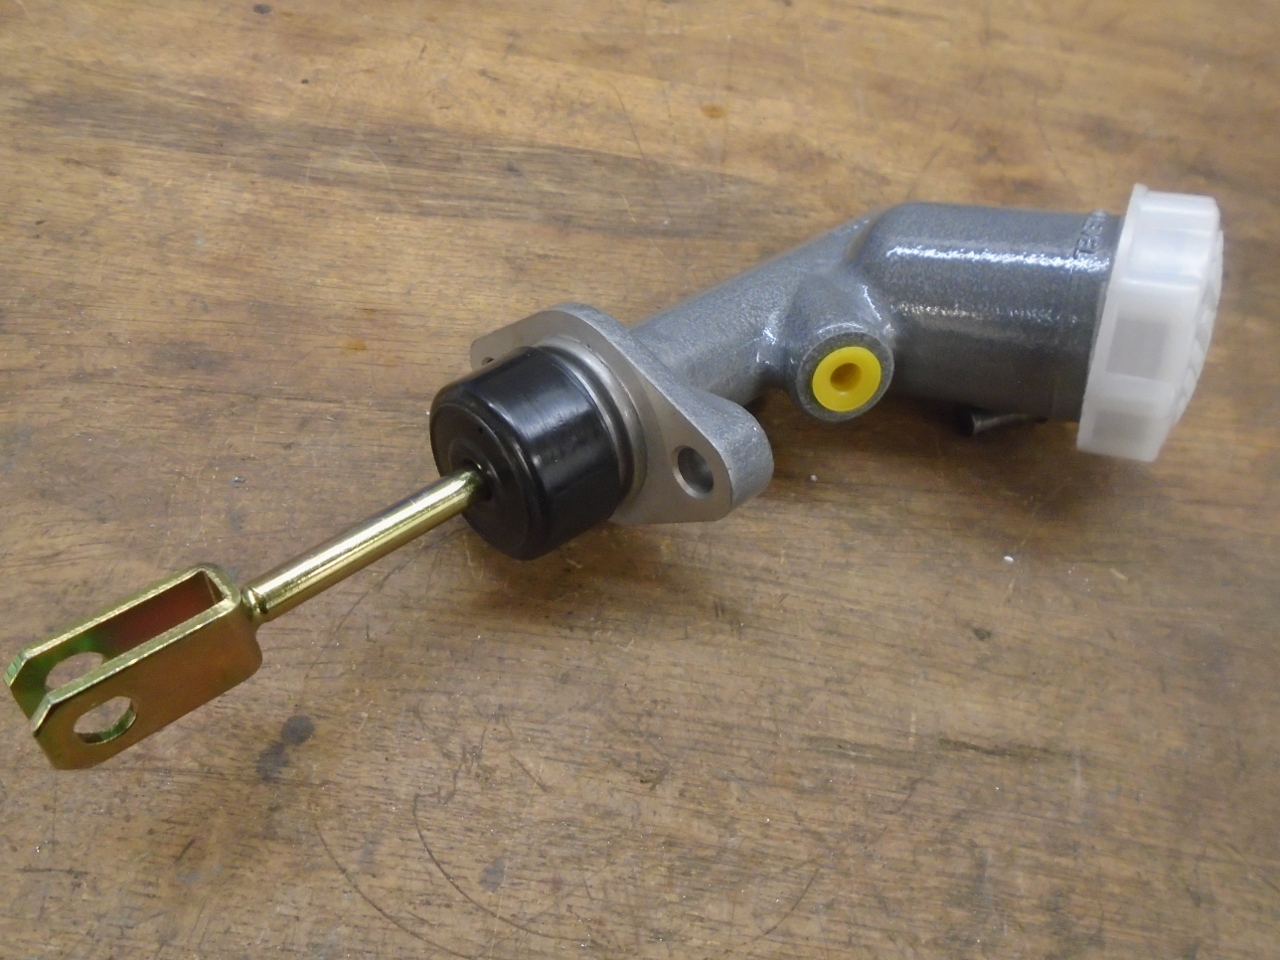
In a step admittedly purely cosmetic, I powder coated the
cylinder a hammertone gray.
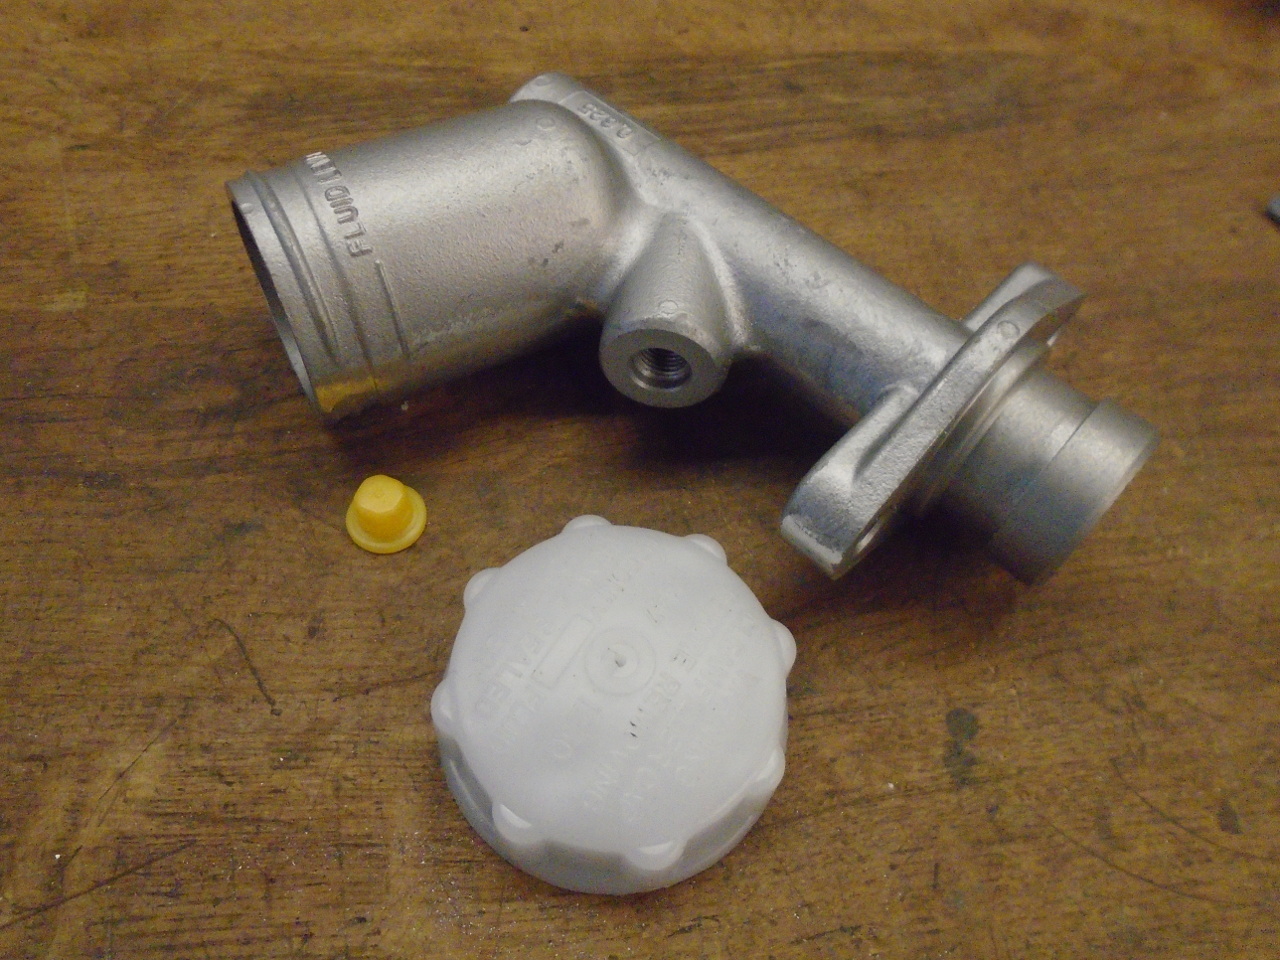
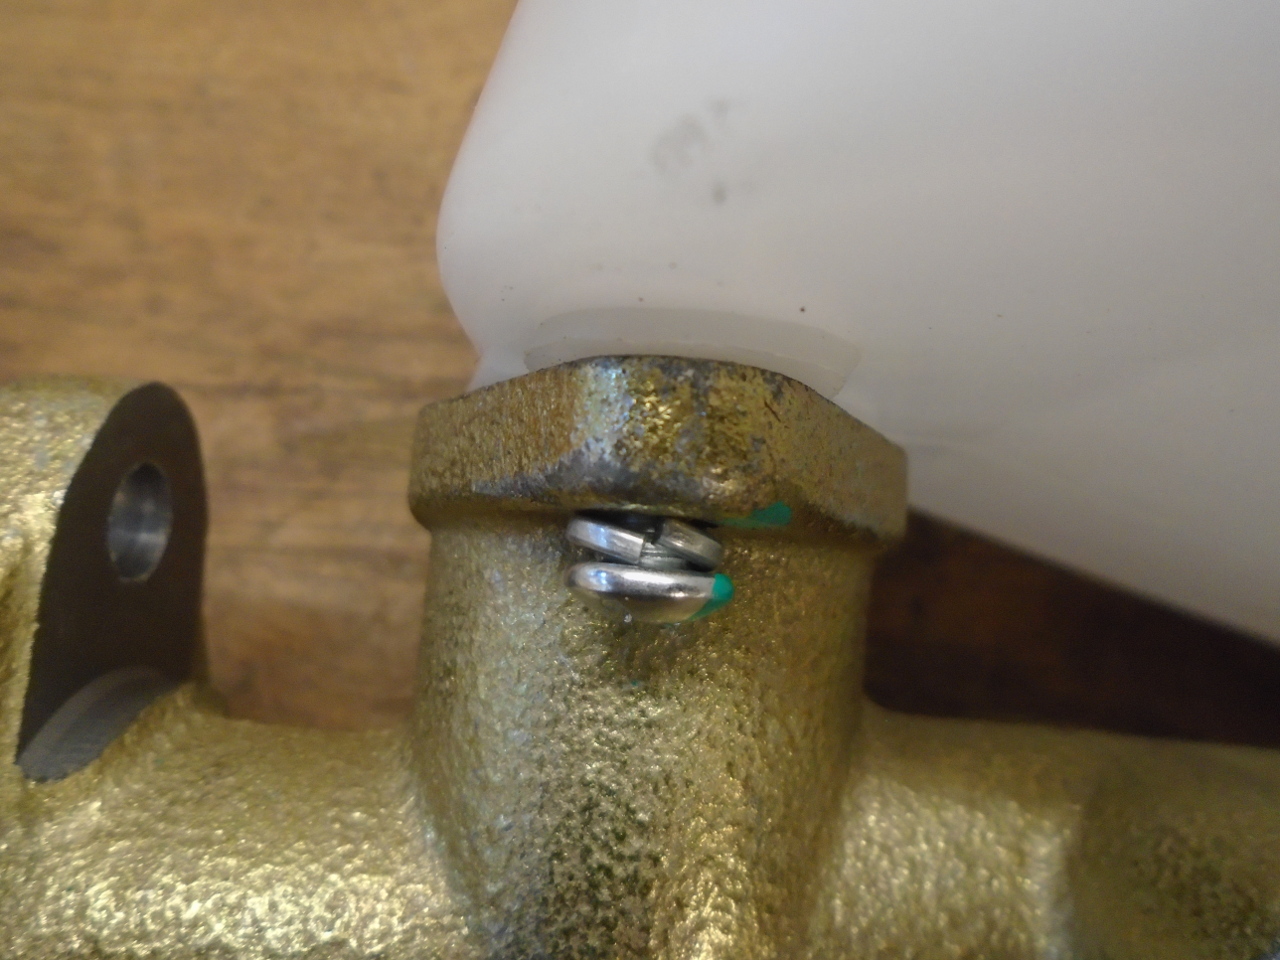
Similar treatment for the brake master. In that situation,
I did find a defect on inspection. One of the screws
holding the fluid reservoir was not properly seated, and would
not go in any further. I traced the problem to an
incompletely threaded brass insert in the reservoir. A few
seconds with a tap fixed it right up. I don't know if the
reservoir would have leaked or not, but it's a shame that we
customers so often have to be QC inspectors.
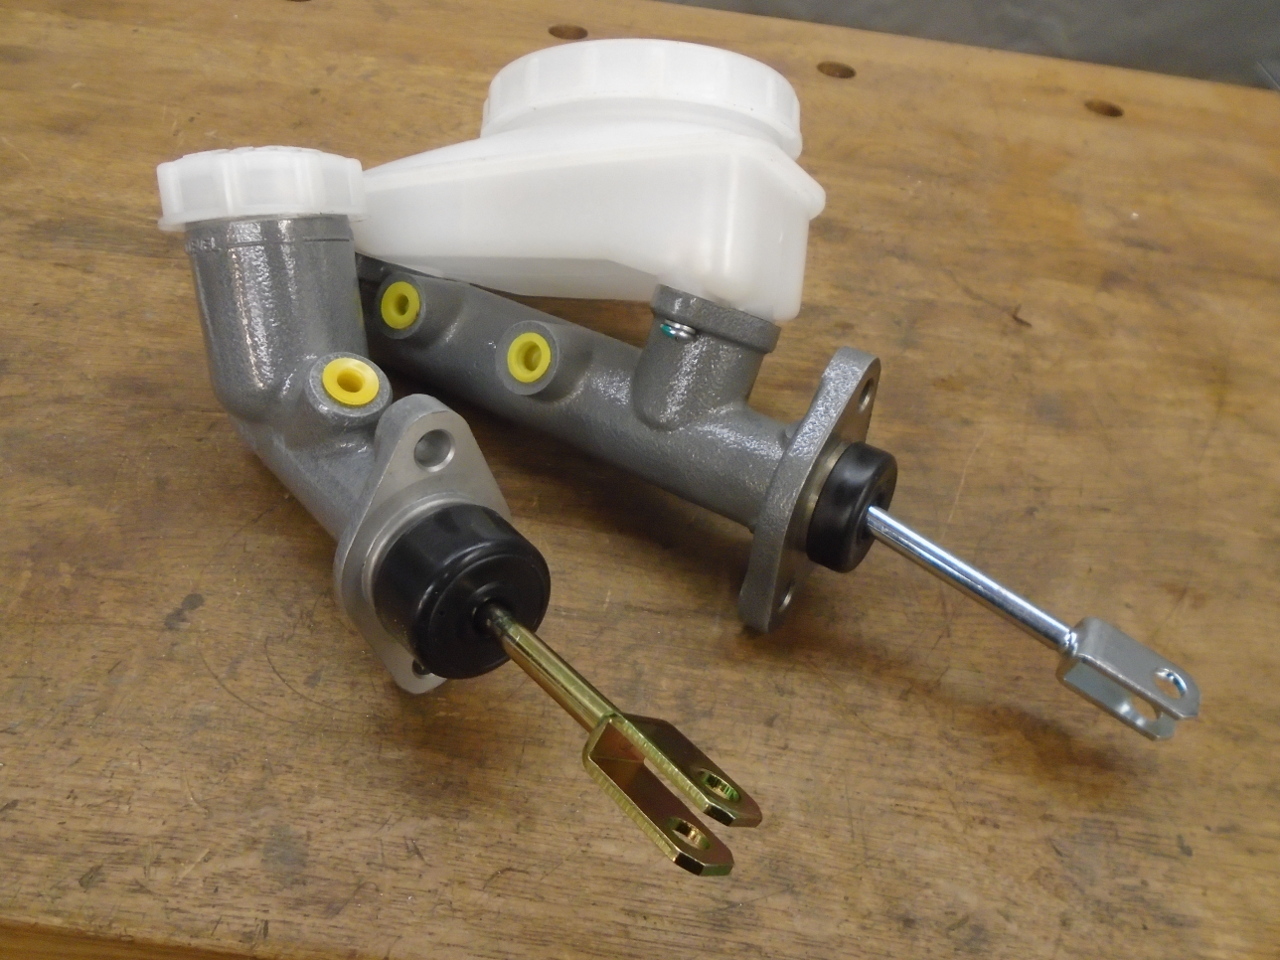
The twins.
There are rubber boots that cover the joint between the pedals
and cylinders. They look a lot better when the parting
compound is removed. (I assume that's what it is.)
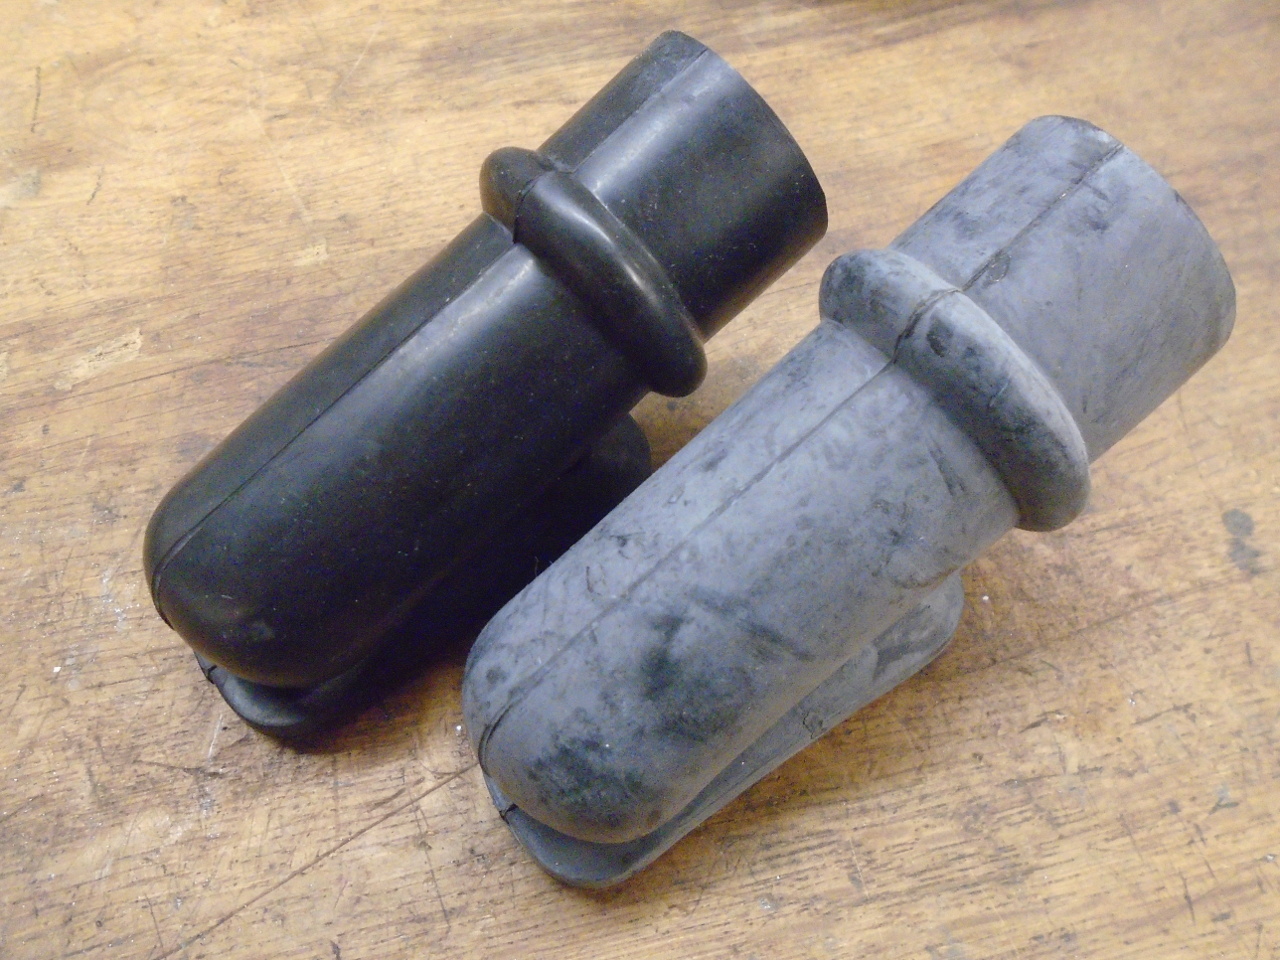
On the shelf until some sunny day when I need to install them.
Almost forgot the new shoes...
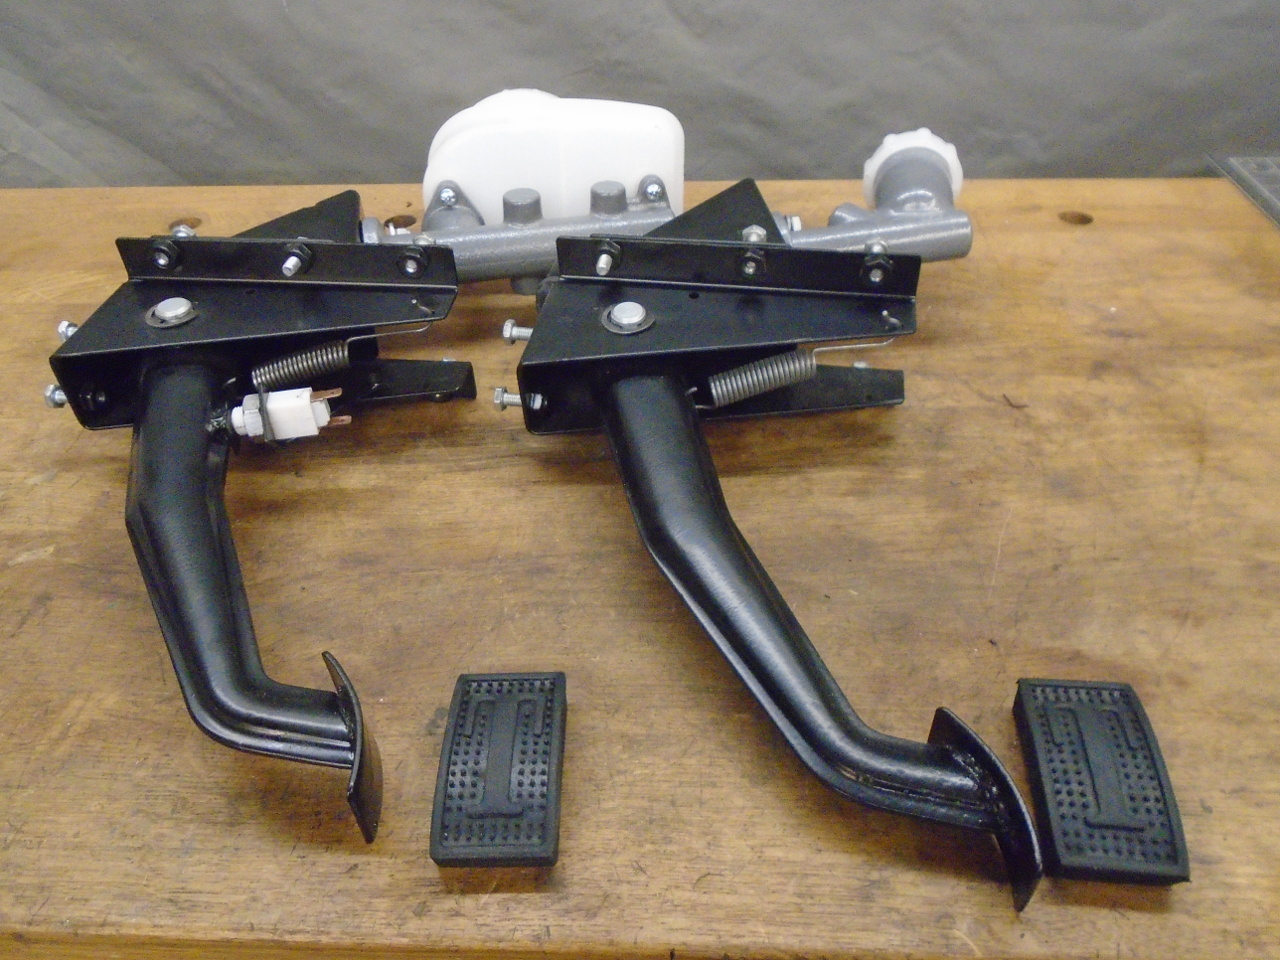
This was an enjoyable project. It took a few hours over
several days, and cost was something under $200, mostly for the
master cylinders.
Comments to Ed at mailto:elhollin1@yahoo.com
To my other GT6
pages