To my other GT6 pages.
October 28, 2019
Body Rotisserie
Well,
I've been done with the frame and associated hardware for a few weeks
now, and after finishing up some domestic chores, it was time to get
back on this project.
The
rotisserie I used for the GT6 frame was the same one I used for the TR6
frame a few years ago. For the TR6 body, I used the same
rotisserie uprights, but made a platform
for the body to sit on. The platform sort of mimicked the frame,
so the body was well supported in a way it was used to. I kept
the platform, planning to use it for the GT6.
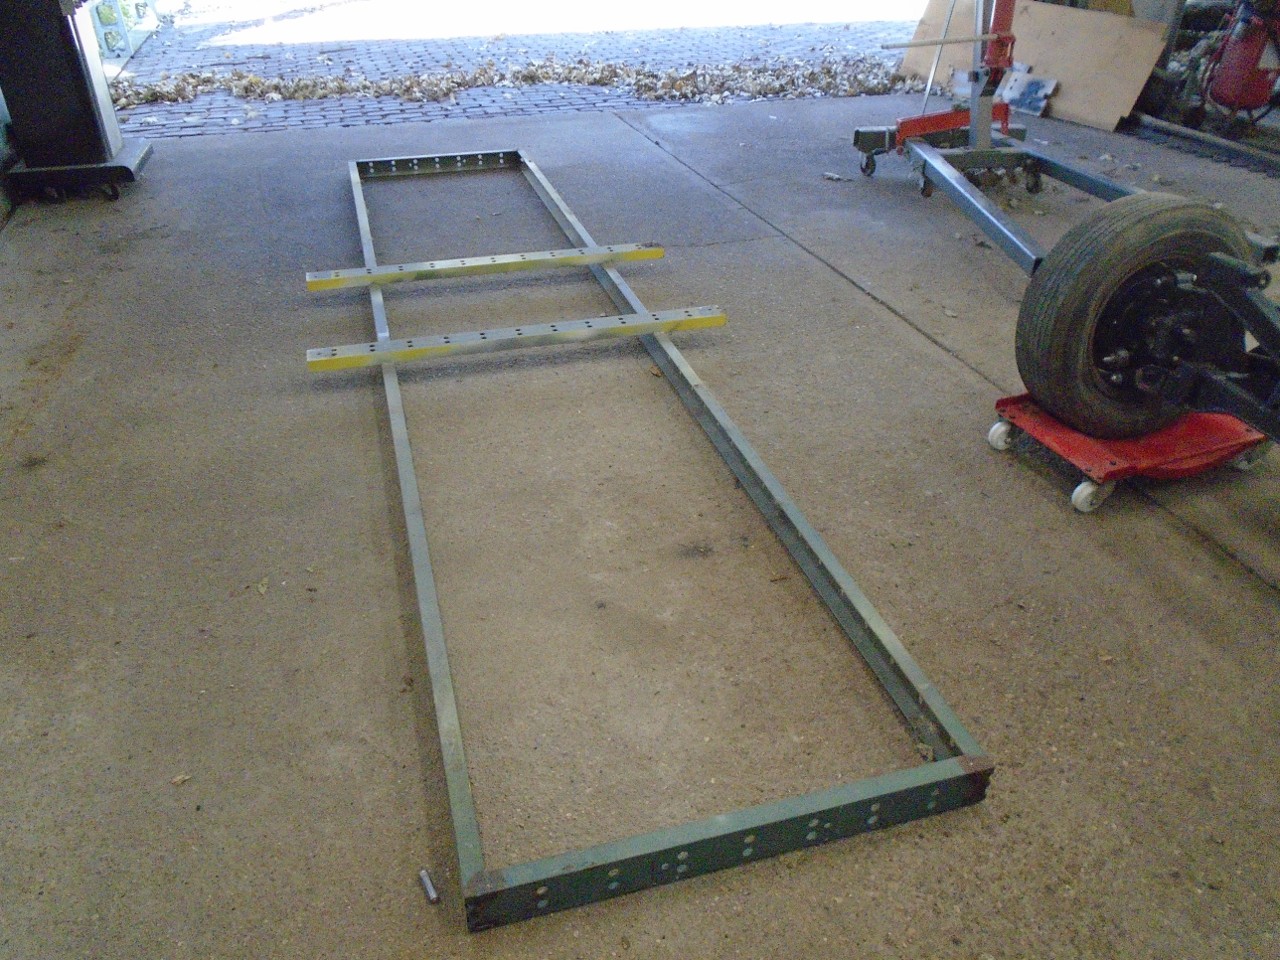
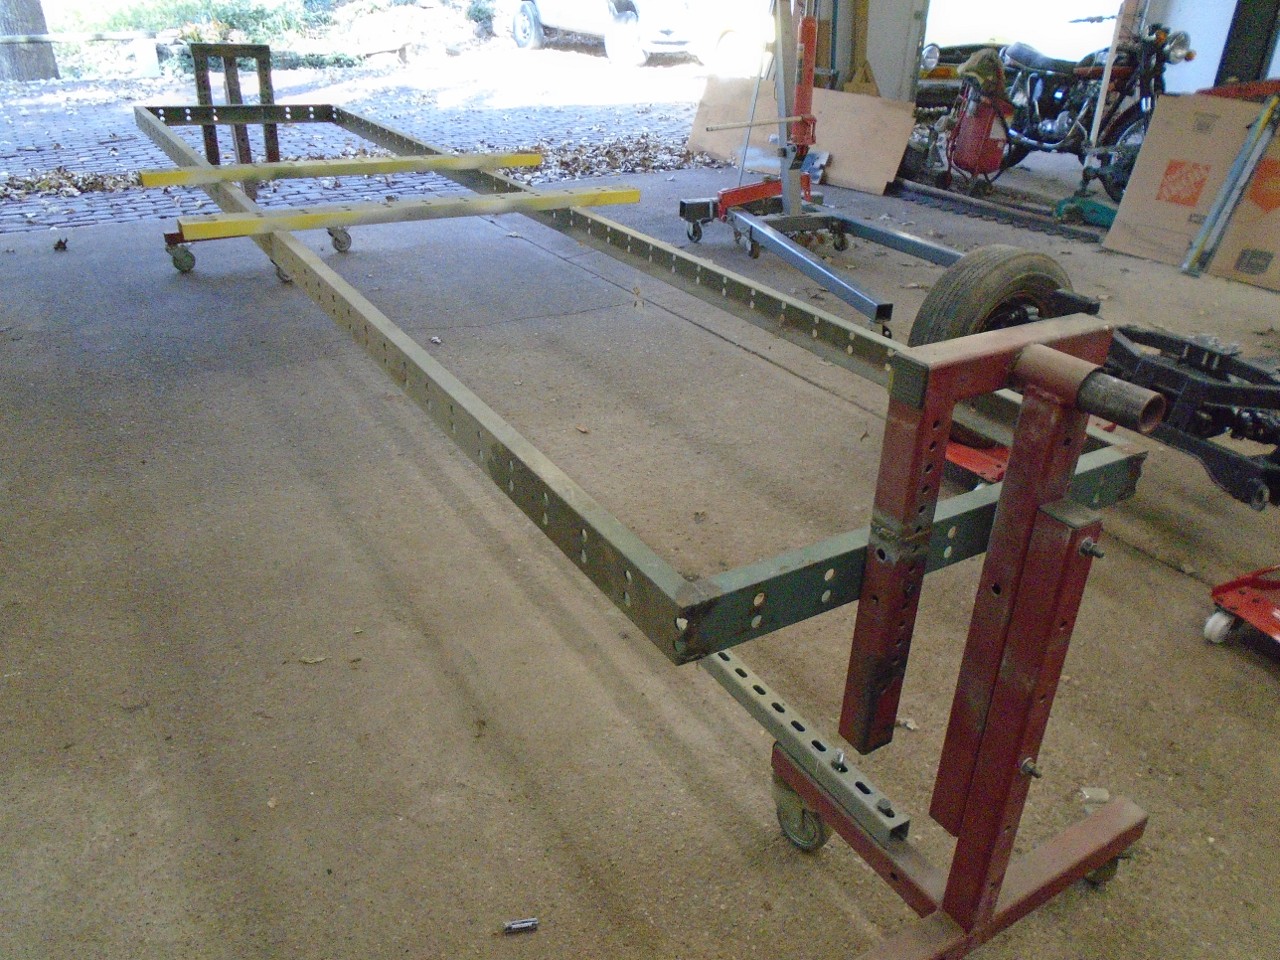
I
just had to remove the cross pieces that were specific to the TR6
mounting points, and weld in pieces thast would fit the GT6 body.
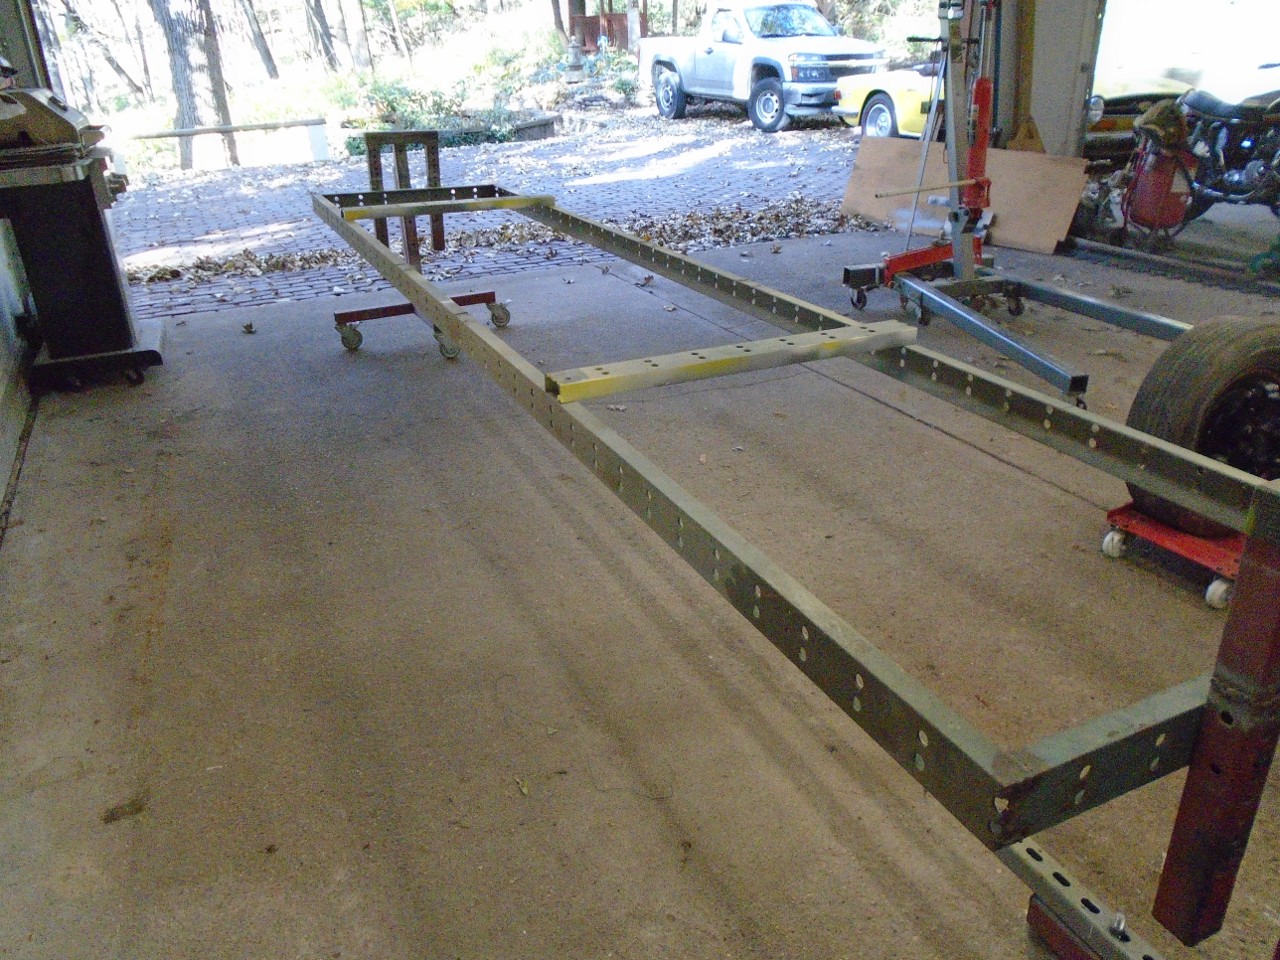
Then go get the GT's body from its perch.
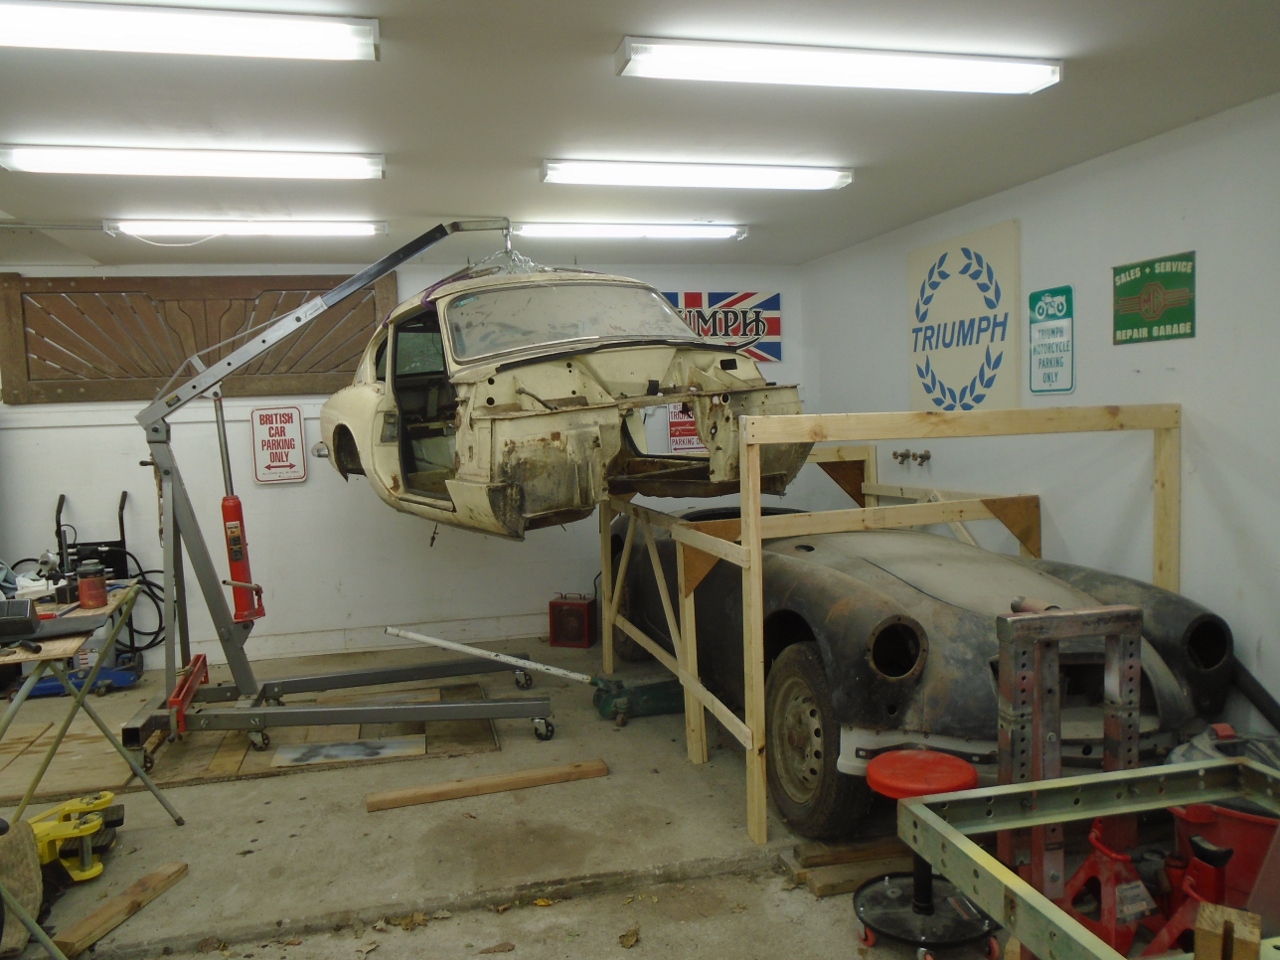
And
set her on the platform. The mounting points all have wood
spacers. The reason for these is that with the body upside down,
I can loosen the fasteners, and pull out the spacers. This allows
access for blasting or painting.
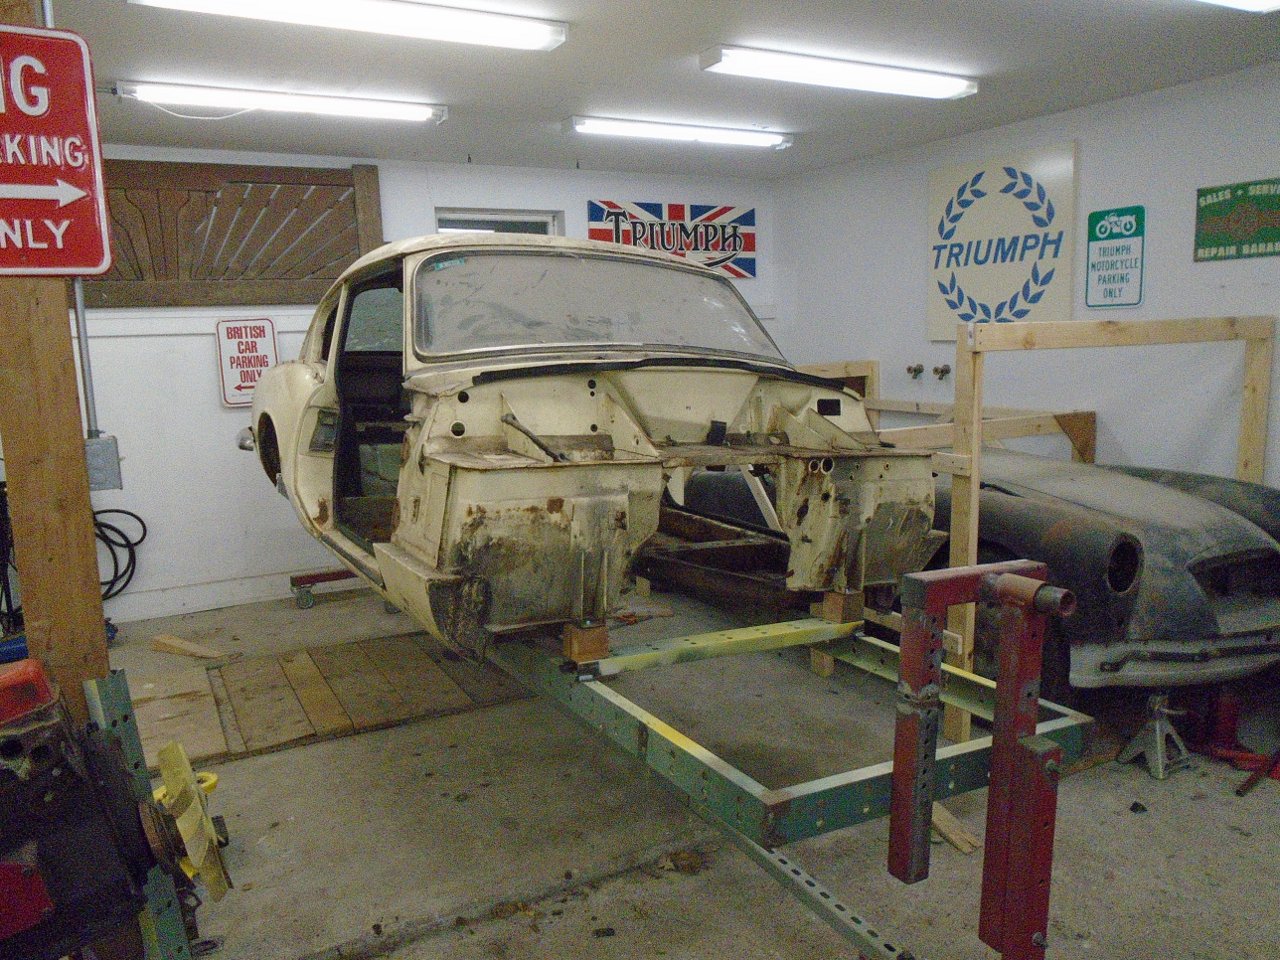
I
had taken an educated guesstimate of the center of gravity of the body,
and set the rotisserie uprights accordingly. Luckily, my guess
was really close, since the body will pretty much stay in any position
I set it to, just with the friction in the pivots. I did make a
small miscalculation on the overall height of the pivots, though.
I thought the body would rotate a full 360 degrees, but not
quite. The roof hits the rotisserie's stretcher. I can fix
this by raising the pivots a few inches, but I'm not sure it will be
necessary.
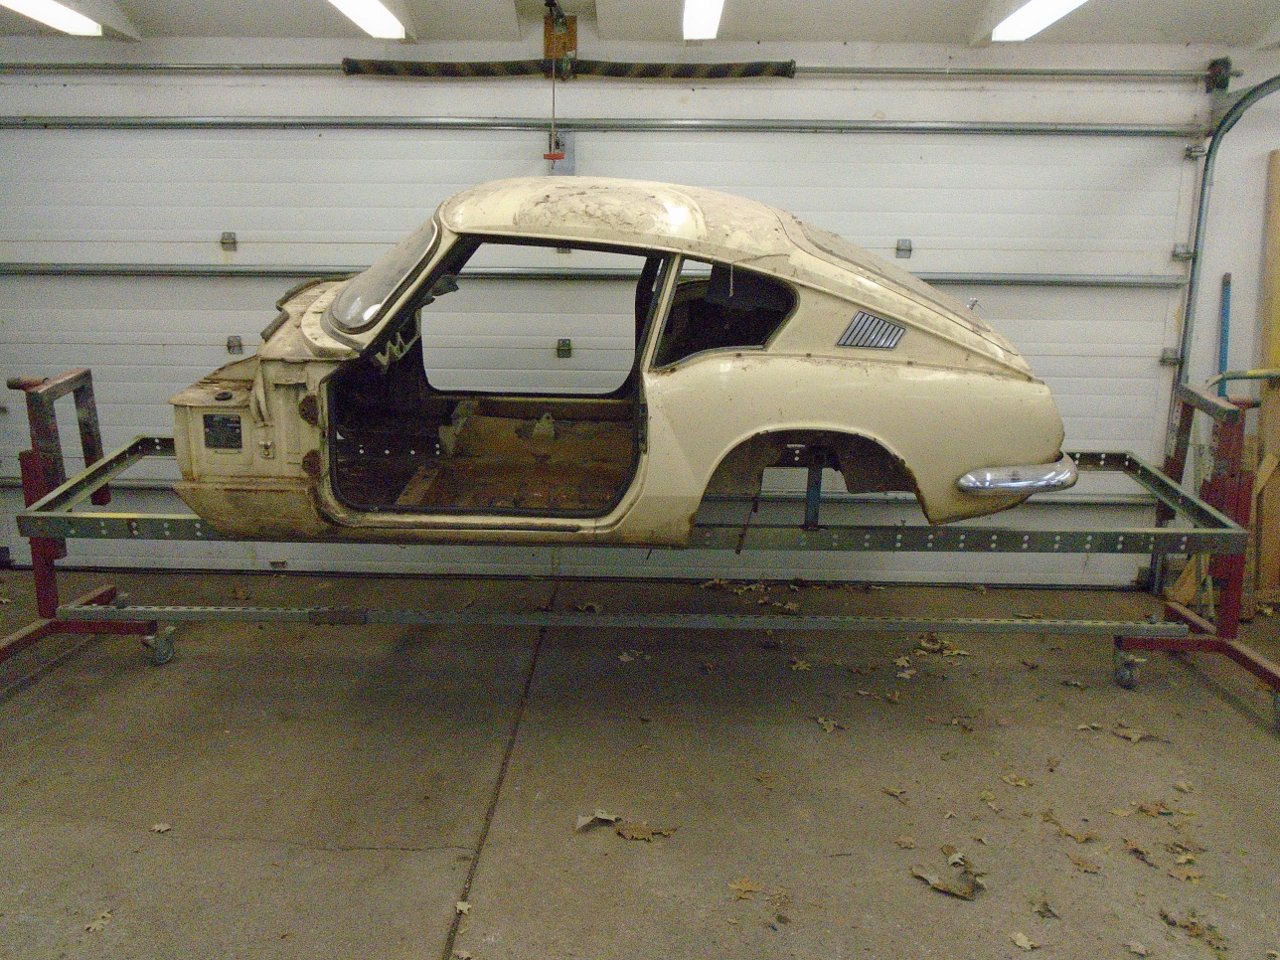
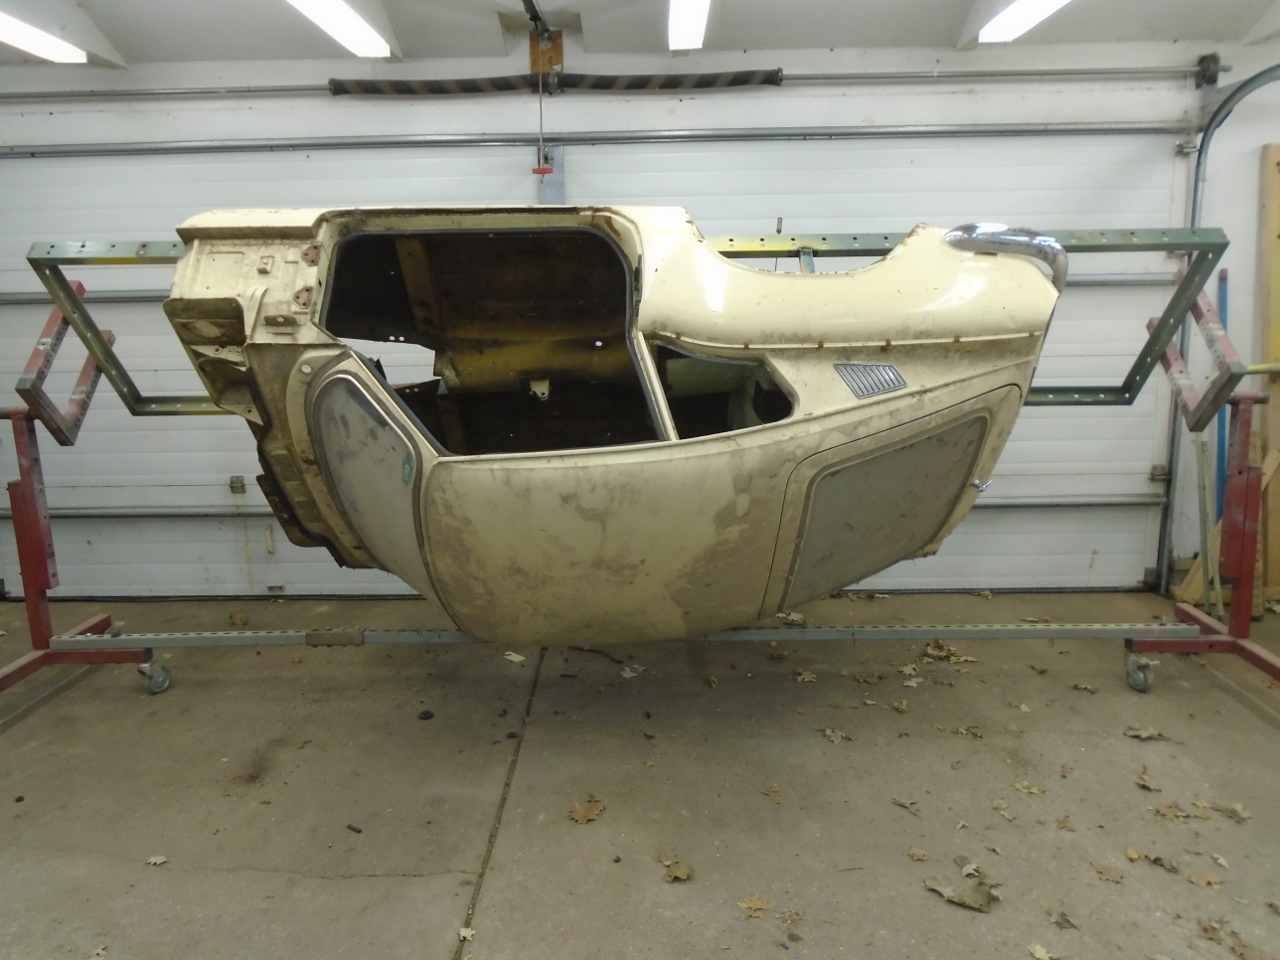
OK,
this is all well and good, but now the project takes up two parking
spaces again. This forces one of our daily drivers out into the
cold.
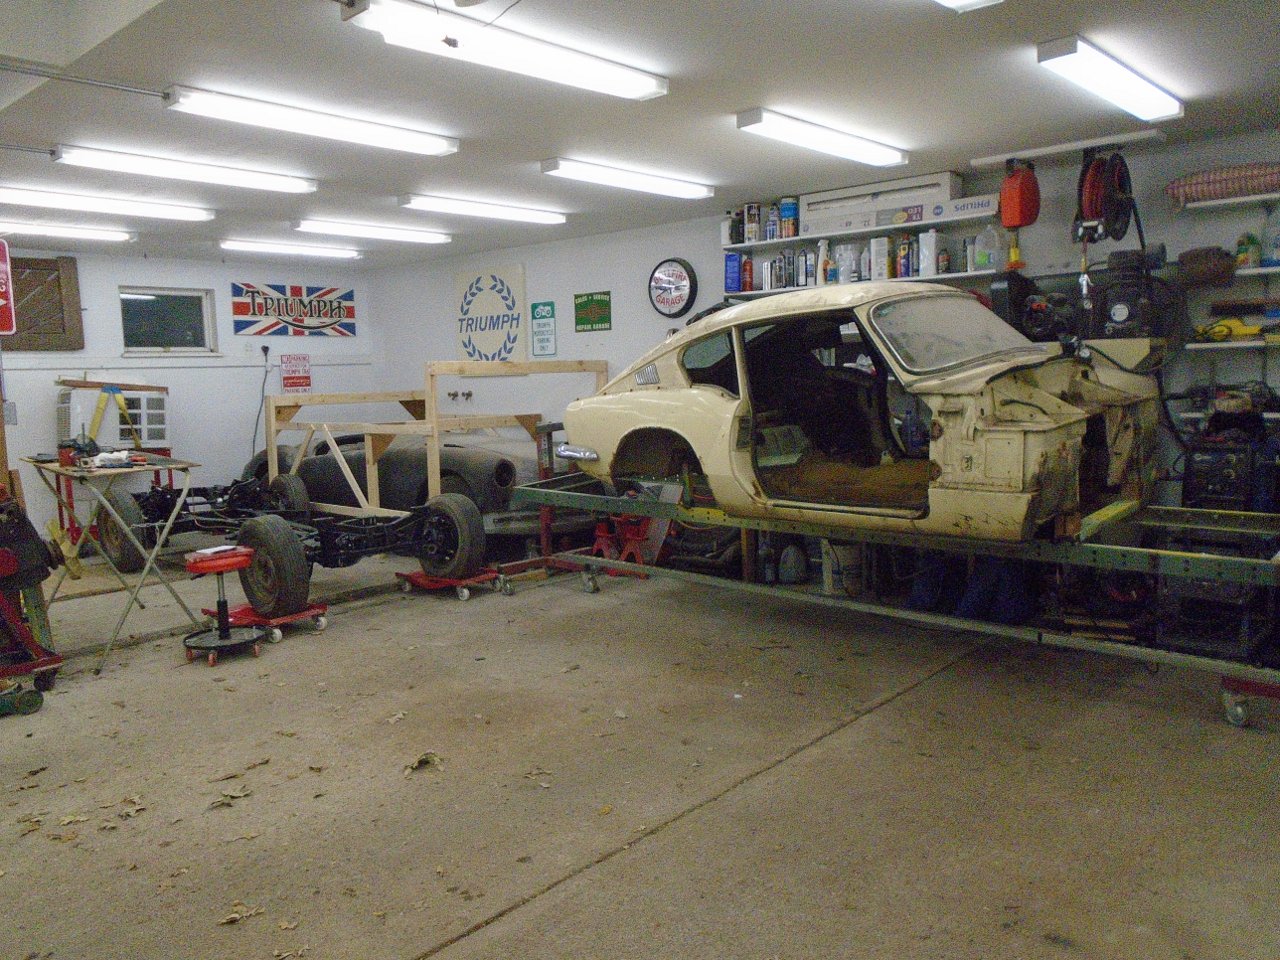
Not to worry. A few adjustments to the top bunk...
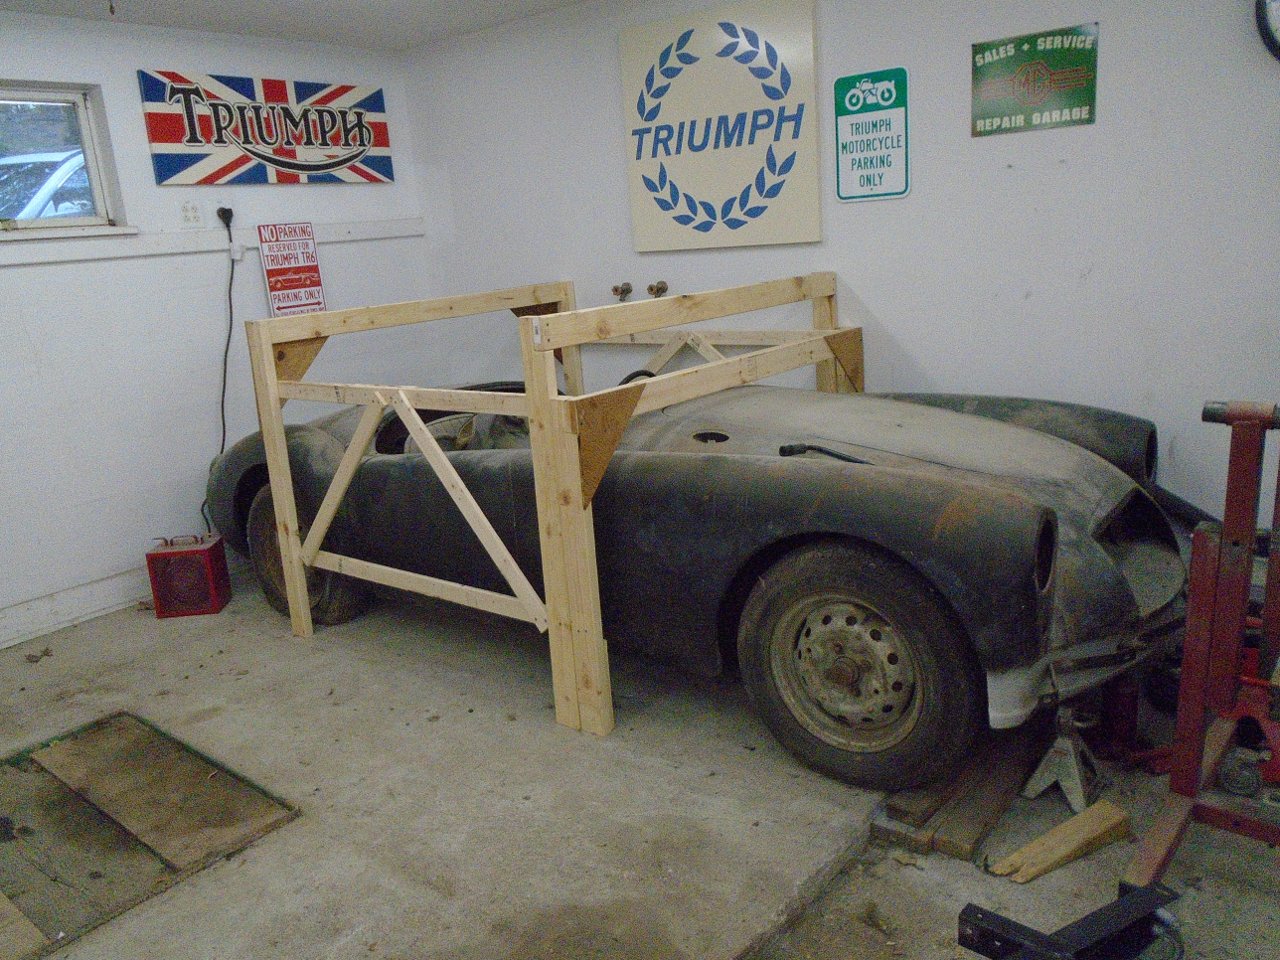
...and I could tuck the chassis away until I need it. Interesting how dainty the GT6 chassis looks next ot the MGA.
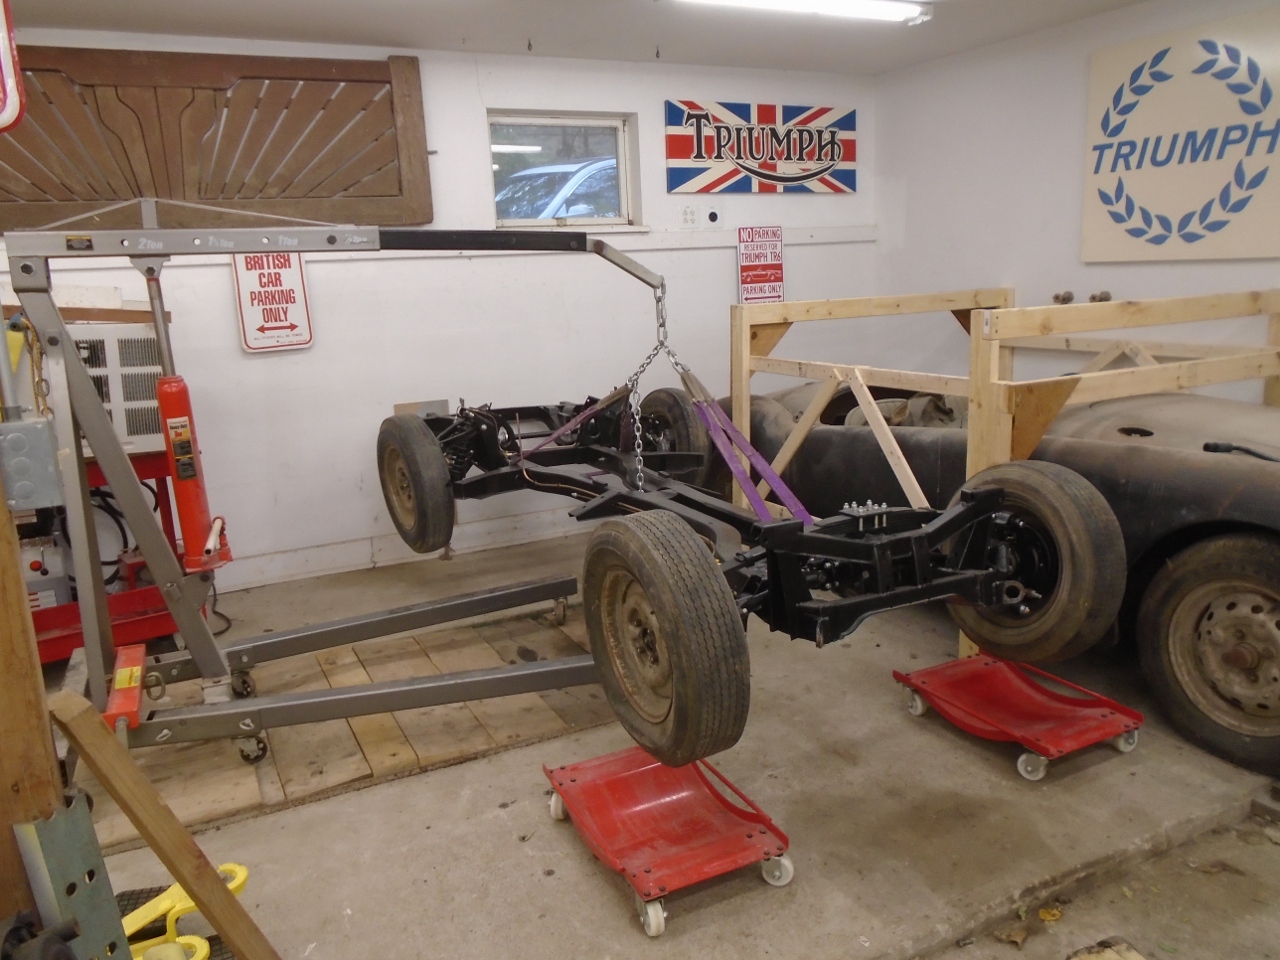
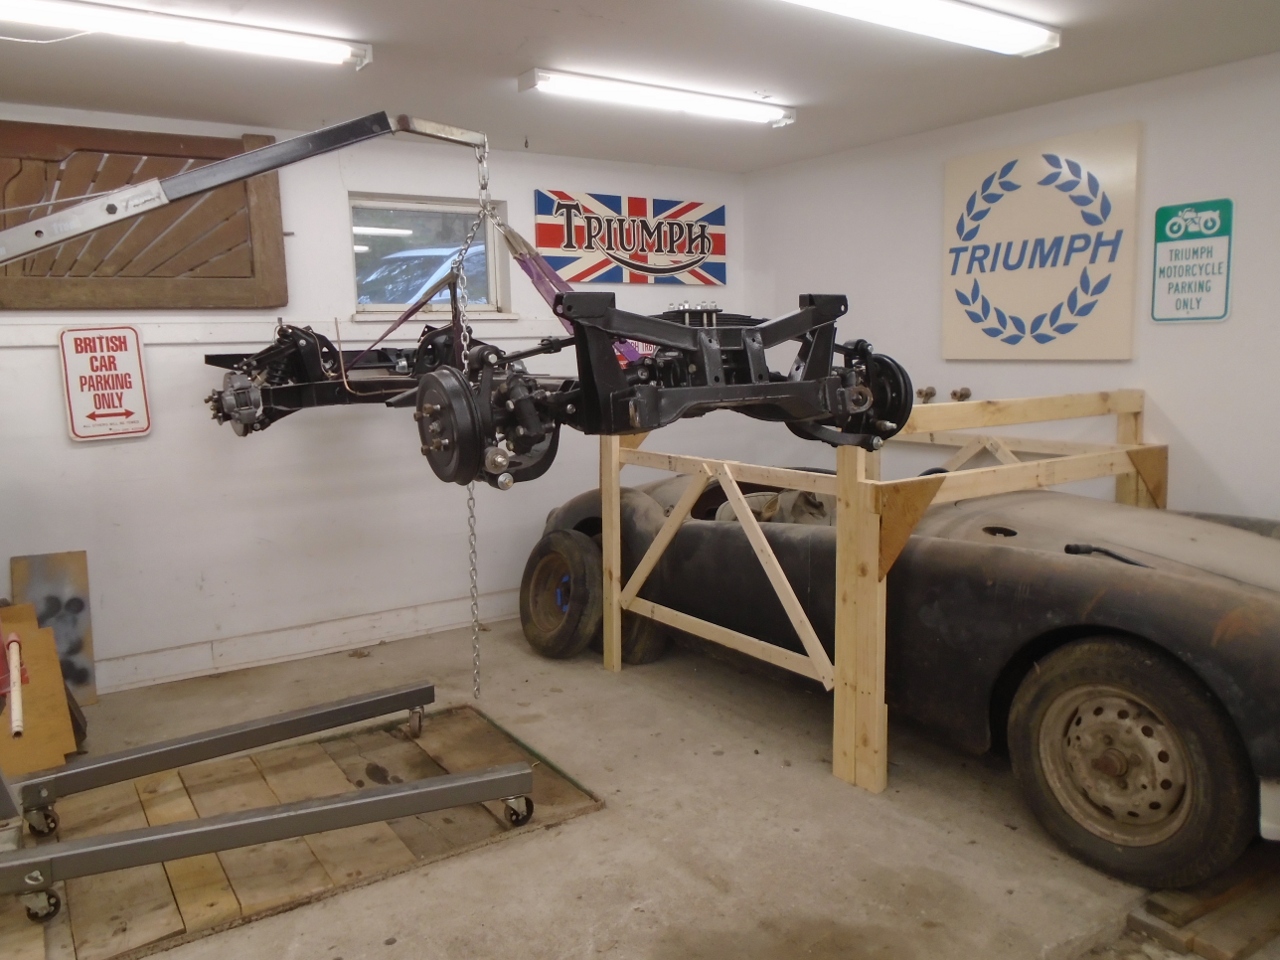
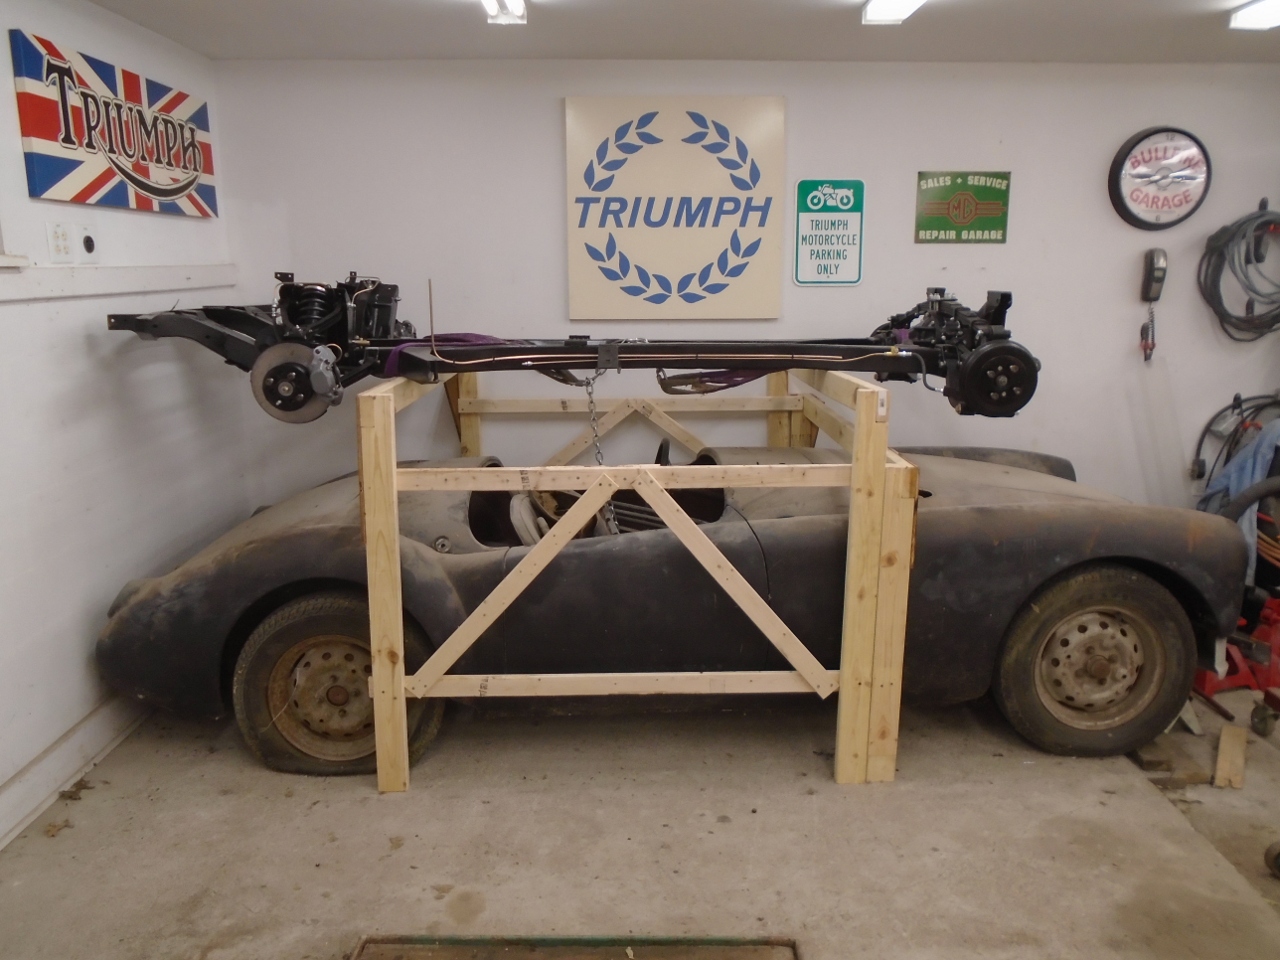
So this is where the body will sleep at night until it's finished.
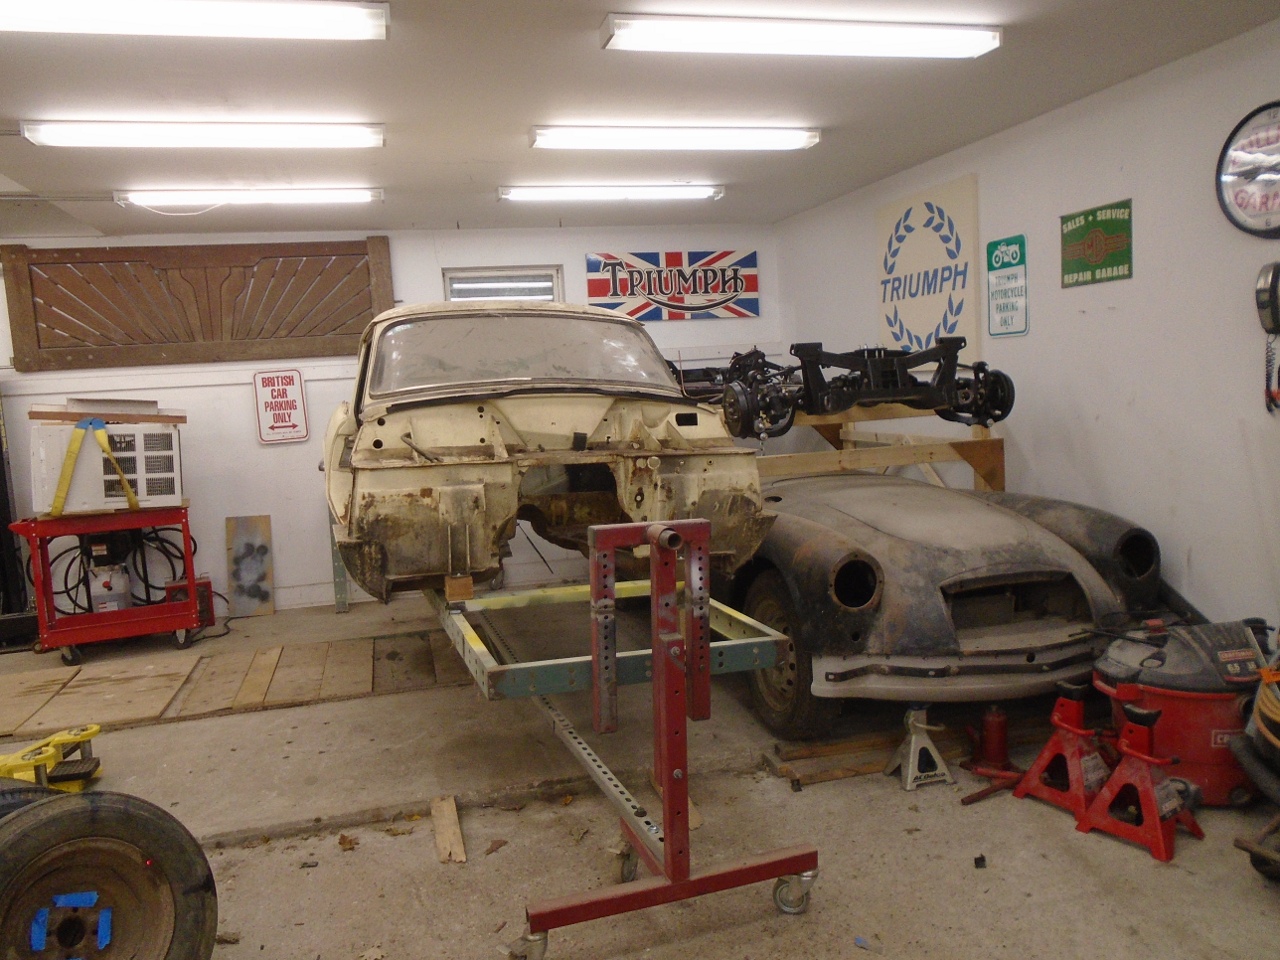
This little project didn't cost a dime, but it sure was a lot of work.
Comments to Ed at elhollin1@yahoo.com
To my other GT6 pages.