To my other GT6 pages
June 11, 2024
Alignment
Though the wheel is an ancient and seemingly pretty simple device, there
is a surprising amount of science involved in seeing that it operates
most efficiently, especially when we have four of them that have to work
together. On a car, this manifests itself as the need for wheel
alignment.
The three main dimensions of wheel alignment are called toe, camber, and
caster. Caster, being the inclination of the steering rotation
axis, is fixed in the design on this and many other cars. Camber
is how much the wheels lean inward or outward, and toe is the deviation
from pointing straight ahead relative to the axis of the car.
The basic principles of alignment are dirt simple, but do require some
mechanical aptitude. Alignment service centers have expensive
machines that automate much of the alignment measuring process, which
both speeds up the process and requires a less skilled mechanic.
There is also a range of devices that can be bought to help the home
measurement process, but there is no reason why a low-tech DIY alignment
can't be entirely adequate to meet factory specs.
The first step for a DIY alignment is to put the car on a level surface
and establish a centerline. The centerline should be determined
from the frame, but on this car, the frame and body centerlines were
essentially identical.
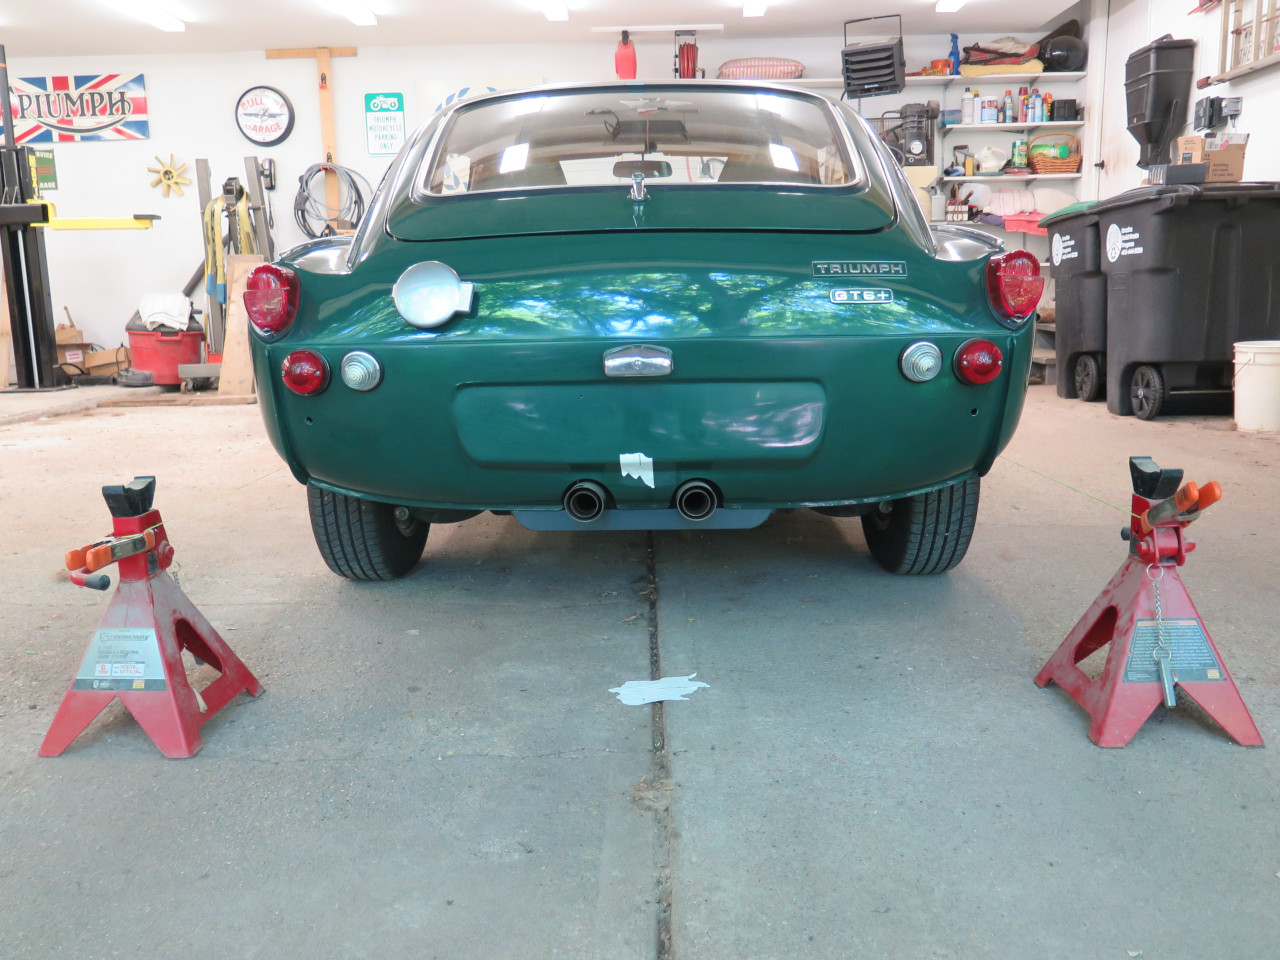
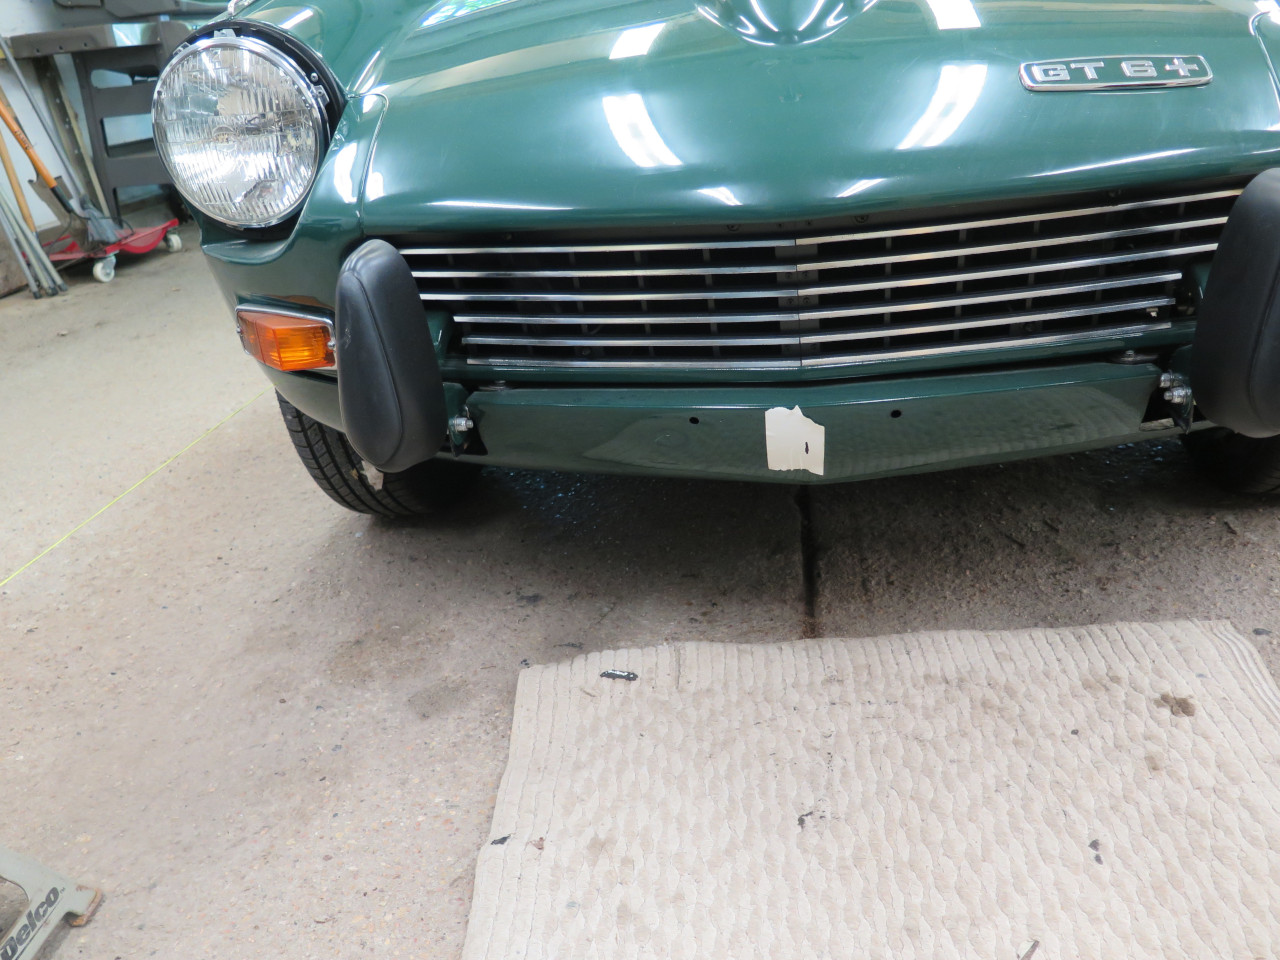
Then a datum line is set up parallel to the car centerline at hub height
just outside the wheels. The datum line has traditionally been a
taut stringline, but could be a laser. I have a simple laser
level, but honestly, the stringline still seemed to be simpler to
me. I set up a datum on both sides of the car. It became
obvious by looking at the wheels in relation to the datum that all four
wheels were at least a little wonky.
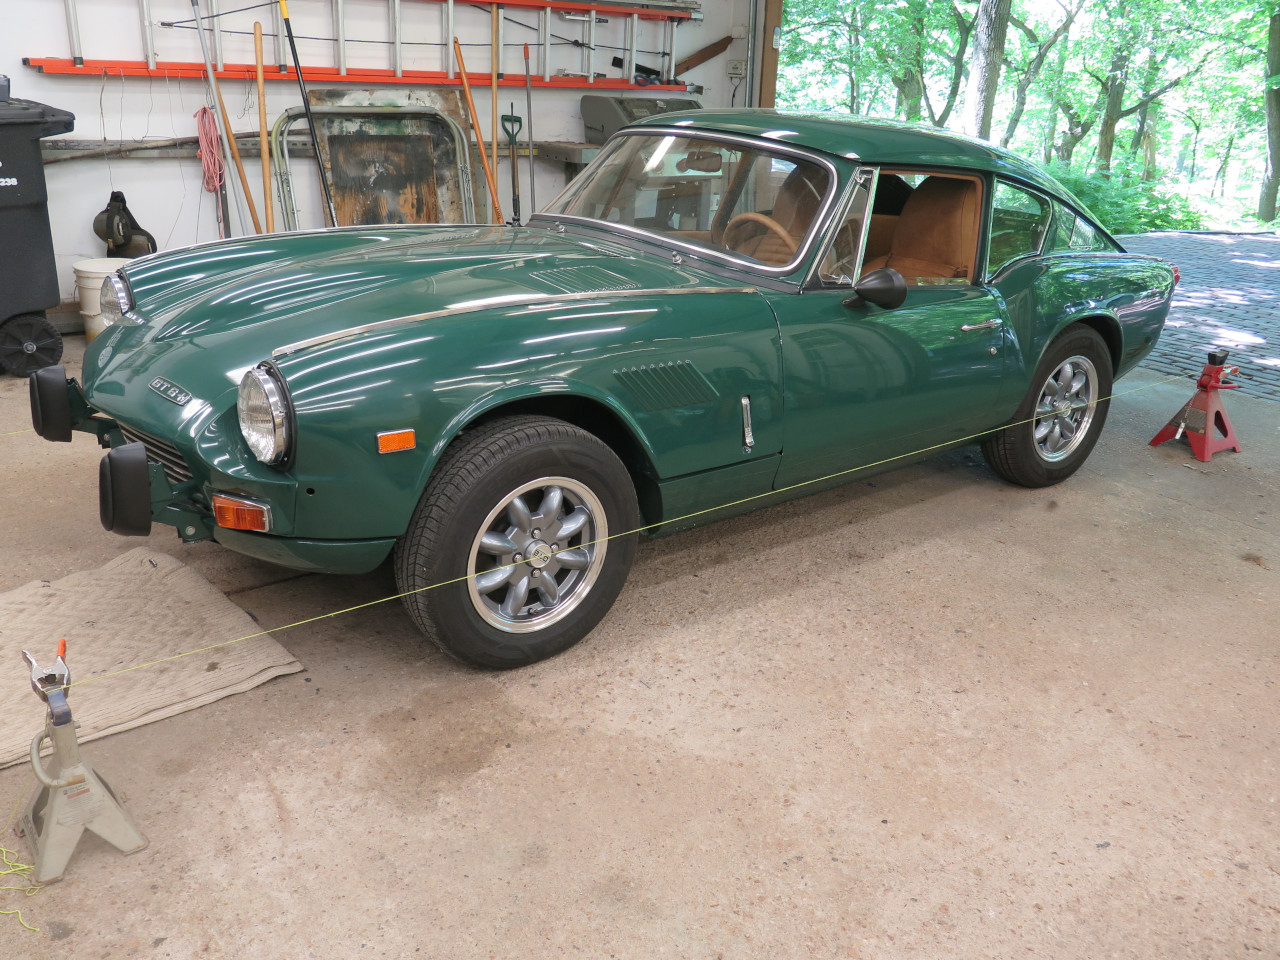
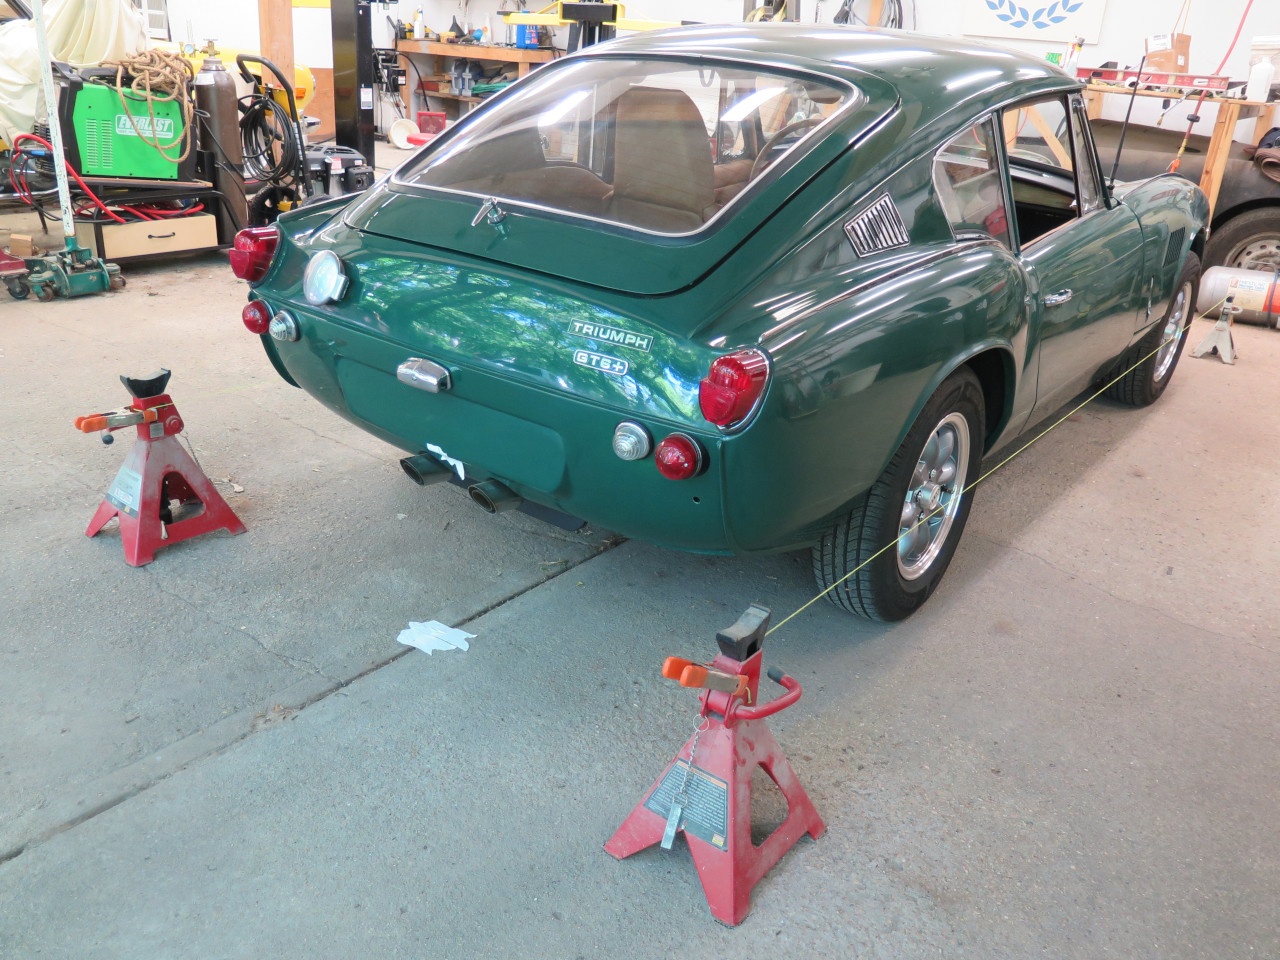
This is where the toe is measured. The distance from the wheel rim
to the datum is measured at the leading and trailing edges of the
wheel. The difference between these measurements is an indication
of the toe-in or toe-out of the wheel. I say "indication" of the
toe because toe is actually specified at the tire diameter, and not the
wheel diameter. On this car, the difference in measurements is
multiplied by 1.6 to get the actual toe.
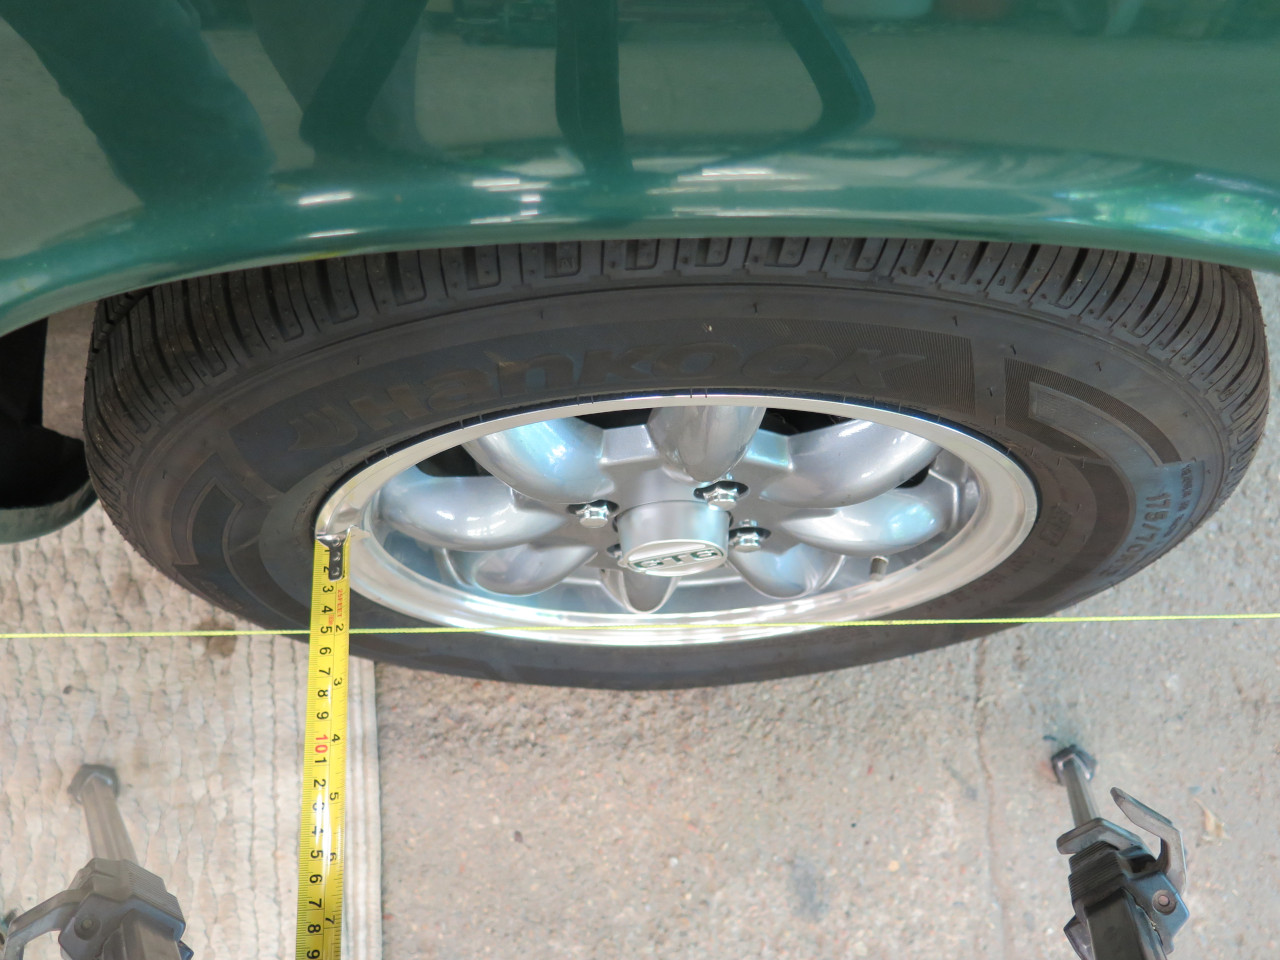
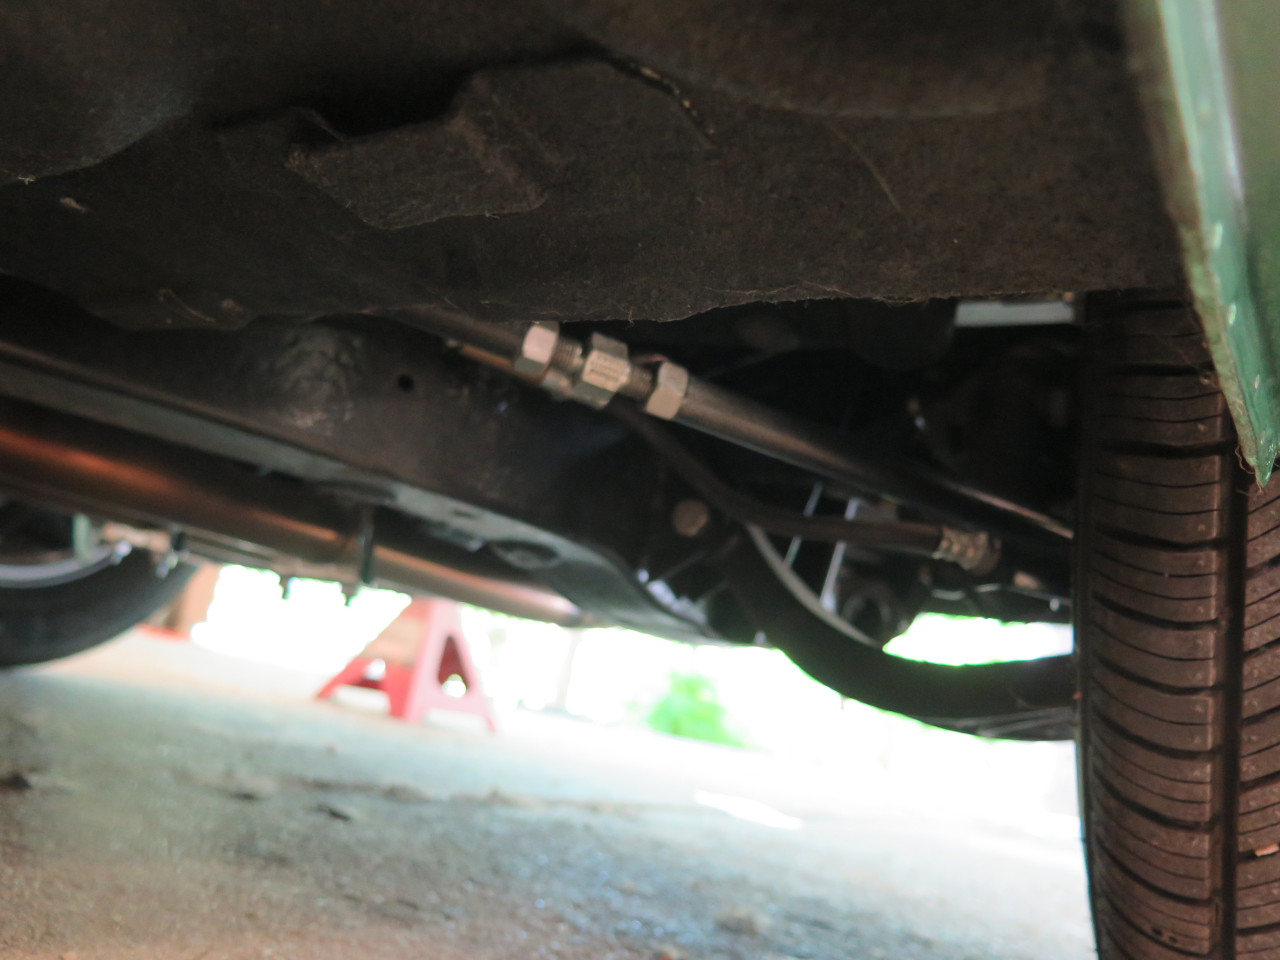
On the rear wheels, I found 3/8" and almost 5/8" toe-in. No wonder
it was visible. Rear toe is set by adjusting these turnbuckle
gadgets on the radius arms. Factory spec for rear toe is
essentially zero (+/- 1/32").
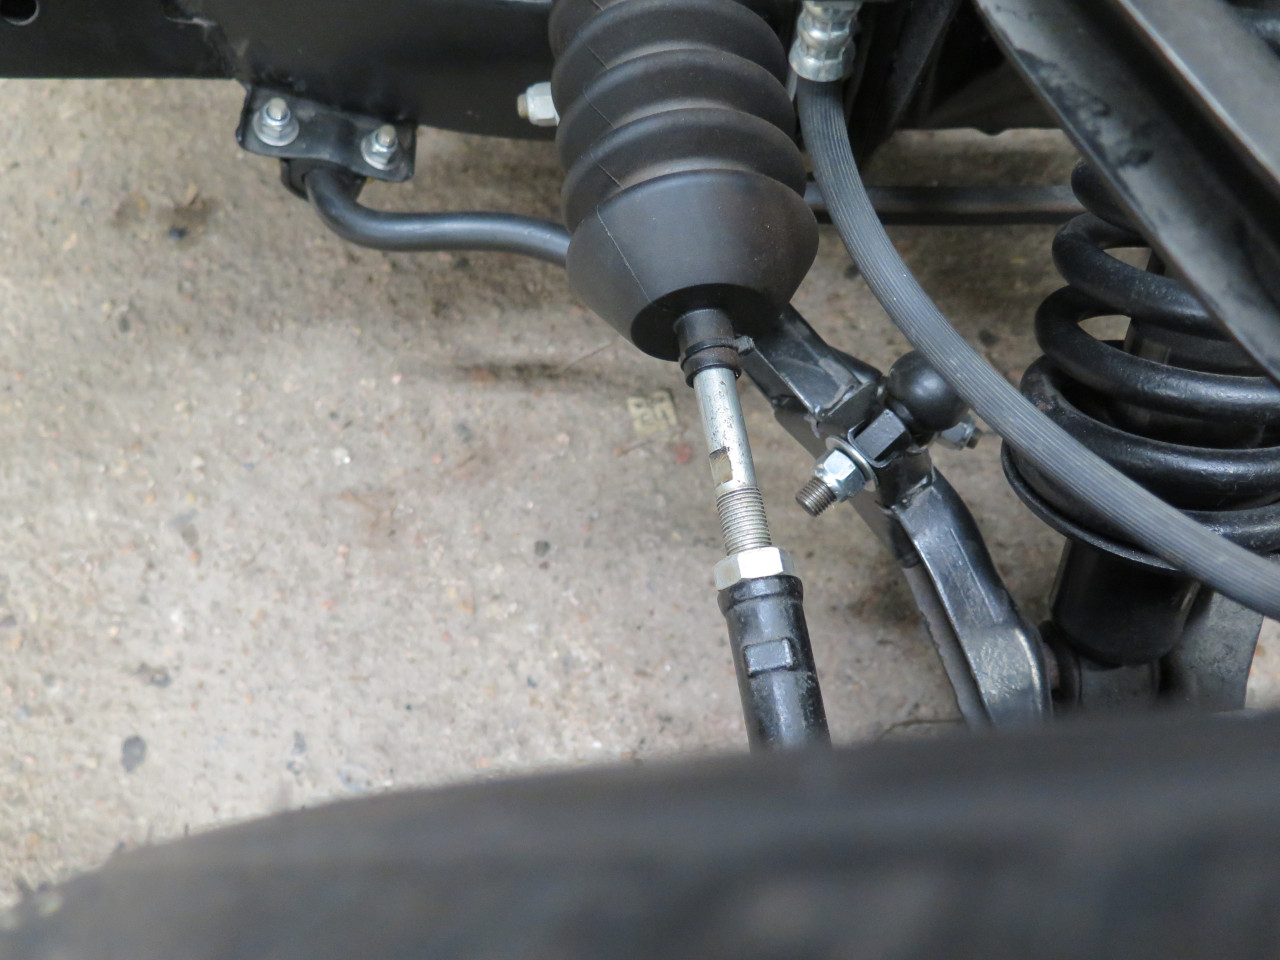
Front toe is set with the wheels pointed straight ahead and the steering
wheel centered. Factory spec is for slight toe in
(1/16"-1/8"). It is adjusted with the tie rods from the steering
rack. Access is wonderful from the topside with the bonnet open.
While toe is typically measured in inches, camber is measured as an
angle. Wheels with positive camber lean outward at the top.
It's pretty easy to measure camber angle directly with an accurate
inclinometer (angle gauge), and a bar to bridge the top and bottom of
the wheel.
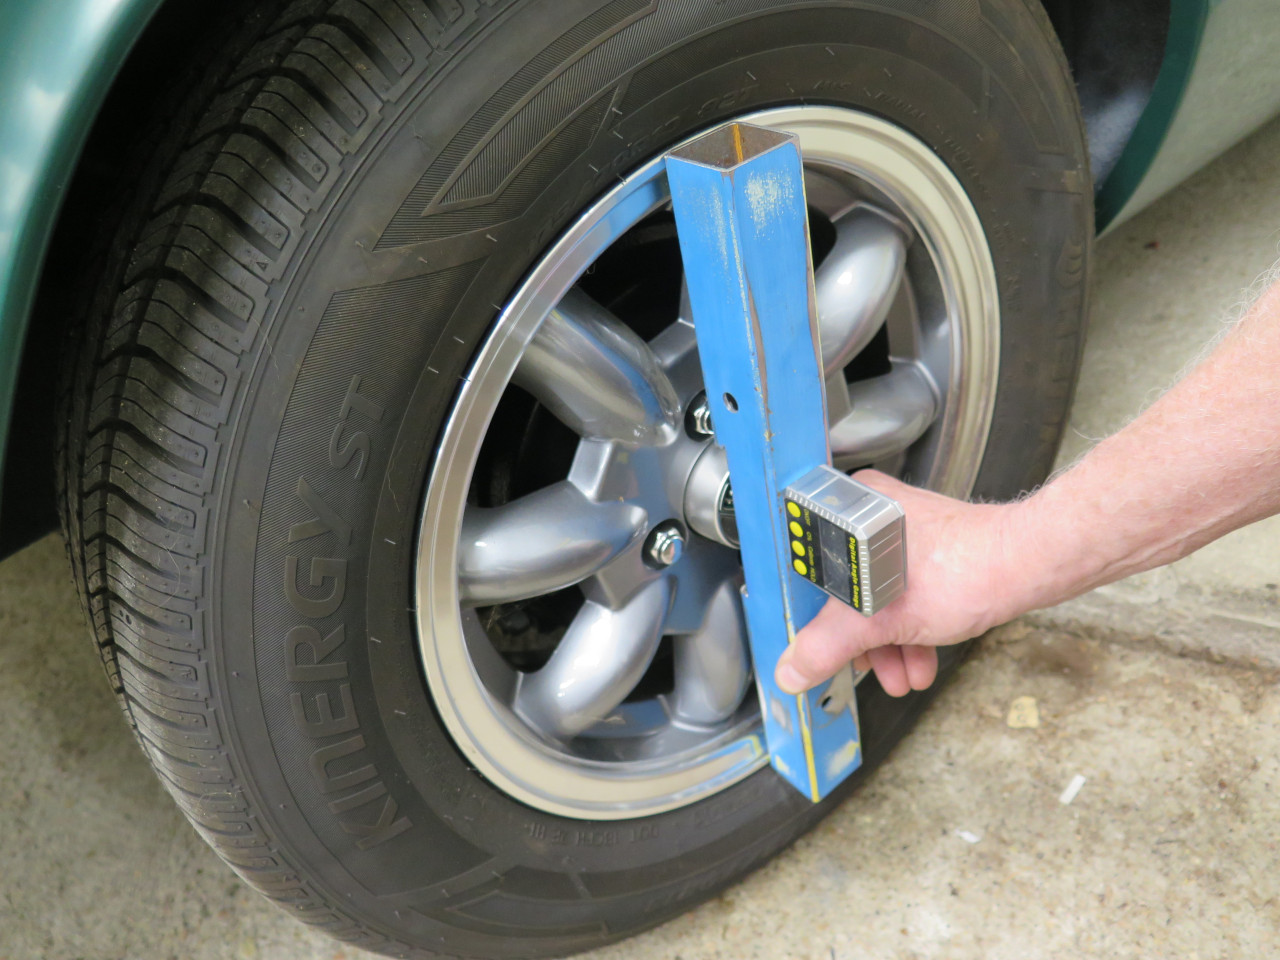
I found front cambers of +0.3º
on the left and +0.9º on the right. The factory spec is +1.75º to +3.75º.
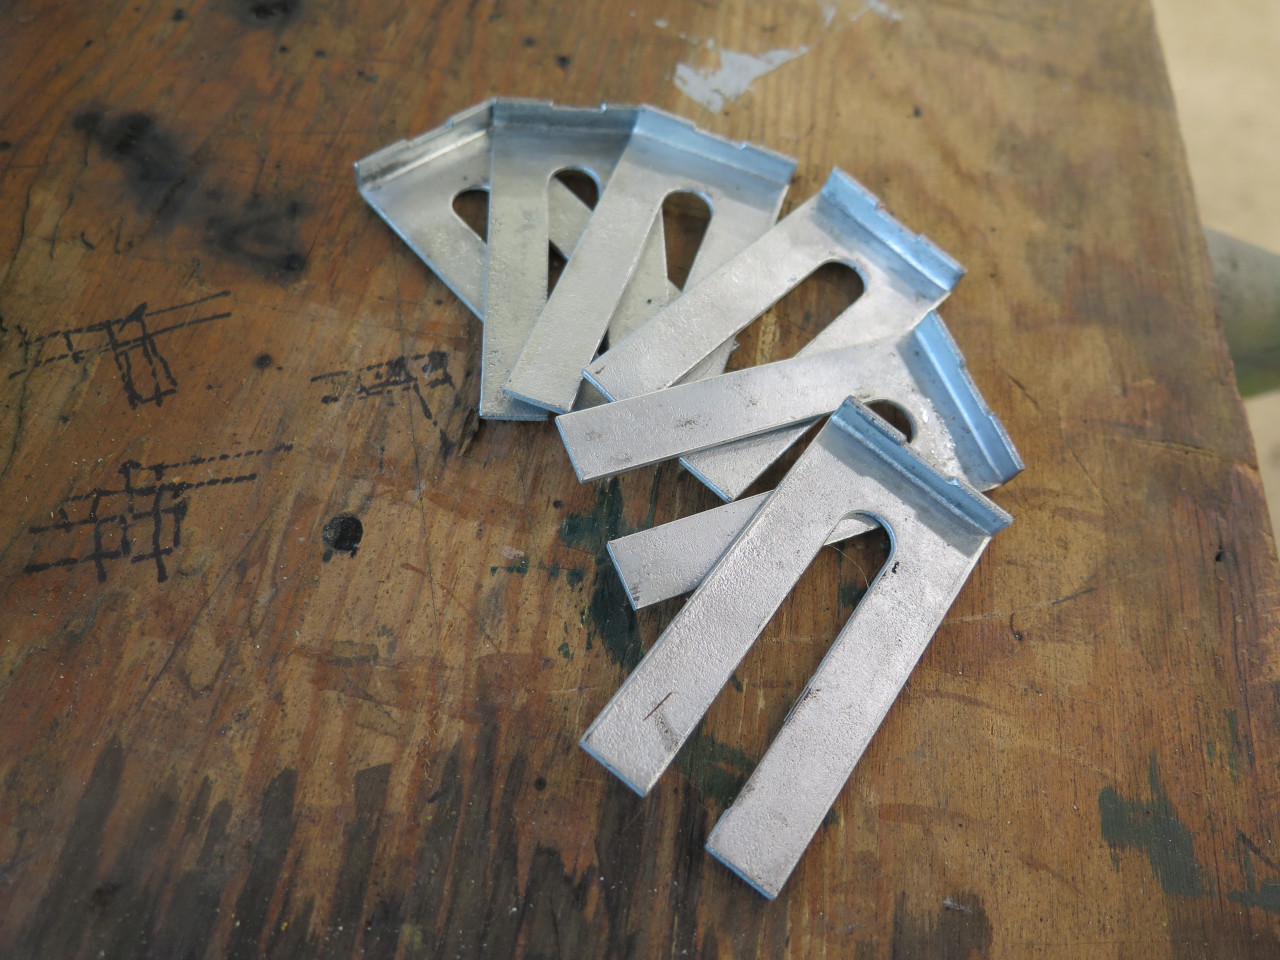
Camber is increased by removing shims behind the lower A arm
mounts. Removing two shims on the left and one on the right got
the cambers within factory spec.
There is apparently no provision for camber adjustment for the rear
wheels on this car. I did check them and they were both slightly
negative.
One other remaining job on this car that seemed sort of related to
alignment was aiming the headlights. The idea is to see that the
beams go slightly to the right (in the US) of straight ahead, and
slightly down from level.
Pulling the car up as close as possible to a flat vertical surface allows marking of where the headlight beams fall.
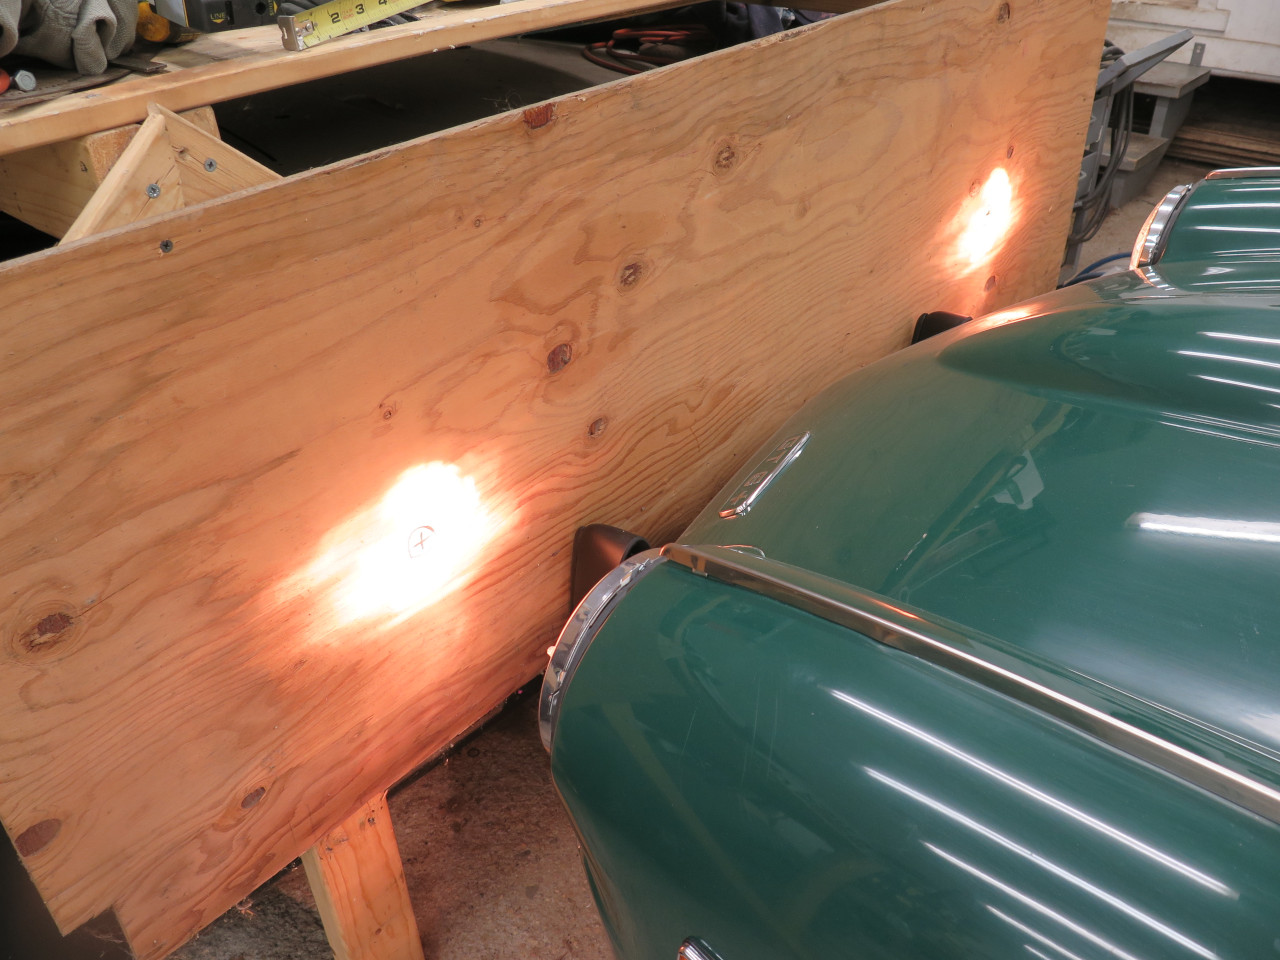
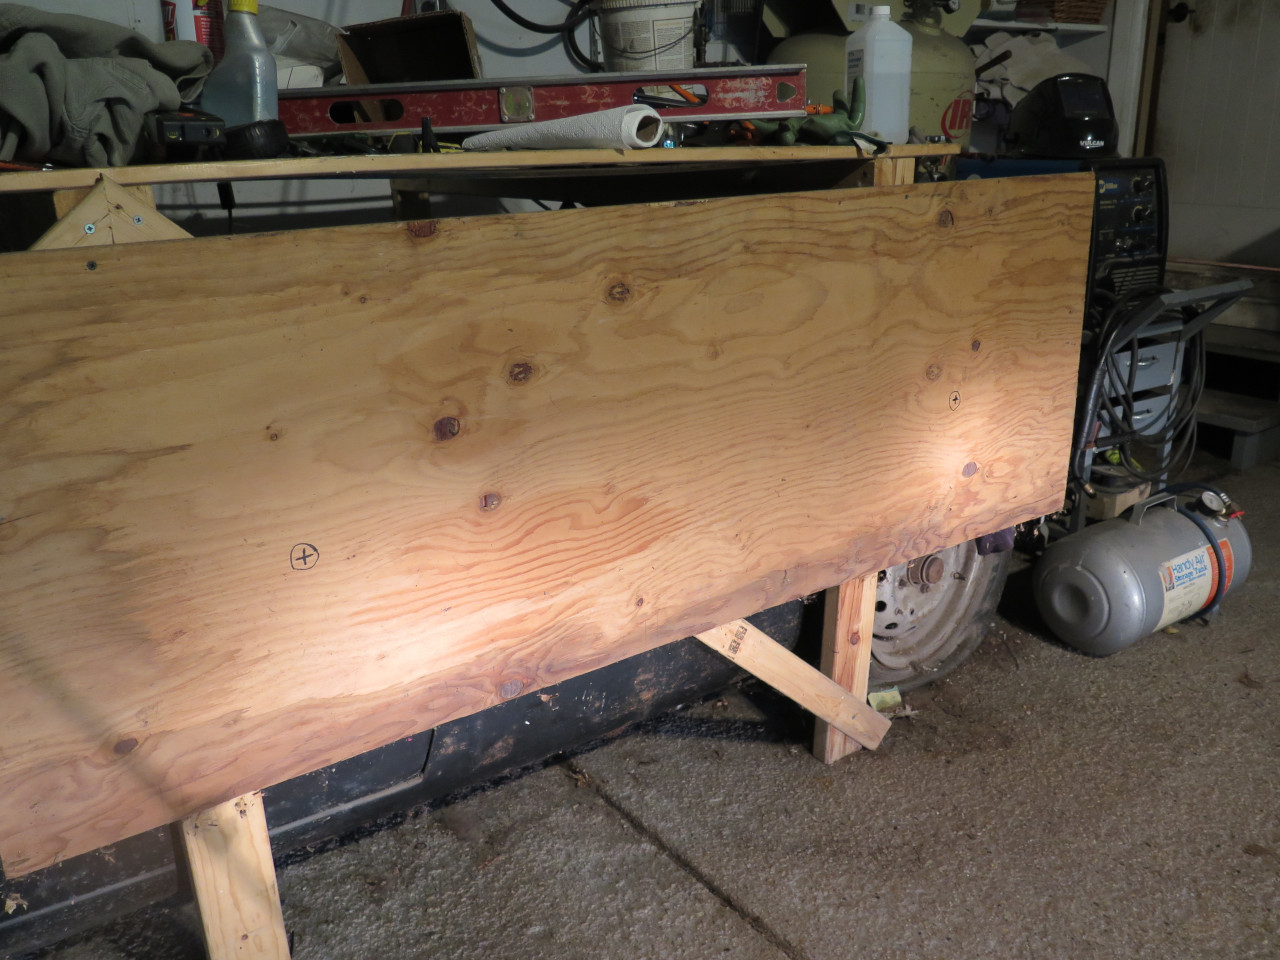
The car is then pulled straight back 25 feet. The left beam isn't
too bad, but I moved it up slightly. The right beam had to be
moved to the right and slightly up.
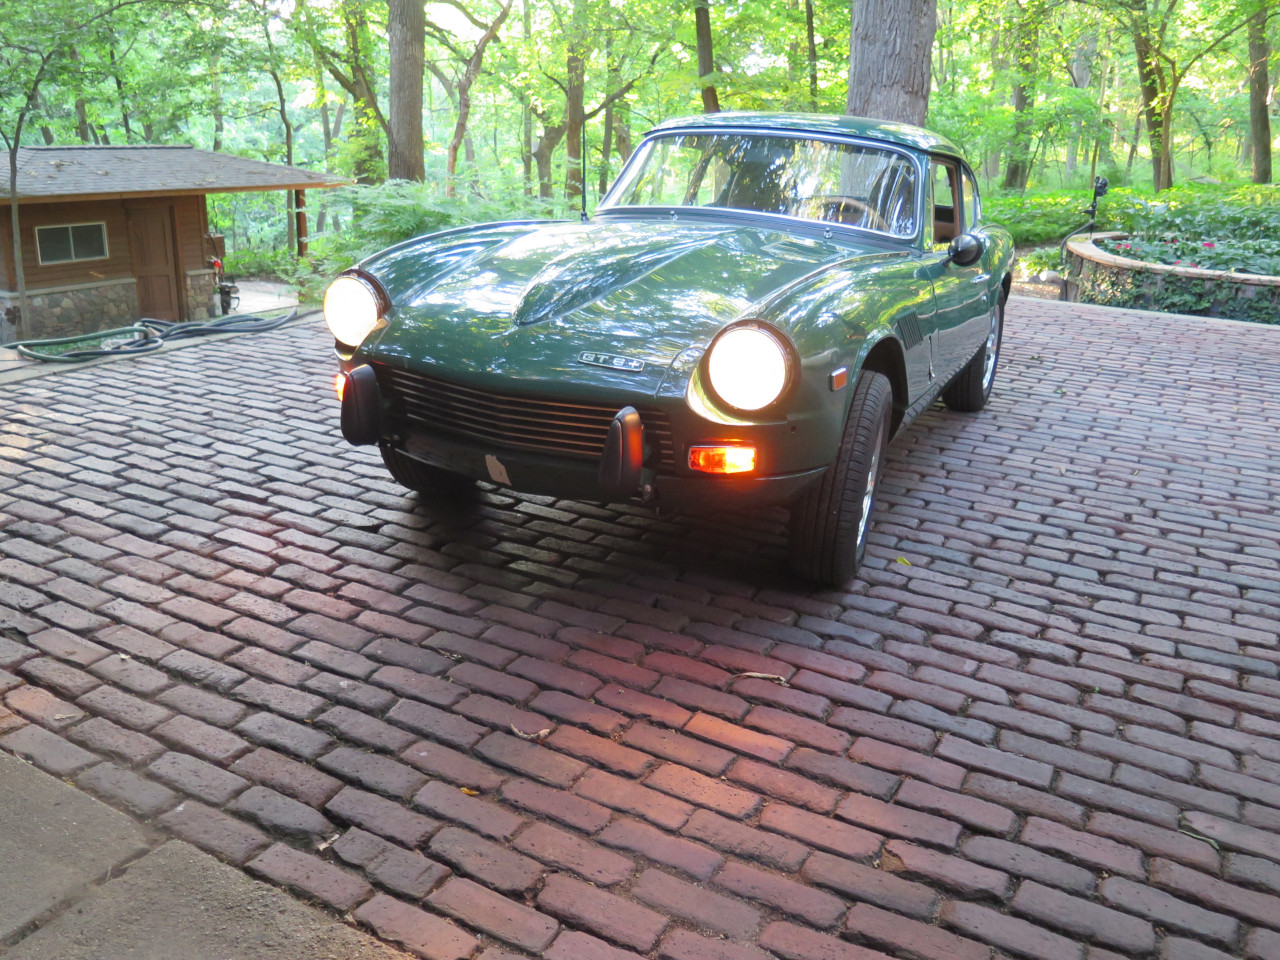
With that done, the trim rings can finally go on.
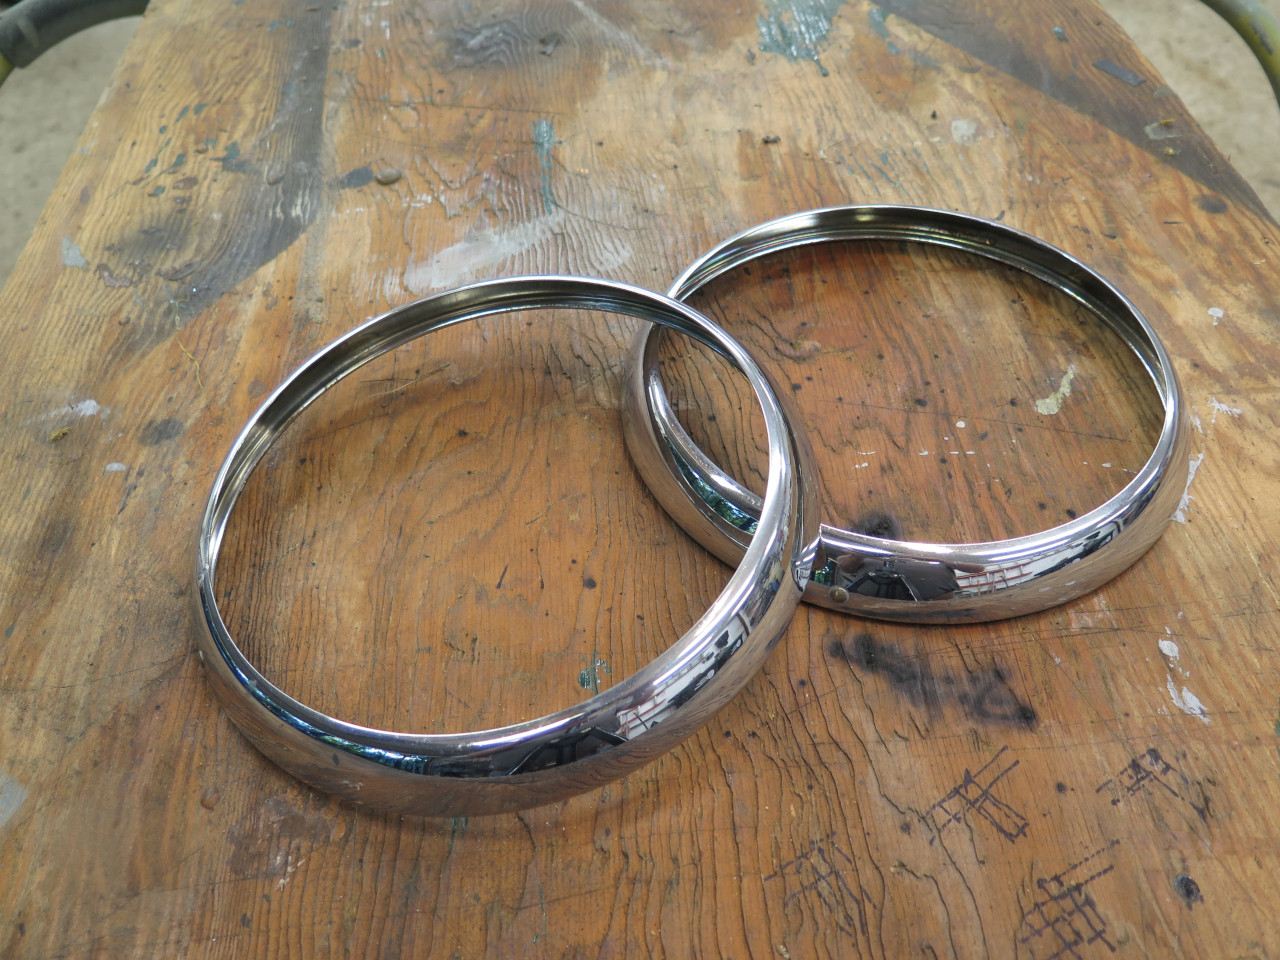
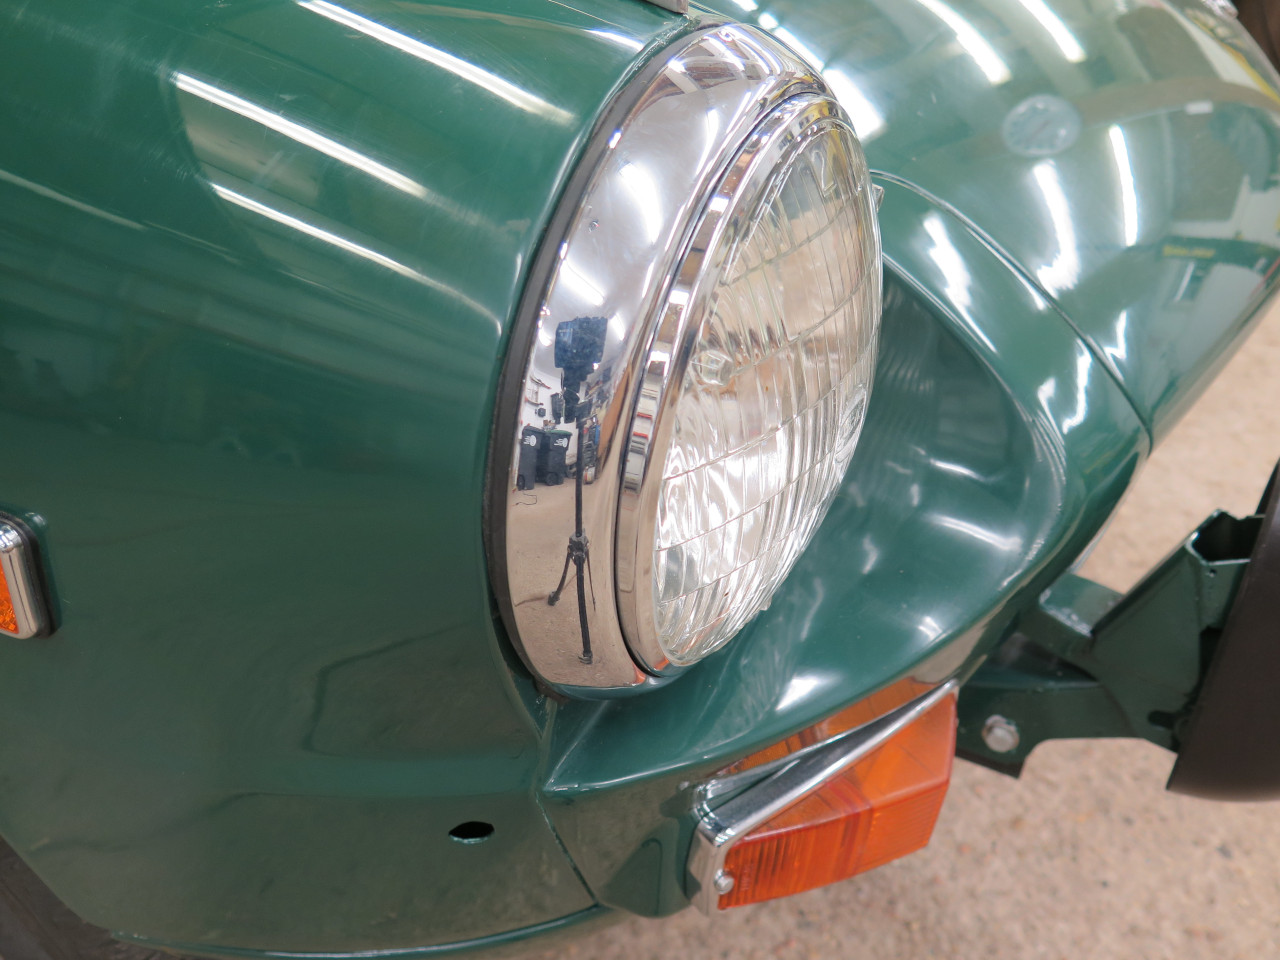
Really seems like I'm coming down to the wire here. Only a handful
of things left to do. These jobs took a few hours, but didn't cost
anything.
Comments to Ed at elhollin1@yahoo.com
To my other GT6 pages