To my other GT6 pages
February 13, 2024
Anti Roll Bar
GT6 cars had an anti roll bar at the front. An anti roll bar
basically connects the left and right suspension assemblies such that
vertical displacement on one side is communicated to the other side as a
similar displacement. This reduces the "roll" motion of the car
on curves or rough roads. The bar is usually implemented as a
torsion spring so that some of the displacement is taken up by twisting
of the bar.
My anti roll bar was AWOL. I don't remember seeing it when I
disassembled the car a few years ago, and I don't know what happened to
it. Aftermarket bars are apparently available, but I believe they
are all larger, more aggressive units compared to the factory
part. They typically need to be used in conjunction with a rear
anti roll bar, which was not a stock fitment. My style of driving
doesn't really justify a larger bar, so I resolved to find a decent used
stock bar.
I found several available on Ebay, and paid a little extra for one that was claimed to be "...not bent--lays flat".
Well, this is apparently what passes for "lays flat":


The bar obviously had a twist that caused one arm to hover more than
1/2" above the plane of the bar. I'm not totally sure how serious
this was, but it seemed that with non-adjustable links, the bar would
bias the suspension on one side slightly up and the other side down.
I decided to try to fix it. I clamped the bar to a very stout
table with one arm hanging over the edge. It took my entire 180
pounds on the end of a four foot cheater, twisting the arm down almost
45 degrees, to make any difference at all. Over several
iterations, the twist was finally gone, and the bar was finally "as
advertised".

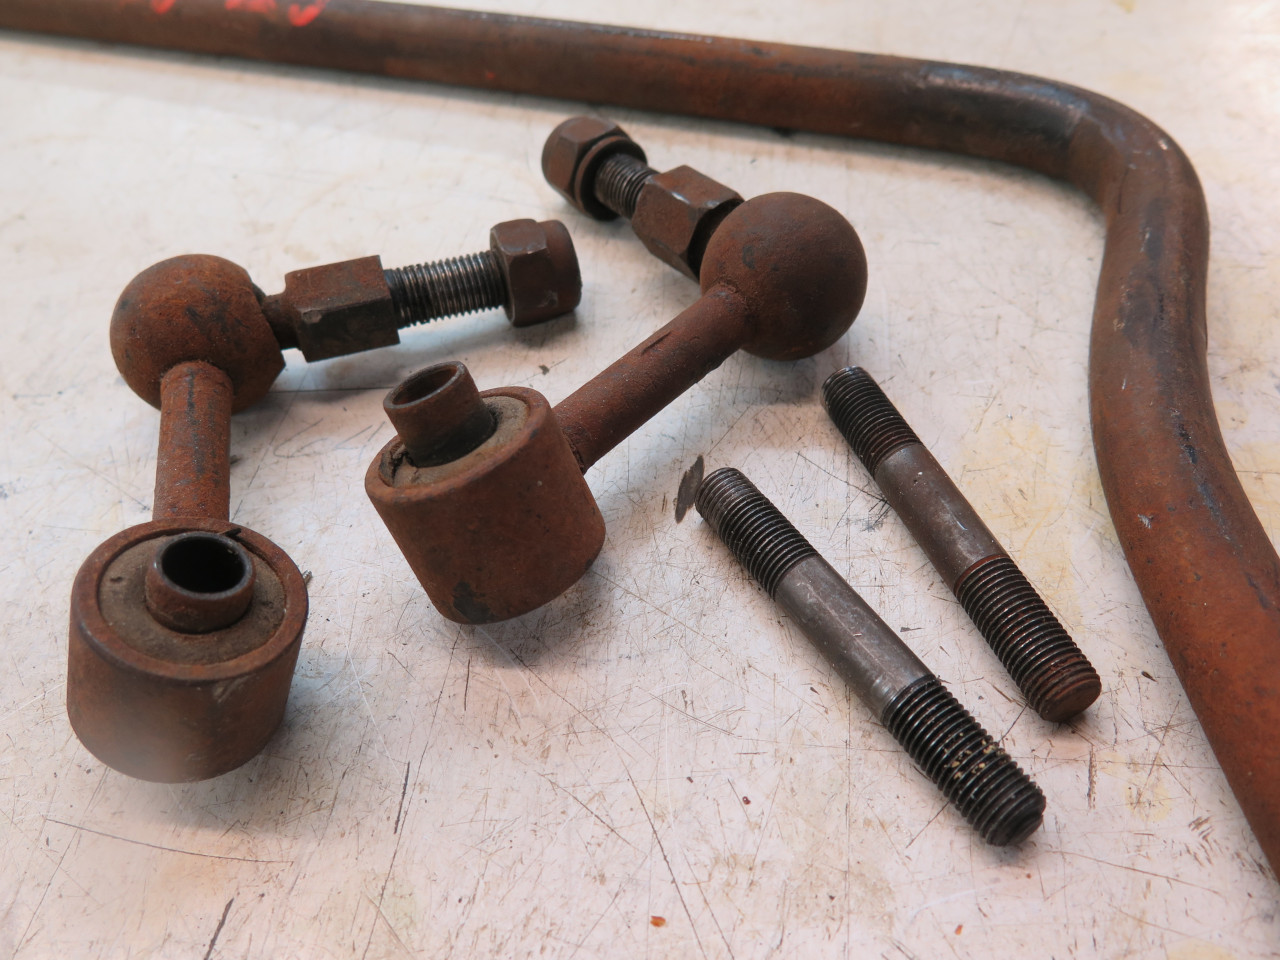
The ends of the bar had studs threaded in. They were surprisingly
easy to remove. A pair of links also came with the bar. The
were rusty, but still tight.
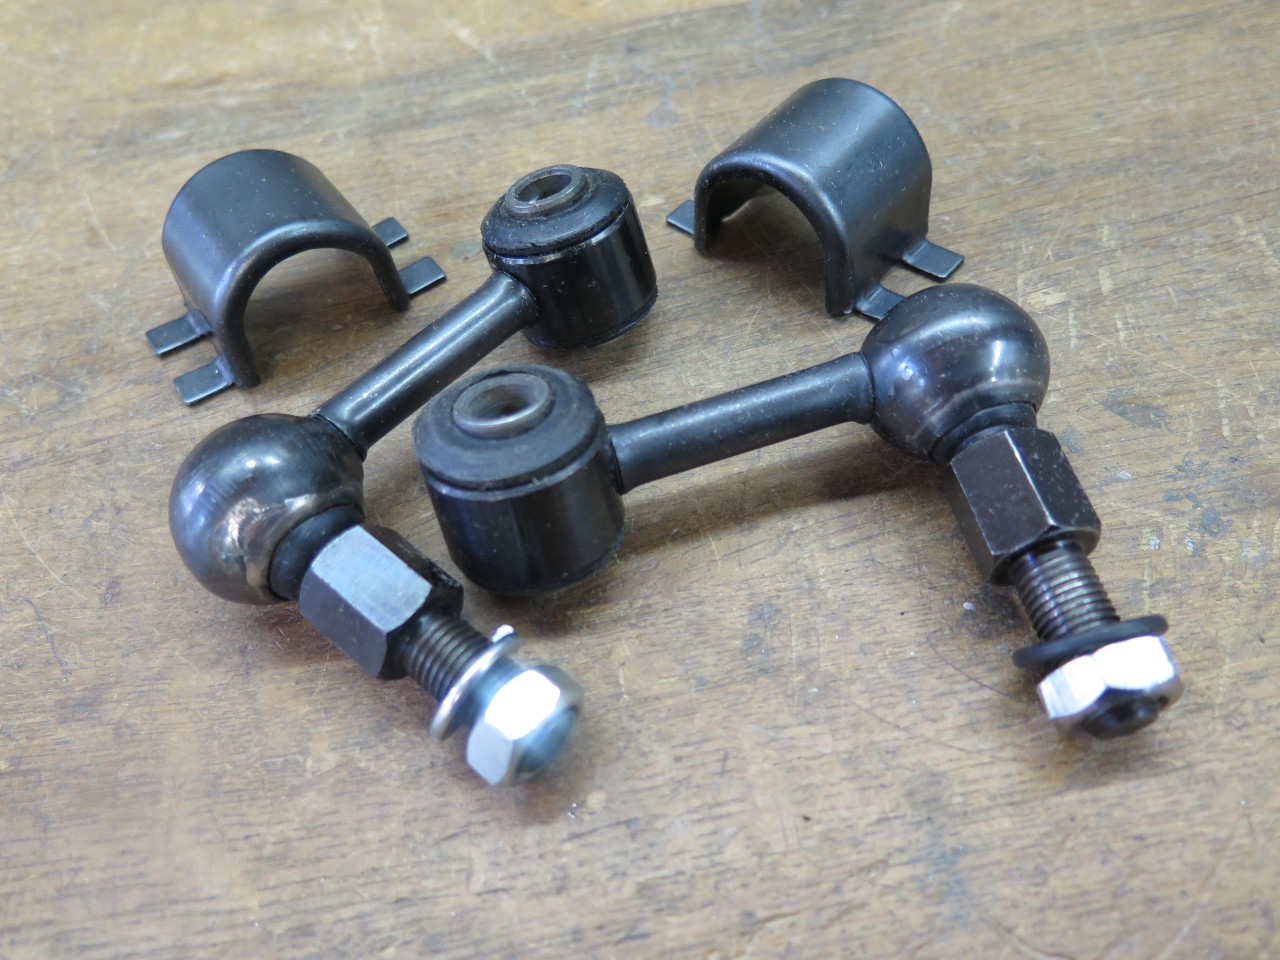
I had already ordered a new set of links and the rubber bushings and
caps that hold the bar to the frame. These seemed to have a black
oxide finish on them. This males them look OK, but the oxide isn't
really durable enough to withstand outdoor exposure.
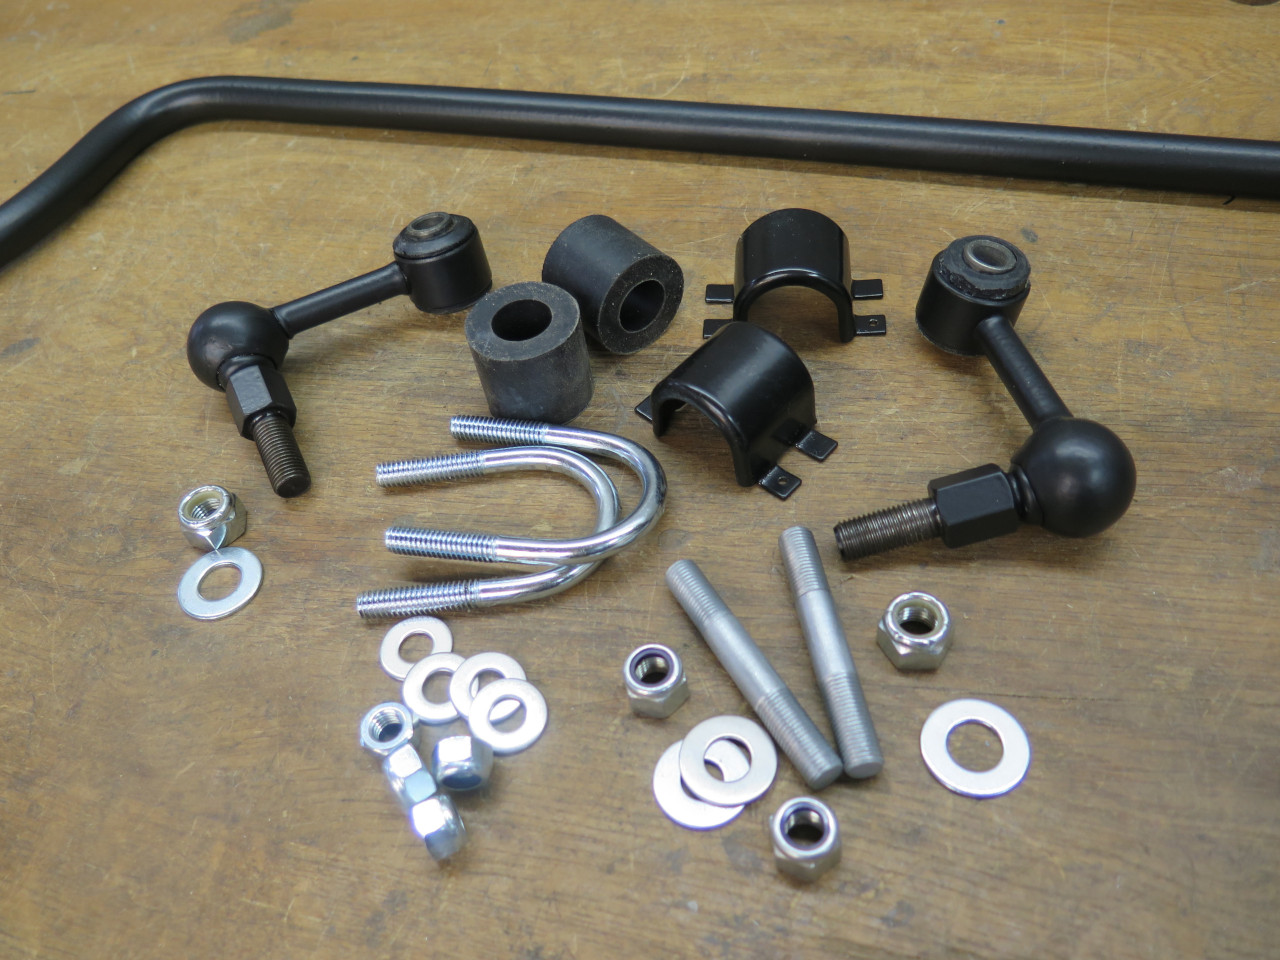
I would have liked to powder coat all of the parts, but since the bar
was too big for my oven, and I worried about the rubber in the links,
they got sprayed with a good epoxy primer, followed by a nice top
coat. The U bolts came from the hardware store, and Nylok nuts
replaced all the original nuts and lock washers.

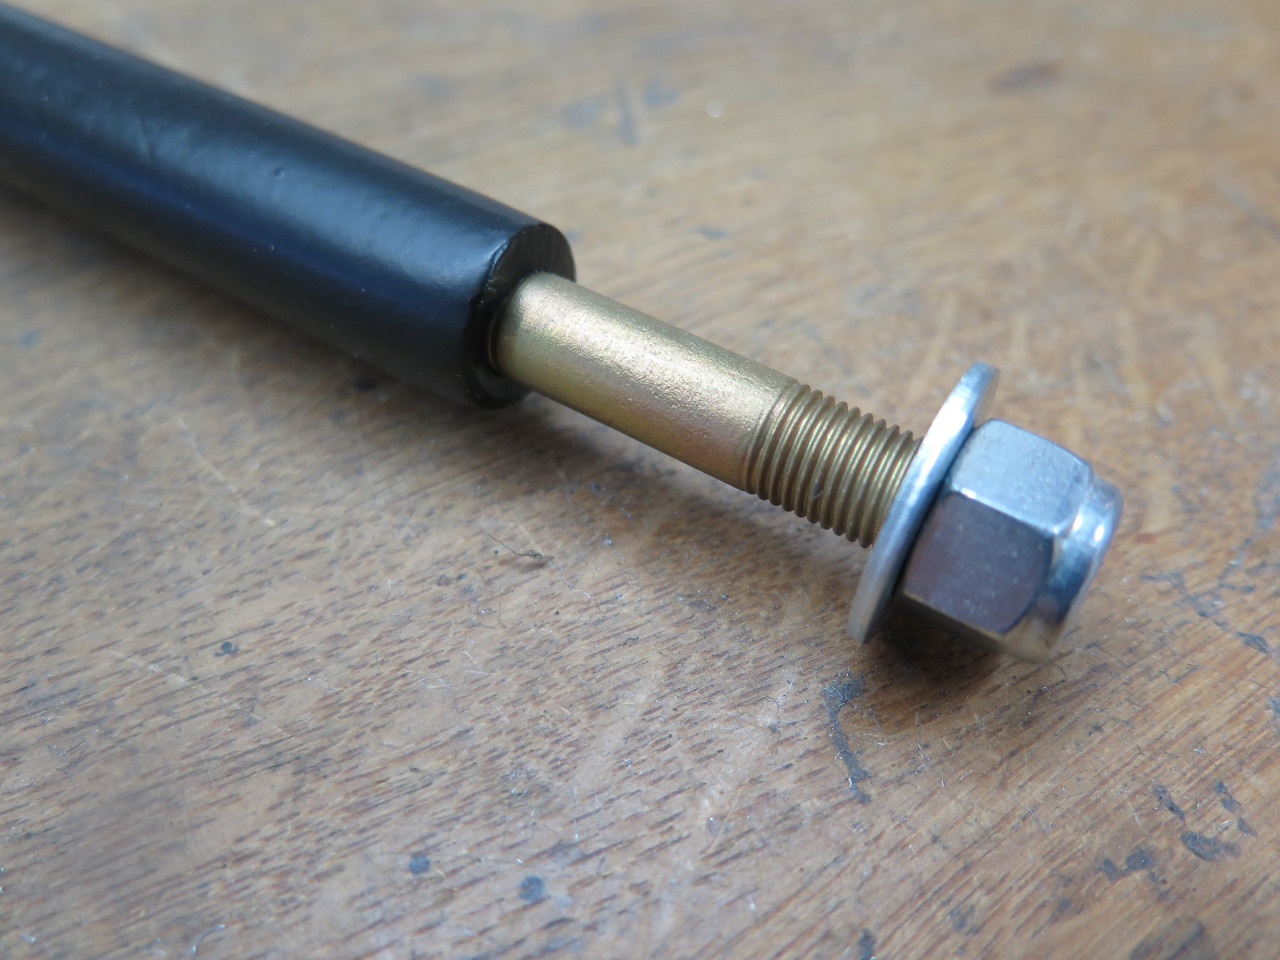
Before I untwisted the bar, I got these adjustable links. At this
point, I hadn't decided whether to use these or the original type links.
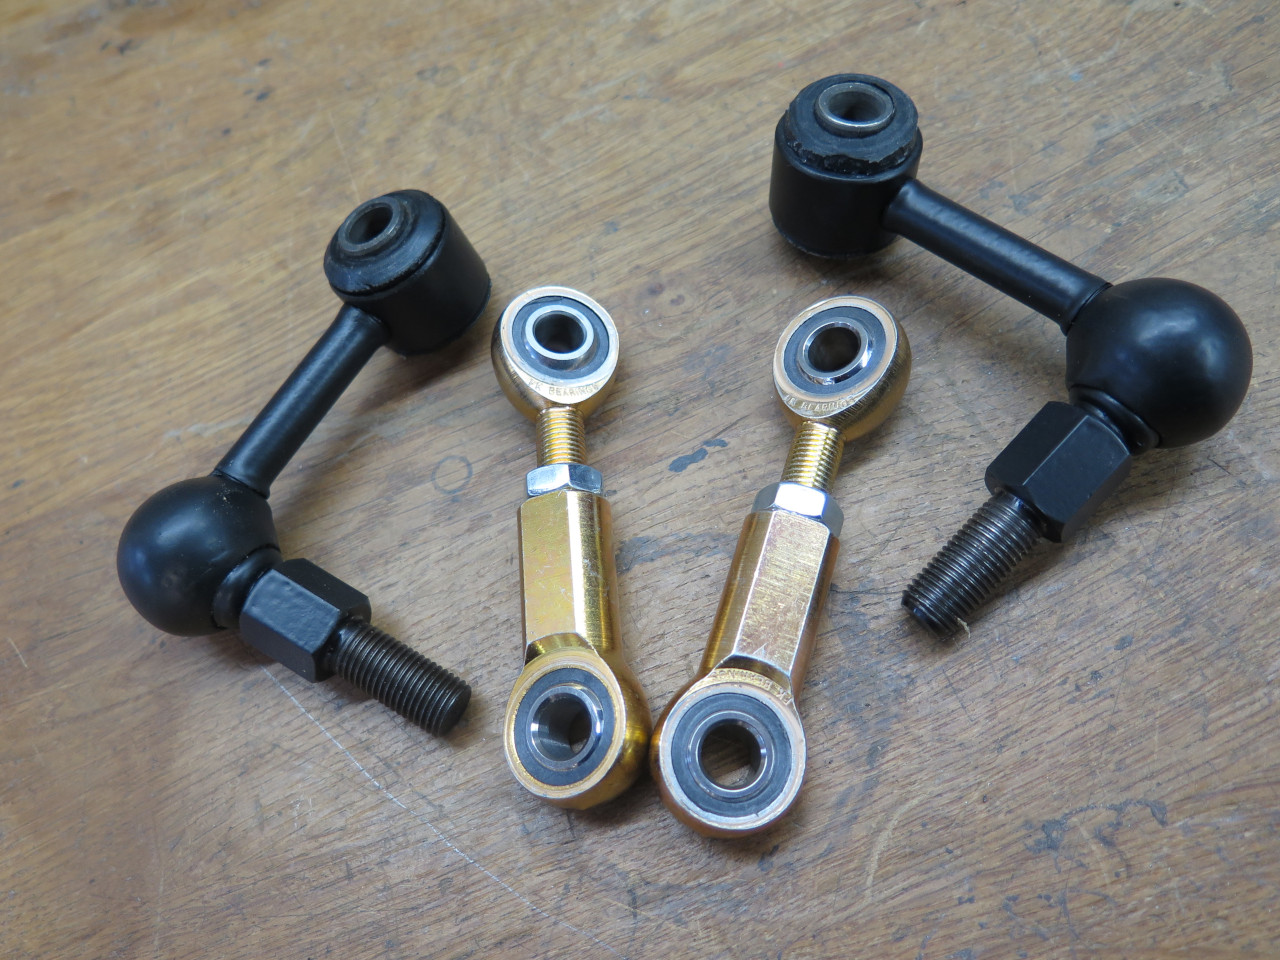
Ready to go, I think.

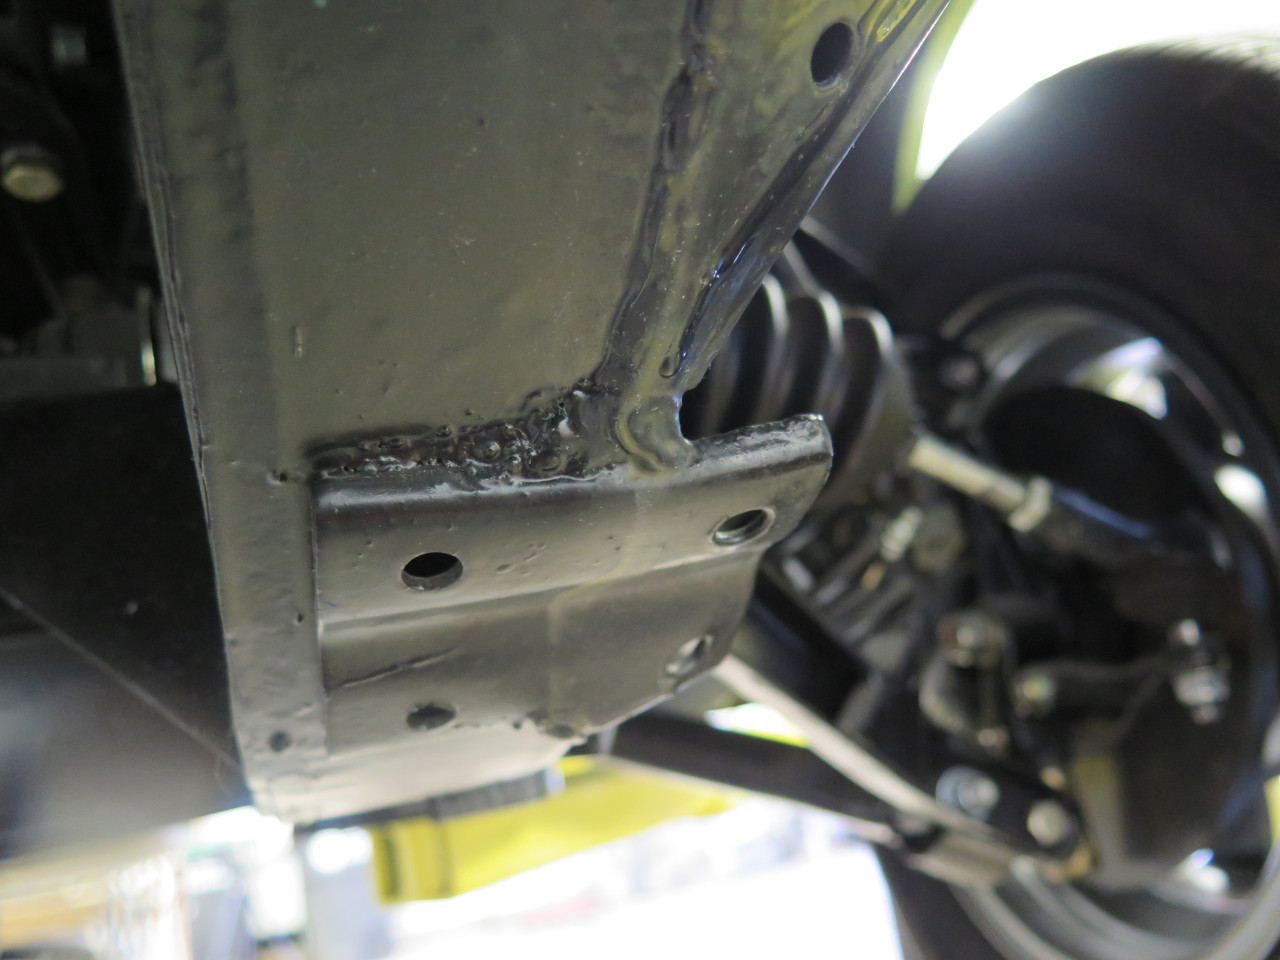
Getting ready for install, I found one of the mounting brackets had
suffered some trauma. It took considerable force to get it back in
line.

Test fit of the bush caps. The U bolt legs were way too long. Looks untidy to me.
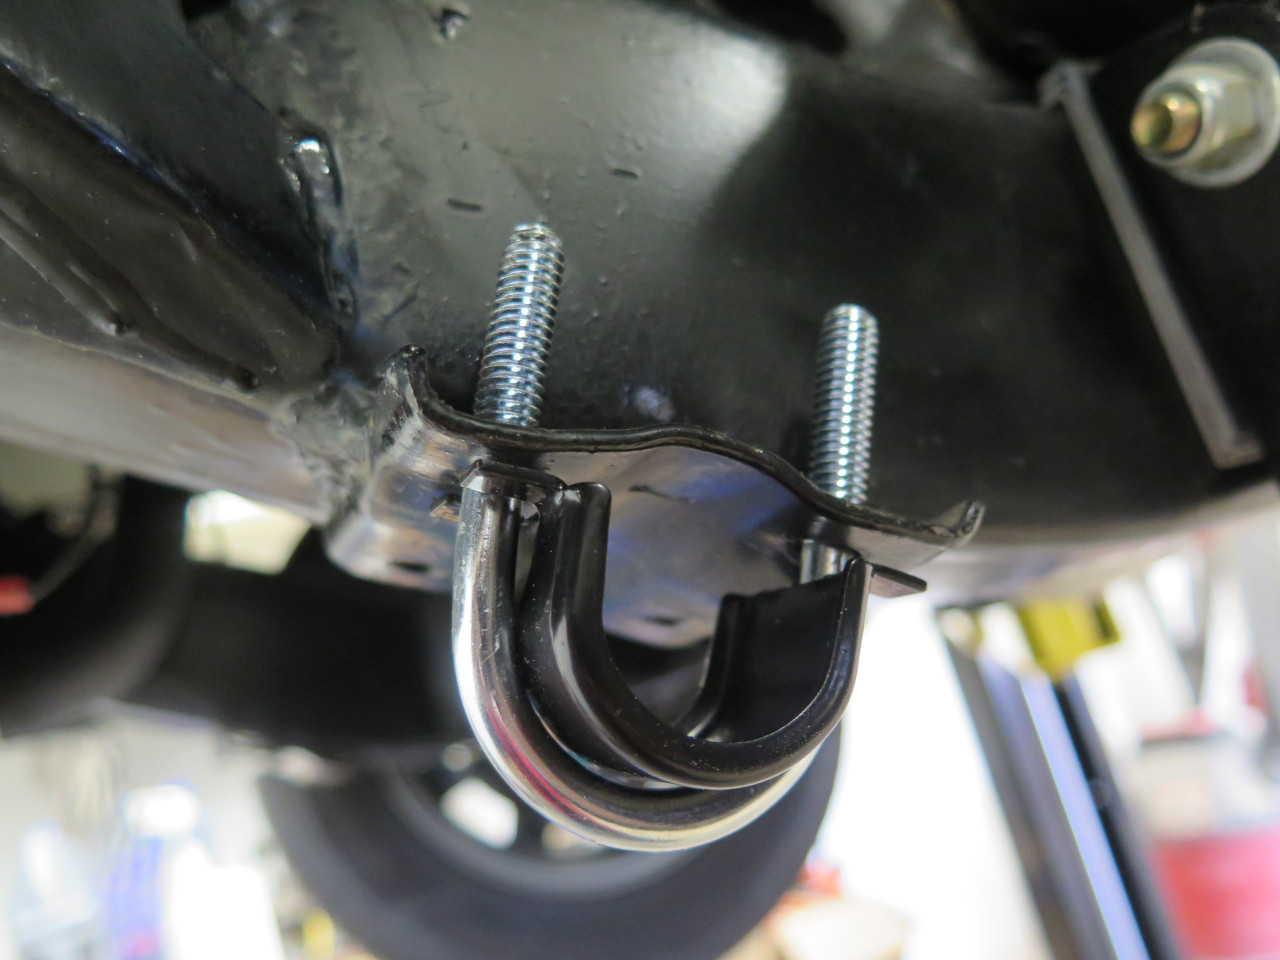
Trimmed the U bolt legs, and cut a few more threads on them. It
looked like the nuts might run out of thread. This of course
breached the zinc plating so I stripped and replated them.
Likewise for the end studs.

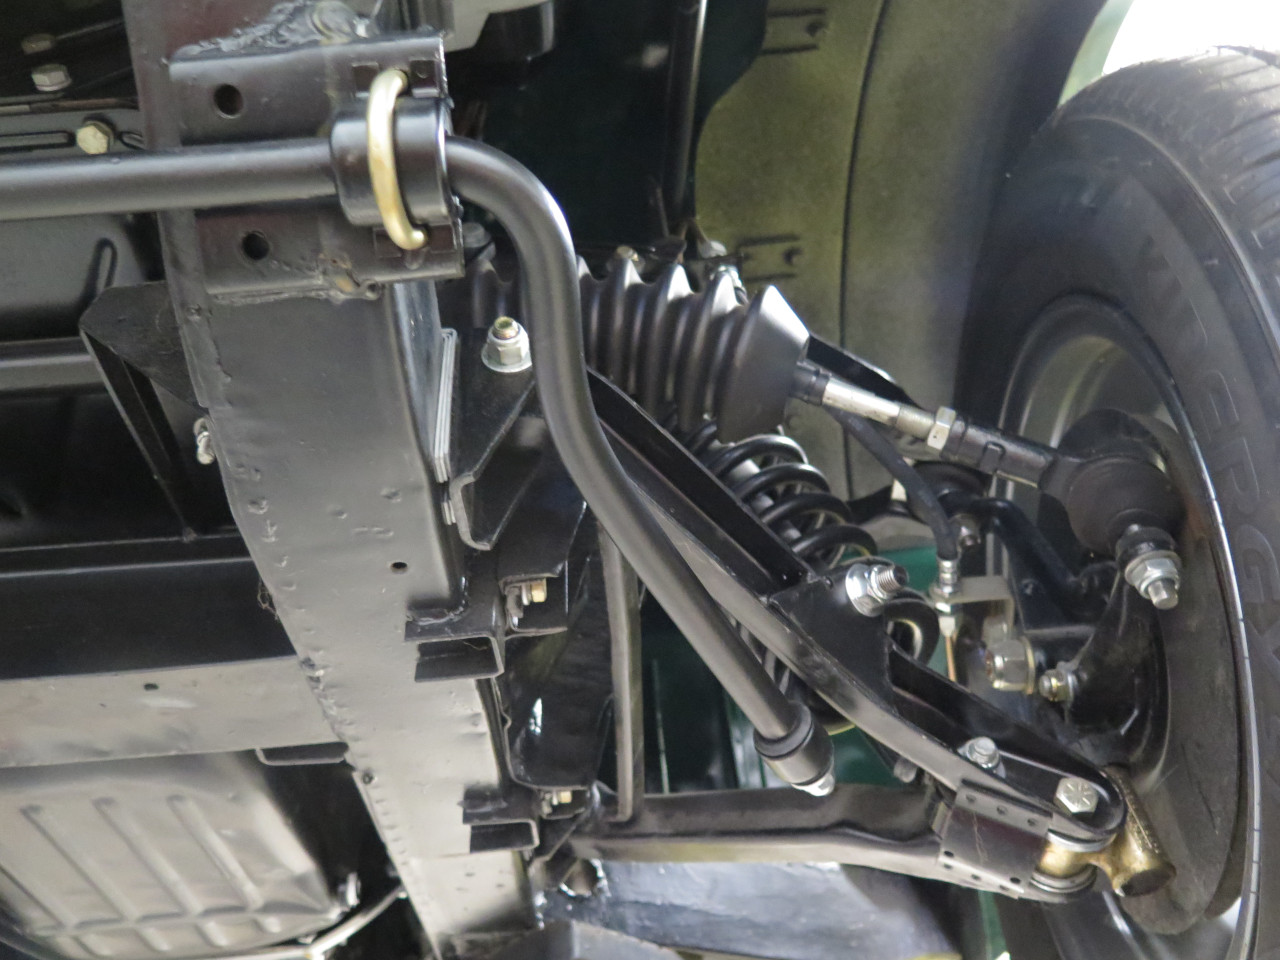
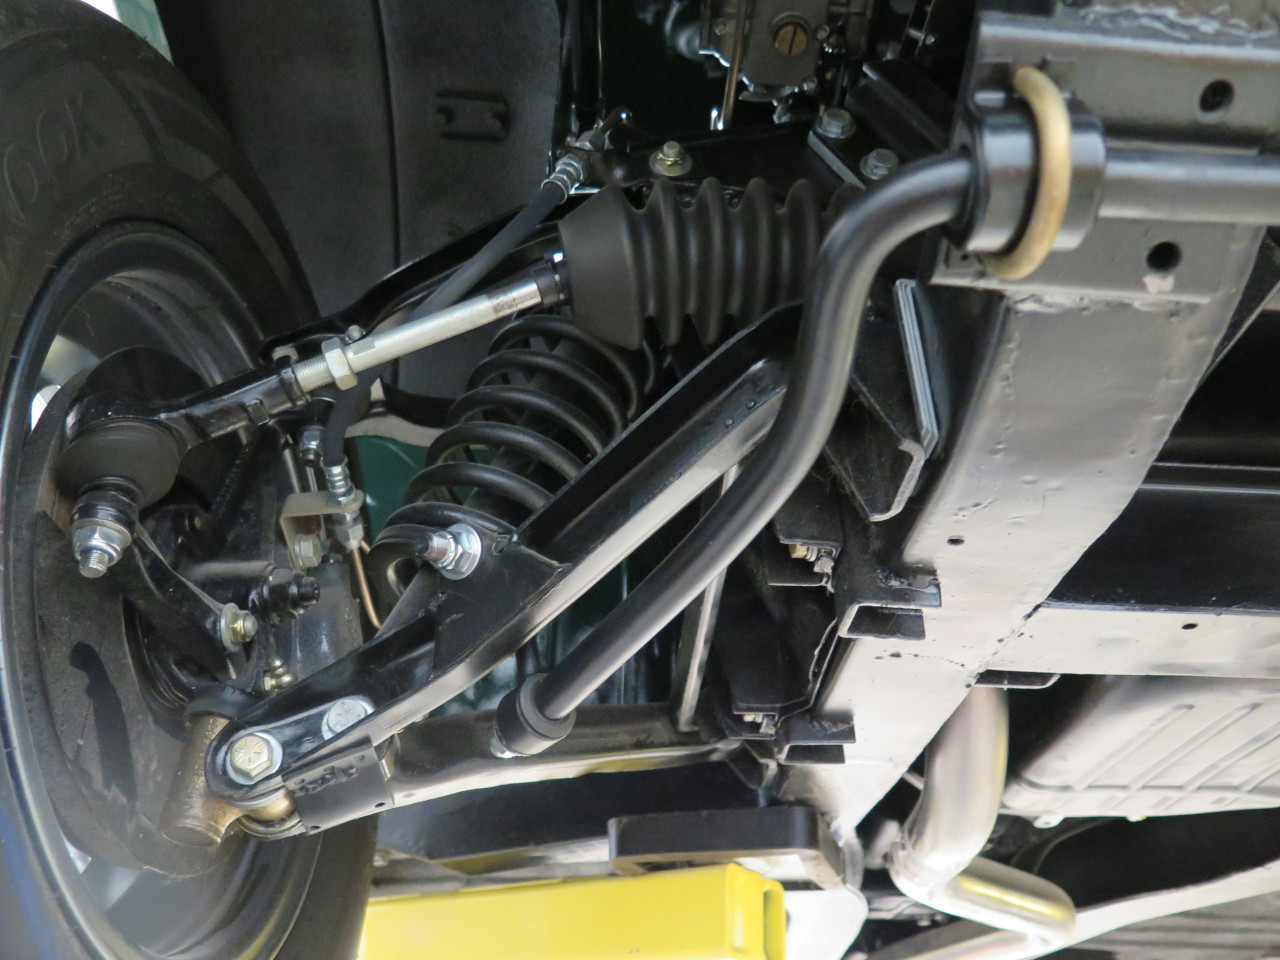
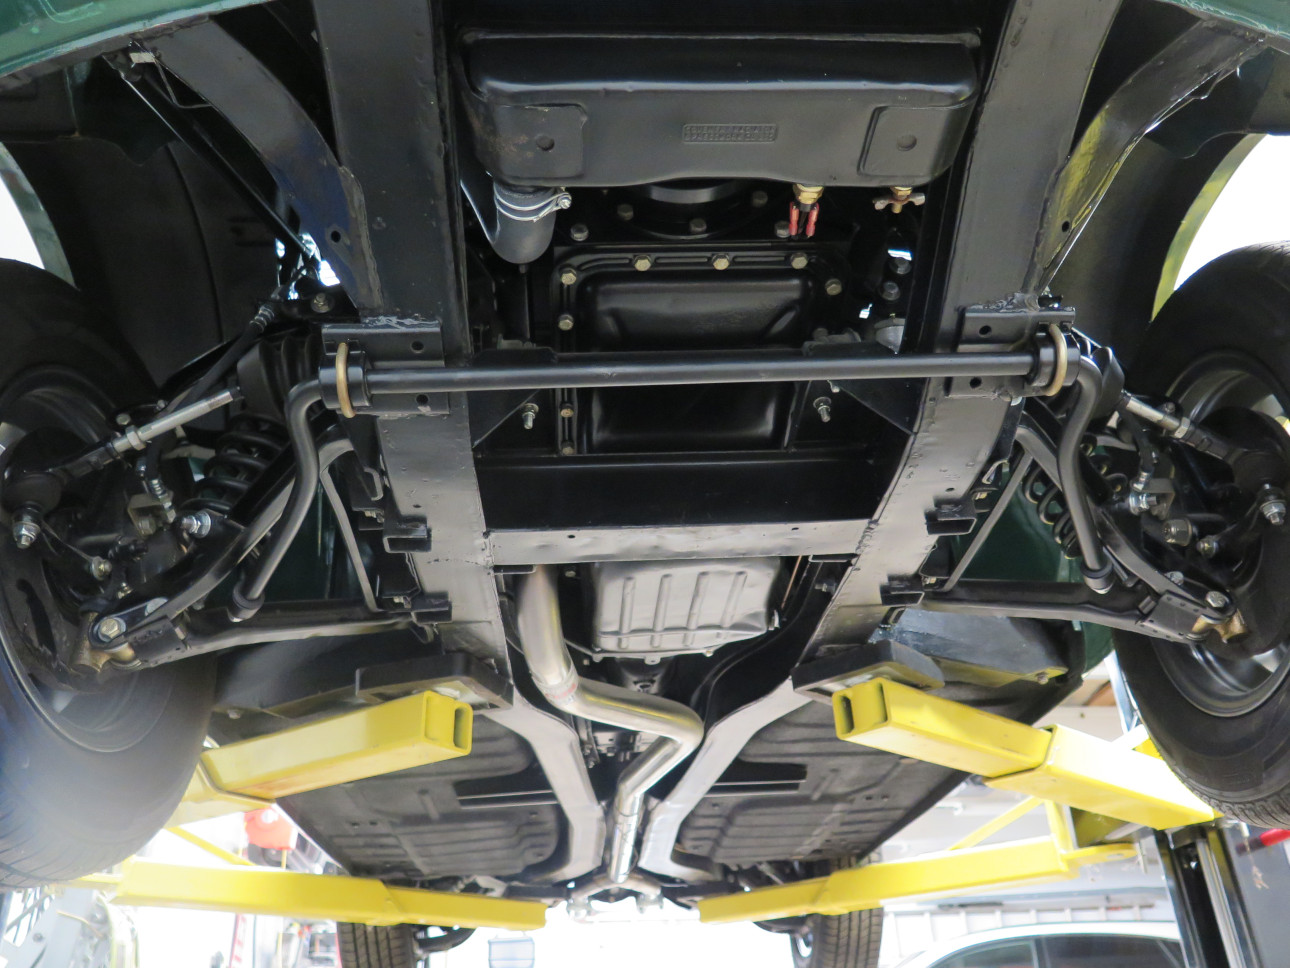
All buttoned up. I decided to go with the stock links. The
fancier ones would have required an array of custom spacers, and I
didn't really see any advantage to using them.
This was a quick and easy project. I think cost was around $100 for the bar and links.
Comments to Ed at elhollin1@yahoo.com
To my other GT6 pages