April, 2015
Storage Shed
I've
been working on rebuilding my Triumph TR6 for a while in the garage
over the past year or so. It is a pretty deep dive, involving
taking the car's body off its frame. It didn't take long to
realize that this approach more than doubles the space required for all
the pieces and parts. The body and frame each take a car-sized
space in the garage, and the many other sizable parts, like the engine,
transmission, rear end, fenders, bumpers, windshield, seats,
and gas tank, all need a place to be until they are needed.
This caused a critical space crunch in the garage, and something
had to be done.
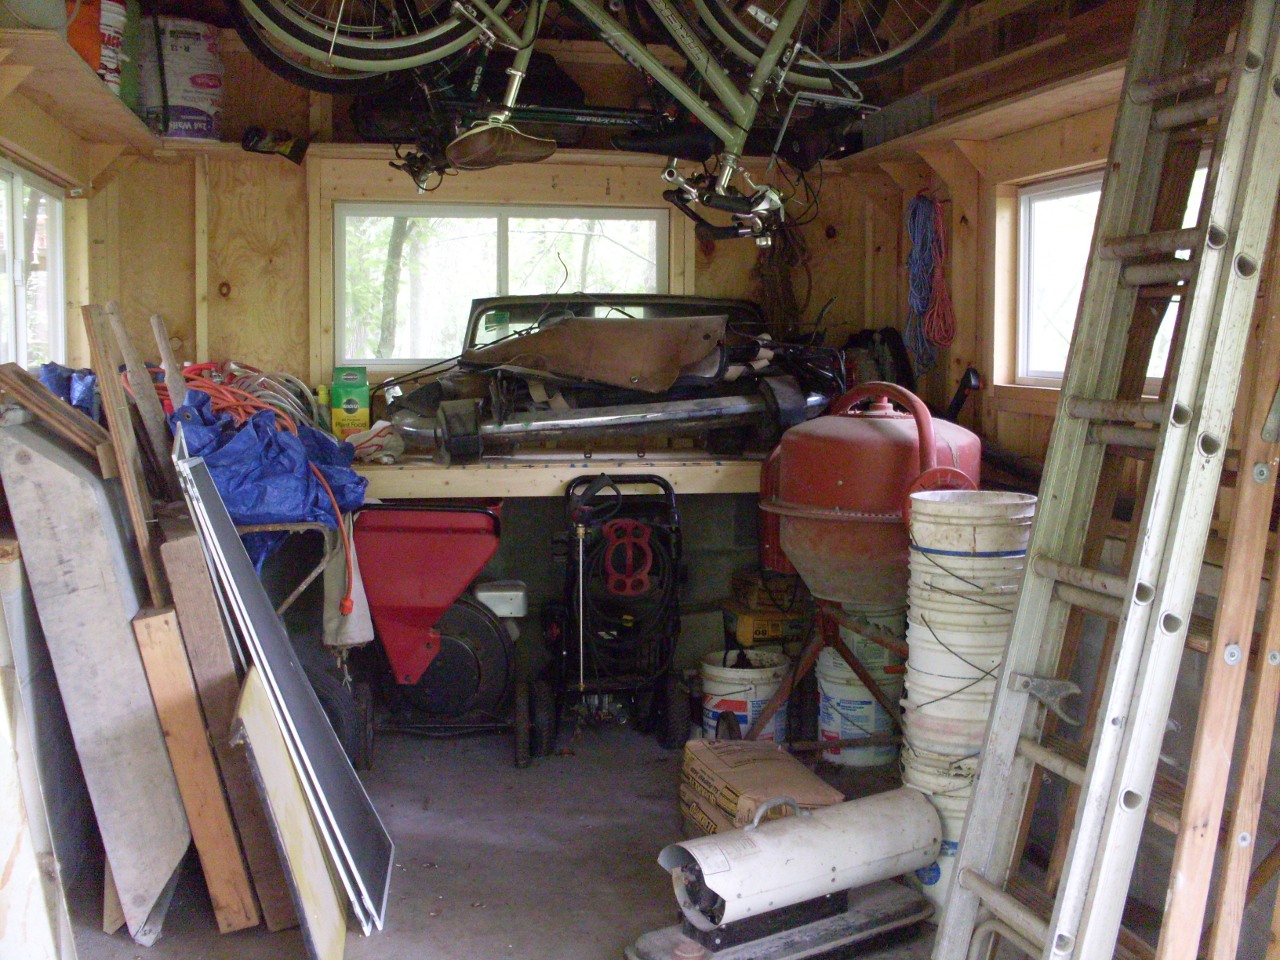
My
solution was to build a shed to move most of the non-automotive stuff
out of the garage. You know--the lawn and garden implements,
the bicycles--stuff like that.
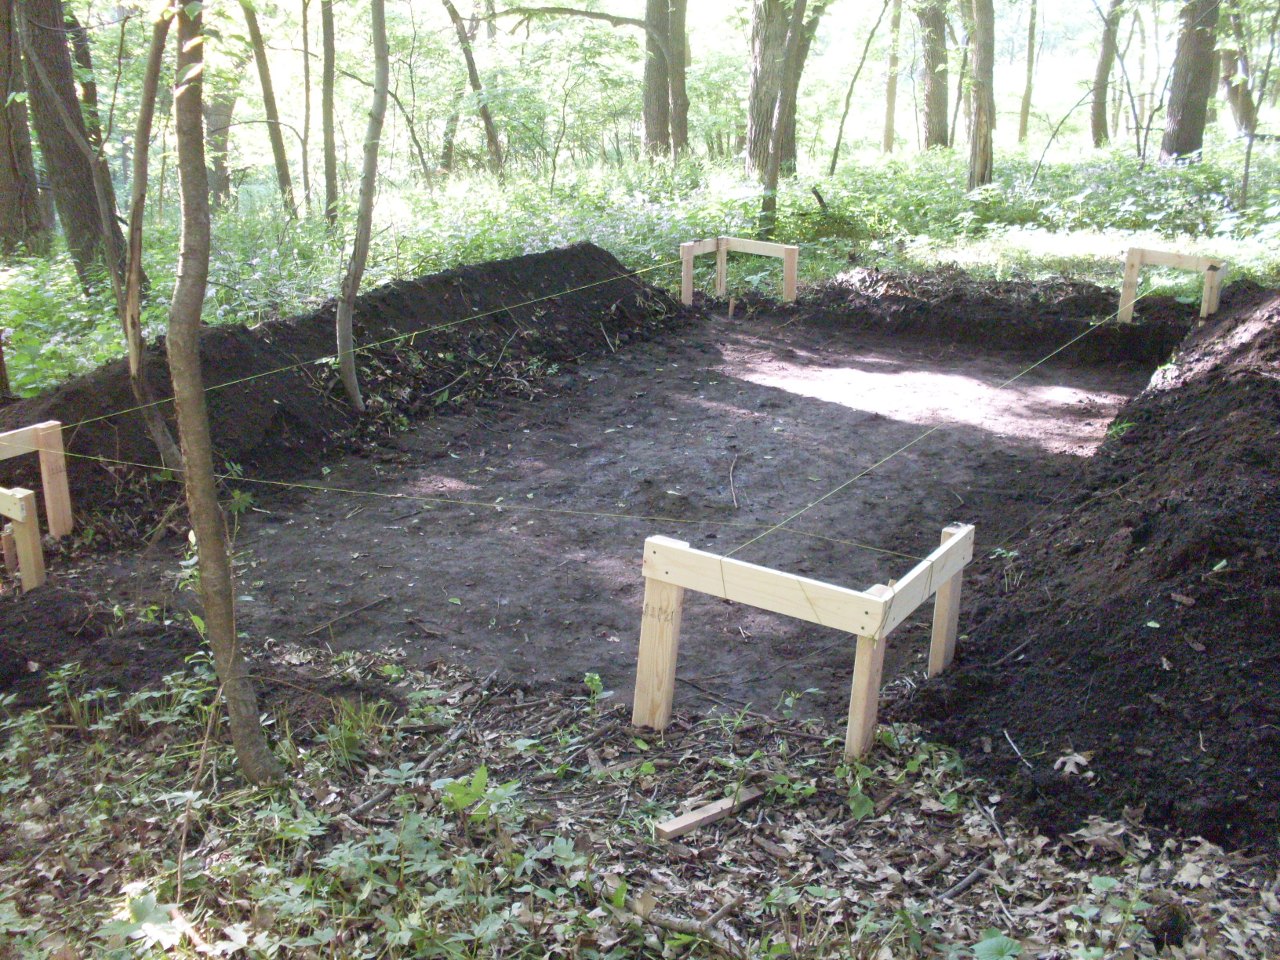
I
picked a place fairly close and convenient to the house and garage.
I staked it out and cut the ground cover so I could better
visualize the site.

I
decided to use a thickened edge slab foundation. I'd build it
strong enough to act as a unit with frost heaving. A foundation
with true footings would be a problem because of the large mature trees
close by. Also, I believe a building with below frost line
footings really needs to be heated to avoid the floor heaving ion cold
weather.
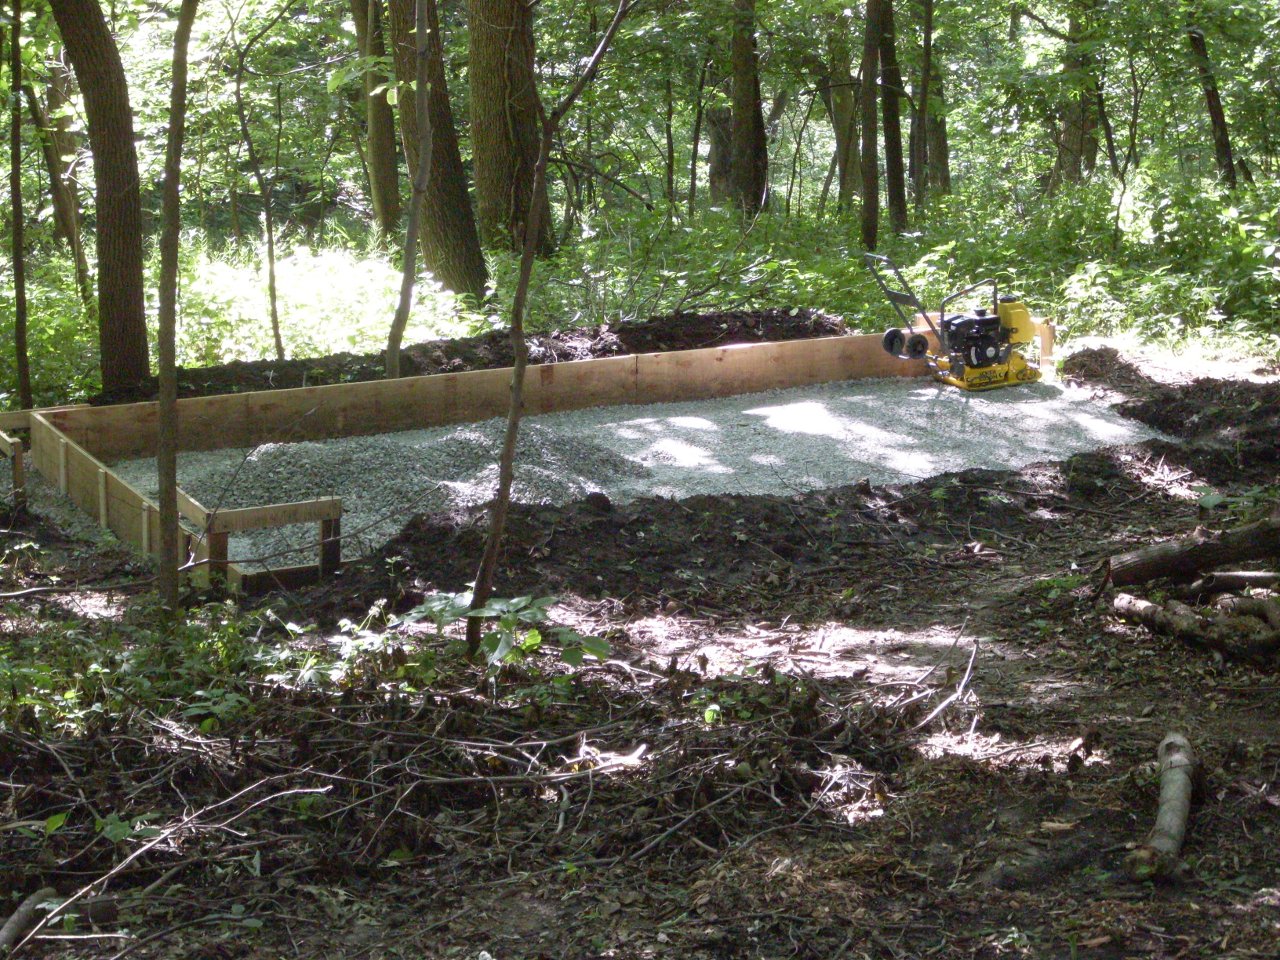
The
site was slightly sloped, and I dug down to firm soil below the organic
layer on the low side. This put the high side about 18" below
grade. This was dug by hand. I like digging.
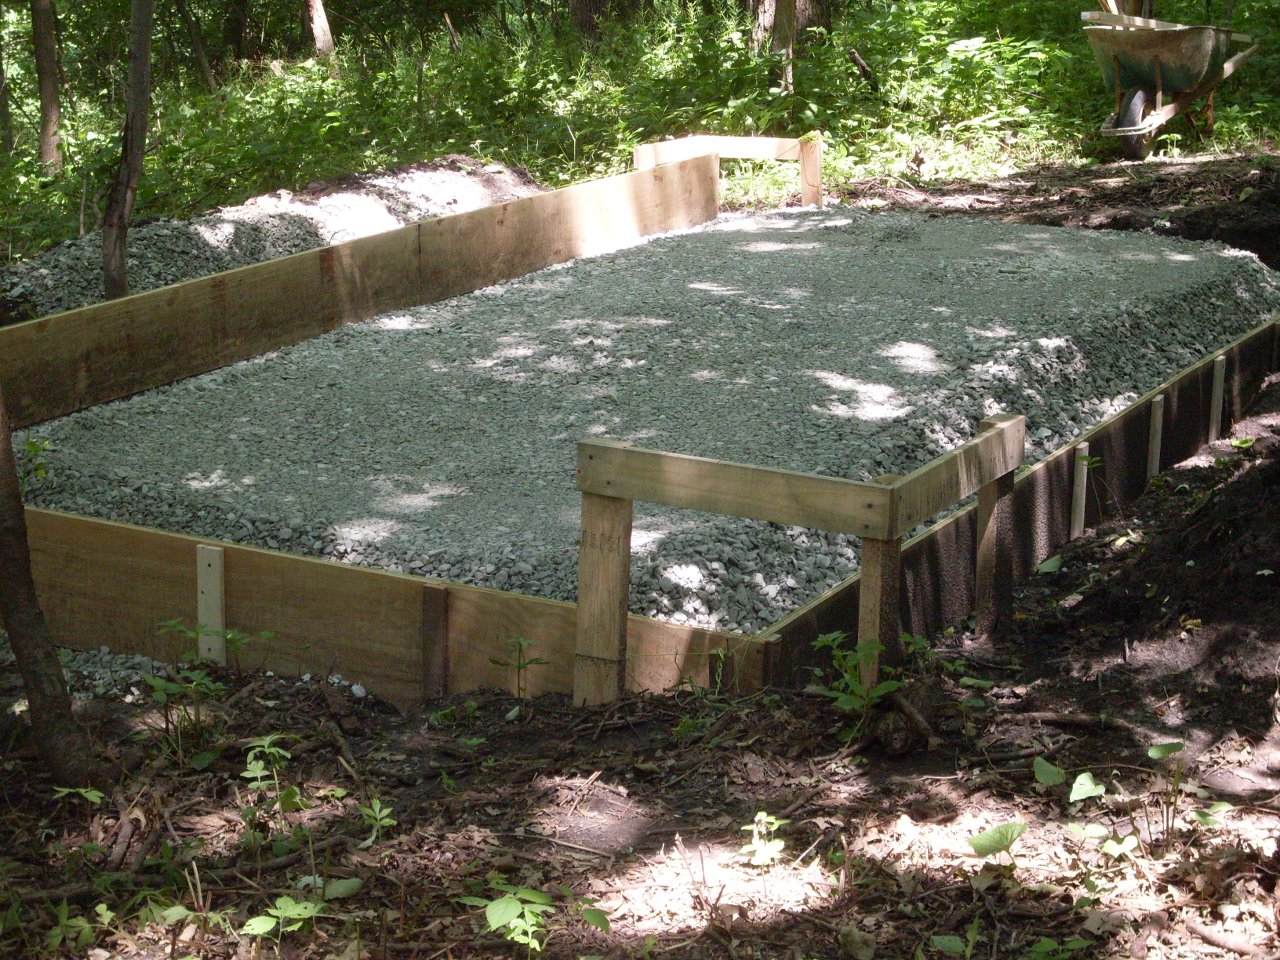
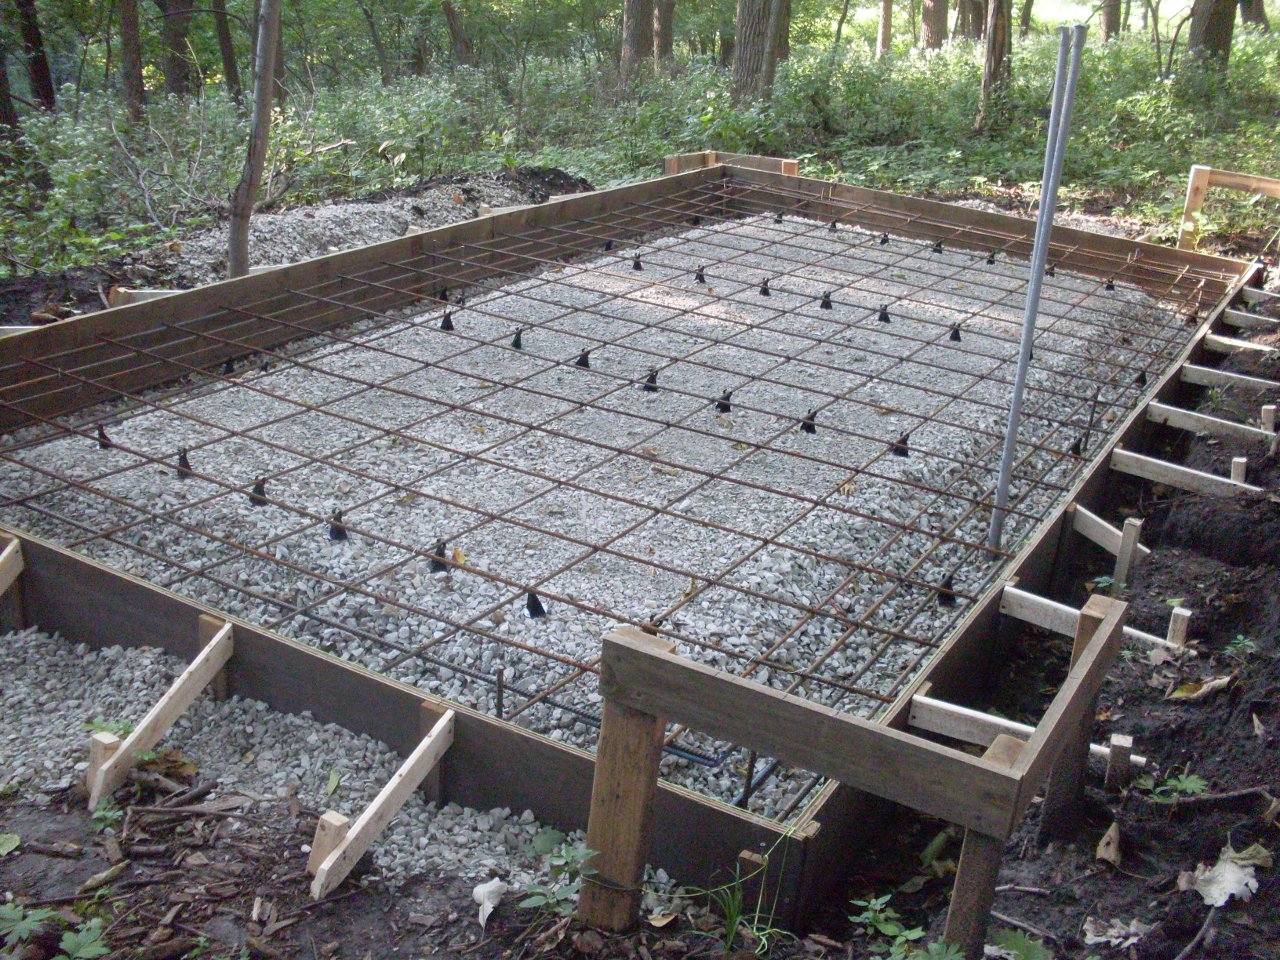
I
put in some plywood forms and brought in 9 tons of crushed rock for a
sub-base. This all had to be moved by wheelbarrow to the site.
The base was compacted in three or four stages. The base is
about 6" thick around the perimeter, and about 13" in the middle.
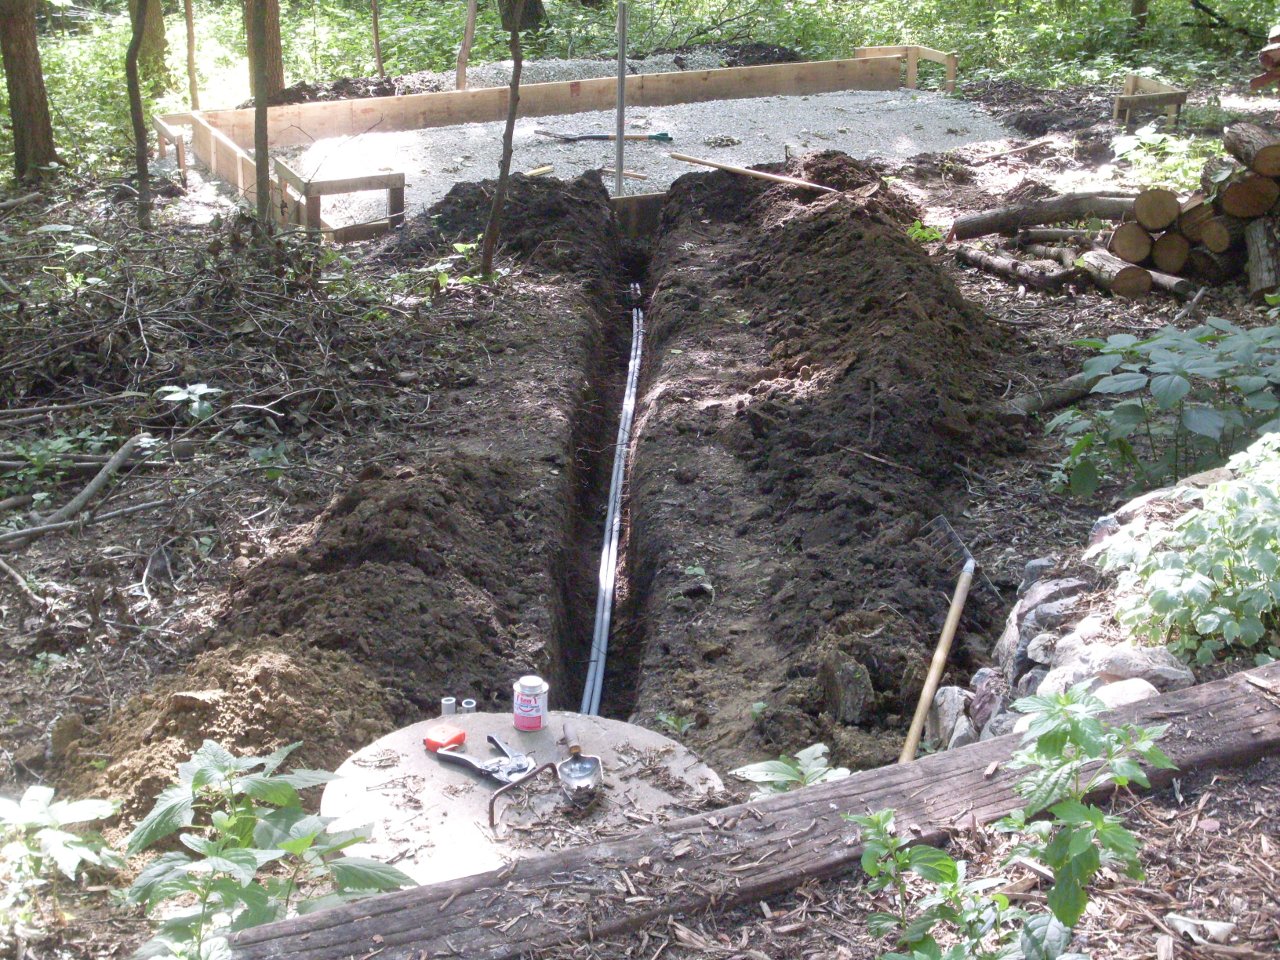
I want electricity in the shed, so I buried a couple of conduits that will penetrate the slab.
Then added the steel reinforcing. Four #4 bars round the perimeter, and a 1-food grid of #3s in the floor.
I
wimped out a little in not doing the concrete pour and finishing
myself, but the concrete had to be pumped down to the site, and I felt
better letting a contractor handle the coordination with the concrete
delivery and the pumper. The slab is about 10 x 20 feet, with the
perimiter 12" thick and the rest about 5". It took about 5.5
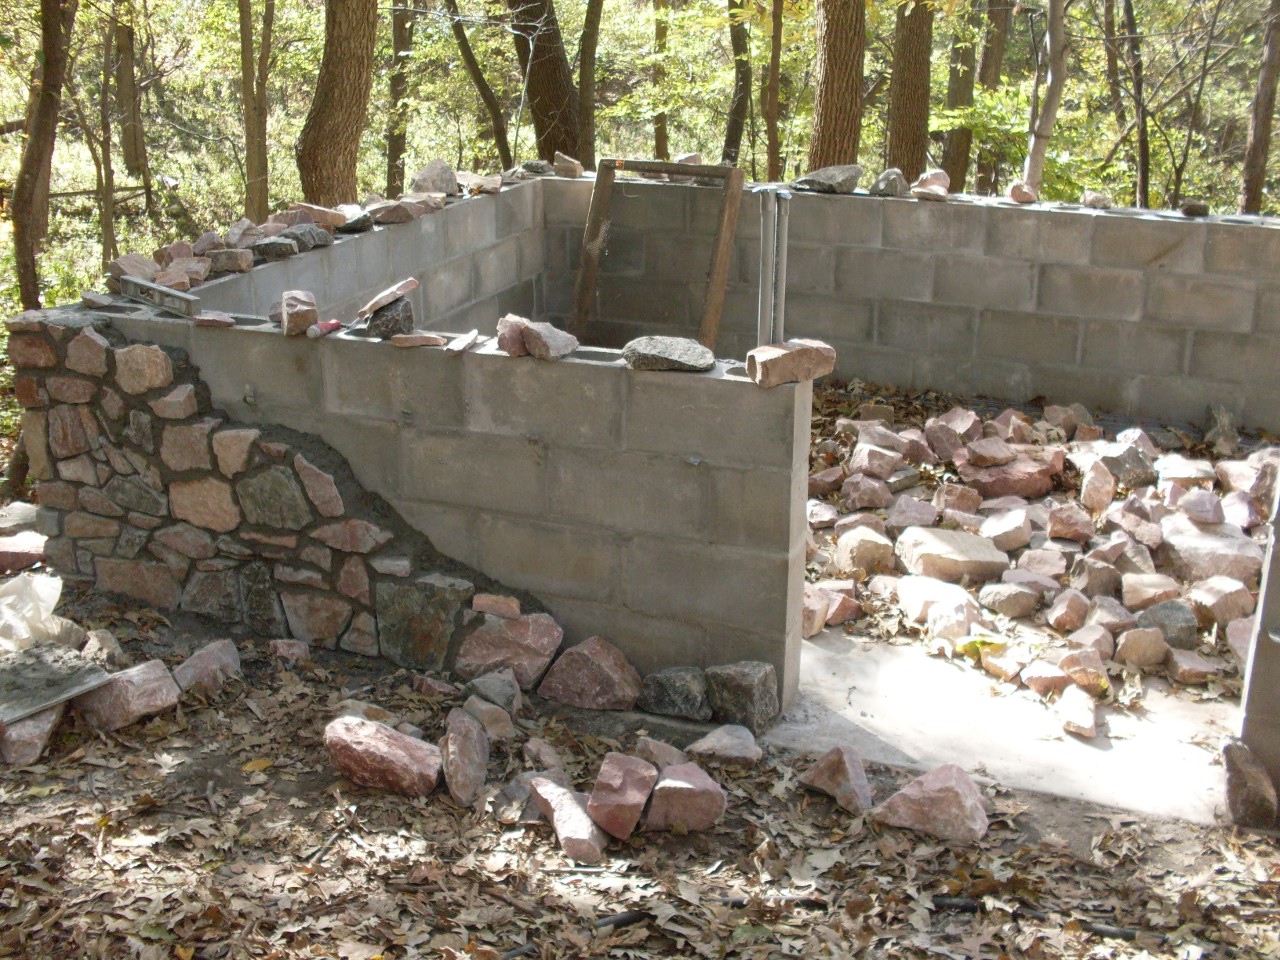
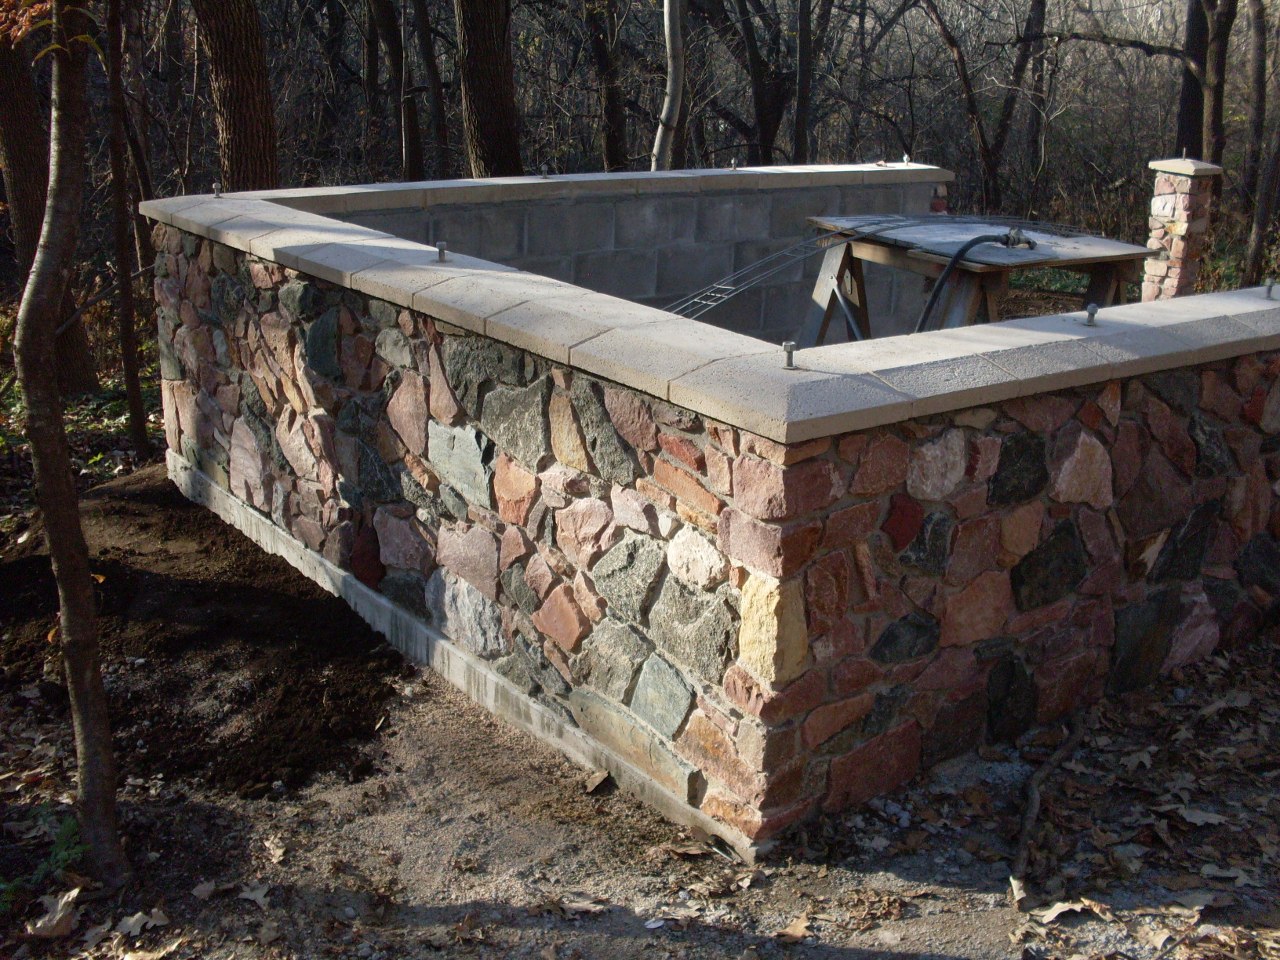
yards. The lower part of the walls will be masonry, which is what
the concrete blocks are for.

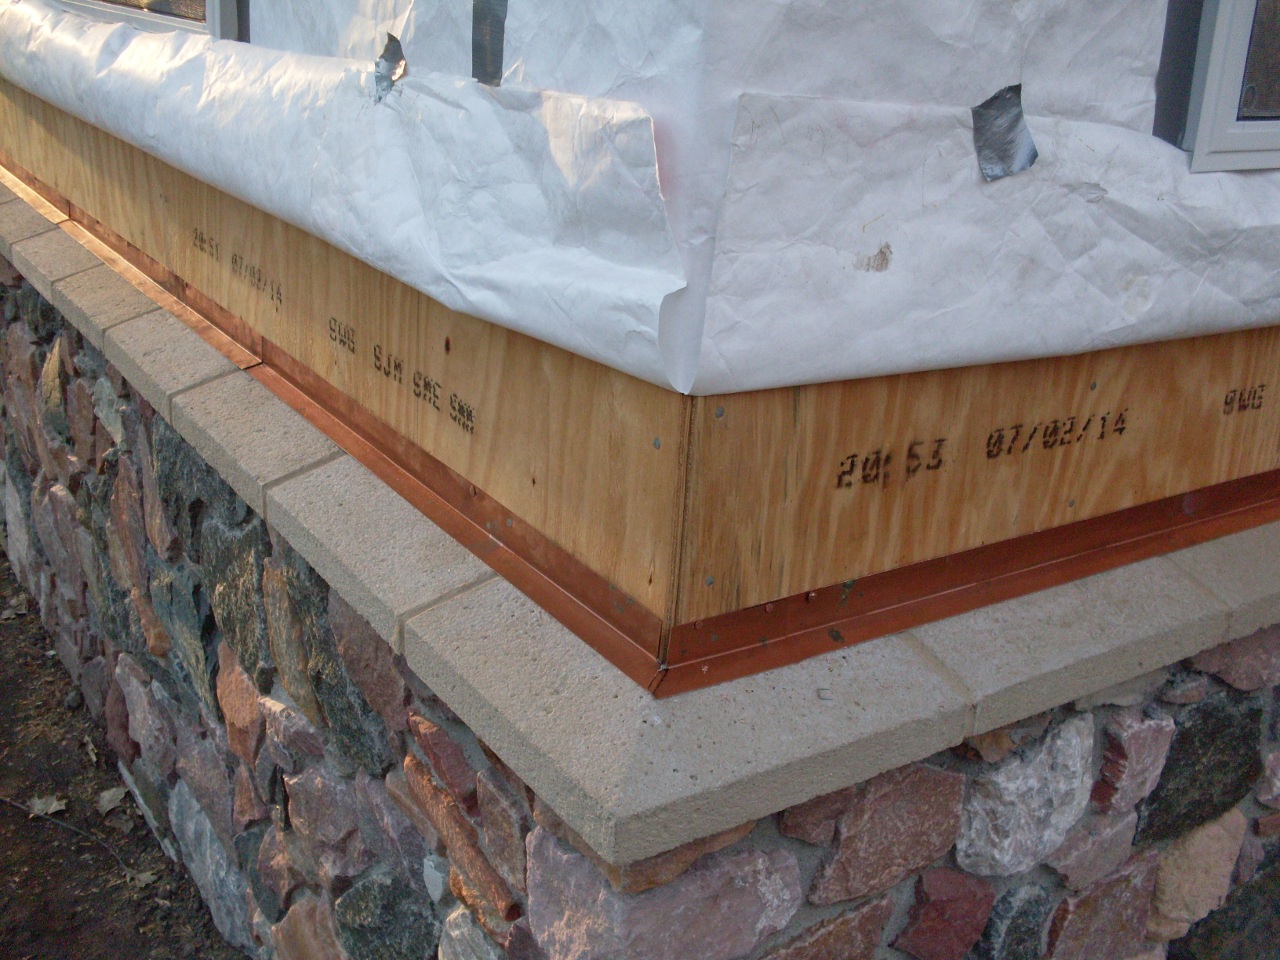
I laid up a 6-inch block wall set back 5" from the edge of the slab. This left a sturdy shelf to support the stone facing.
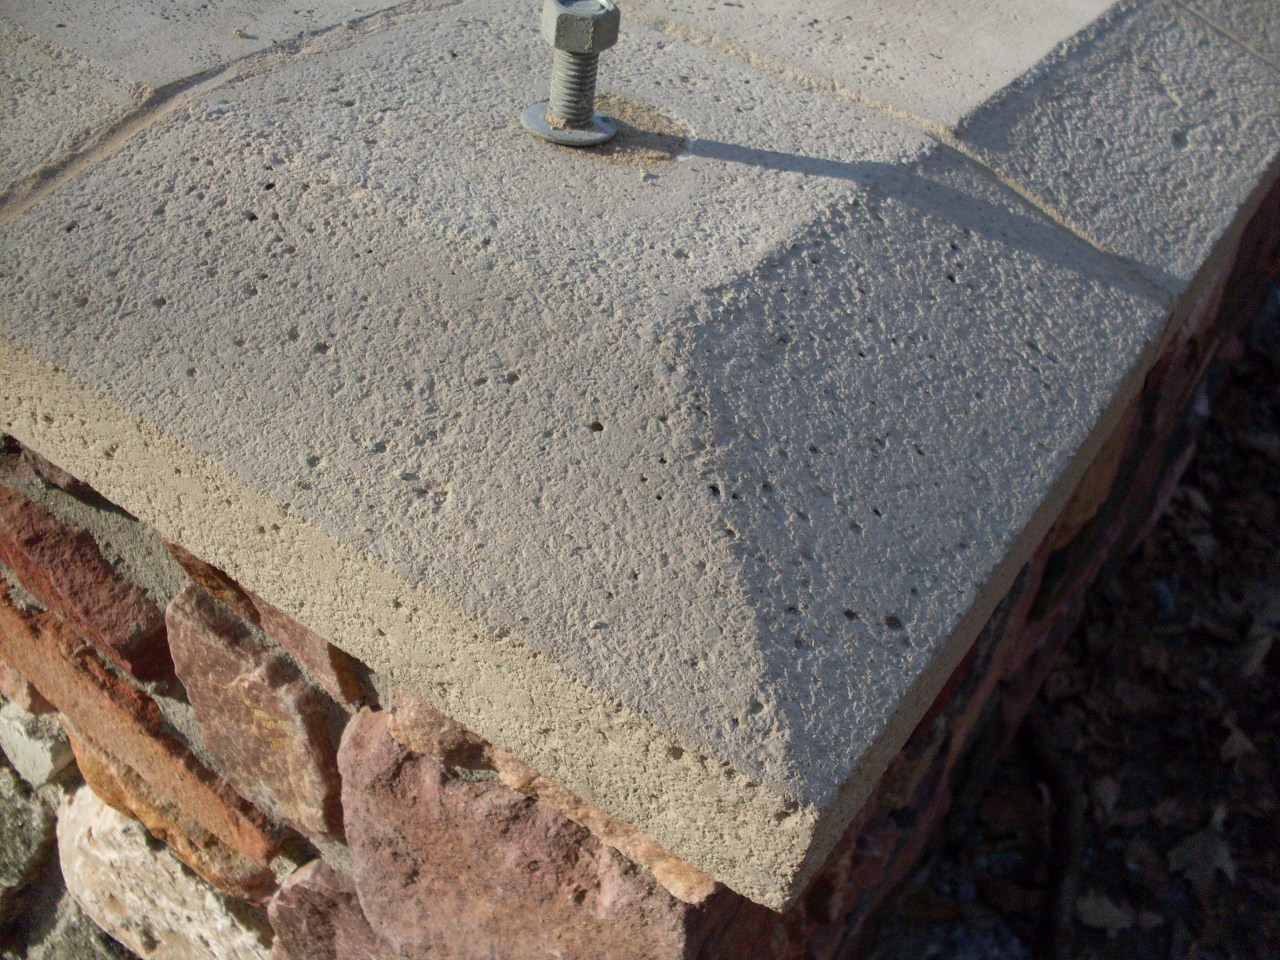
I capped the stone wall with some cast limestone blocks. These are the forms for the blocks.
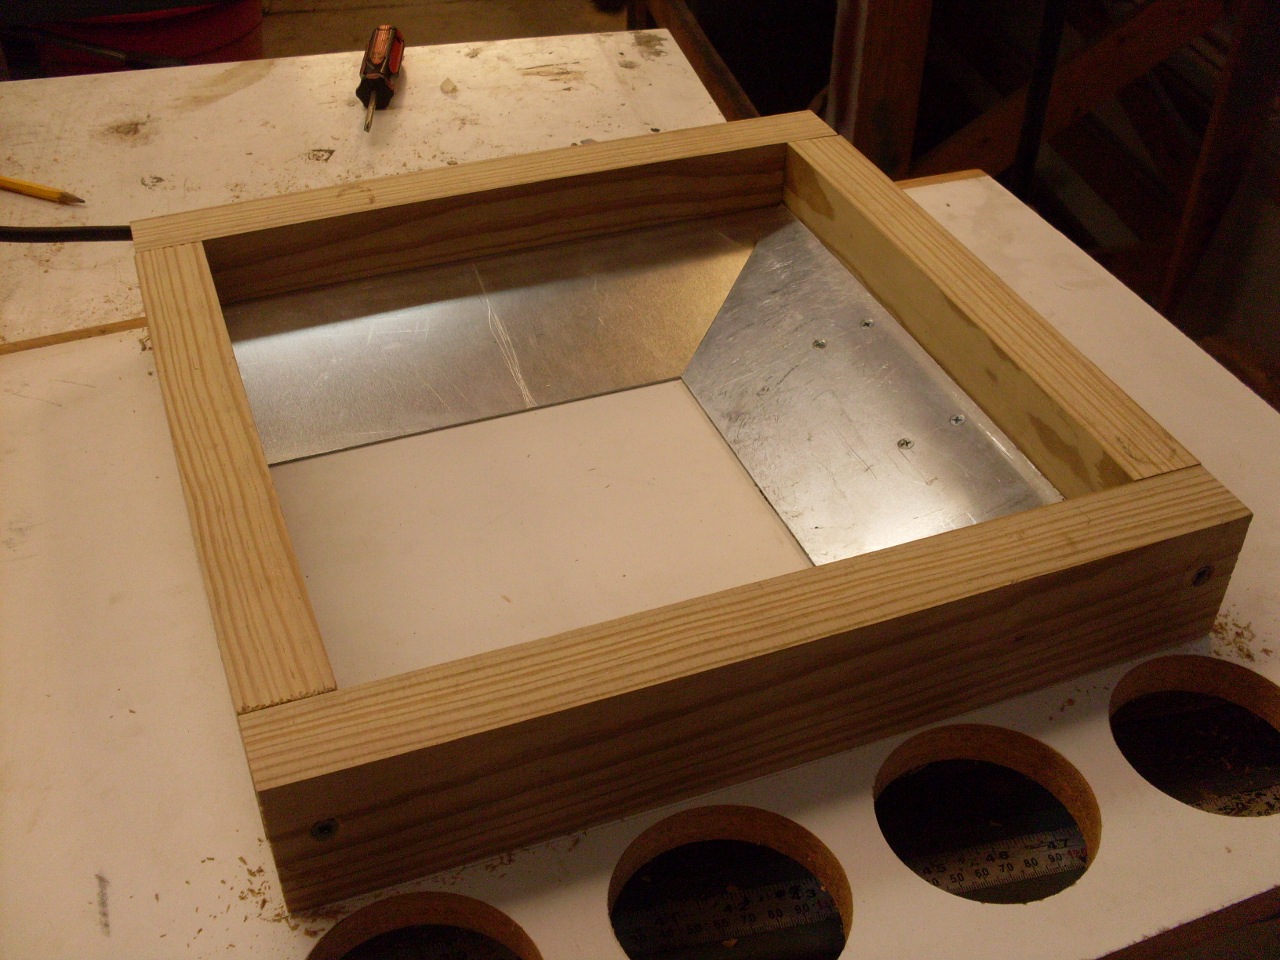
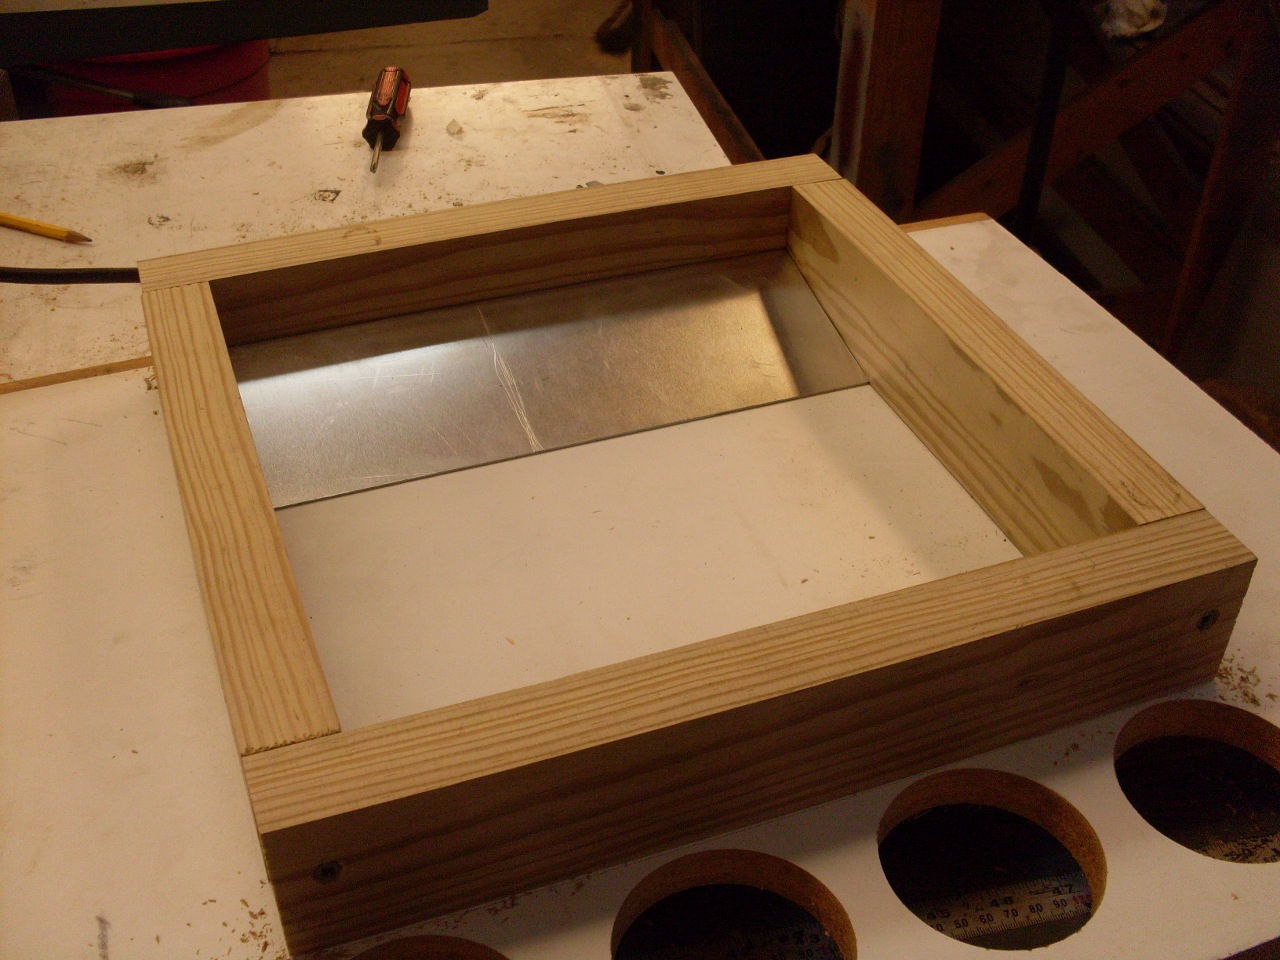
The blocks give a finished look to the wall, and a nice transition to the frame walls above.
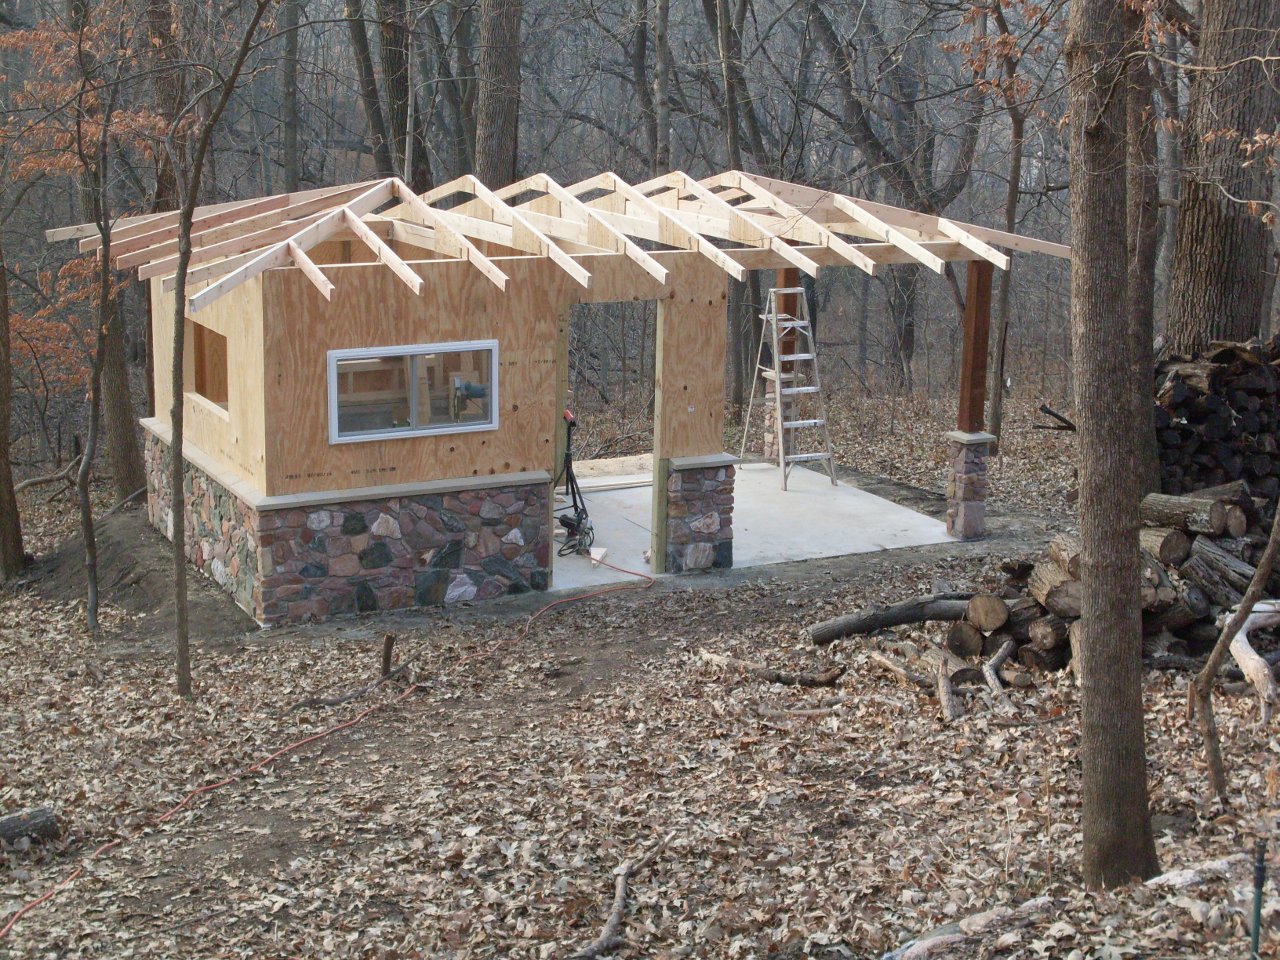
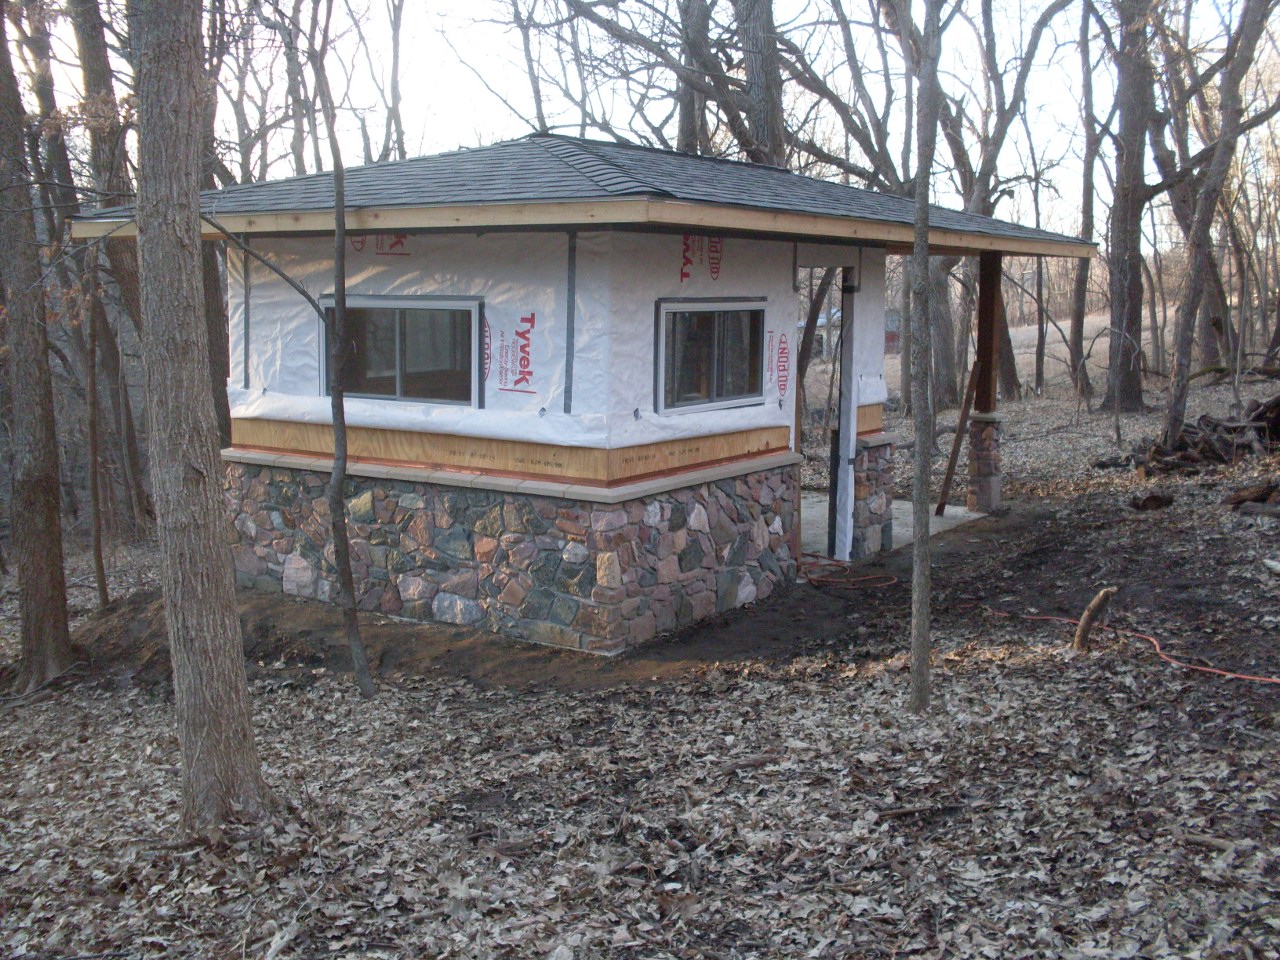
The framing and sheathing is pretty conventional.

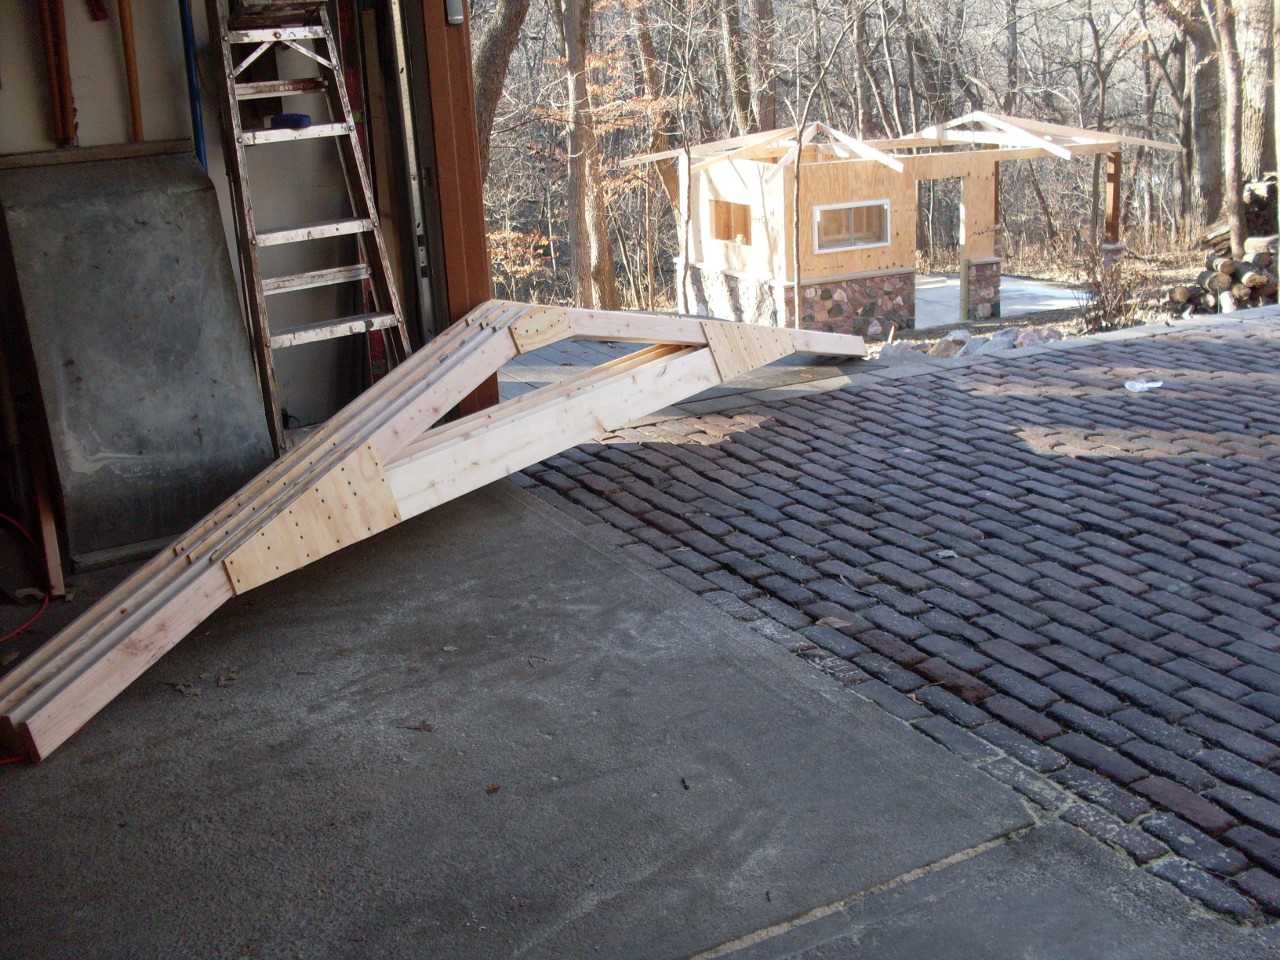
I
decided on a shallow hip roof. I don't do this often, so I have
to resort to trig and geometry instead of carpenter trade shortcuts. I built the trusses in the garage.
The
Tyvek house wrap is not necessary, but I had it on hand, and it will
help if I ever decide to insulate and heat the shed. The copper
flashing is another little luxury that didn't cost anything since
I had the copper left over from another project.
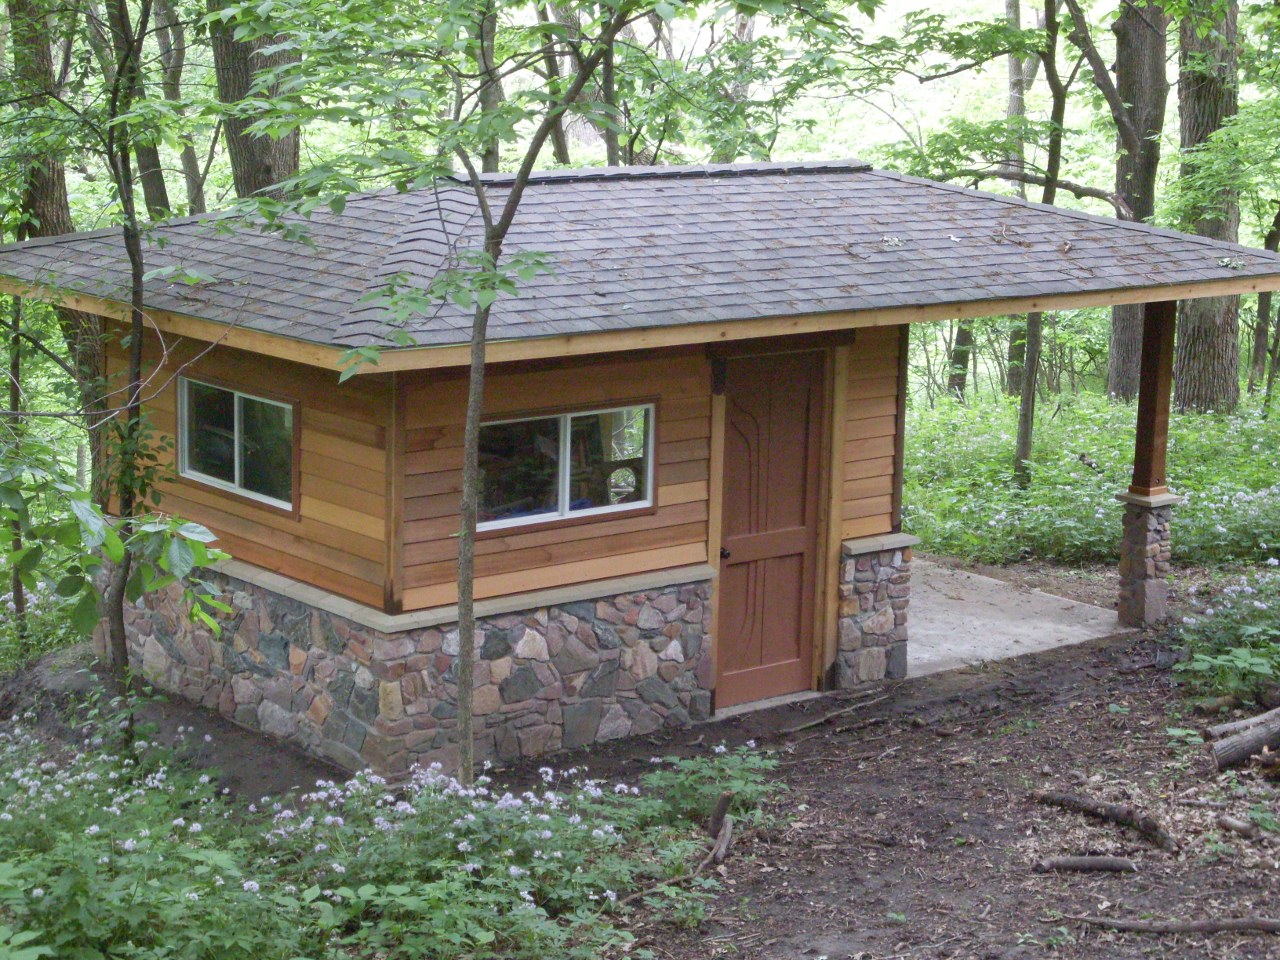
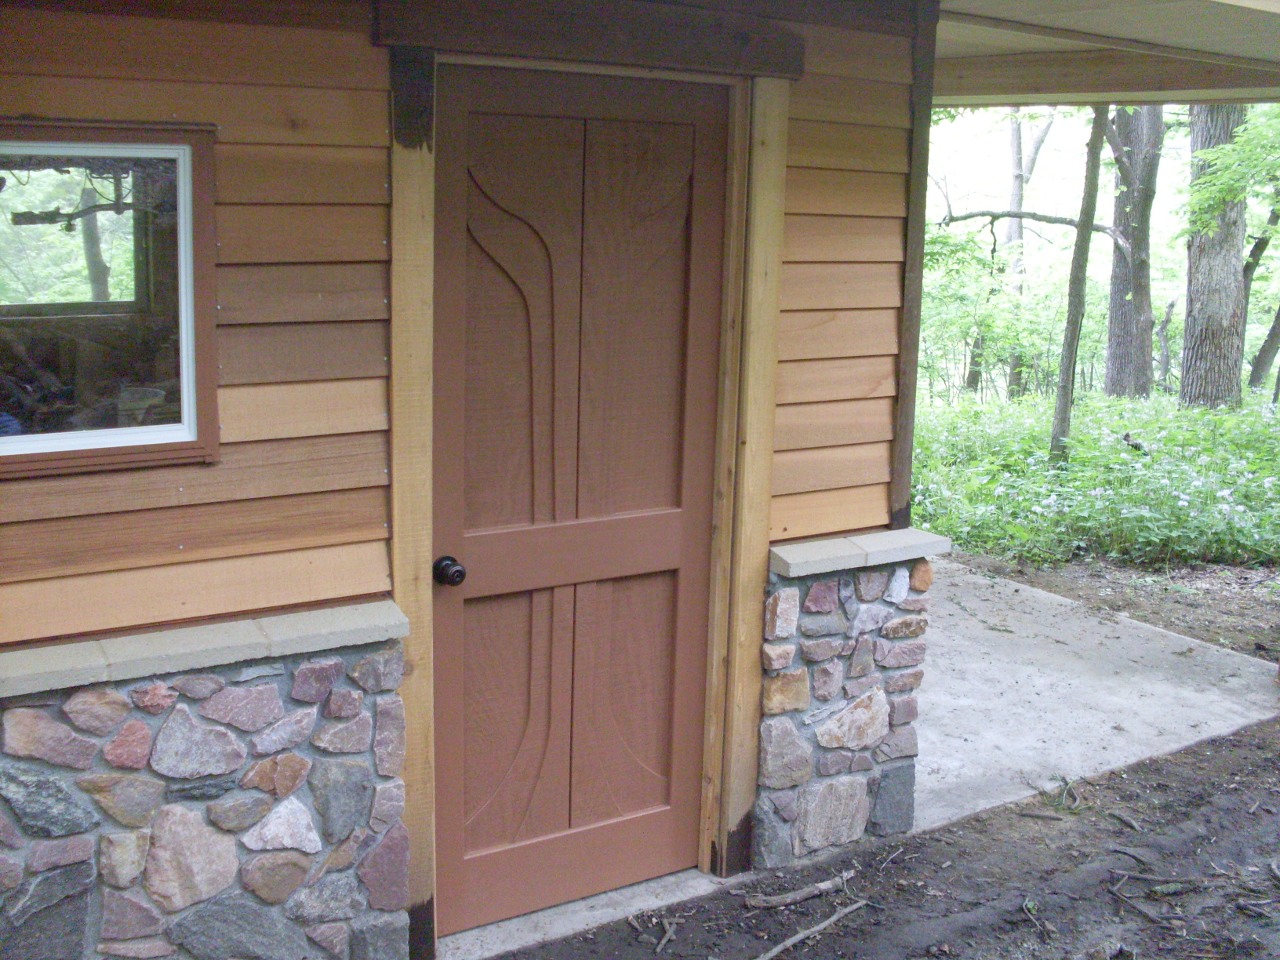
Some
cedar lap siding to match the house, and a site-built door. The
siding is not stained yet in these pics. The open area to the
right is for working outside under shelter. I'm thinking of
building a small foundry furnace for casting aluminum and brass, and
this really needs to be done outside.
Already too small...
Comments to Ed at: elhollin1@yahoo.com