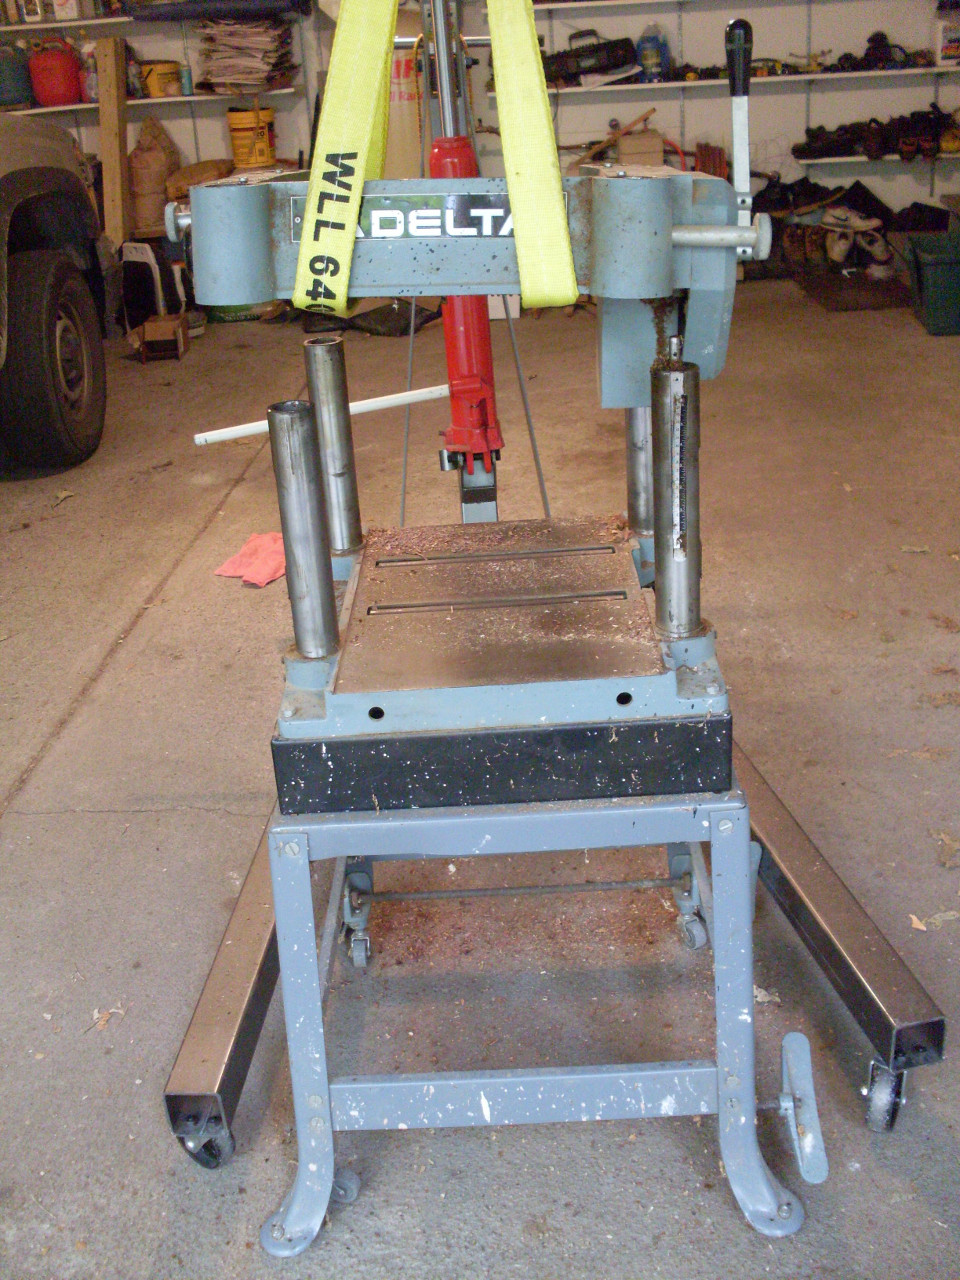
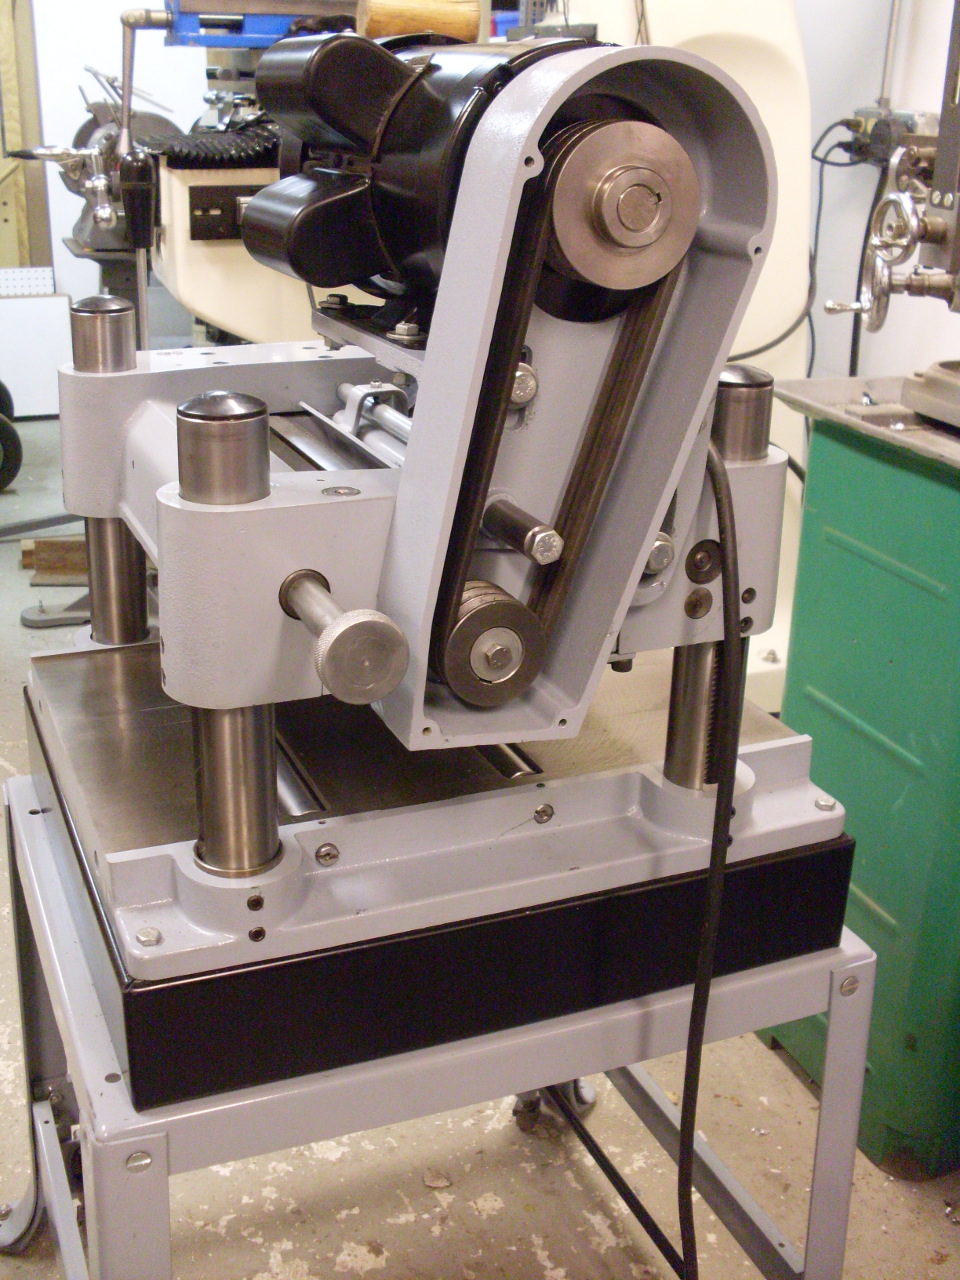
The machine looked pretty good for a 26-year old hunk of iron, so I bought it. My neighbor brough it over with his tractor, and put it in my garage. Unfortunately, my shop is in my basement, so there was the small matter of the 16 stairs to go down. The machine must weigh close to 400 pounds, and was large enough to be pretty awkward. I decided to break it down and move it on pieces. This would also allow me to check the bearings and other innards more easily.Here is the machine in the garage after I'd already removed the motor and motor brackets.
[Click pictures to enlarge]

I used a shop crane to lift off the head:

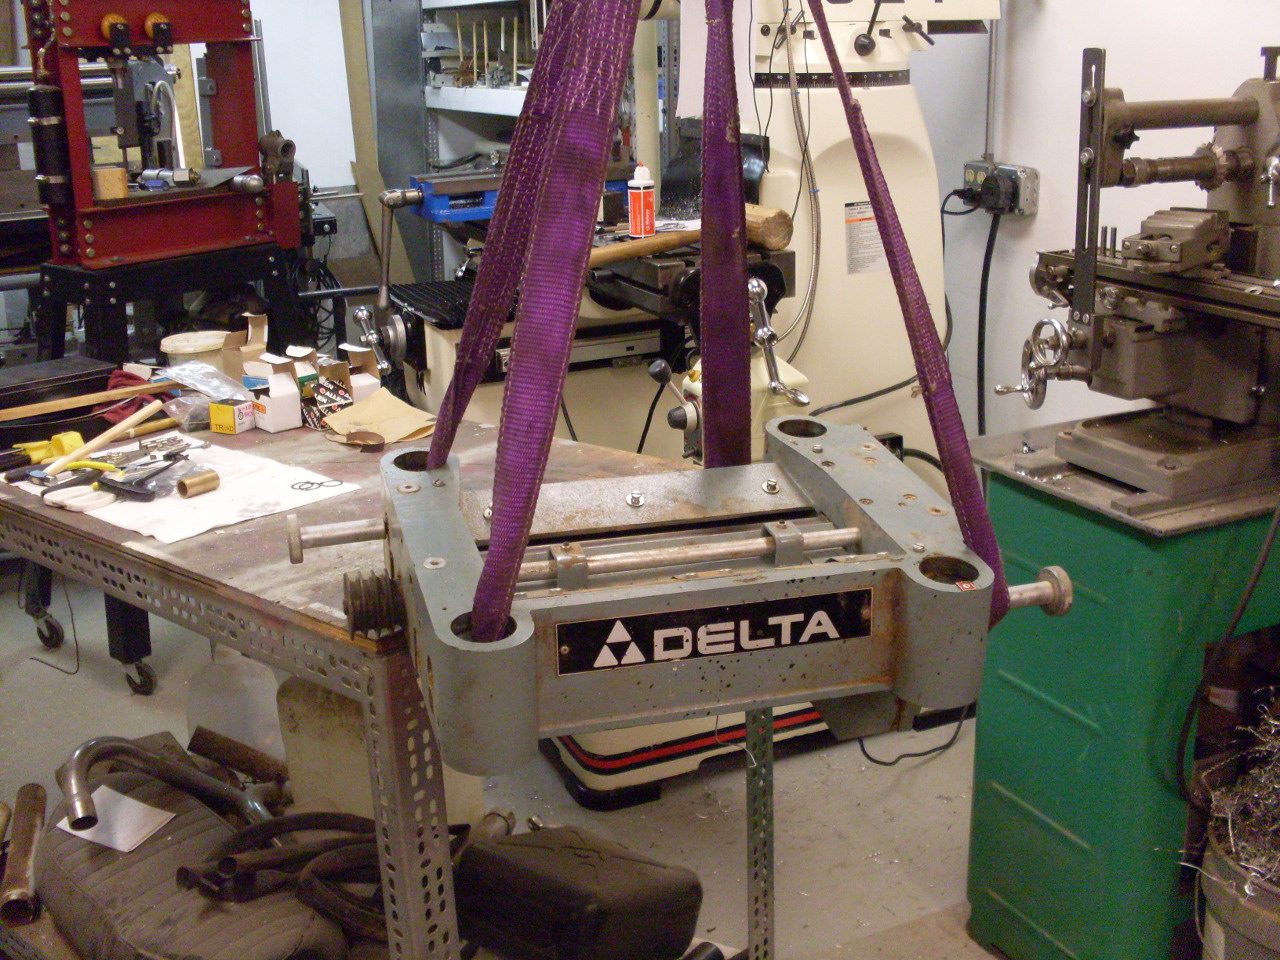
The table is lighter, but still pretty hefty:

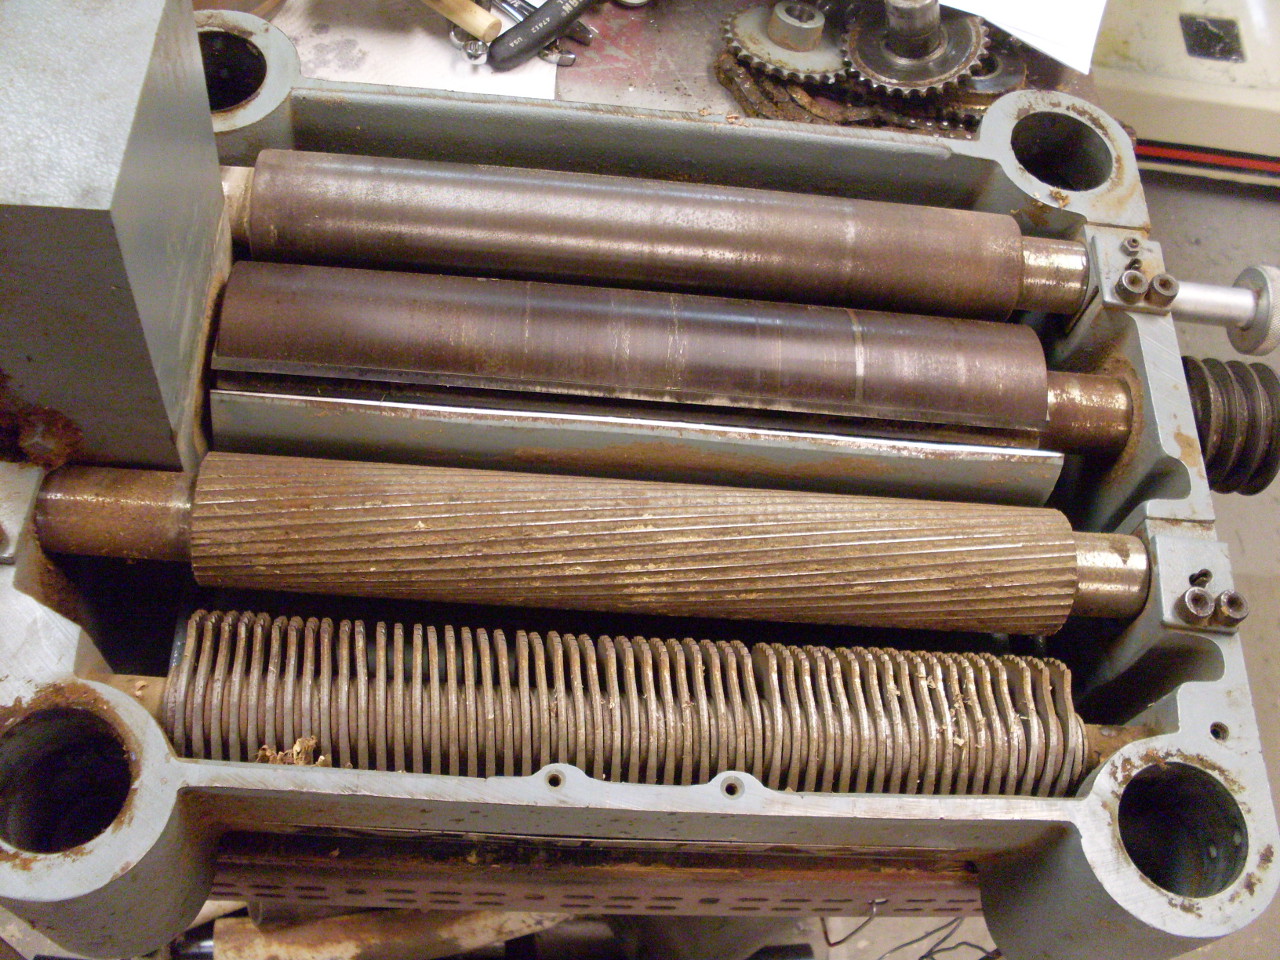
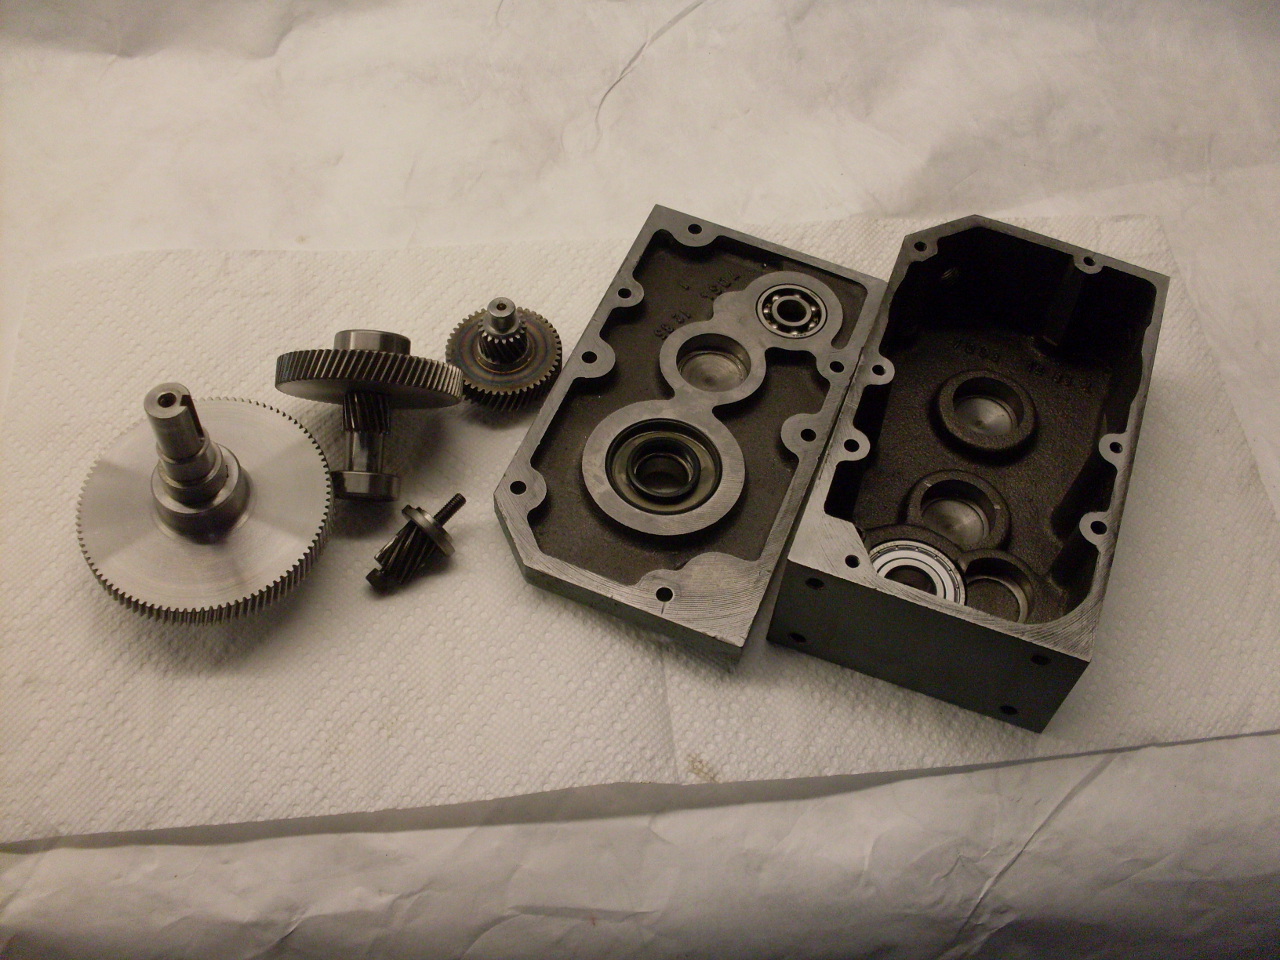
I put it up on a work table for inspection. Besides the expected coating of sawdust, there was surface rust on most of the unpainted parts, probably due to condensation due to temperature swings in the shop. I couldn't hear or feel a problem with any of the bearings in the head, but I decided that since I'd come this far, replacing at least the cutterhead bearings made sense. These run at a relatively high speed, and they were going on 30 years old. The cutterhead drives the input to a gear box, which reduces the speed through three stages of reduction for a total ratio of about 70:1. The low speed side of the box drives the infeed roller through a chain and sprocket. The outfeed roller is driven by another chain from the infeed side.
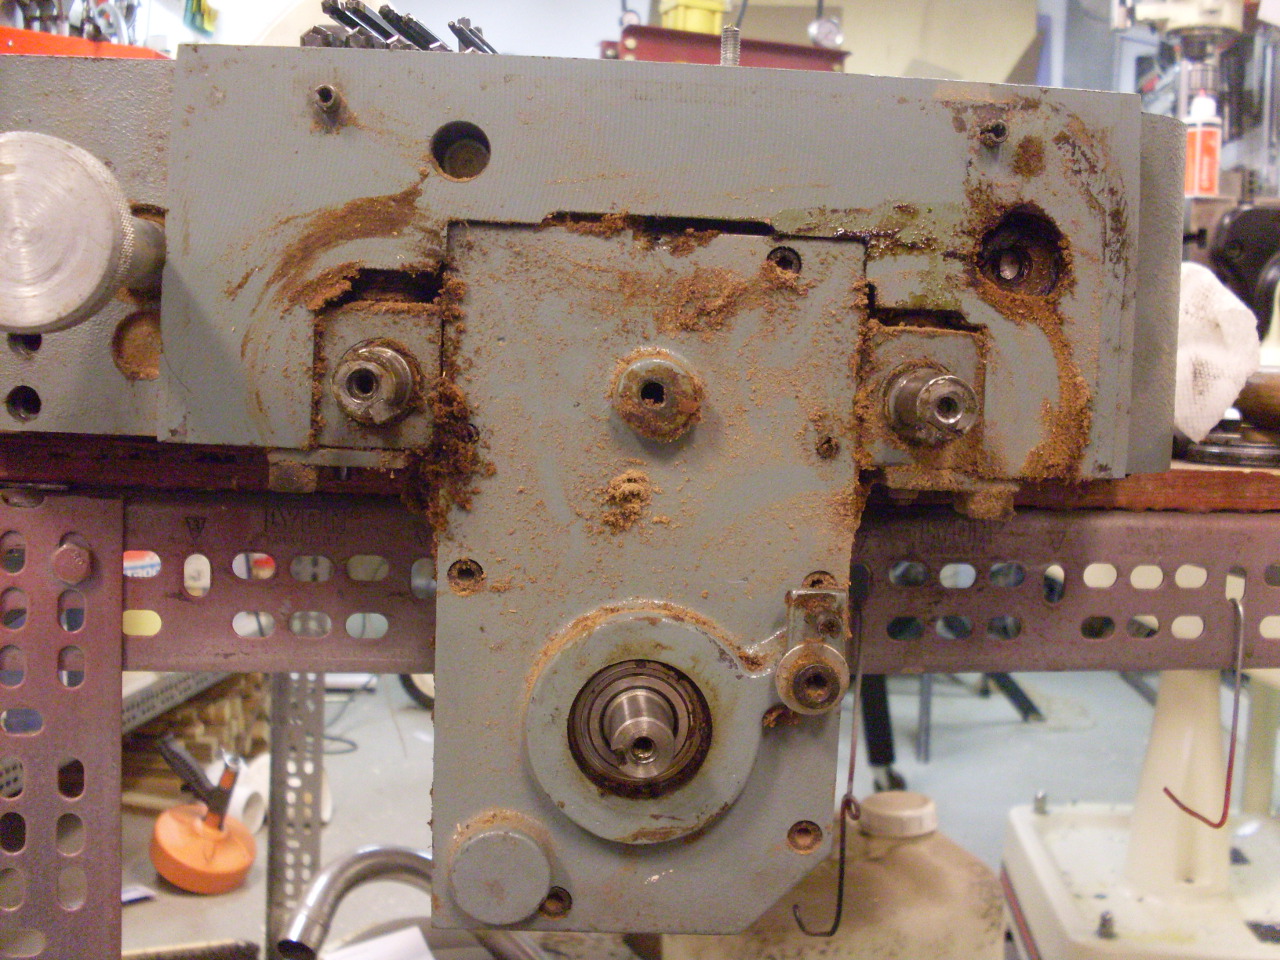
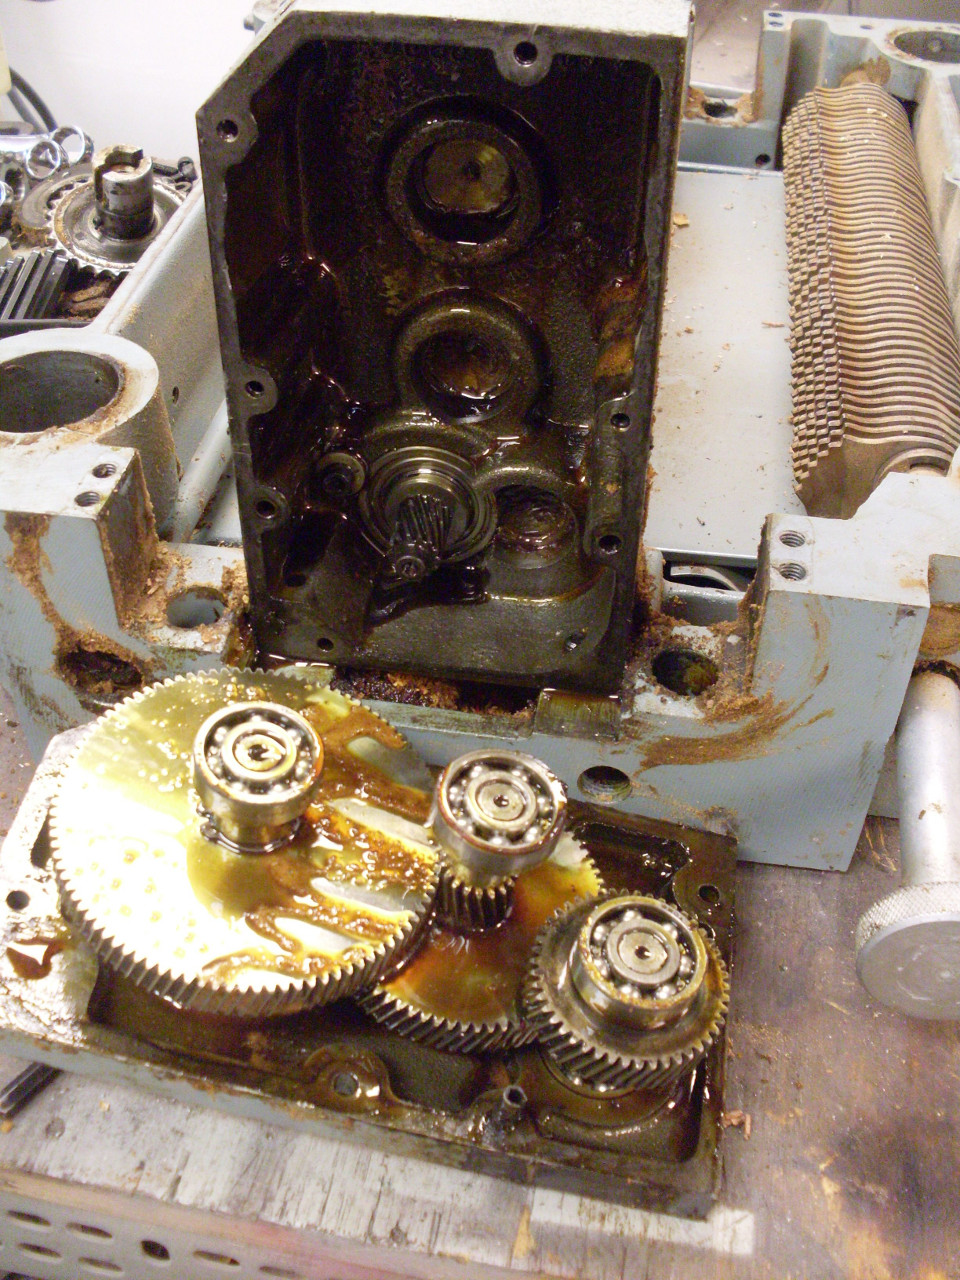
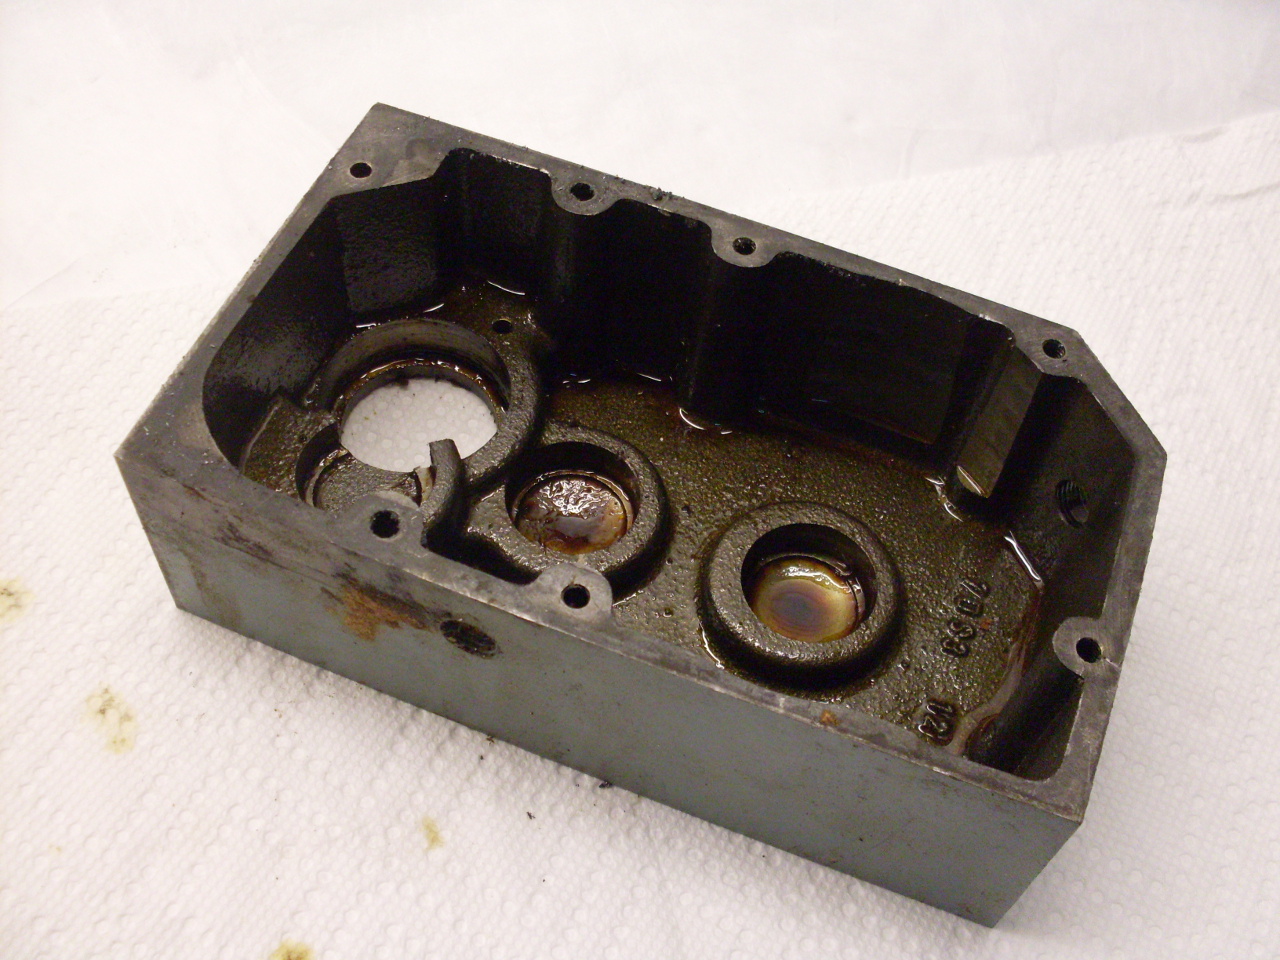
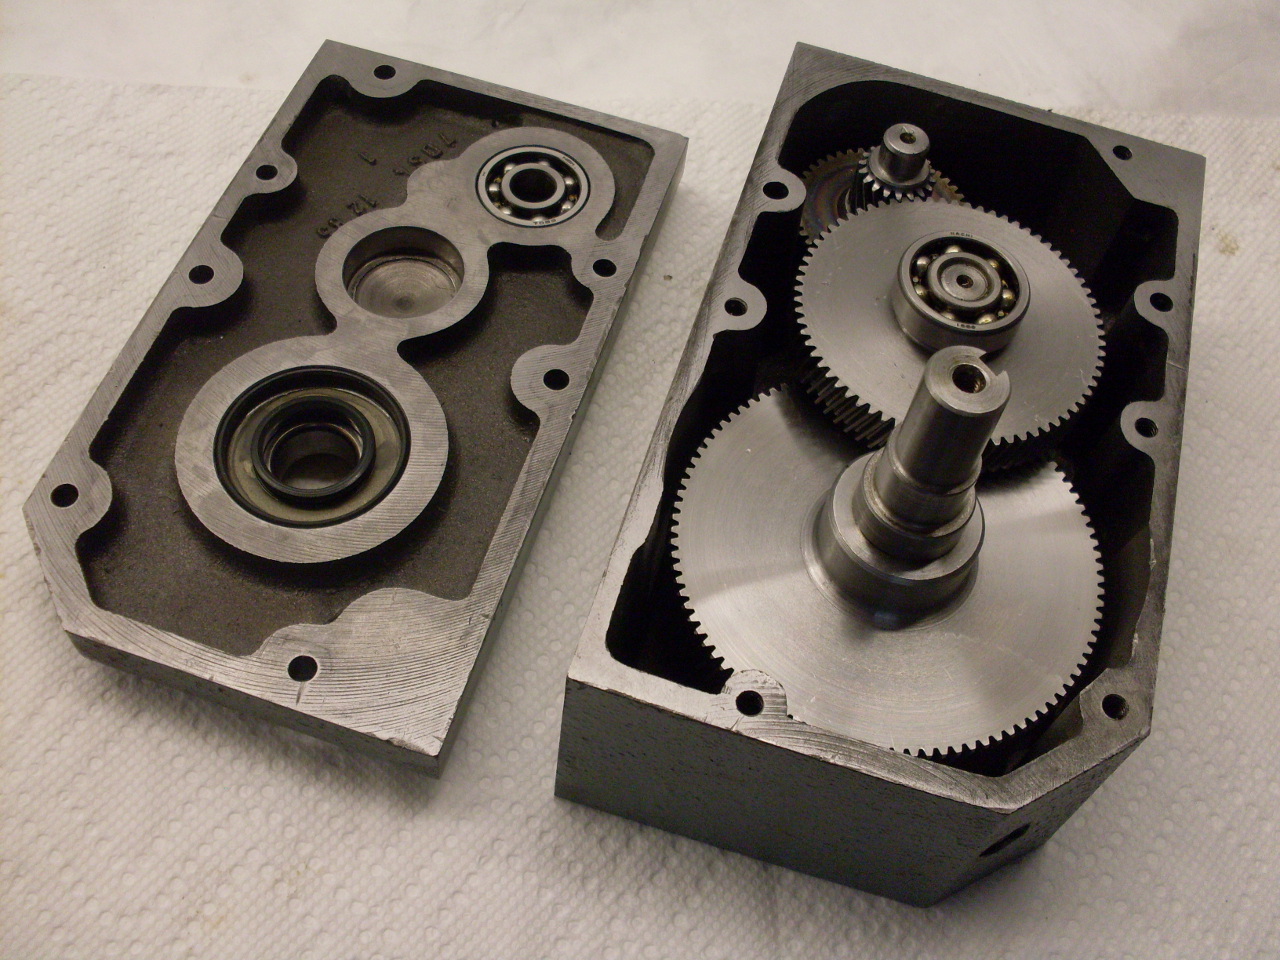
Unfortunately, one of the cutterhead bearings is in the gearbox, but I wanted to check the condition of the gears anyway, so out it came. The oil in the gearbox was thick and black, but the gears looked in good shape. The other bearings in there are all slower speed, run in an oil bath, and looked and felt good, so I didn't replace them. I did replace the oil seals, though.
The rust came off the cutterhead fairly easily with some phosphoric acid and a wire wheel. The cutterhead weighs nearly 20 pounds.
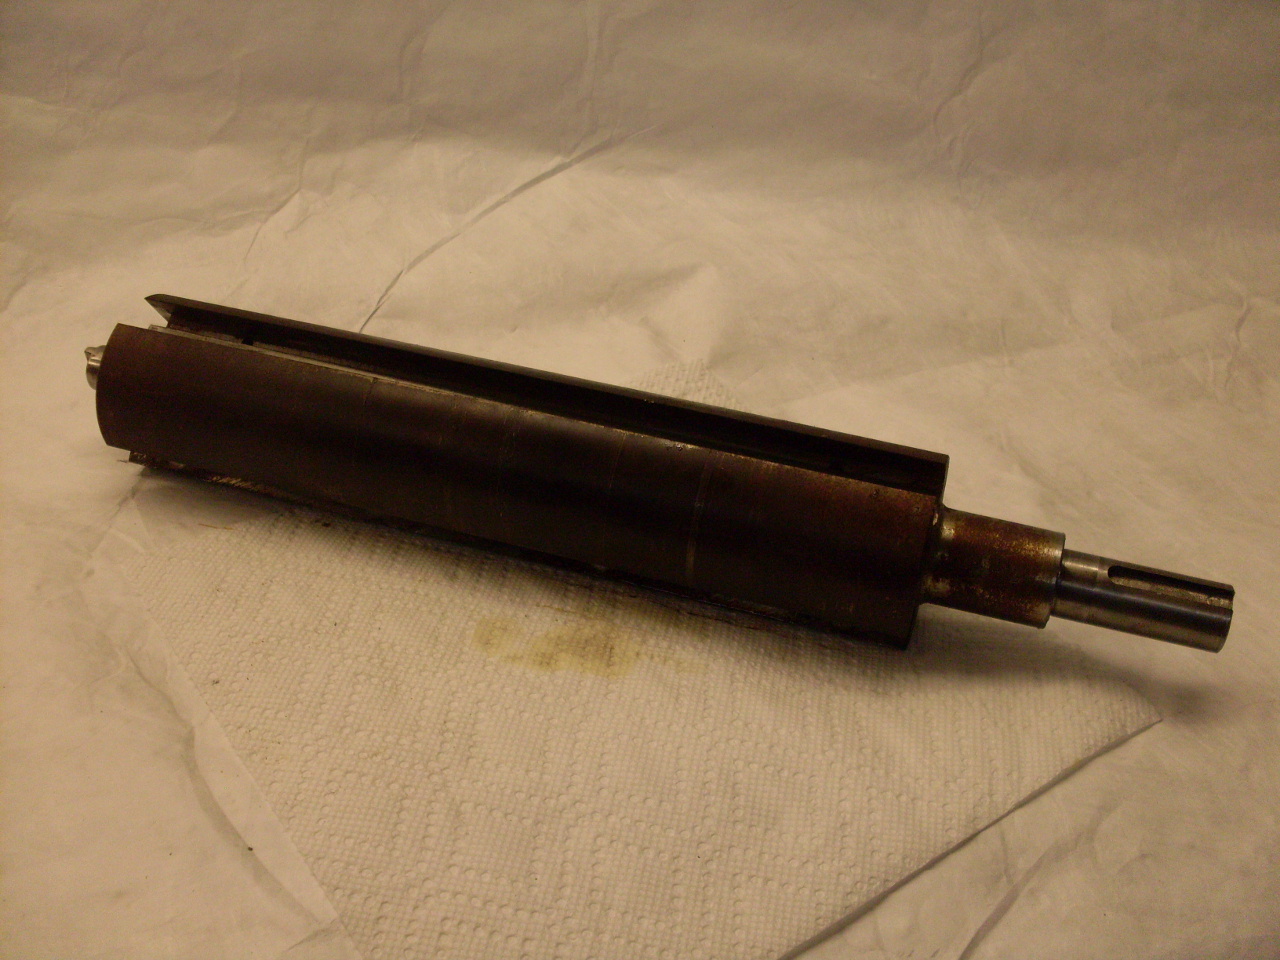
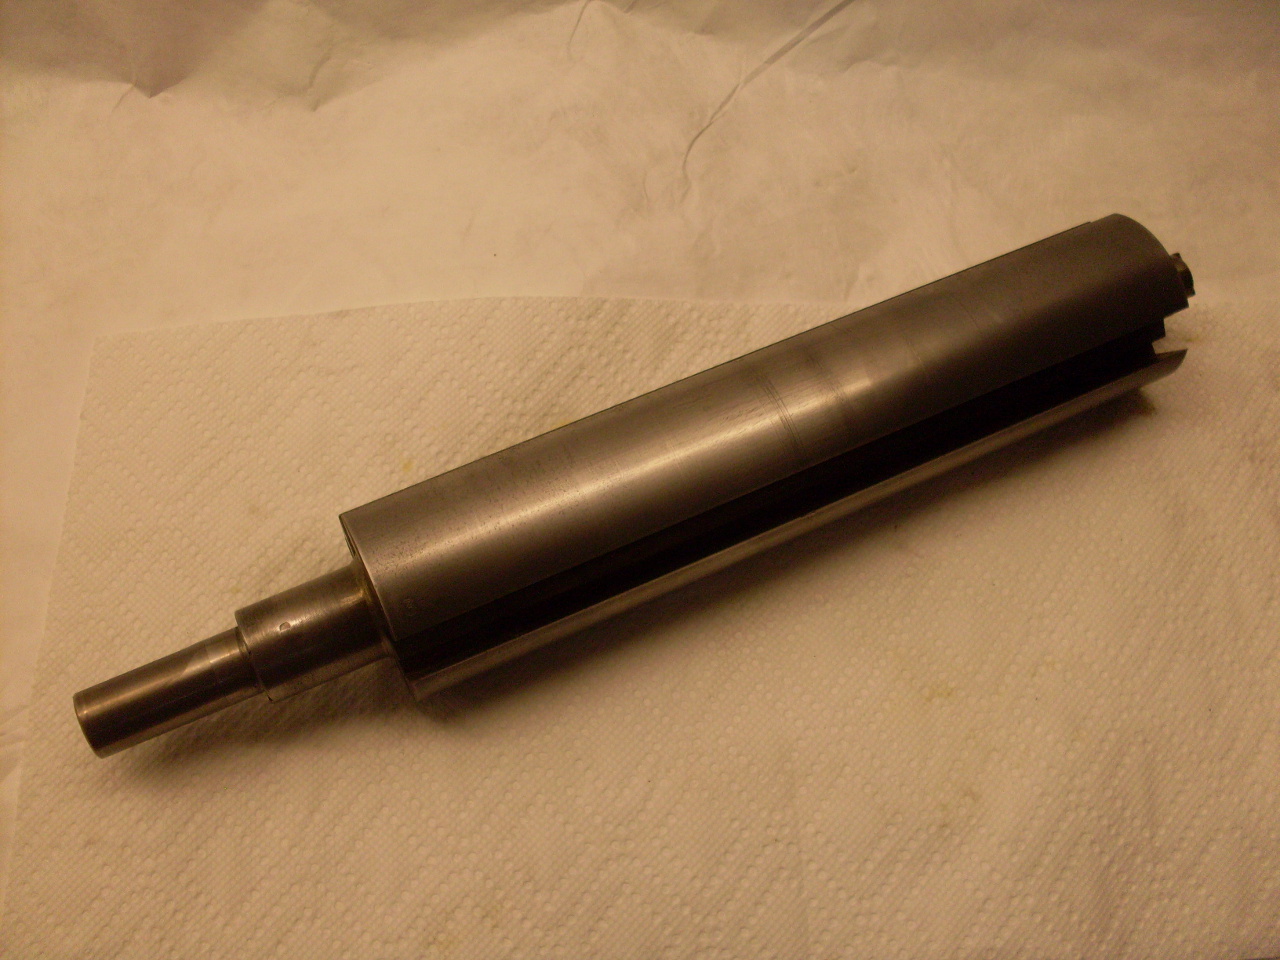
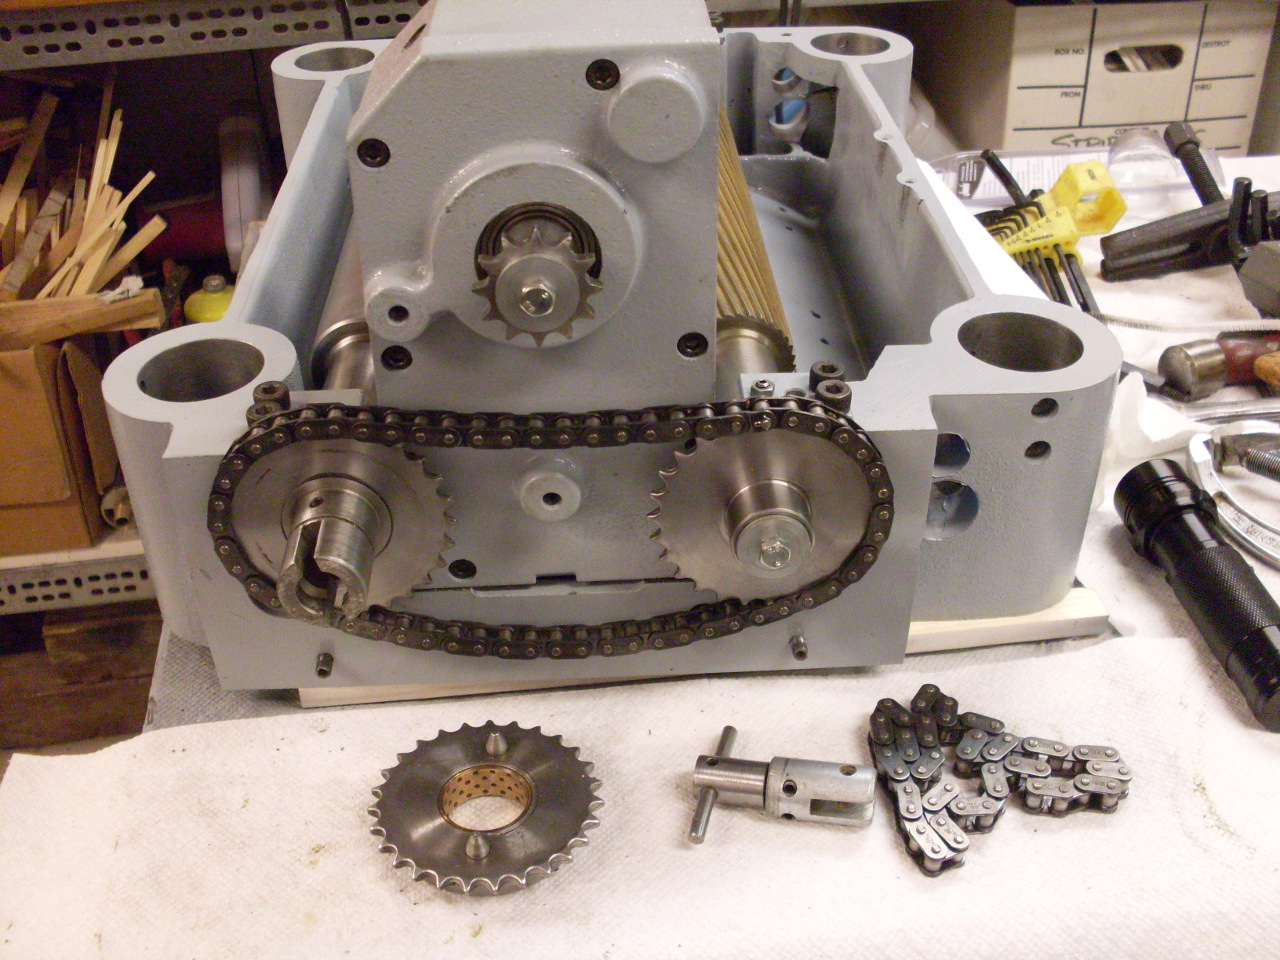
Here is the cutterhead/gearbox assembly ready to go.

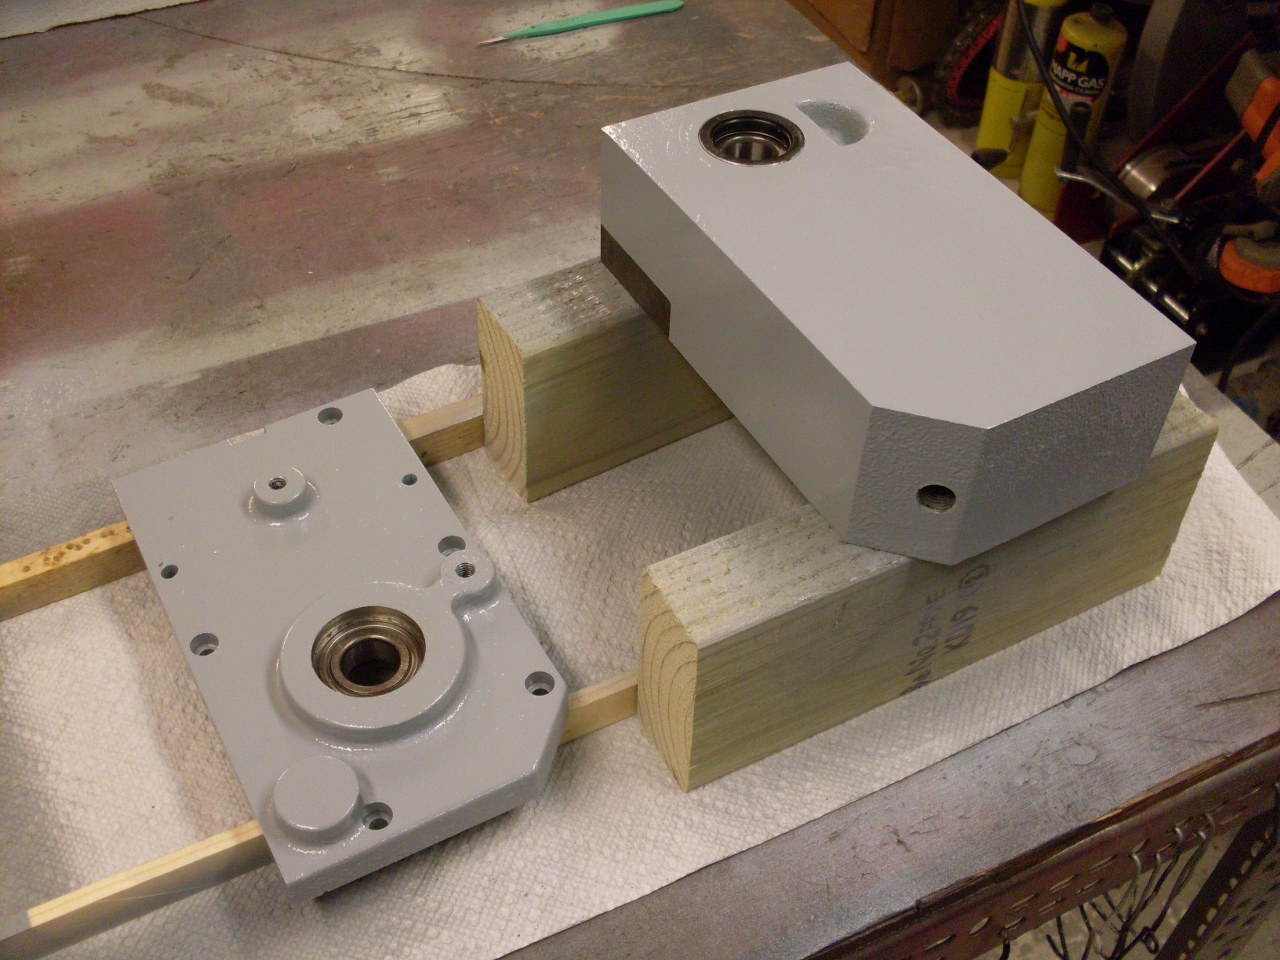
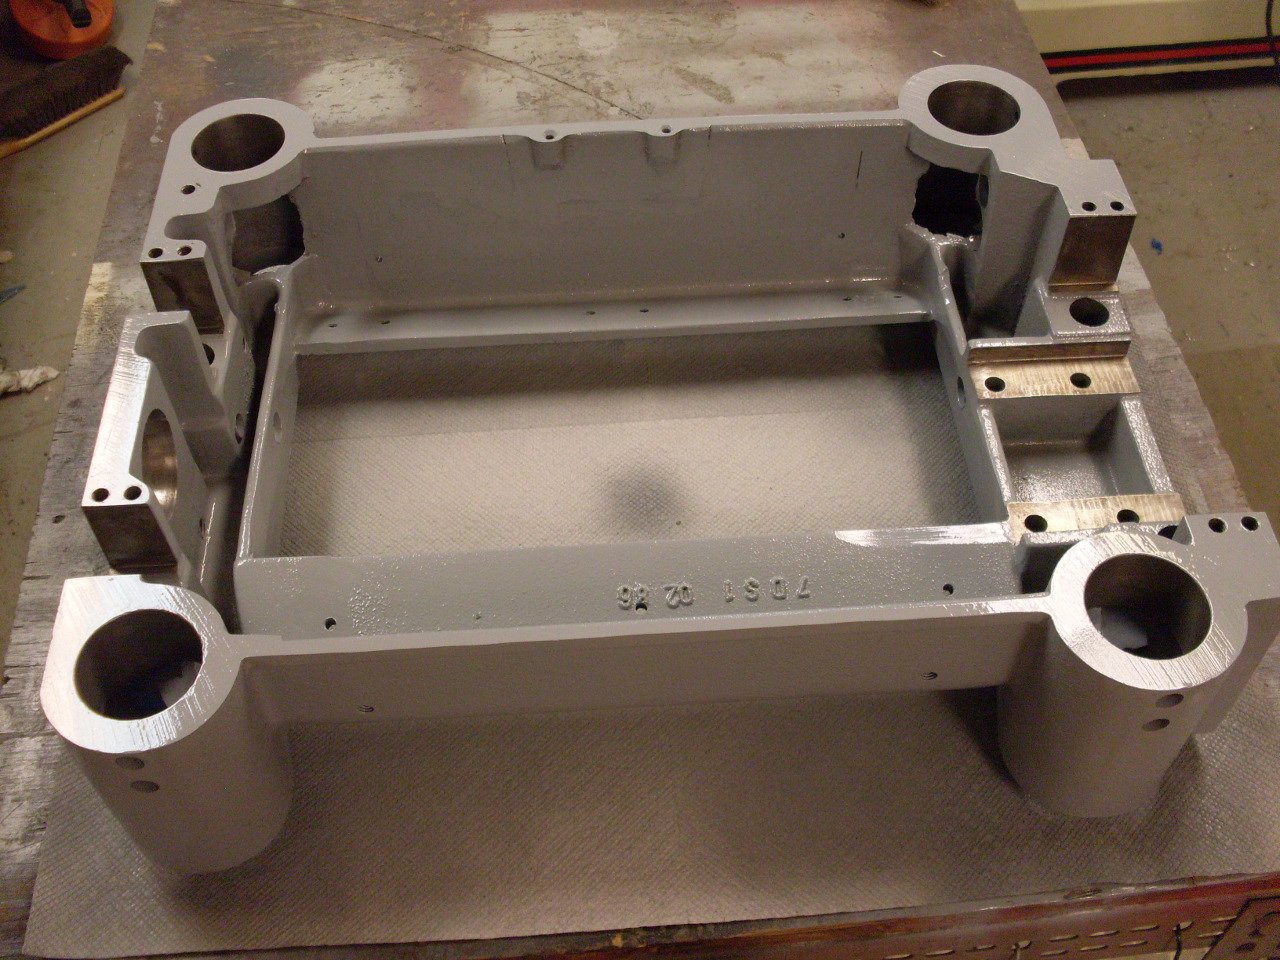
With everything out of the head casting, I masked it and painted it. I don't care all that much about an exact paint color match. It is a little lighter than original, but close.

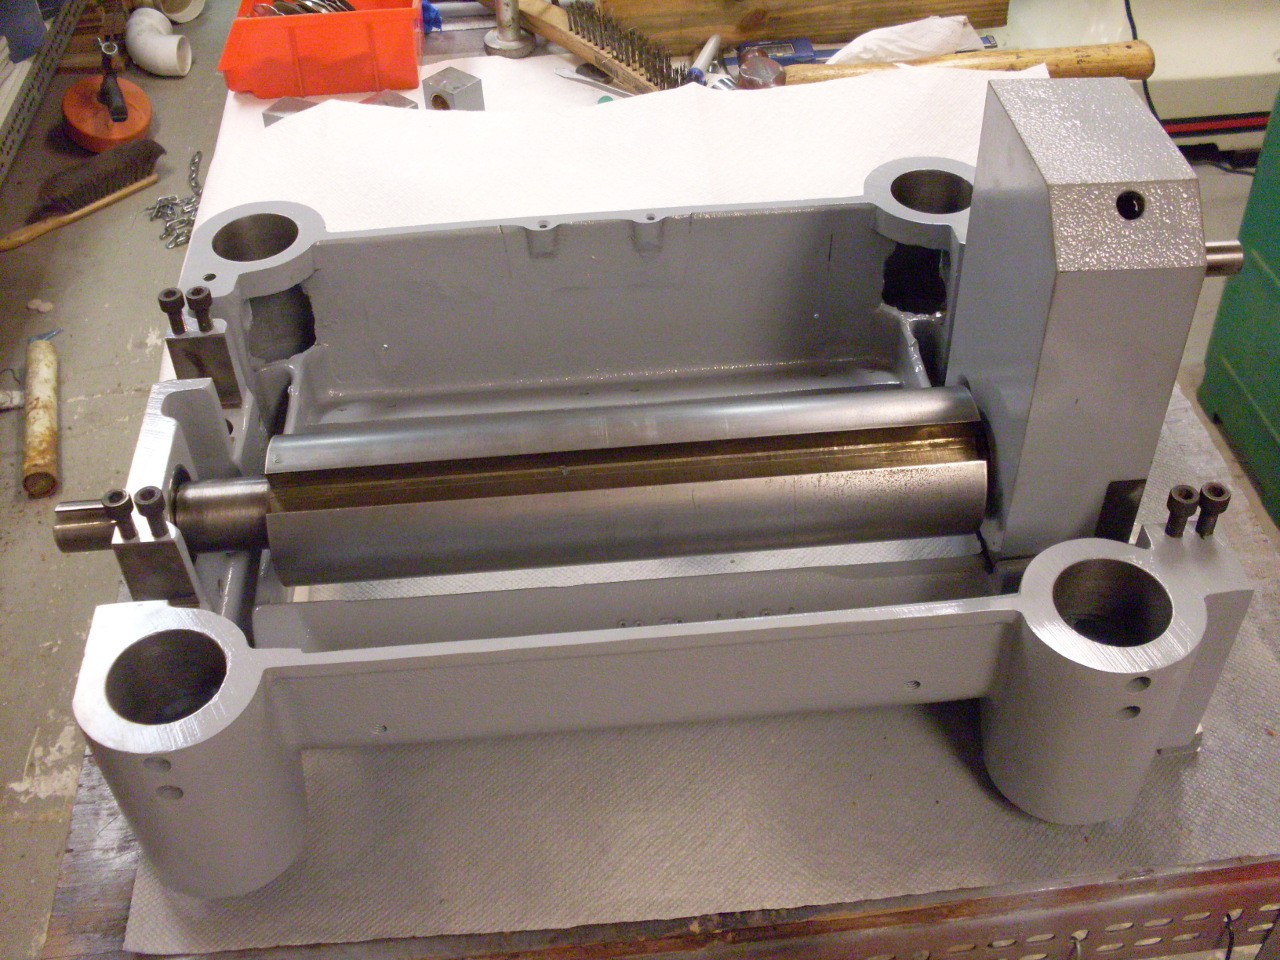
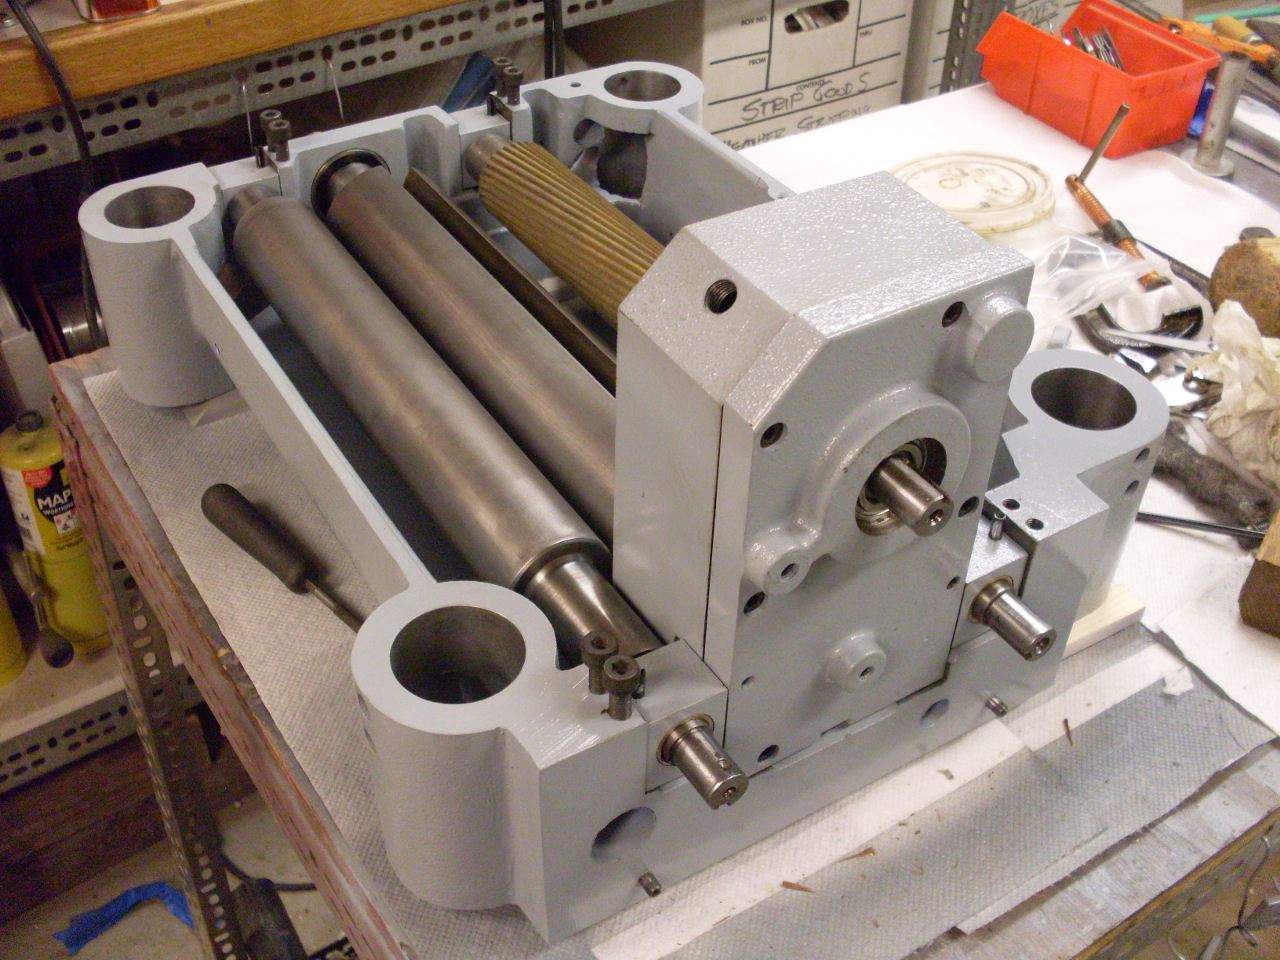
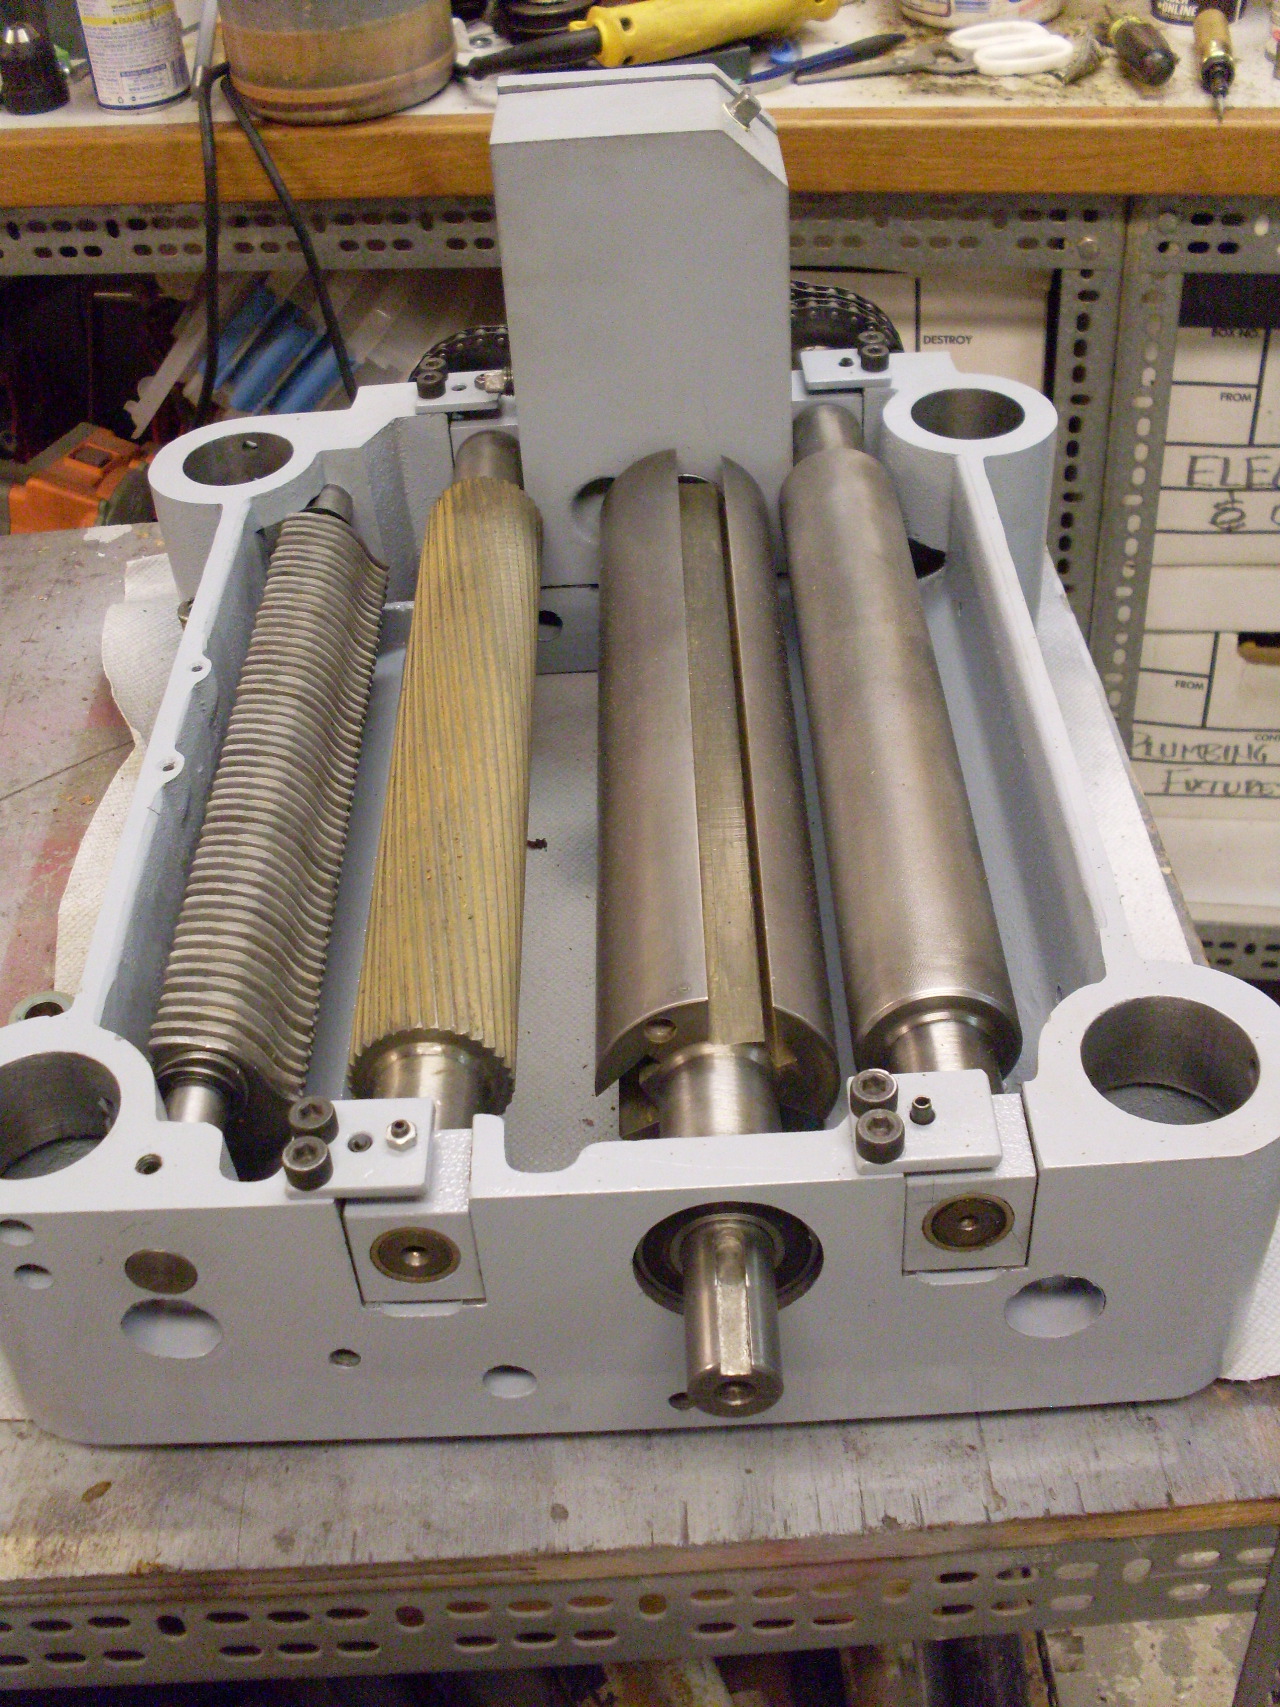
The infeed and outfeed rollers are solid, heavy items and also cleaned up pretty well. The Phosphoric acid I use for rust leaves a brownish deposit of iron phosphate on the steel. I often wire brush this off for the sake of appearance, but on the serrated infeed roller, this was not practical, so that's why it looks brownish. The iron phosphate actallly affords a little rust protection, too.


Putting everything back where it came from. The gearbox gasket didn't survive the disassembly. New ones are available for a rediculous price, so I just made one from 1/32" gasket material.


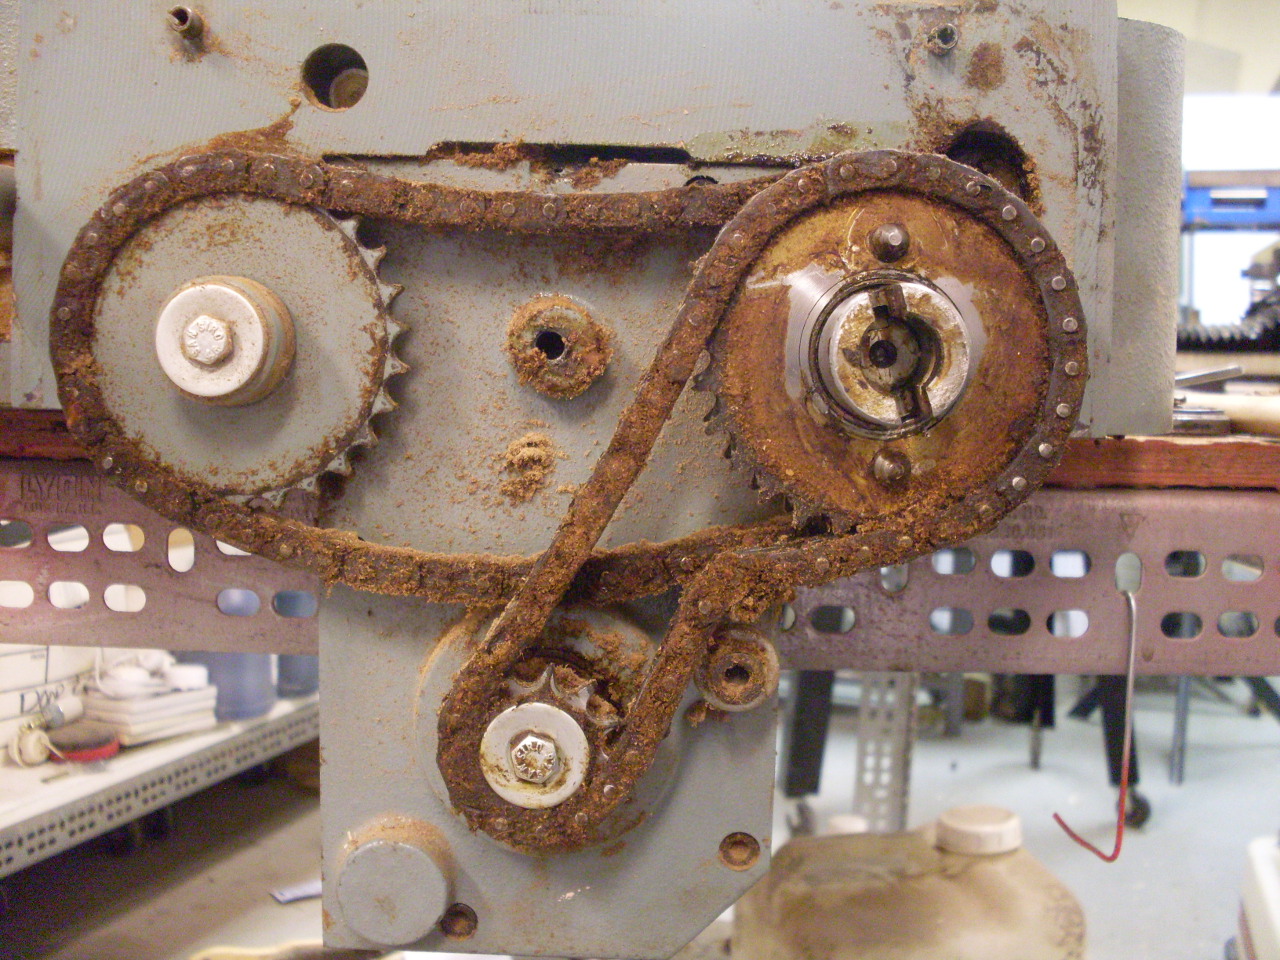
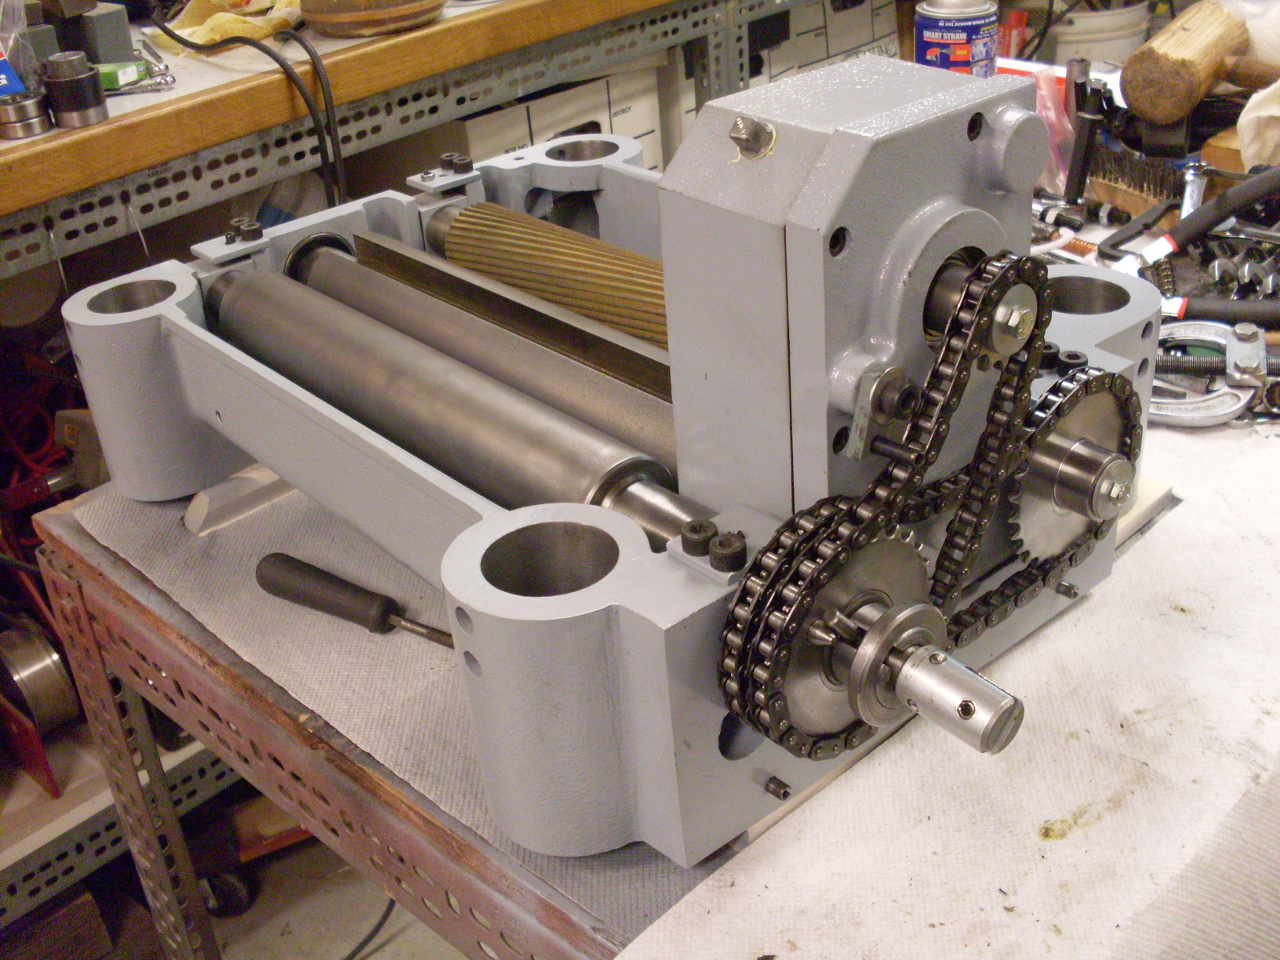
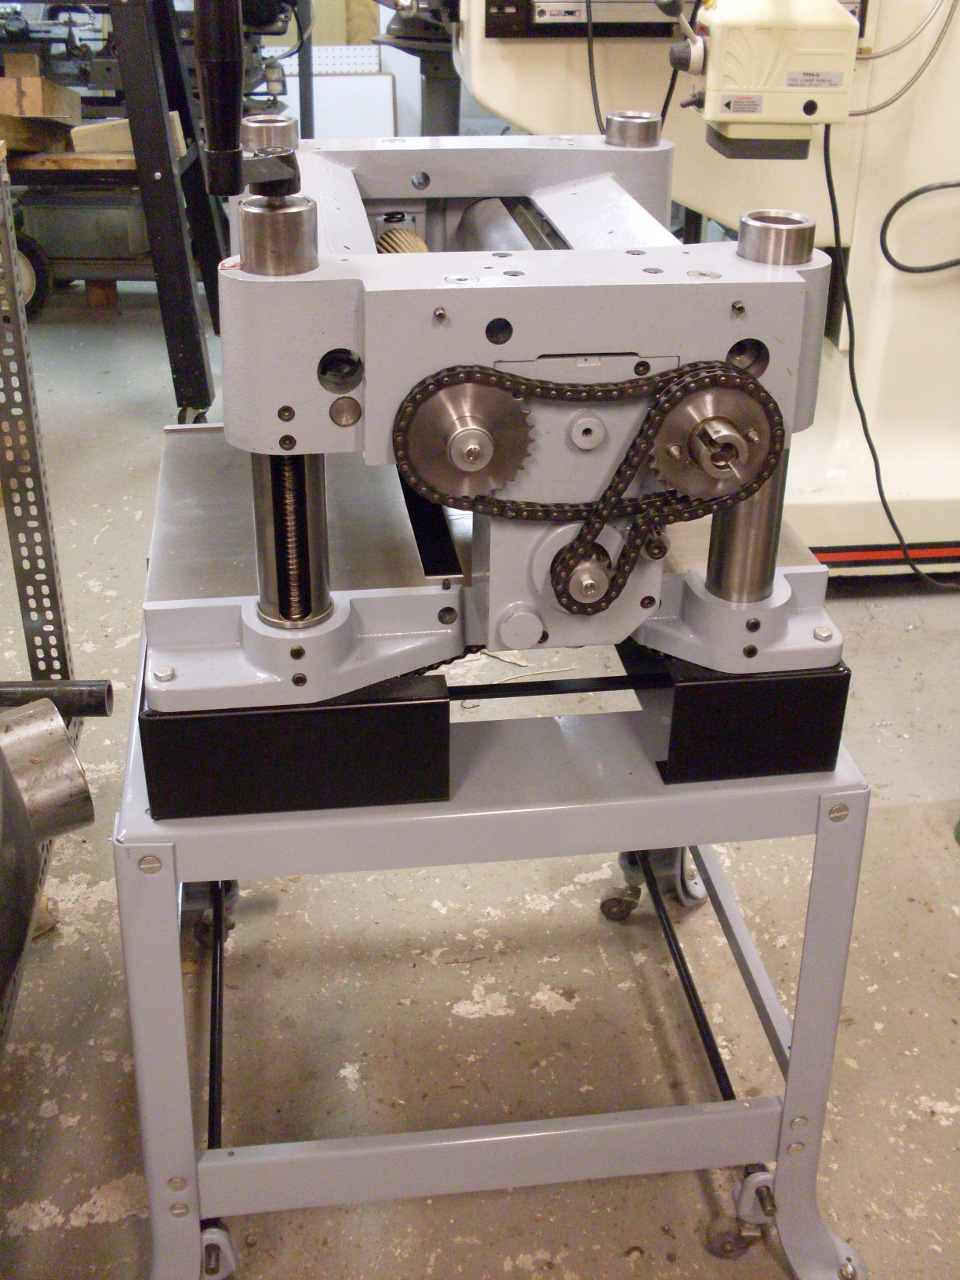
The feed chains and sprockets. The feed engage mechanism was very sticky and hard to move before I took it apart, but worked much better after. The problem was hardened grease mixed with sawdust clogging everything up.

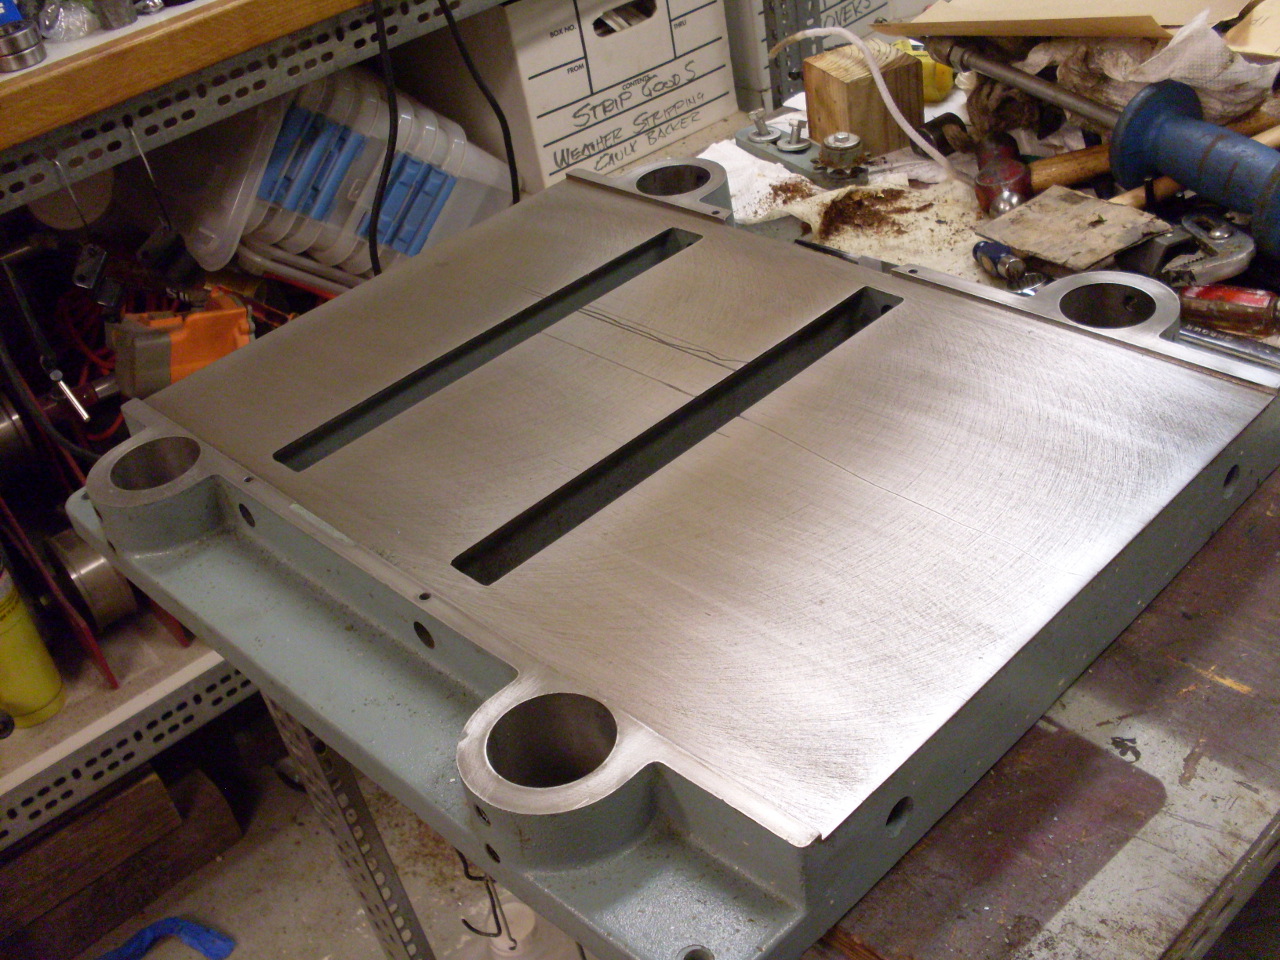
With the head pretty much back together, I turned to the table, which is a little simpler:

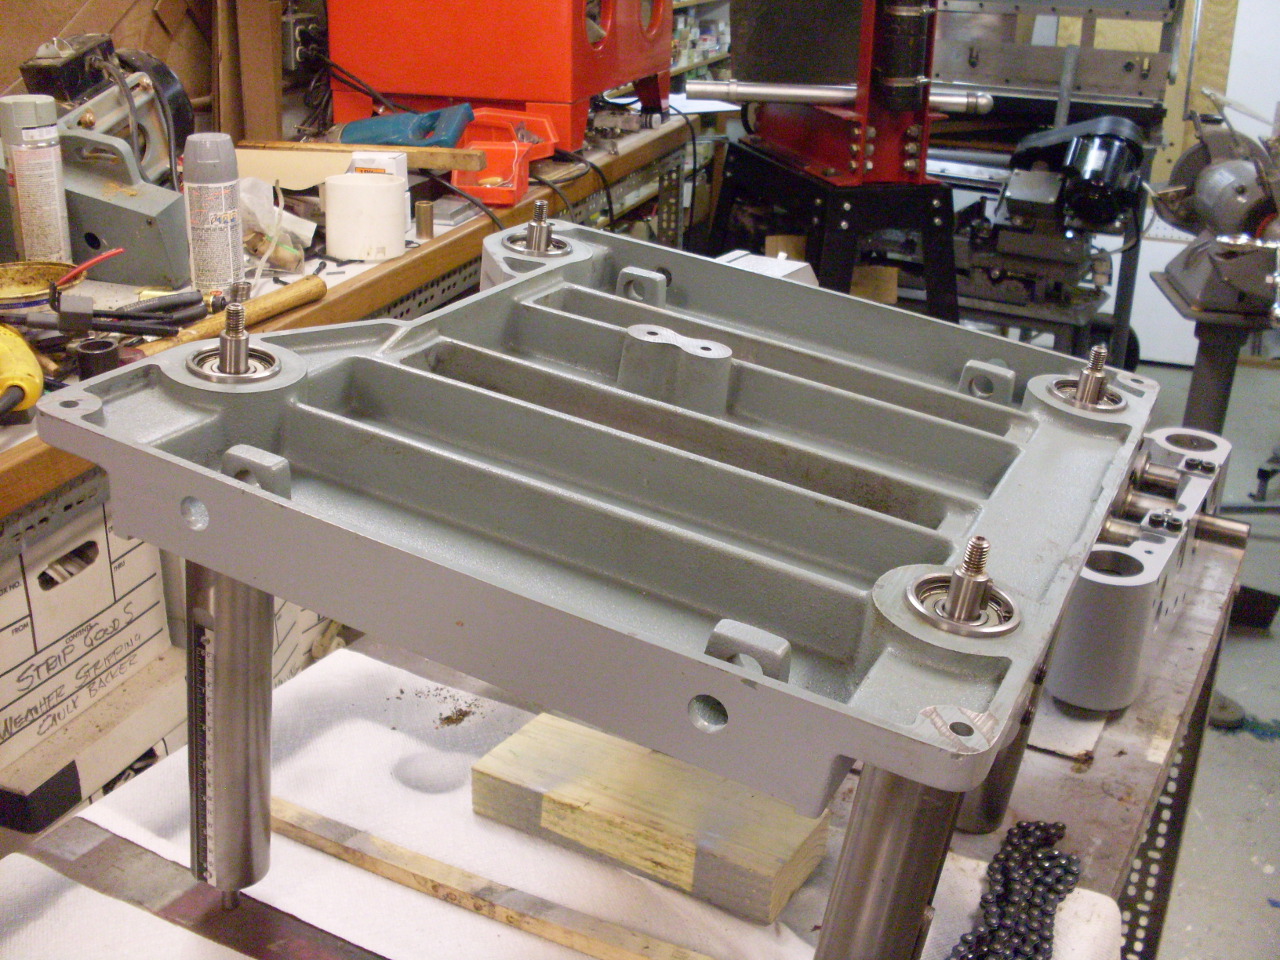
The table had a couple of pretty deep scratches in it. I filled them with a metal-filled epoxy and block sanded them level. Then paint 'er up:
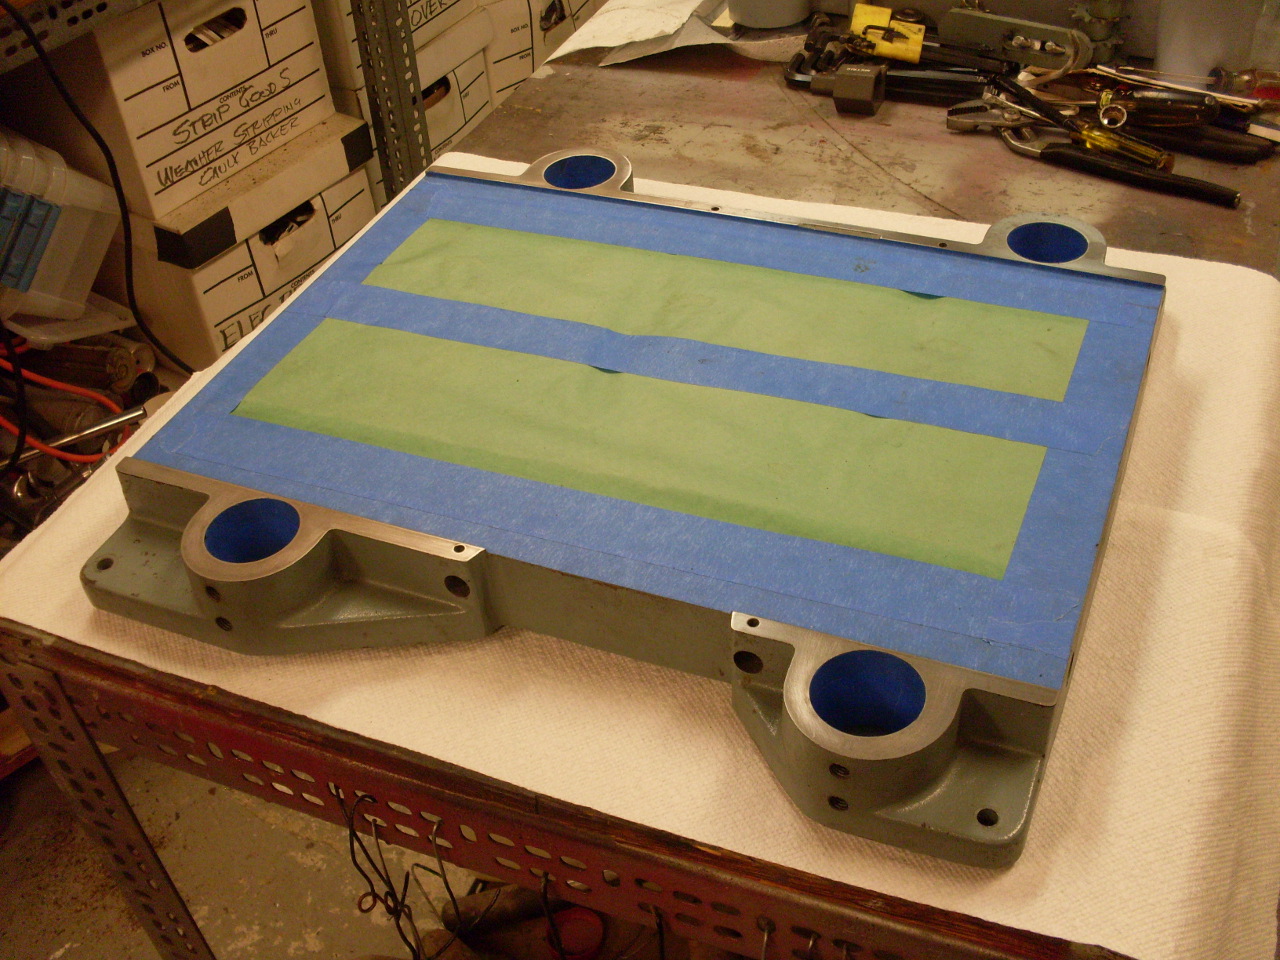
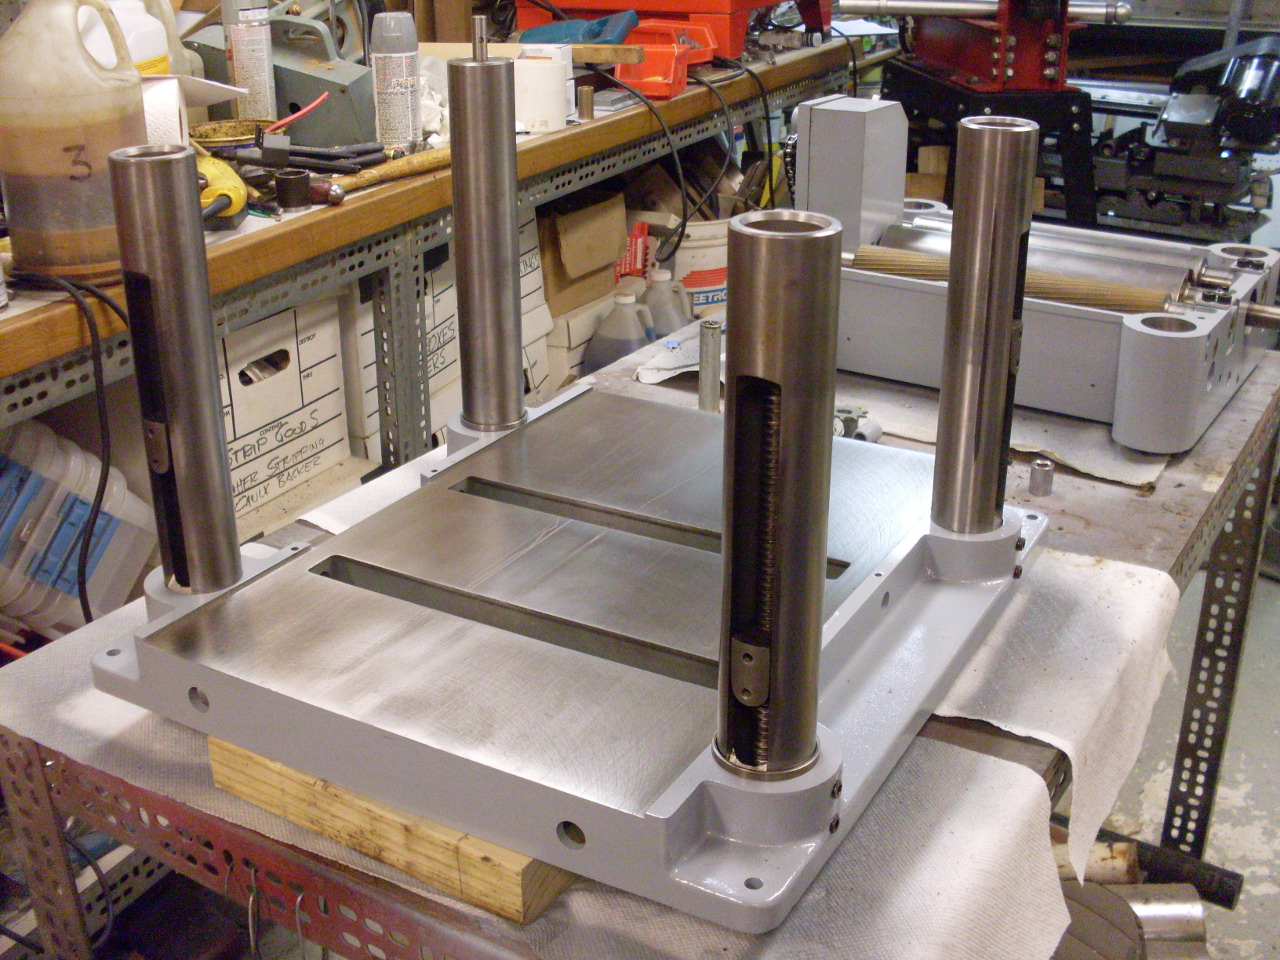
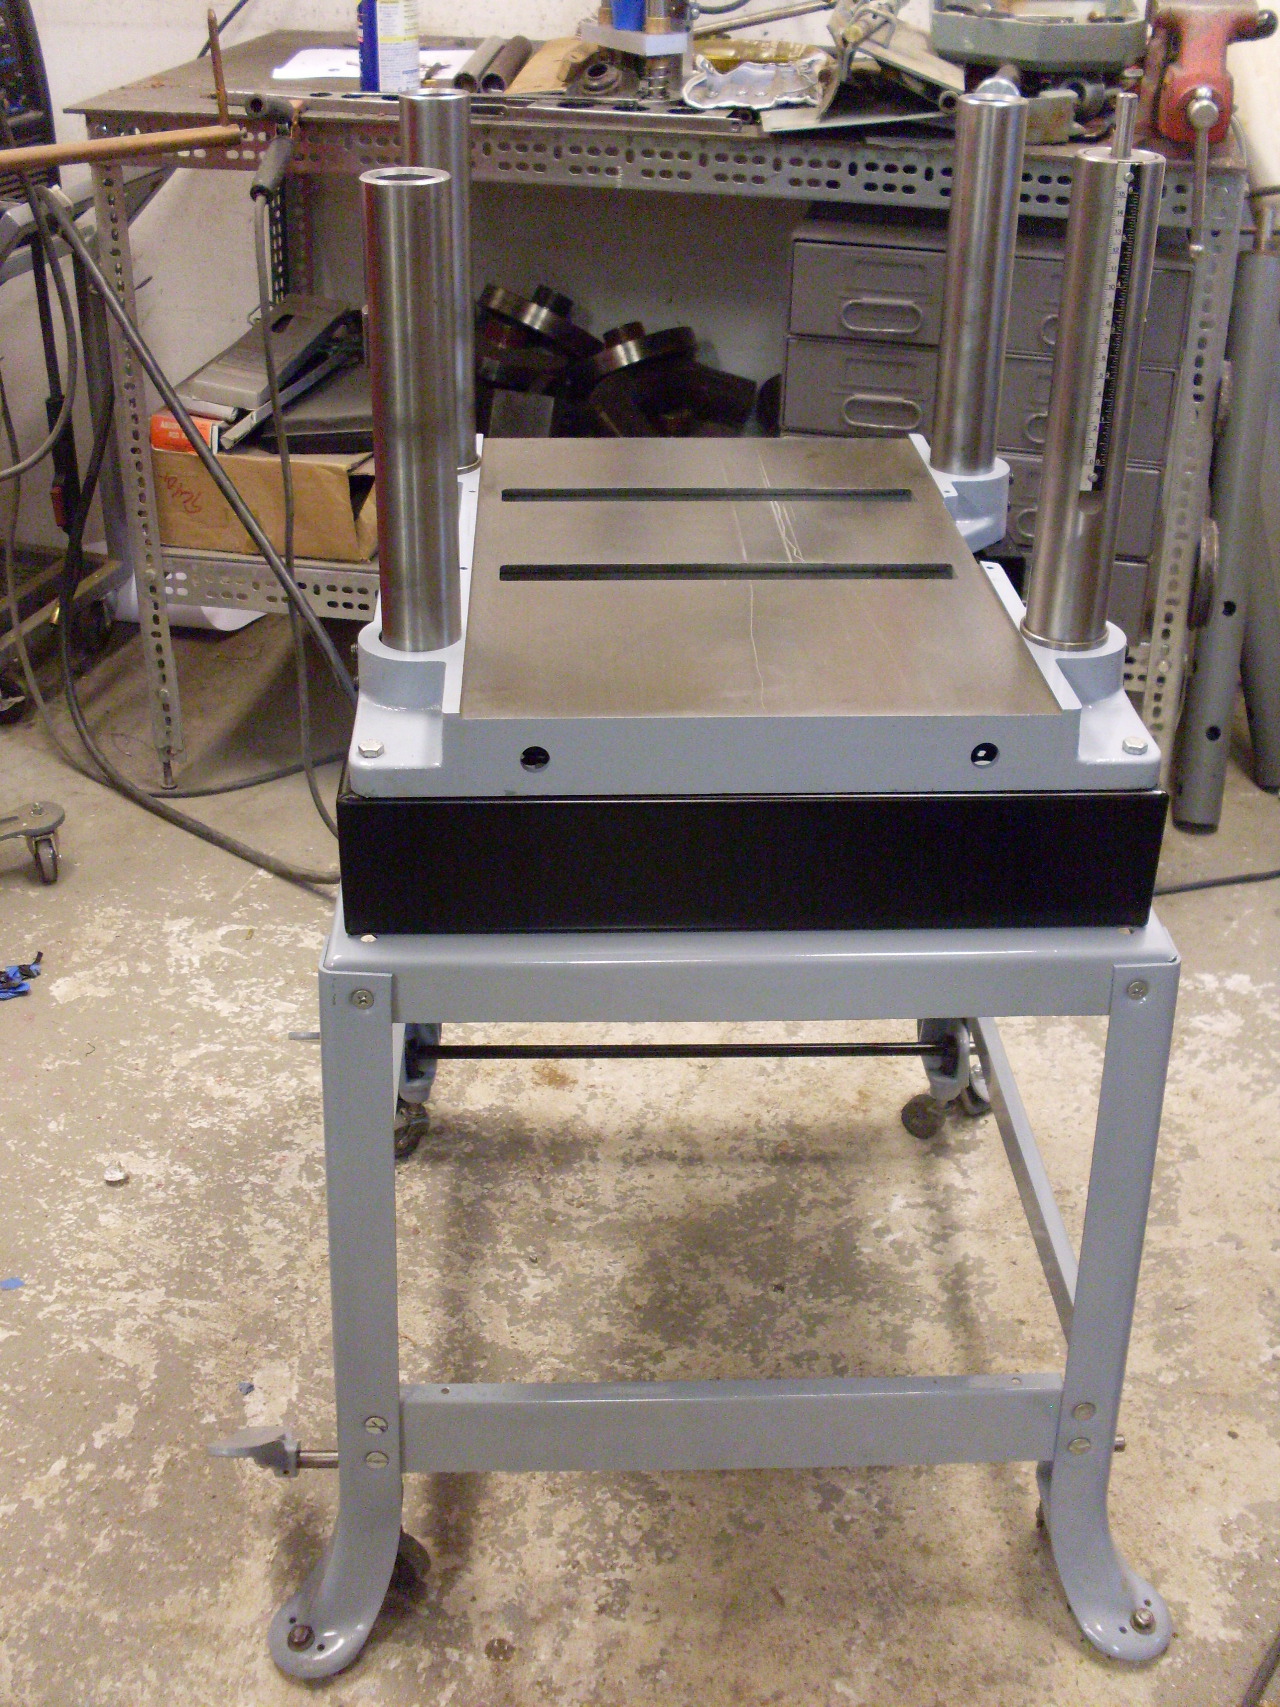
Ready to build up the table assembly:

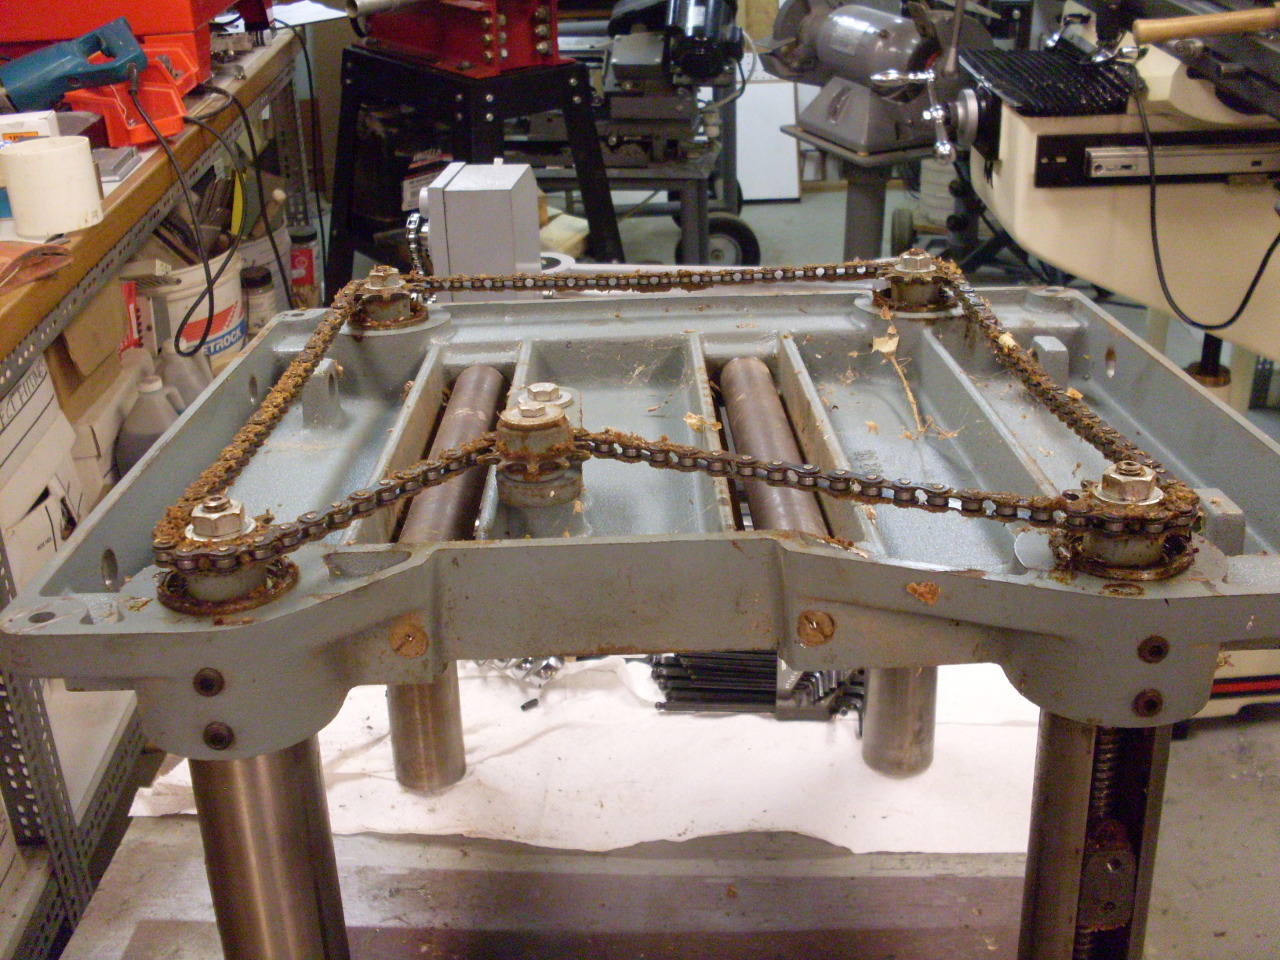
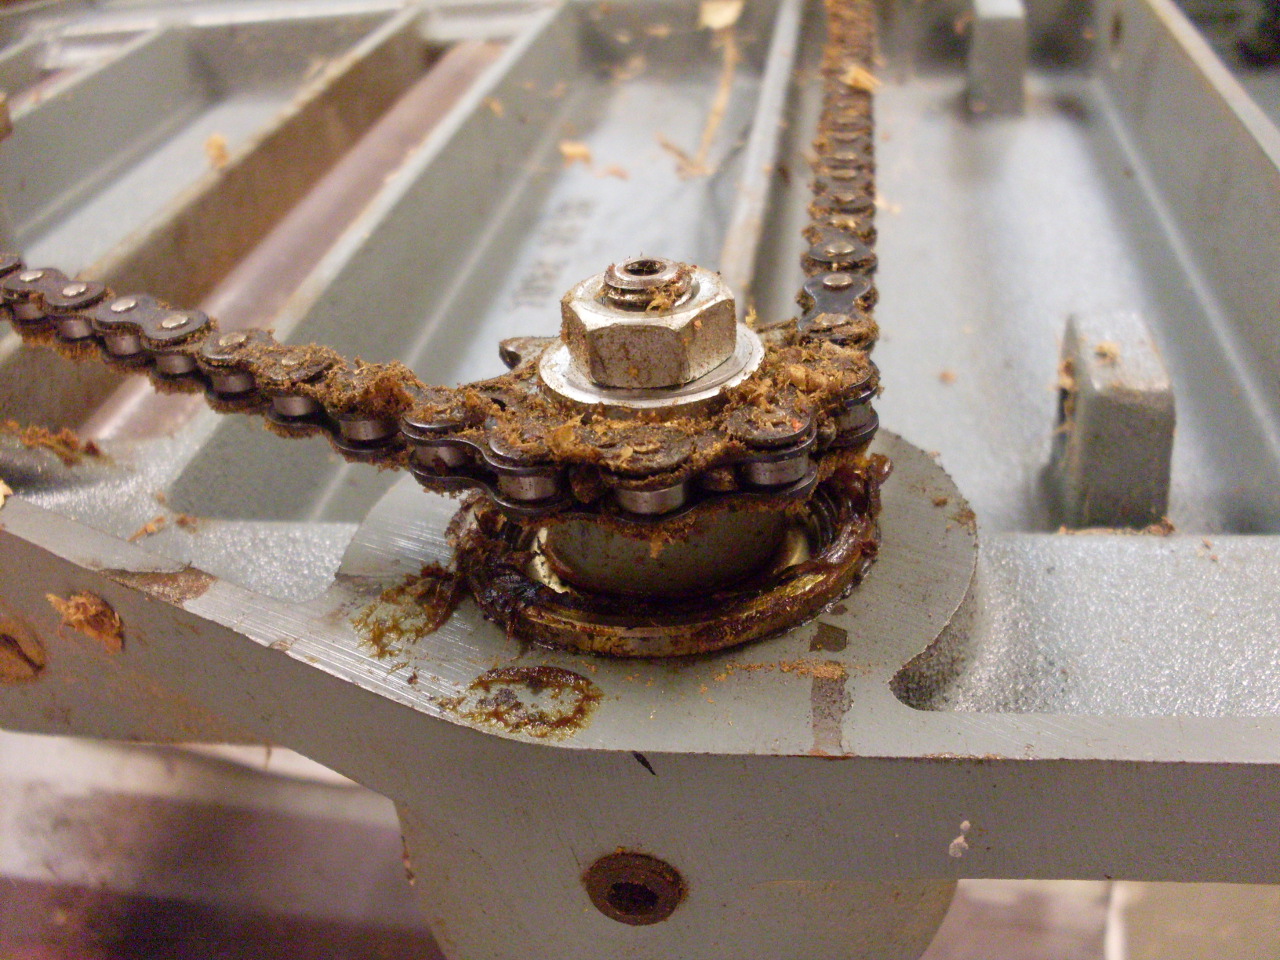
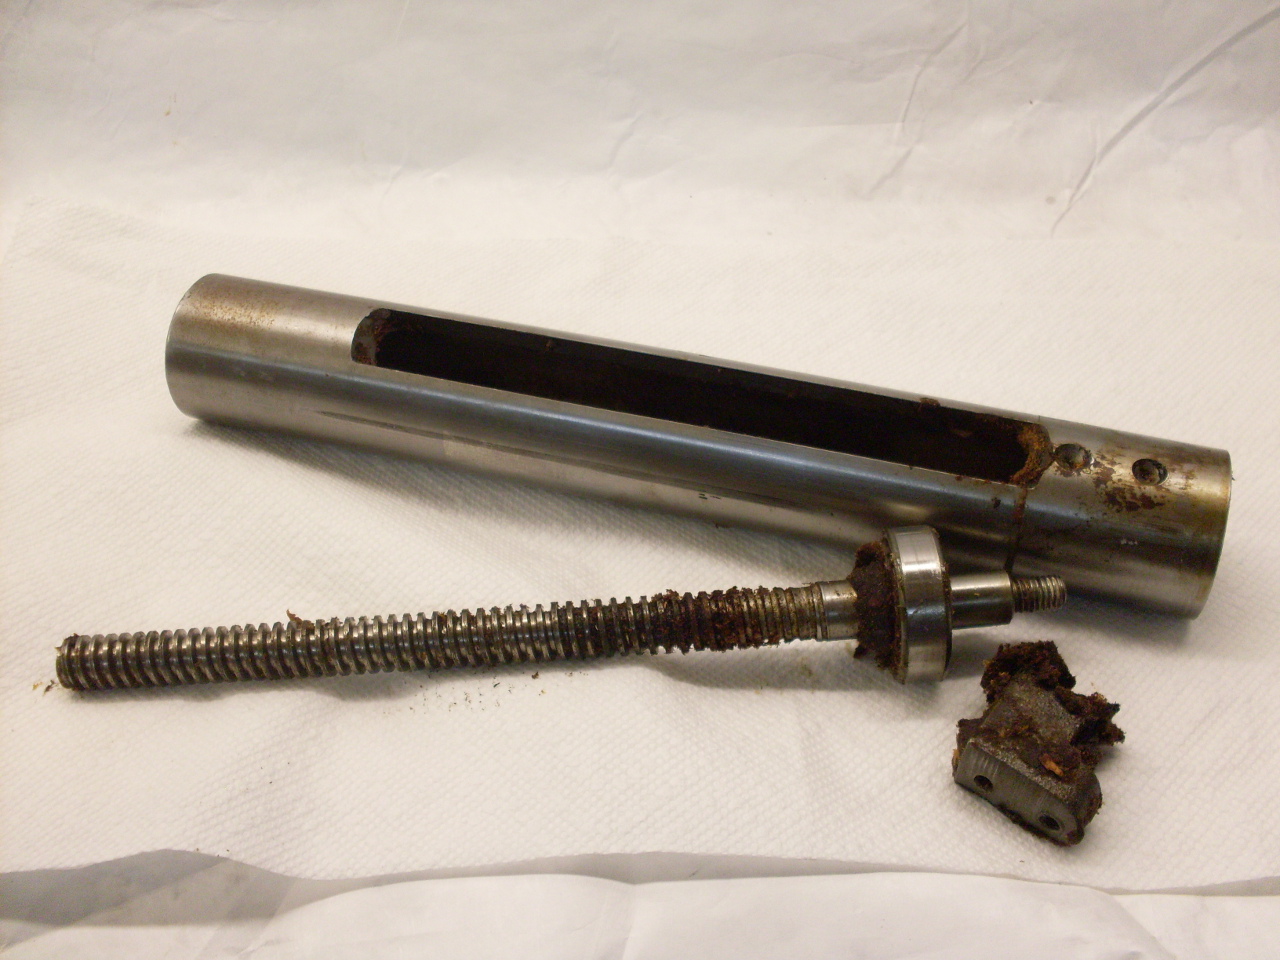
Each column has a ball bearing at the bottom end. In each bearing is an acme leadscrew with a sprocket at the bottom, and a nut that travels in a slot in the column when the screw is turned. The screws and nuts were caked with hard grease and sawdust, but in good shape. The bearings were also OK.
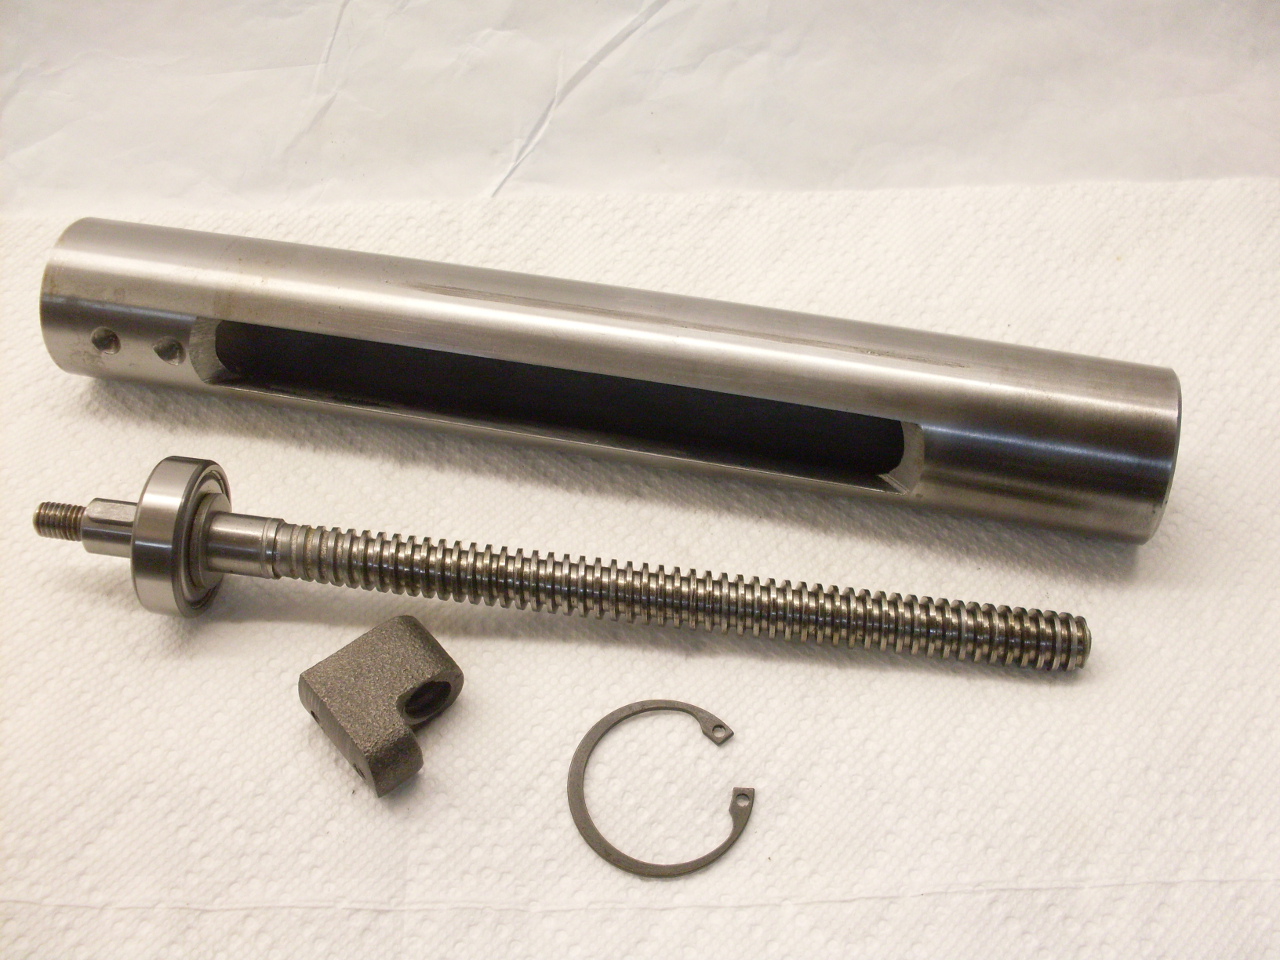
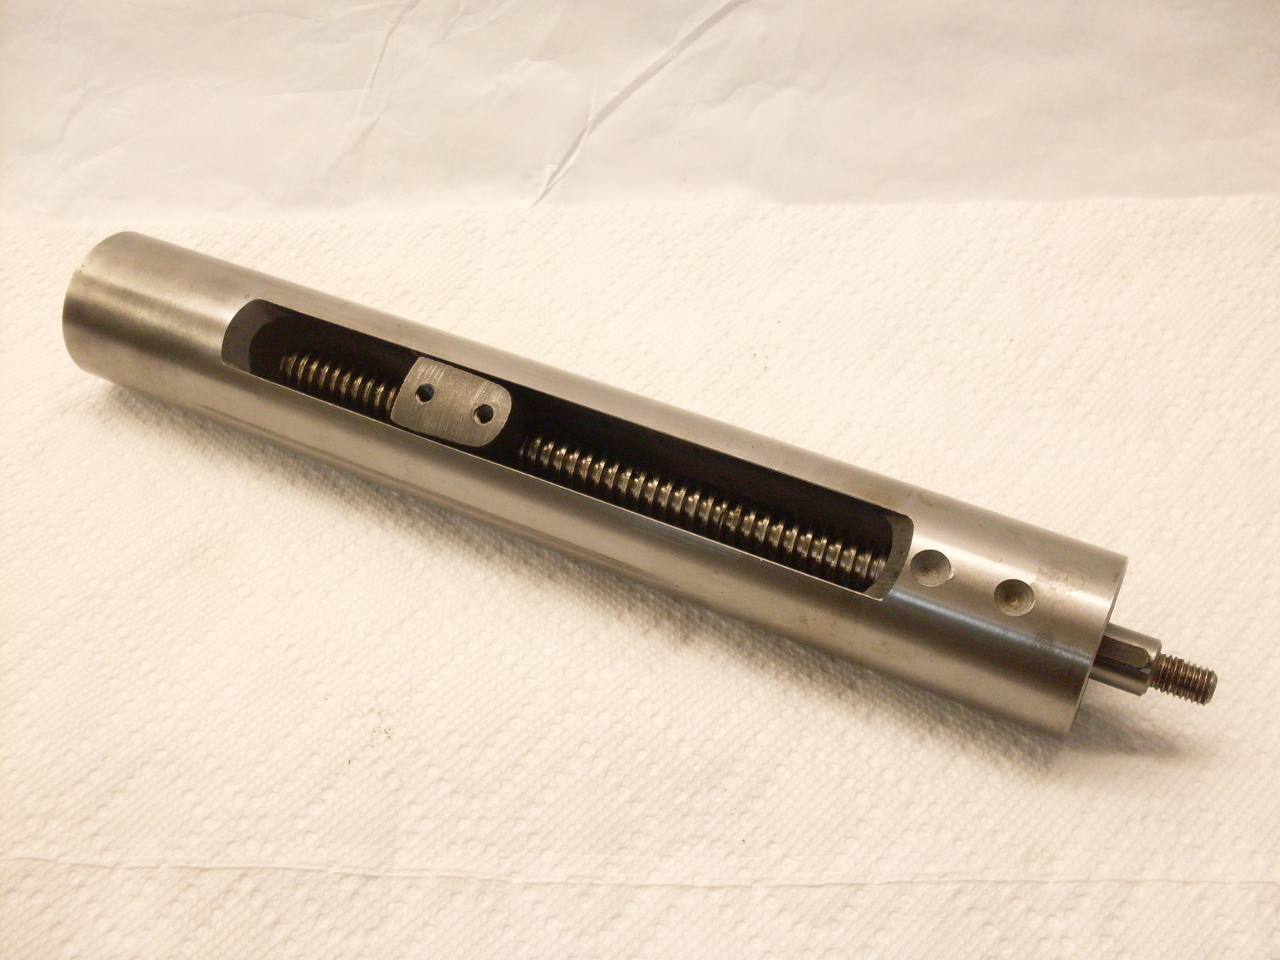
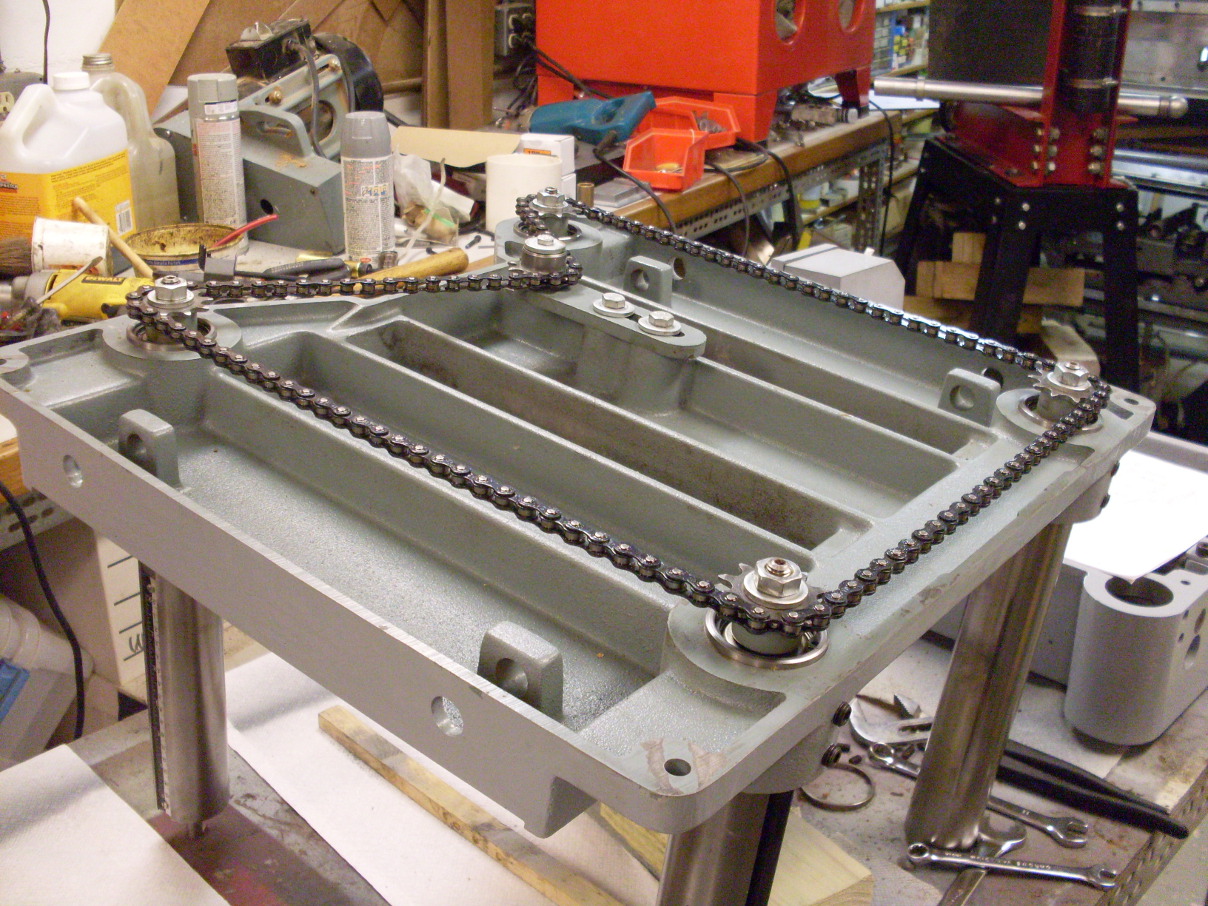
The columns strangely all show the same part number, but they vary by where the dimples are that key them into the table. They aren't interchangeable. The chain was grungy, but cleaned up well.
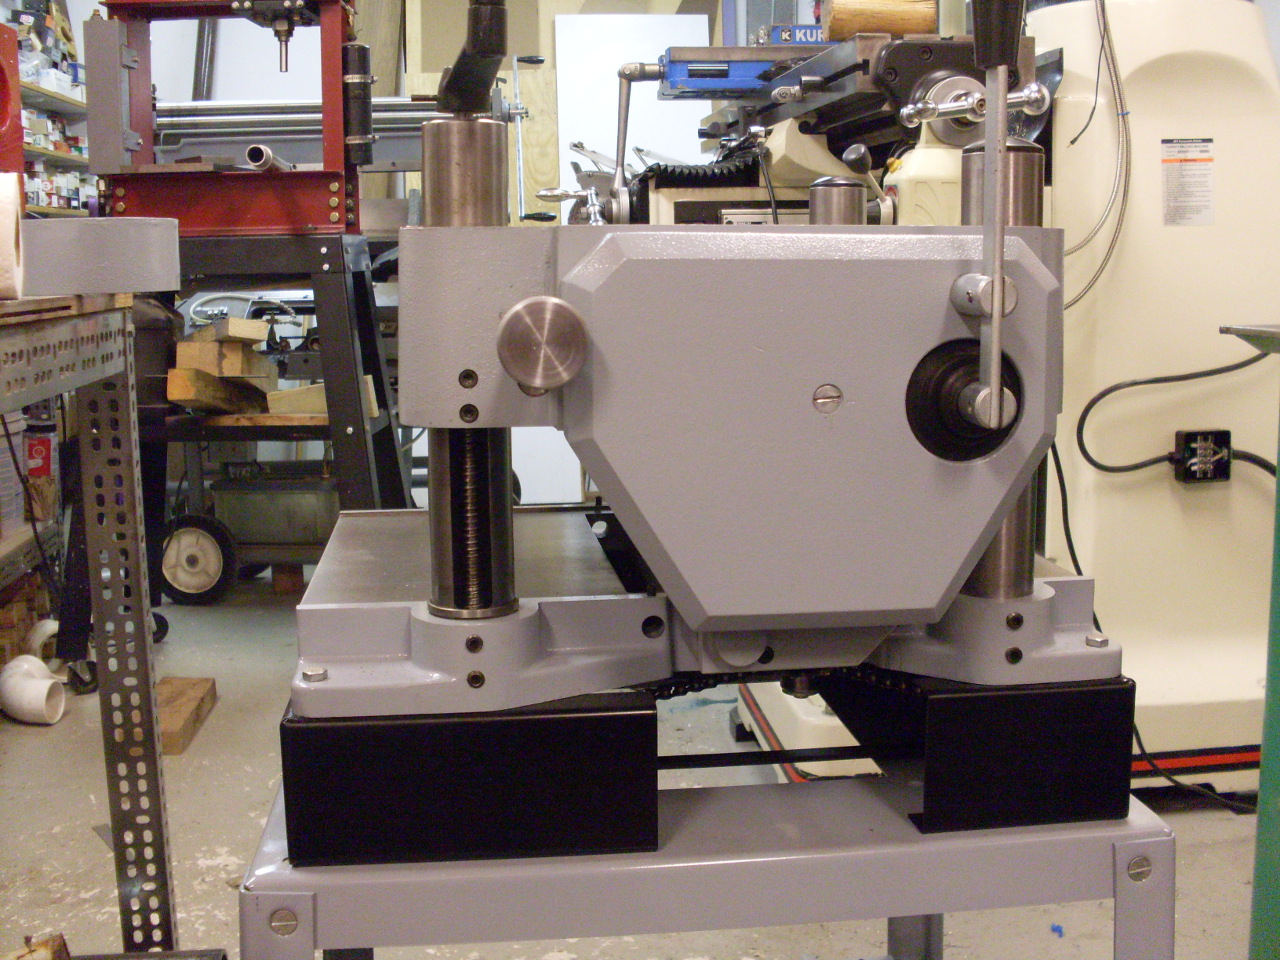
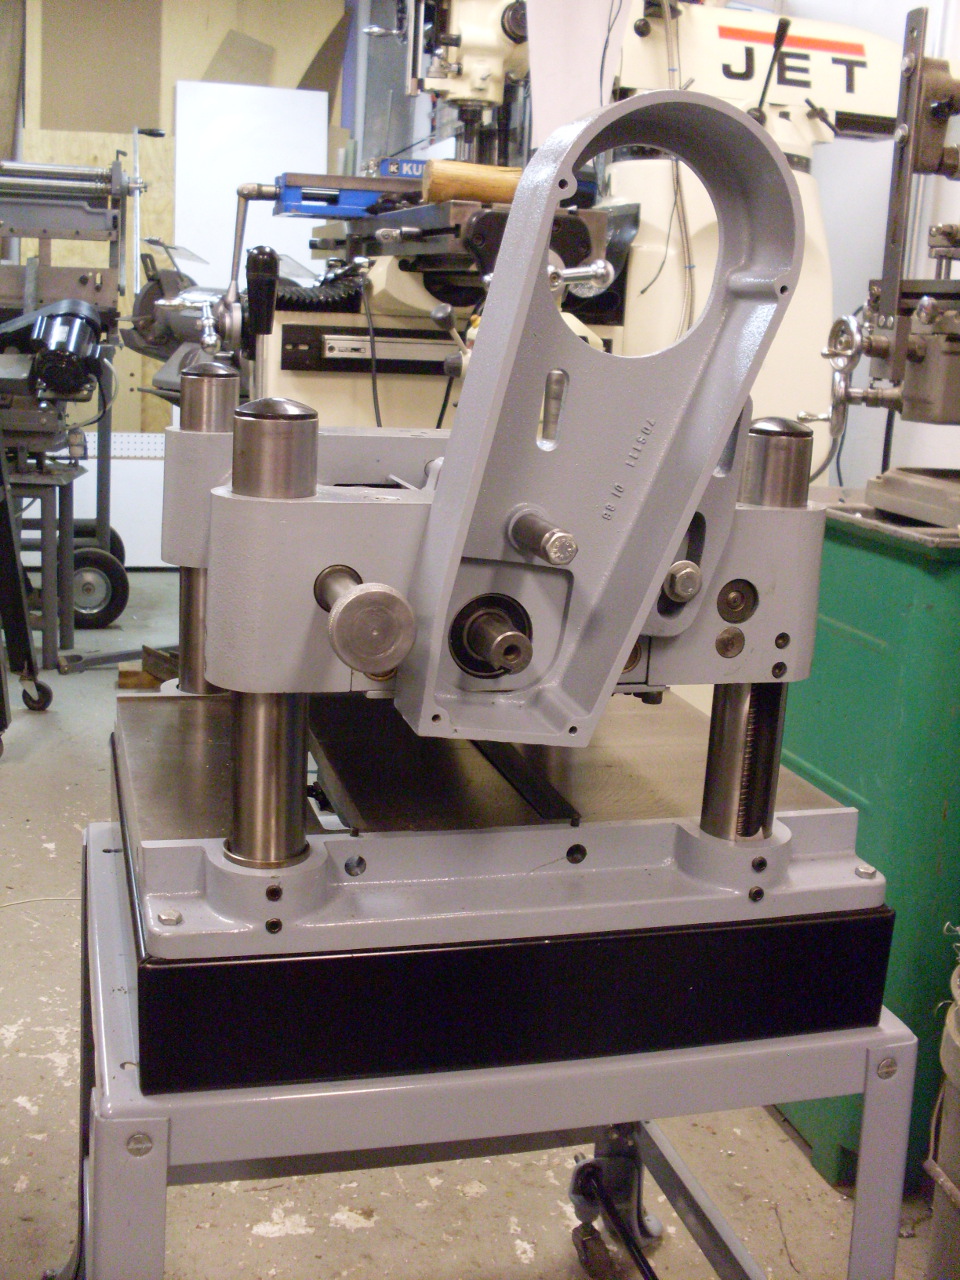
I took the base apart, painted the parts, and reassembled. Time to bring everything together:
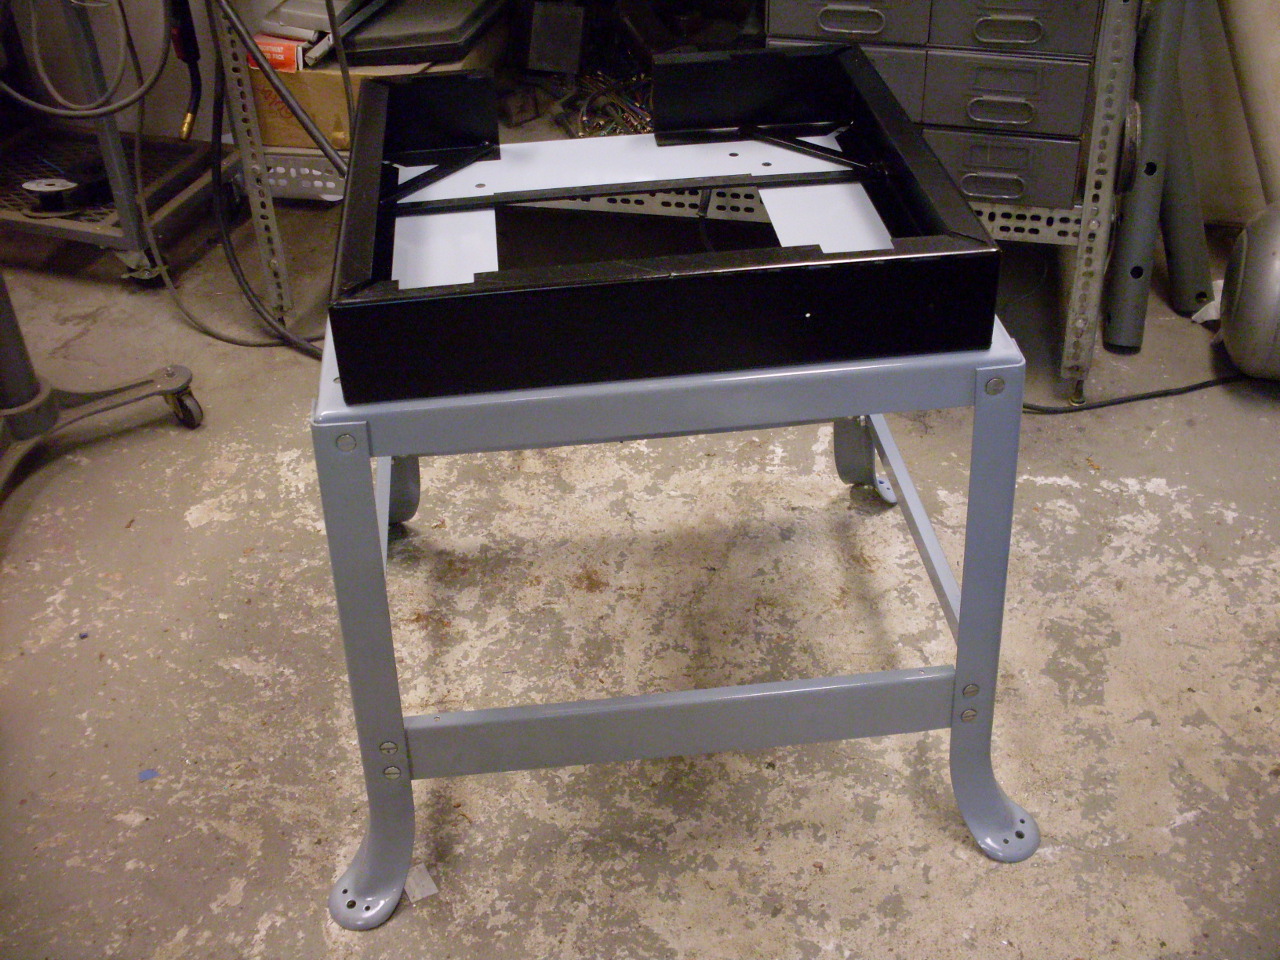
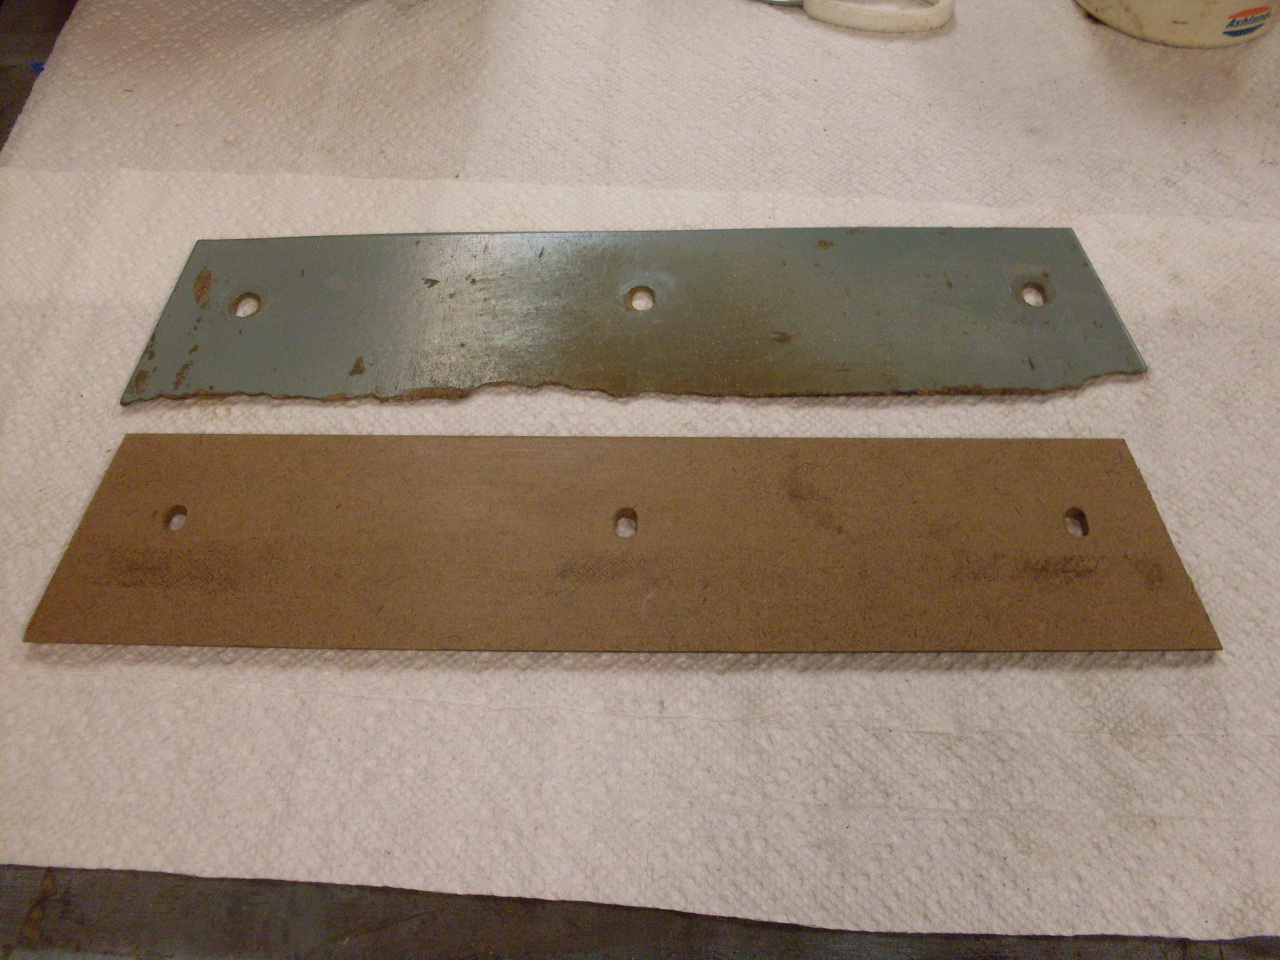
The table rollers should ideally have been installed before the head went on, but I was waiting for new bearings. The original bearings felt pretty bad. The picture shows one roller before and one after rust removal. The new hardboard chip deflector was the only piece of woodworking in this project.

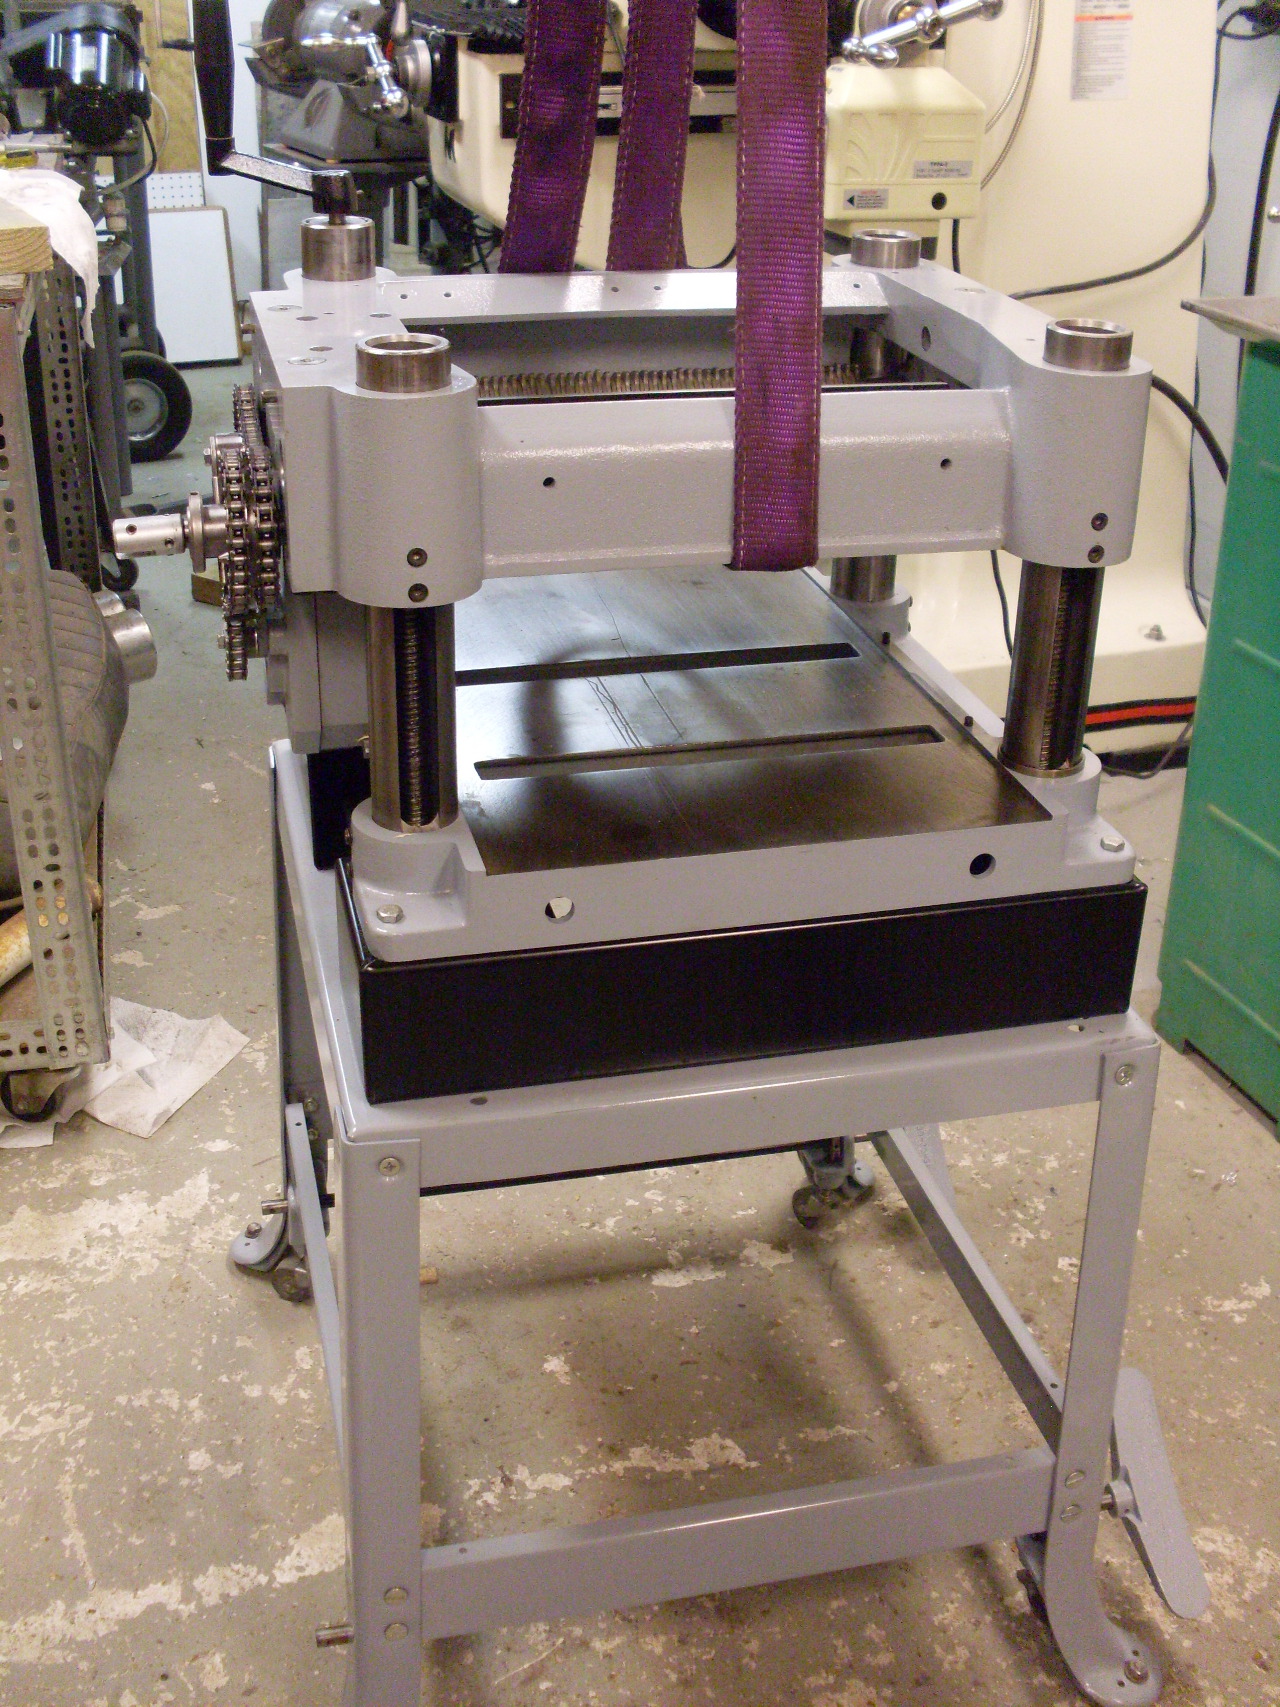
Bolting more pieces on.


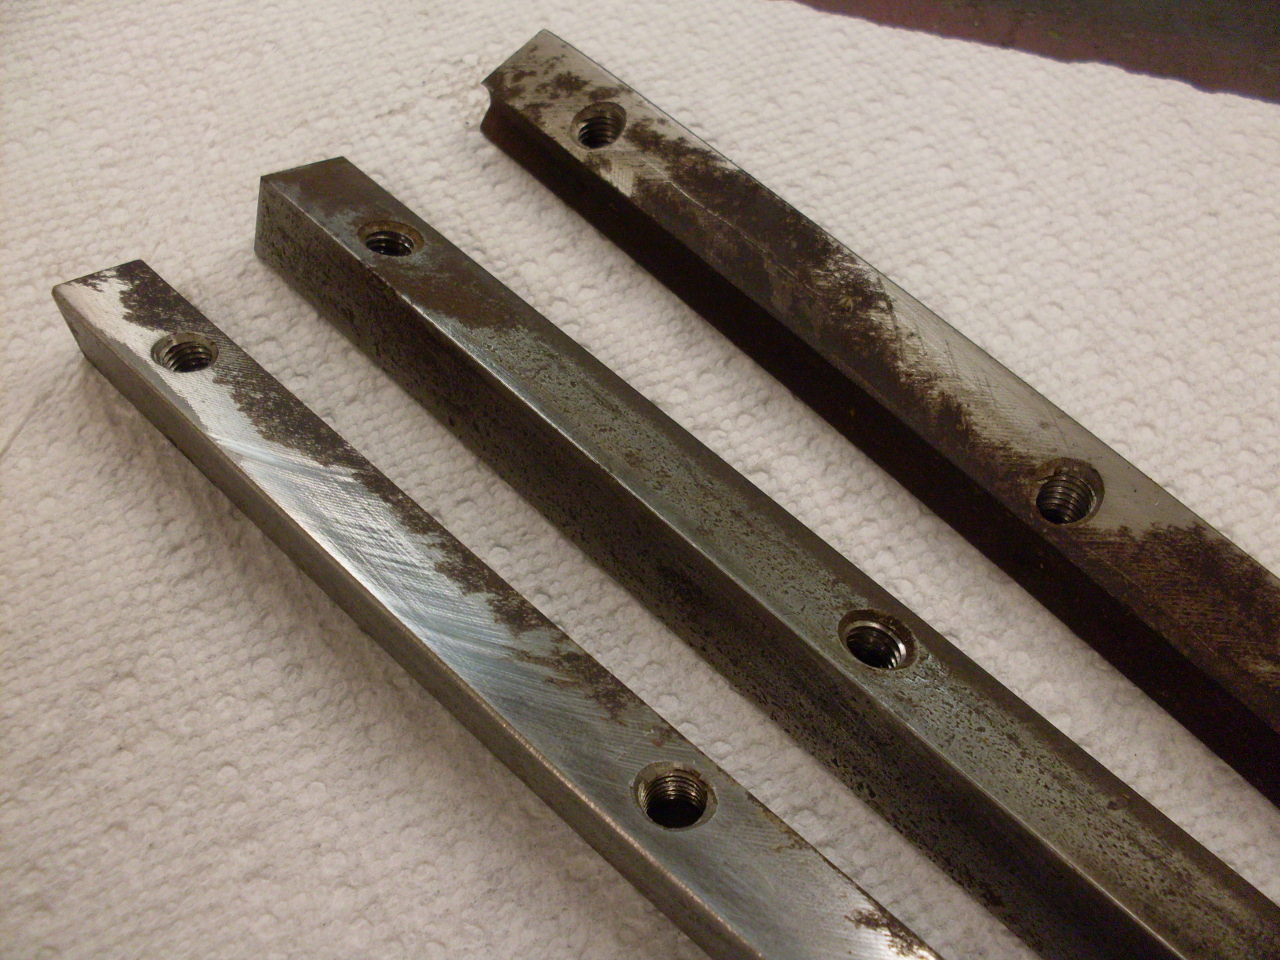
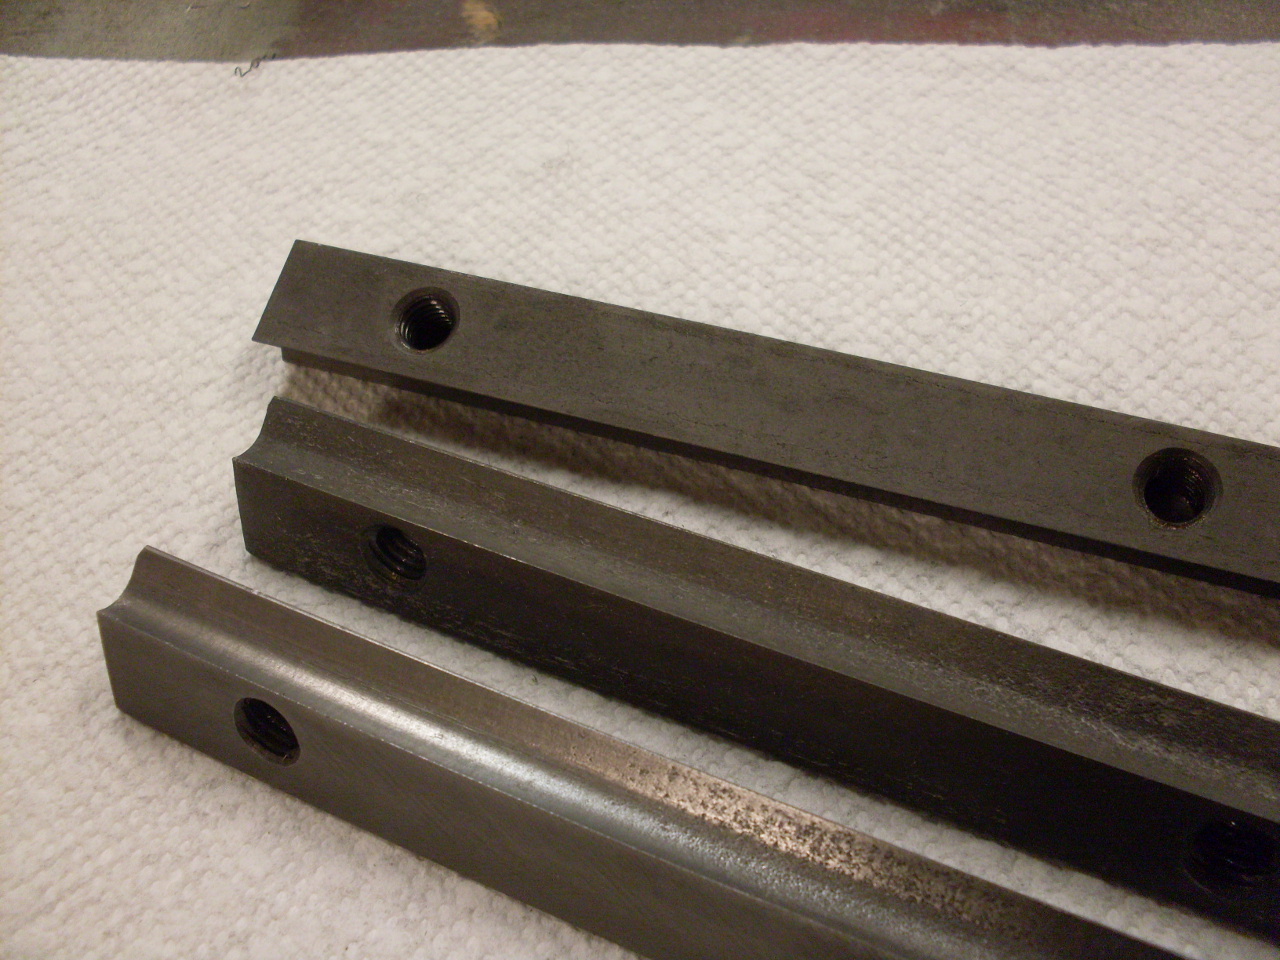
The knife locking bars also responded well to the phosphoric derusting.
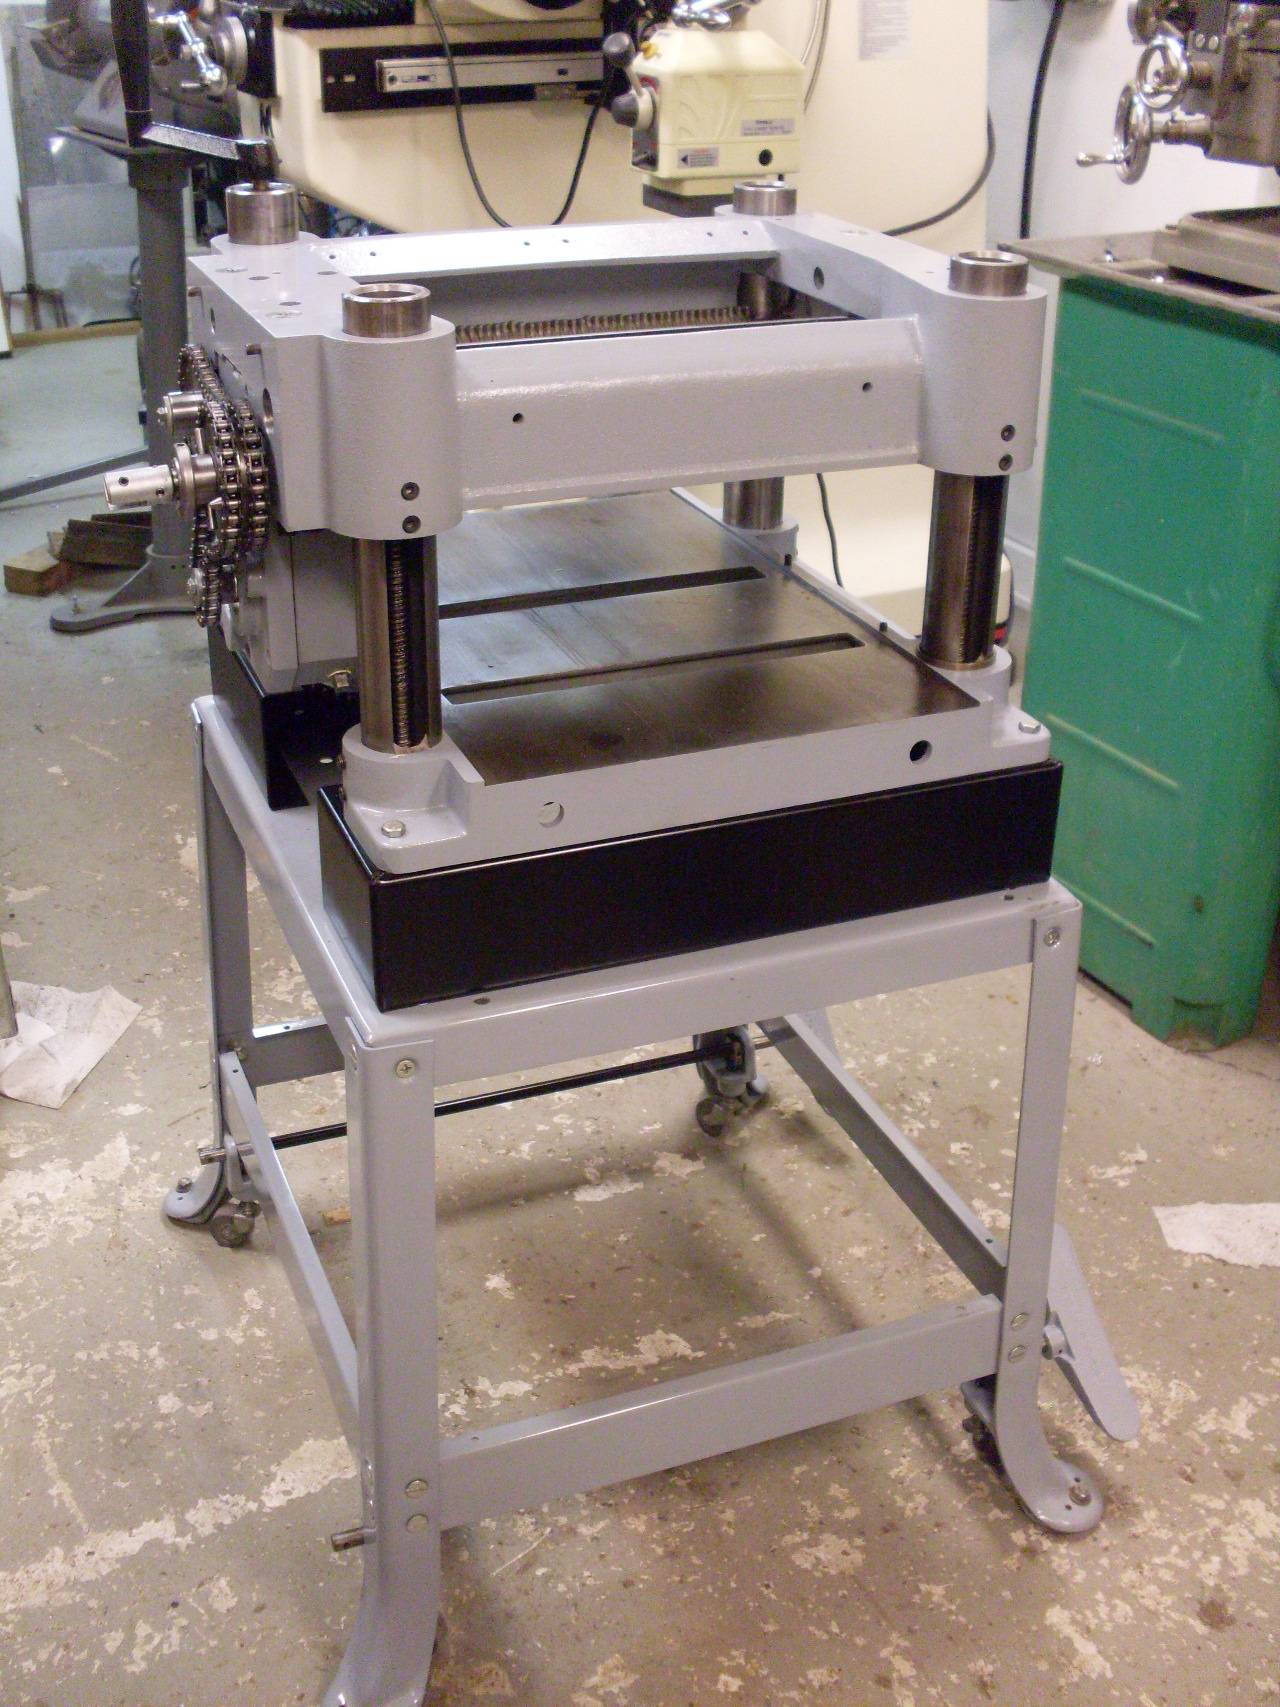
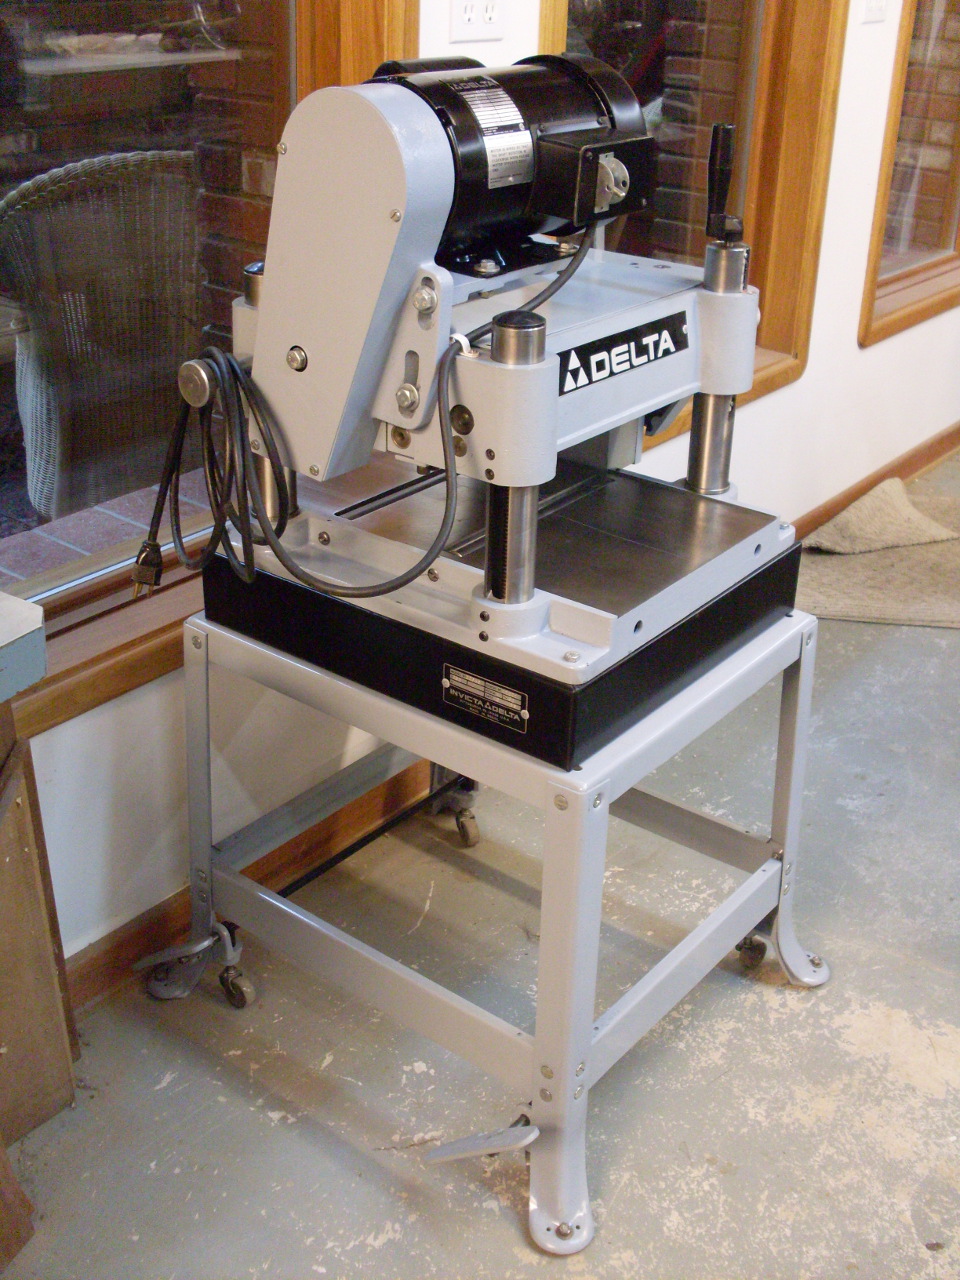
Filled the gearbox, and tuned it up. My shiny new toy is just waiting for some new knives. Cant wait to use it.
Send comments to: elhollin1@yahoo.com