To my other MGA pages.
October 17, 2024
Front Wings
The last of the steel body panels to do on this project were the front
wings. I pulled them down from the loft of the garage. I
flipped a coin. The passenger side lost--it was first up.
Looks pretty good, right?
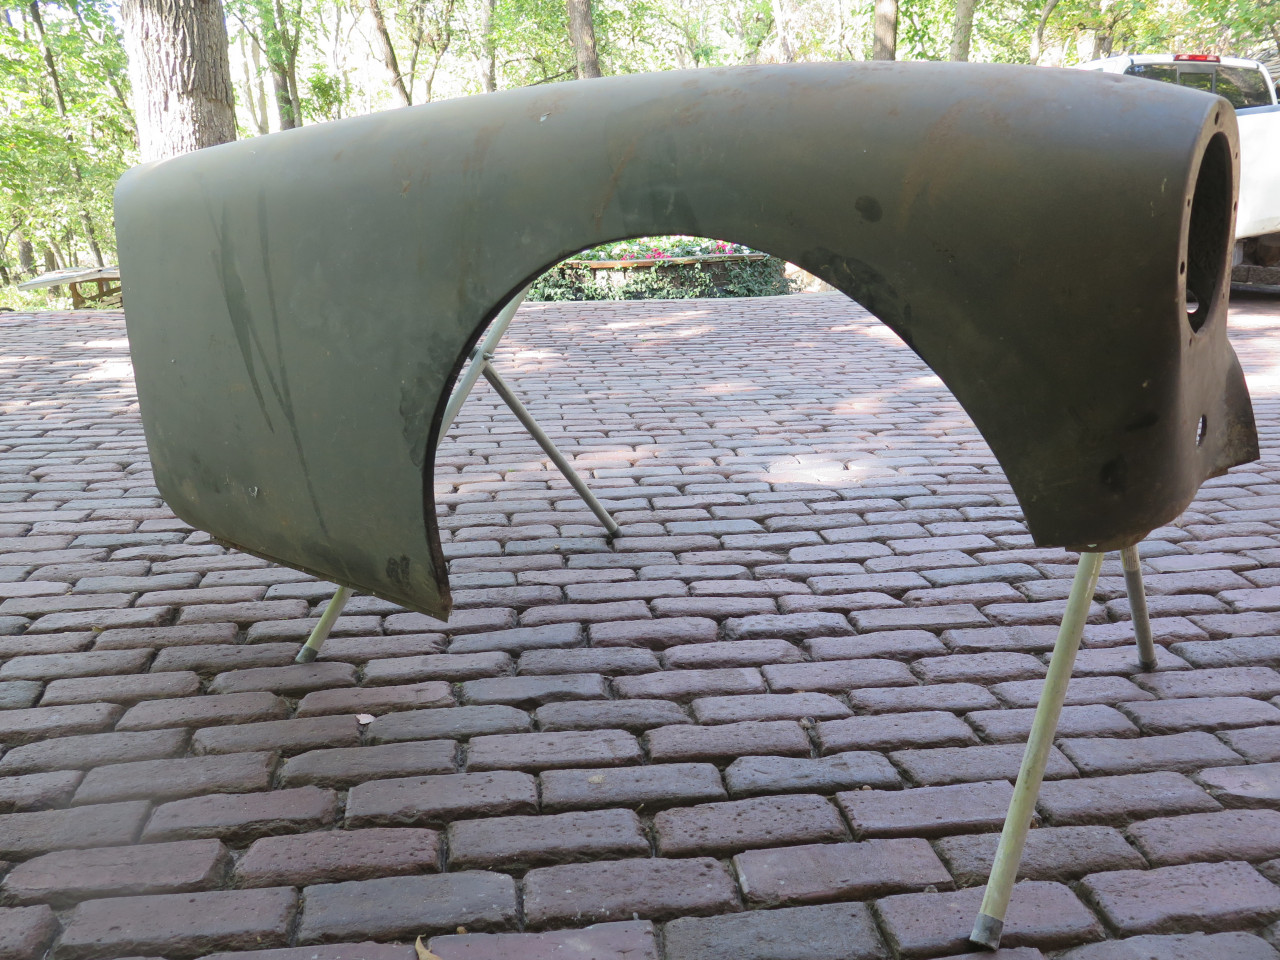
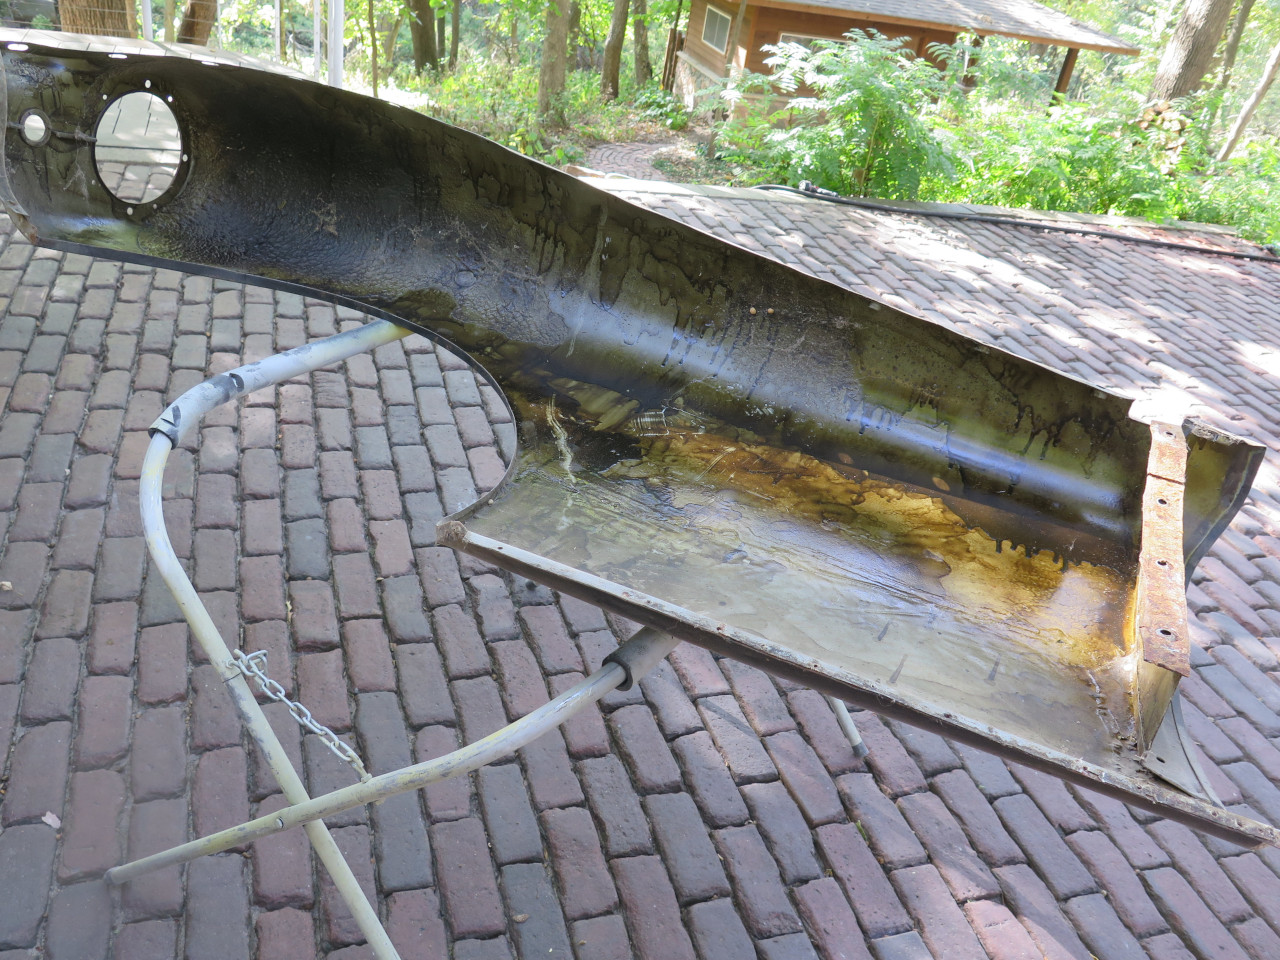
Well, since I was the one who did the previous work on this car, I knew of a few hidden atrocities.
First step was to clean off all of the Ziebart-like waxy rust proofing
I'd applied decades ago. Then the remaining factory undercoating.
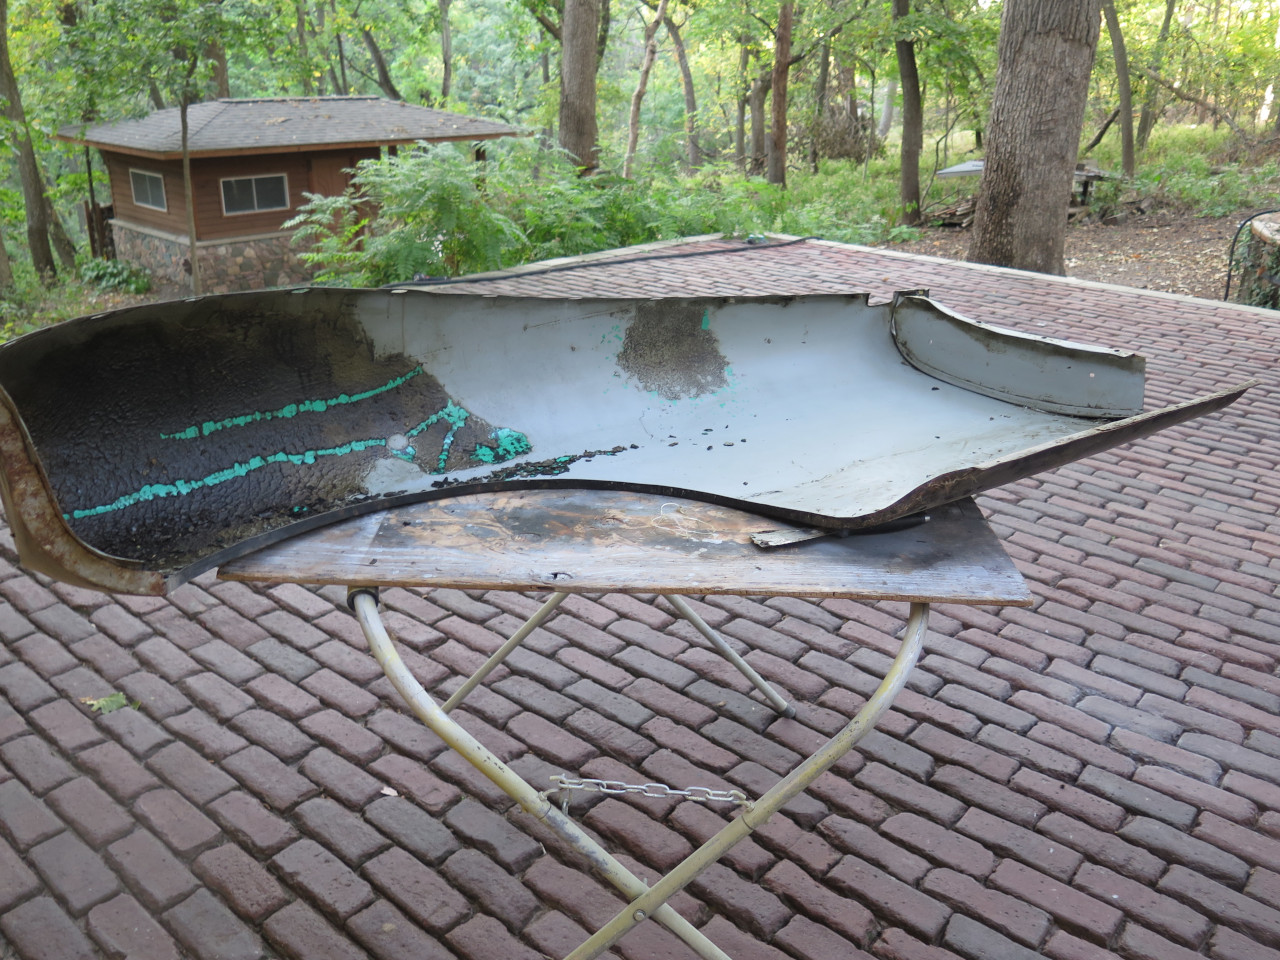
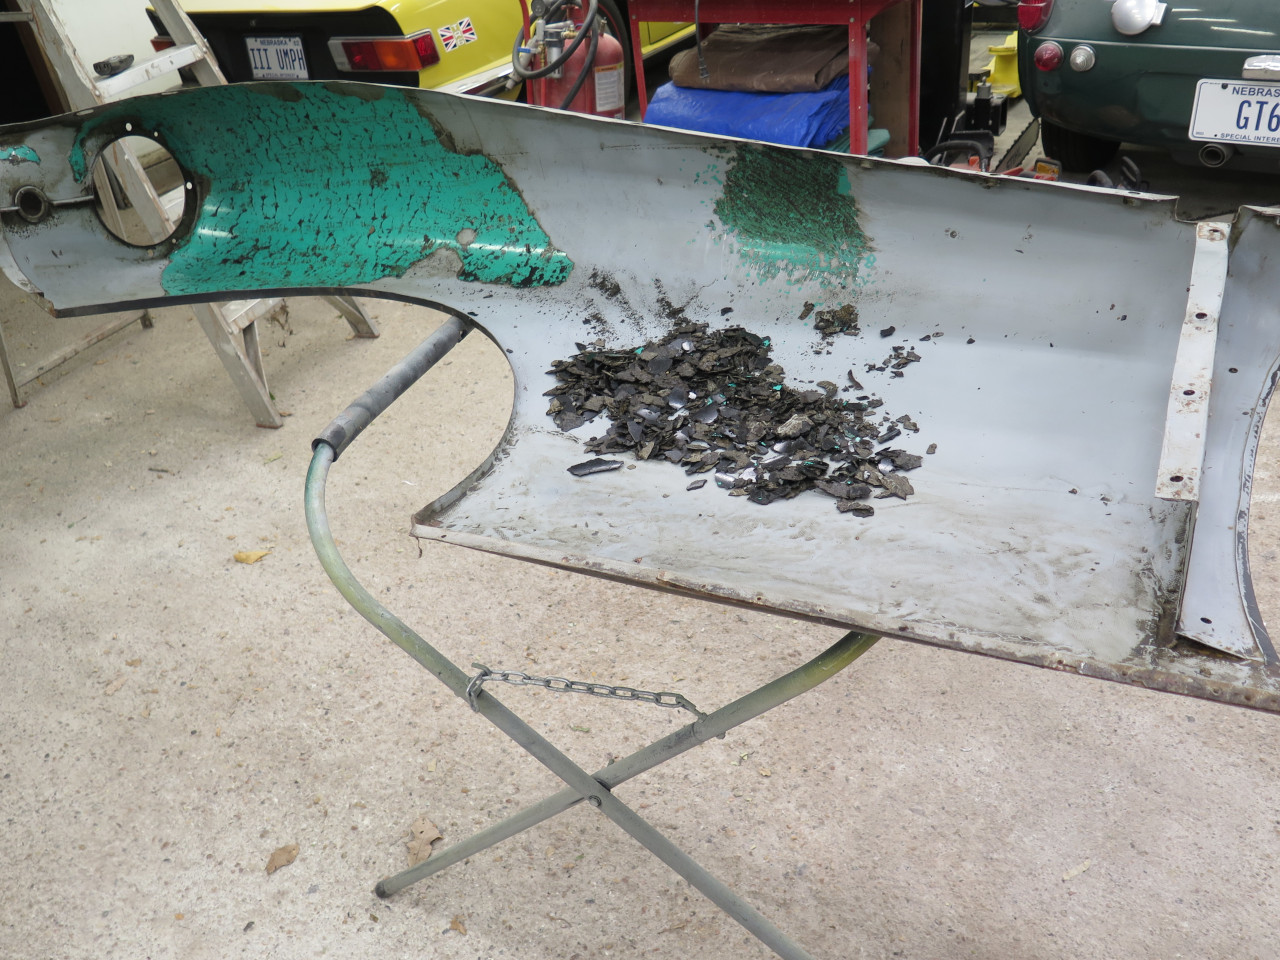
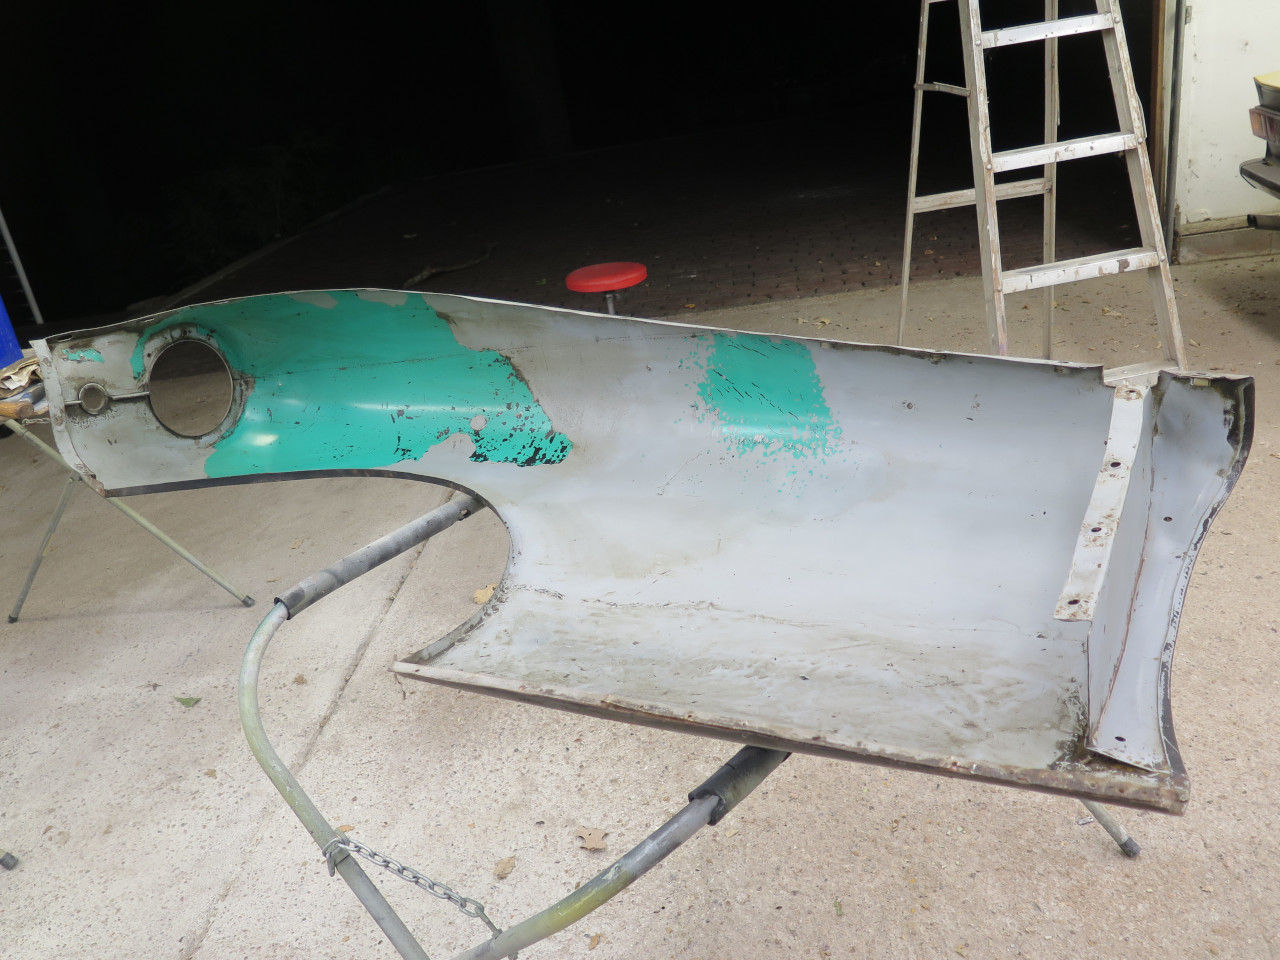
There was a large layer of fiberglass on the lower third of the inside
surface of the wing. Once I got it started, it came off in mostly
one piece. This exposed a couple of horrors: fist, the lower
mounting flange of the wing was a separate piece of metal attached with
blind rivets. Then there was what appeared to be a large void in
the metal on the lower underturn.
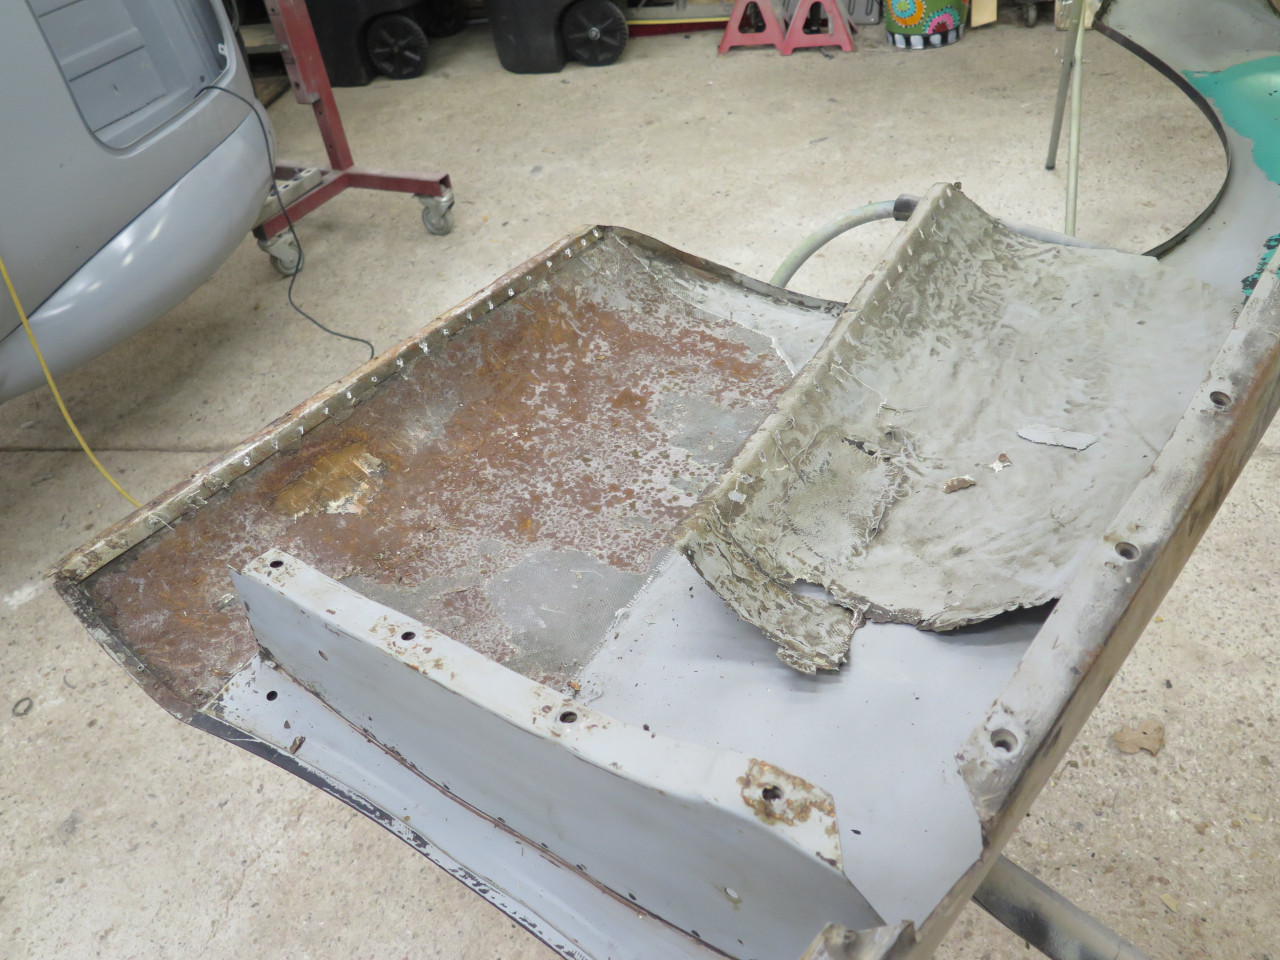
Removing the primer and filler from the outside of the wing revealed more unpleasantness.
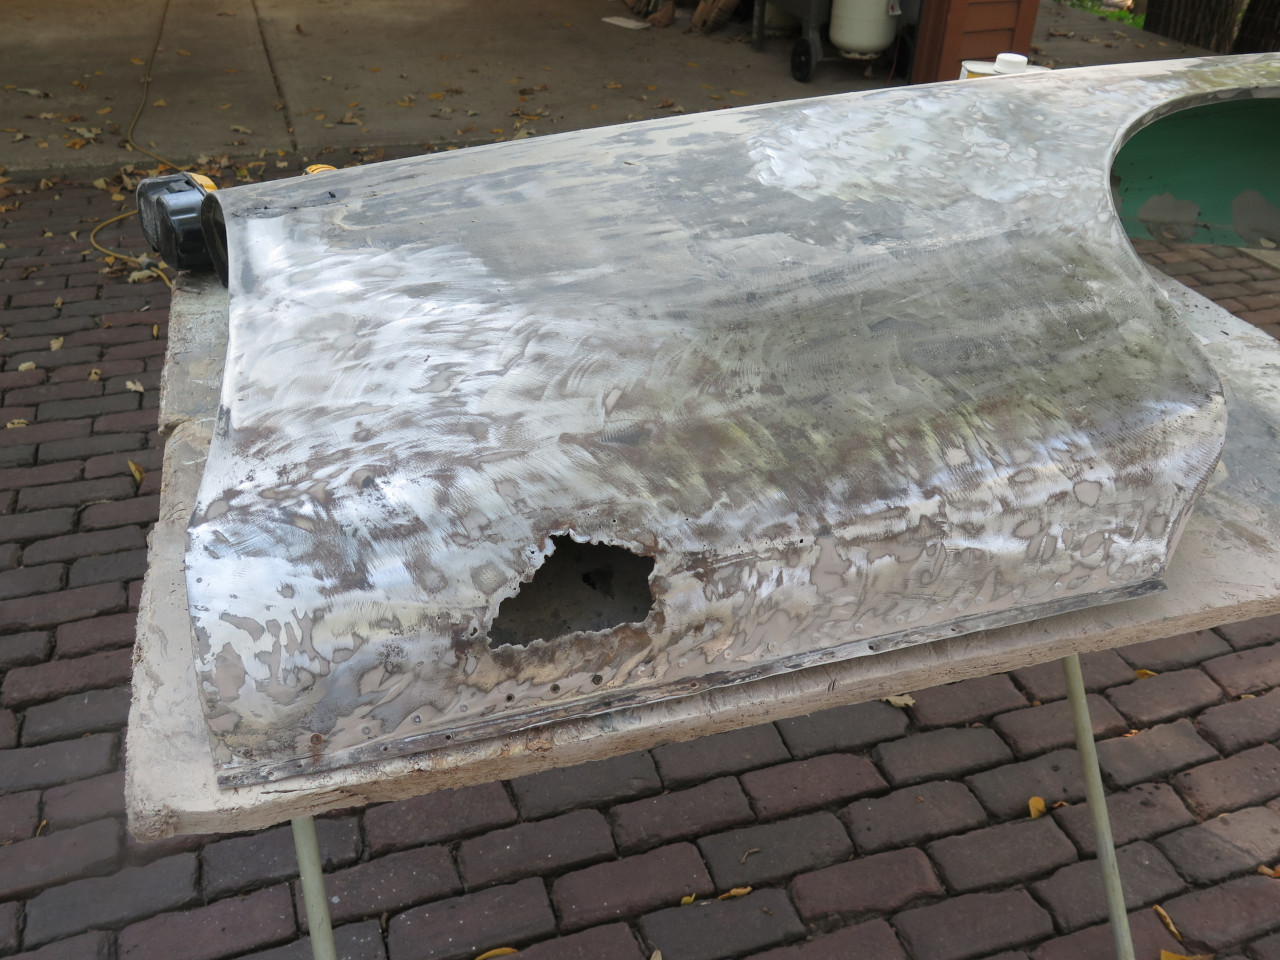
A light sand blast to get rid of the remaining filler gave a clearer picture.
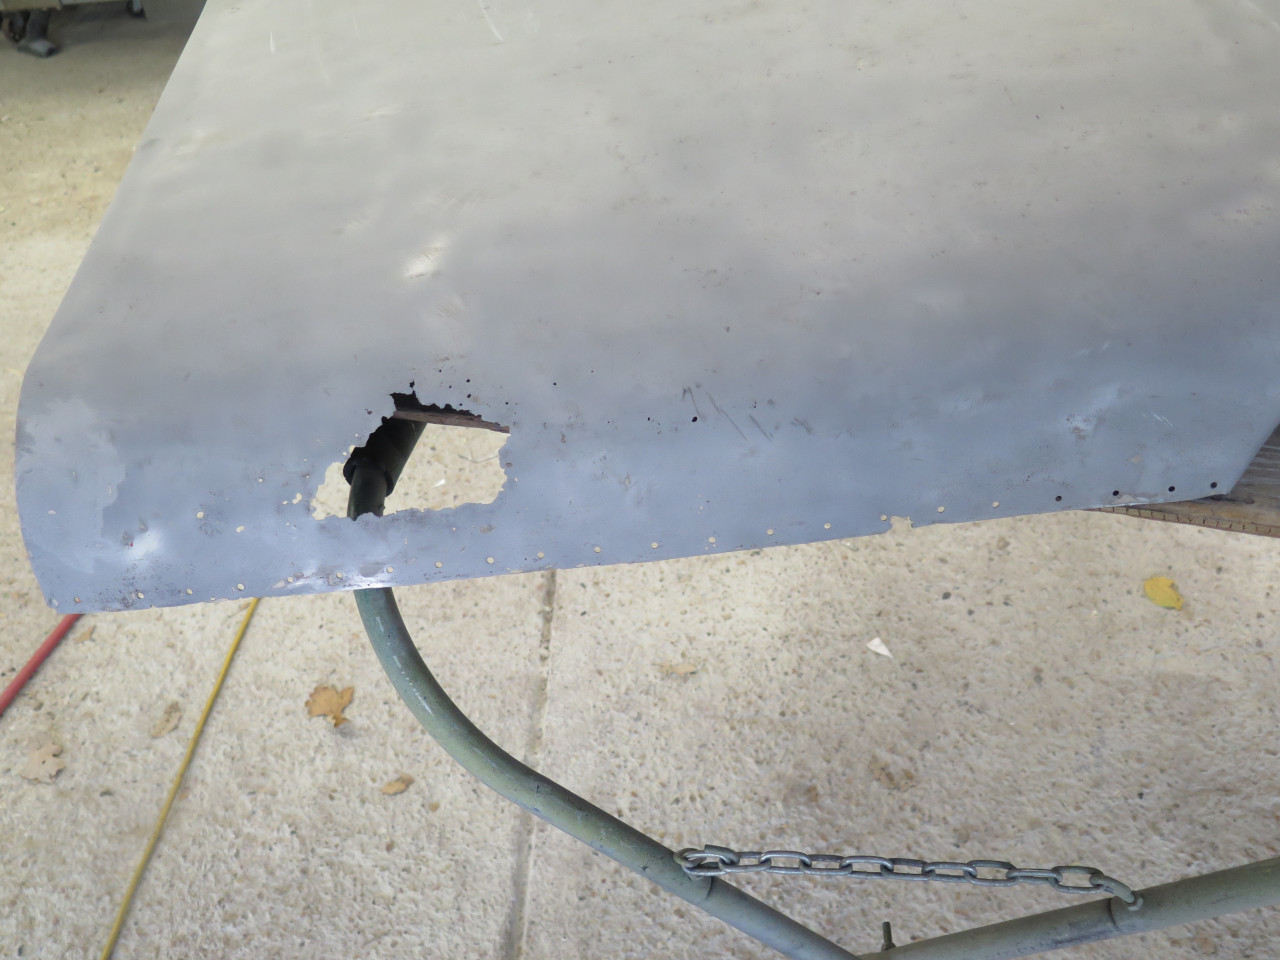
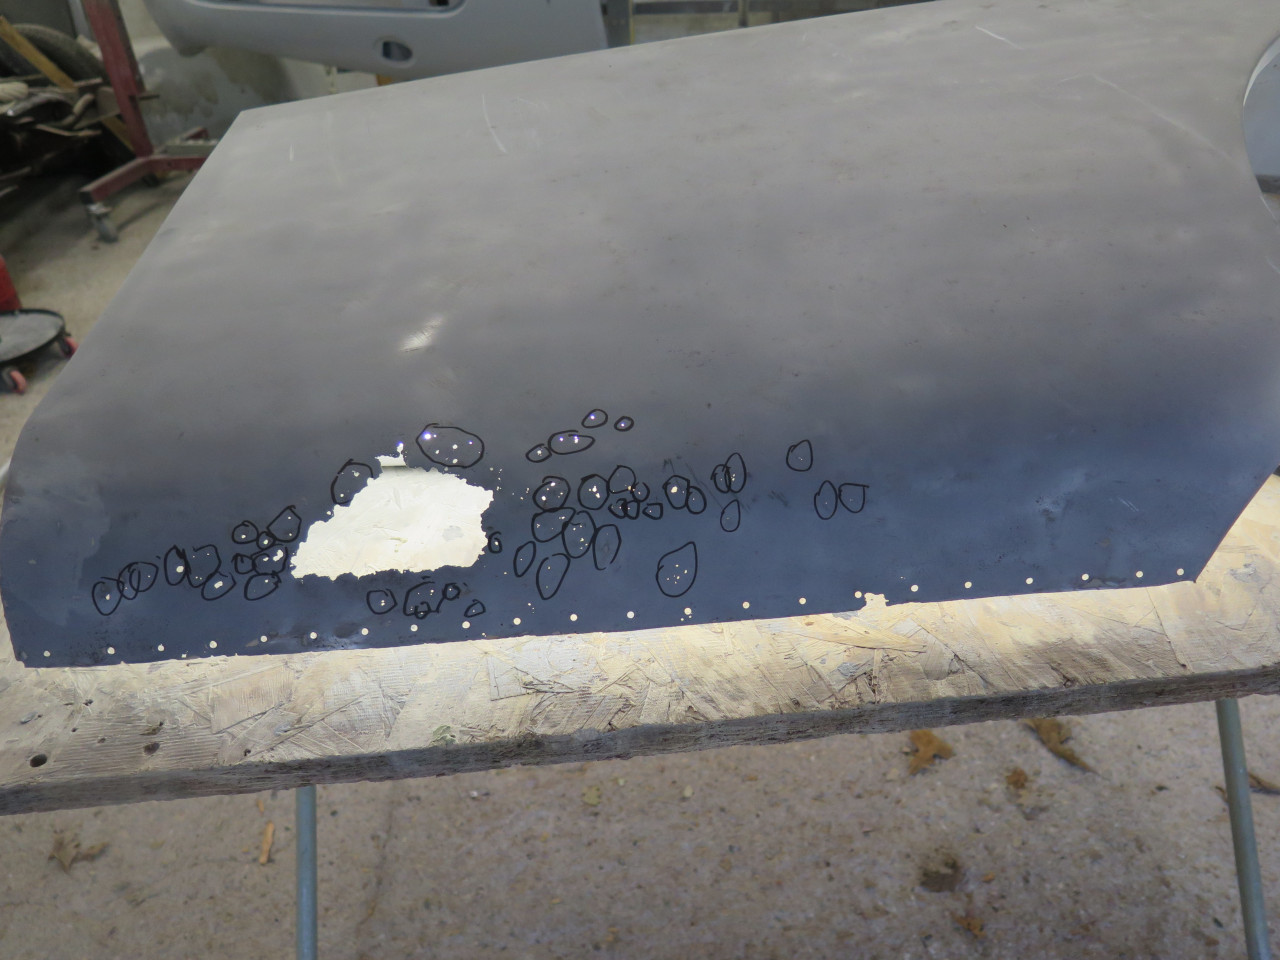
The Swiss cheese, the gaping hole, the missing lower flange, and the
deep rust pitting all conspired to convince me that a patch was the only
solution. I suppose this patch might be available commercially
somewhere, but it didn't appear to be too complicated to do it myself.
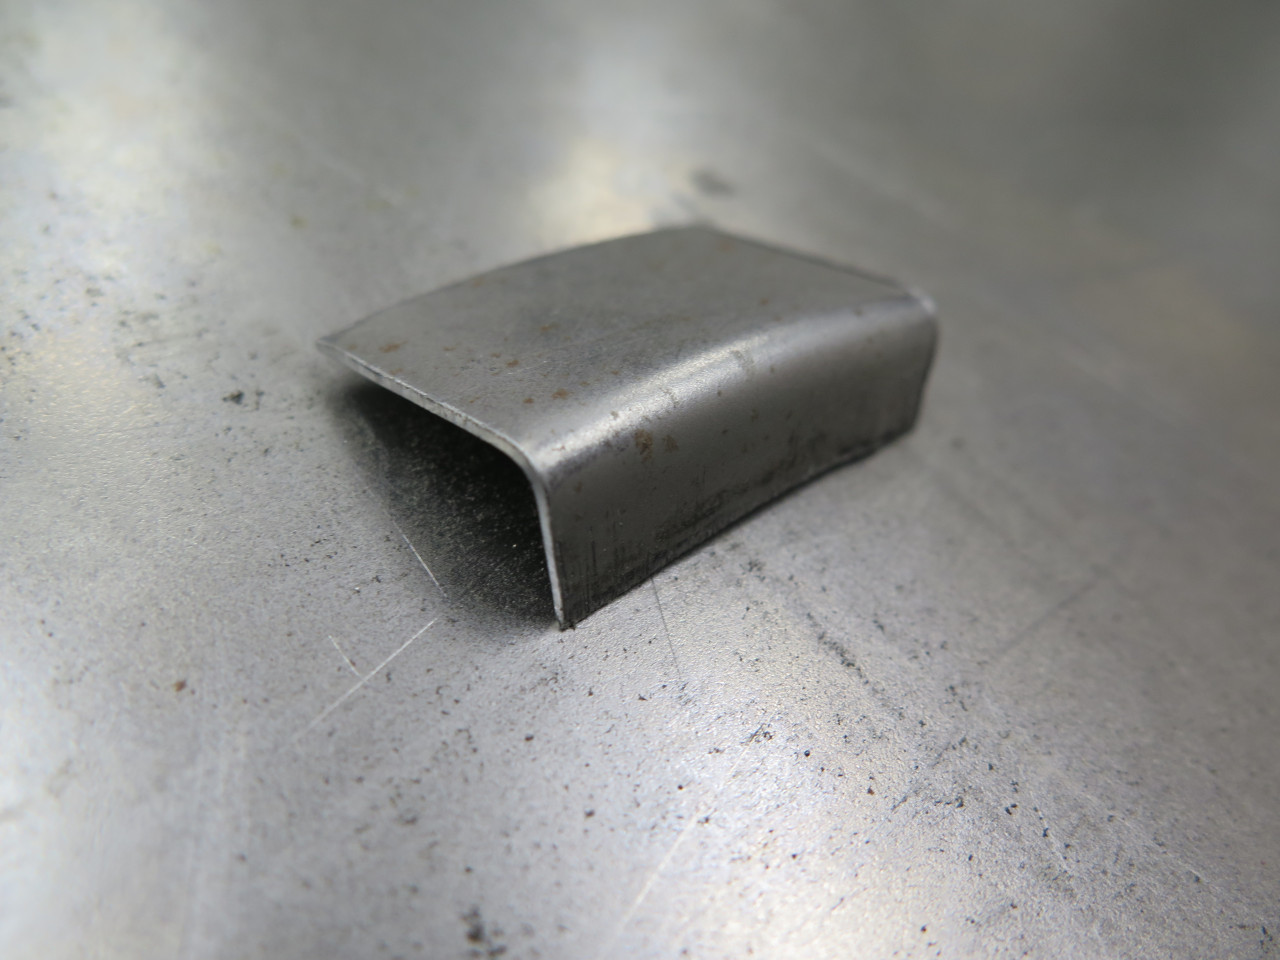
I measured, then cut a piece of 20 gauge. I use both 18 and 20
gauge for patches, but tend to favor the thinner gauge if there is much
shaping to do. The thicker one might be slightly easier to weld,
though.
Then bent up a generous flange on one edge.
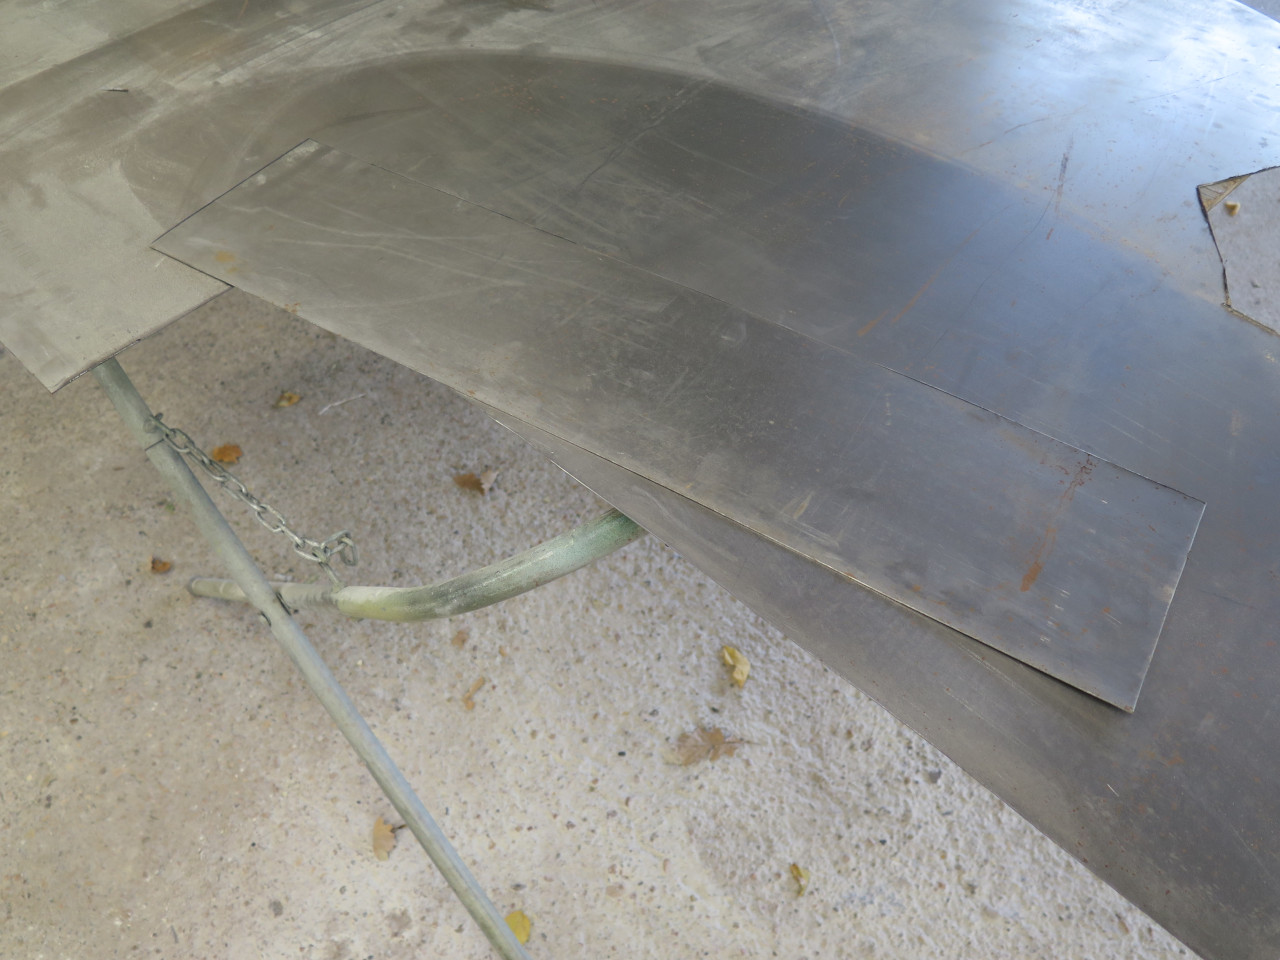
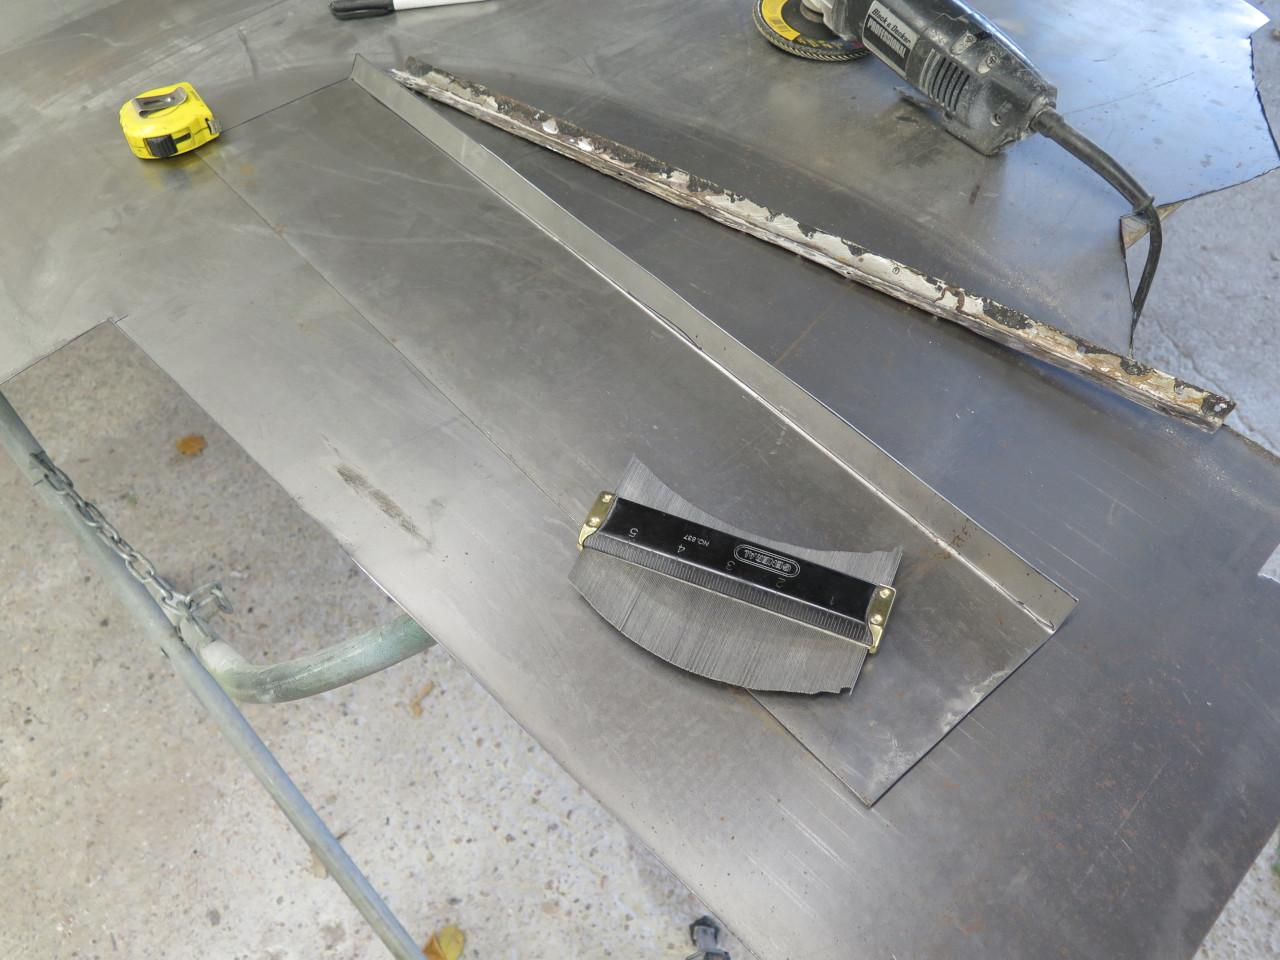
The curve was formed by hand over a suitably sized piece of sewer pipe. Checked the curve against the sill.
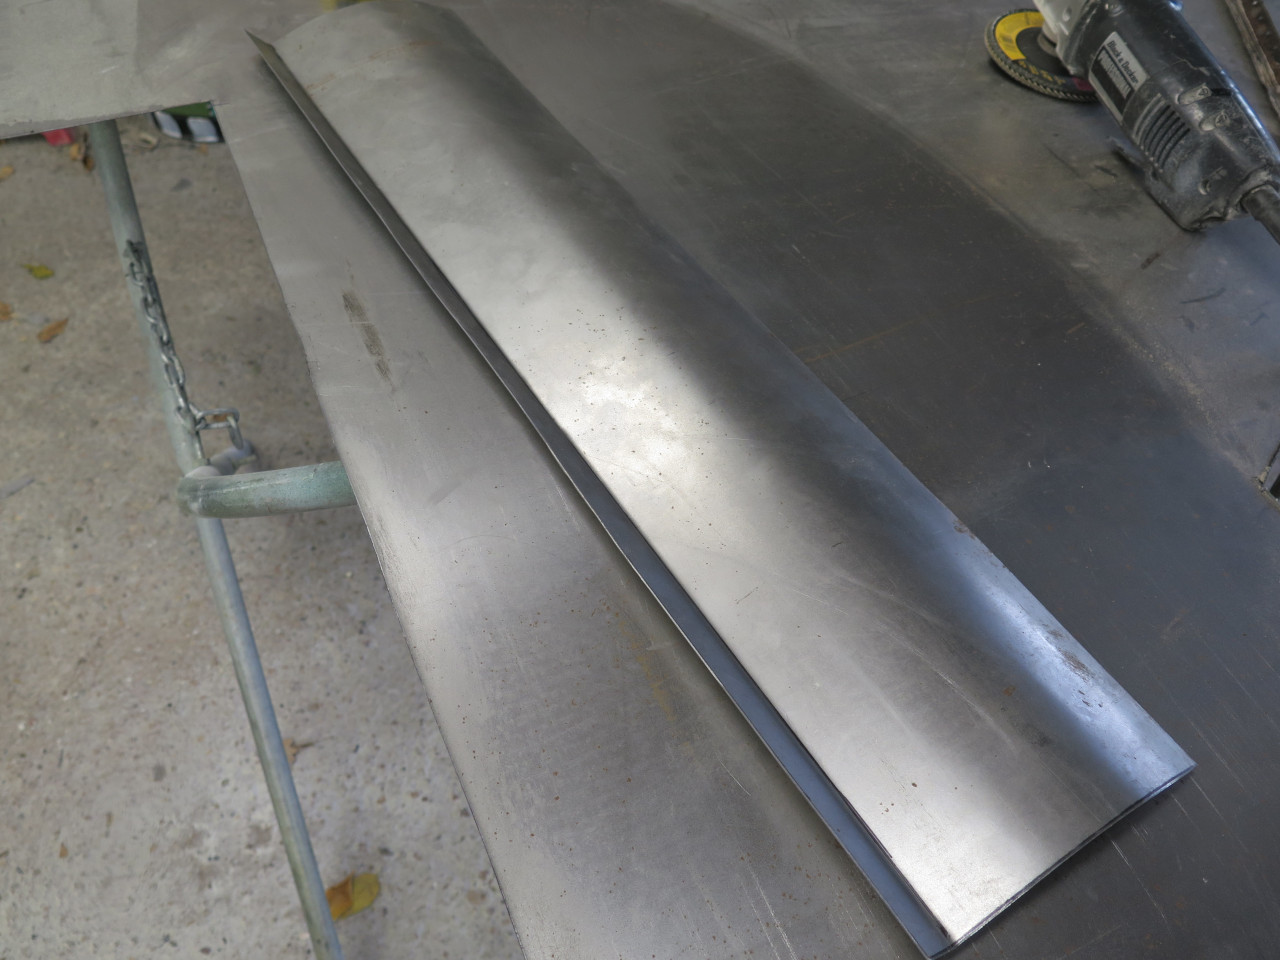
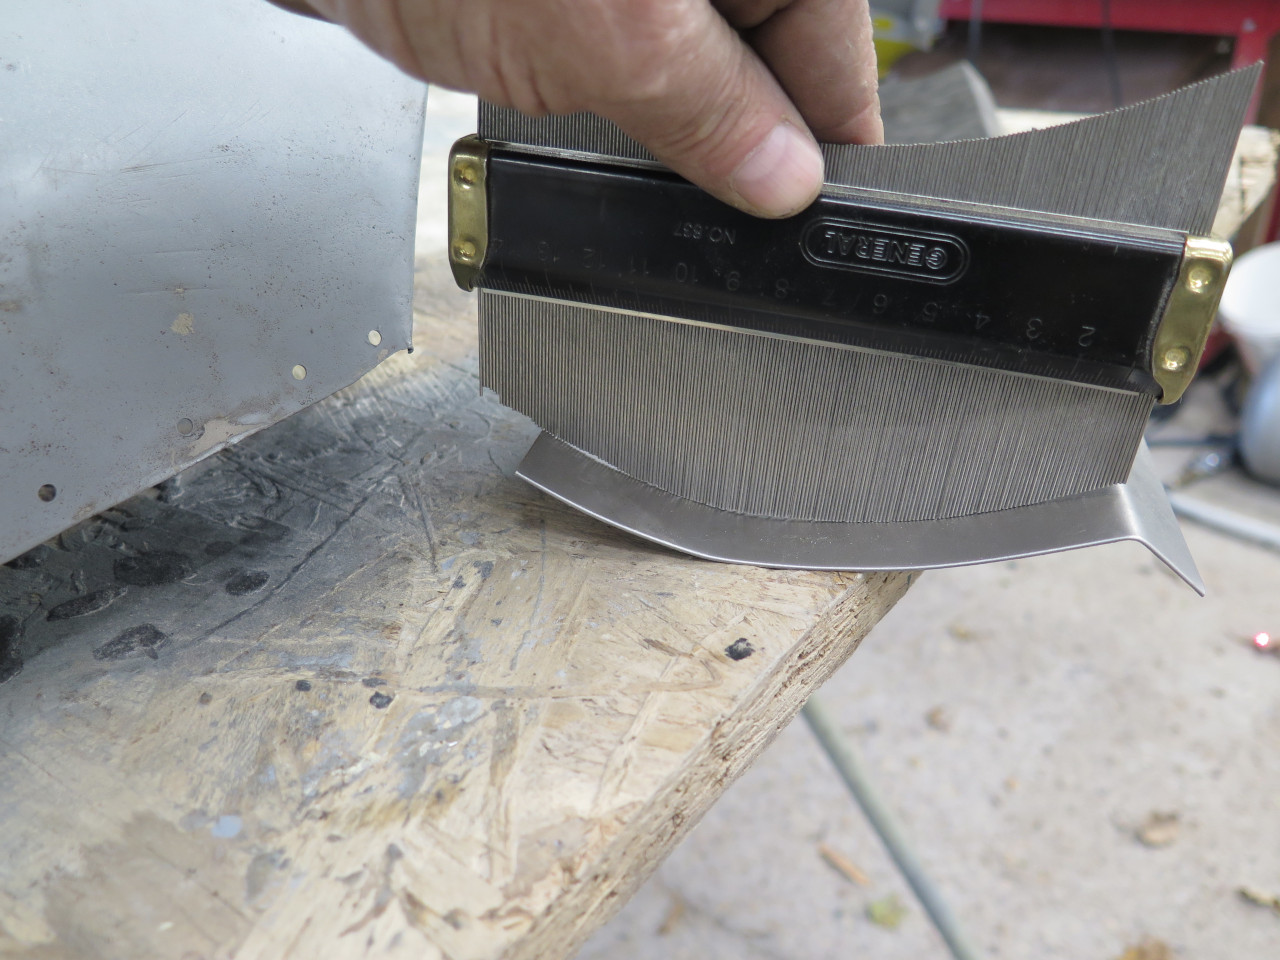
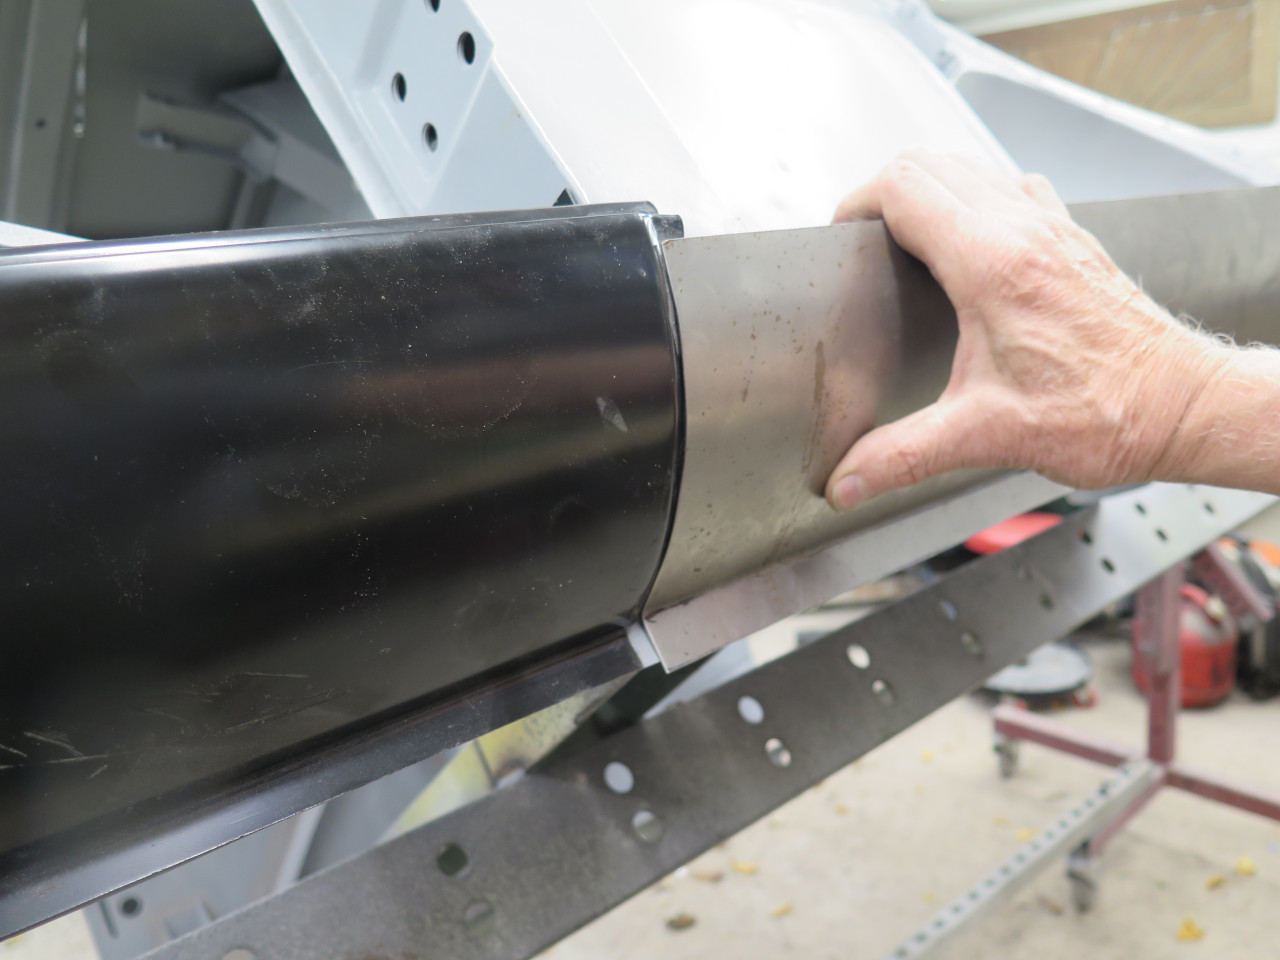
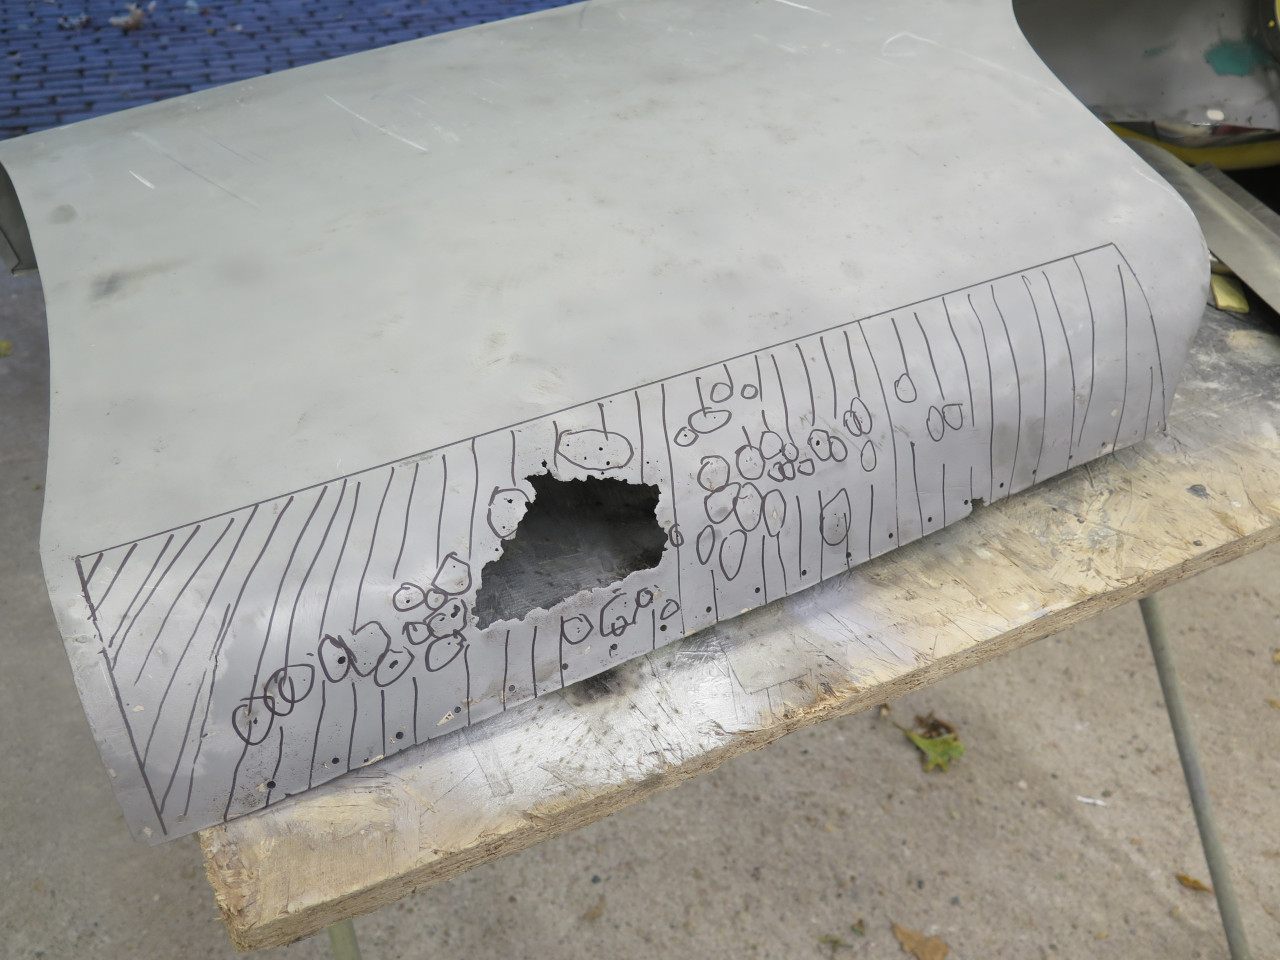
Marked for removal of the old metal. I was able to save the front
and rear extremes of the original panel. This was a good thing
since it helped establish the correct curve, and I didn't have to
re-create the curved flange a the front, or that folded over hem at the
rear.
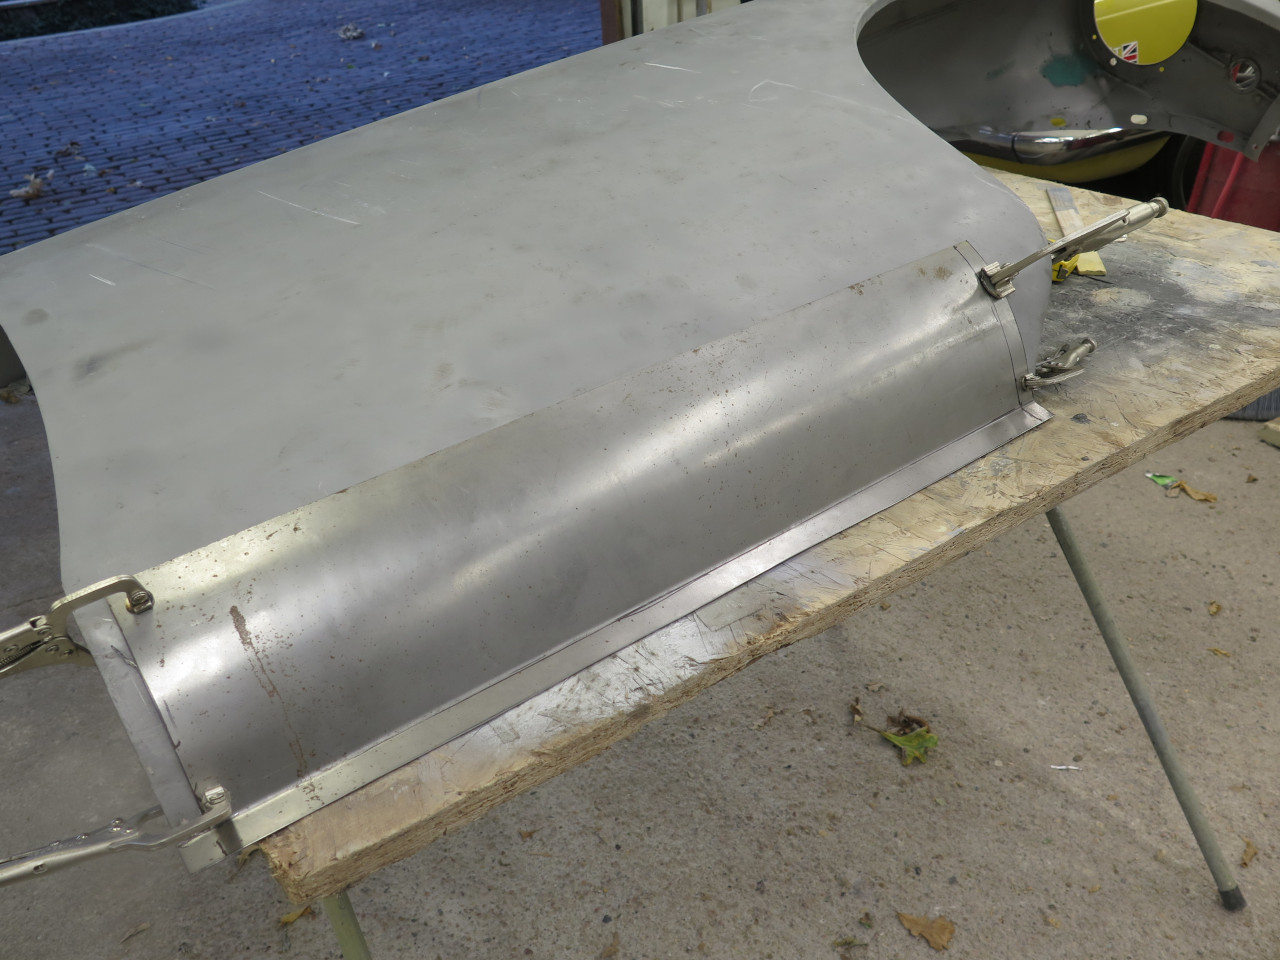
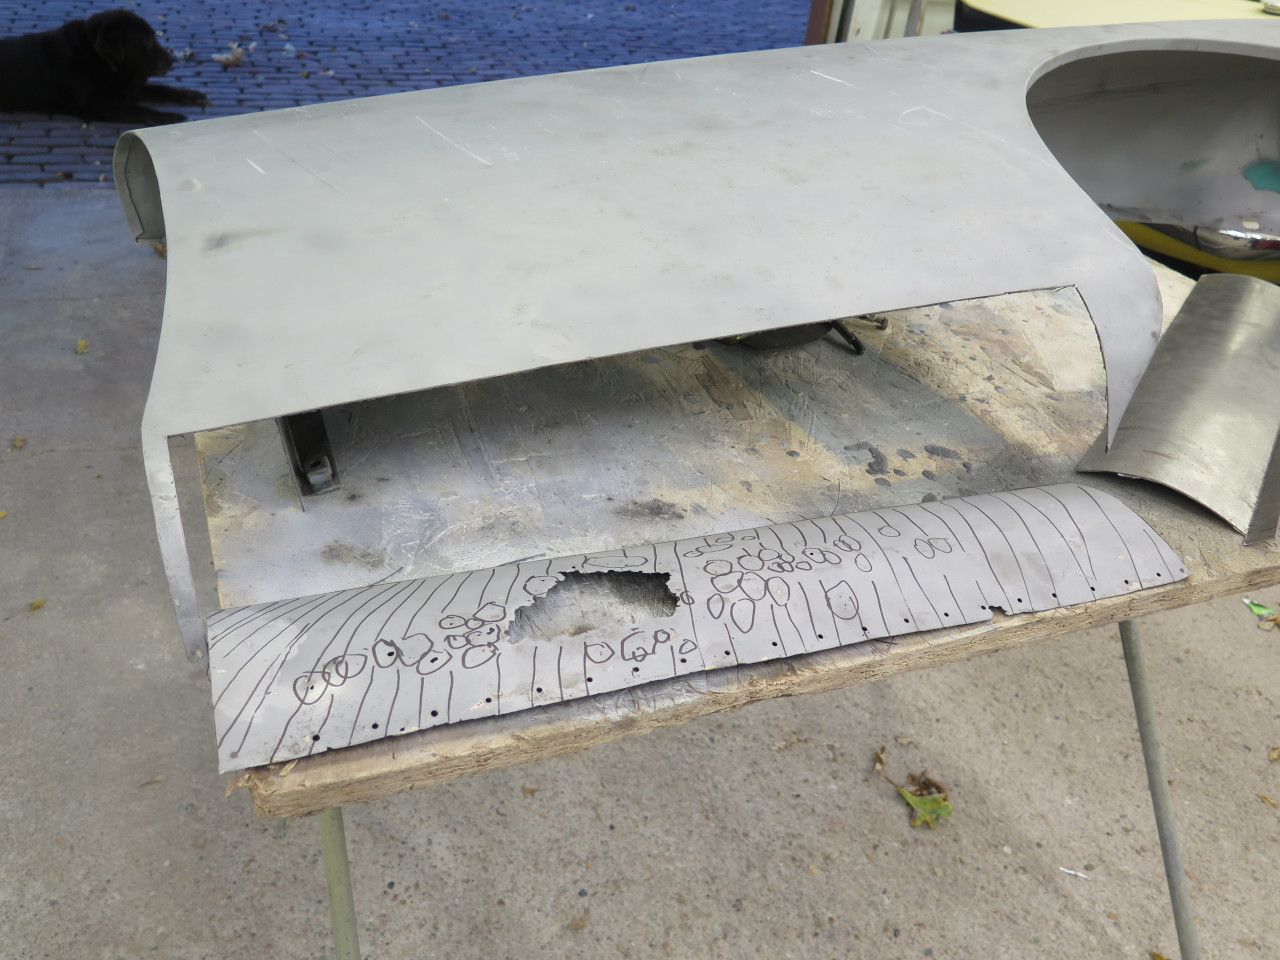
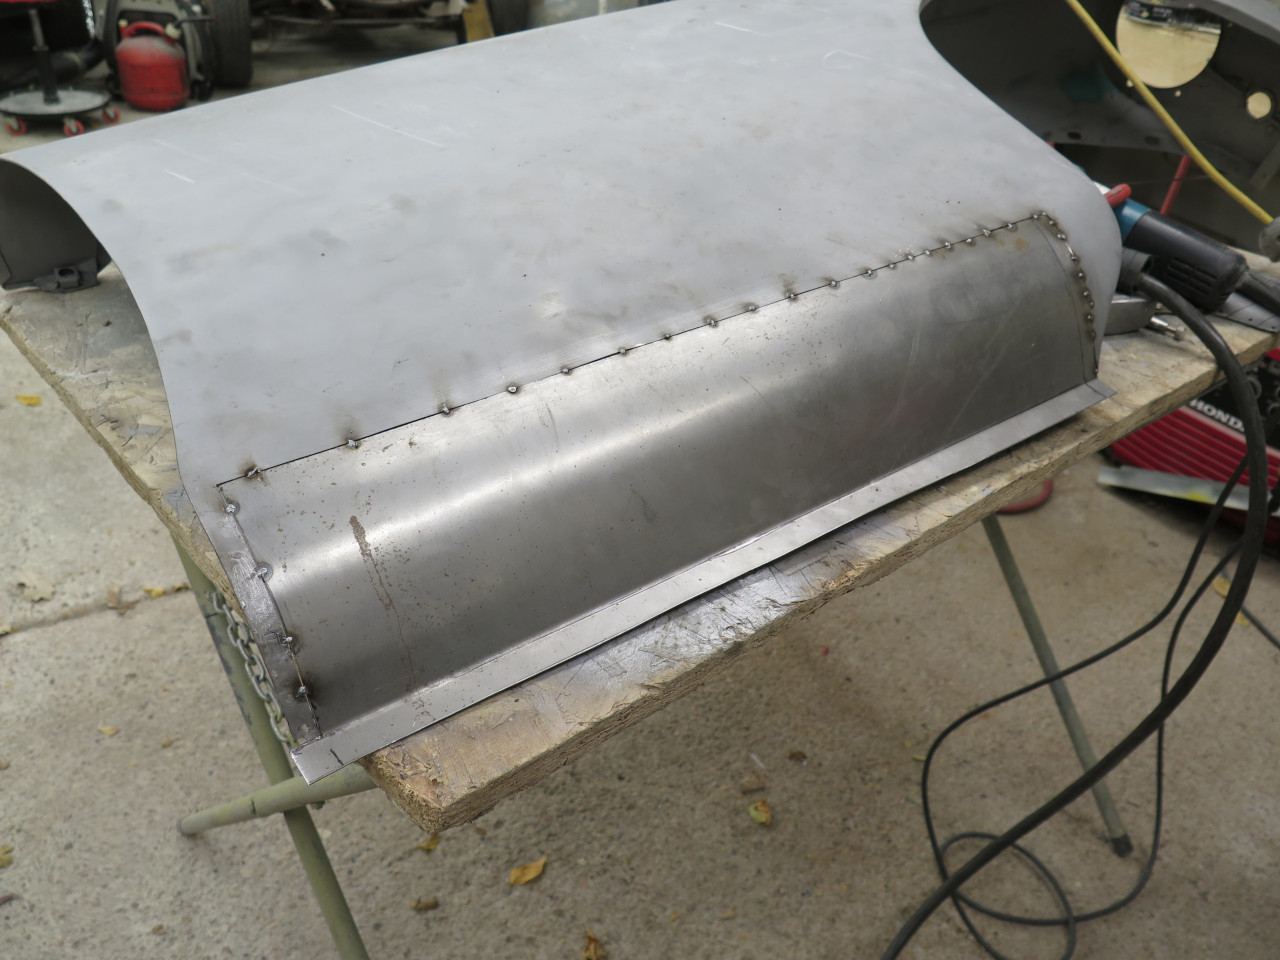
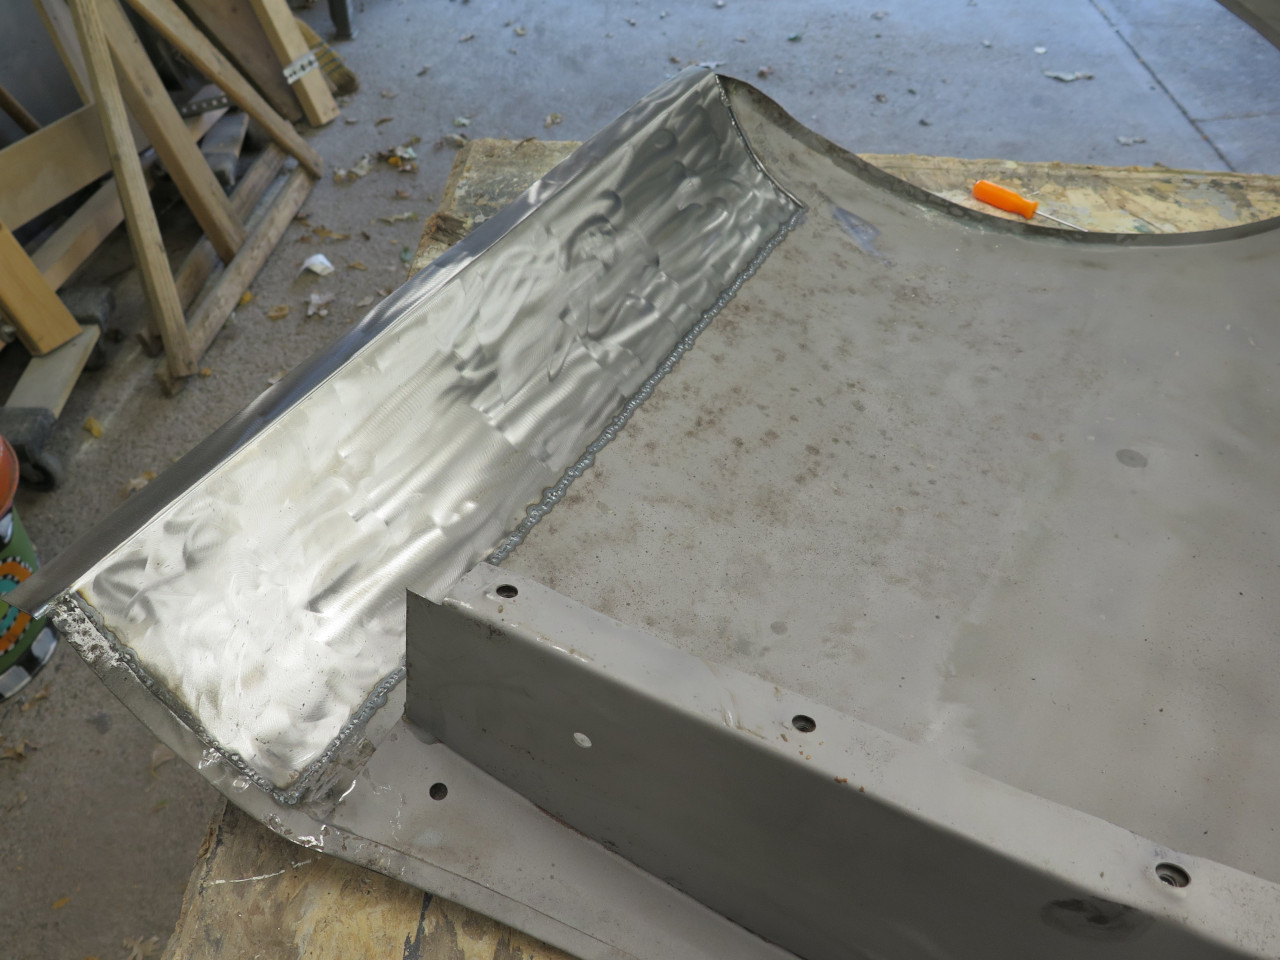
Then tacked in the patch, and welded it up.
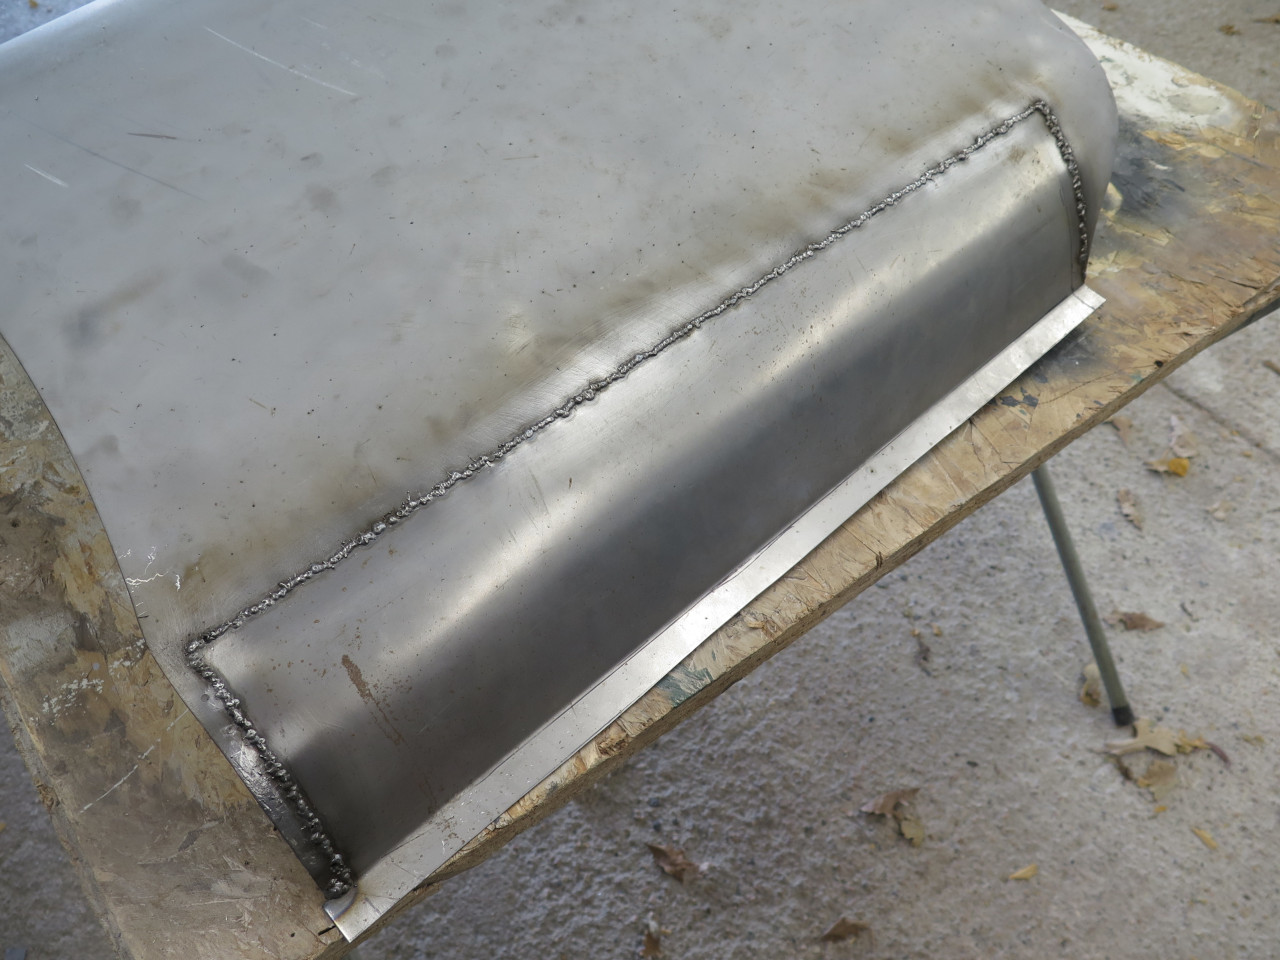
Ground the outside as well as I could, and it came out pretty OK. I
don't grind the backside. It is stronger that way, and will be
covered by undercoating anyway. I did rough up the patch for paint
though.
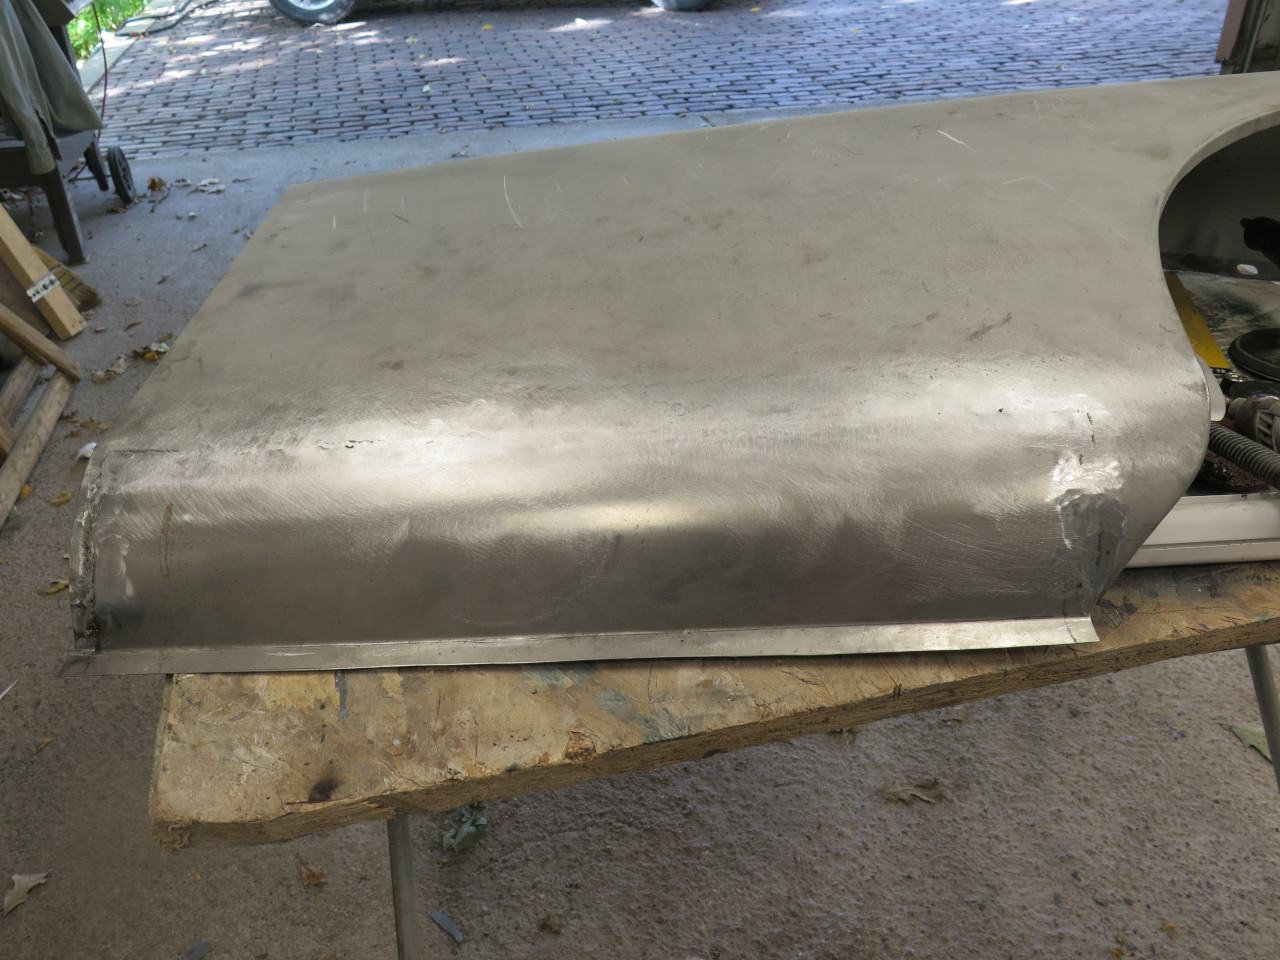
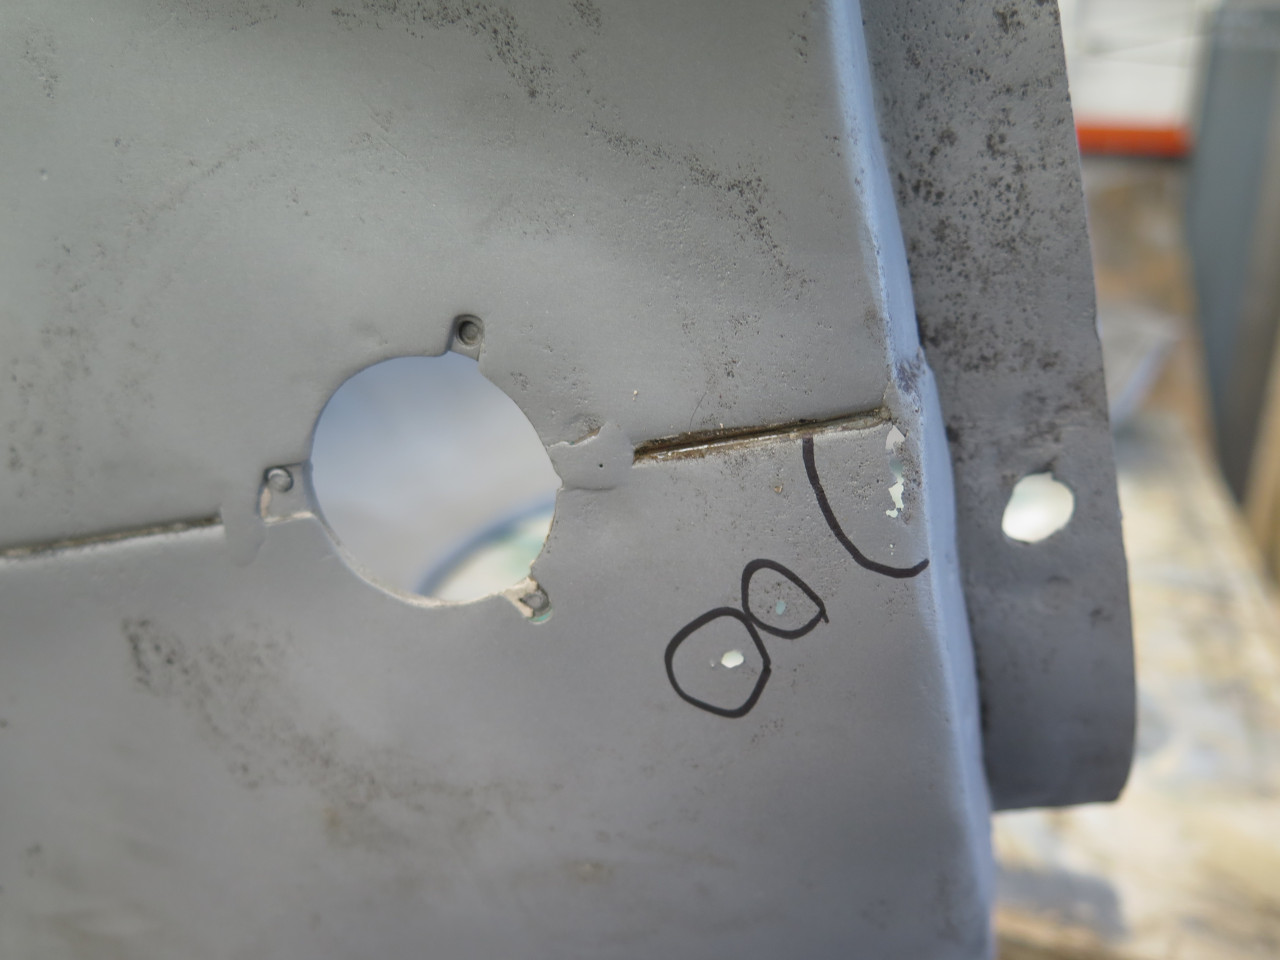
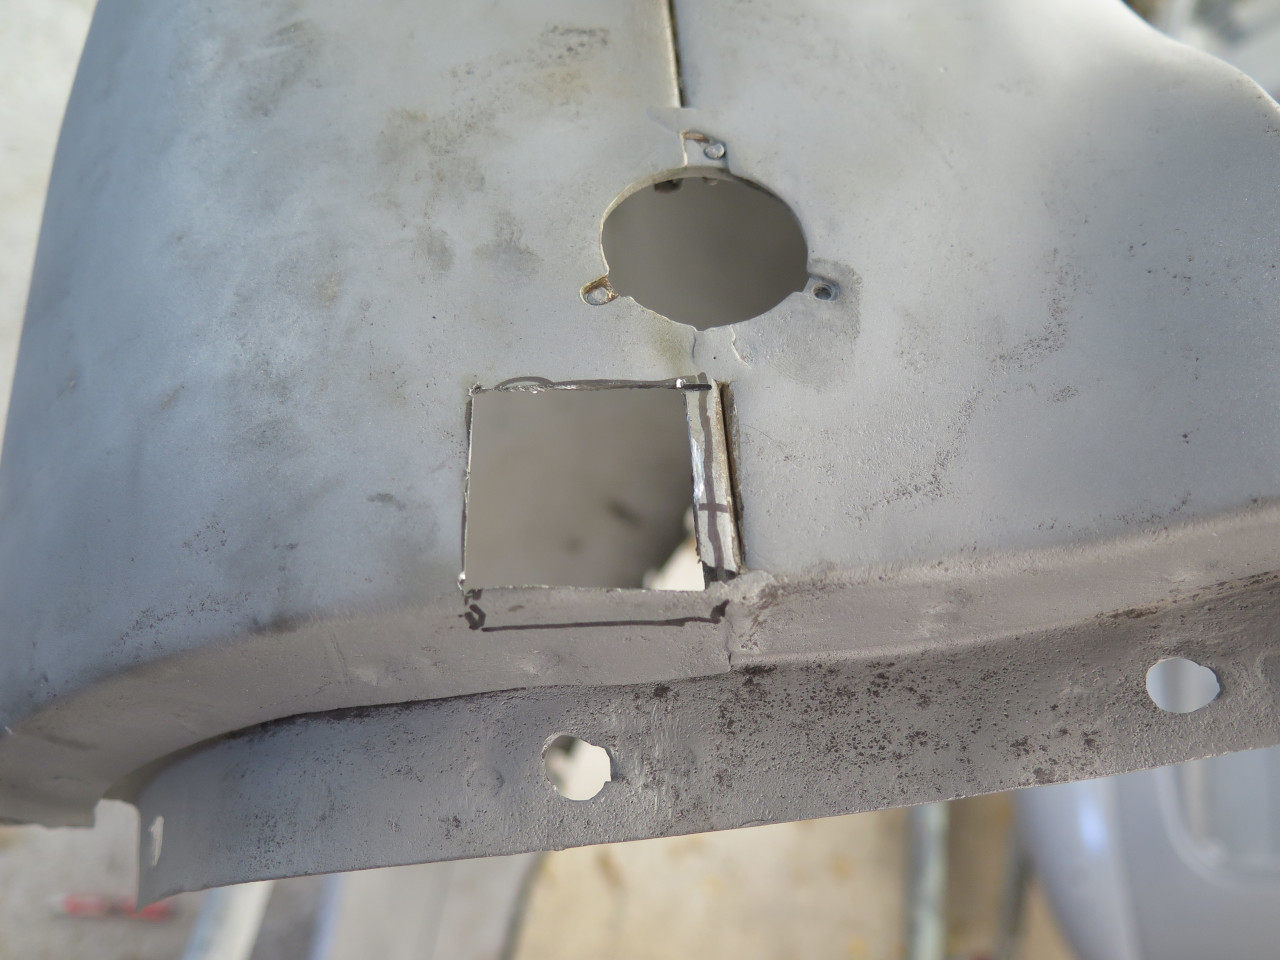
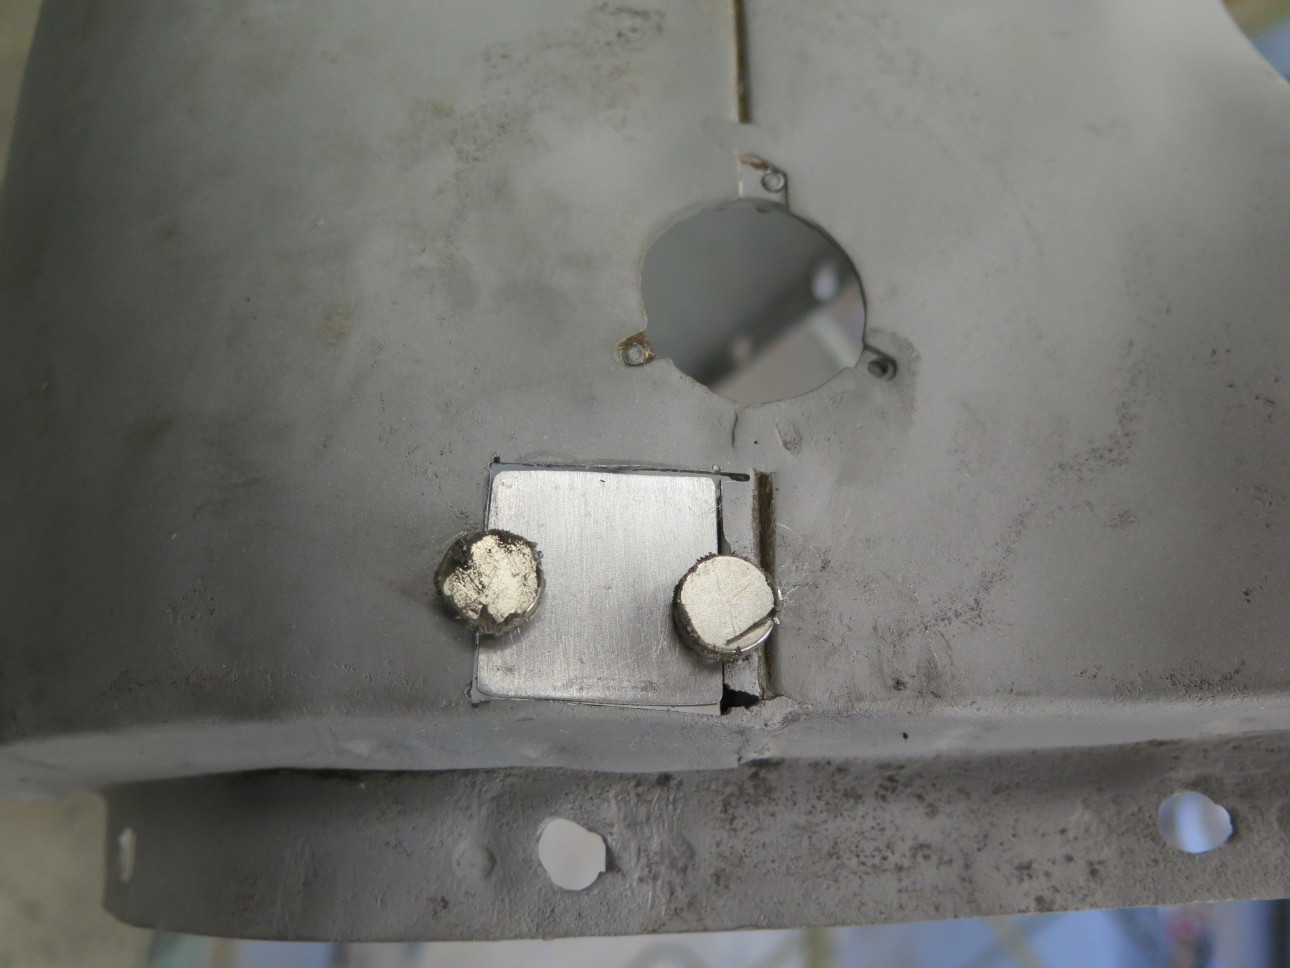
Inspection of the rest of the wing turned up a few other small repair
areas. The only one worth mentioning was some rust perforations
right below the front parking light.
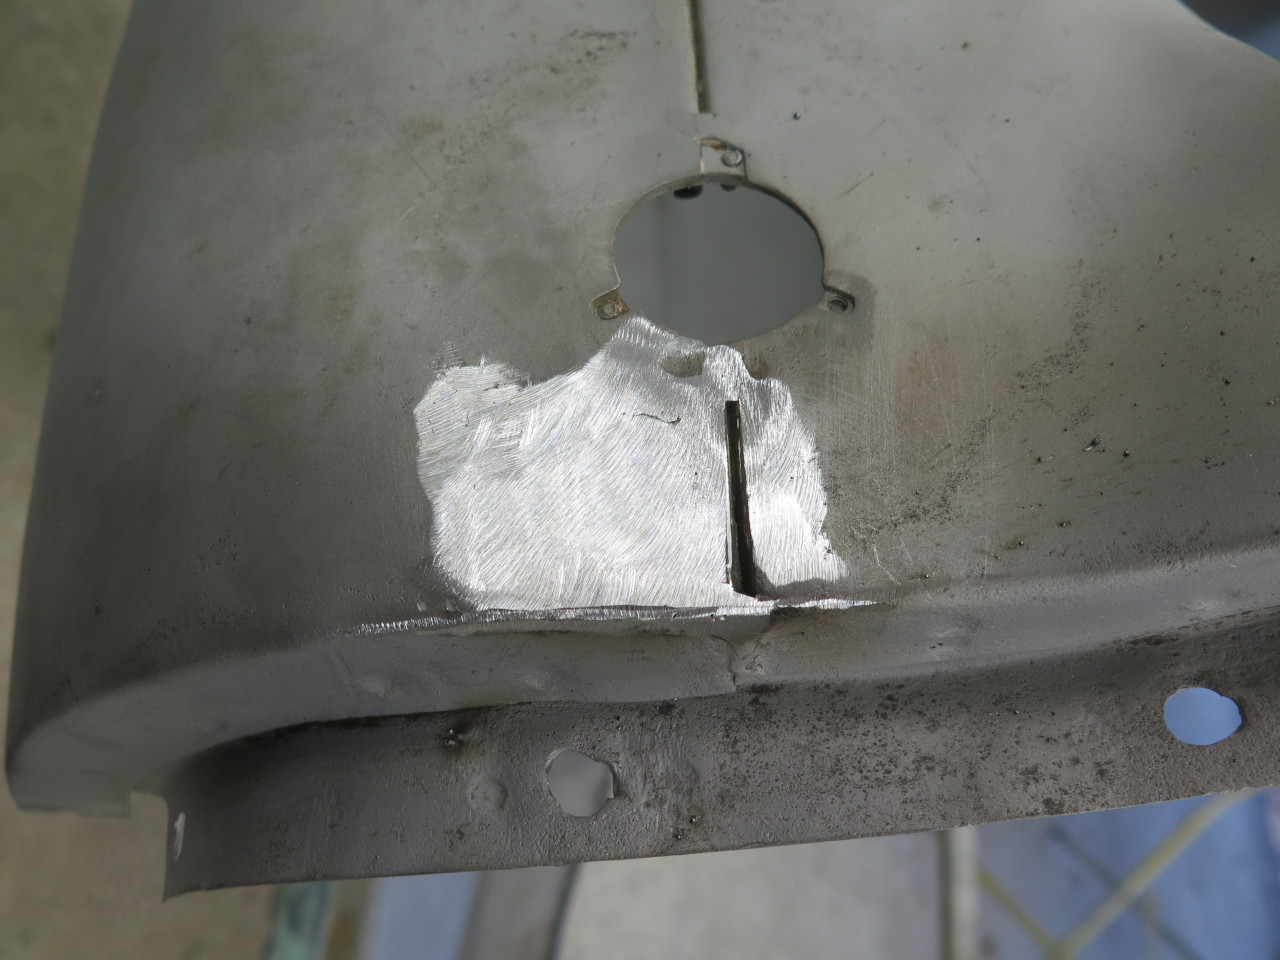
With all the welding done, I went on a search and destroy mission for
obvious irregularities I could fix with a hammer and dolly. Then, a
nice cost of epoxy primer to lock out any moisture or humidity.
This emphasized a few more opportunities for hammer work.
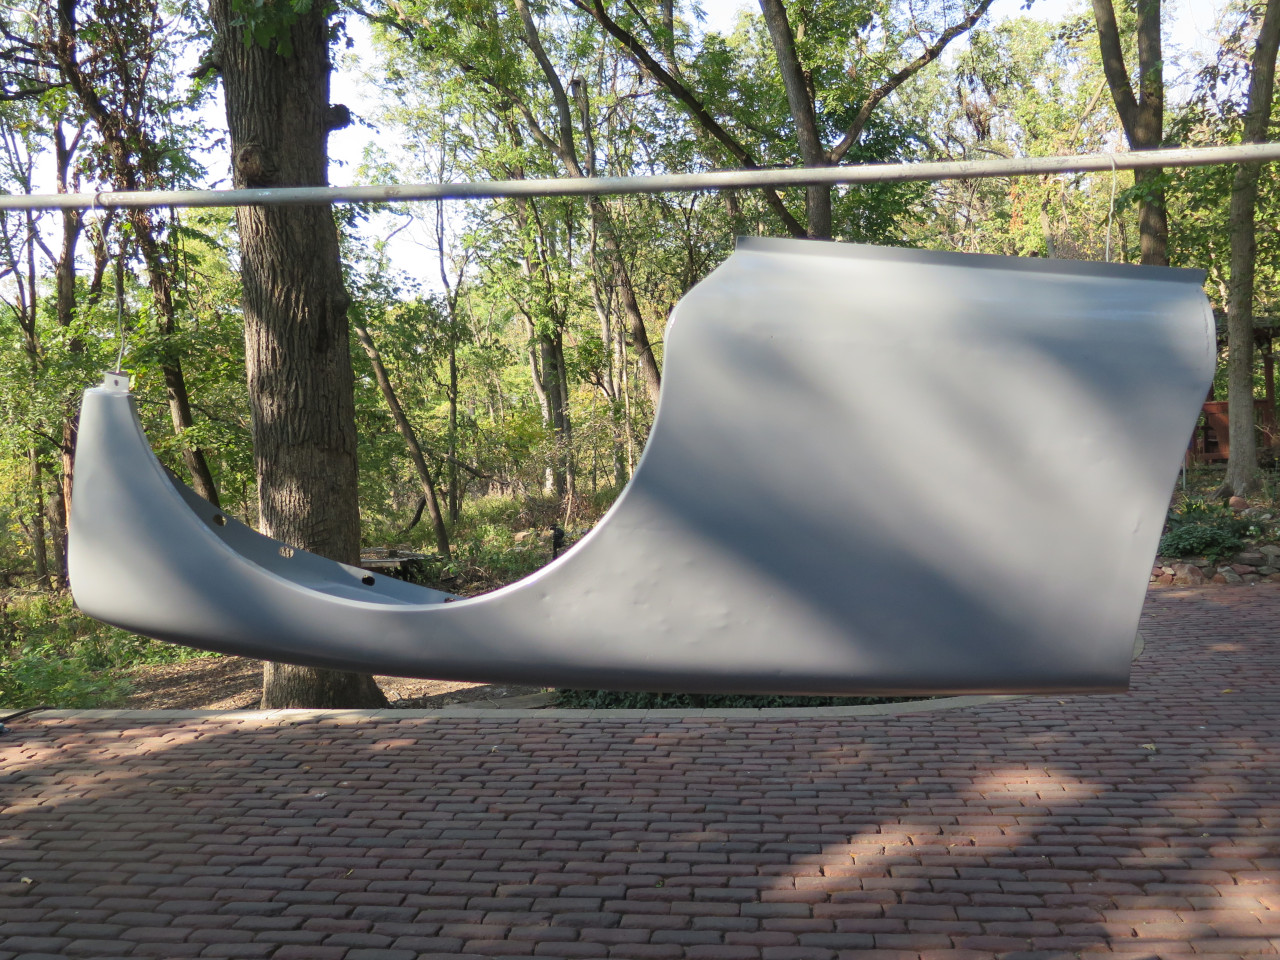
I then spent a number of pleasurable hours on several iterations
of applying a filler, waiting for it to cure, sanding most of it off,
sweeping it up, and throwing it away.. There were some very broad
low areas, but the filler is very thin.
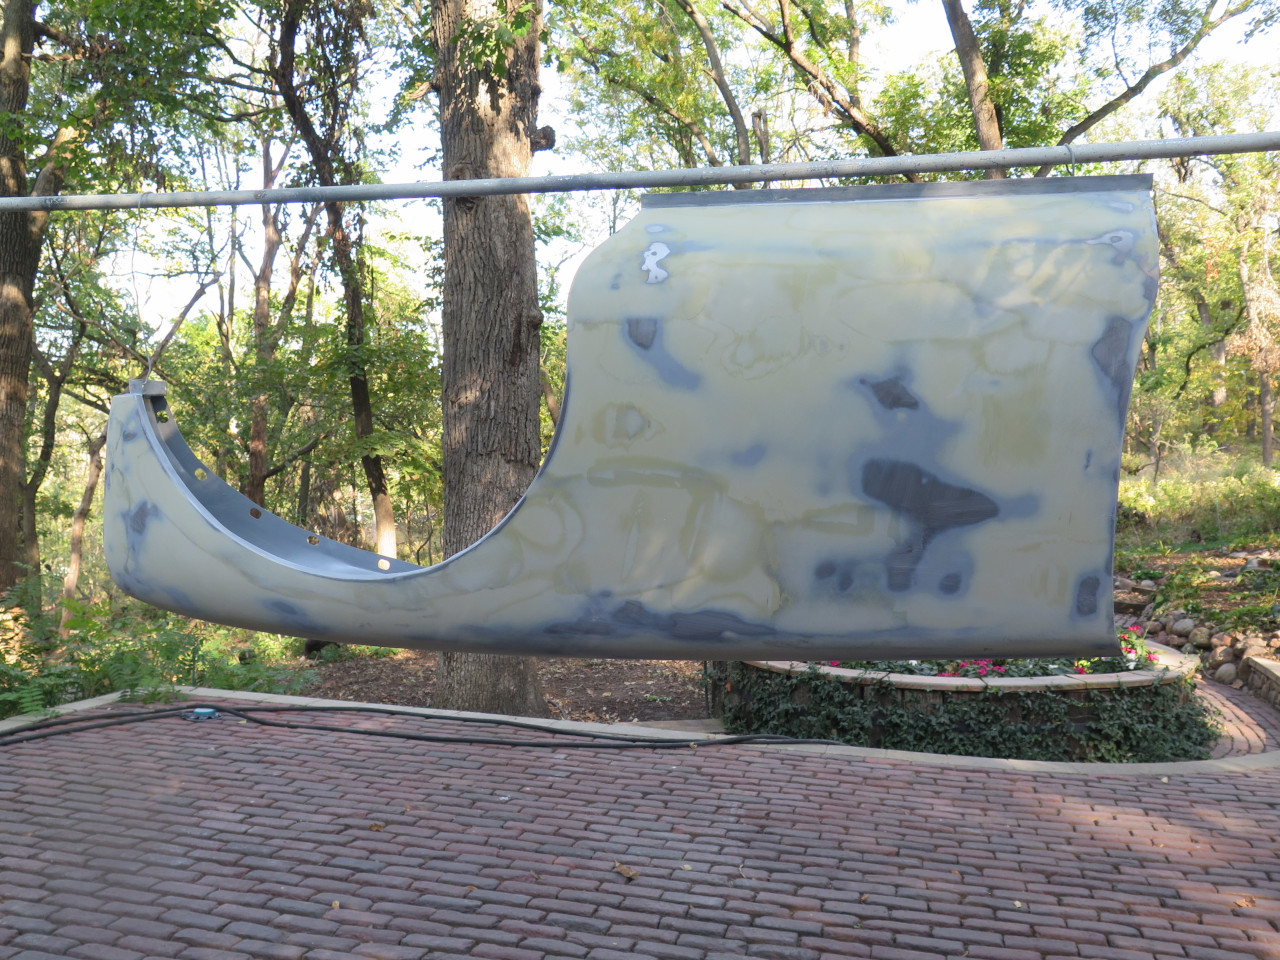
Then, since some bare metal was exposed, another coat of epoxy.
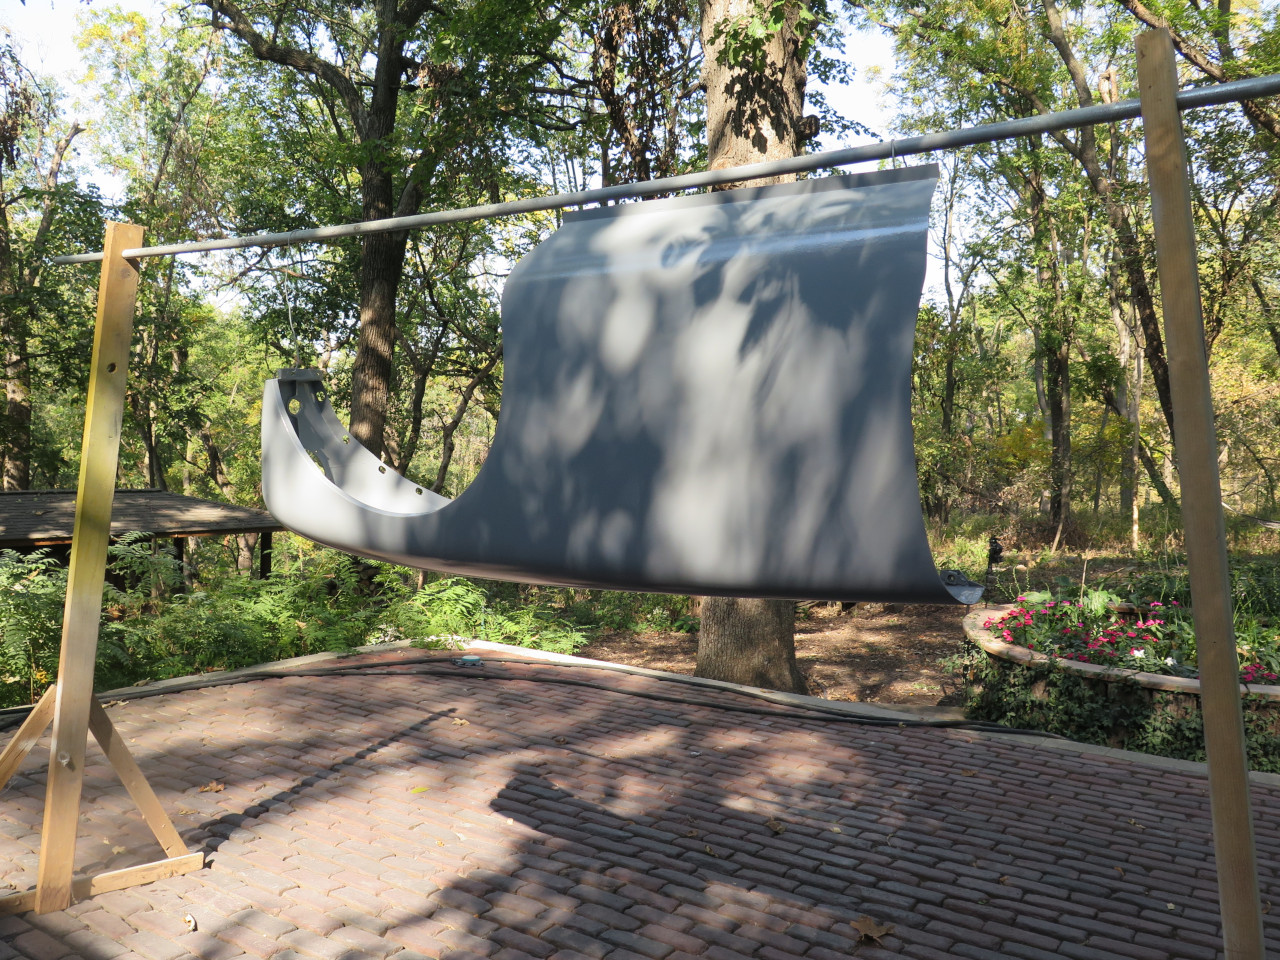
The drivers' side wing required an almost identical patch for the lower
flange area. But it also apparently had experienced some past
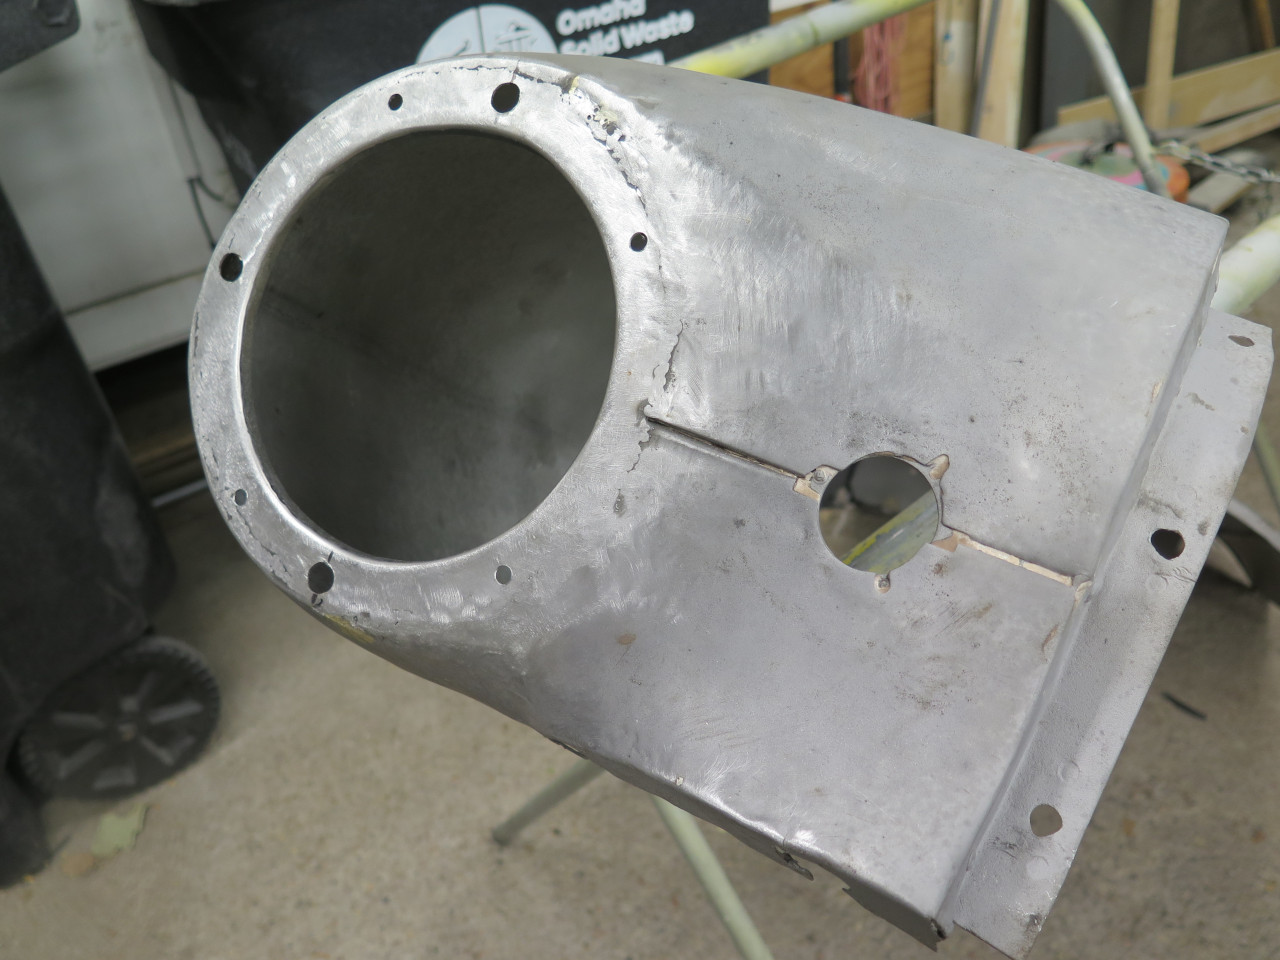
violence to the headlight region. The accident dated to before my
ownership, but the repair was mine. This is what it looked like
from the inside, before and after blasting. I had brazed some torn
metal, and installed a segmented backup ring behind the headlight
mounting surface.
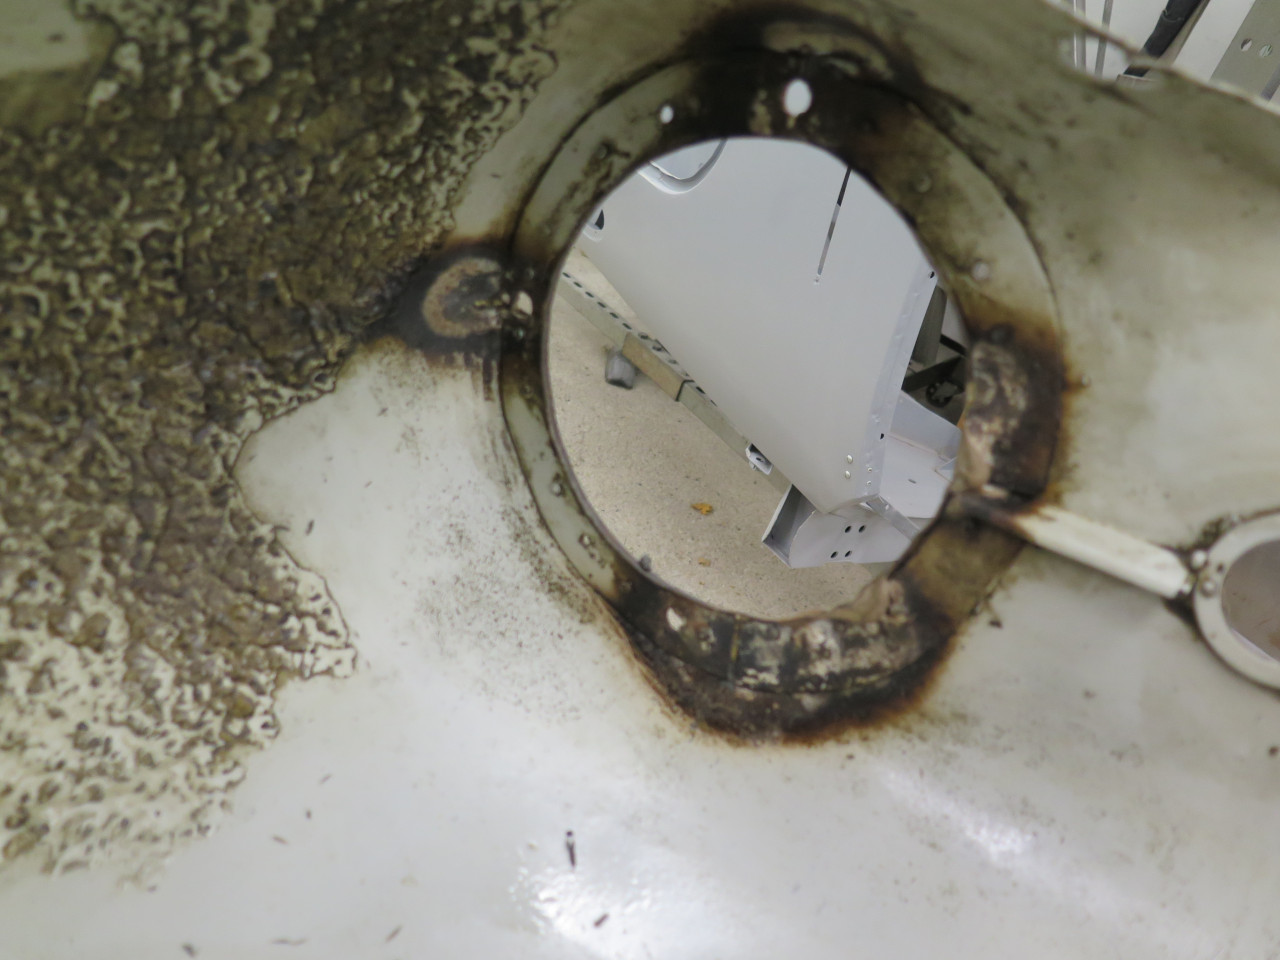
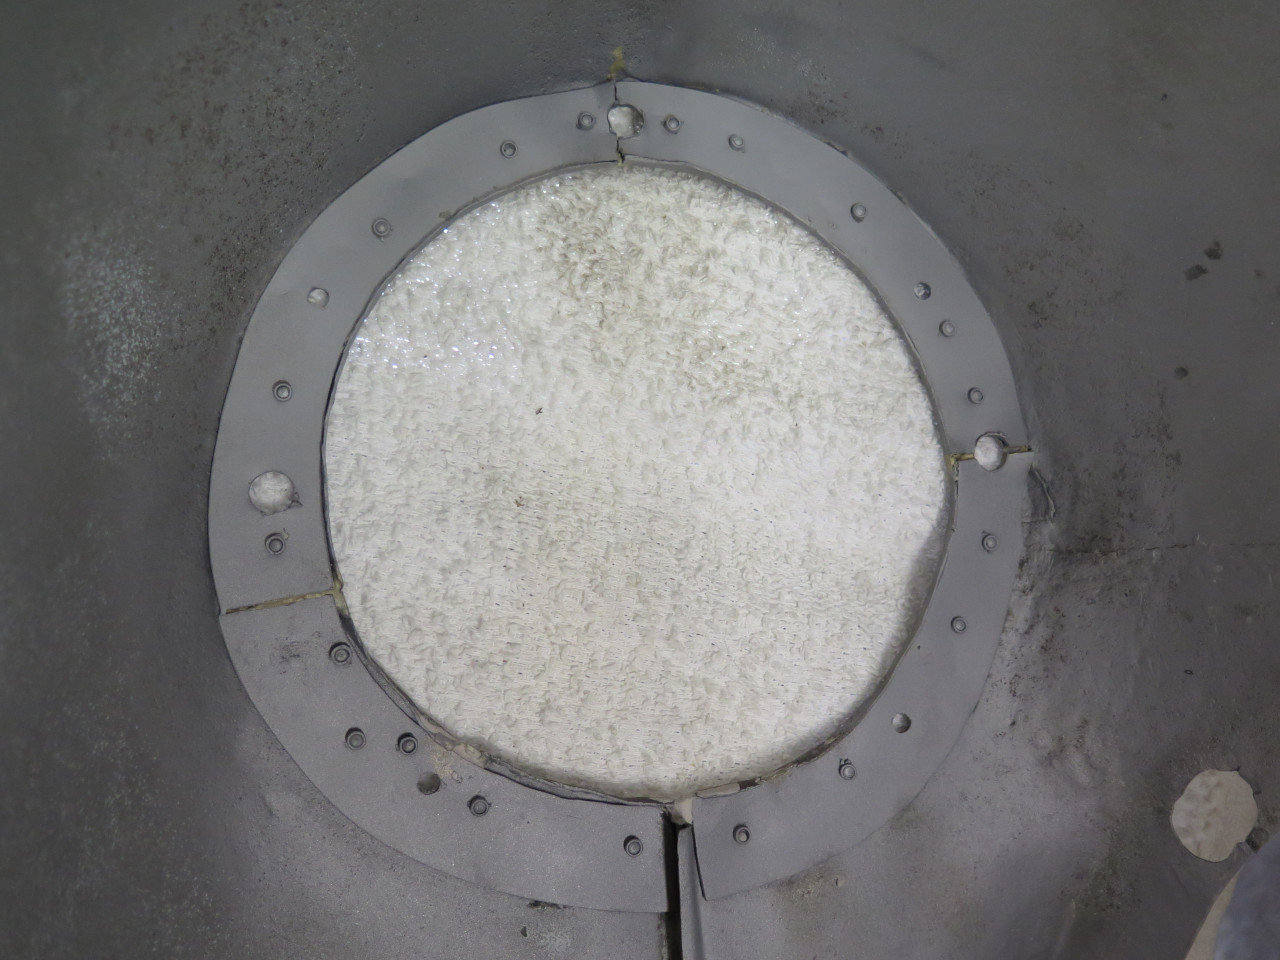
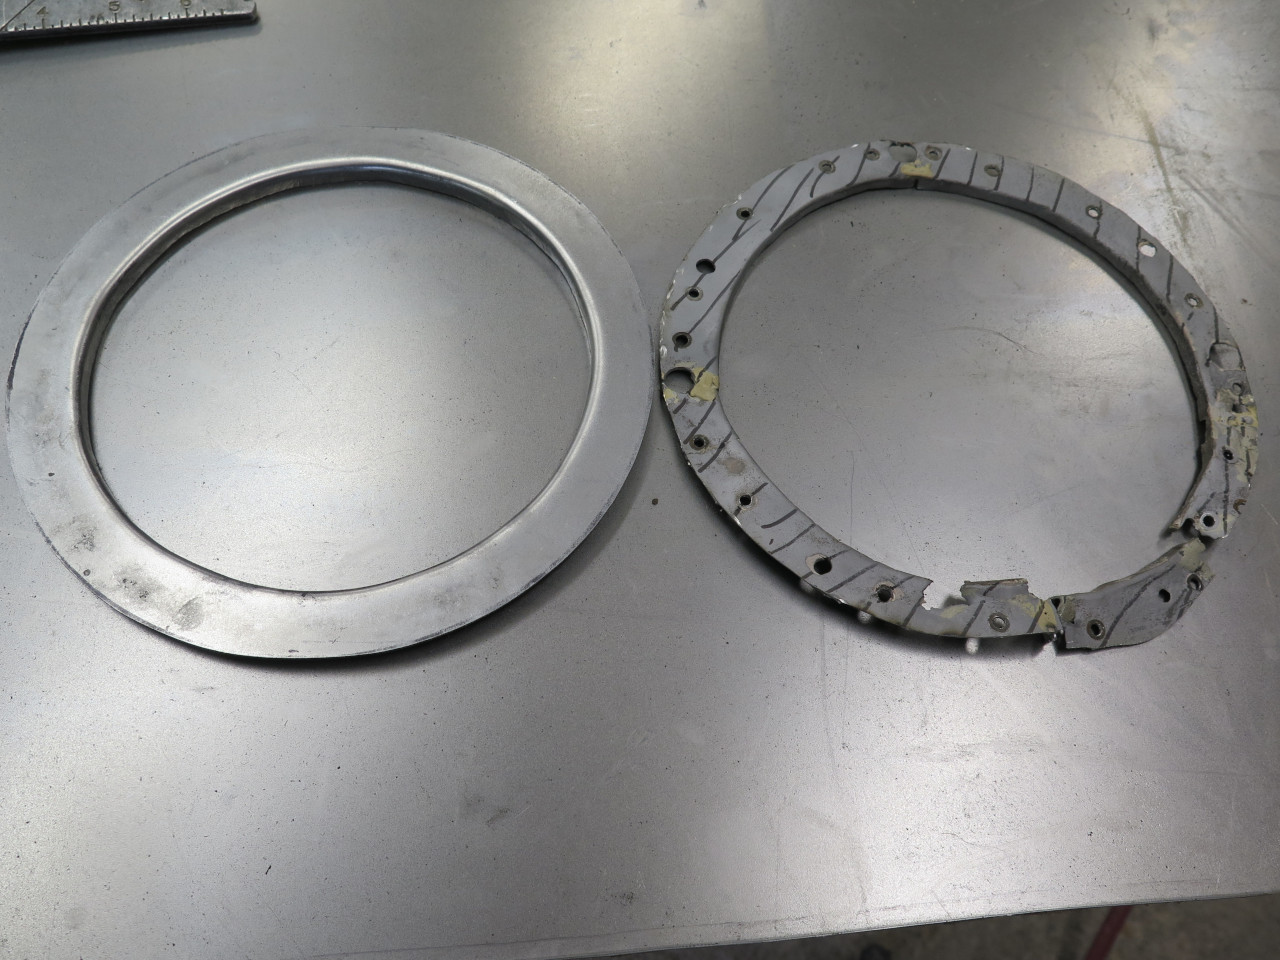
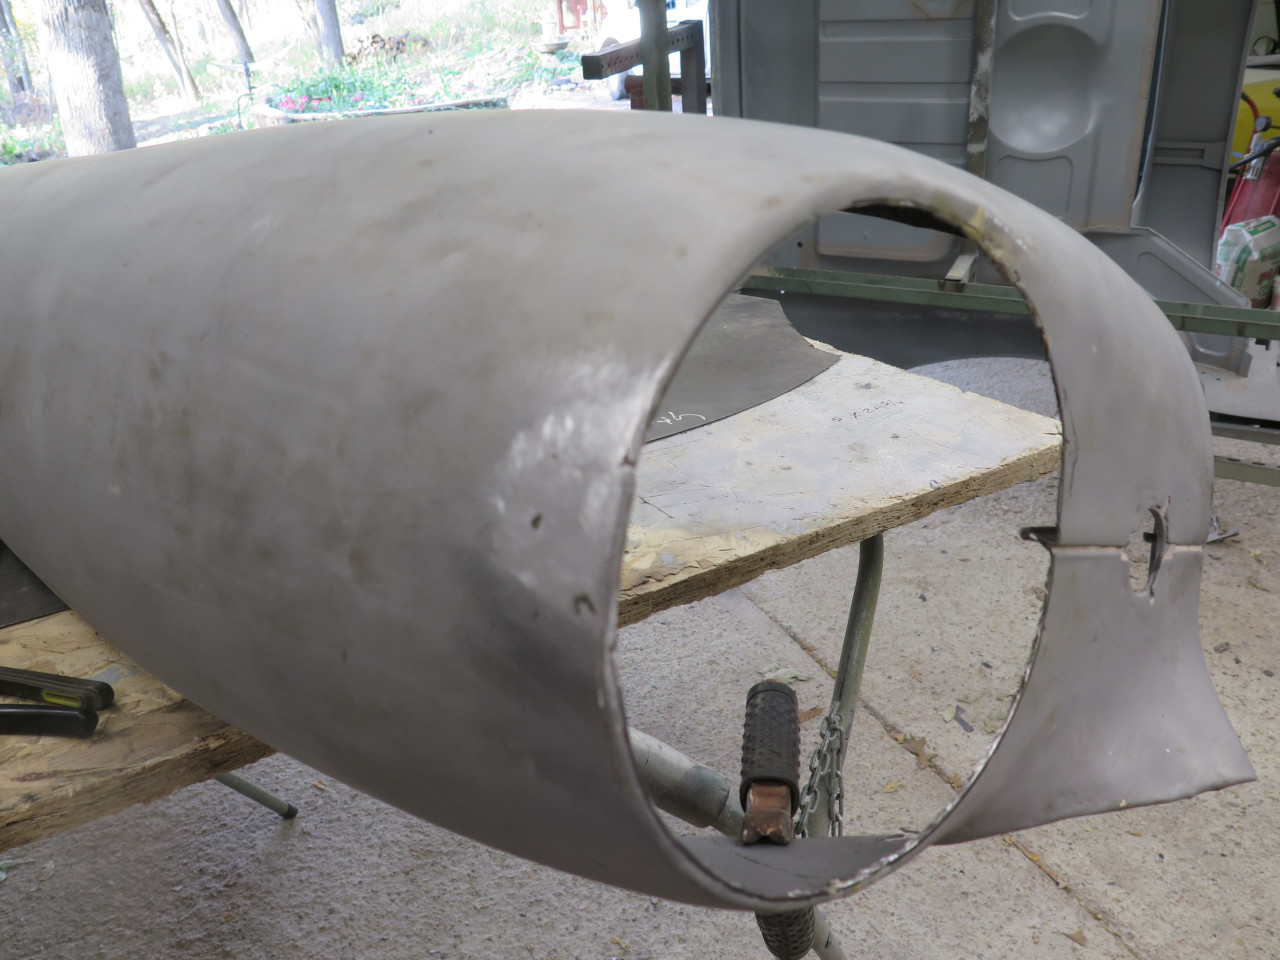
I removed the backup pieces, and assessed what remained.
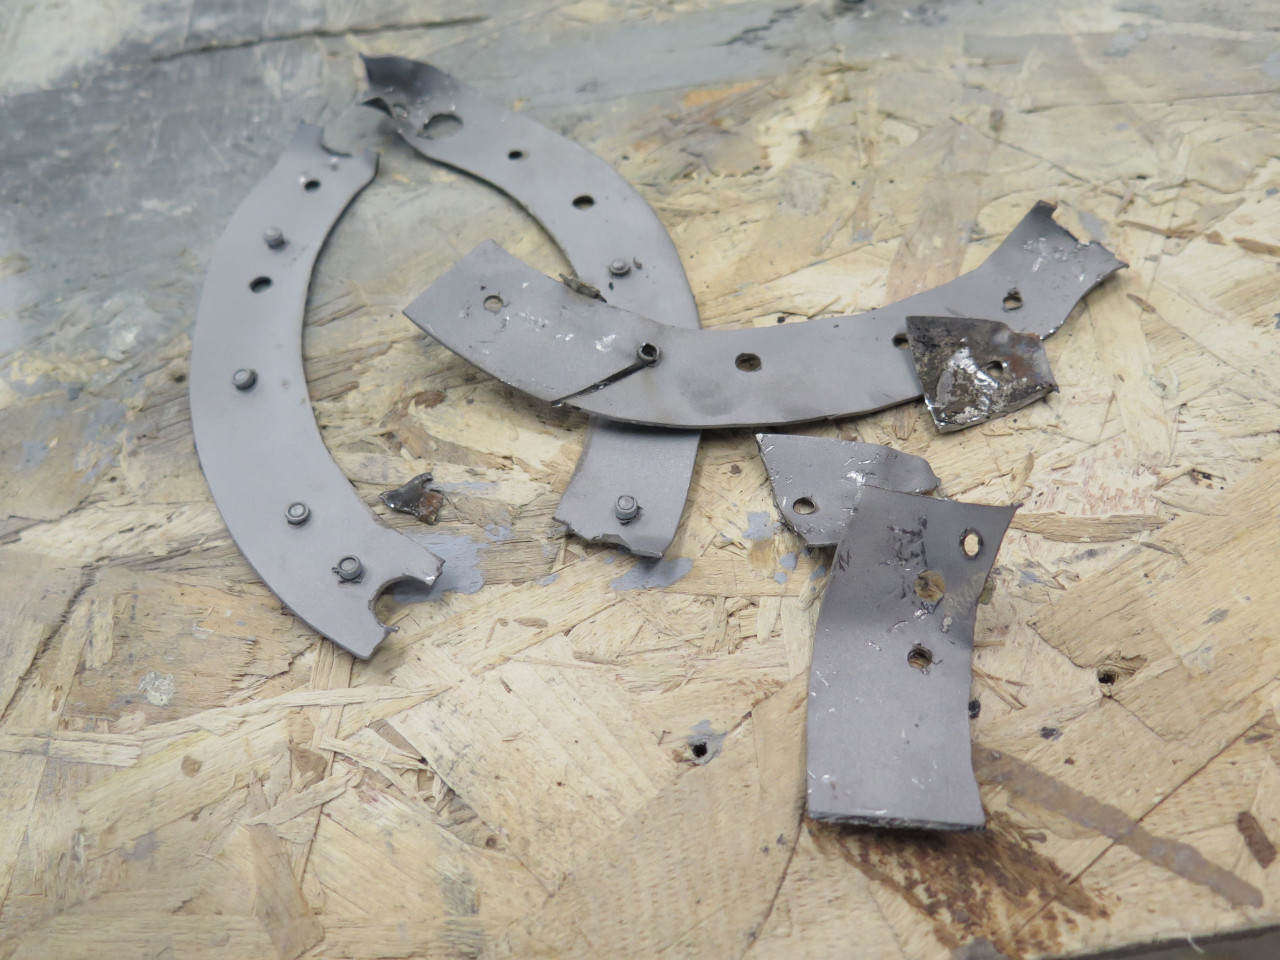
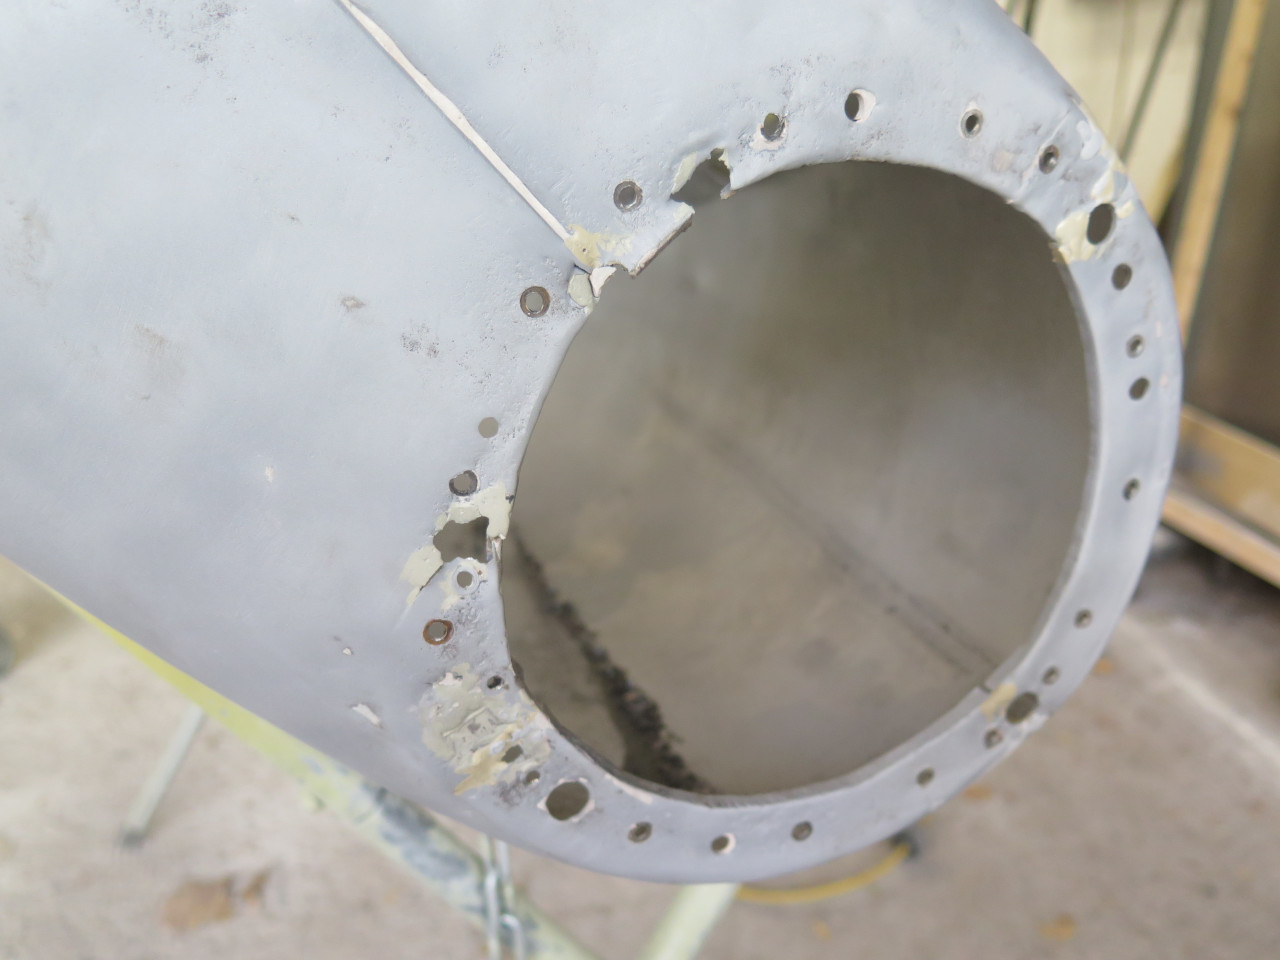
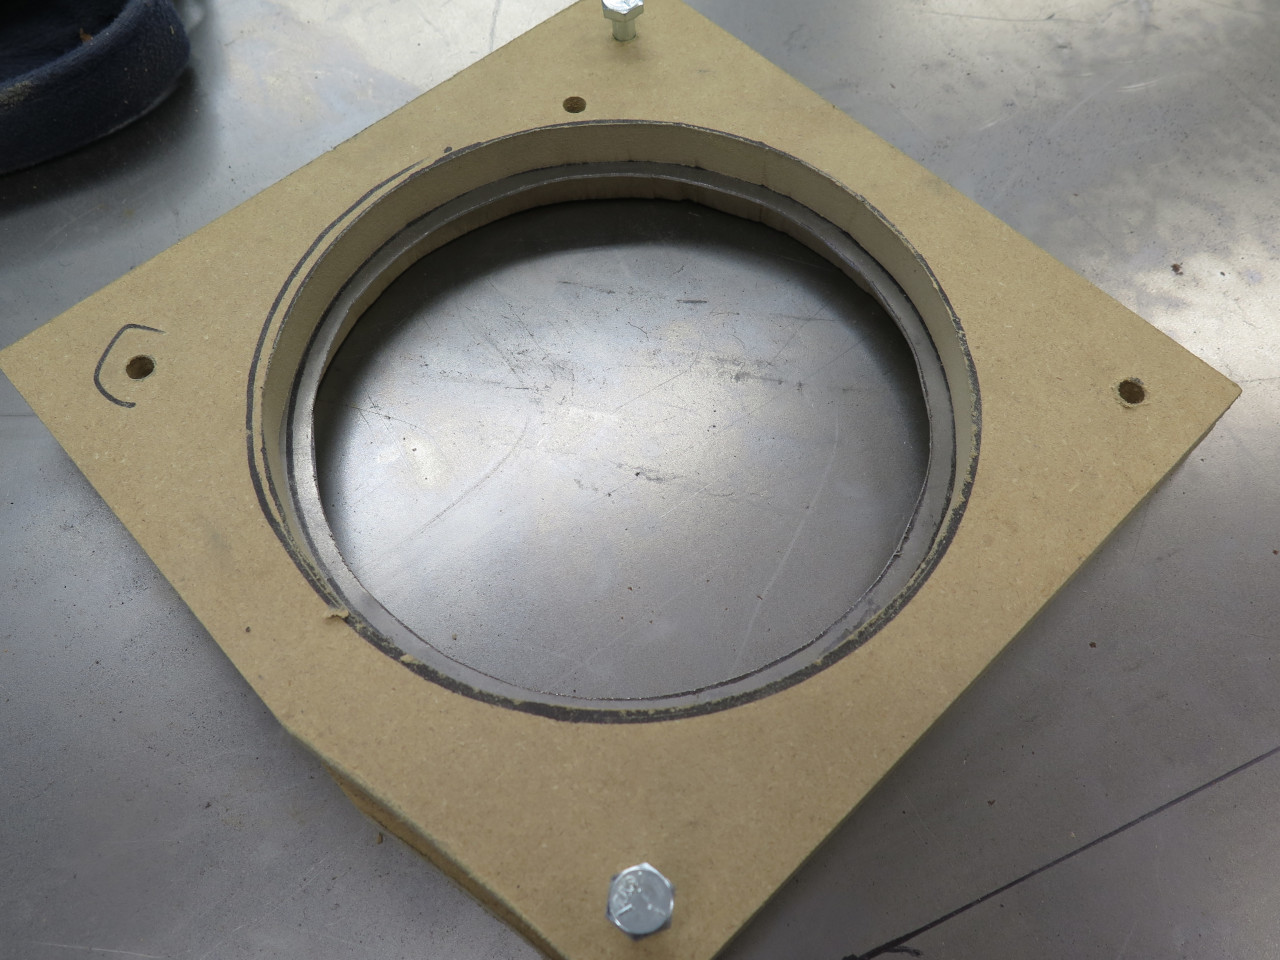
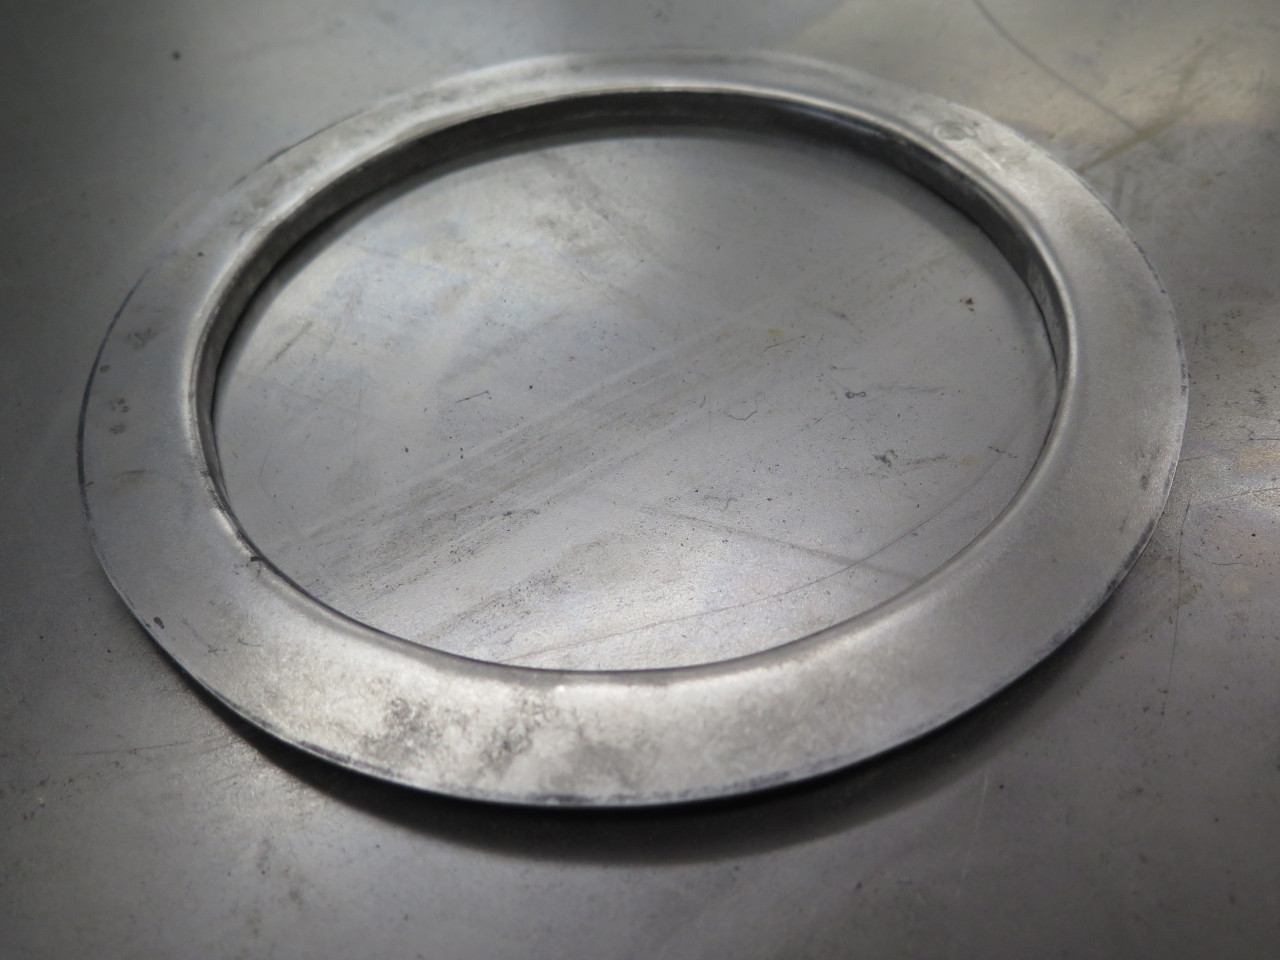
I decided to make a new headlight mounting face.
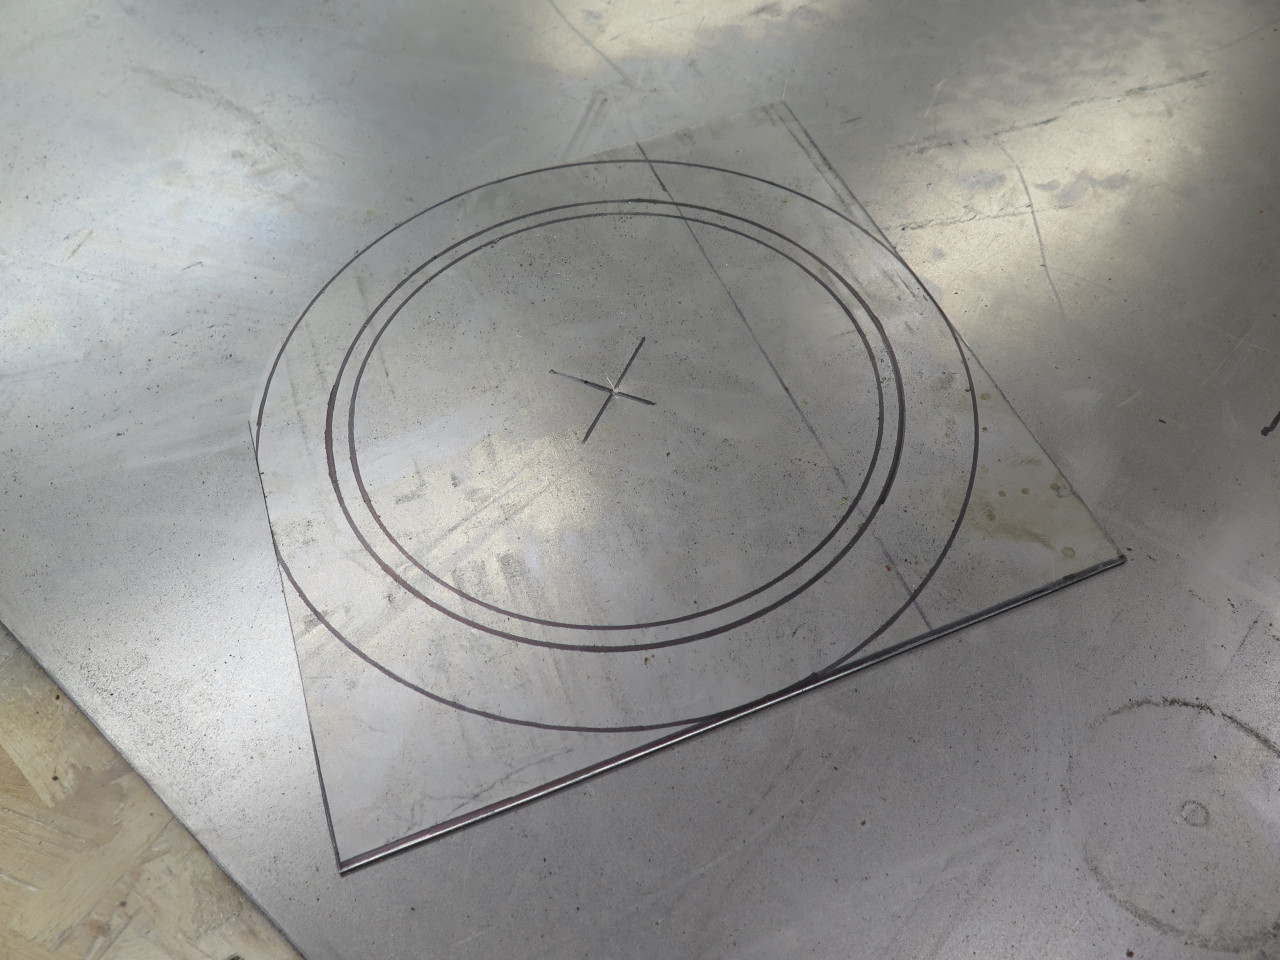
A pair of MDF bucks helped to form the stiffening flange on the inner perimeter.
Cut away the ugly piece.
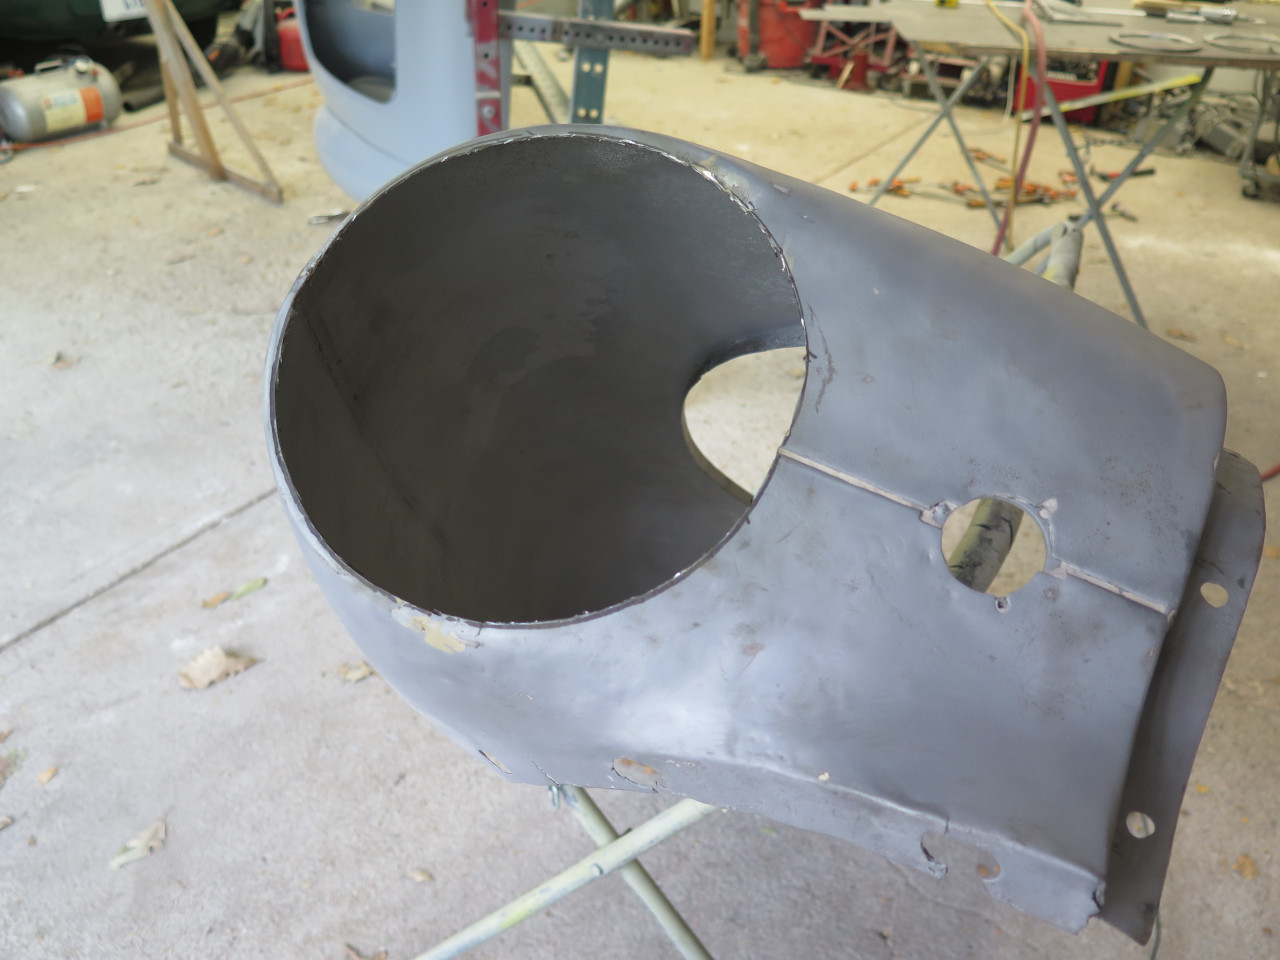
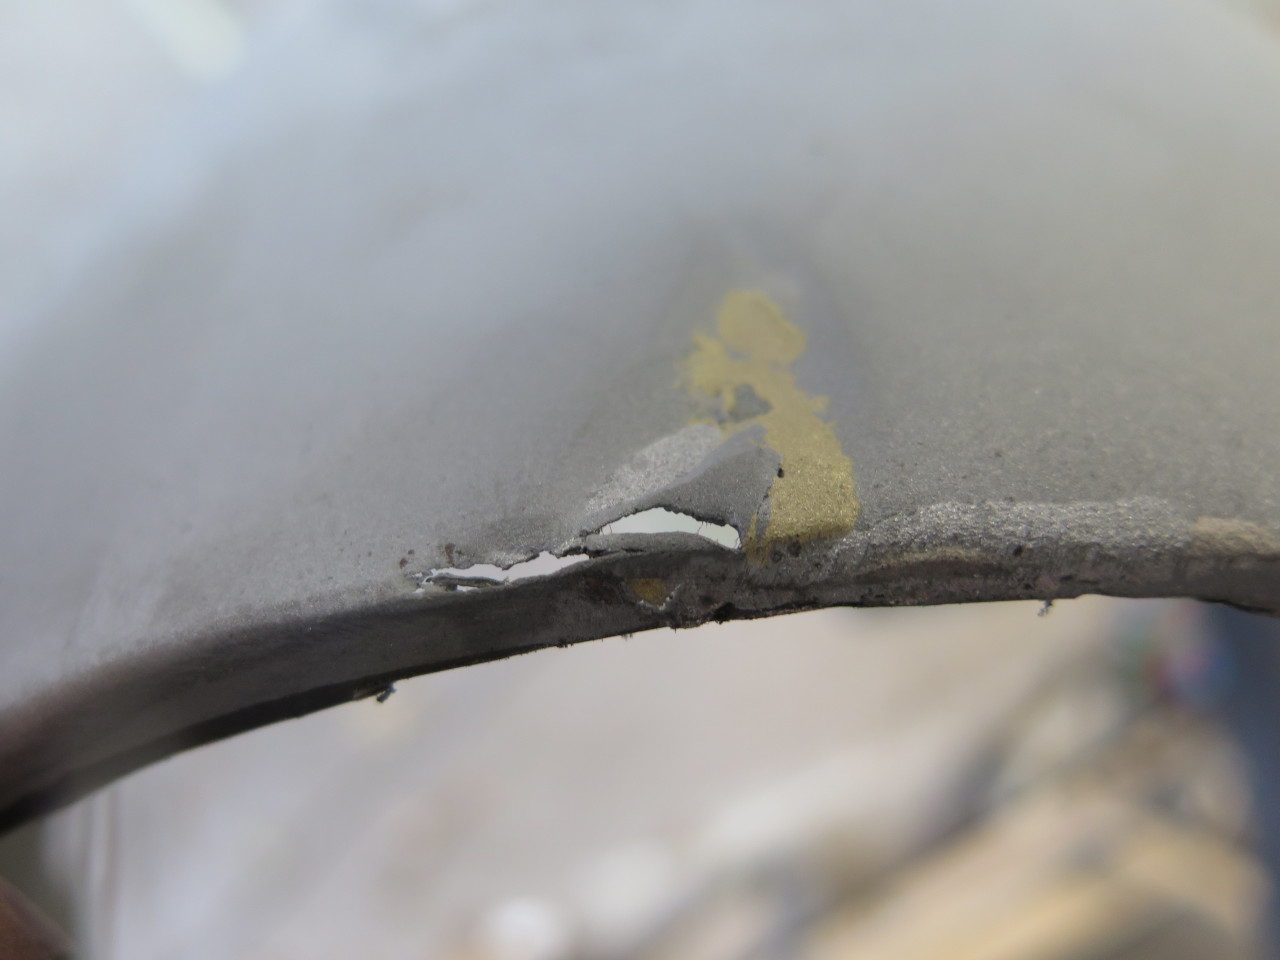
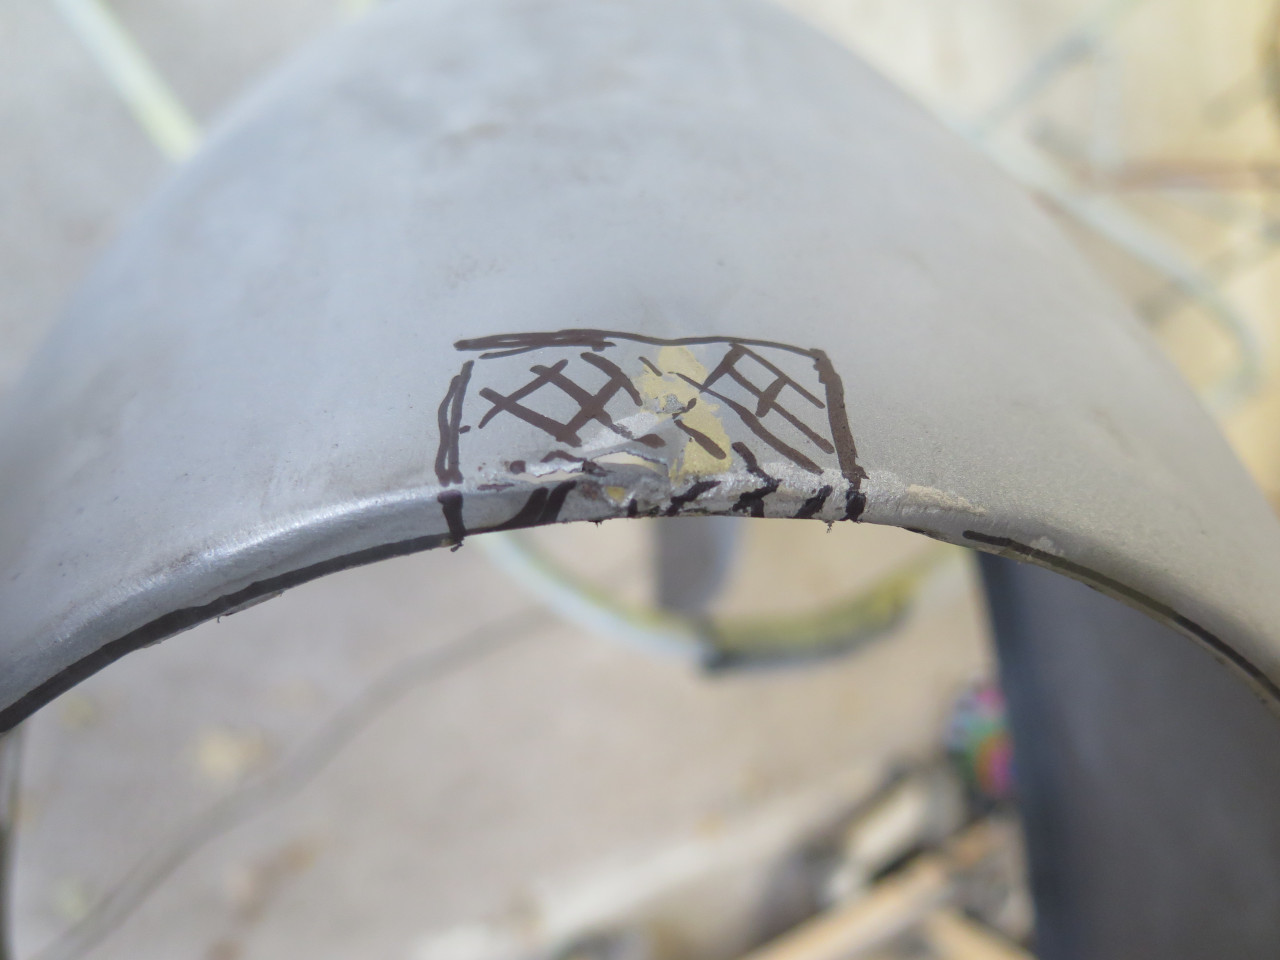
There were a couple of remnants of the previous brazed repair remaining
around the cut edge, like this one. Brass interferes with welding,
so it all had to be cut out.
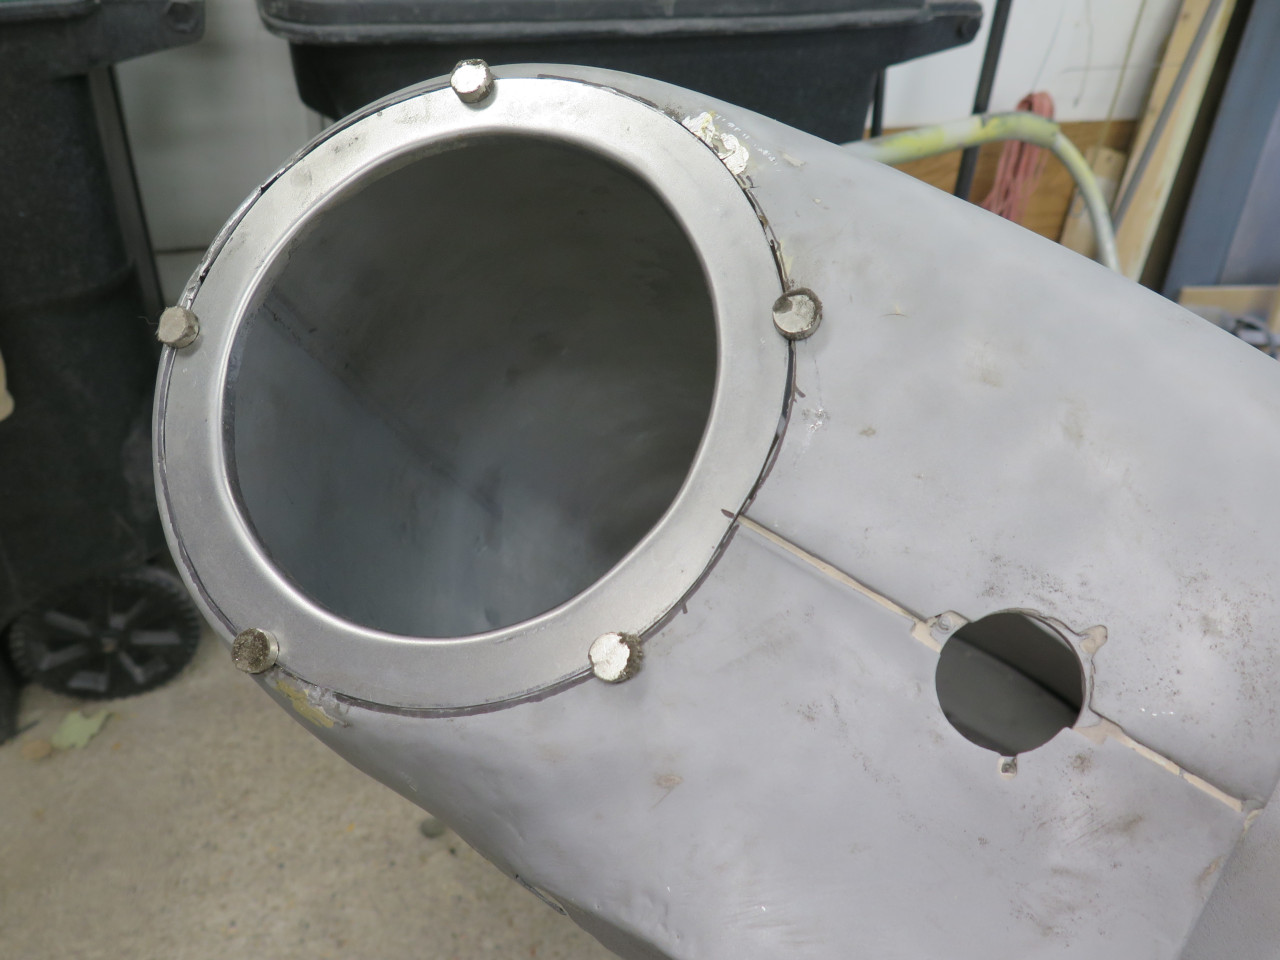
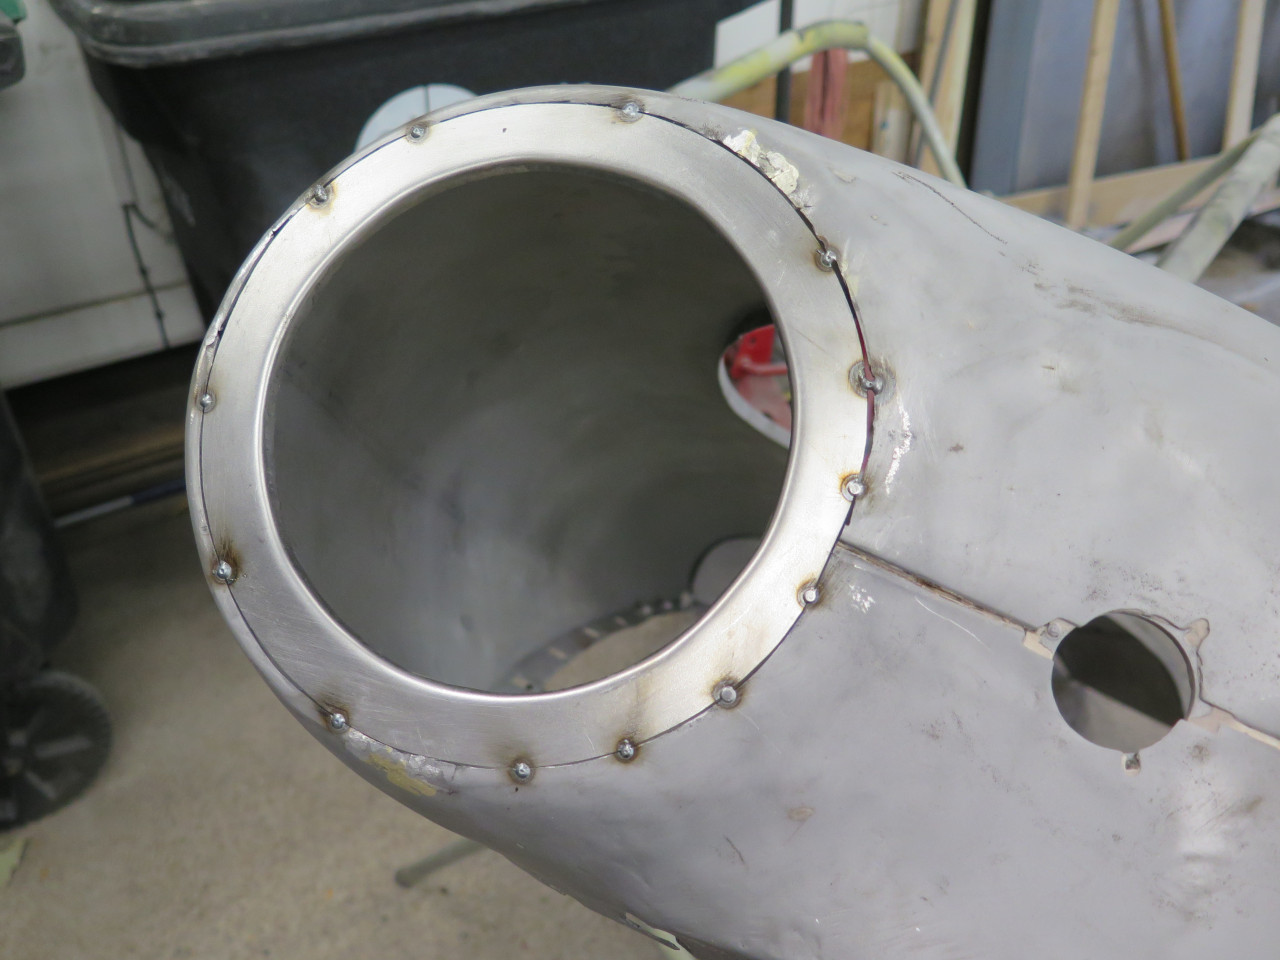
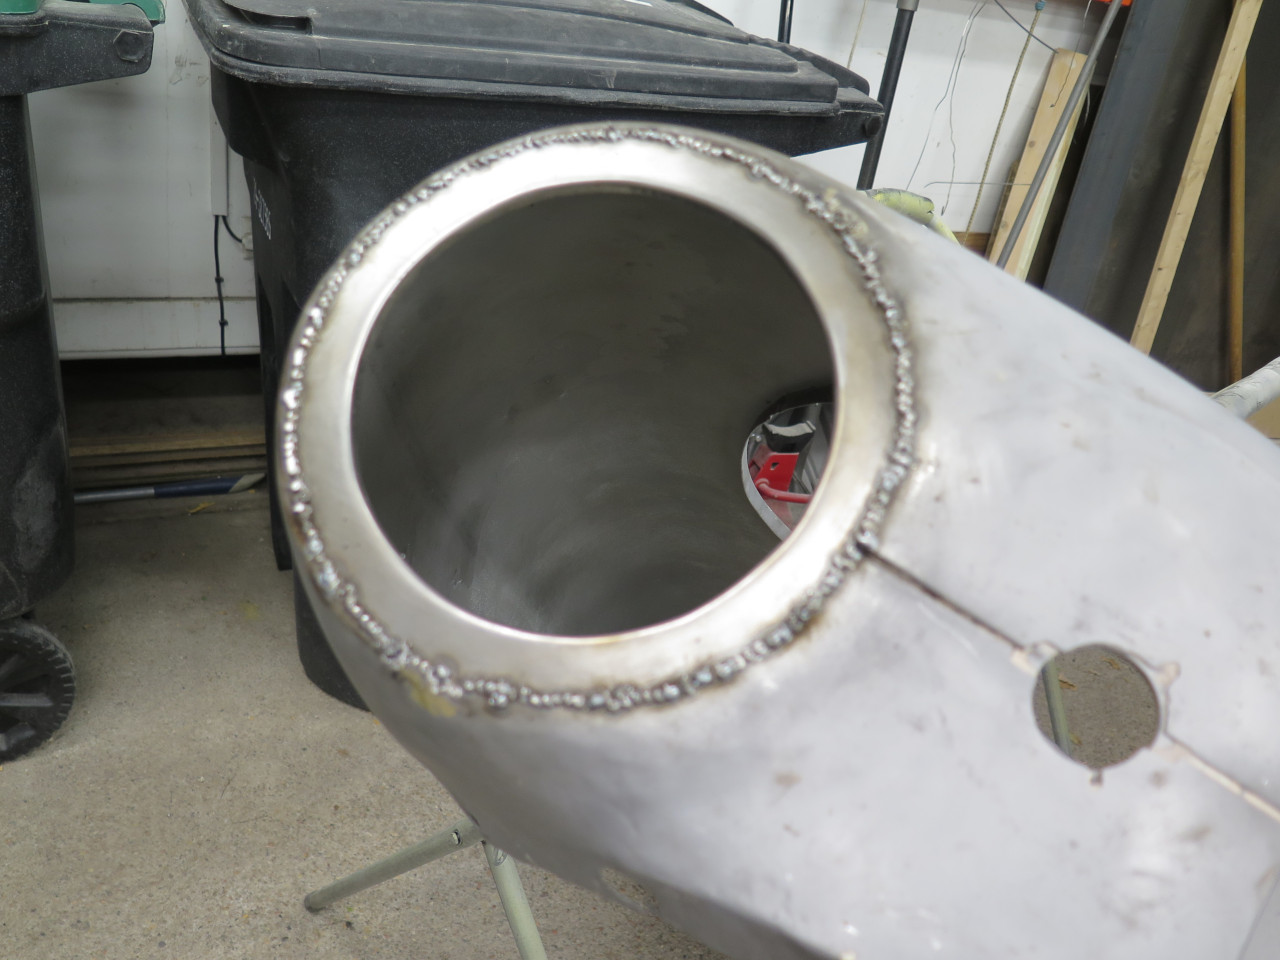
Then welded in the new ring.
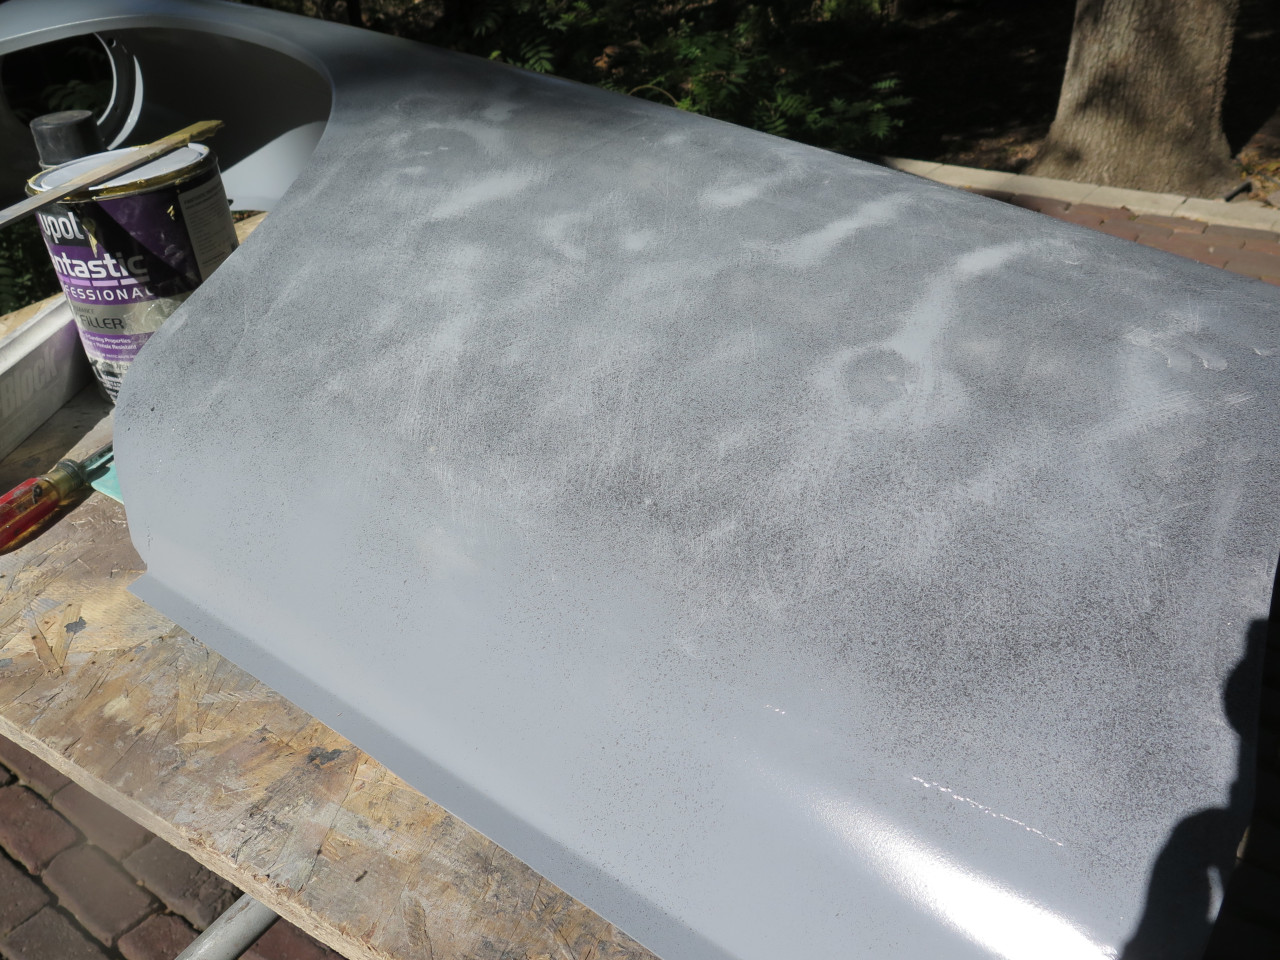
With repairs done, a coat of epoxy. Some guide coat
and light block sanding shows some subtle ripples. I can't feel
these by hand and suspect that some of them date all the way back to the
manufacturing process, and have been there since the car was new.
A thin skim coat of filler, and more epoxy.
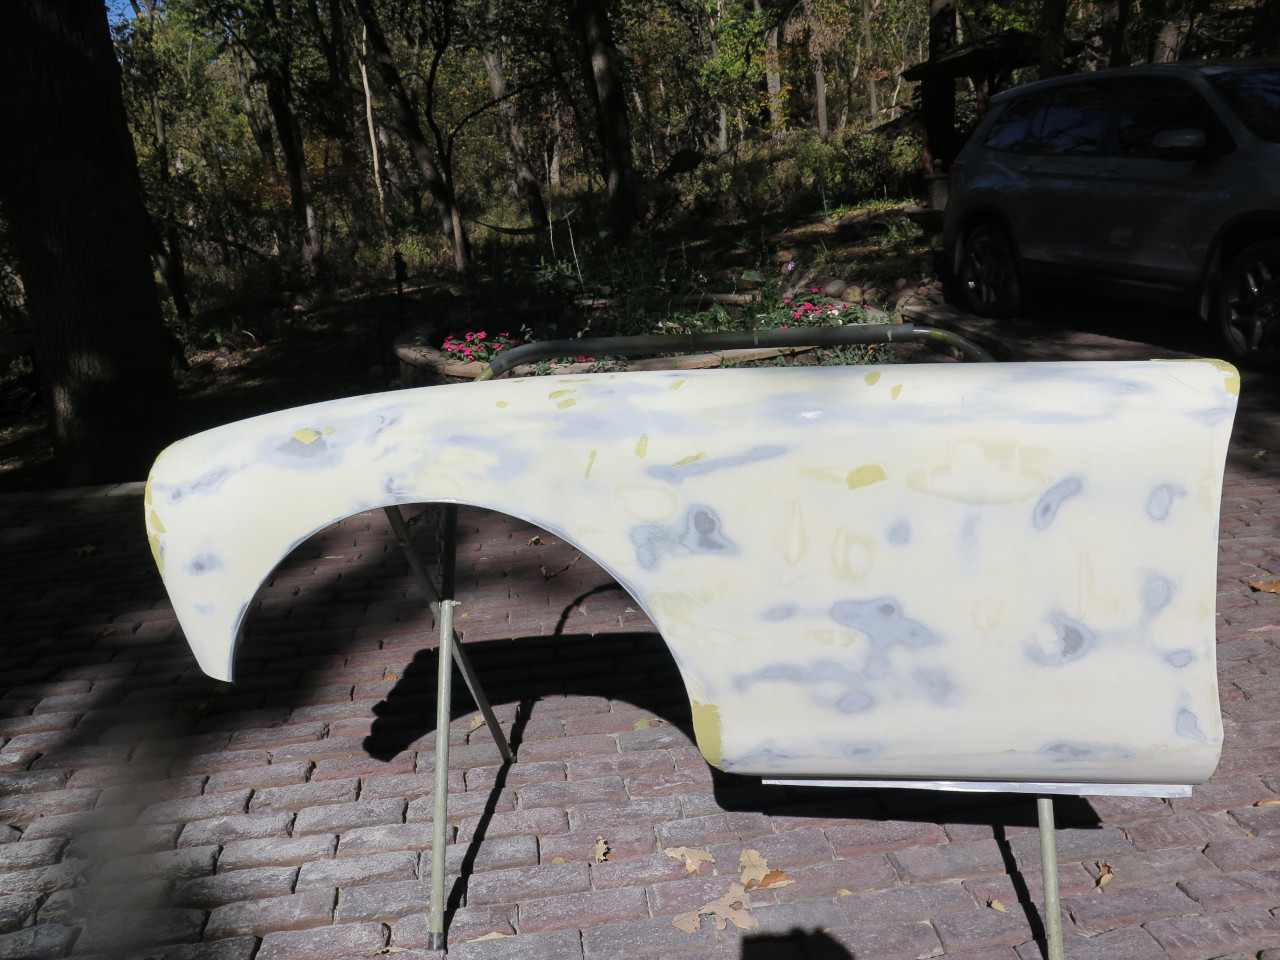
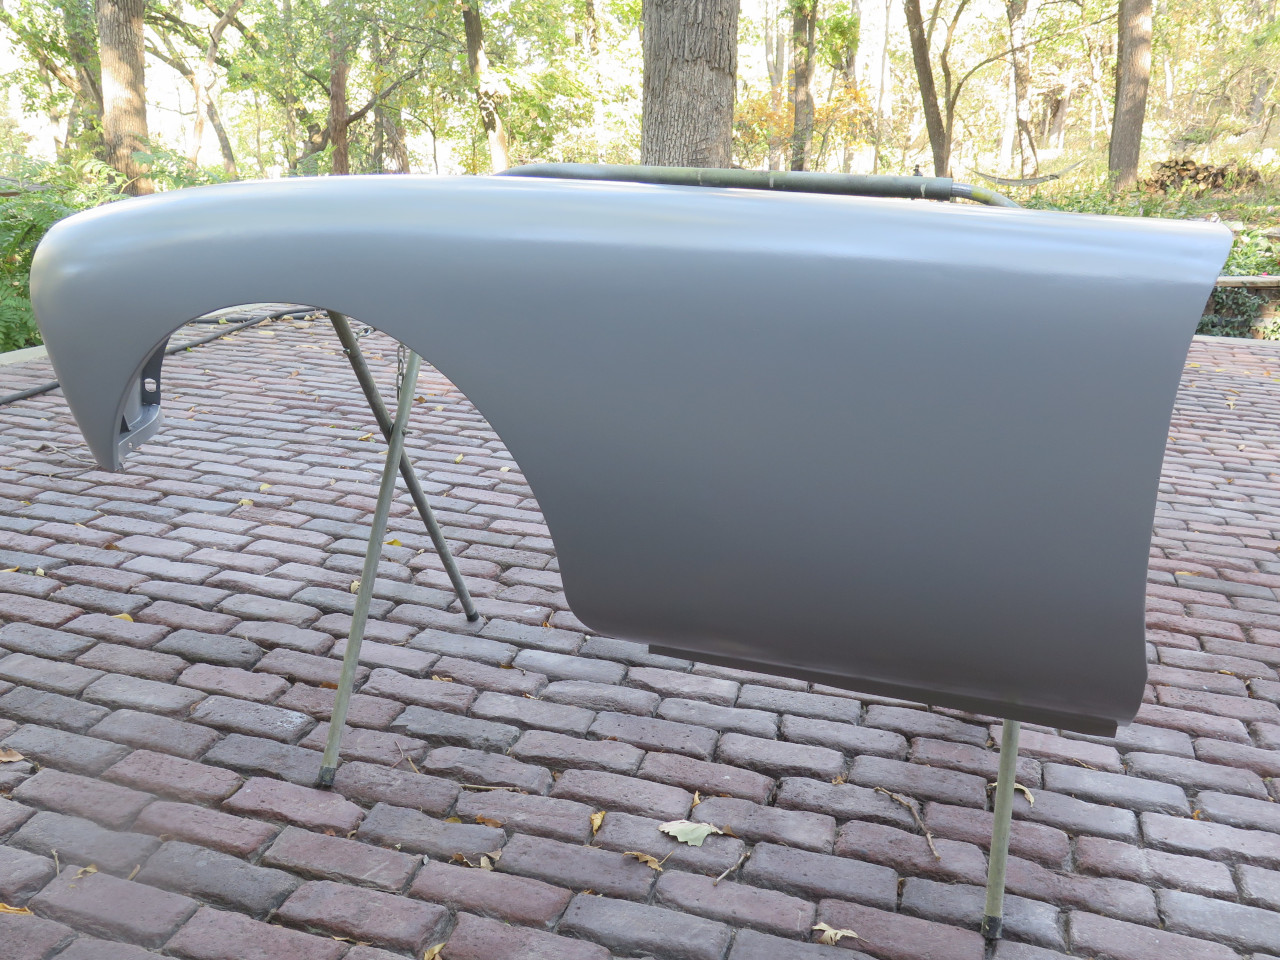
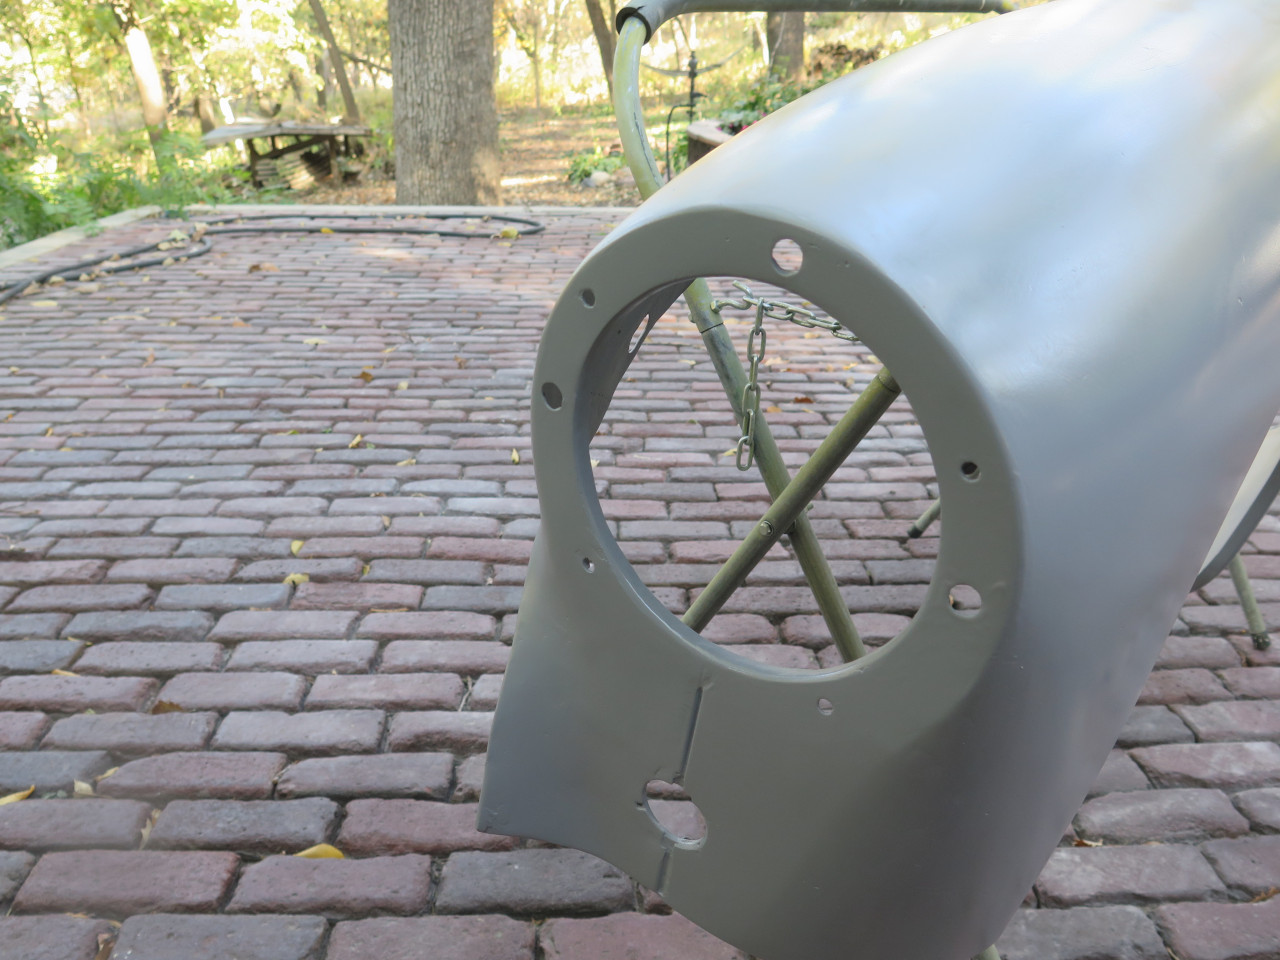
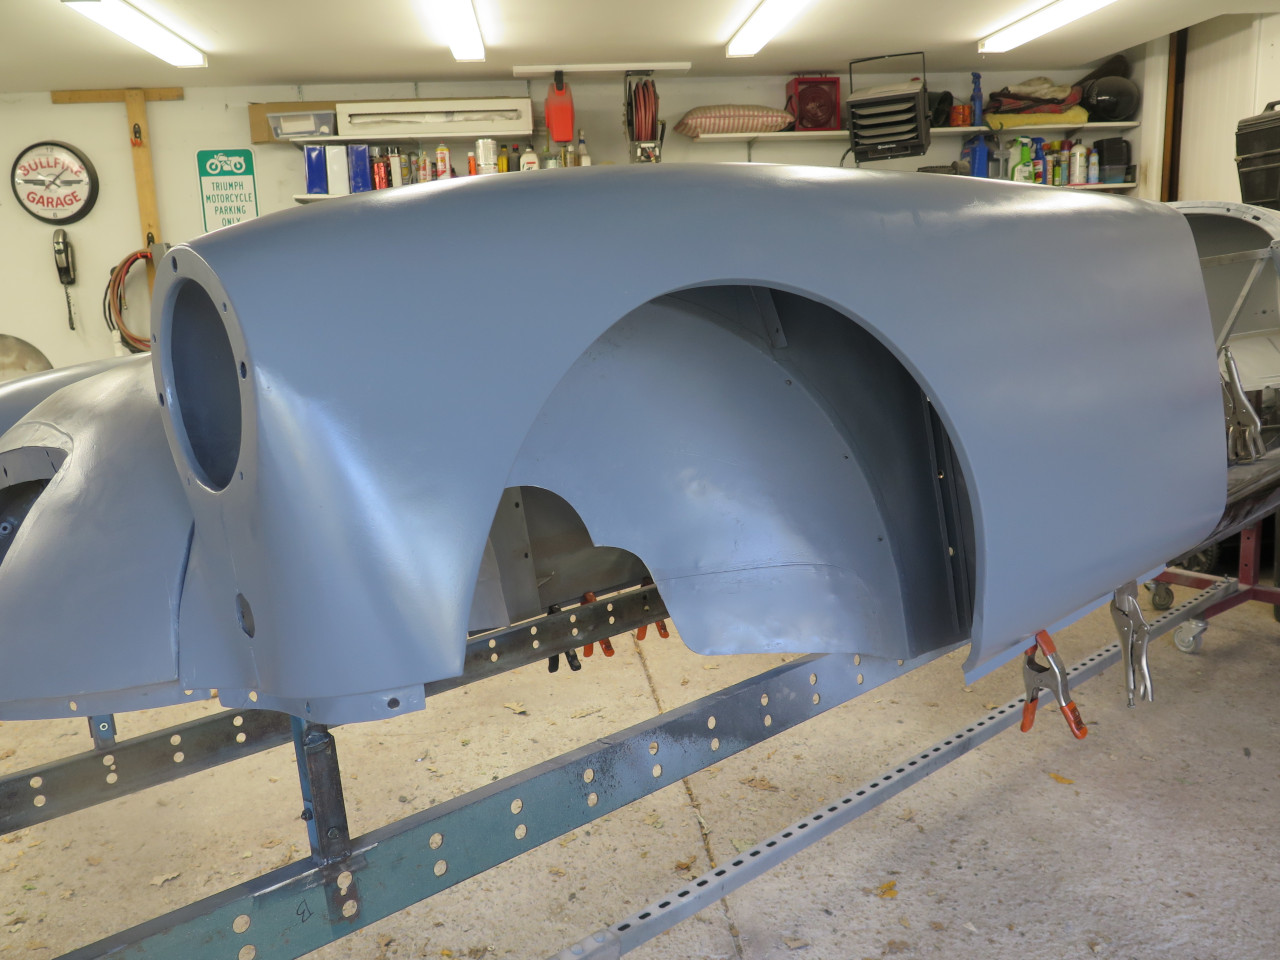
I have to store these wings somewhere, so I hung them loosely on the car.
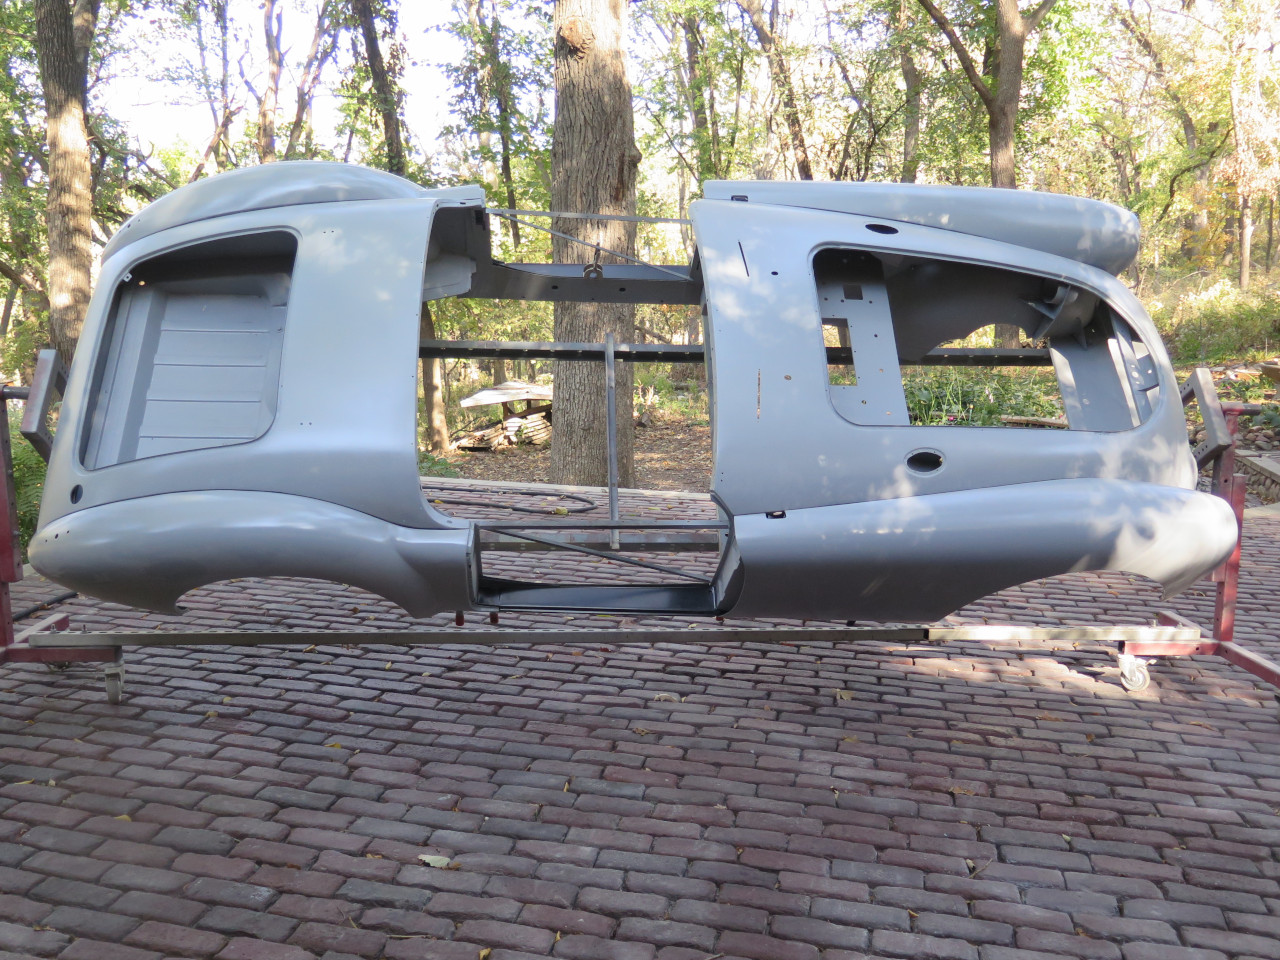
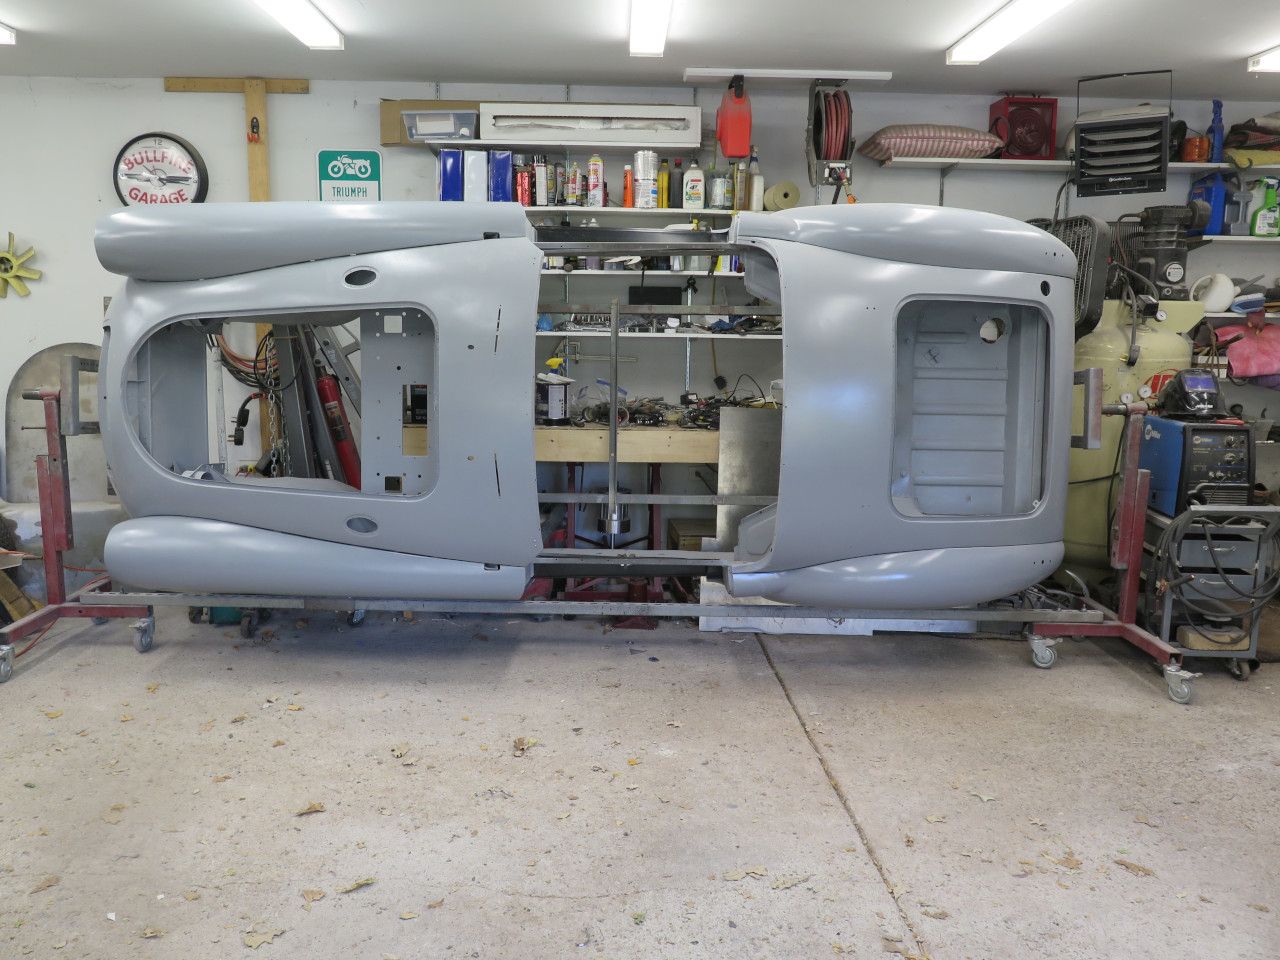
Back in it's place while I decide what to do next.
We are running out of nice weather here on the prairie, so garage and
outside work is winding down. That's OK, since I frankly was
getting tired of sheet metal work.
Fixing these wings took a couple of weeks, and maybe $150 in materials.
Comments to Ed at elhollin1@yahoo.com
To my other MGA pages.