To my other MGA pages
October 2, 2024
Rear Wings
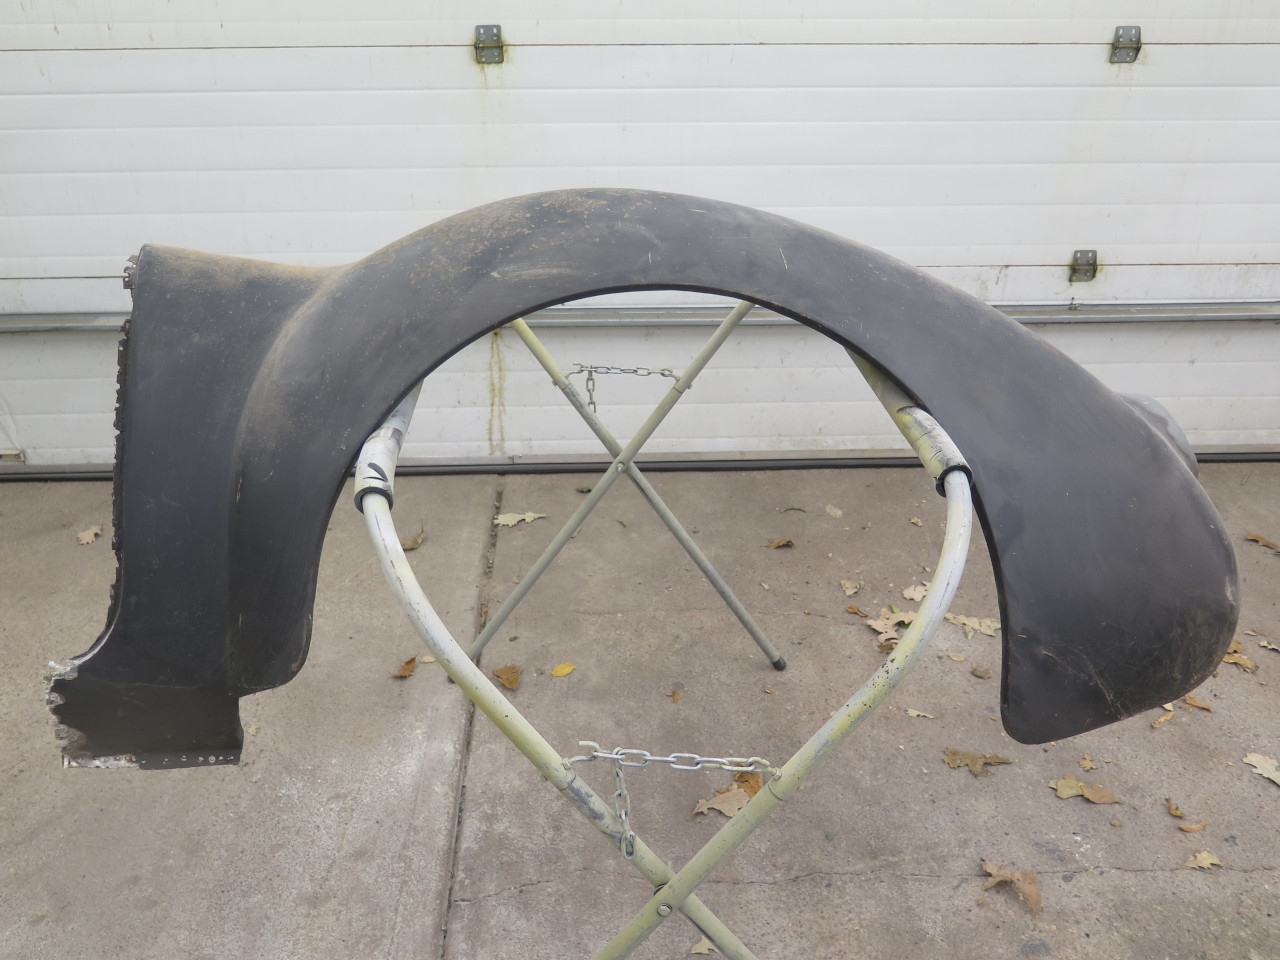
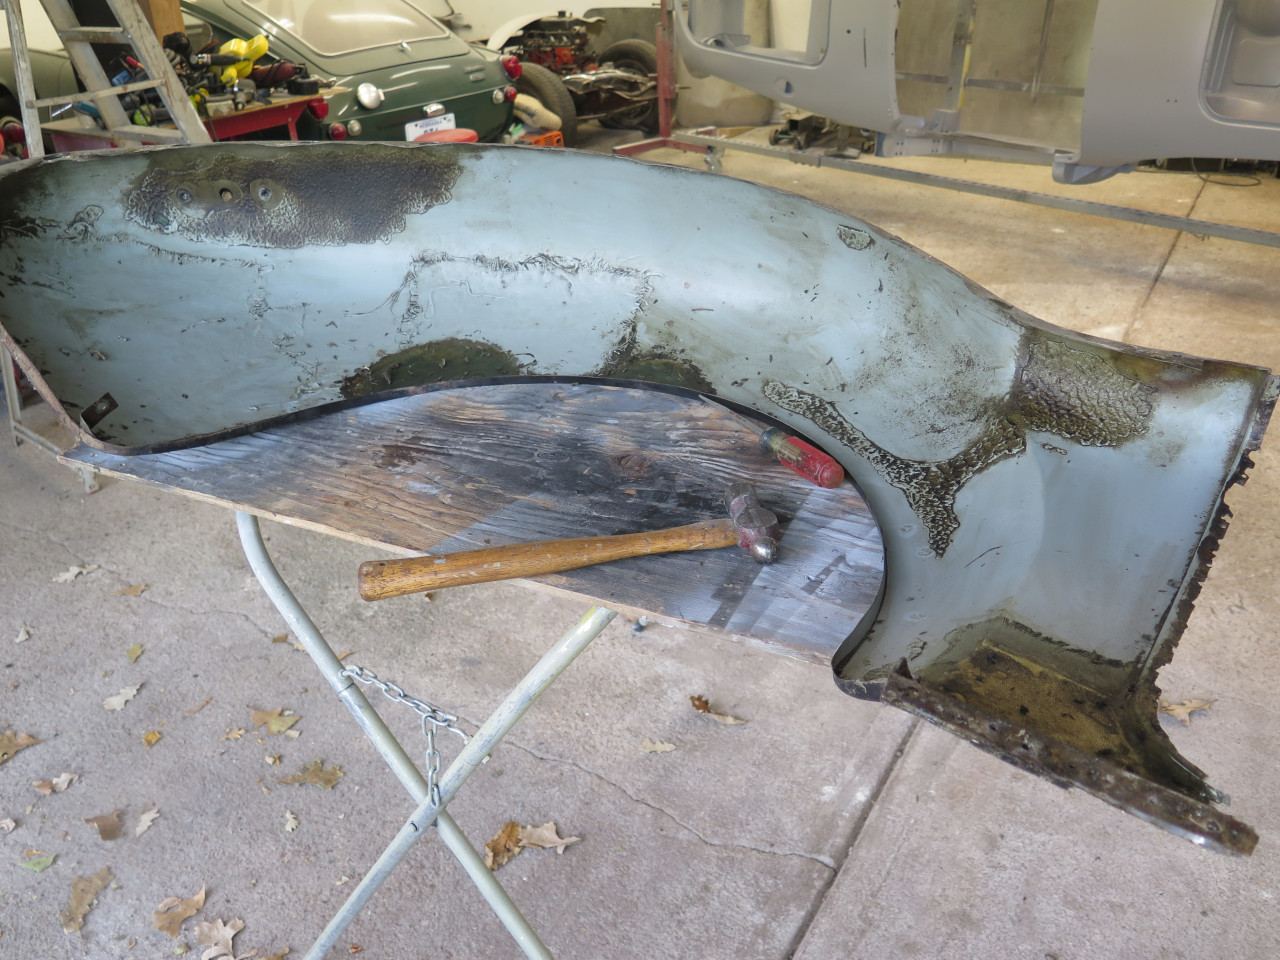
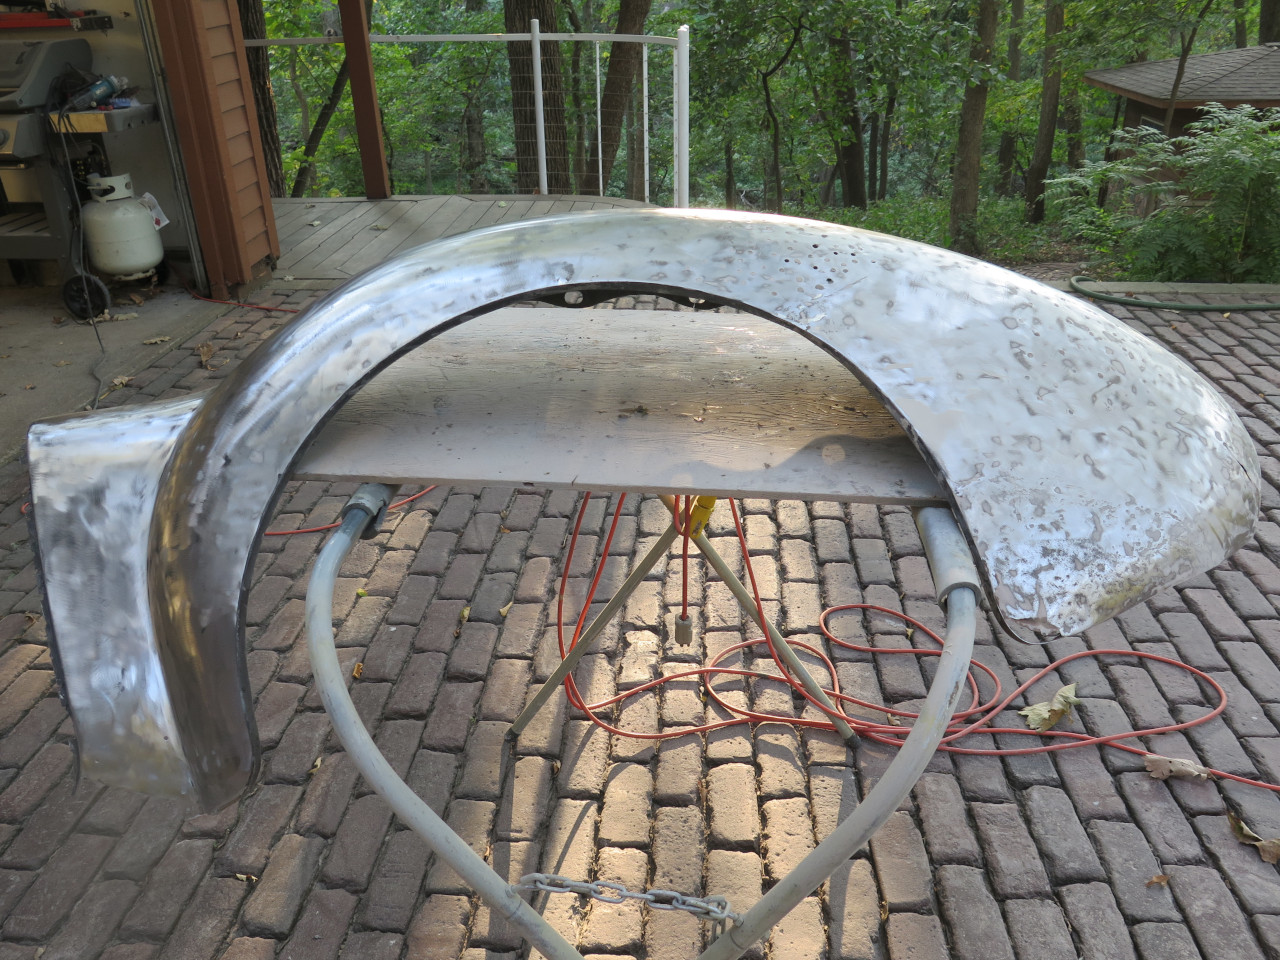
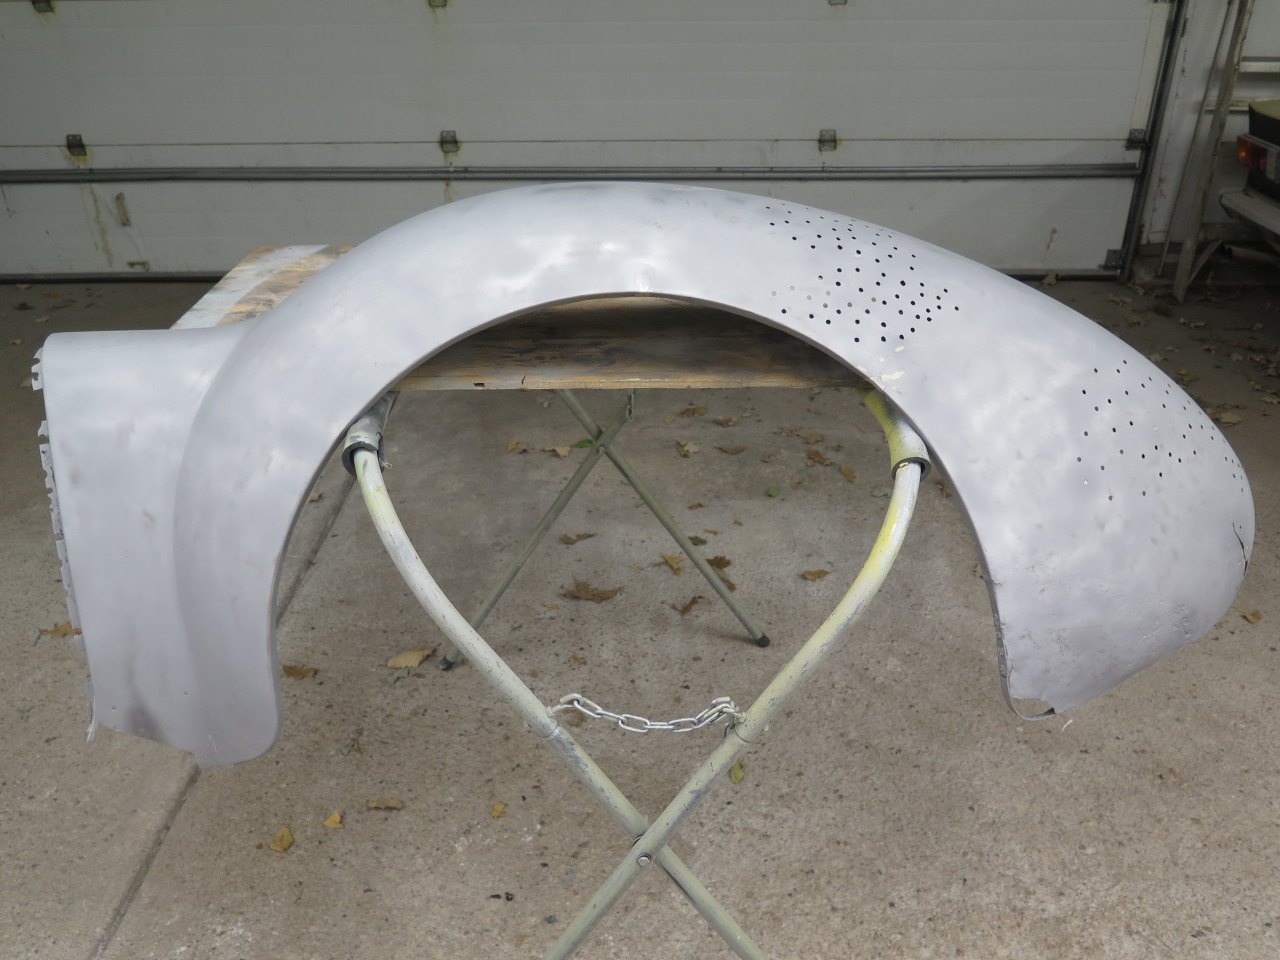
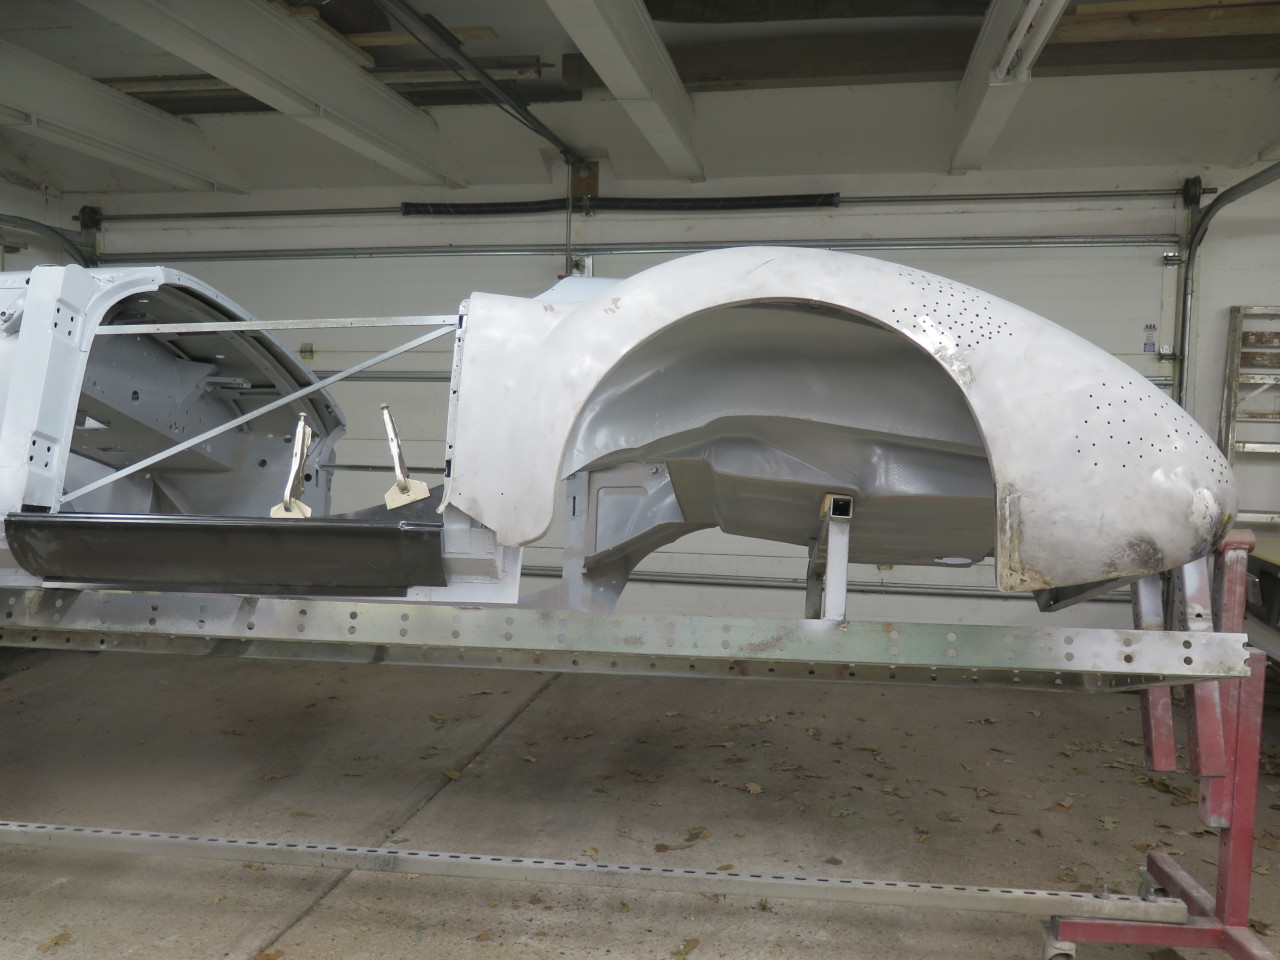
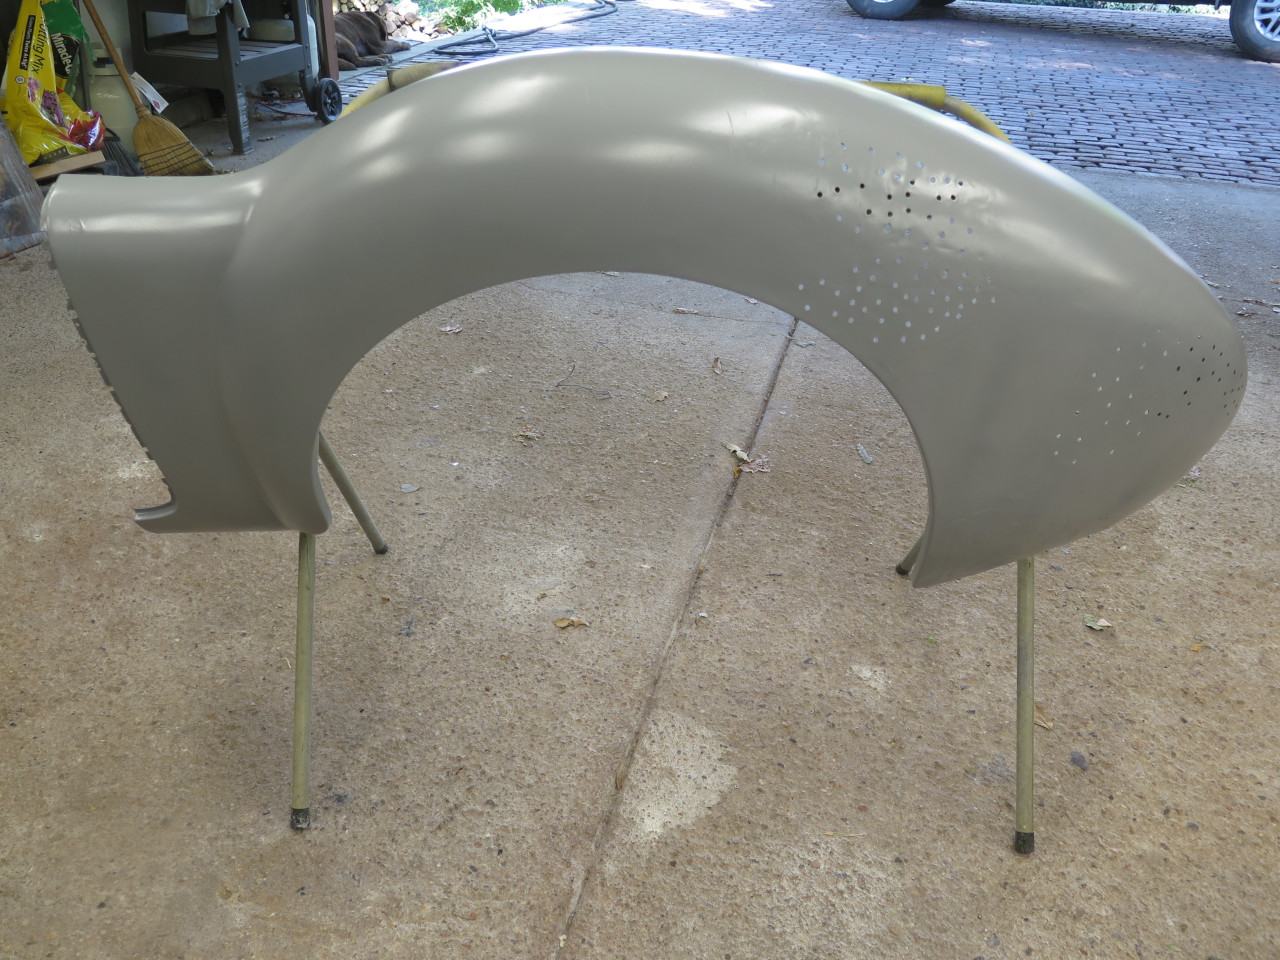
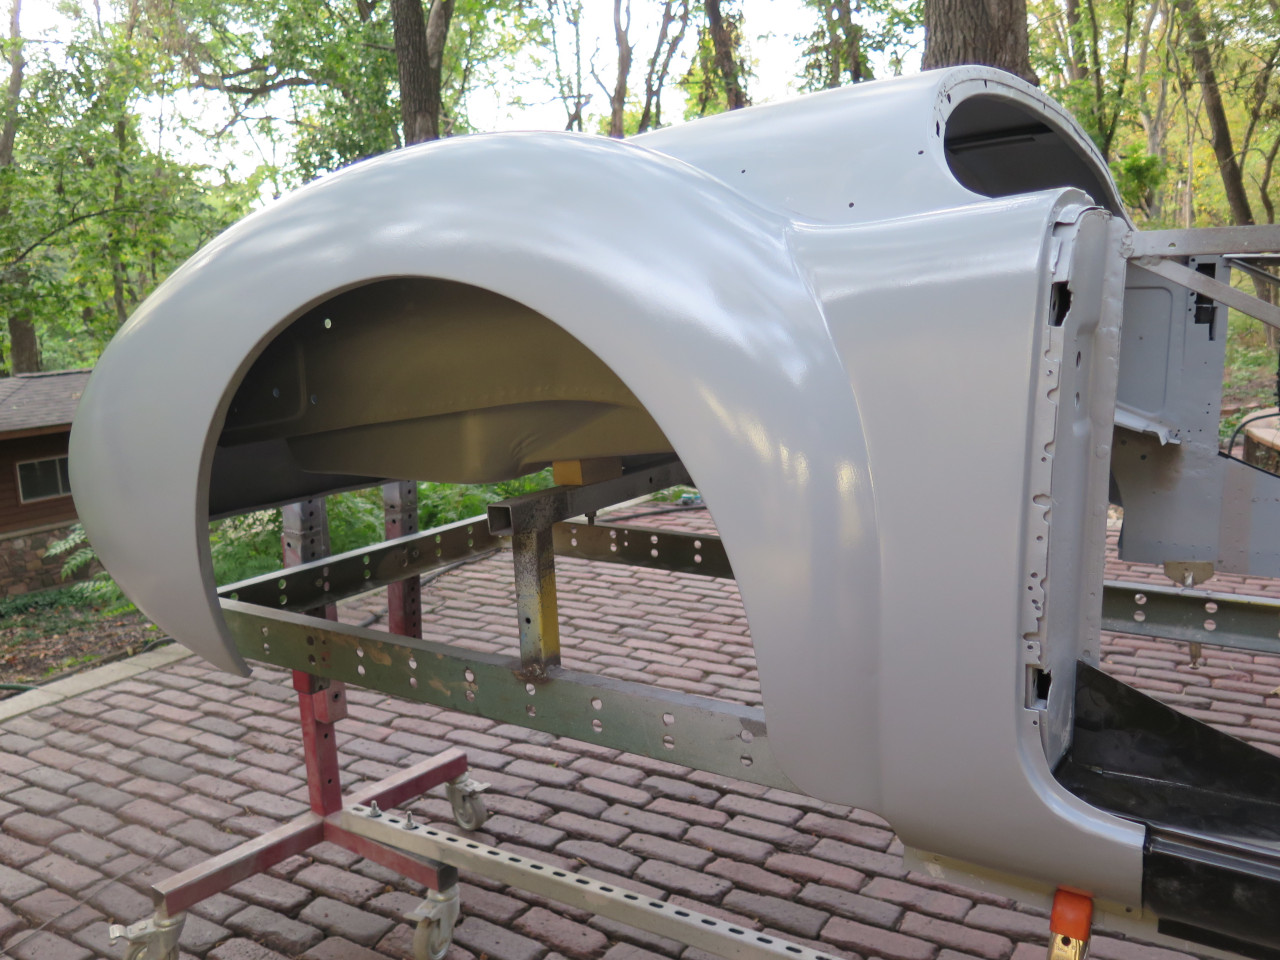
Continuing with the body work, I pulled down one of the rear
wings from the garage loft. It actually looked pretty good
superficially, but I knew something about the horrors below the surface.
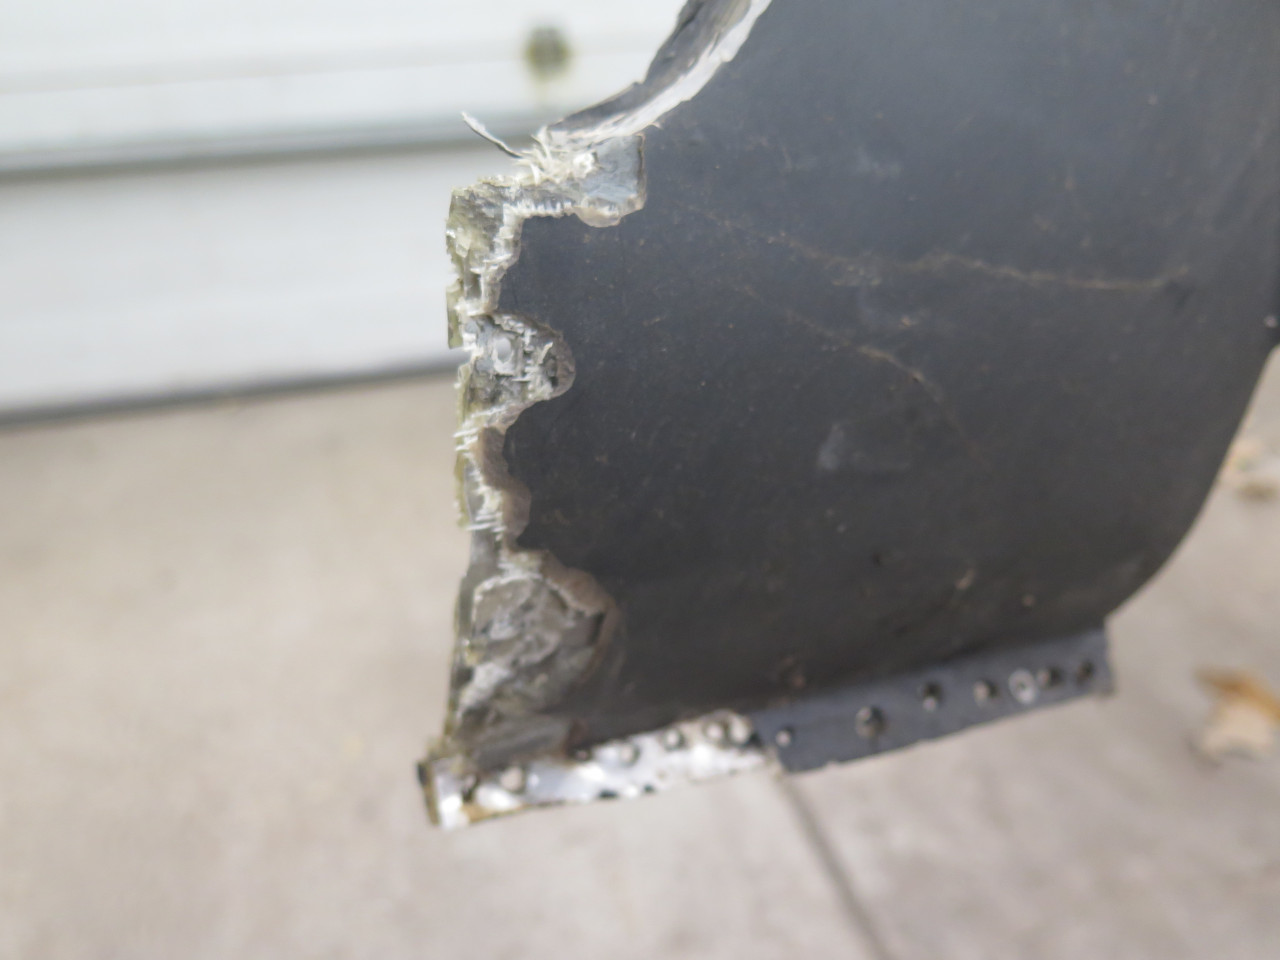
First, I knew that I had long ago reconstructed the rusted away dogleg
at the lower front of the wing where it meets the outer sill. As I
recalled, it was a sandwich of aluminum flashing and fiberglass.
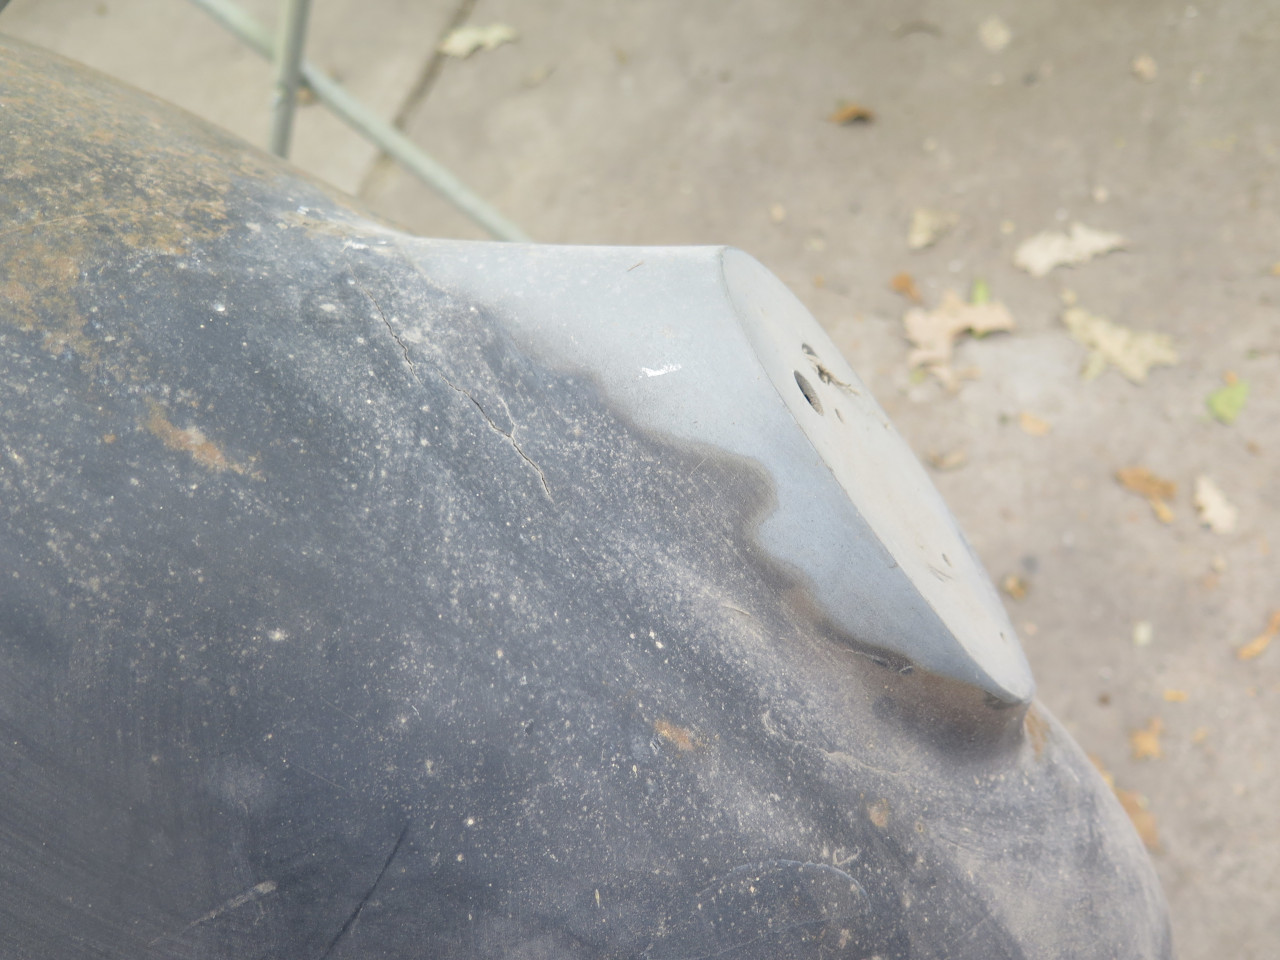
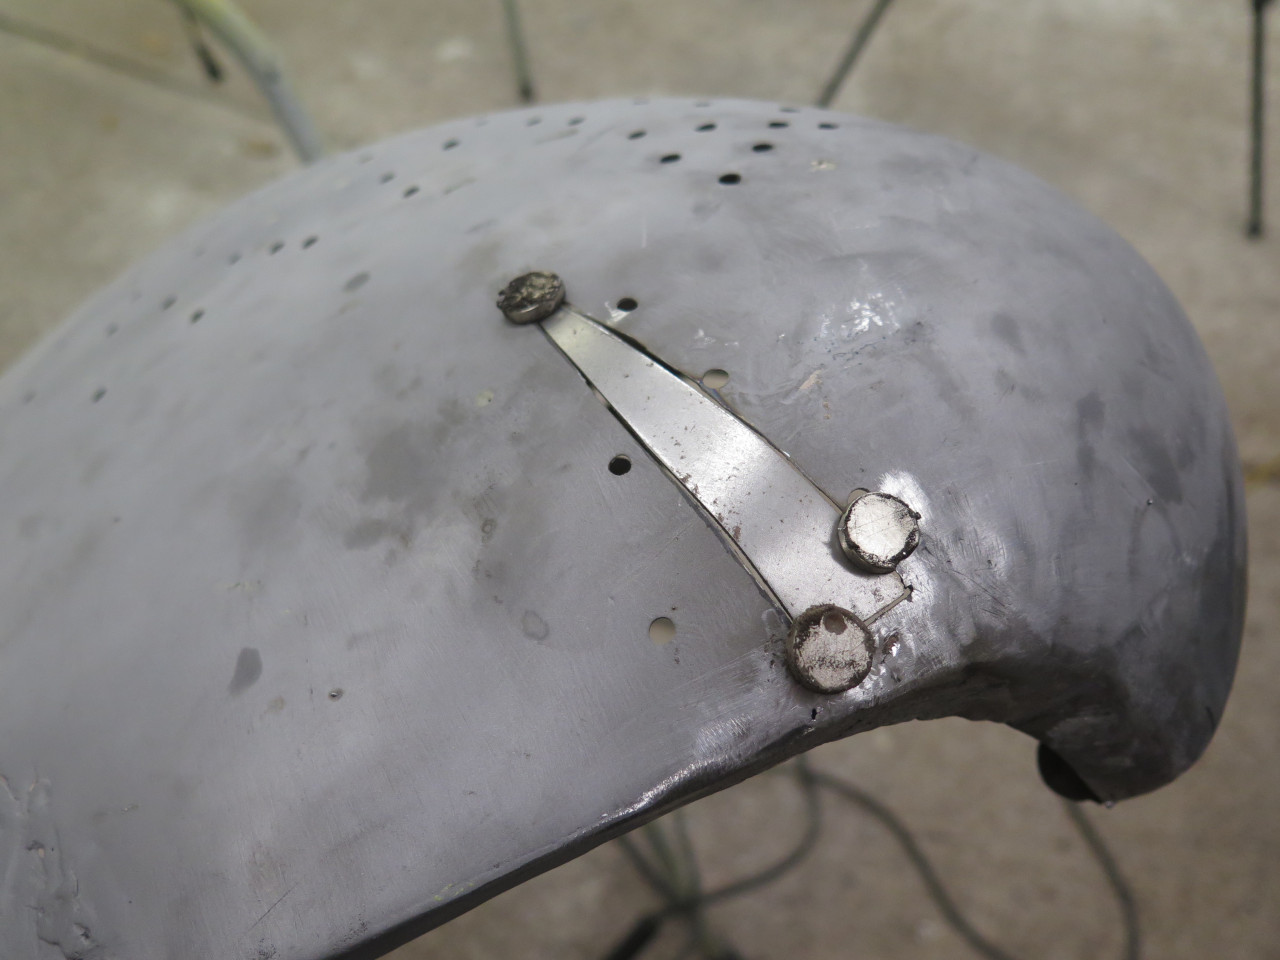
I also fondly remembered thinking that filleting the tail light adapter
junctions was a good idea. I think hot rodders have a name for
this.
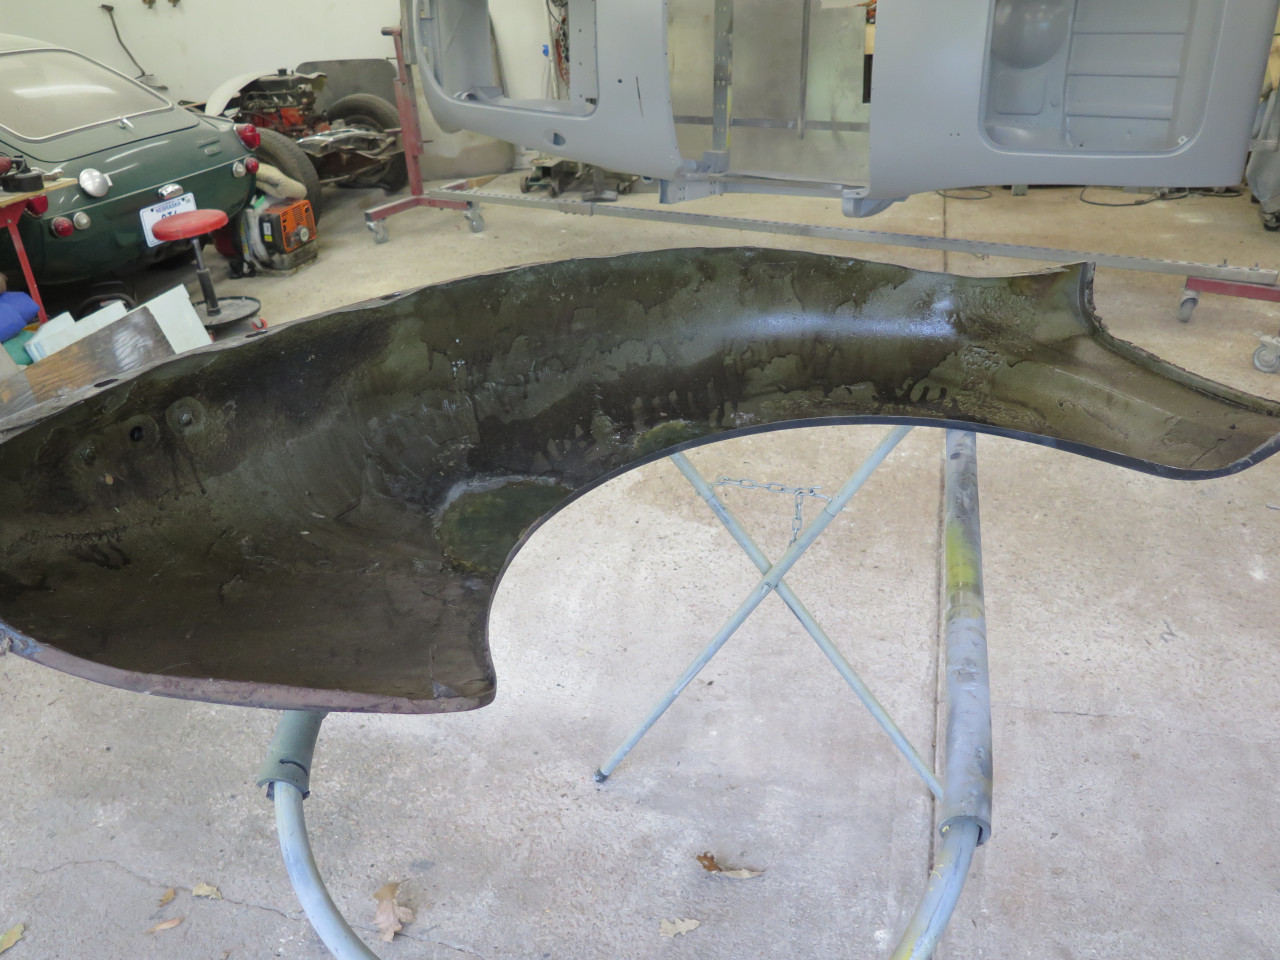
The underside of the wing had copious amounts of a waxy
rustproofing. I guess its been hard at work for the last 50 years
since I applied it.
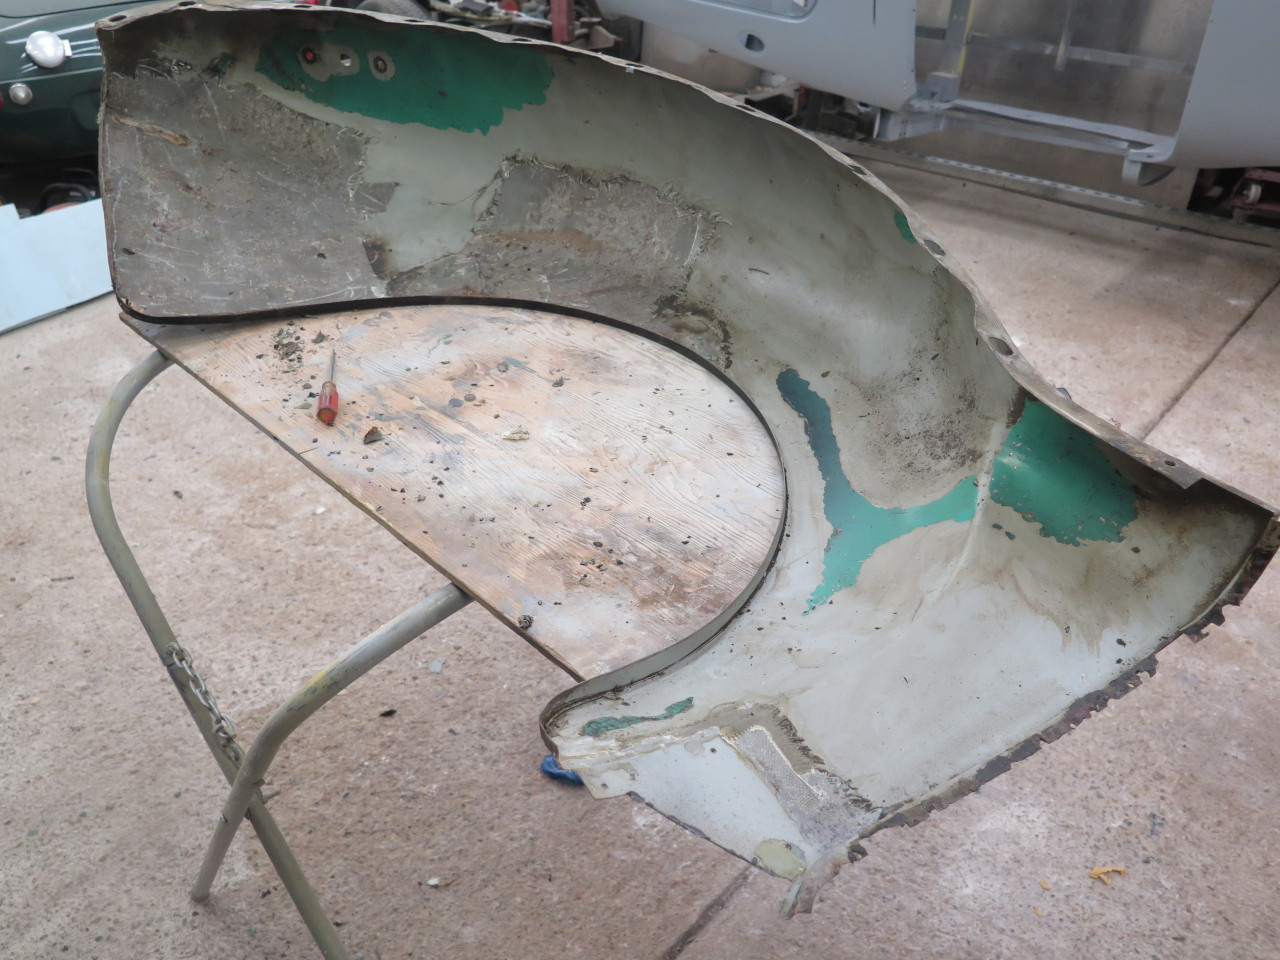
Removing the rust proofing revealed some remnants of the thick original
factory bituminous undercoating. Removing that showed some
original factory paint.
There were also a couple of areas covered with a layer if fiberglass. More about that later.
I then removed the old dogleg patch.
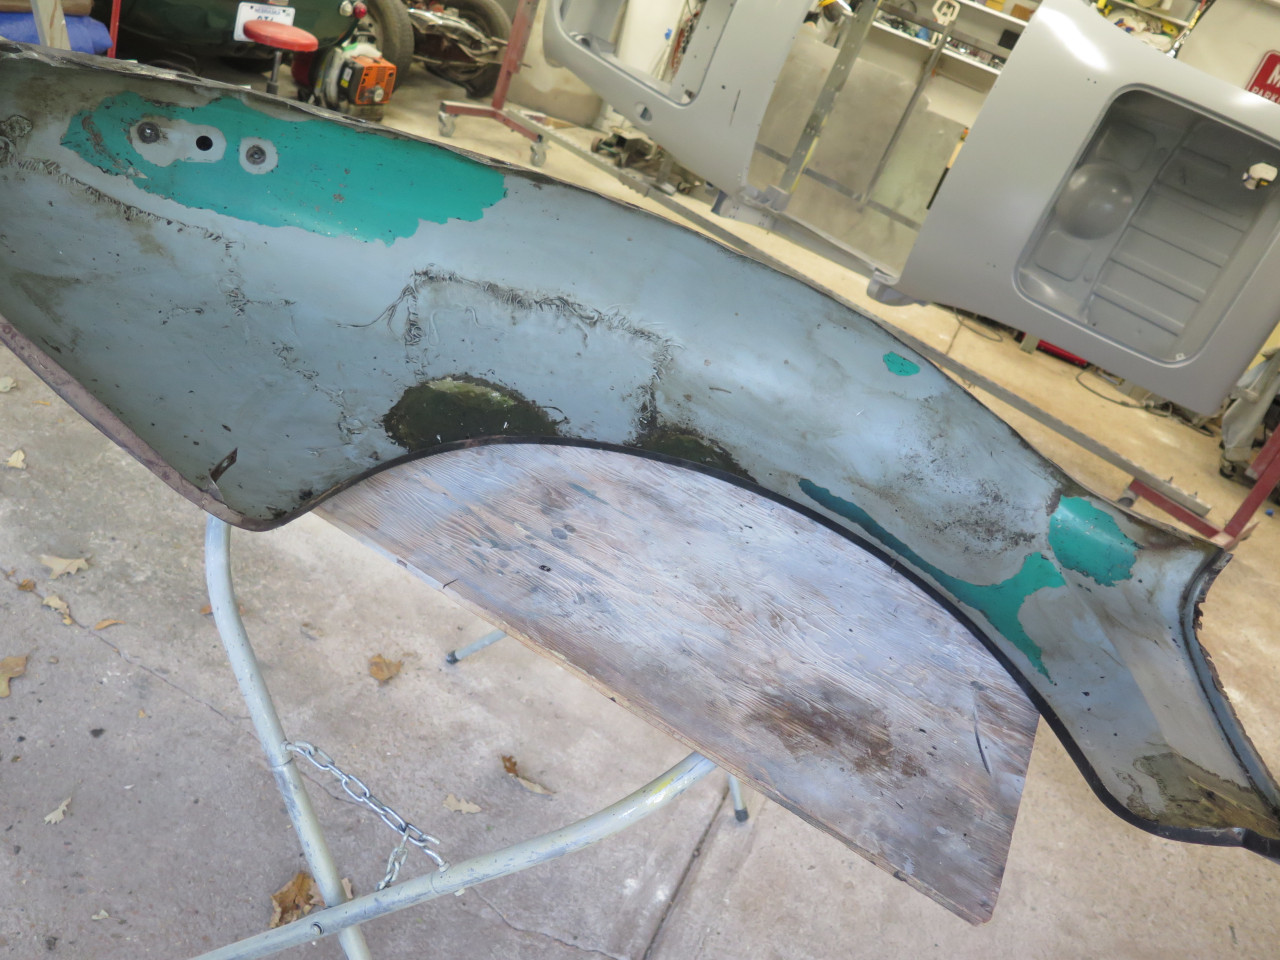
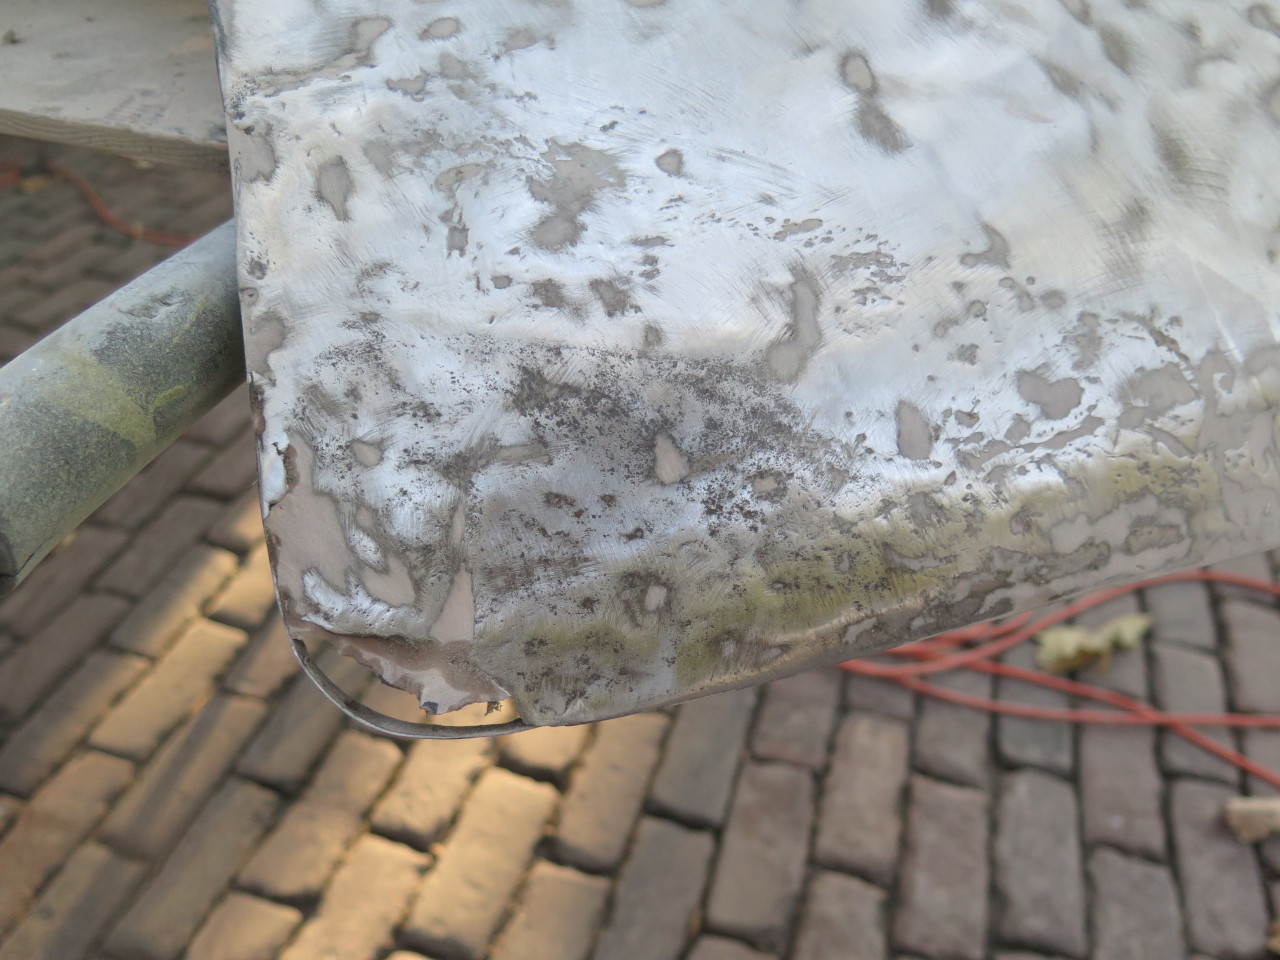
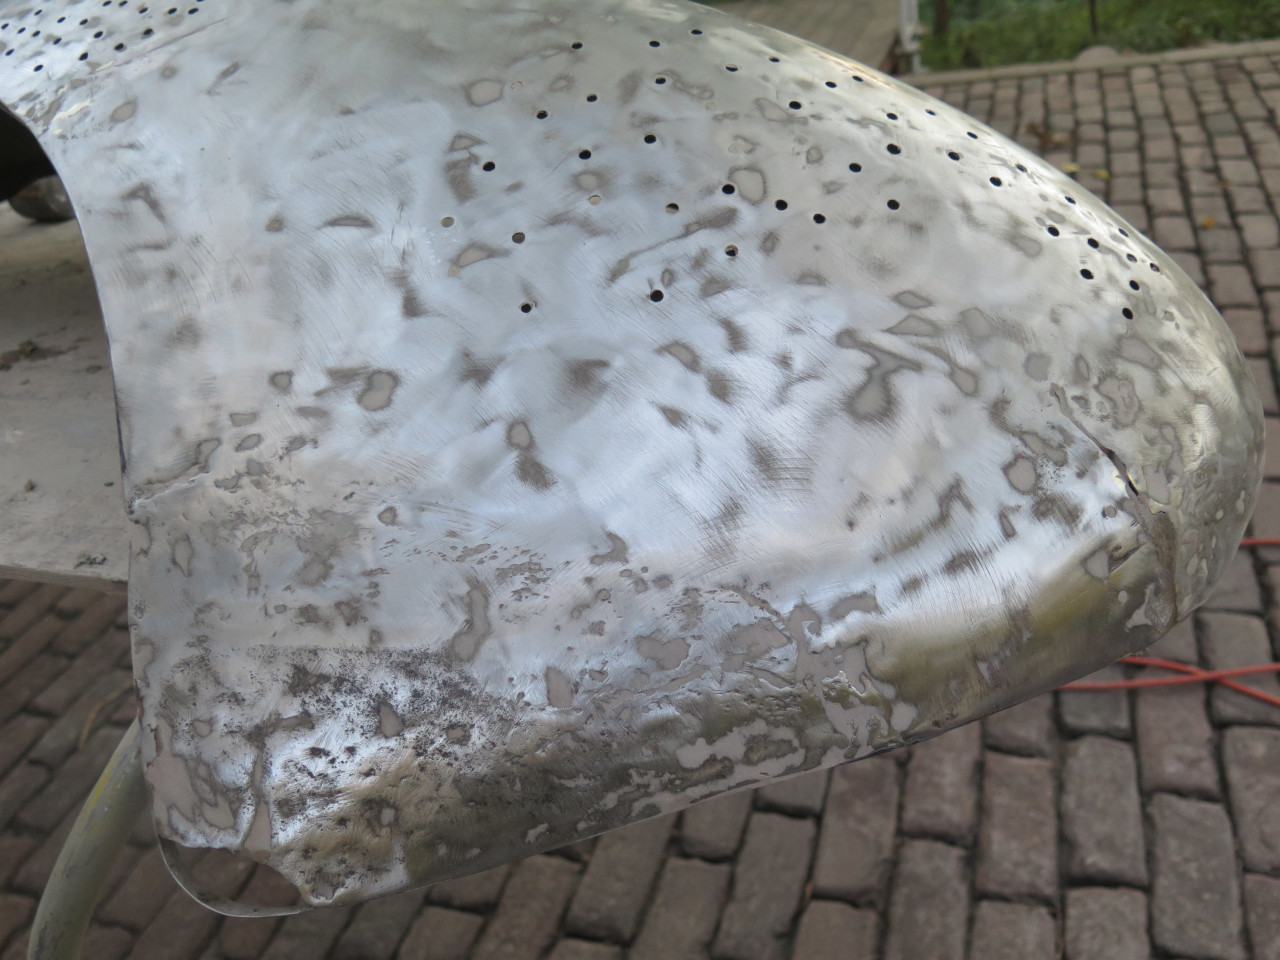
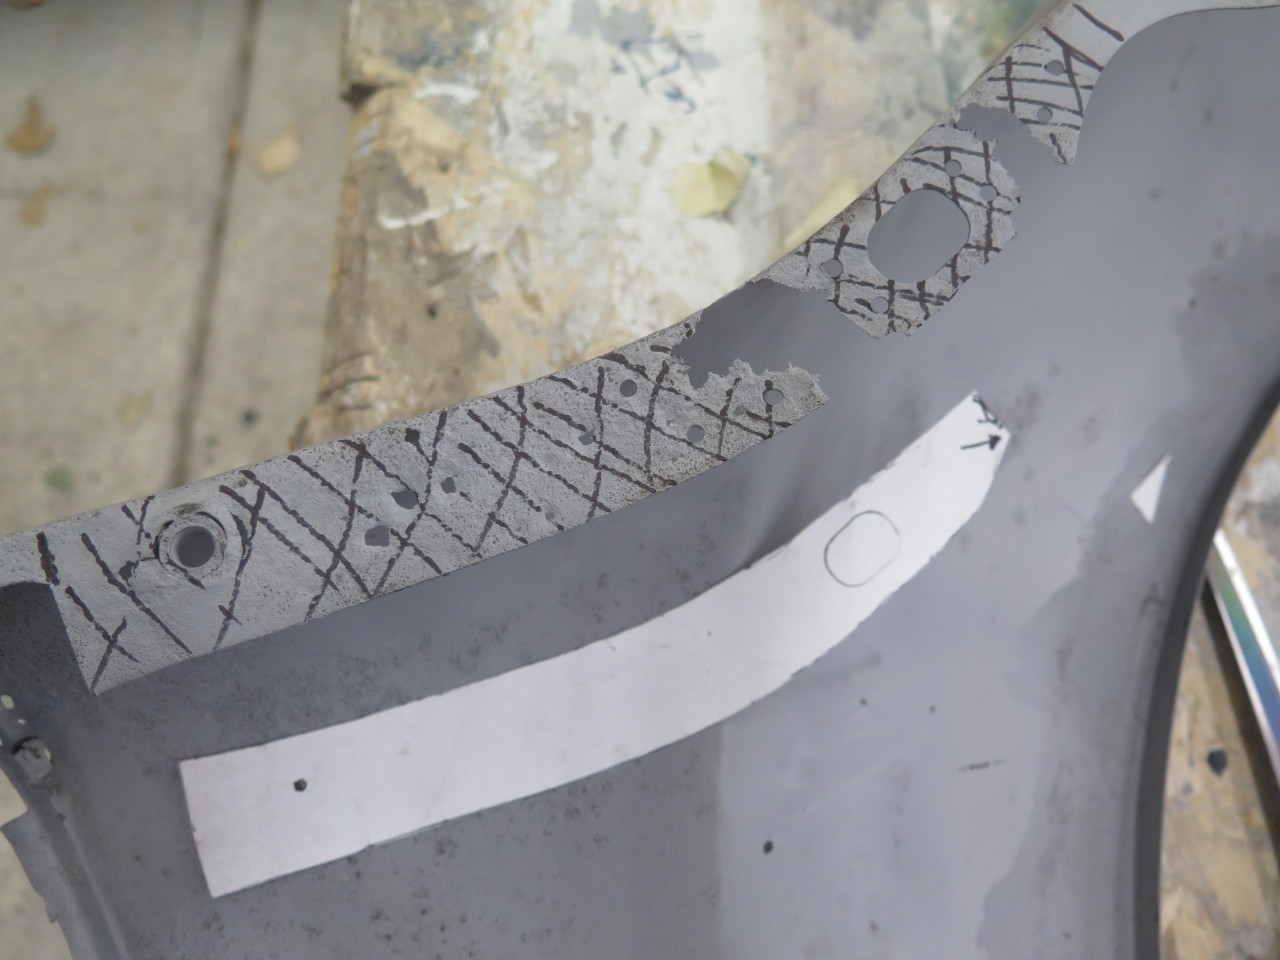
Most of the exterior primer and filler yielded to a composition wheel, revealing sad evidence of this wing's hard early life.
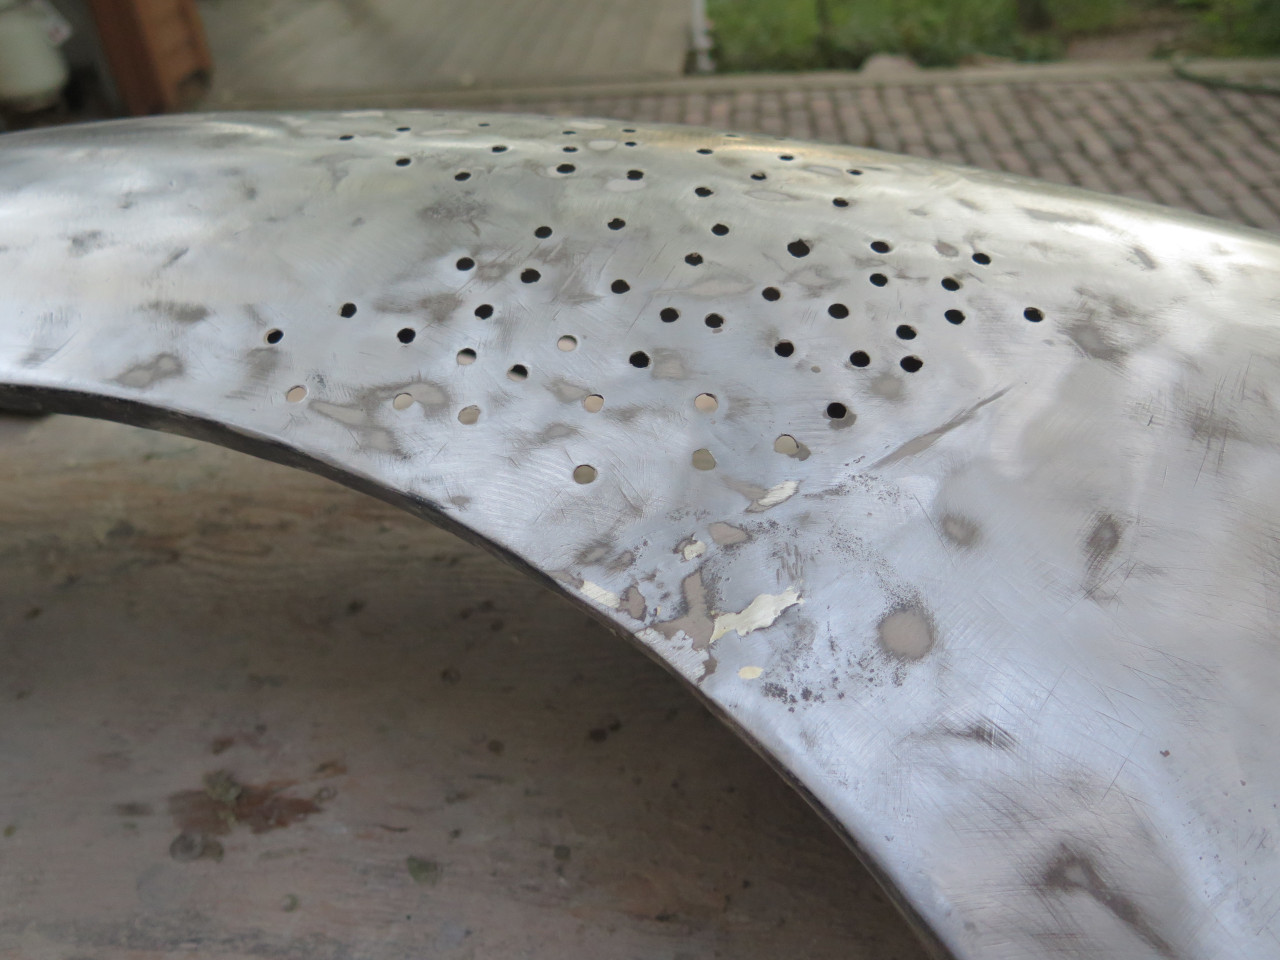
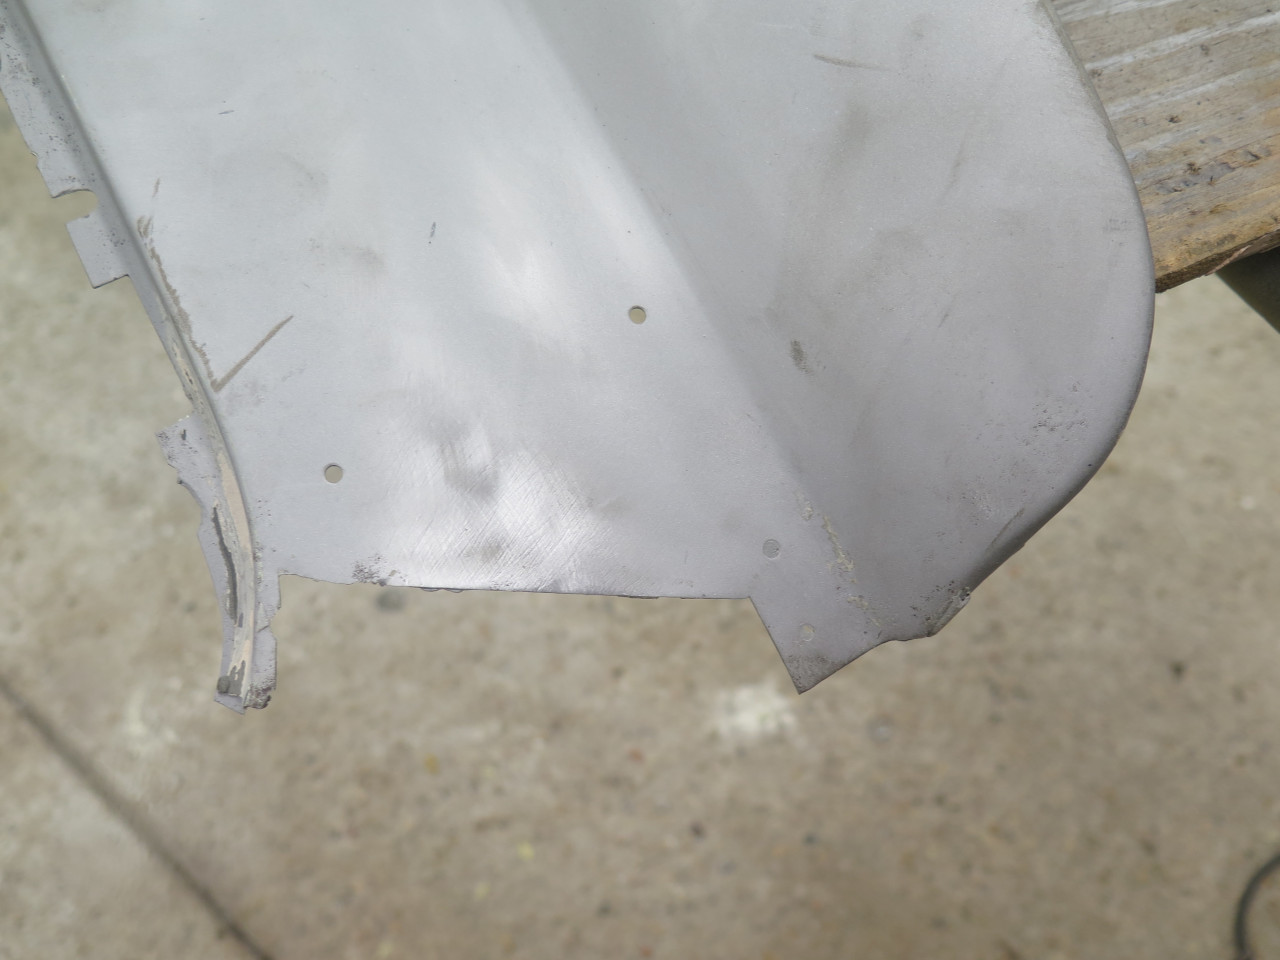
It also uncovered scores of quarter-inch holes drilled in the
metal. I'll be quick to say that it wasn't me who did this, but
some previous "body man". I'm not sure of the reasons for the
holes. They are in areas that look like they were heavily damaged,
and maybe they made it easier to reshape the metal. This was the
reason for the fiberglass backing, which is something I did apply in my
stalled restoration 50 years ago.
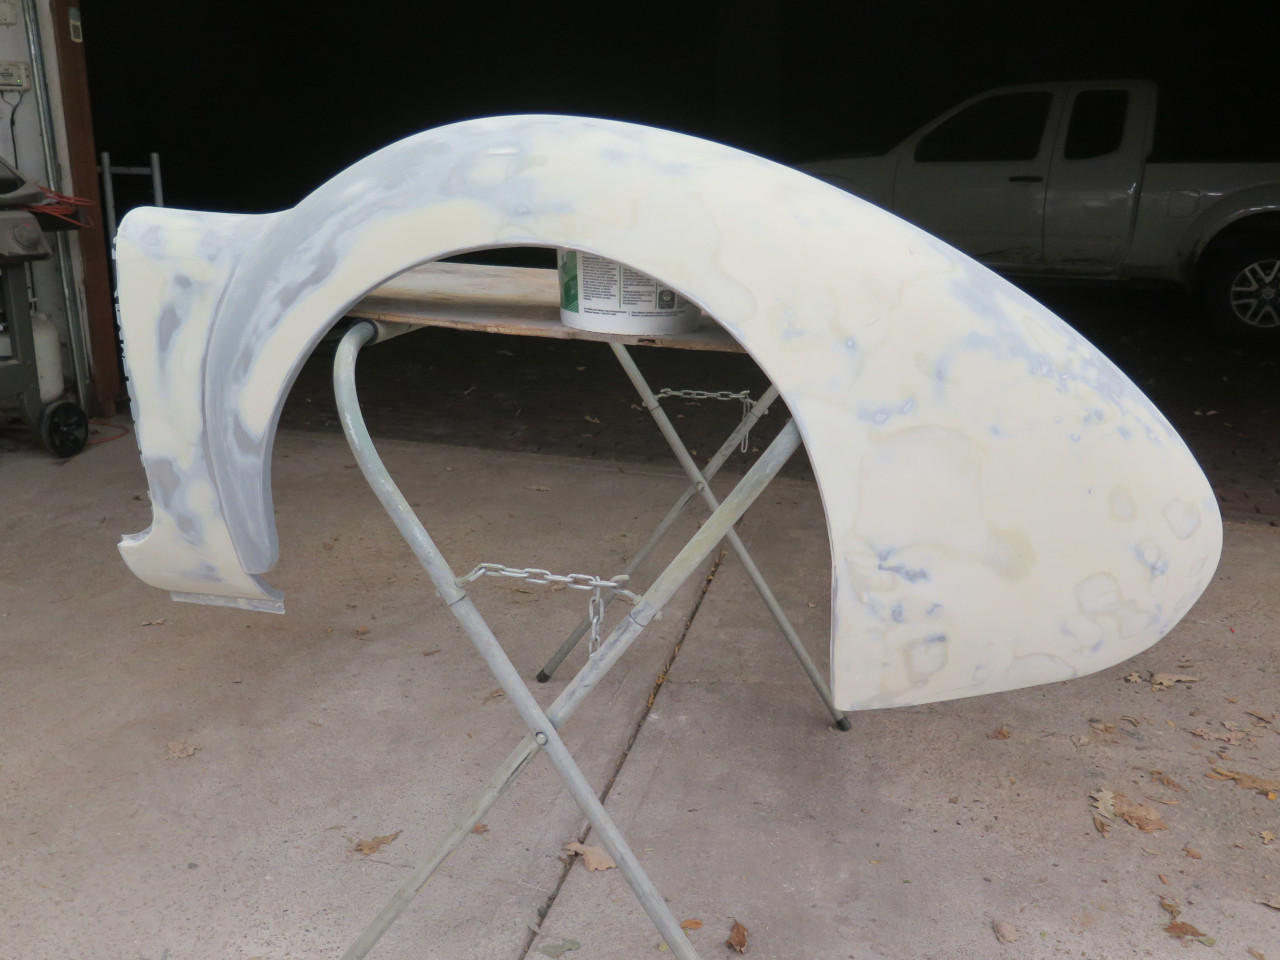
A little hammer and dolly work to help with the most egregious
deformities, and a quick sand blast to remove the remaining filler
actually made the panel look a lot better.
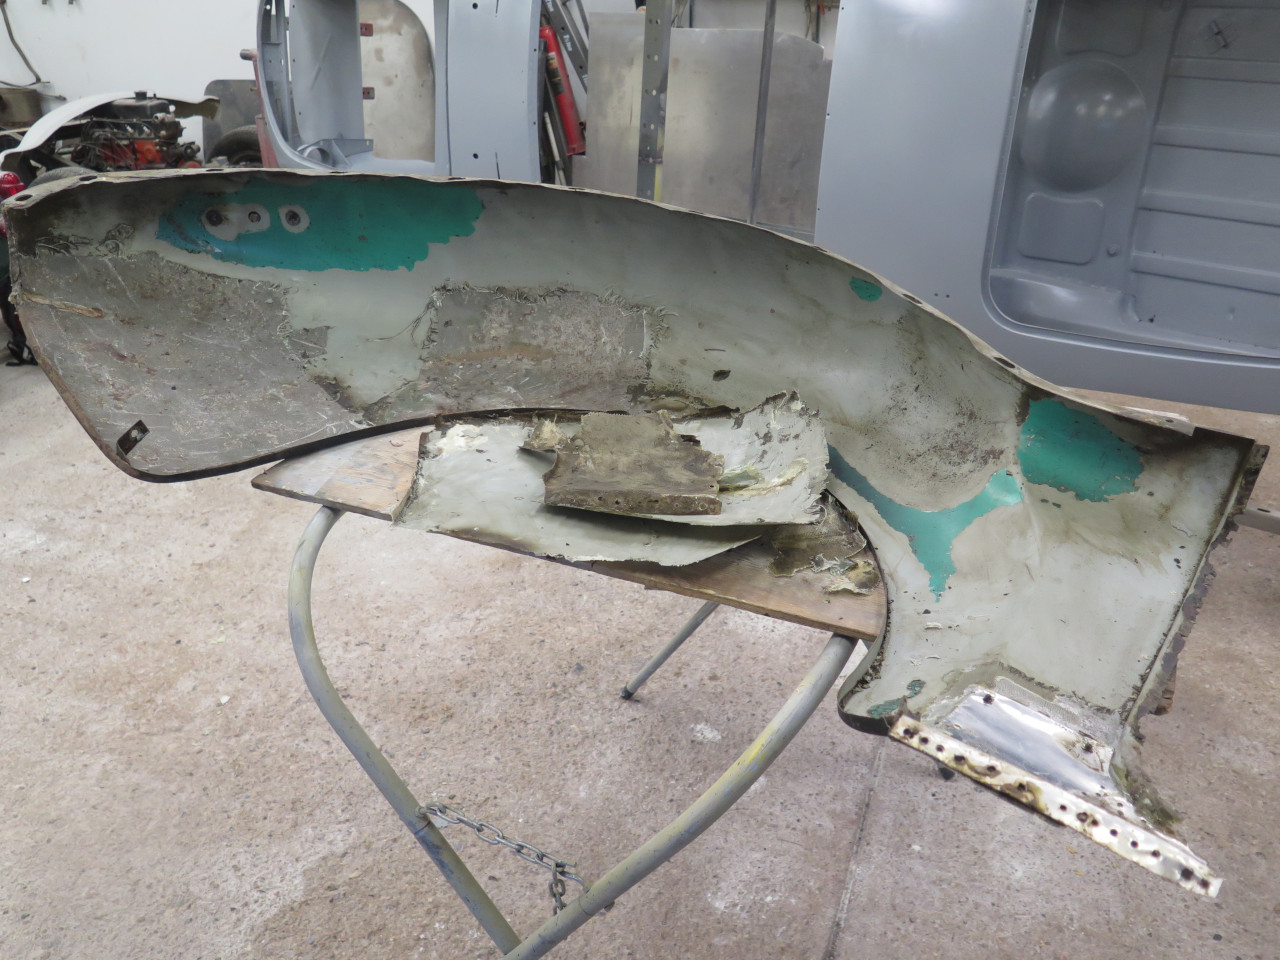
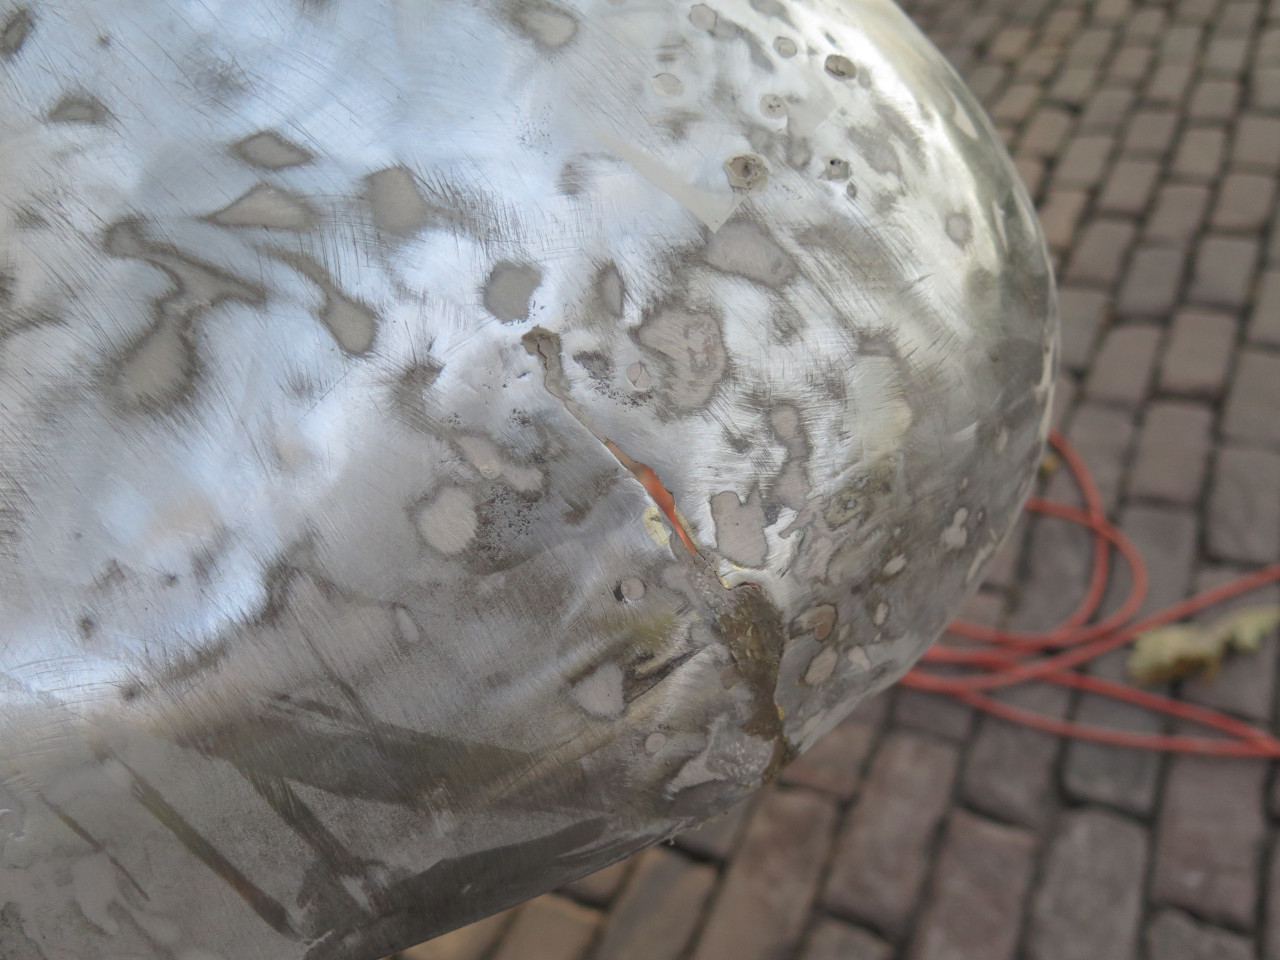
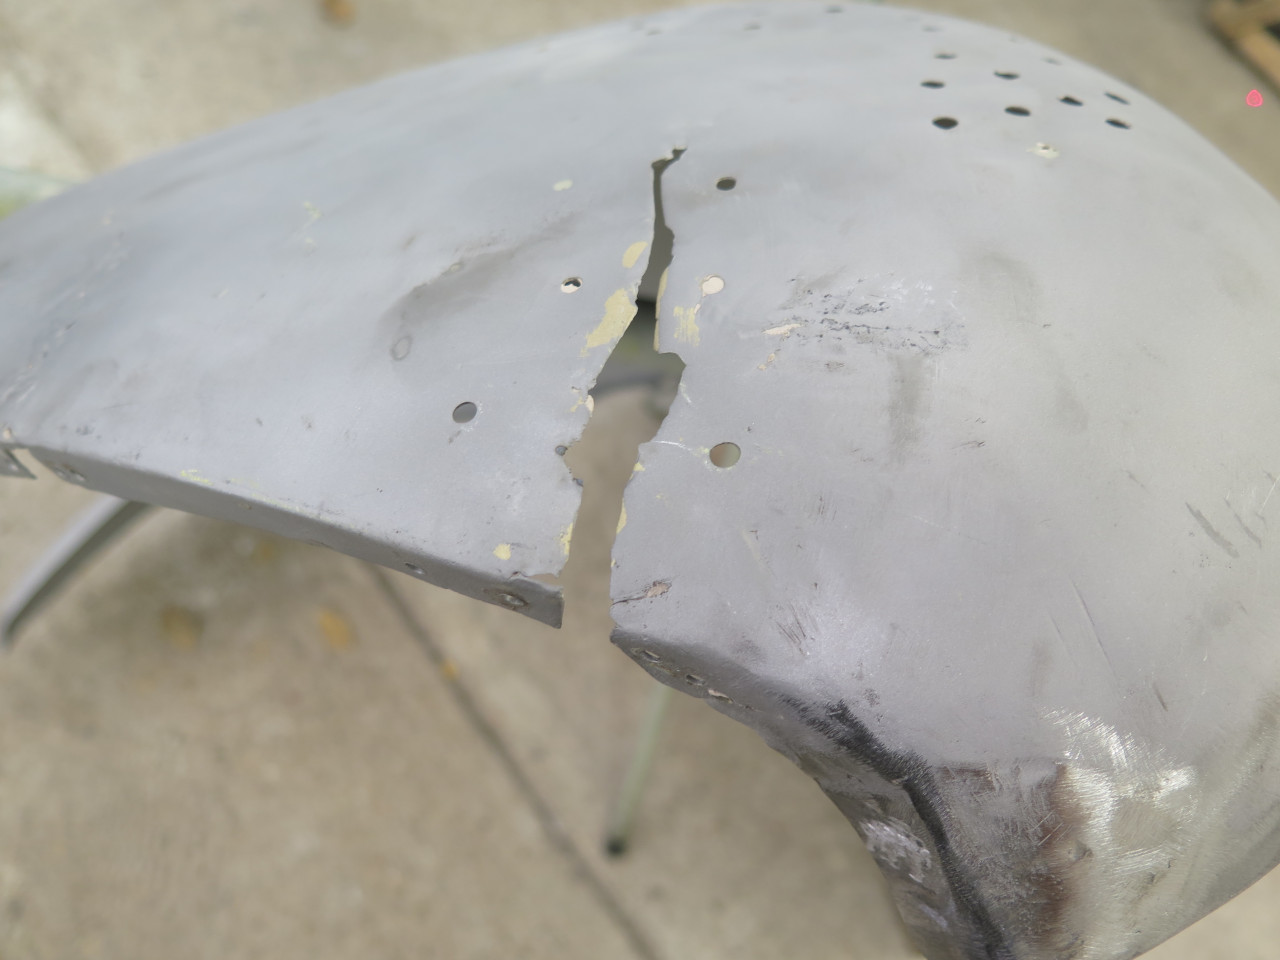
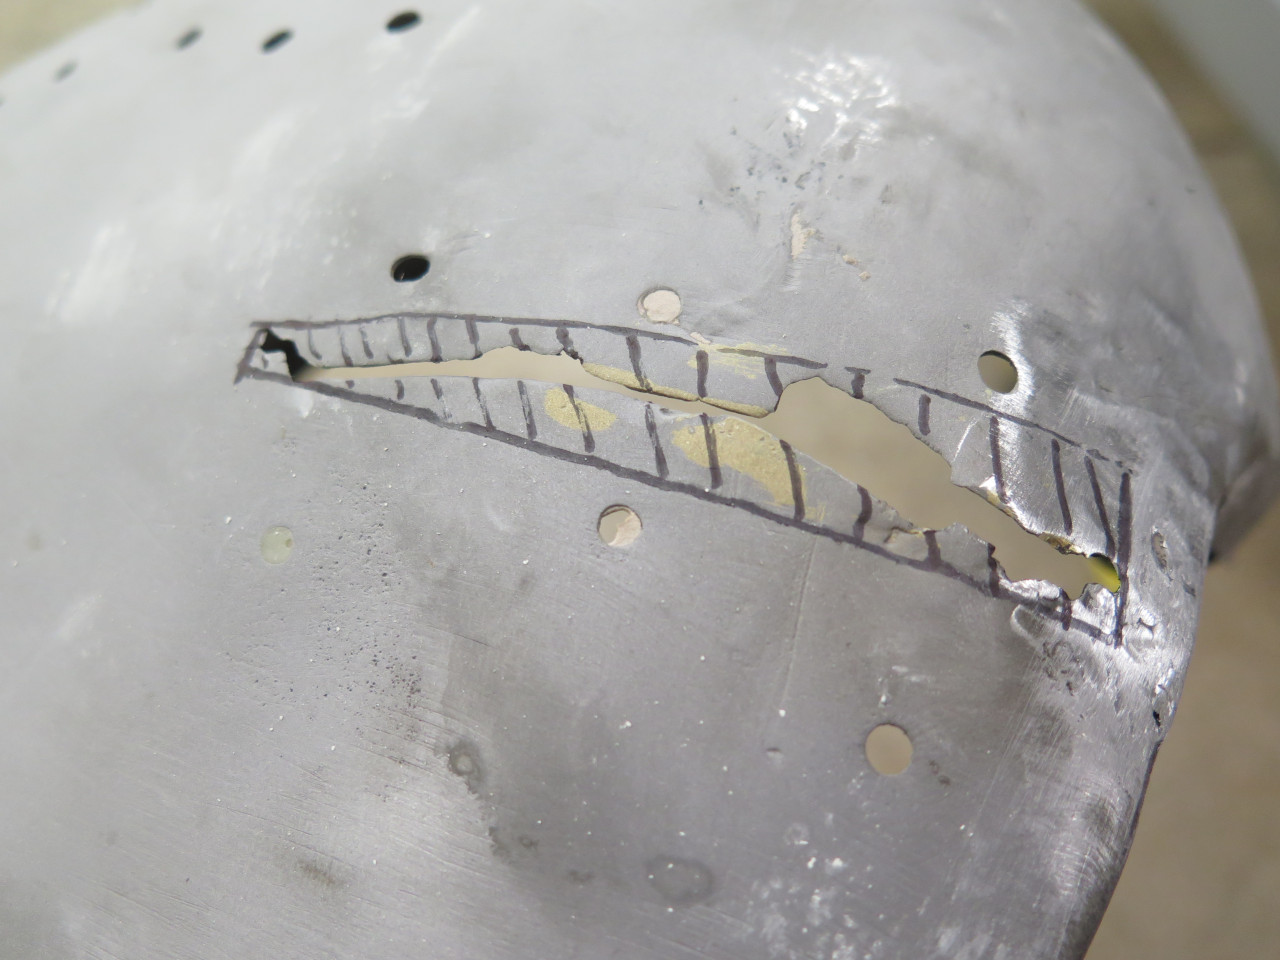
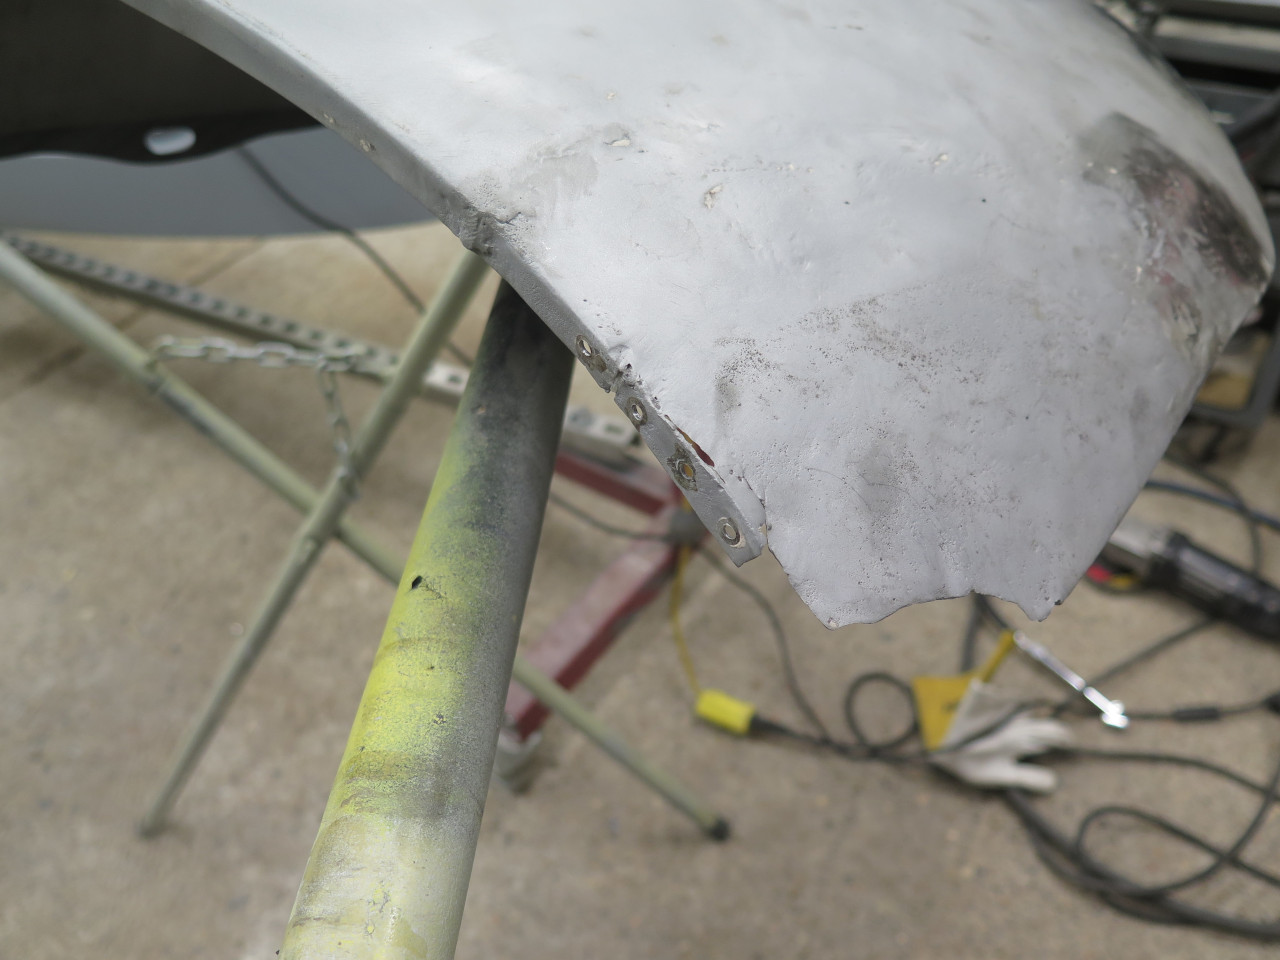
There was a big split on the buttock.
And the rear bottom corner of the wheel opening had gone wonky, with
remnants of a half-arsed repair. The bad part was marked for
removal.
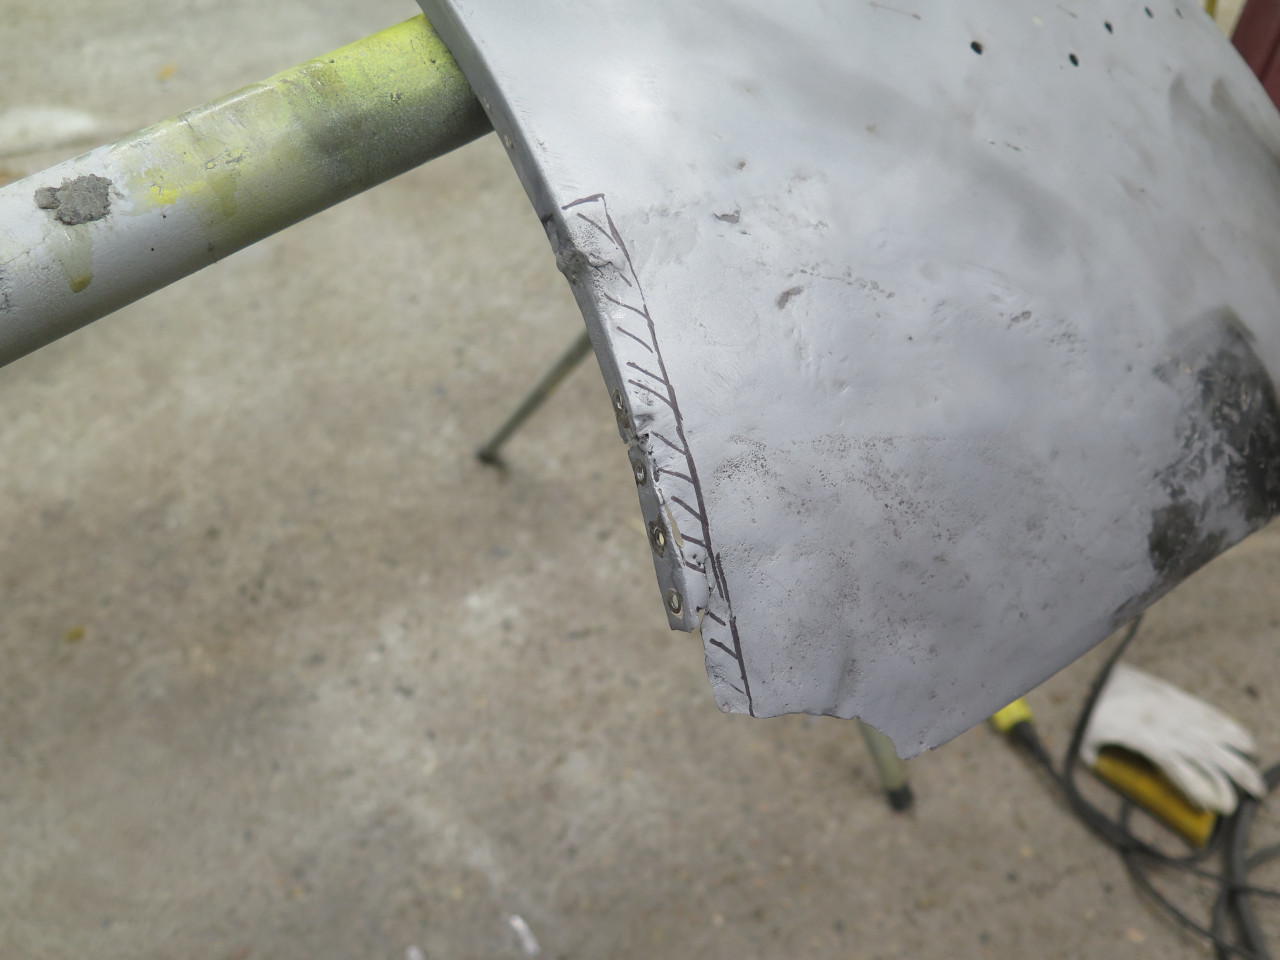
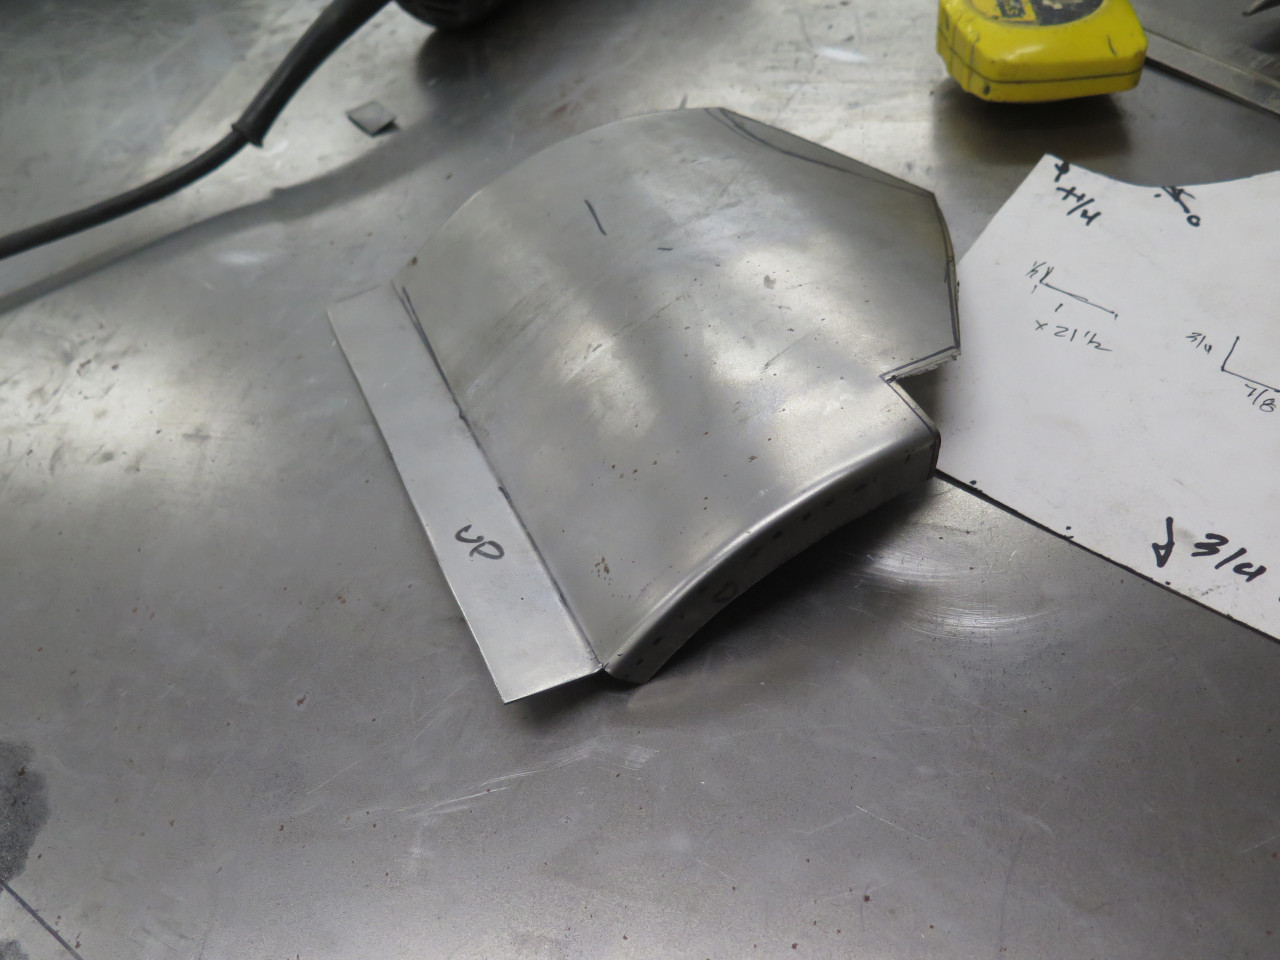
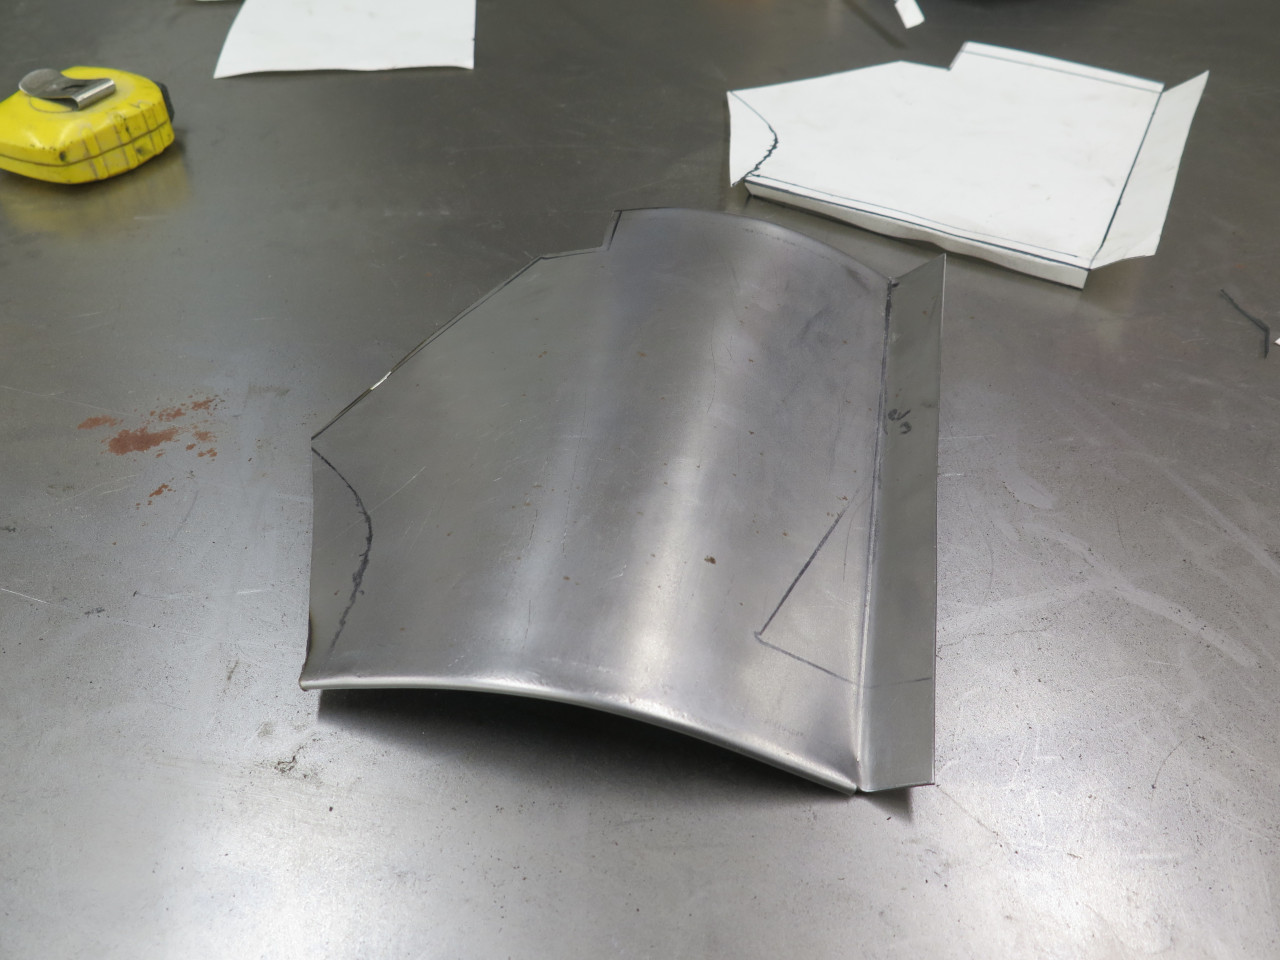
I made a little right angle patch piece and used the other wing, which was in better shape in this area, to get the curve right.
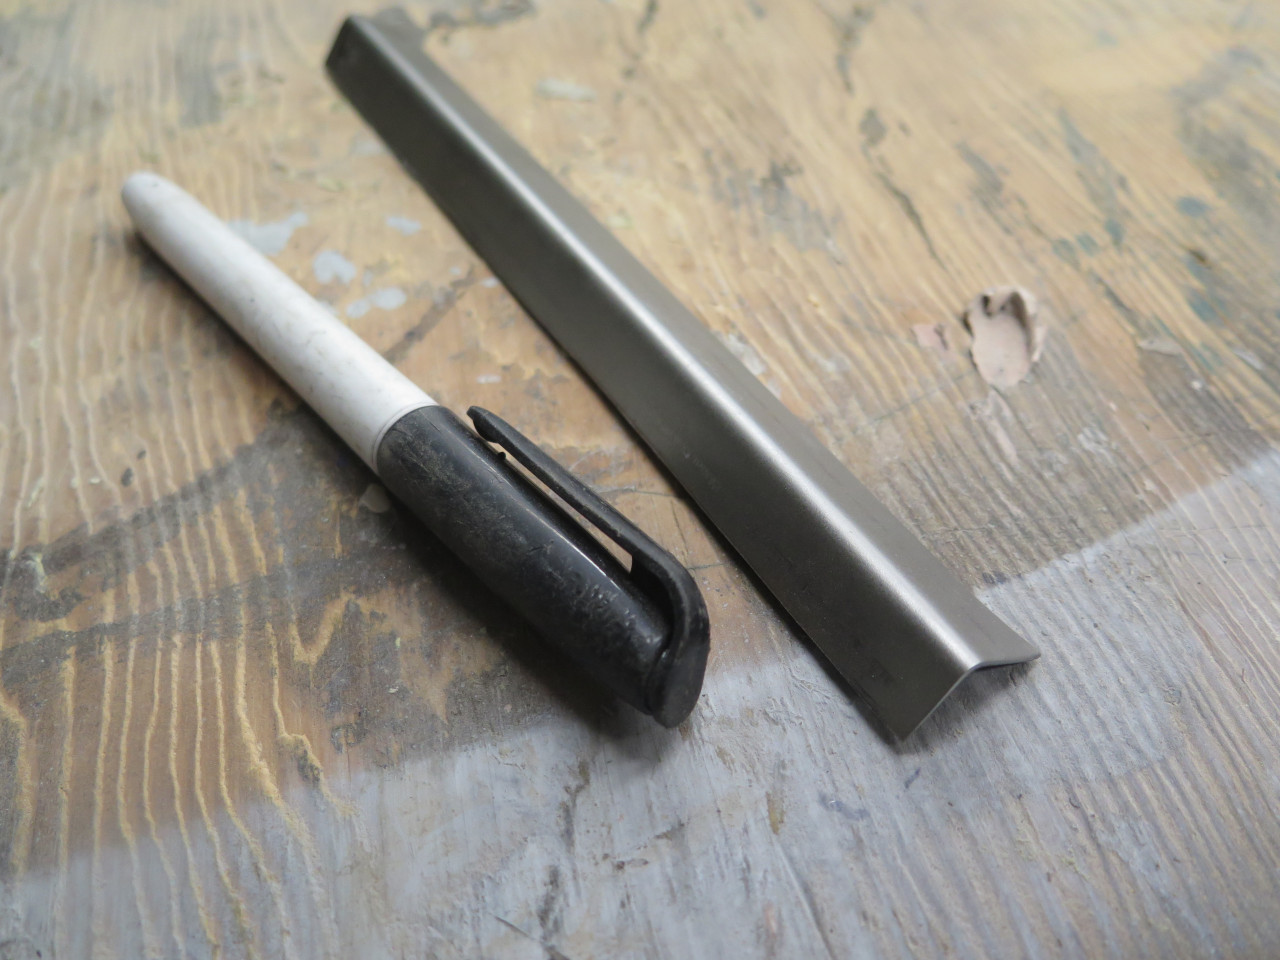
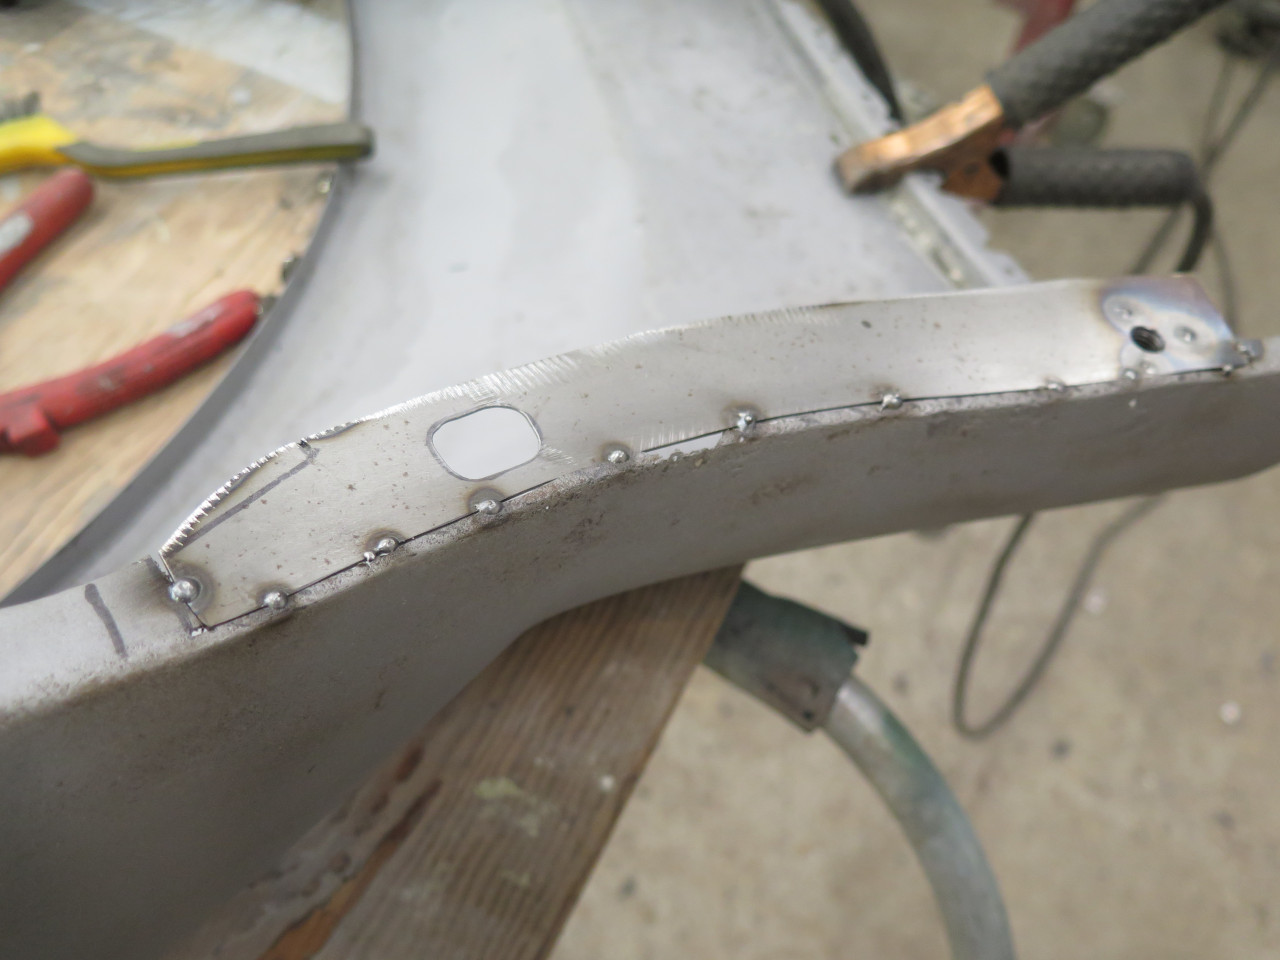
Tacked 'er in, then added a triangular piece.
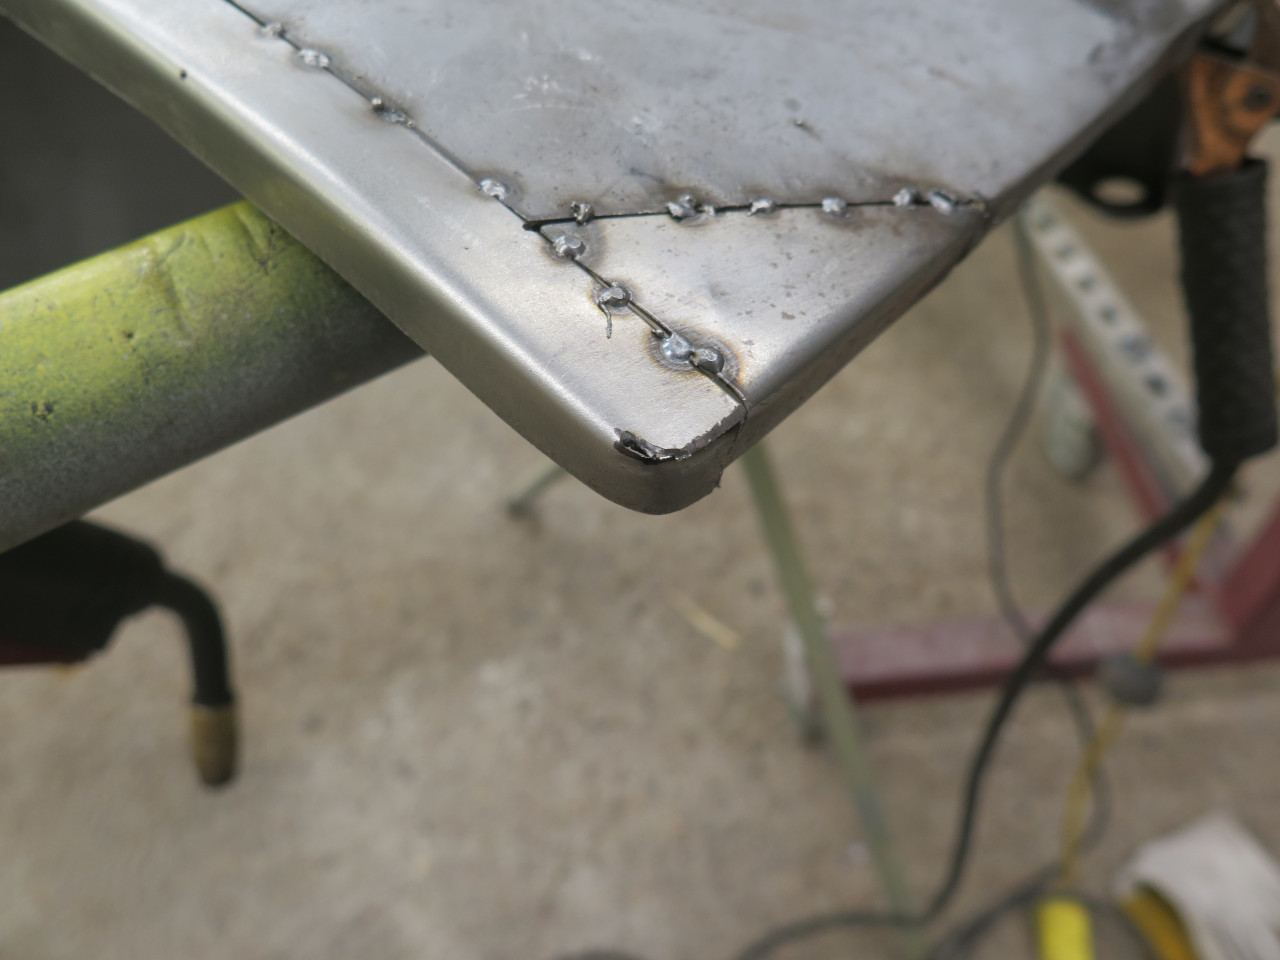
There were a few little fixes like this around the perimeter of the wheel opening.
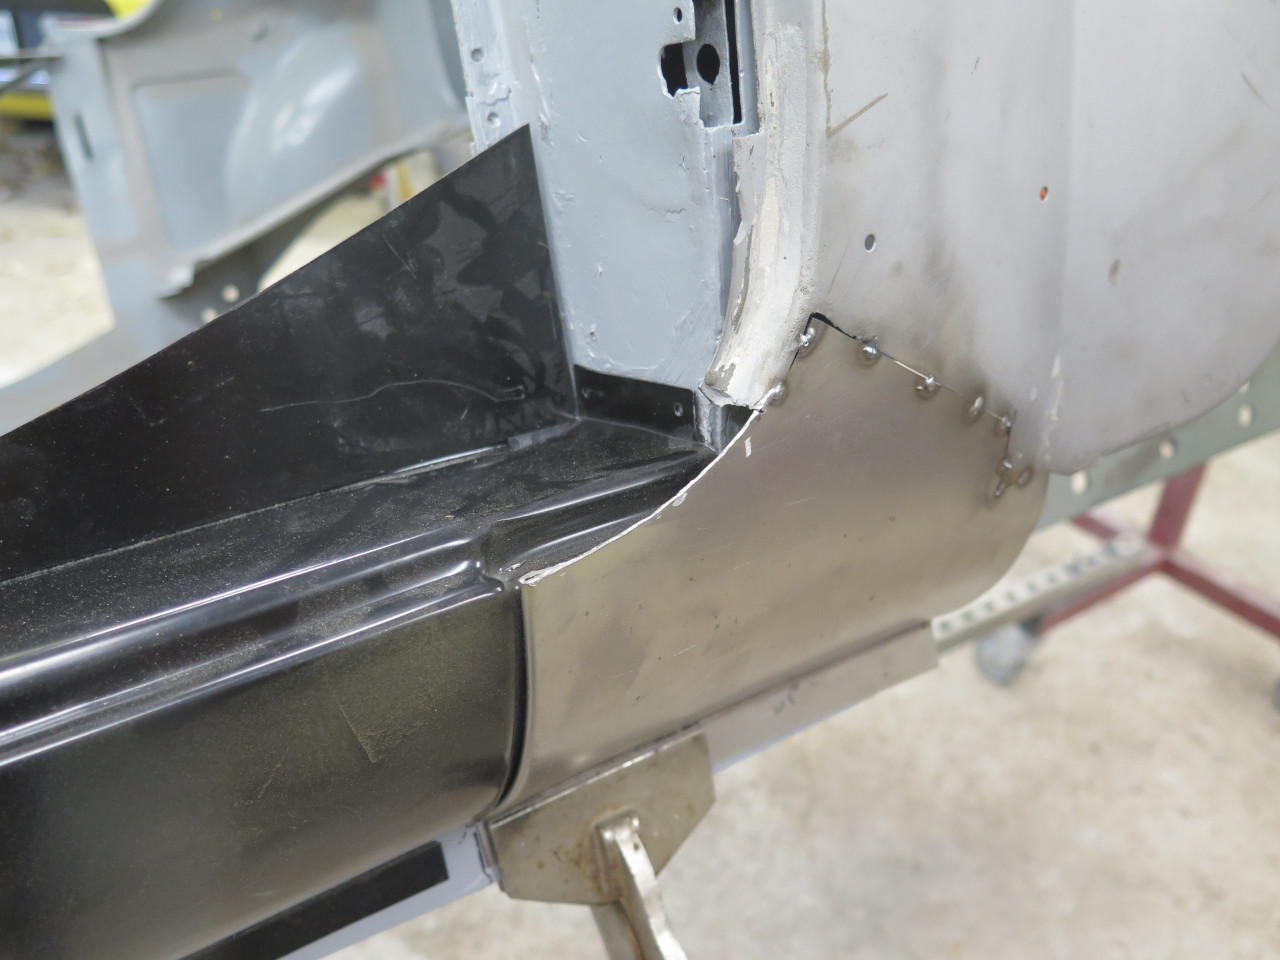
Then, with all the more minor stuff under control, on to that dogleg.
A paper pattern was made from the old fiberglass patch, then transferred to metal.
I really had to install the outer sill temporarily to check the
fit. I had installed fiberglass sills in the previous work, but
they were a little beat up, so I preferred to use new metal ones.
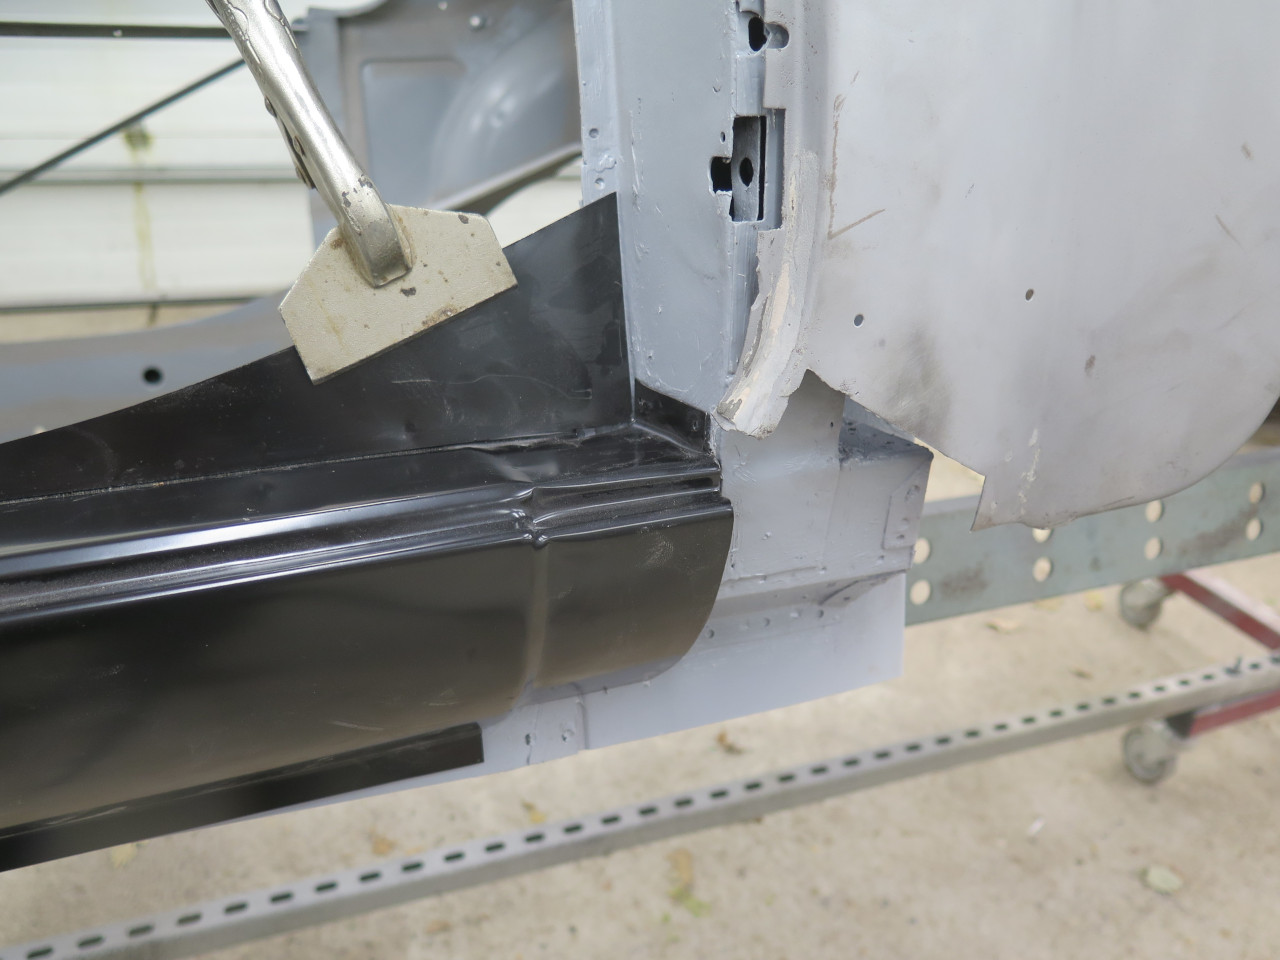
The patch didn't fit that well...
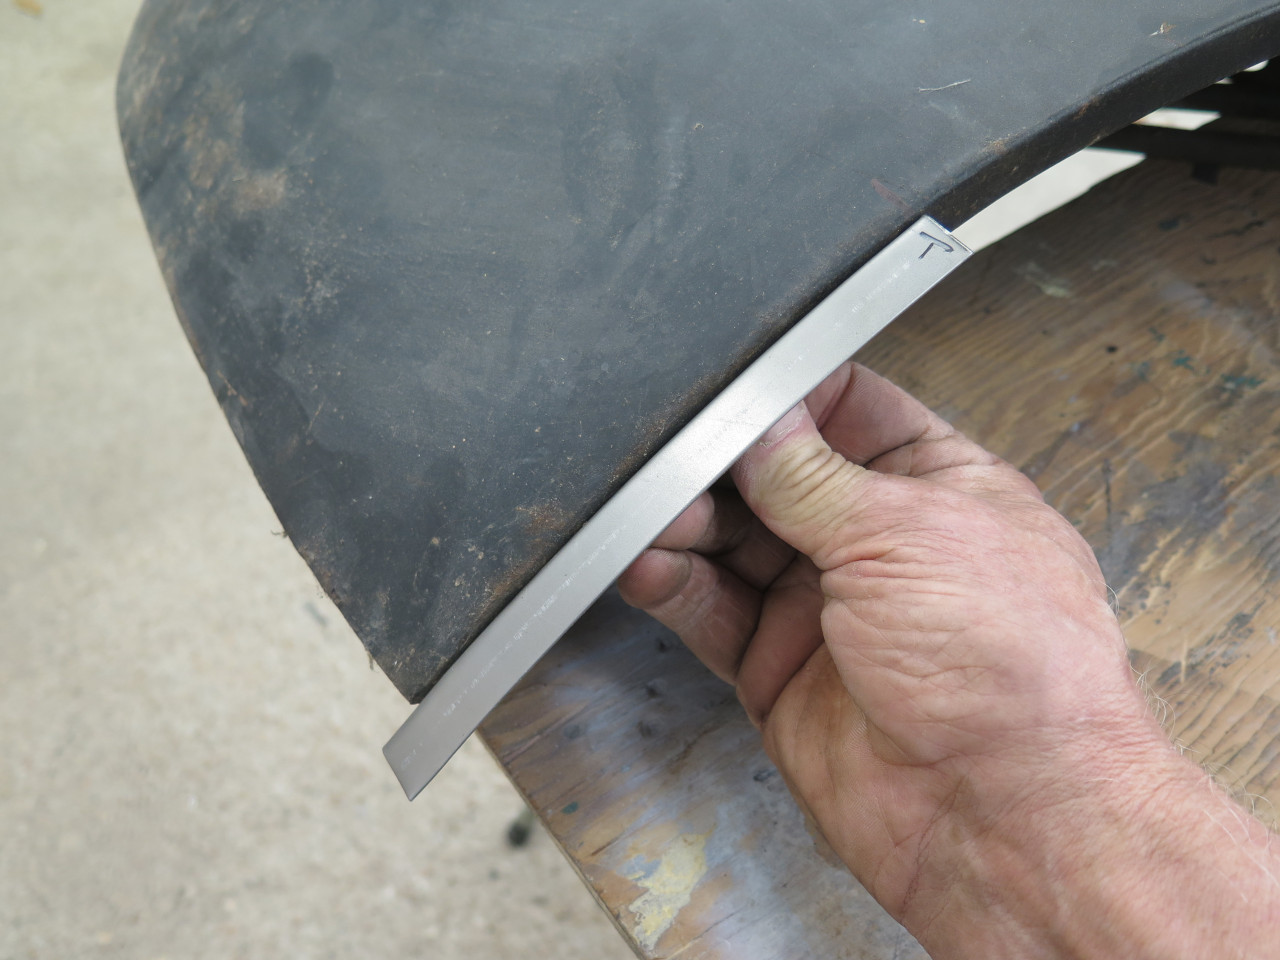
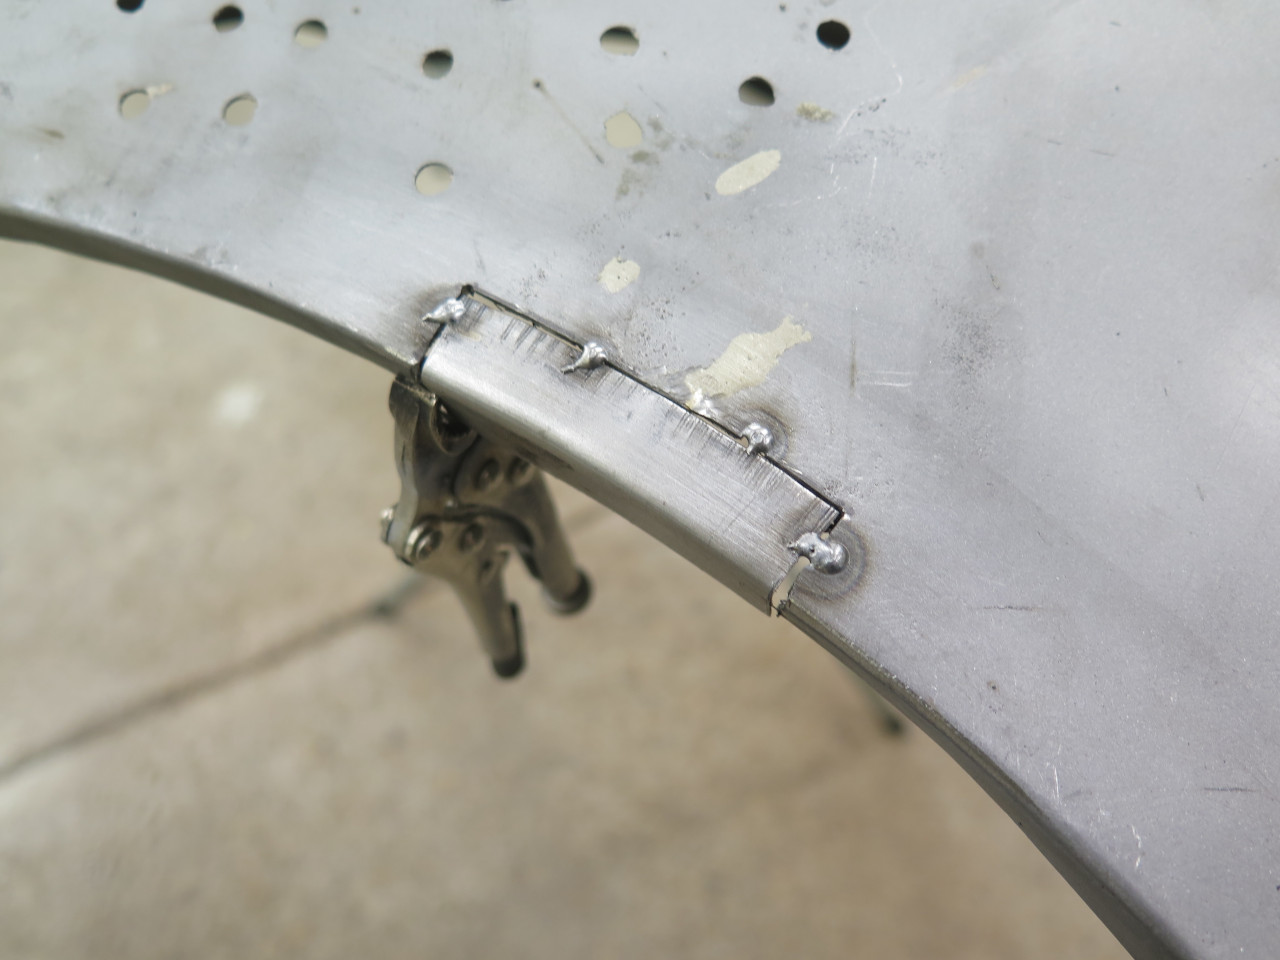
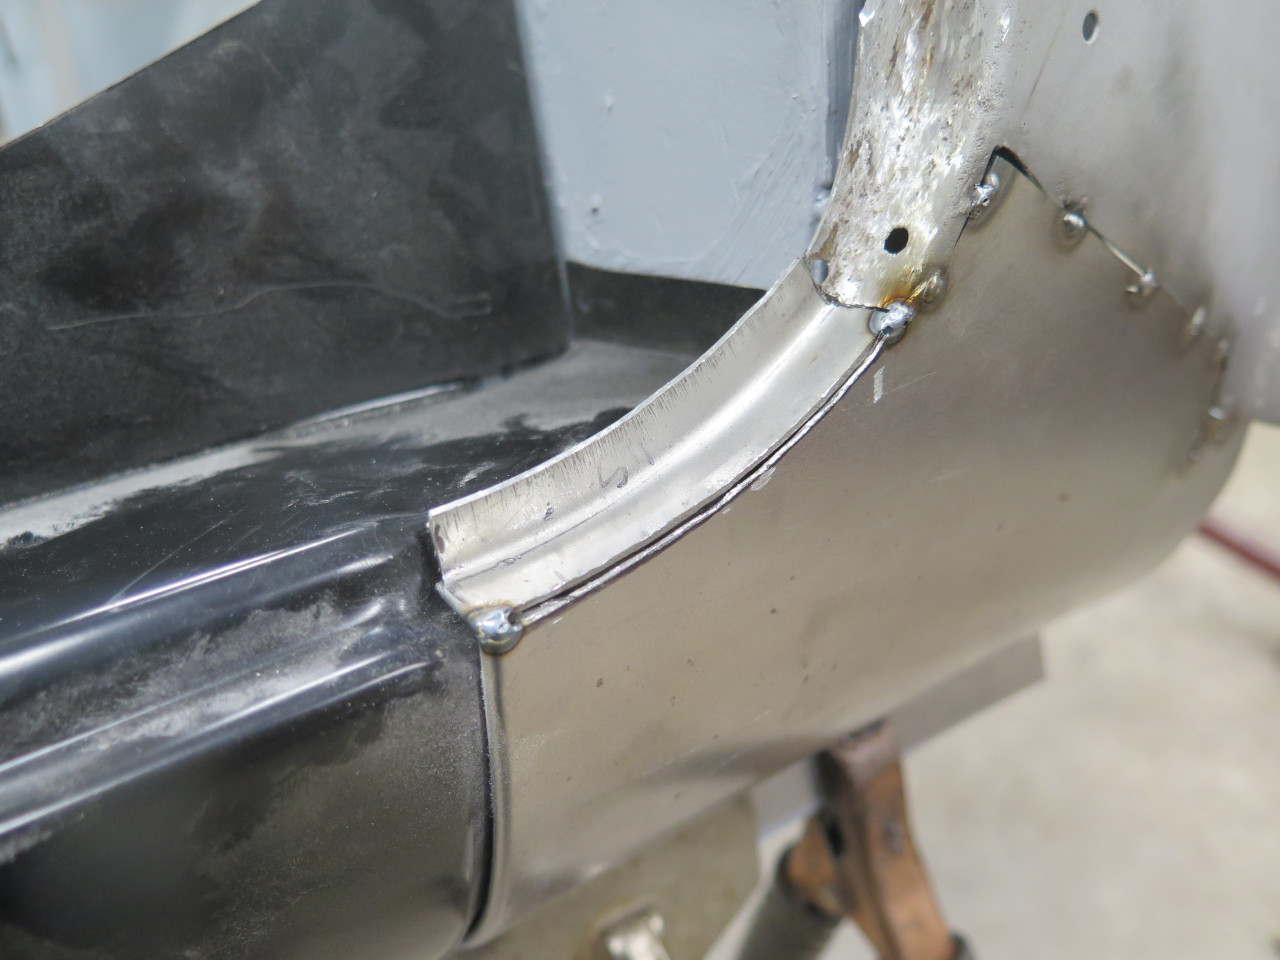
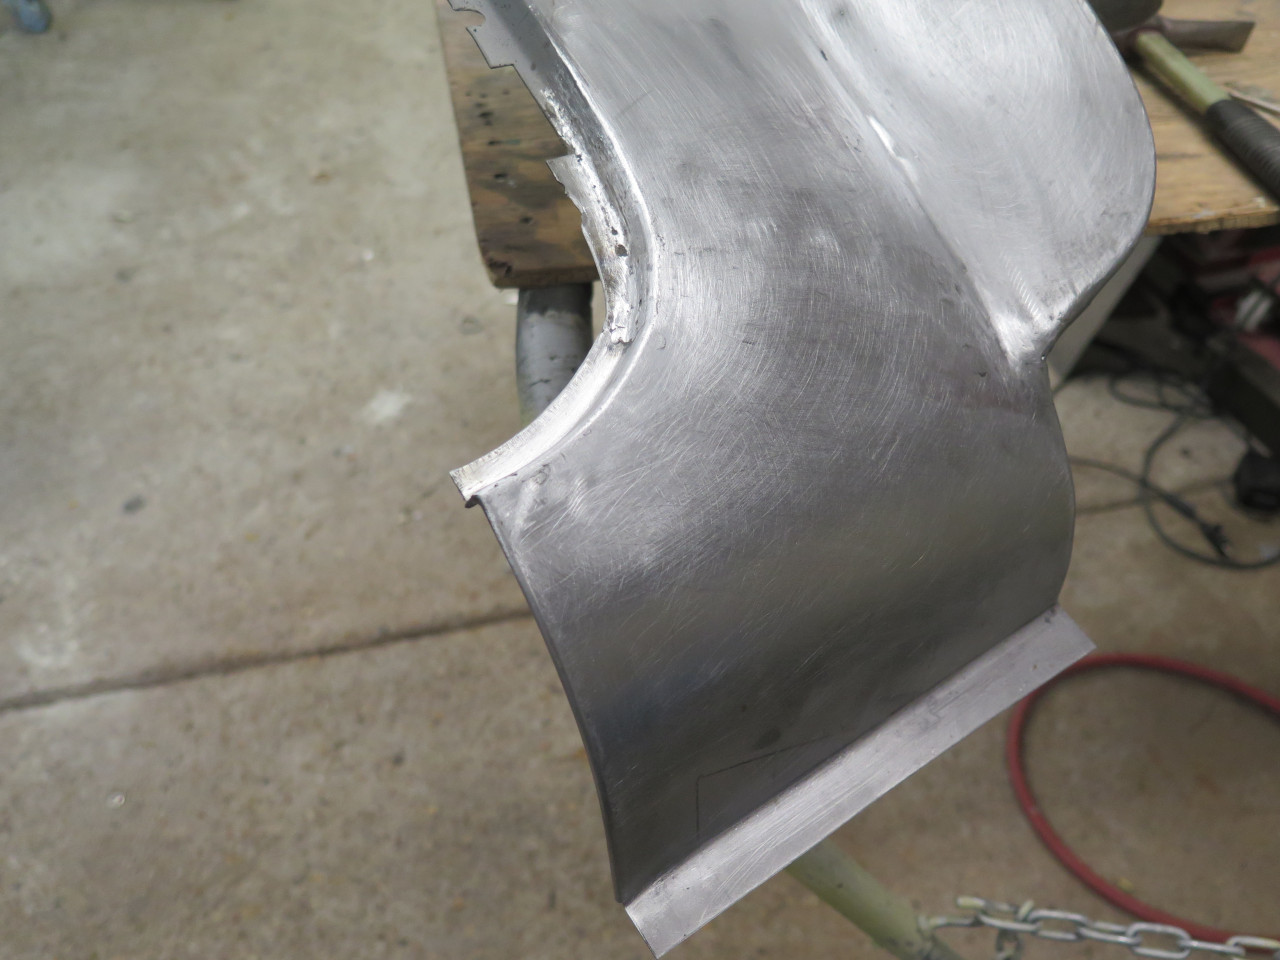
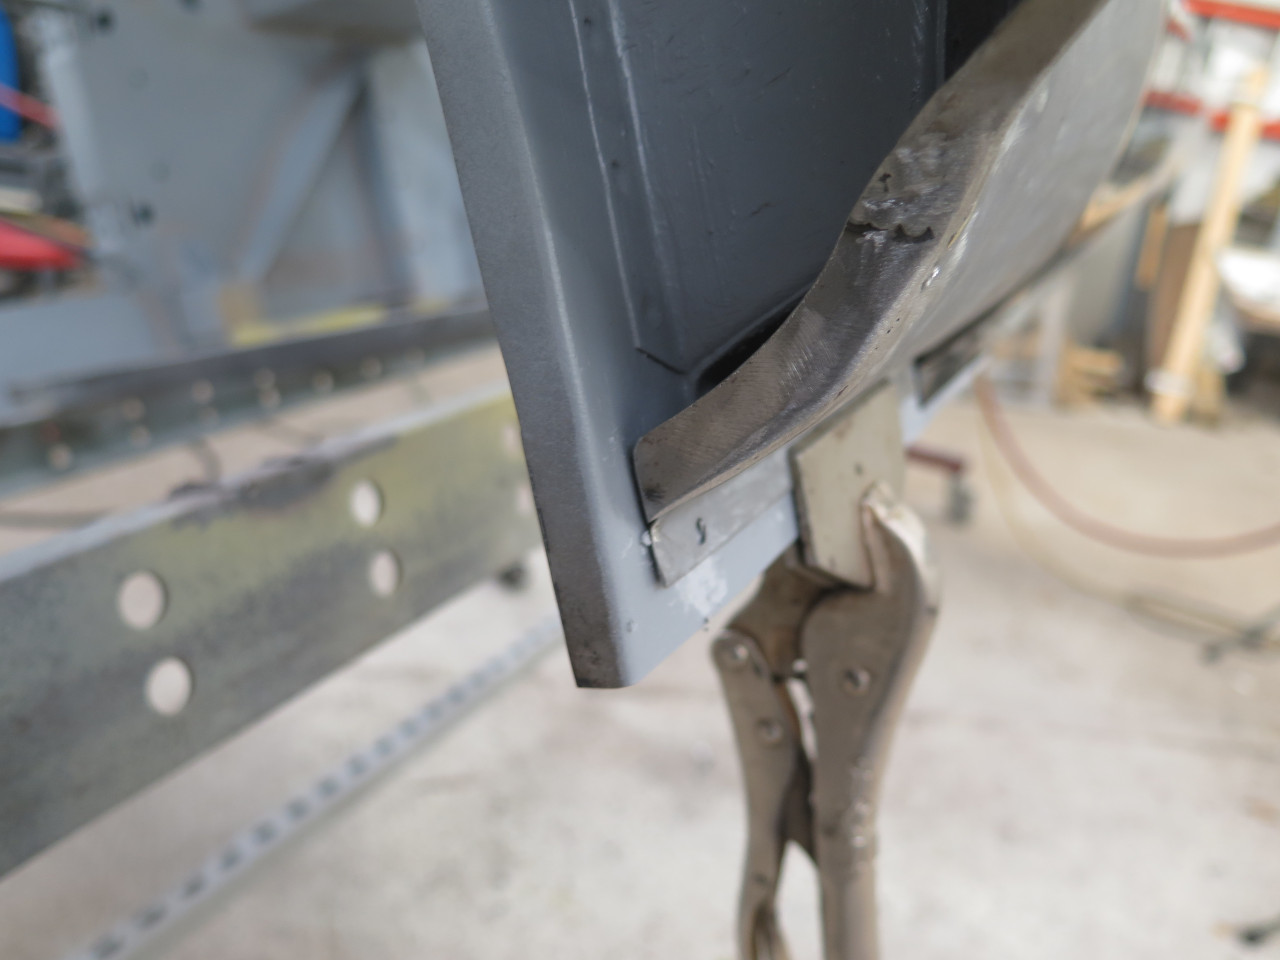
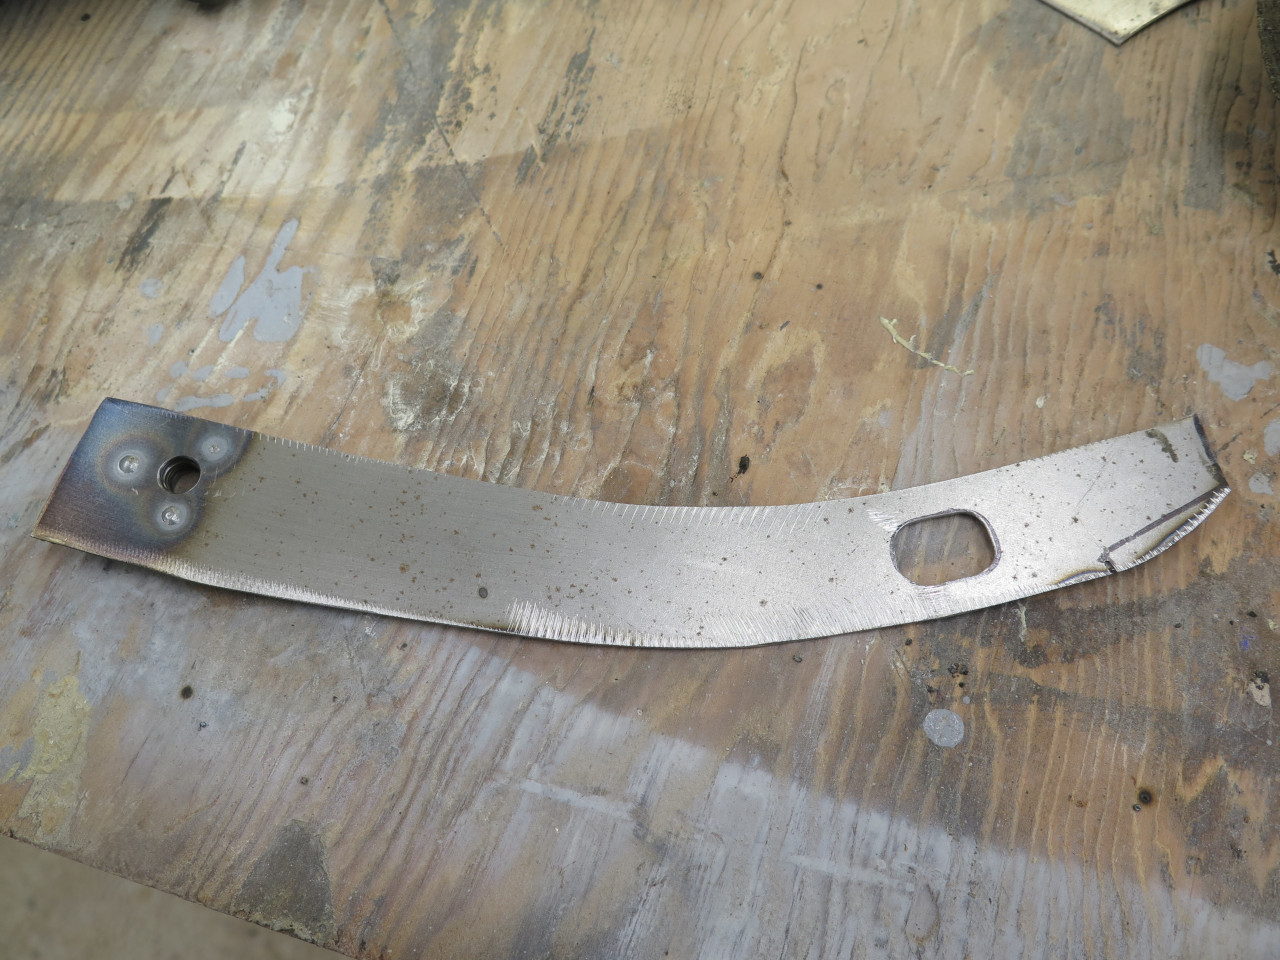
...but it gave me good guidance to make a better patch 2.0. This
one has the doubled over leading edge, and the flange at the rear.
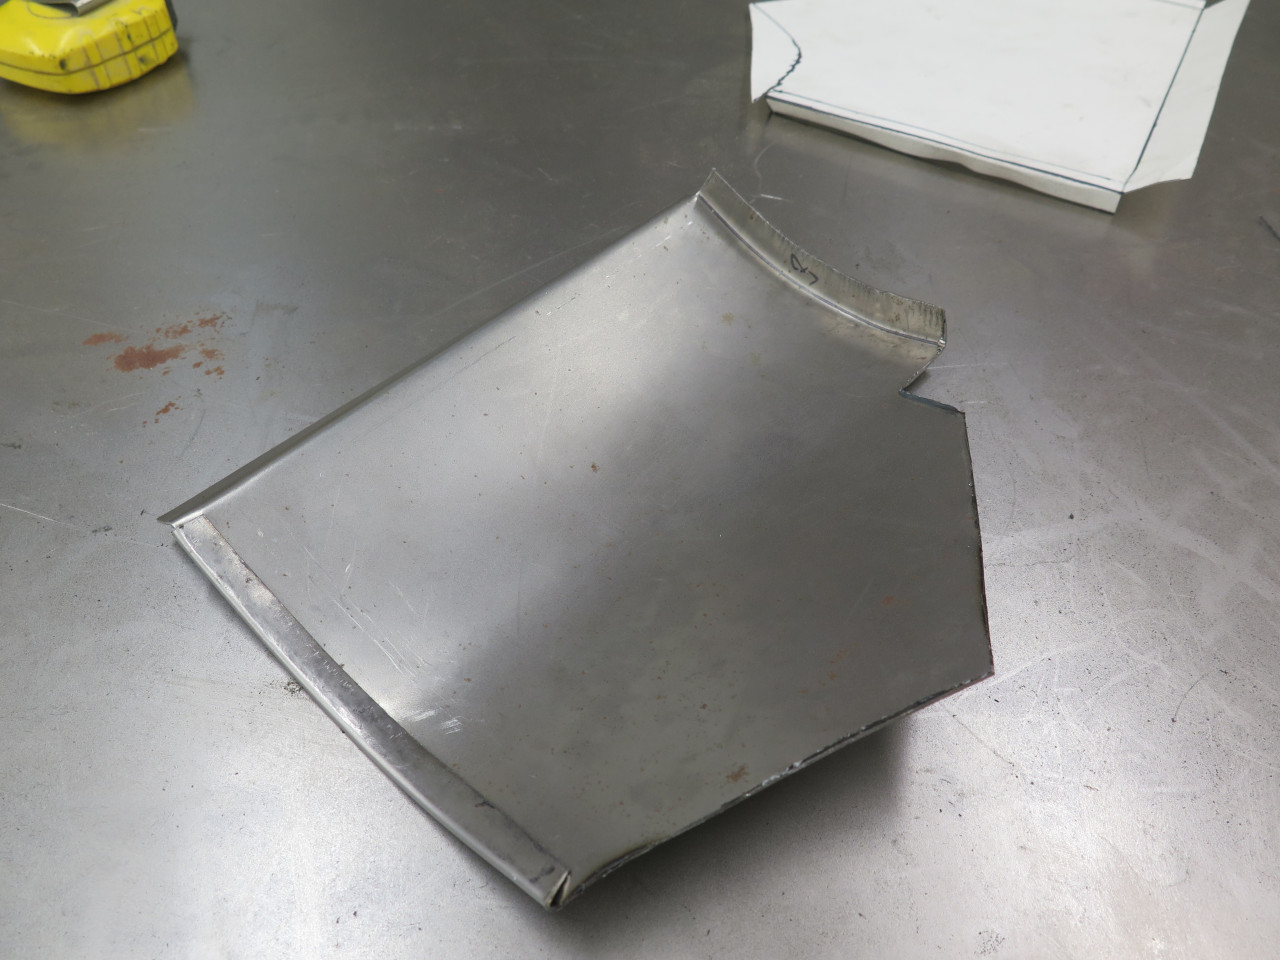
Much mo' betta'. The radius for the door corner is still uncut.
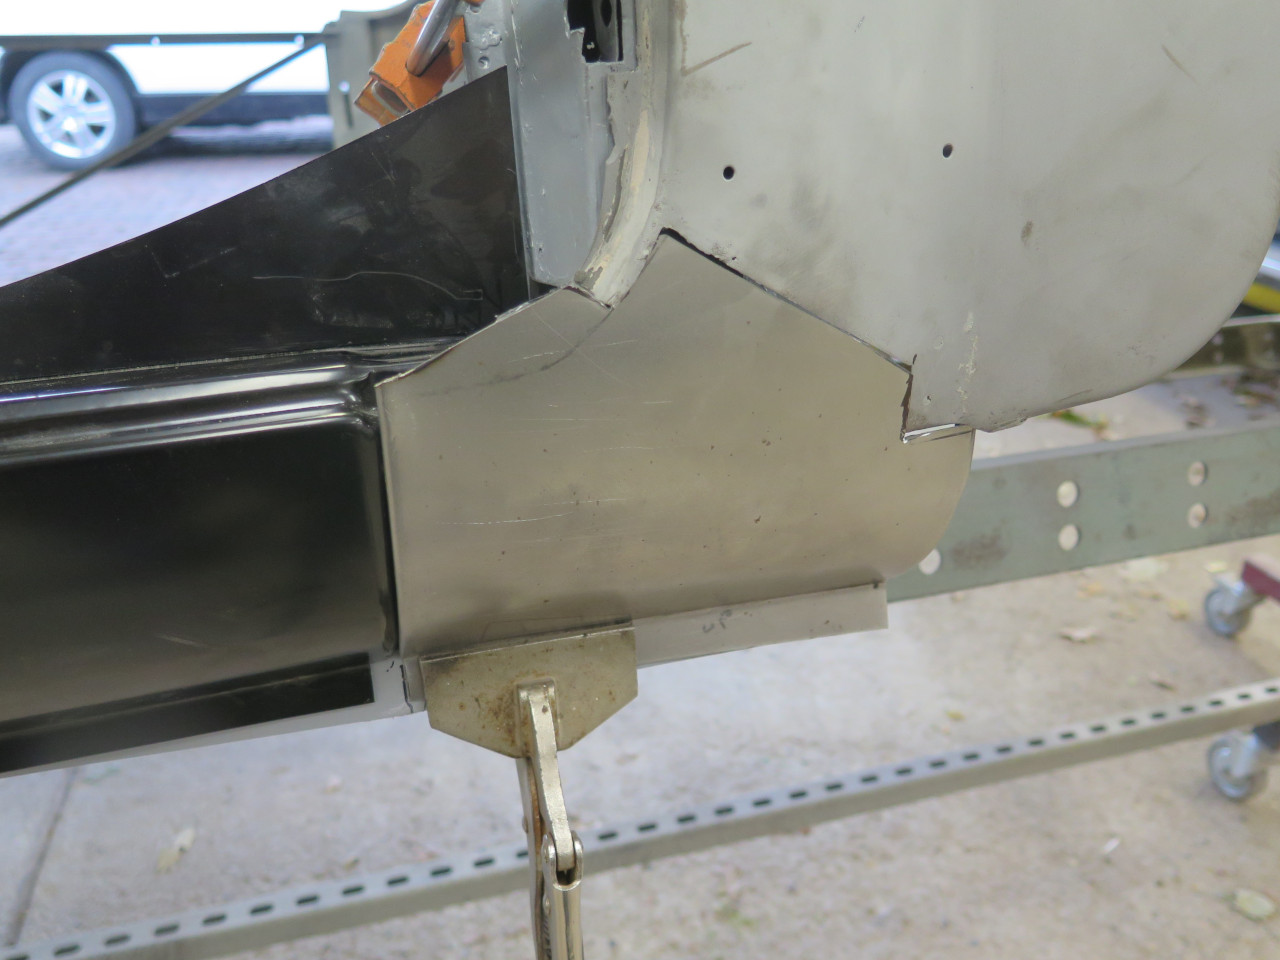
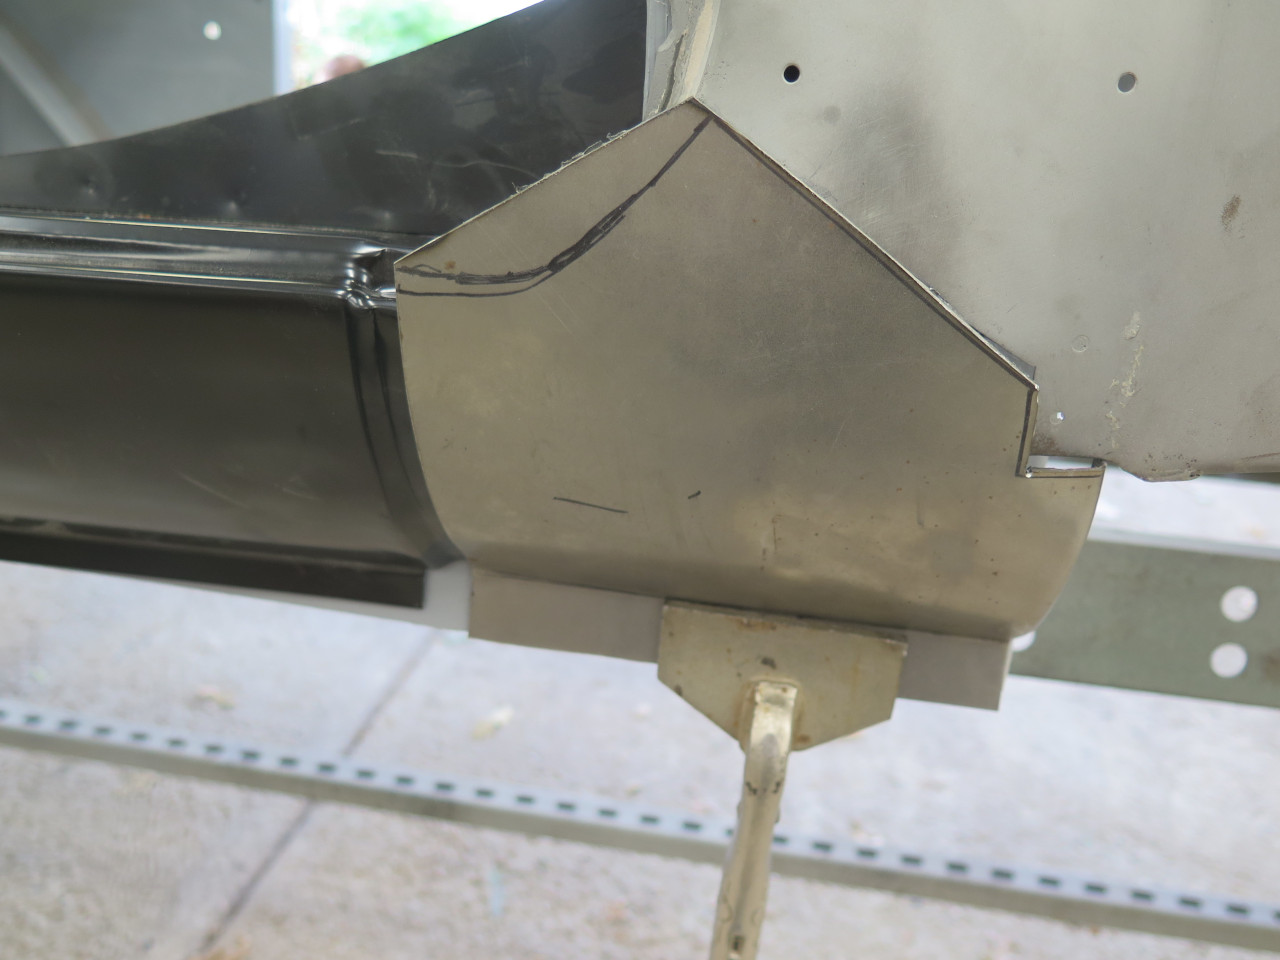
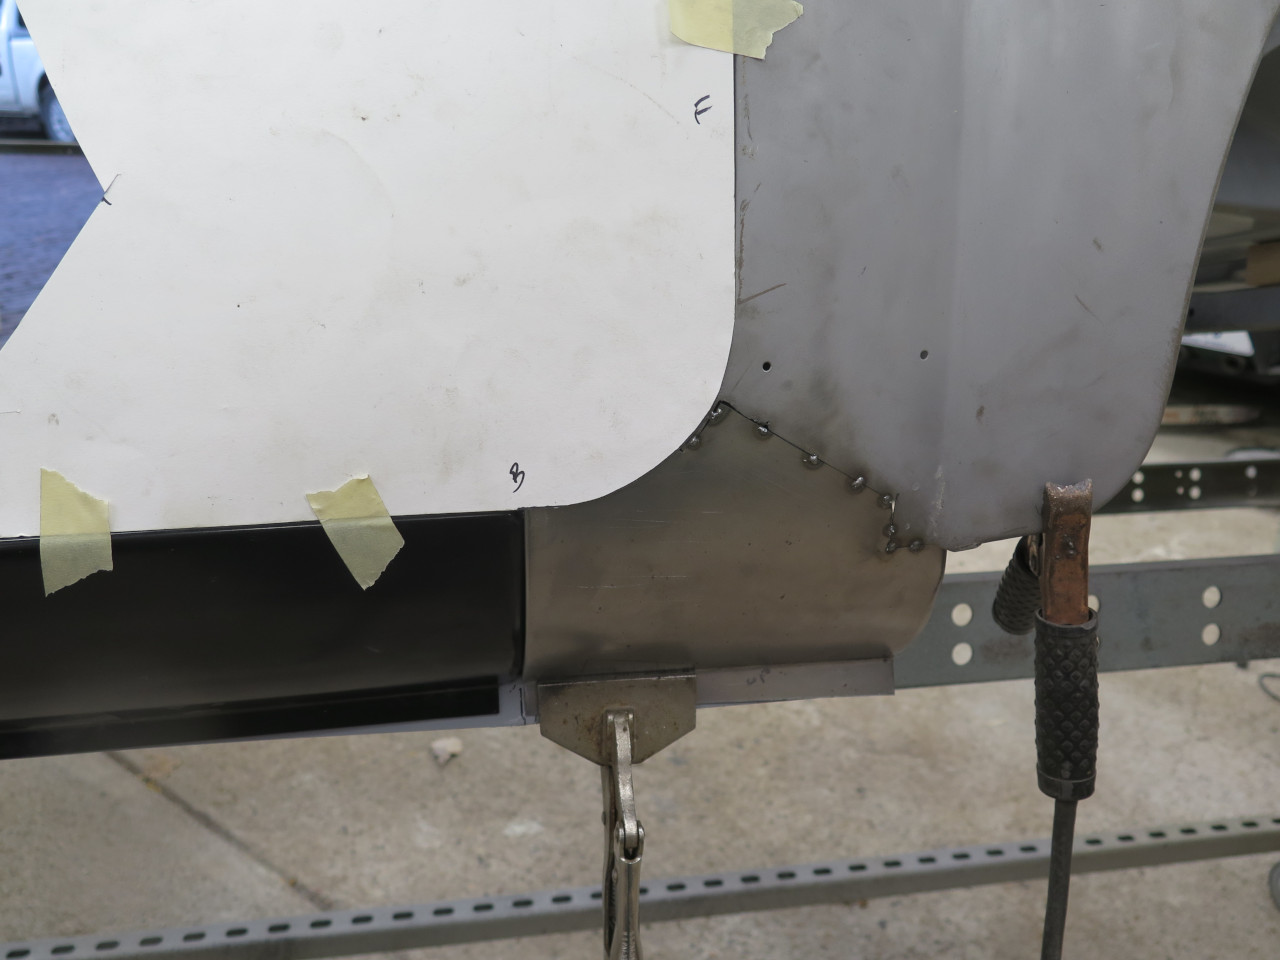
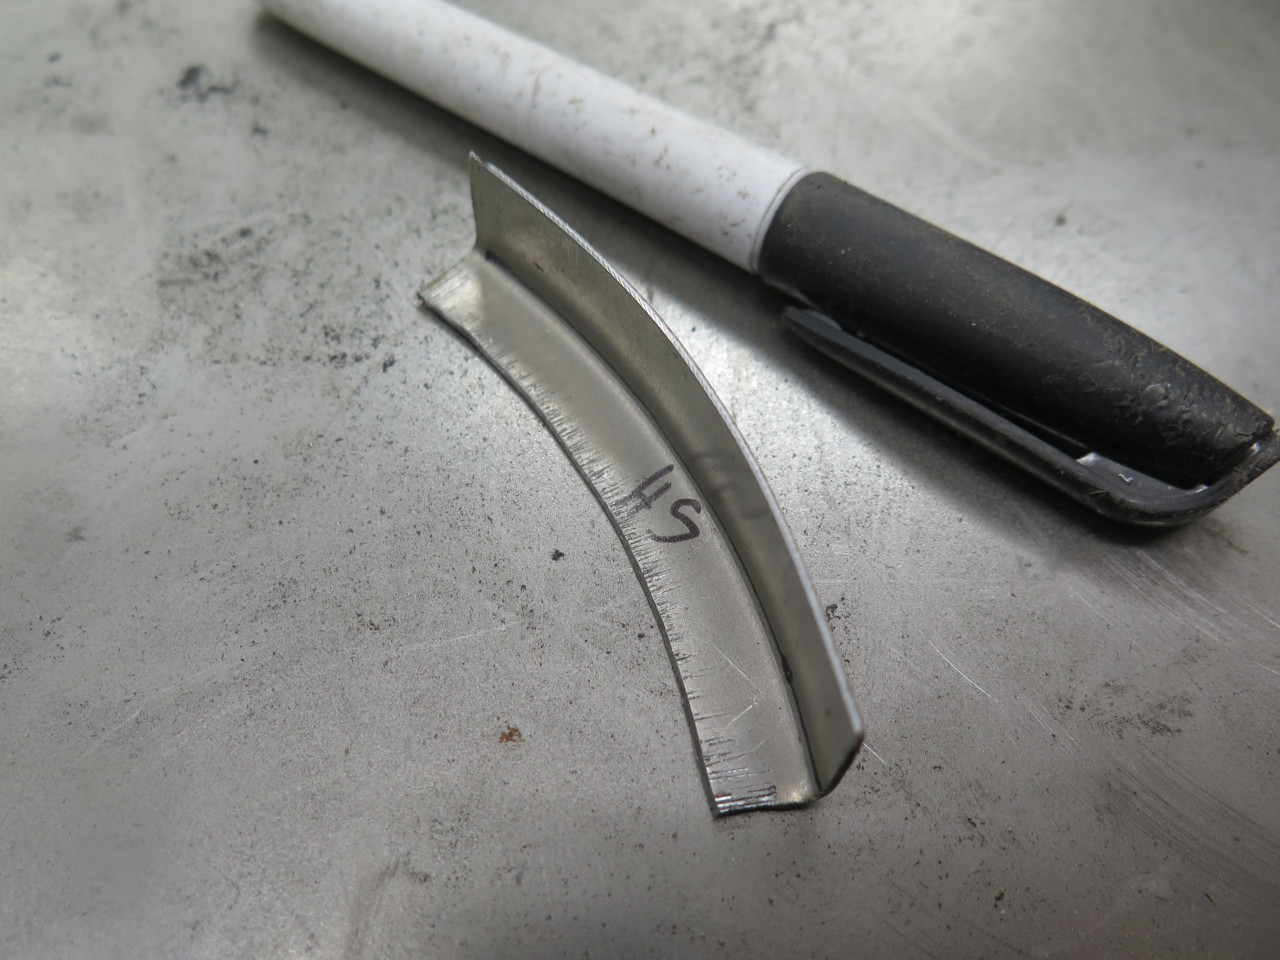
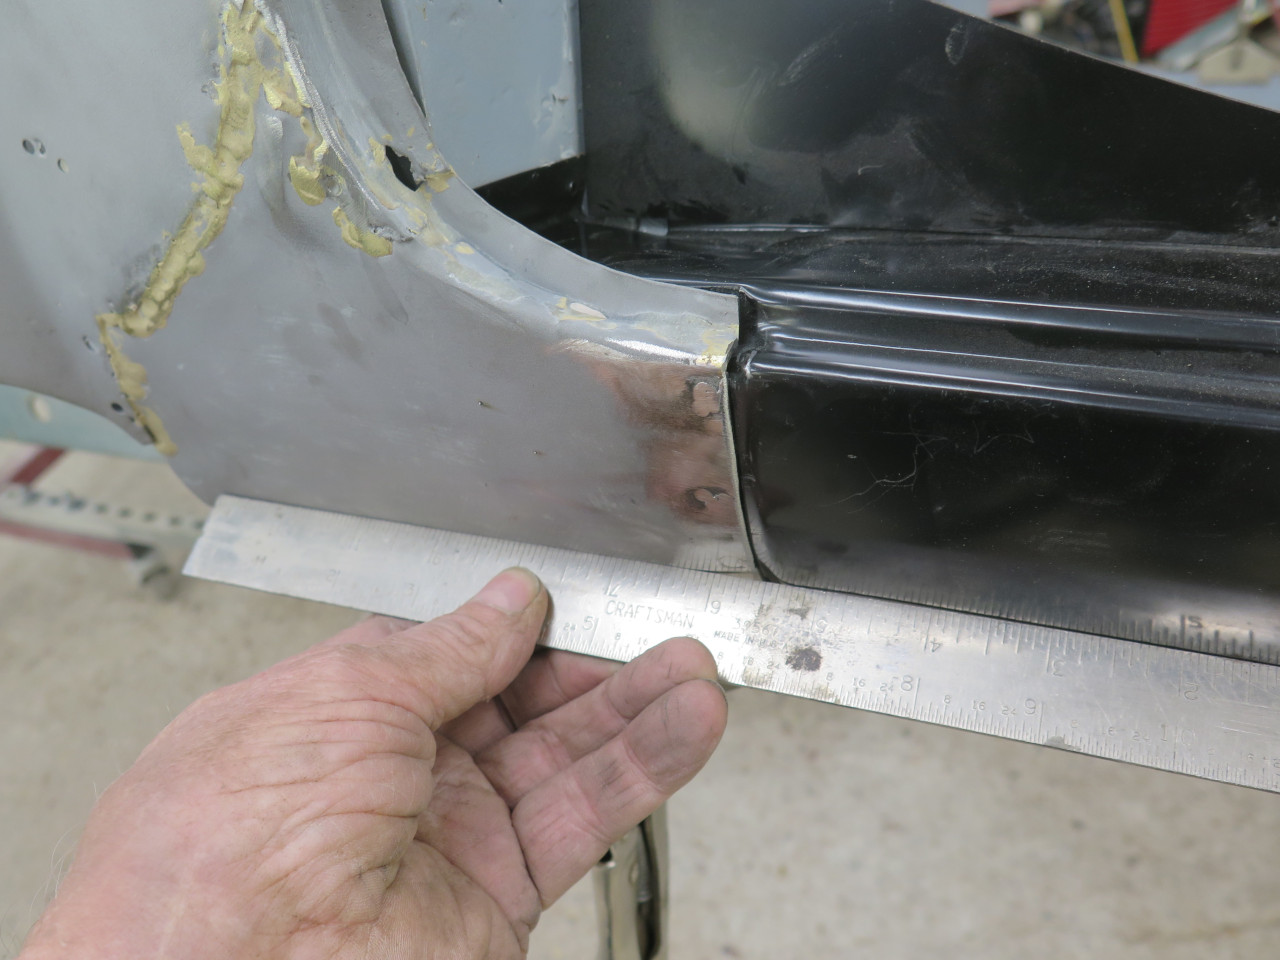
I made a template from the door that included an allowance for the gap. This allowed marking to cut the curve.
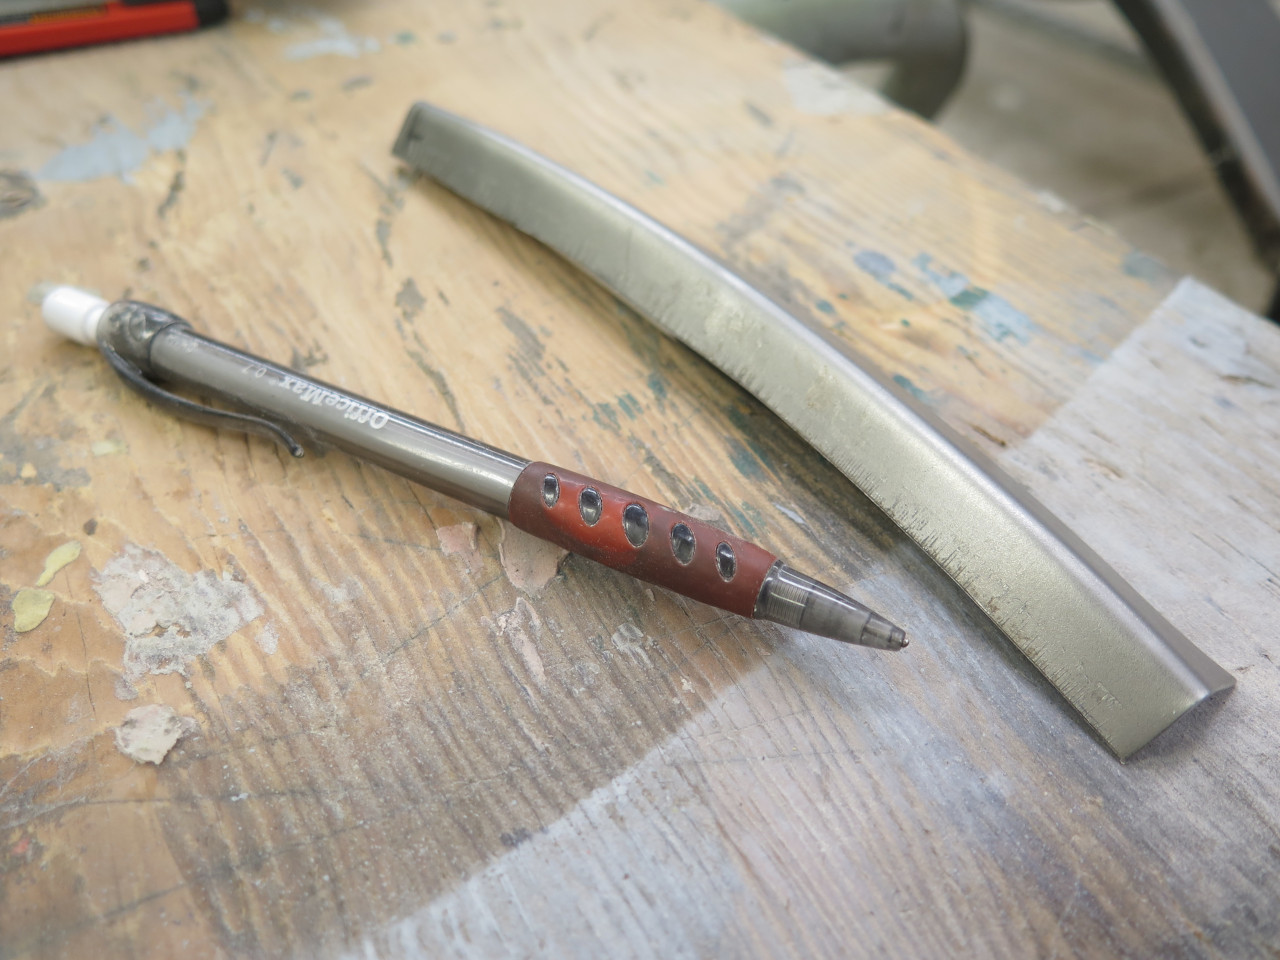
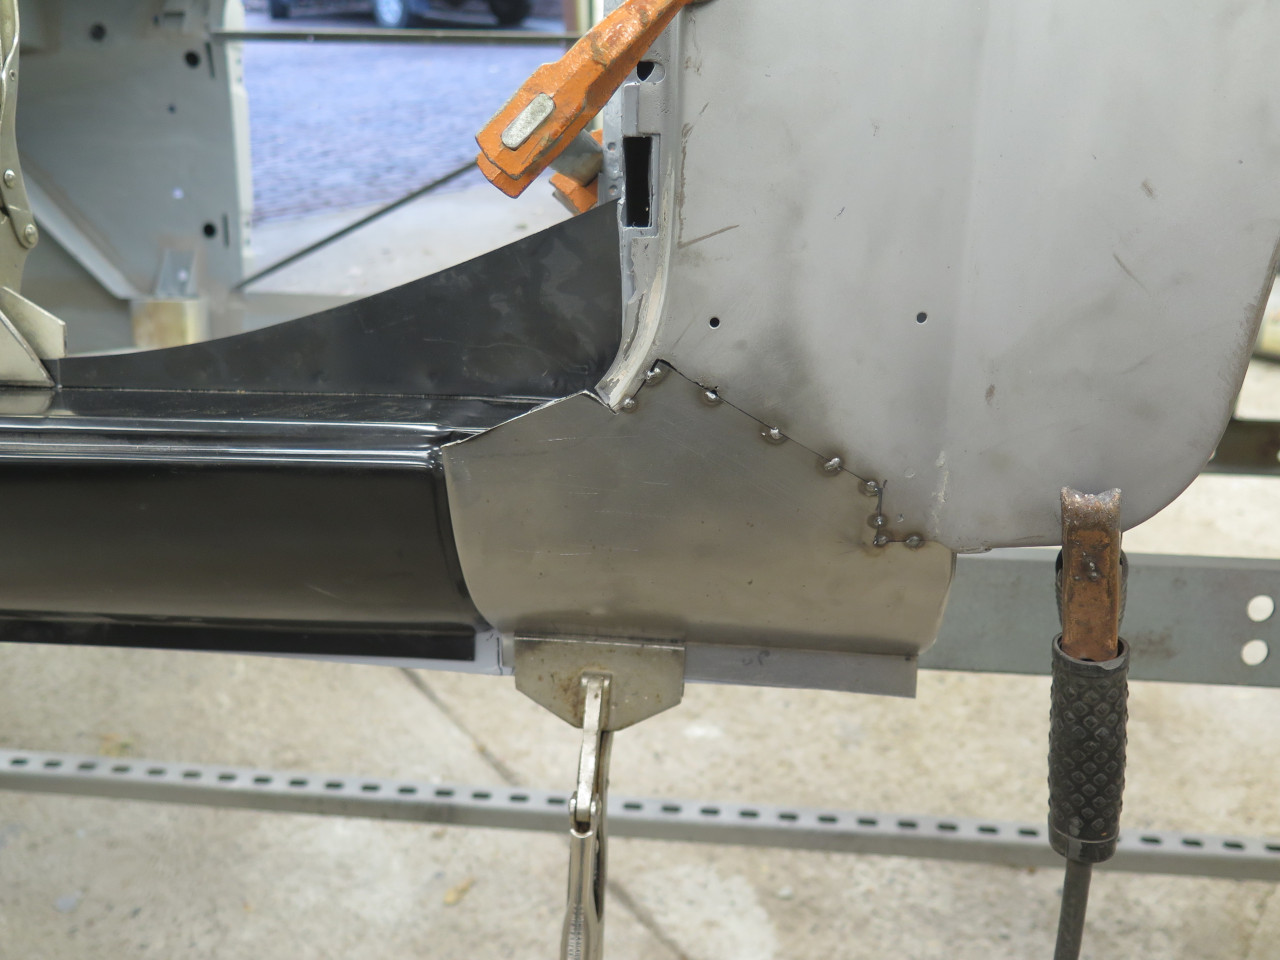
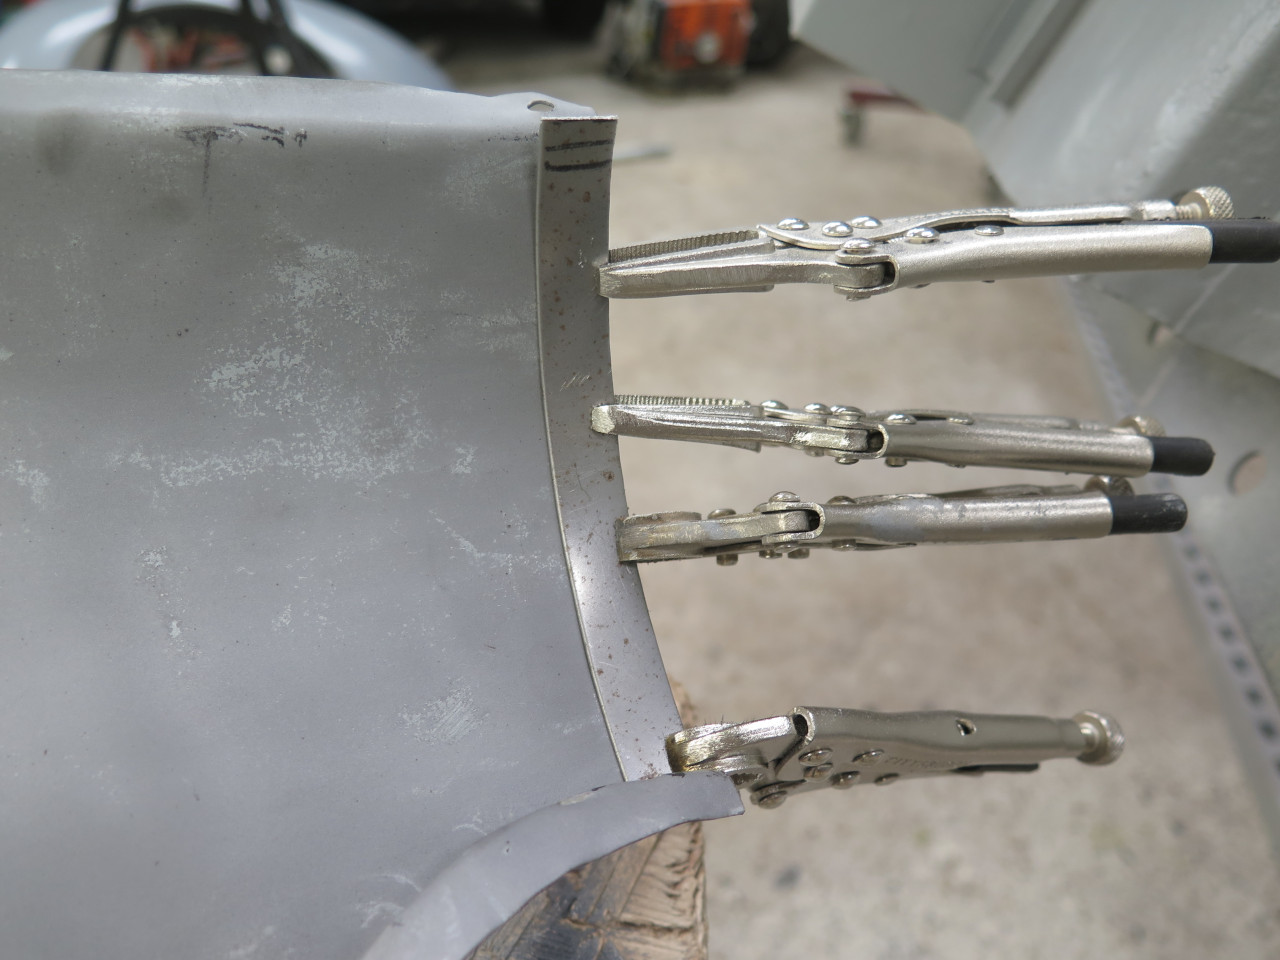
The little joggle piece was cut, bent, and curved.
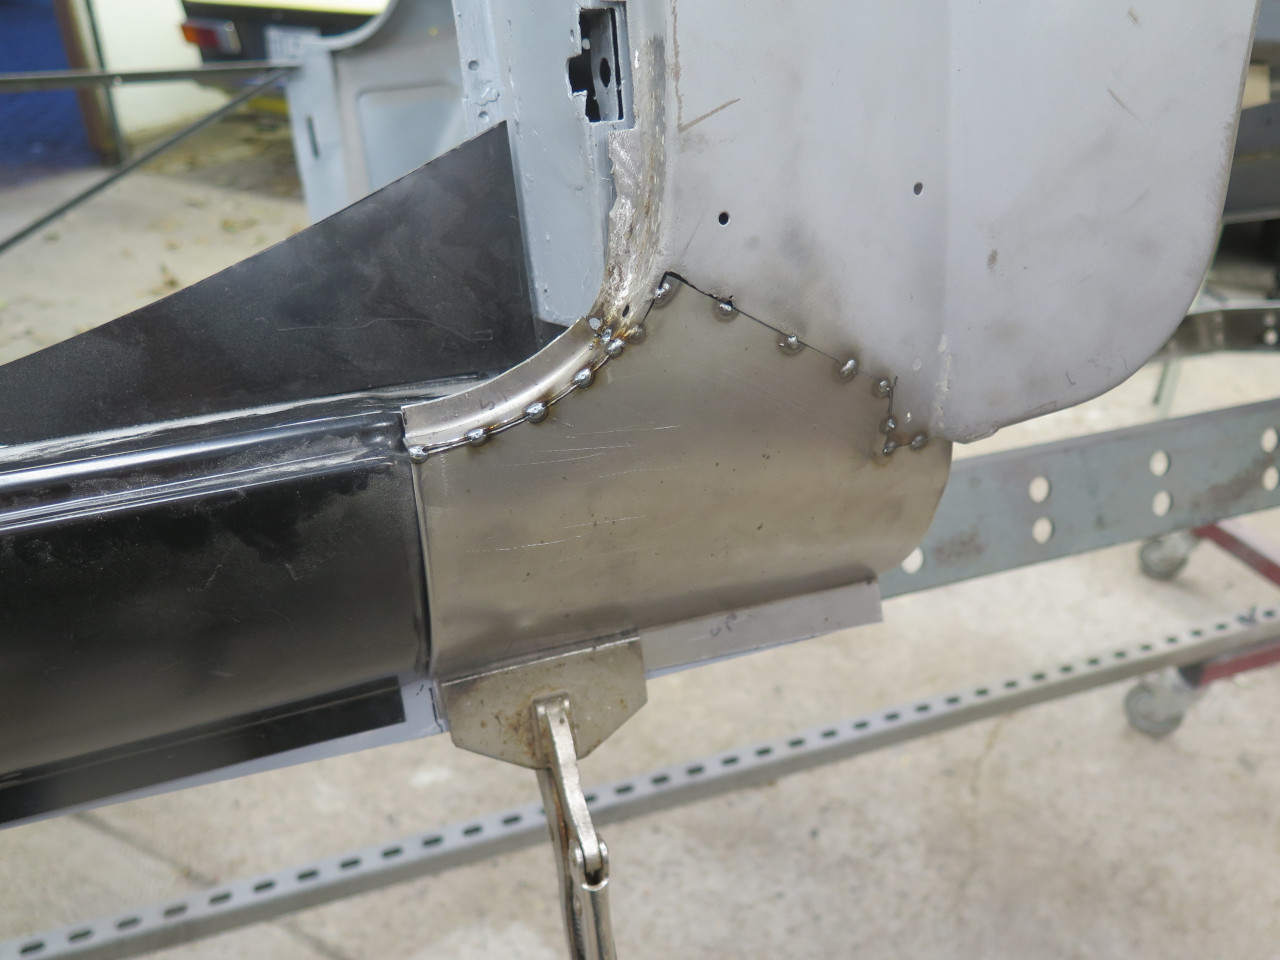
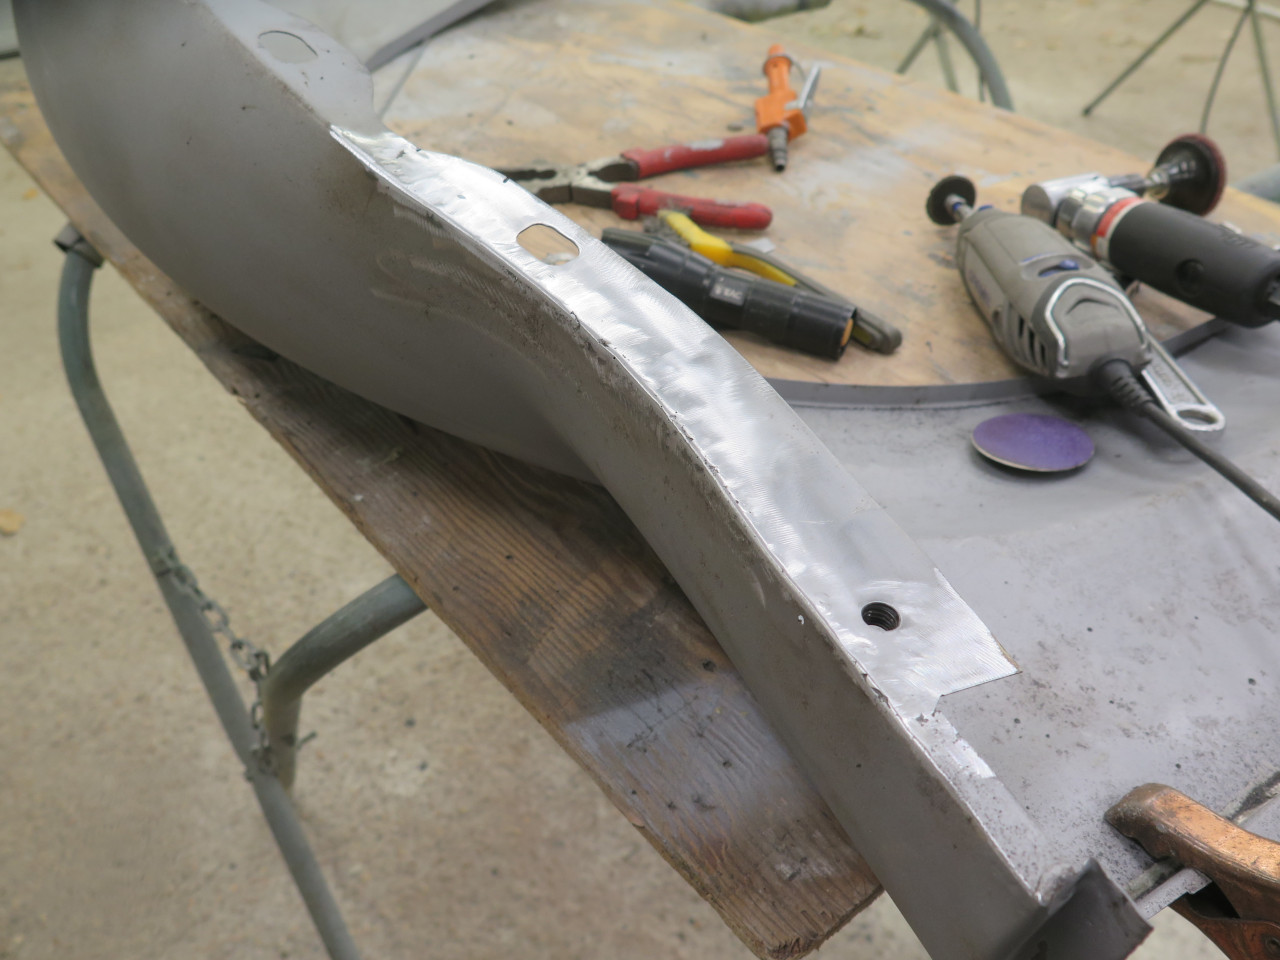
After welding and grinding, this honestly turned out way better than my skills would suggest.
At this point, with all of the welding and hammer work done, it was time
to get the bare metal under a good two part epoxy primer.
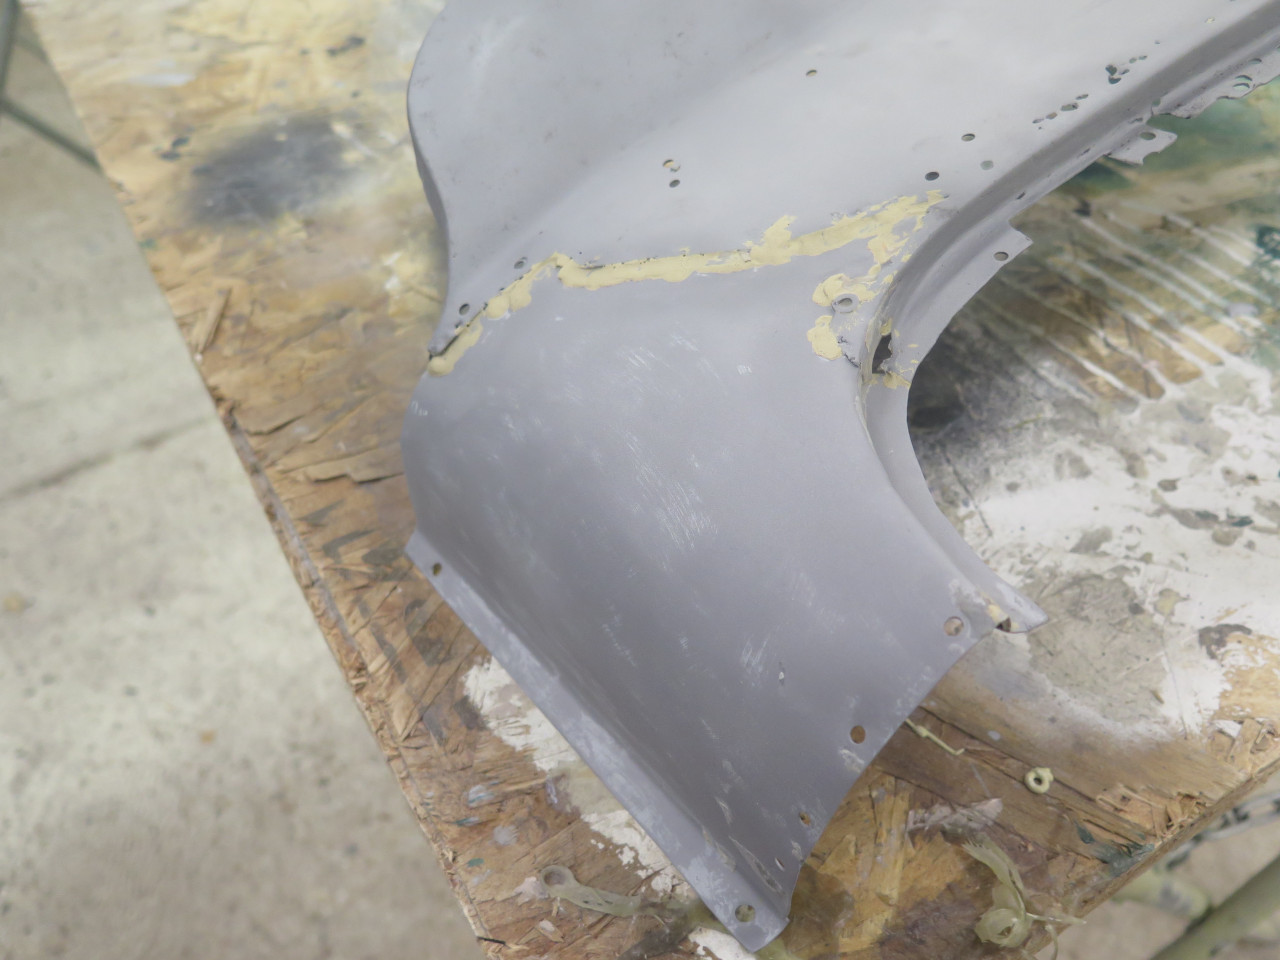
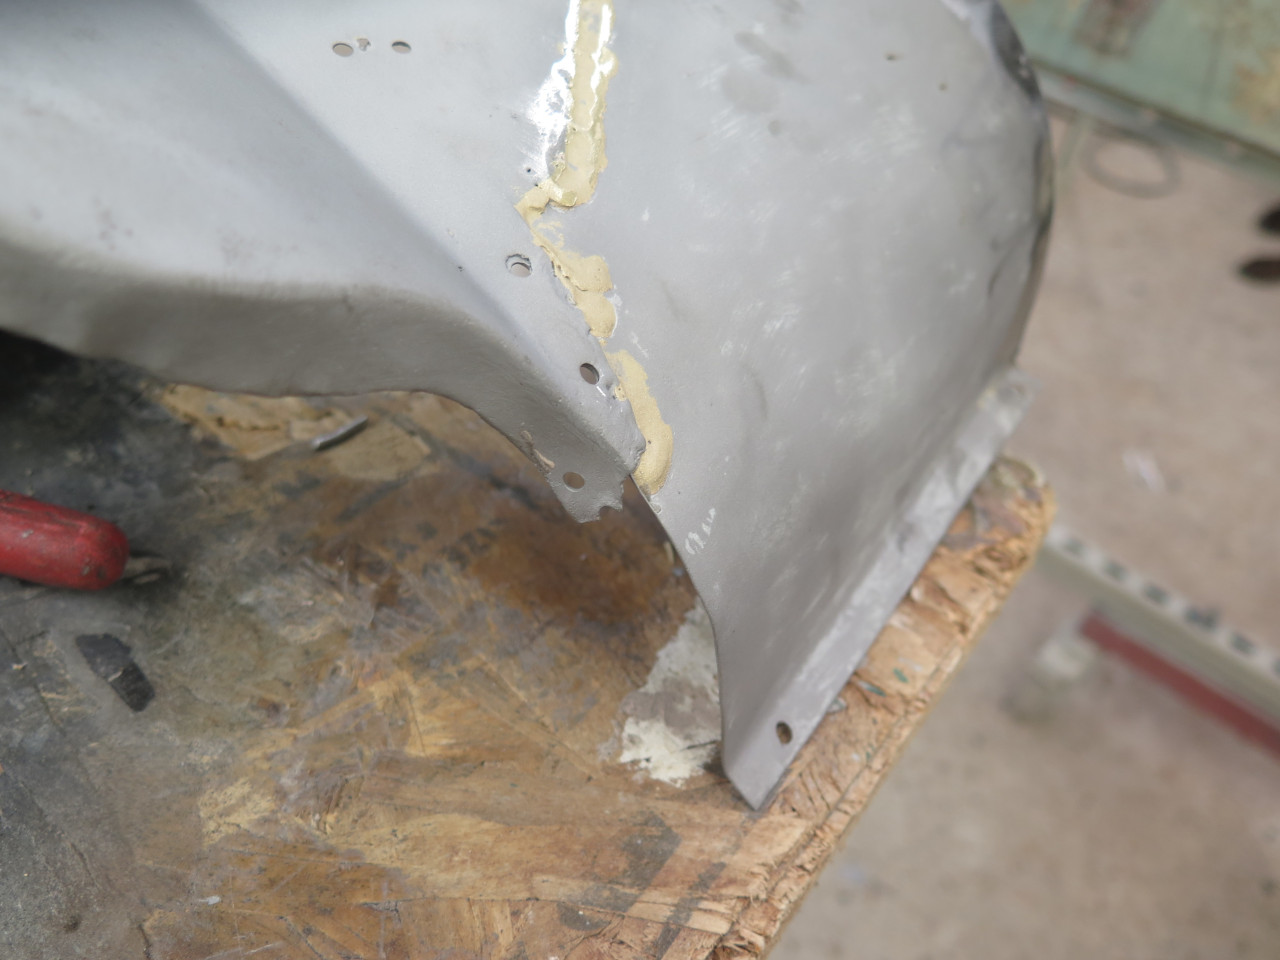
It still needed some filler of course, especially for all of those
holes. I felt it wasn't really practical to weld up over a hundred
holes. I put some tape on the backside where the holes were so
the filler couldn't extrude through.

Then proceeded with iterative applications of filler, and sanding most of it off.
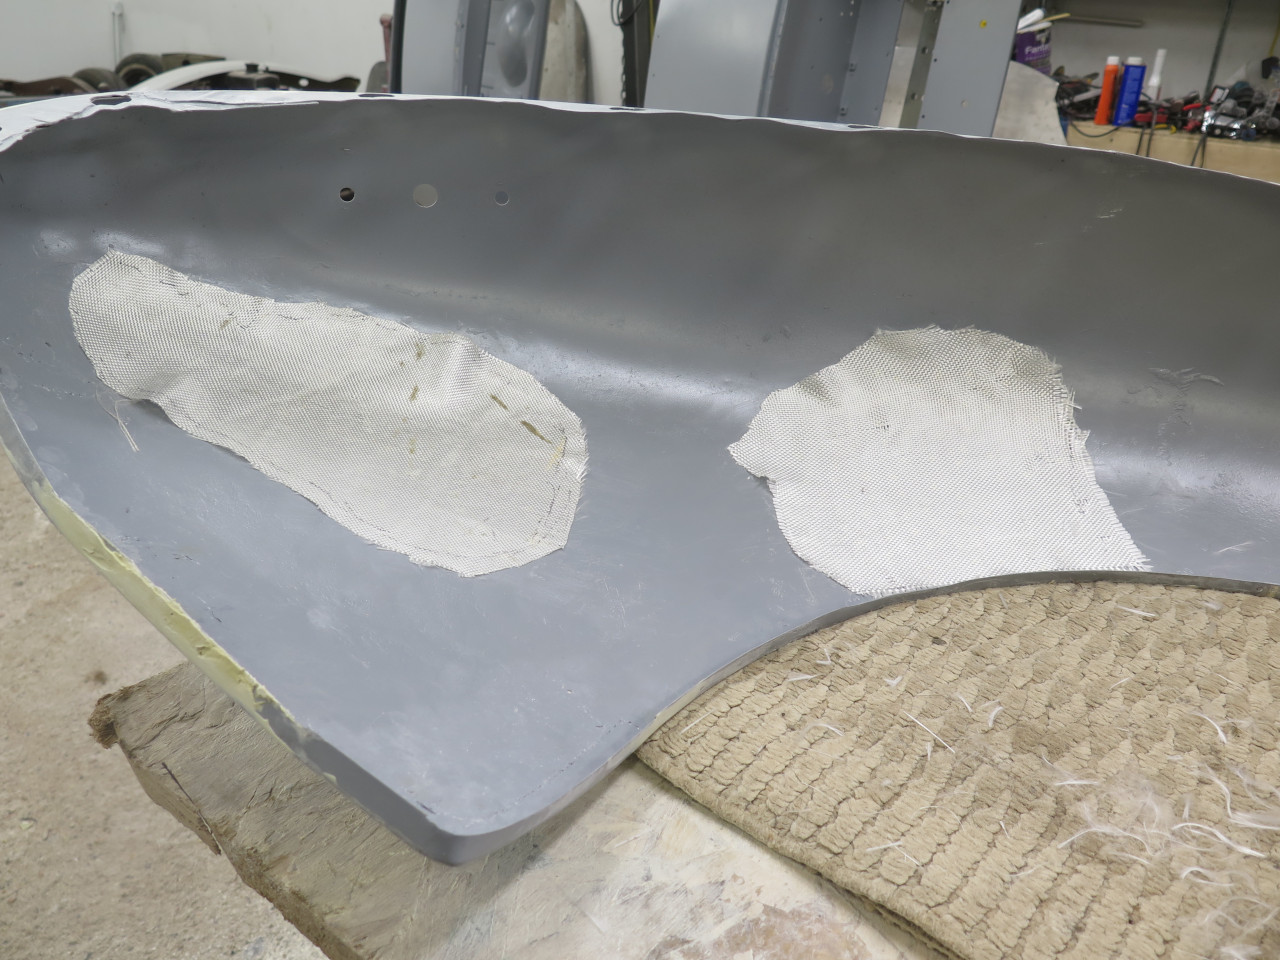
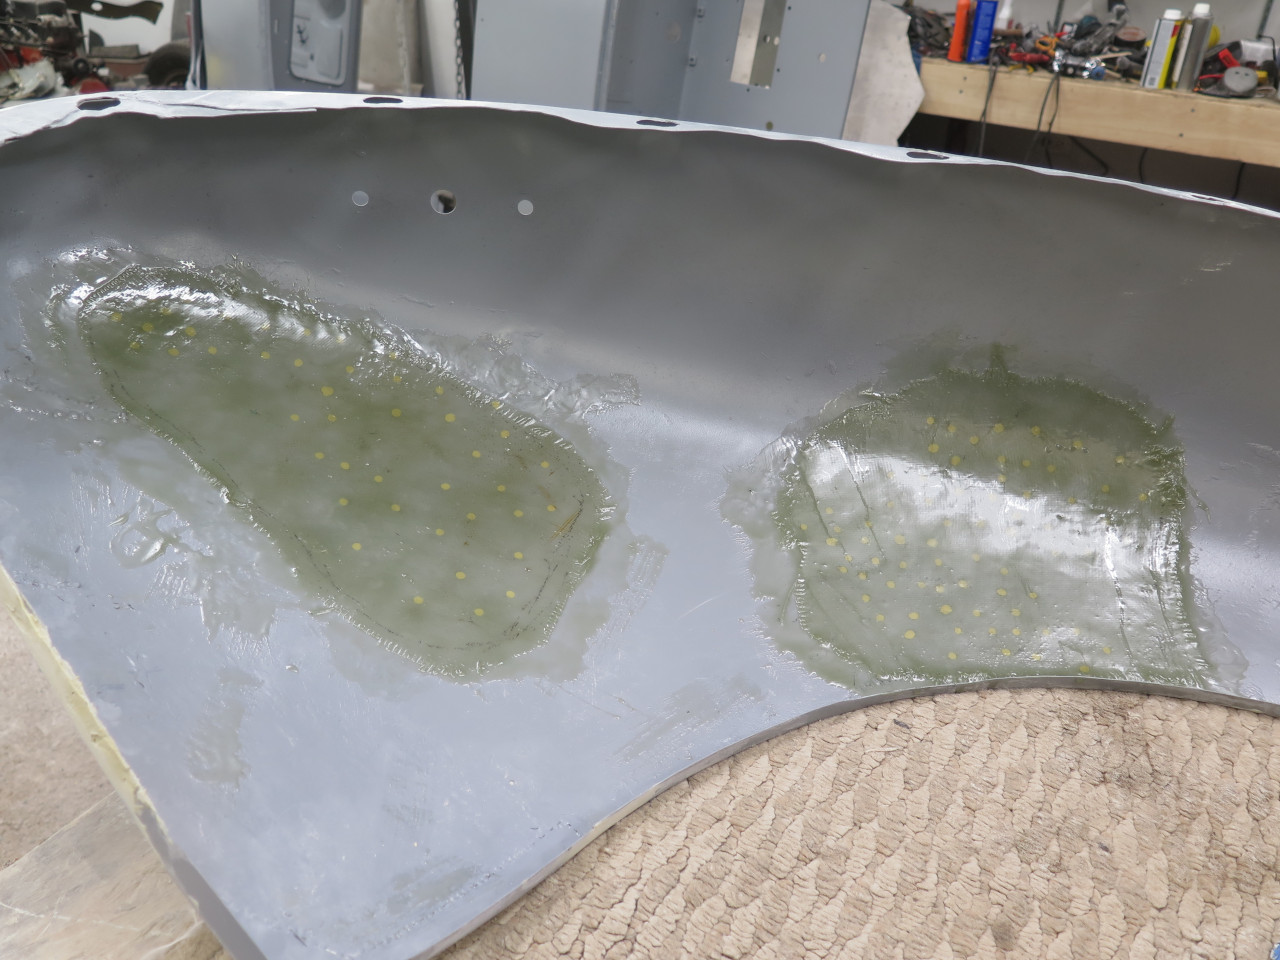
Since the filler in some of the holes was essentially no thicker than
the metal, and only bonded at the perimeter of the hole, they would be
really delicate and easy to knock out. I couldn't think of a
better solution than the one I used 50 years ago--fiberglass
backing. Just a single layer of cloth impregnated with resin is
rigid enough to stabilize the thin filler, but just resilient enough to
allow the wing to flex a little for installation.
Then, with all the filling and stabilizing done, another couple of coats of epoxy.
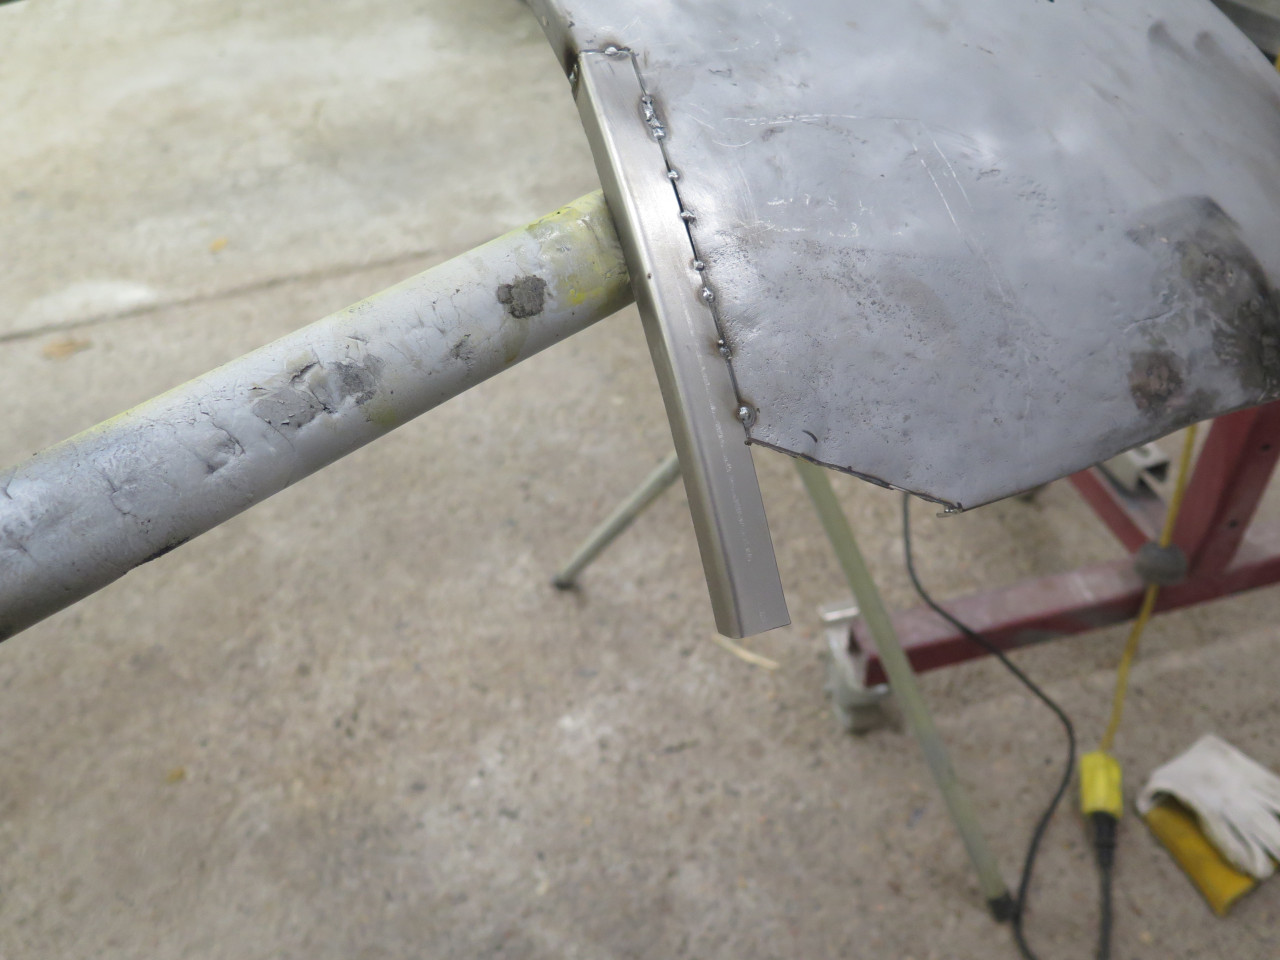
The other wing was pretty similar, but had a metal dogleg patch brazed in.
It fit the car really well, so I decided to keep it. It didn't
have the folded over leading edge, so I added a thickness of metal and
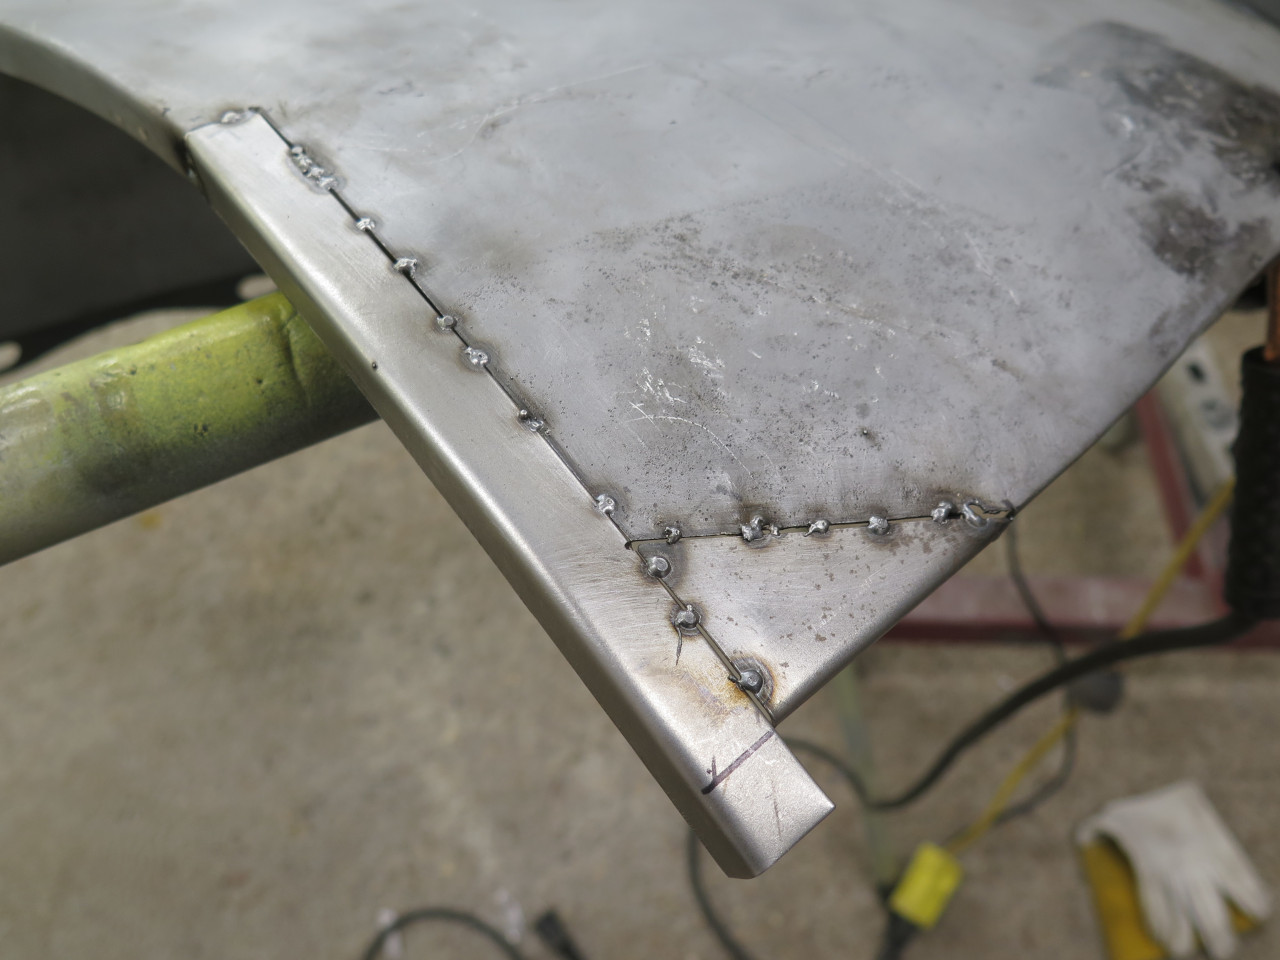
welded it along the edge. Also had to add the flange at the rear.

Nice and straight.
The last fix was for the rusted top mounting flange. It started
with a paper pattern. It needs a nut welded on, and a fastener
hole.
Then it goes home.
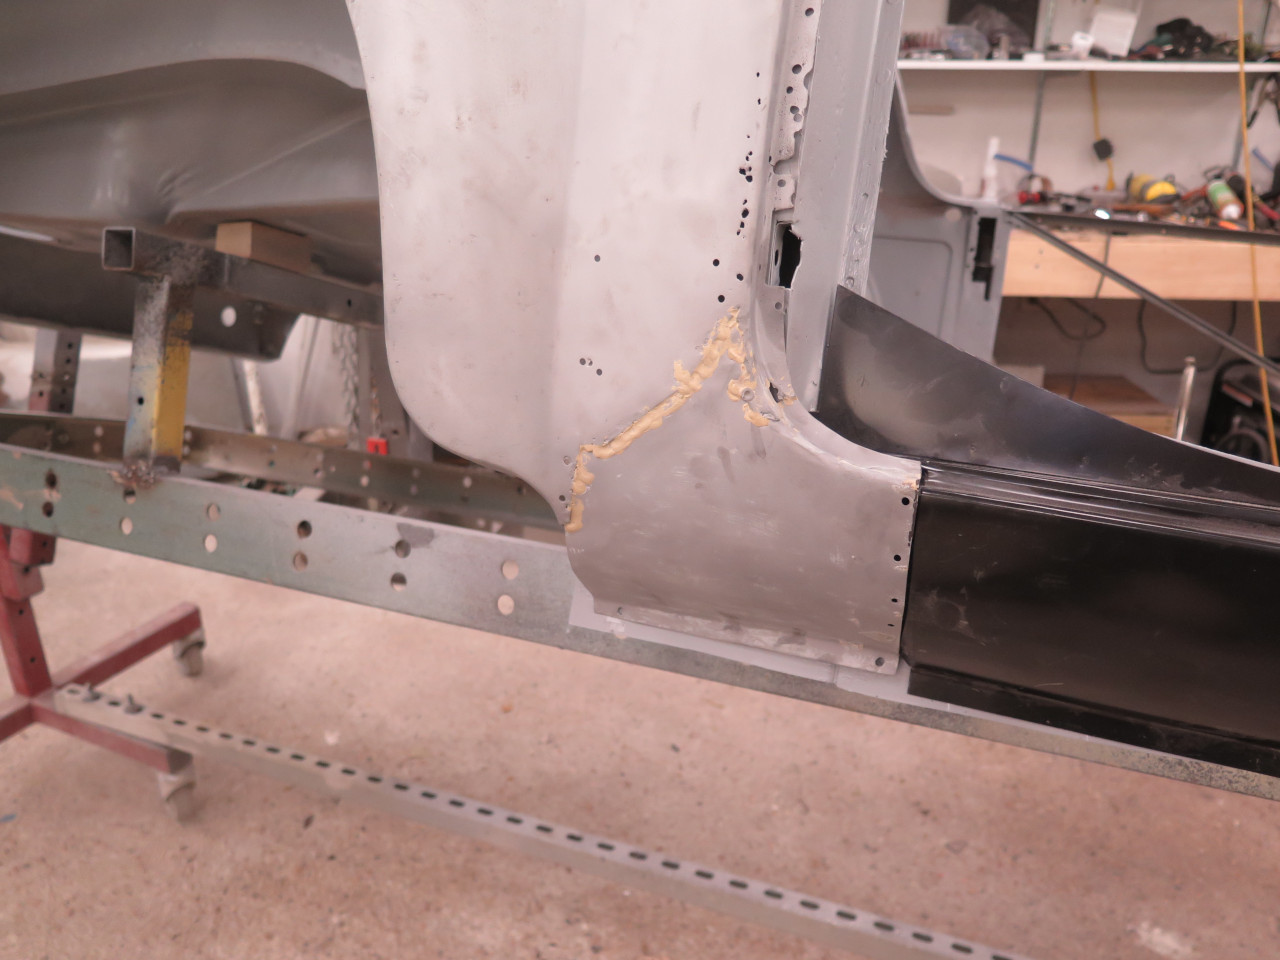
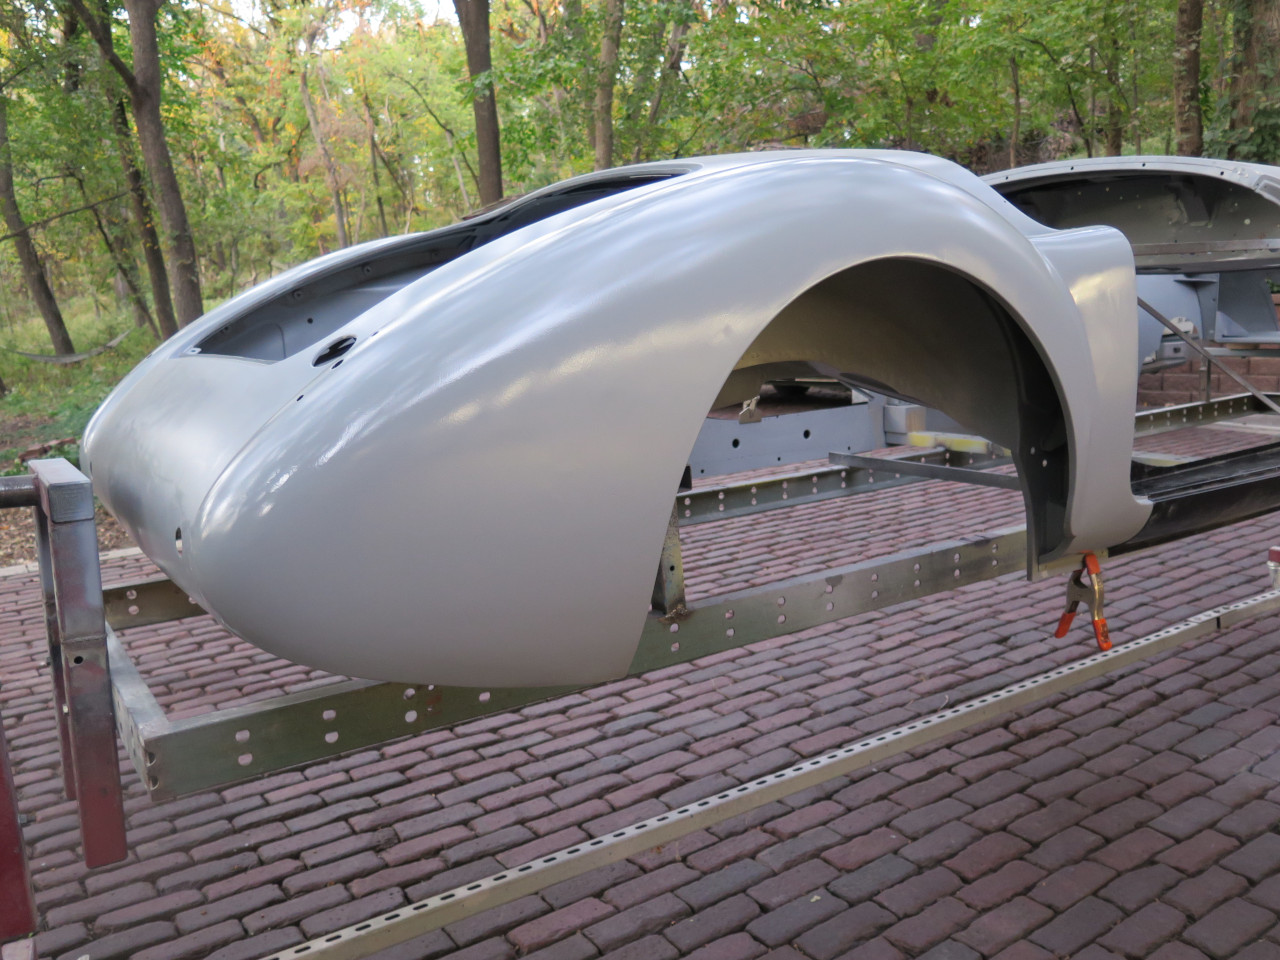
Then epoxy, filler, and more epoxy. The wings seem to fit OK, but
do need a little coercion to align perfectly. Like the tub, I
consider this to be at a 90% level of finish. It will later get a
surfacing primer for block sanding in preparation for paint.
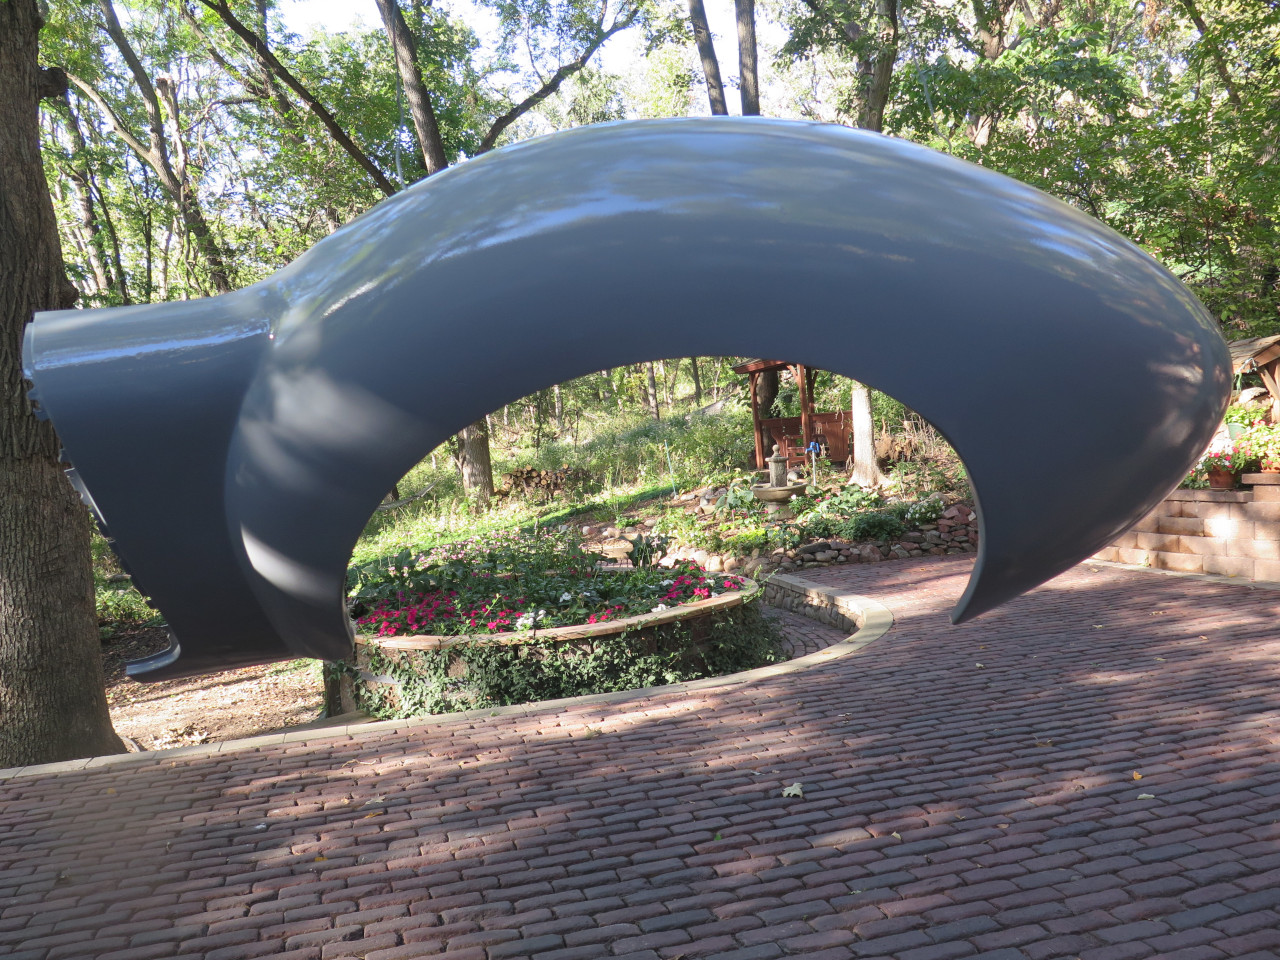
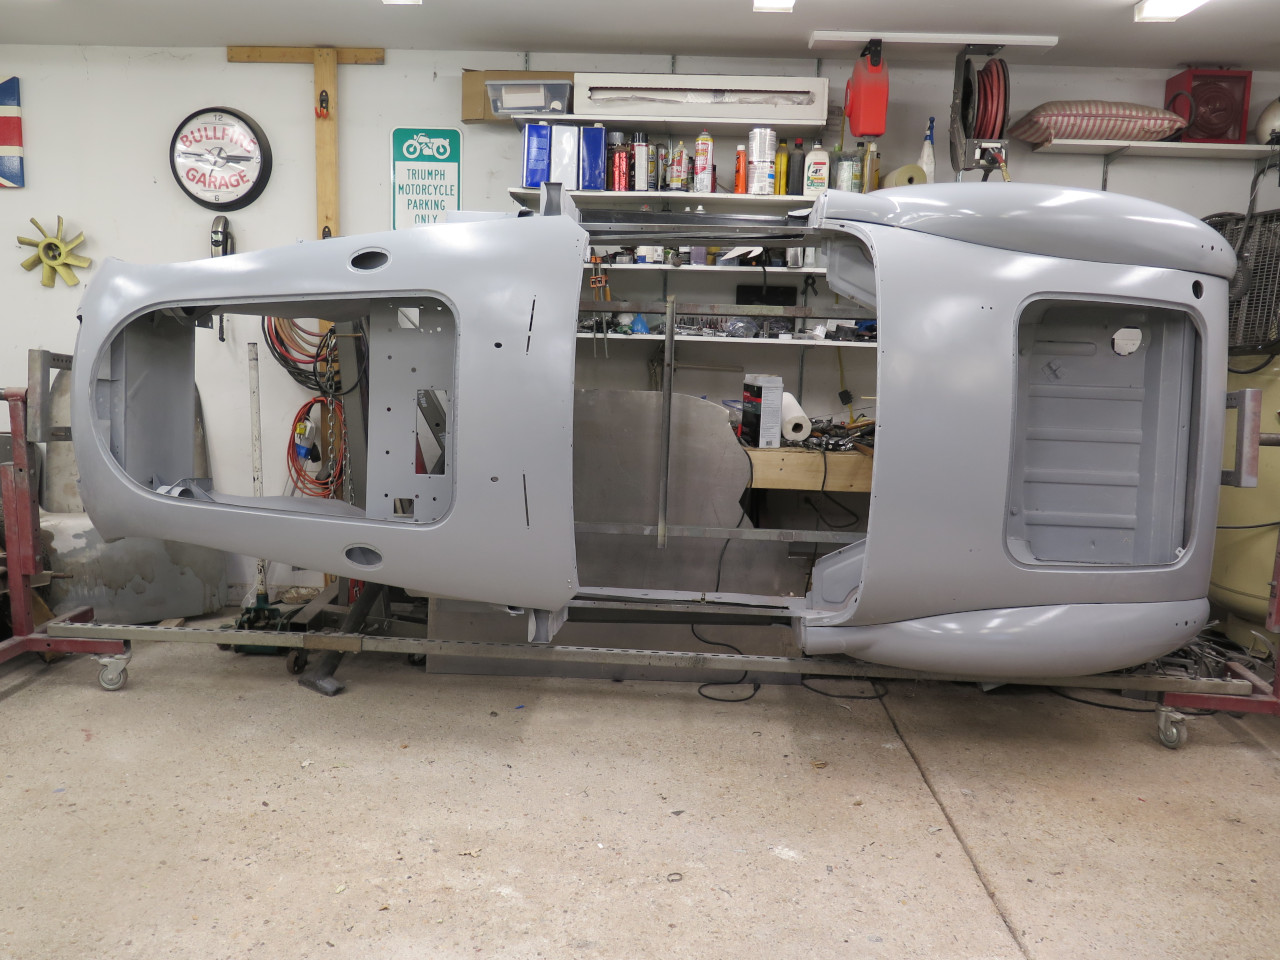
This is how I have to store the body over night so our daily drivers can fit in the garage.
This work took a couple of weeks and around $150 for primer and filler.
Comments to Ed at elhollin1@yahoo.com
To my other MGA pages