To my other MGA pages.
September 15, 2024
Tub Work
With the sills, A and B posts, and the radiator air duct squared away, I
turned to the rest of the tub. There were some more old rust
repairs to re-do, some ancient accident damage at both the front and
rear, not to mention sixty-some years of general wear and tear.
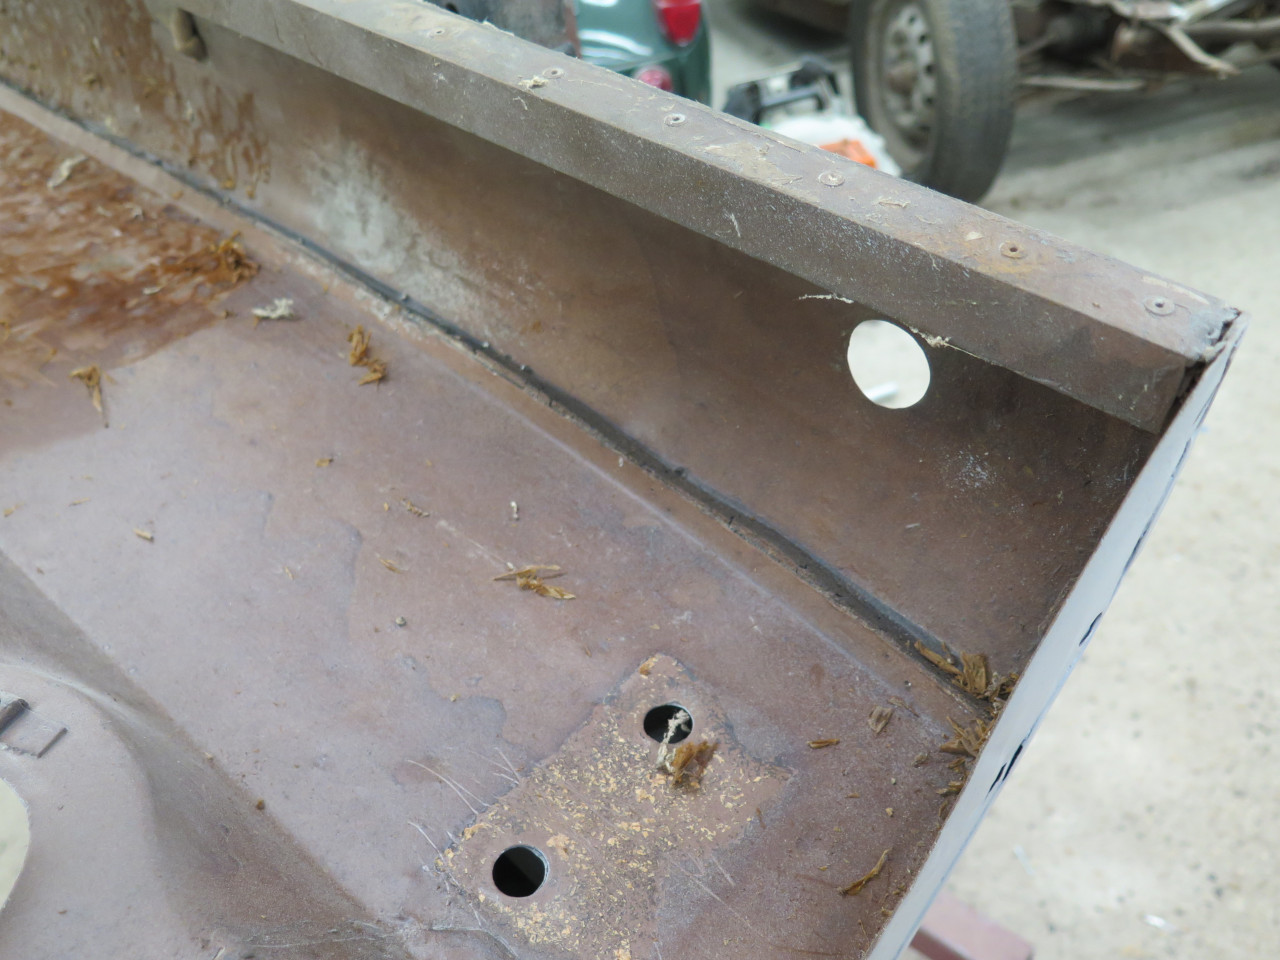
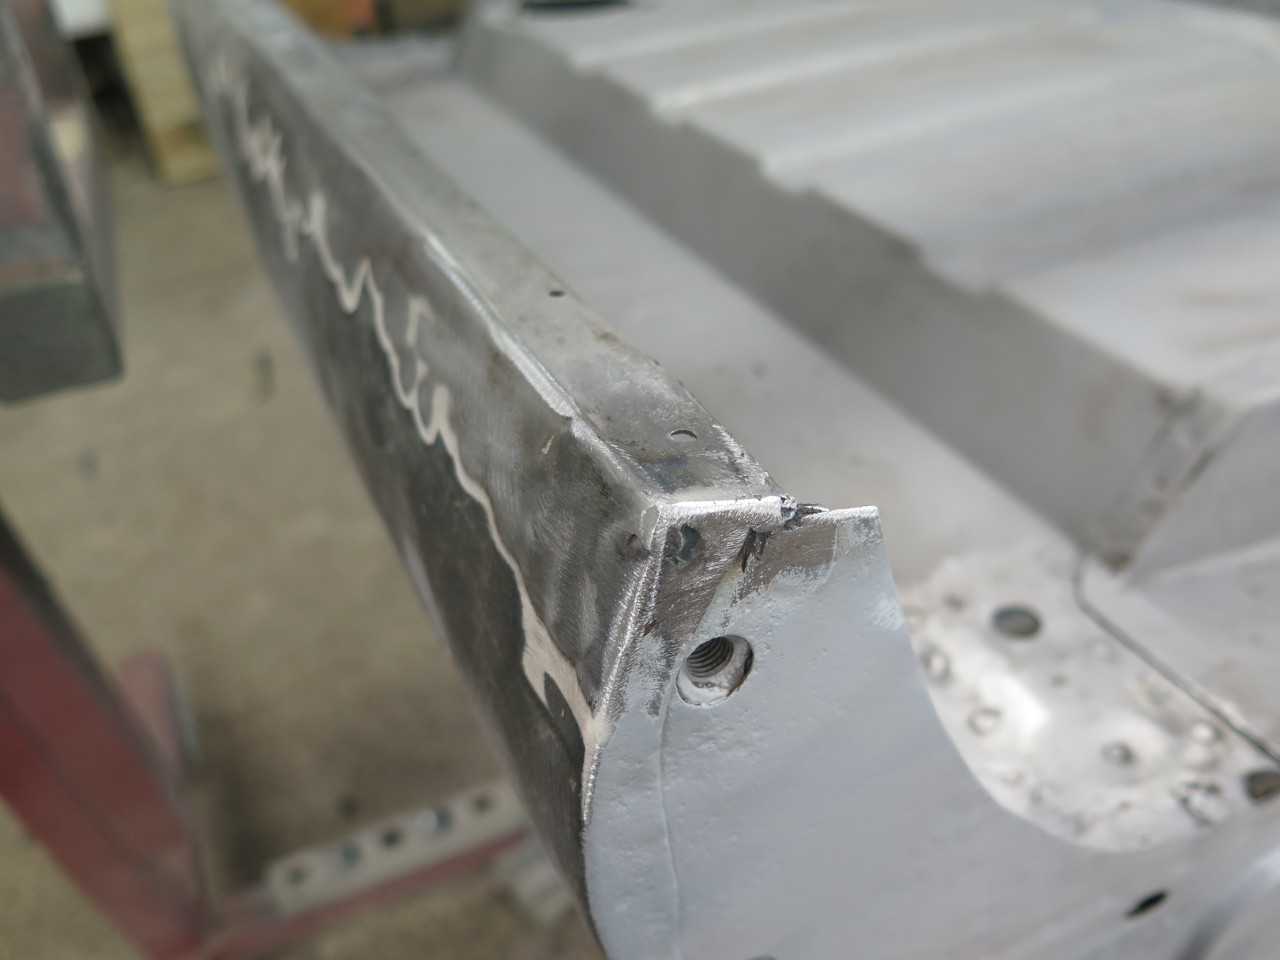
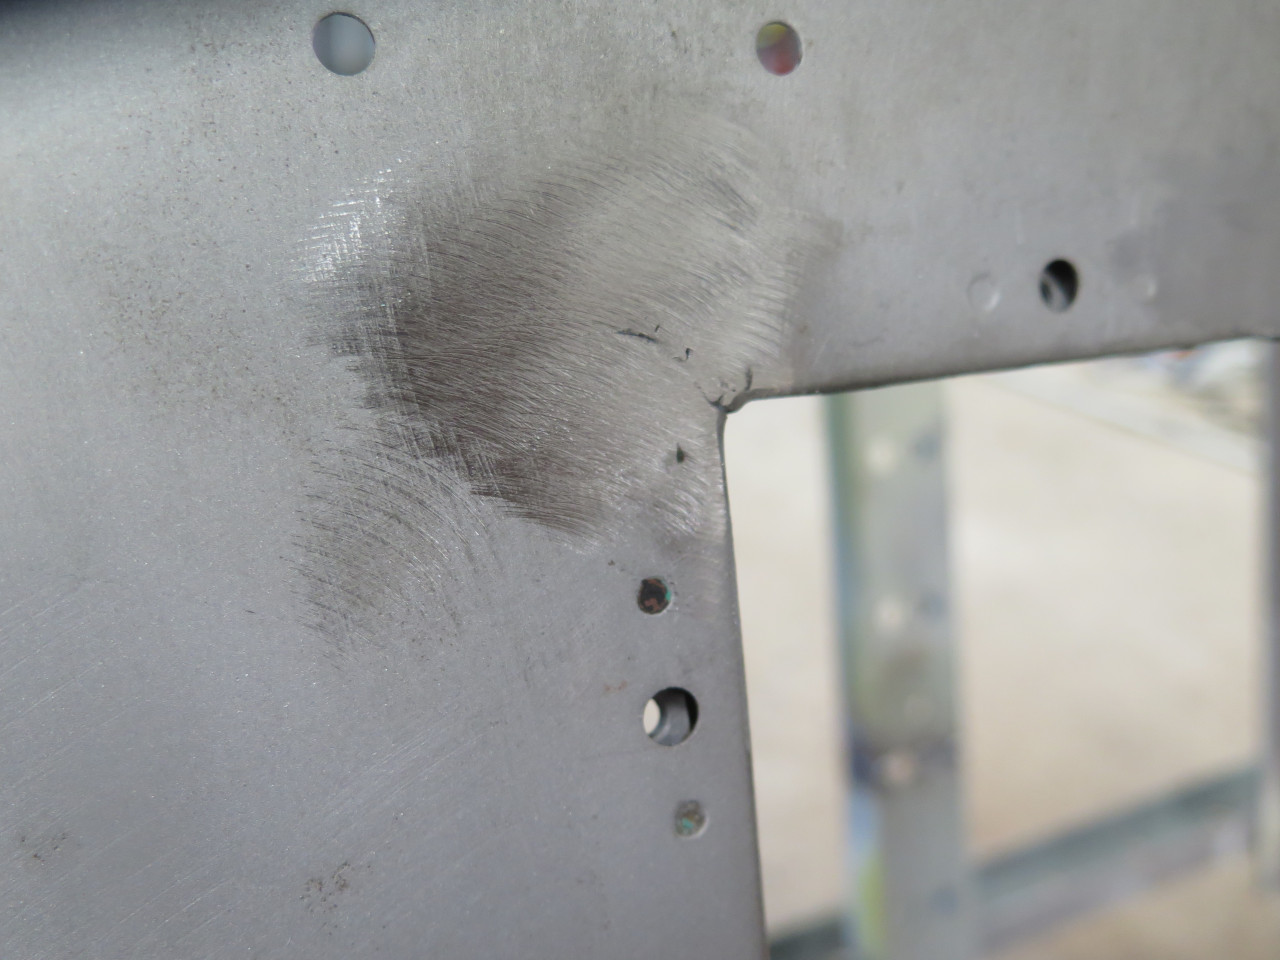
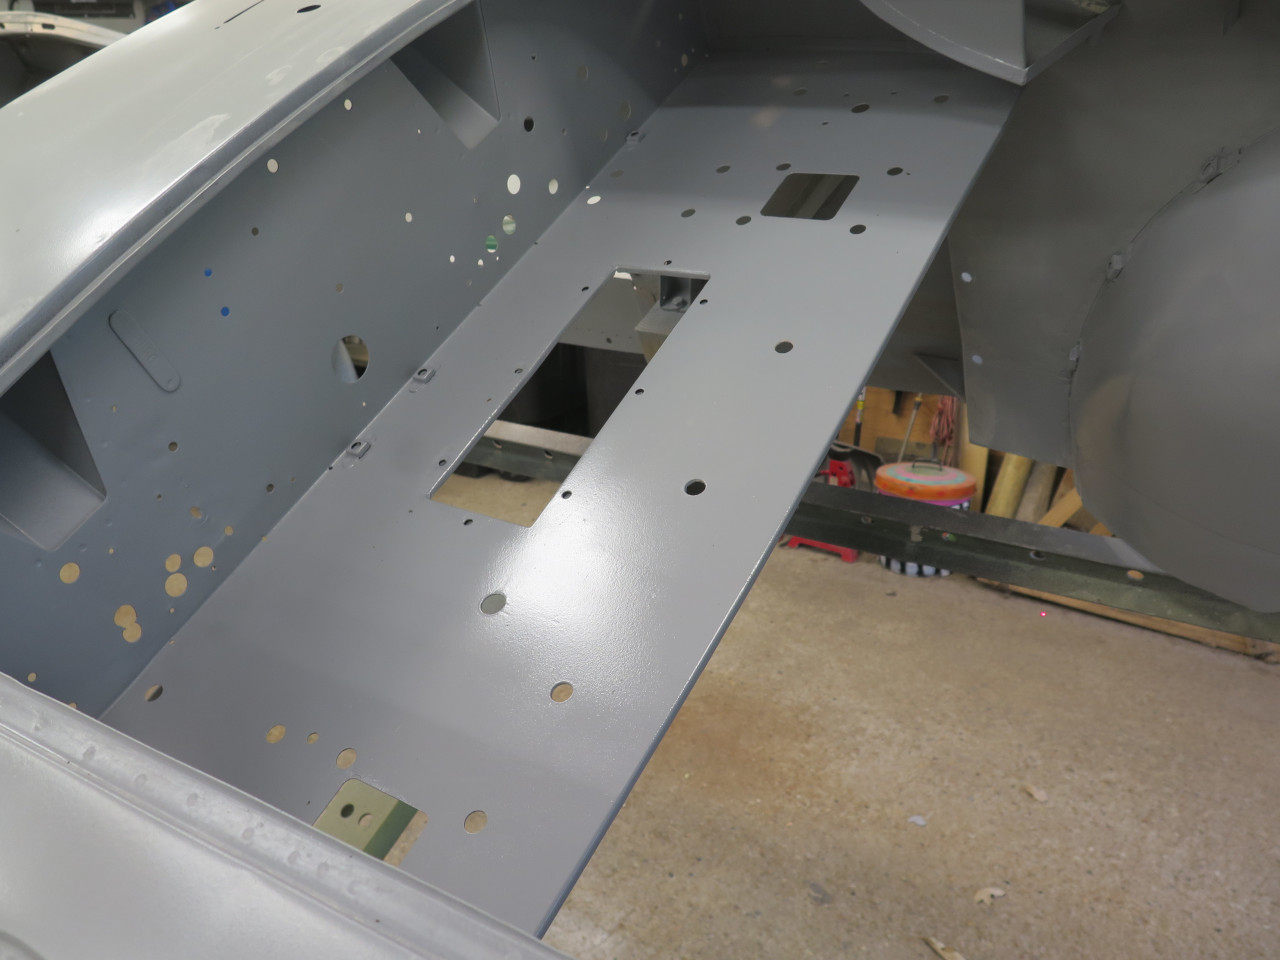
First up was this previous rust repair at the leading edge of the boot
floor. I assume the original damage was from battery acid fumes
from the single 12-volt battery this car had for most of its life.
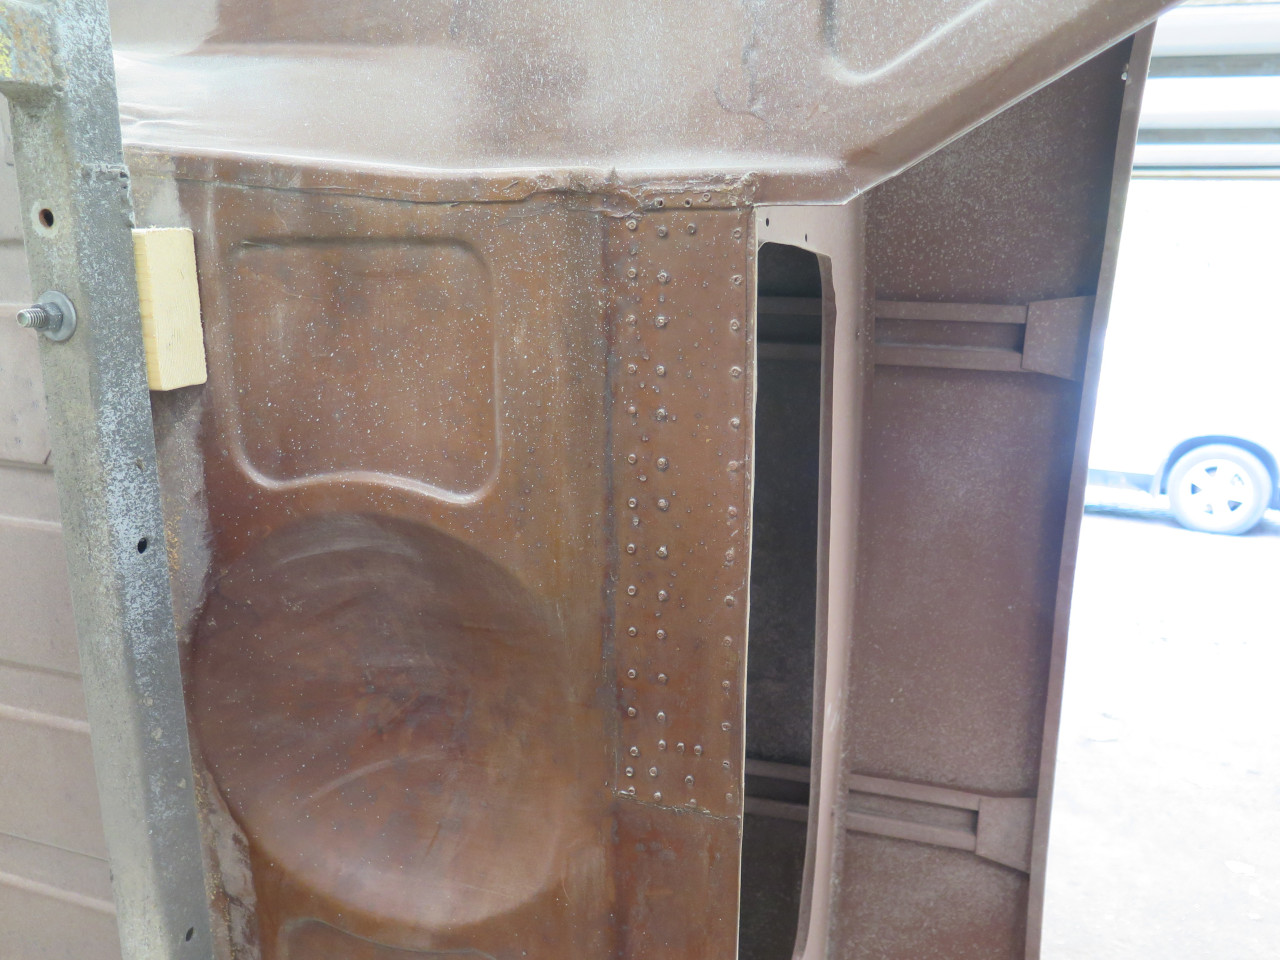
My 50-year old blind-riveted fix wasn't necessarily bad, but I wanted to
do a proper welded repair. I removed the patches and blasted the
surrounding area to get a clean area to work on.
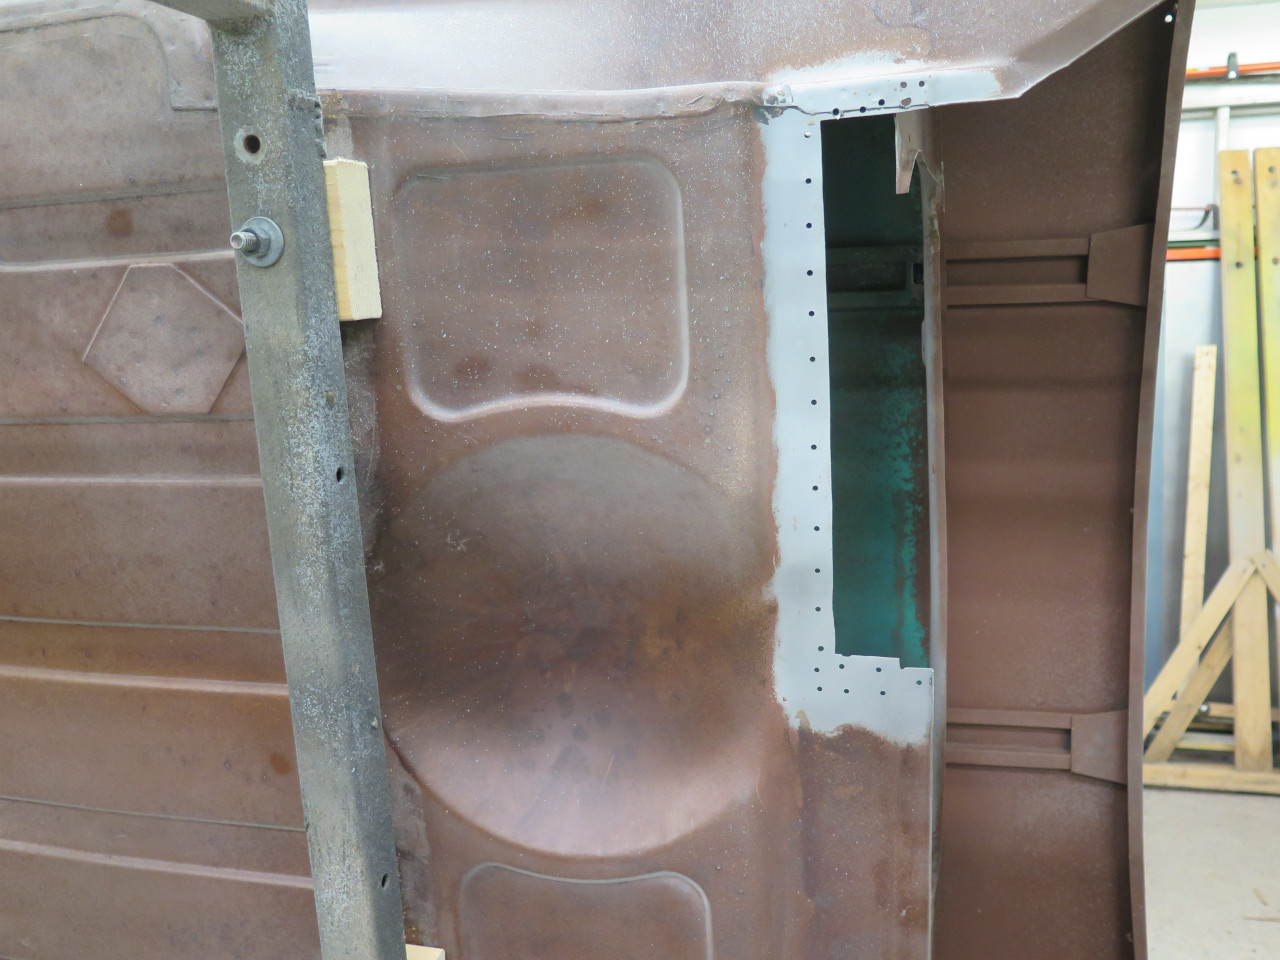
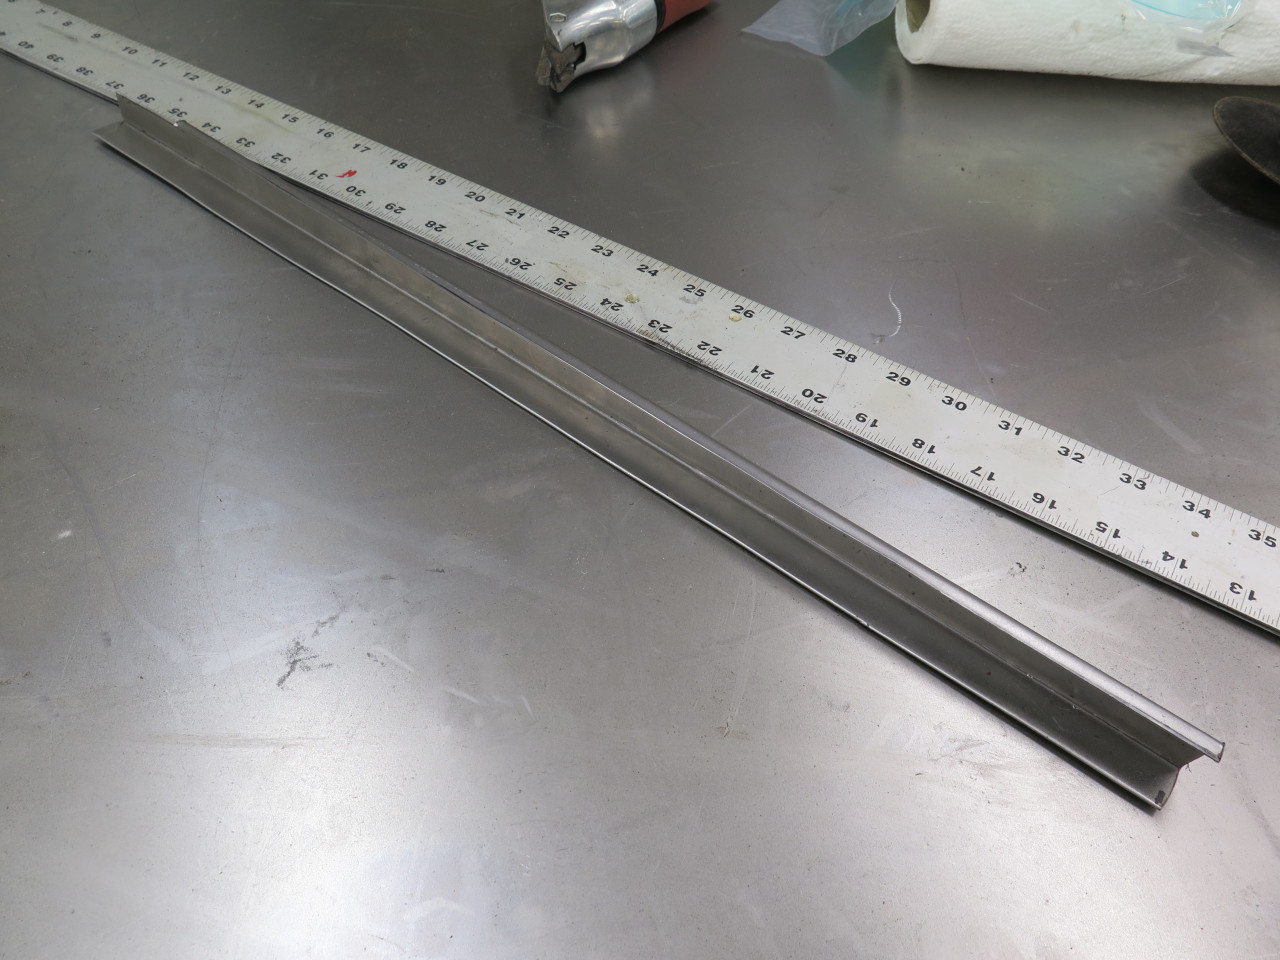
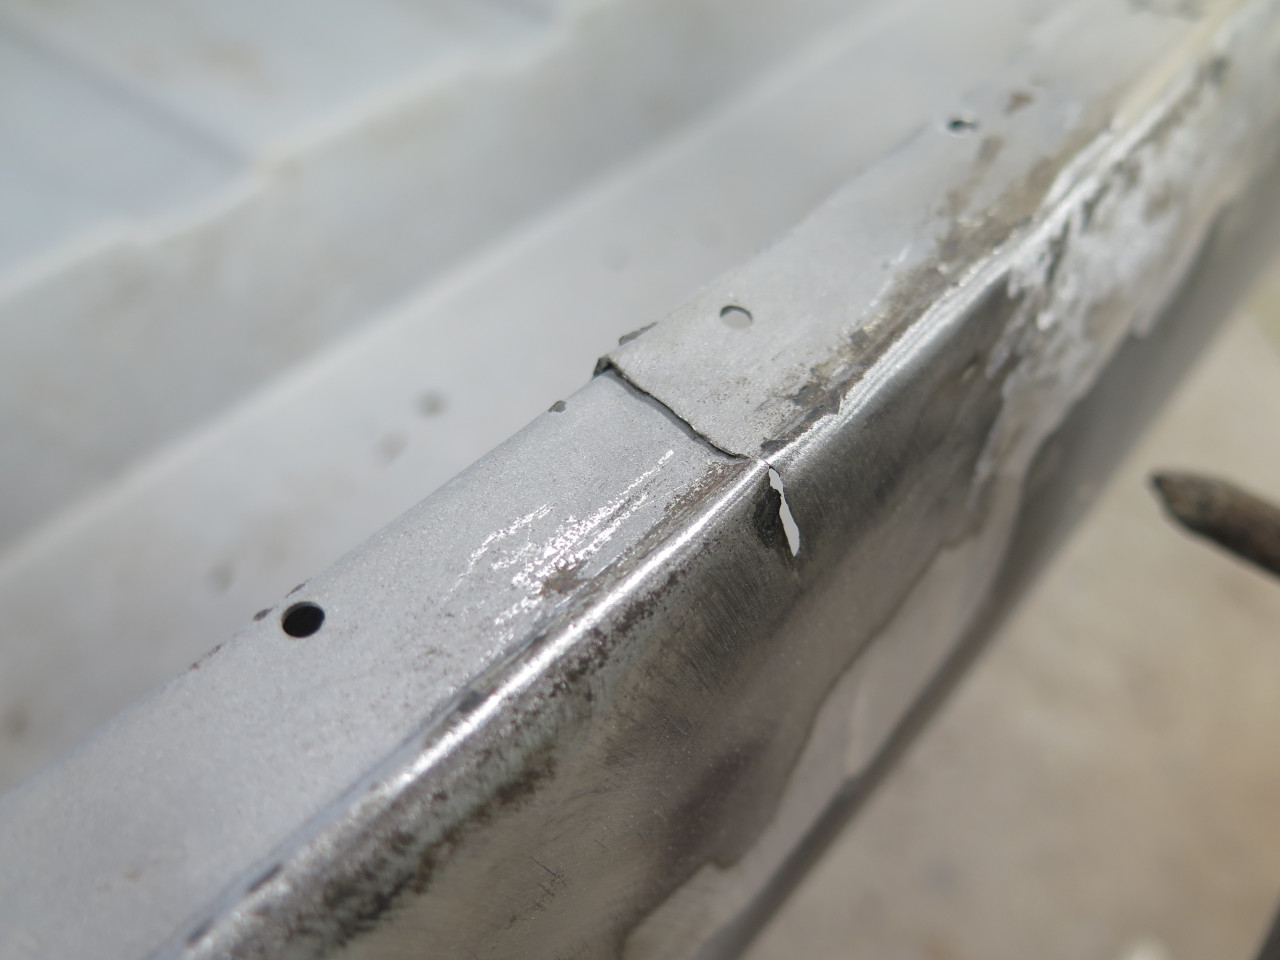
It's a two-piece patch. This is the horizontal piece. it has a step to receive the other vertical piece.
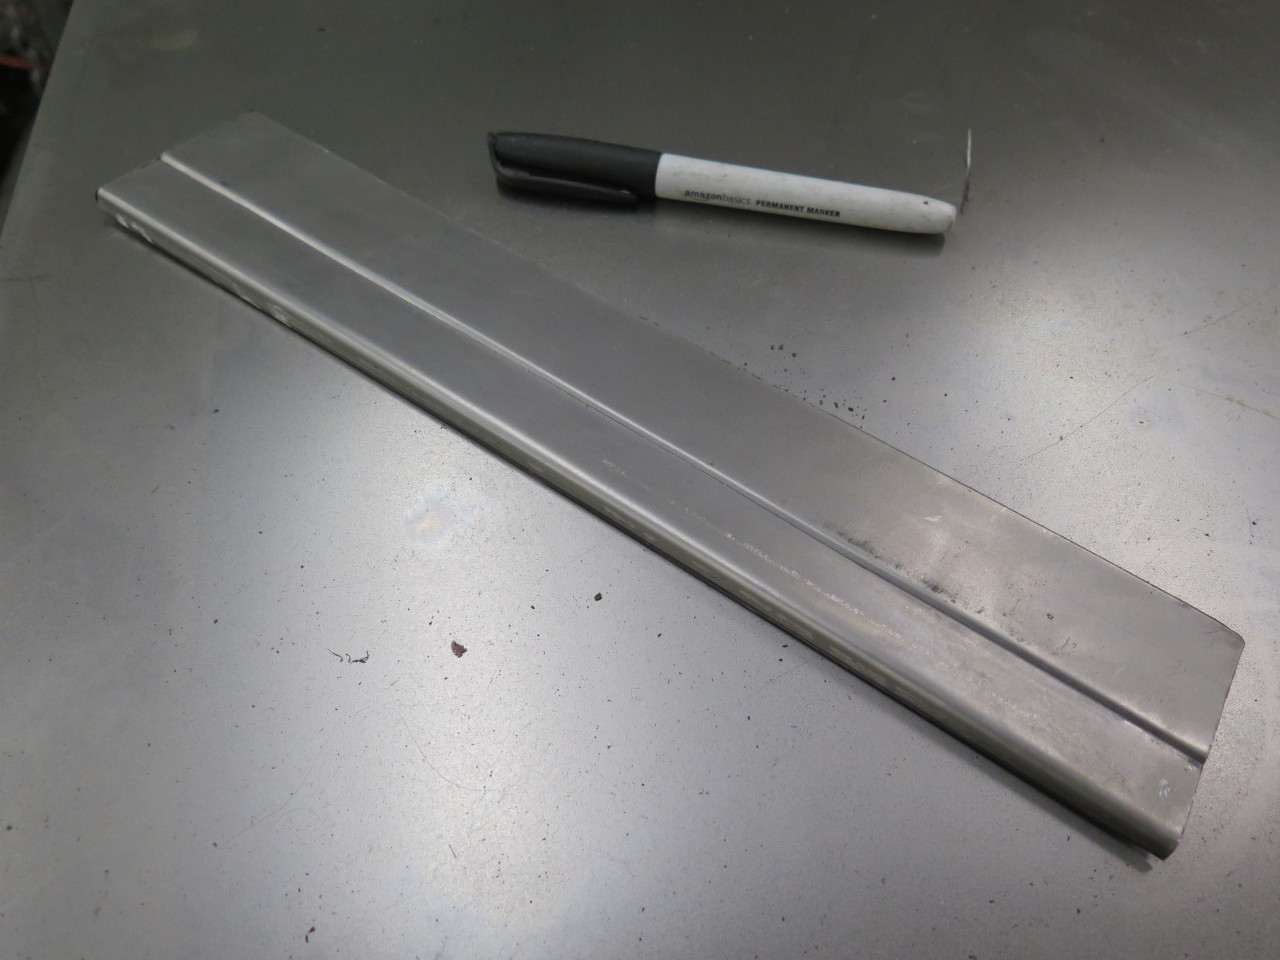
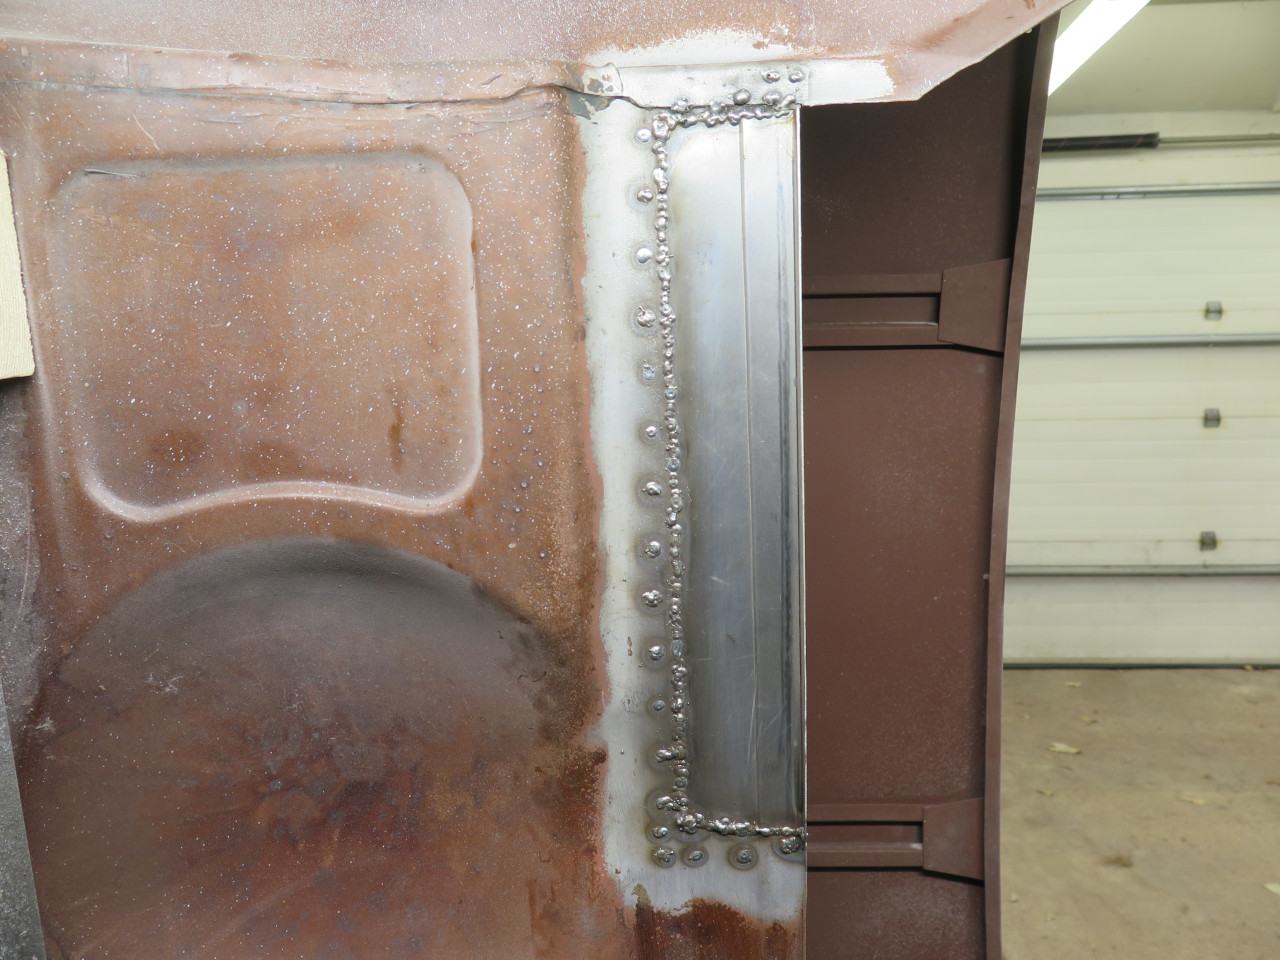
The upper vertical piece is a channel shape.
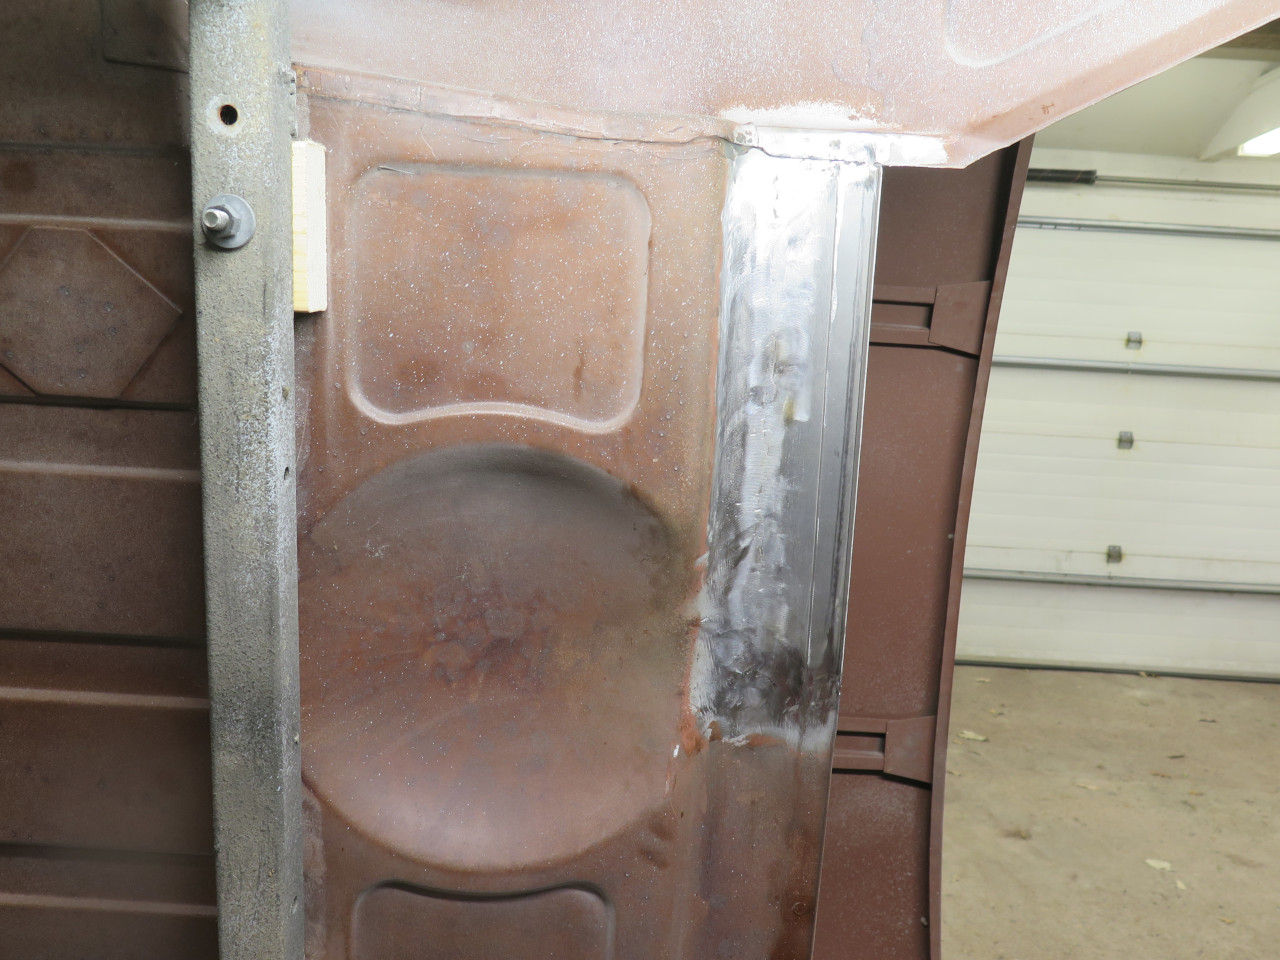
All welded and ground.

And a shot of 2-pack epoxy to make it look better.
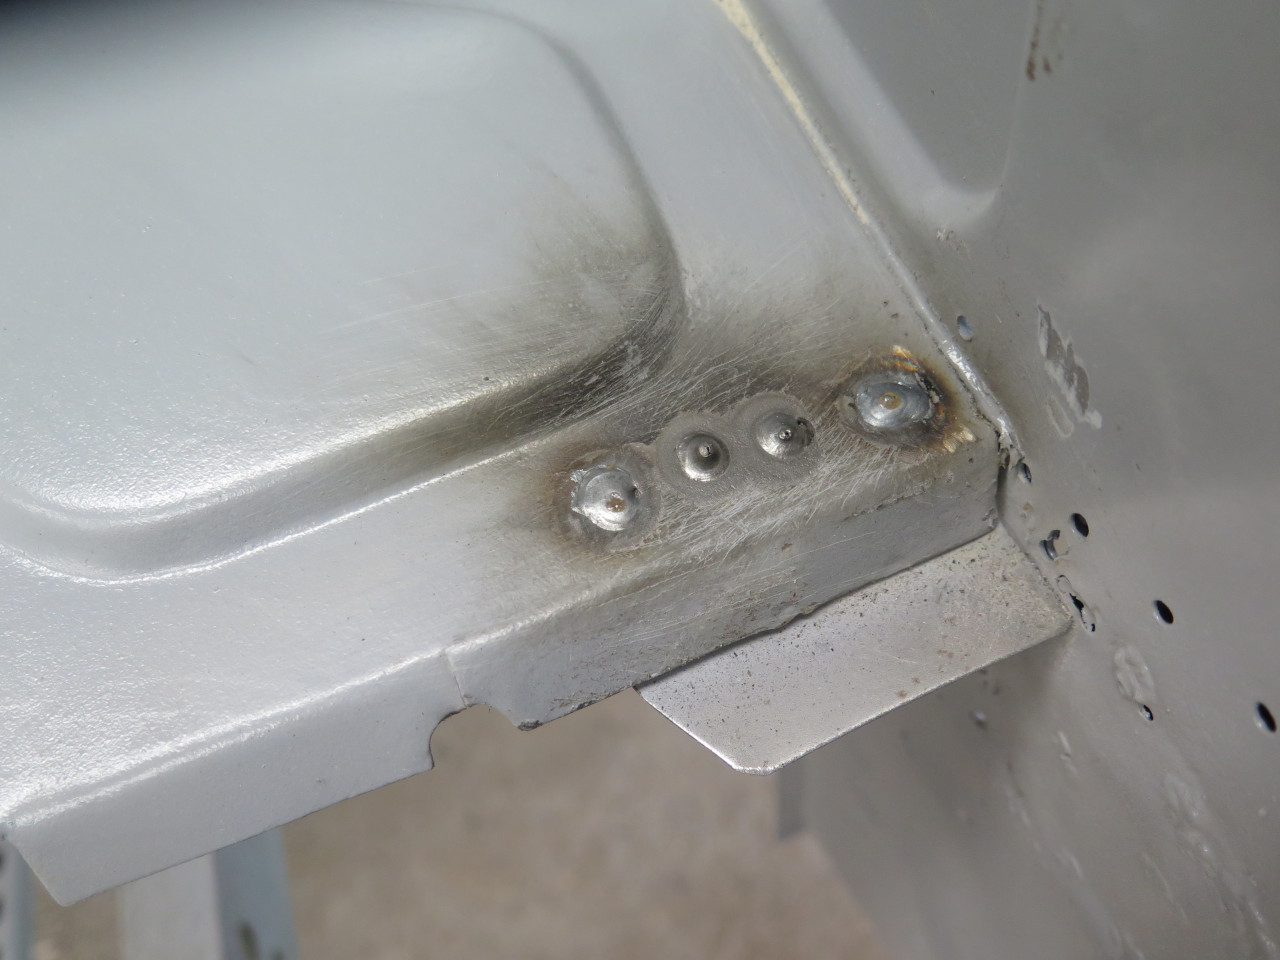
One other thing to address here was the several captive nuts that gave
up their lives in the one of the past disassembly efforts. There
were three or four of these, all for wing or front splash plate
fasteners.
For example:
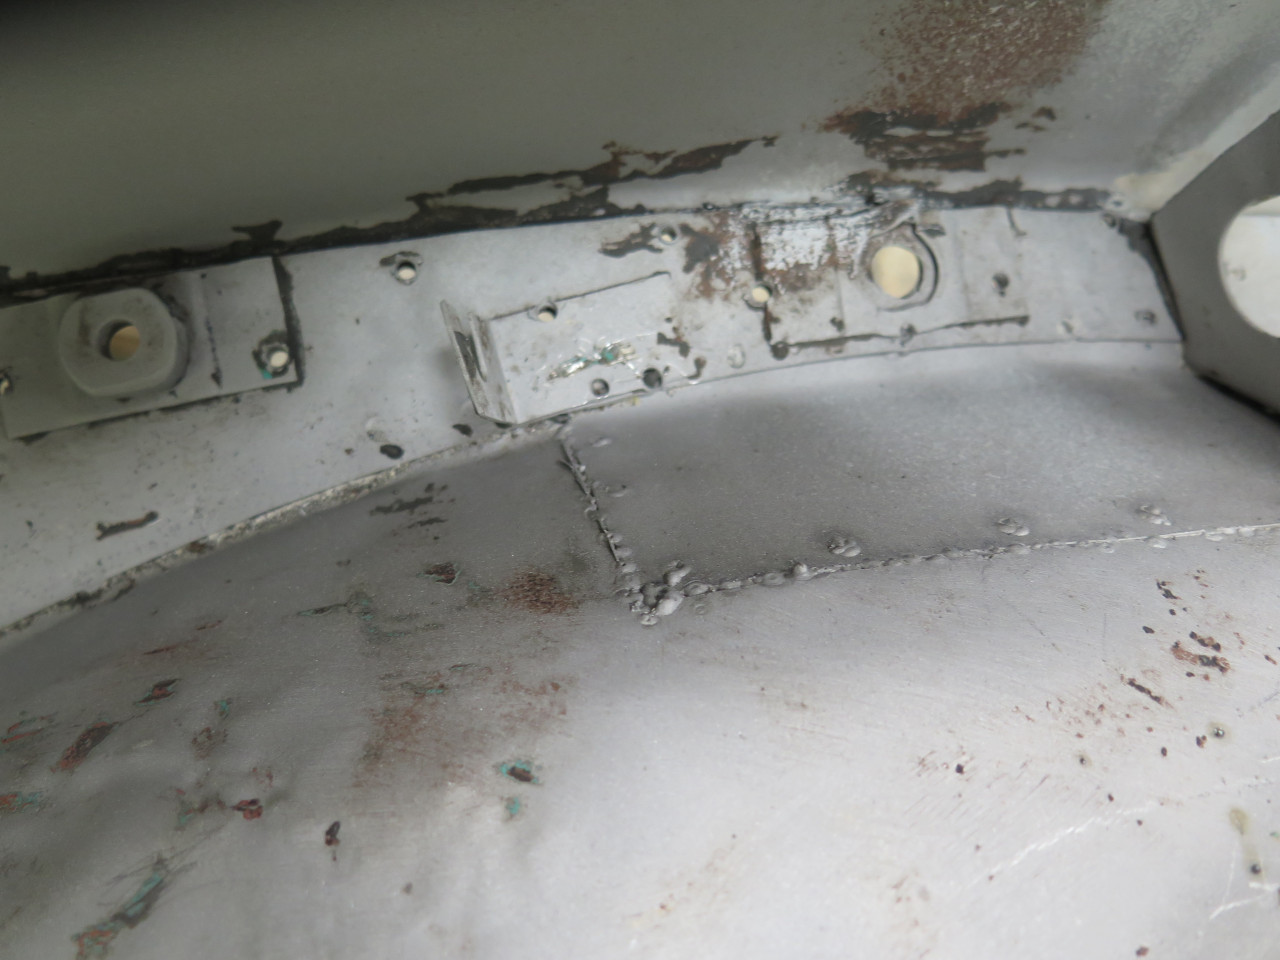
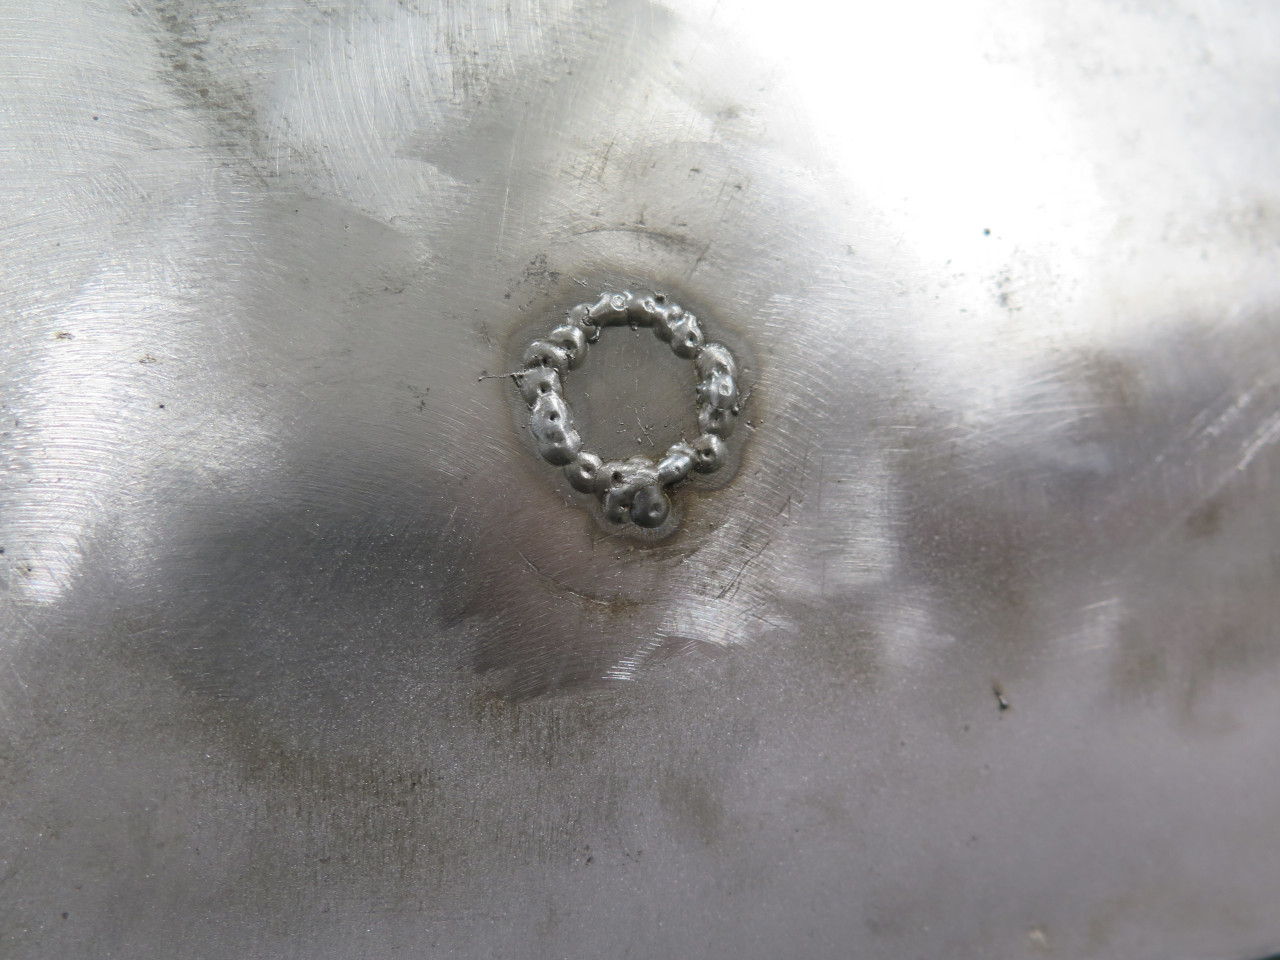
First, the remnants of the old weld nut had to be removed, some
weld-through primer applied, and a new nut welded in its place.
The replacements are actually cage nuts.
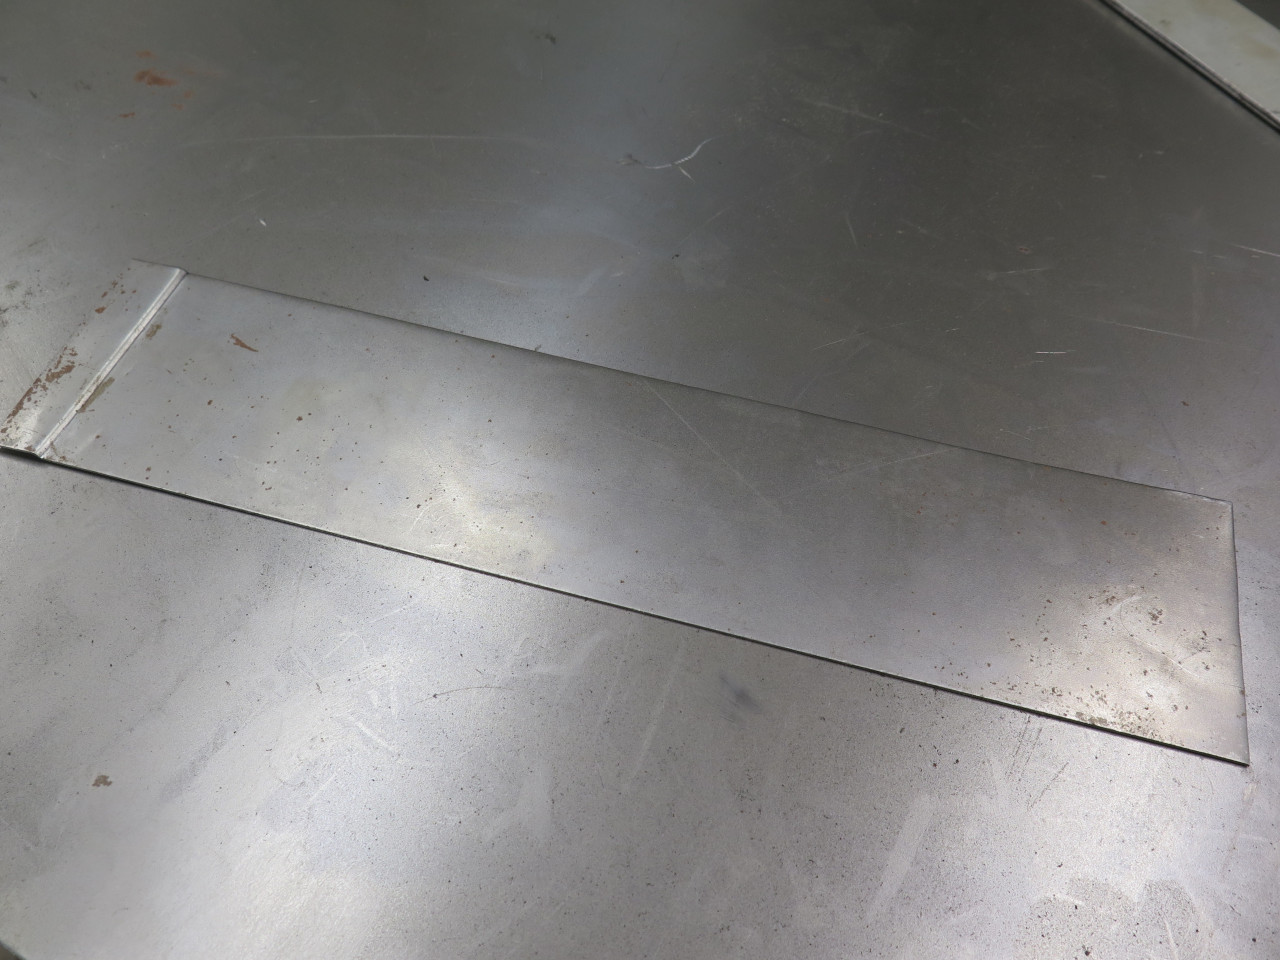
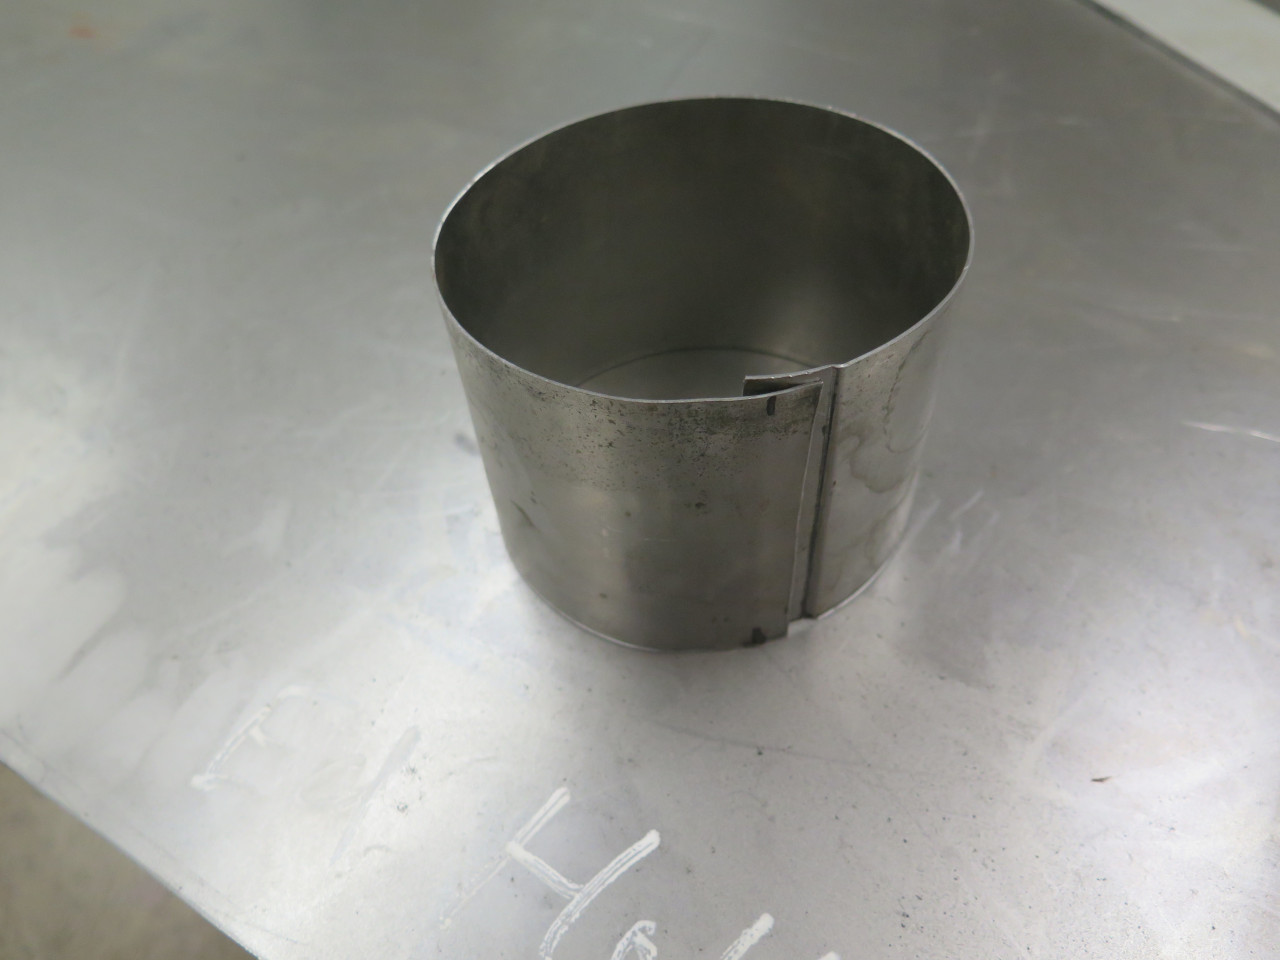
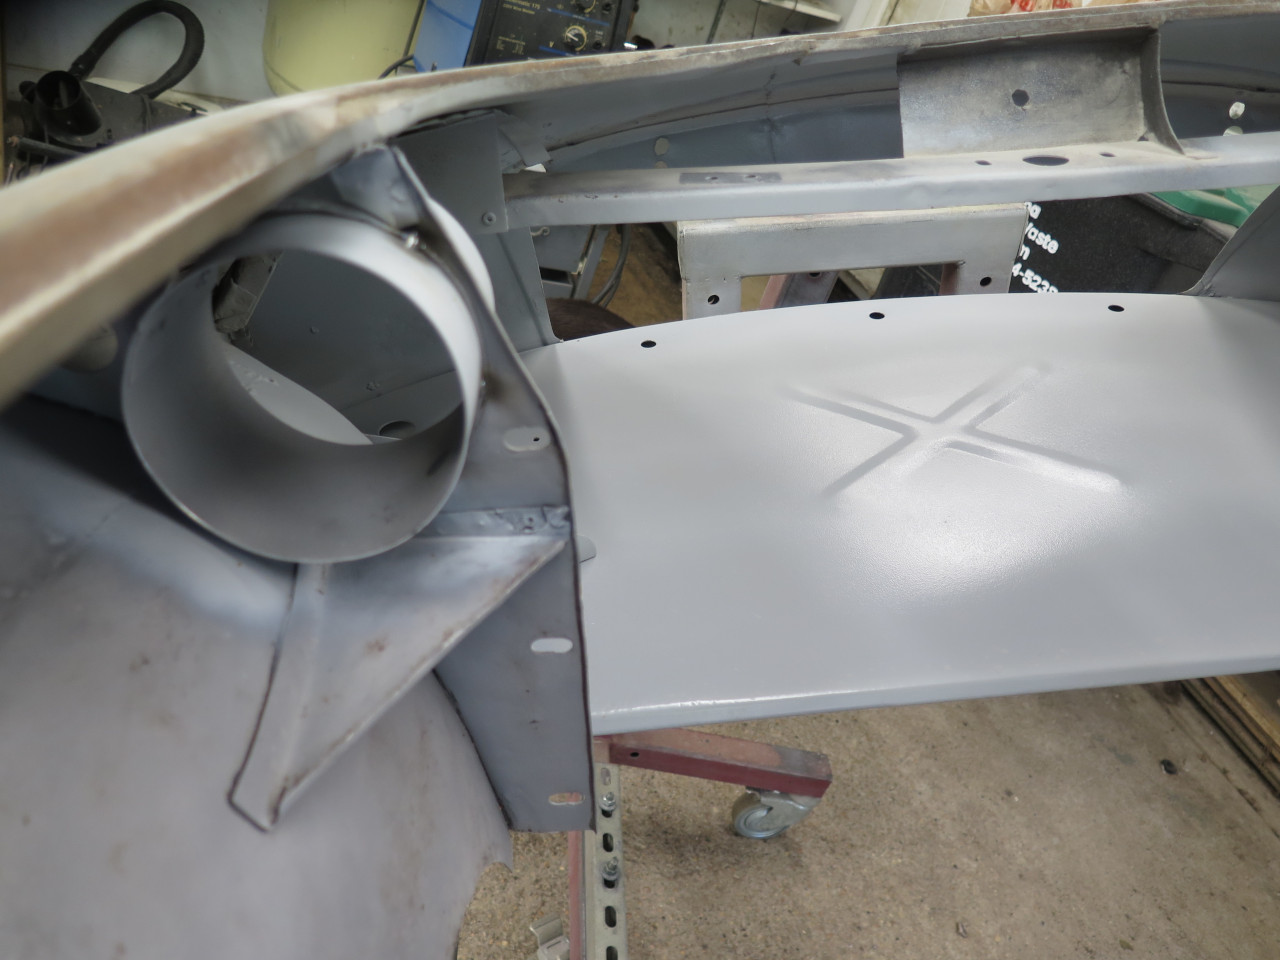
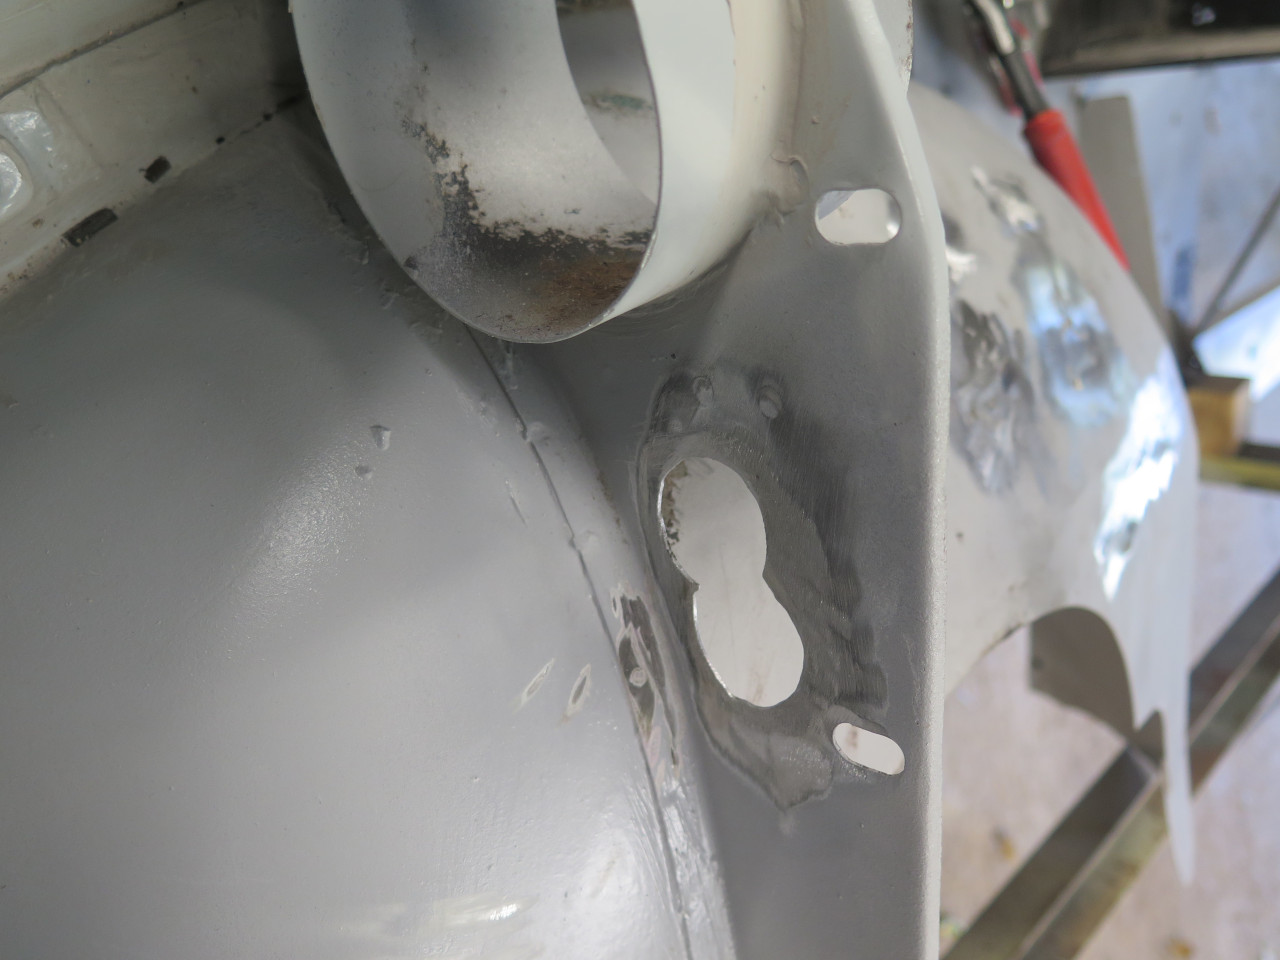
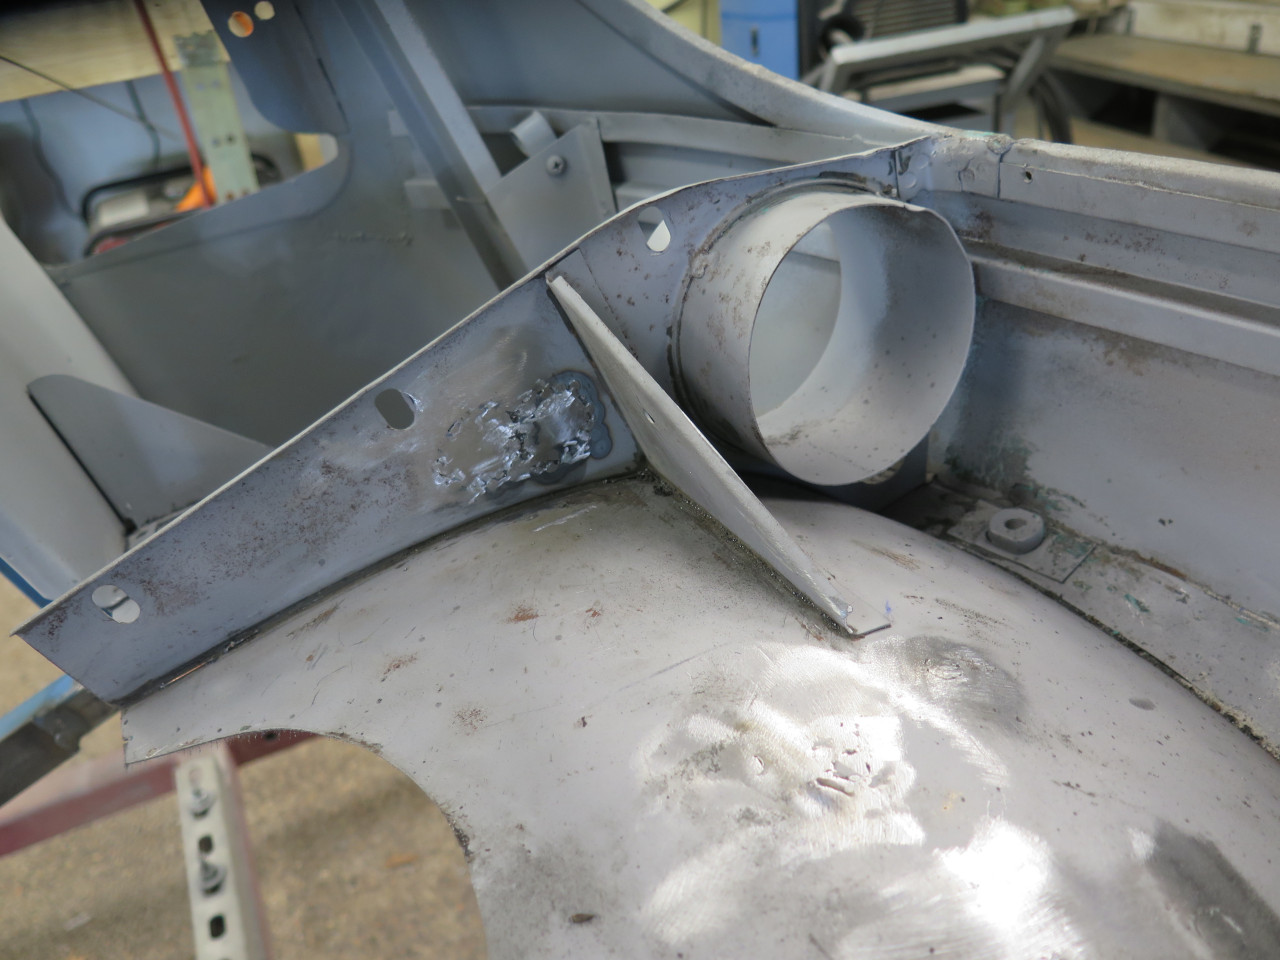
While in the area, I noticed that one of the fresh air duct fittings
that pass air through the radiator bulkhead had gone missing. No
worries, a little simple geometry revealed the dimensions of the flat
piece that would roll up to fit the hole.
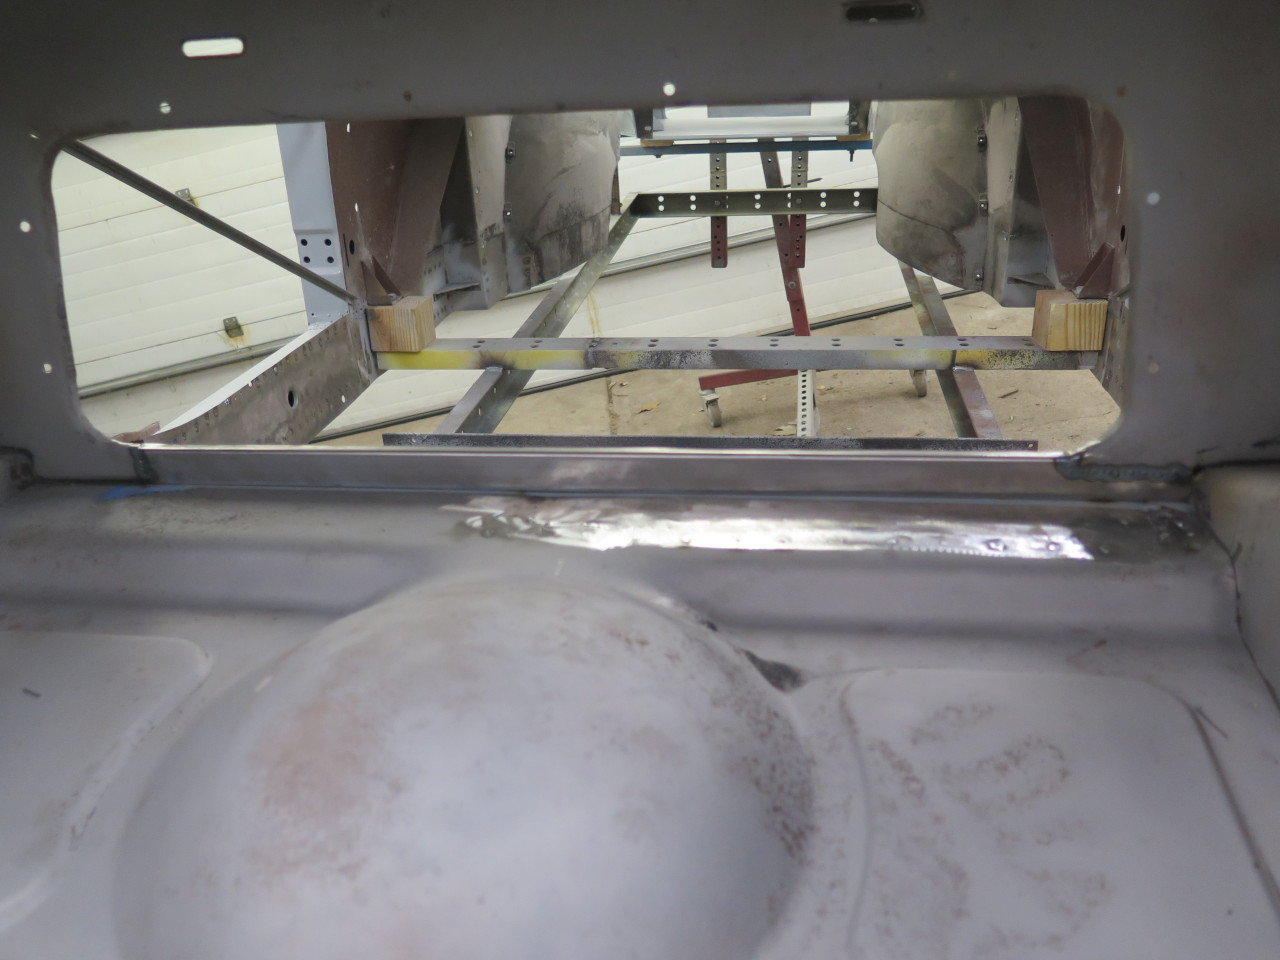
There were also the holes I made in the bulkhead to accommodate the oil
cooler hoses. I don't plan to run an oil cooler, so they were now
surplus.
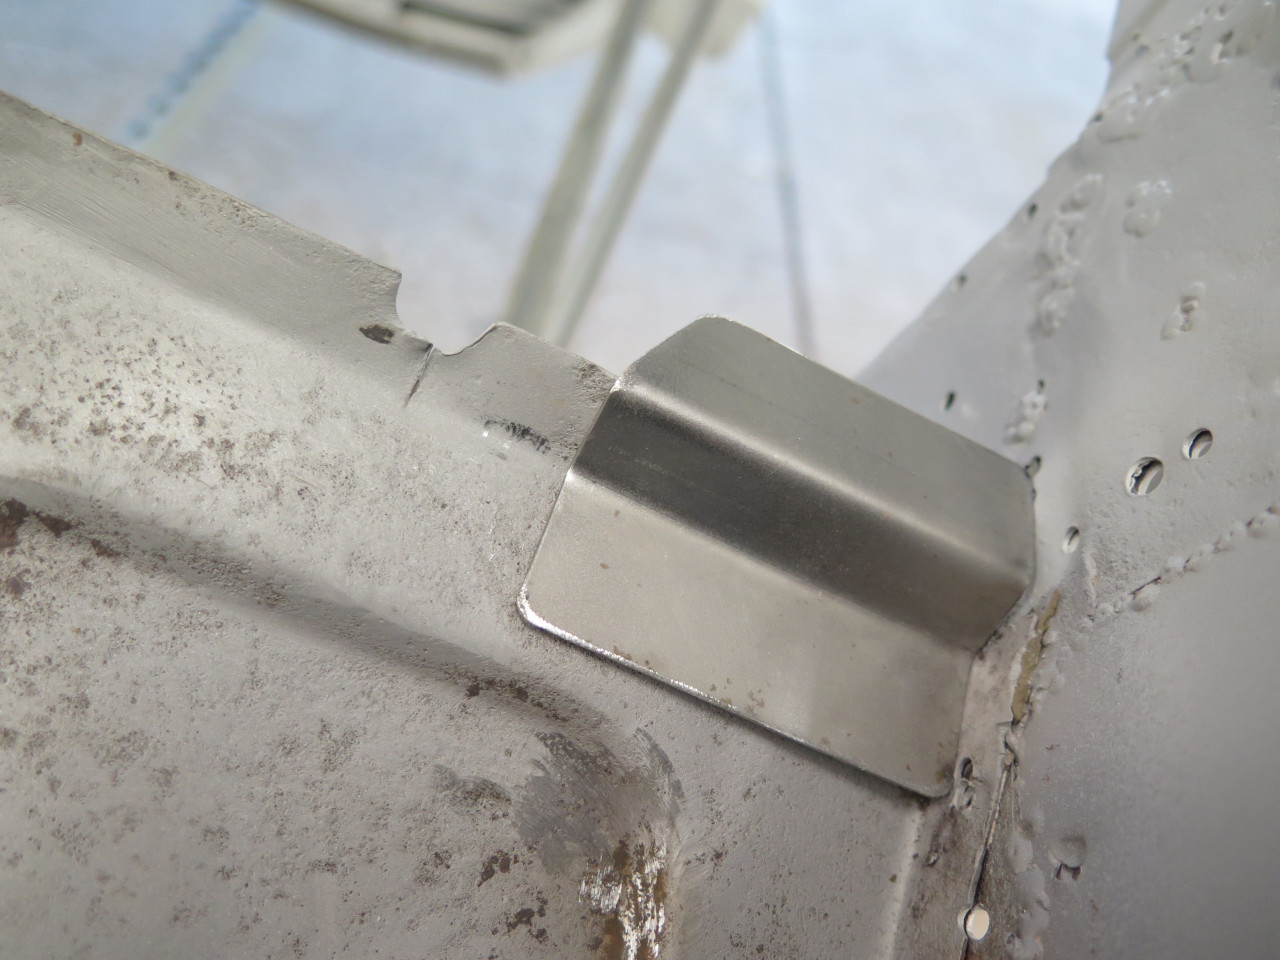
There are some little tabs at the leading edge of the boot floor on
either side of the battery cover. They had been pretty chewed up
with drilling out the spot welds, then being drilled for rivets.
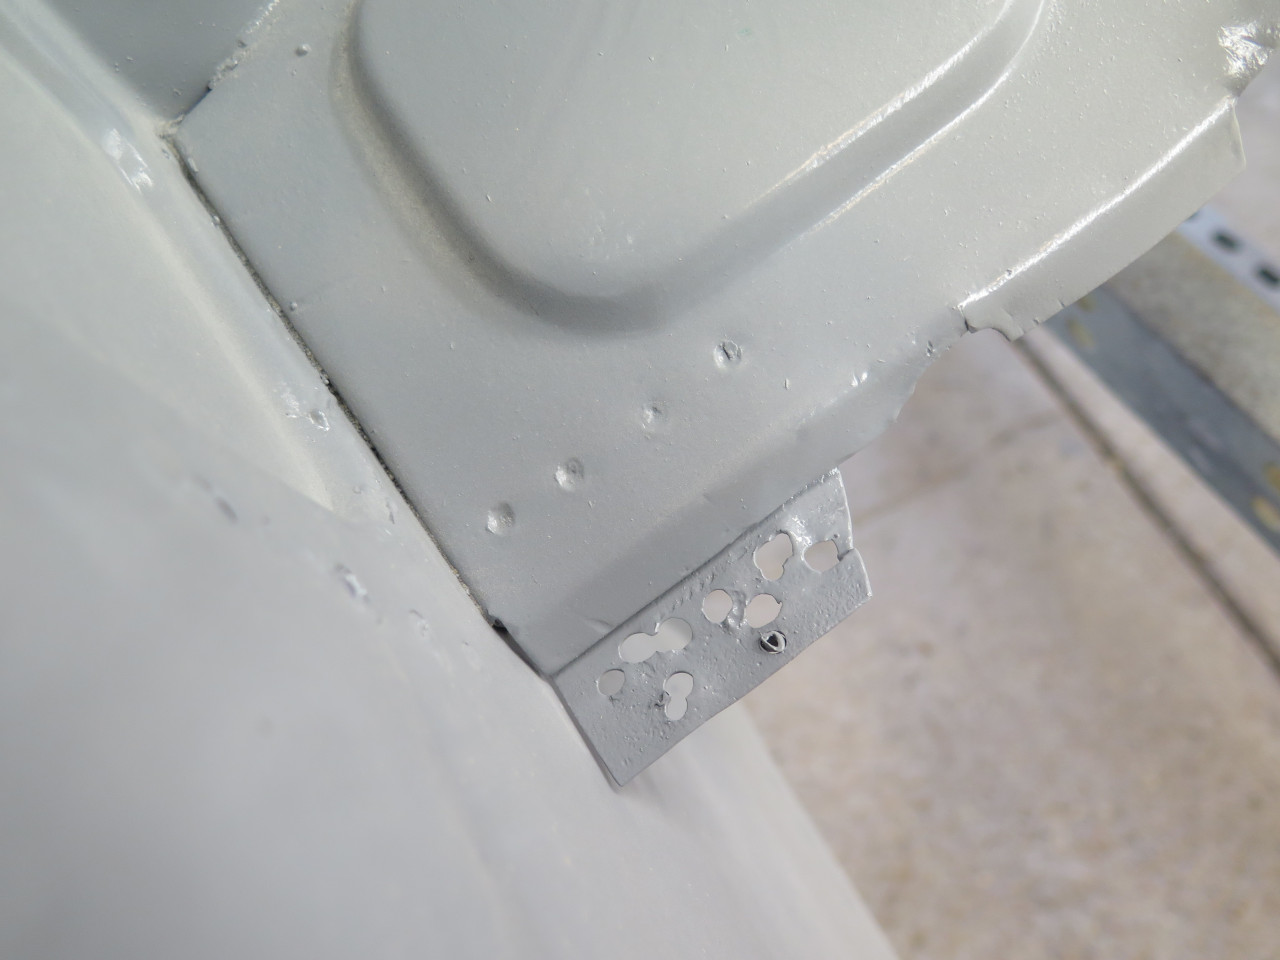
It seemed worthwhile to have those out, and replace them with fresh ones.
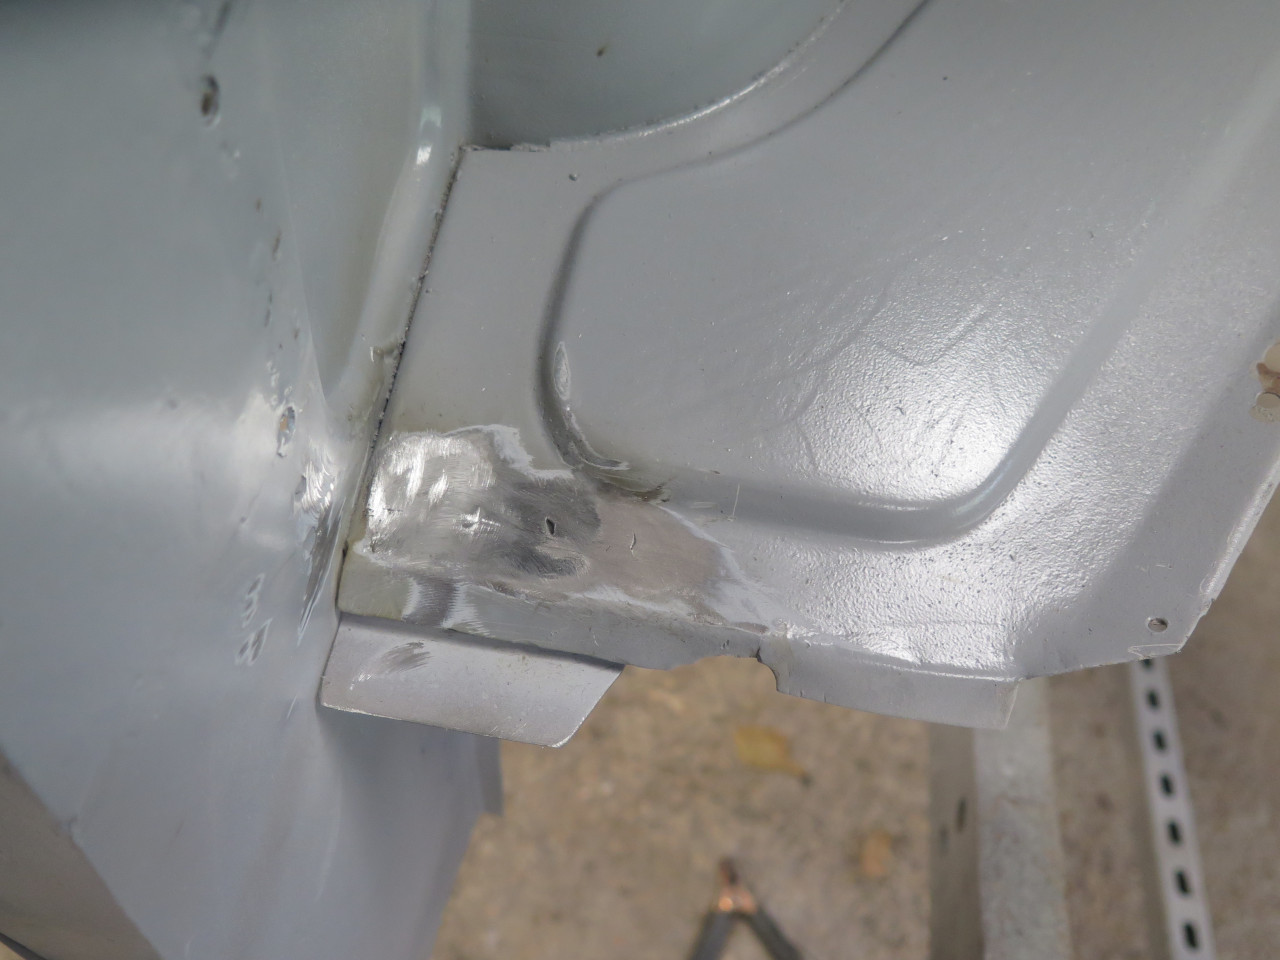
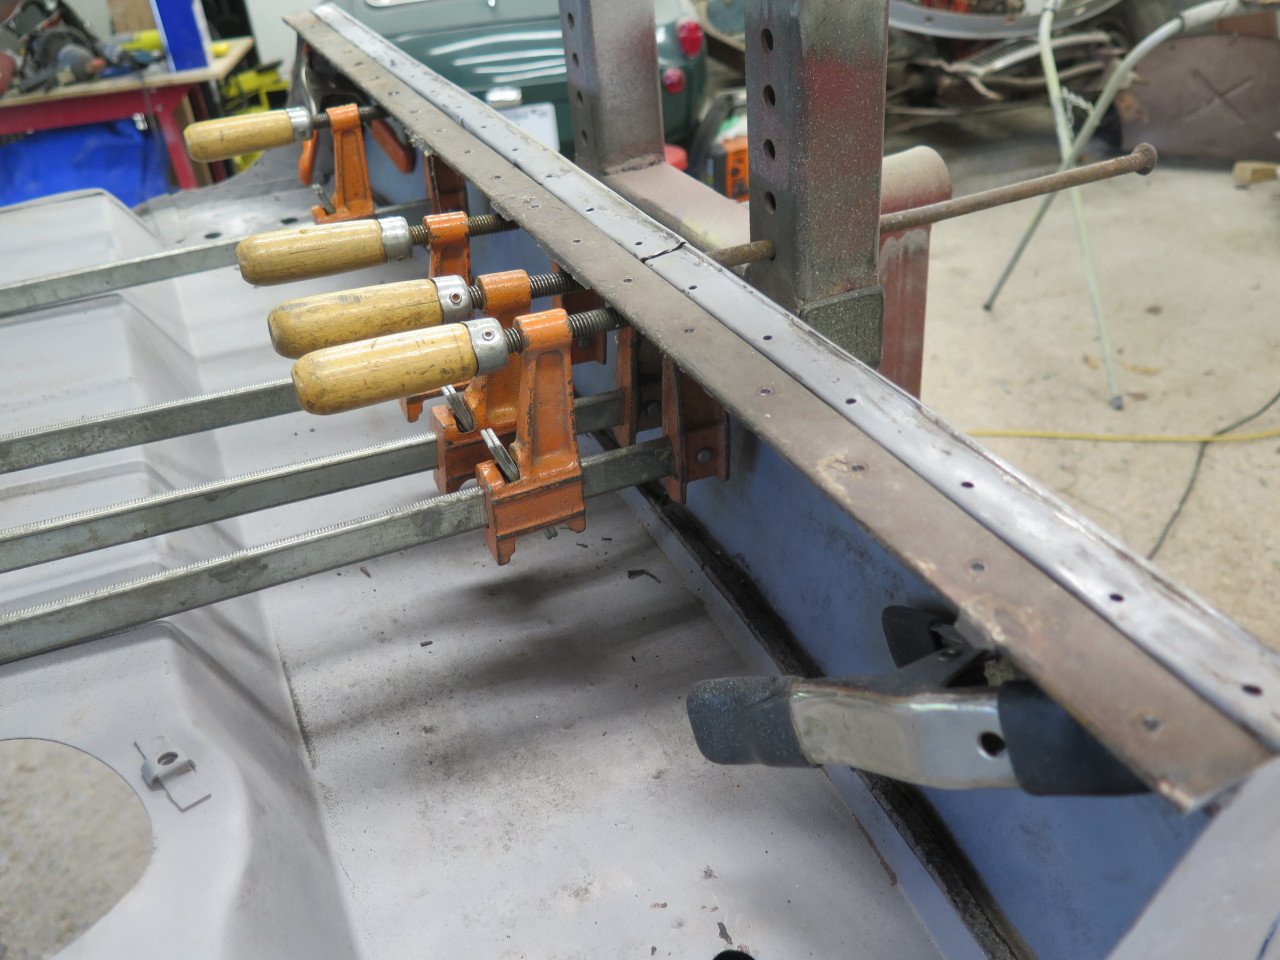
Looking at the rear of the car upside down, it came back to me that in
my last attempt at restoration on this car decades ago, the bottom edge
of the rear valance was very floppy, so I reinforced it with a piece of
angle iron.
I removed that clumsy hack, and saw immediately that the cause of the
limpness was a couple of tears in the bottom valance flange. The
tub is upside down in this pic.
It appeared to me that the flange was supposed to be straight, so I clamped the angle to it before welding up the wounds.
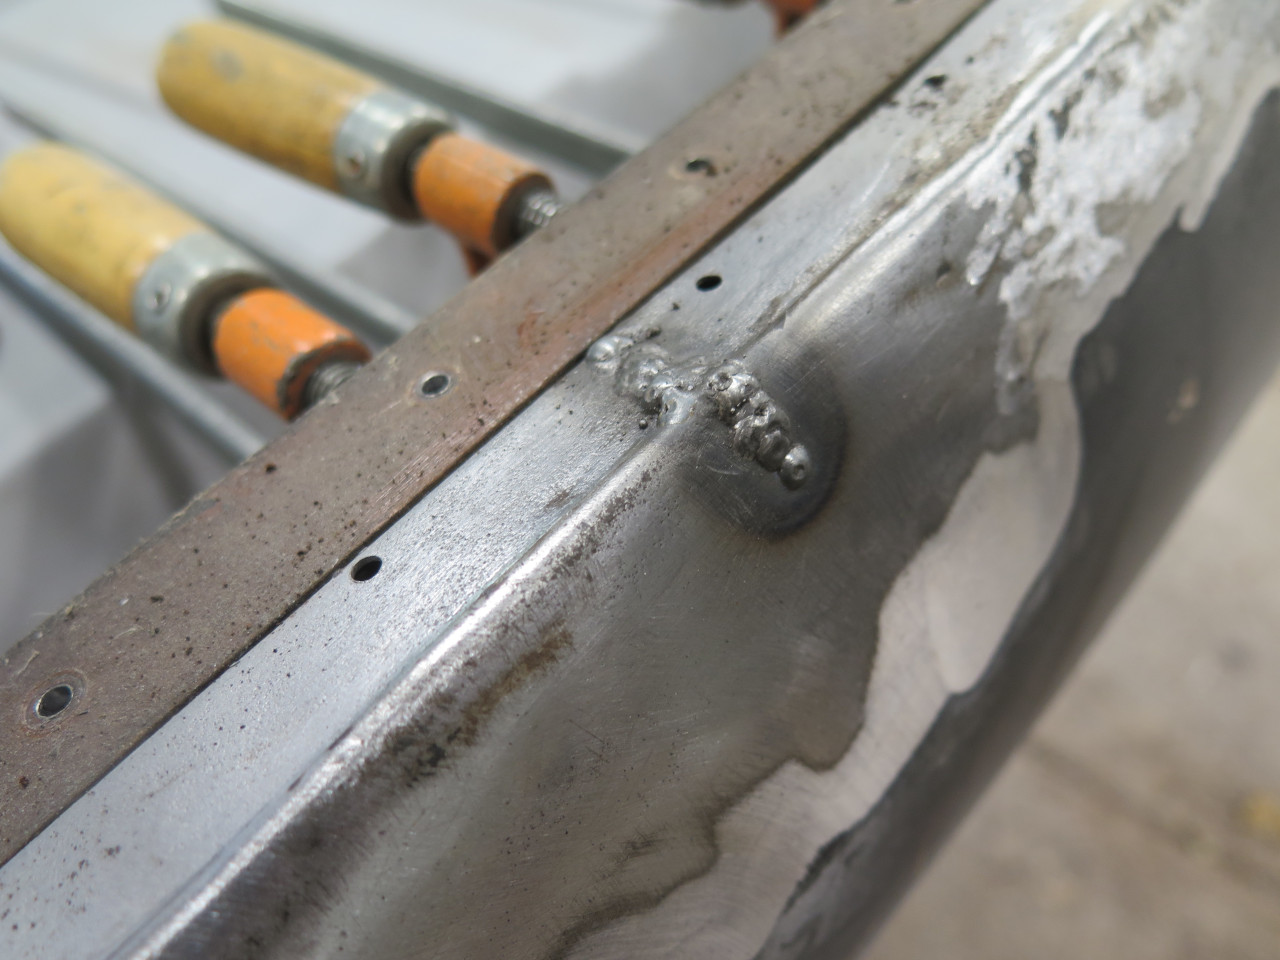
That operation stiffened up the valance immensely. I also welded
the corners. I'm not sure they were welded from the factory.

Elsewhere on the rear valance, there was a lot of evidence of past
trauma. There was a small area that was "oil canned" that resisted
any hammer and dolly manipulation. Heating the area to red heat
shrunk it nicely.
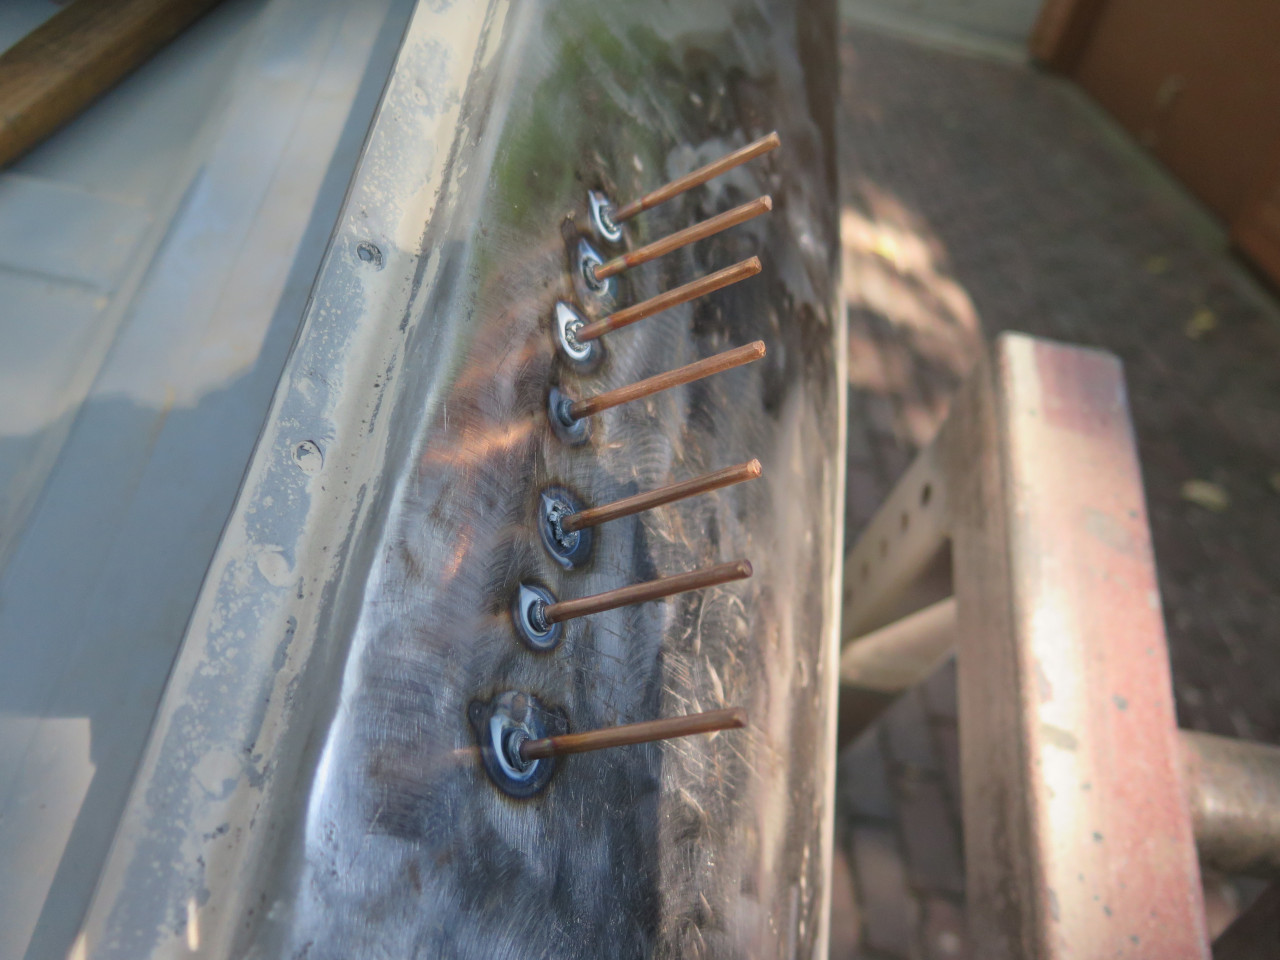
One big problem with body work on the rear valance is hindered access to
the back side. There was a caved in area near the internal
transverse structural element just below the boot opening. These
little welded on pins allow pulling it out with a slide hammer.
There were also a few extraneous holes in the valance. Two of them
were apparently for dedicated turn signal lamps, which the original car
didn't have. I removed them.
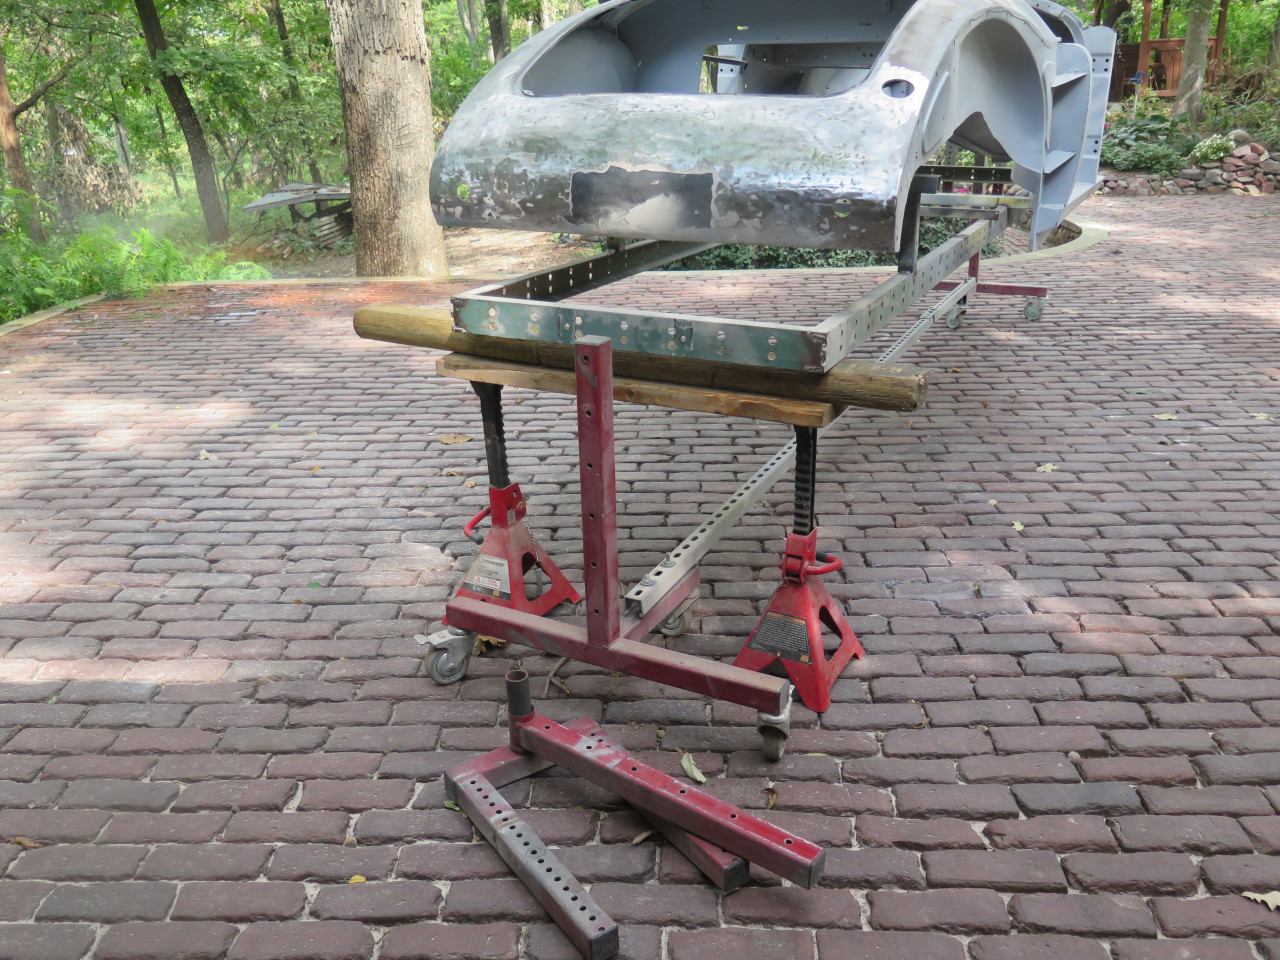
I'm no body man, but I was able to improve the shape of the valance
quite a bit. I did have to temporarily take my rotisserie apart to
get better access.
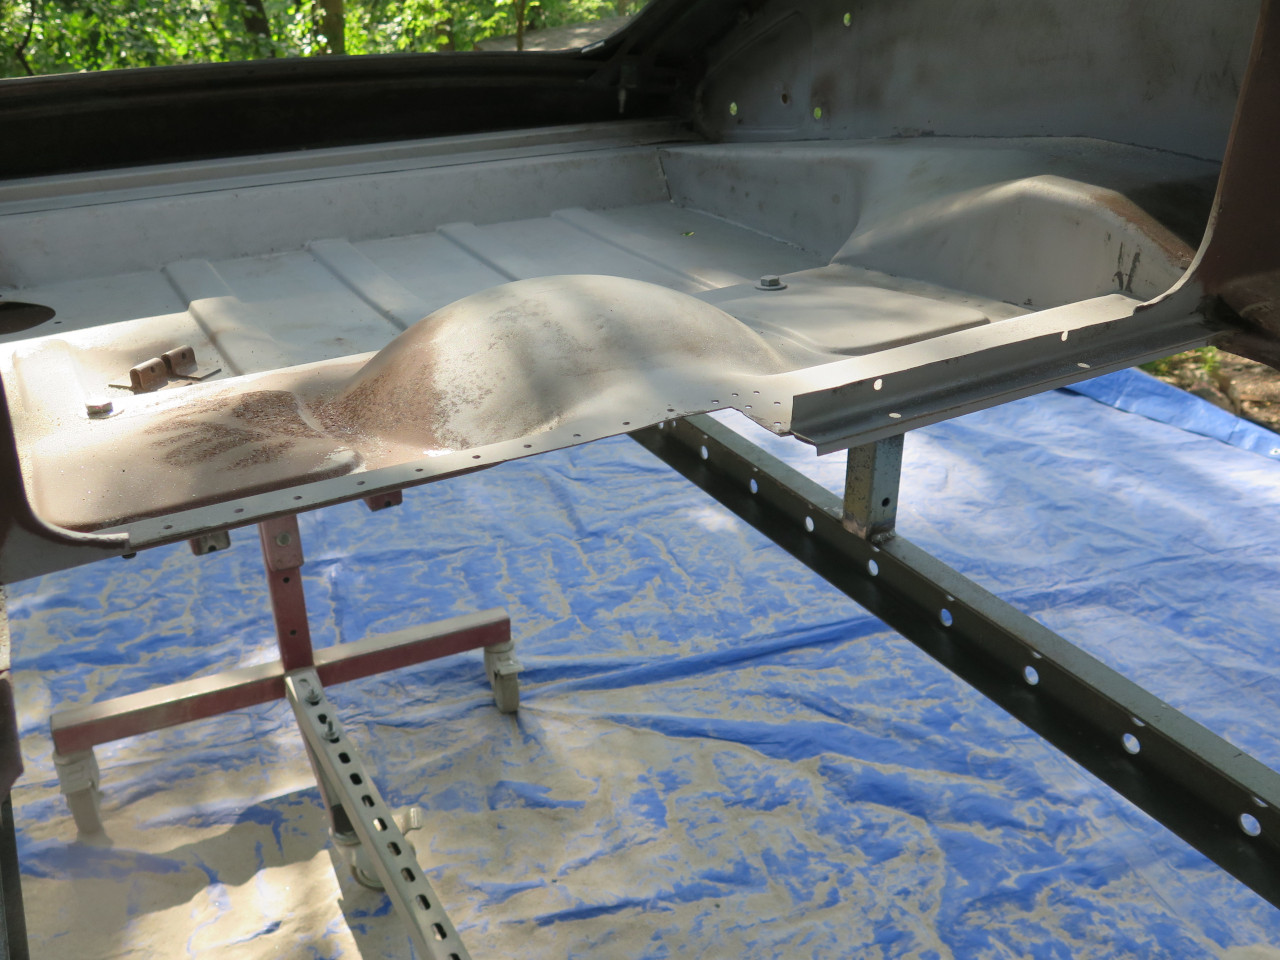
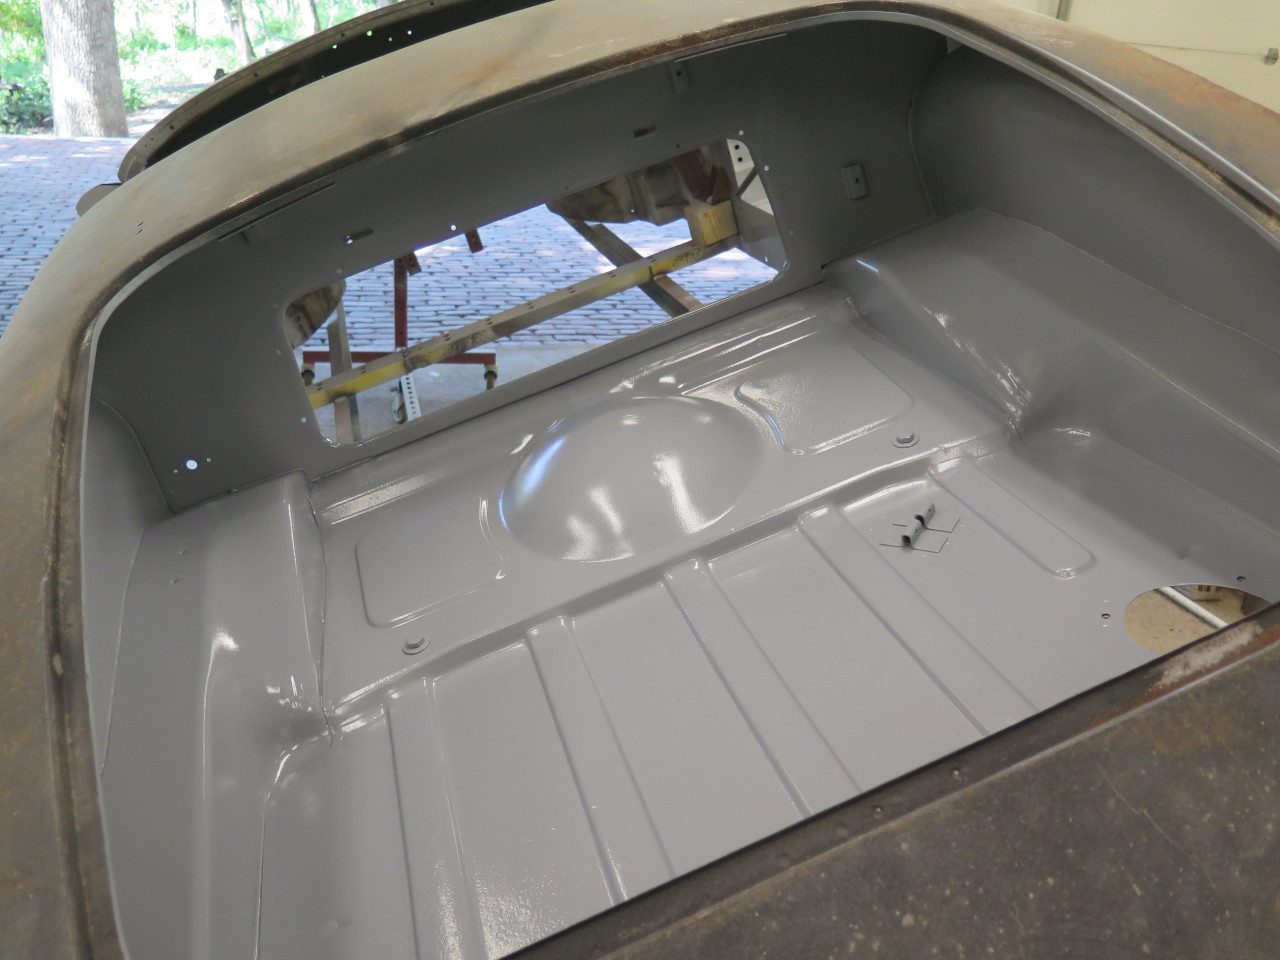
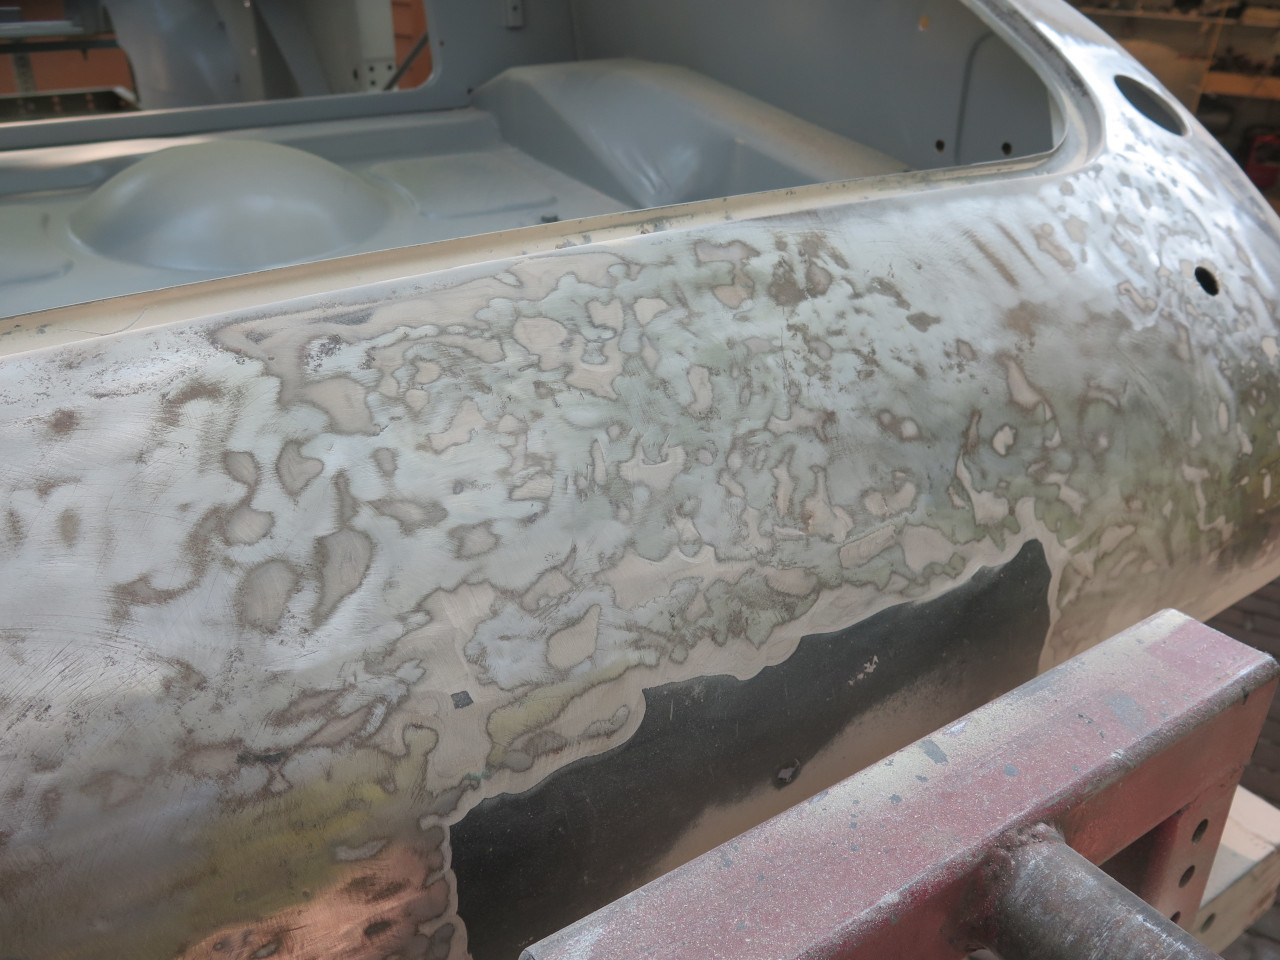
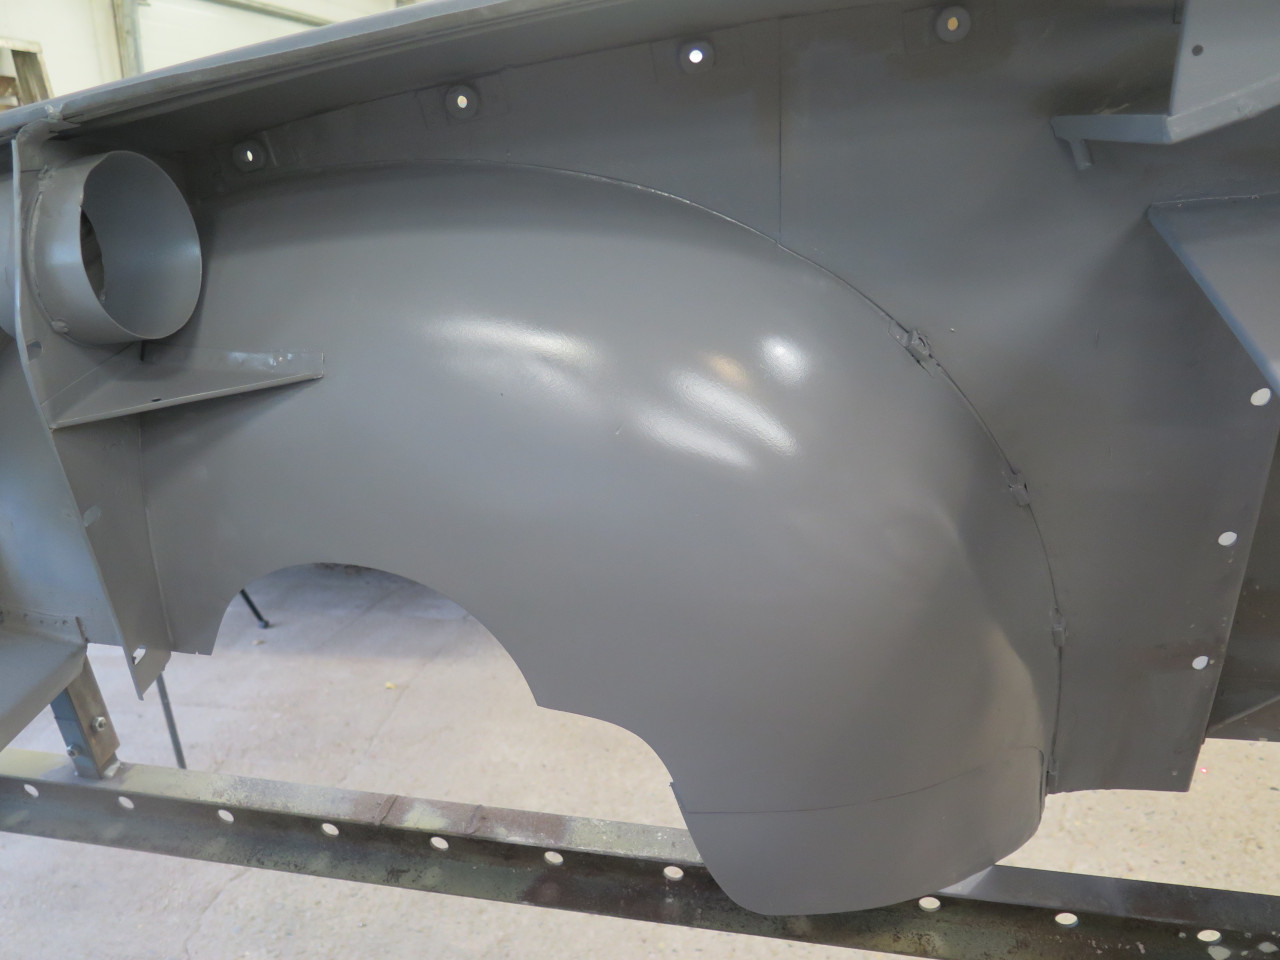
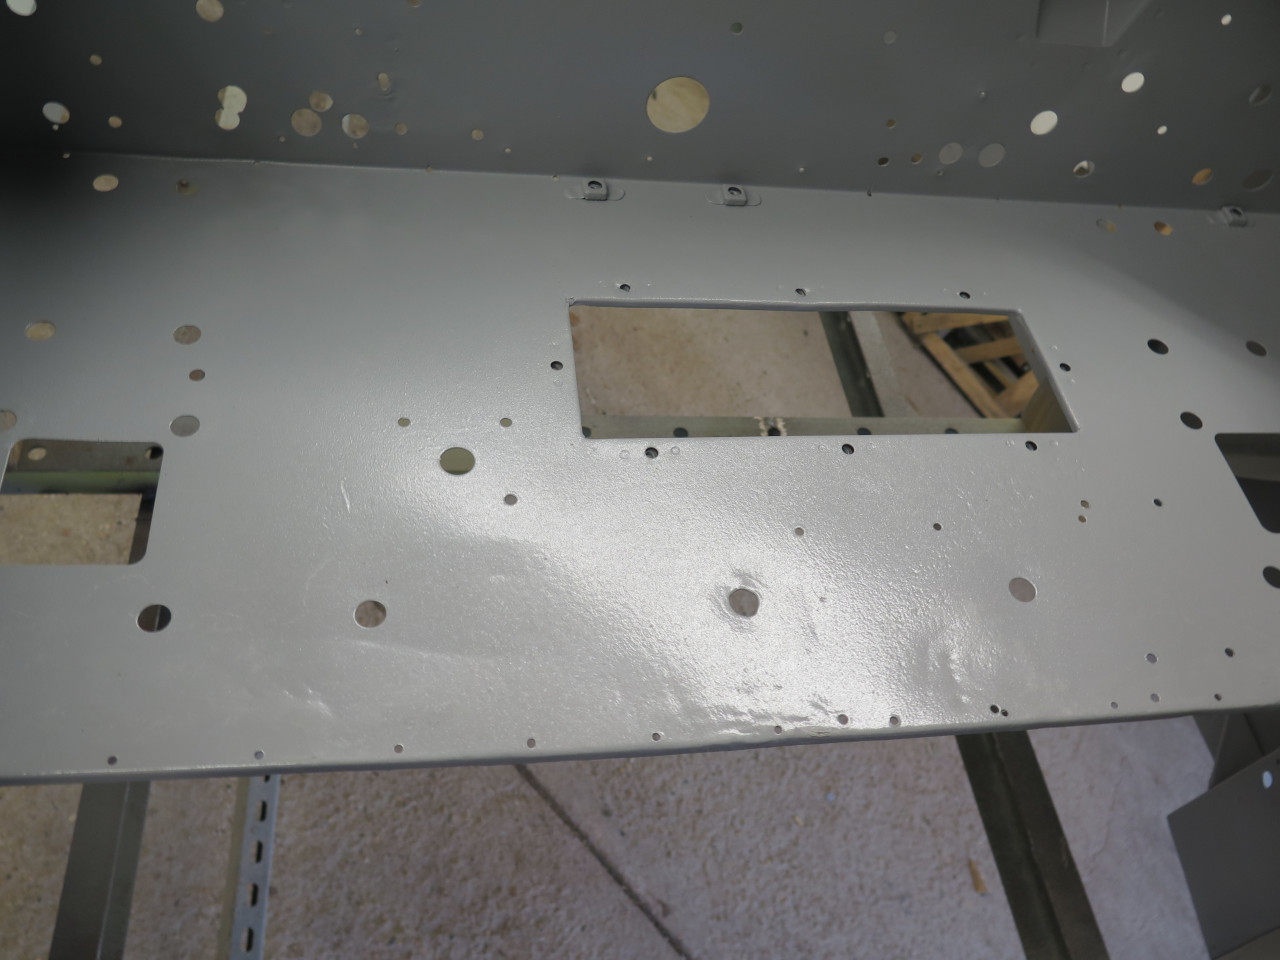
Regarding body work, most of the areas on the interior of the body are
pretty non-critical. But for me, there are notable
exceptions: The boot floor, front wheel wells, and engine
firewall. These are all visible at times, and I think it's a nice
touch to male them as presentable as possible.
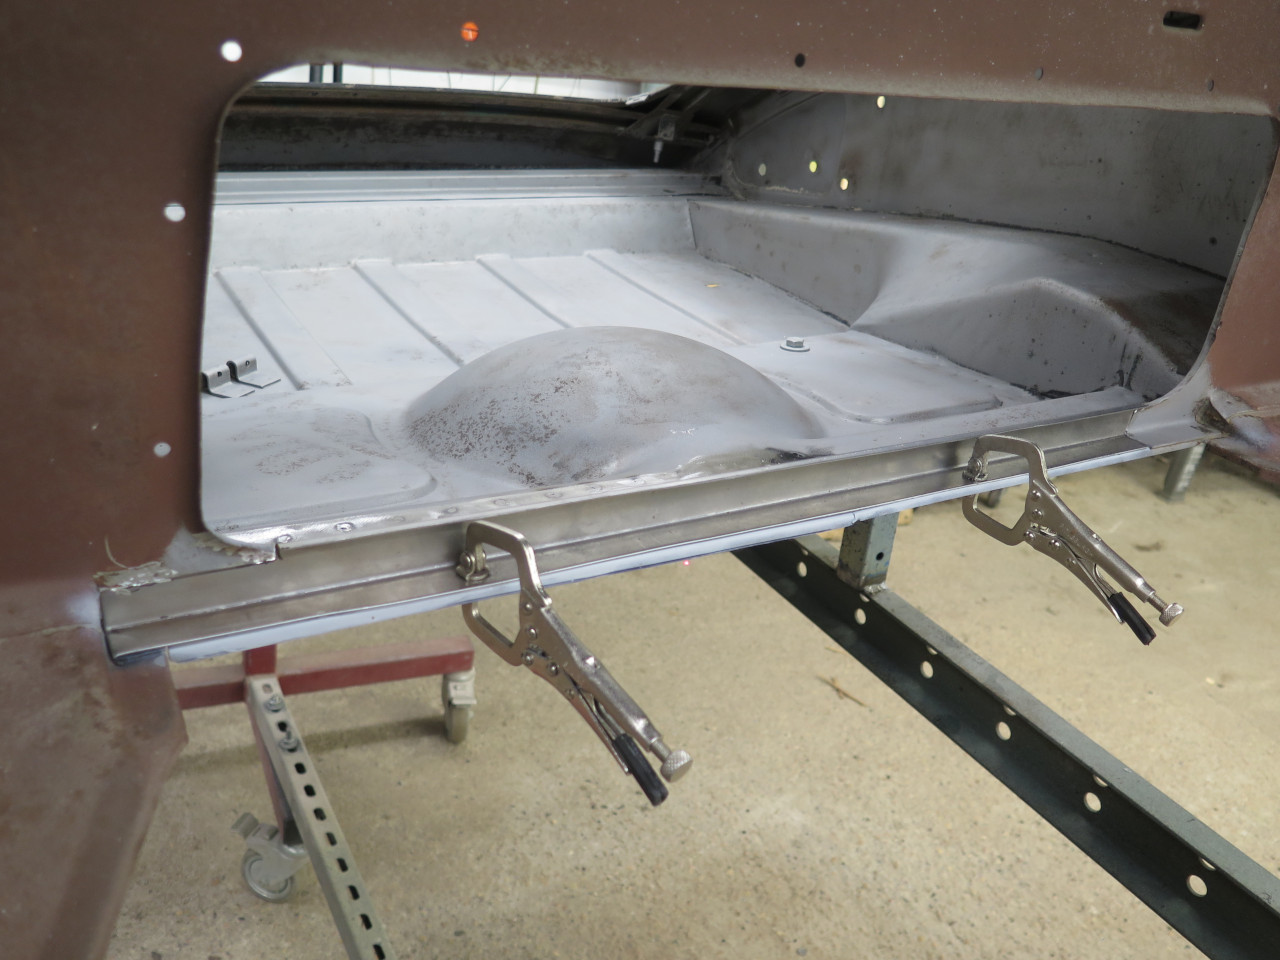
The boot floor had some dents removed, and some rust pitting filled.
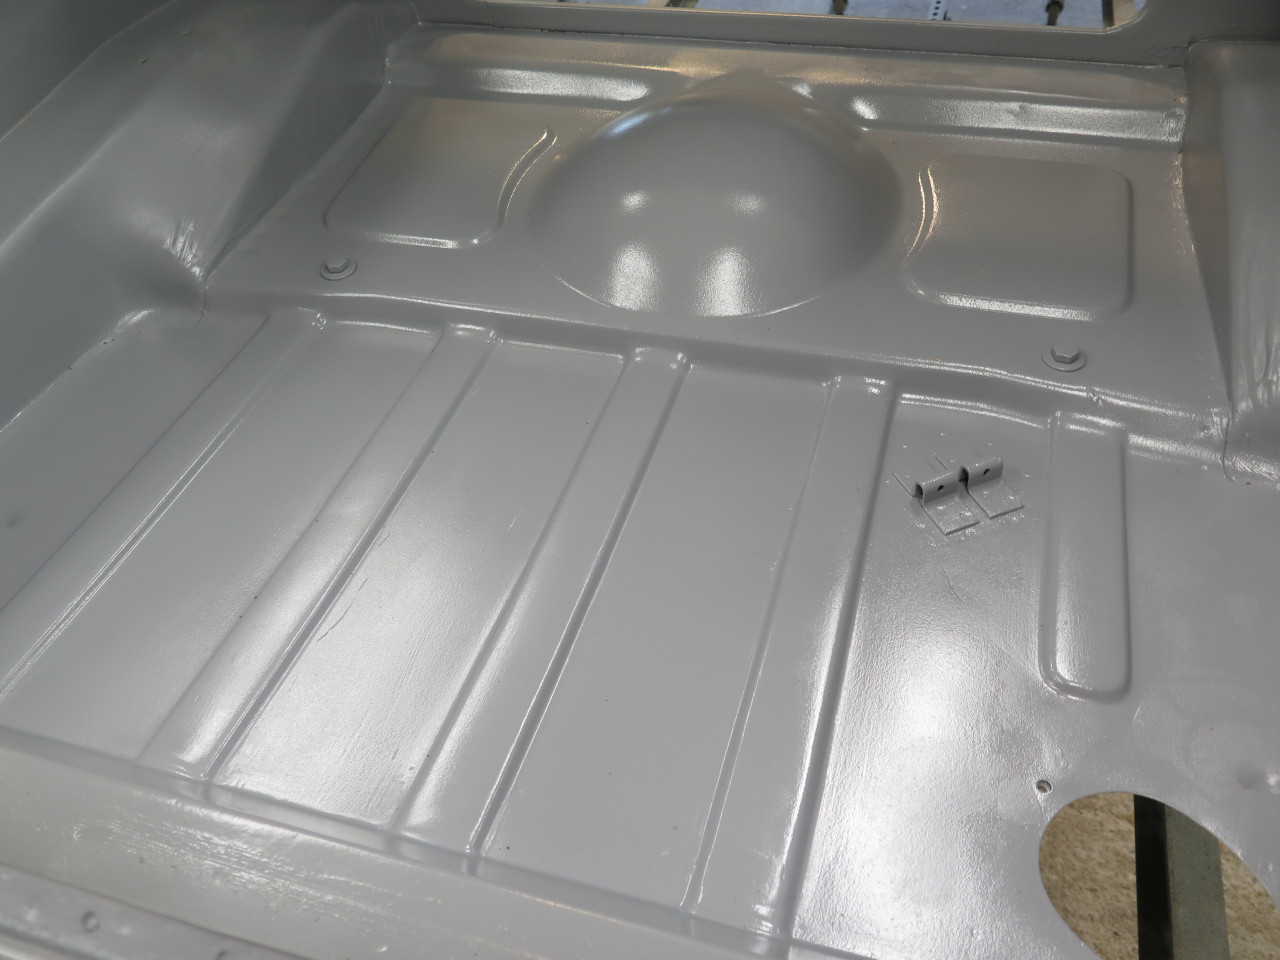
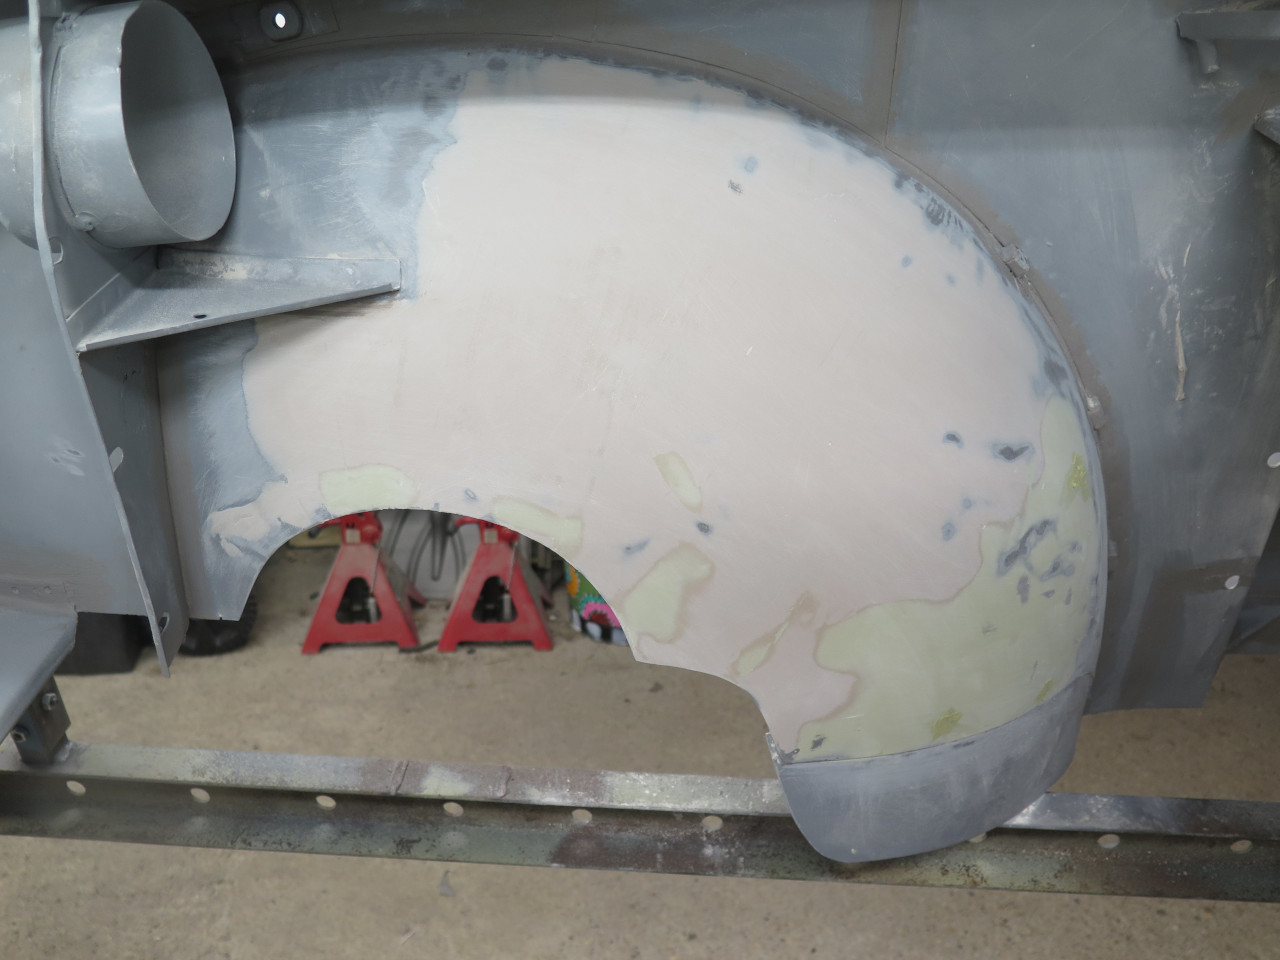
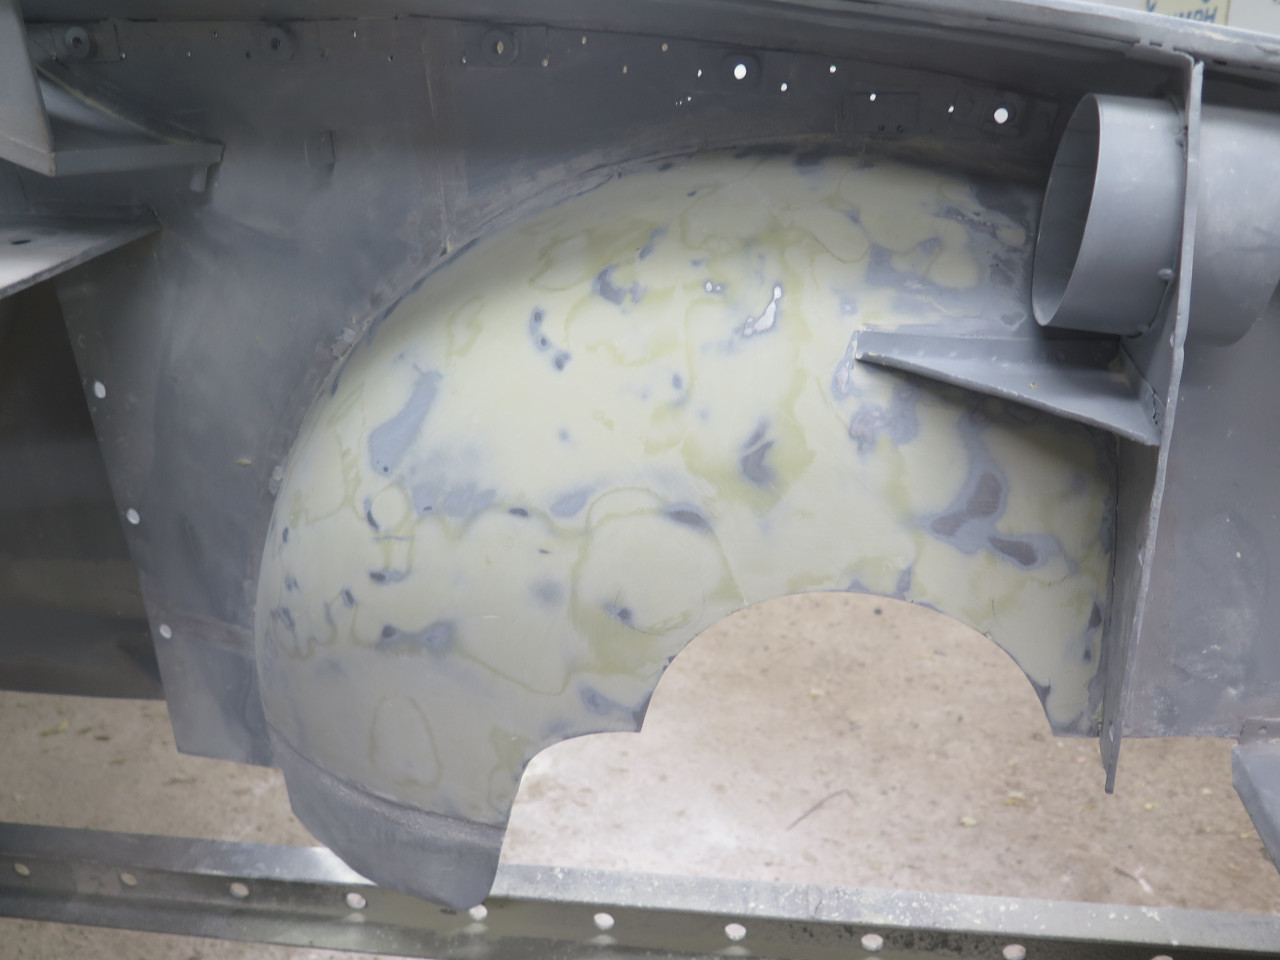
The wheel wells were pretty wrinkly, but responded well to some hammering and filler.
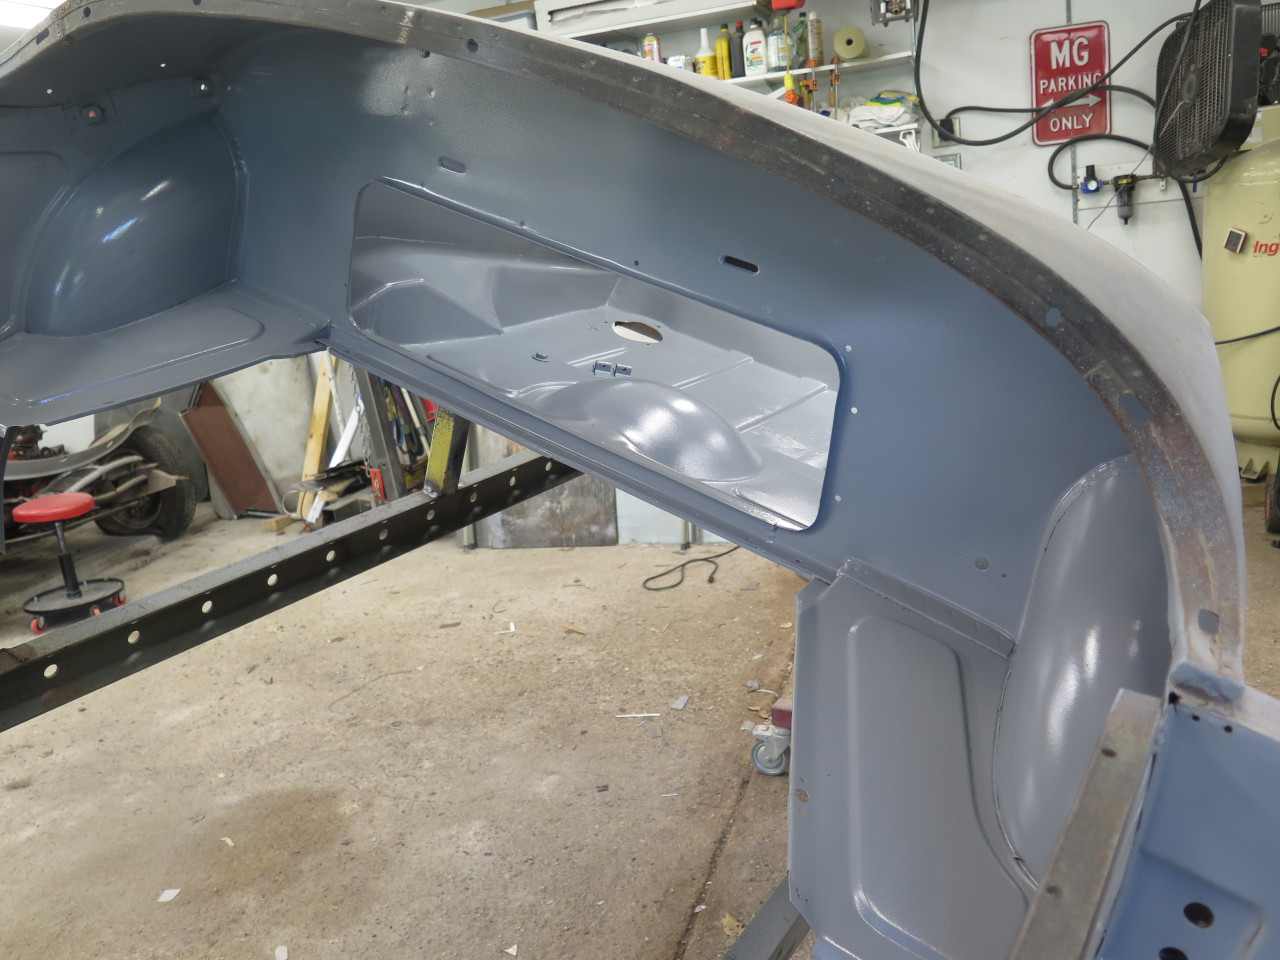
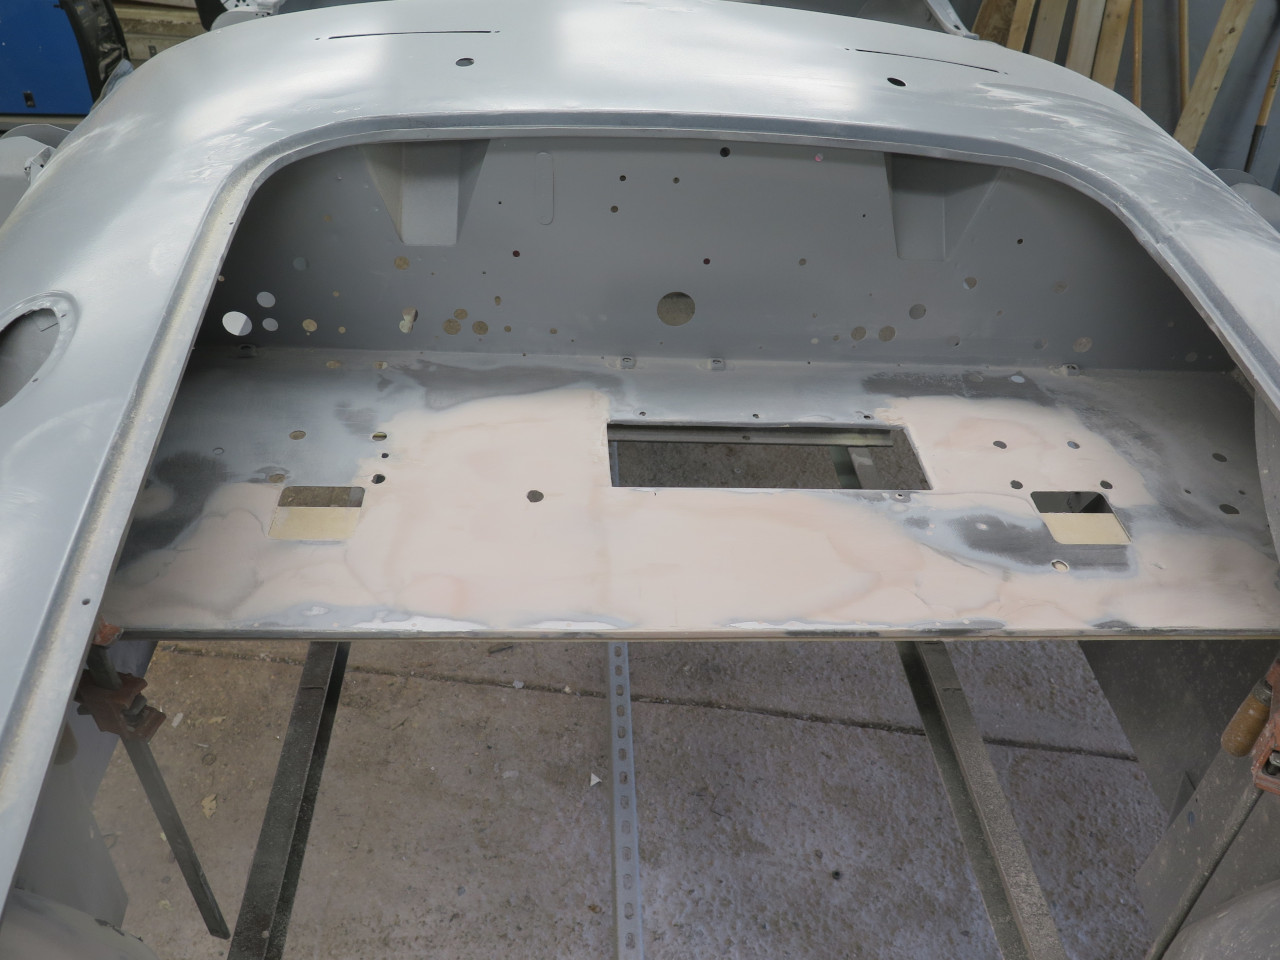
The firewall deck had some problems. I considered replacing it,
but figured I had not much to lose by trying to fix it. First off,
it had some torn metal at the corners of the heater opening.
A coat of primer revealed some disfigurement.
One challenge in flattening the deck is that when it's not stabilized by
the frame bridge, it's very floppy. So I clamped a flat board and
piece of steel angle to its leading edge to stand in for the frame
support.
To get it flat, a lot of the area has filler, but it's very thin.
After this, I did the remainder of the exterior of the tub. There
was nothing major, but quite a few very subtle low spots. I'm not a
great body man, and I found that trying to use hammer and dolly in
these often just moved them or made them worse. I'm sure that some
of these go all the way back to the factory metal forming process, and
were there when the car was new.
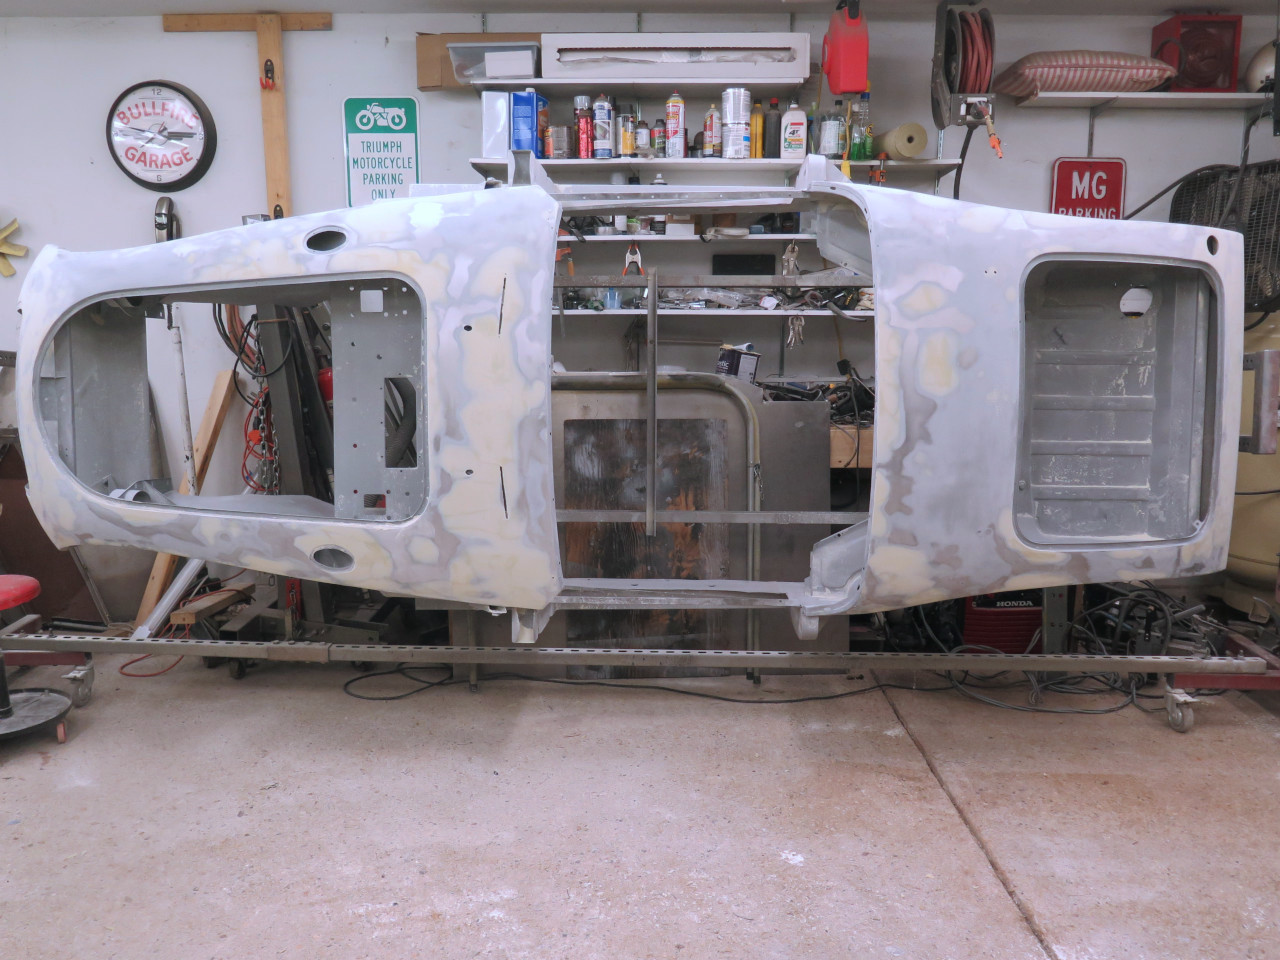
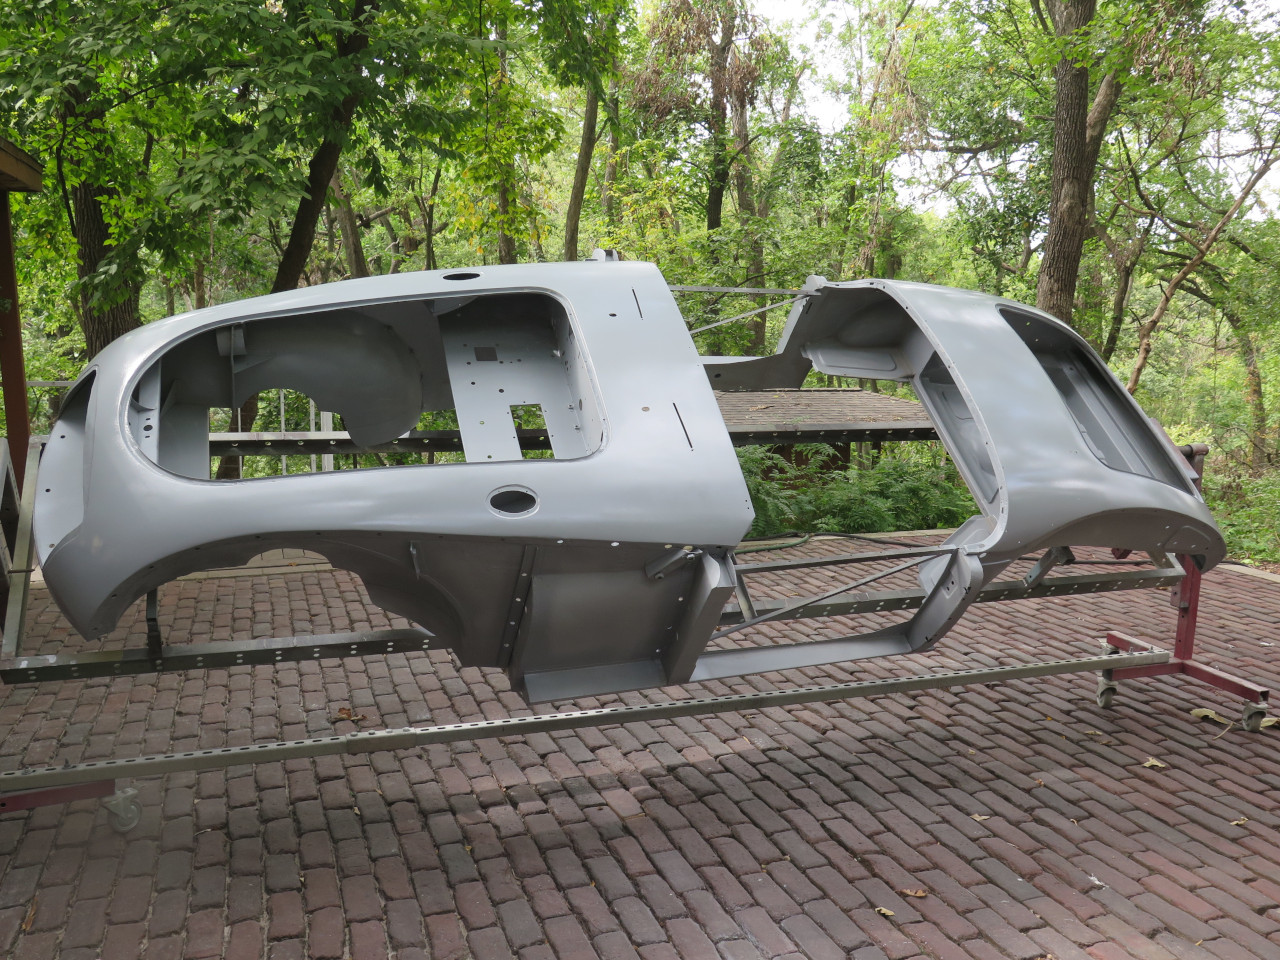
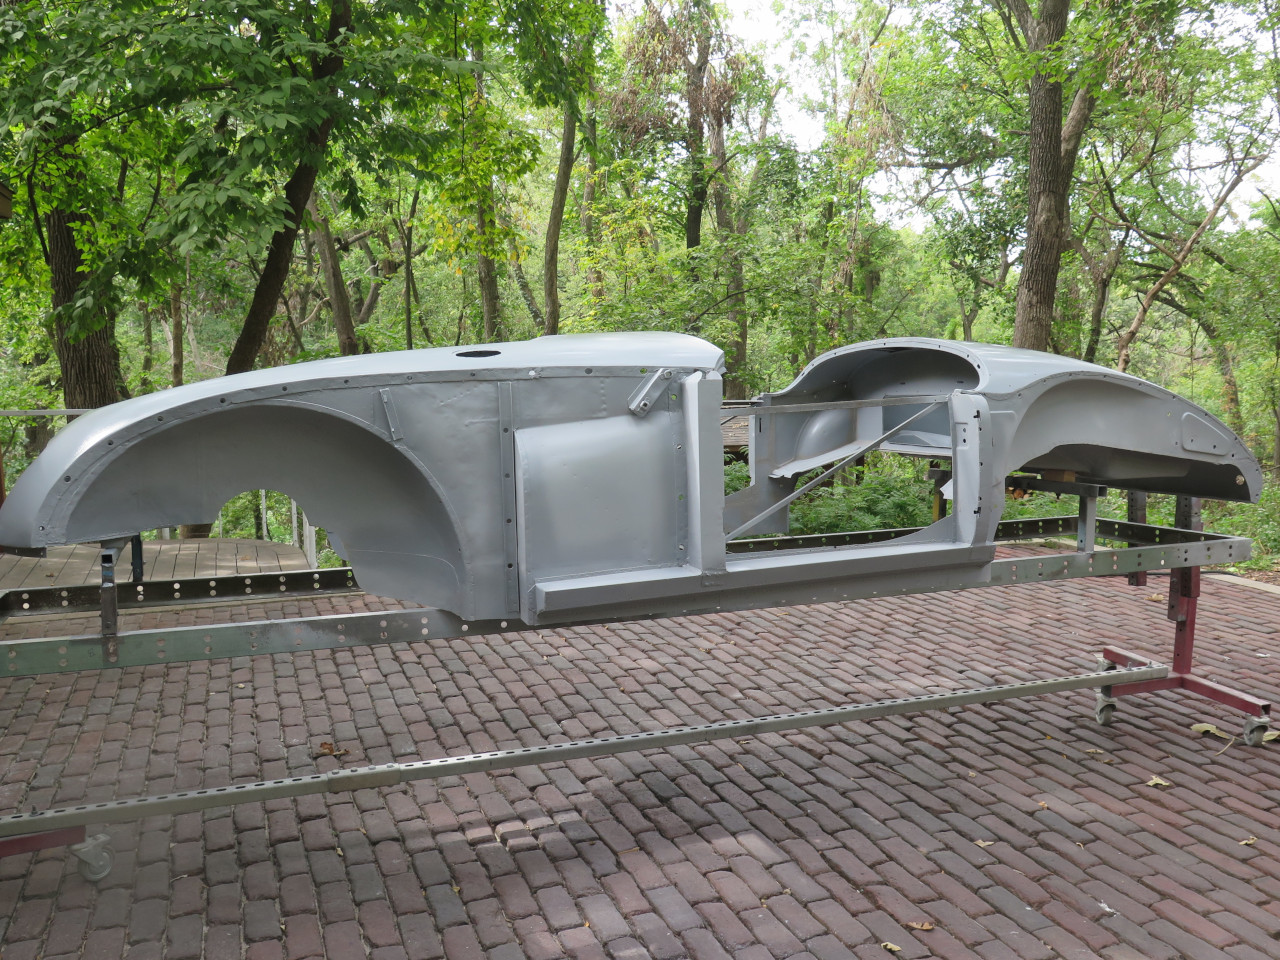
I call this a 90% level on the body work. Before finish paint, it
will get a high build primer, and block sanding to try to get most of
that last 10%.

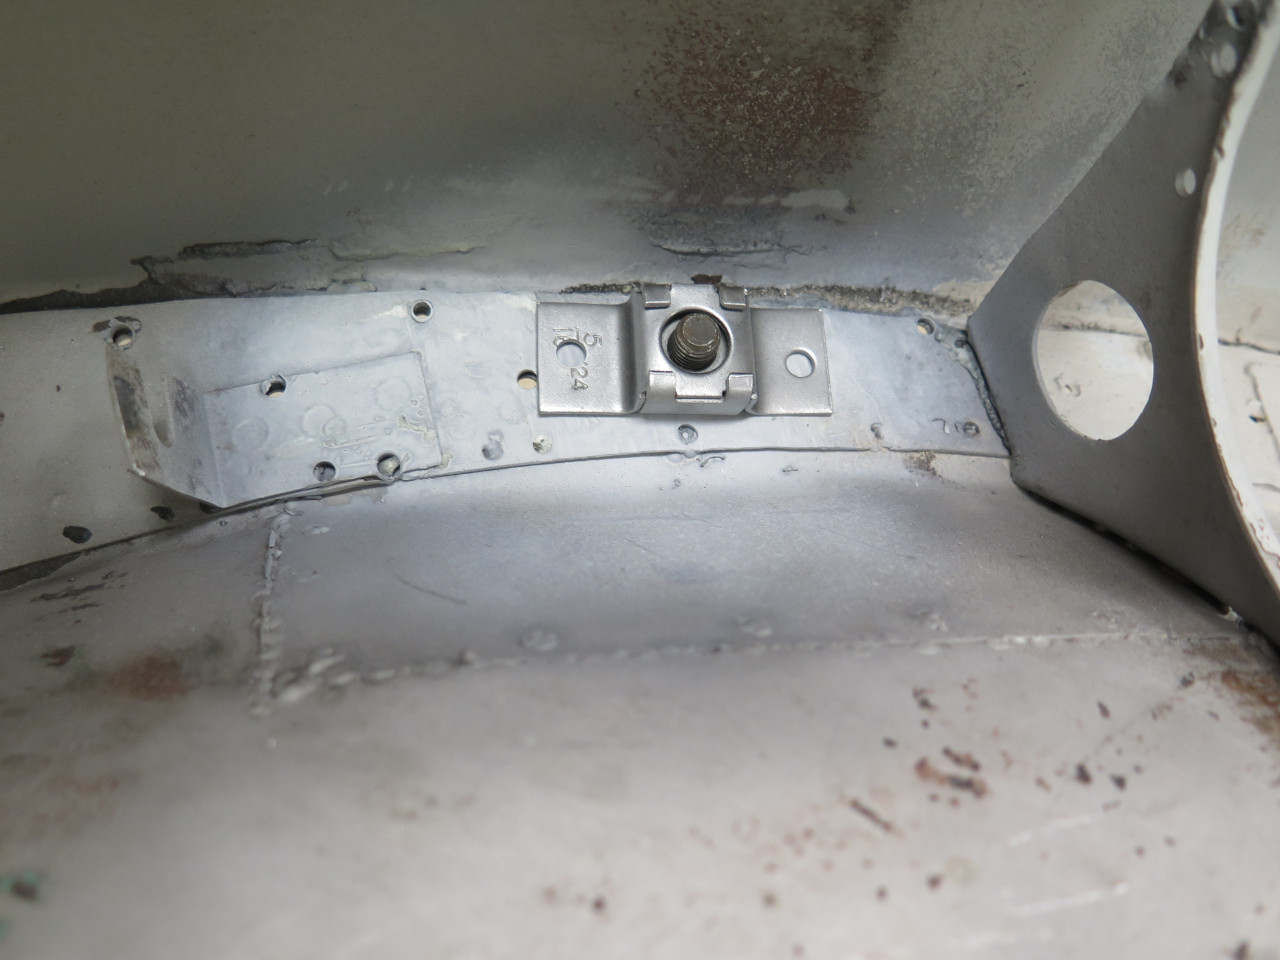
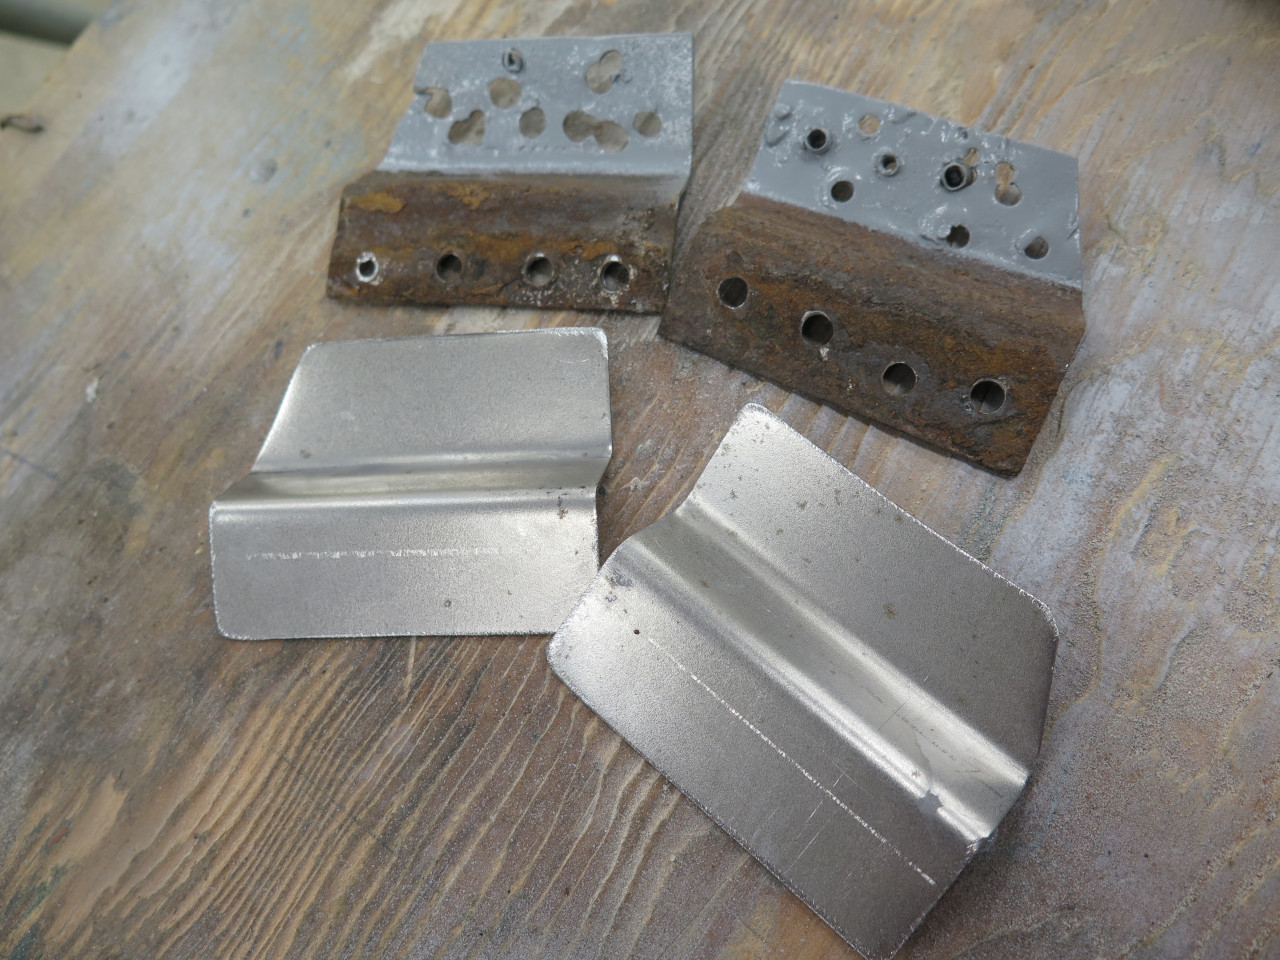
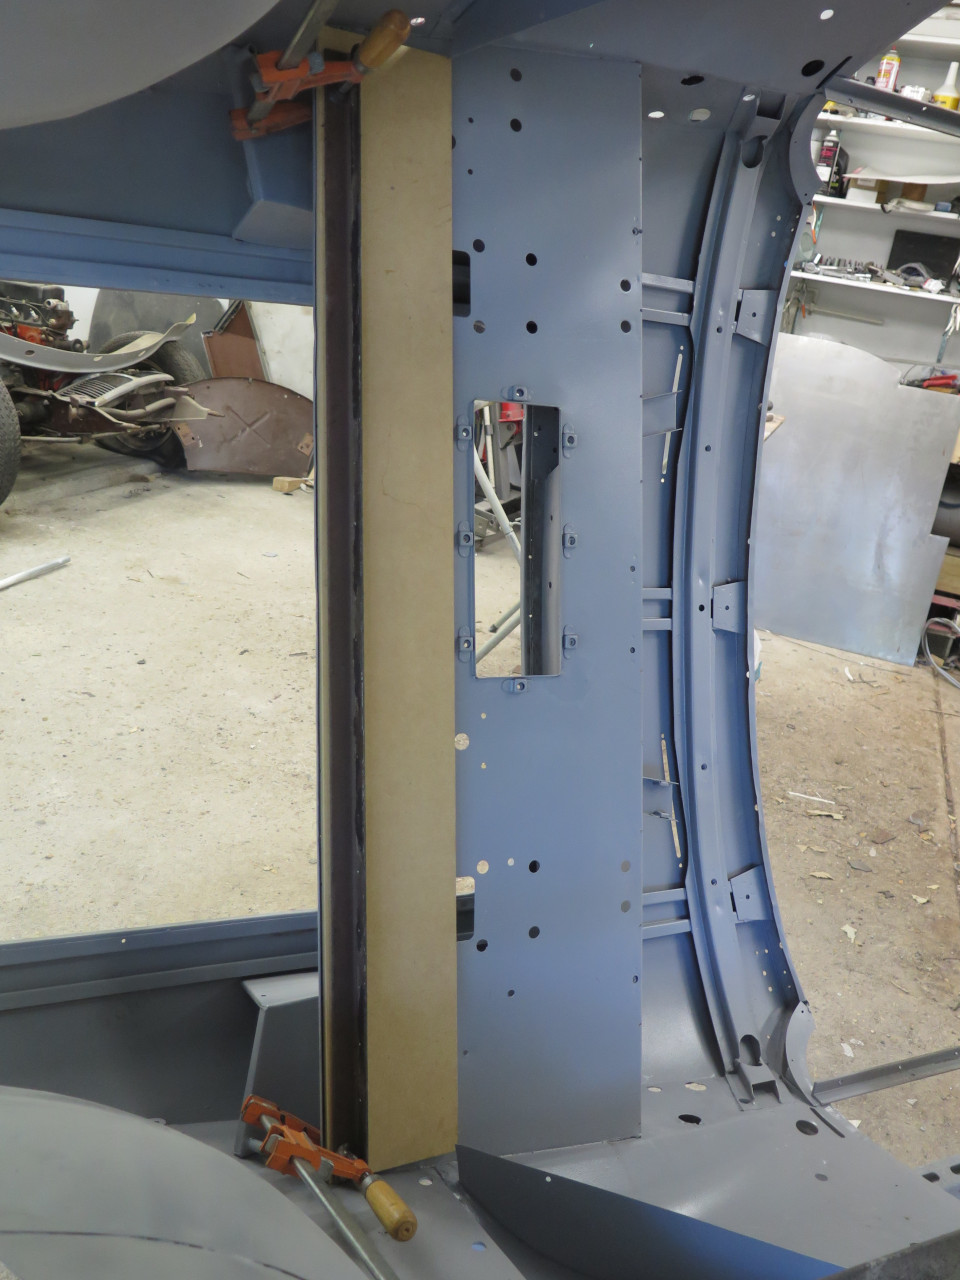
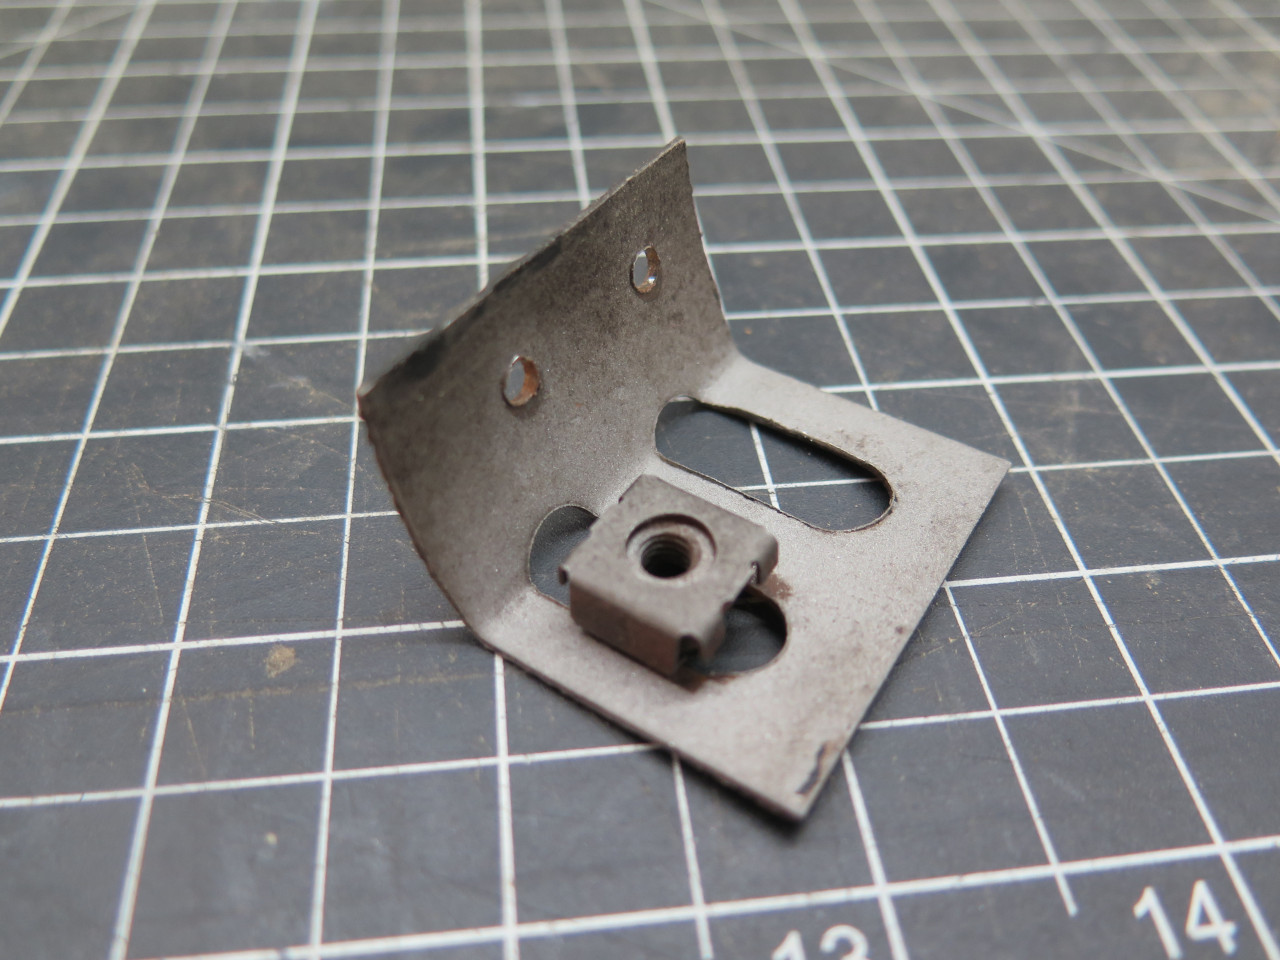
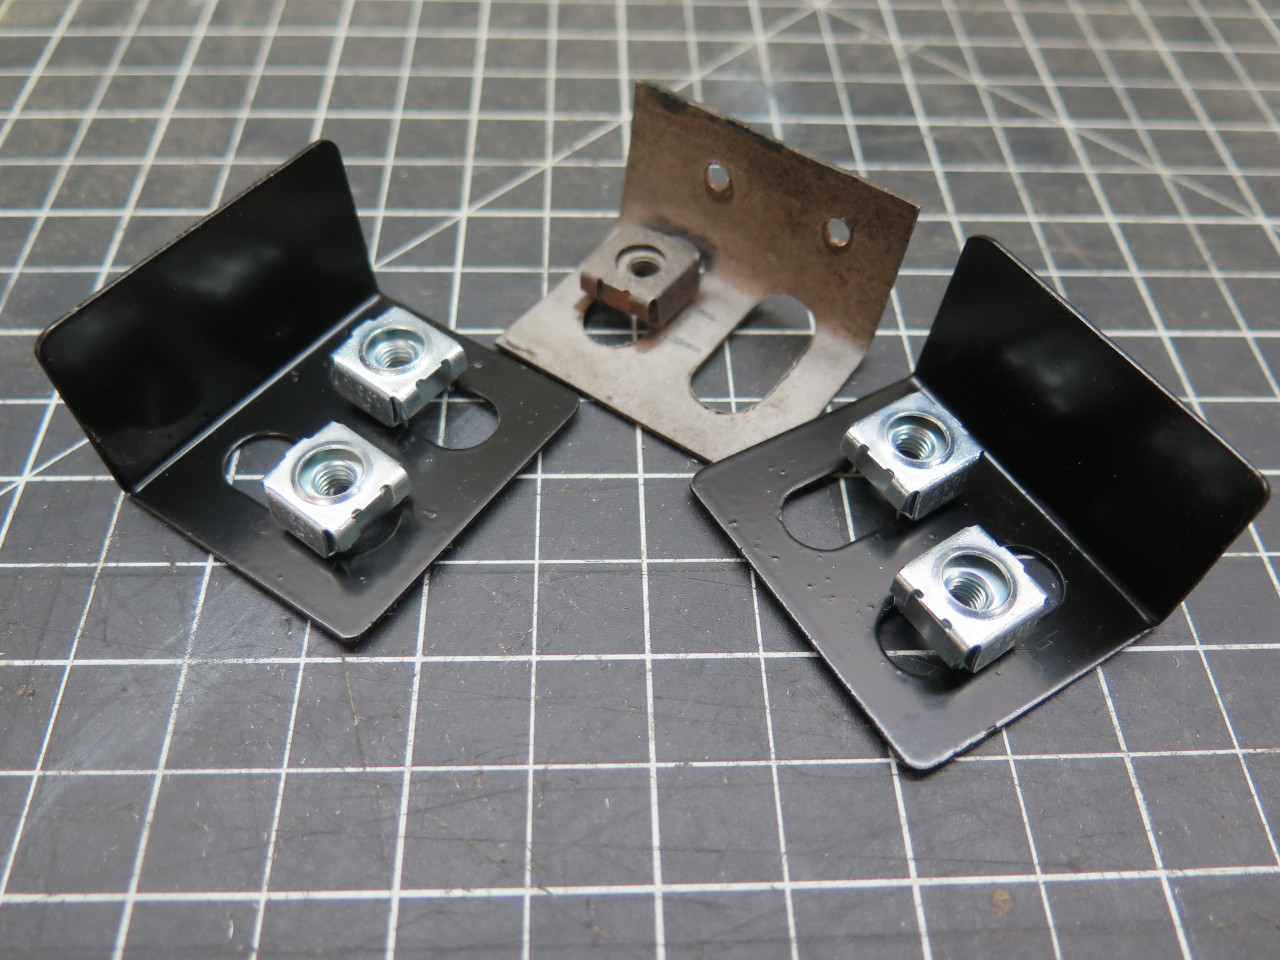
One last detail related to the captured nut fasteners. I found
this little bracket in one of the cans of assorted parts. I sort
of remembered that it had something to do with the windscreen. It
in fact holds the nuts that receive the fasteners for the windscreen
brace. This one was missing one of its nuts. The other
bracket was AWOL.
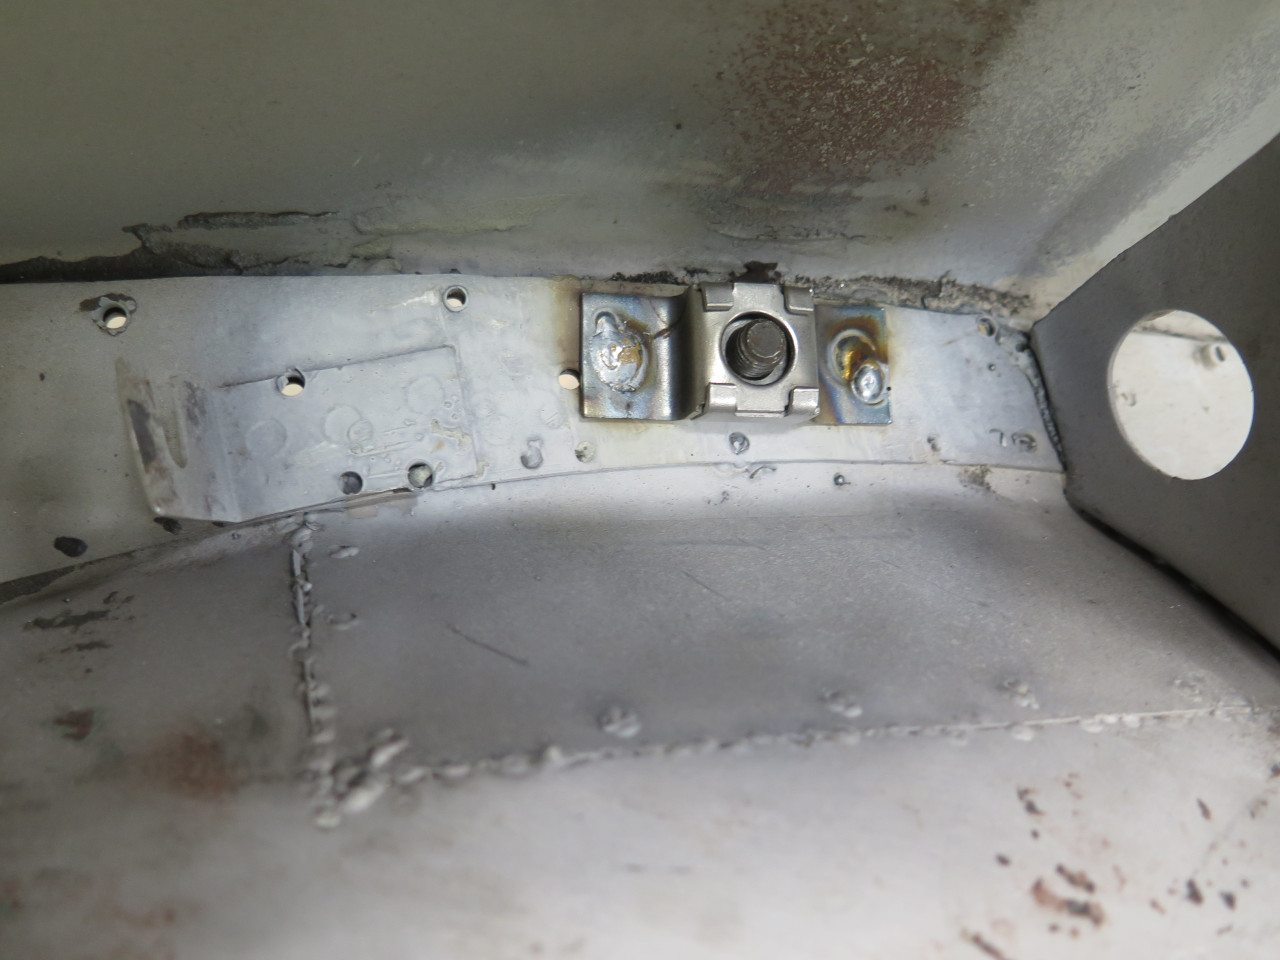
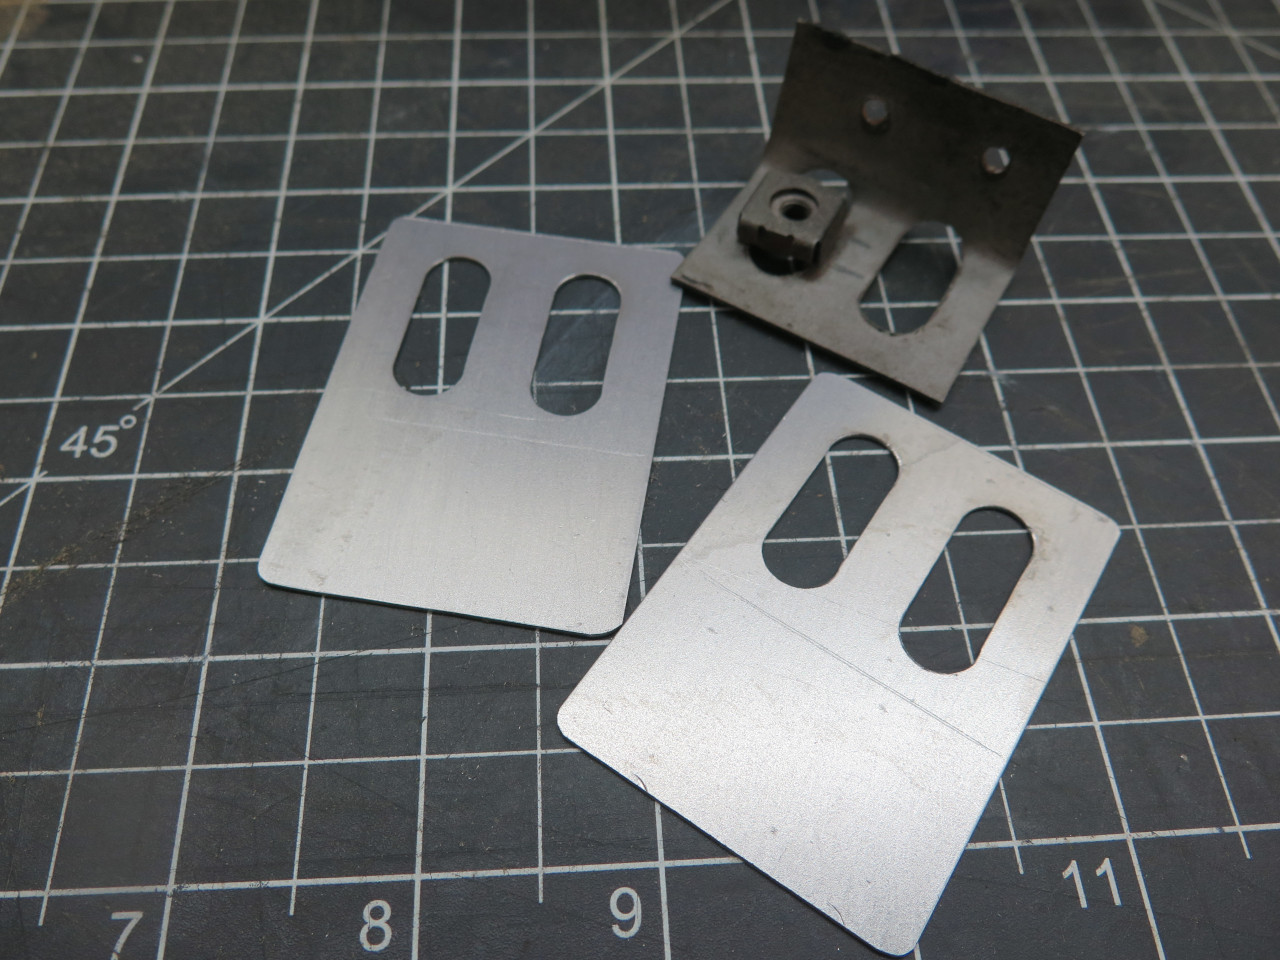
Not to worry. I like a simple fab job. A couple of simple
slotted plates, a quick bend, some powder coat, and pop in some cage
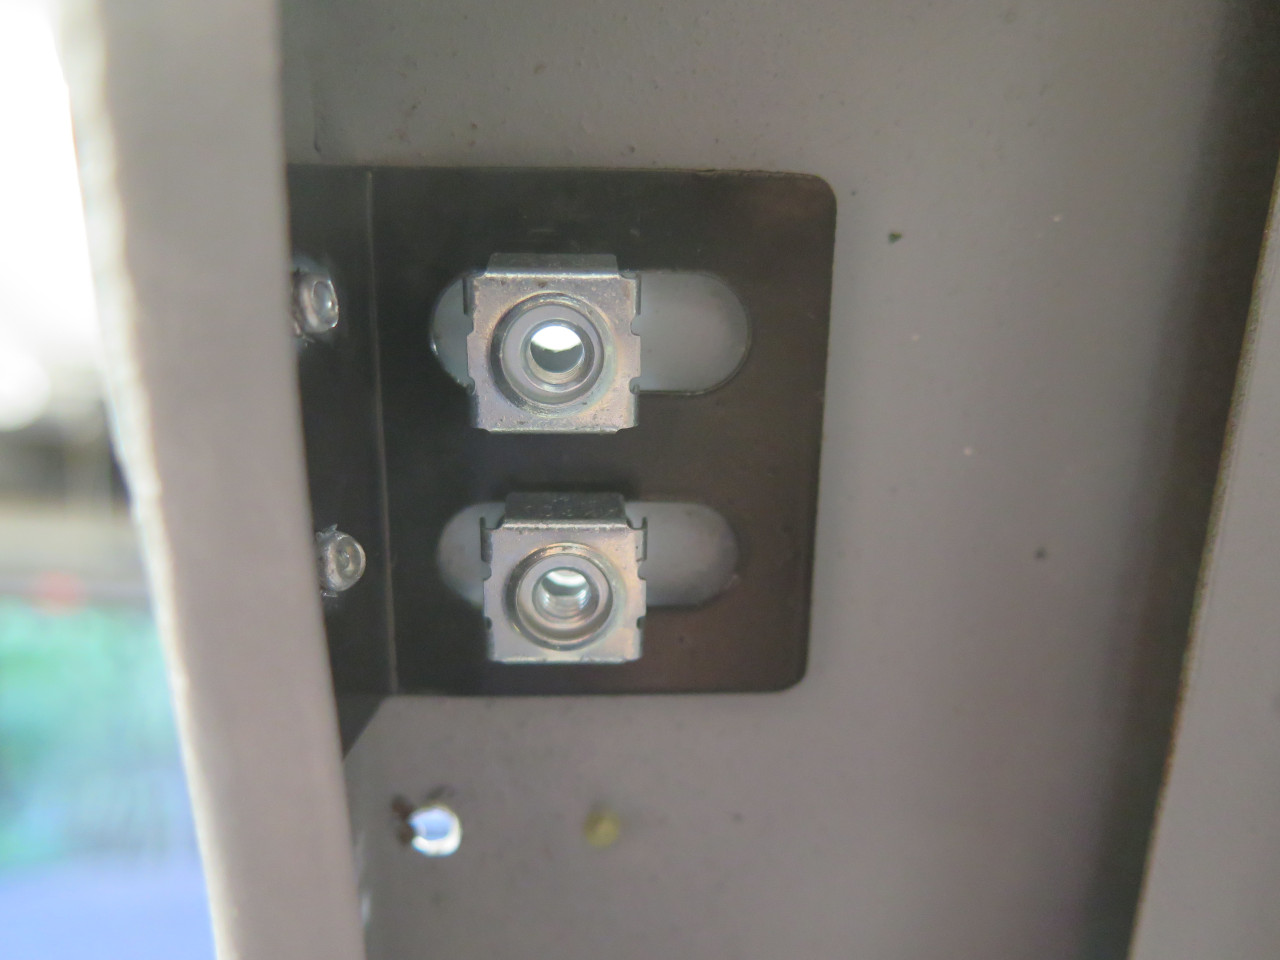
nuts. They mount under the front lip of the cockpit with a couple
of rivets.
This effort took several weeks of dusty, dirty work. Cost was around $150, mostly for the epoxy primer.
Comments to Ed at elhollin1@yahoo.com
To my other MGA pages.