To my other MGA pages
August 22, 2024
Front End
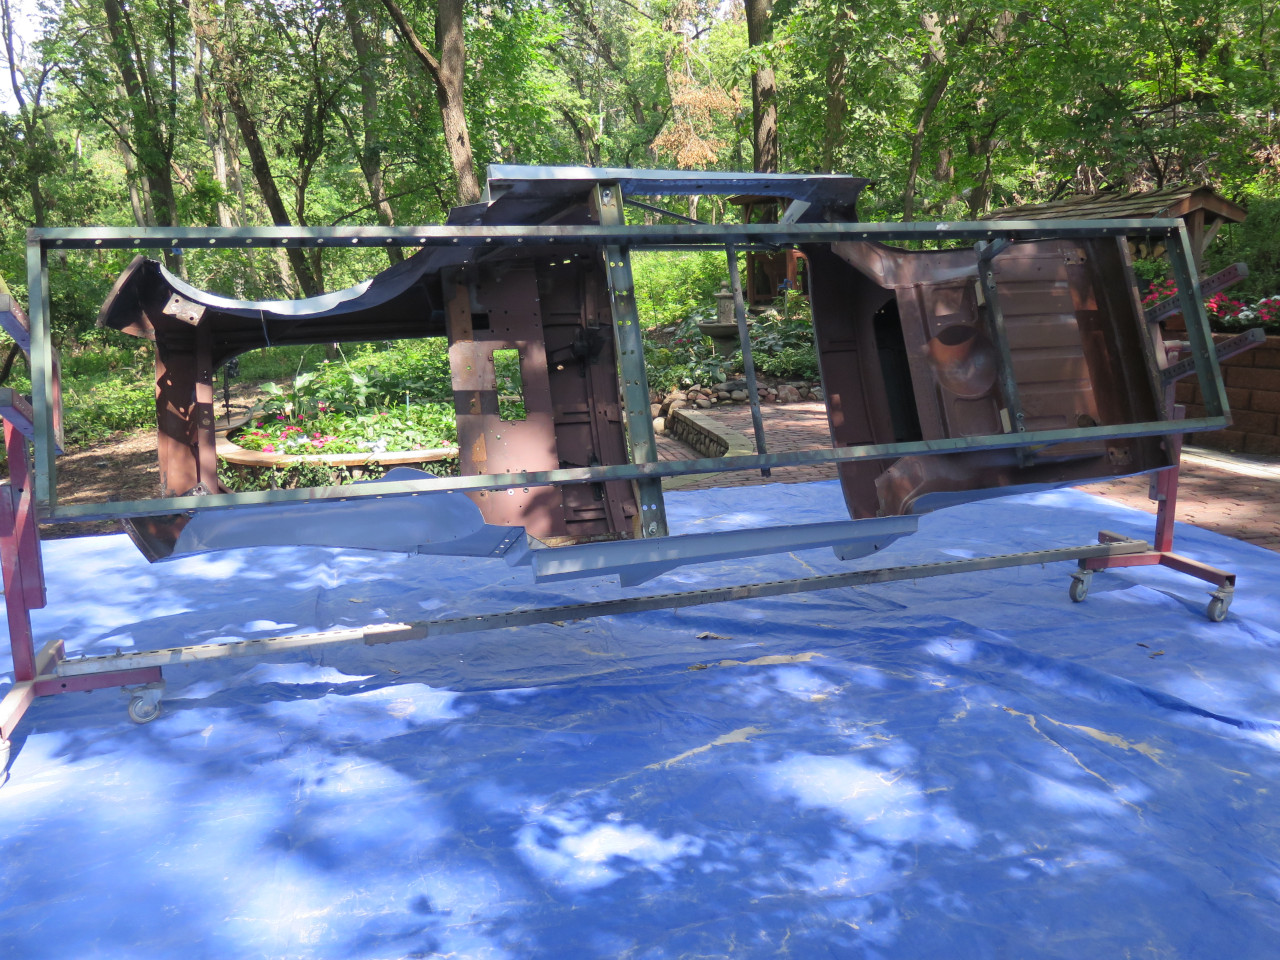
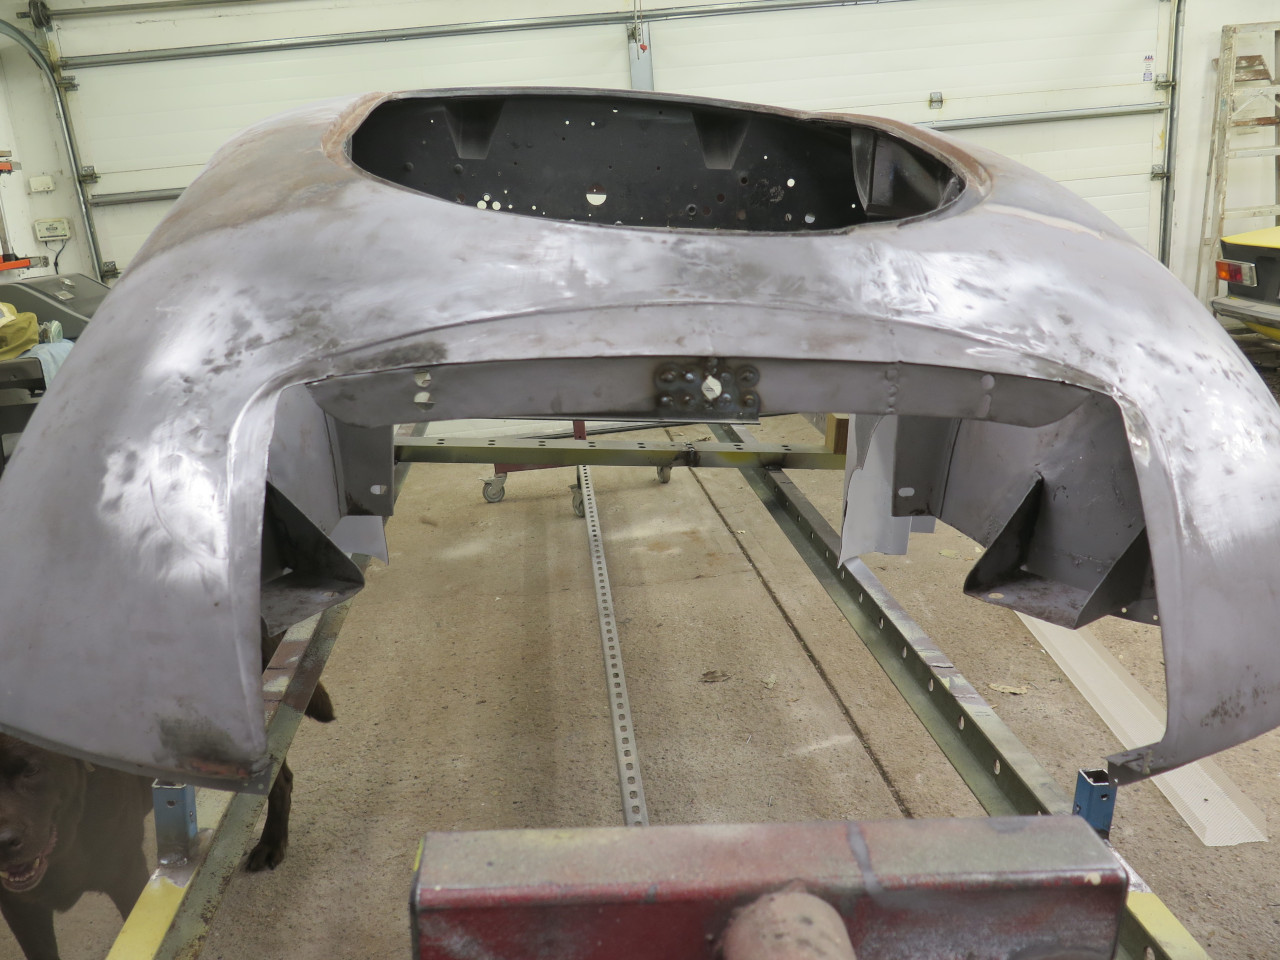
This car had apparently suffered at least one incident of front end
unpleasantness before I got it. I knew from my previous work on
the car that the nose was wrinkled, and about a quarter of the top
"surround" panel had been replaced. These indignities had been
pretty competently covered up, but there were still clues. For
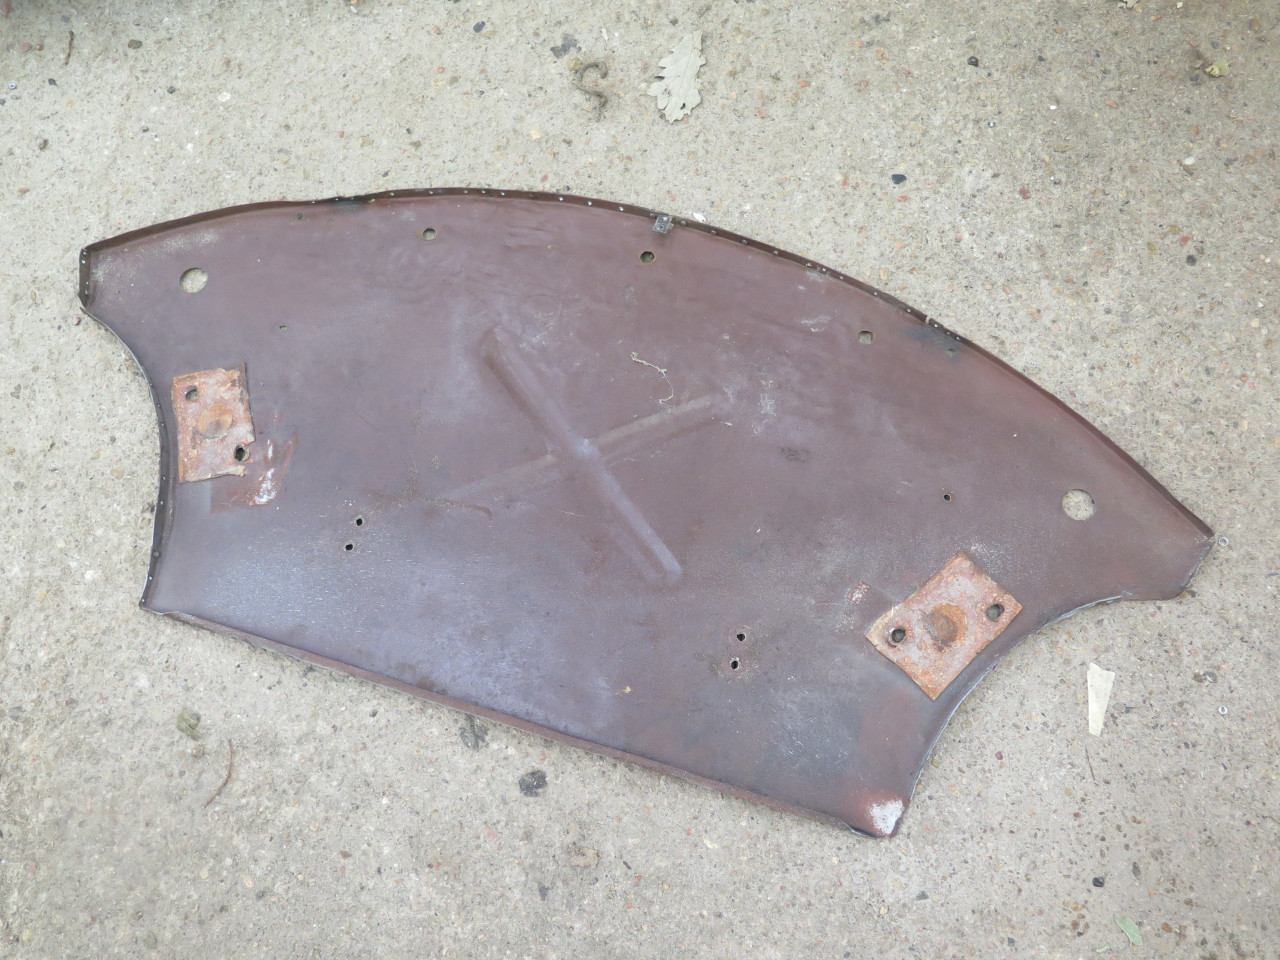
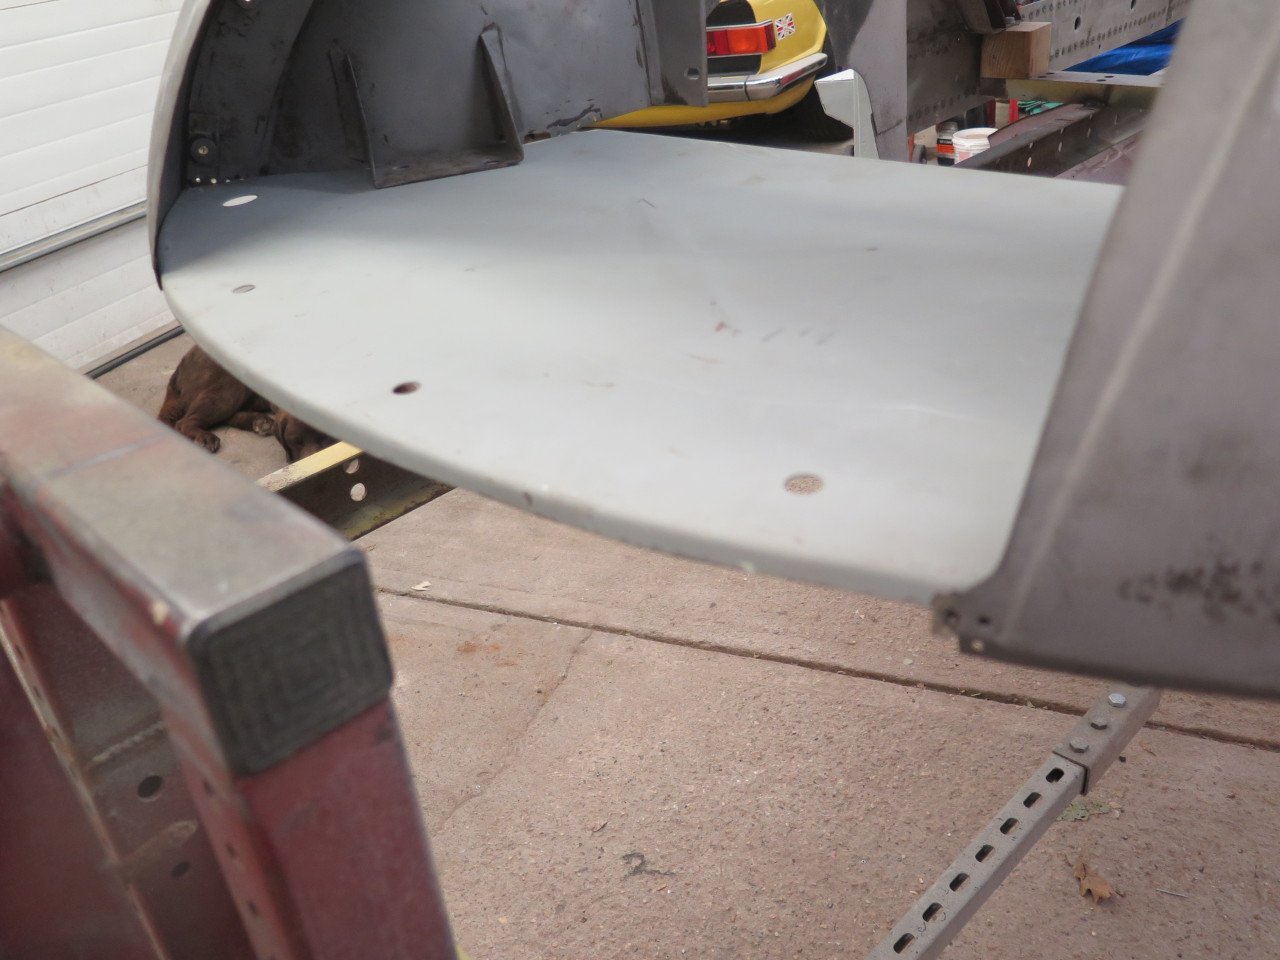
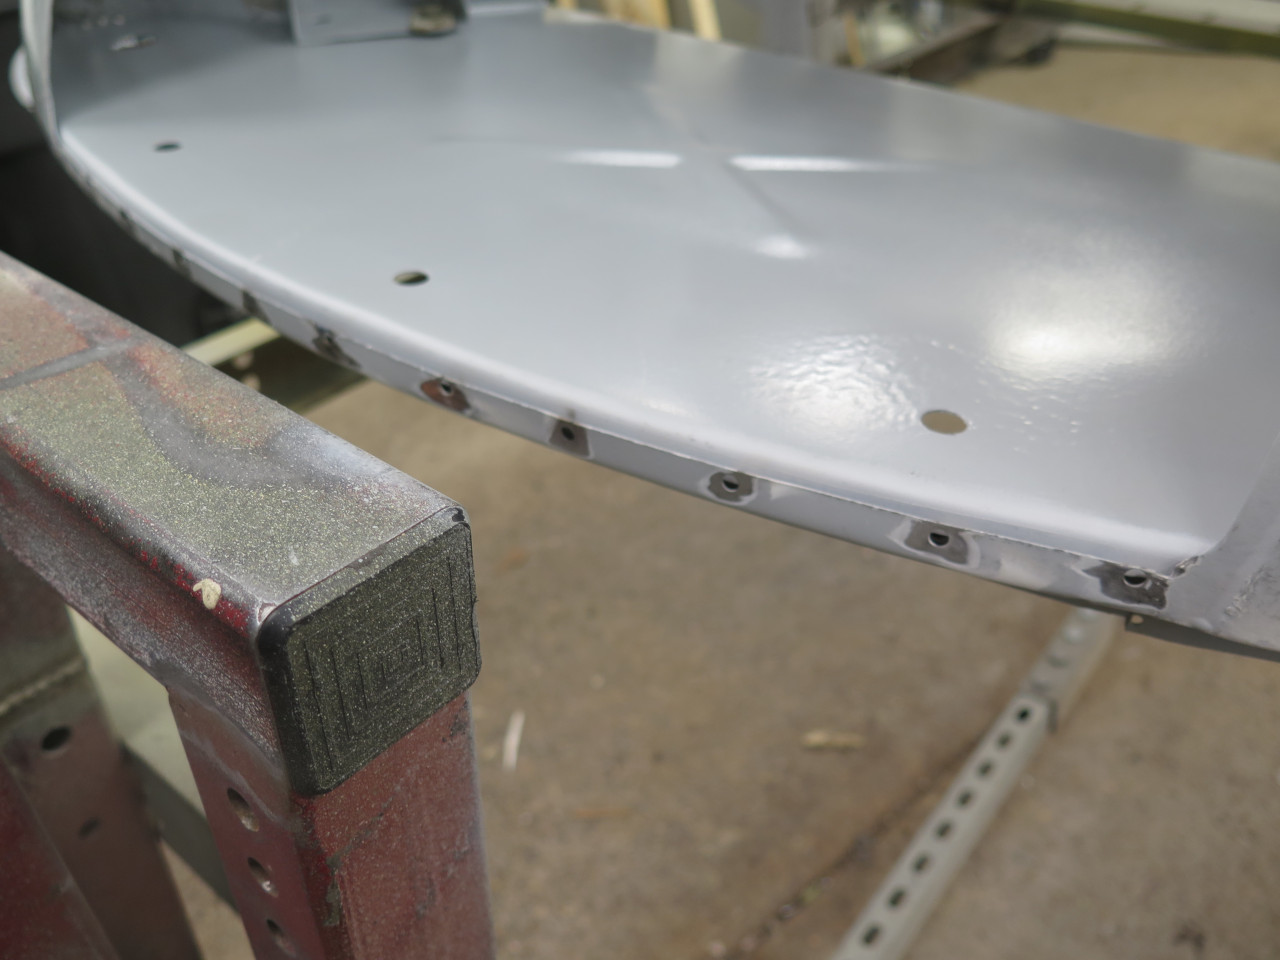
one, the "radiator duct panel" was noticeably rippled, especially
toward the front.
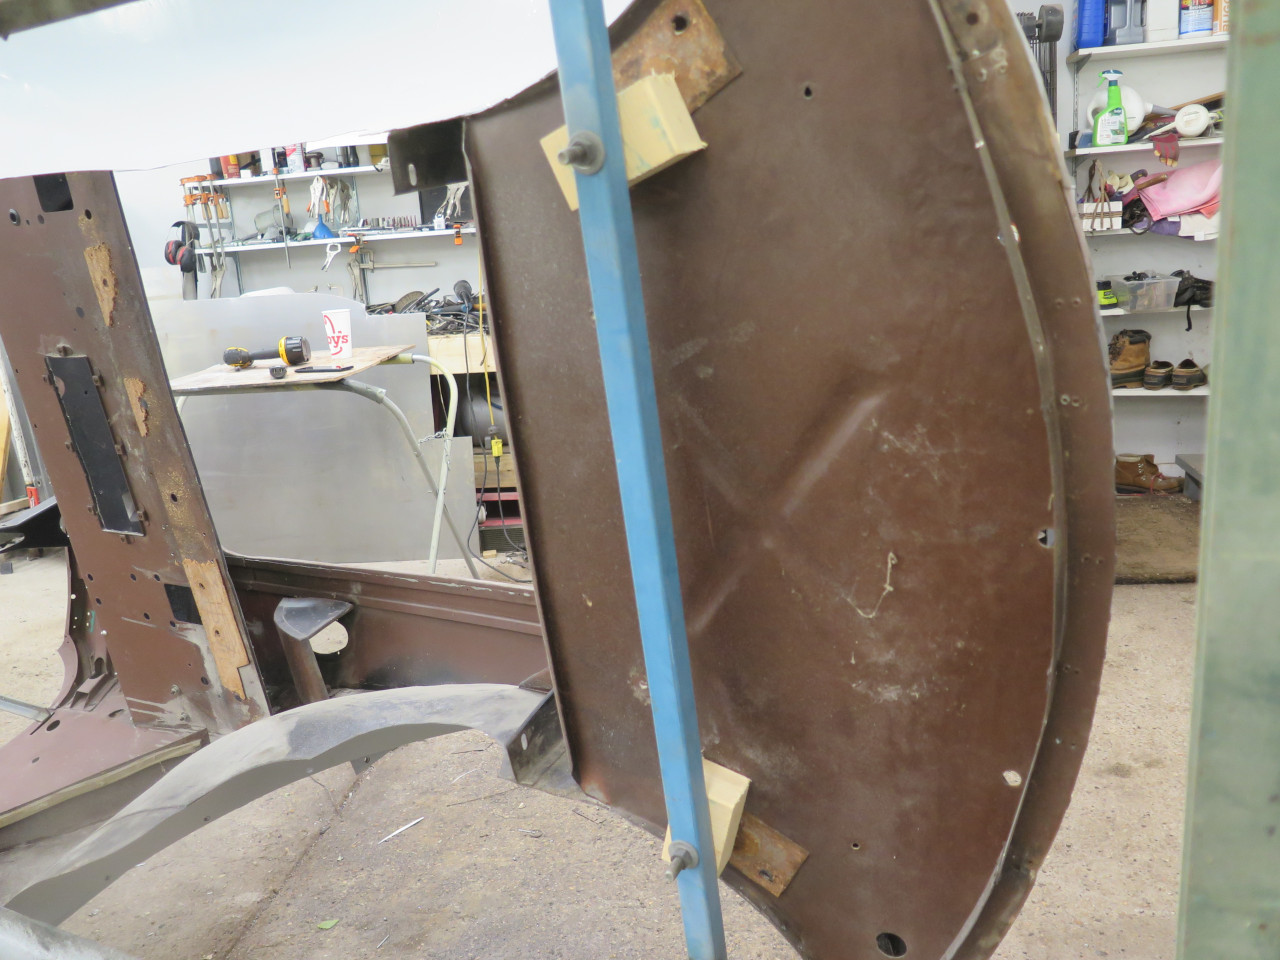
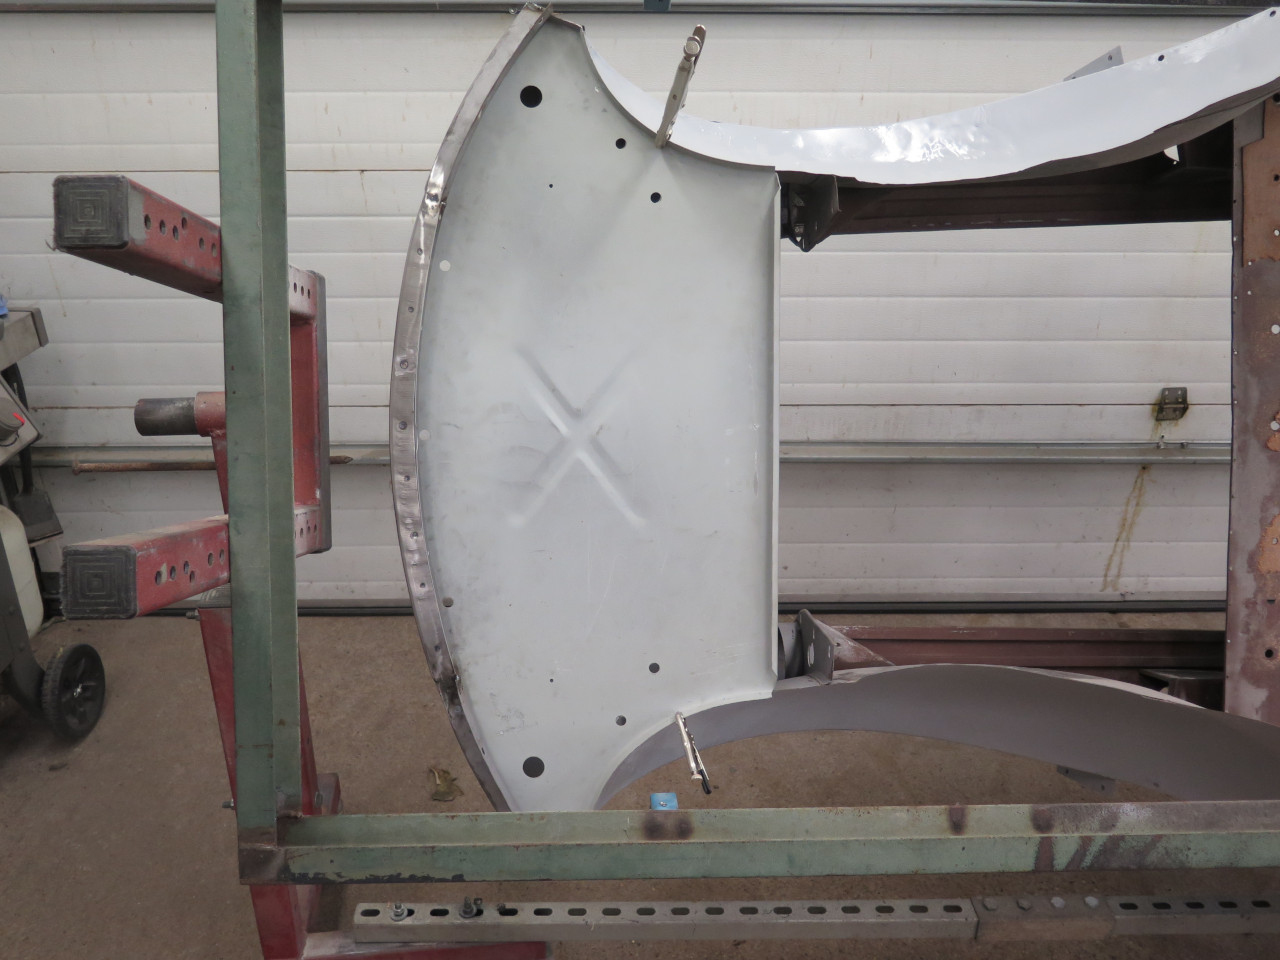
I decided to remove that panel, both to see about straightening it, and
to allow better access to other parts of the front. I must have
had it out before, because it was now held by blind rivets and not the
original spot welds.
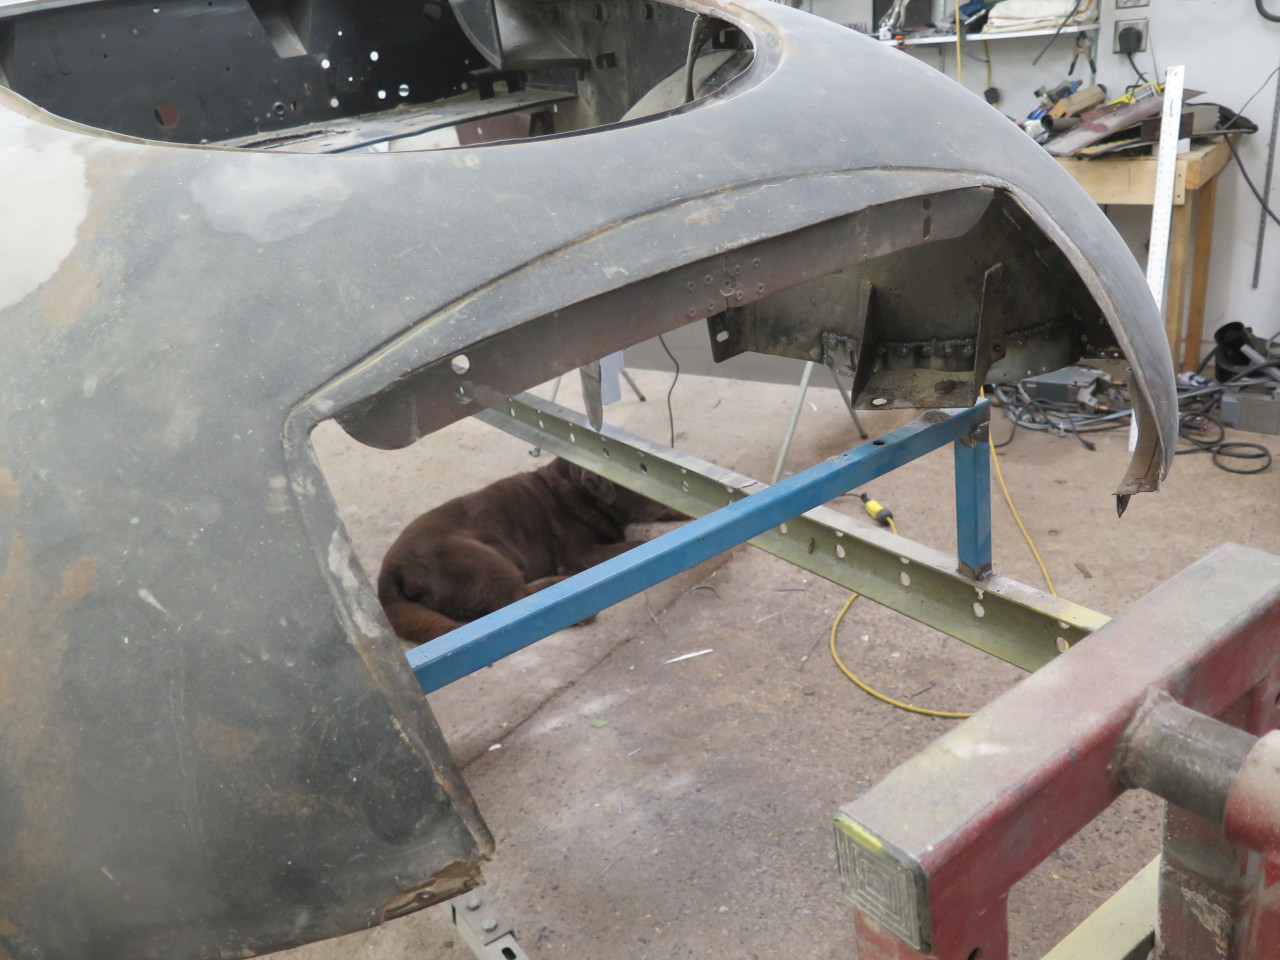
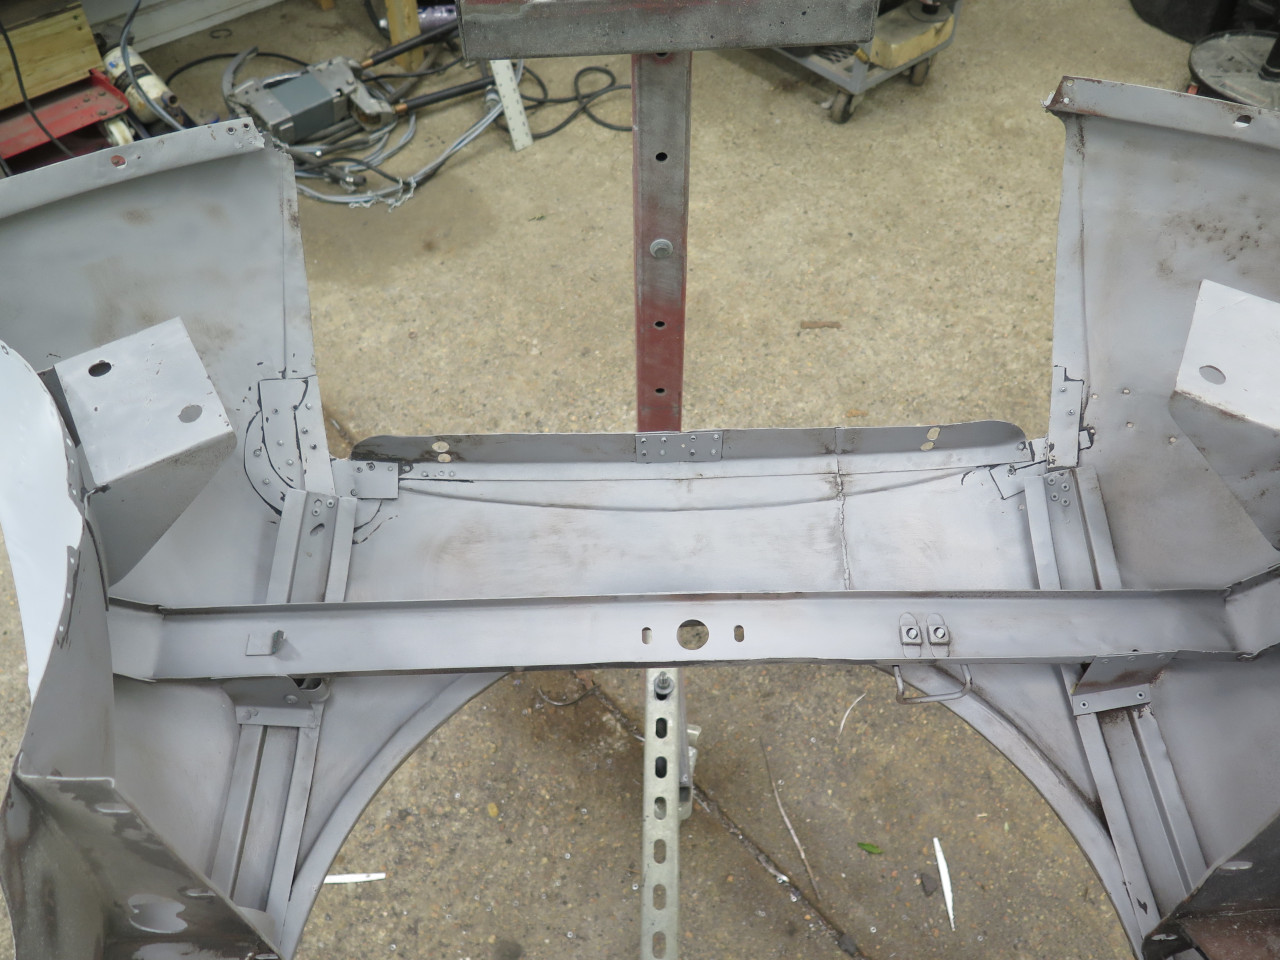
In prepping for the removal, I saw that the under-flange of the body
surround, and the skirt panel that holds the valance were pieced
together replacements from my 70s work. I removed them. I
also had to temporarily remove that blue mounting bridge on the
rotisserie to get better access.
Then, after drilling out all the rivets, pulled the duct panel.
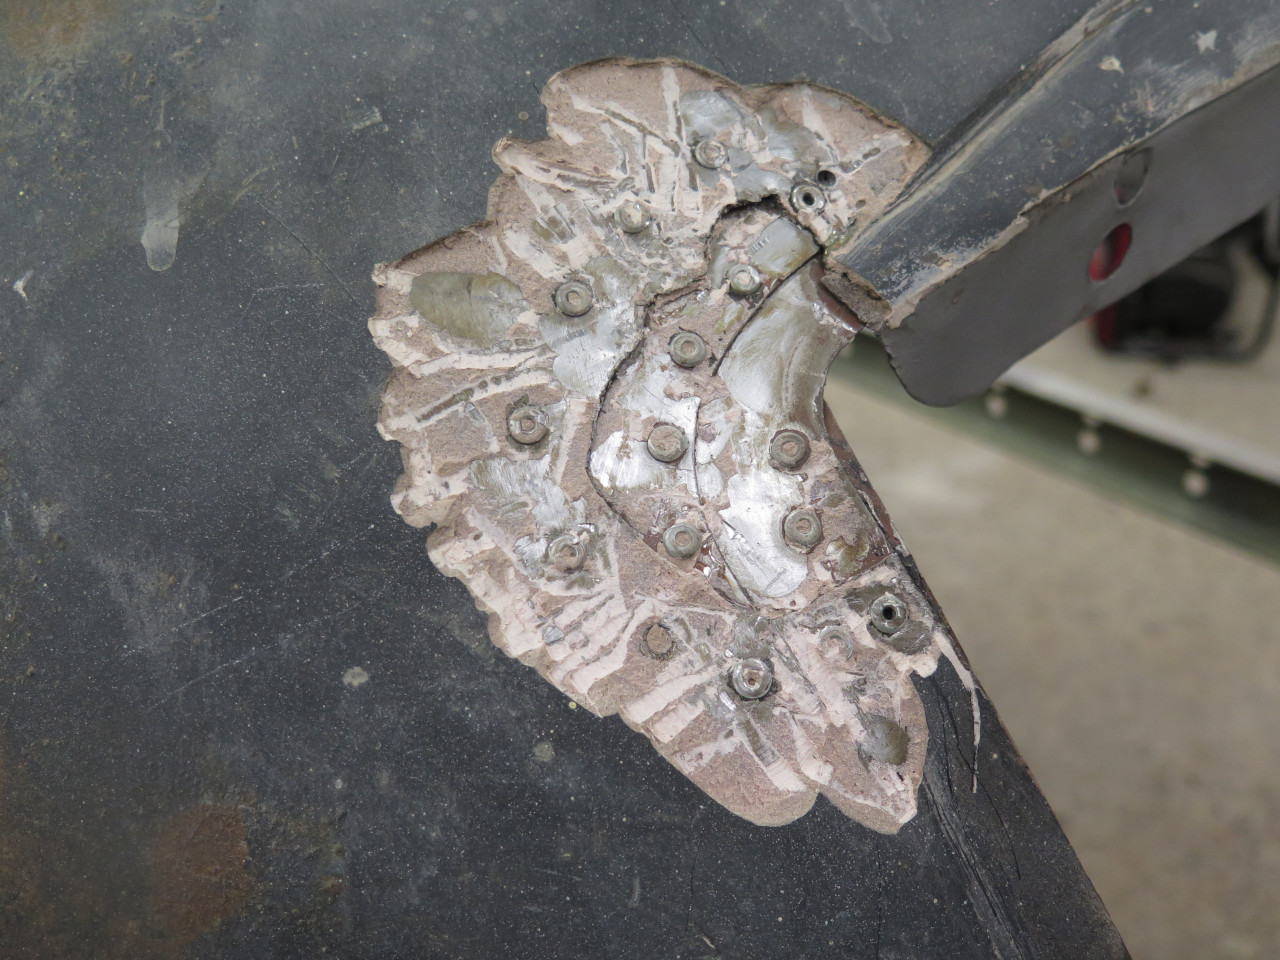
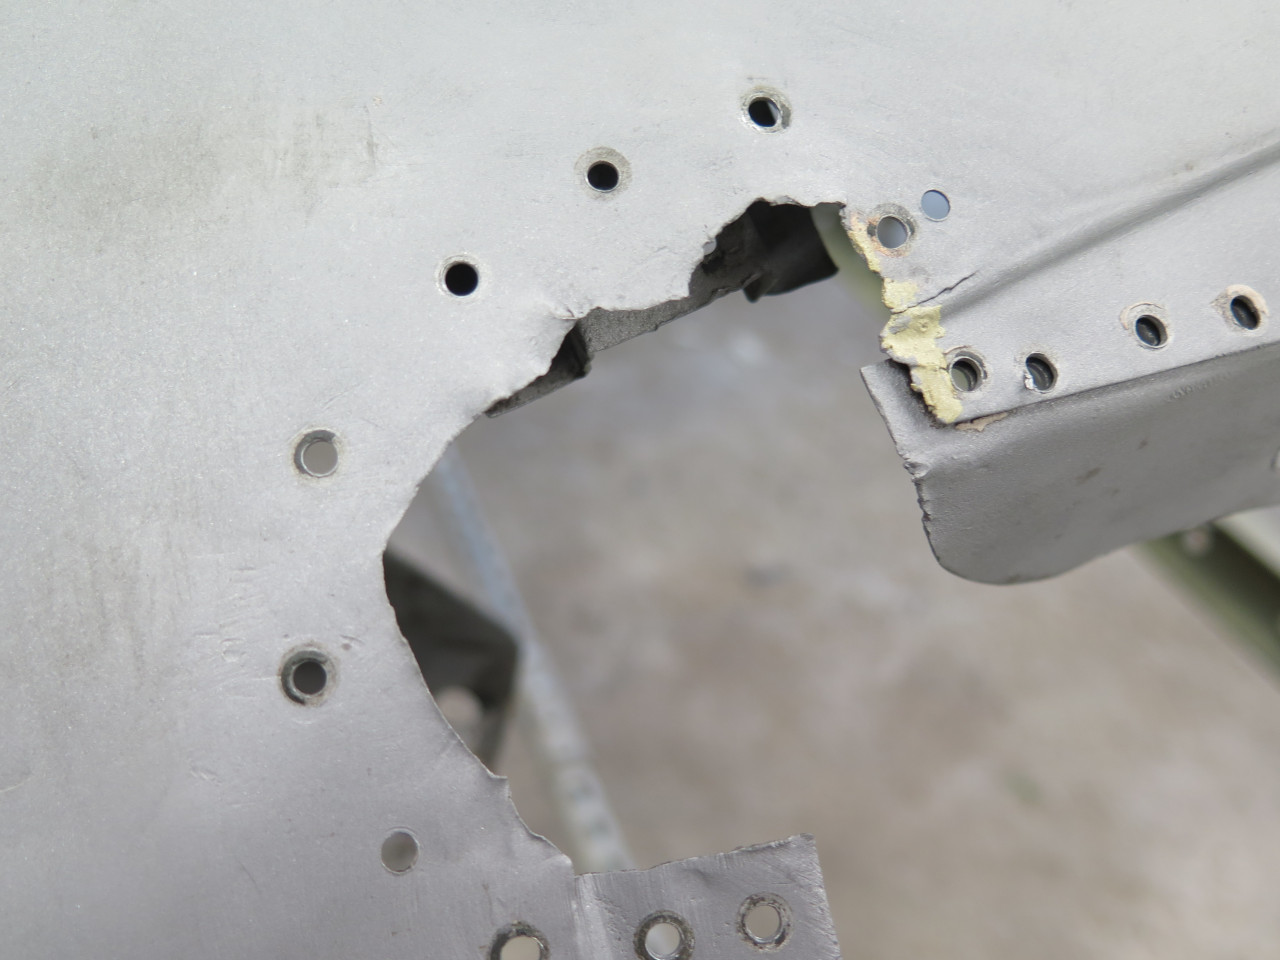
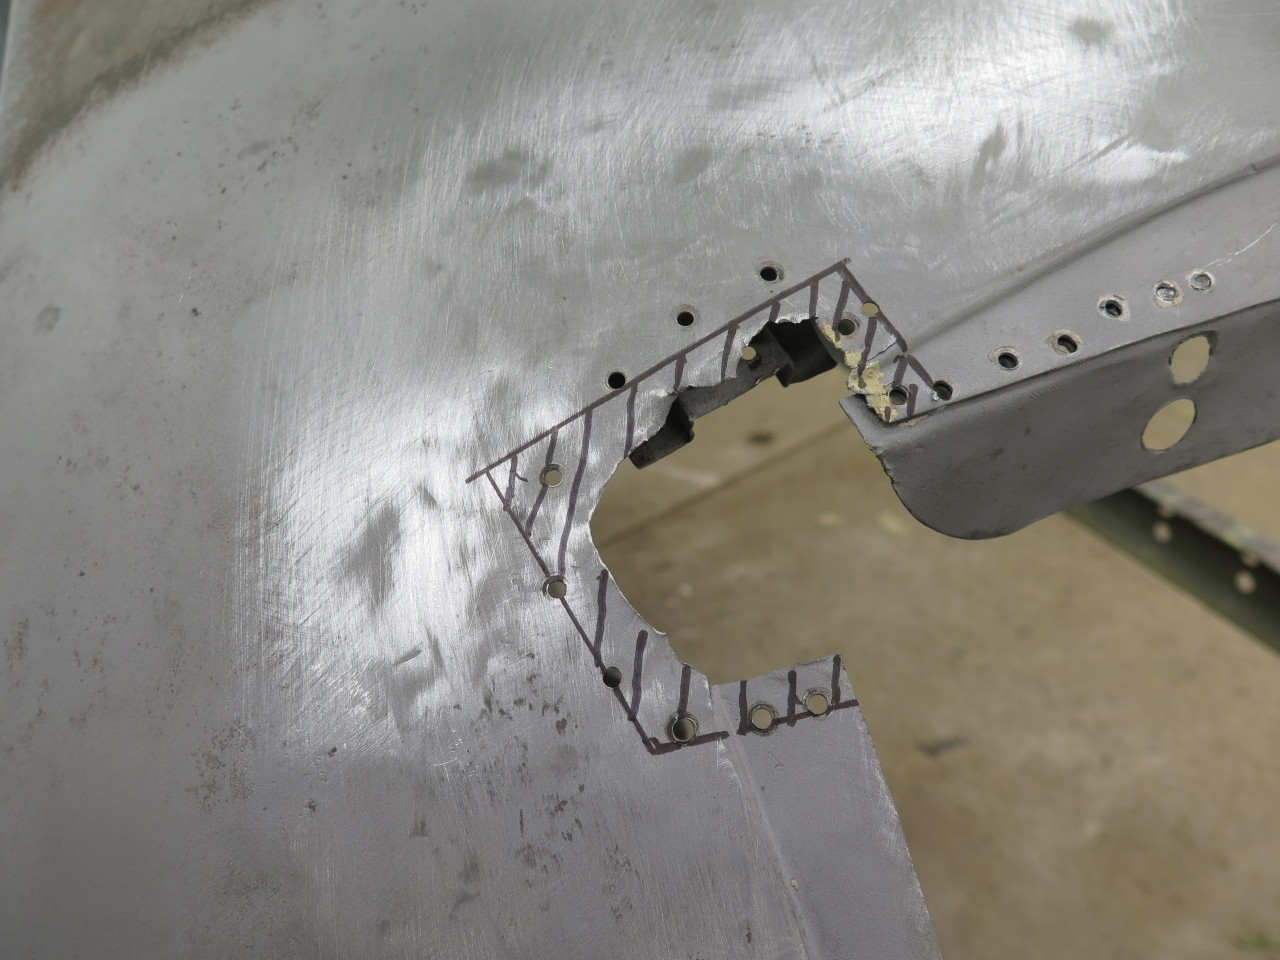
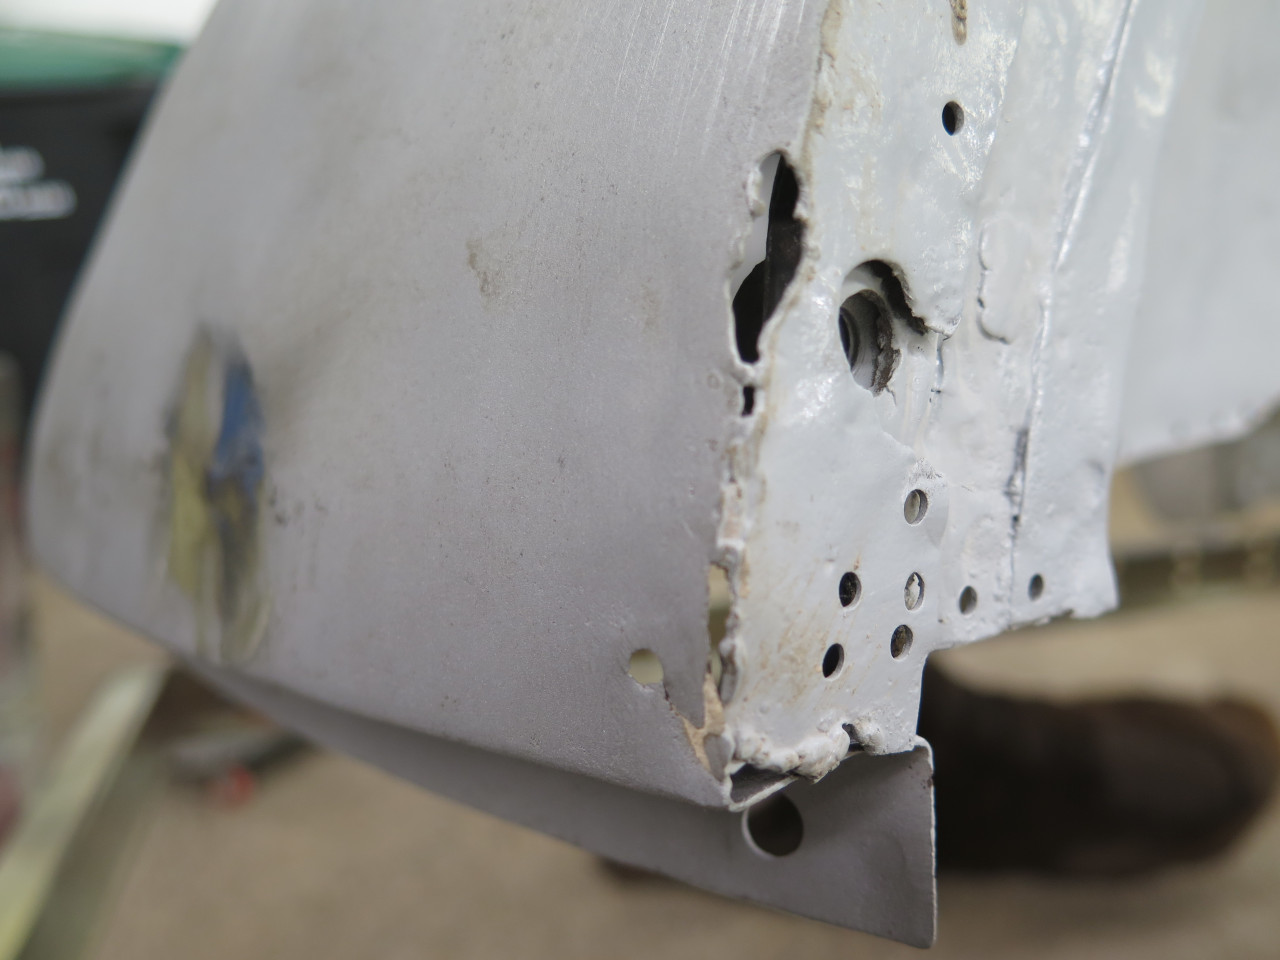
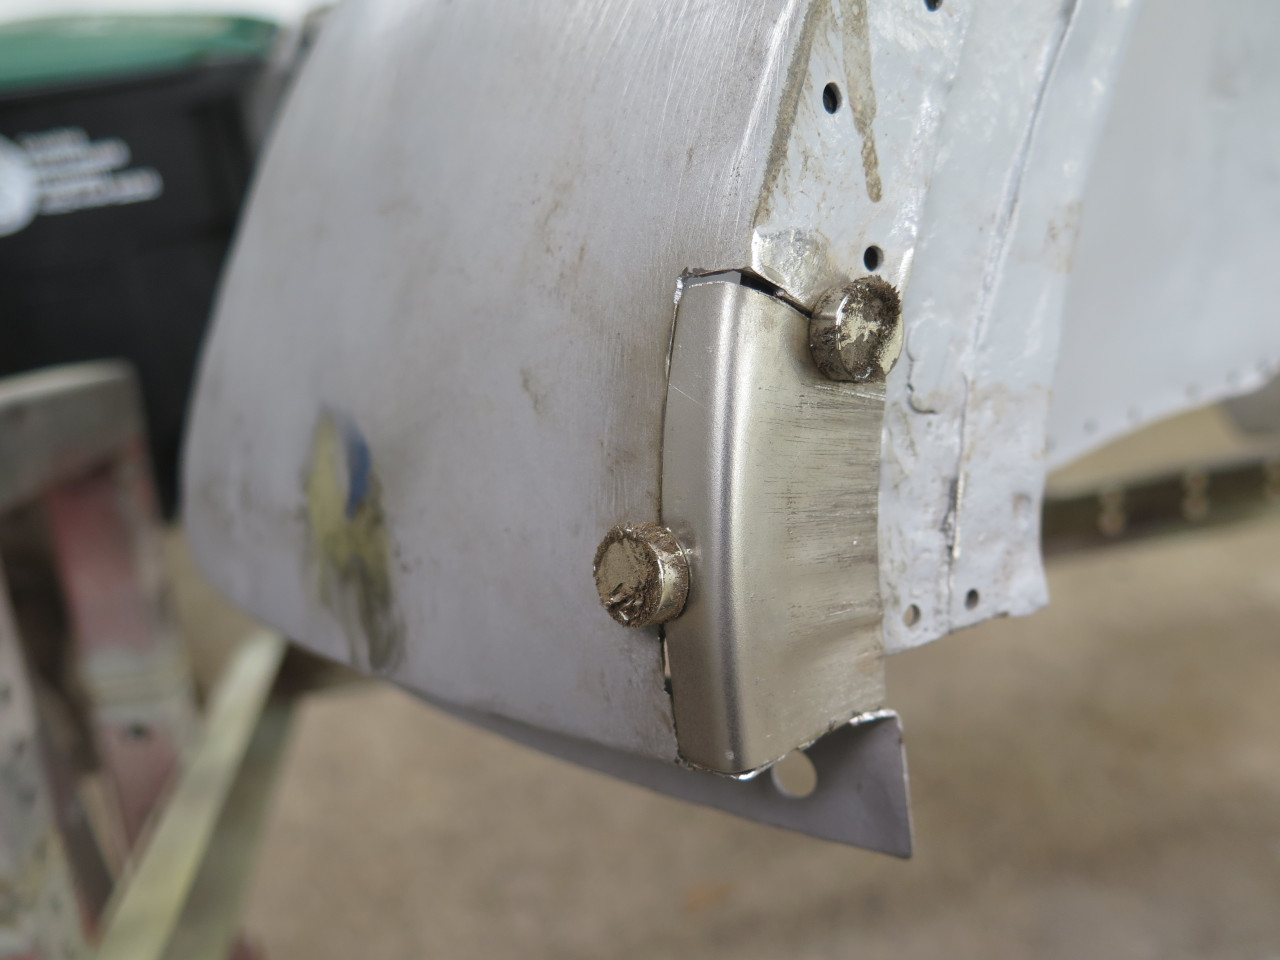
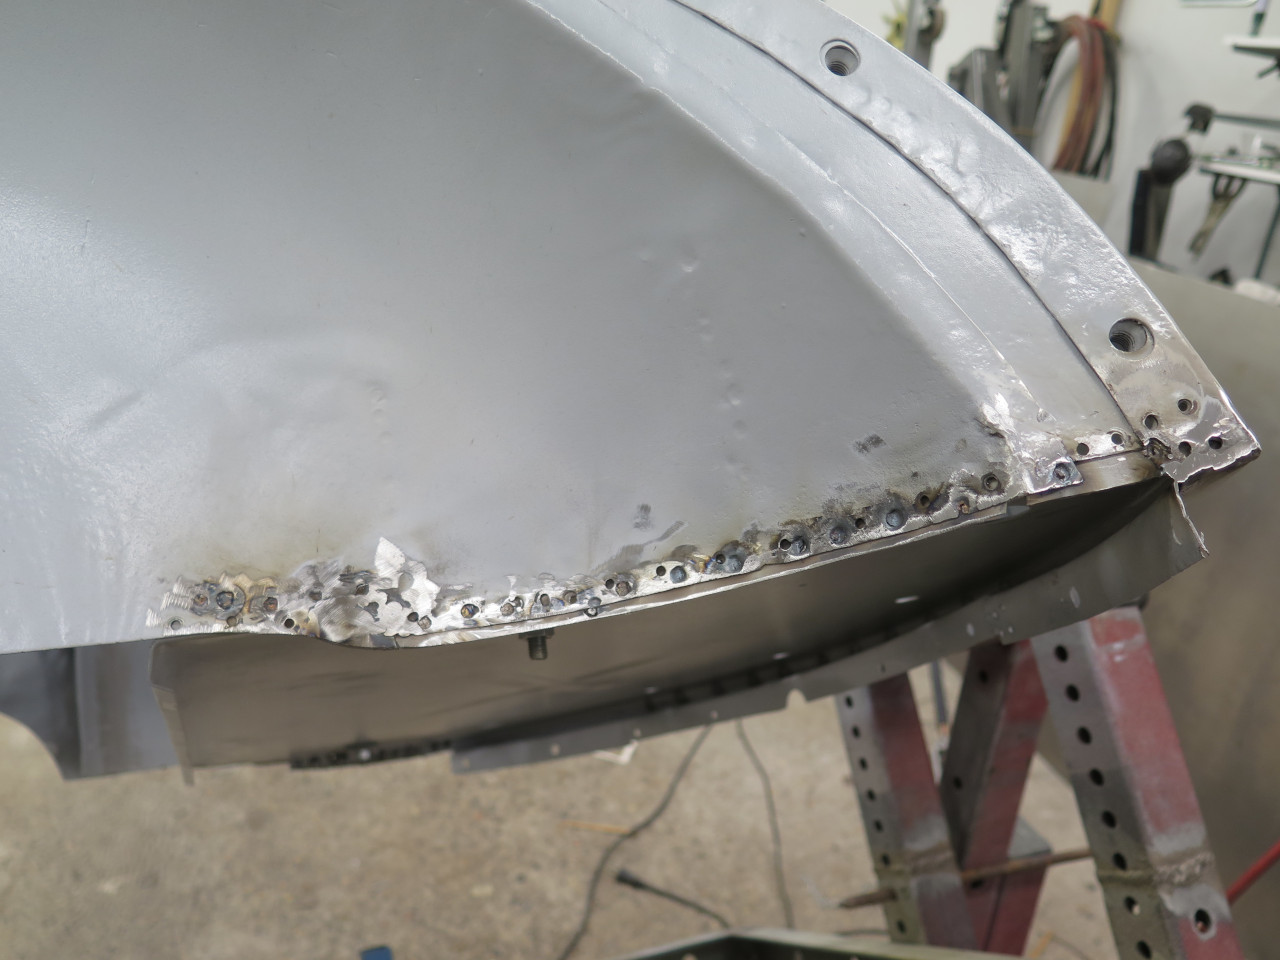
I also suspected problems at both top corners of the grille opening. I wasn't wrong. this was the worst one.
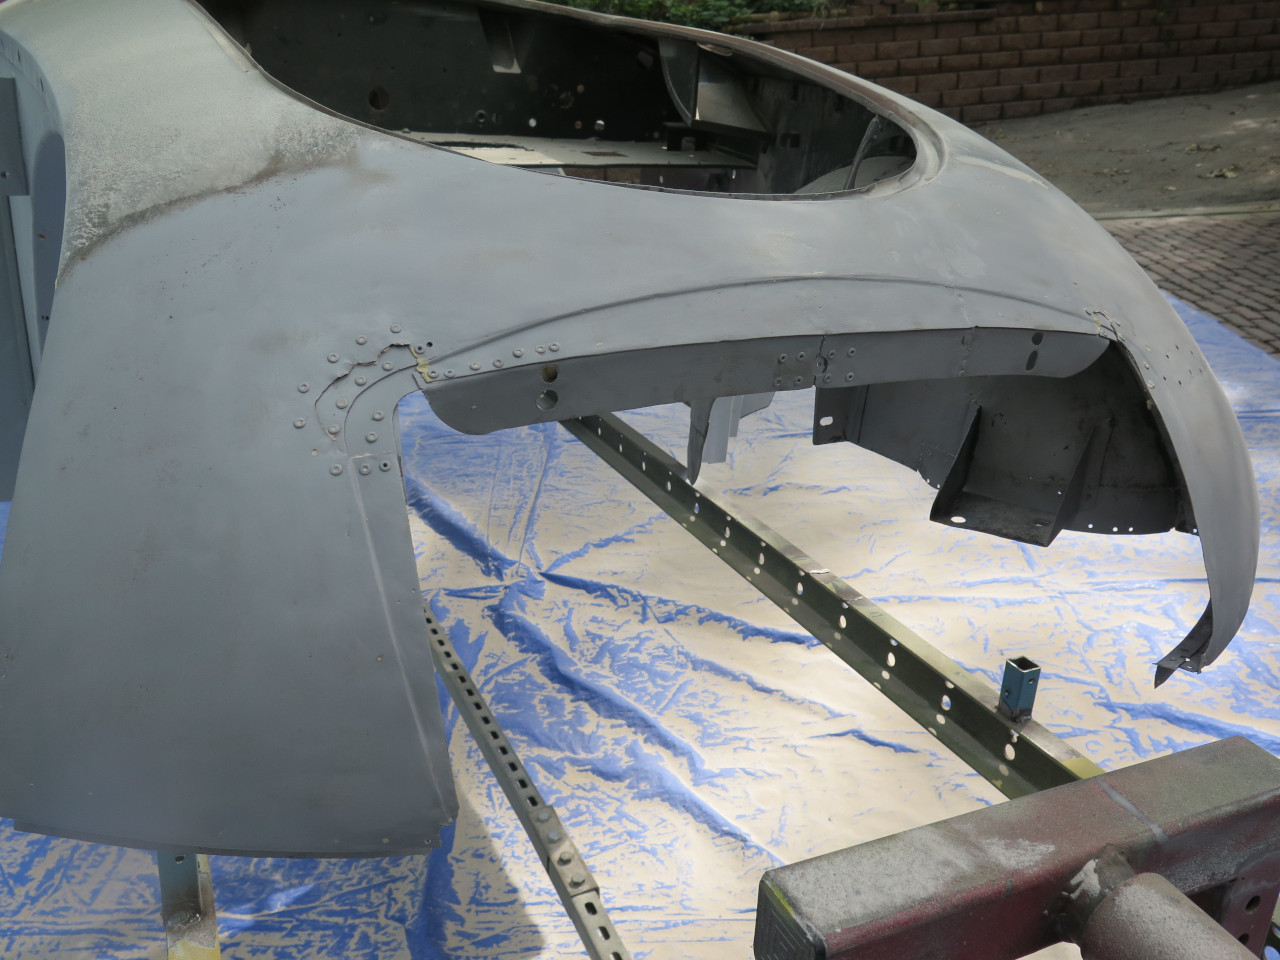
To get a better look at the situation, the body went back outside for some blasting.
Lot of work to do here...
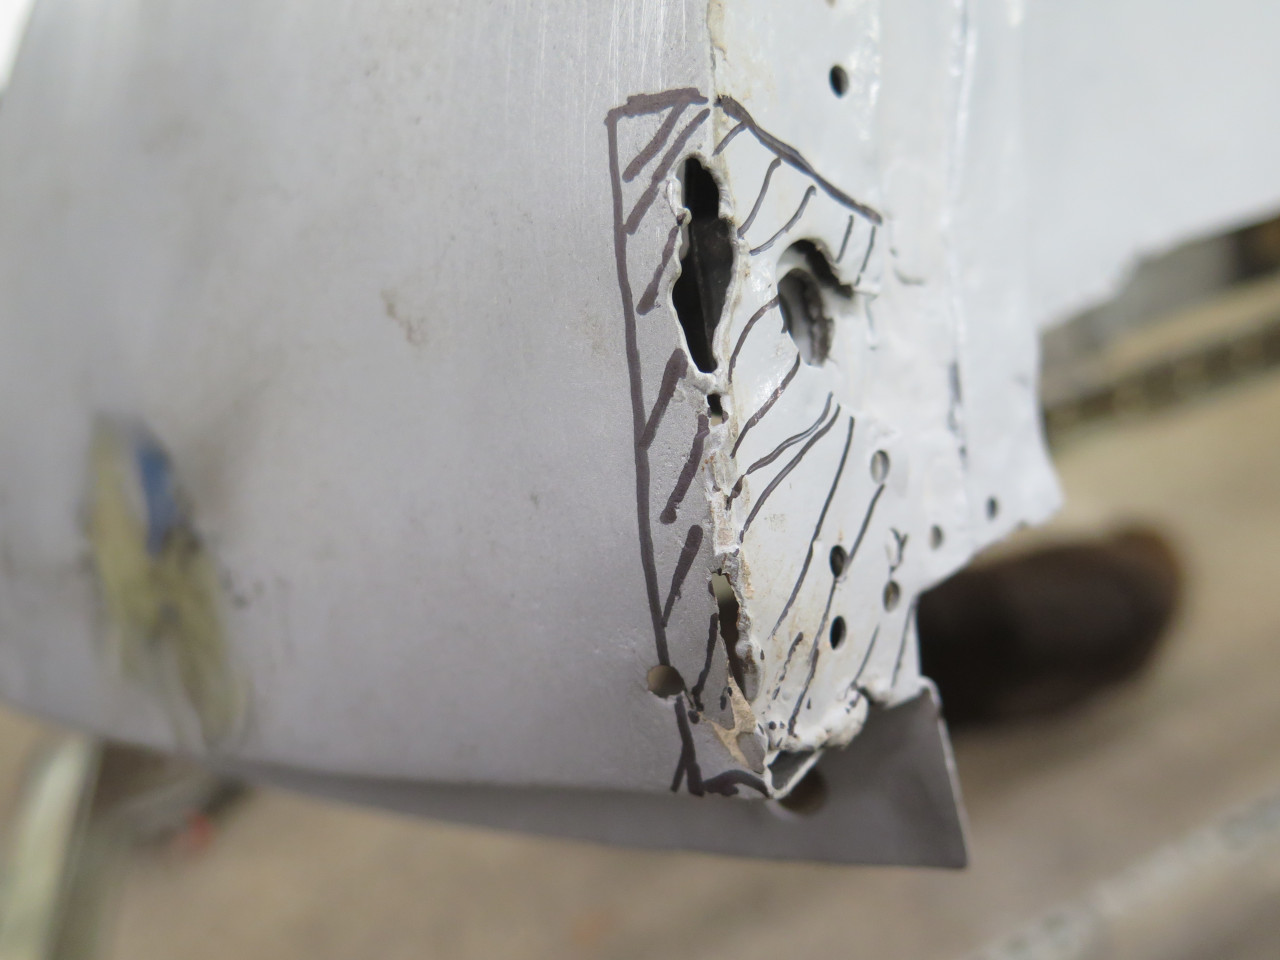
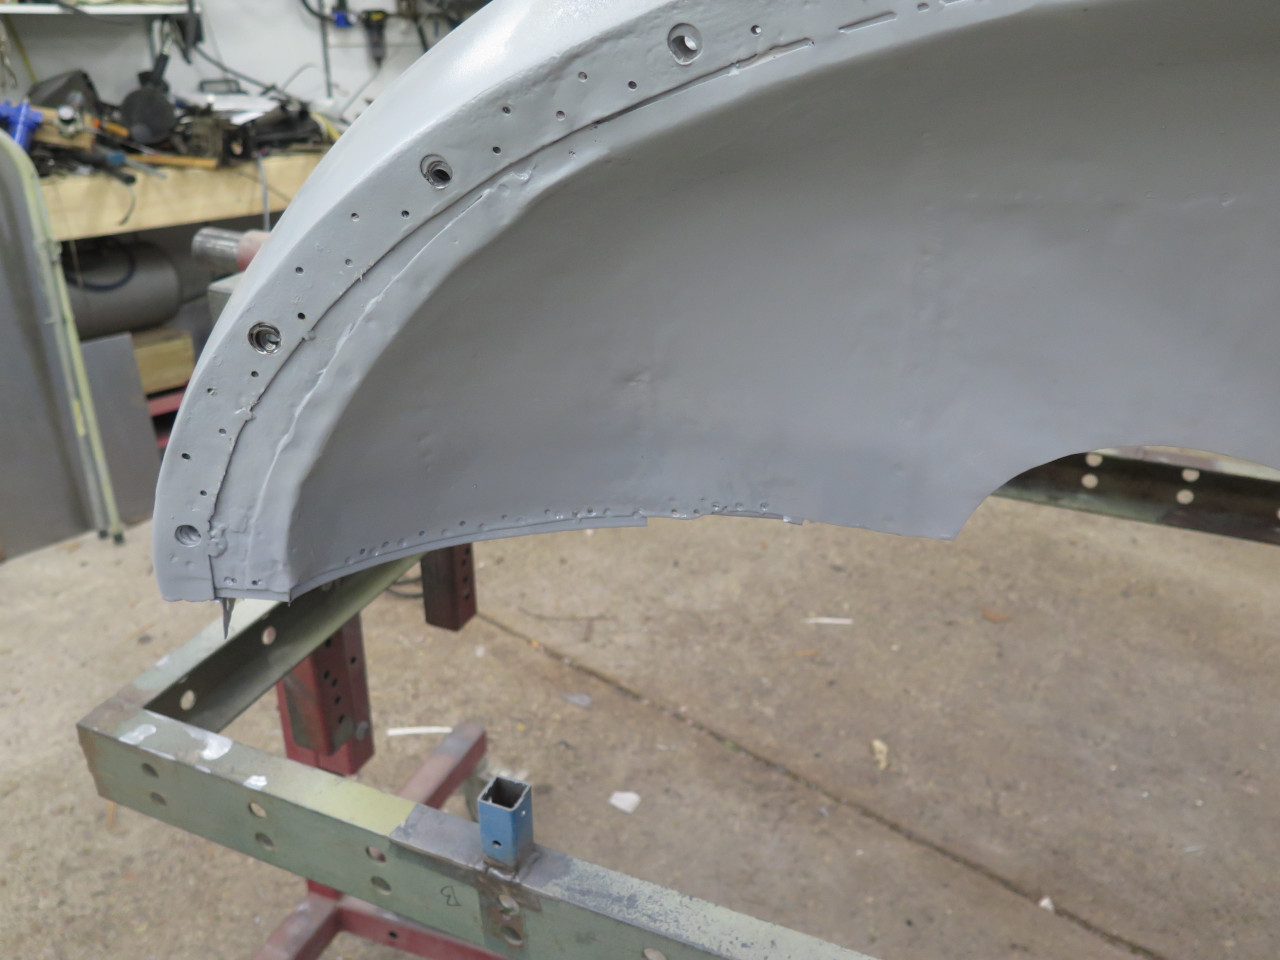
I decided to start with the top of the grille opening. Removed the old riveted patches.

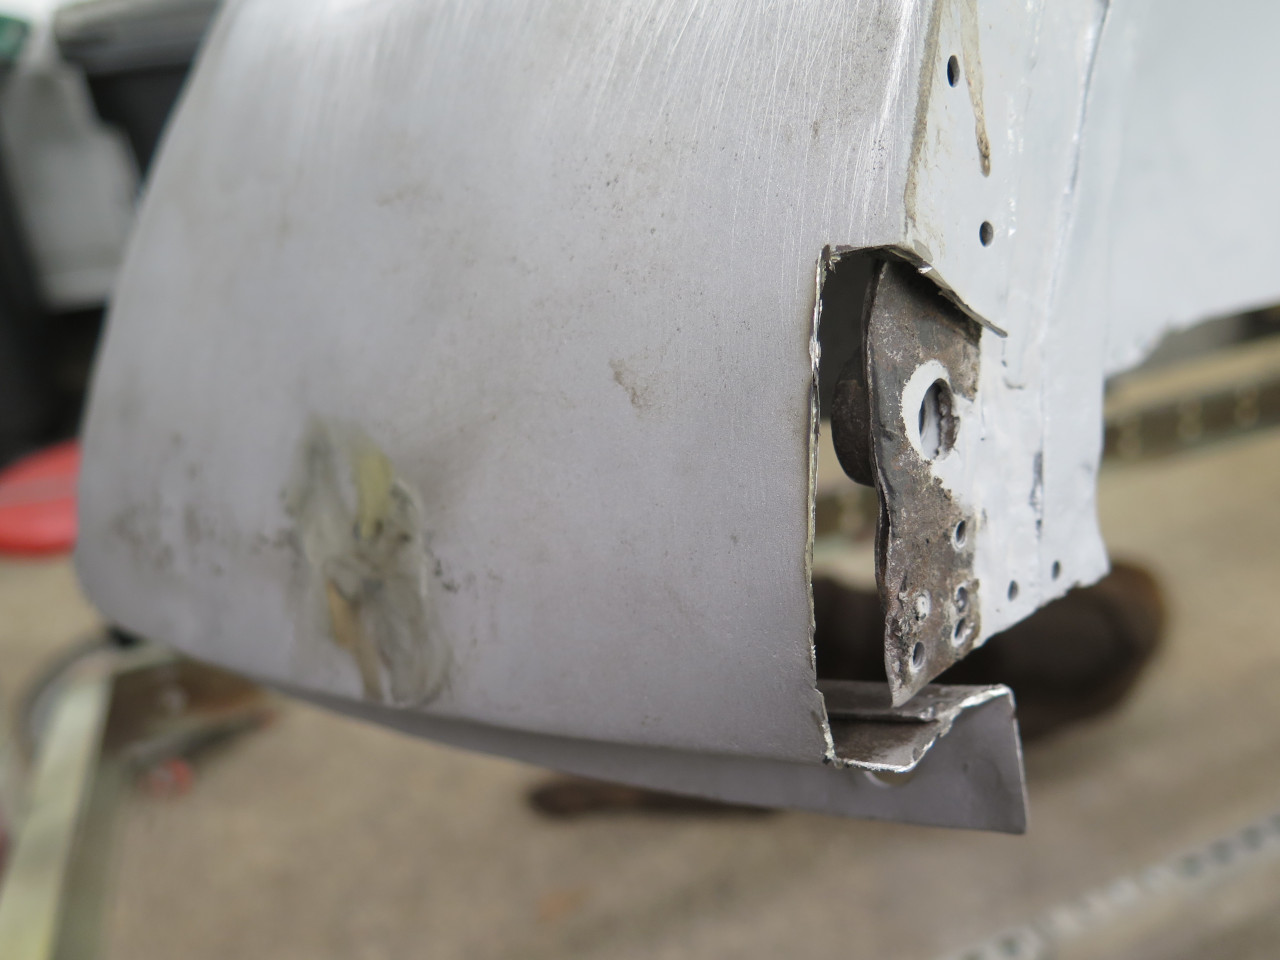
The ragged edge and the braze had to go.
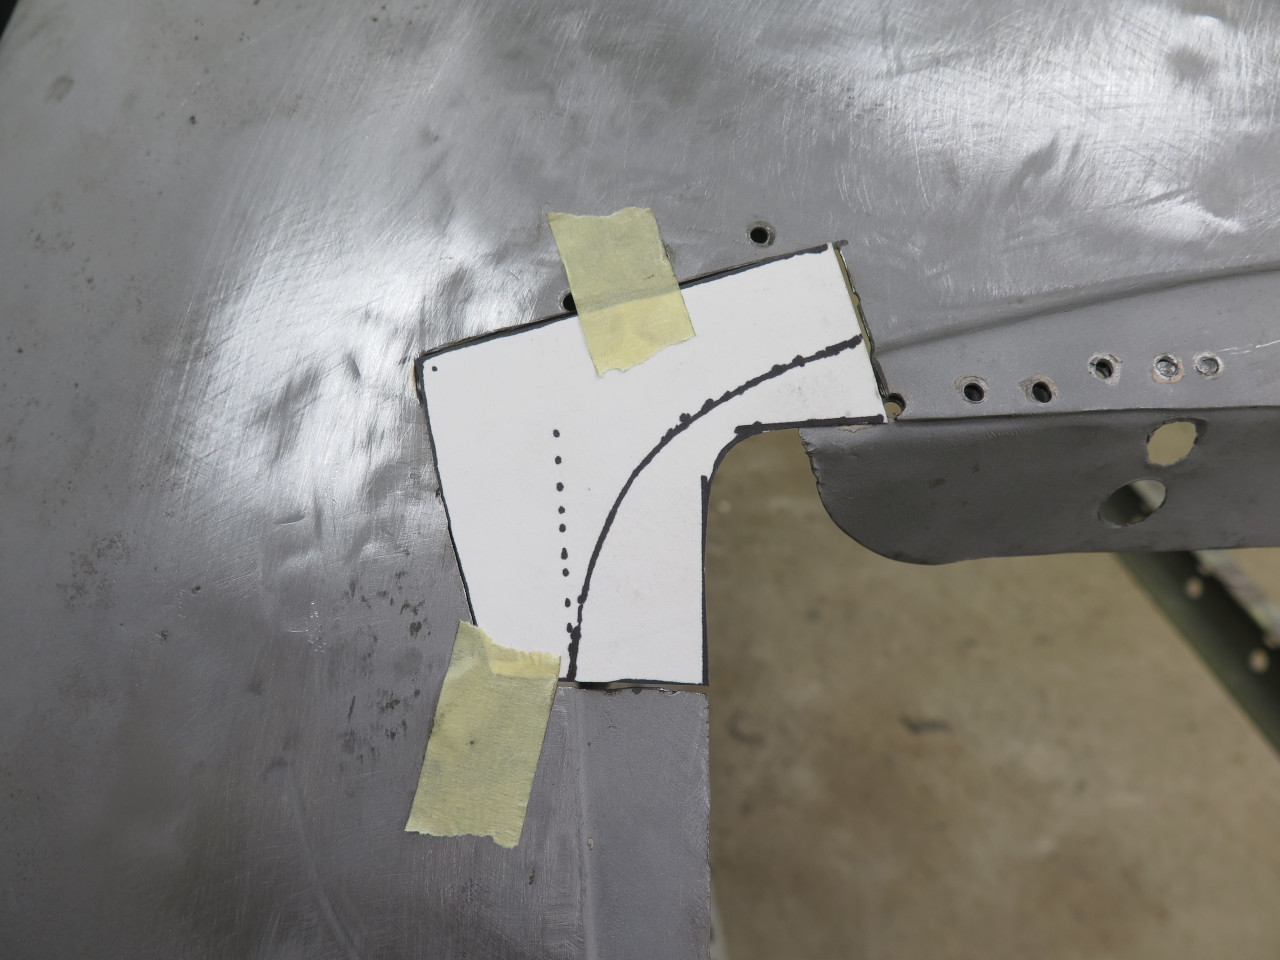
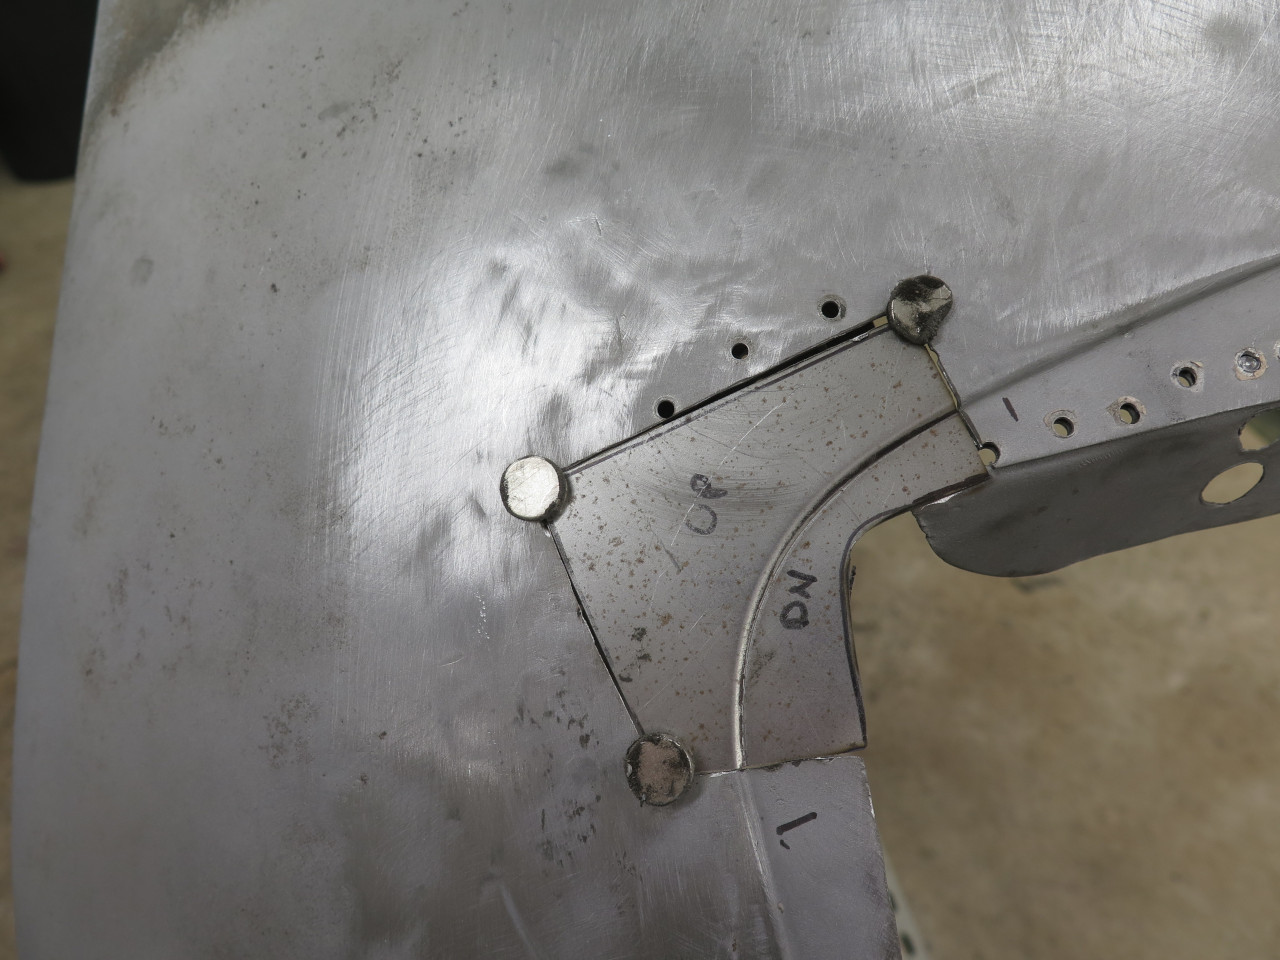
Paper pattern, then metal. The step was done on my cheapie Harbor Freight bead roller.
The other side was a little simpler.

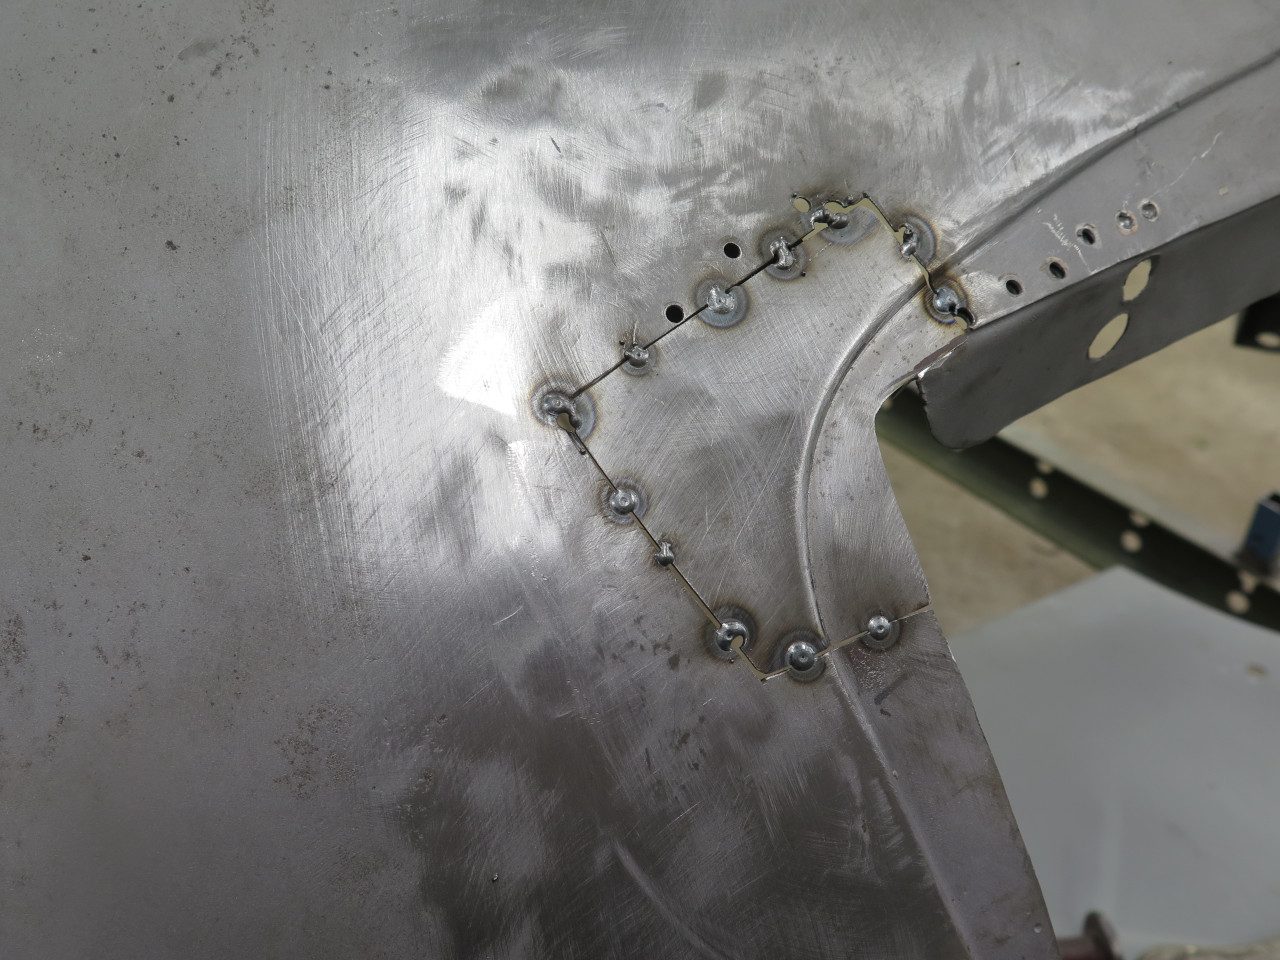
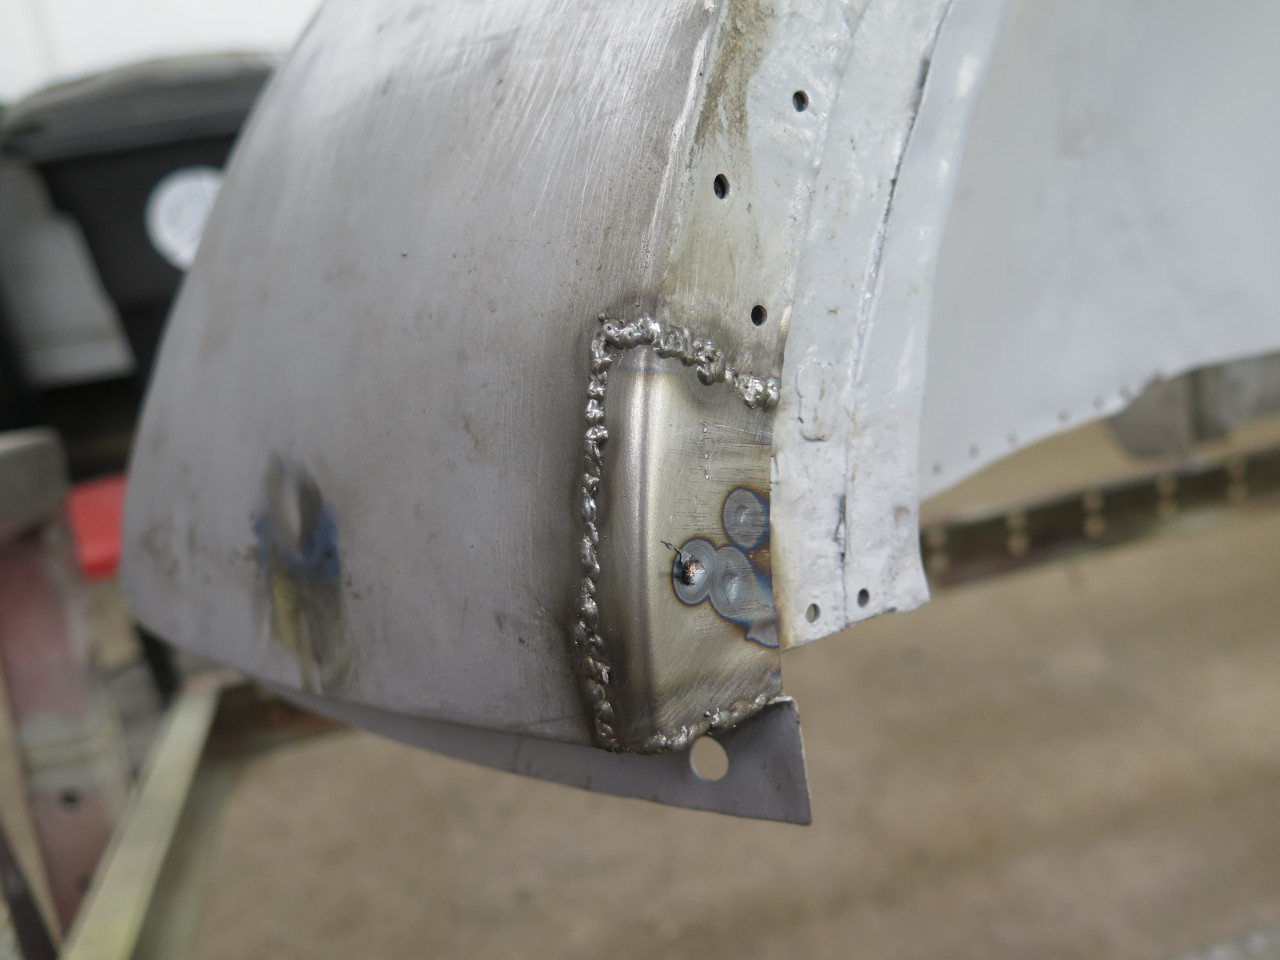
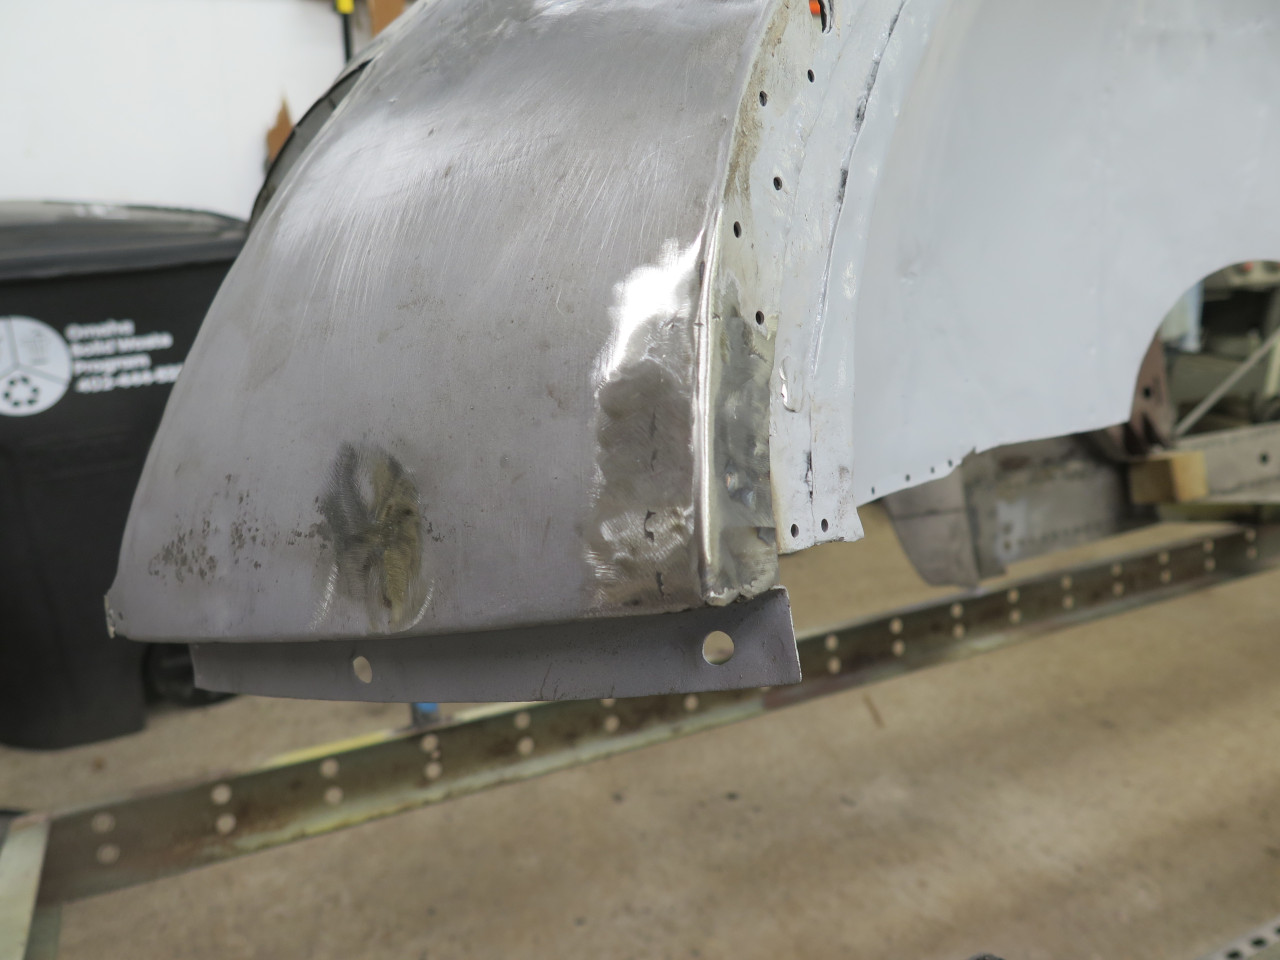
Welded up the patches, along with a few other little holes, and ground them flattish.

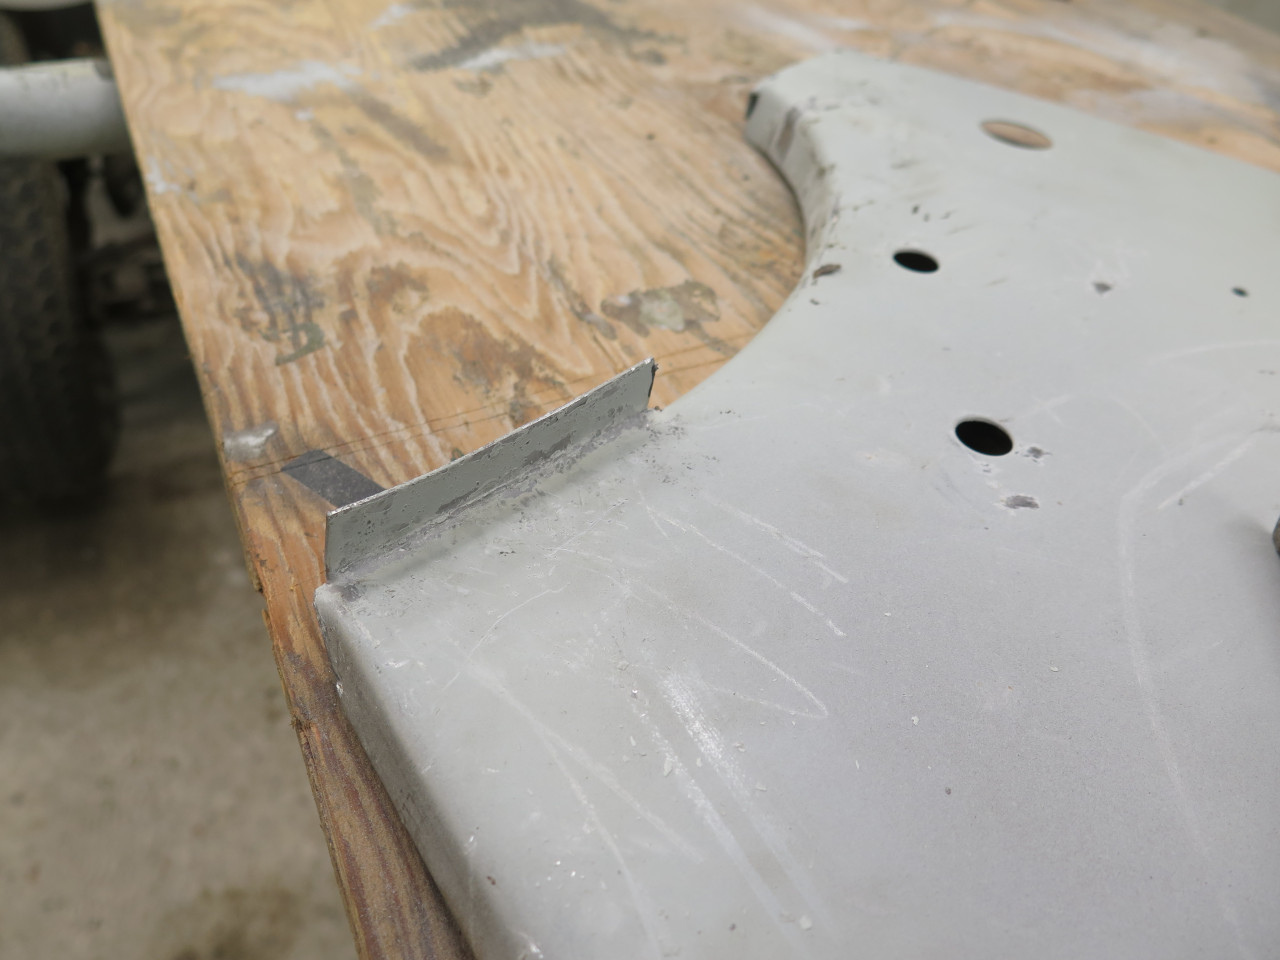
Another little problem area.
Little curved patch. Curve is from my cheapie Harbor Freight stretcher/shrinker.
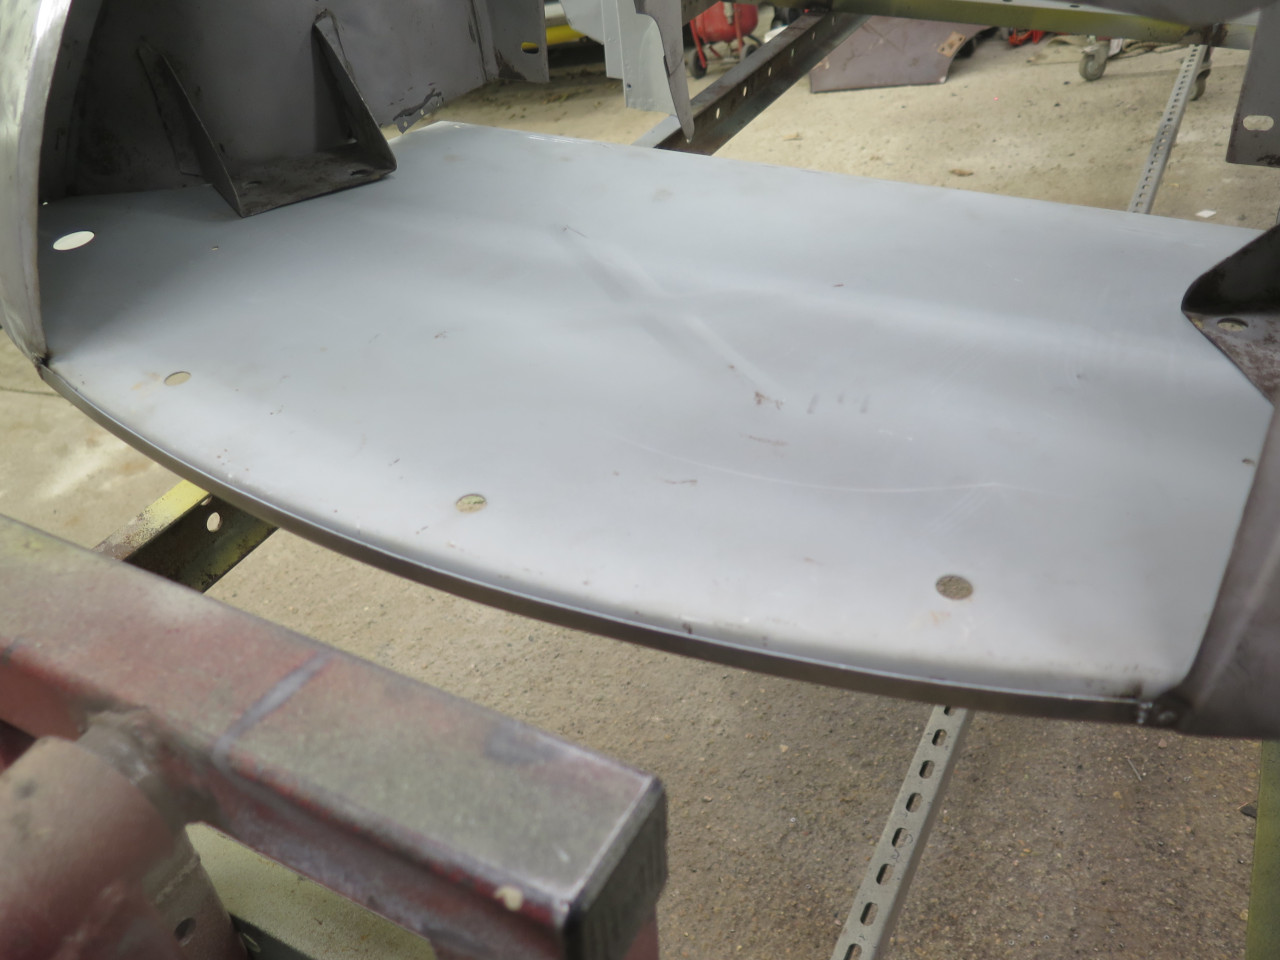
In the end, I decided to buy a new duct panel. The original was
pretty gnarly, and all the flanges were chewed up with all the violence
done to them.
I did have to tweak it here and there, but it actually fit pretty well.
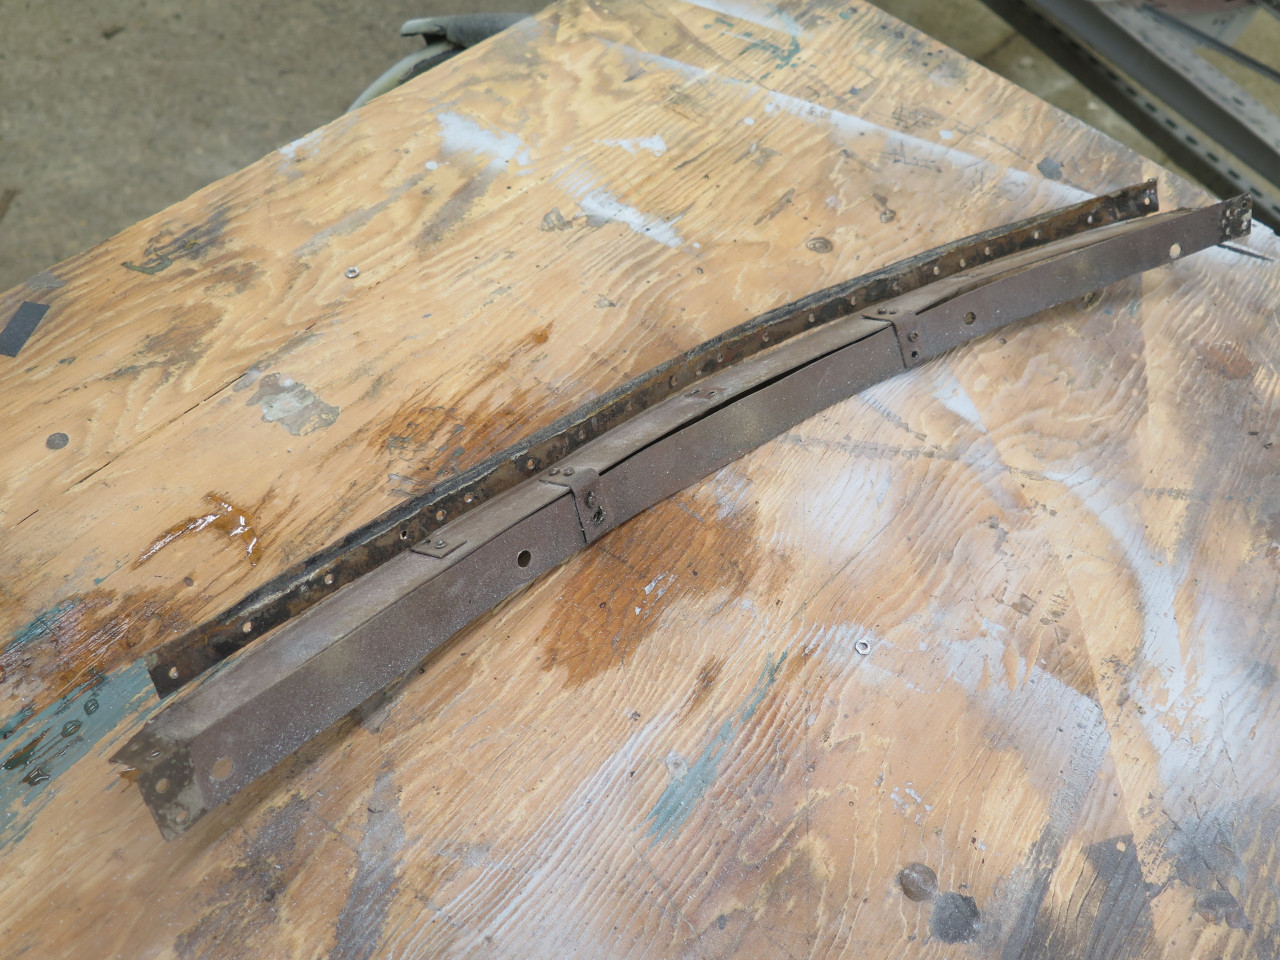
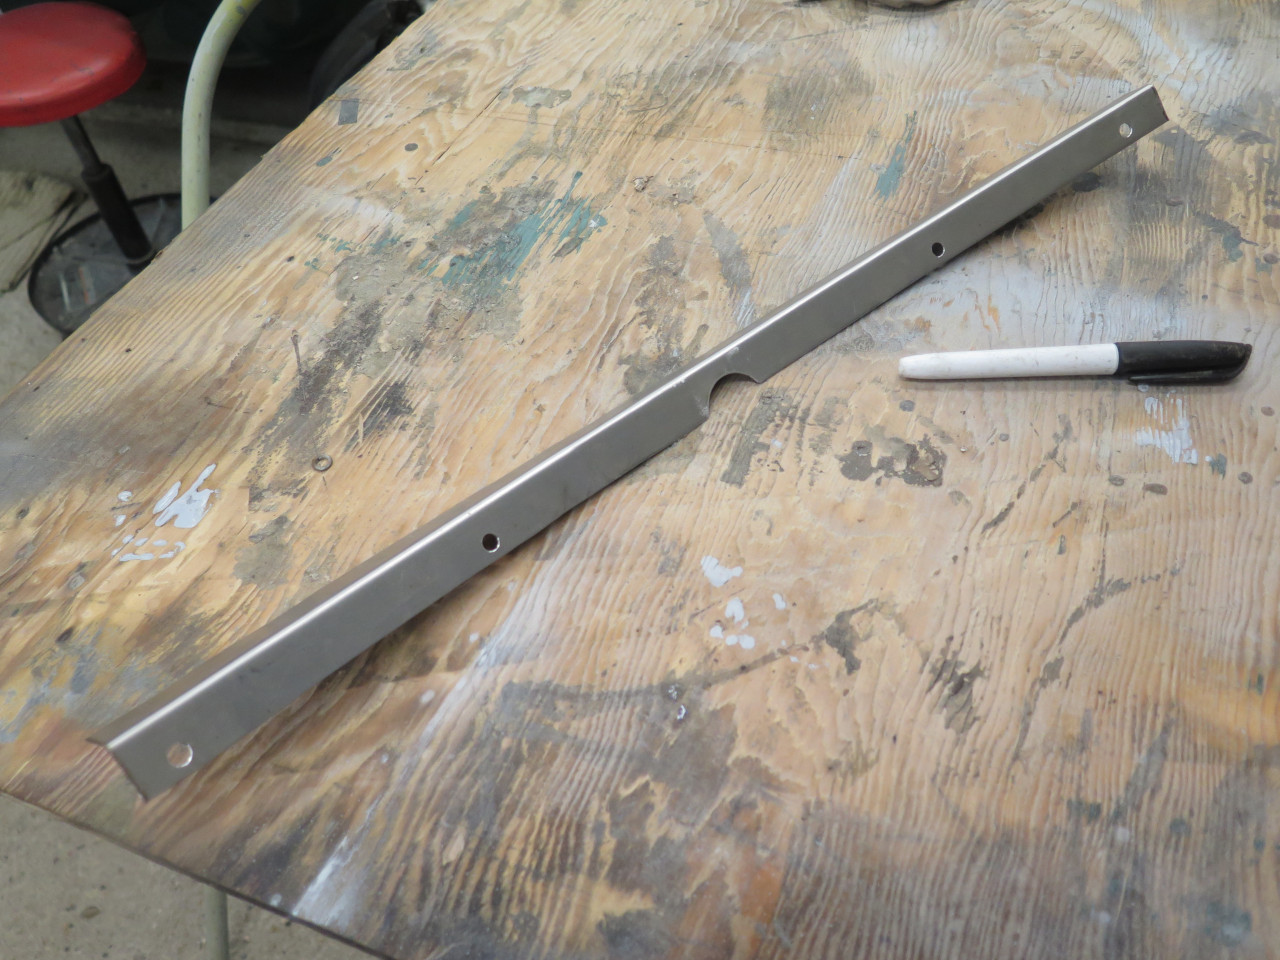
I used the new duct panel to act as a guide for making the new body flange and valance mounting skirt.
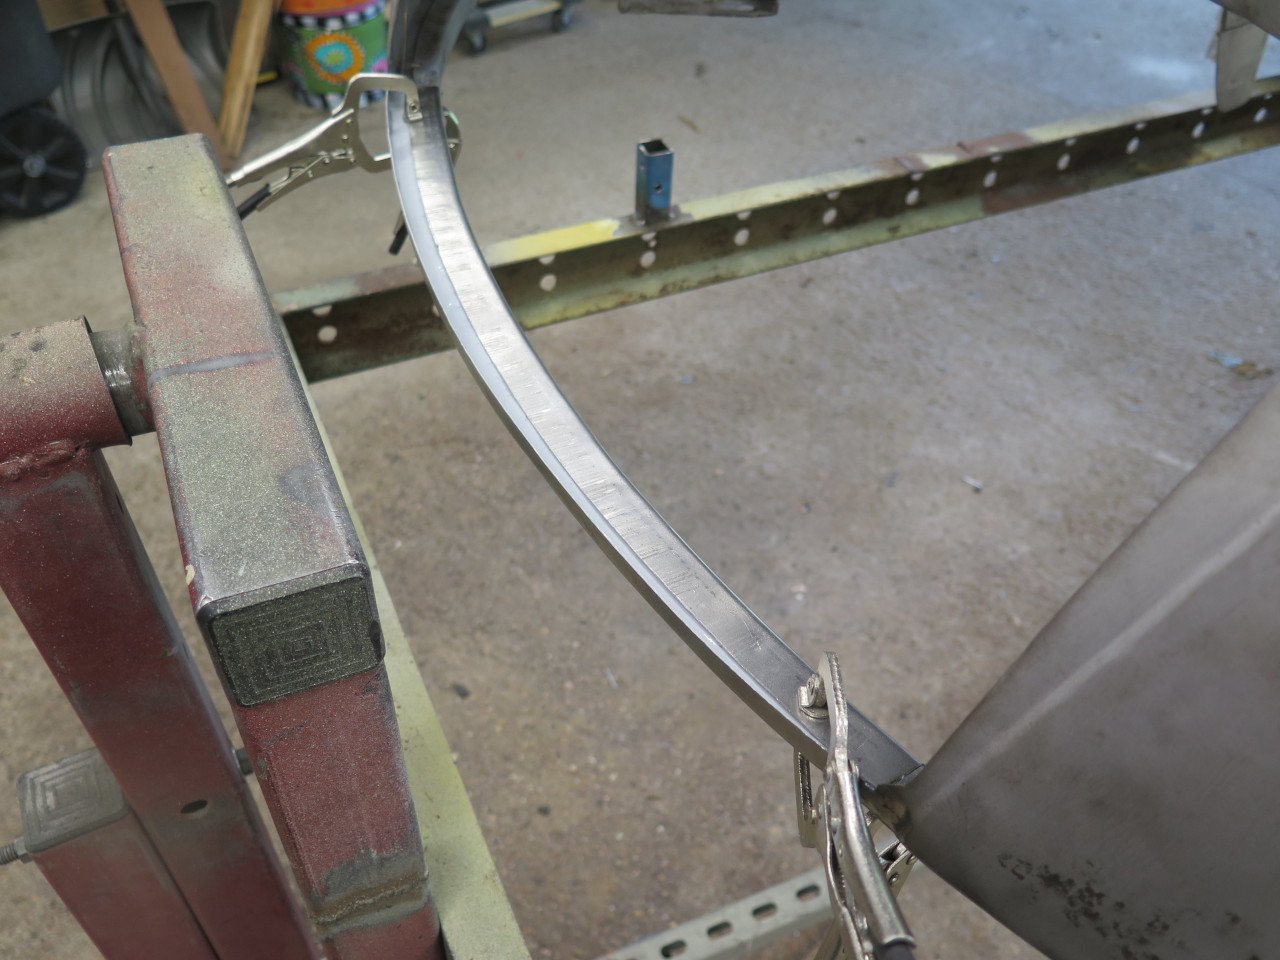
The flange has a curve to match the duct front edge.

The upper surface of the new flange piece was scuffed, cleaned, and sprayed with some weld-through primer.

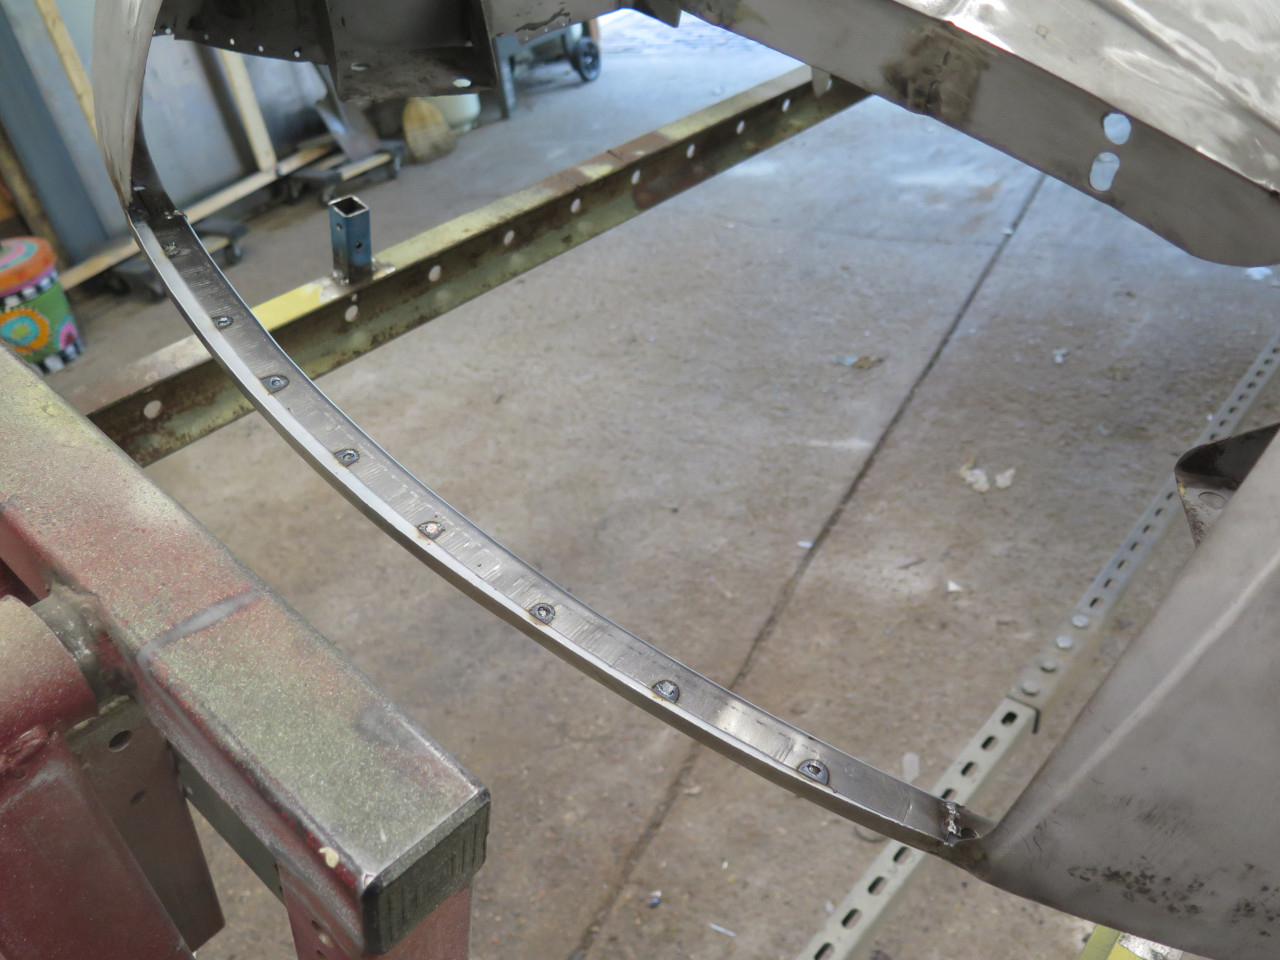
The valance mounting skirt is similar. It has holes for valance
mounting, and a notch that's for the starter crank, I think. It
was spot welded to the body flange.
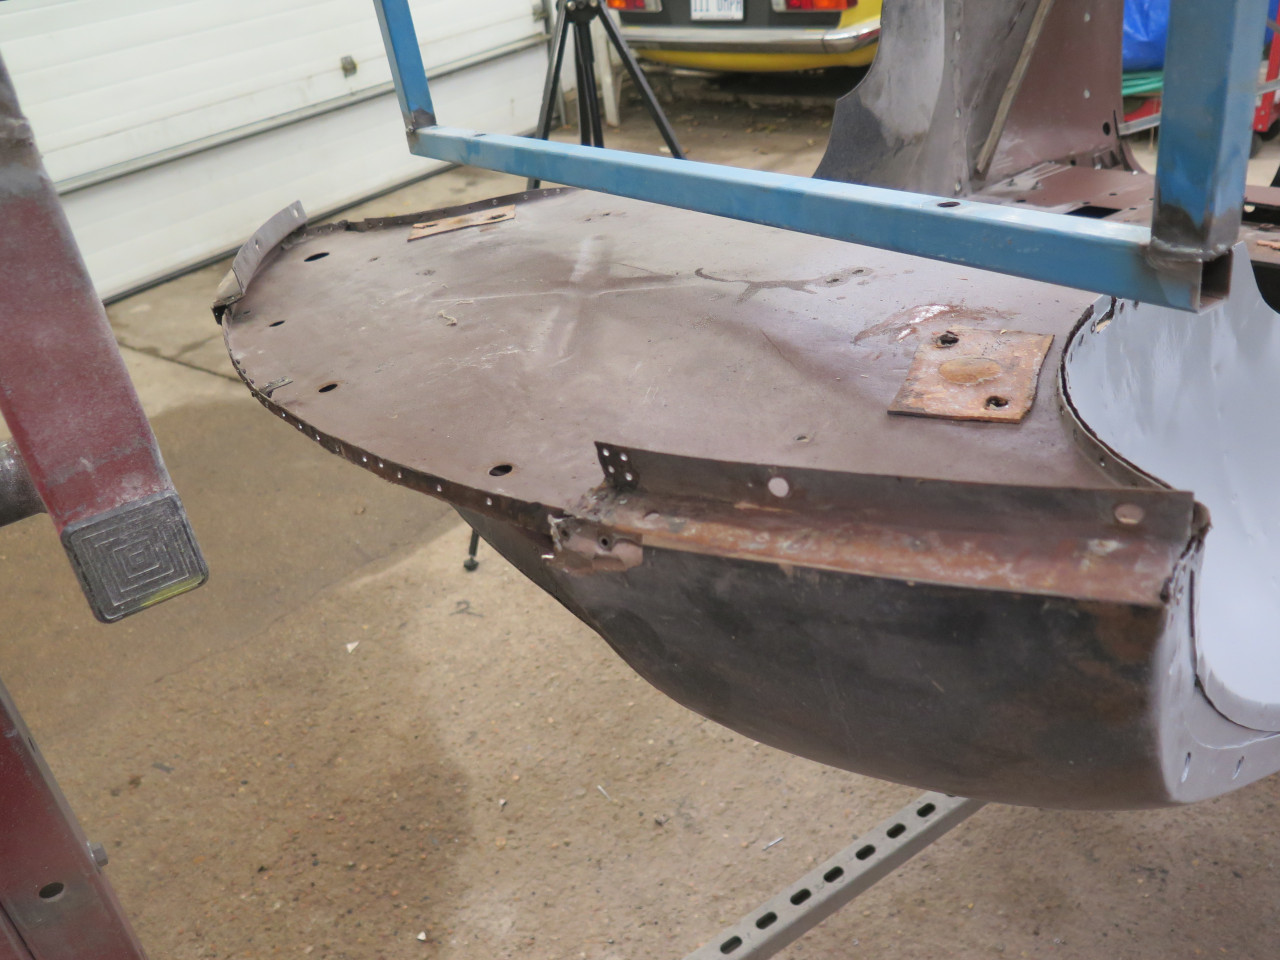
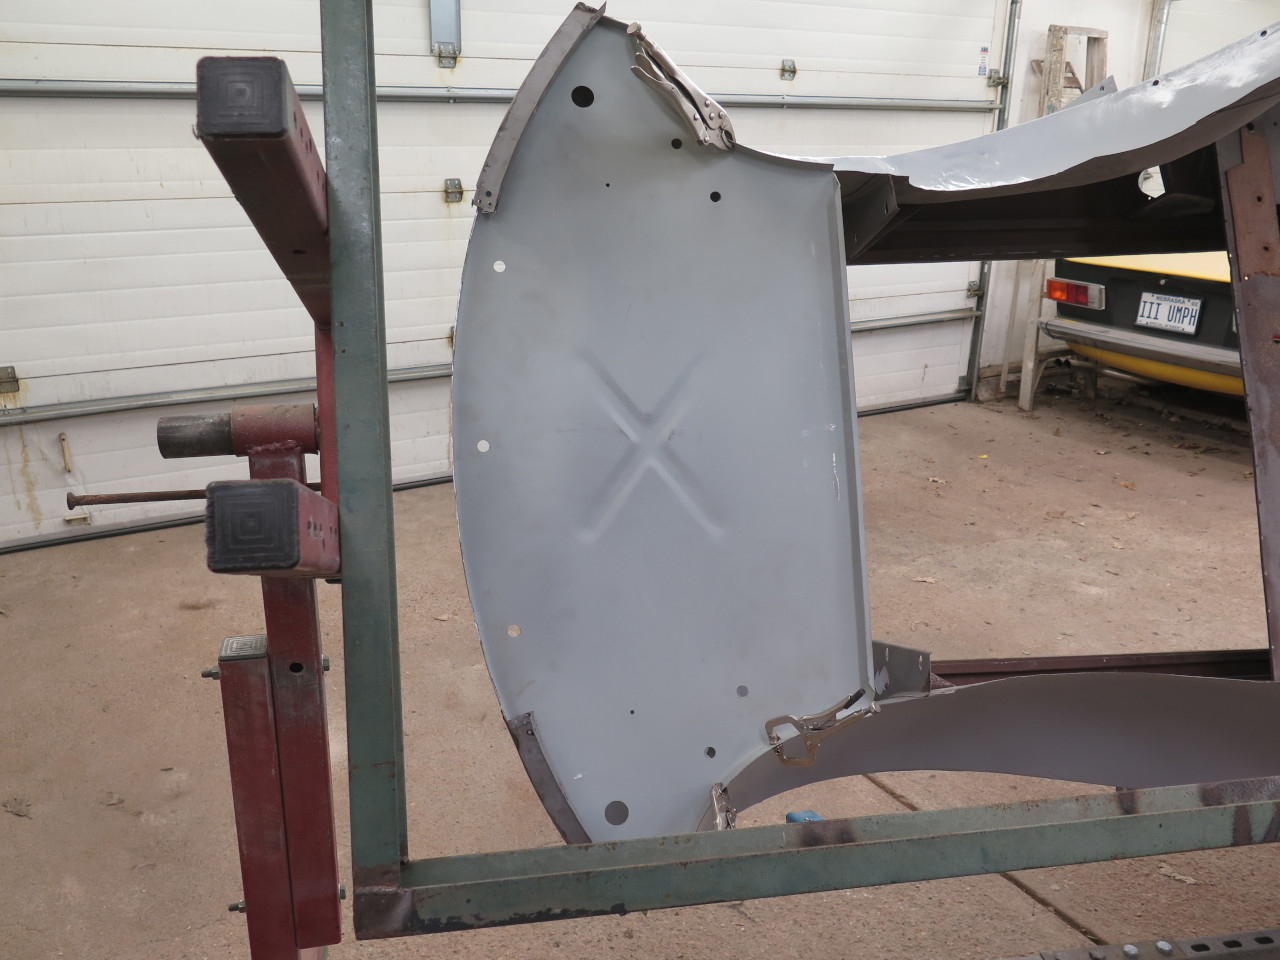
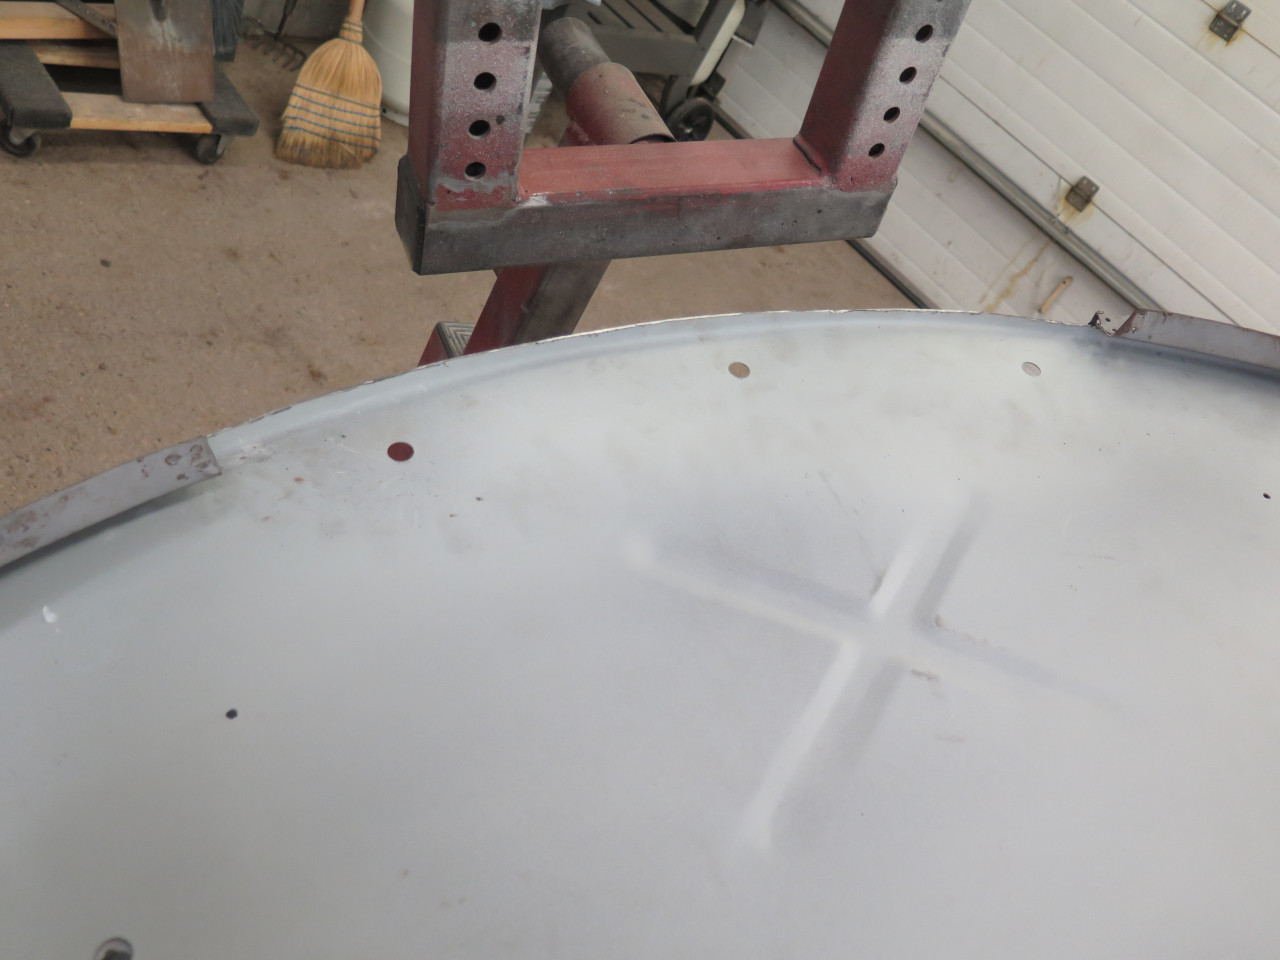
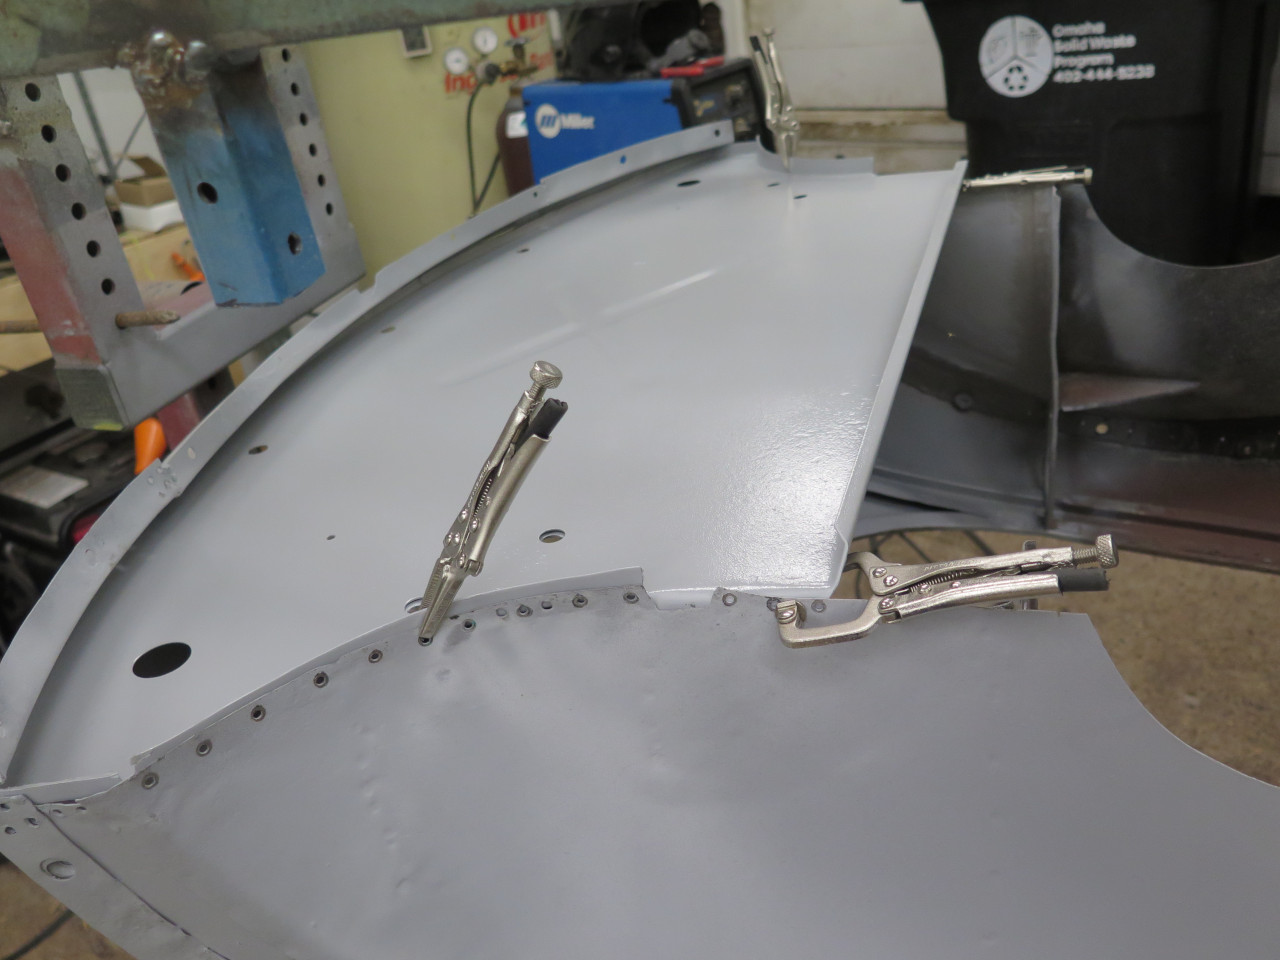
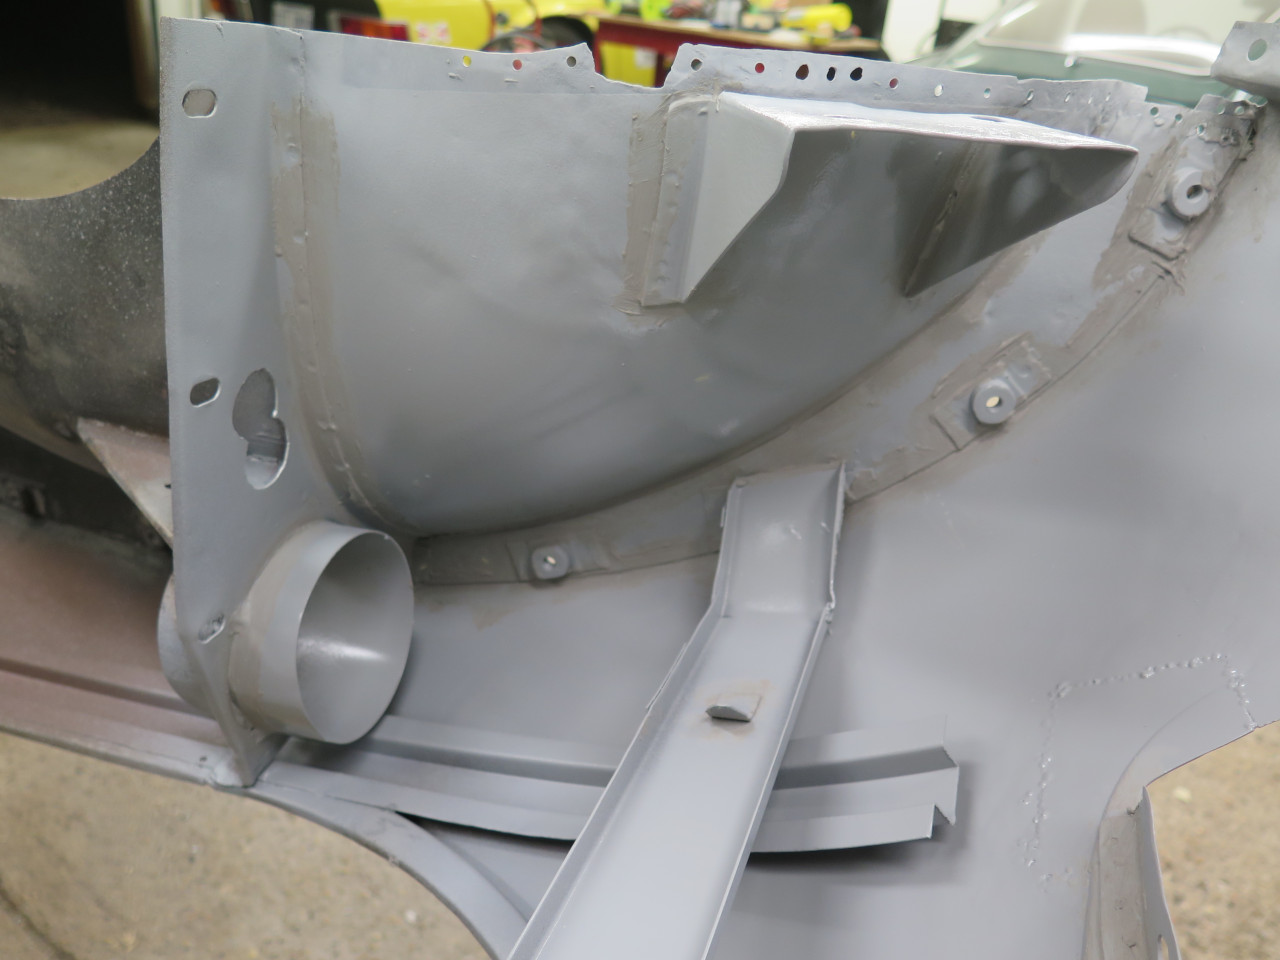
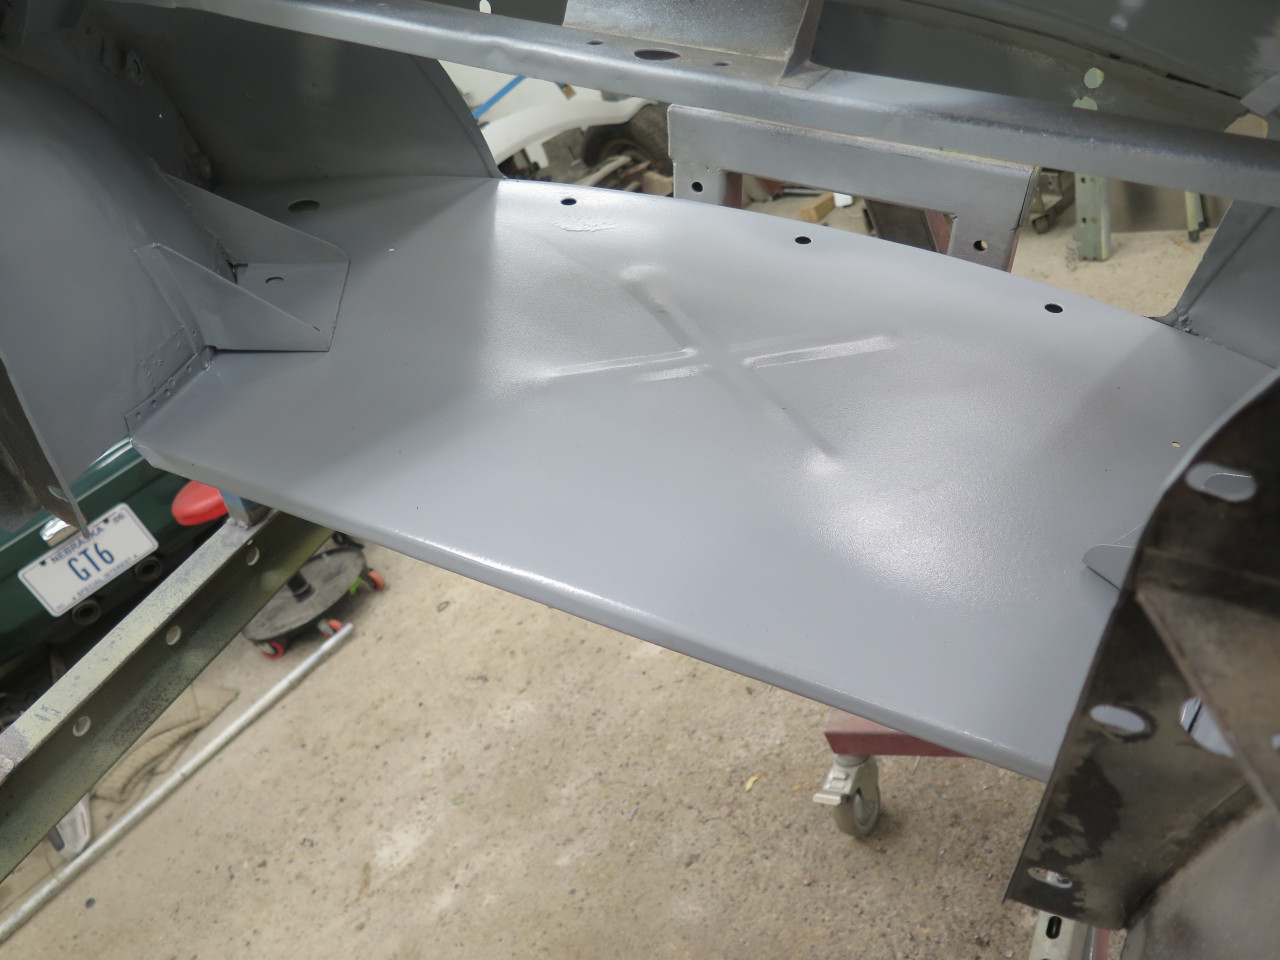
Then the duct panel went back in. I discovered something
strange. The rear end of the panel didn't overlap the wheel well
metal by enough to spot weld it. It was worse on the other
side. Some online research ensued. I found some images of
original duct panels where the rear three inches or so of that side
flange was turned up instead of down. I also saw replacement
panels both ways.
It seemed that my new panel would fit better with an up-turned flange, so I made it so.
Mo' betta...
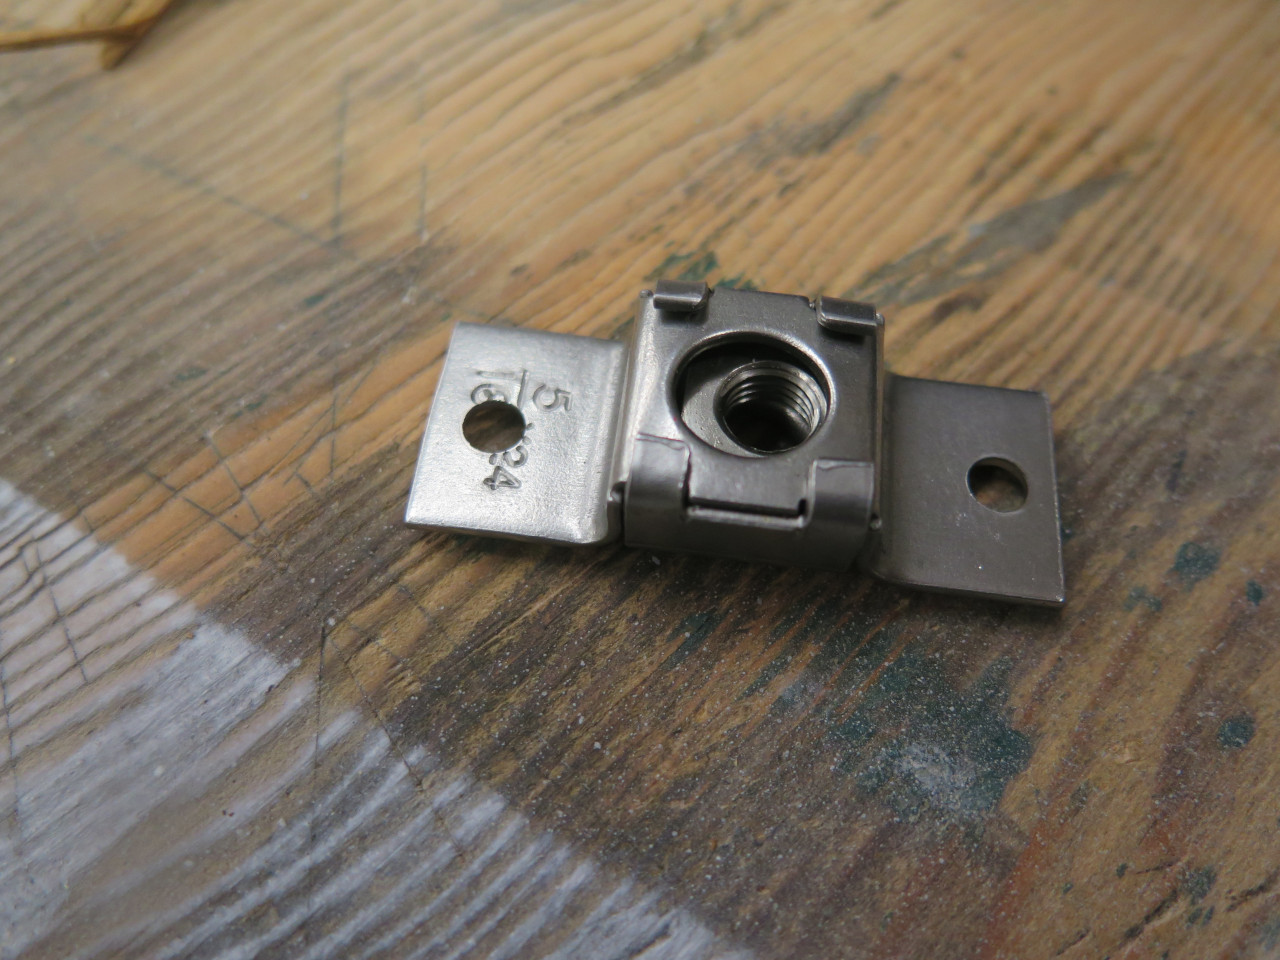
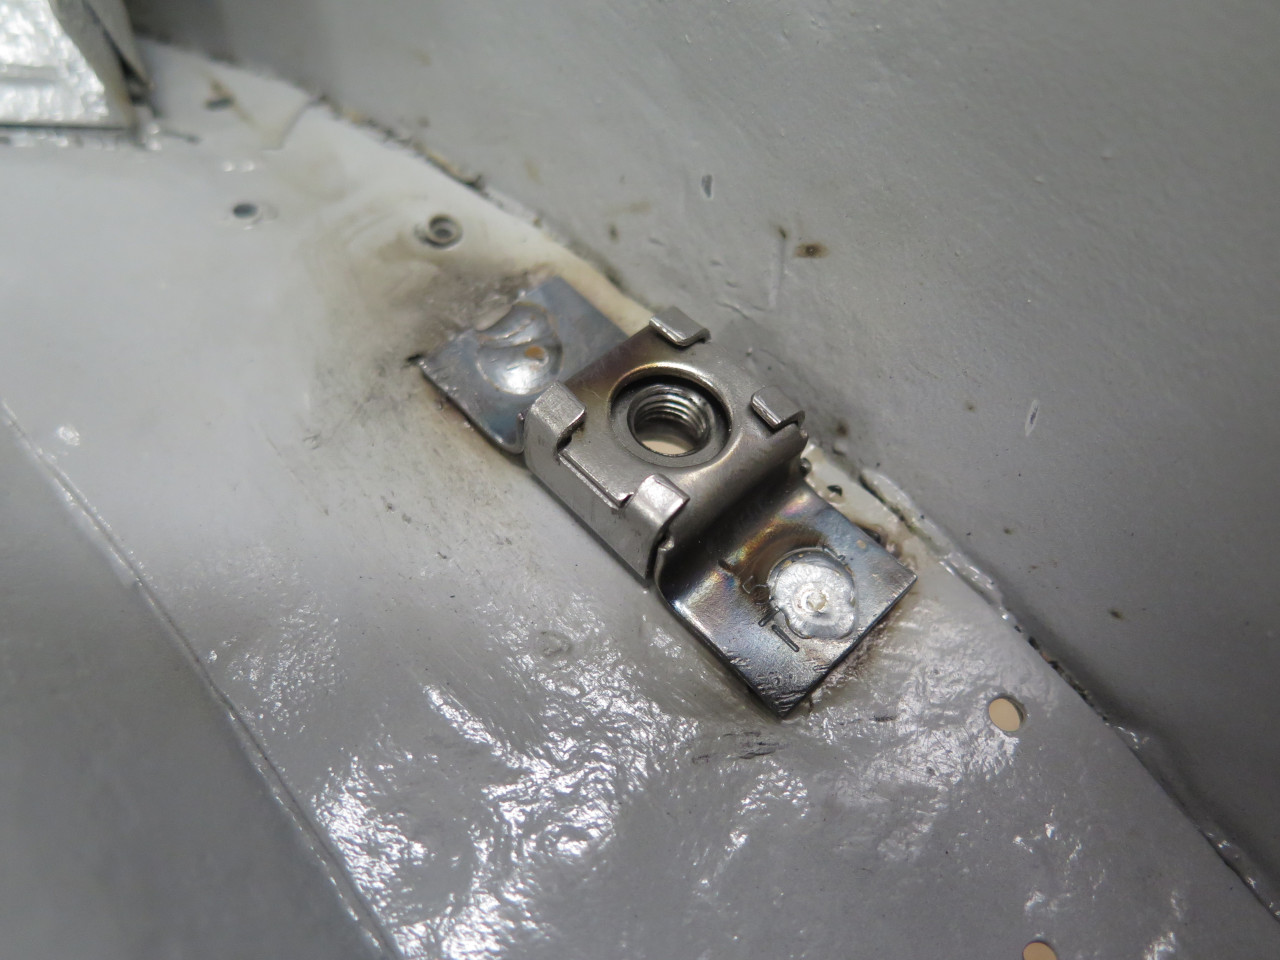
There was one detail I almost forgot before the duct could be
permanently installed. There are several captive nuts for the
wings that twisted off at some point, and one was in the space above the
duct. It seemed easier to replace it without the duct. I
punched the holes in the tabs for plug welding.
Then some seam sealer while there was more room.
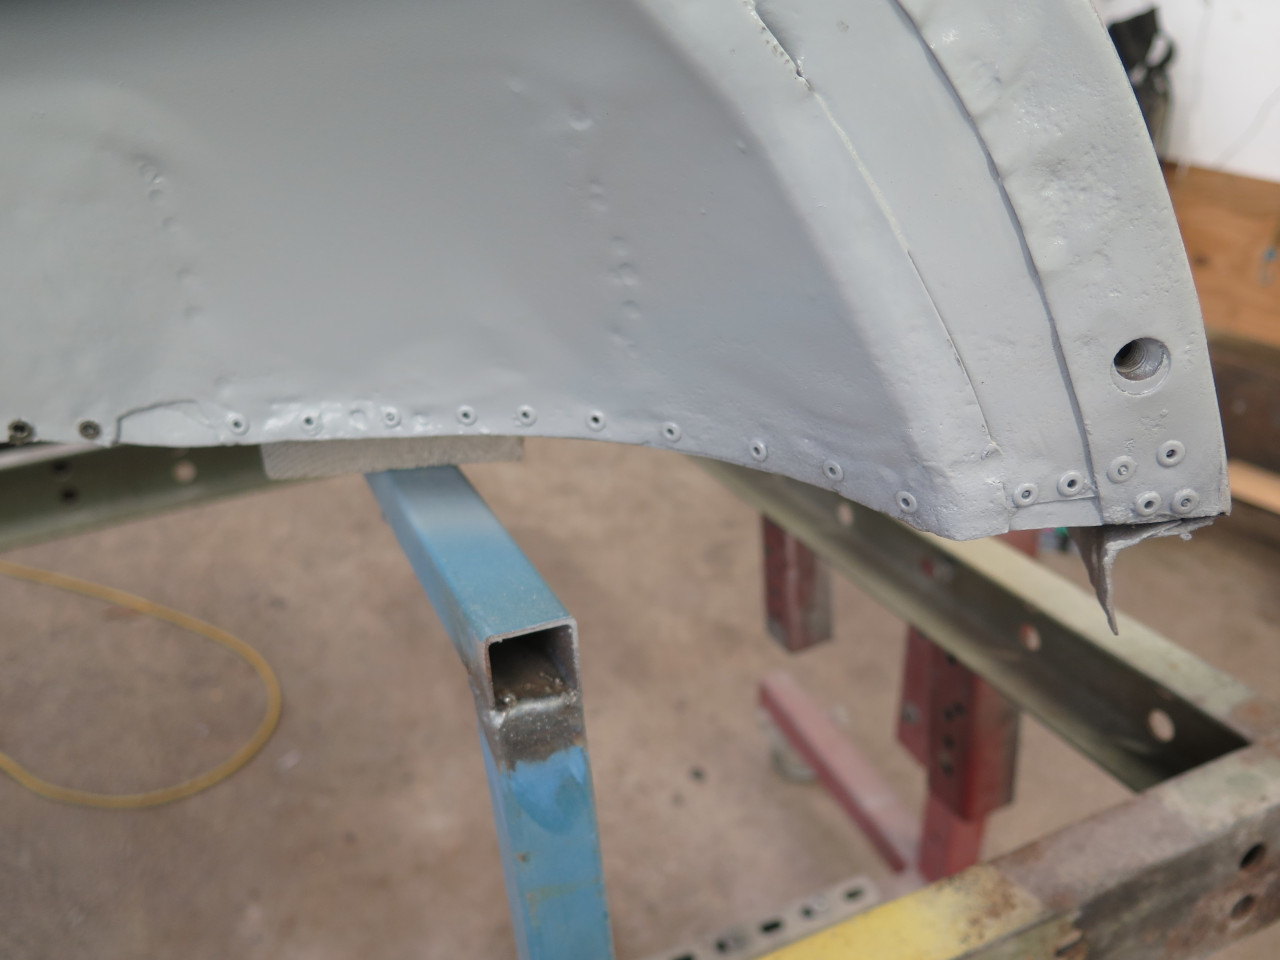
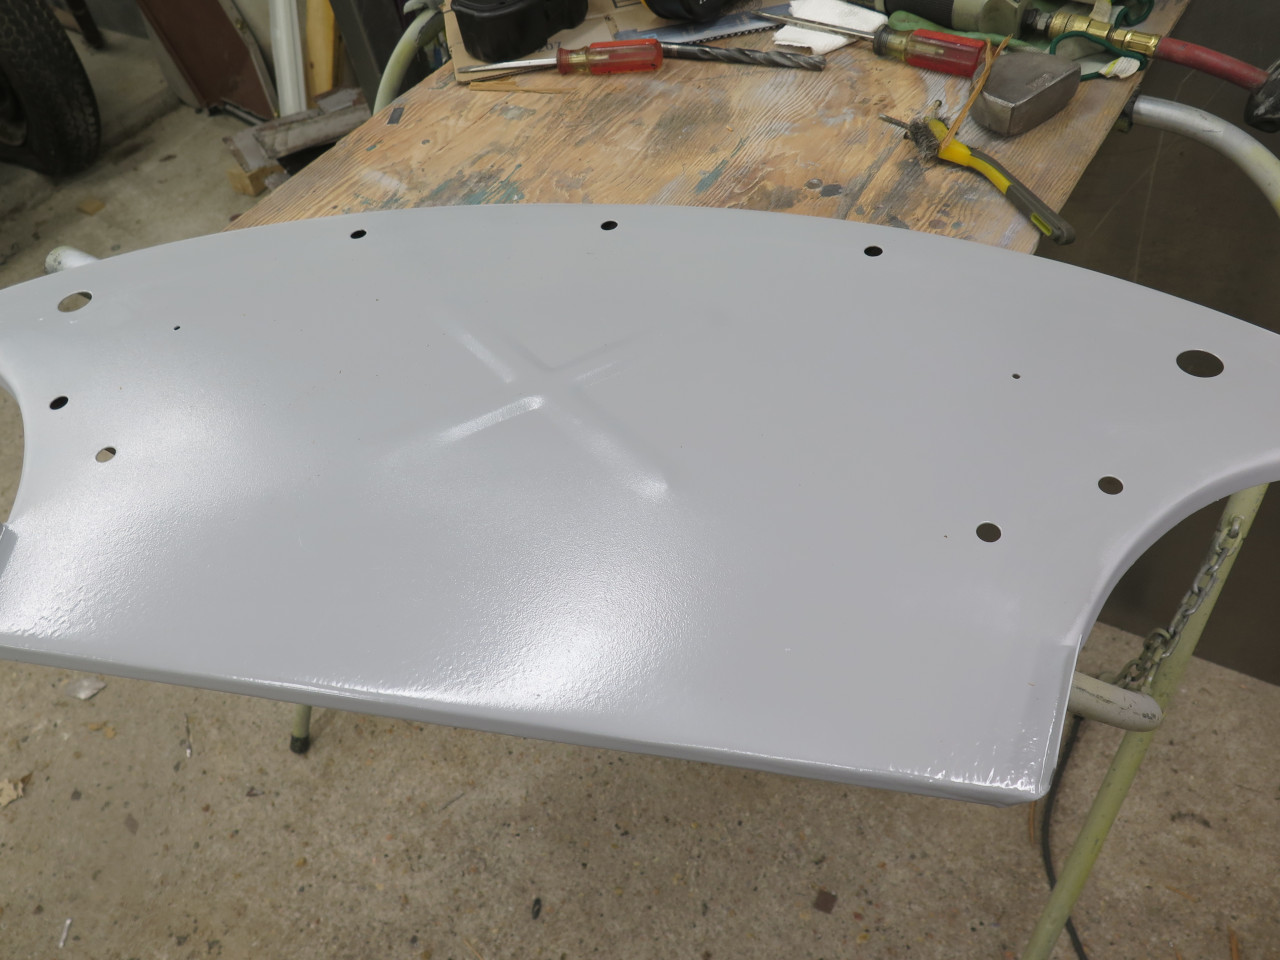
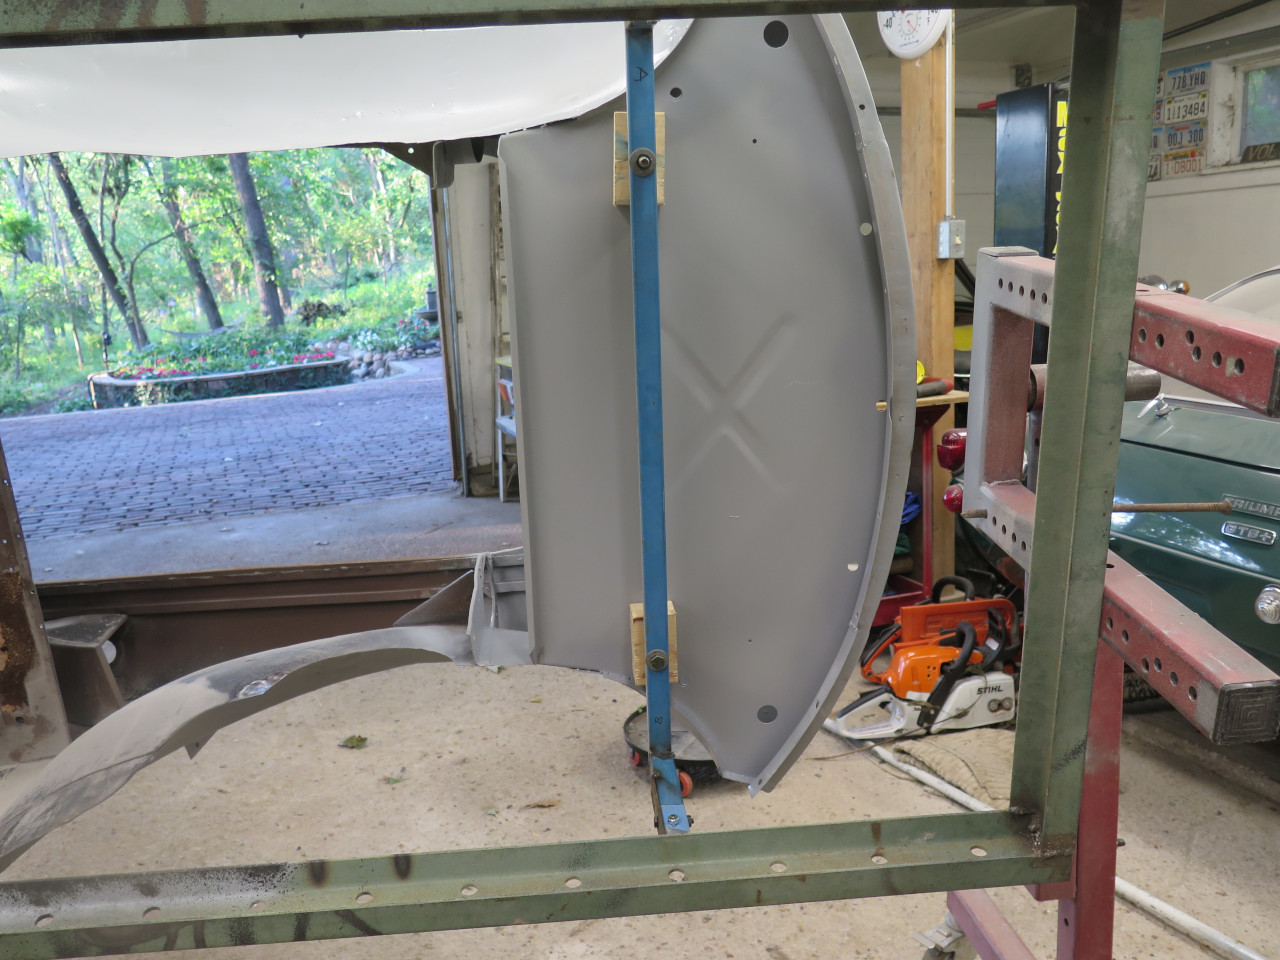
The new duct panel came with some unknown coating on it. From and
abundance of caution, I had previously blasted it to bare metal, and
sprayed it with my usual direct-to-metal 2 part epoxy primer.
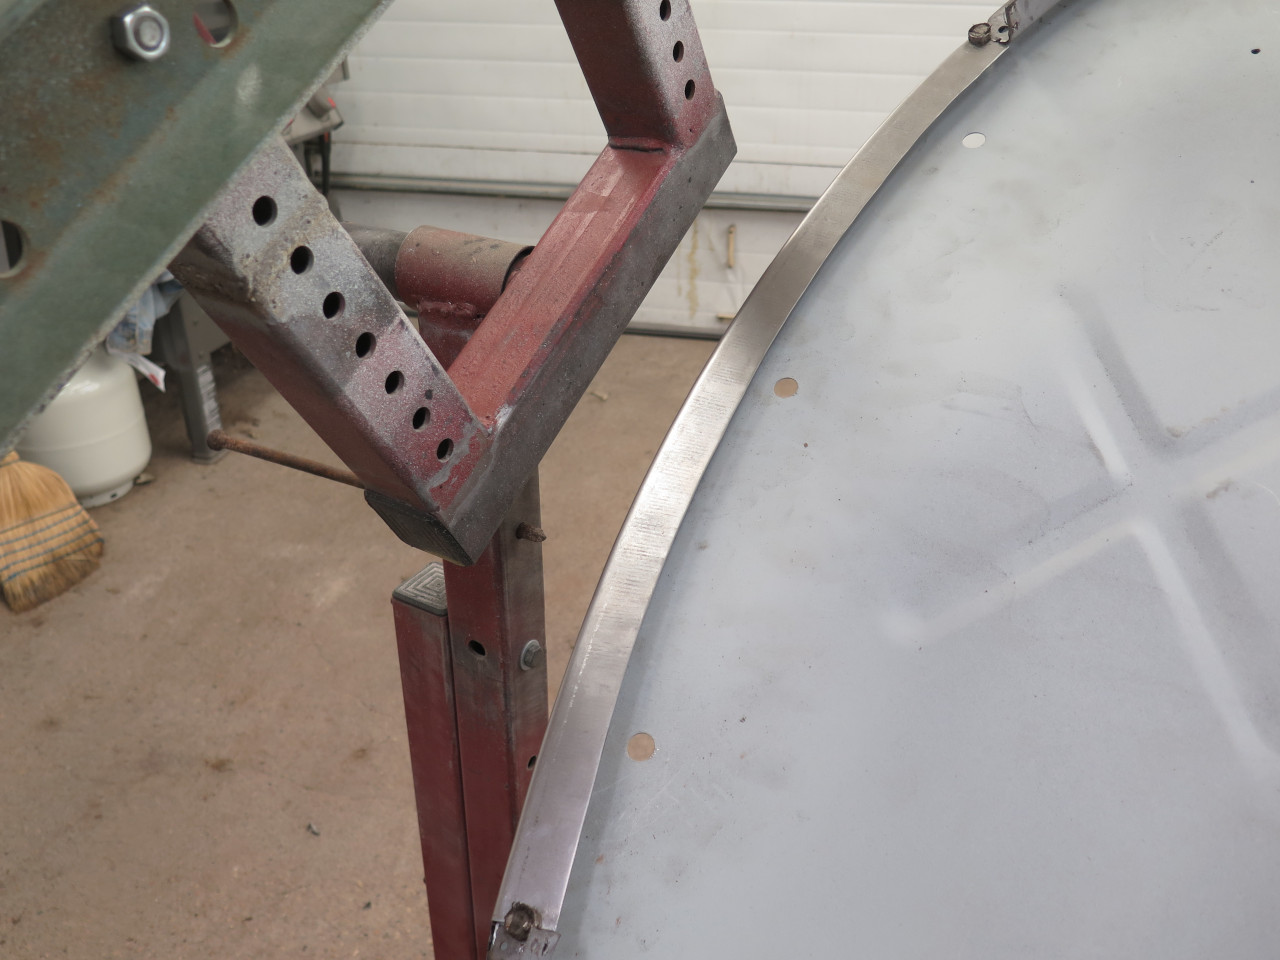
The panel was a nice fit, but I realized that I wouldn't be able to get
my spot welder electrode into the space on the backside of that leading
edge. So I had to take the panel back out and drill some plug weld
holes.
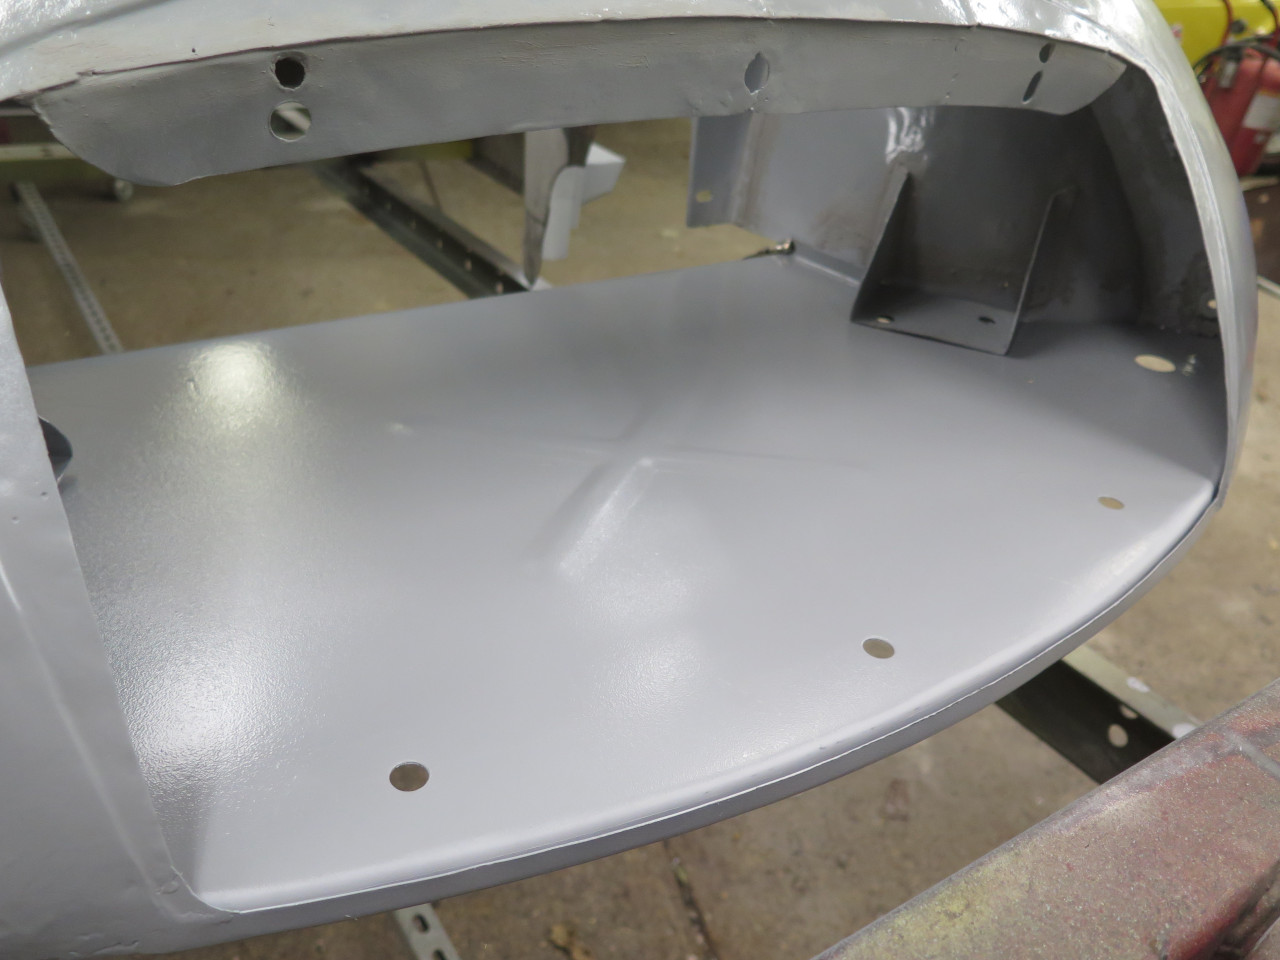

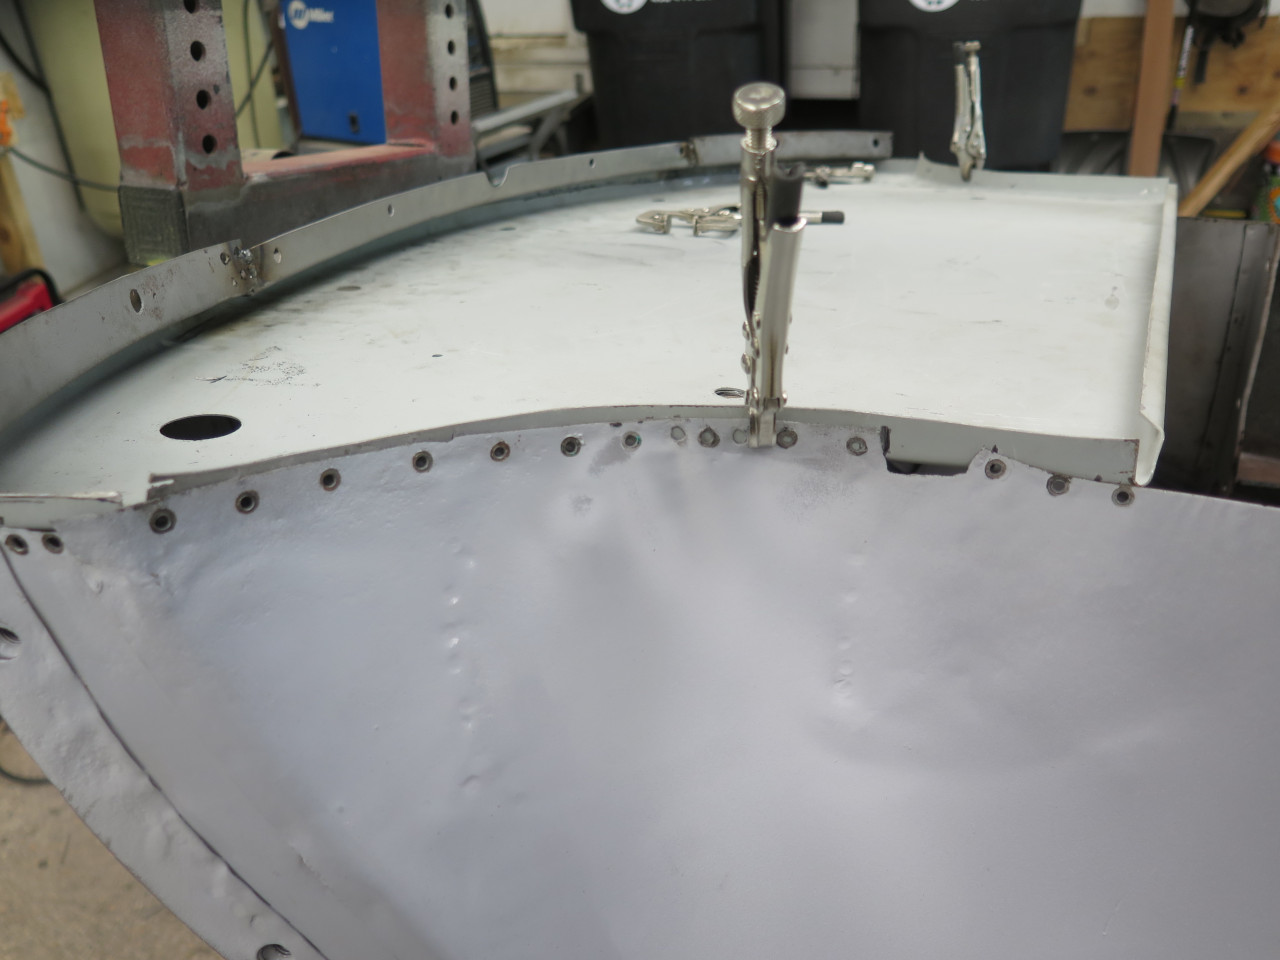
Then spot welded along the well edges. The epoxy has to be cleaned
off both sides, or the spot welder won't find continuity. All of
the surfaces that would end up inside a seam had weld through primer
instead of epoxy. The small holes are left over fromt he
rivets. They will get filled with seam sealer at some point.
Looks pretty good...
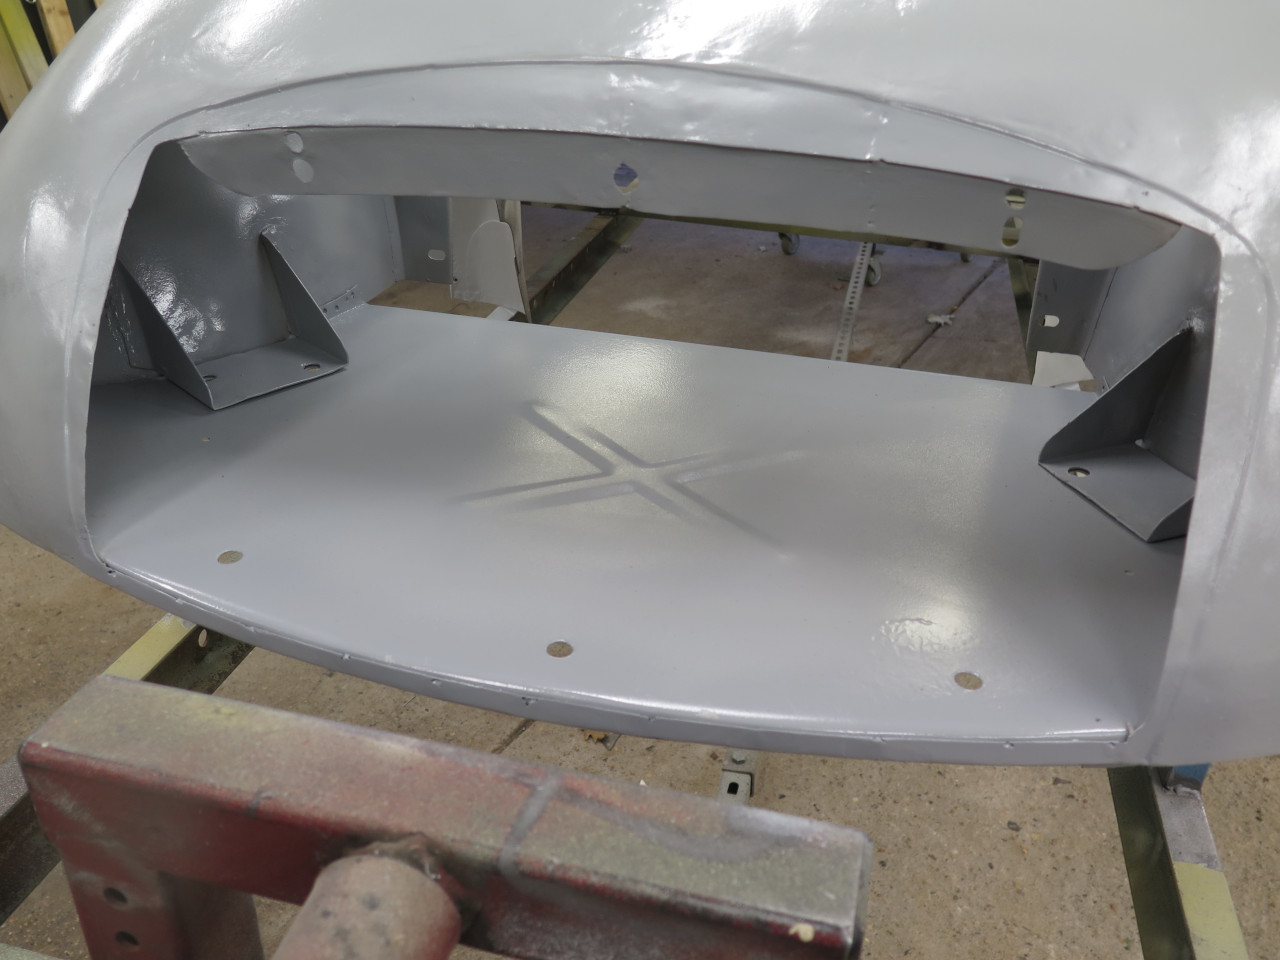
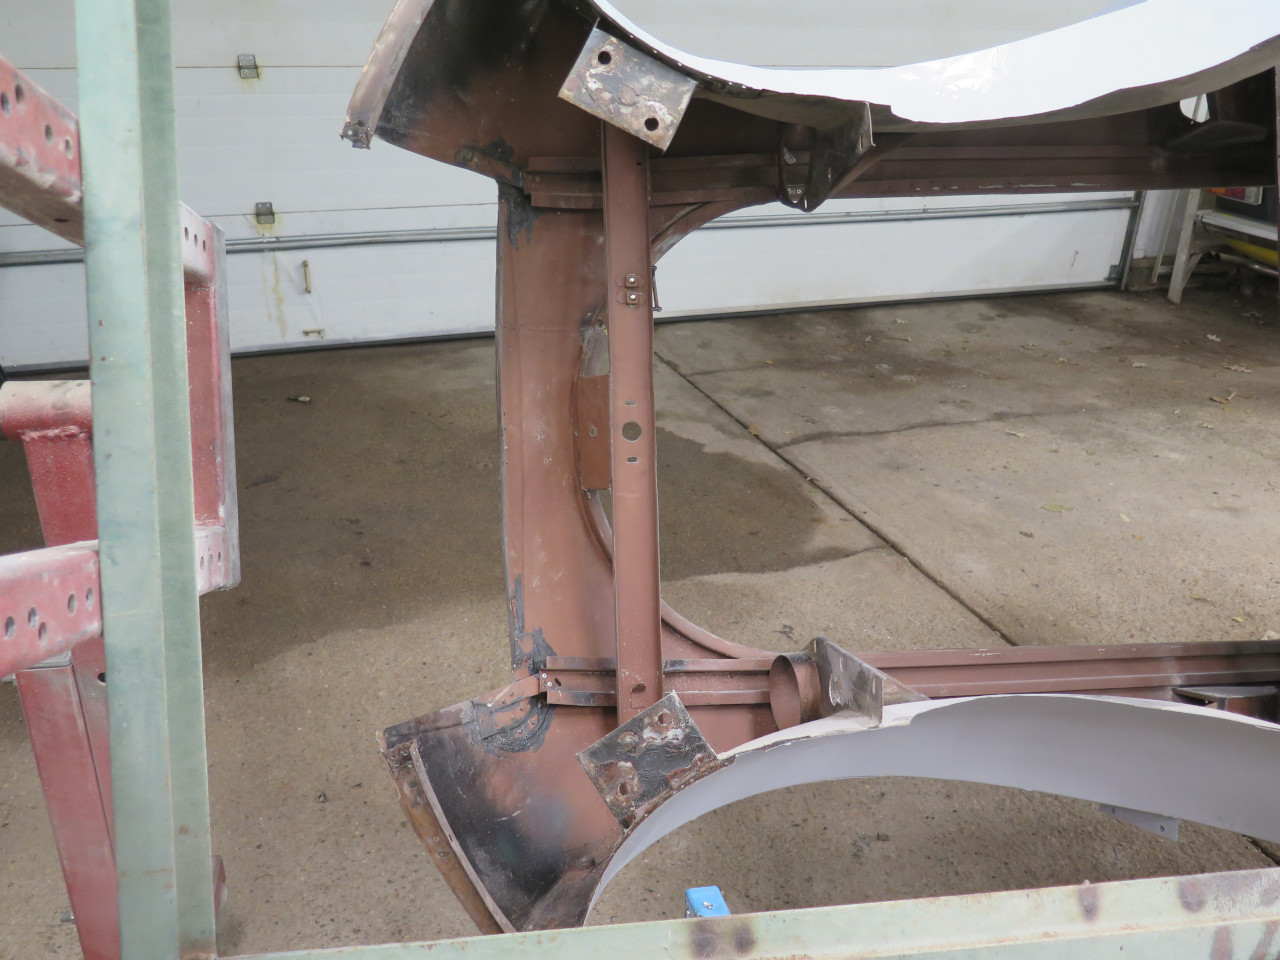
To remove the duct panel, I had to take out the front mounting bridge of
the rotisserie. Now that it's back in place, the front of the
body is pretty rigid again.
This was the area of the tub that needed the most help. The surround will still need a little filler, but not much.
The job took a couple of weeks, and the cost was a couple of hundred dollars for the duct panel.
Comments to Ed at elhollin1@yahoo.com
To my other MGA pages