To my other MGA pages
August 6, 2024
Sills
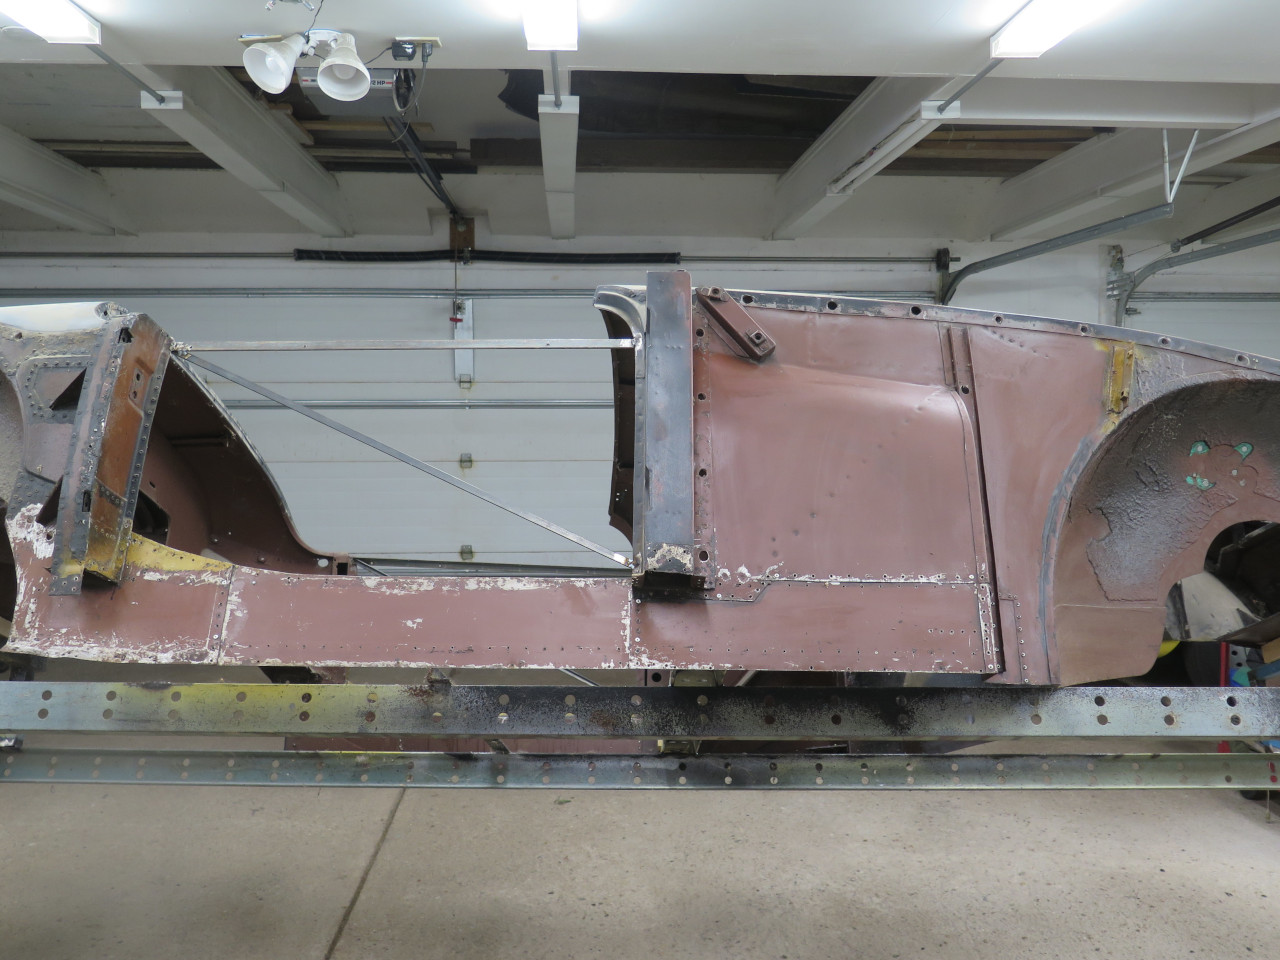
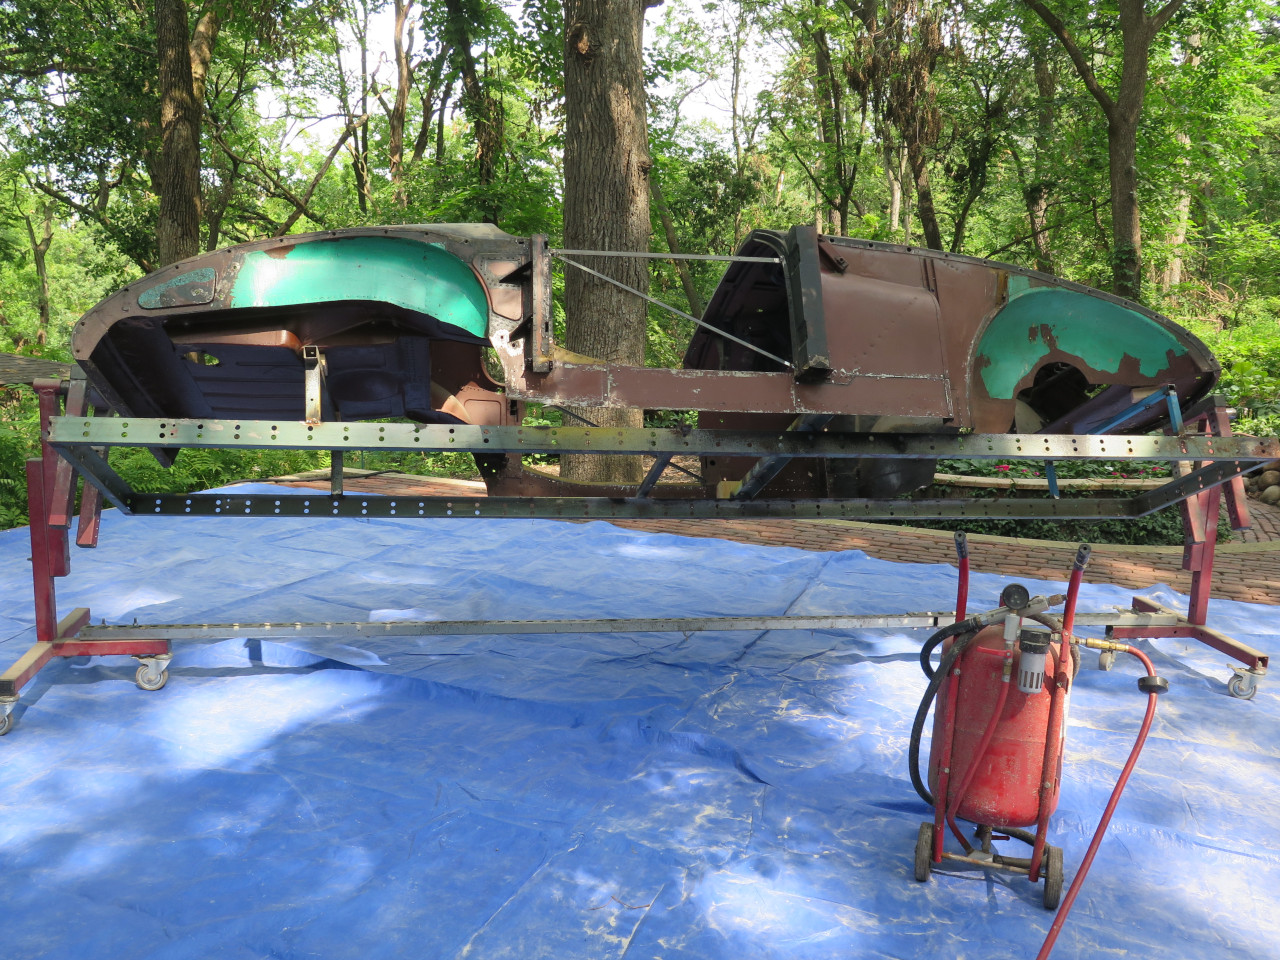
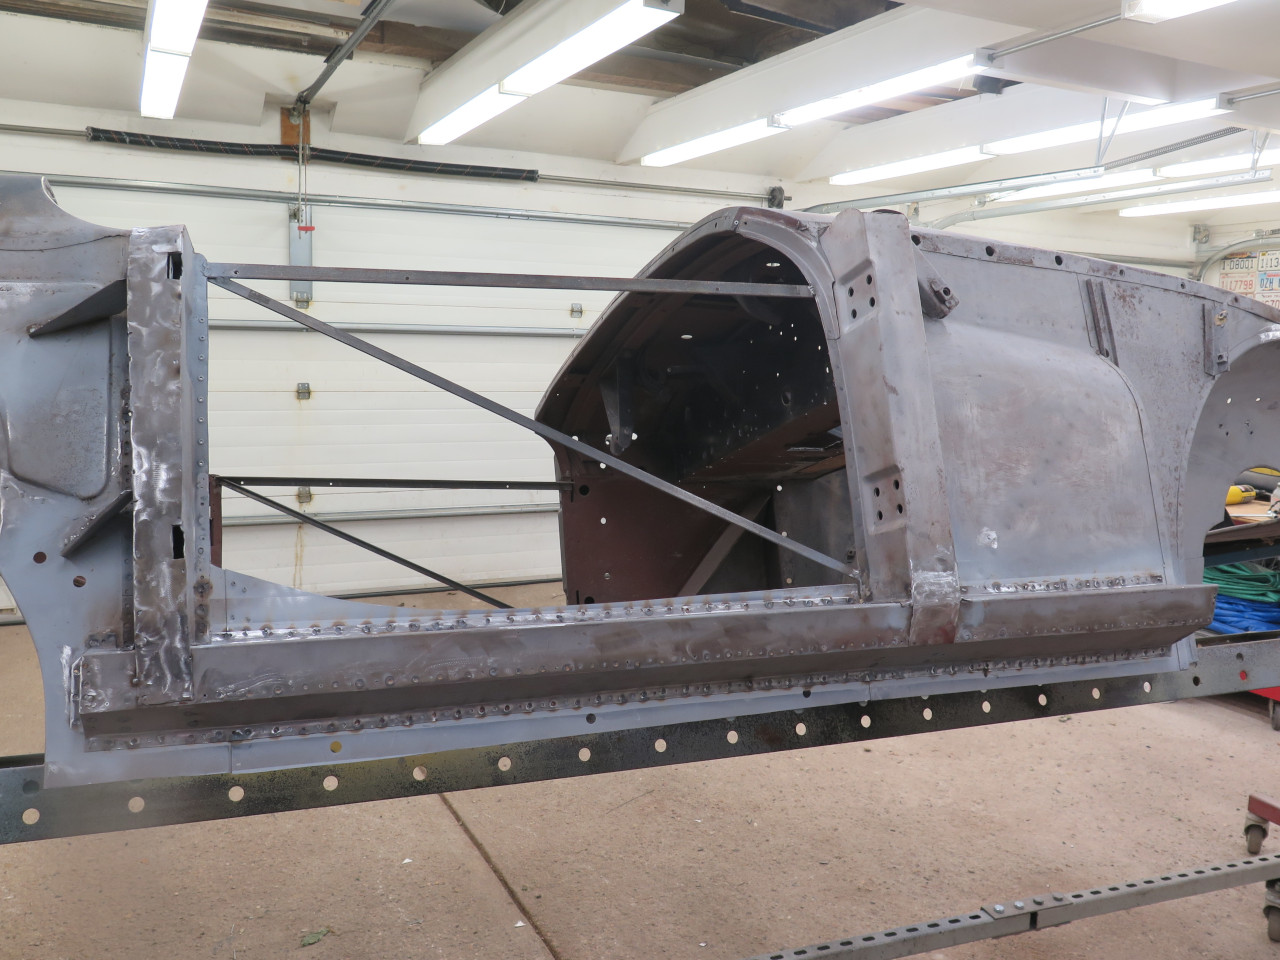
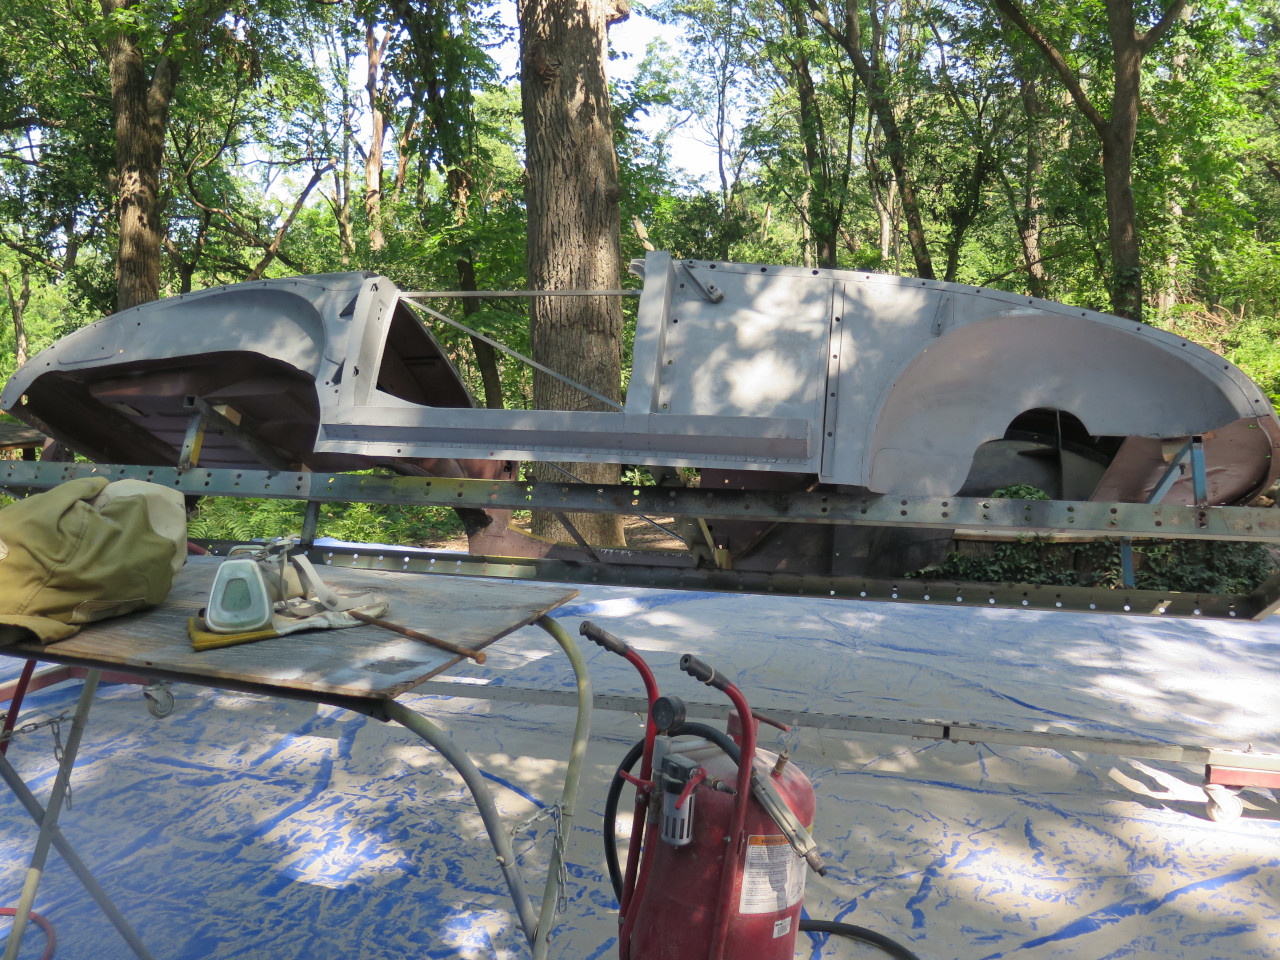
With the body temporarily separated from the frame and mounted up on the rotisserie, it was time to see about metal repairs.
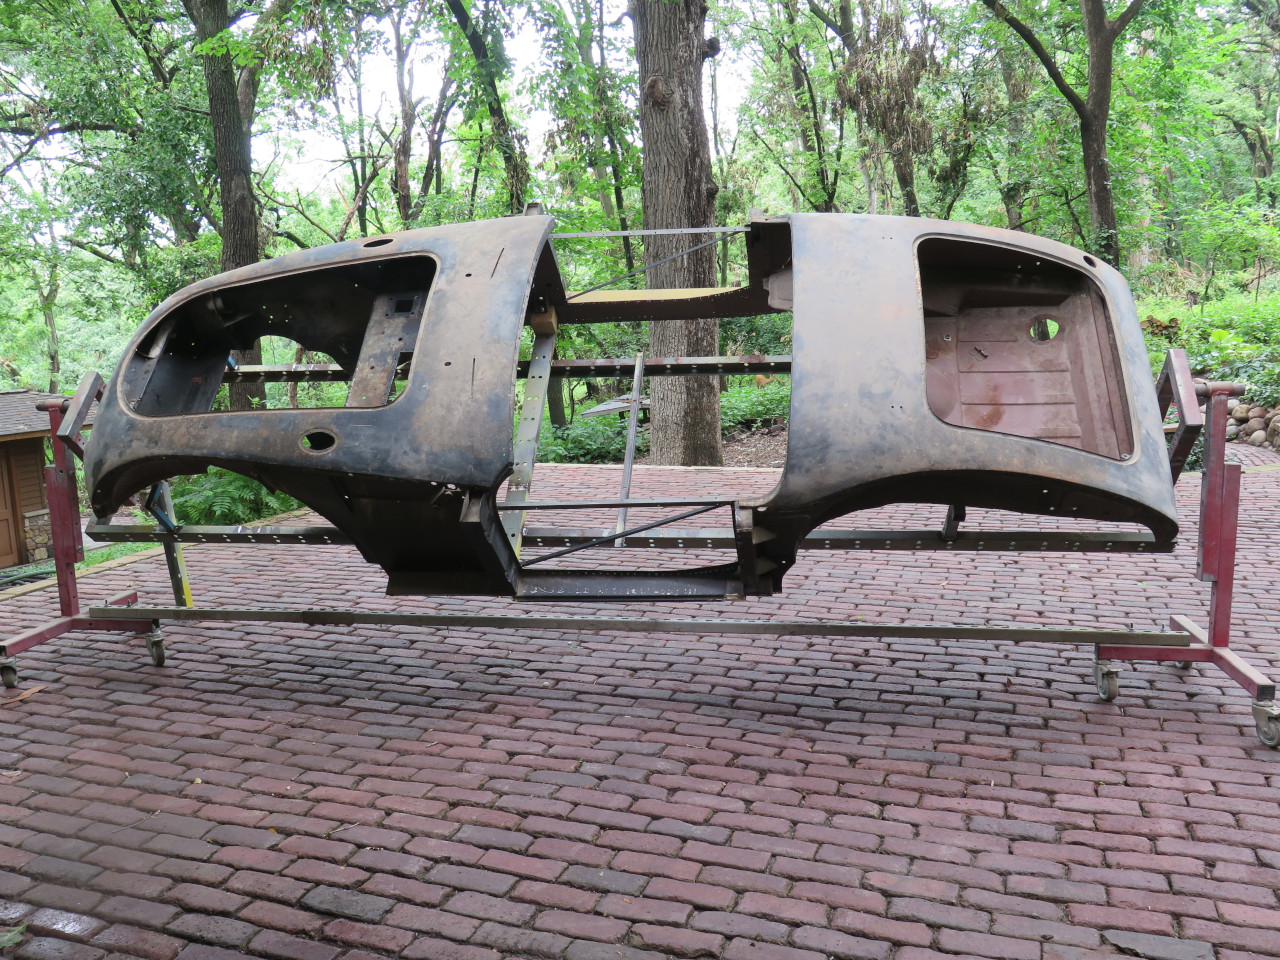
This restoration will be different than most because this car has
essentially no rust. It had plenty of rust when I bought it in
about 1970 or so, but I did a "restoration" back in the mid 70s, and cut
out all of the rust, and replaced it with new metal. However, my
20-something self back then didn't have the tools, skills, money, or
time that I have now. I didn't have a welder or welding skills,
but I did have a blind rivet tool, and I knew how to use it.
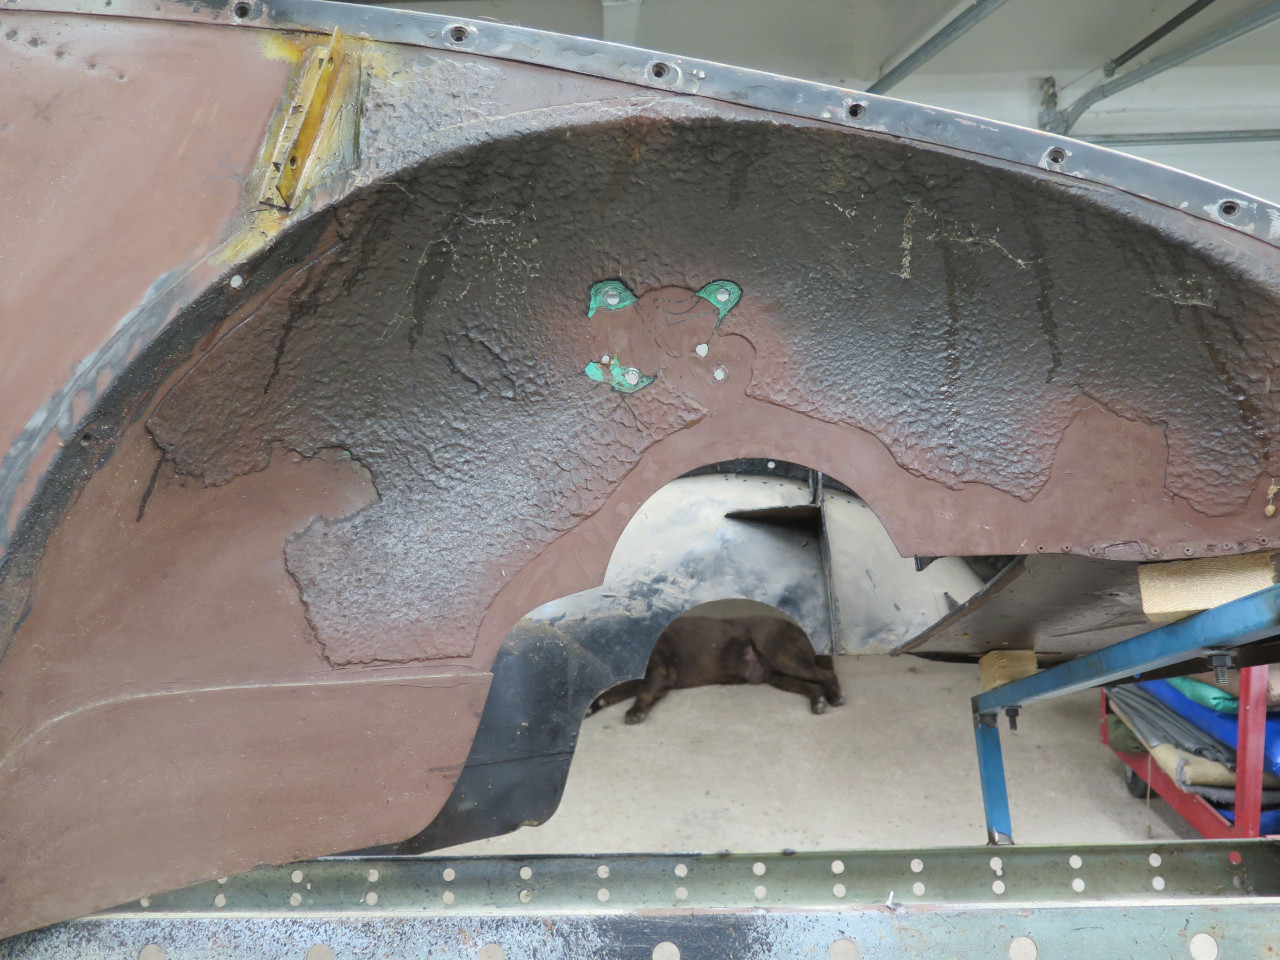
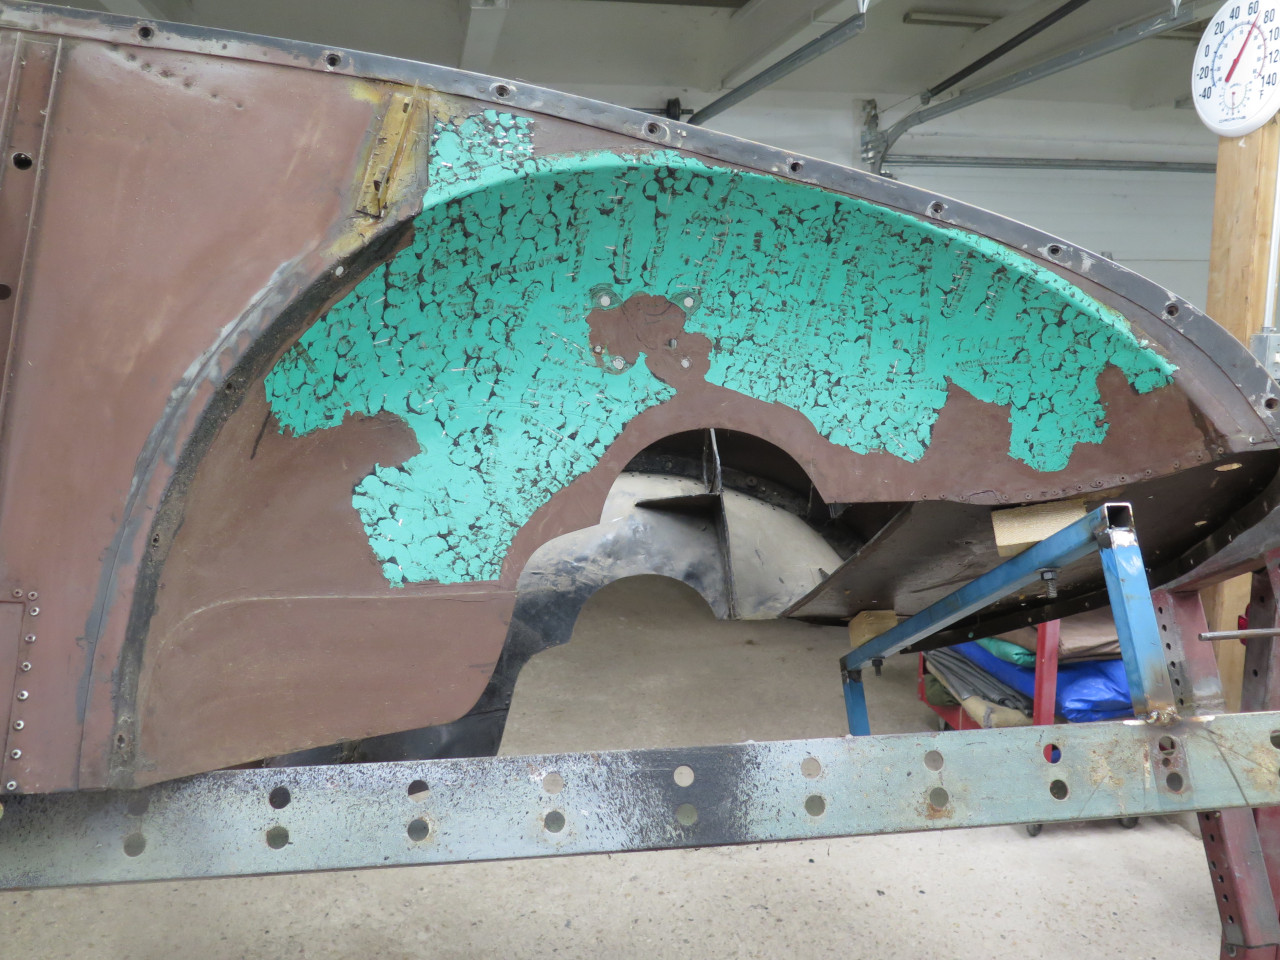
This is the only surviving picture of the rust from that previous work.
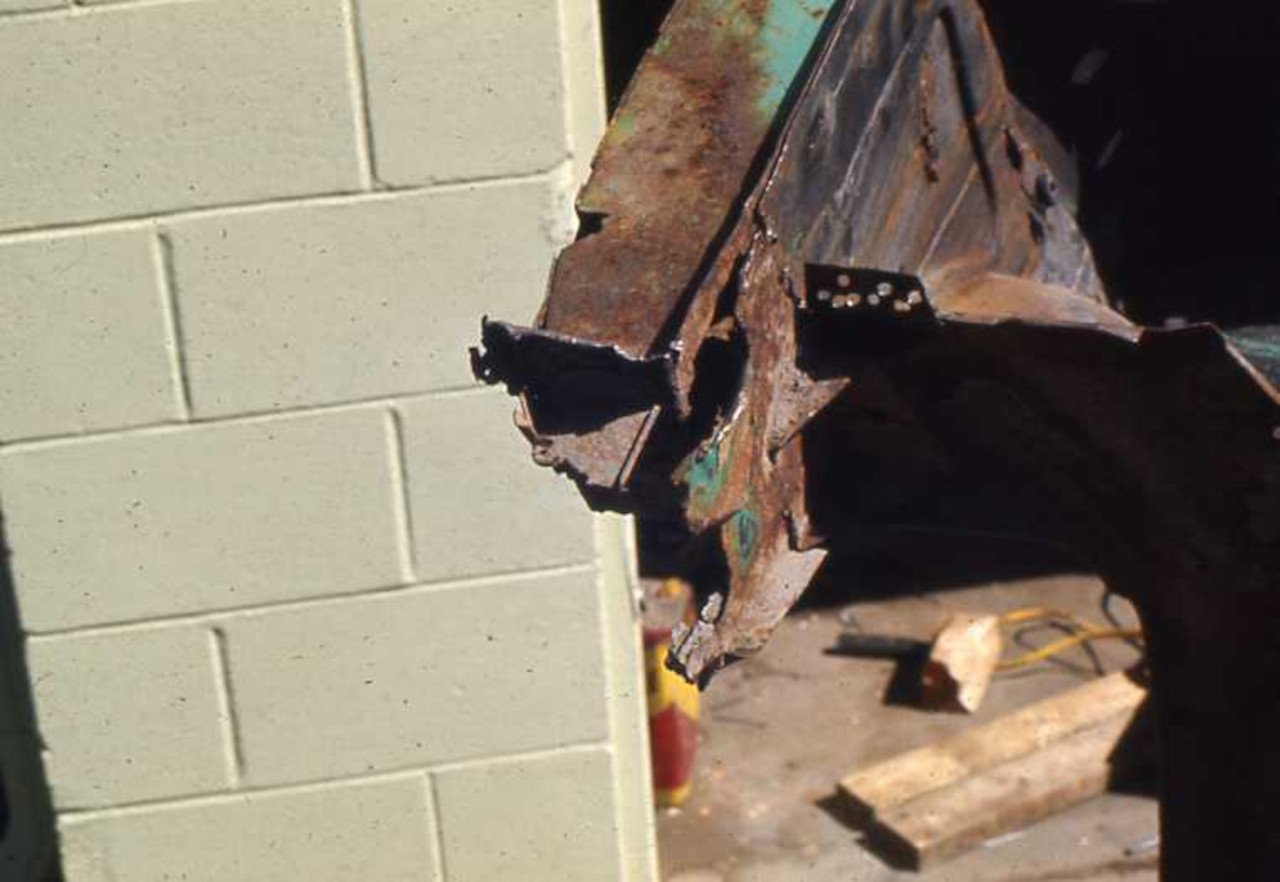
Back then, it apparently seemed like a good idea to replace the outer
sills with fiberglass parts, so that's what I found last week.
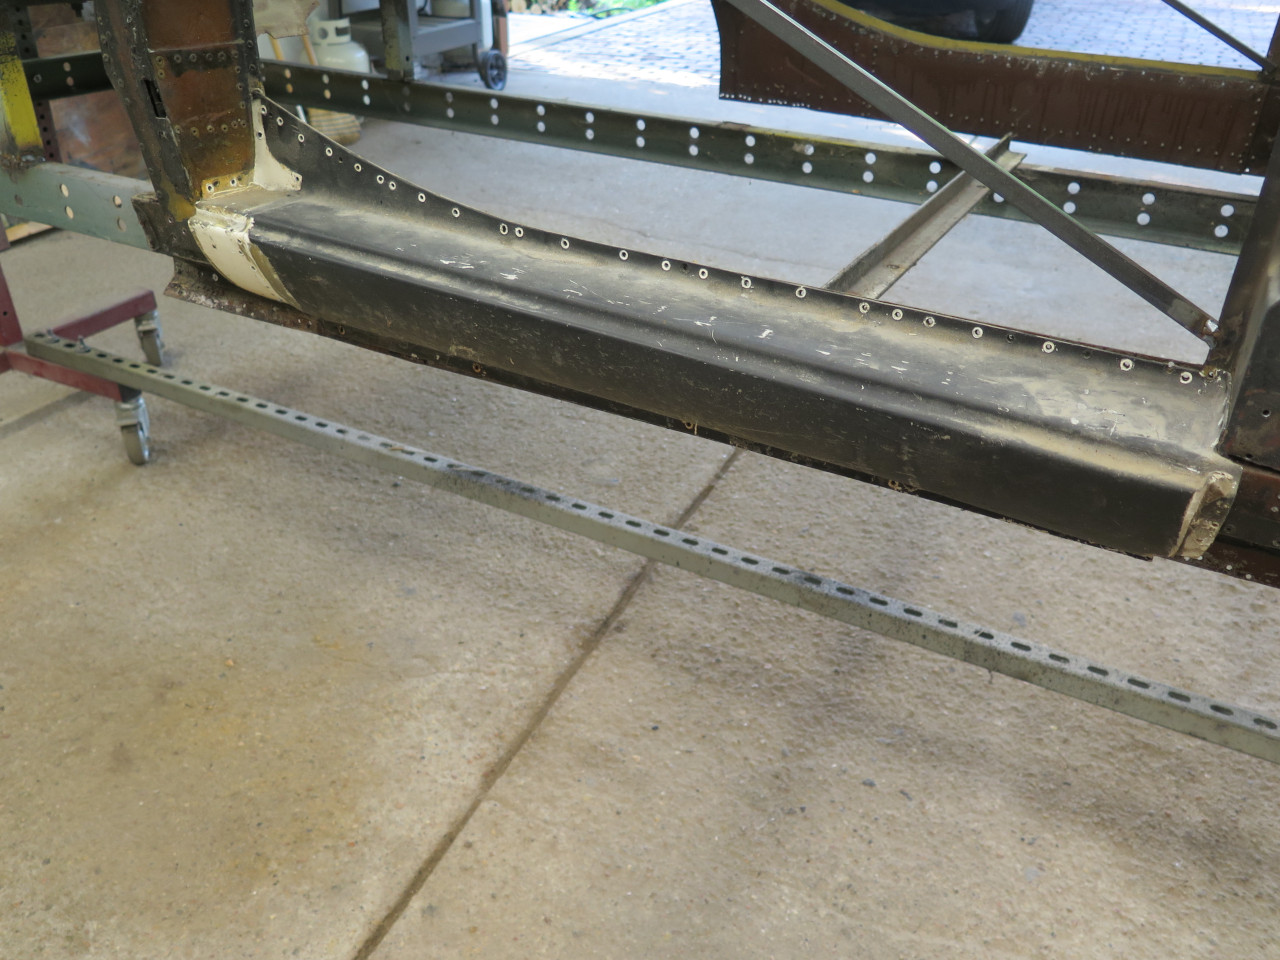
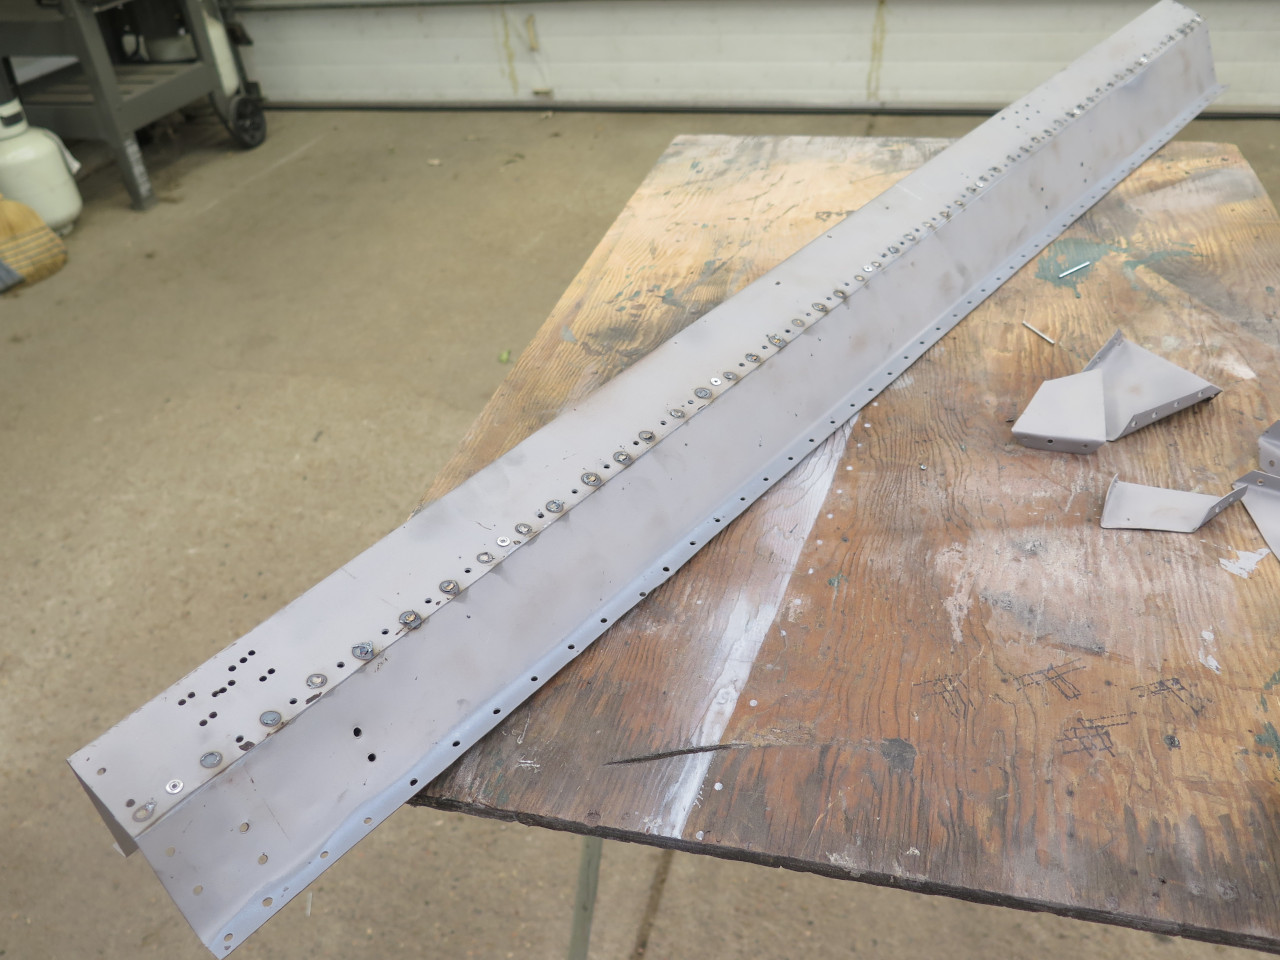
Removing that outer sill triggered a lot of memories, and revealed literally hundreds of blind rivets.
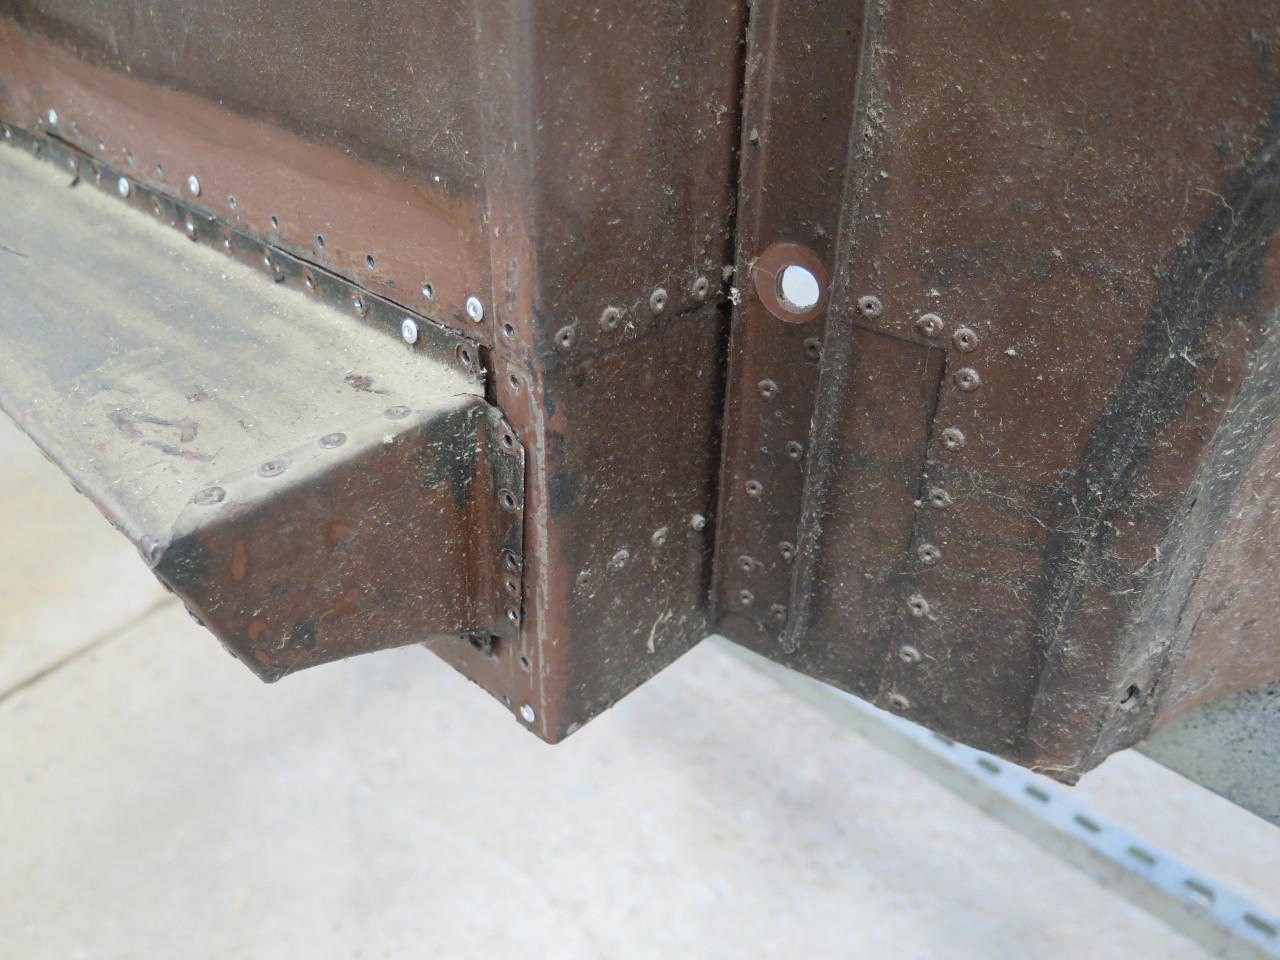
The process I used came back to me. I cut out the rust back to
healthy metal, fabricated an over-sized metal patch, which was fastened
around its perimeter with blind rivets. The overlapped joint was
first painted with Rustoleum red rust primer, and then sealed with
Permatex #2 before riveting. The whole thing was then sprayed with
a waxy rust preventative.
I actually think these were credible repairs that have stood up for 50
years (though never outside in the weather), but I know that many
potential future owners may not think so, so I resolved to replace all
of the patches with proper welded in replacements. So I bought a
10-pack of good quality 1/8" drill bits, and got to work.
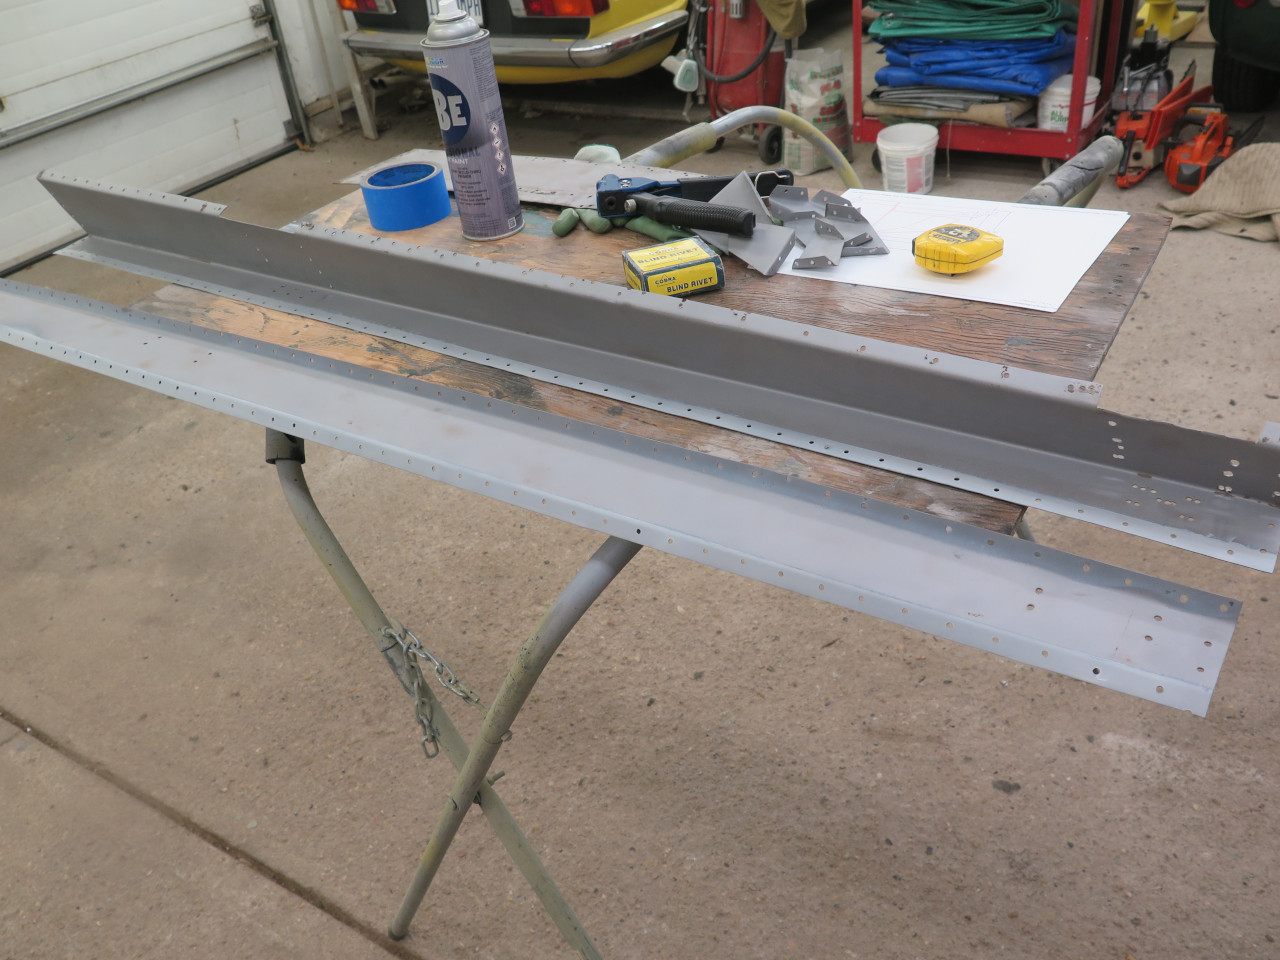
The first thing I did was remove the inner sill. It was a piece
that I fabricated back then, and looked like I could still use it.
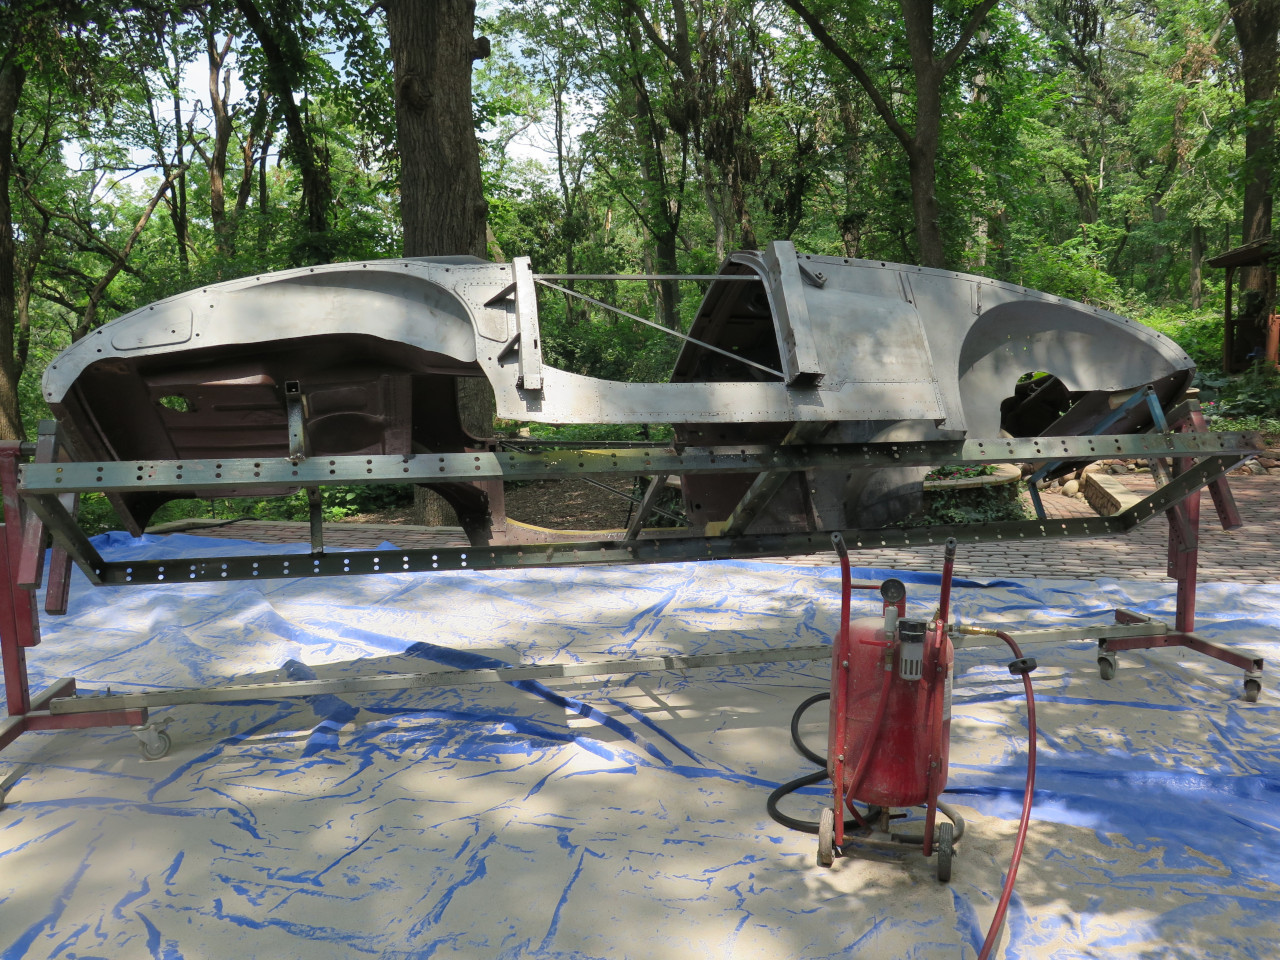
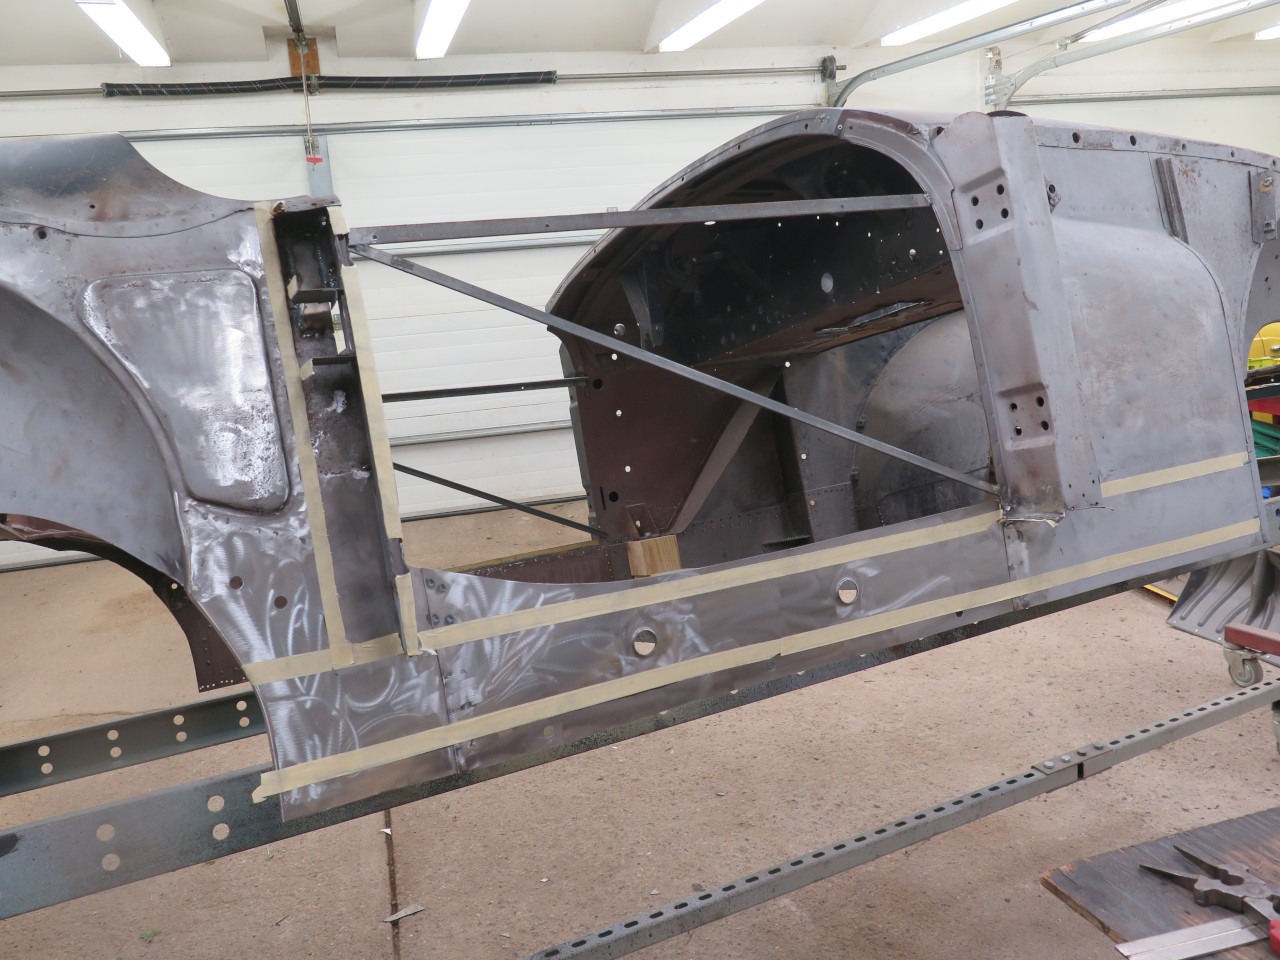
The next step was to sand blast this side of the tub to get a clearer
picture of what needed to be done. But before that, the remaining
original undercoating had to be removed. It was tenacious stuff,
but with the right technique, it yielded in good-sized chunks.. No
doubt about the original color of the car.
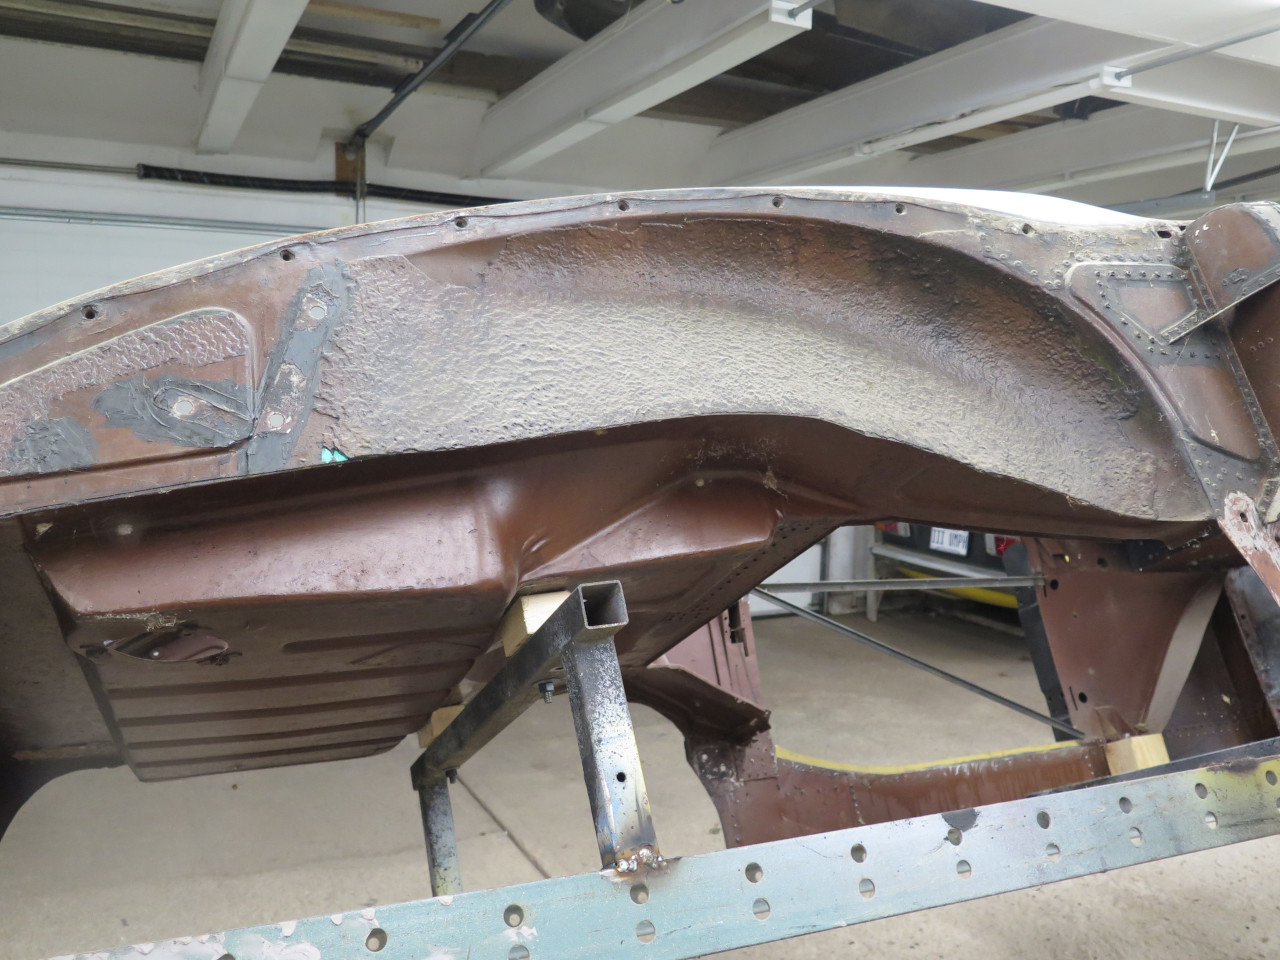

I picked a nice, hot, humid day for the blasting.
About 40 minutes later...
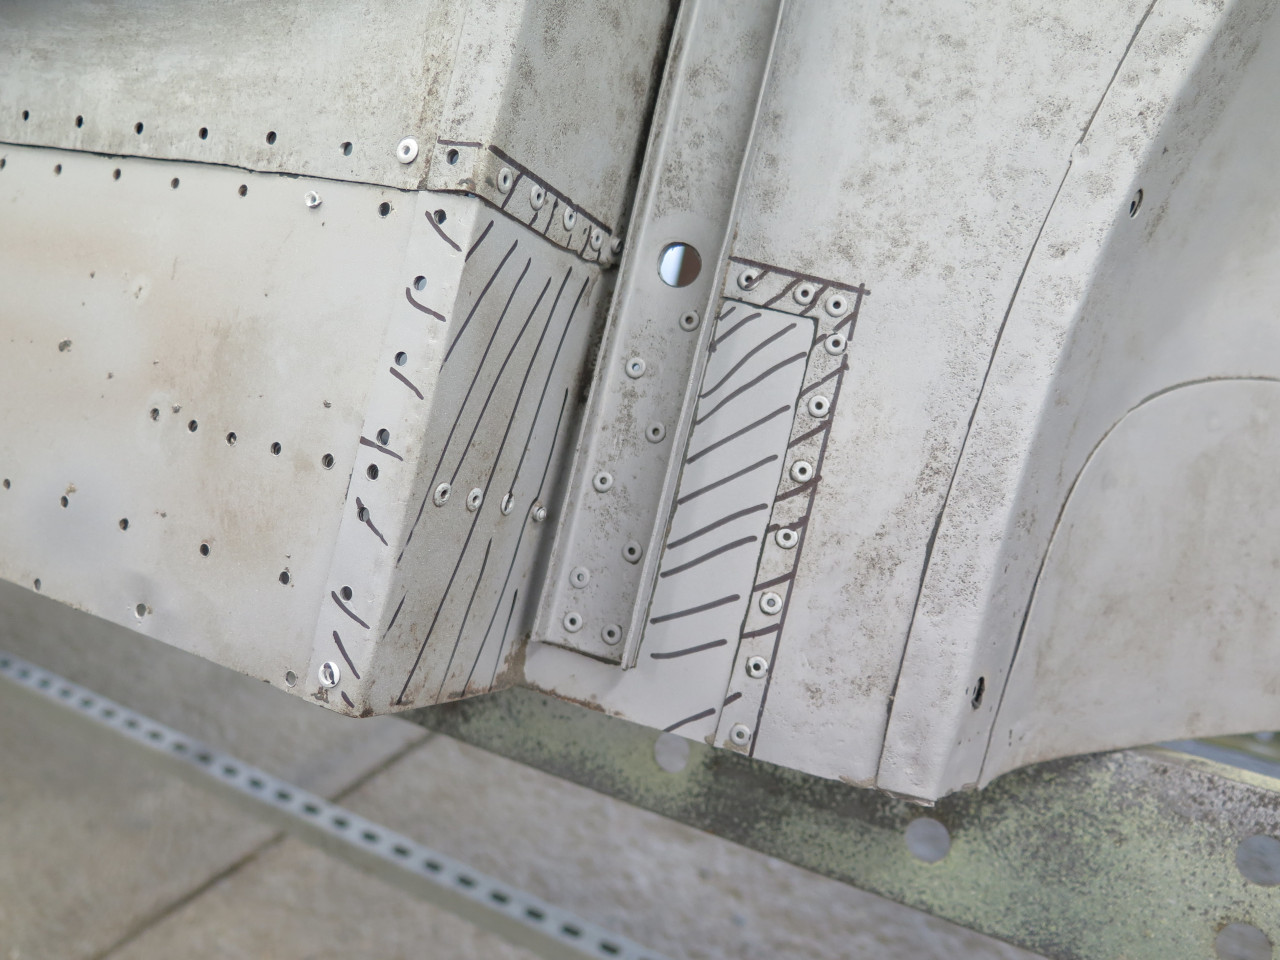
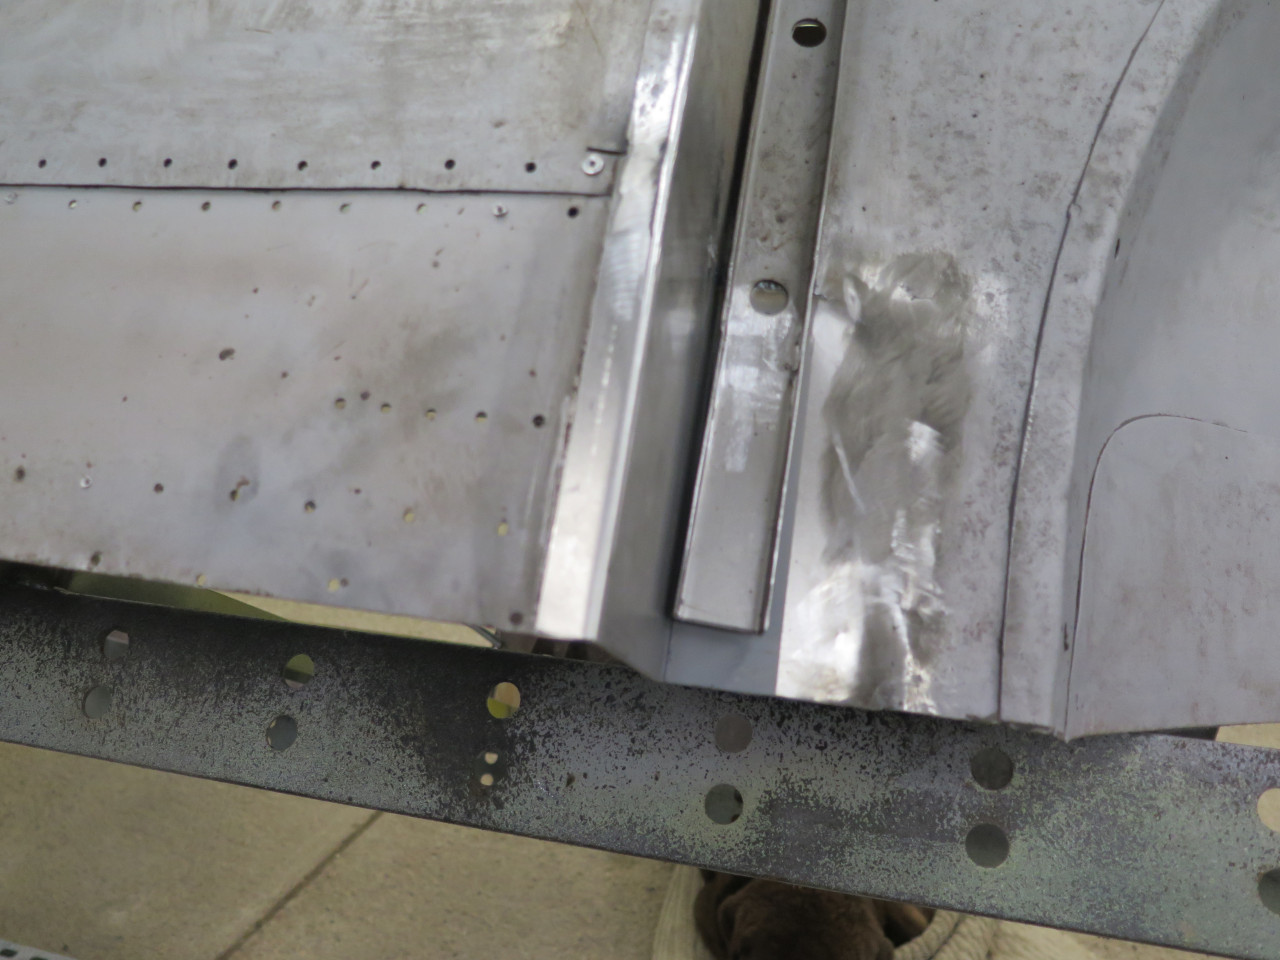
I started at the front, marking out the cut lines. I often cut
away the rivet holes, just to save the time welding them closed.
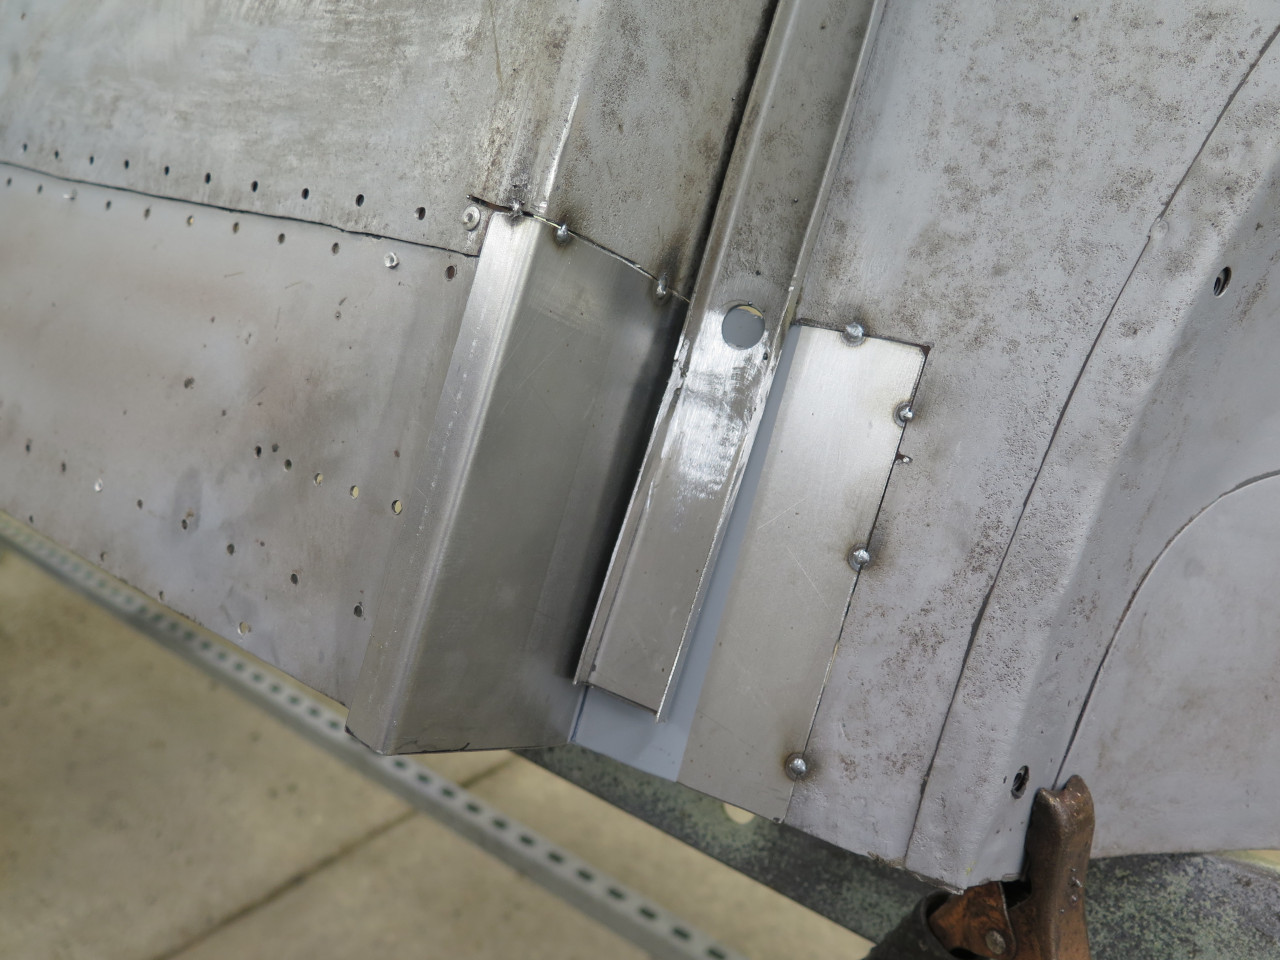
Make a patch, and tack it in. That stiffening bar was deeply pitted at its lower end, so I spliced on a new piece.
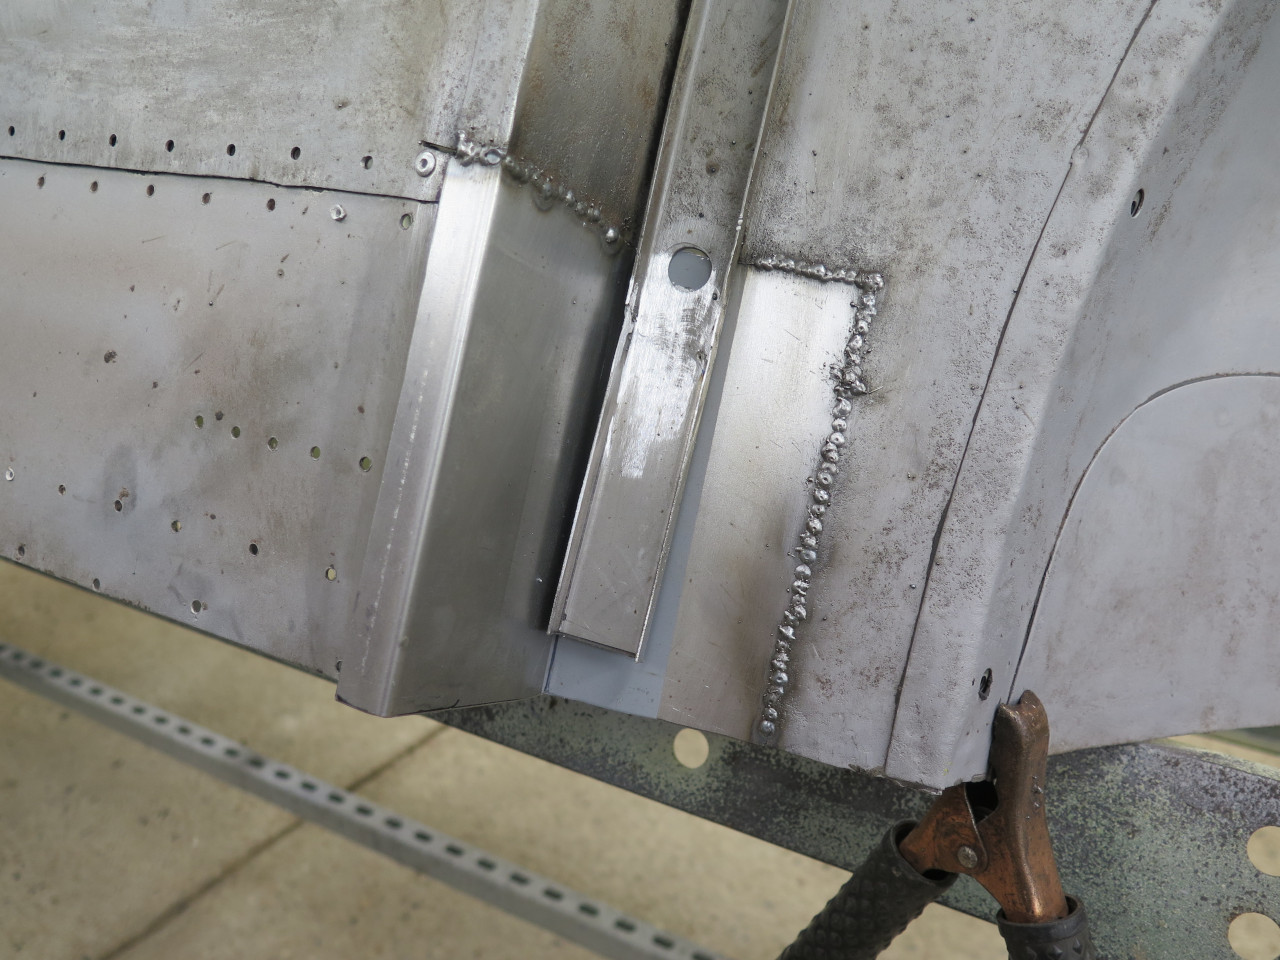
Welded up, ground smooth, and spot welded to the bar.

The next patch back was a similar process. It had to have a little jog around some structure on the inside.
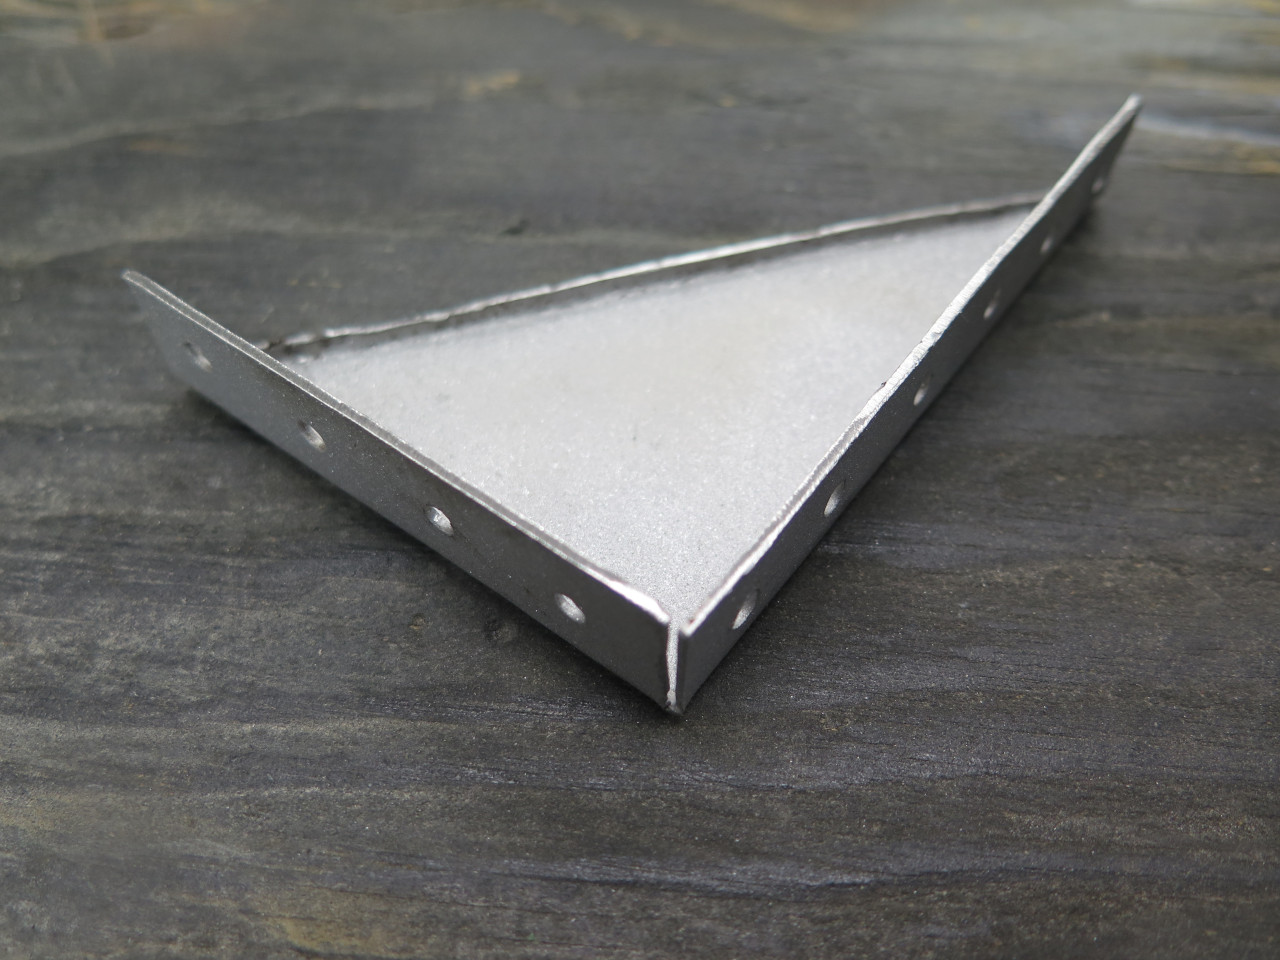
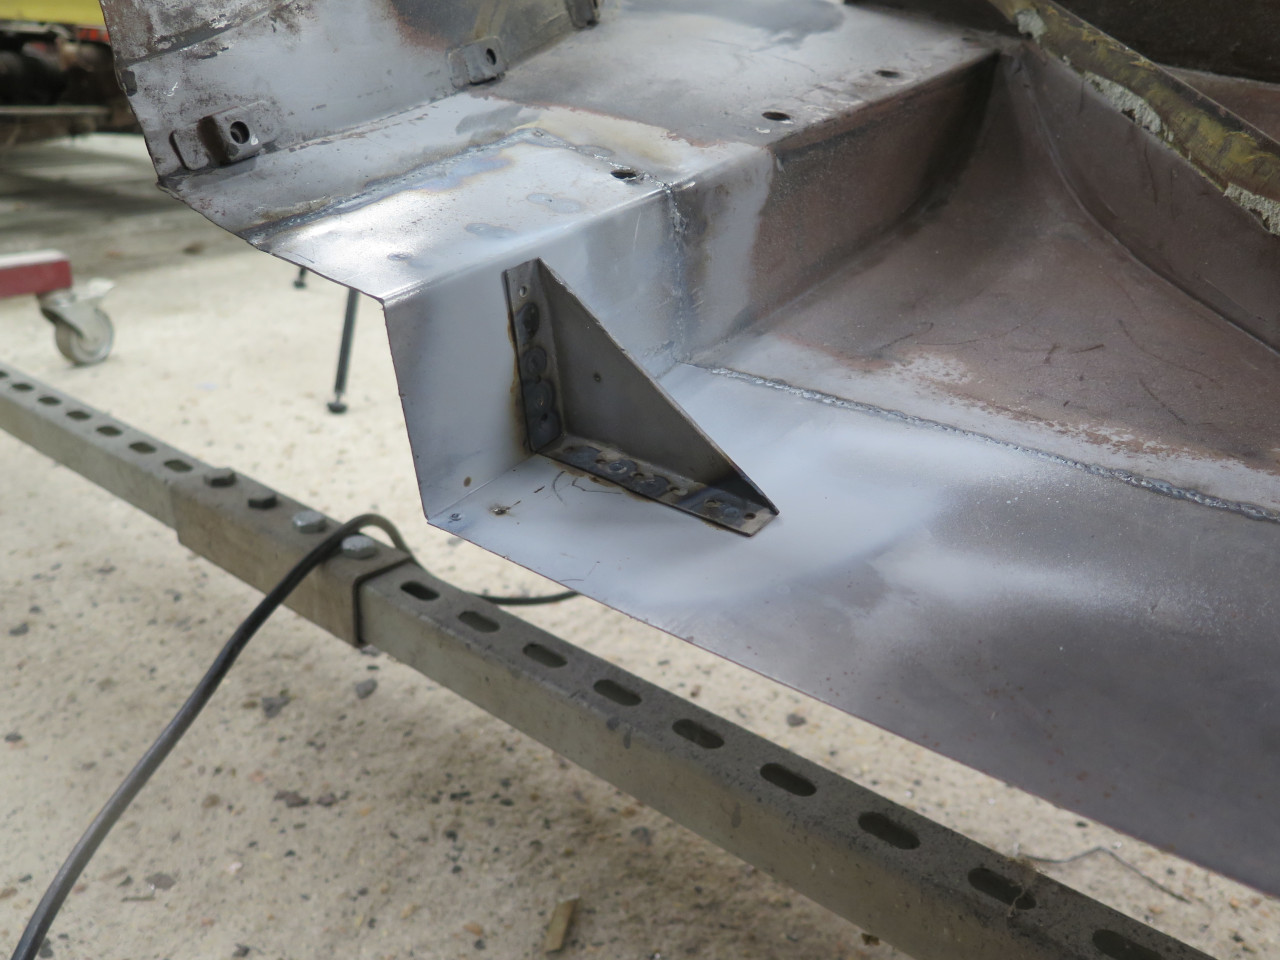
A little corner bracket goes on the inside. I was able to re-use the one I made decades ago.
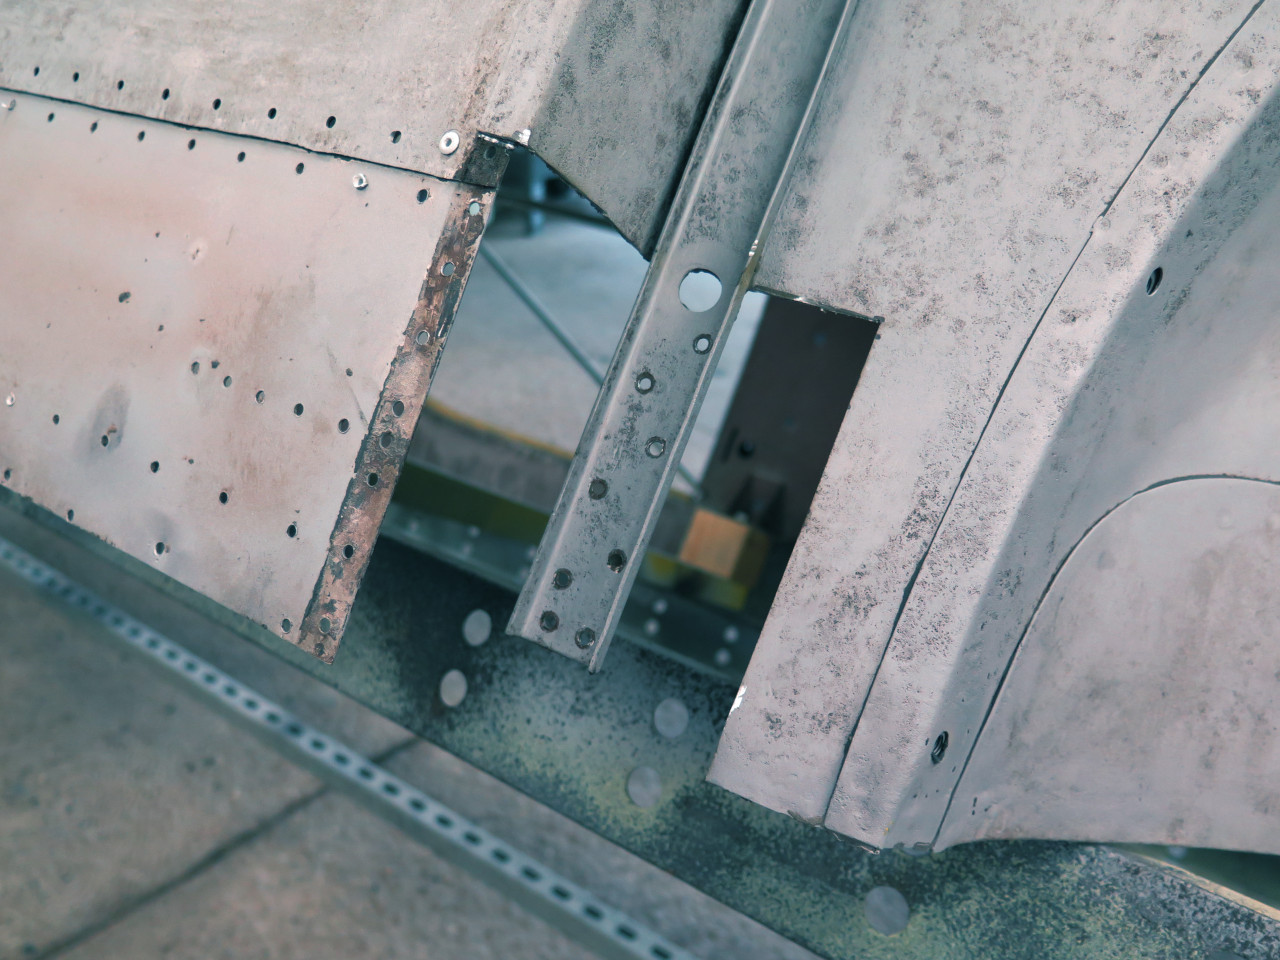
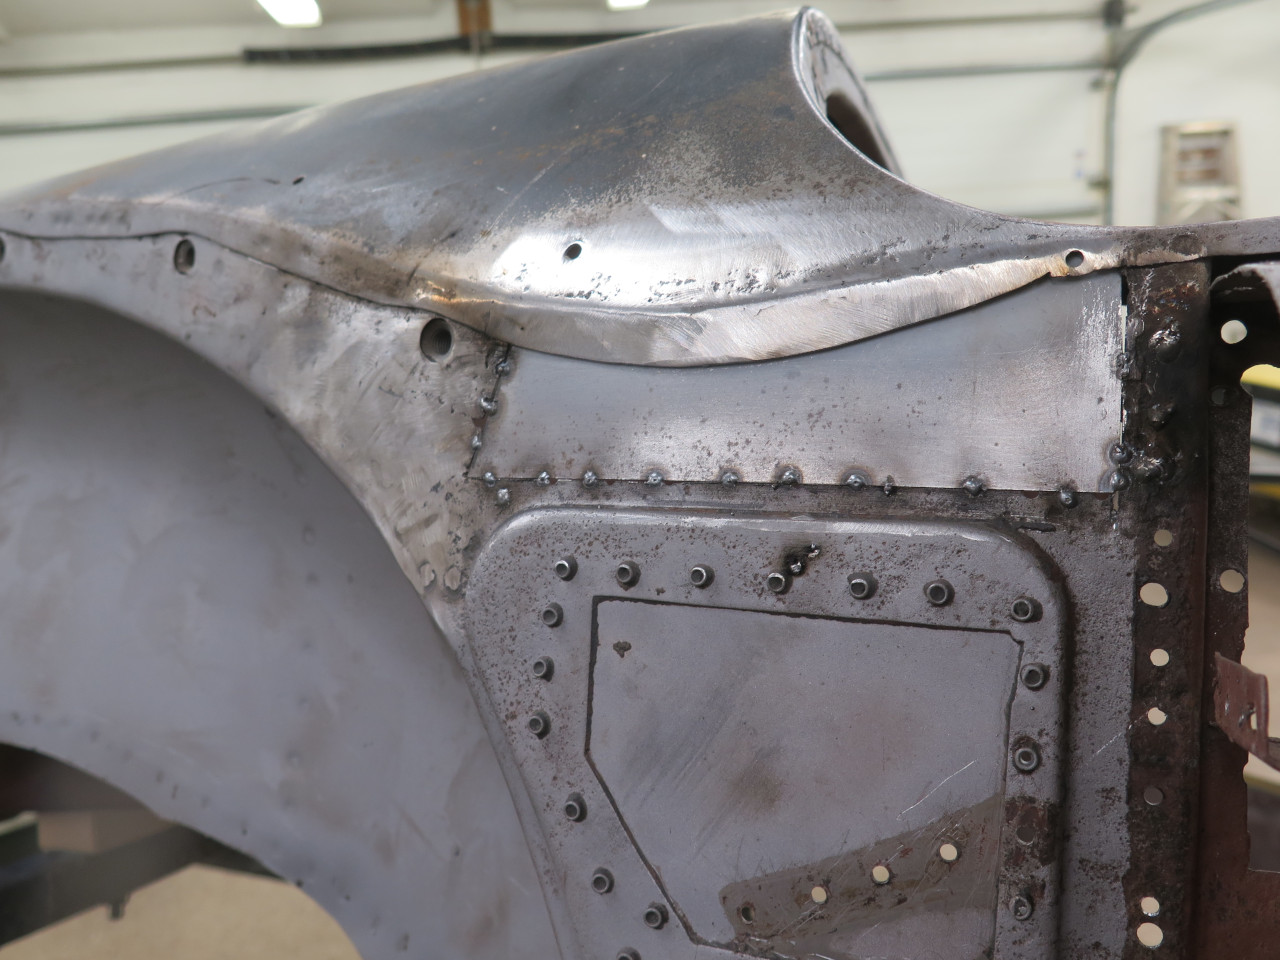
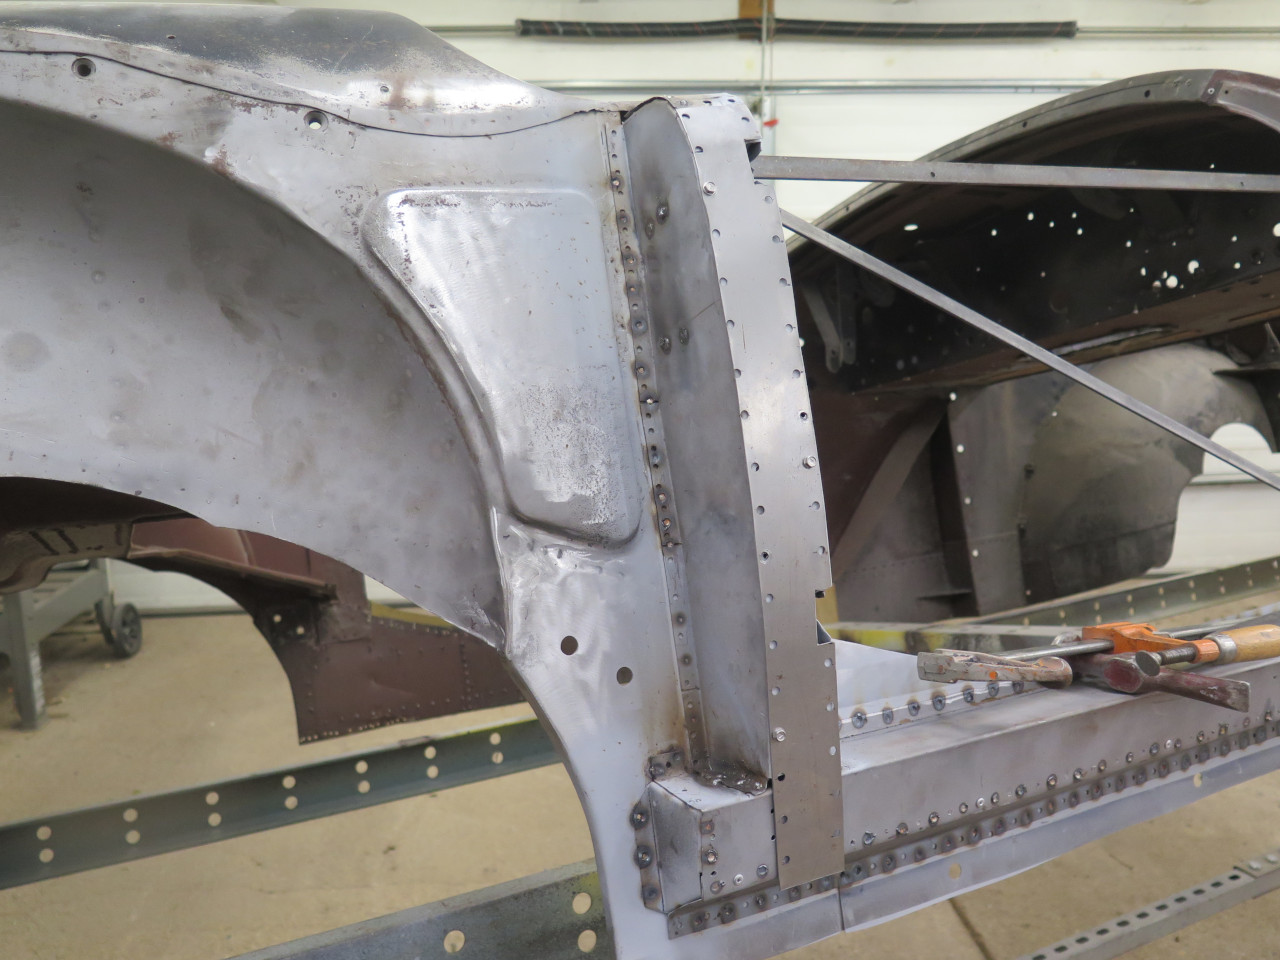
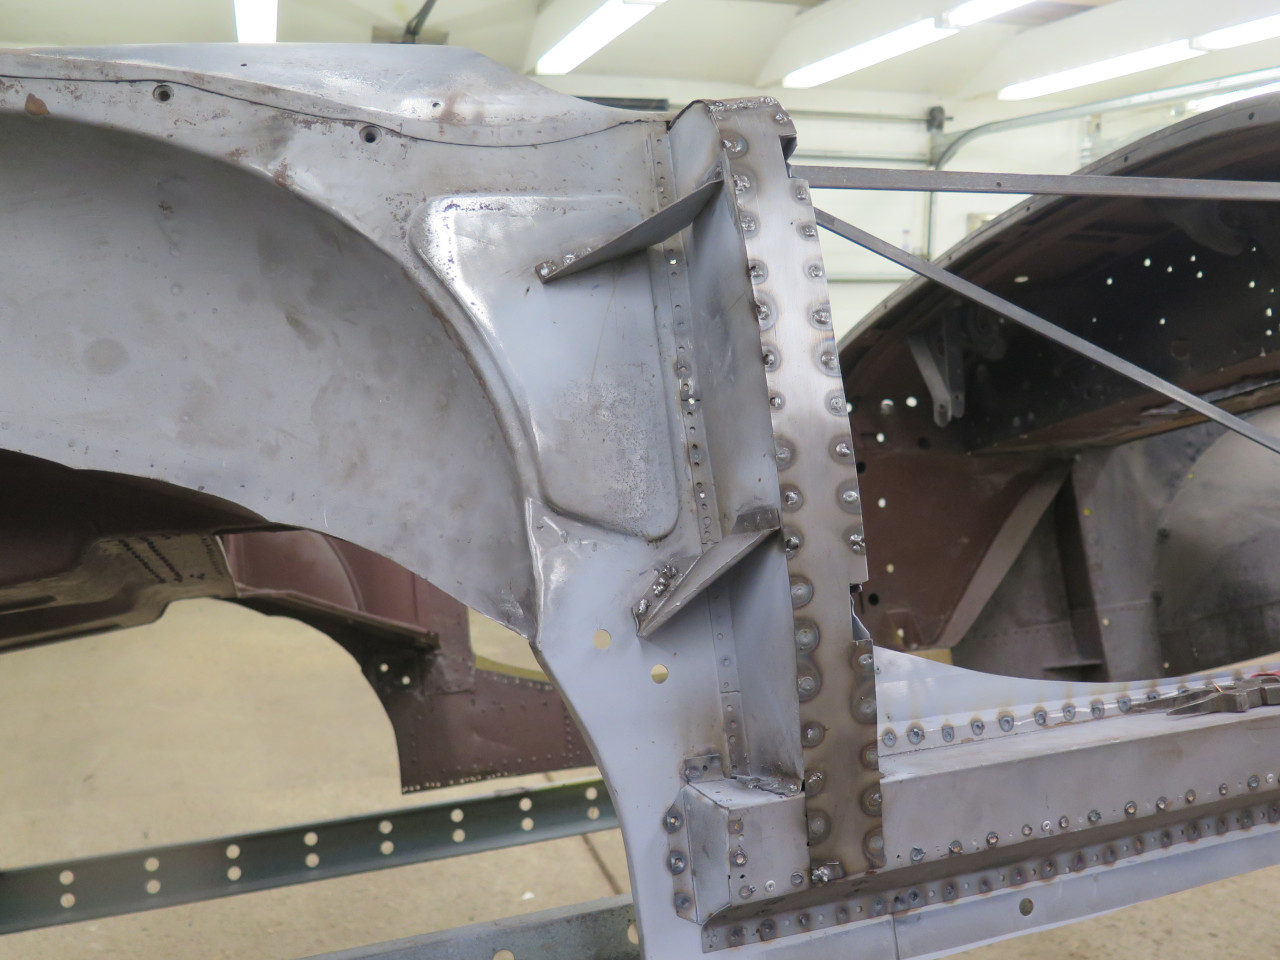
I then moved back to the B post area. A lot of work to do here.
Starting at the top, removing the irregular patch showed there was another patch behind it.
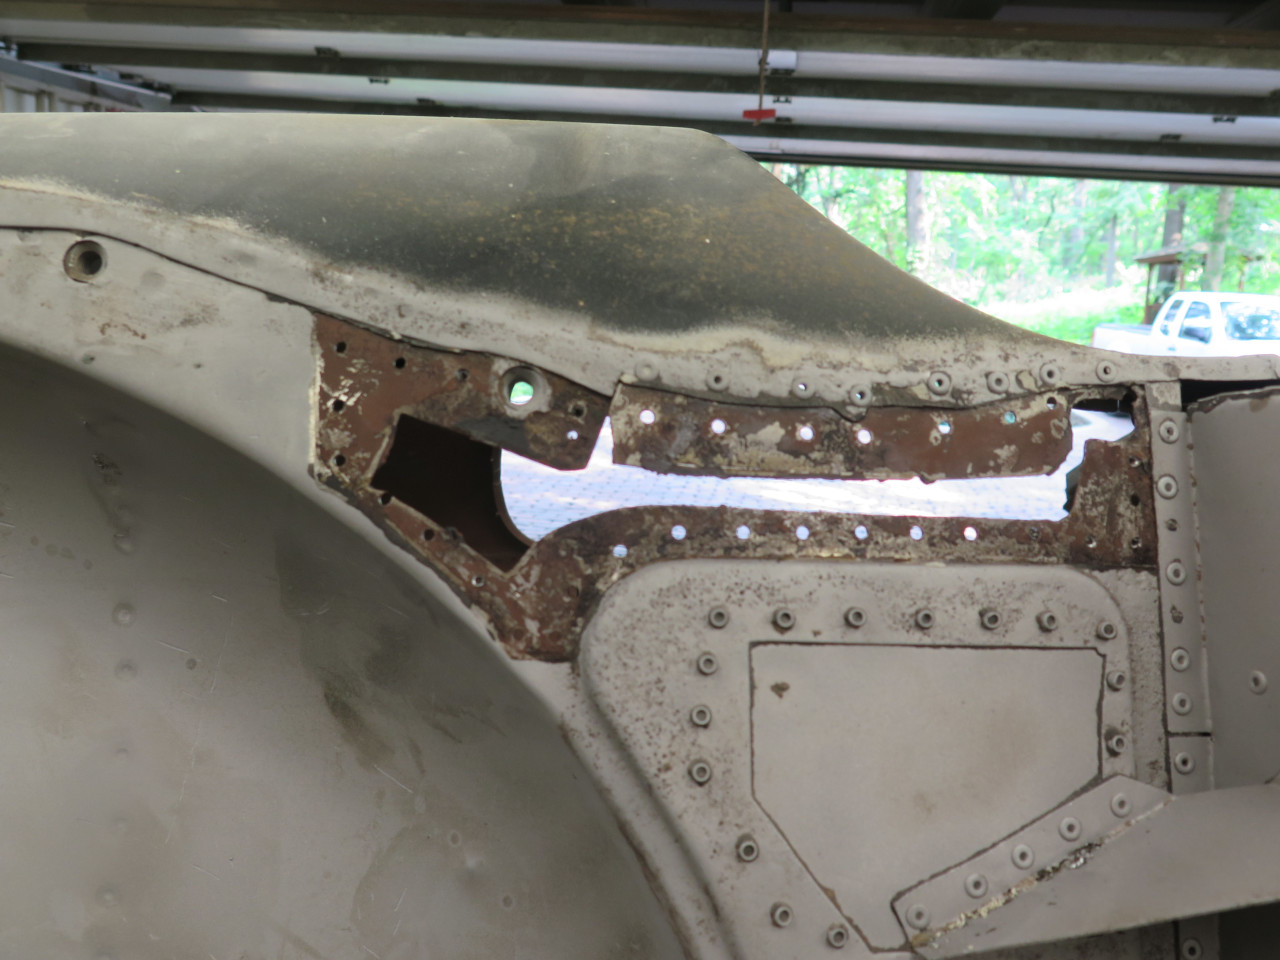
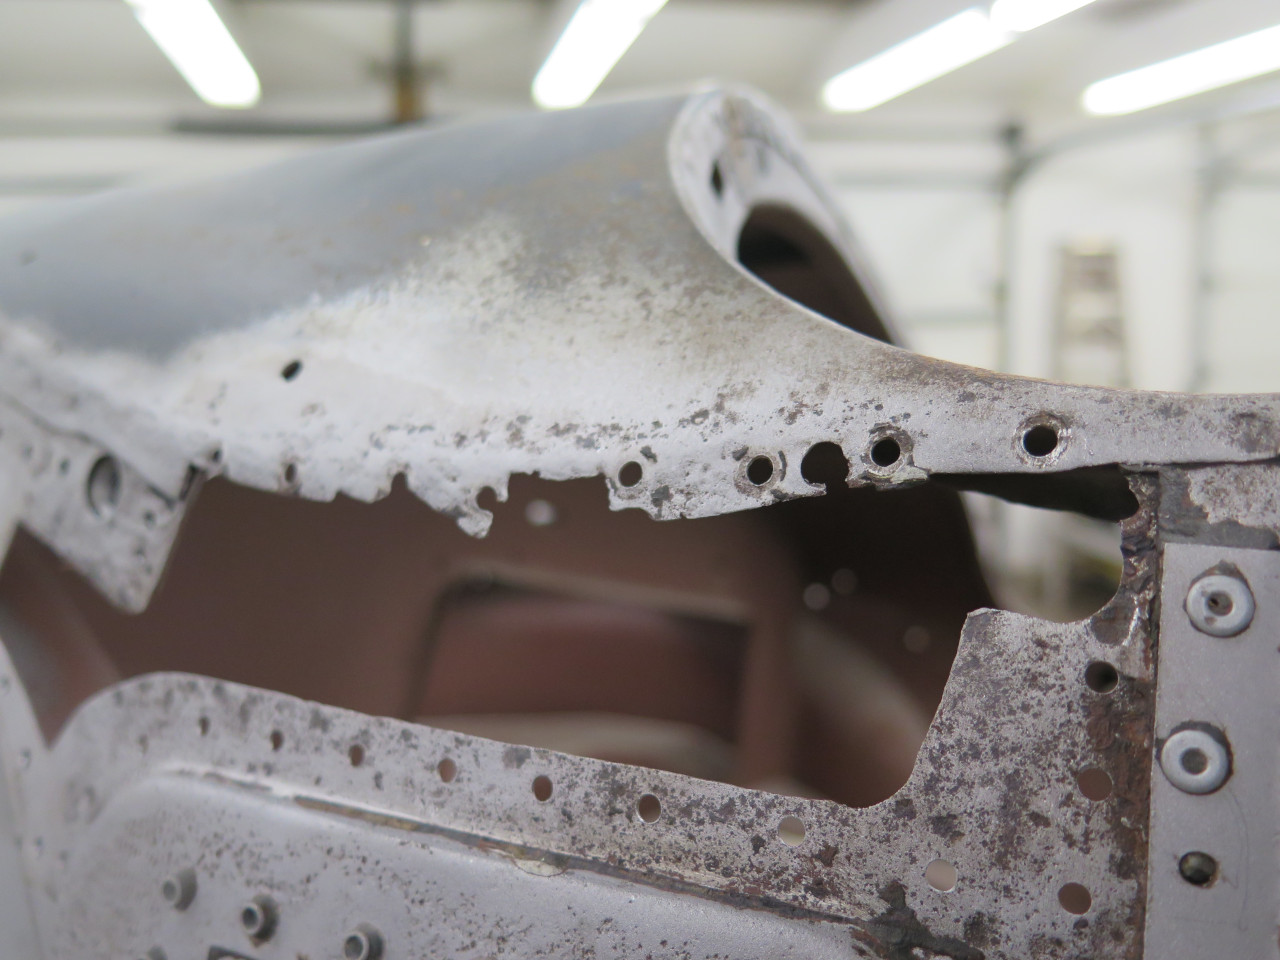
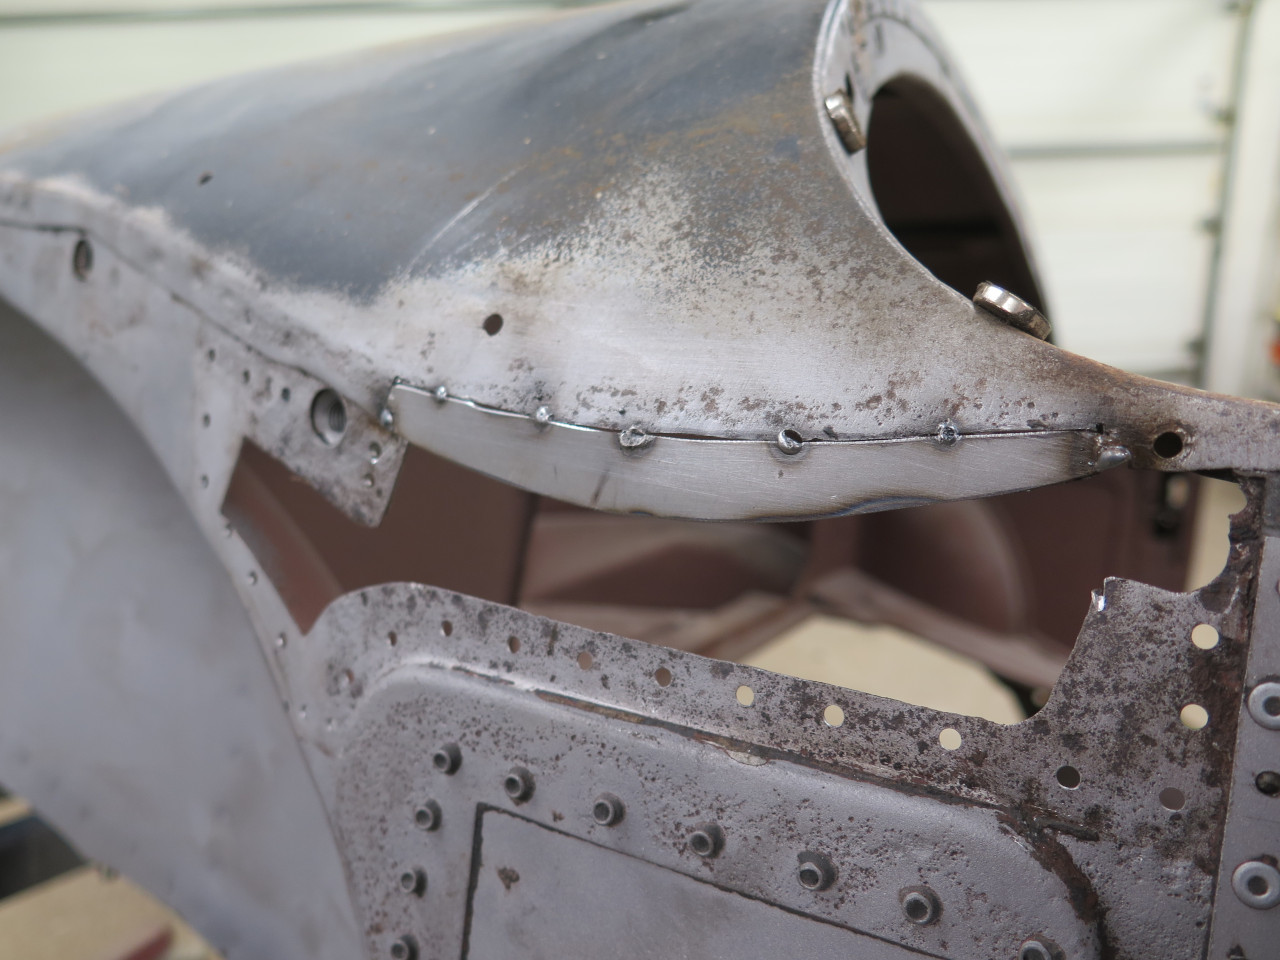
The flange on that upper panel (apparently called the "tonneau panel") first had to be fixed.
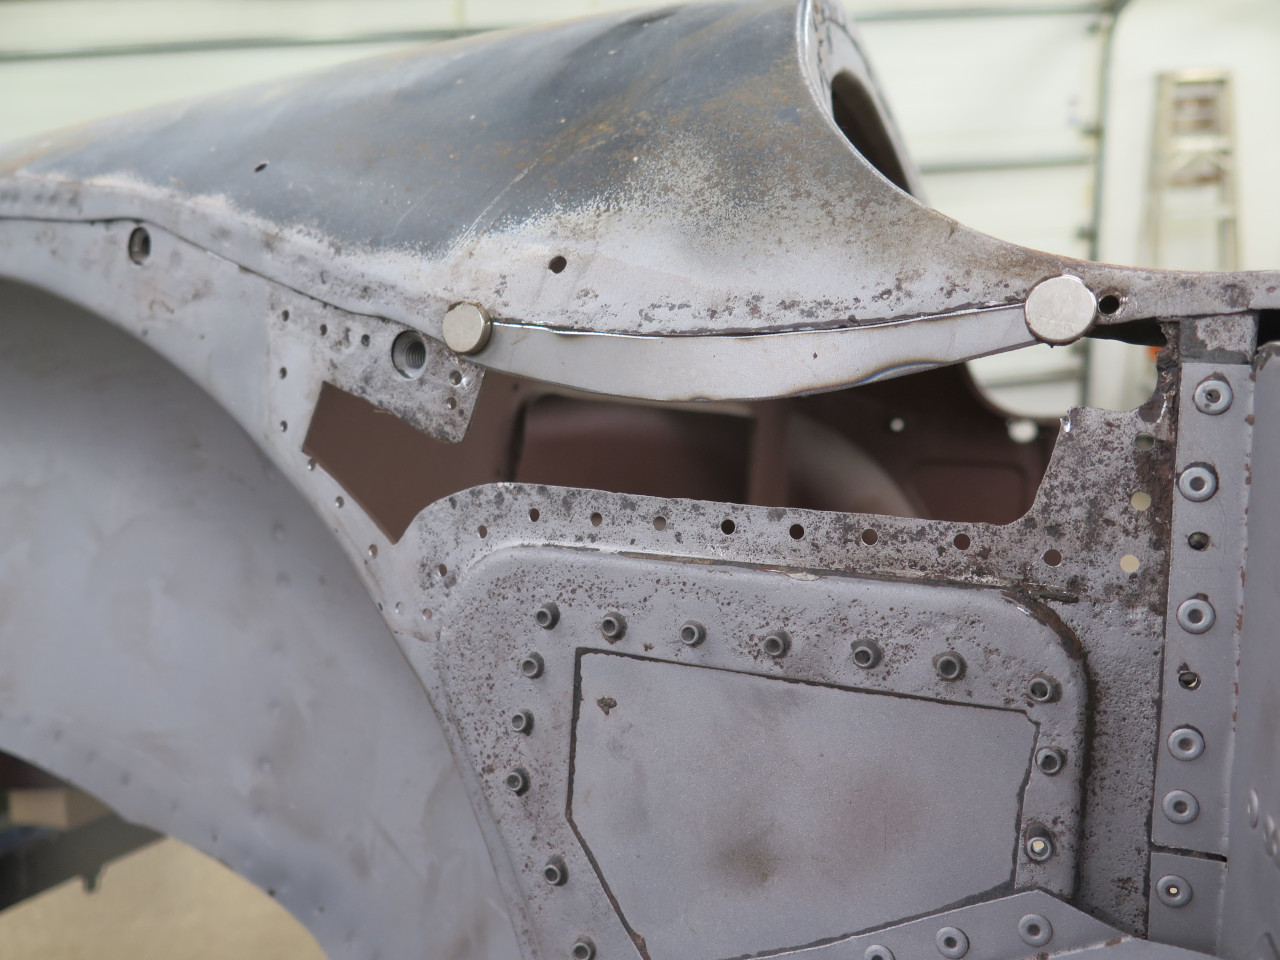
Then the patch for the inner wing panel. A smaller patch at the left end was already done.
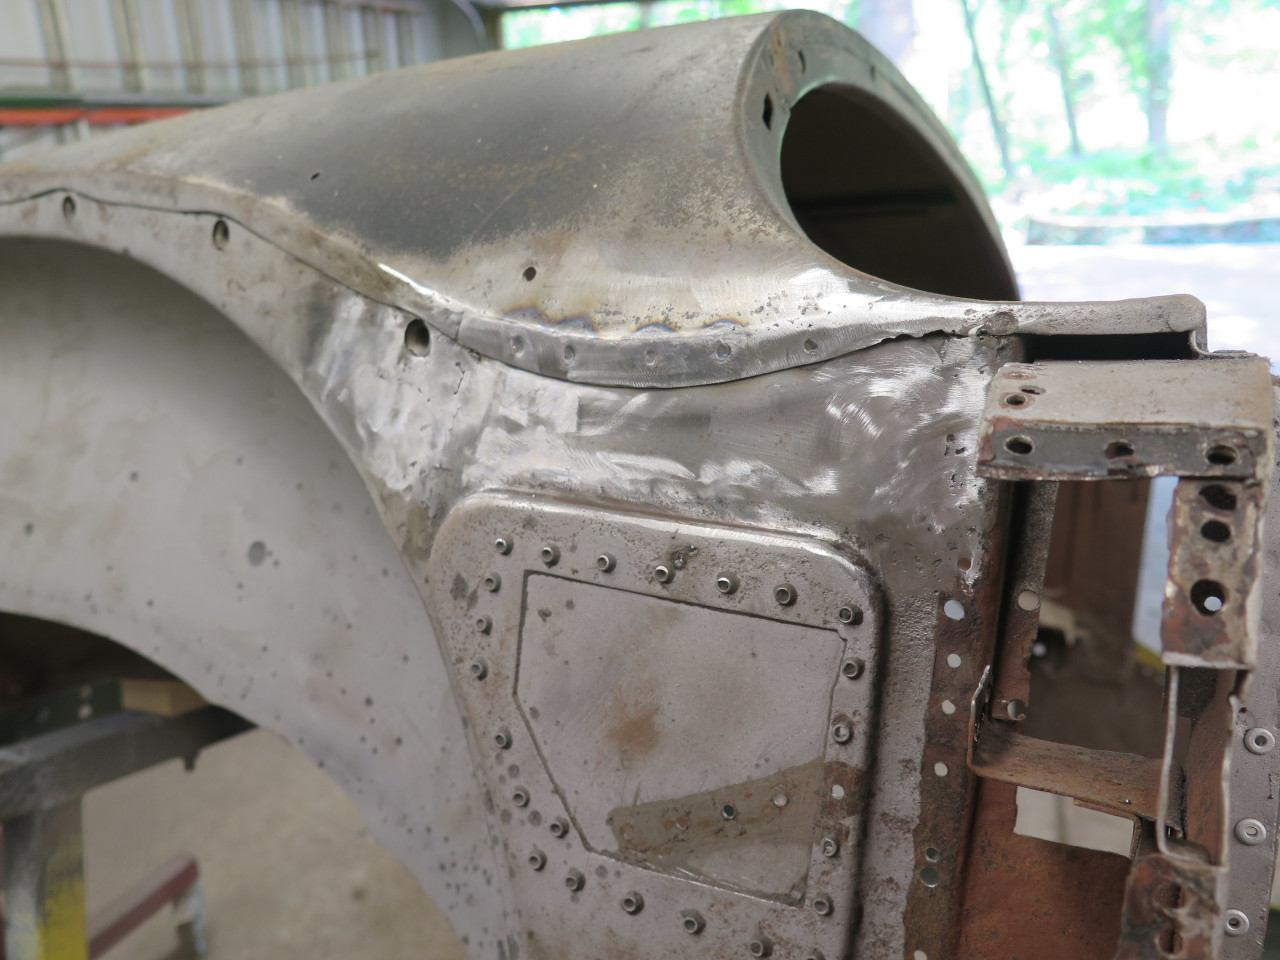
The patch in that raised area was next.
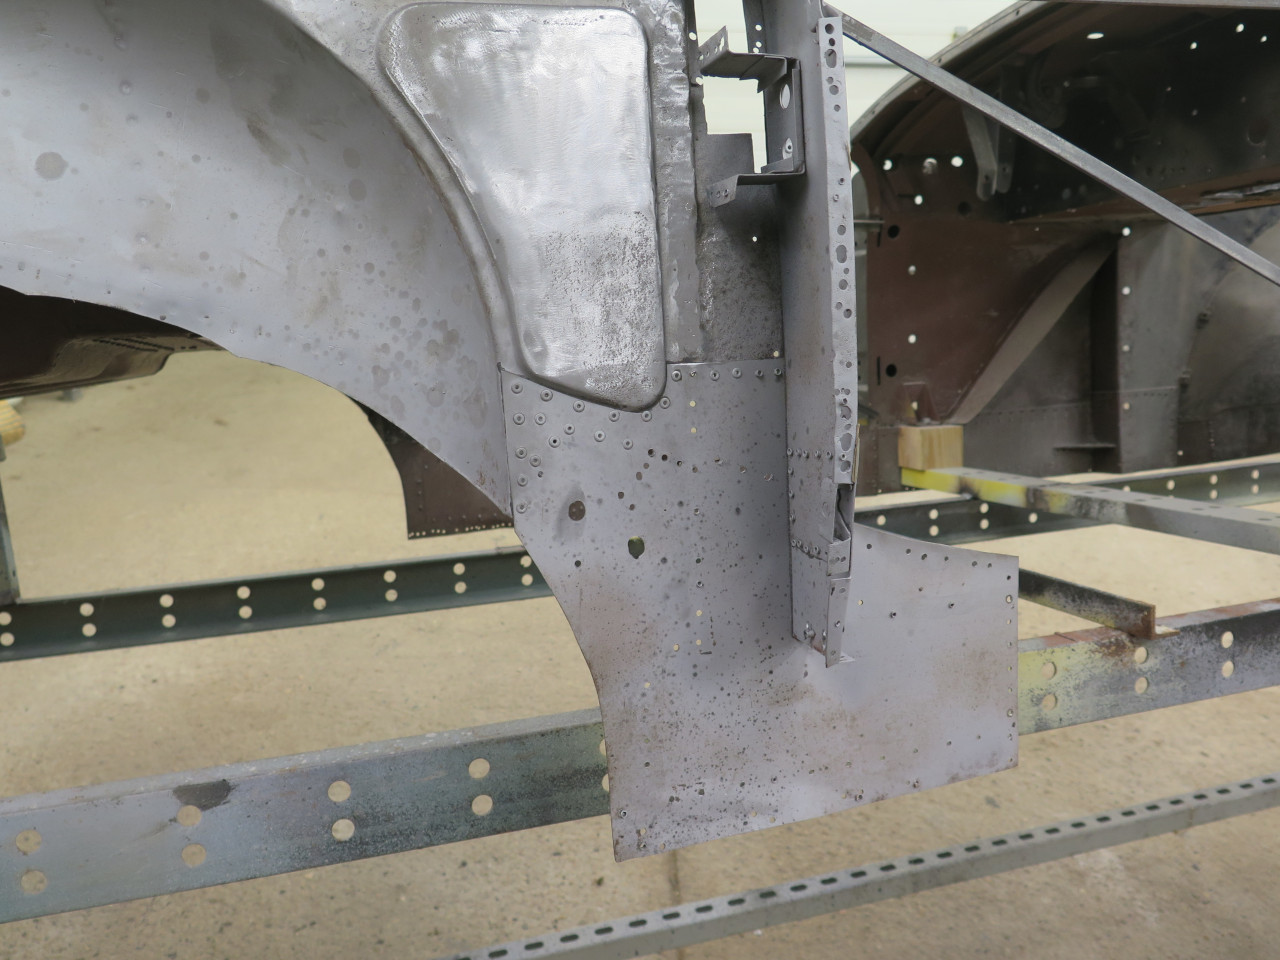
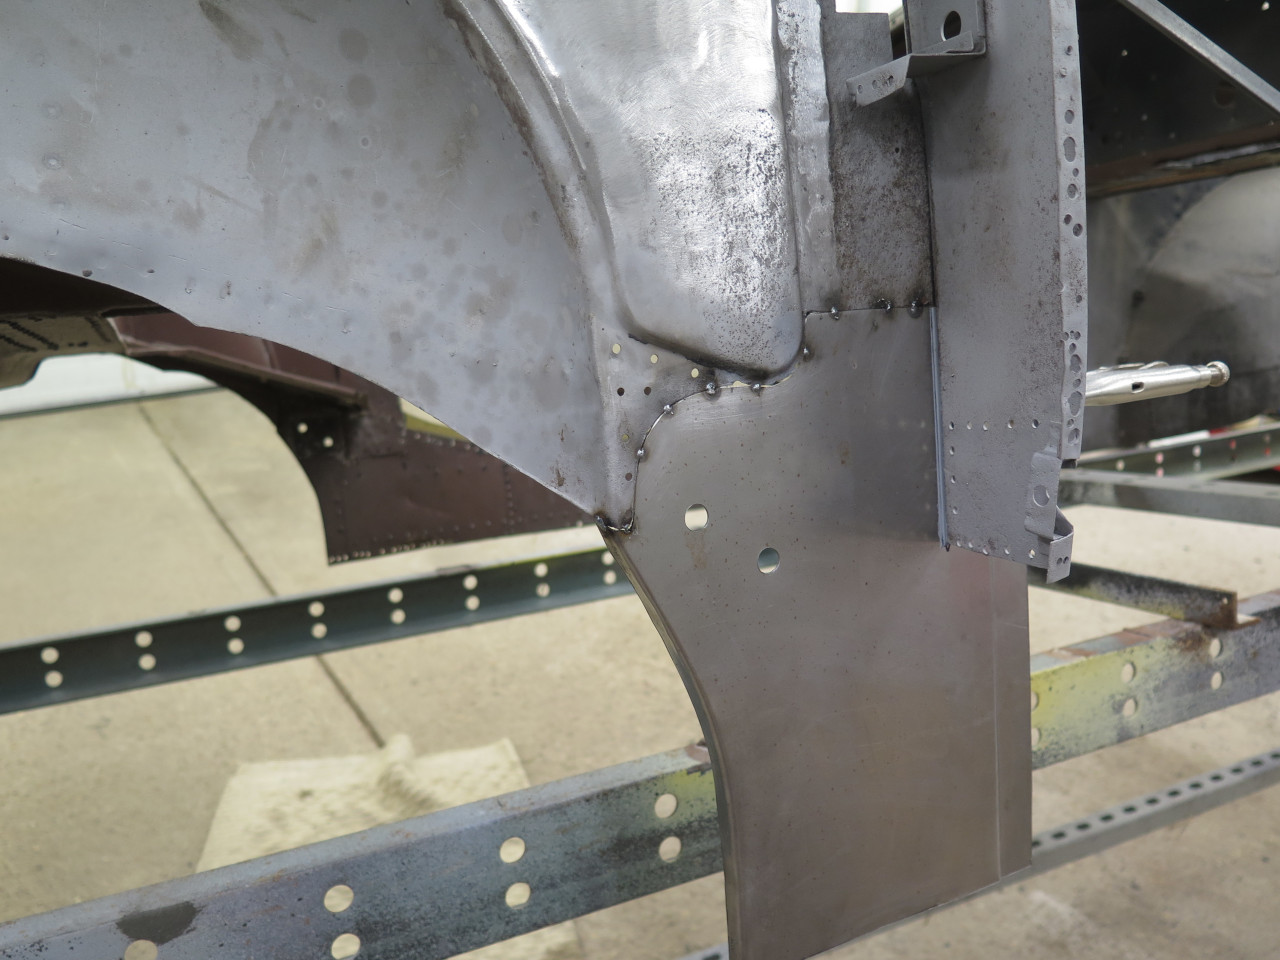
Next was the lower part of the inner wing. This patch was
apparently sort of an ad lib on my part, because it isn't exactly like
the original.
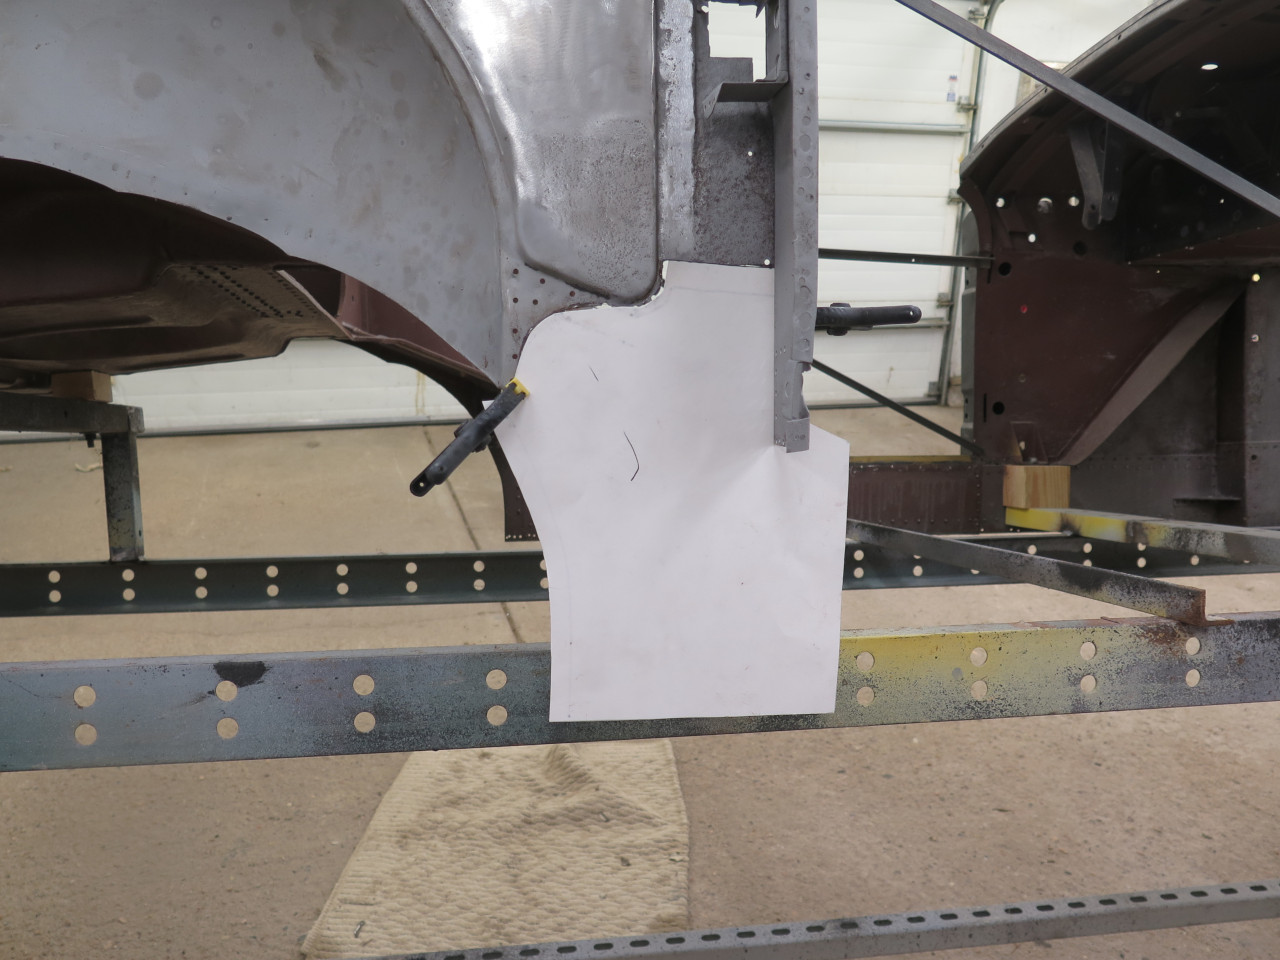
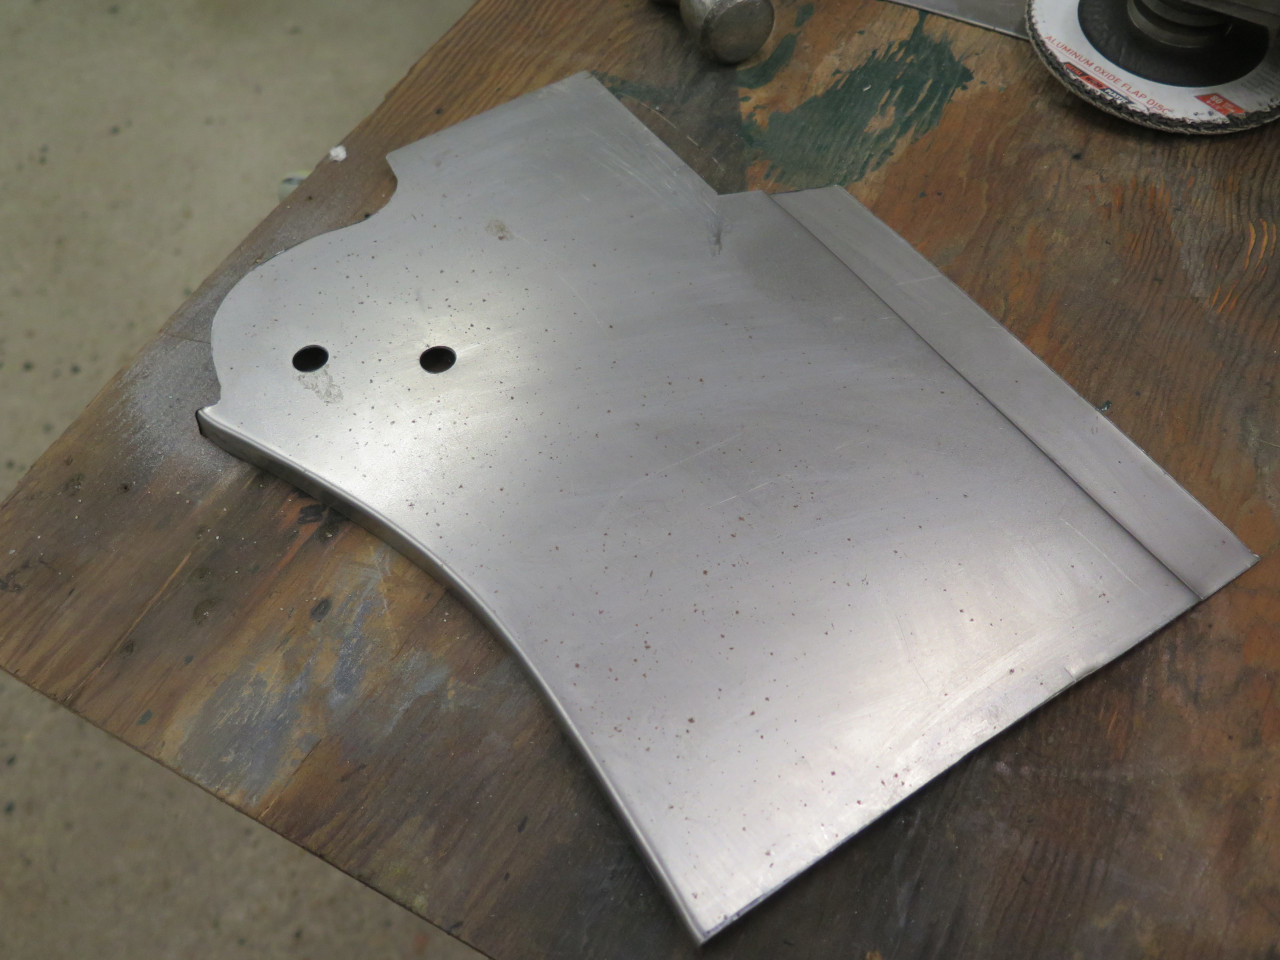
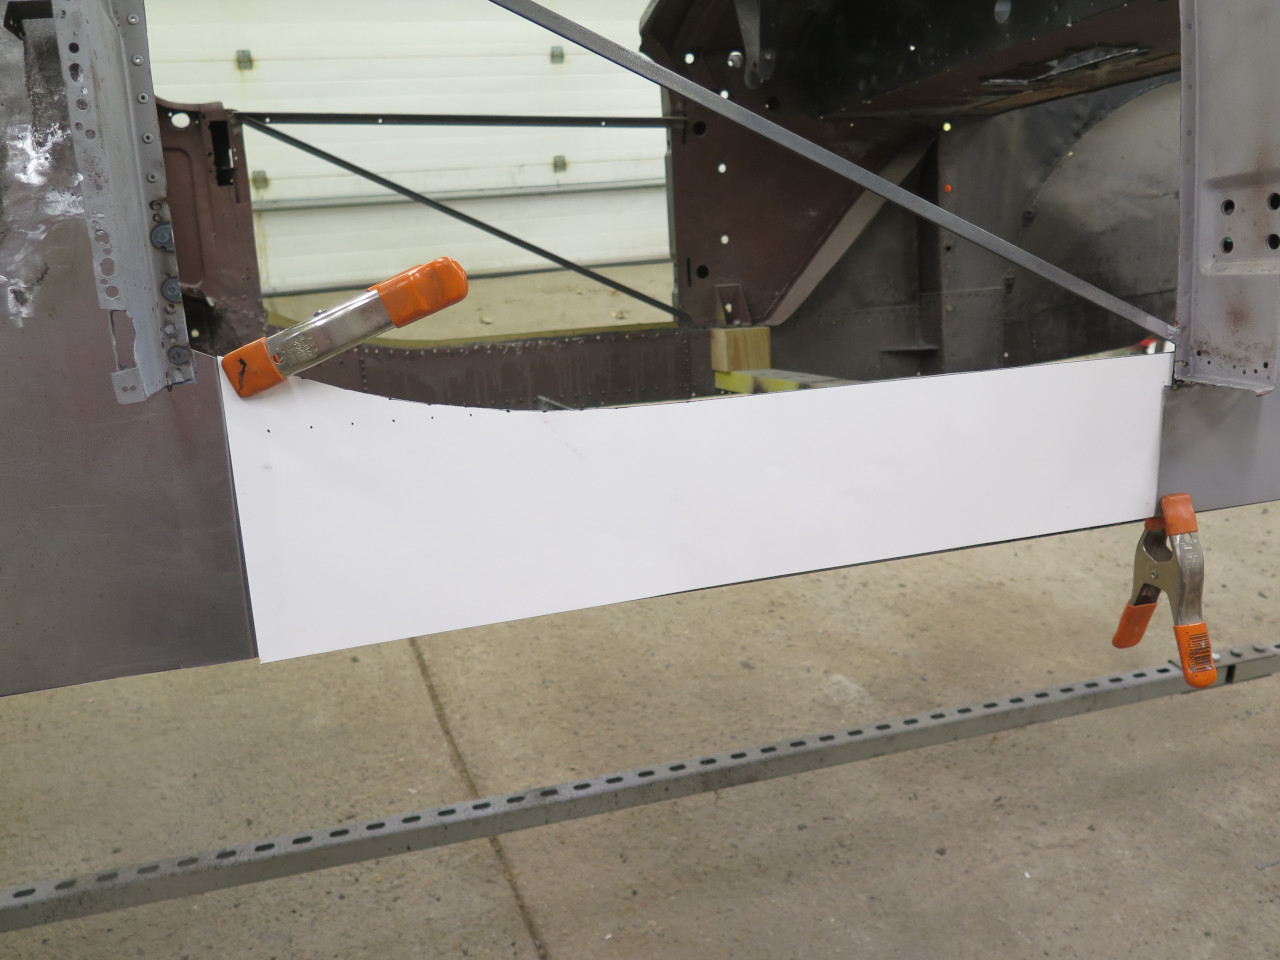
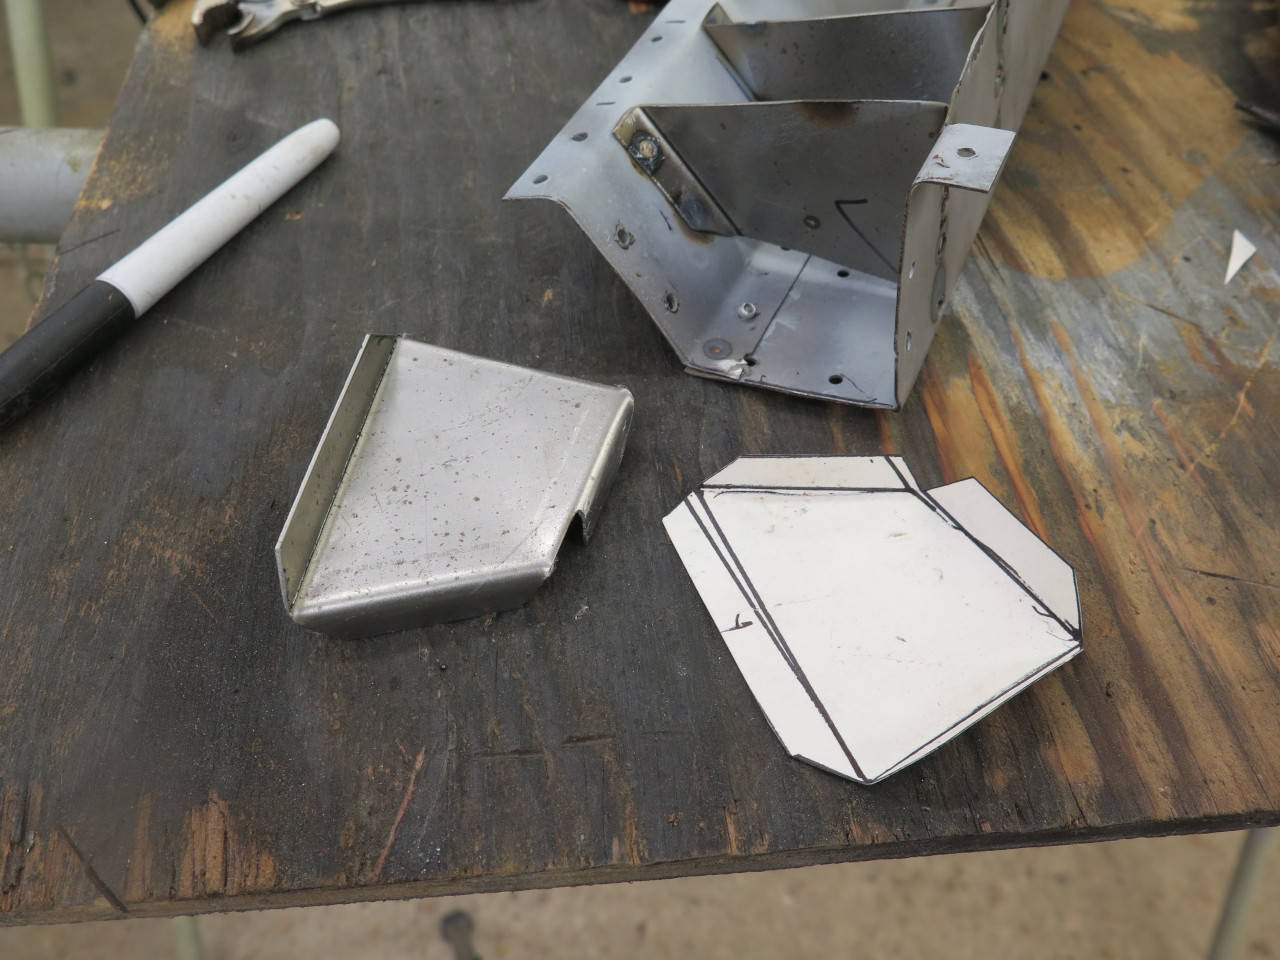
From the patch and some online research, I discovered how the part
needed to look. A paper pattern helped me visualize and check the
fit.
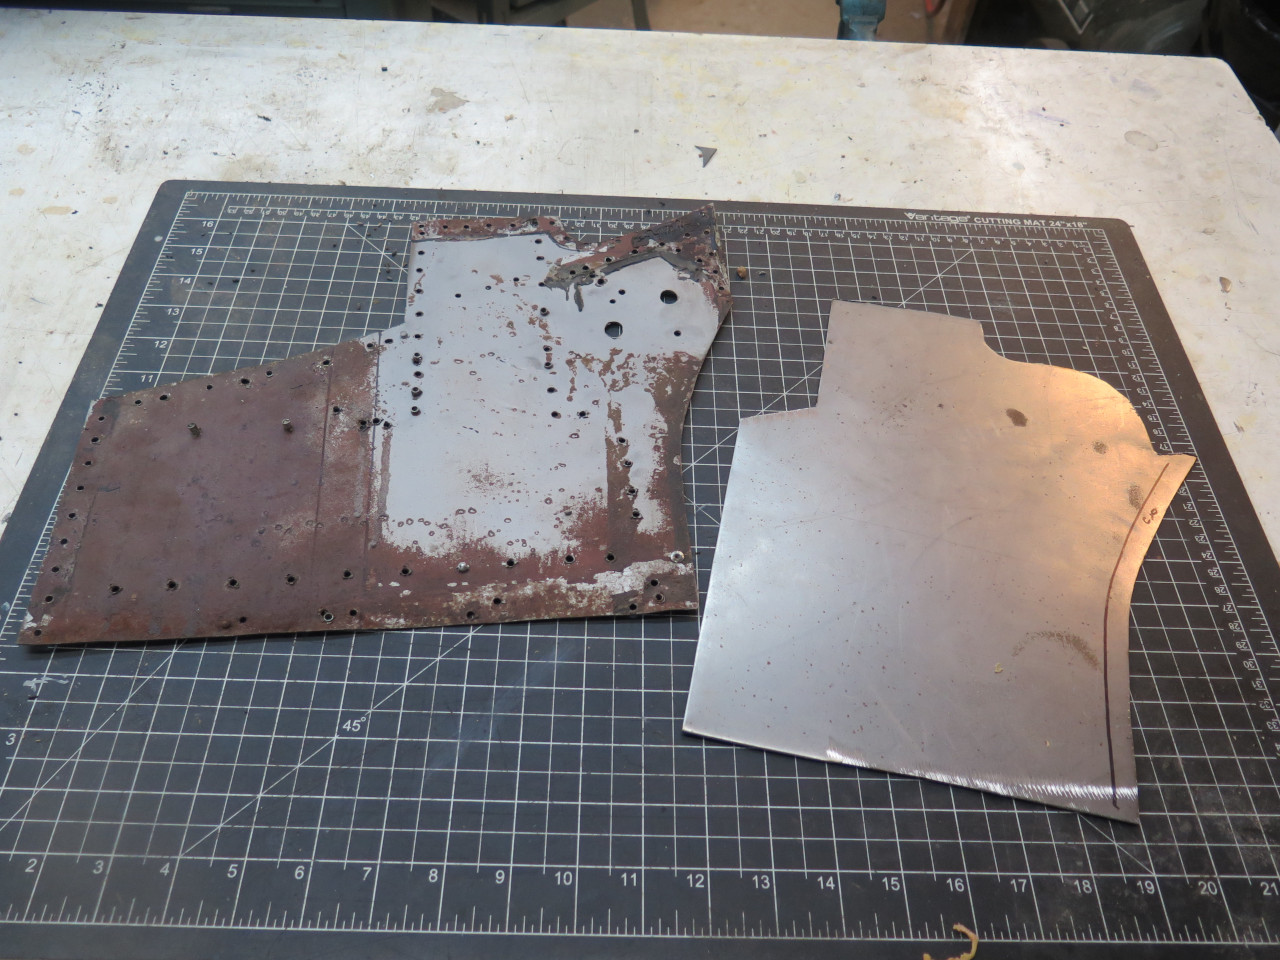
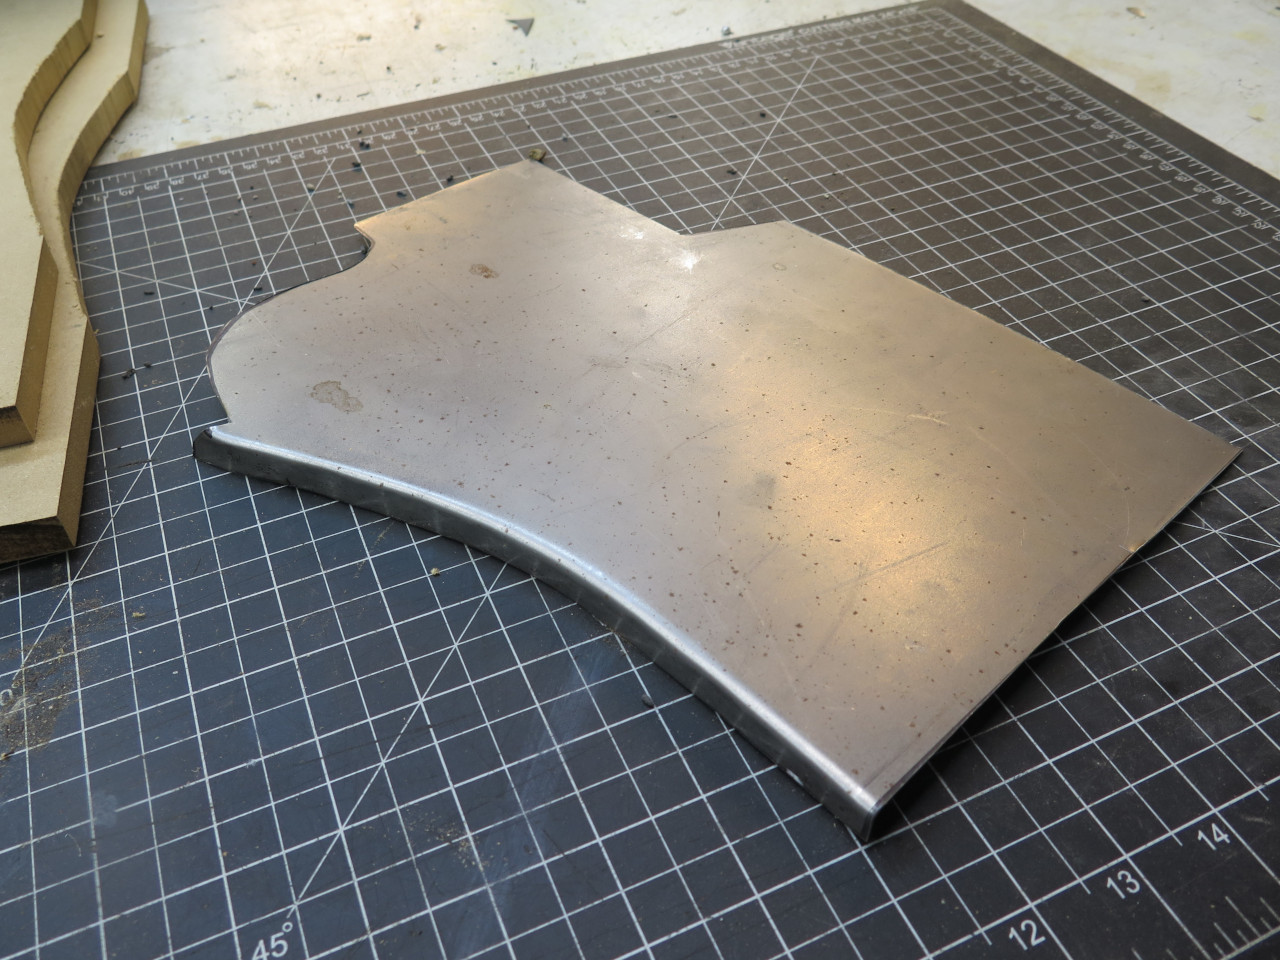
Old and new. The new one had to have a curved flange bent on its trailing edge.
Capturing the piece between two pieces of MDF with the right contour cut
out, and then slowly hammering the protruding part down formed the
flange nicely.

There also needs to be a step on the leading edge to receive the flat
back part of the inner sill. This was done with my cheapie Harbor
Freight bead roller.
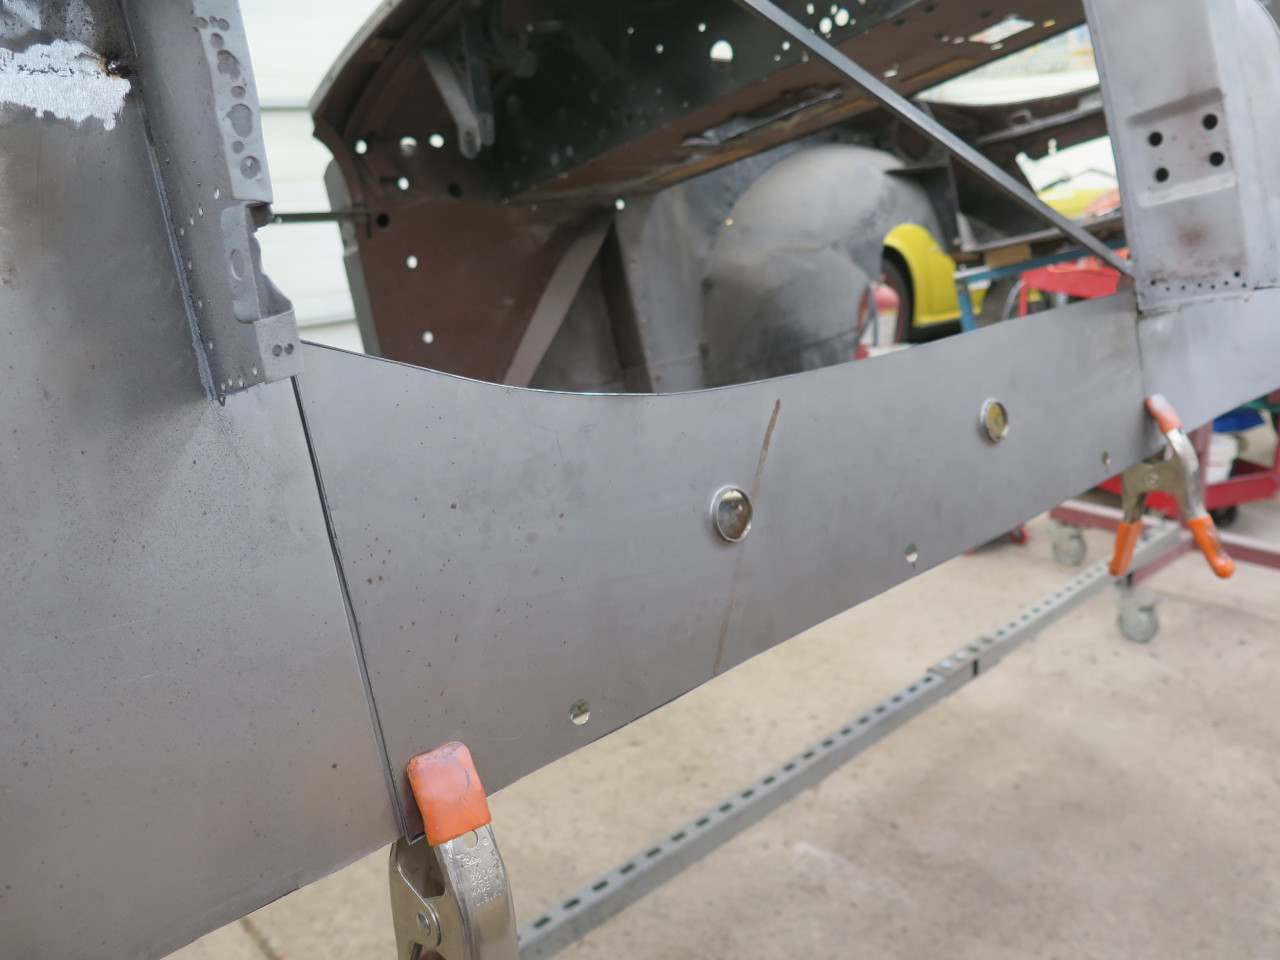
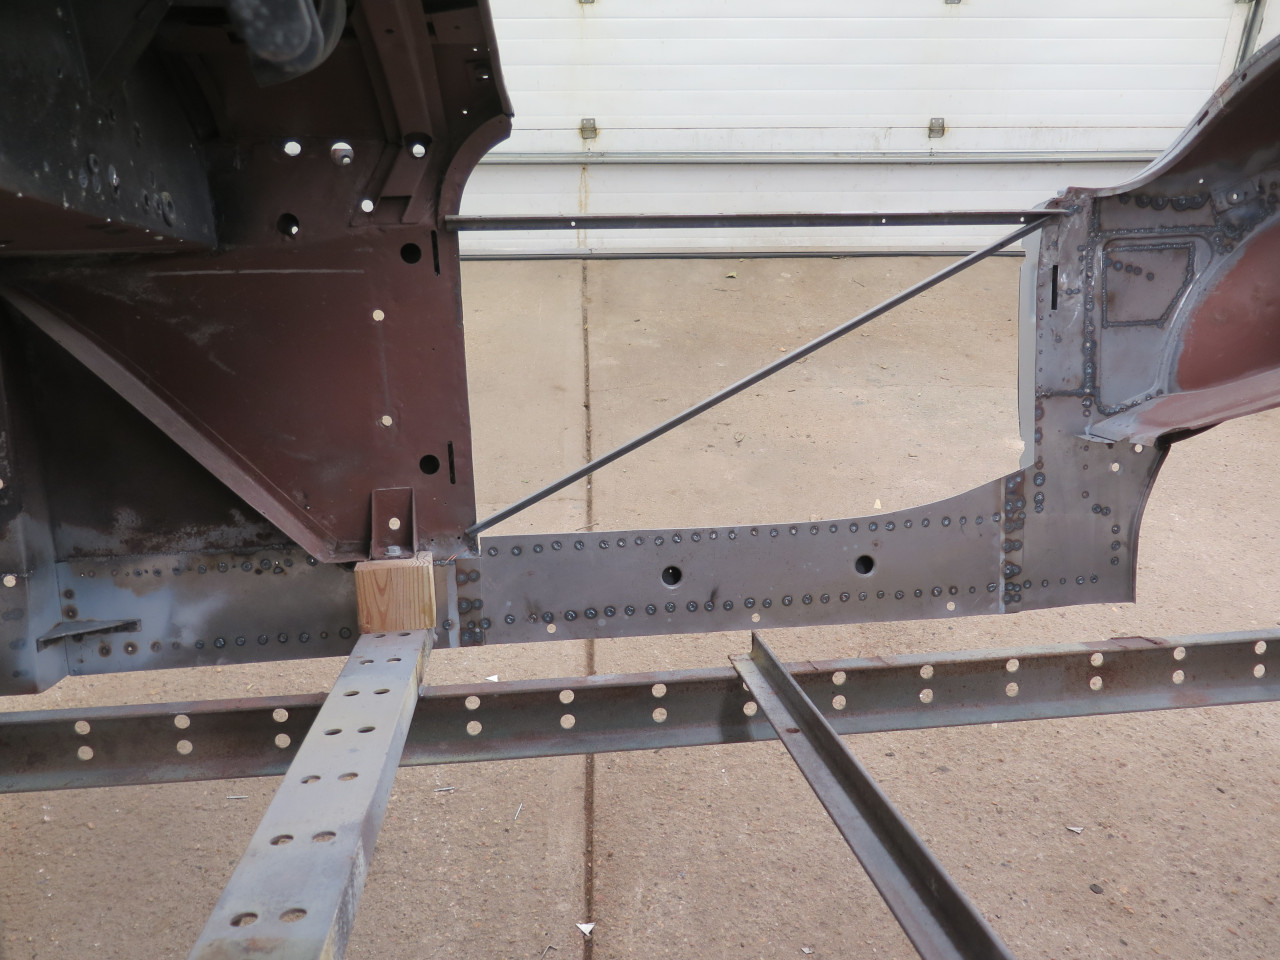
The back part of the inner sill stretches between the A and B
posts. Like just about everyone who does any work on an MGA, I
soon found the absolute MGA Bible online. MGAGuru provides a dimensioned drawing of the part. I made a paper version of it, and it fit just about perfectly. Then, to metal.
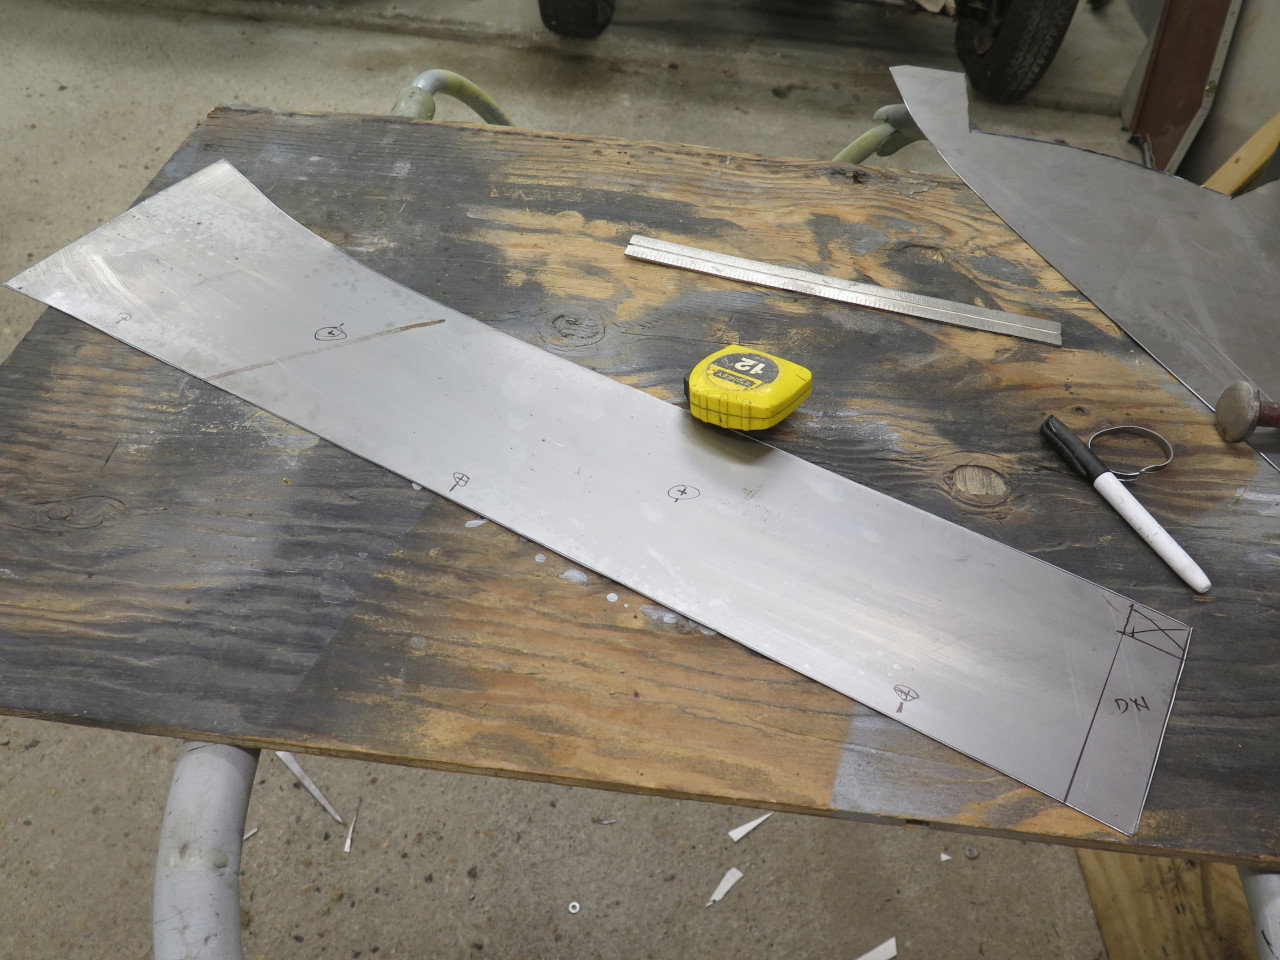
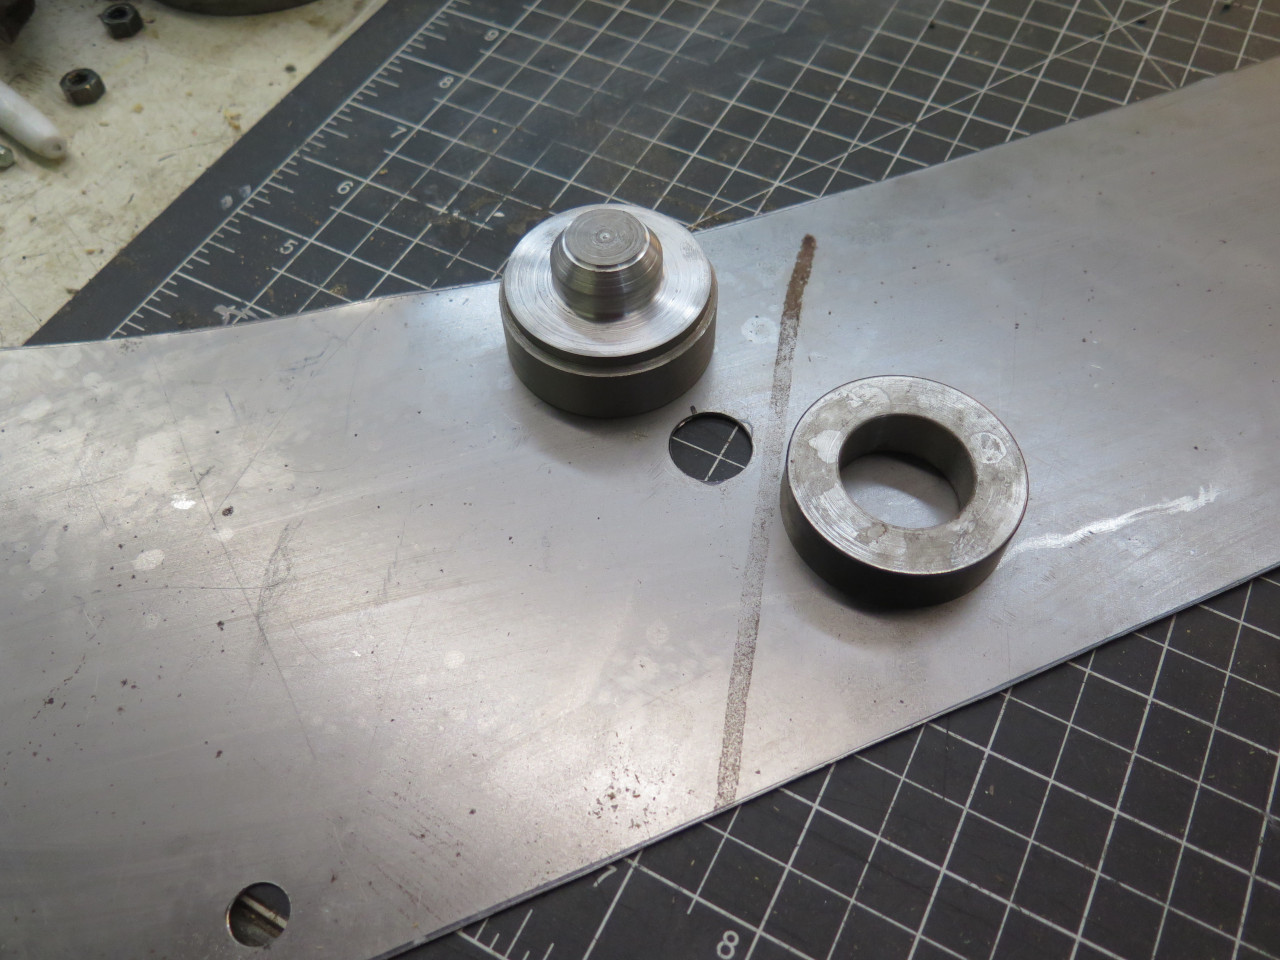
The original panels had a pair one inch "dimple" holes, for ventilation,
I guess. This little pair of gizmos makes the dimples in an arbor
press.
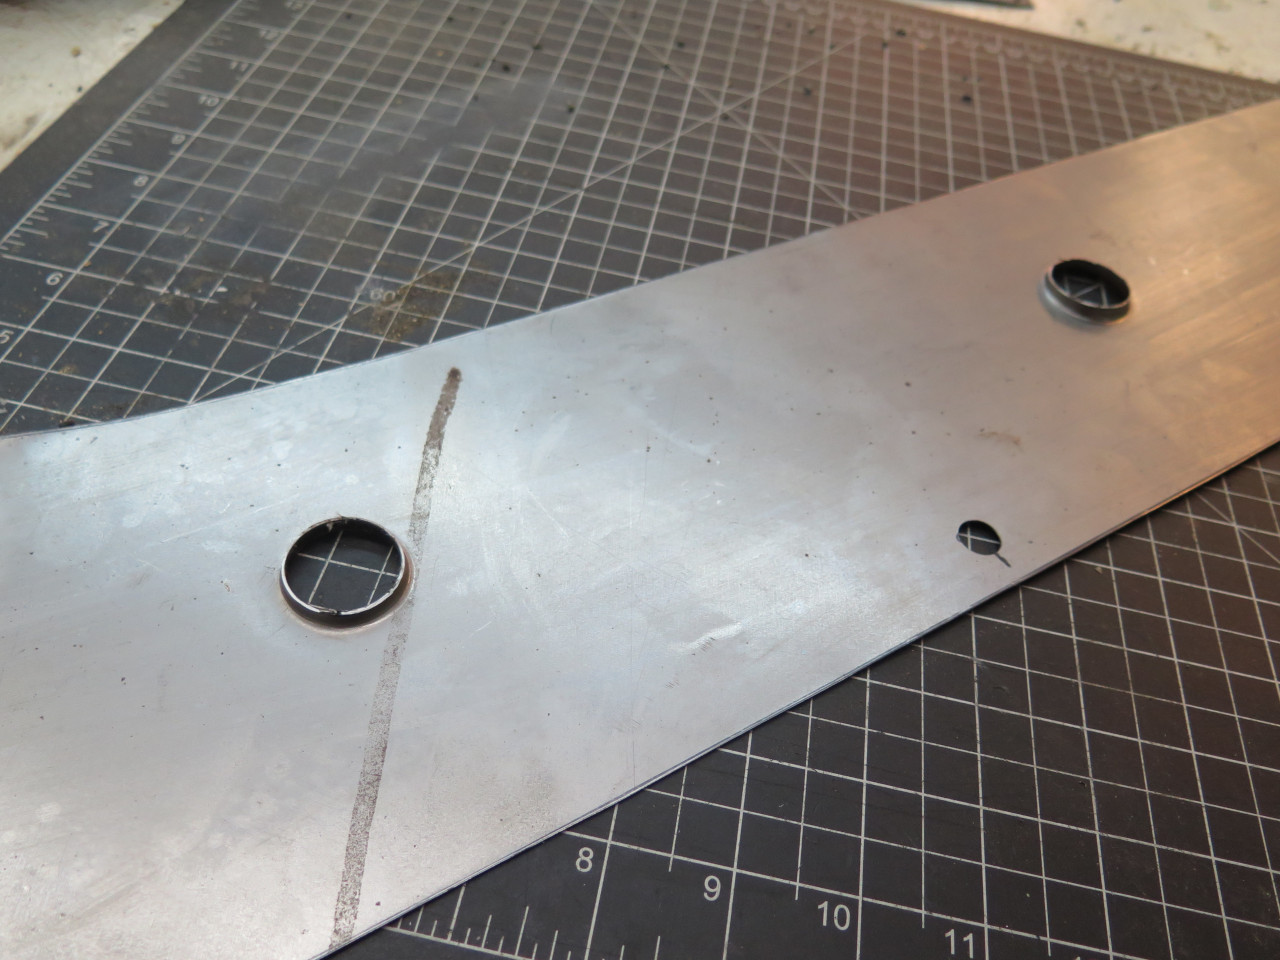
Nice fit...

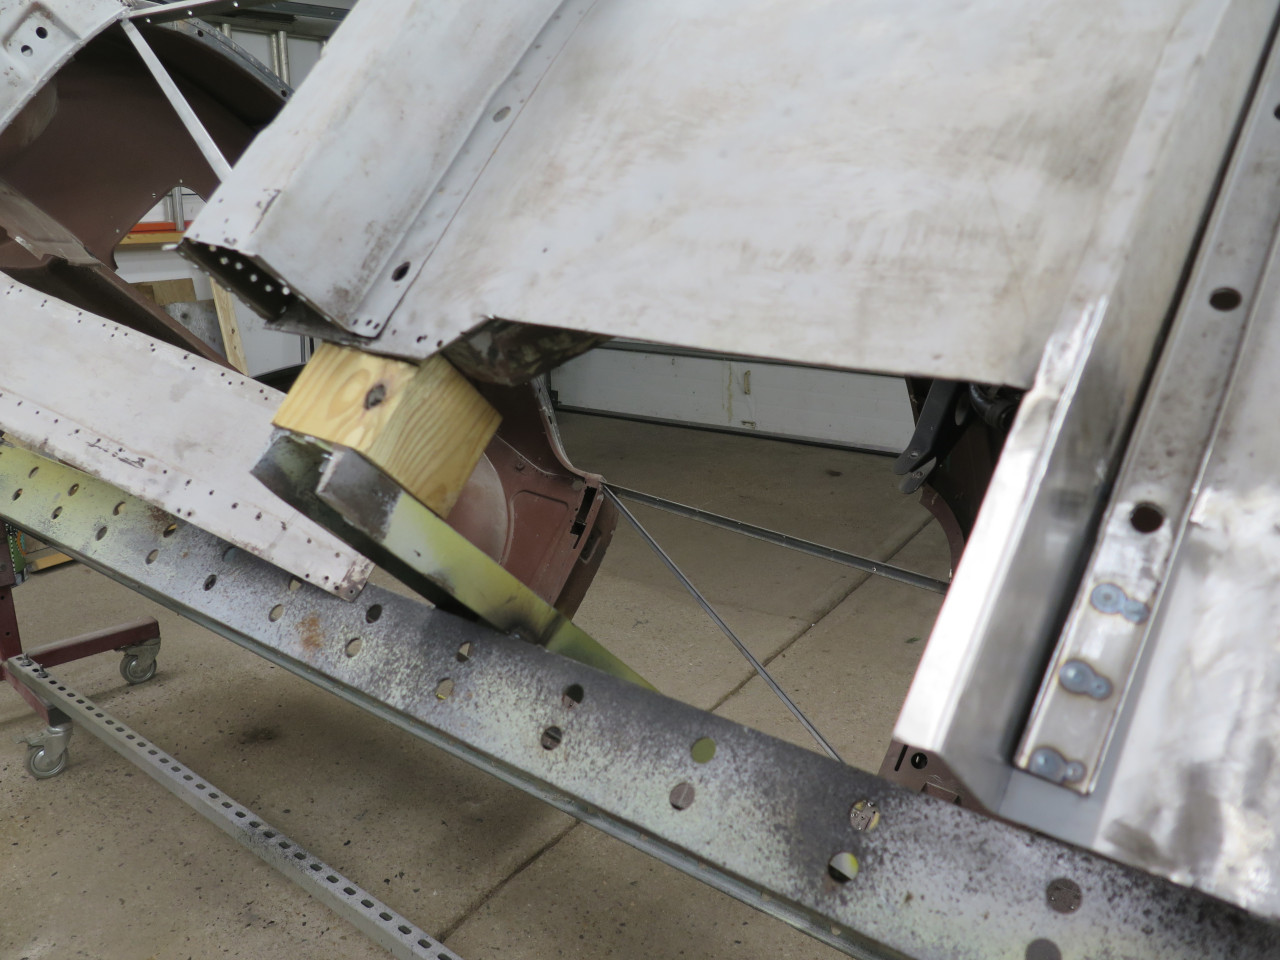
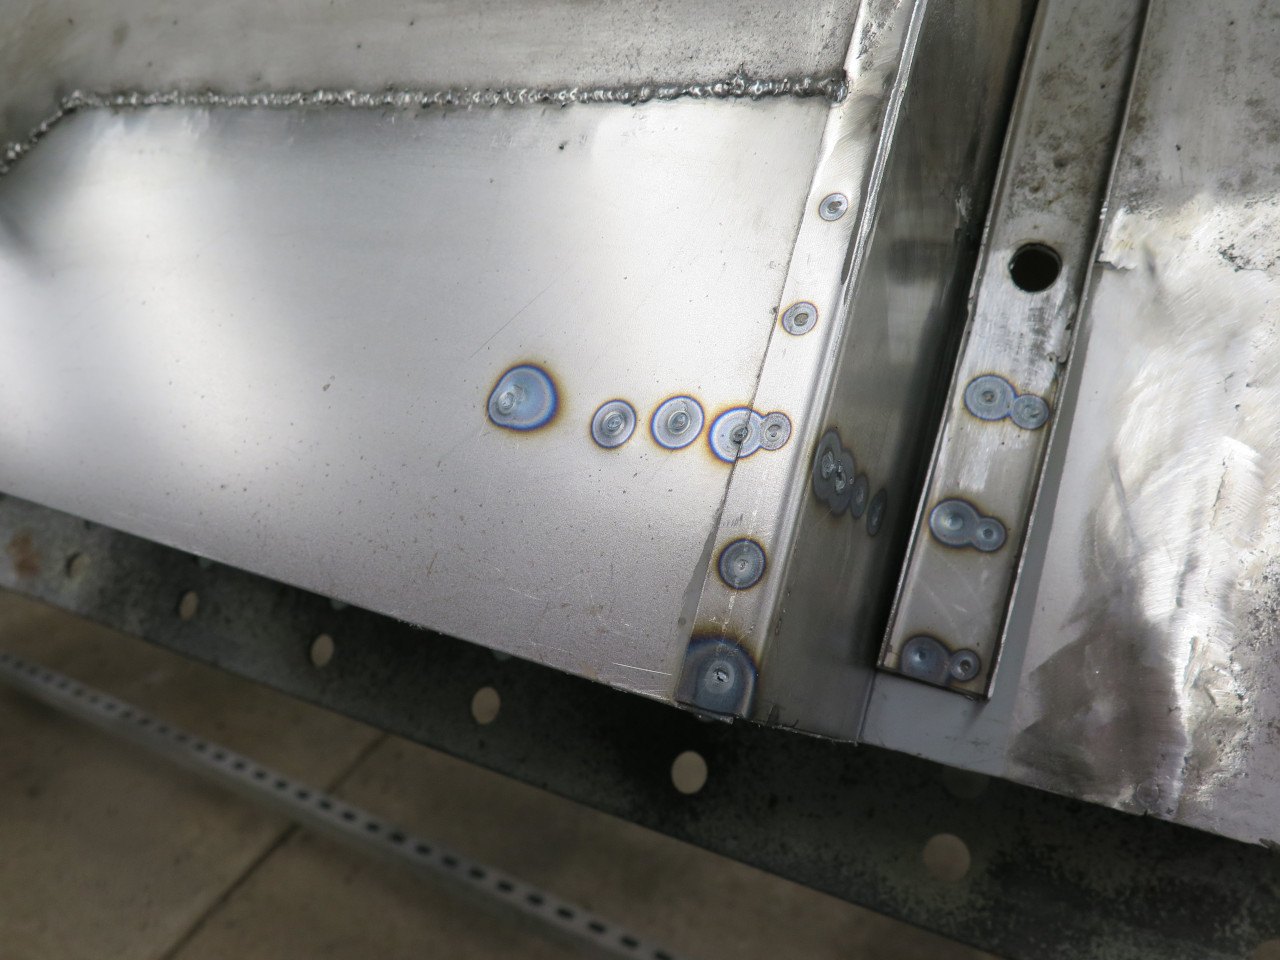
Then to the B post. For the front face of the post, I was able to cut down the old lower patch to make the welded patch.
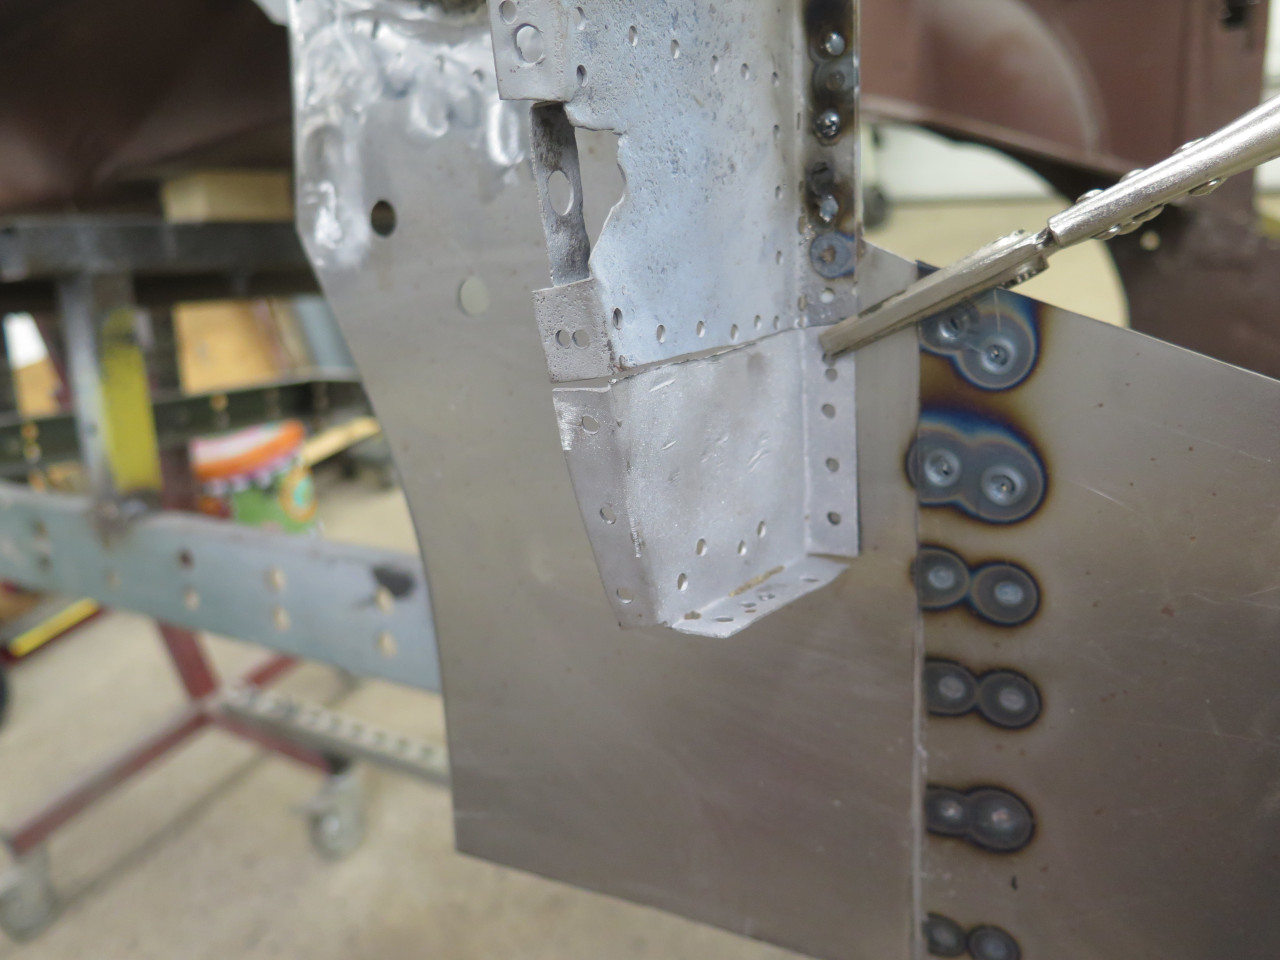
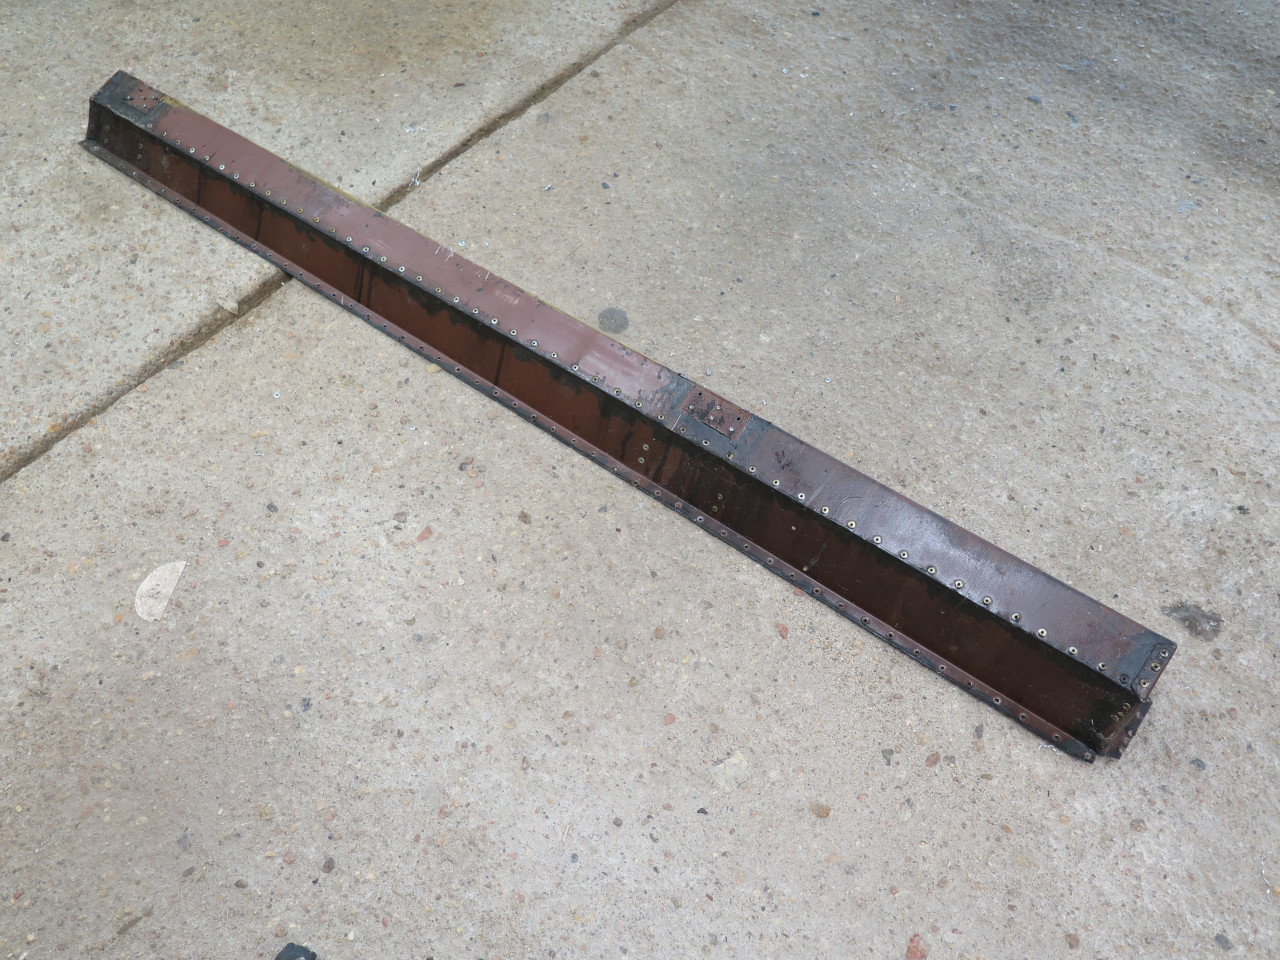
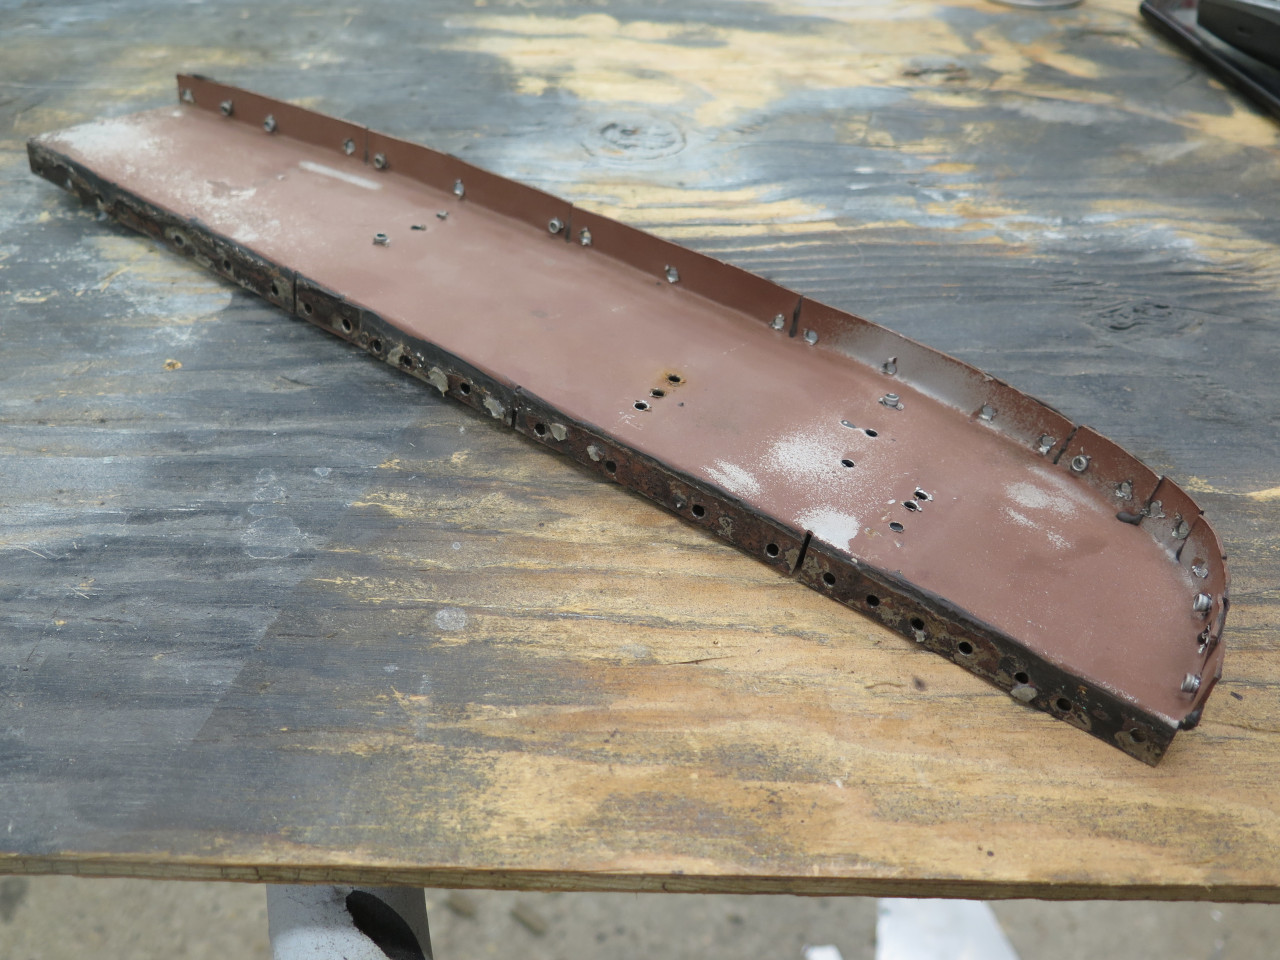
Now, about that inner sill. The inner sill is basically a box beam
that stiffens the body in the critical area under the doors. When
I made it so long ago, I made it in two pieces, riveted together.
I don't remember the reason, but it might have had to do with the sheet
metal brake I had access to.
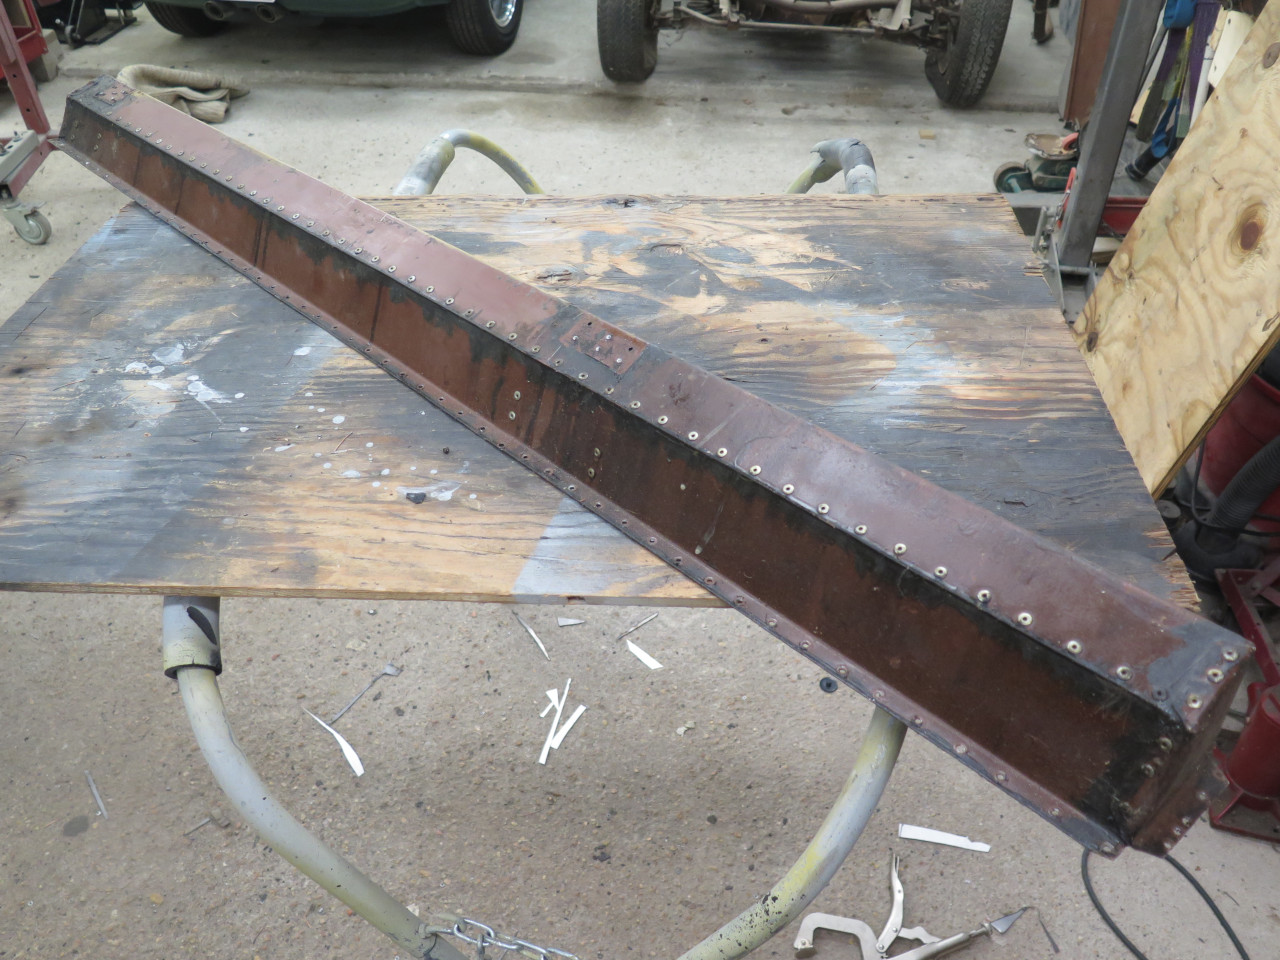
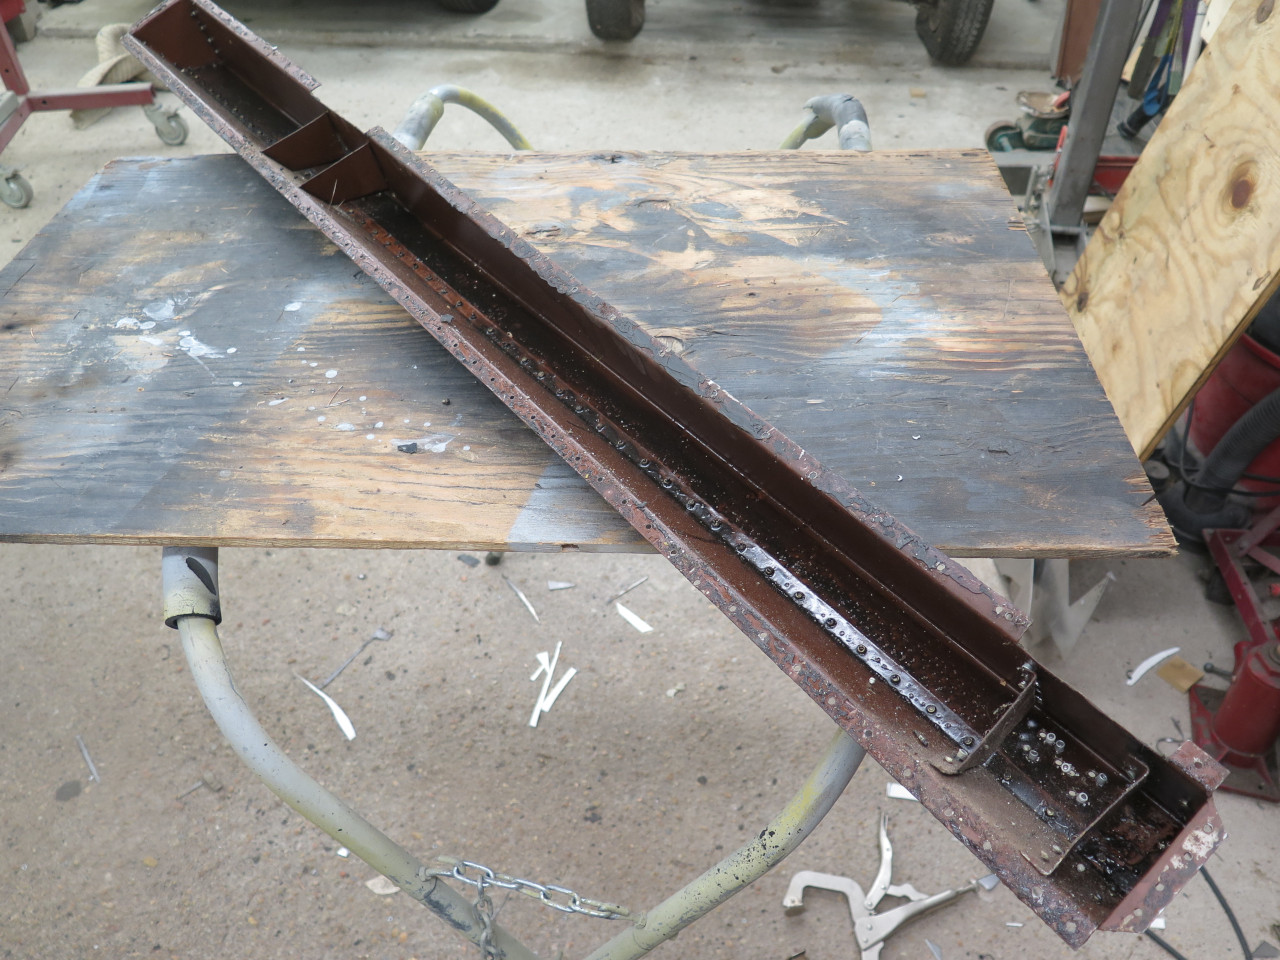
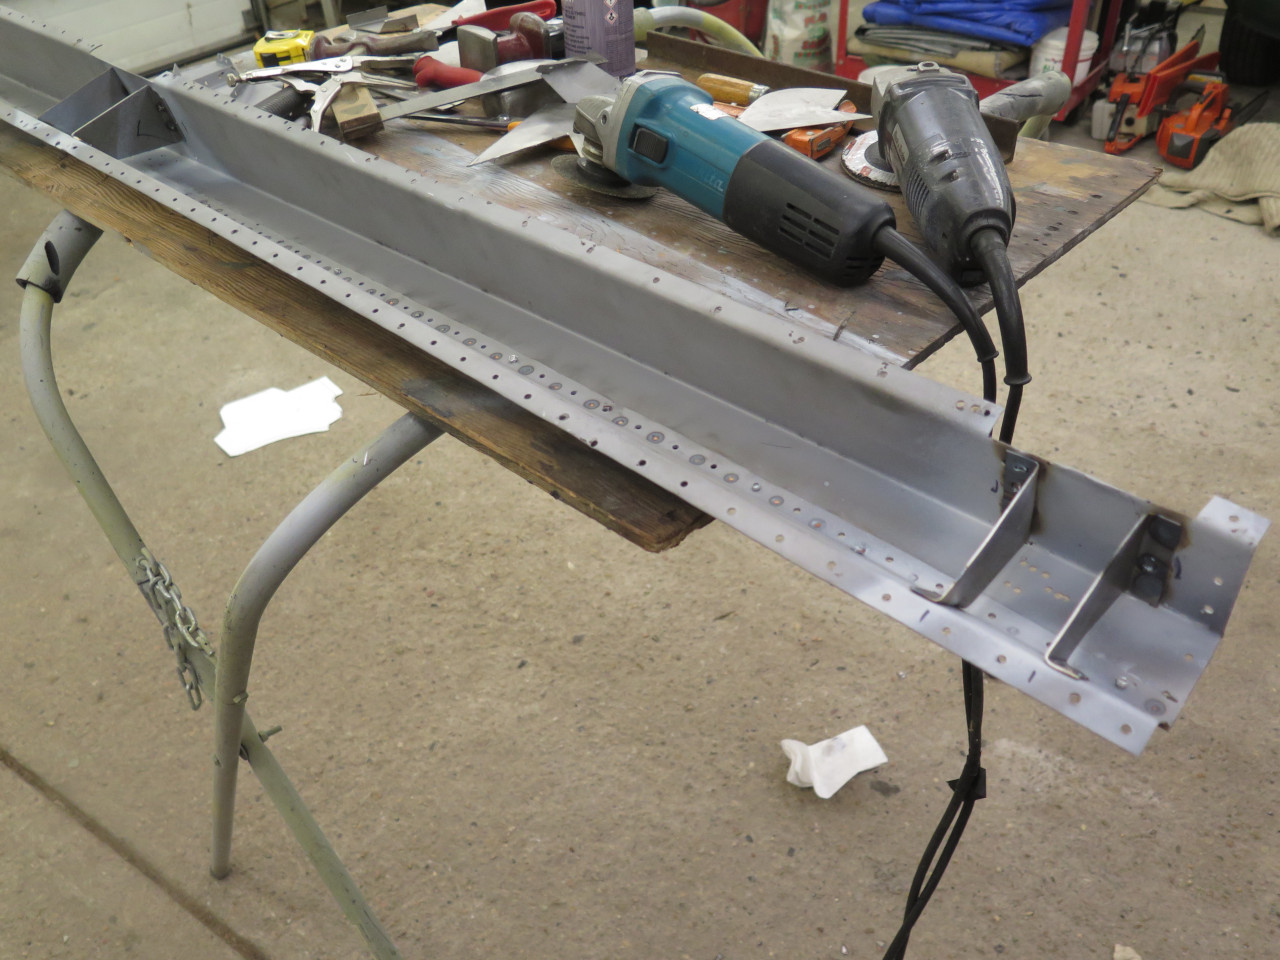
To clean it up, I first disassembled it.
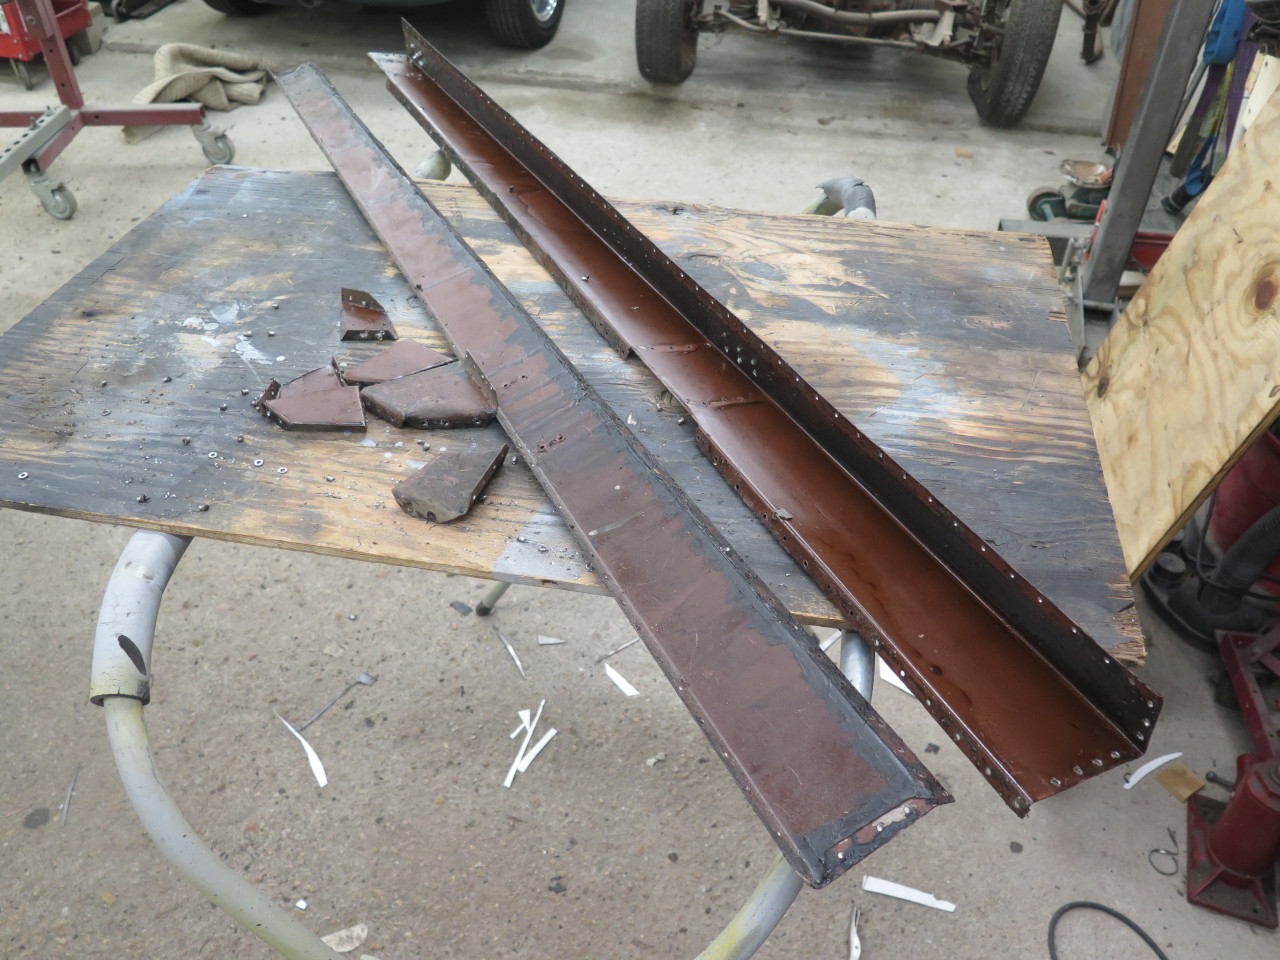
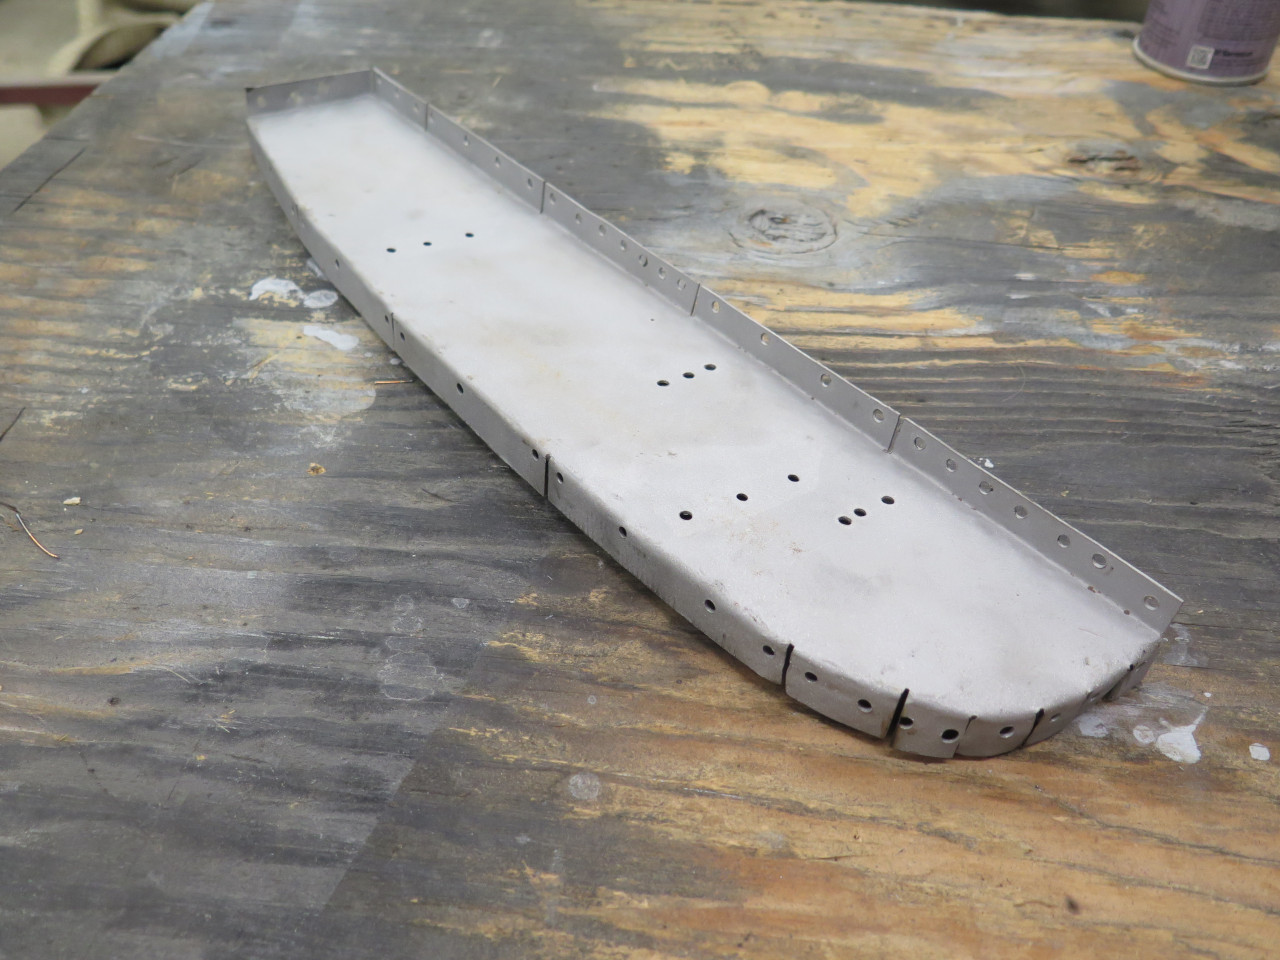
After cleaning off all of the waxy rustproofing, the parts got blasted,
then spot welded back together. I use a weld-through primer on any
overlapped joints that will be welded.
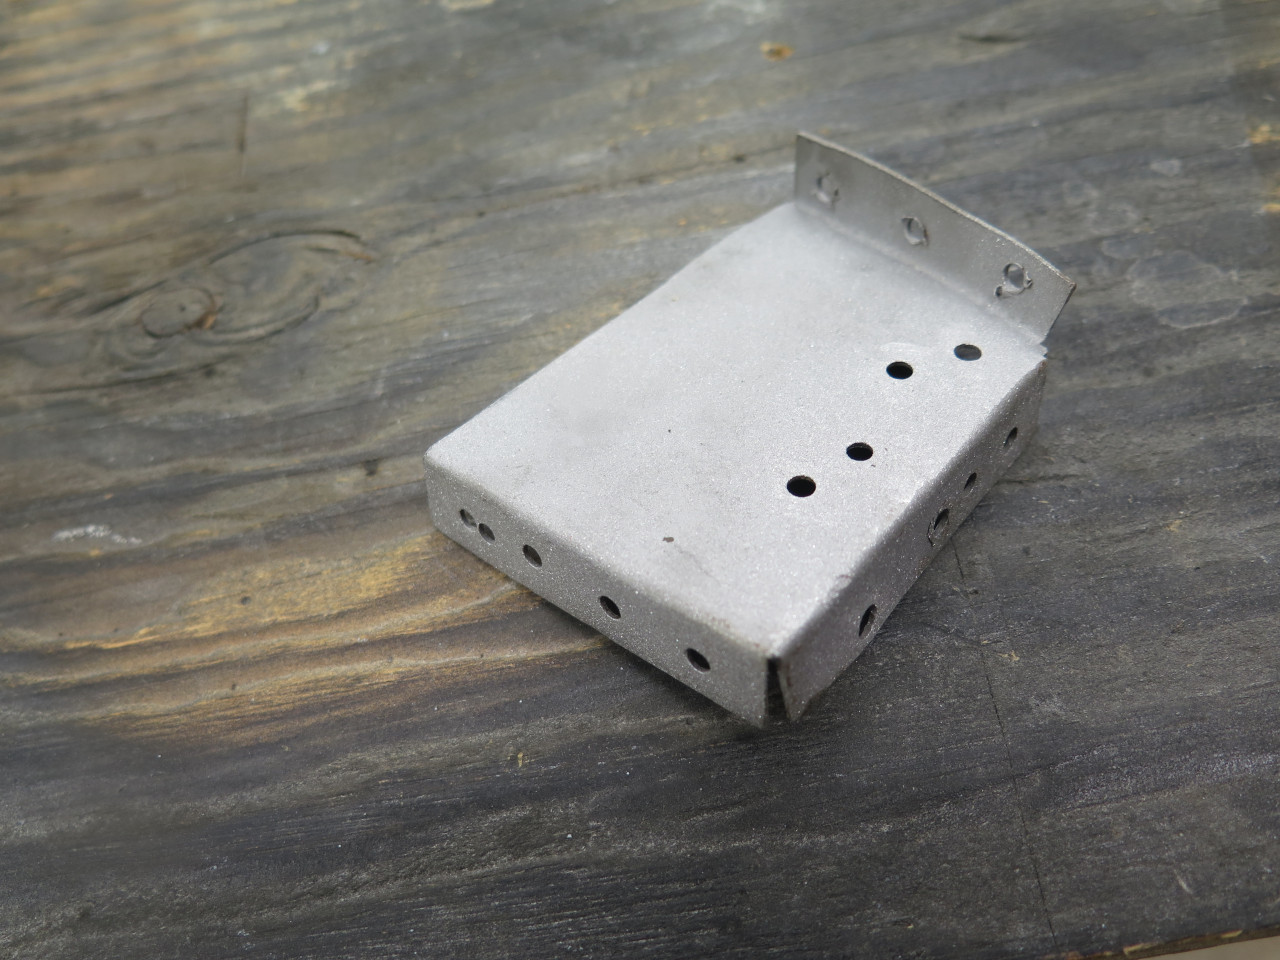
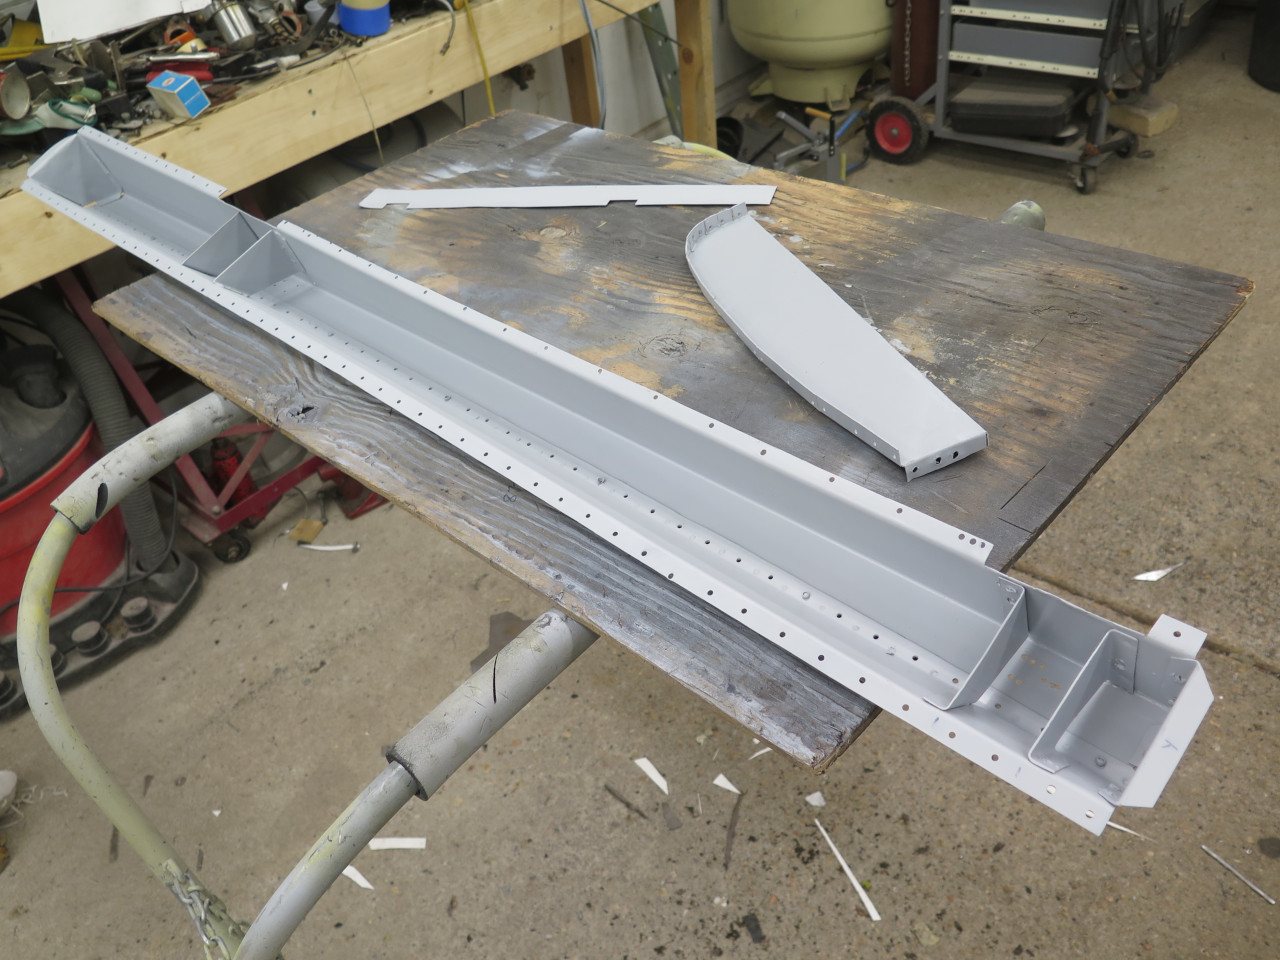
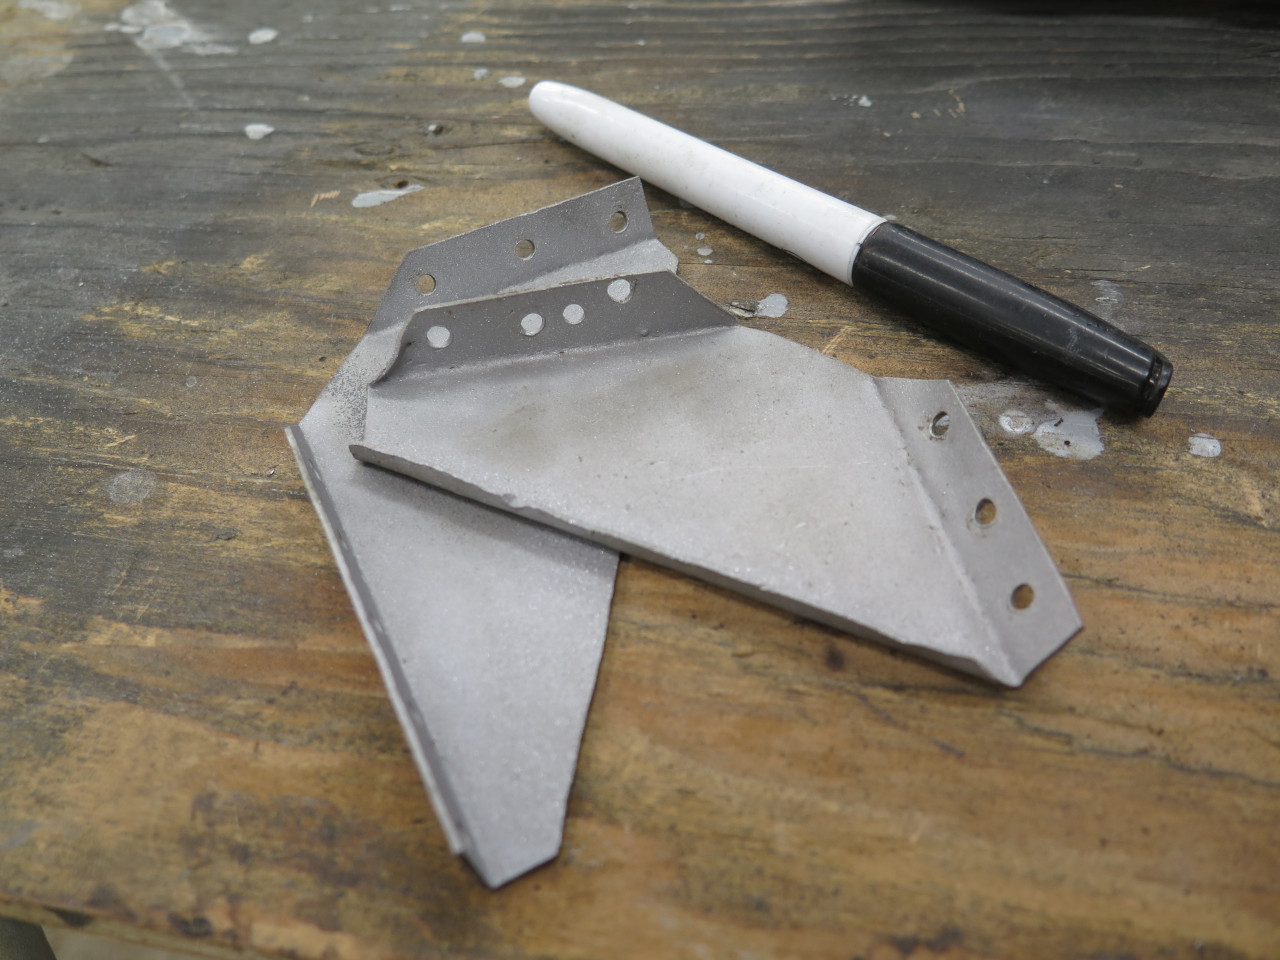
I wasn't really happy with how the old internal stiffeners fit, so I made new ones.
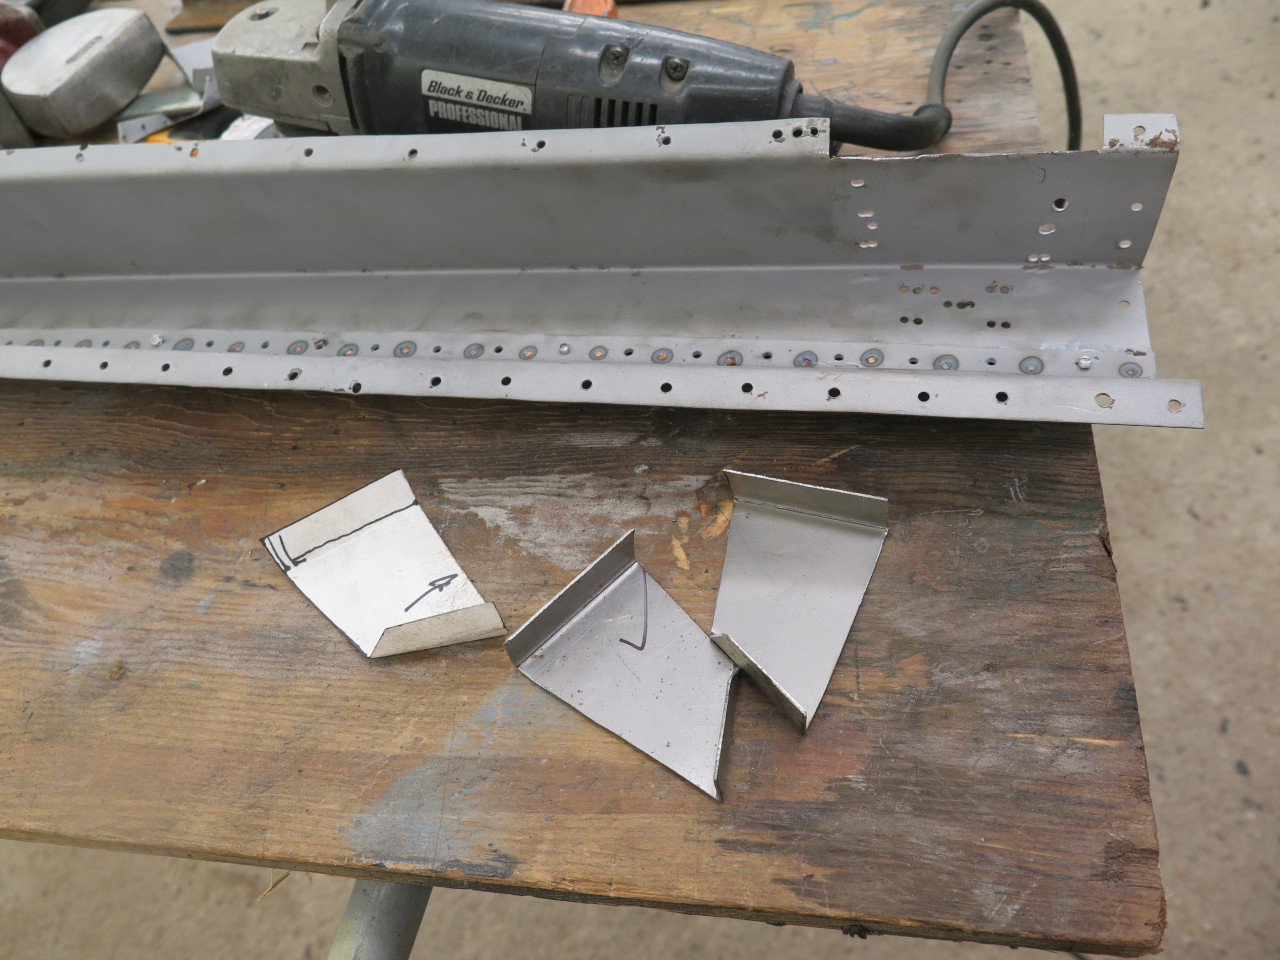

Likewise for the end caps.
At this point, I was about to close up some cavities that wouldn't have
easy access later, so any protective coatings had to go on now. I
masked off the areas that would be spot or plug welded, and sprayed a
couple of coats of a good epoxy primer. Sprayed the inside of the
inner sill, too.
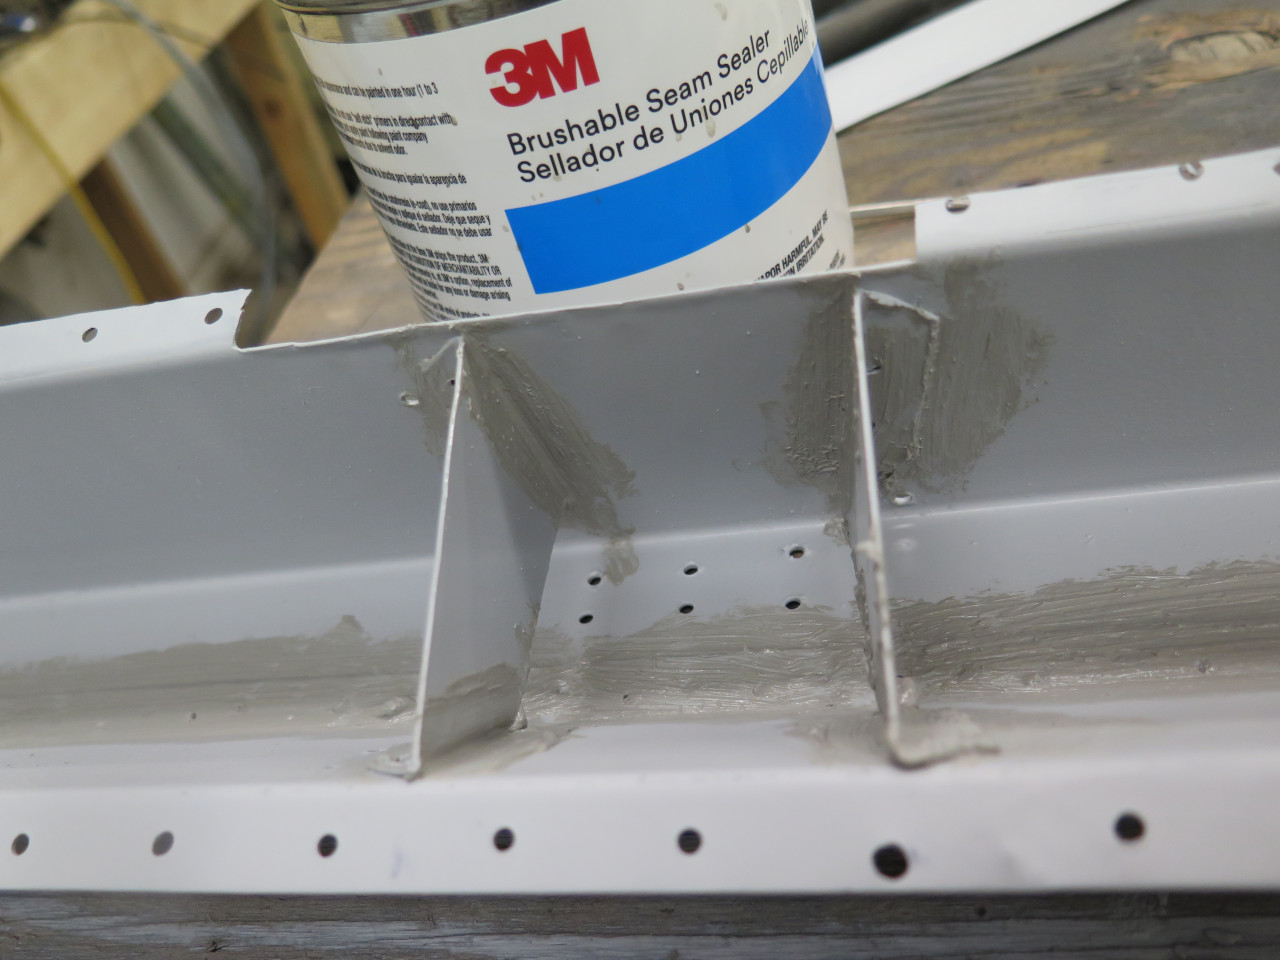
Then a brush on seam sealer on all the joints that I won't be able to get to later.
Then a weld through primer on all of the weld areas.
I had removed the rear face of the B post earlier for better
access. It turned out to be something I fabricated in the 70s
restoration. It fit pretty well, so I decided to re-use it.
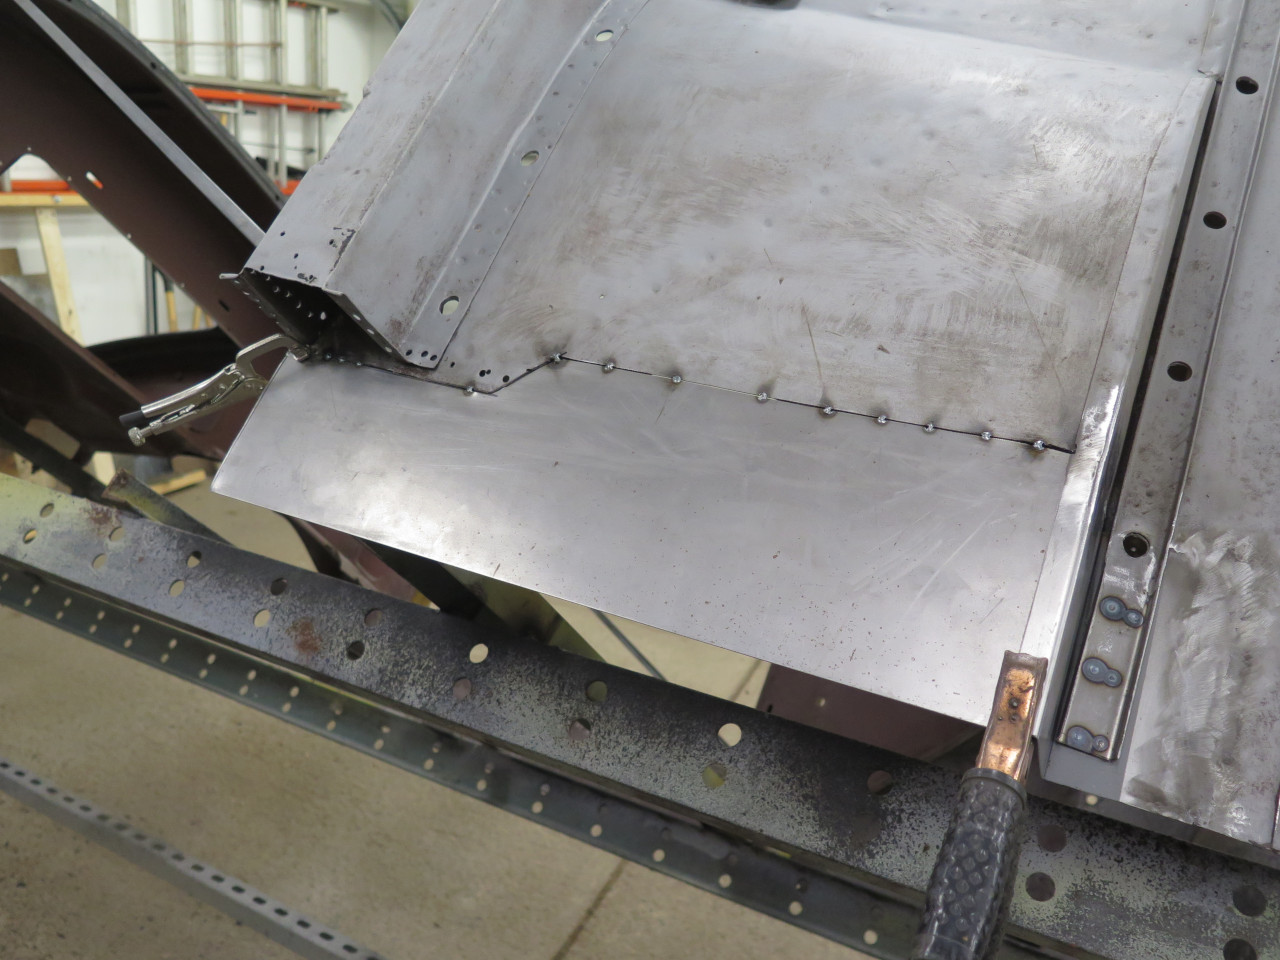
Everything looks good. Let's do it!
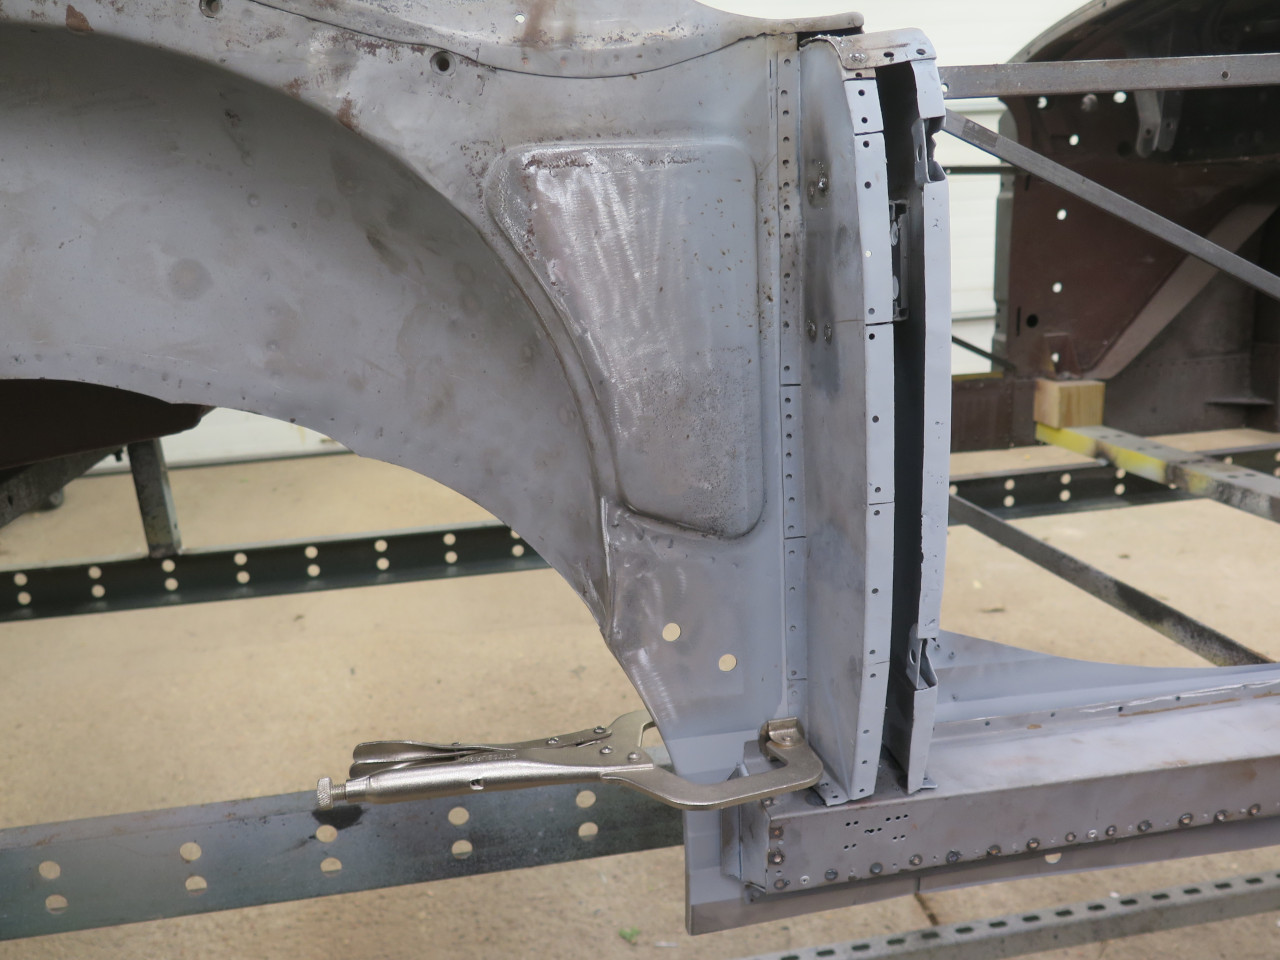
To close the gap where it's hard to clamp, I used some self drilling screws.

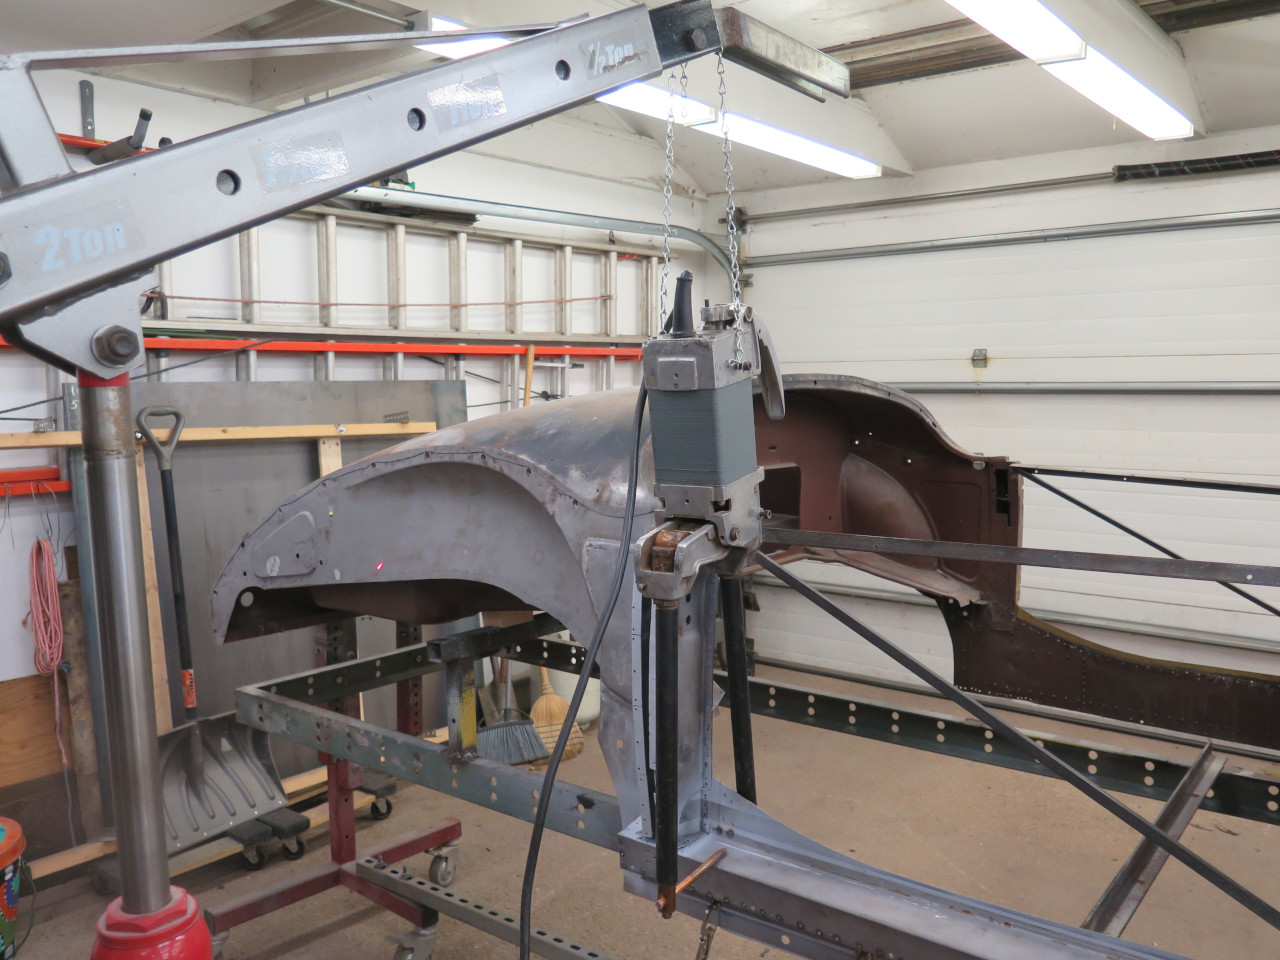
I have an ancient industrial spot welder that I bought used 15 years
ago.. It has good reach, but it's heavy and unwieldy in odd
positions. I sometimes hang it from a skyhook.
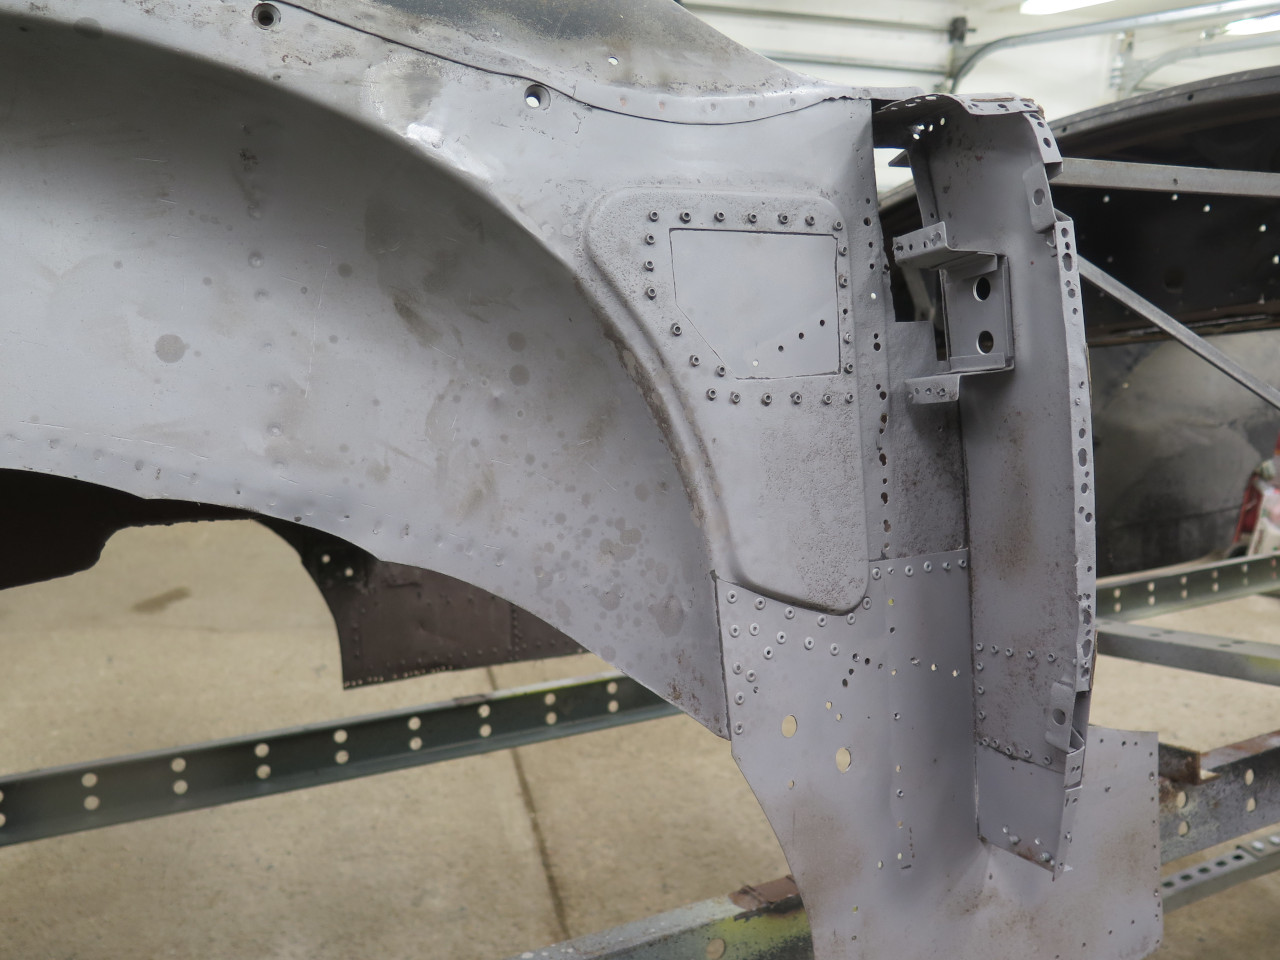
Then a new piece to close up the B post. These will be plug welds.
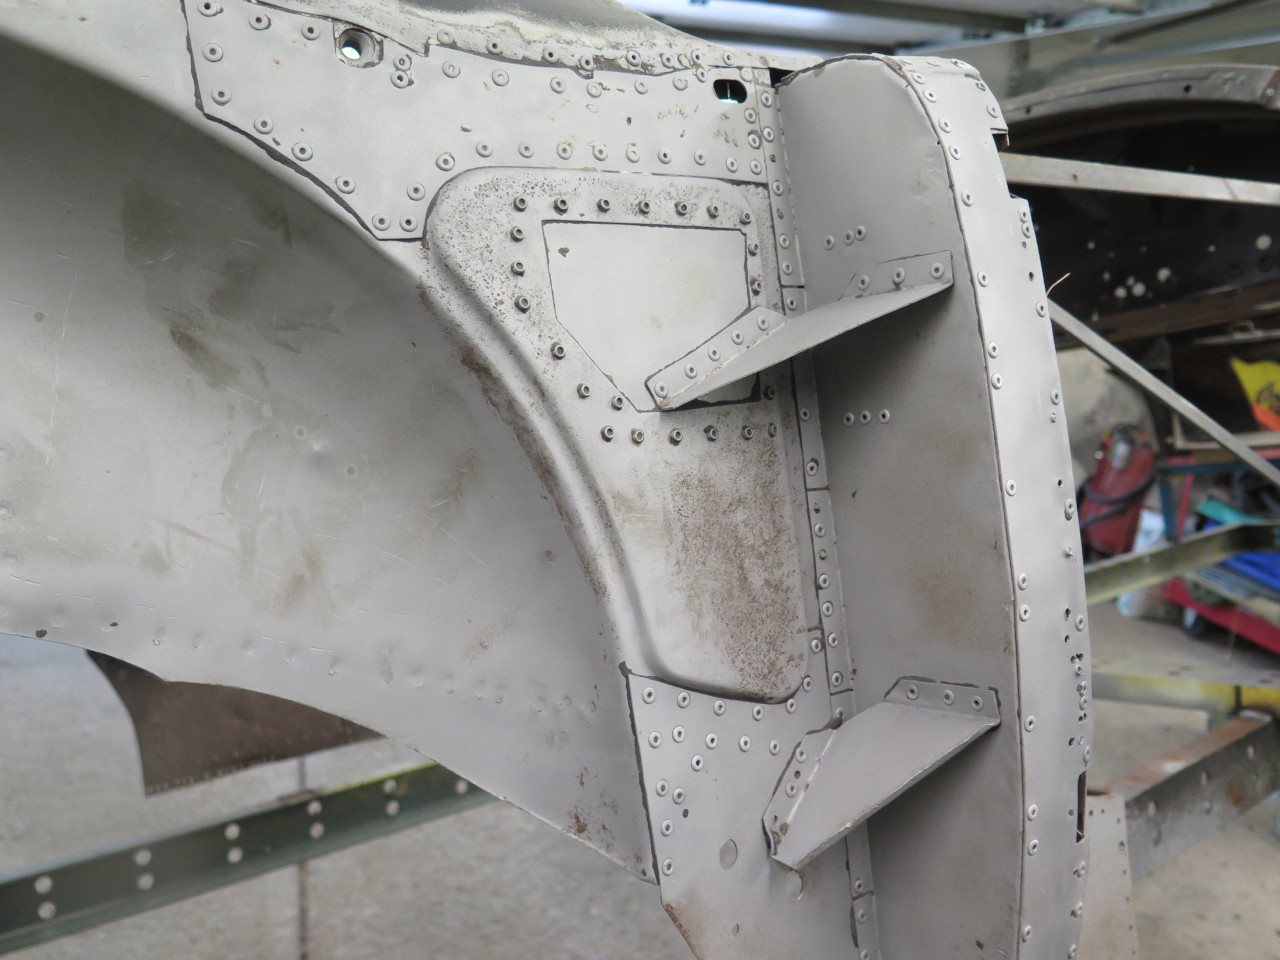
In an instance of uncharacteristic foresight, I realized it would be
easier to clamp the brace brackets to the back of the B post before I
closed it up.
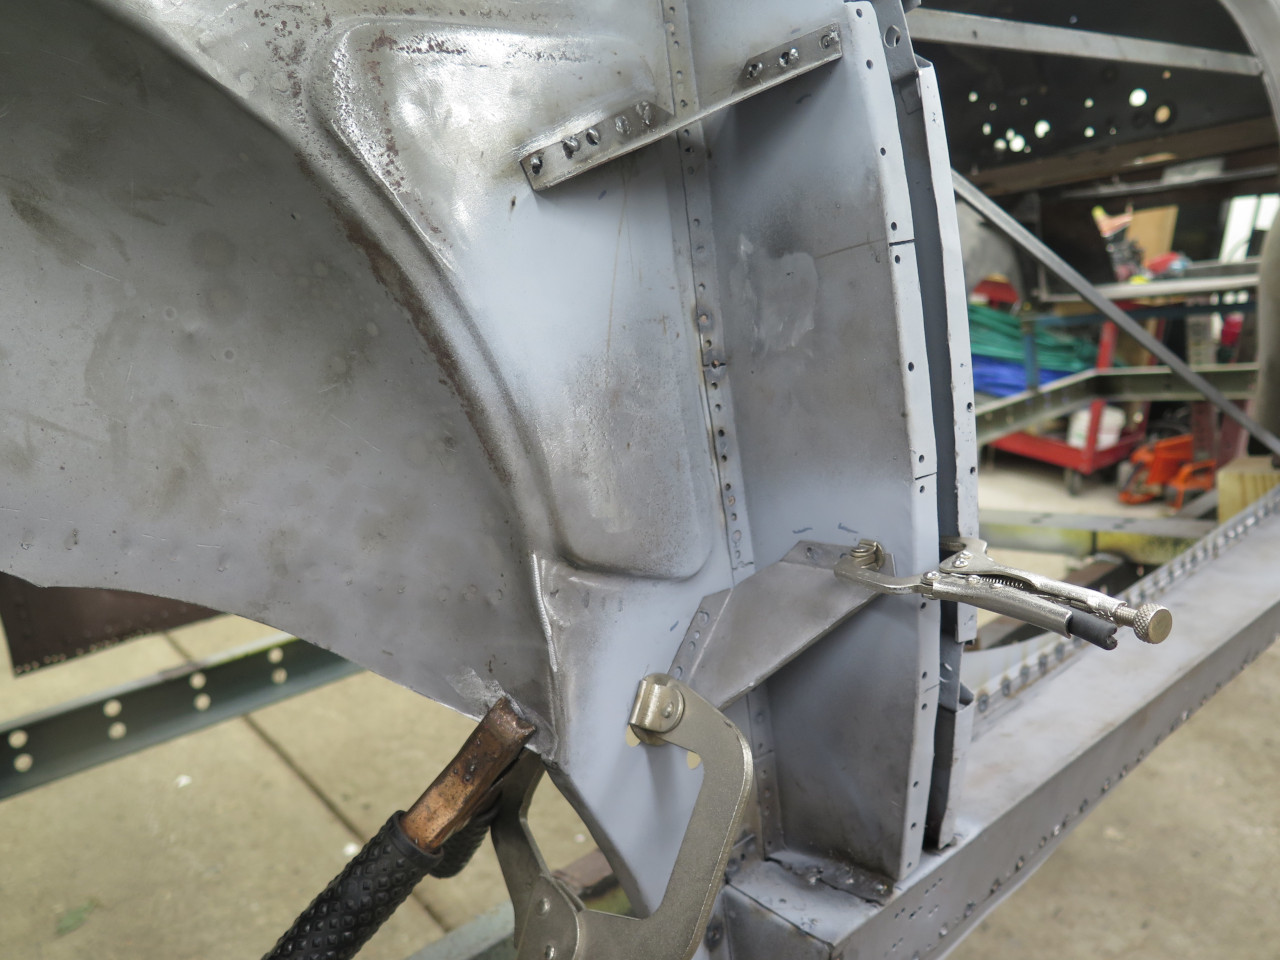
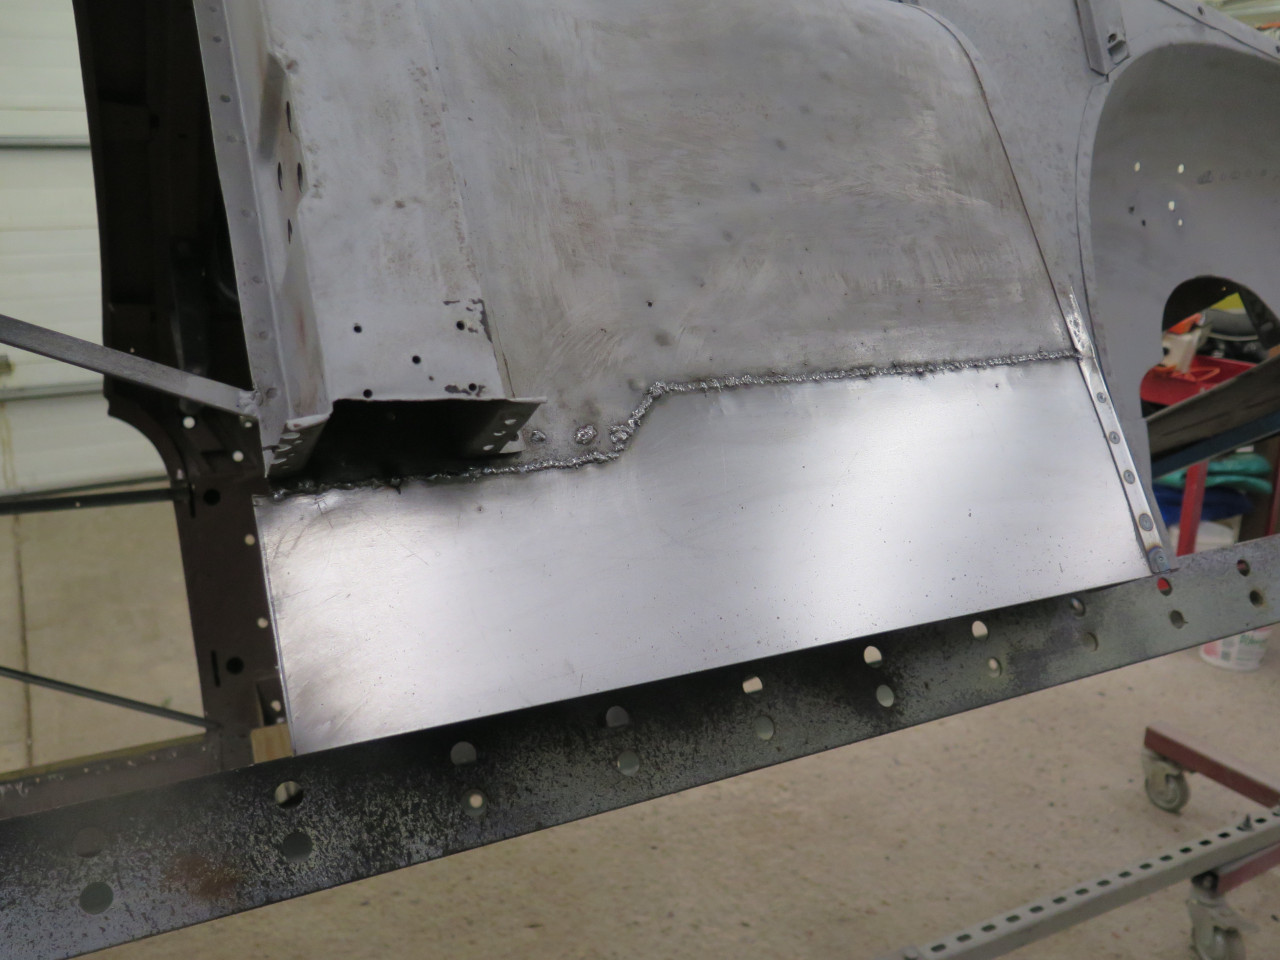
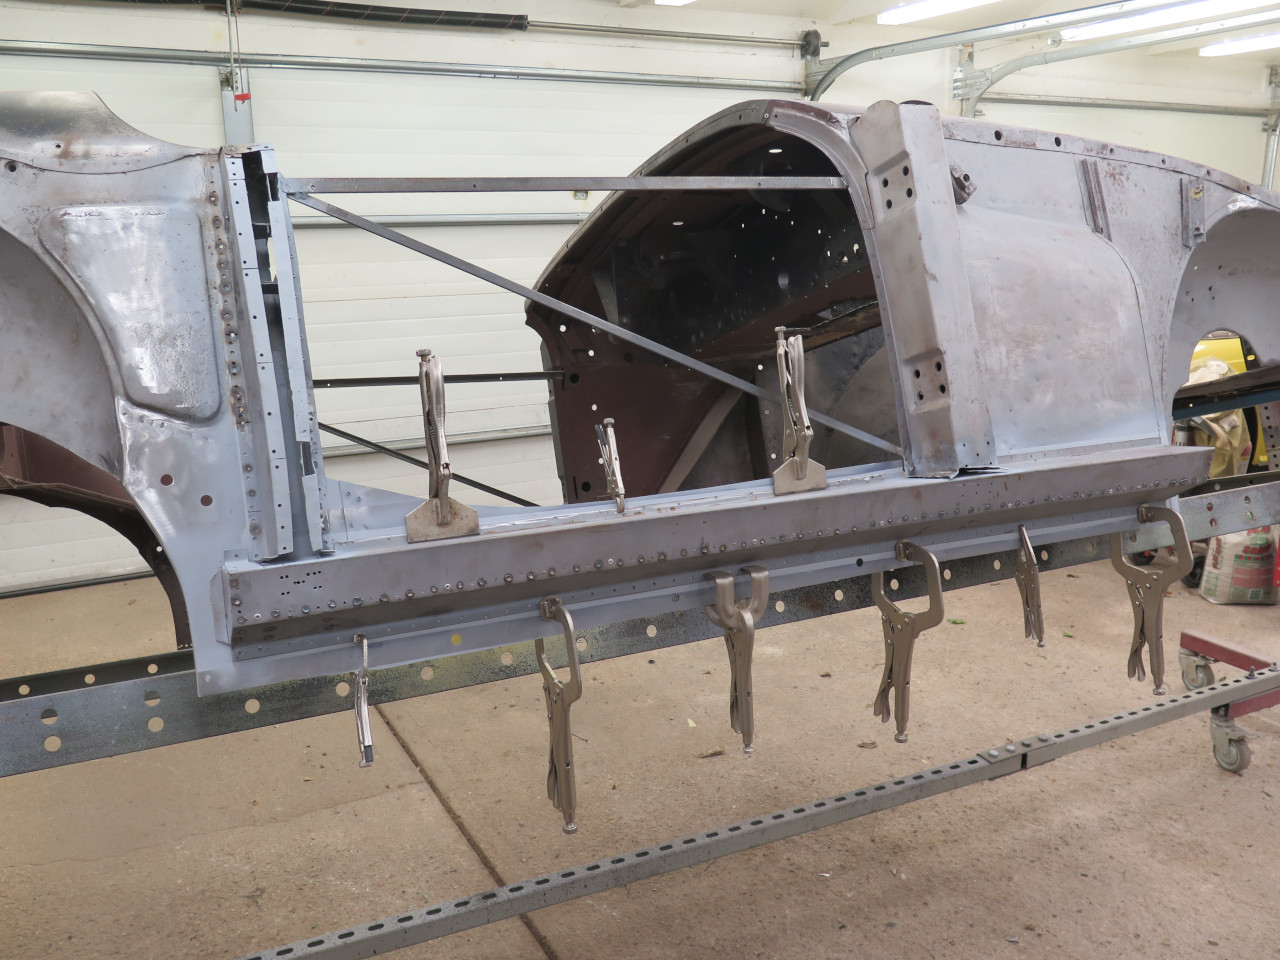
All closed up...
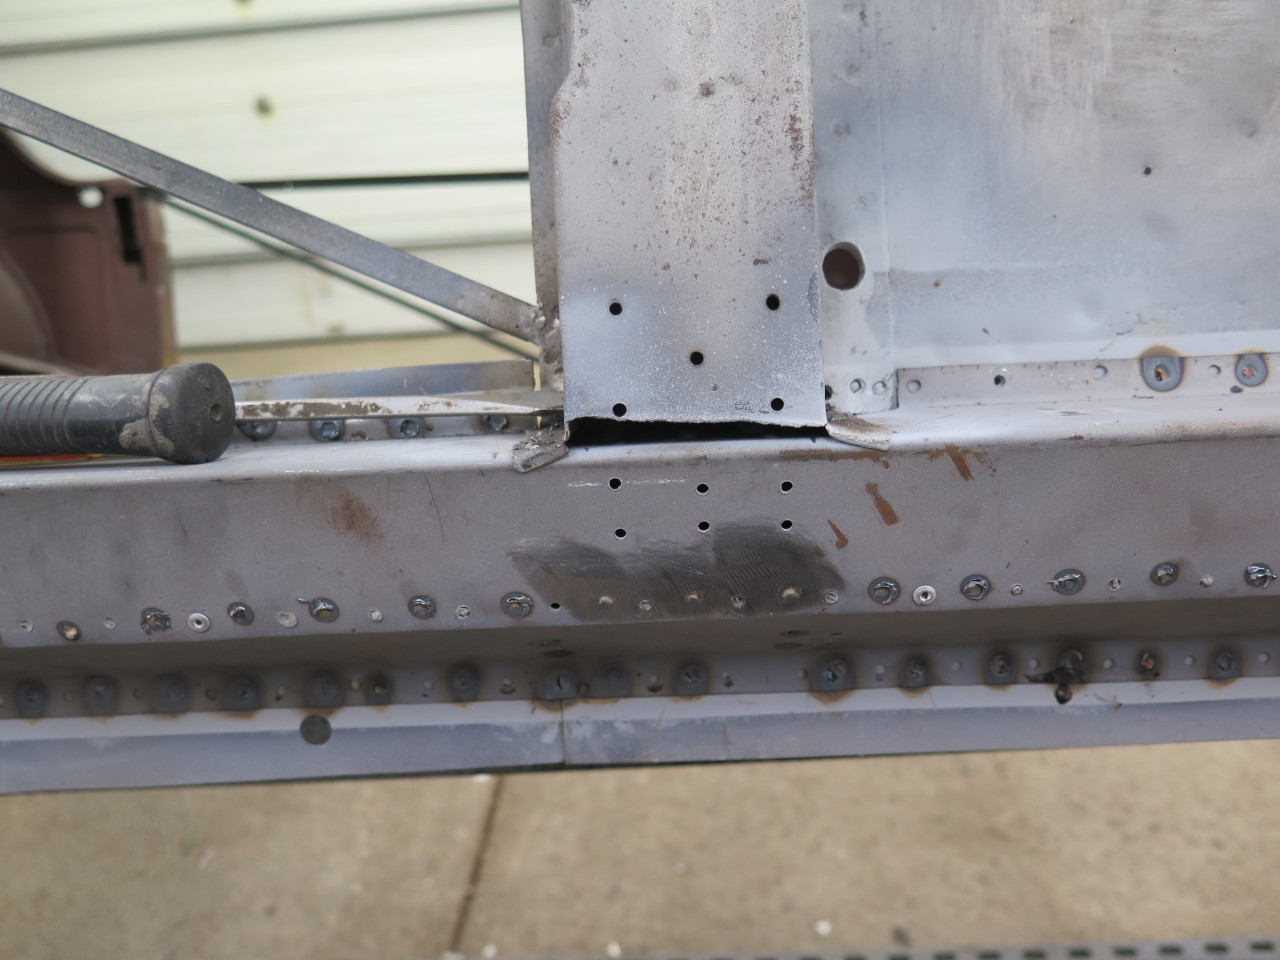
Just have to fix this connection to the A post.
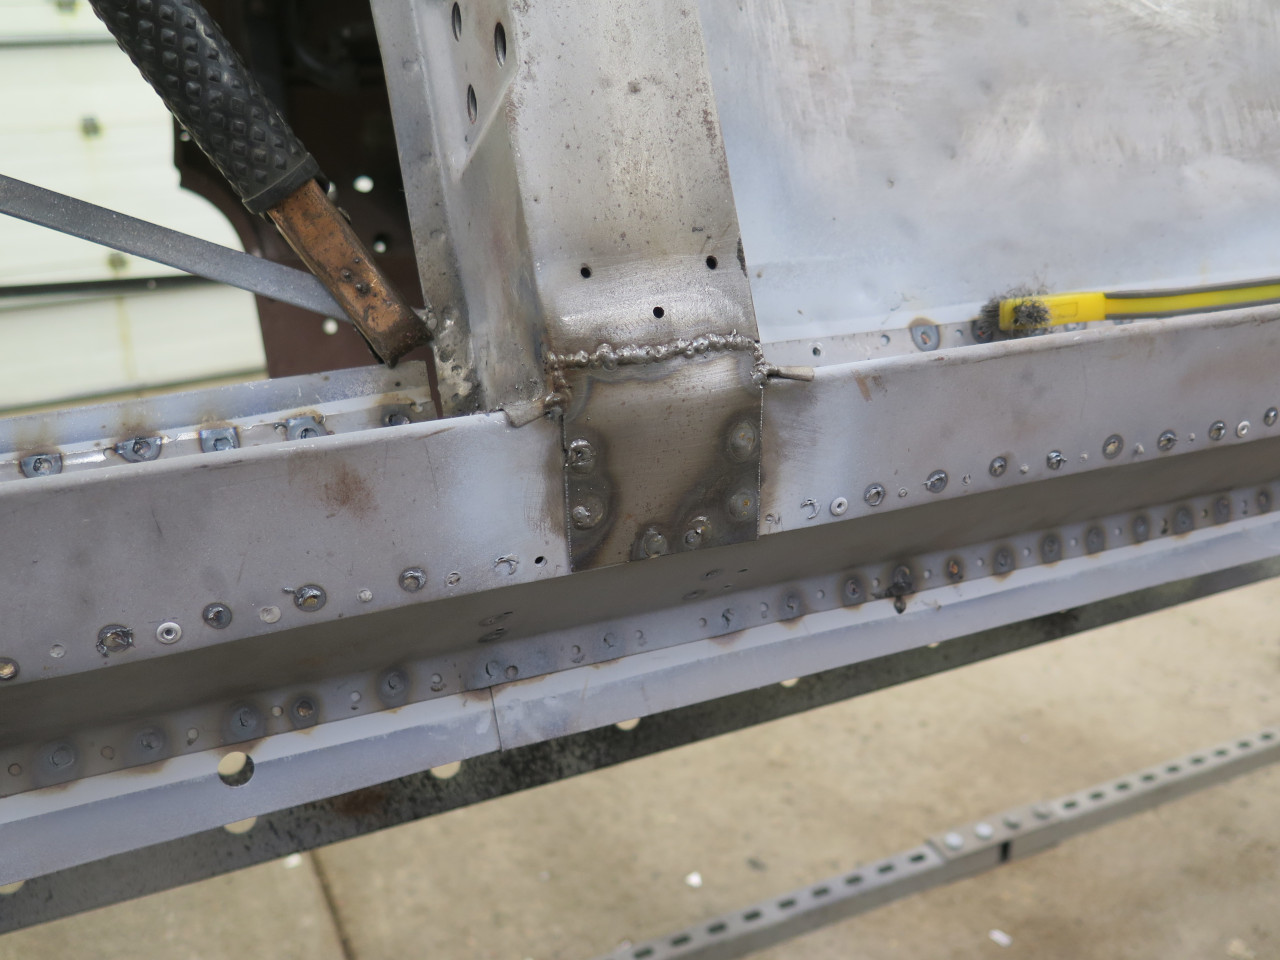
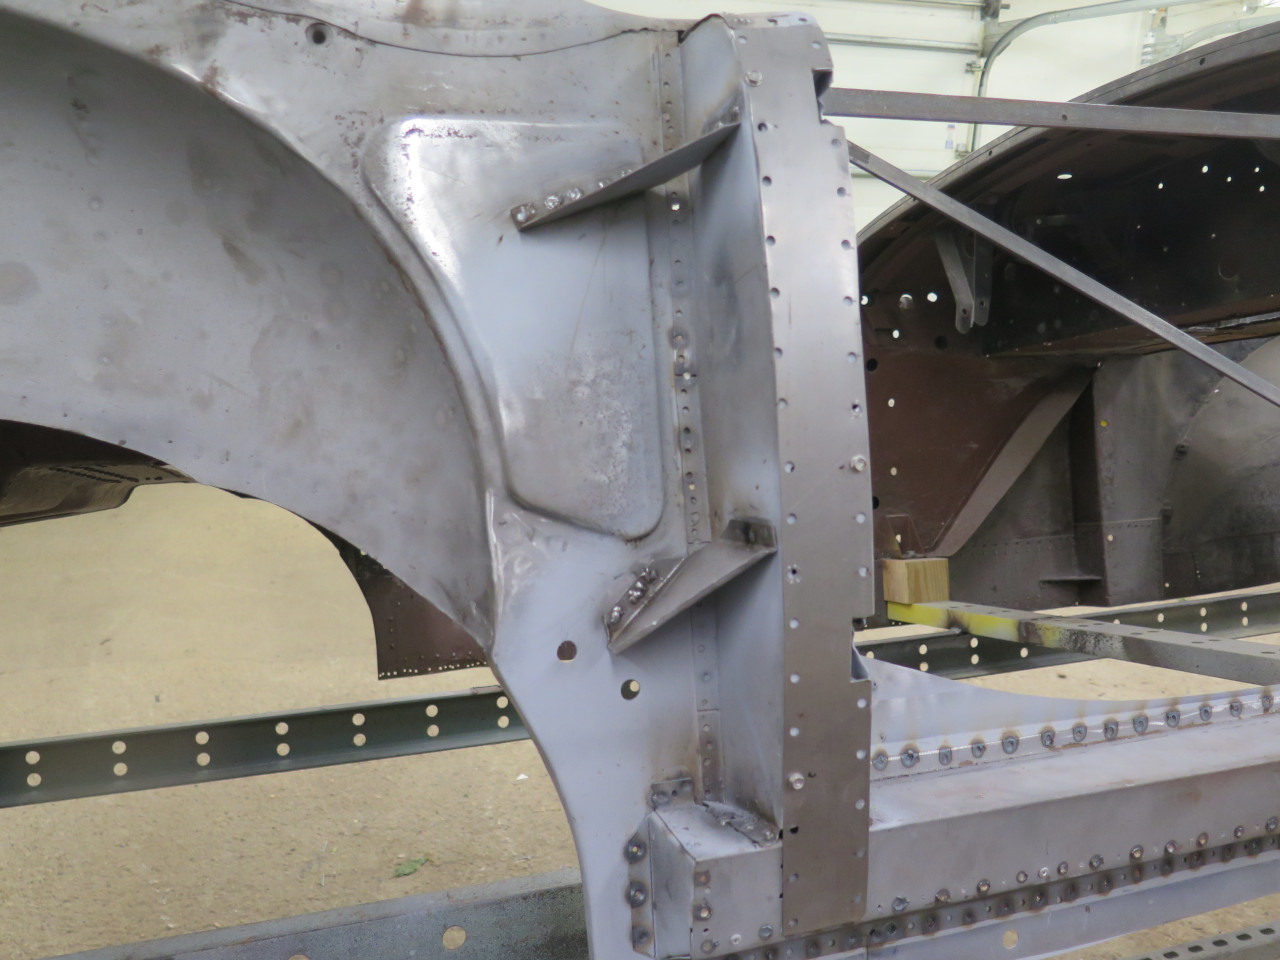
Everything buttoned up.
But in the couple of weeks it took to do this work, our wonderful
Midwest humidity had already formed some flash rust in some areas.
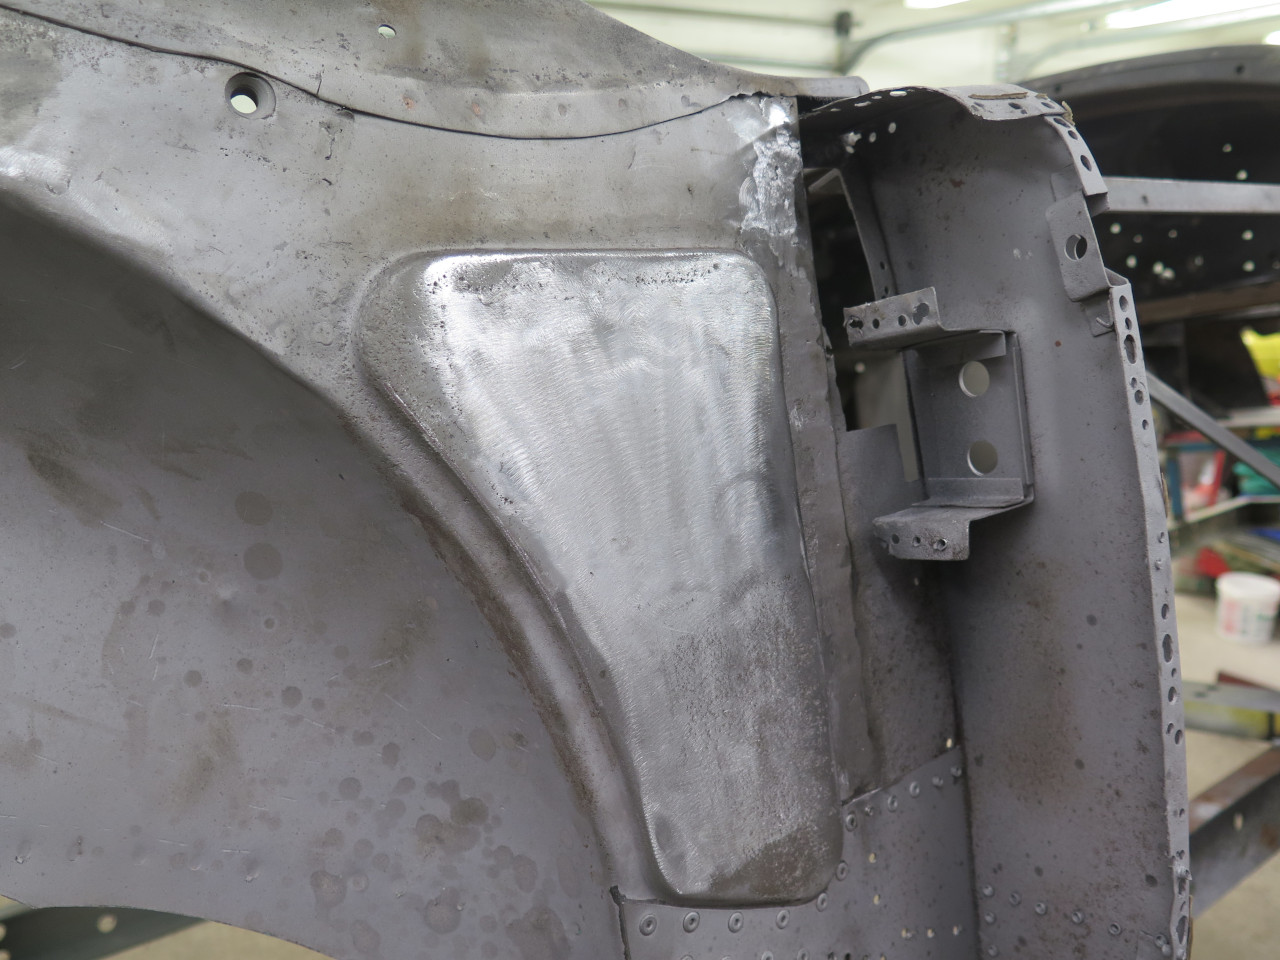
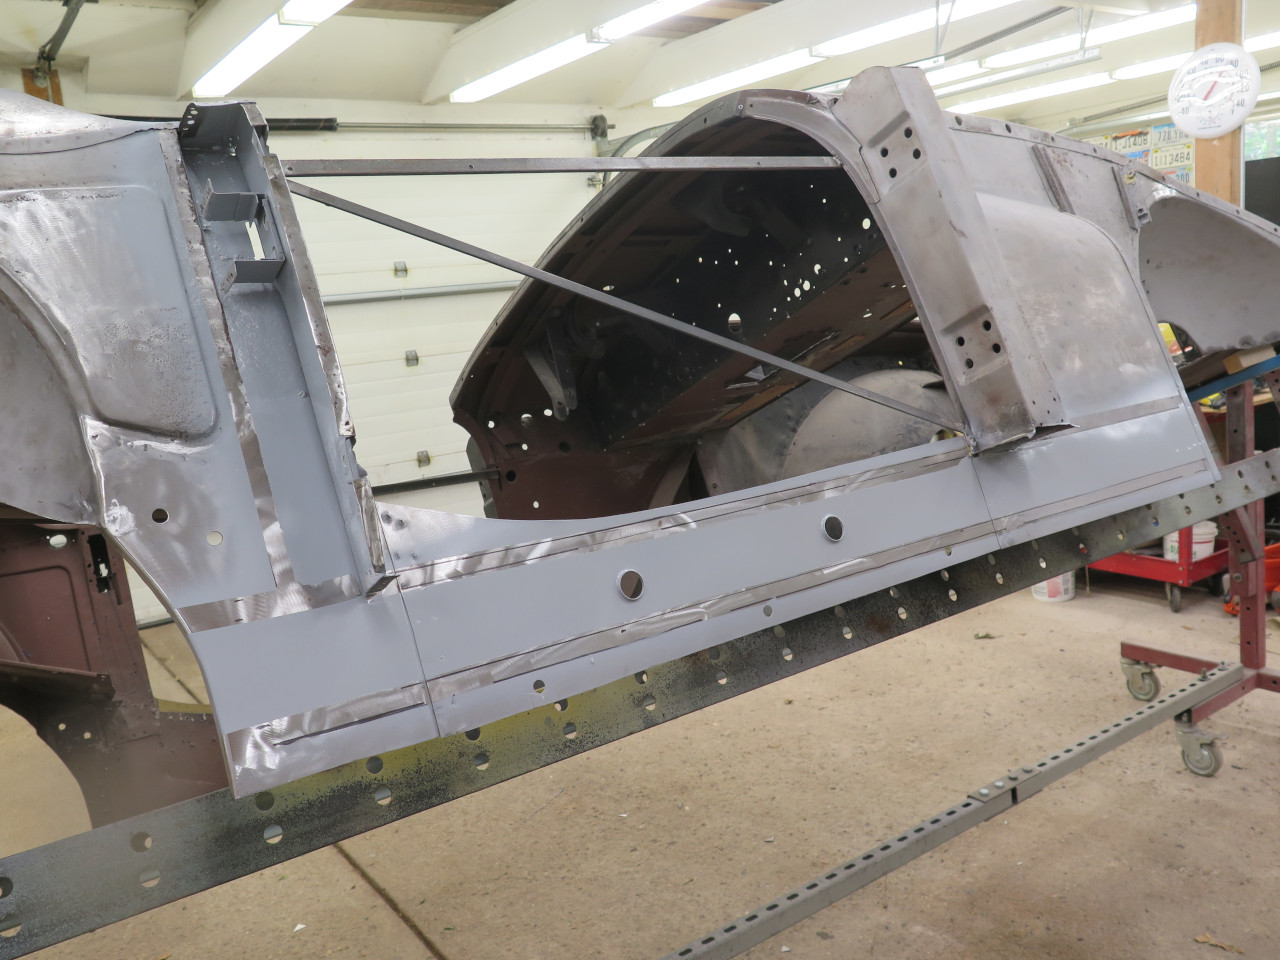
So one more blast to clean up the rust and the welds, and give a nice
tooth for paint.
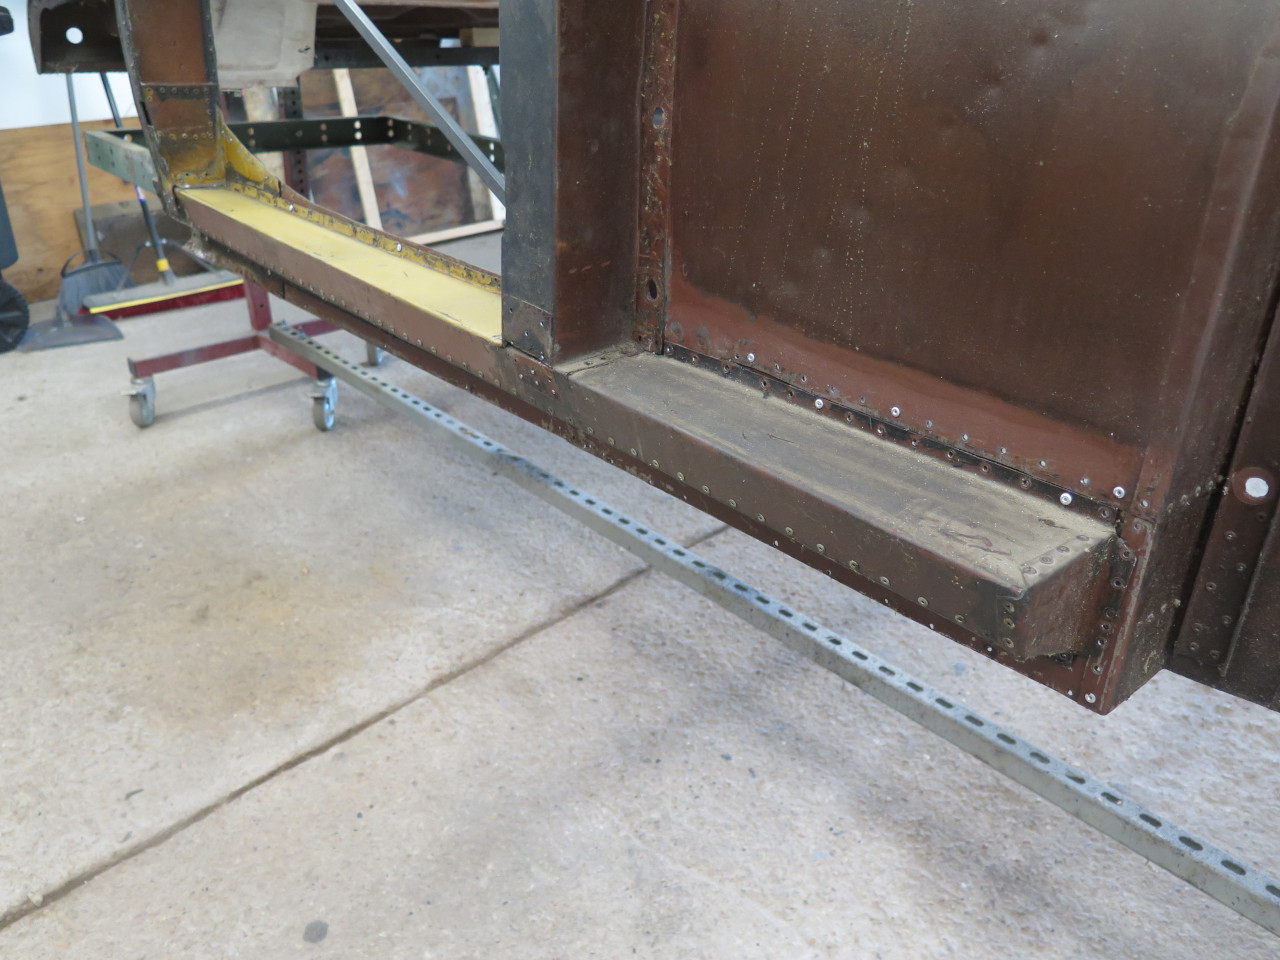
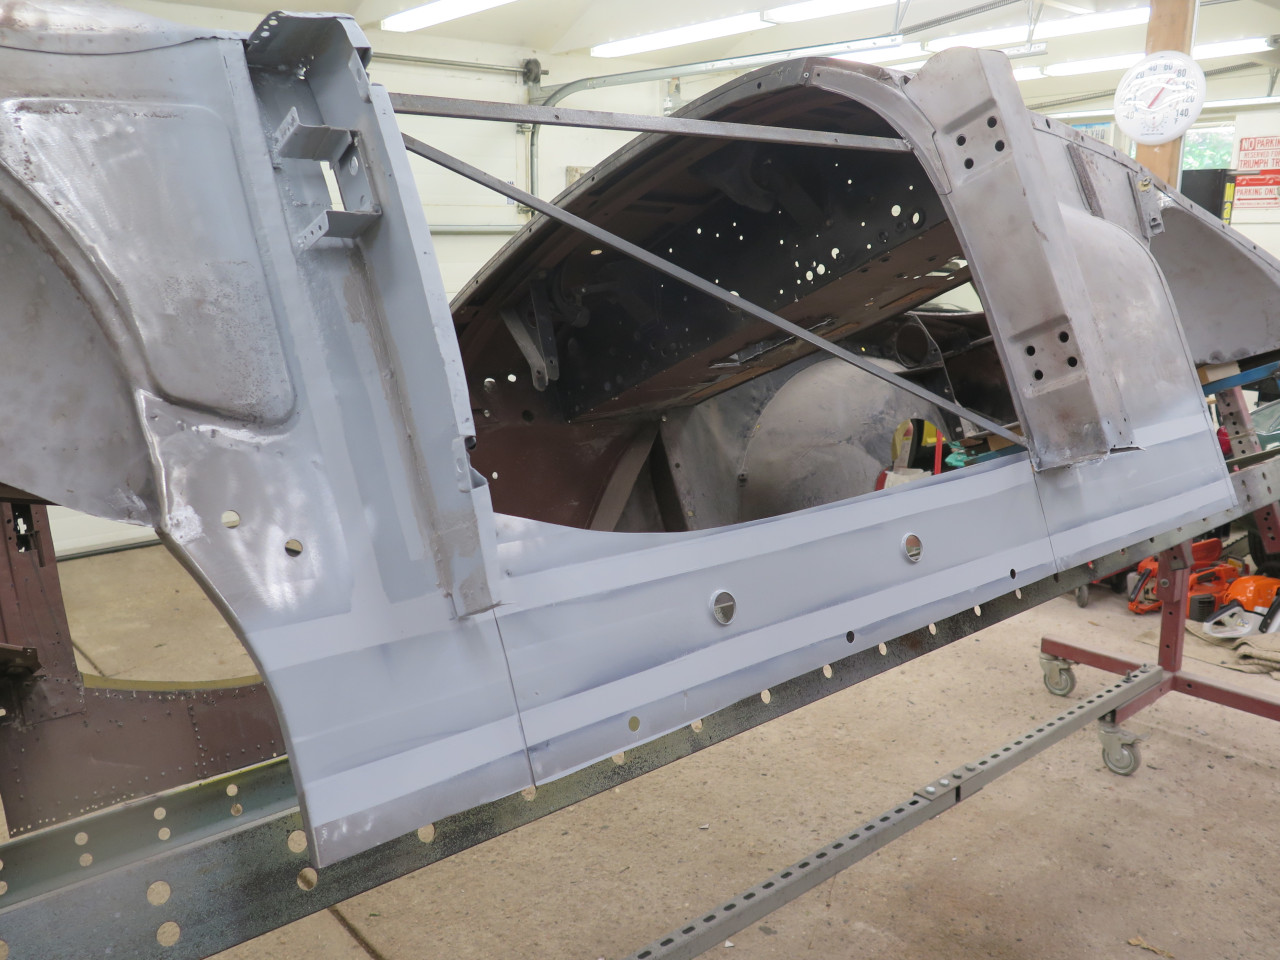
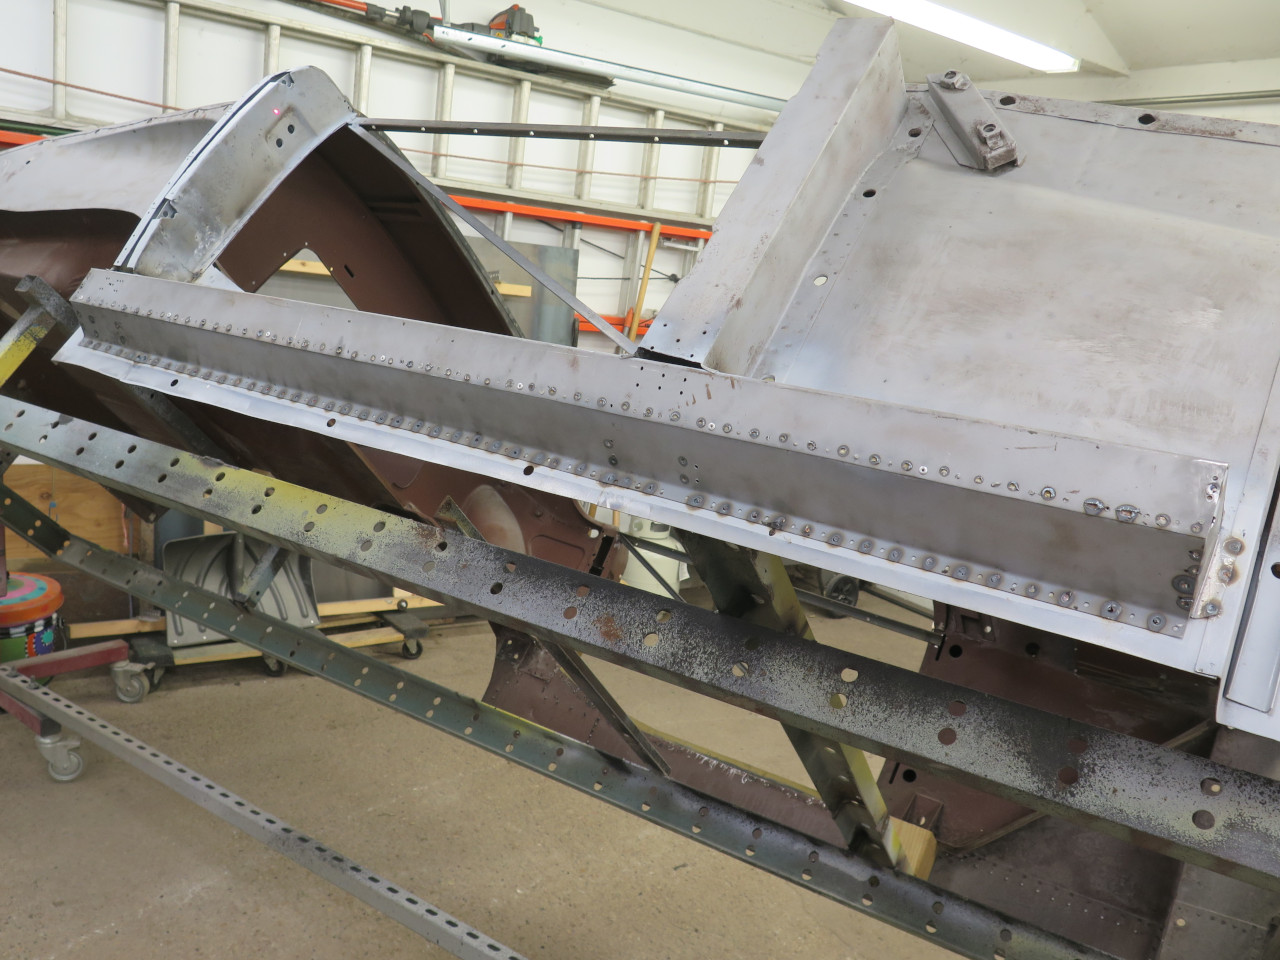
Then a couple of coats of epoxy primer.

It's sort of the paint's job to hide all the work done, but the backside gives it away.
This was a bit of a slog. Now it's on to the other side, which appears to be in similar shape.
Comments to Ed at elhollin1@yahoo.com
To my other MGA pages