To my other MGA pages
April 27, 2025
Front Suspension
The MGA used a pretty conventional double wishbone suspension system at
the front. The only sort of unique thing about it is that the
damping is done at the upper wishbone pivot. The lever arm of the Armstrong damper forms the upper wishbone.
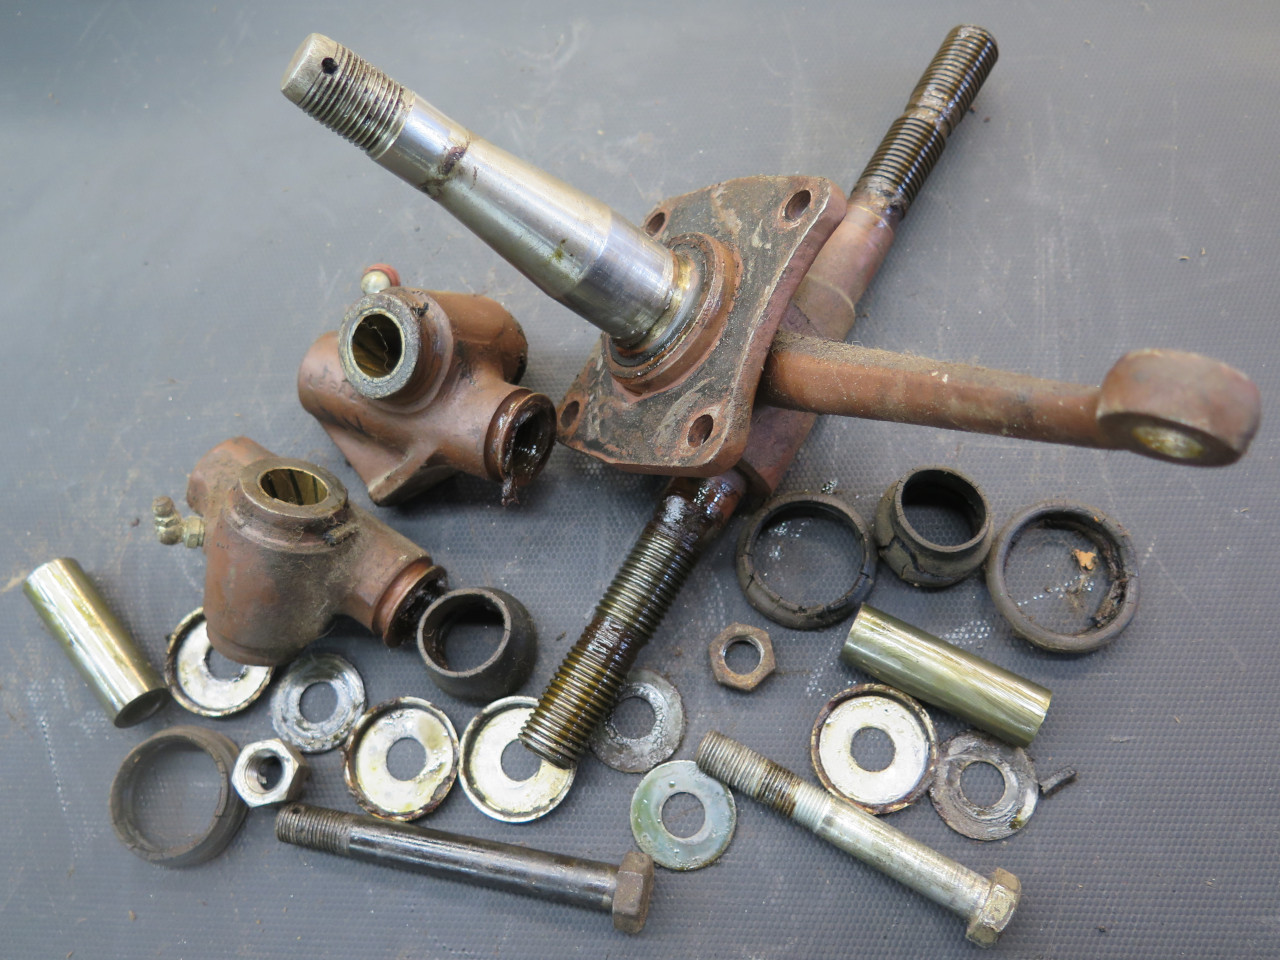
I went to the garage to collect a pile of rusty metal that I had liberated from the front of the chassis.
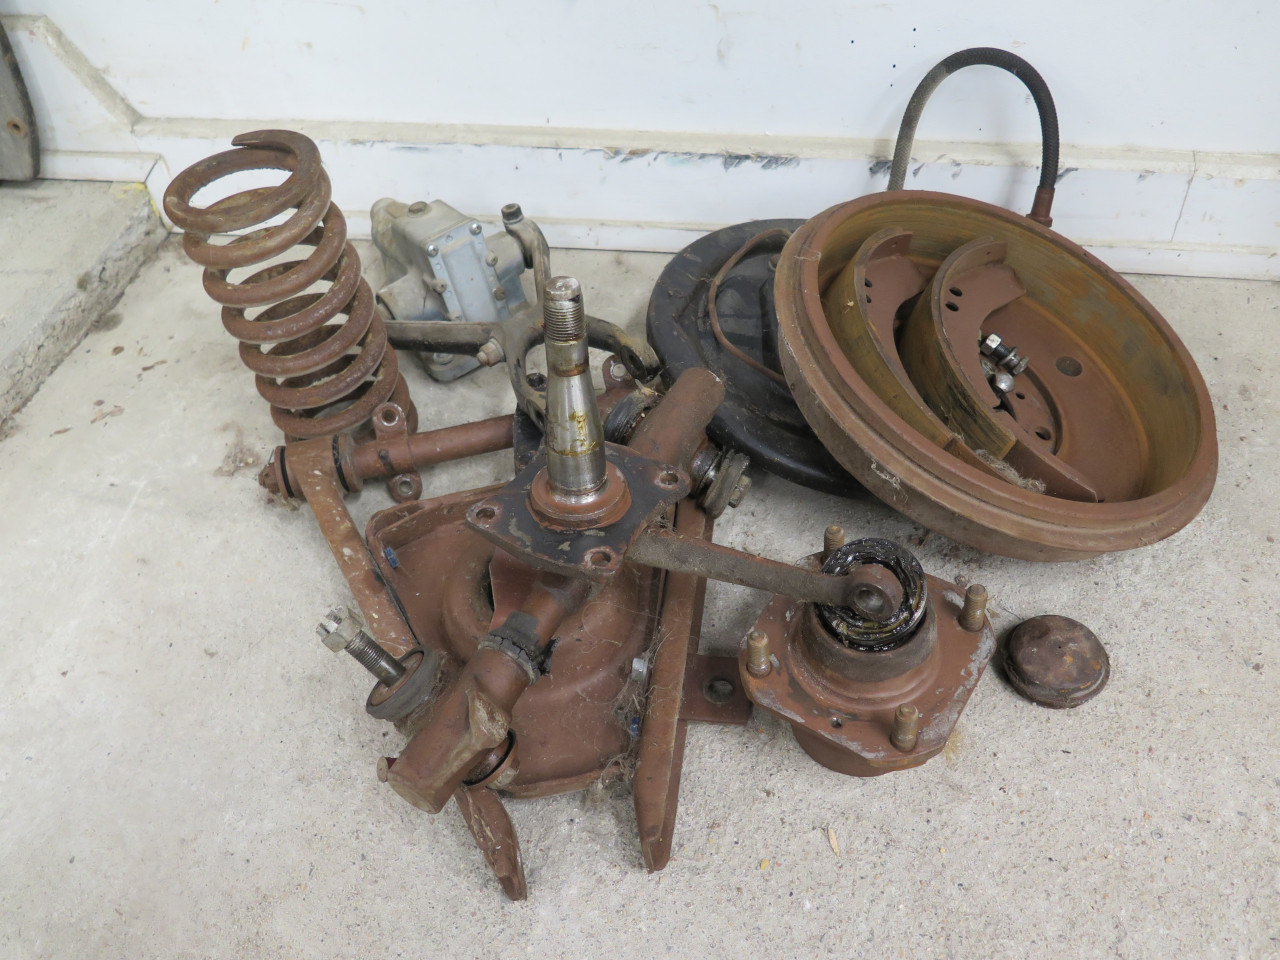
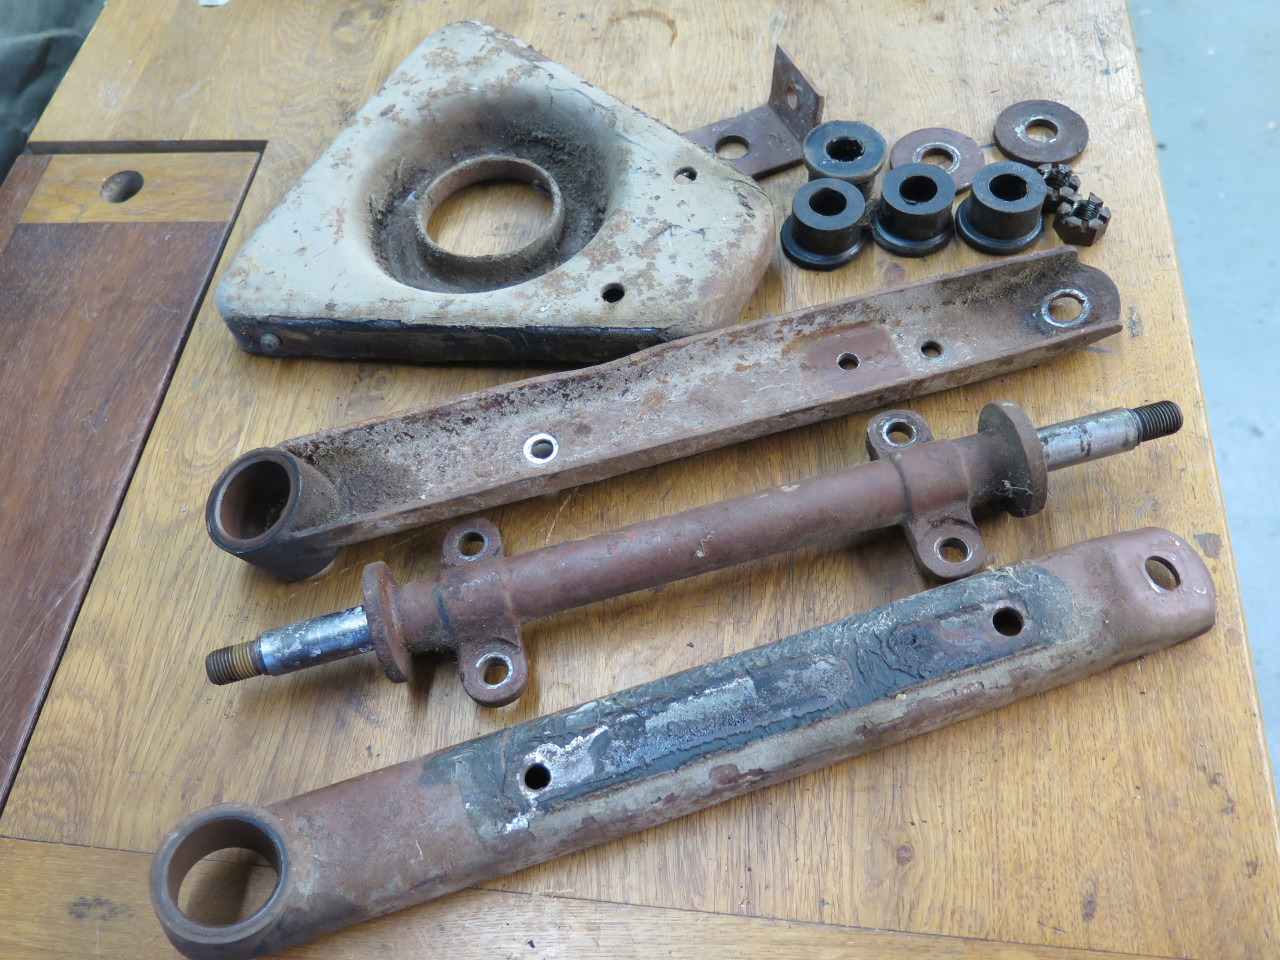
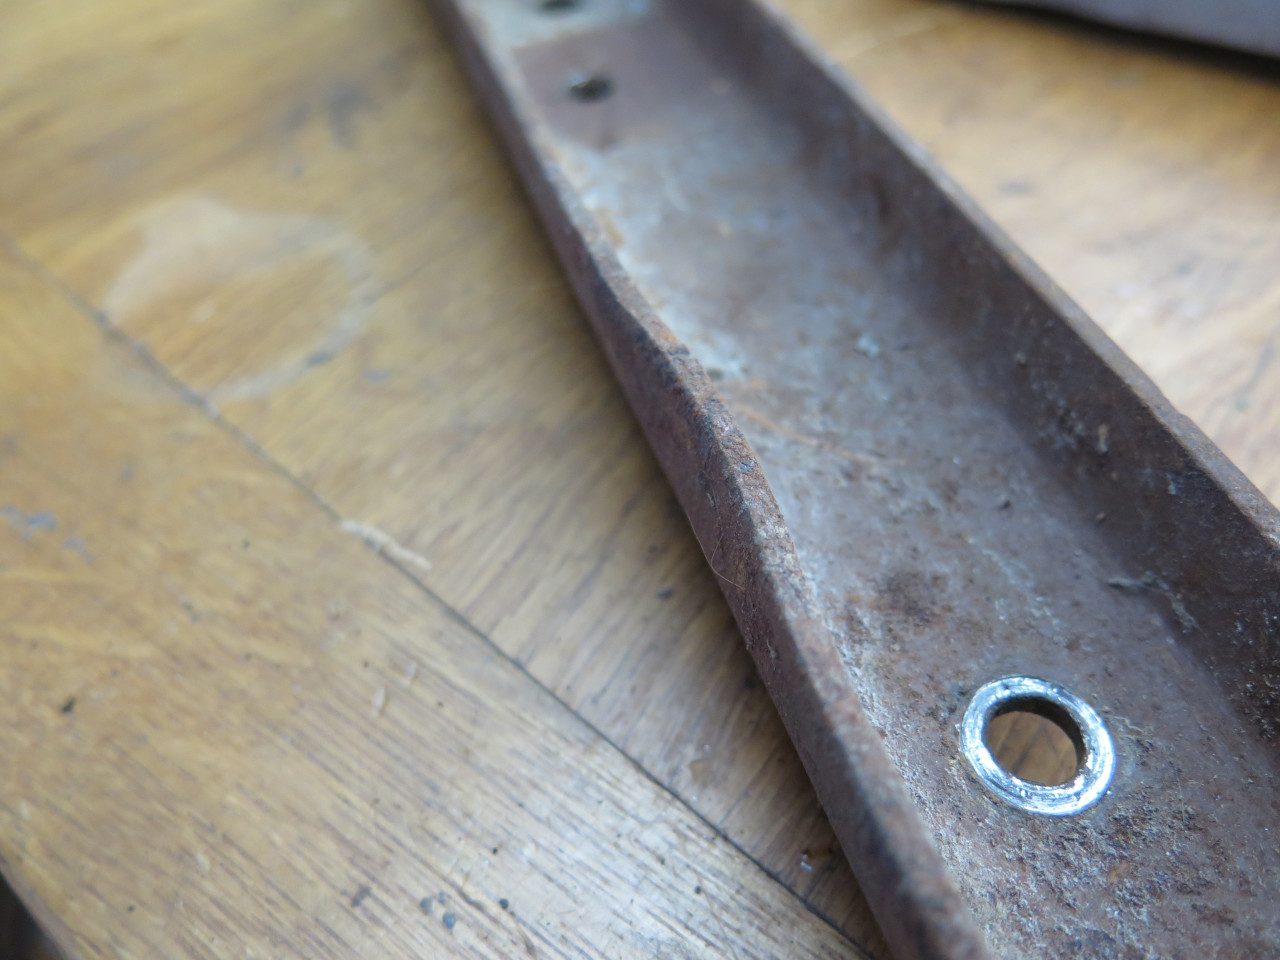
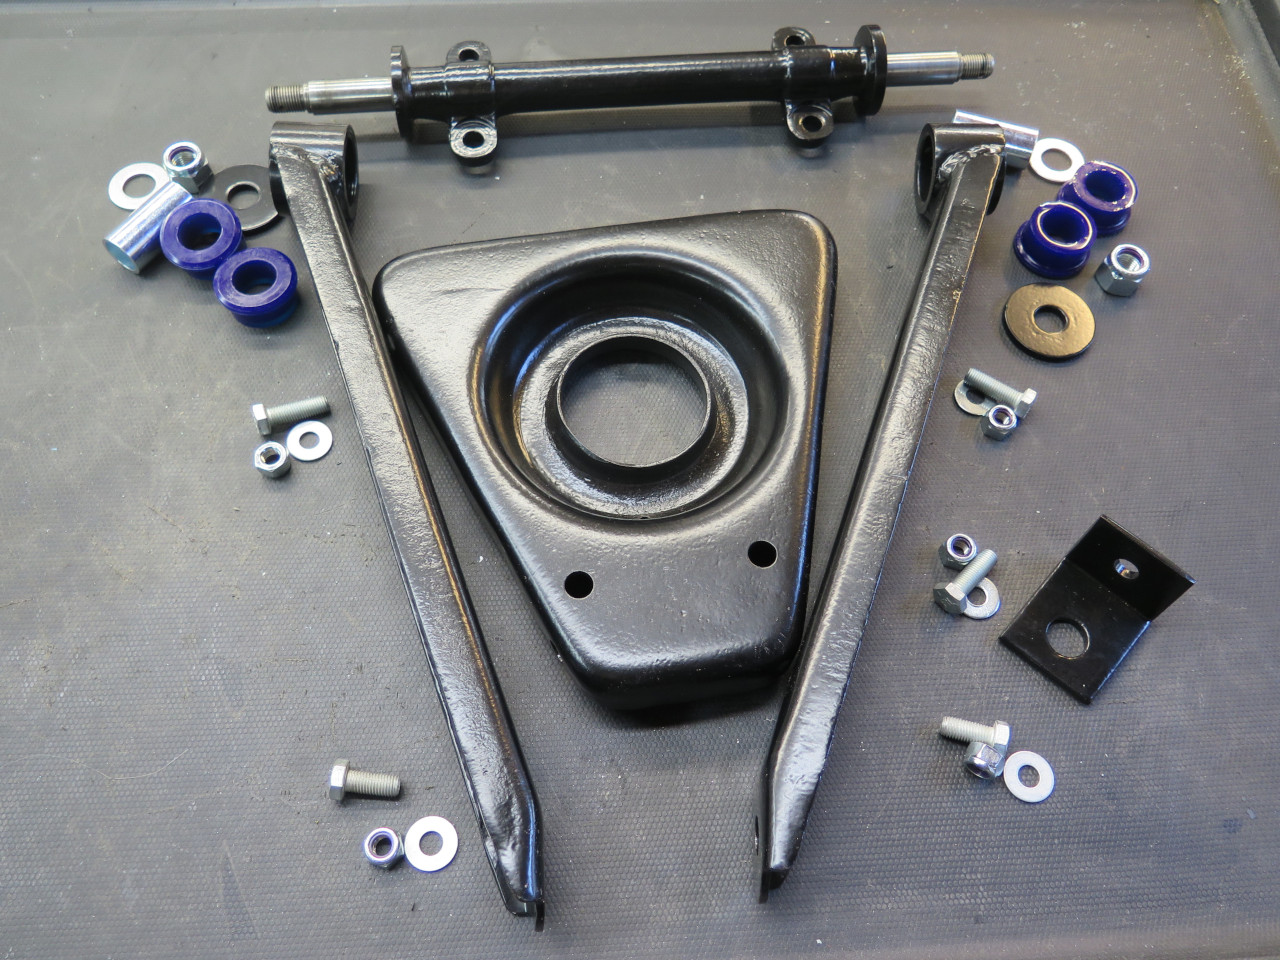
I started with one of the lower wishbones. It consists of a pair
of arms with a spring pan between them. The photos that follow
could be from either side of the car, depending on which was the better
image.
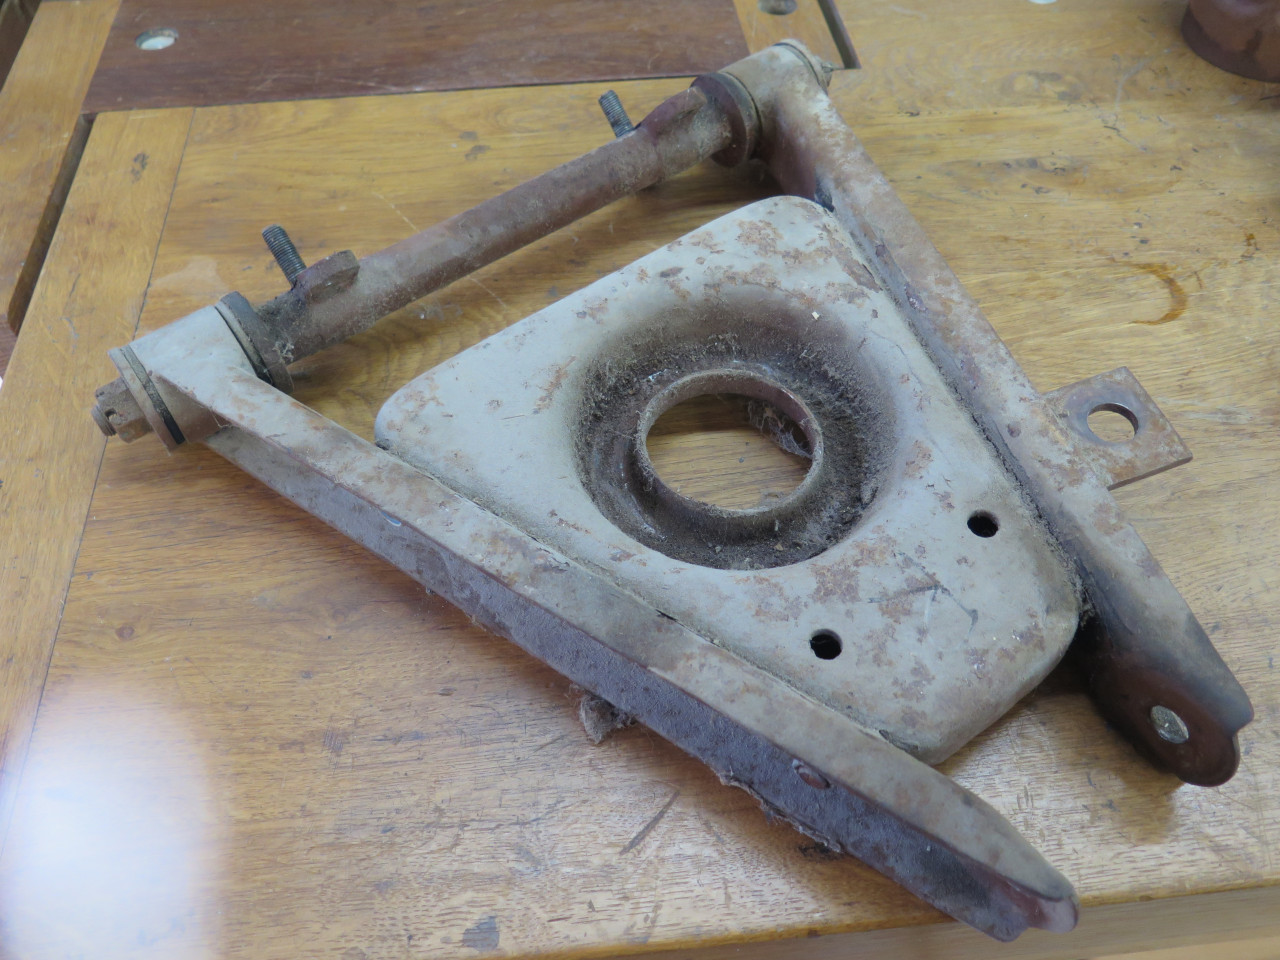
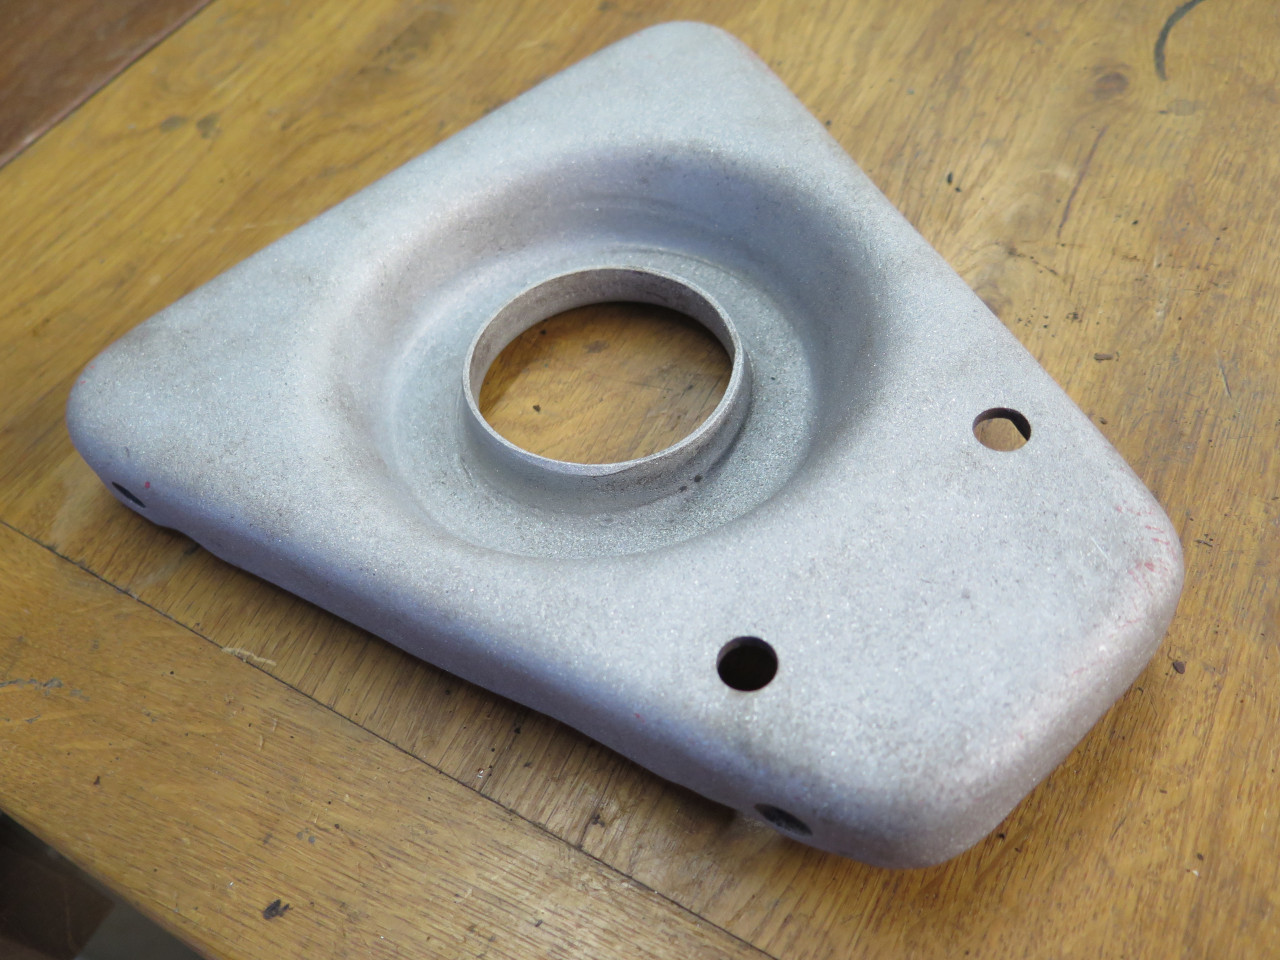
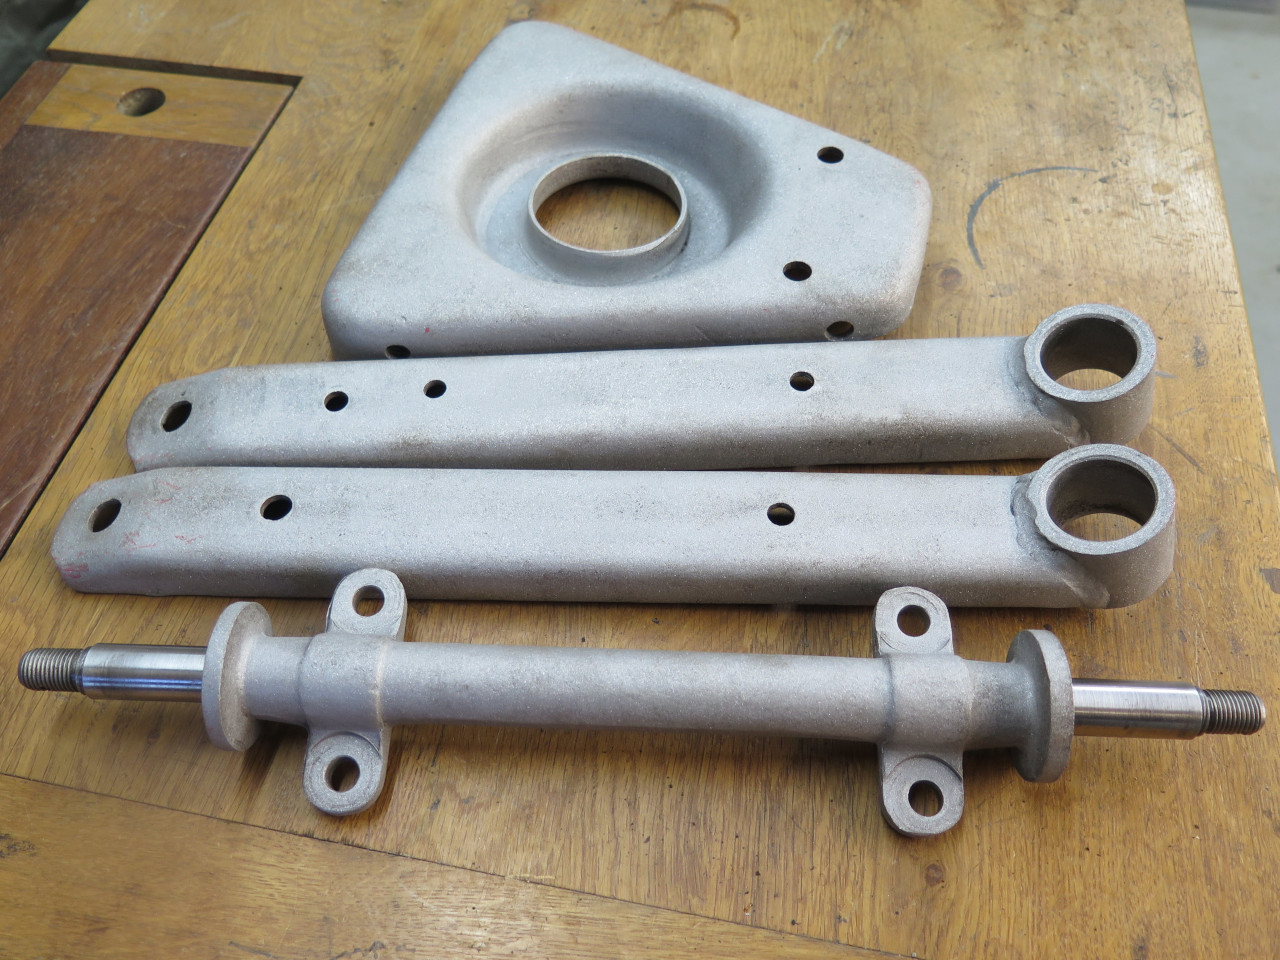
The spring pan got blasted.
The arms had some minor distortions that got fixed.
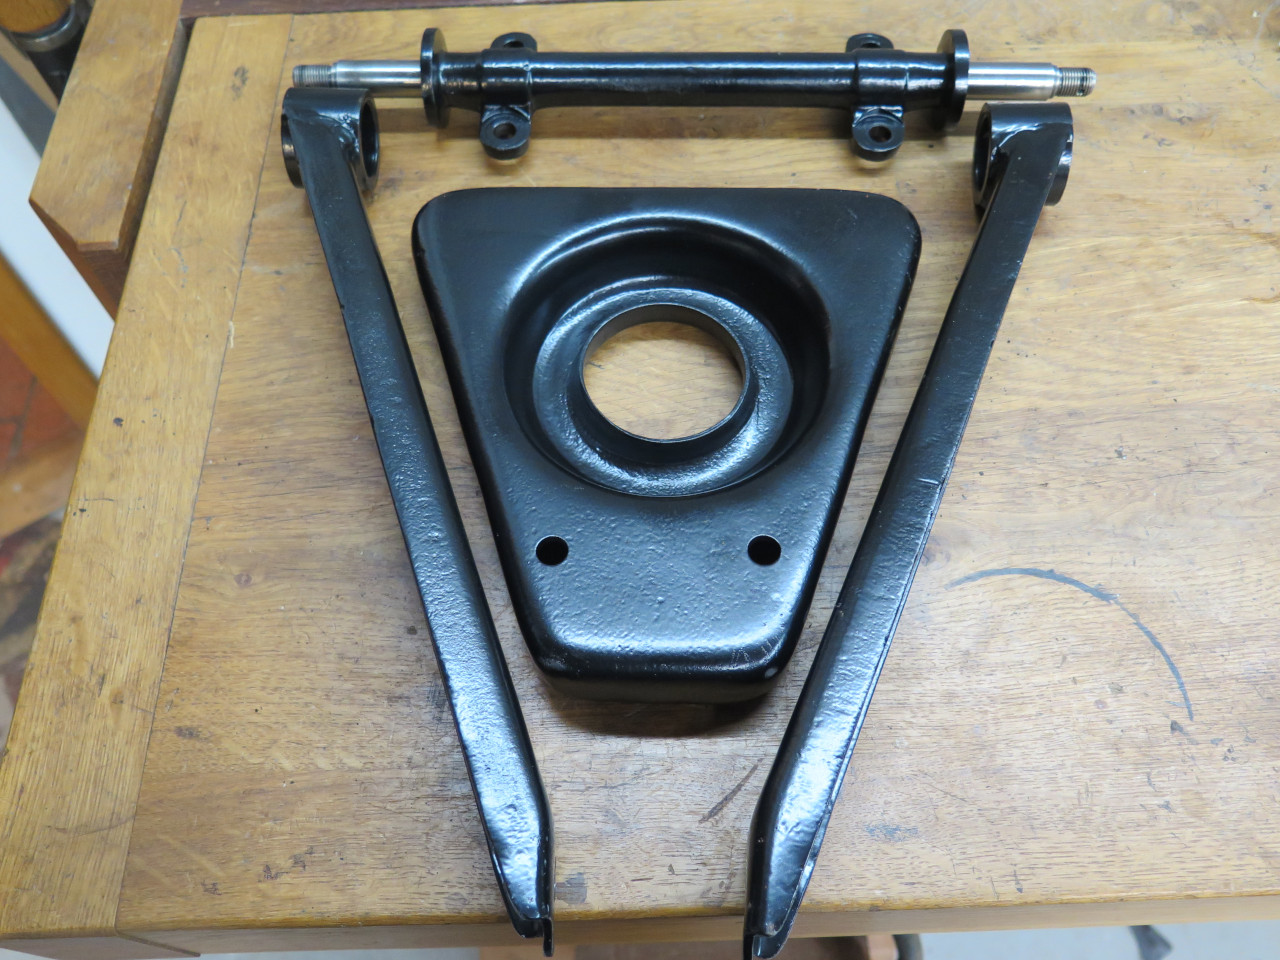
Everything got blasted and powder coated.
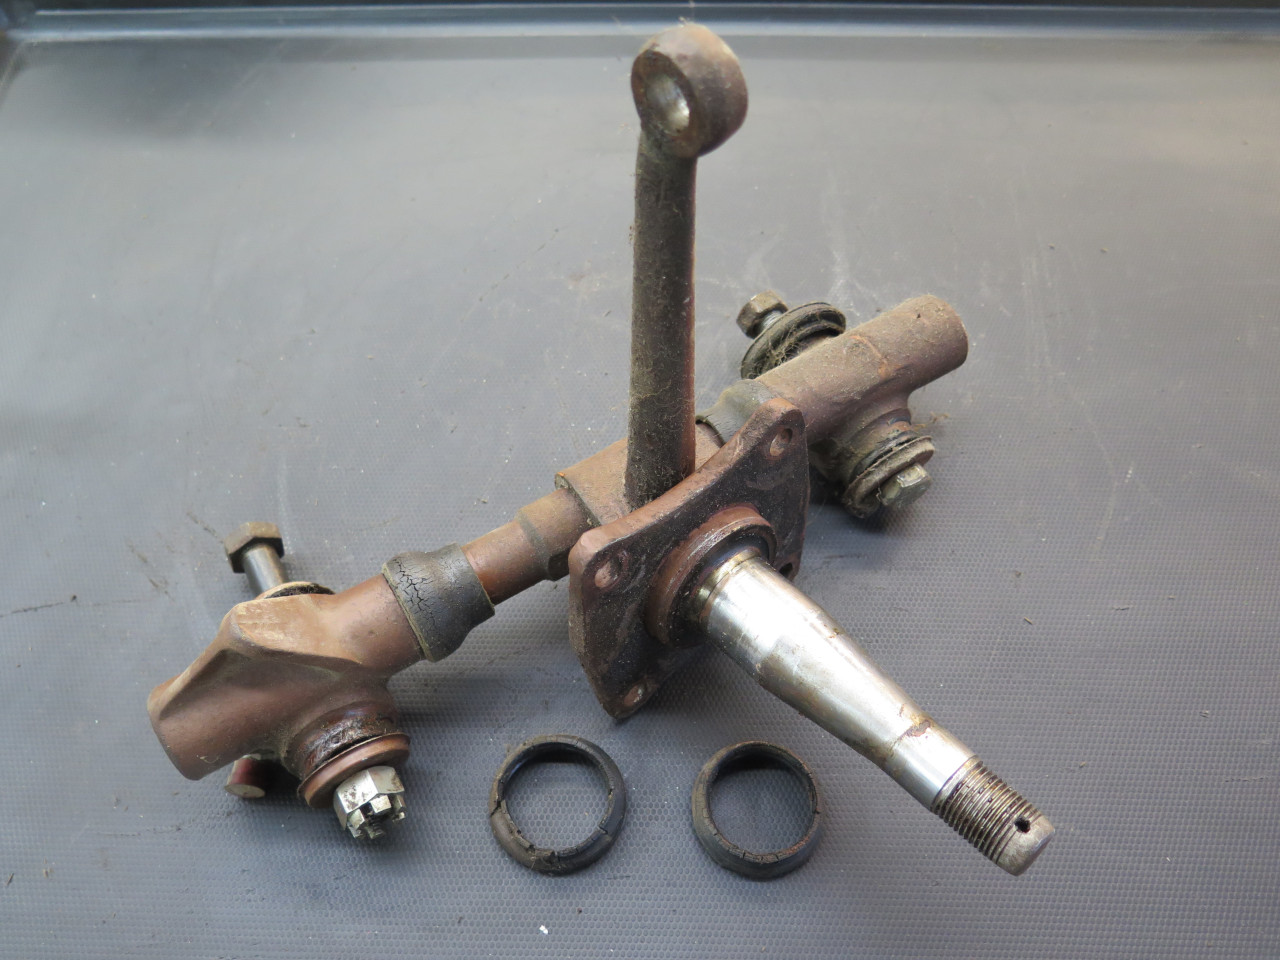
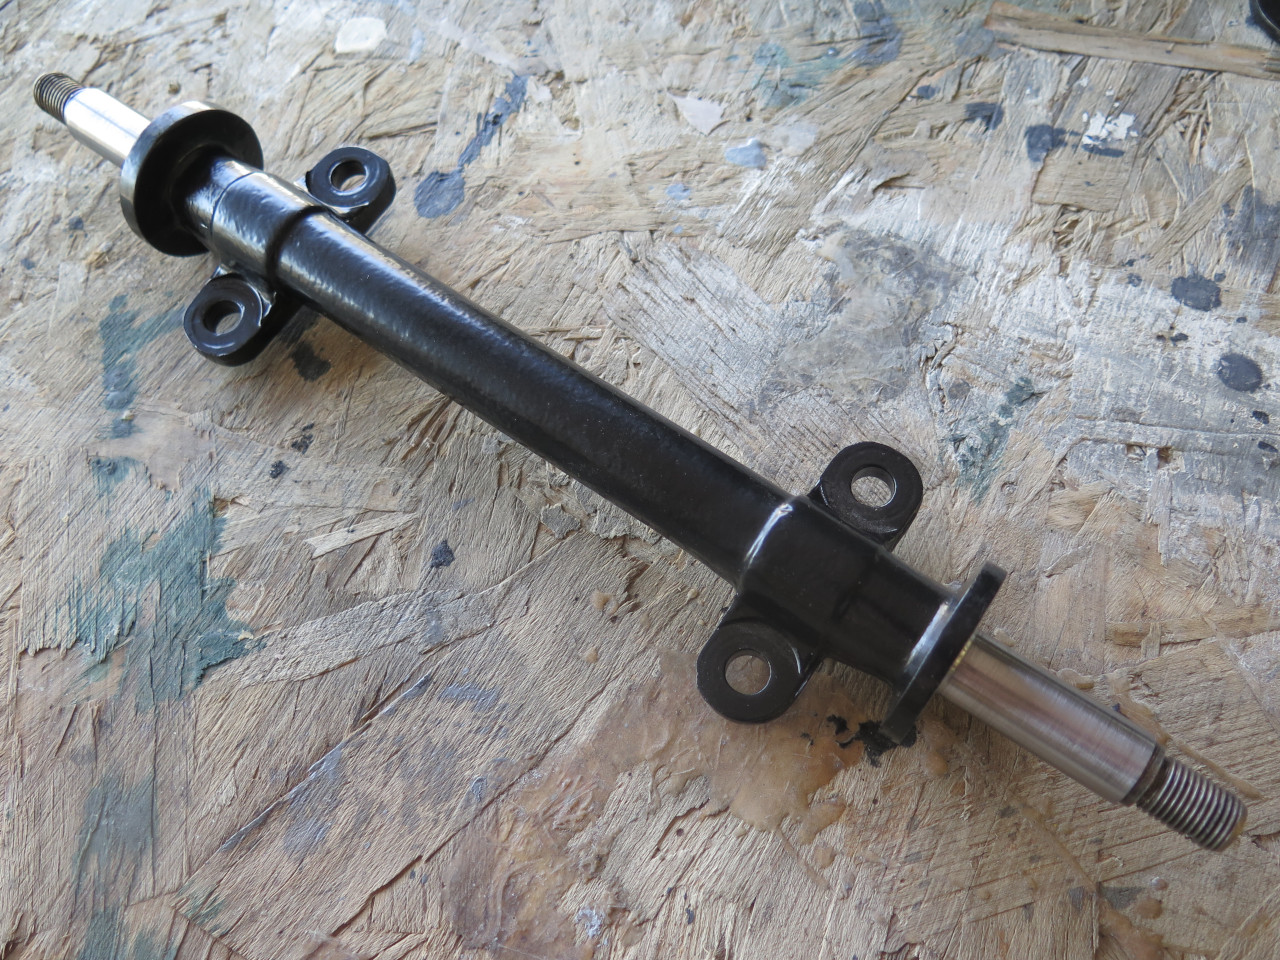
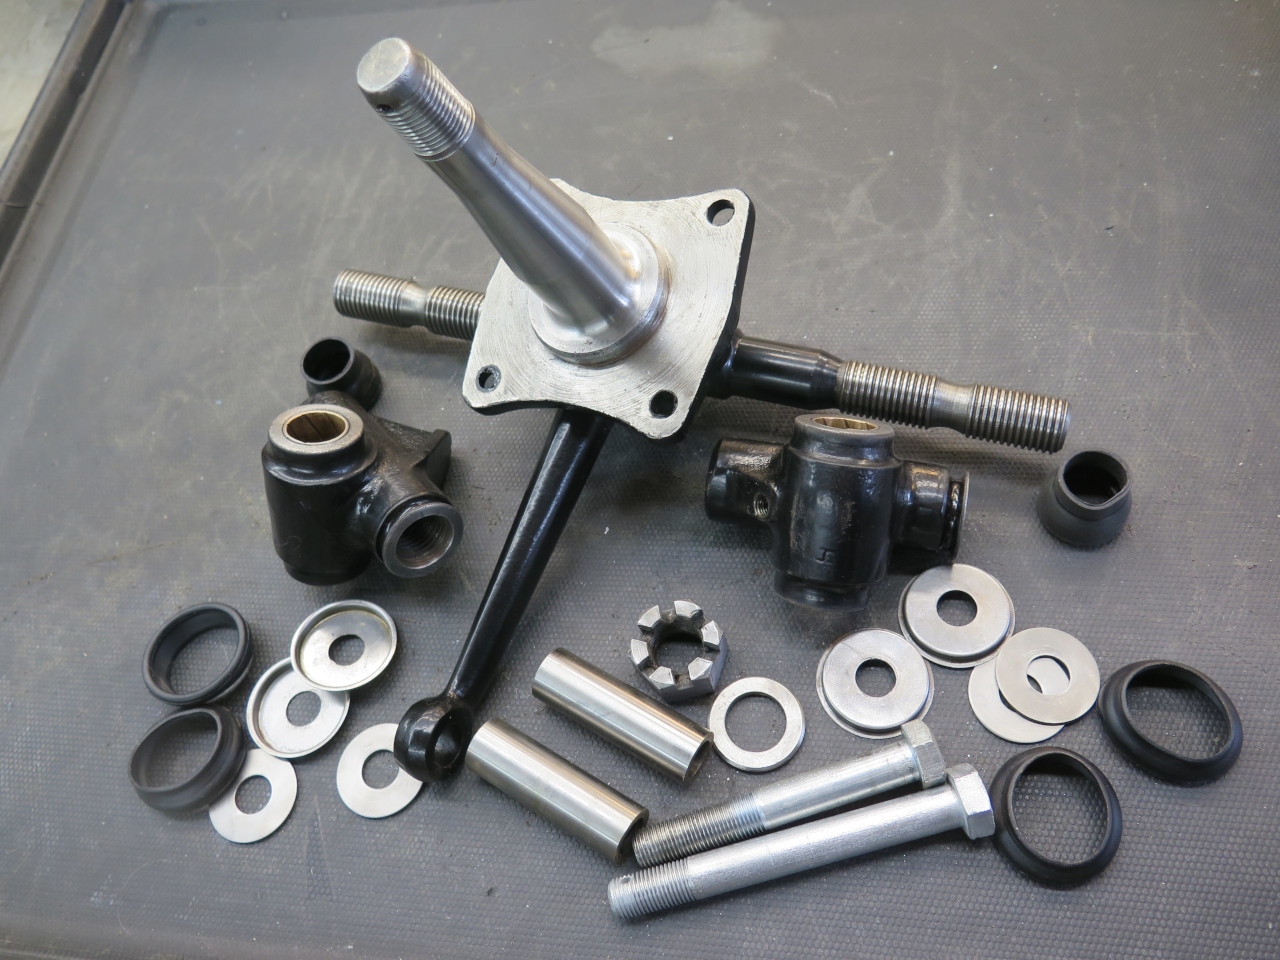
Then, on to the vertical link. It has quite a few pieces.
The trunnions seemed to still be a nice fit, with little play.
Inspection showed that the threads for the trunnions were in really good
shape.
The link and trunnions got blasted...

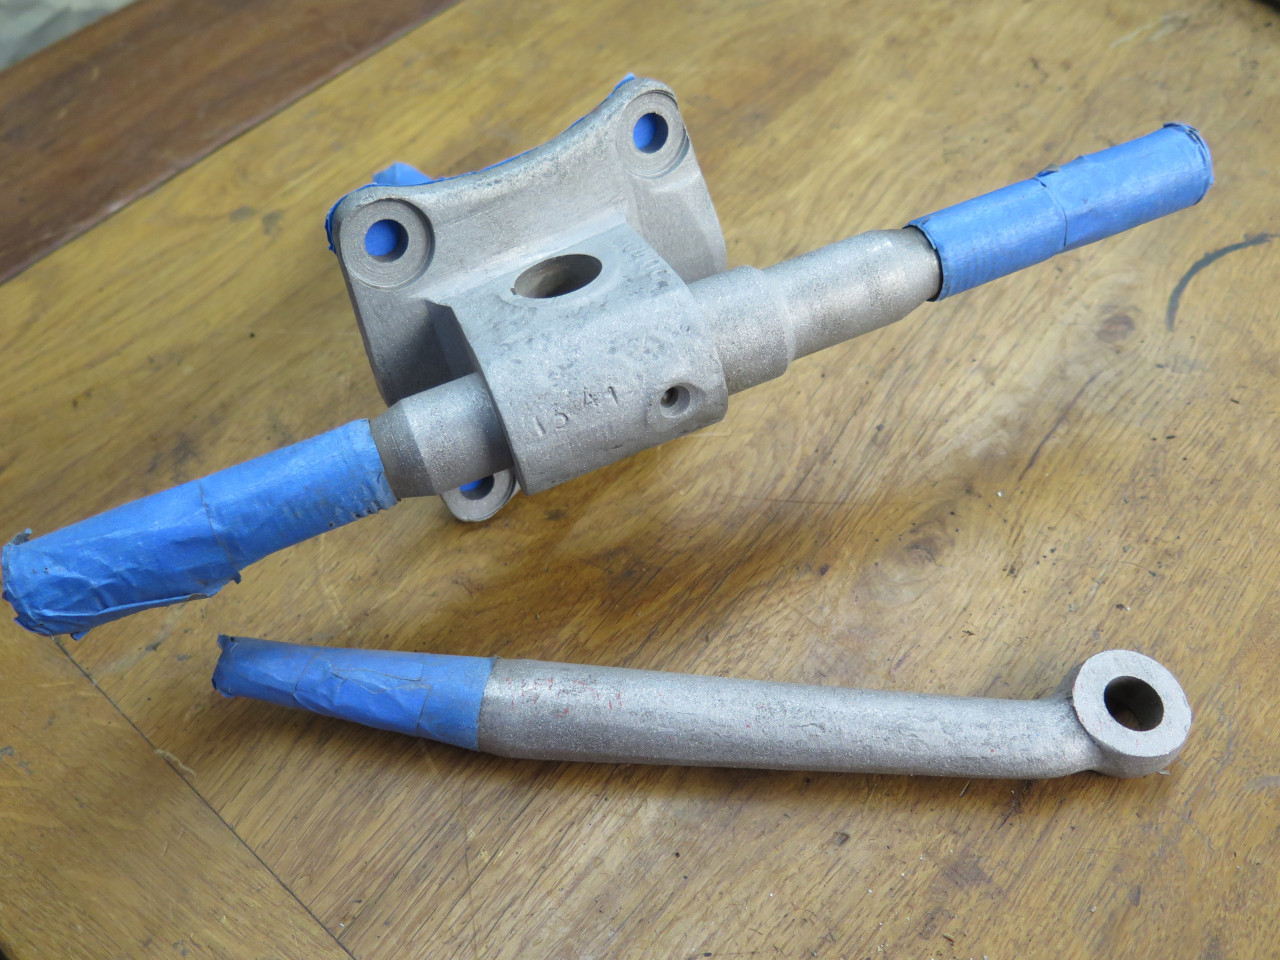
...and powder coated.

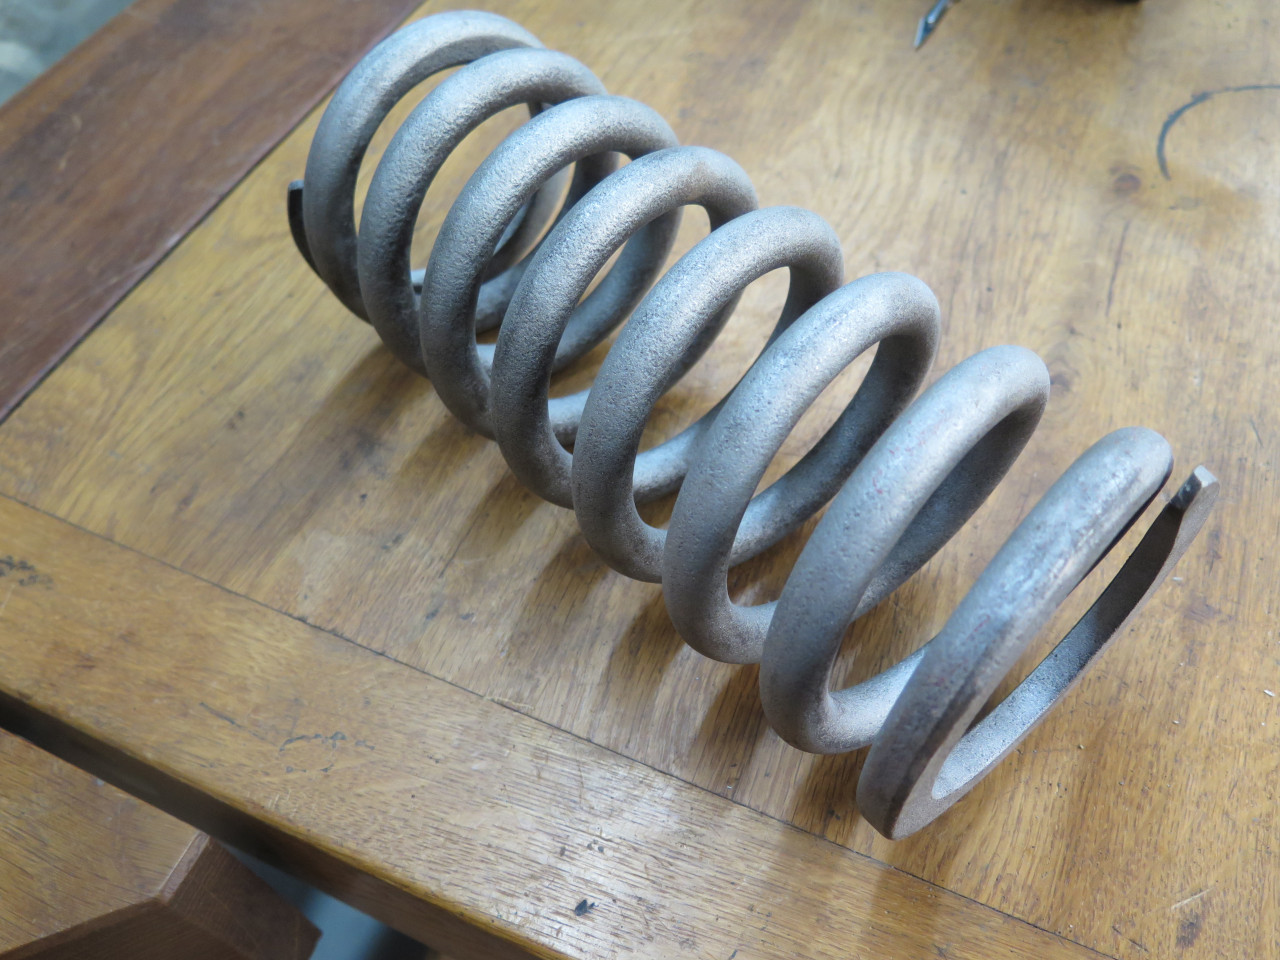
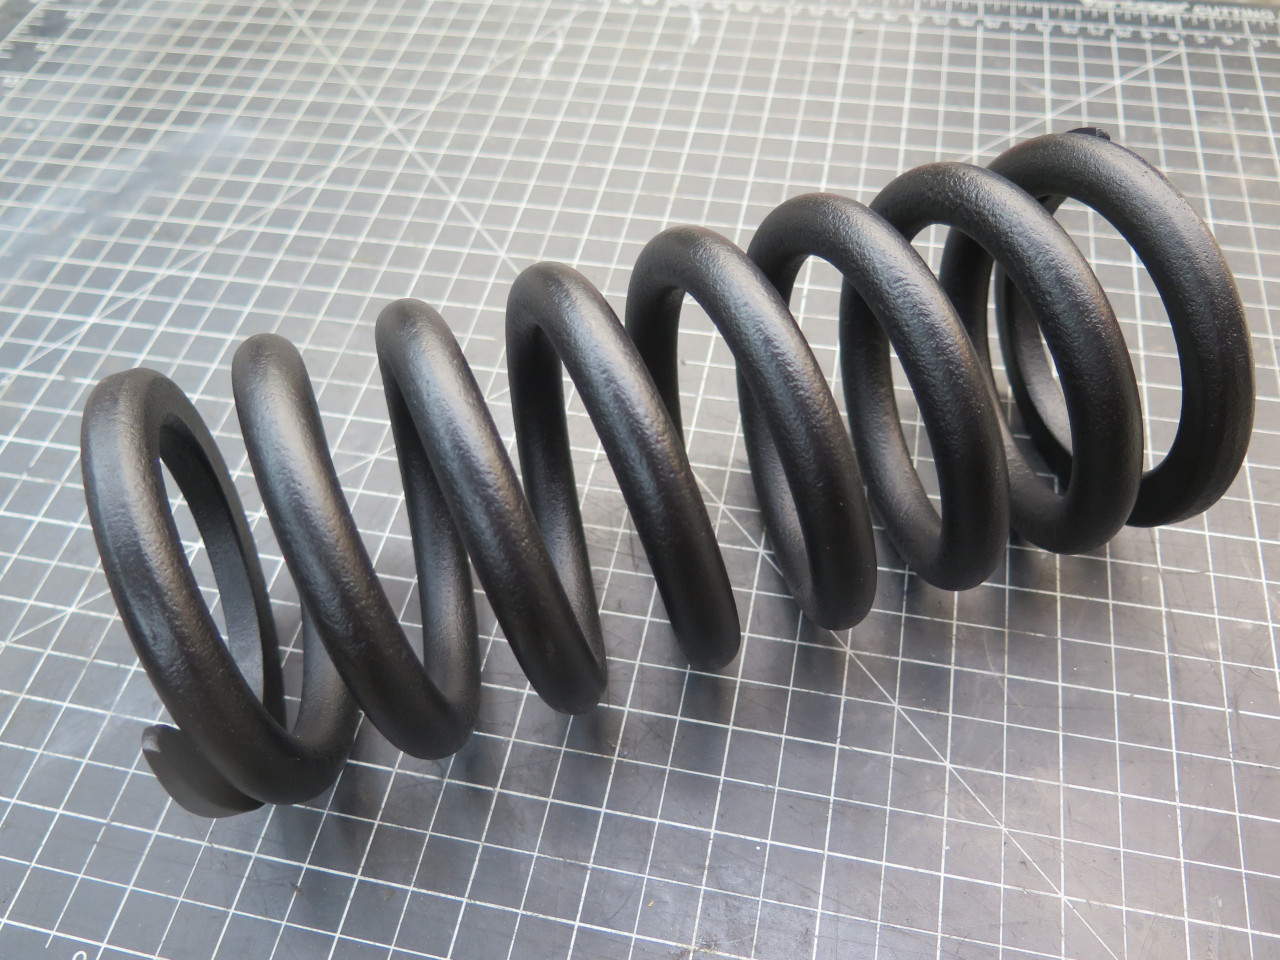
The road spring likewise. It may not be necessary, but I use a
special low temperature powder coat on springs to avoid affecting the
temper of the steel.

Getting ready for install, I considered the mounting bushings.
It's widely believed that modern Urethane bushings are superior to the
stock rubber items, especially in longevity.
Being a rather rabid DIY sort who shies away from often overhyped and
overpriced commercial upgrade doodads, I looked into casting my own
bushings. I've done this before, and the results were fine.
The molds are trivial, but the casting material is relatively expensive,
and I soon determined that buying a set on sale was actually
cheaper. These are "SuperPro" brand, I believe.
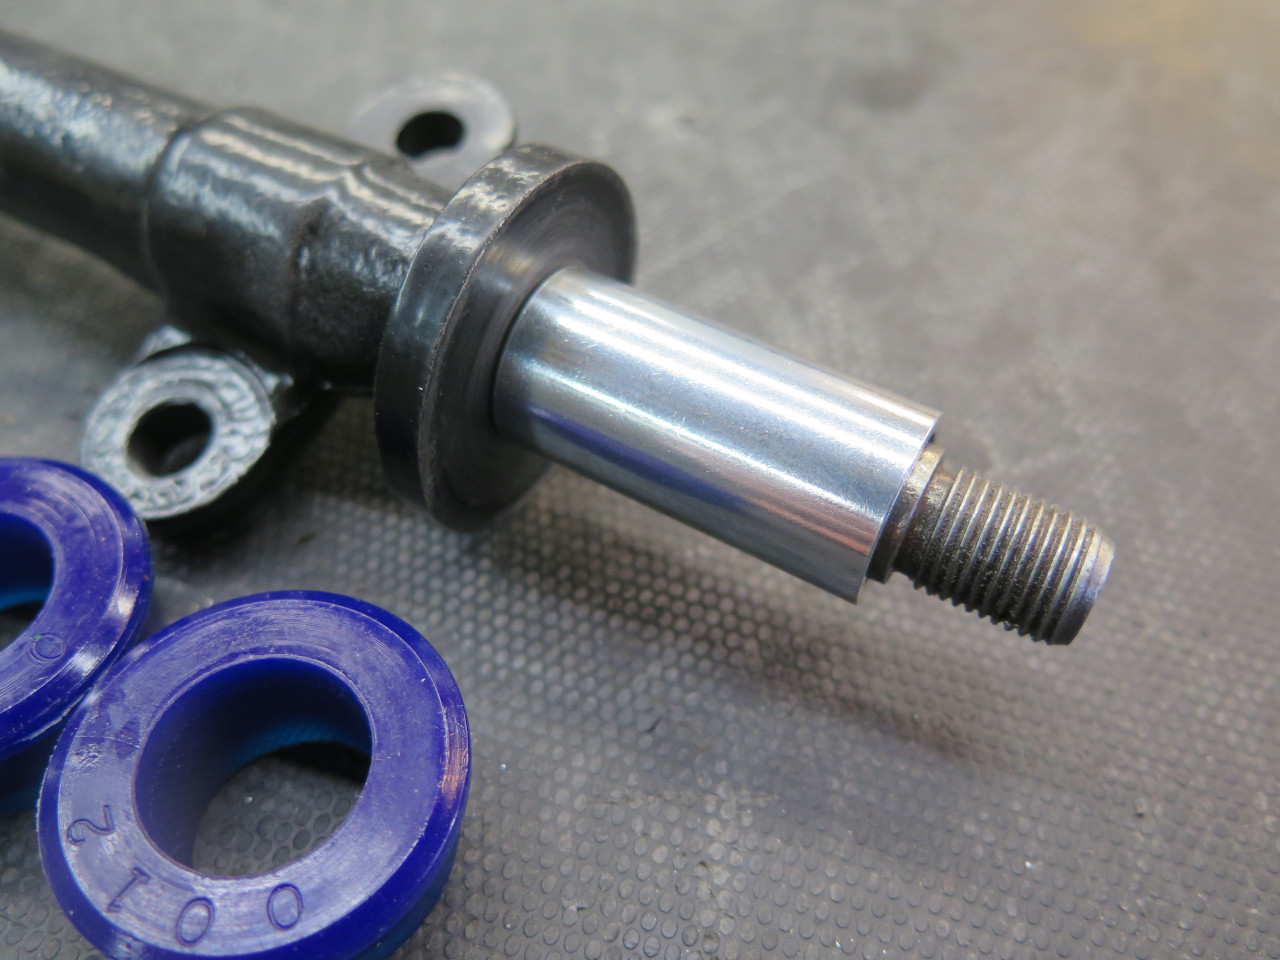
The bushes themselves were fine, but I was a little disappointed with
the steel distance tubes included in the kit. First, they were a
very tight fit on the pivot spindles. I could have driven them on,
but probably couldn't have gotten them off without damaging them.
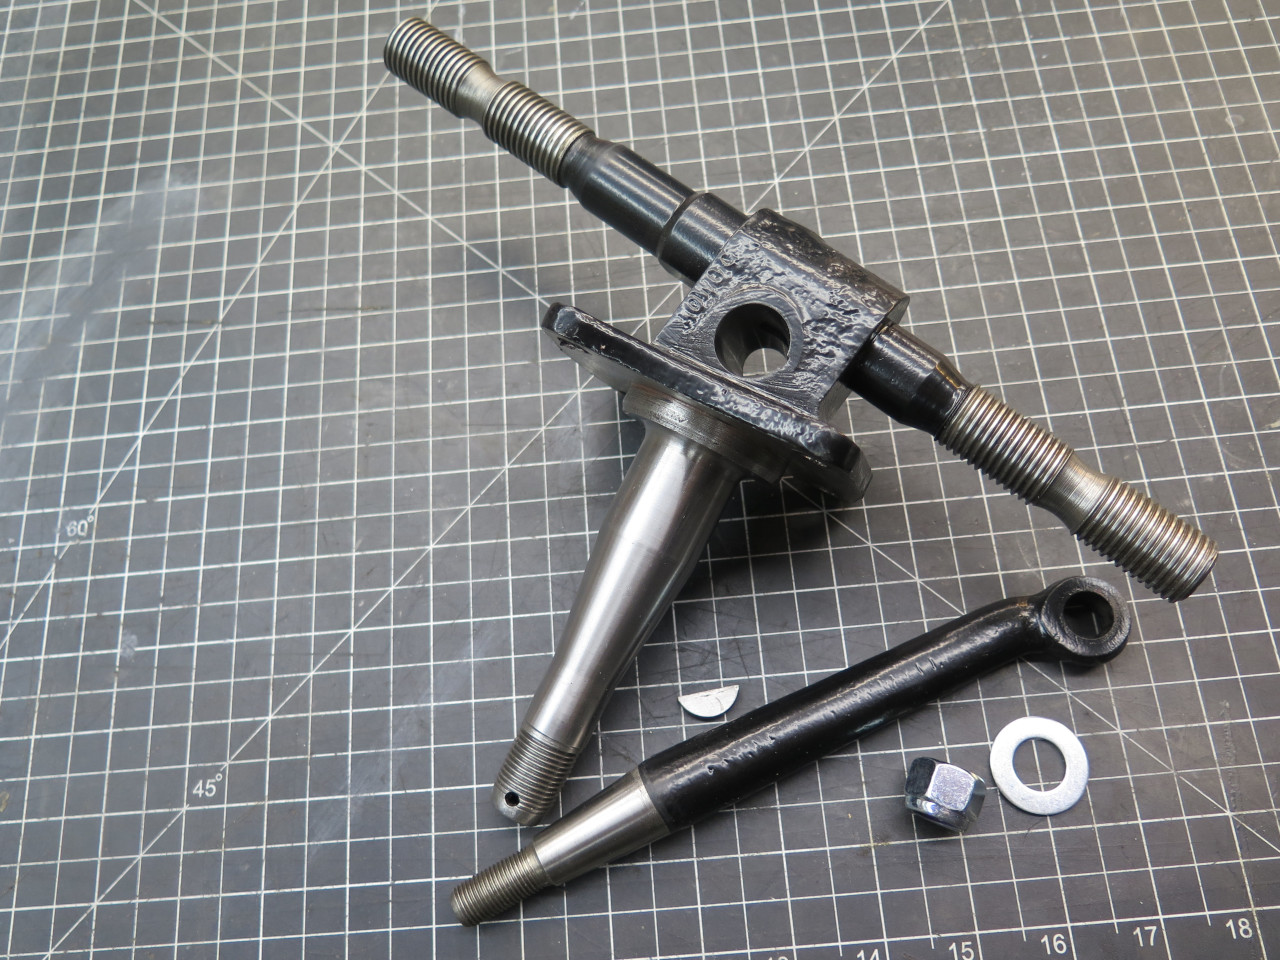
The specs for the tubes say the ID is 16 mm (0.630"), but actually
measured 0.631". The pivot spindle measured 0.632".
I was able to remove about 0.001" from the spindles to give a nice slip
fit. This had the added advantage of cleaning up the surface
finish of the spindles.
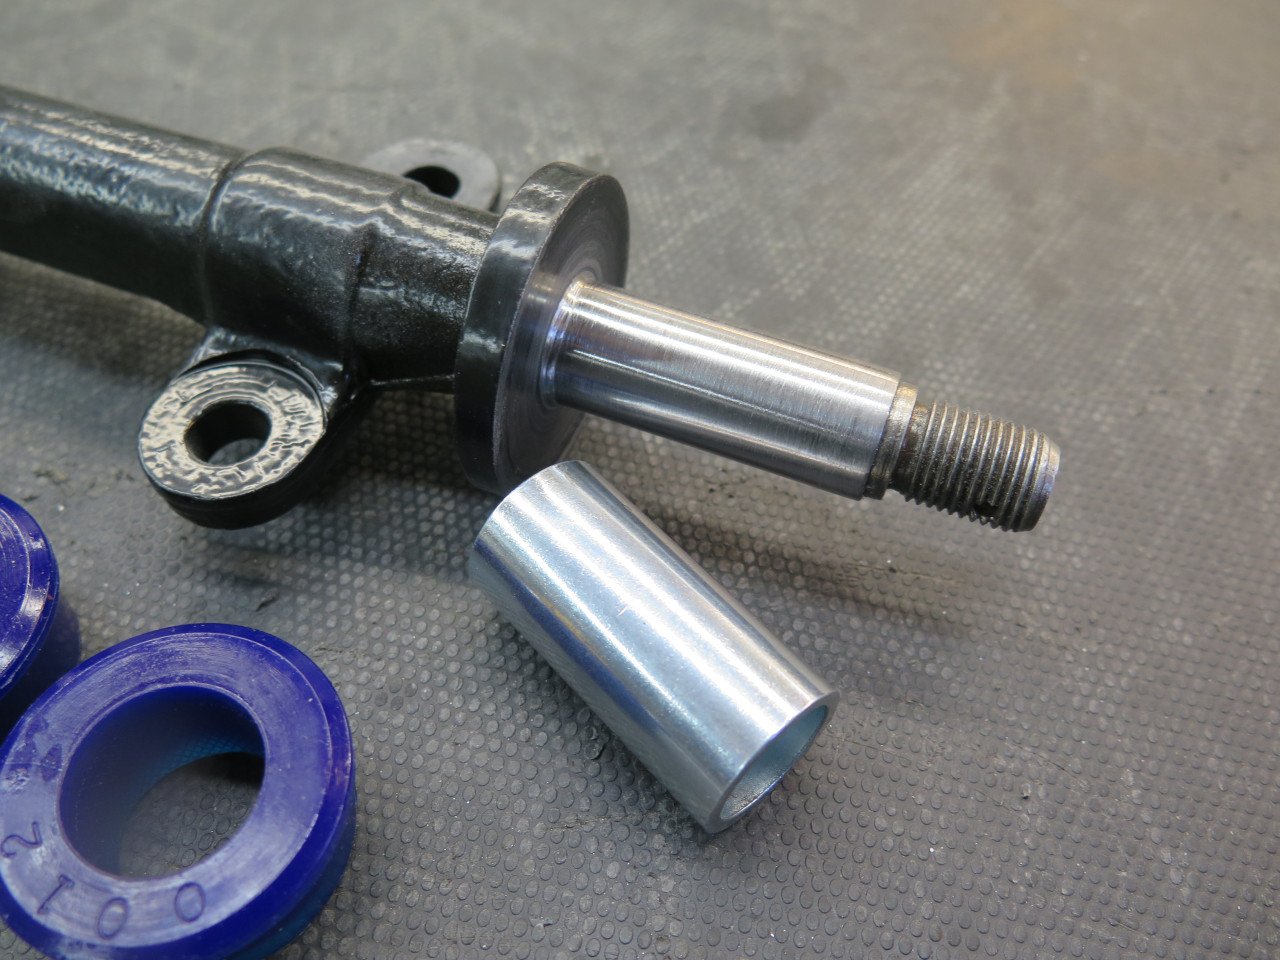
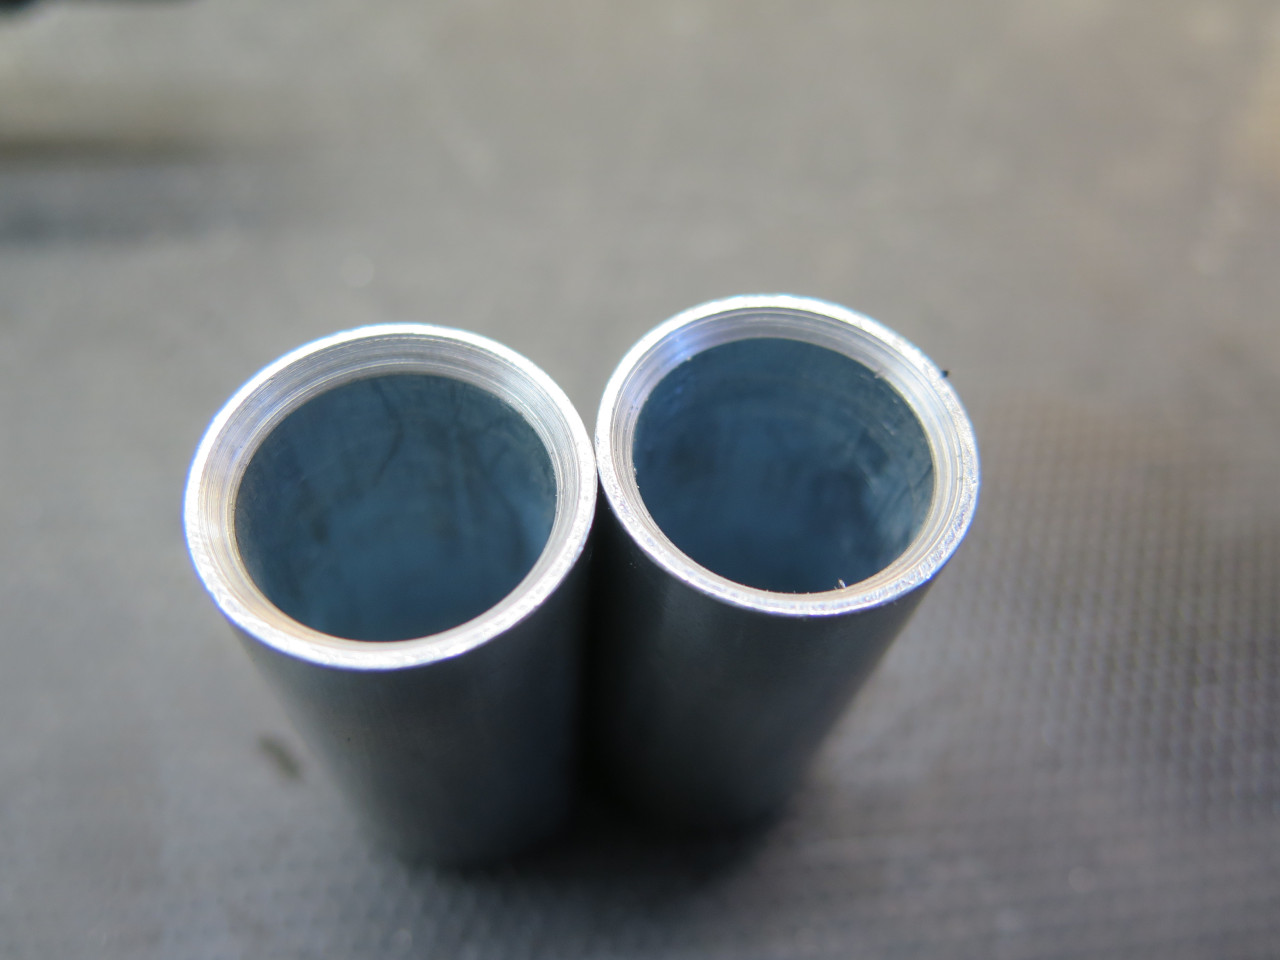
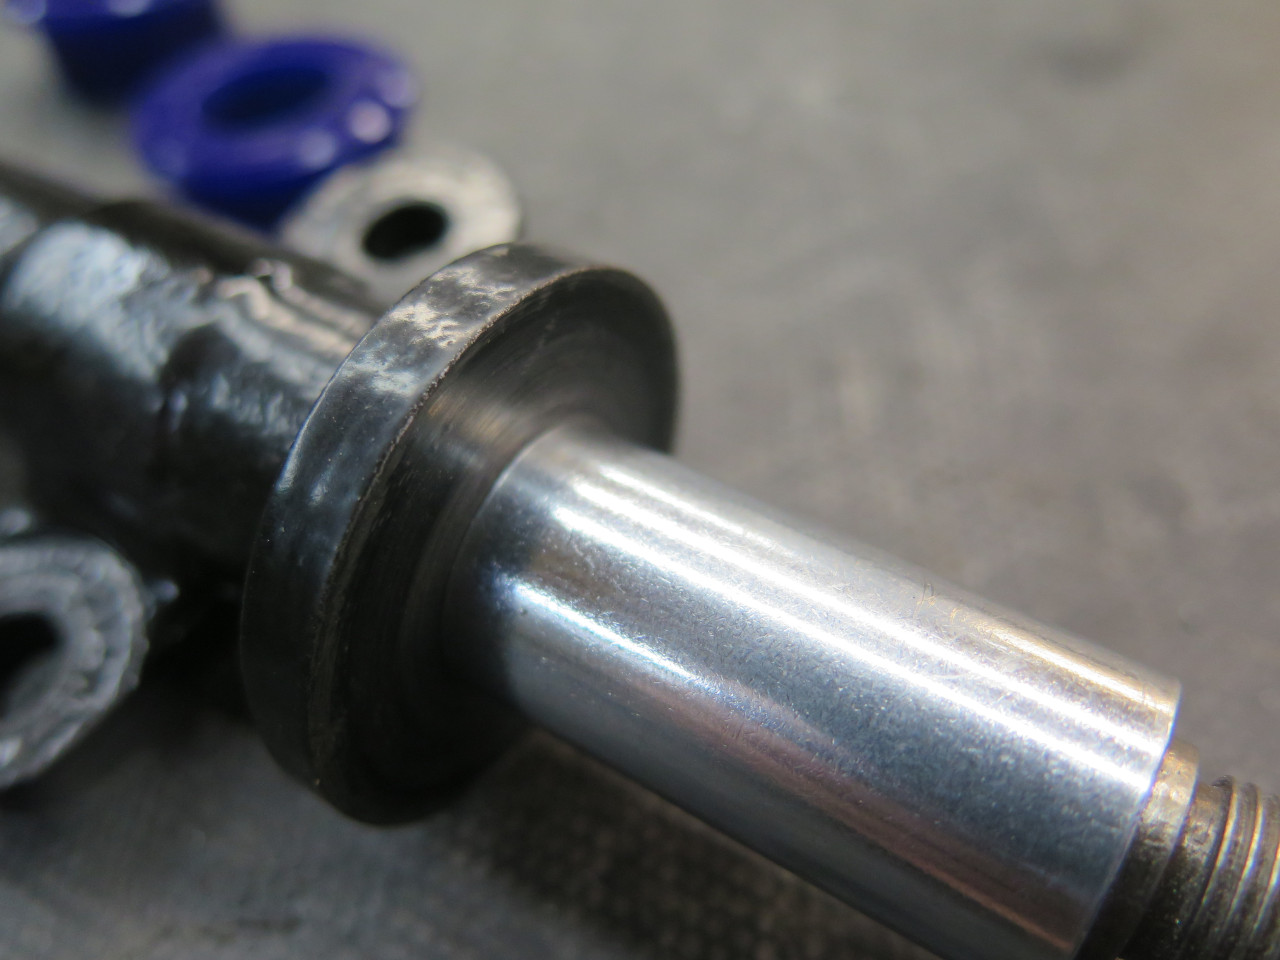
That wasn't the only problem with those tubes, though. The spindle
has a small fillet at it's base, but the distance tube ID has no
accommodation for it, so the tube doesn't seat properly on the flange at
the base of the spindle.
A little chamfer on the ID of one end of the tubes fixed that right
up. I consider the design of those tubes a little lazy.
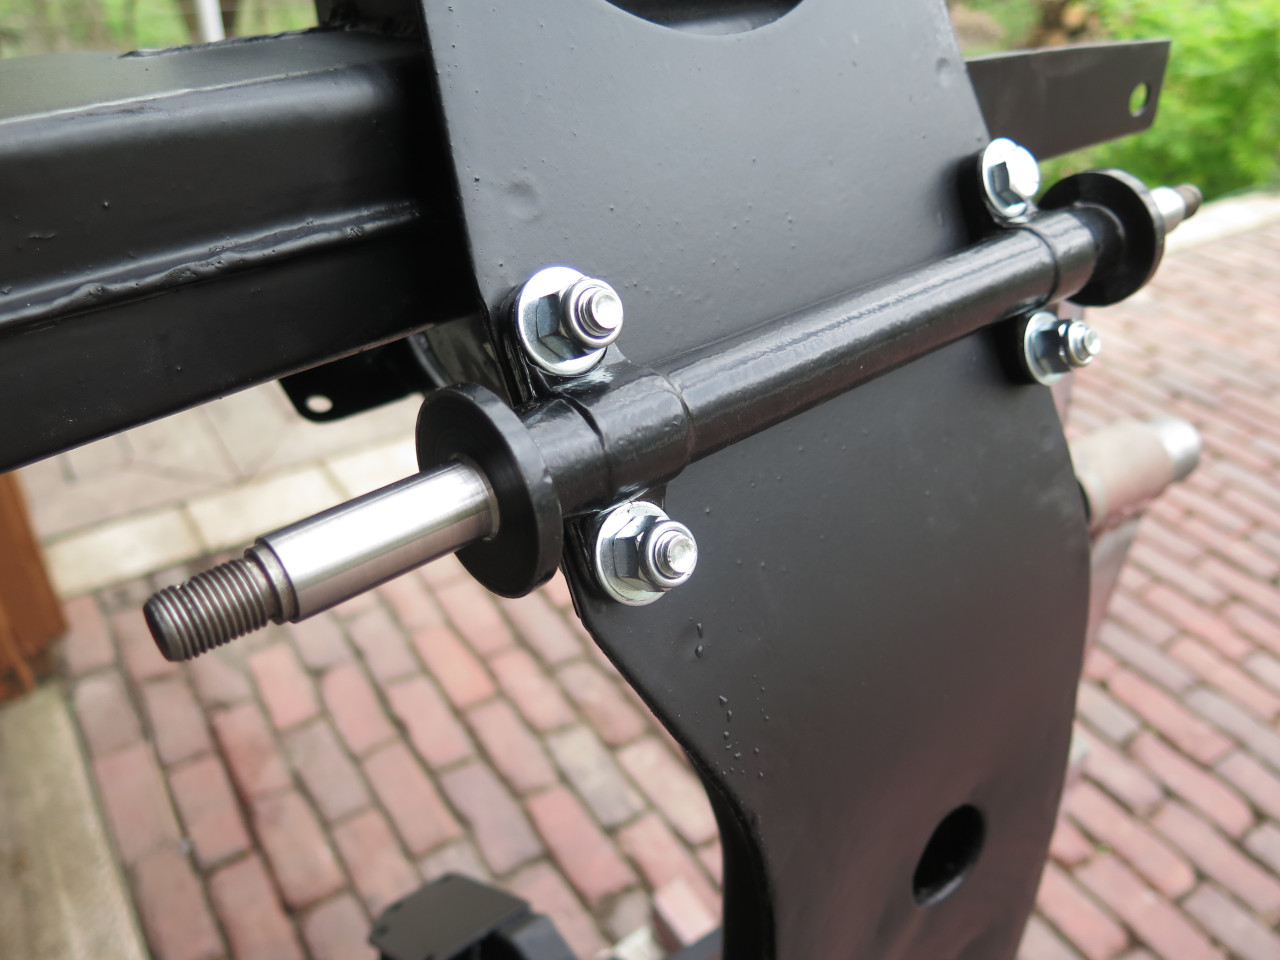
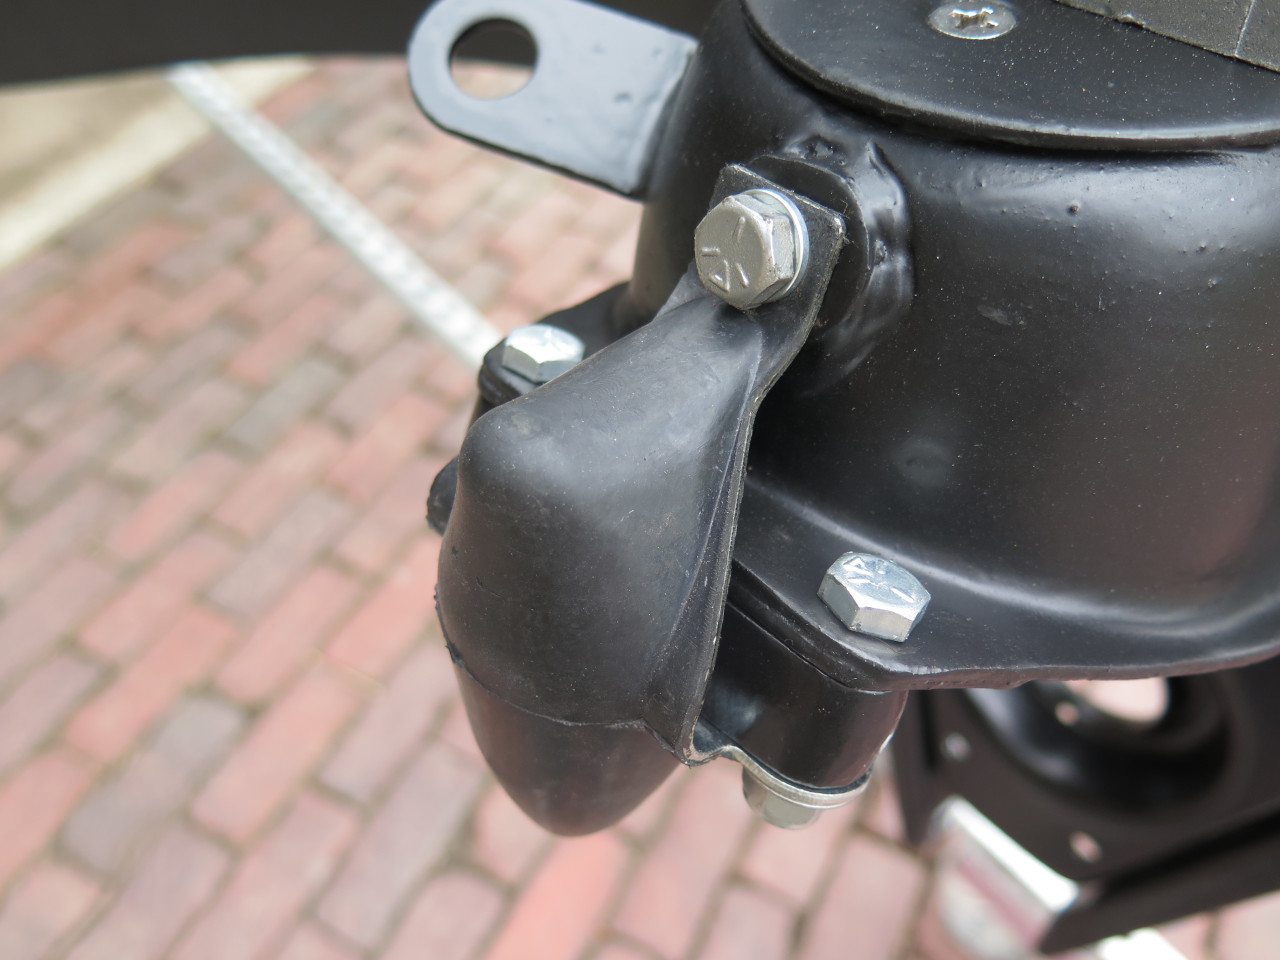
One other thing related to the new bushes. Unlike rubber bushes,
Urethane bushes are designed to be lubricated. But after install,
there isn't a good way to renew lube. Some zerk fittings seemed
like a reasonable idea. The bushes, when installed, have about a
1/4"gap between them. The zerks feed grease into this space, which
might serve as a nice reservoir for ongoing lubrication.

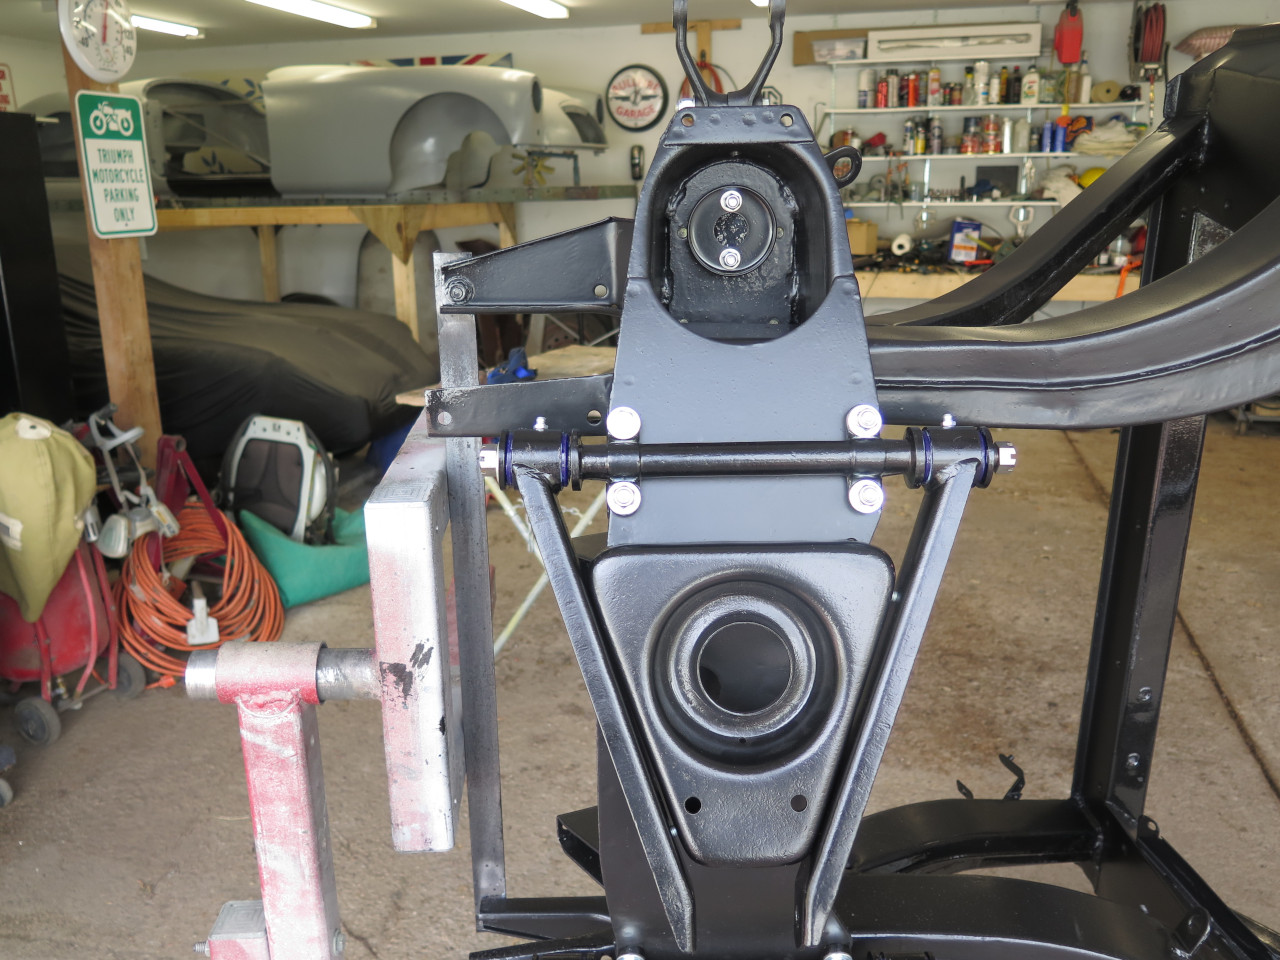
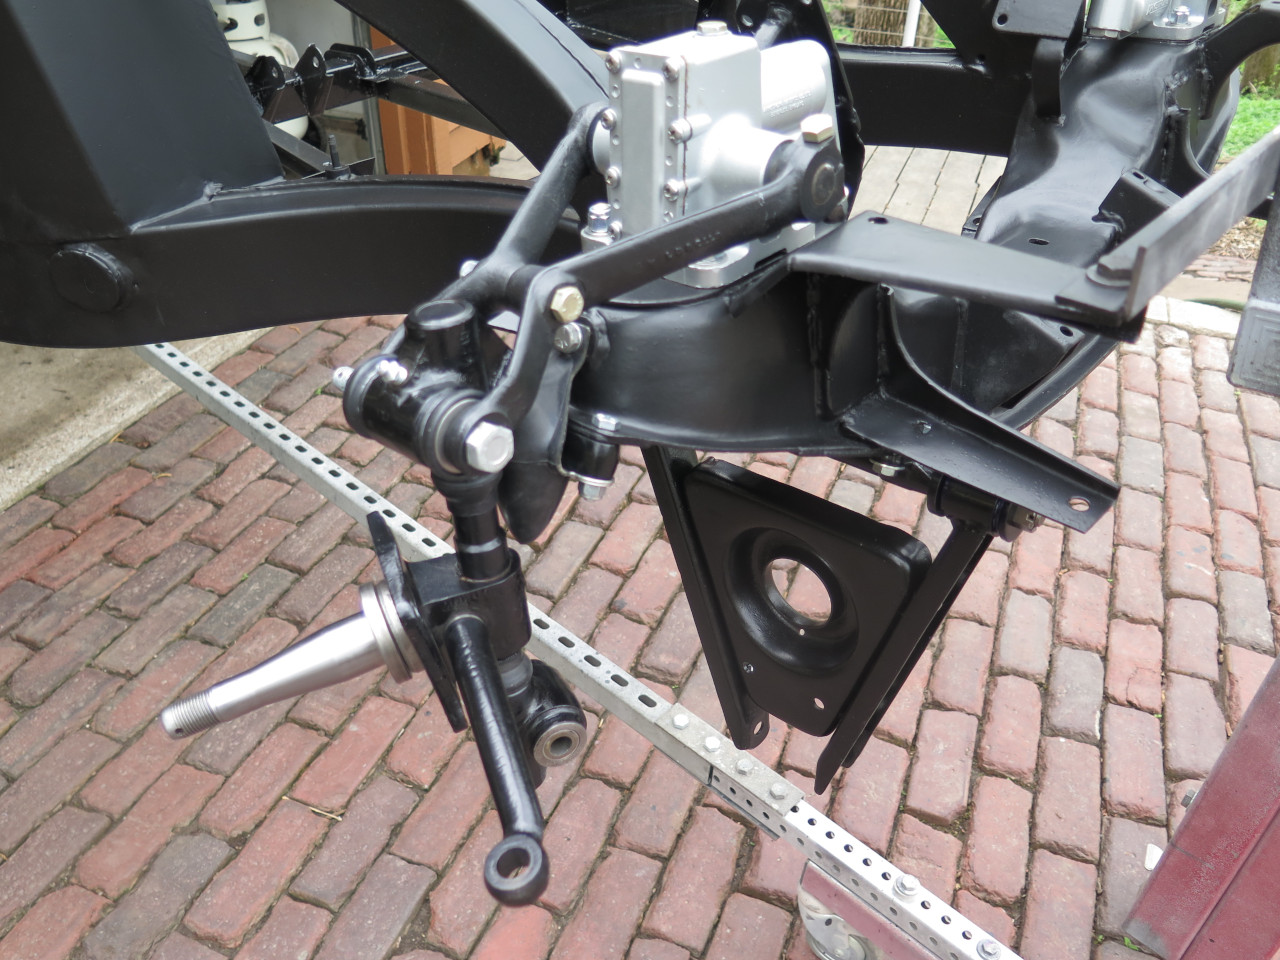
The install began with the pivot.
Then the lower wishbone.
I got me brand new bumpers.
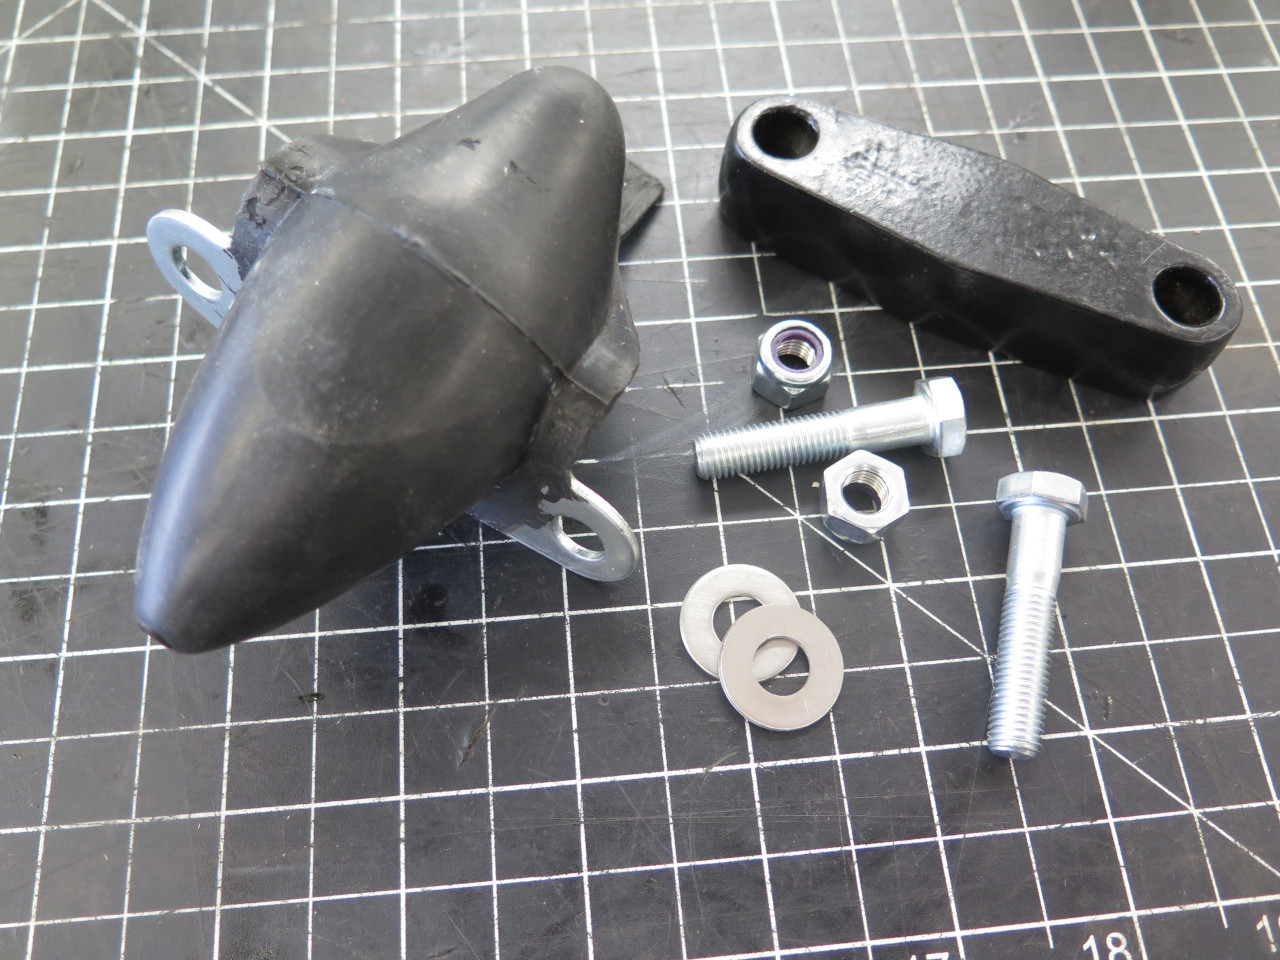
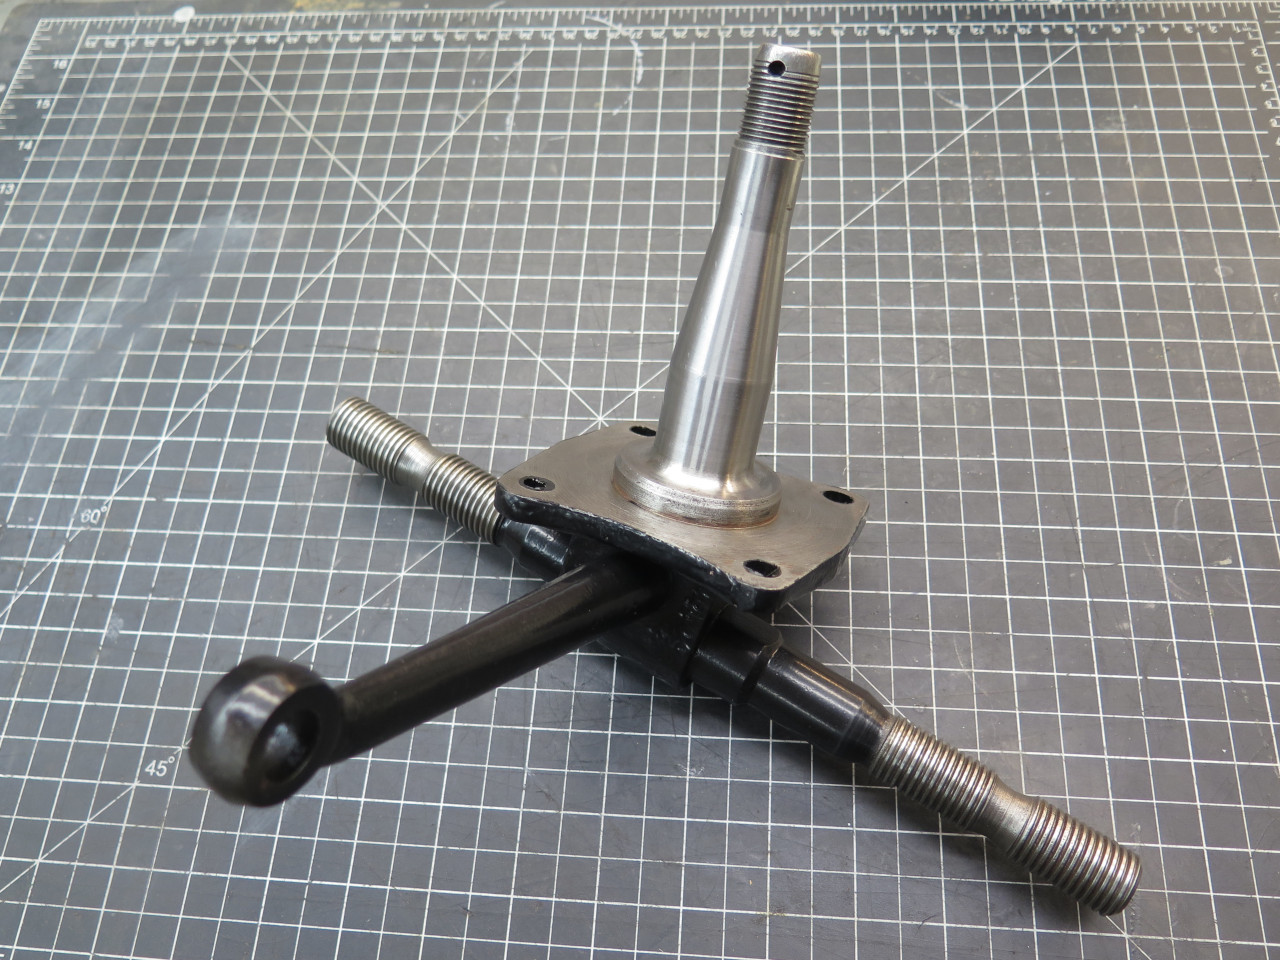
Then assembled. the vertical link. The distance tubes were still a
nice fit in the bronze bushes in the trunnions. The rubber parts
were new.
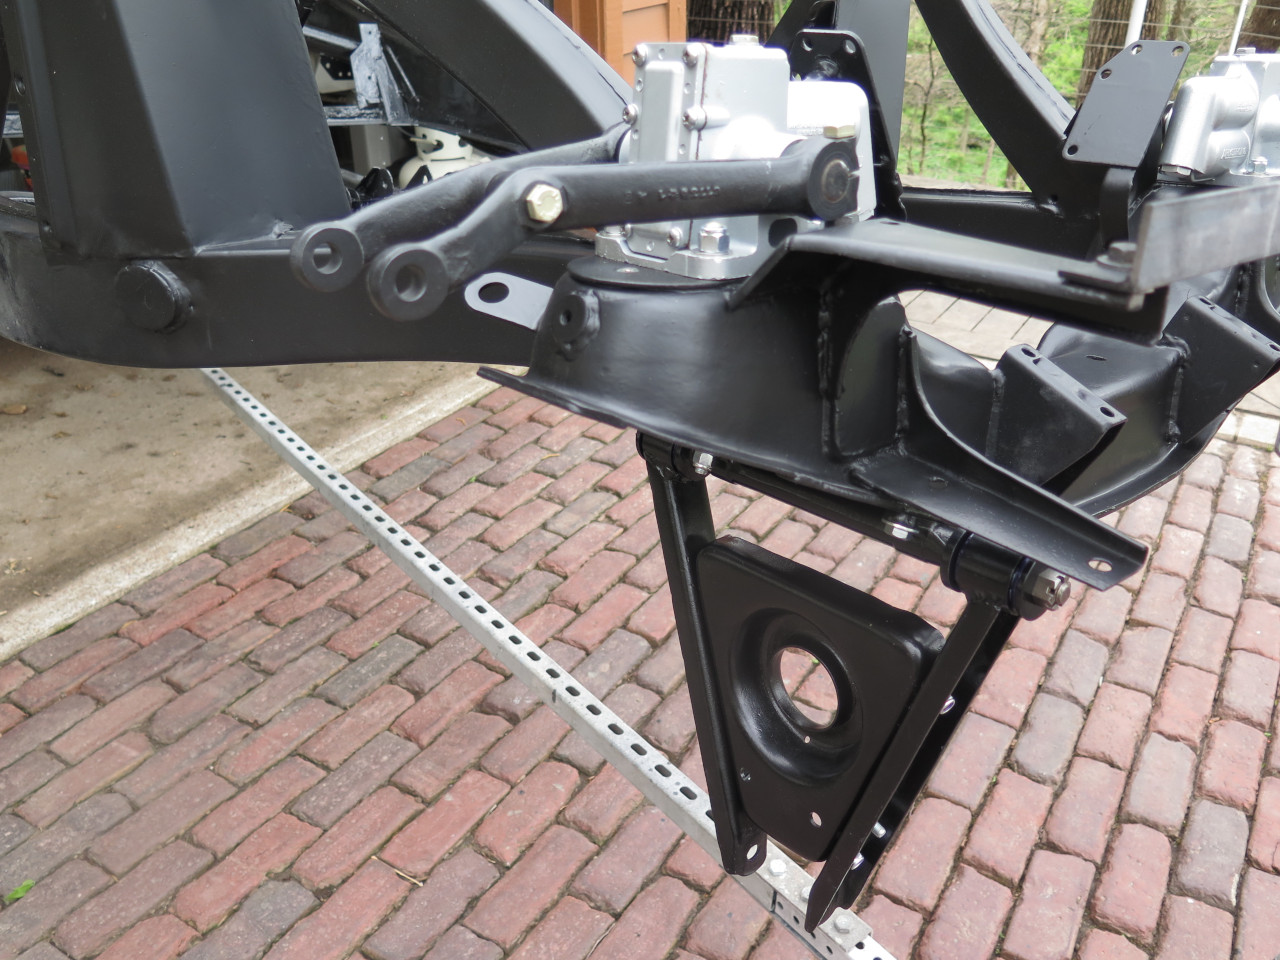
I suppose it might be done the opposite way, but I attached the vertical link to the top wishbone first. The damper was installed previously.
Installing the road spring is not easy with the frame on a
rotisserie. The spring is relatively small, and in sort of a
confined space, so most commercial spring compressers won't work
directly. I sketched up a couple of ways to do it with cobbled
components, but what I finally did was use a smallish internal
commercial spring compresser, modified to fit. It worked fine, but
extracting it was a royal pain. I basically had to disassemble it
inside the spring and remove it in pieces. I think one of my home
brew ways might have been easier.
But all's well that ends well...
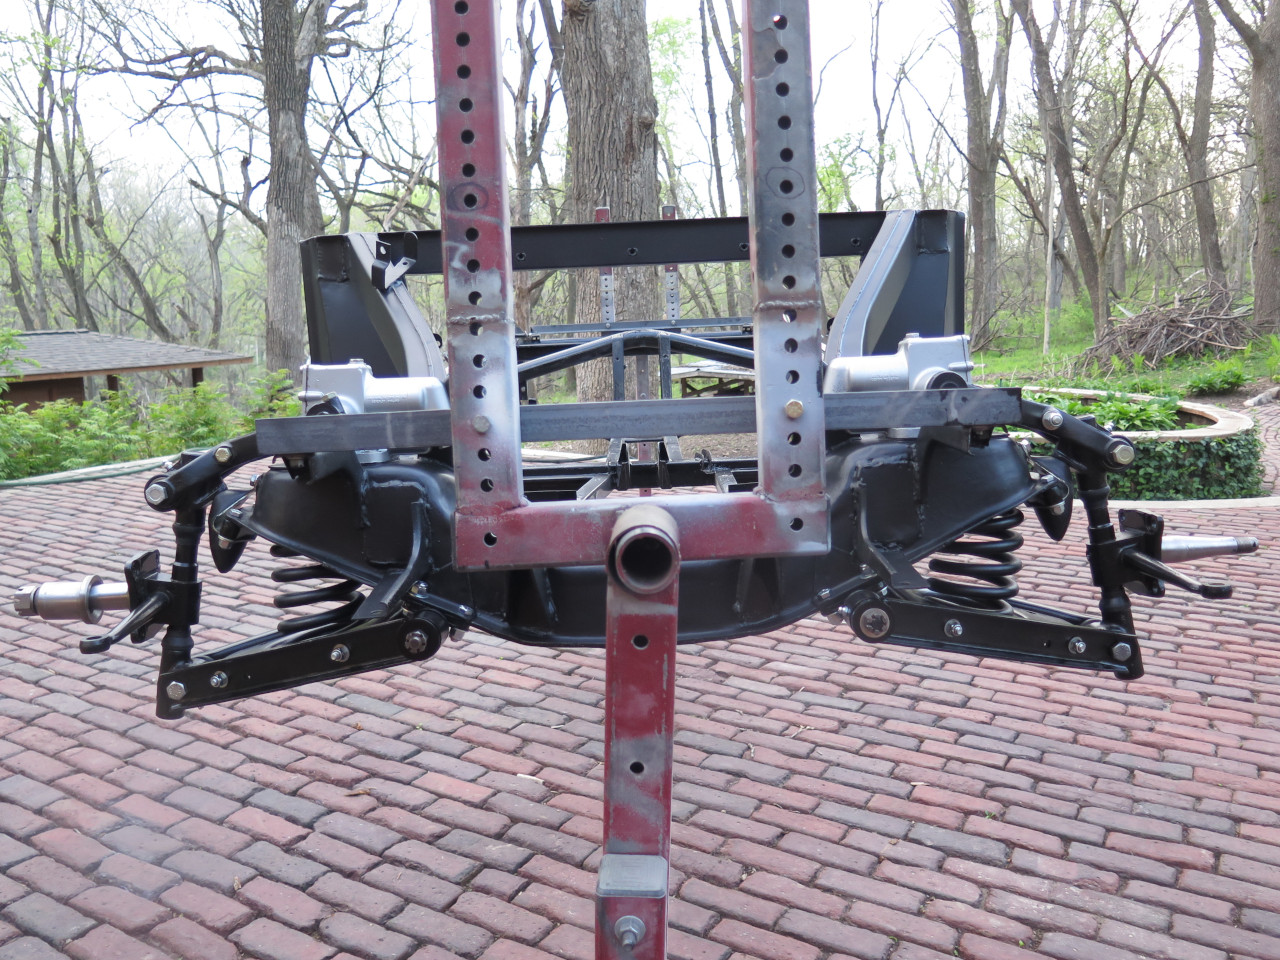
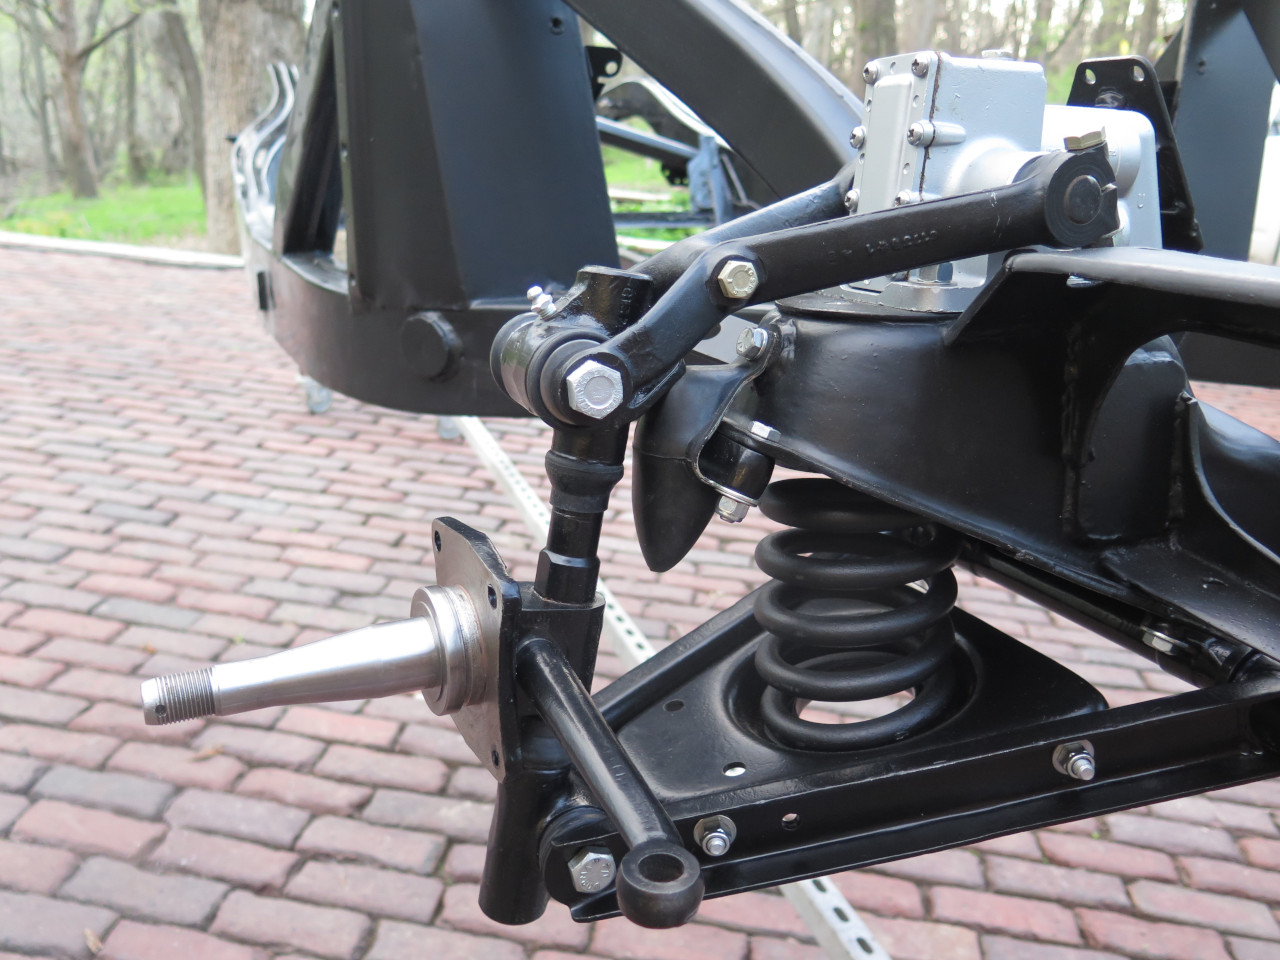
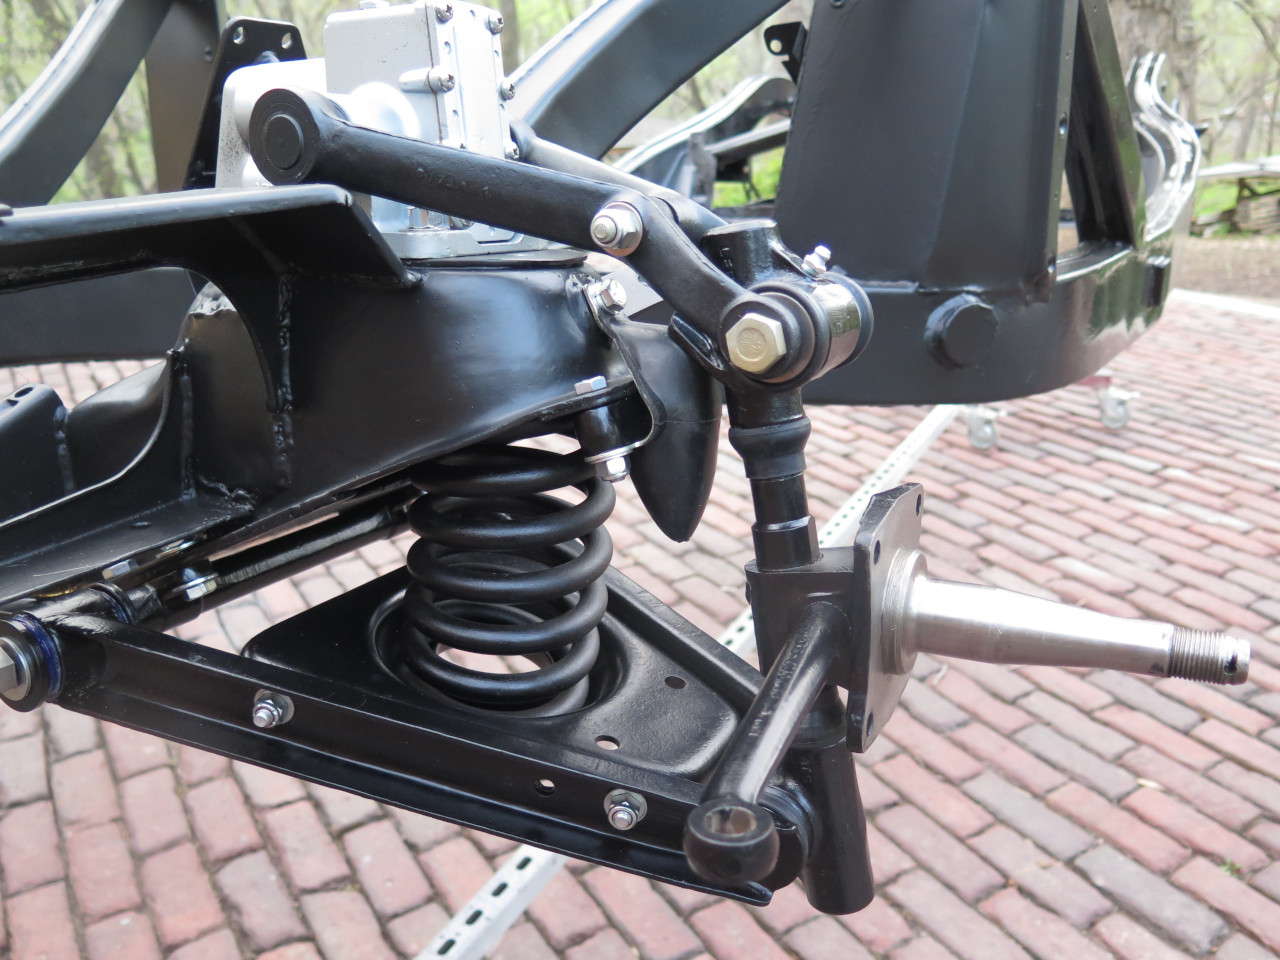
This is the kind of work I love the best--bolting clean parts back on to a clean frame, using clean hardware.
Cost was around $100 for the bushings, bumpers, and seals.
Comments to Ed at elhollin1@yaoo.com
To my other MGA pages