To my other MGA pages.
April 20, 2025
Battery Tray
MGA cars originally came with a pair of six volt batteries mounted on
either side of the car under the cover behind the seats. Though
purists tend to preserve this quaint anachronism, many cars have at some
point in their lives been converted to a single 12 volt battery.
When I bought this car in 1970 or so, it had already been converted, but
not very well. In my mid-70s restoration work, I removed what was
there and installed a more proper 12 volt battery tray. In the
current work, I decided to review the tray and see if I could improve on
it.
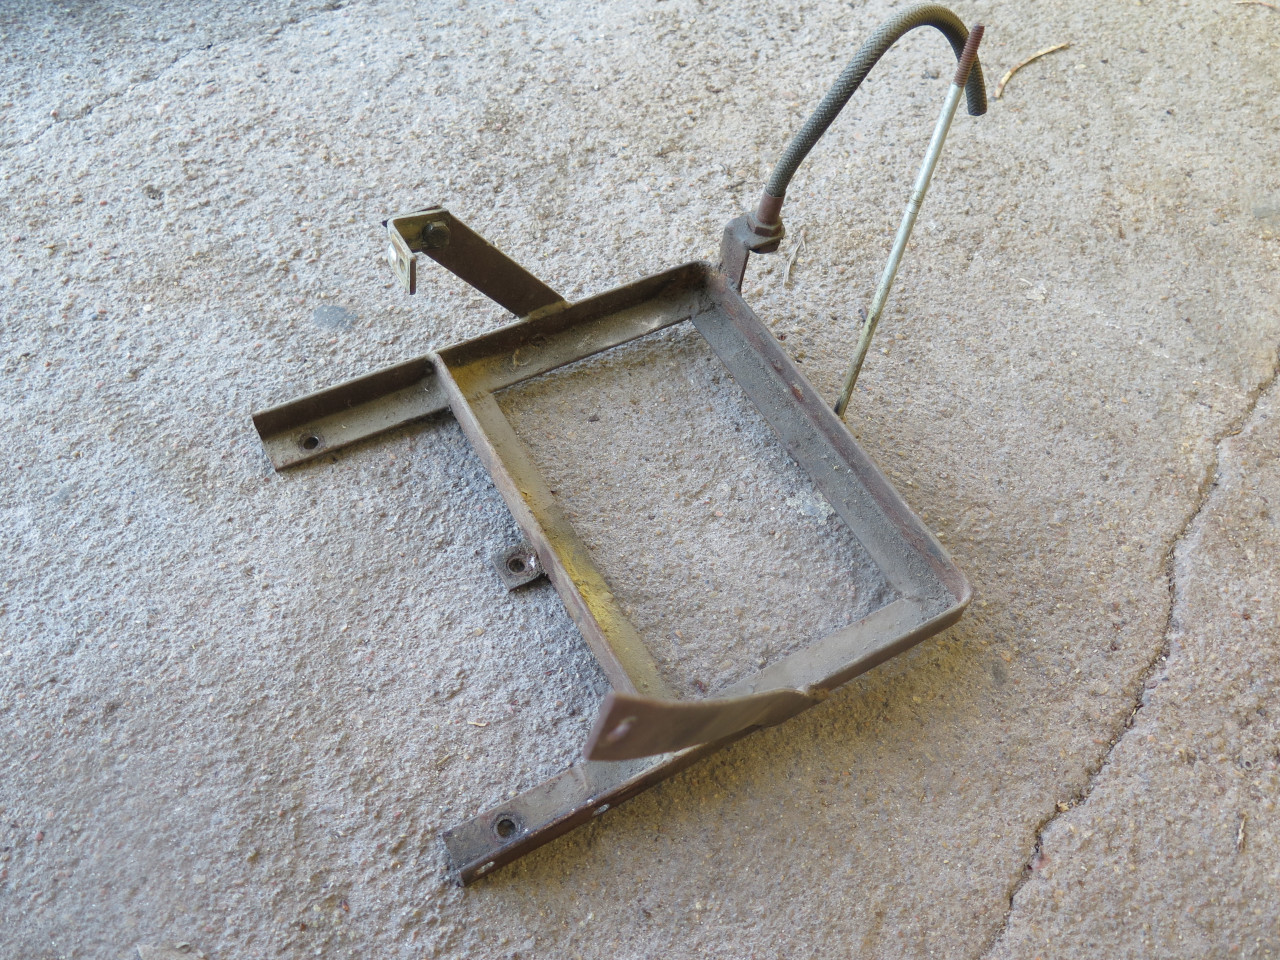
The tray was actually removable, so I took it out.
I started withe a clean sheet of paper and drew up a design. I had
some criteria: I liked the removable feature. I'd keep
that. I wanted the tray to fit a BCI Group 34 size battery.
This is only because my two other LBCs (a TR6 and a GT6) both use that
size, and I thought it might be handy to have the batteries swappable.
I drew up some sketches, and I soon realized that they looked almost
exactly like the tray I already had. I measured the tray and was
delighted to find that the Group 34 battery would fit nicely, so I
decided to re-use the tray I had, with some minor mods.
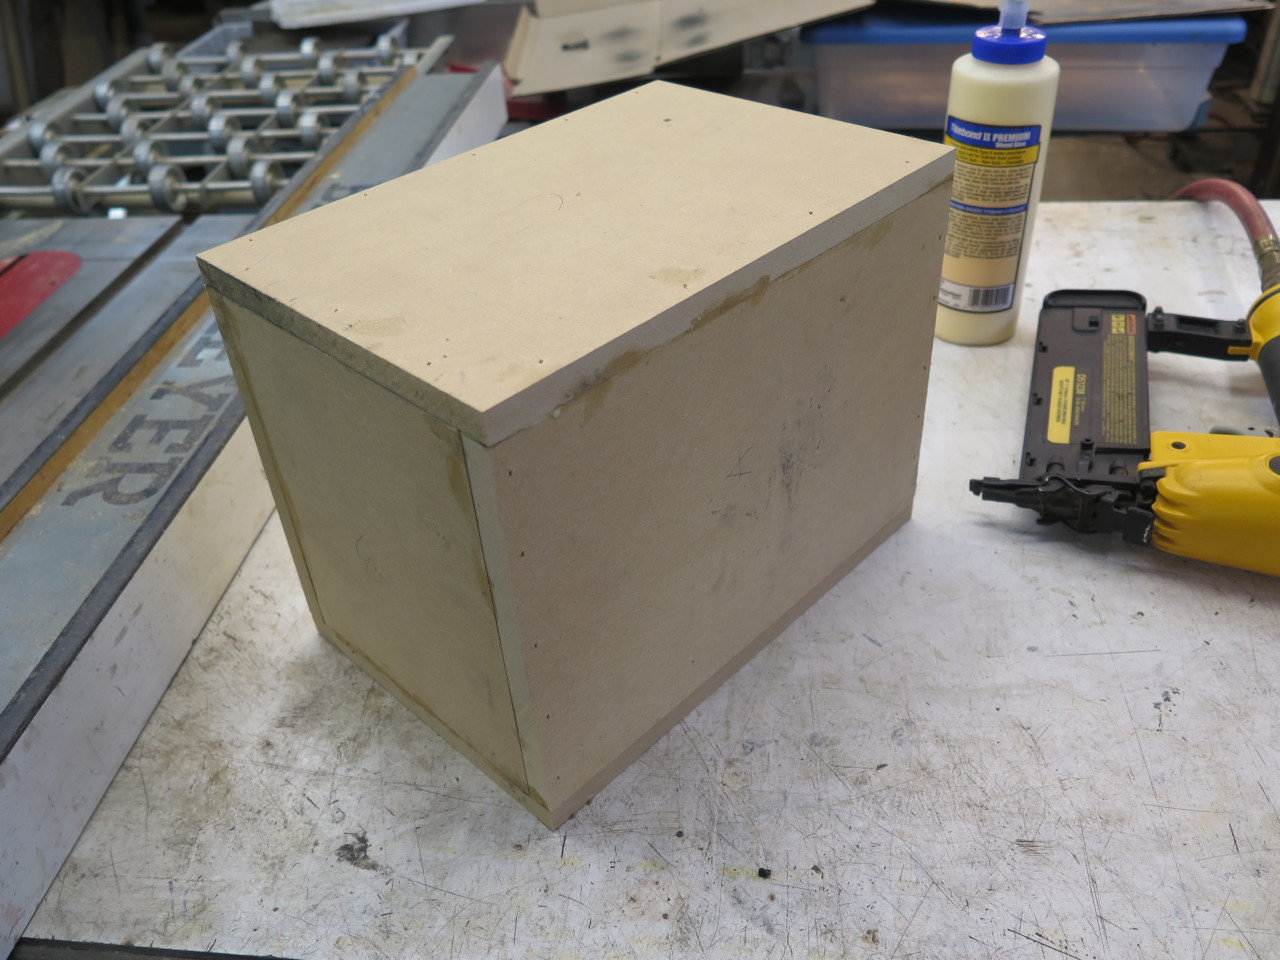
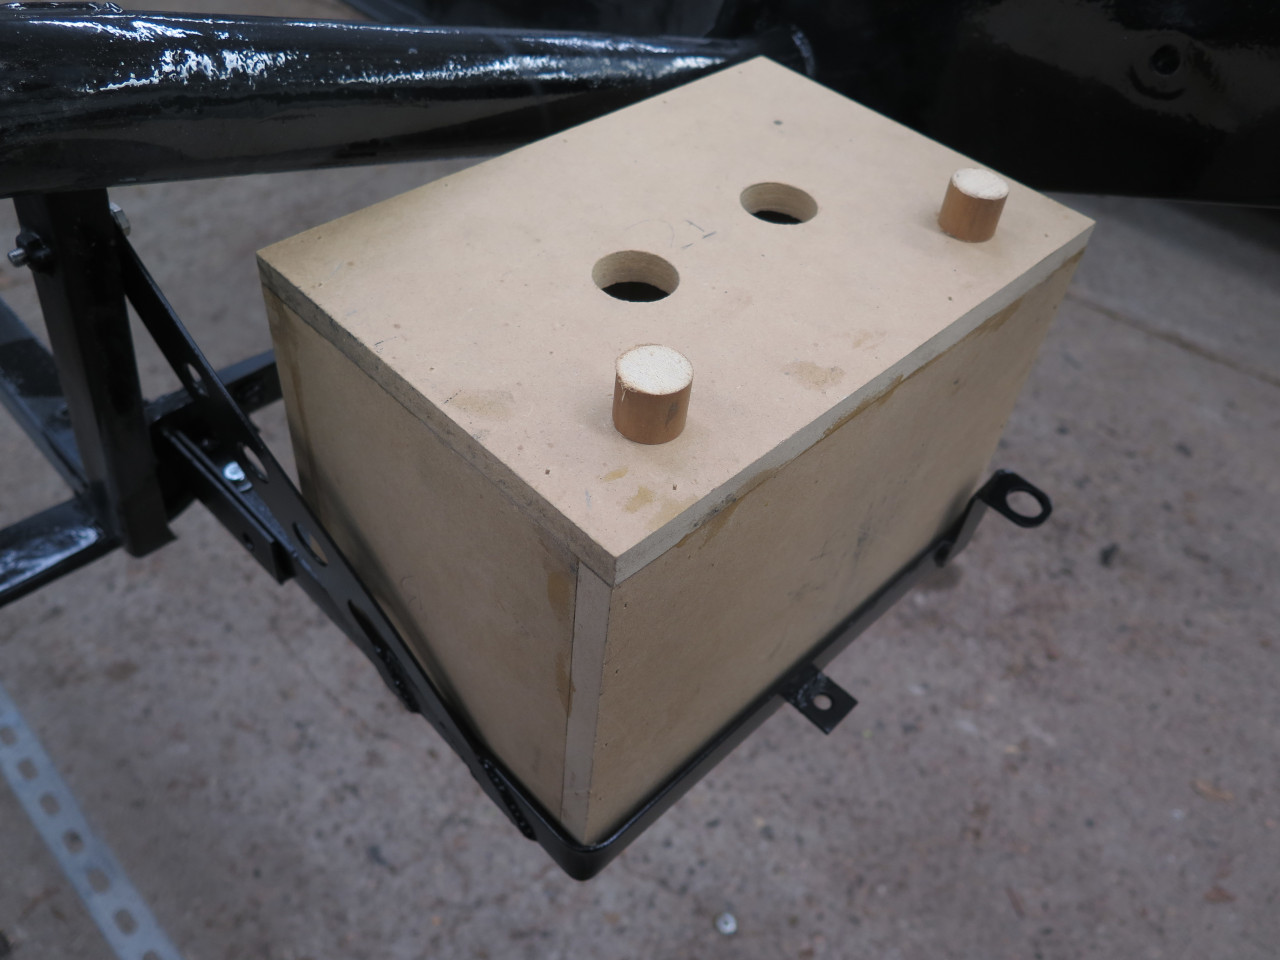
Rather than try to manhandle an actual battery for test fitting, I made
much lighter mockup of a size 34 battery. The height of the mockup
includes the terminal posts.
I blasted the tray to get a better look at it. There were some
little angle iron stubs welded to the car's frame to bolt the tray
to. I had removed those.
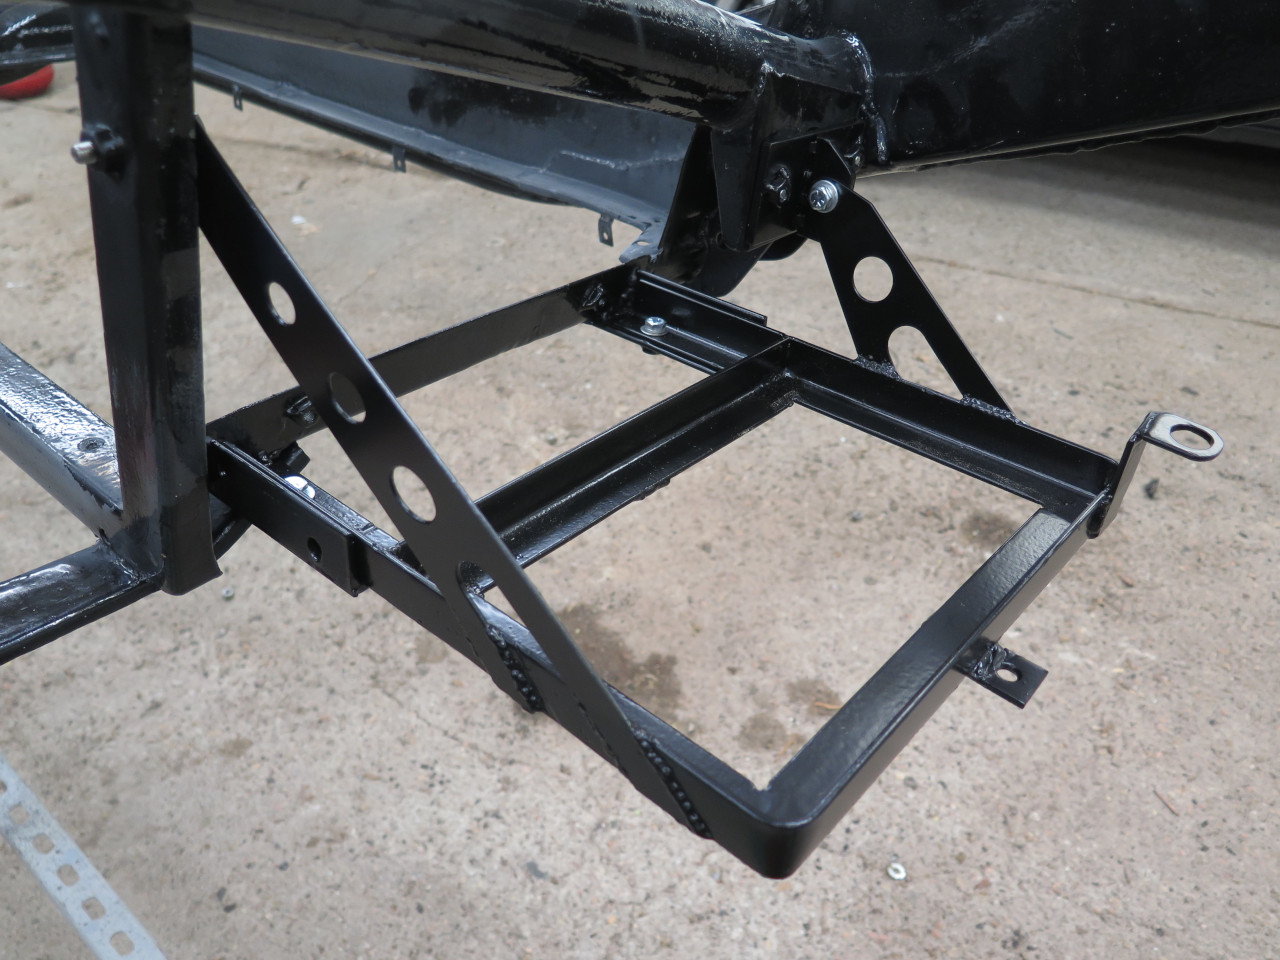
I could have left those stubs in place, but now had to re-weld them in
the same places they came from. I really should have done this
before I painted the frame. The frame is tipped on its side in the
picture.
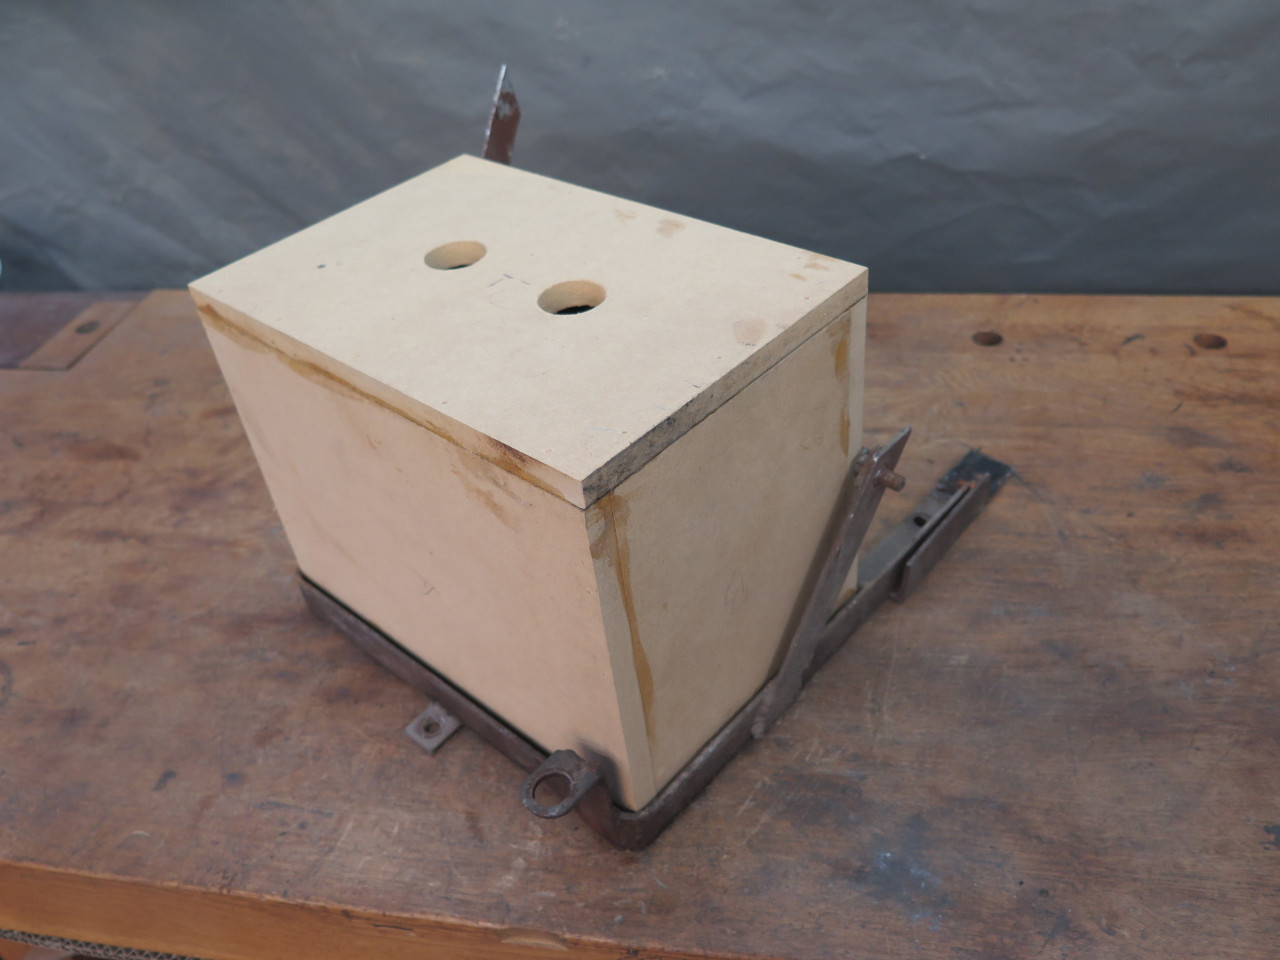
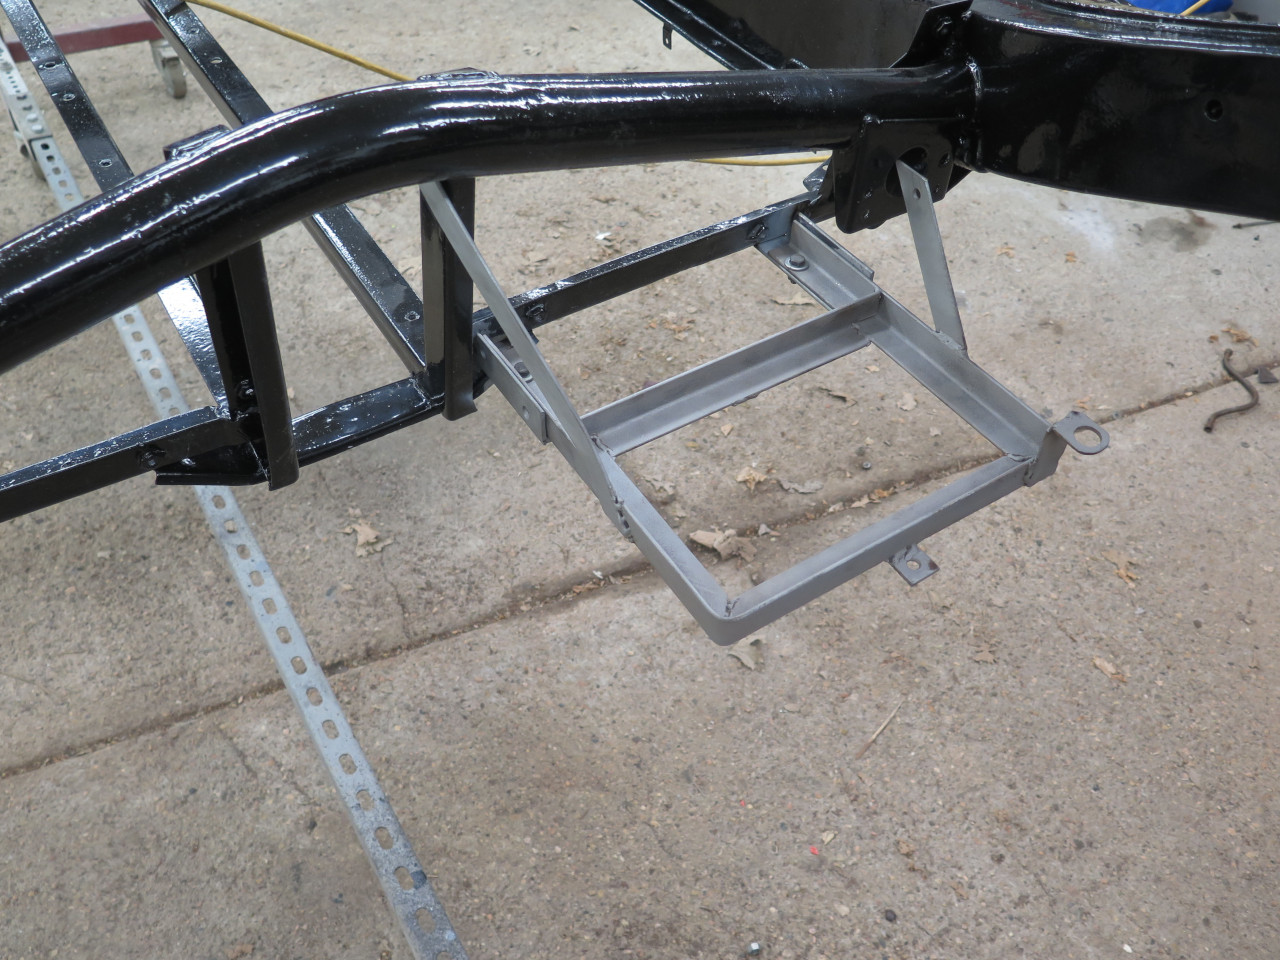
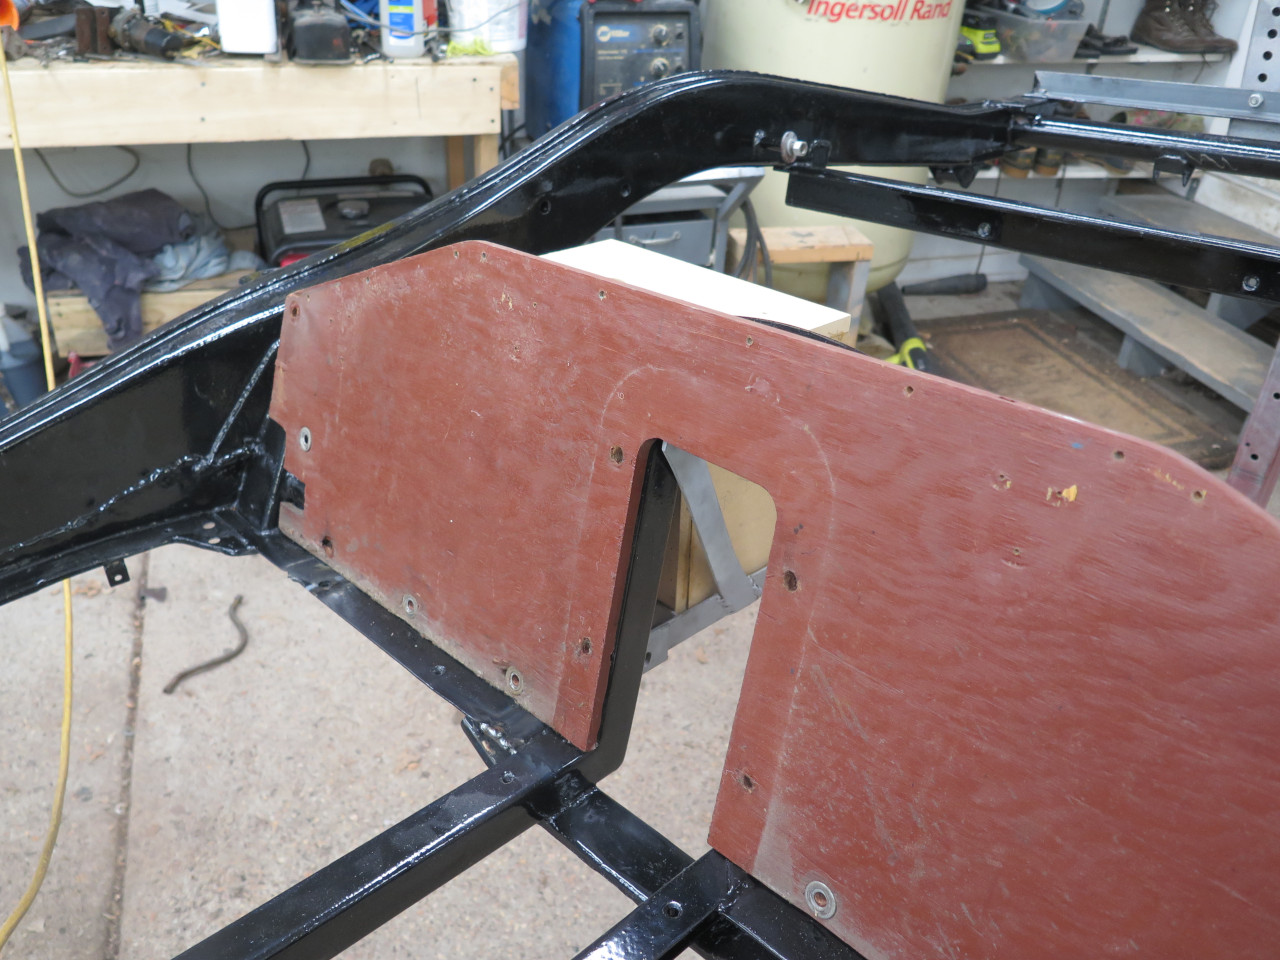
So, here is the tray back in place.
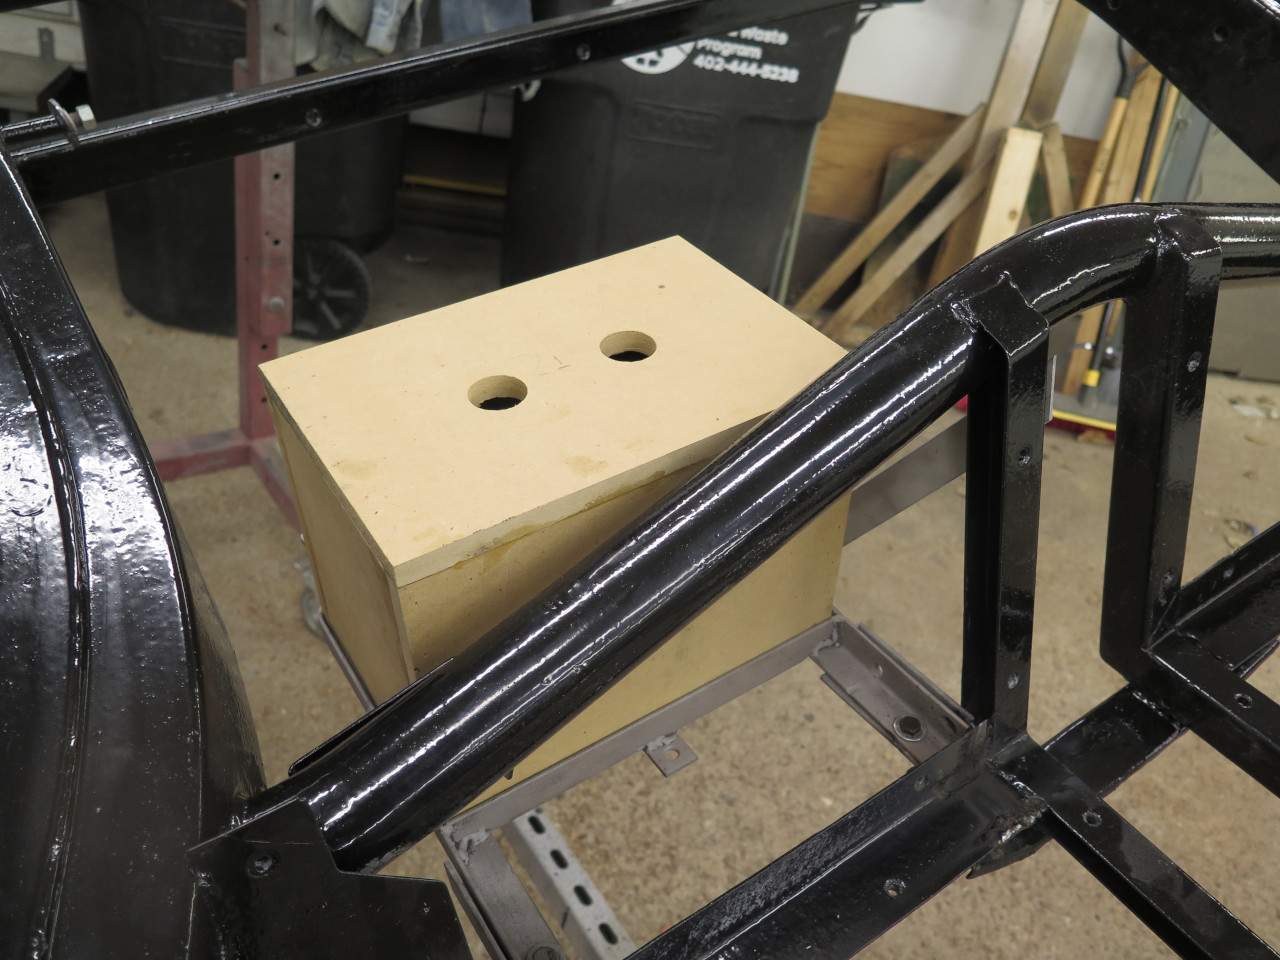
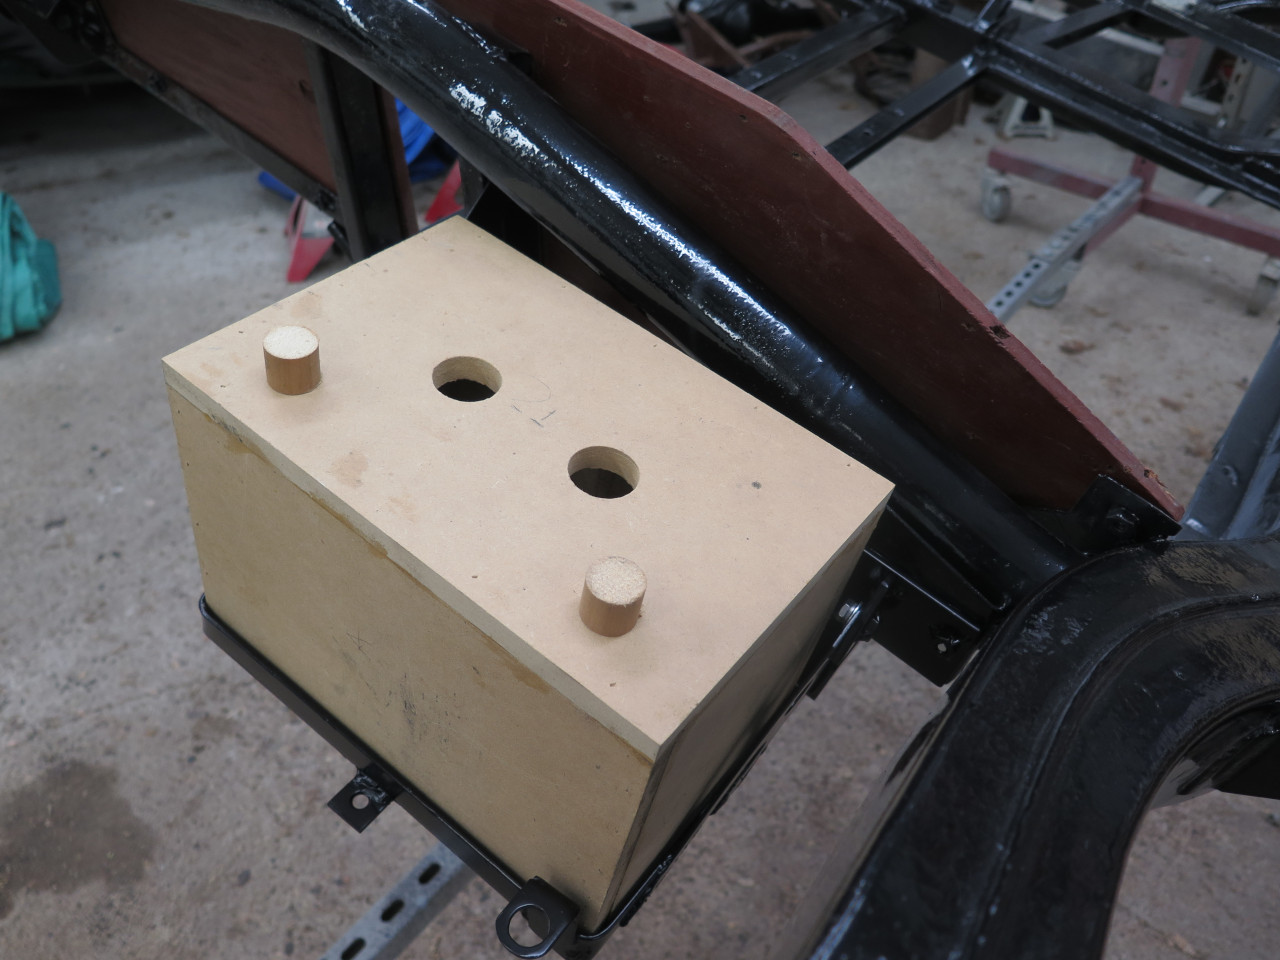
It really looks like the batery is going to be too tall, but another
check with the rear wooden bulkhead in place showed there will be plenty
of clearance.
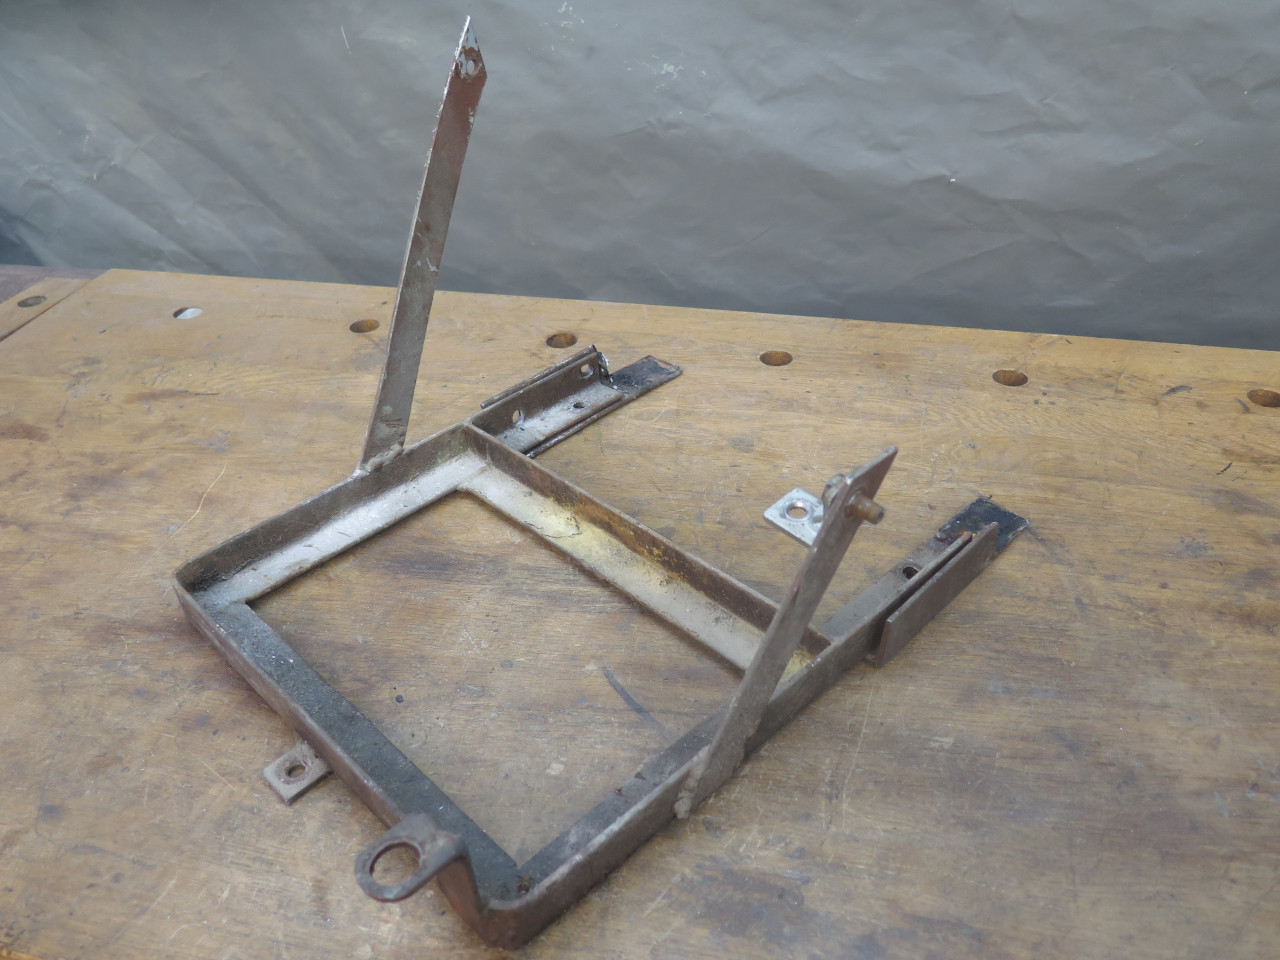
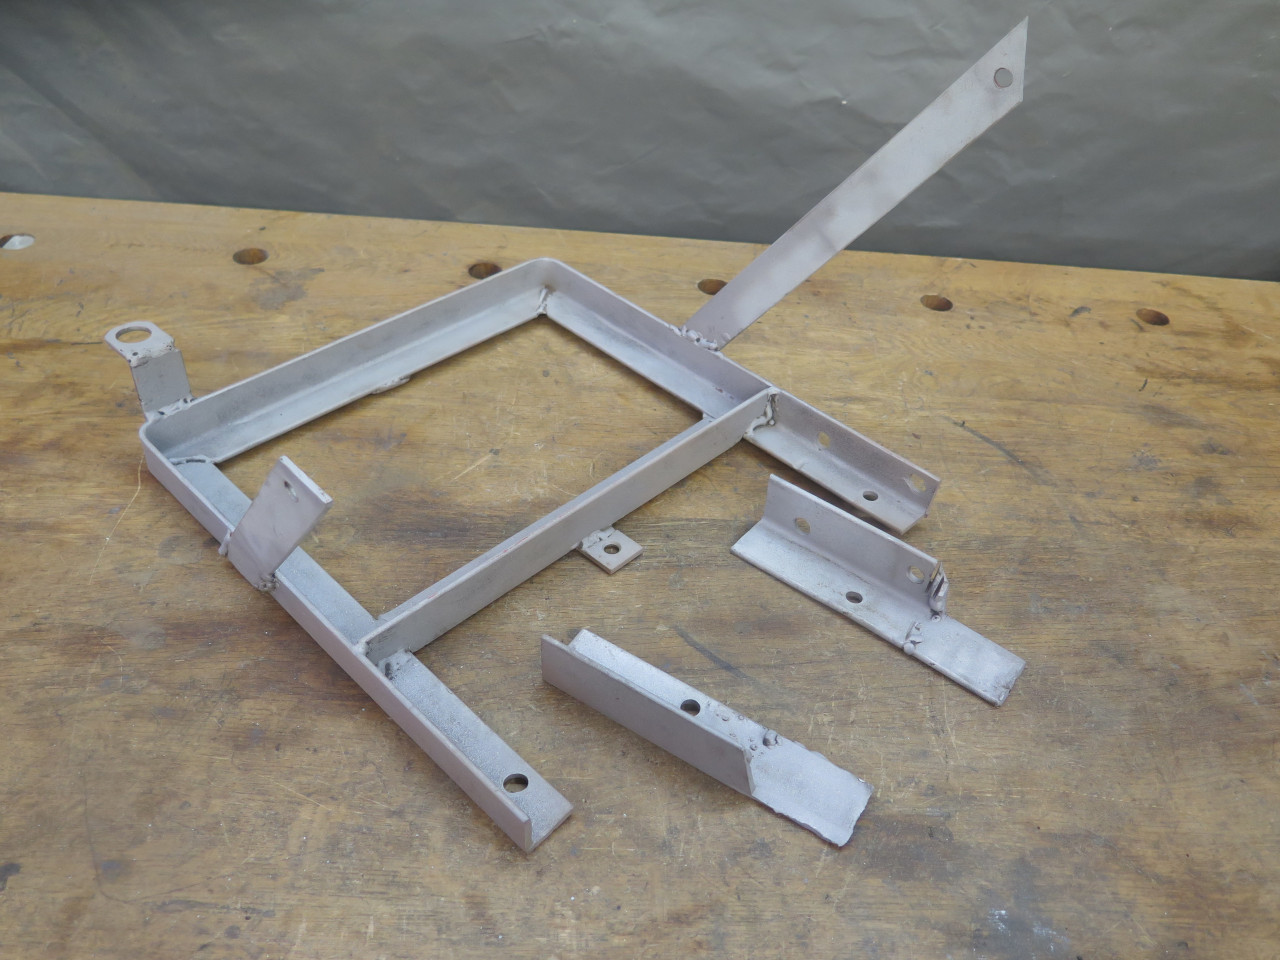
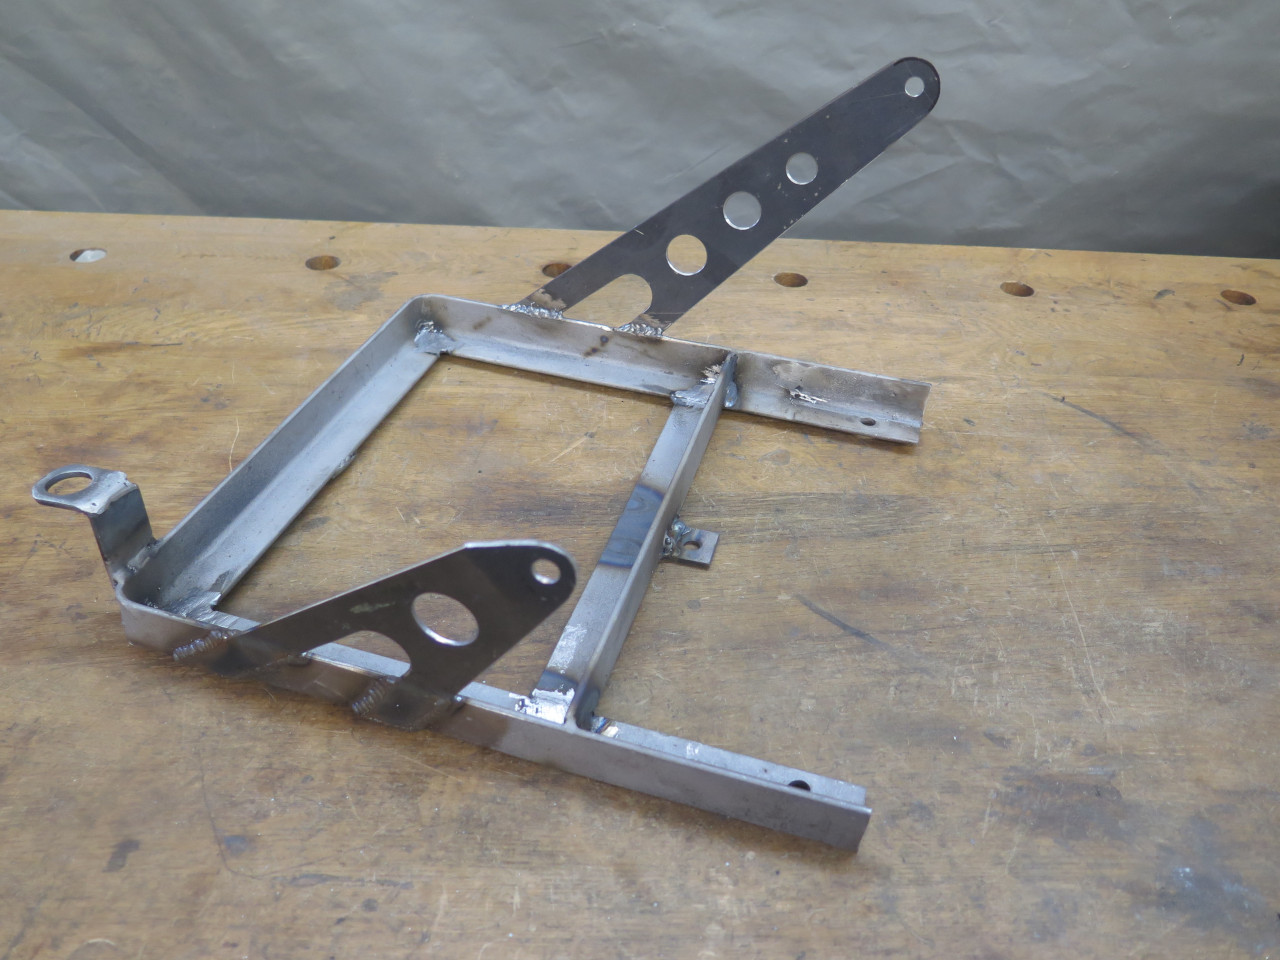
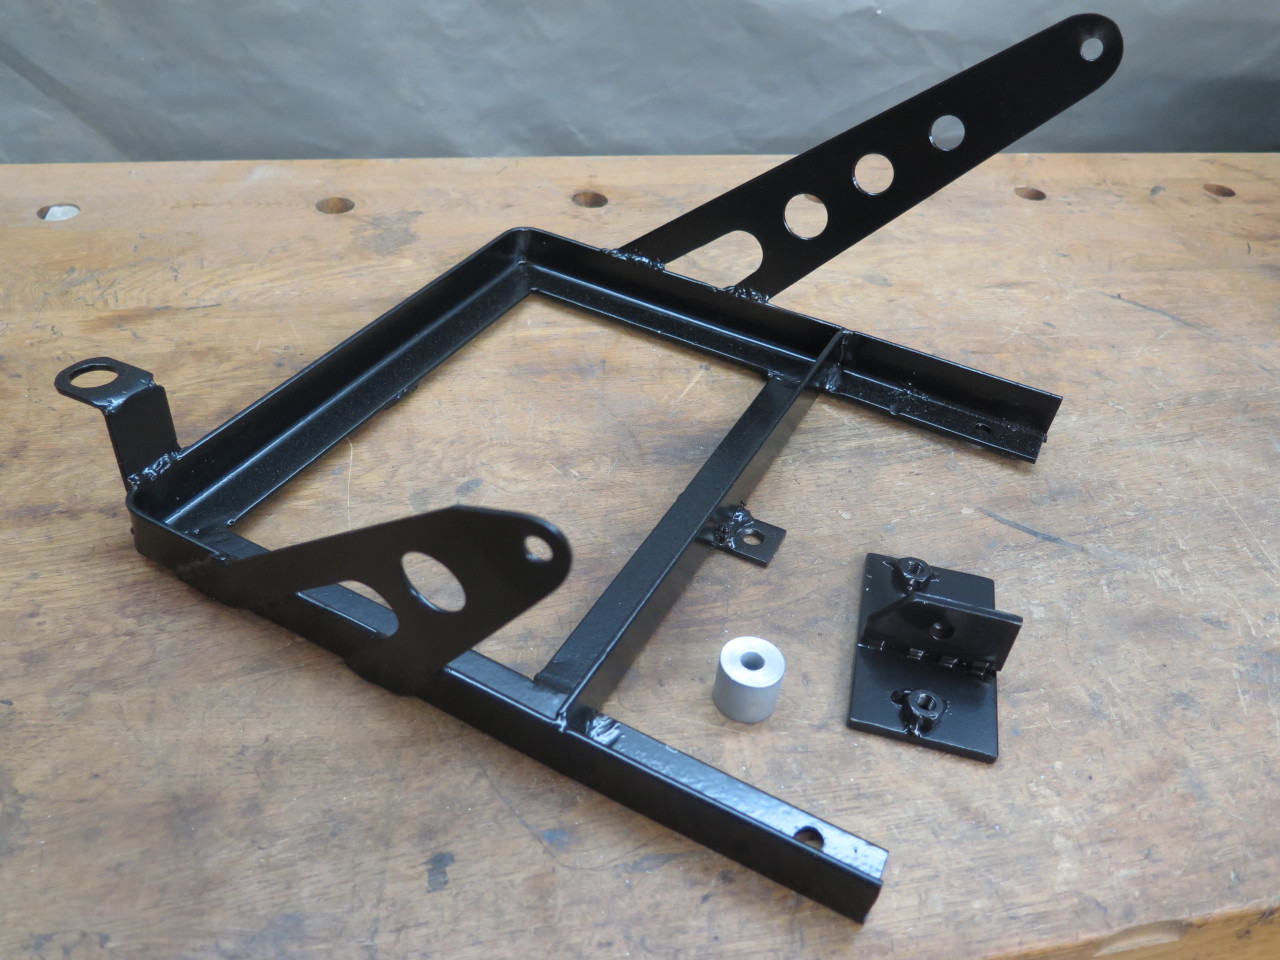
This looked like it would work, so I spent some time tidying up my
marginal 1970s welds. I also removed the old diagonal braces.
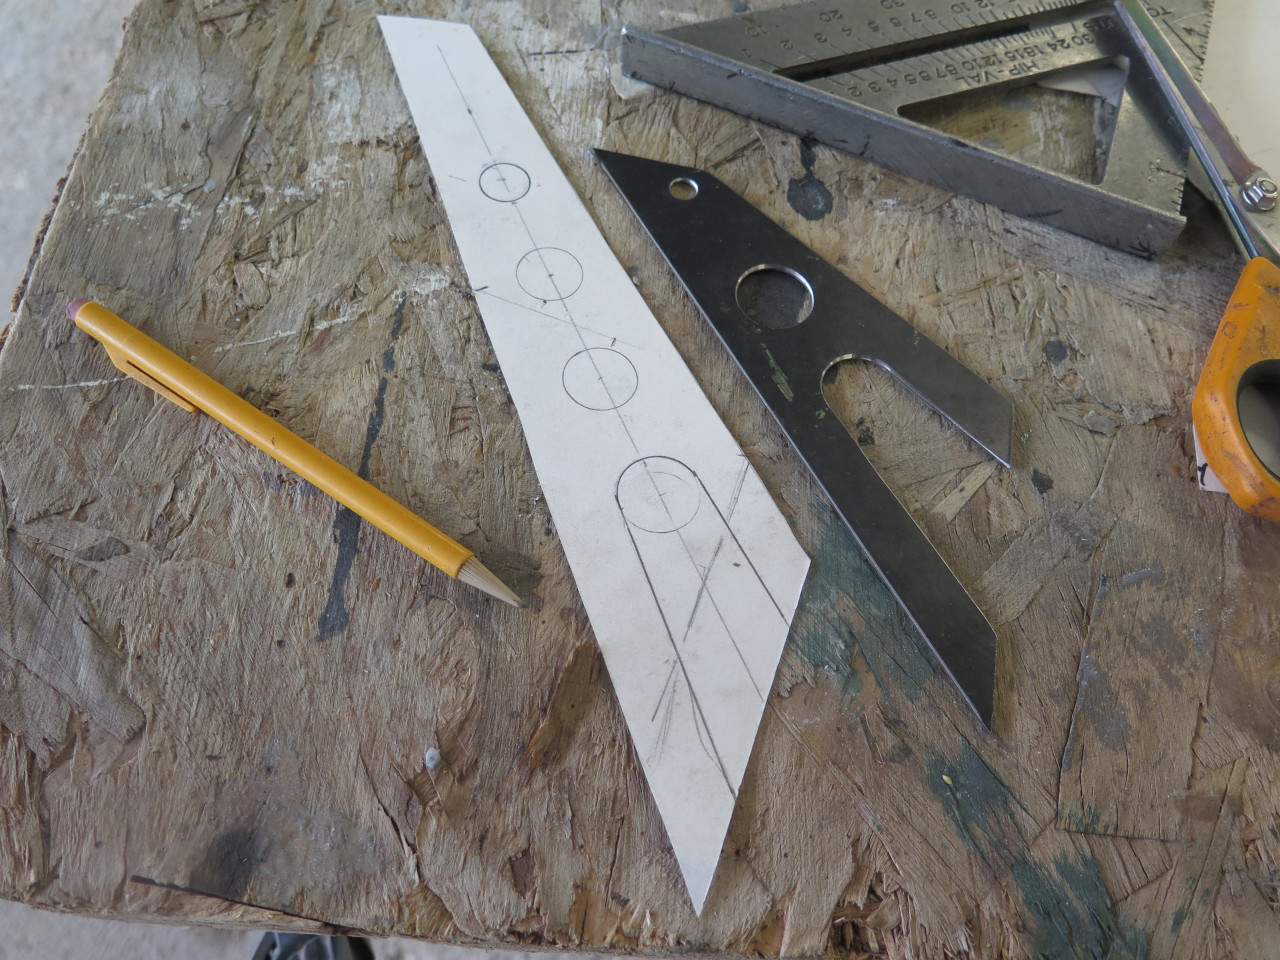
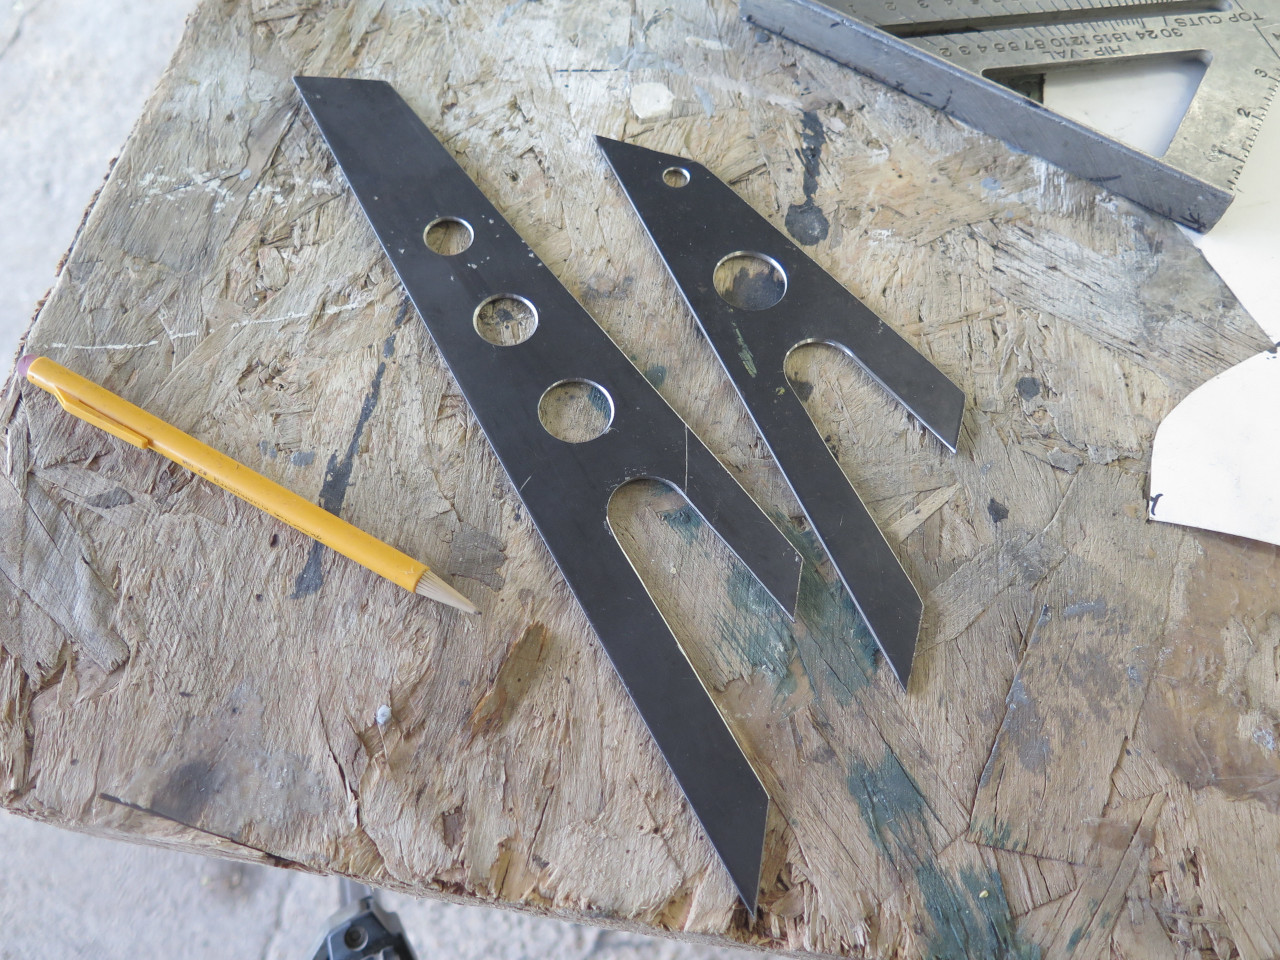
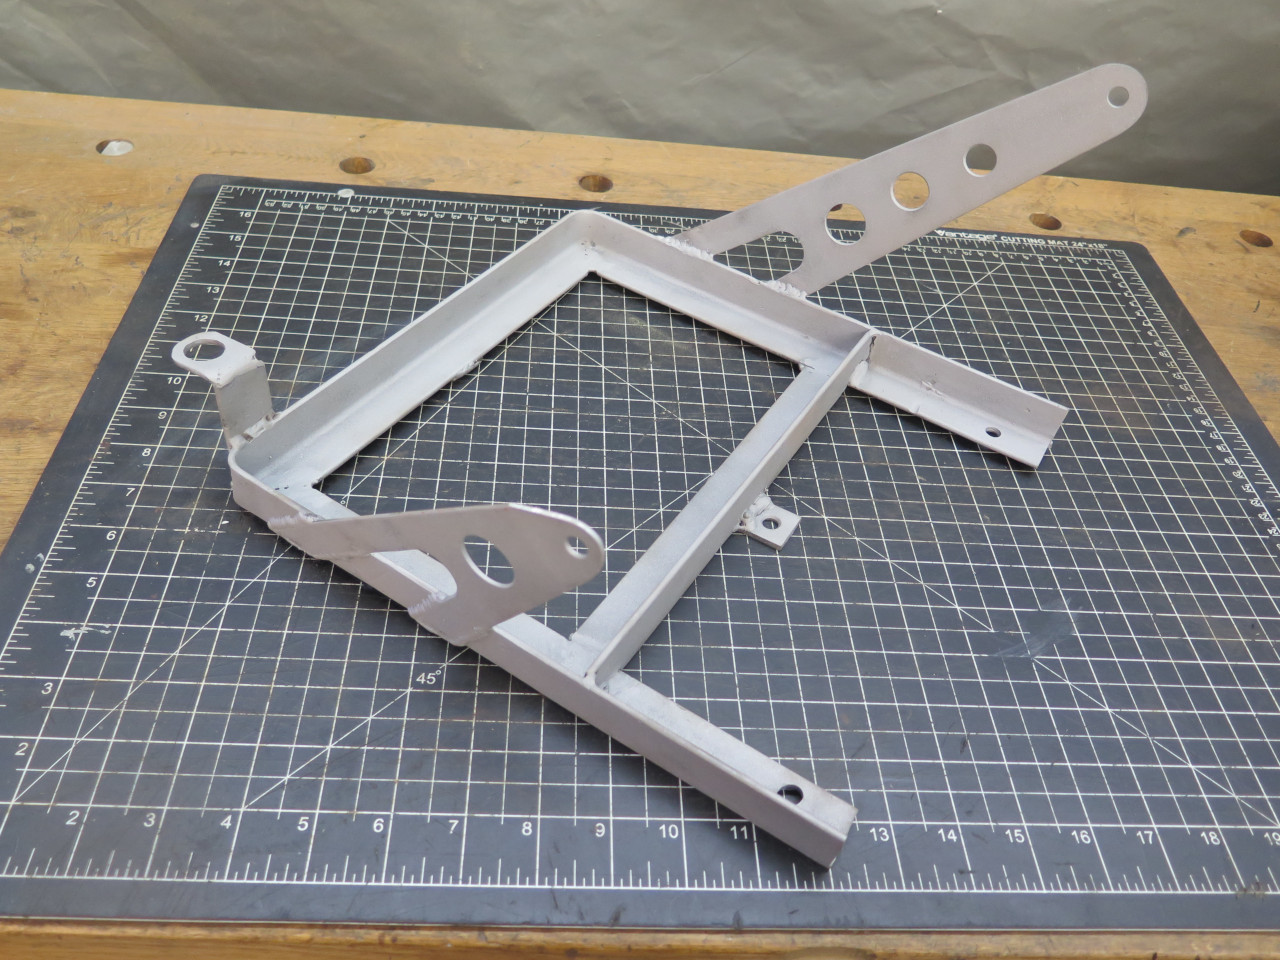
I spent some time making some slightly more stylish braces. The racing holes should add 1-2 horsepower.
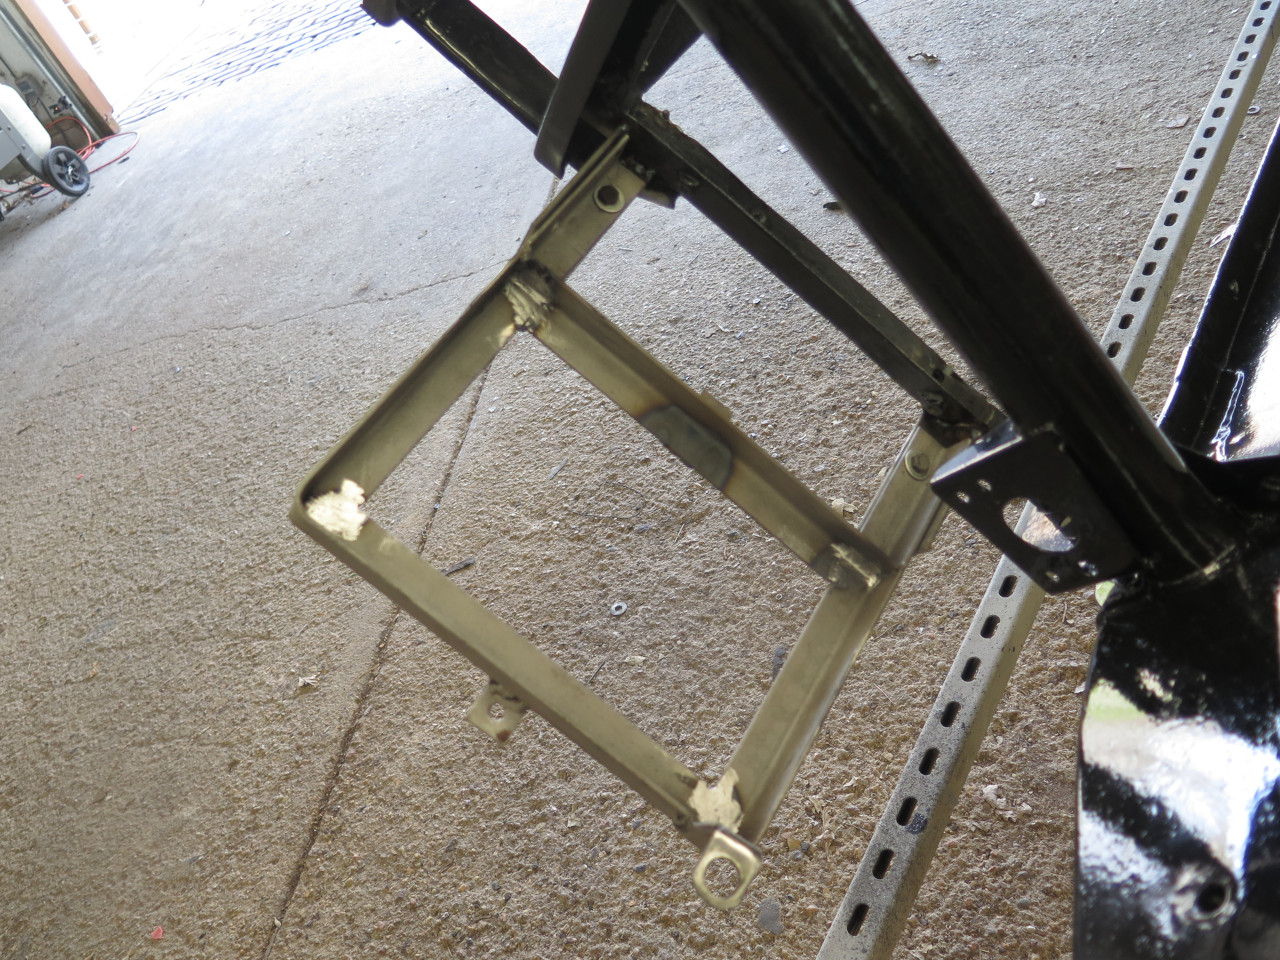
Welded the braces and checked the fit.
Then one more blast to clean uo the welds and the mill scale on the new braces.
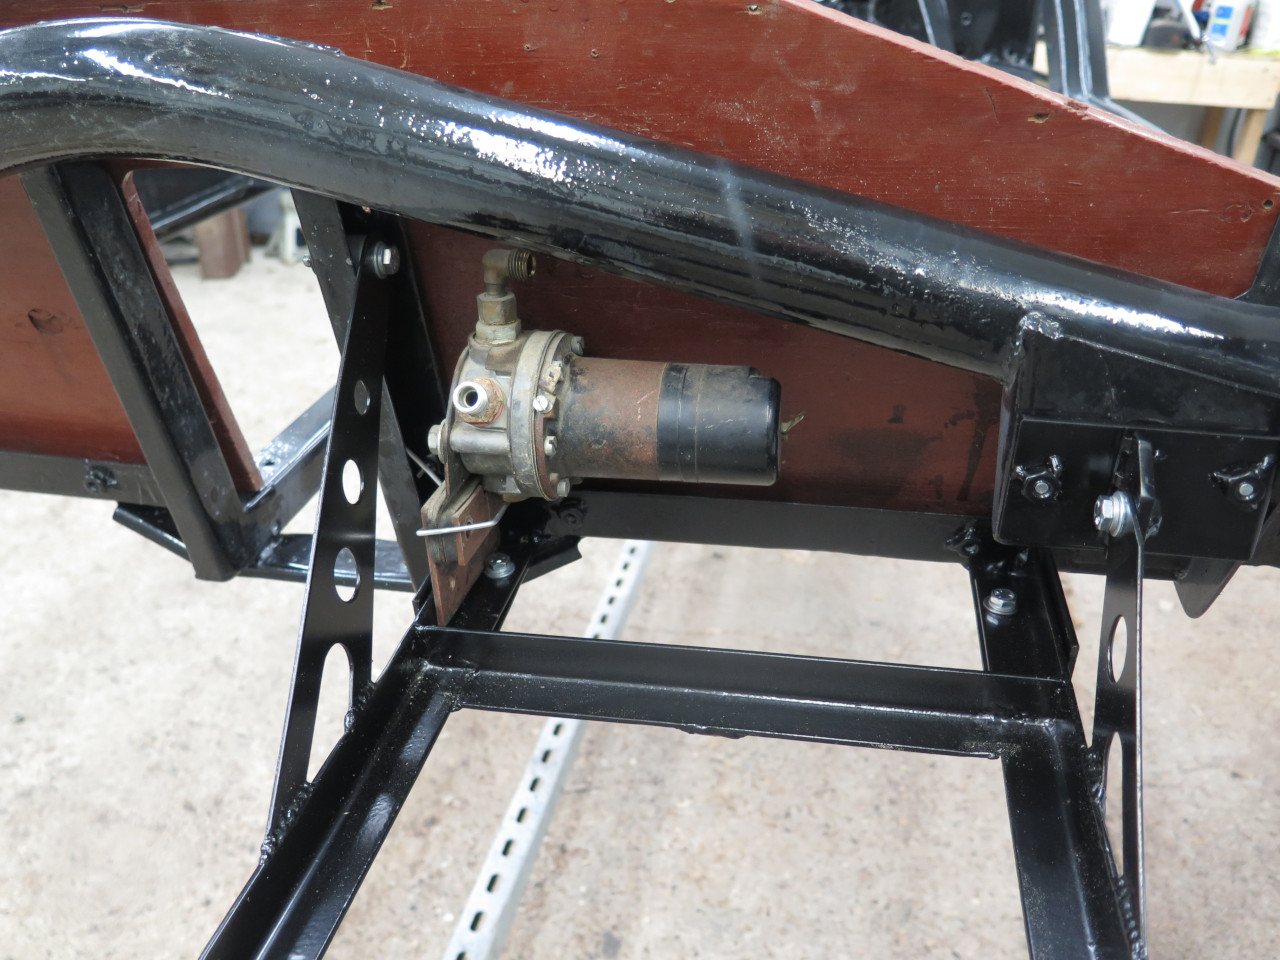
Now, the 800 pound gorilla in the room right now is "What about the fuel pump?"
Well, of course, as I discovered in the previous restoration, the larger
battery mounted this way impinges severely on the stock fuel pump
location. This was not a big concern for me this time, because I
got over that grieving during the Ford administration.
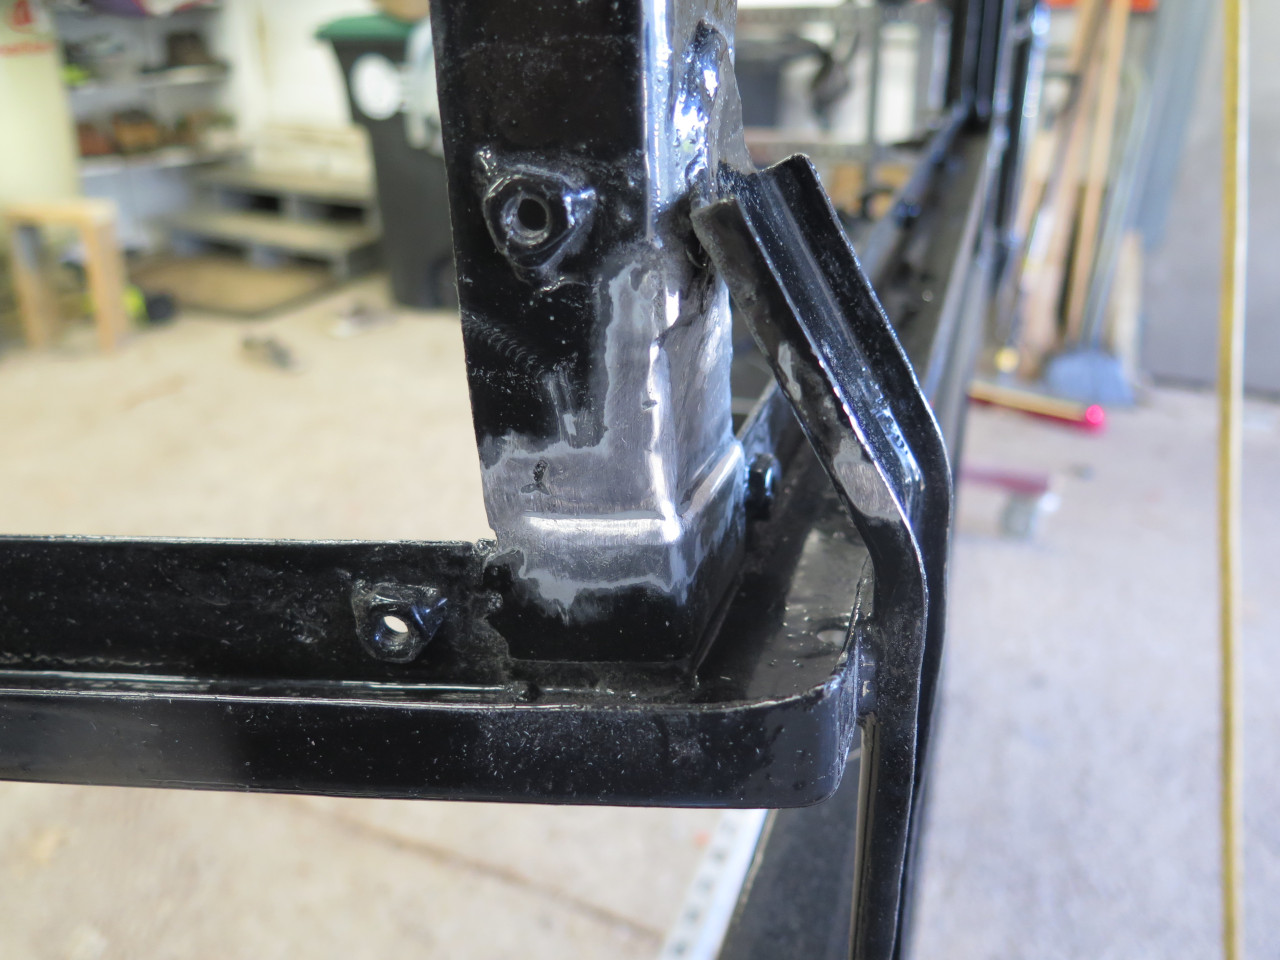
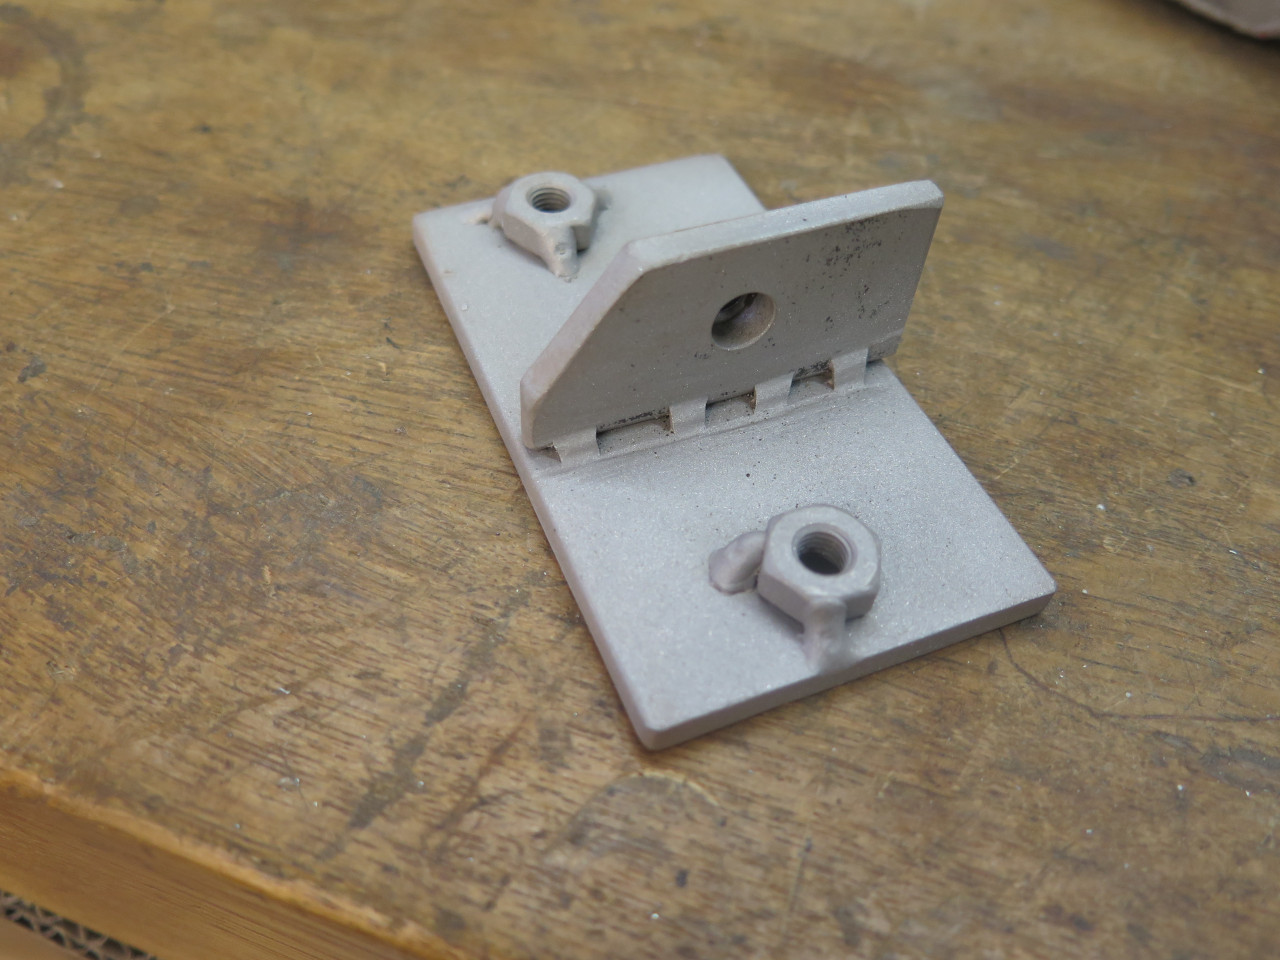
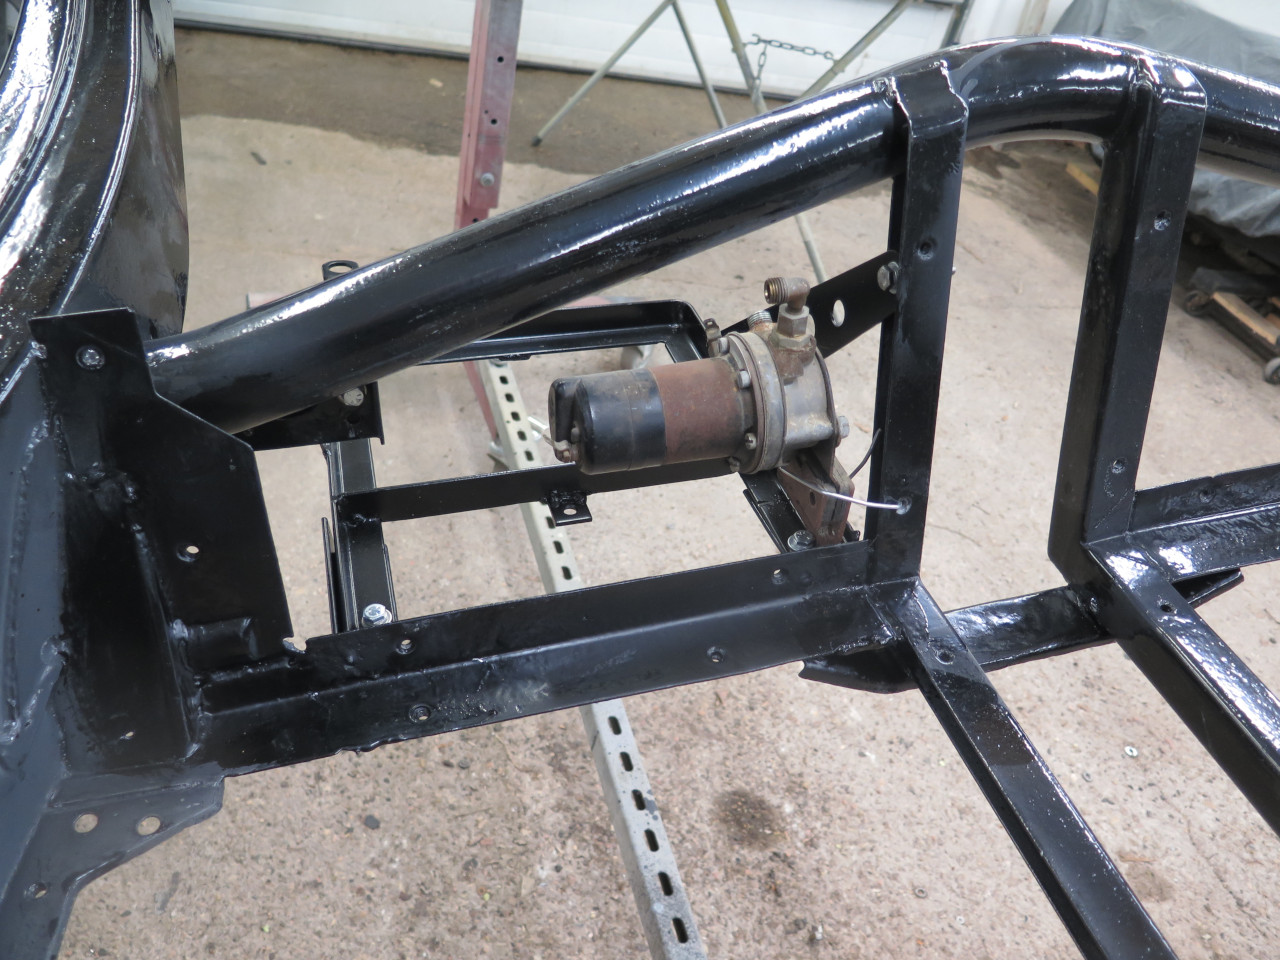
So, the original pump mounting bracket was up for grabs. This
adapter bolts to the bracket, and offers a convenient place to terminate
the outboard tray brace.
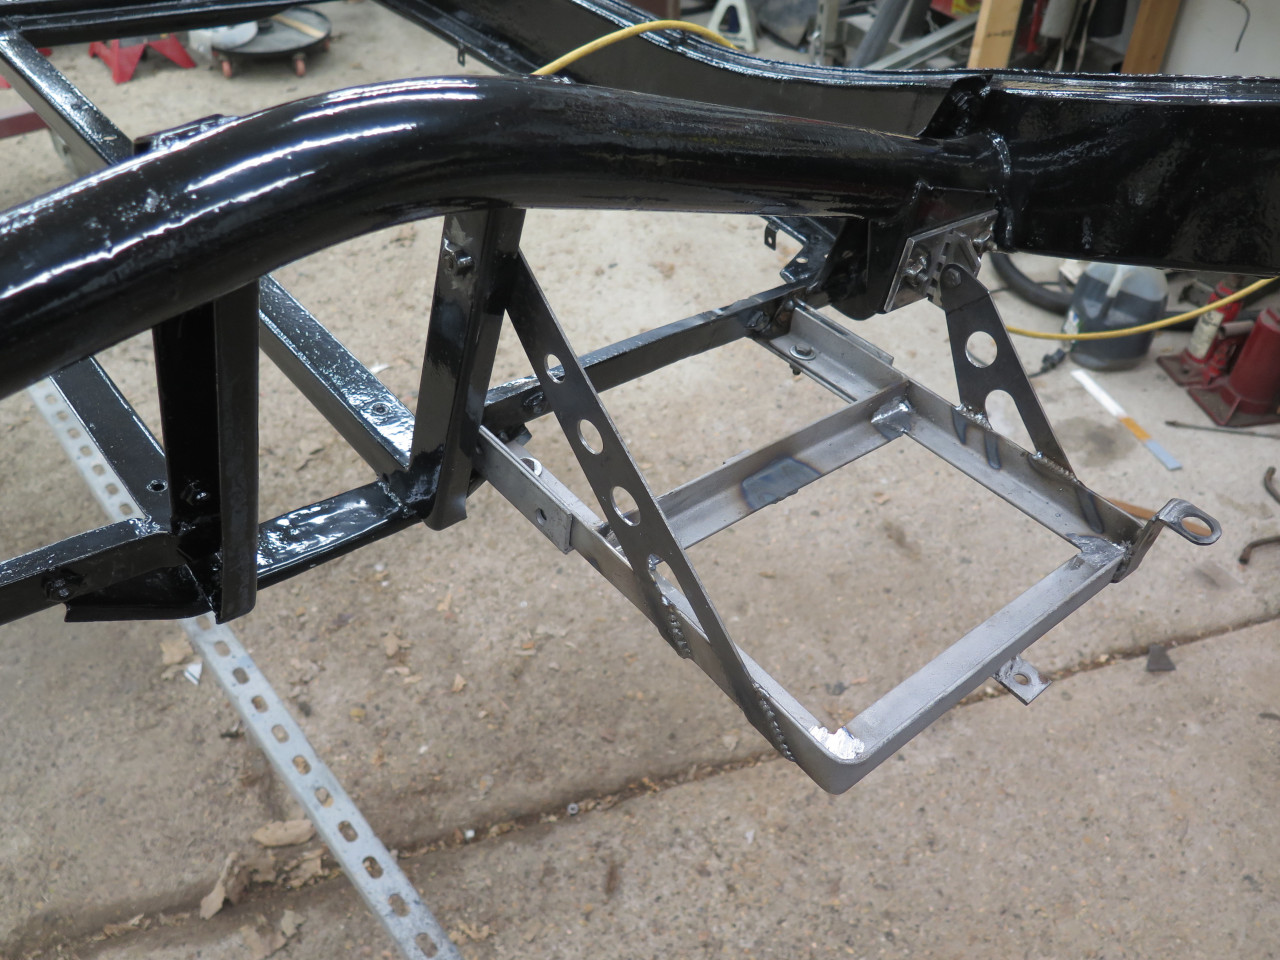
Powder coated everything, and mounted it. The inboard brace
attaches to that vertical frame member with that silver colored spacer.
I modified my battery mockup to have simulated terminal posts, making the fit easier to visualize.
This is where I moved the fuel pump to in the previous
restoration. I'm still not sure whether I'll use the stock pump
this time or a more modern one, so the pump location question is still
an open one.
This was the final bit of the frame work. Next goal is to try to get her back up on her wheels.
Comments to Ed at elhollin1@yahoo.com
To my other MGA pages.