To my other MGA pages
March 27, 2025
Front Dampers
The MGA front suspension is a bit unique in that its damping is provided
at the upper A frame pivot. The damper body is fixed to the
frame, and includes a horizontal shaft whose rotation is damped by a
pair of linked pistons riding in two horizontal bores. Arms fixed
to either end of the shaft form the suspension's upper A arm.
Hydraulic oil is forced back and forth between the cylinders with
rotation of the shaft. Restrictions in the oil passage determine
the amount of damping on bump and rebound.
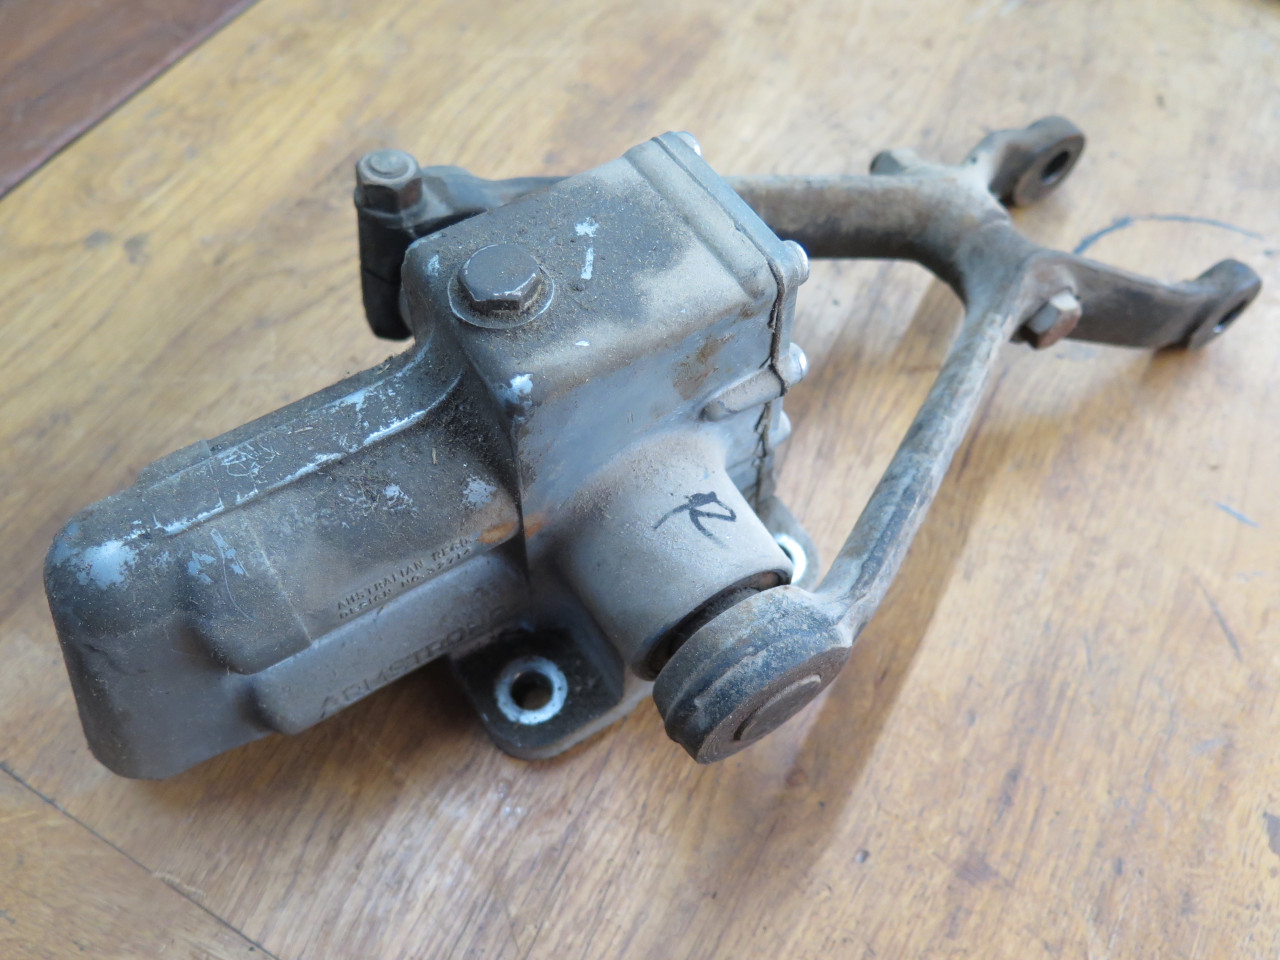
I knew that I had replaced the dampers on this car in the early 70s, and
that they had probably less than 1000 miles on them before I put the
car in to storage in 1975 or so. So, I hoped they would still be
in reasonable shape. They were pretty dirty, but there was no
evidence of leaking.
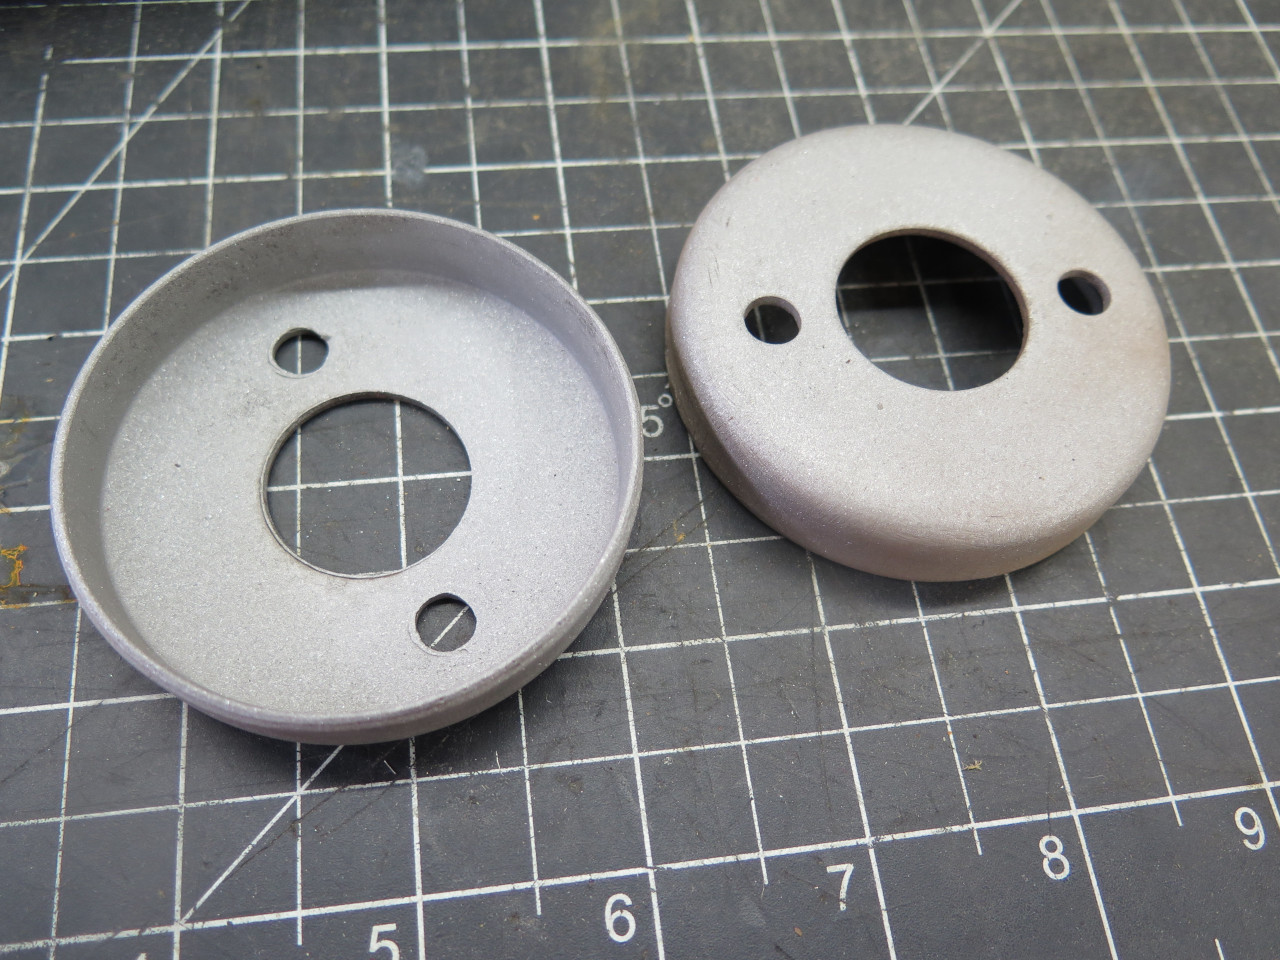
I resisted the urge to completely disassemble these units. First,
it isn't easy. Second, there would be a real risk of damaging
something. And third, there didn't seem to be any good reason to
take them apart. So I stifled my natural impulse and limited my
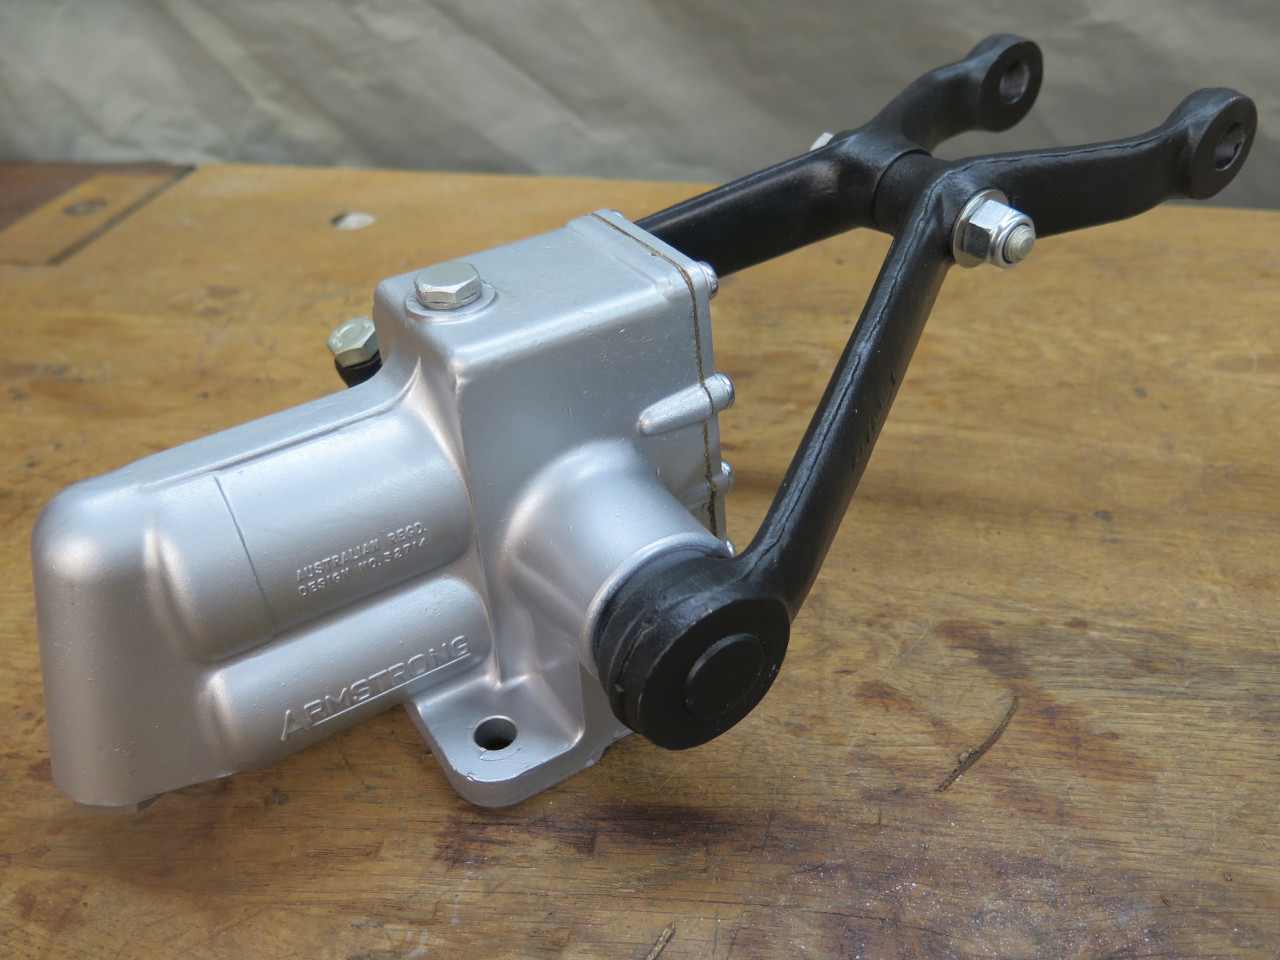
work to easy stuff. One of the arms comes off easily, and makes
cleaning easier. I painted the bodies a nice silver, and the arms a
tasteful satin black. I considered powder coating them, but I
wasn't sure that there wasn't something inside that would be harmed by
the curing temperatures. I'm not sure if the cork cover gasket is
available anywhere, but It was pretty quick to just make one.
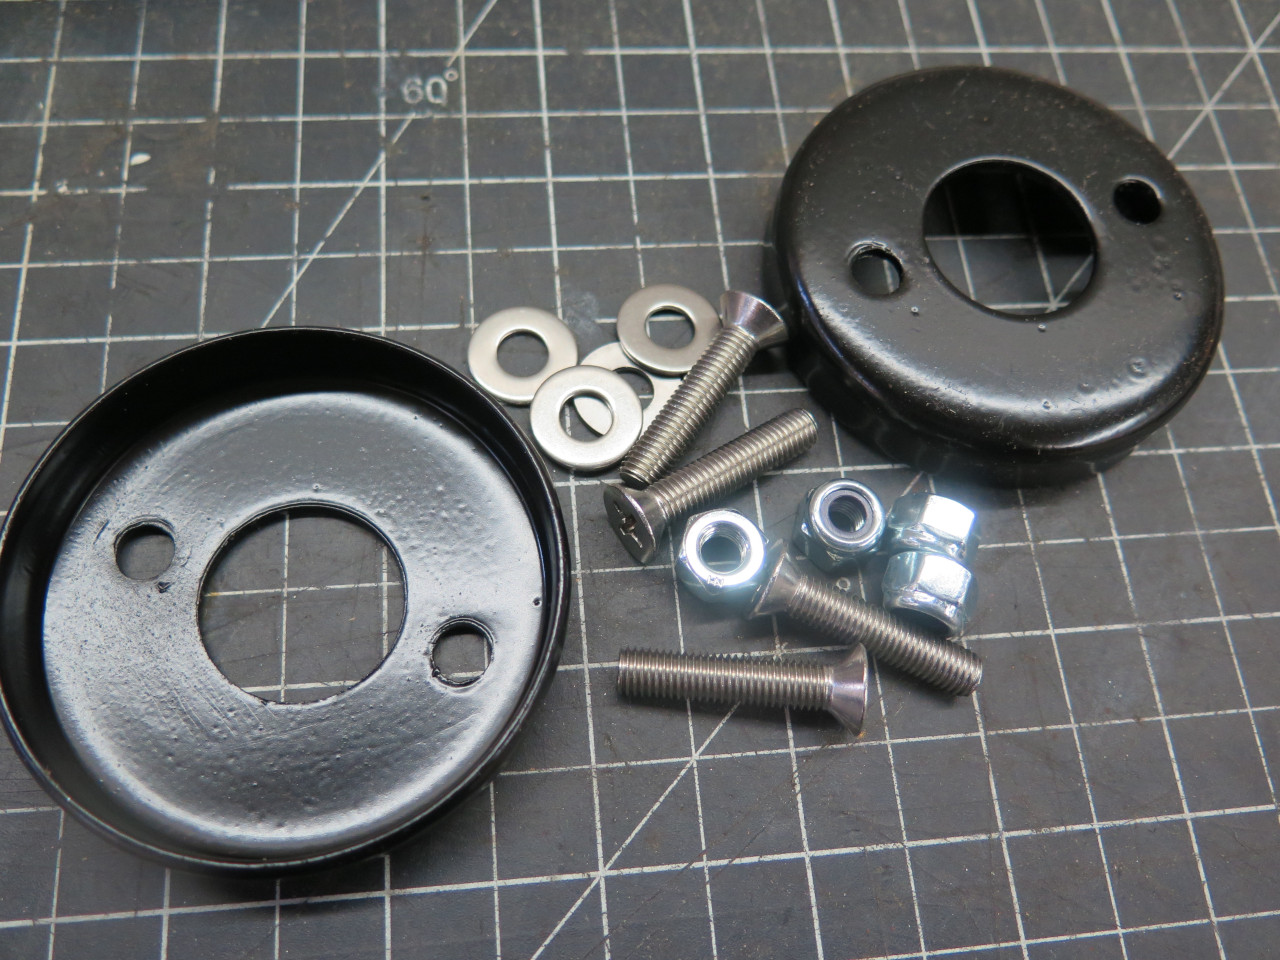
The arm hardware got stripped, replated, and chromated.
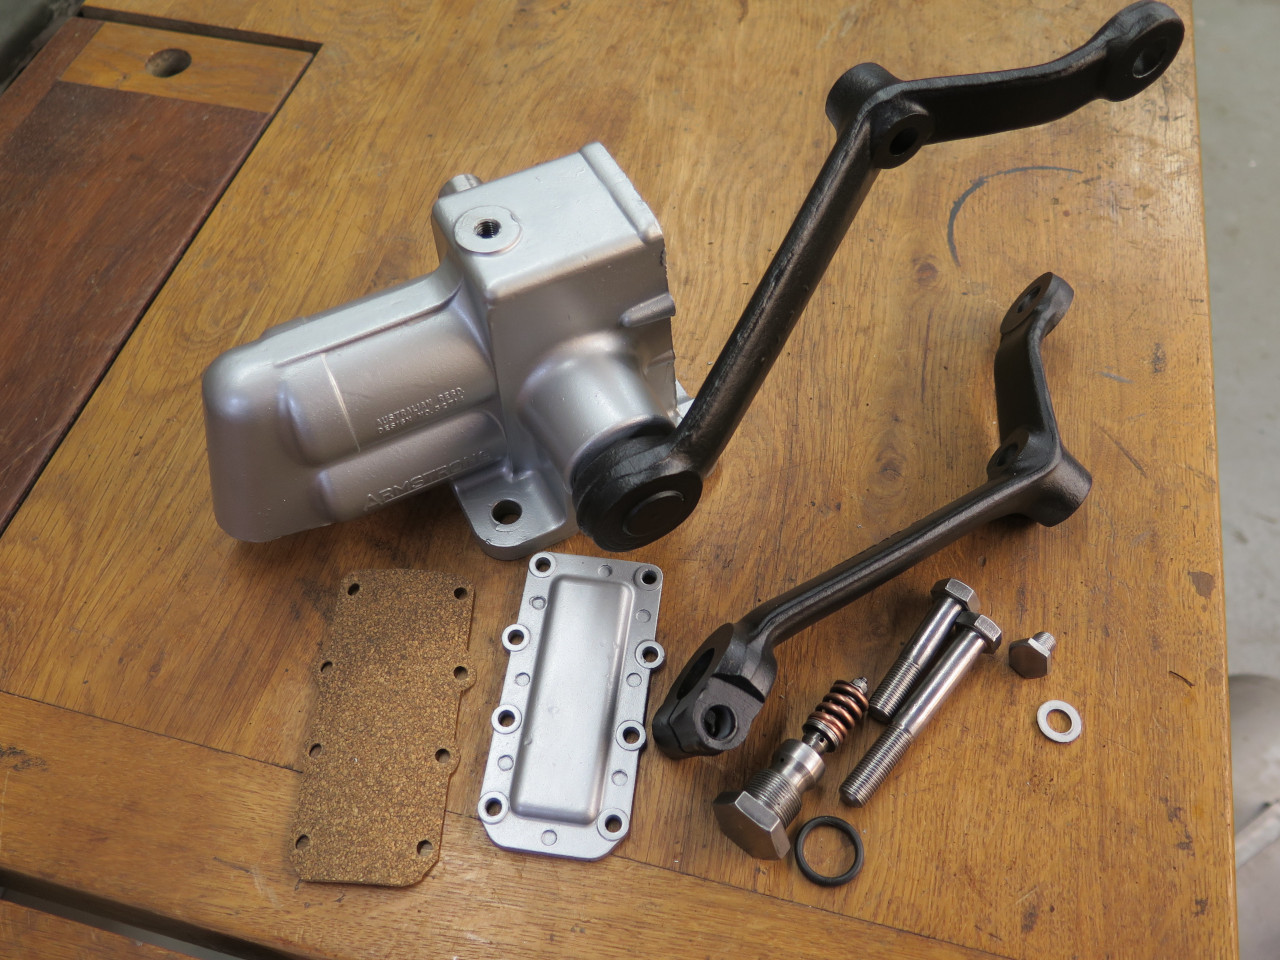
The valving assembly was just cleaned and re-installed as I found it,
but with a fresh O ring seal. In principle, one can adjust the
damping levels by messing with shims, springs, and that little adjusting
nut, but my style of driving doesn't warrant that kind of
distraction. I replated the hex part of the large screw.

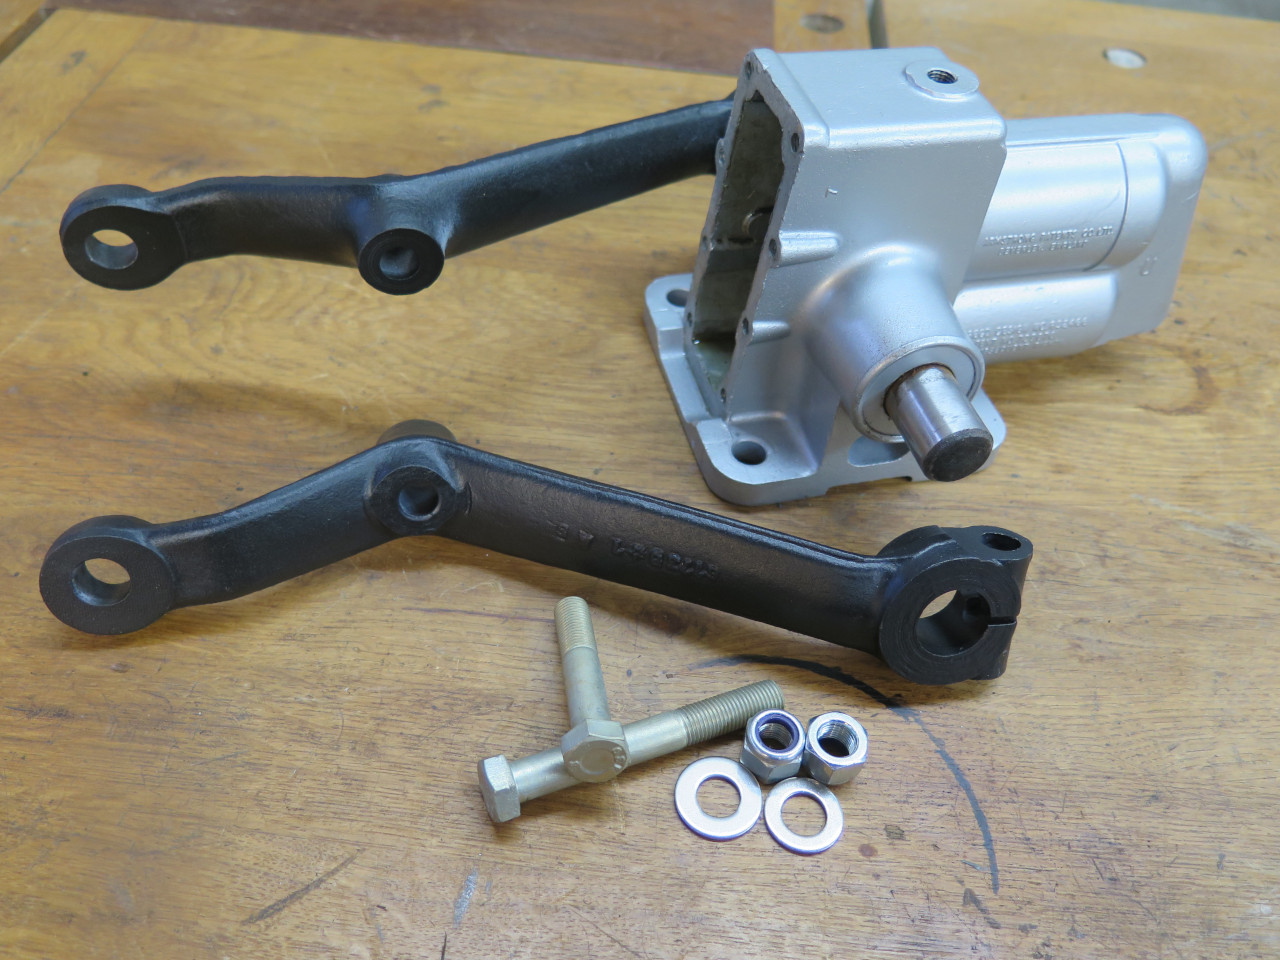
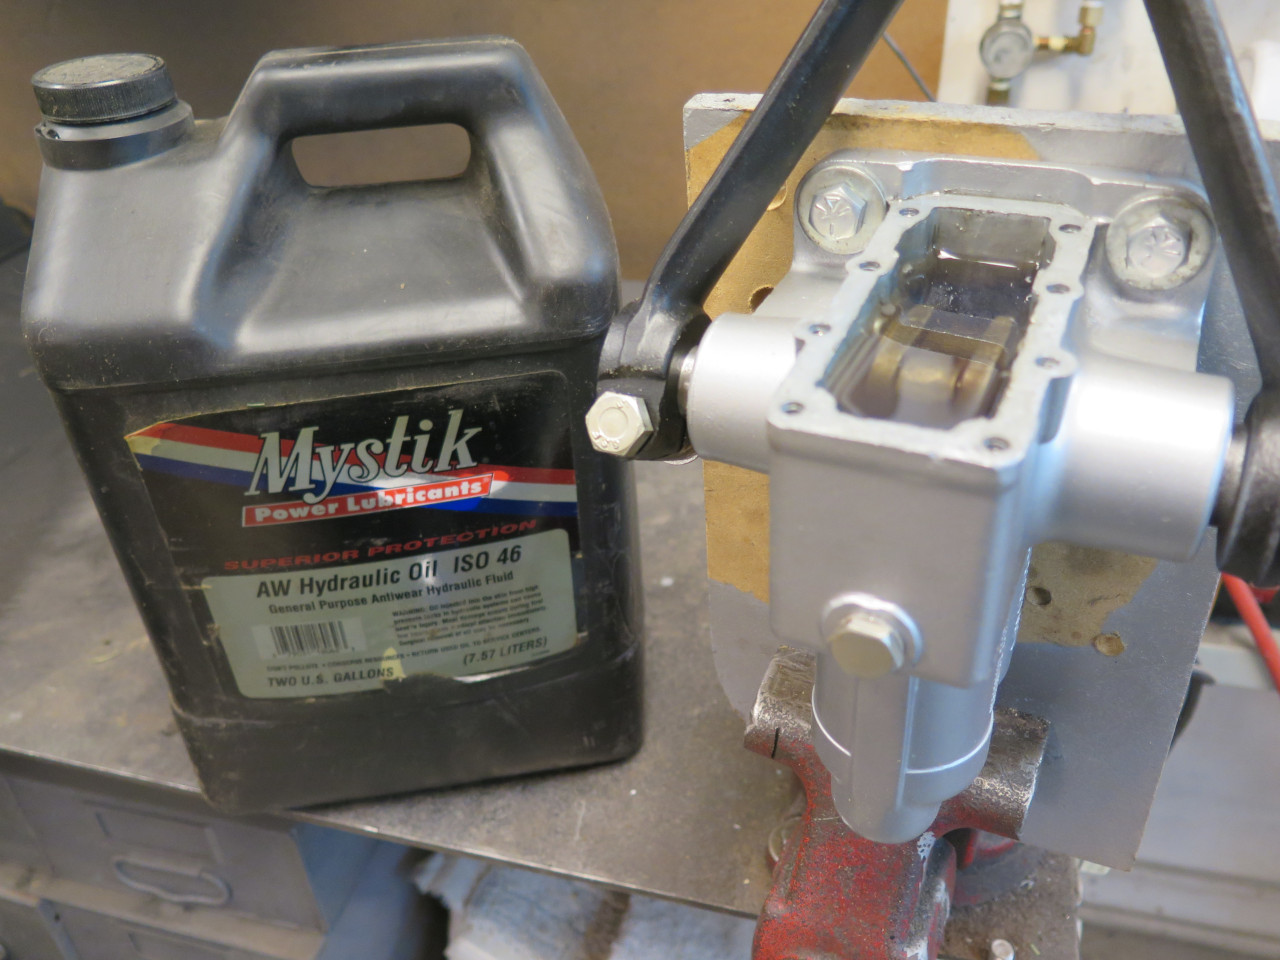
Before painting, I had drained the old oil, which still looked very
good. After painting, I put in fresh oil. It was much
quicker and easier to fill the innards with the front cover still off,
and the opening facing up. Dampers are hydraulic devices, so a
hydraulic oil seemed appropriate. This is ISO 46 hydraulic oil,
which is in the range of 20 weight engine oil in terms of
viscosity. As I exercised the arms, the level would drop as the
internals got filled with oil. When I saw stable level and no more
bubbles, I called it full.
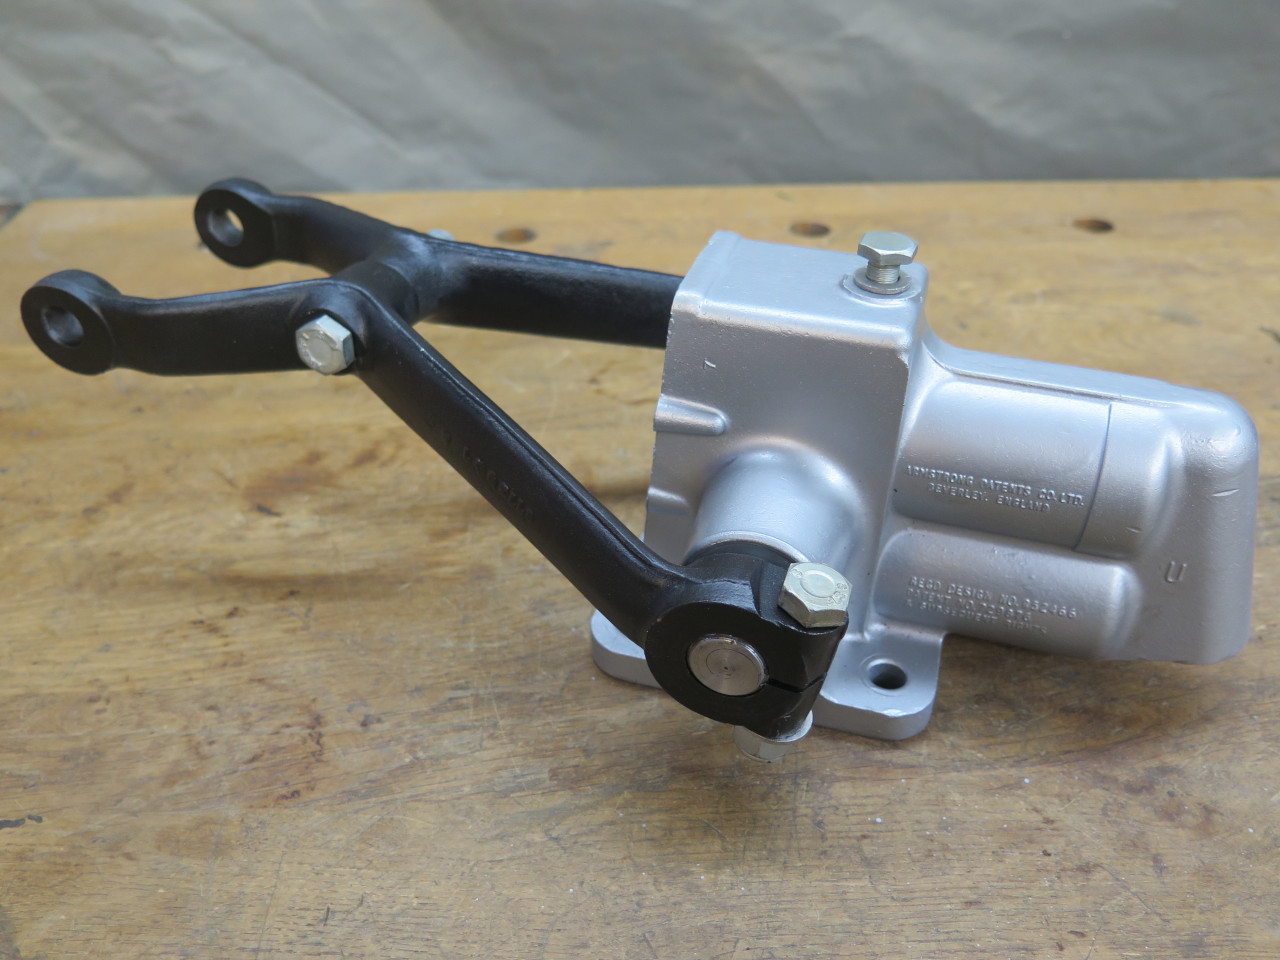
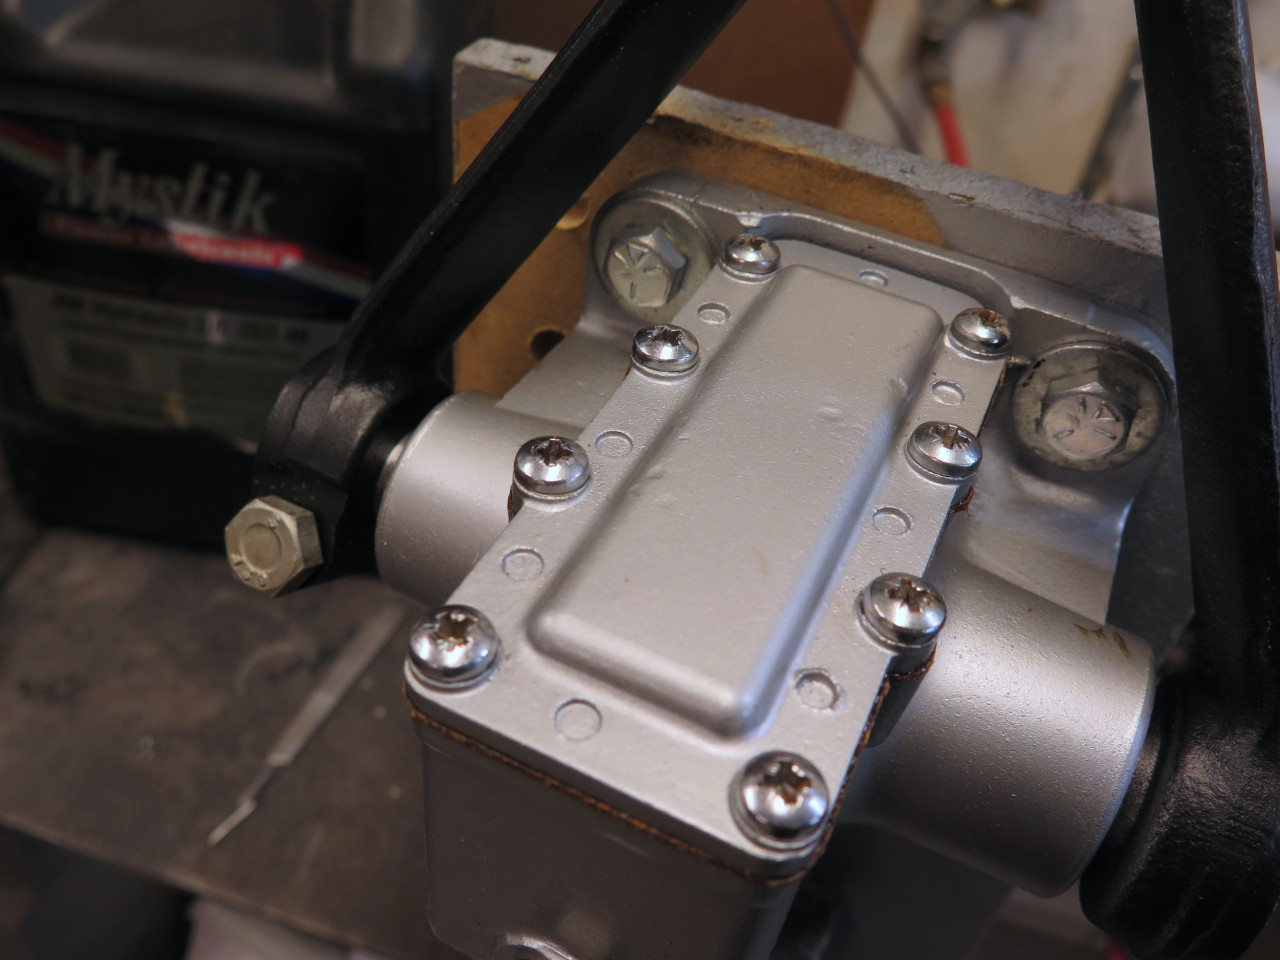
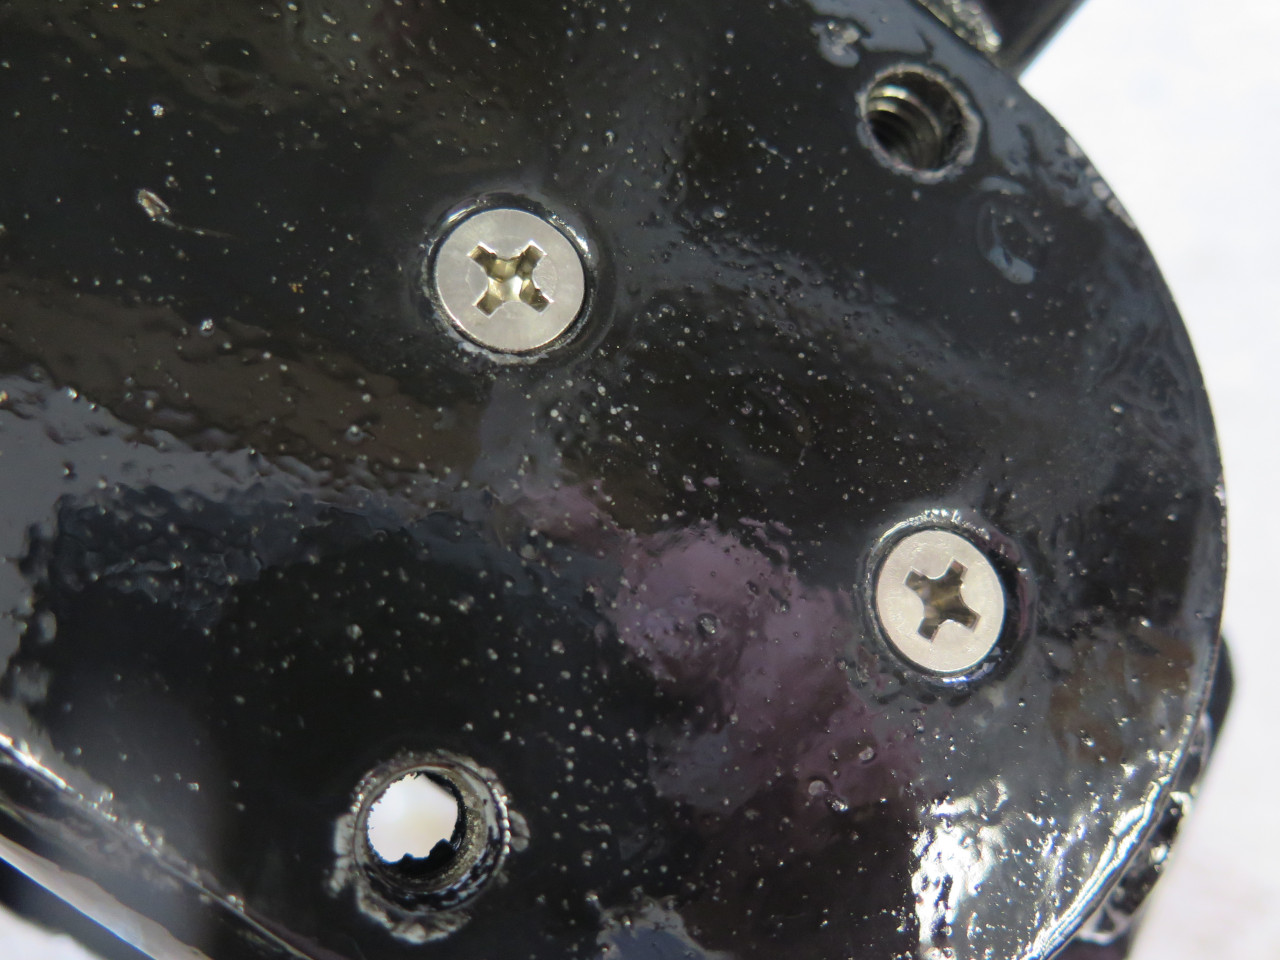
Then buttoned up the cover with the home made gasket but original screws.
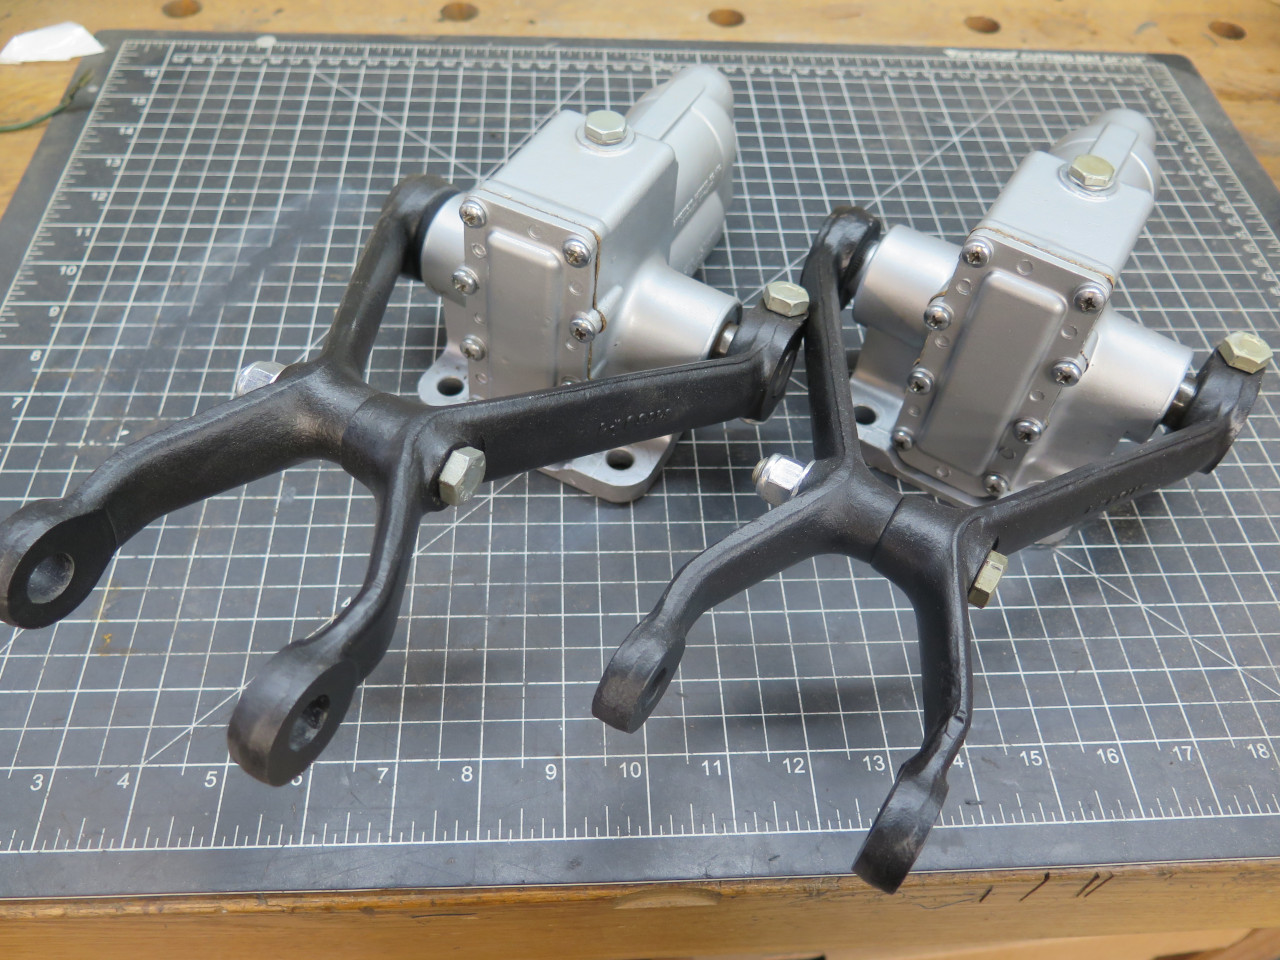
Ready for Prime Time...
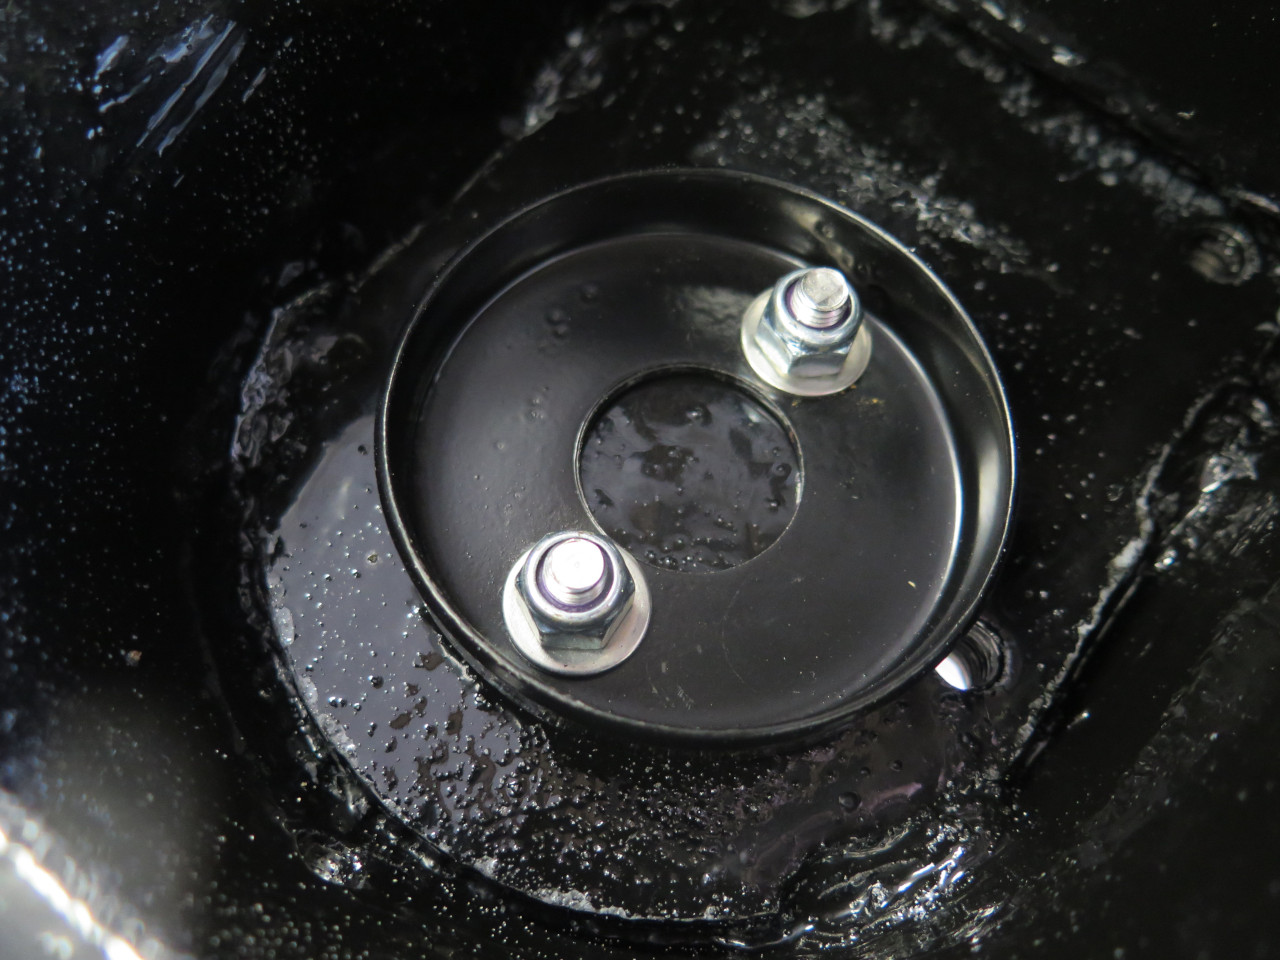
When the frame was ready, these dampers were the first thing to
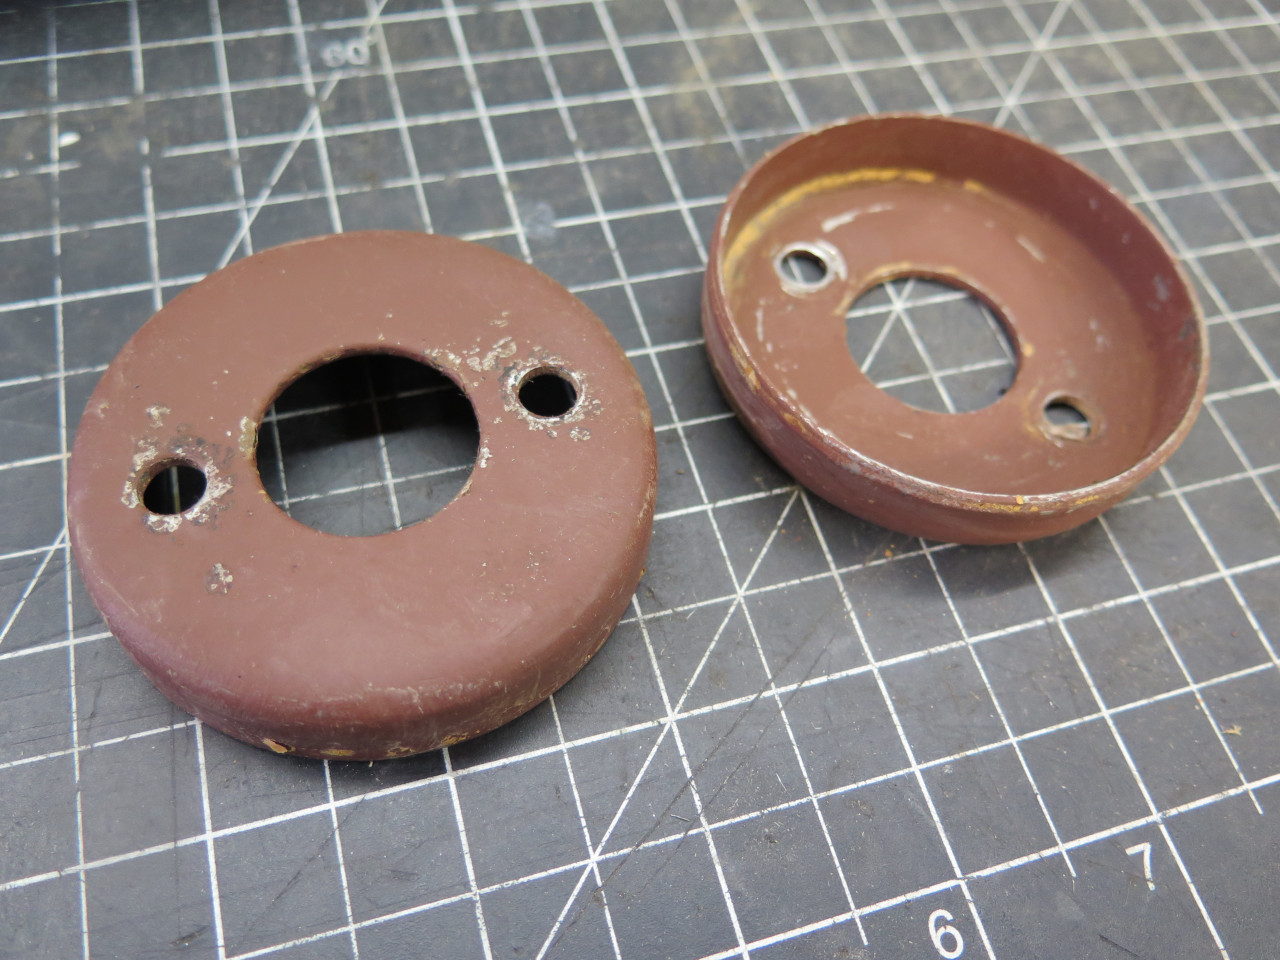
install. But, in an unusual case of foresight, I realized that
something else had to go in first. The factory apparently called
these little cups "spigots". They help locate and centralize the
top of the road springs. They were blasted and powder coated, and
got new hardware. Anywhere I can, I replace original split lock
washers and nuts with flat washers and lock nuts.
They went home in the spring towers.
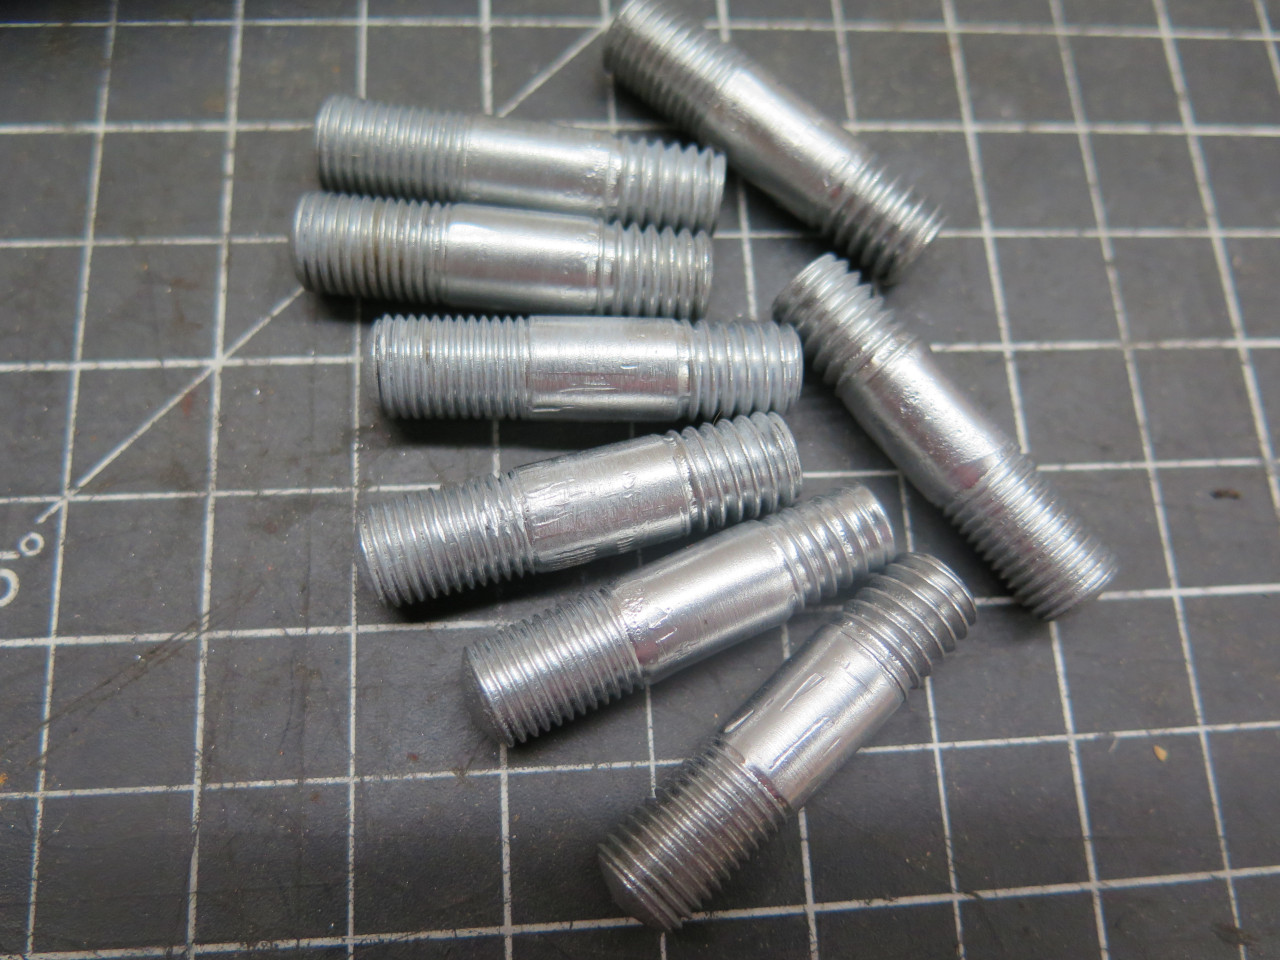
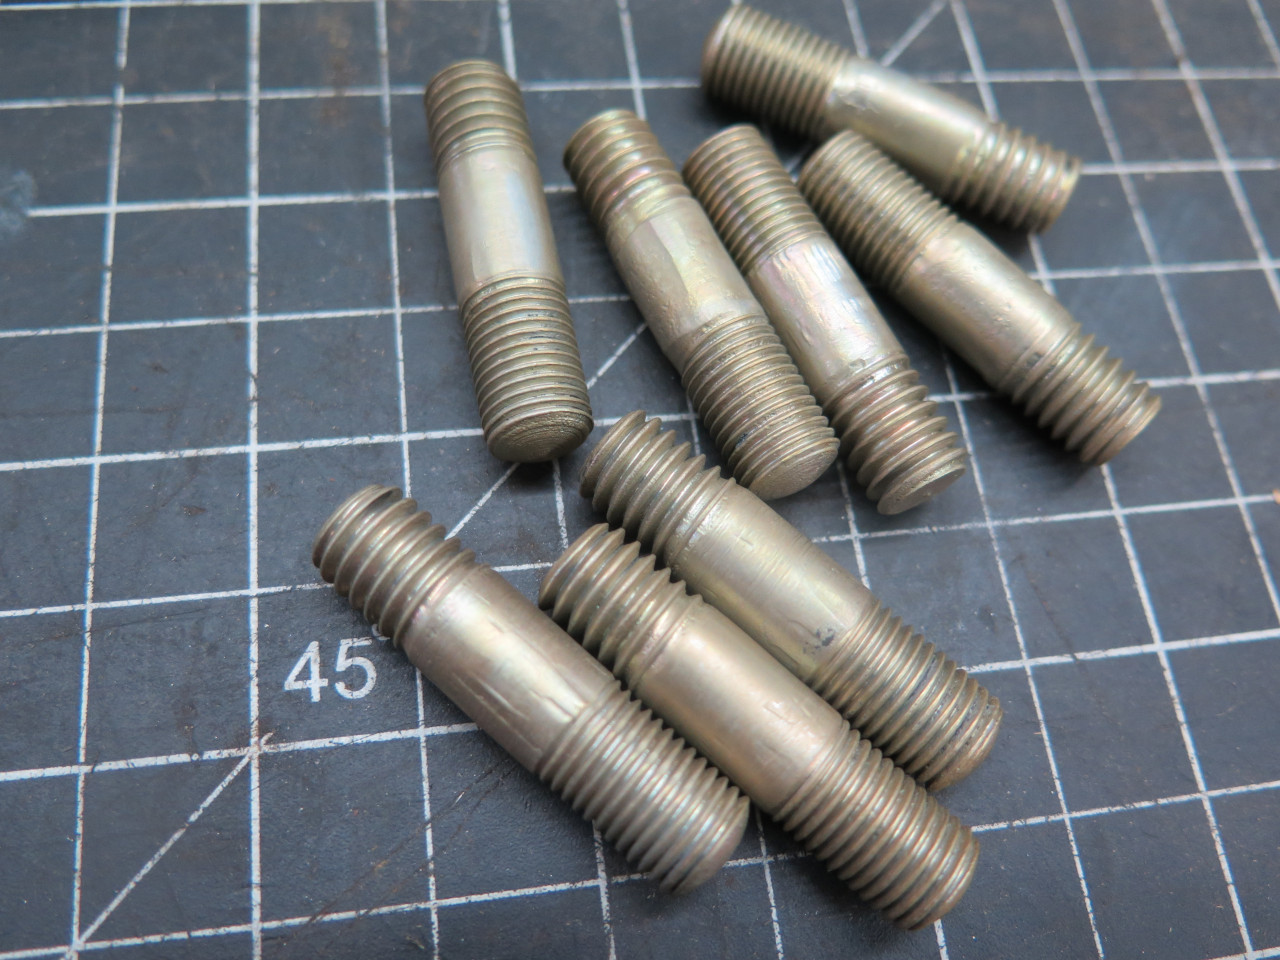
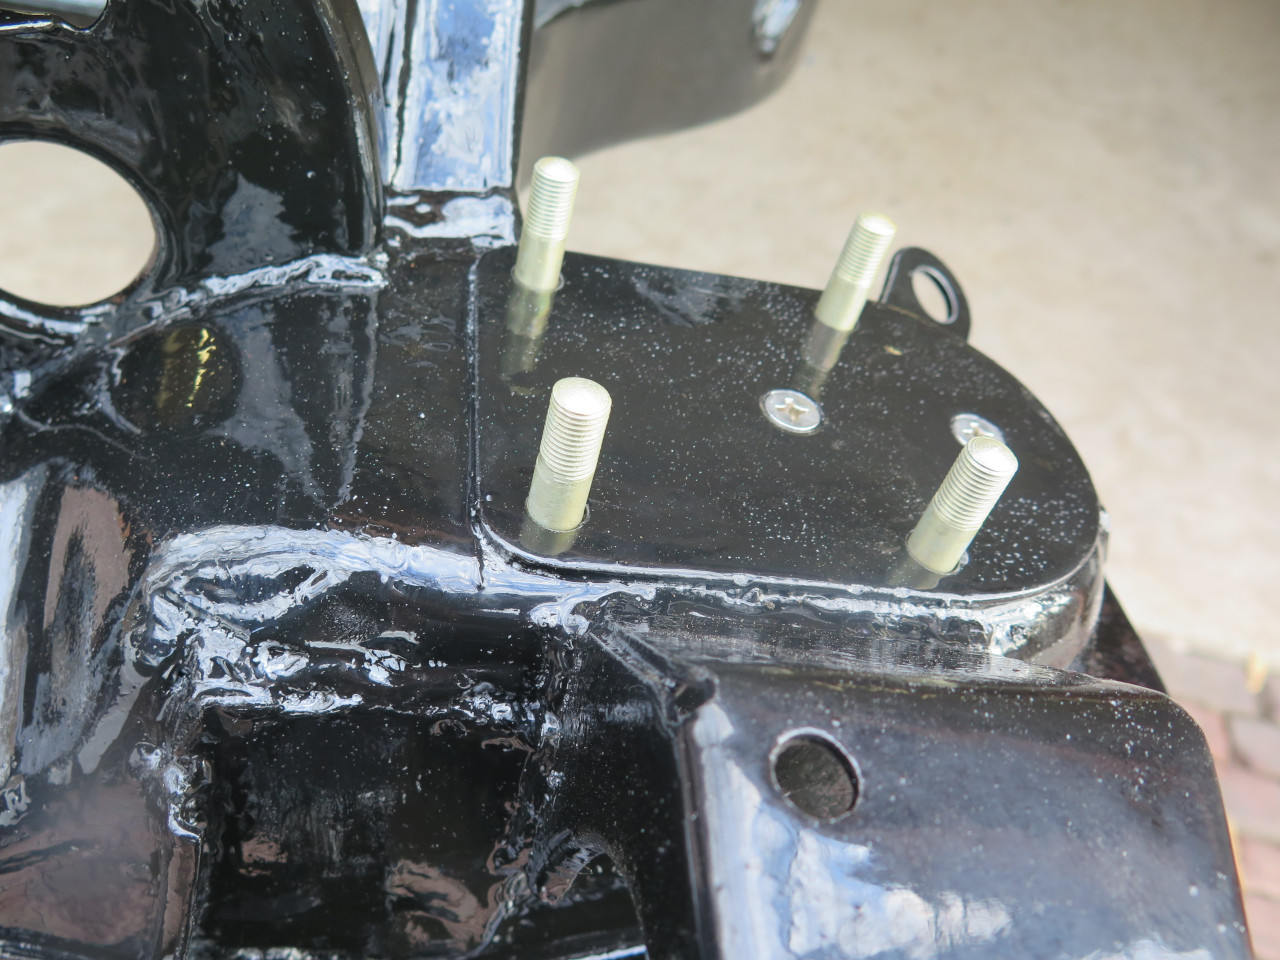
I was able to save all of the original damper mounting studs. They
got zinc to protect the steel, and chromate to protect the zinc.
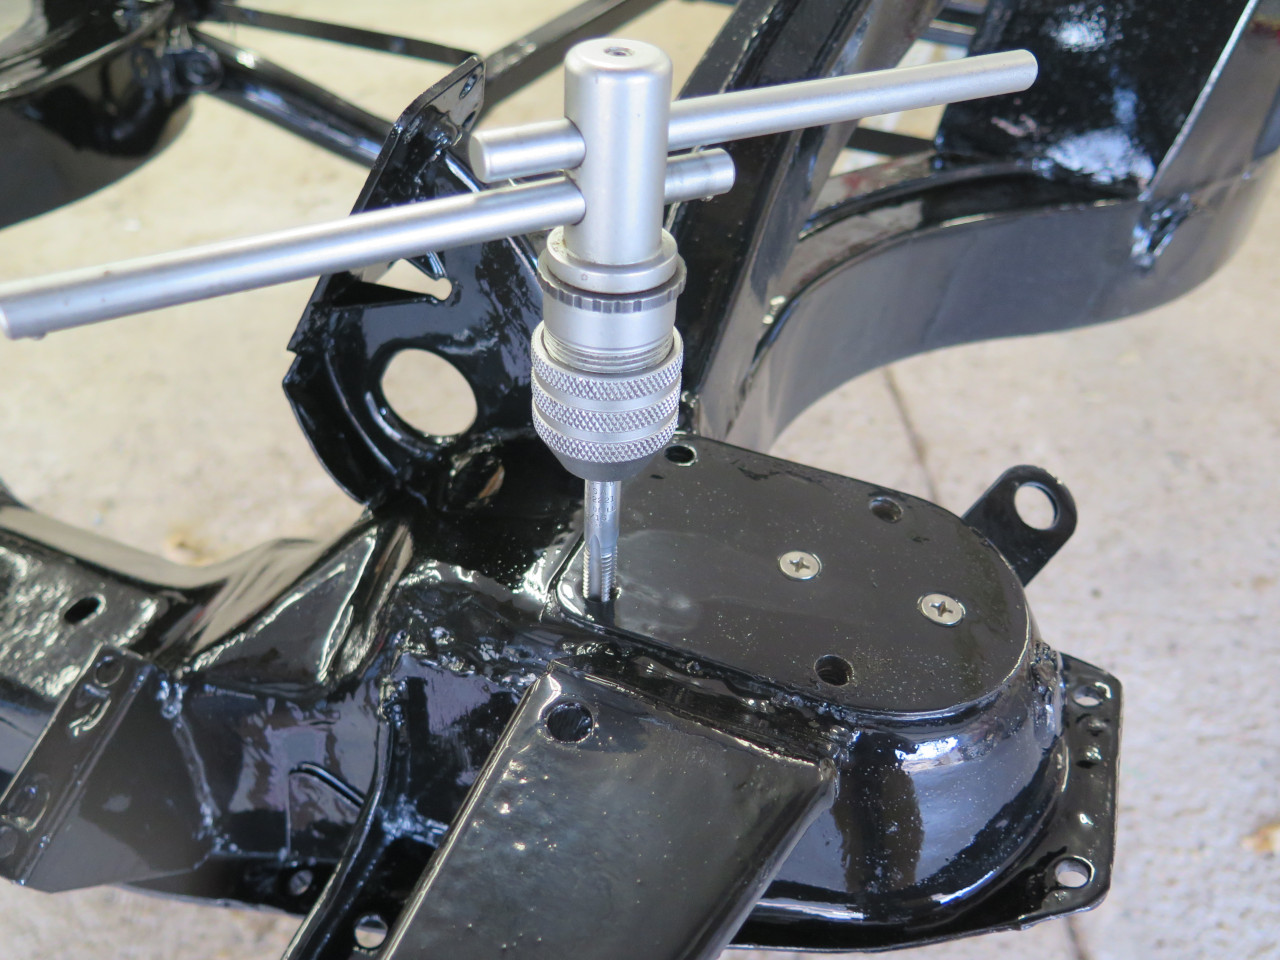
I usually chase threaded holes in the chassis before mounting
anything. Especially after painting with something like POR15,
which can foul threads.
The twins, ready to go to work.
Its forever home...
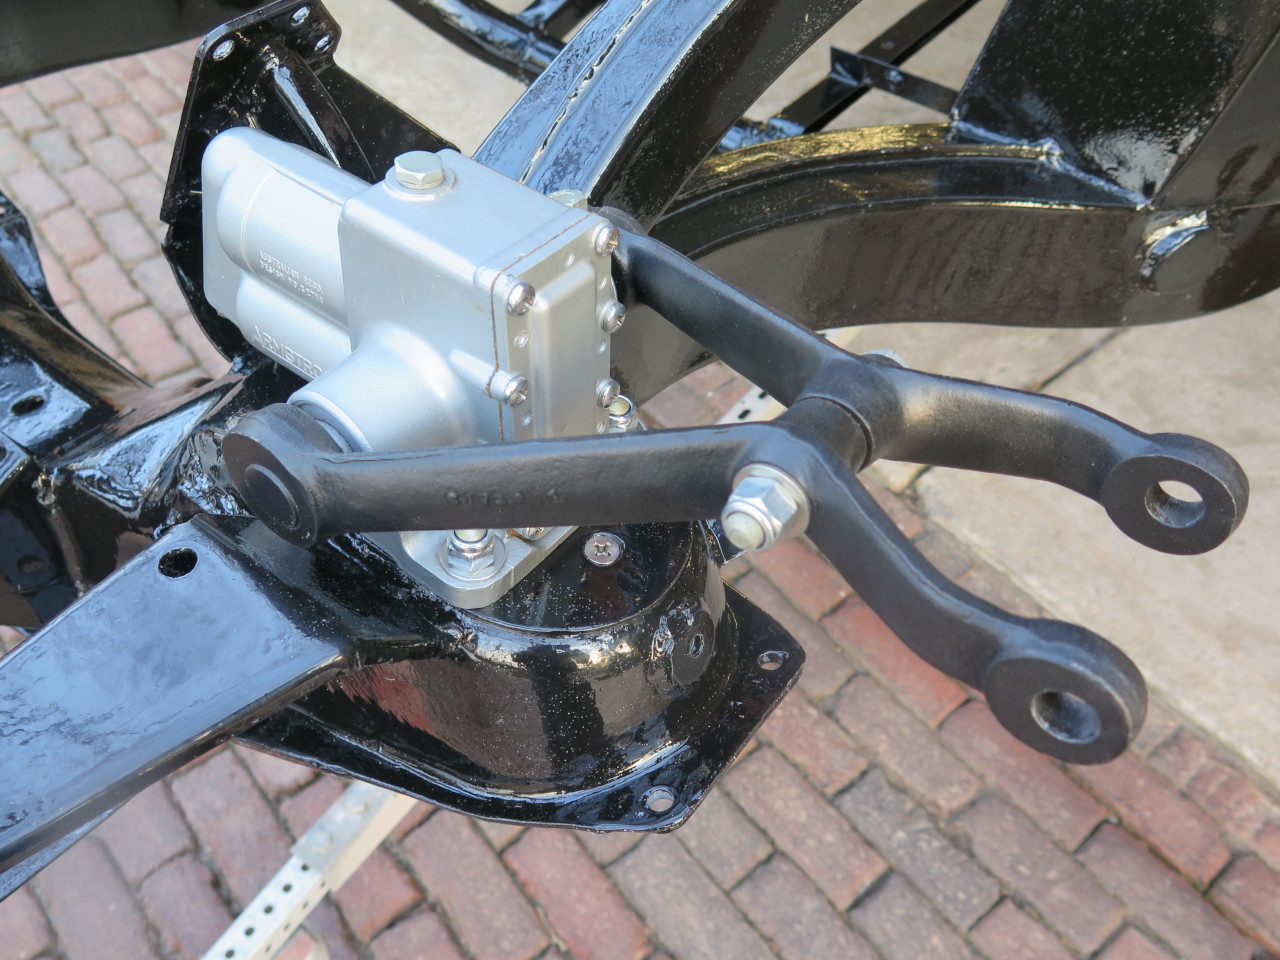
It feels good to start hanging things back on this car. This was a
pretty simple job, and cheap--no cost other than some consumables.
Comments to Ed at elhollin1@yahoo,com
To my other MGA pages