To my other MGA pages
March 25, 2025
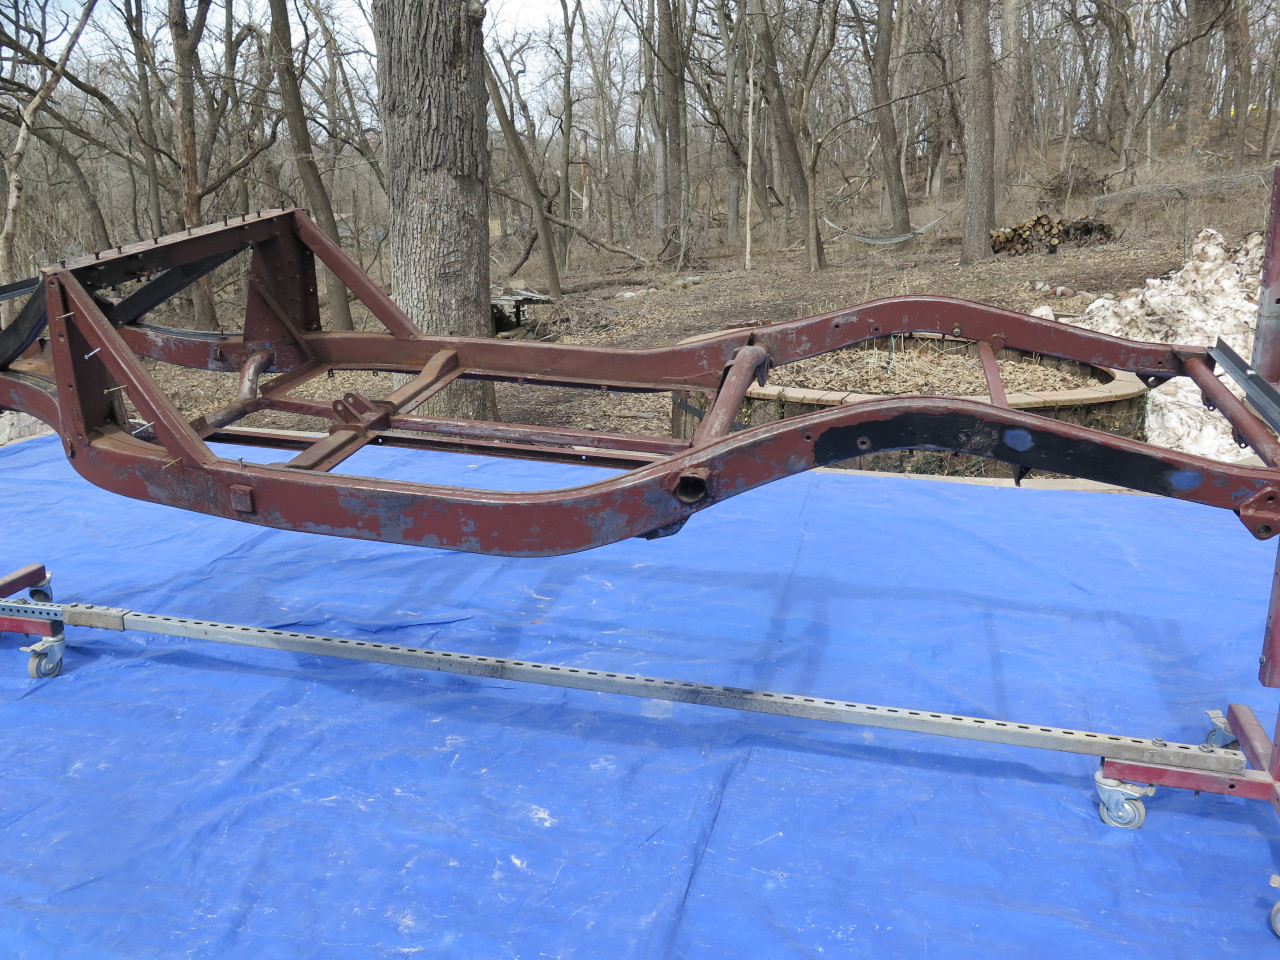
Frame Prep
Finally, with some Spring-like temperatures, it was possible to do some
outdoor work on this project. The frame was already on the
rotisserie, so I gave it a good inspection. First job was to clean
it though.
Back in my 70s "restoration", I removed rust with a composition wheel,
but left any areas with intact undercoating alone. I then sprayed
everything with Rustoleum red primer, followed by a couple of coats of a
waxy, Ziebart-like rust preventative.
First, the surviving undercoat came off. It was fairly brittle,
and a blunt screwdriver and hammer chipped it off in good sized
flakes. Then the waxy goo. Luckily, it
responded well to a scraper, followed by plain mineral spirits, but it
still took
hours. Some of the Rustoleum came off with the mineral spirits.
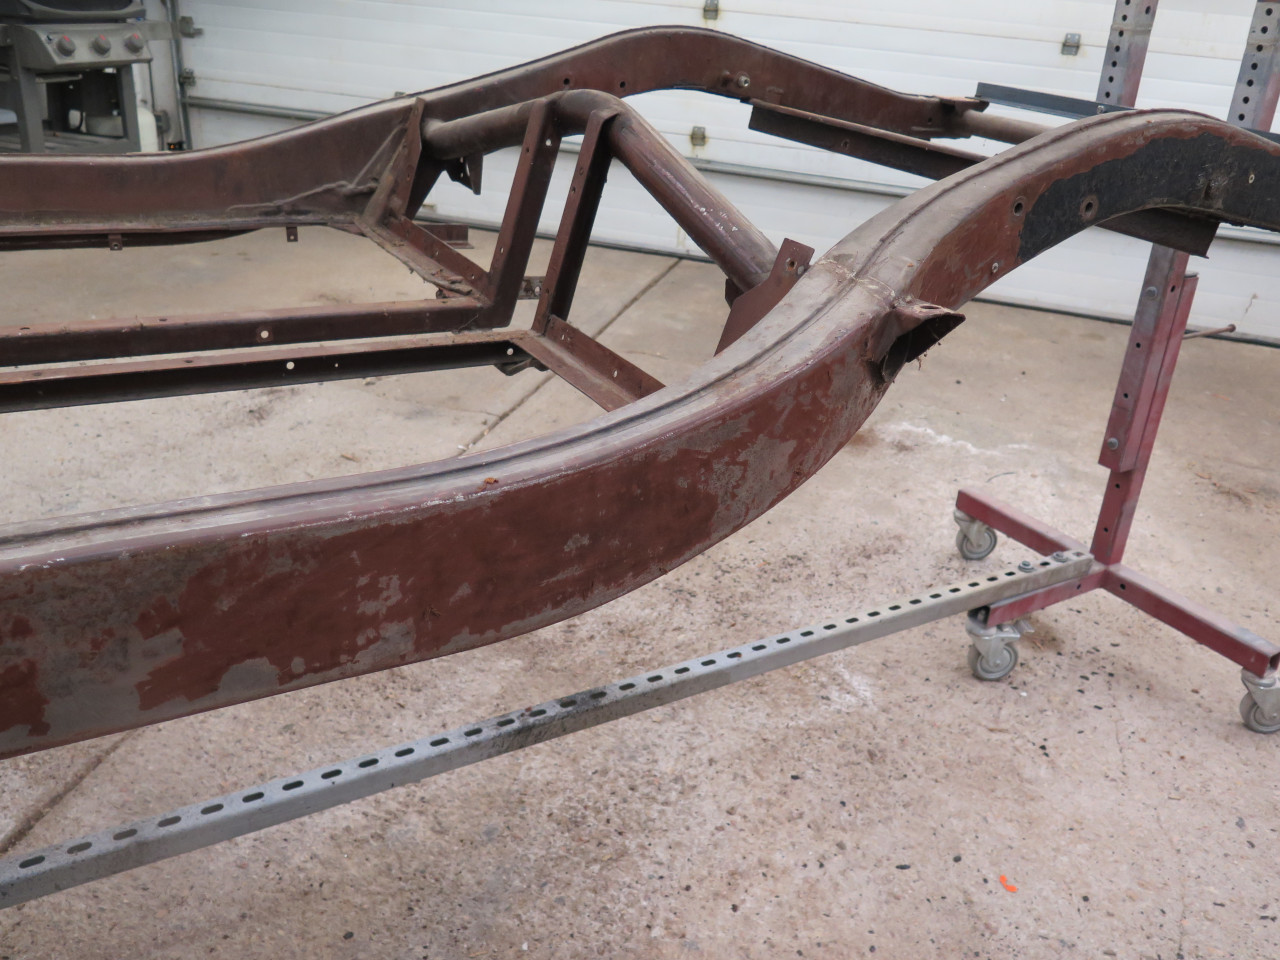
This was all preparation for sand blasting, but before that, I wanted
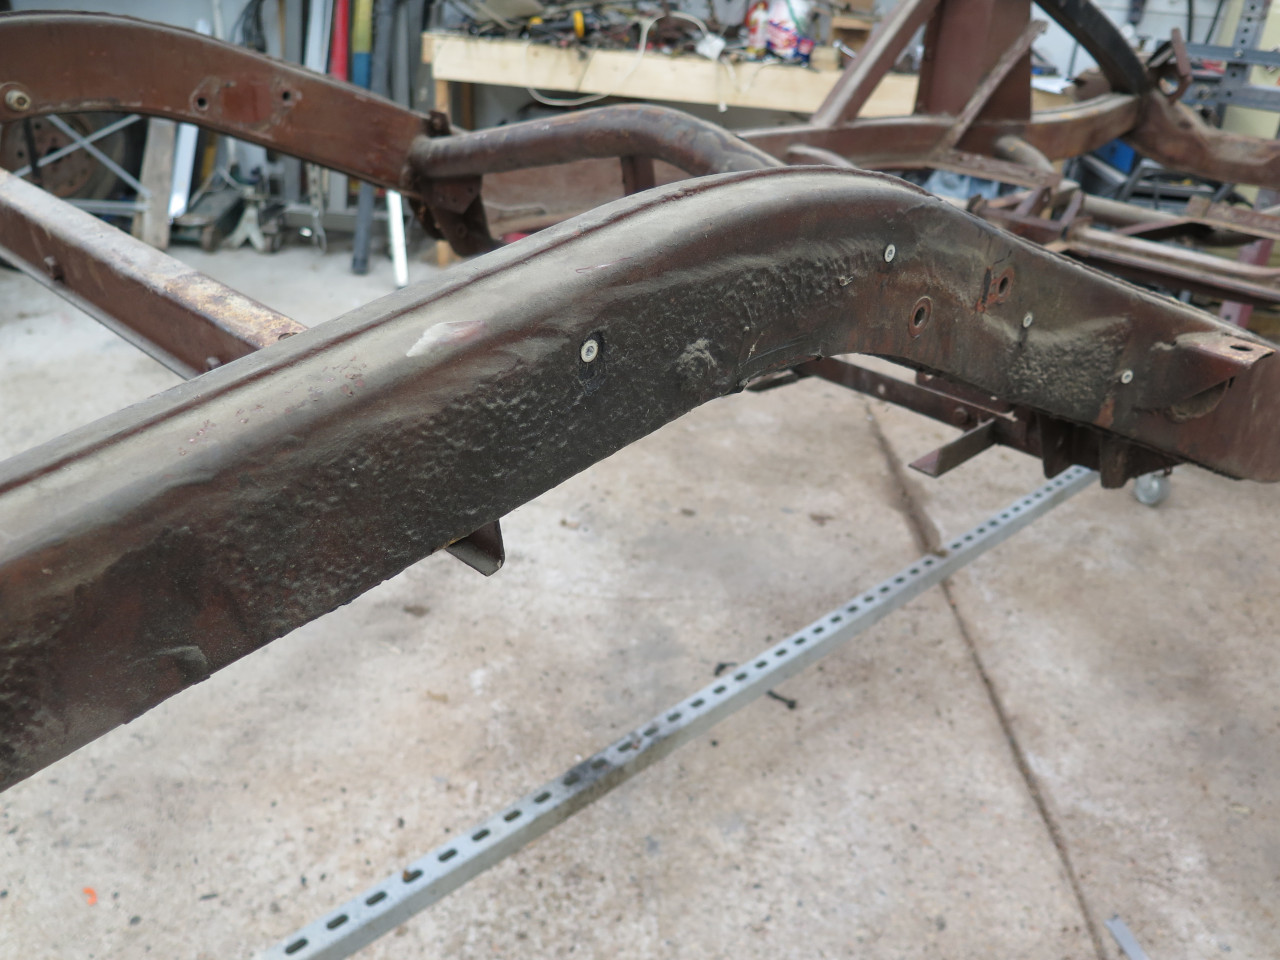
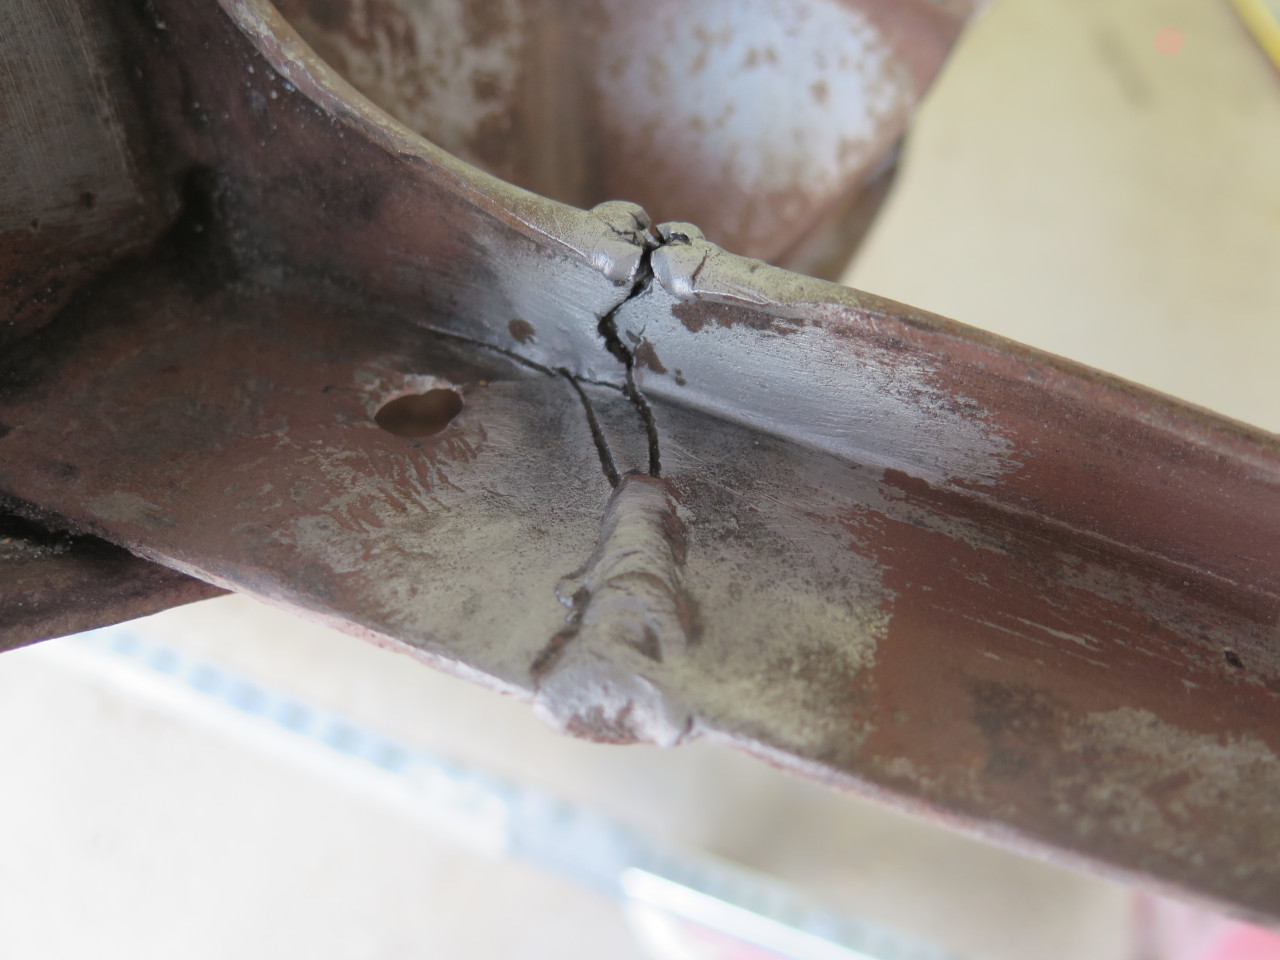
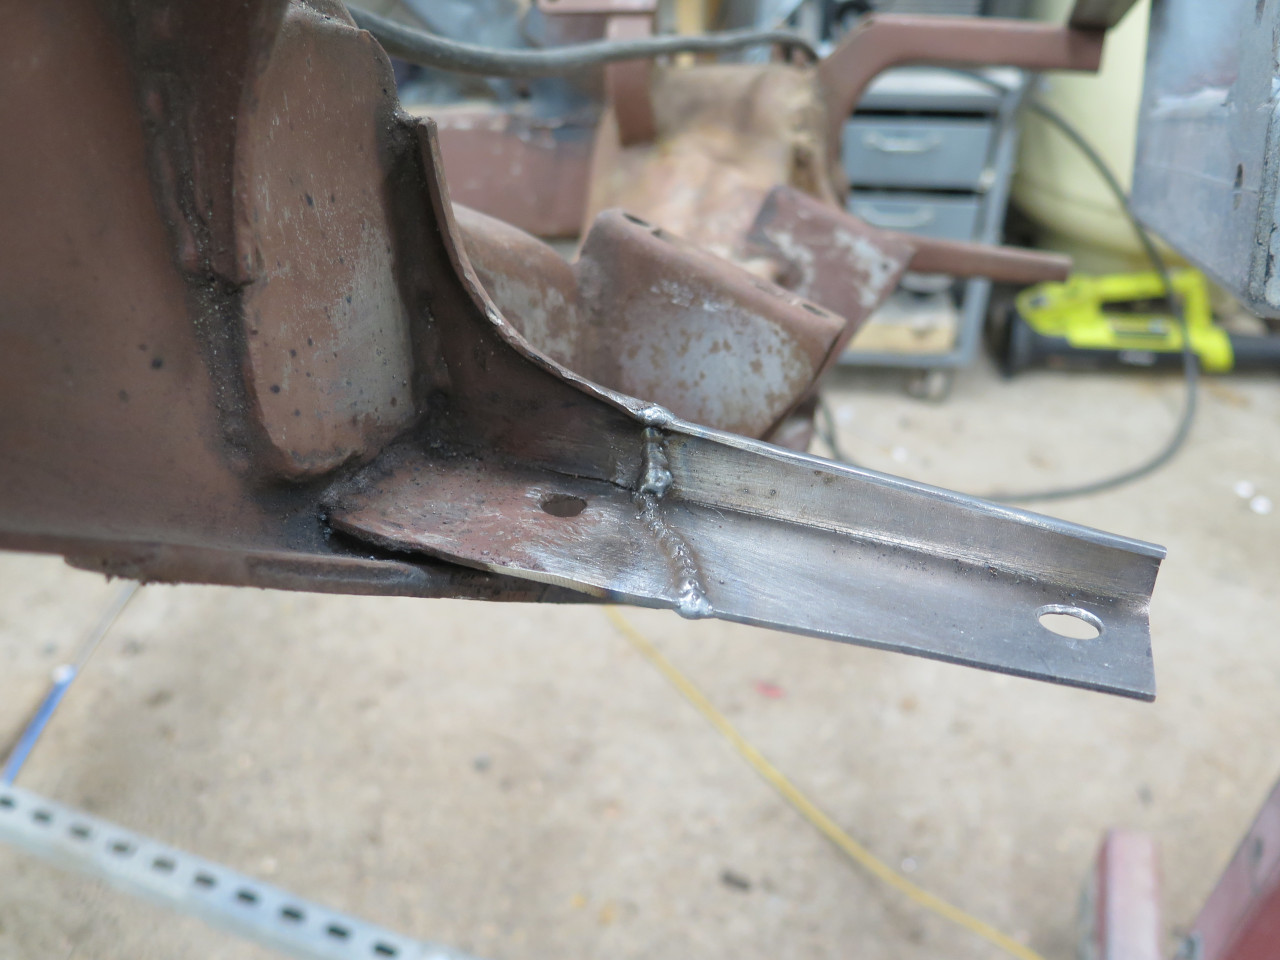
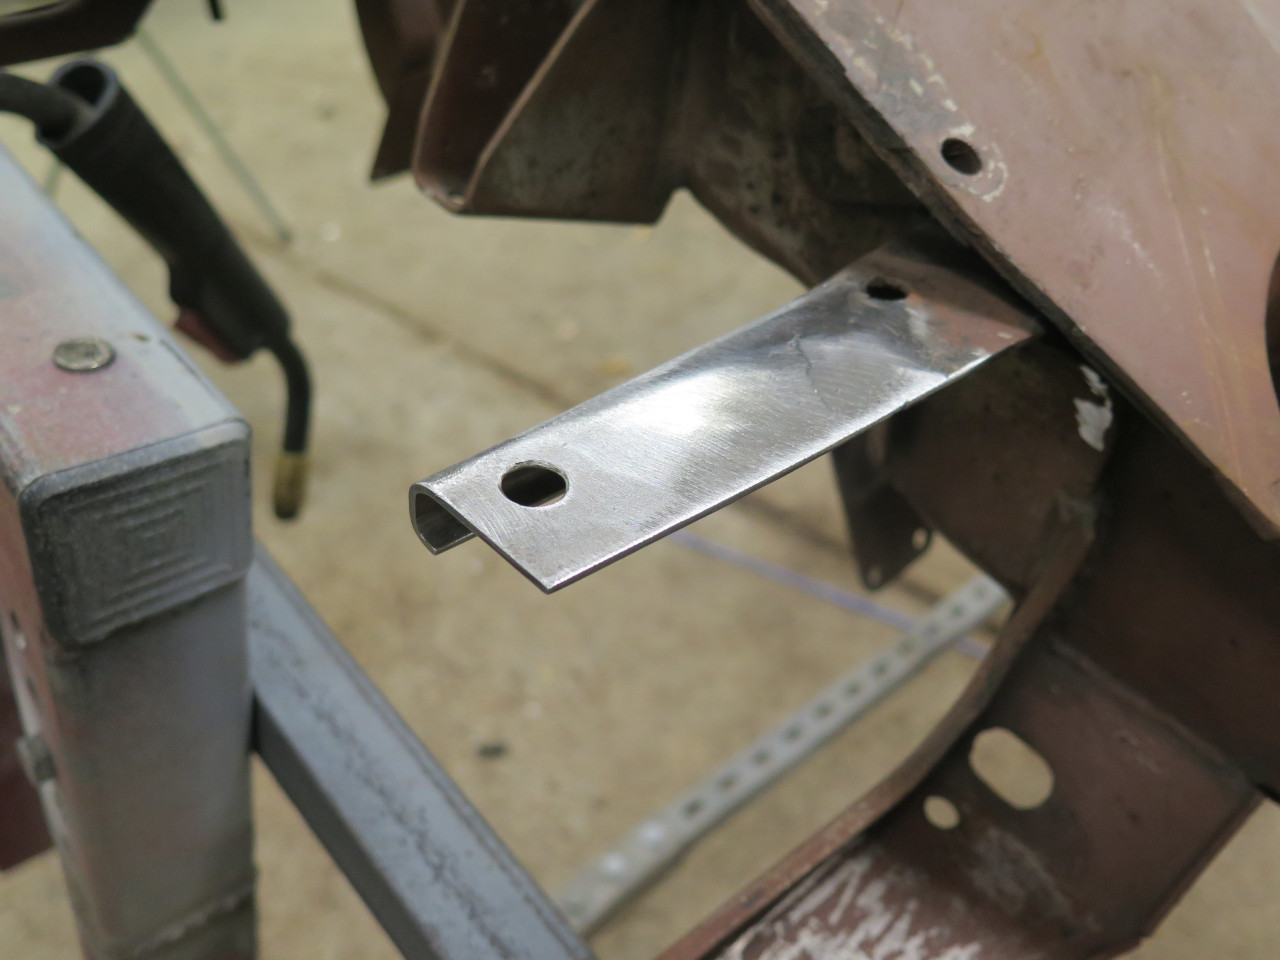
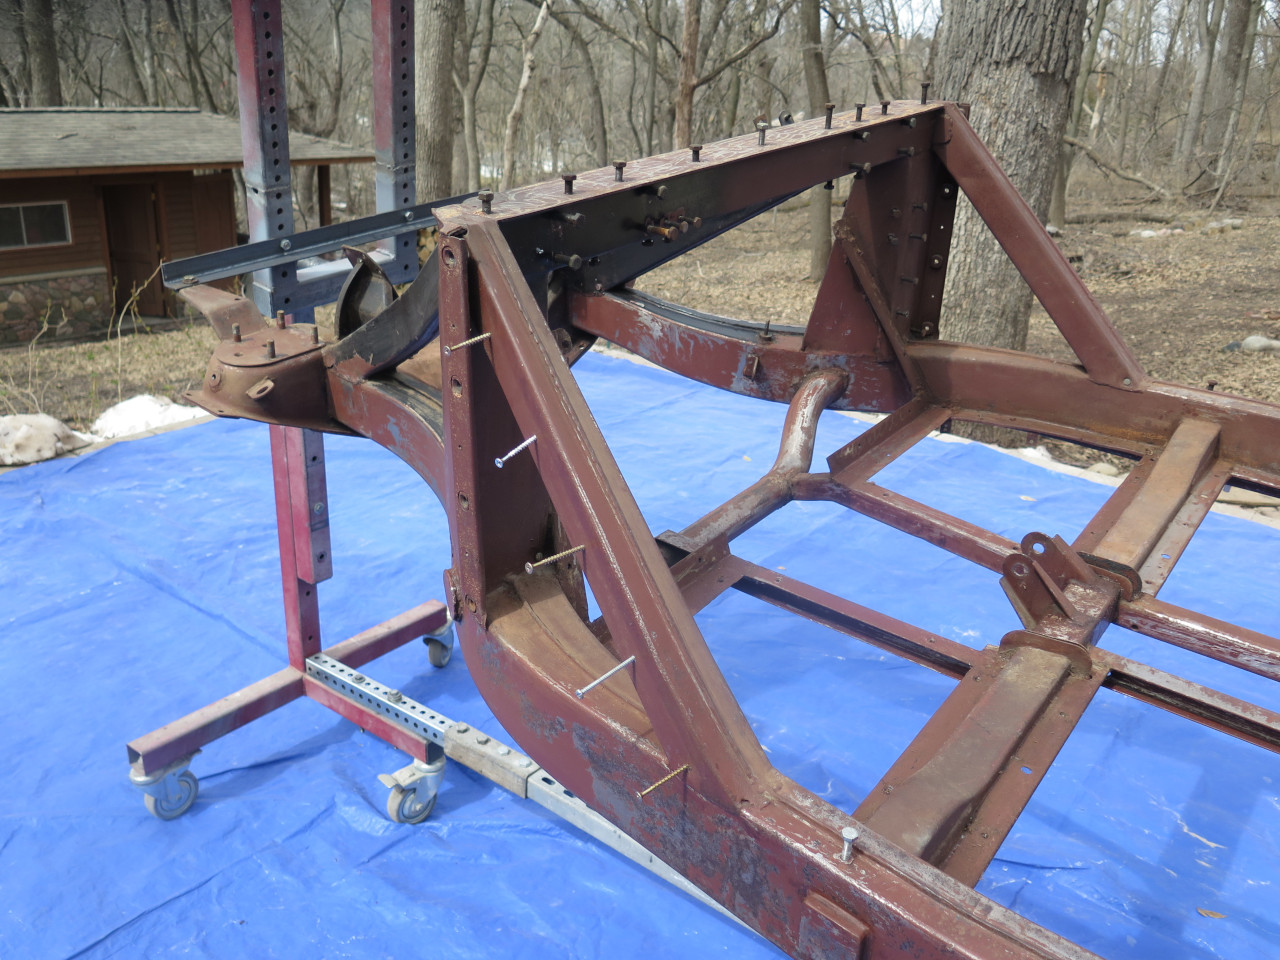
to do any necessary repairs. The first thing I noticed was the
lower front extension bracket on the right side had apparently suffered
some kind of trauma, and a shoddy repair.
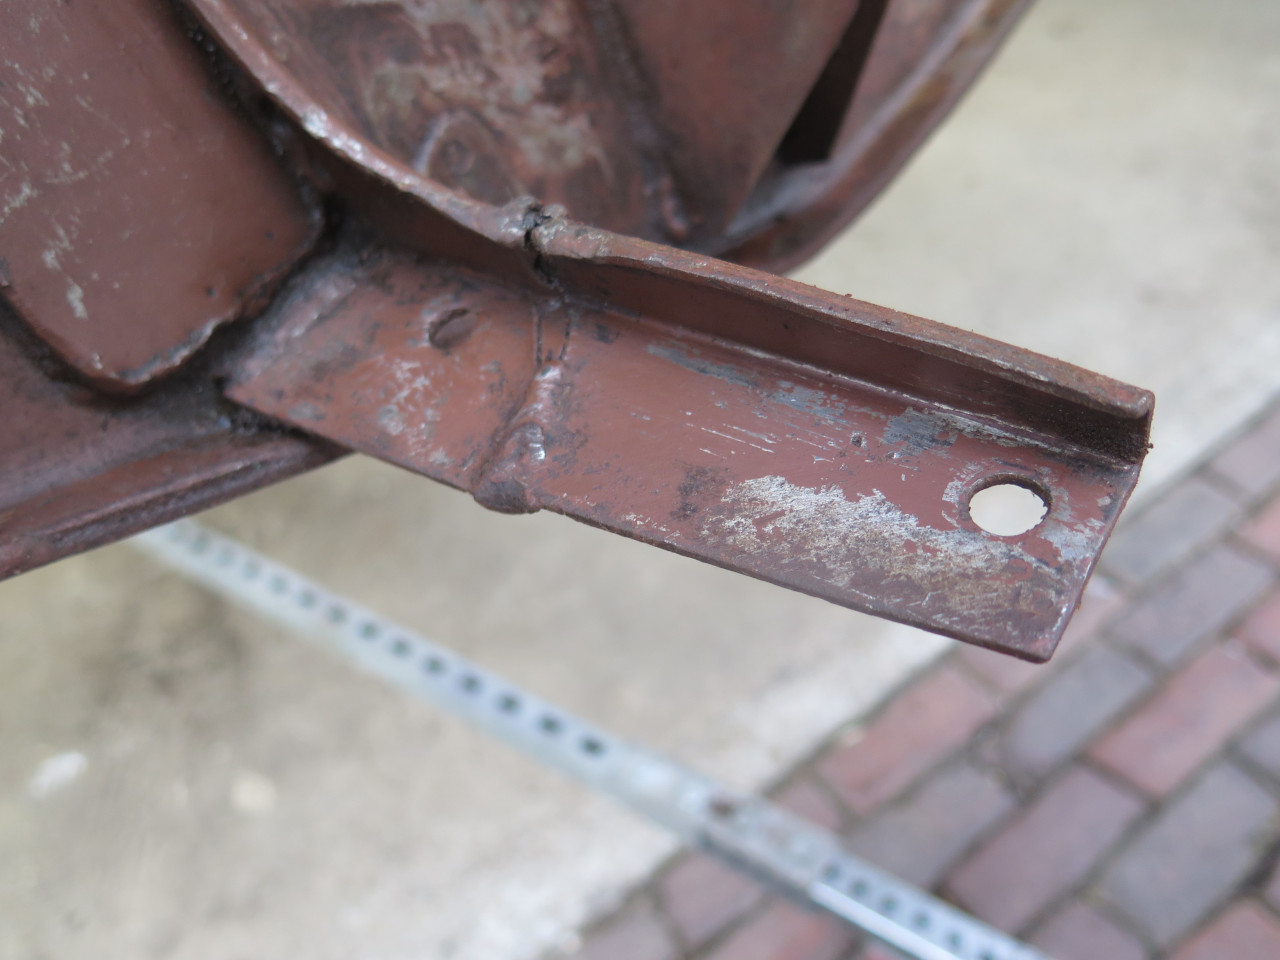
At first, I thought I could just force it back into alignment and
re-weld it, but it was pretty misshapen, and pretty heavy metal, so that
wasn't successful. Plan B was to make a new piece. It was
made from 14 gauge steel, which seemed close to the original.
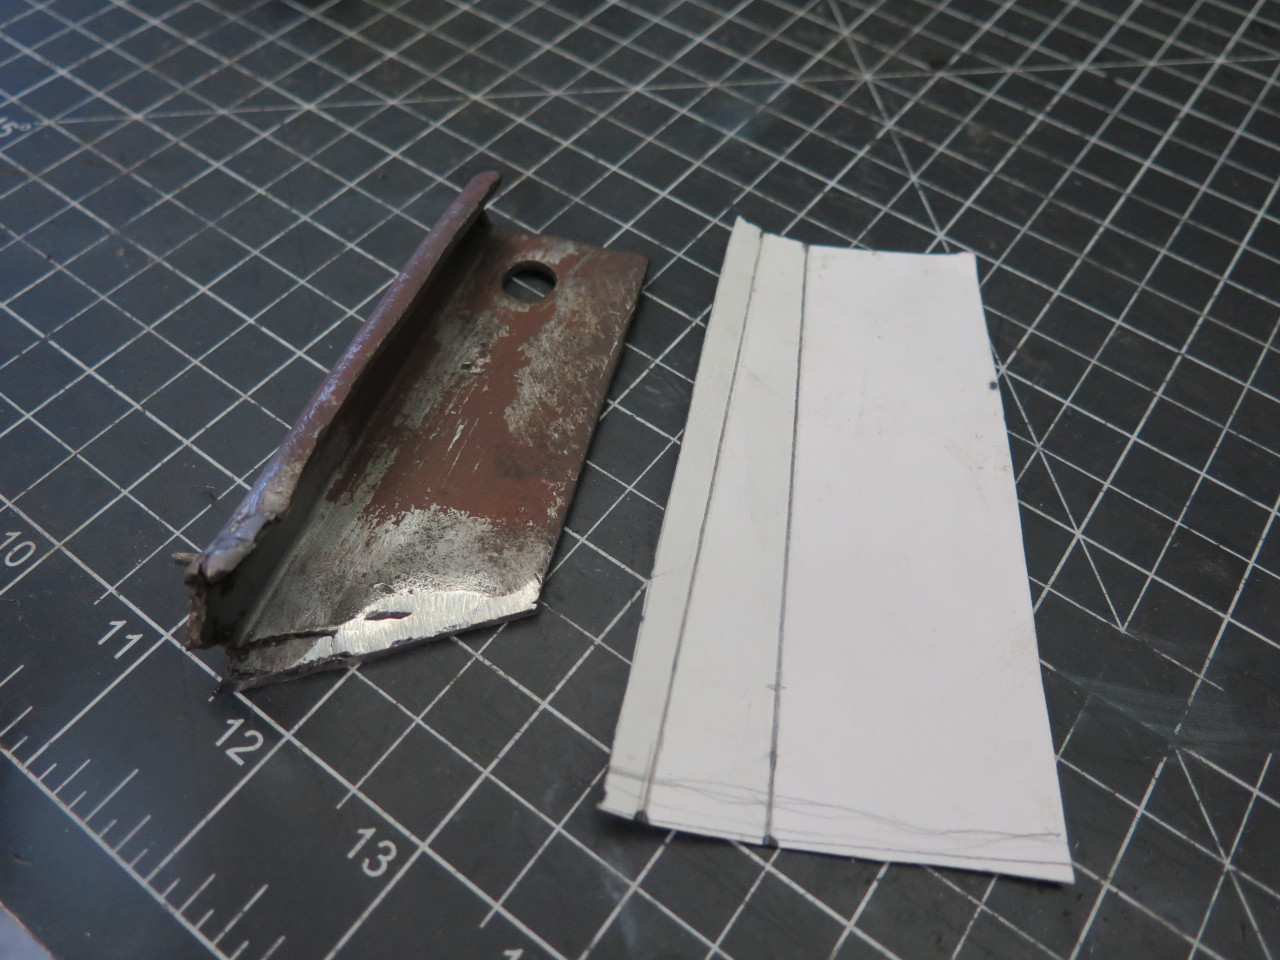

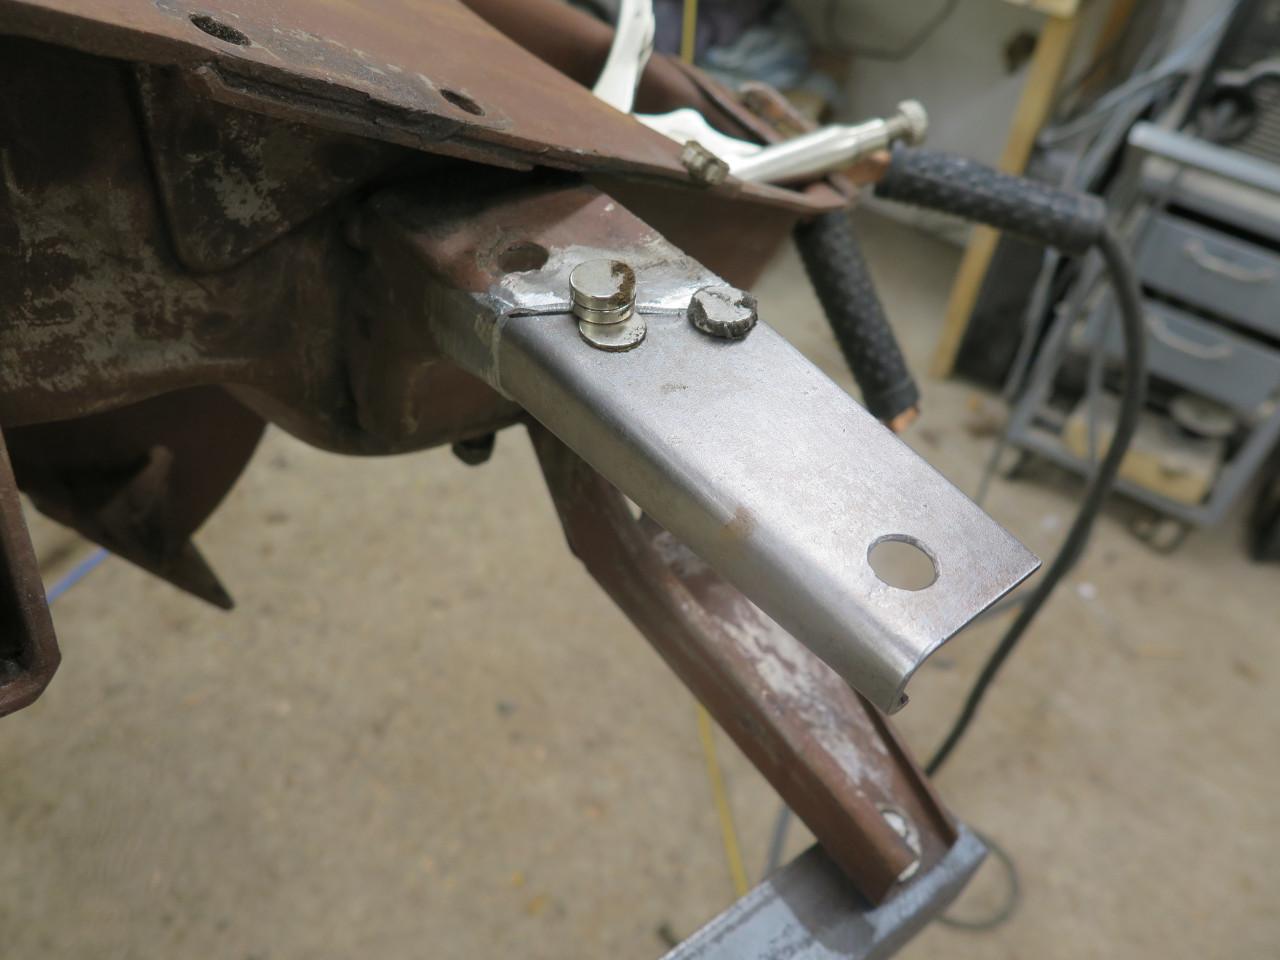
Looks much better now.

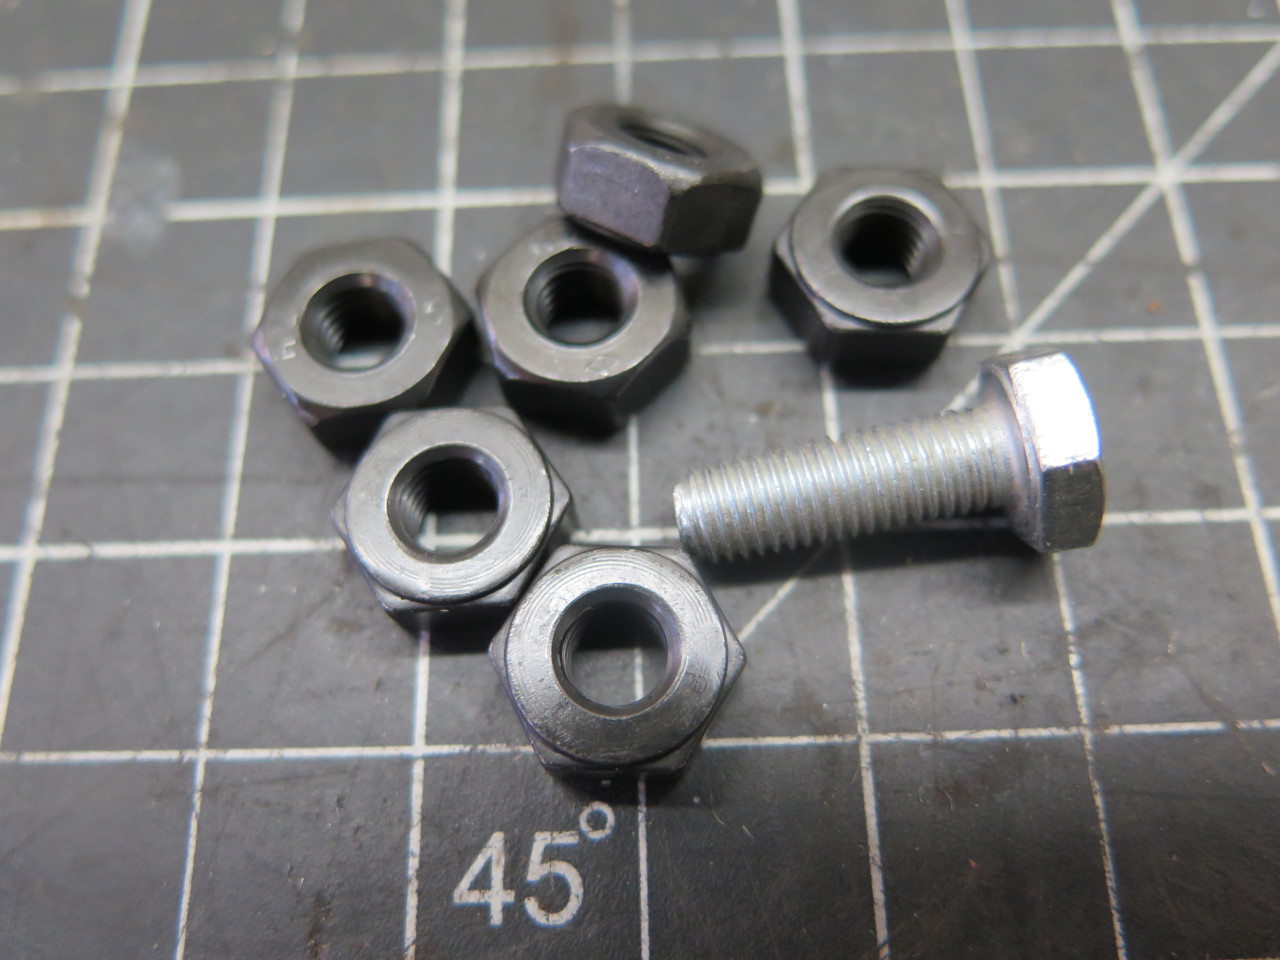
Then there were the broken bolts, which of course comes as no surprise
to anyone familiar with this kind of work. There were eight of
them, mostly broken off in the captive nuts that hold the floor boards.
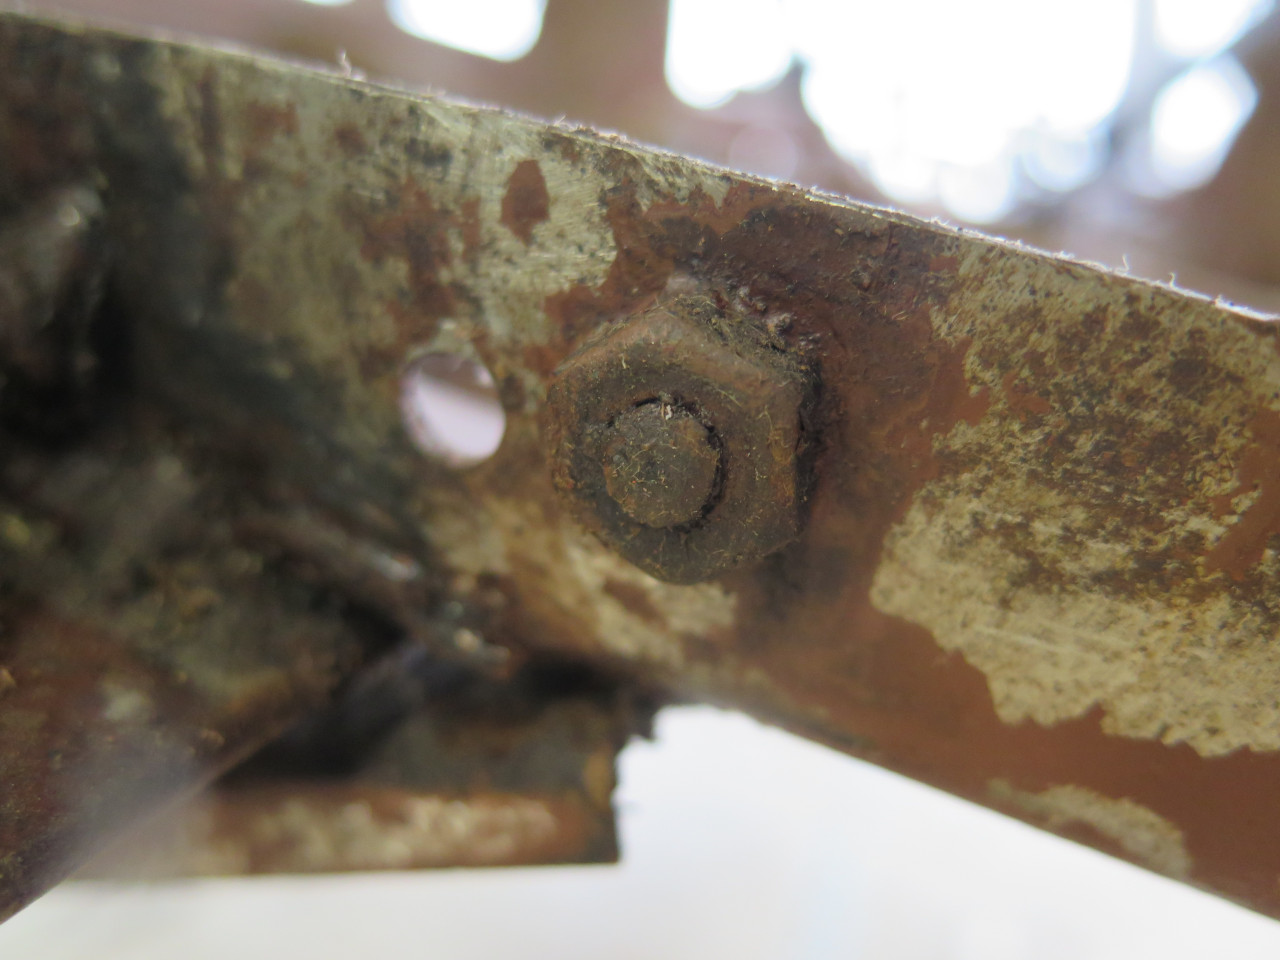
Rather than mess with penetrants, heat, and drills, I thought it would
be quicker to just grind the captive nuts away and weld in new
ones. These are "heavy" nuts, with the hex one size bigger than
standard for the bolt size. It's easier to weld them without
damaging the threads. Access was a little tricky for some of
these, but they all went in.
Next was the rear sway bar mounts. I had installed this bar in the
70s, thinking it would improve handling. I'm not really sure it
did, and have learned since that many folks advise against this
mod. I don't know if I will keep the bar, but even if I do, I'll
mount it differently. I don't care for the square U bolt
arrangement holding the bar to just the sheet metal on the bottom
surface of the frame rails.

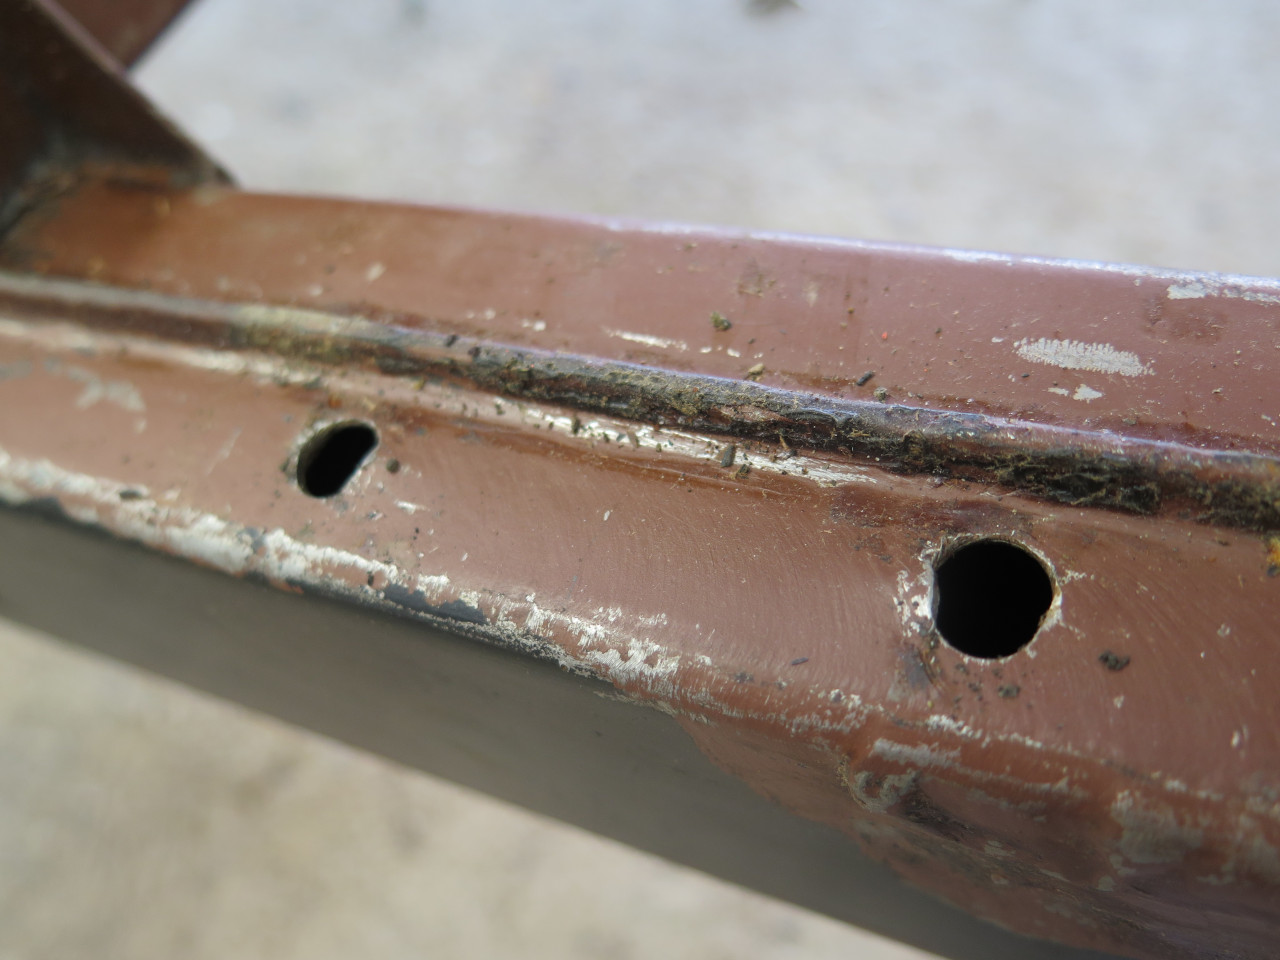
So, the mounting holes went away. There were a number of other
extraneous, non-stock holes in the frame that got disappeared, too.

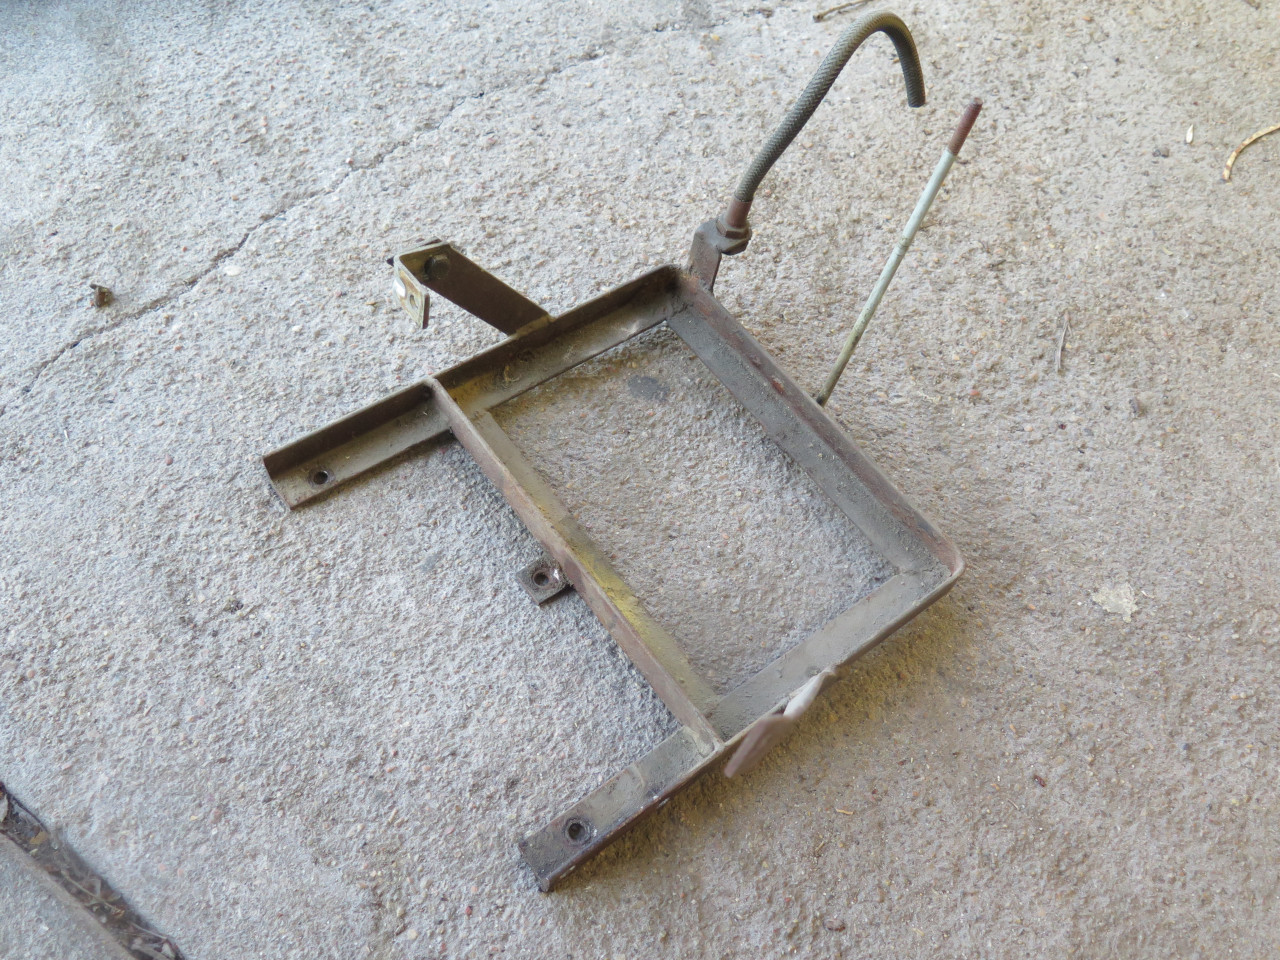
One appendage of the frame was still missing. In the 70s
restoration, I had fabbed a 12-volt battery tray that held a Group 34
battery, but I apparently had to move the position of the fuel pump
slightly. I want to revisit this, but I think it might be easier
with the body on, so I can check access through the battery cover
opening.
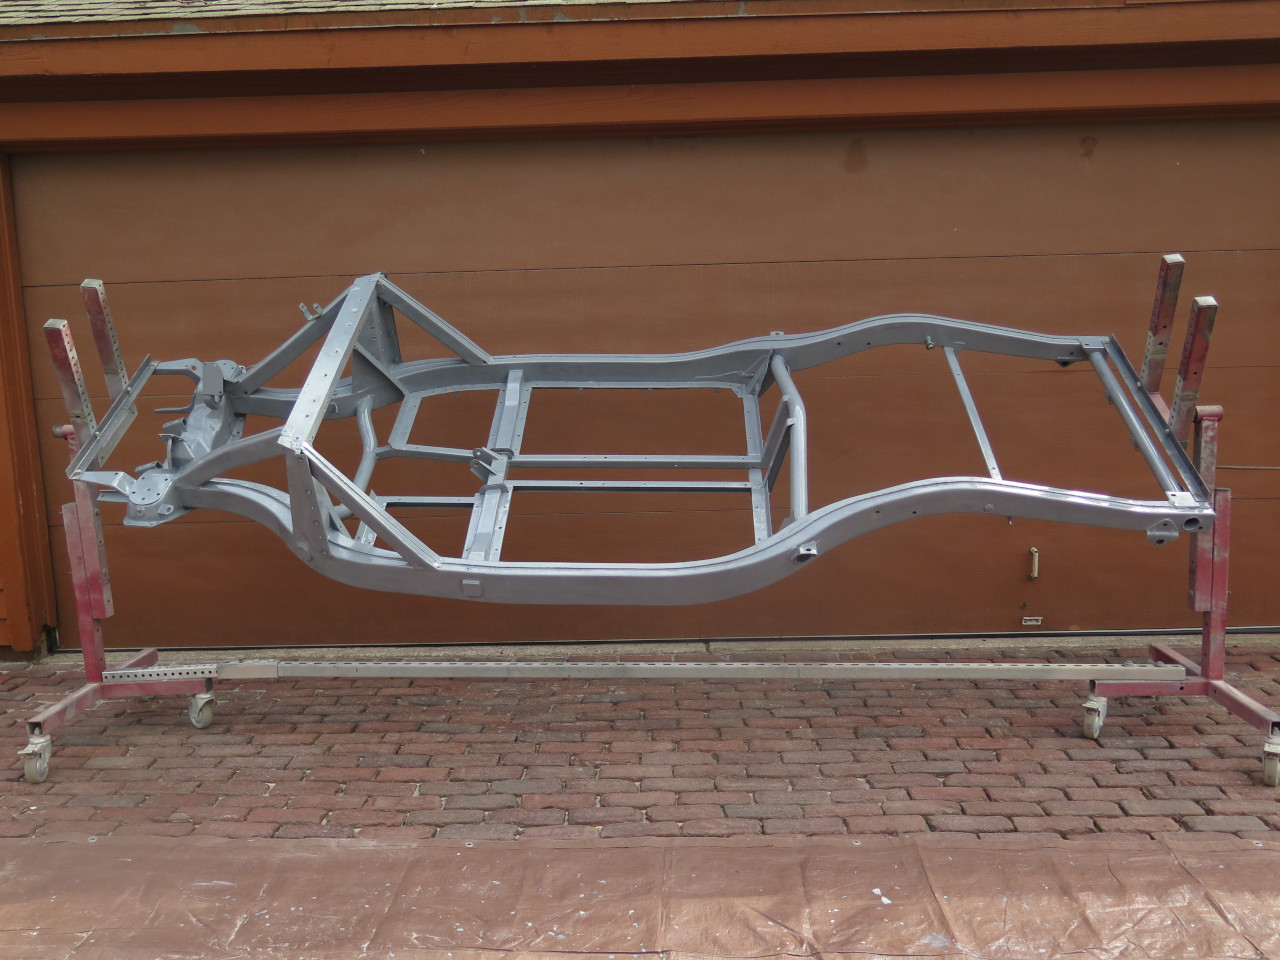
OK--on to blasting. I didn't want sand inside the frame cavities, so I plugged dozens of holes.
After 30 minutes or so...
It took four reloads of my pressure pot blaster, but since I reclaim the
media, I only "consumed" about 50 pounds of sand. Ten or twelve
pounds of sand gets away on each cycle.
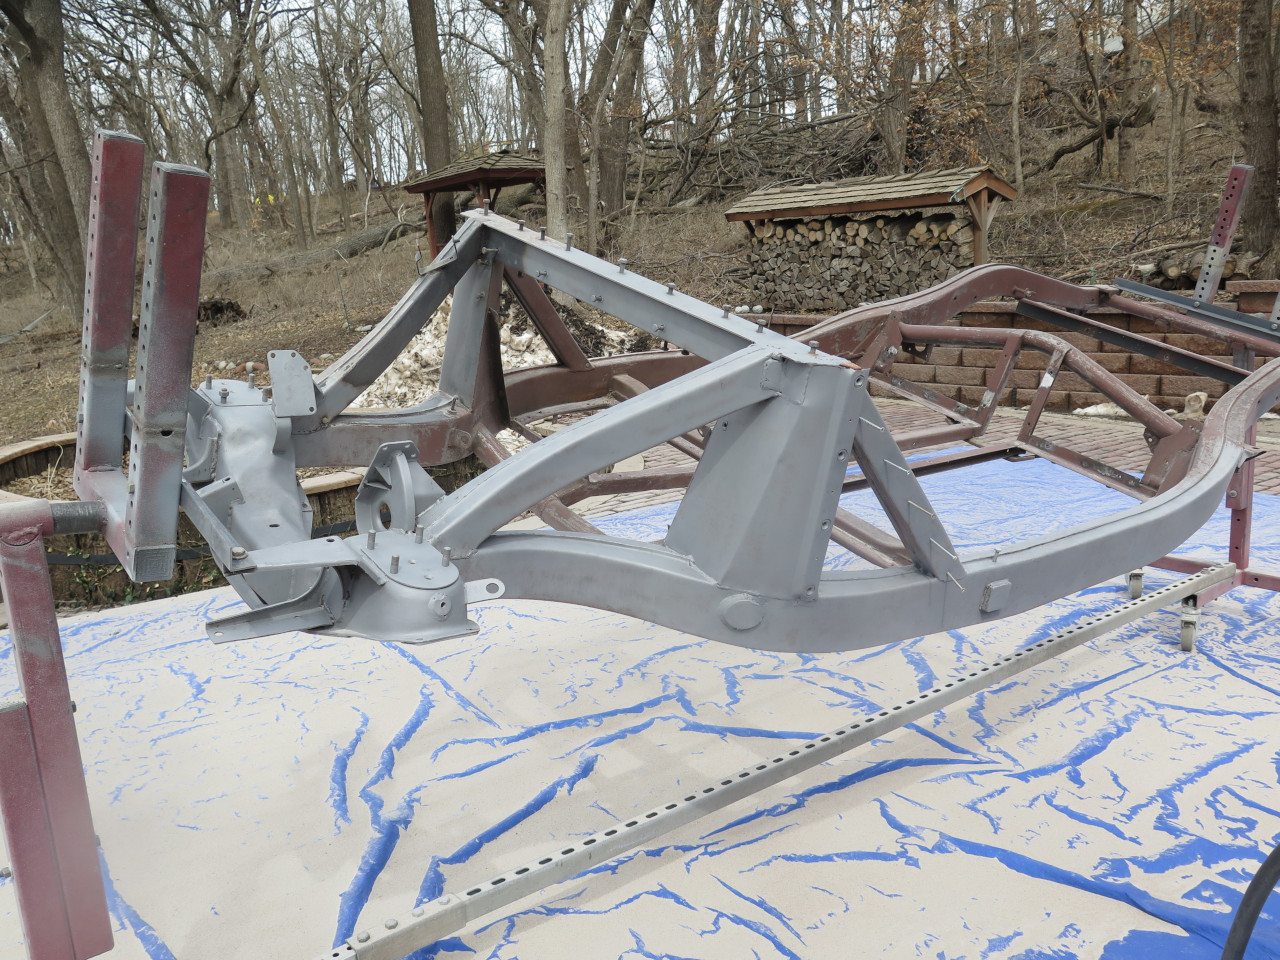
I normally like to spray a good two-part epoxy paint on bare metal, but
something like this frame, with so many complex shapes and so many
barely accessible recesses, isn't really a good candidate for spraying
in my opinion. A brush is much better at applying controlled
amounts of paint into nooks and crannies. I brushed on a coat of a
high performance direct-to-metal paint. I have used others, but
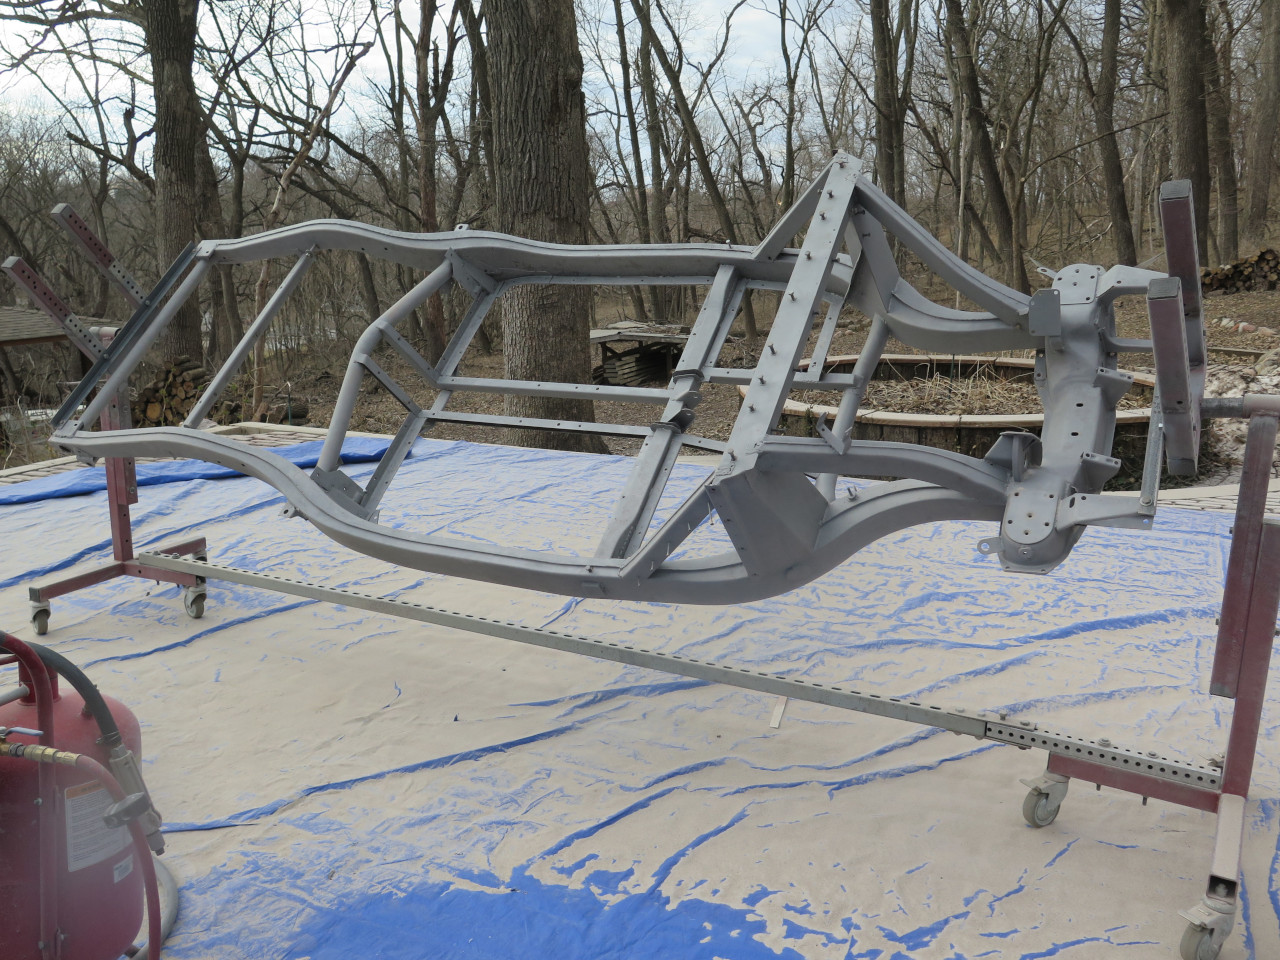
this one is POR-15. First coat was gray.
Second coat was black. Using two colors helps to keep track of what's done and what isn't.
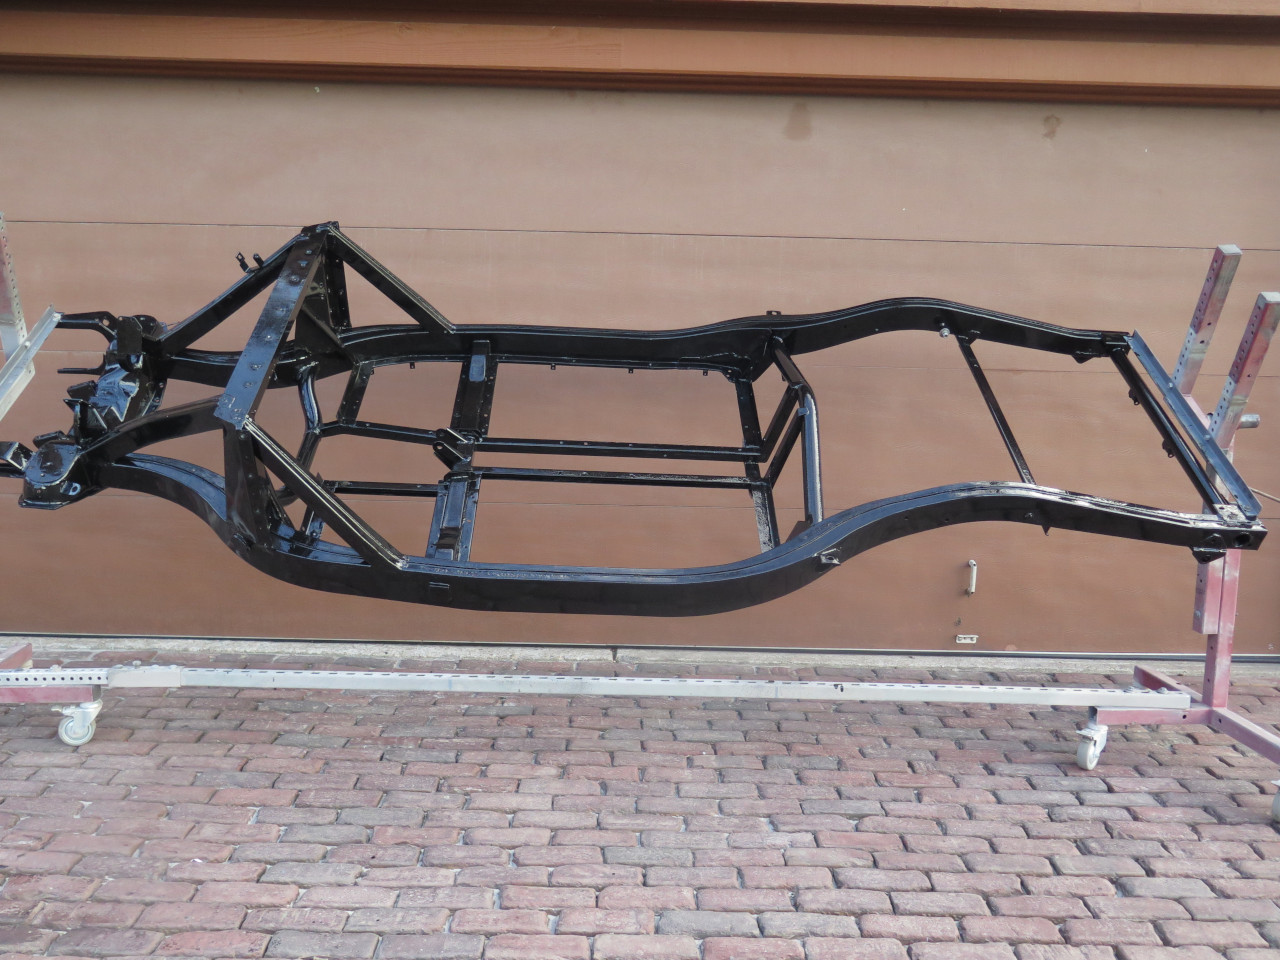
The frame is a "gateway" project in that it allows many other projects
to proceed. I'm glad to have it done. Cost was around $130
for the paint, but I have quite a bit left. POR-15 and similar
paints can be difficult to re-seal after use, but I've got a system that
seems to work OK.
Comments to Ed at elhollin1@yahoo.com
To my other MGA pages