To my other MGA pages
January 23, 2025
Stripping the Block
Well, colder weather was closing in here on the prairie a while back, so
I had to think about moving operations out of the garage and down to my
nice warm basement shop.
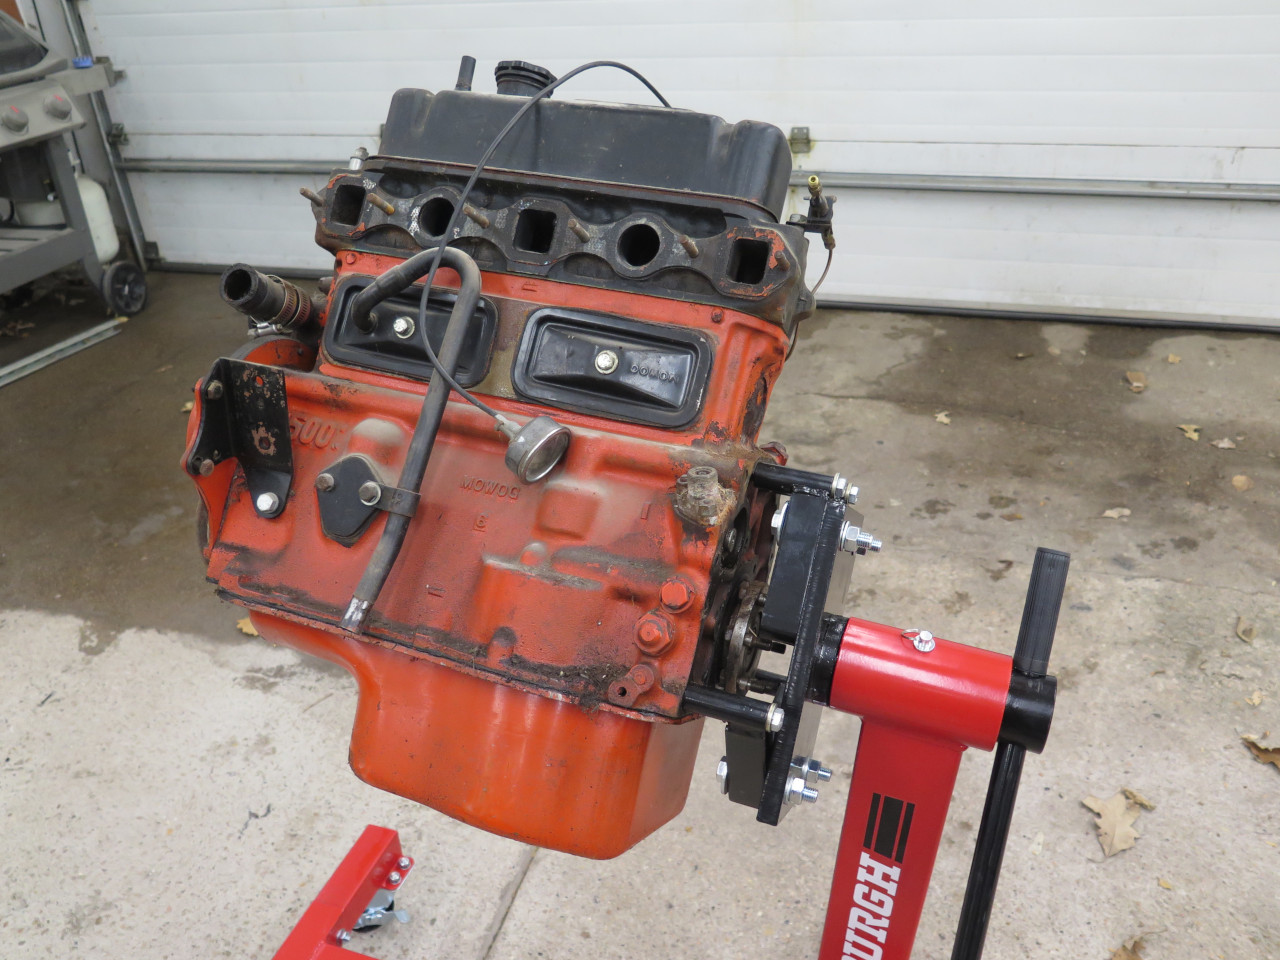
The engine seemed like a nice shop project that might keep me busy for most of the winter, so I went out to get it.
Most of the ancillary stuff had already been removed, so it was pretty much just the engine itself, with the gearbox attached.
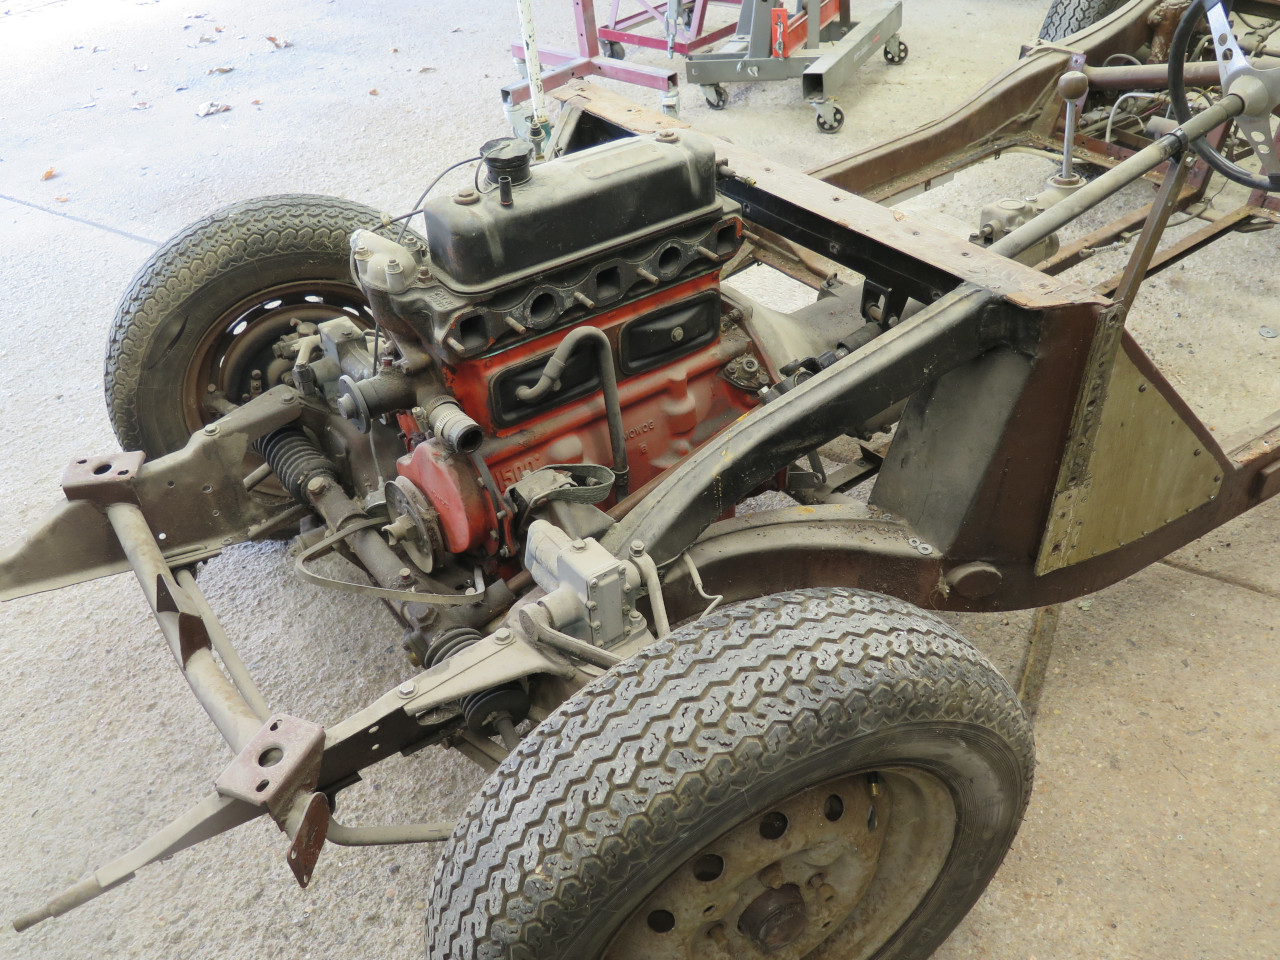
With no body to interfere, pulling the engine is pretty simple.
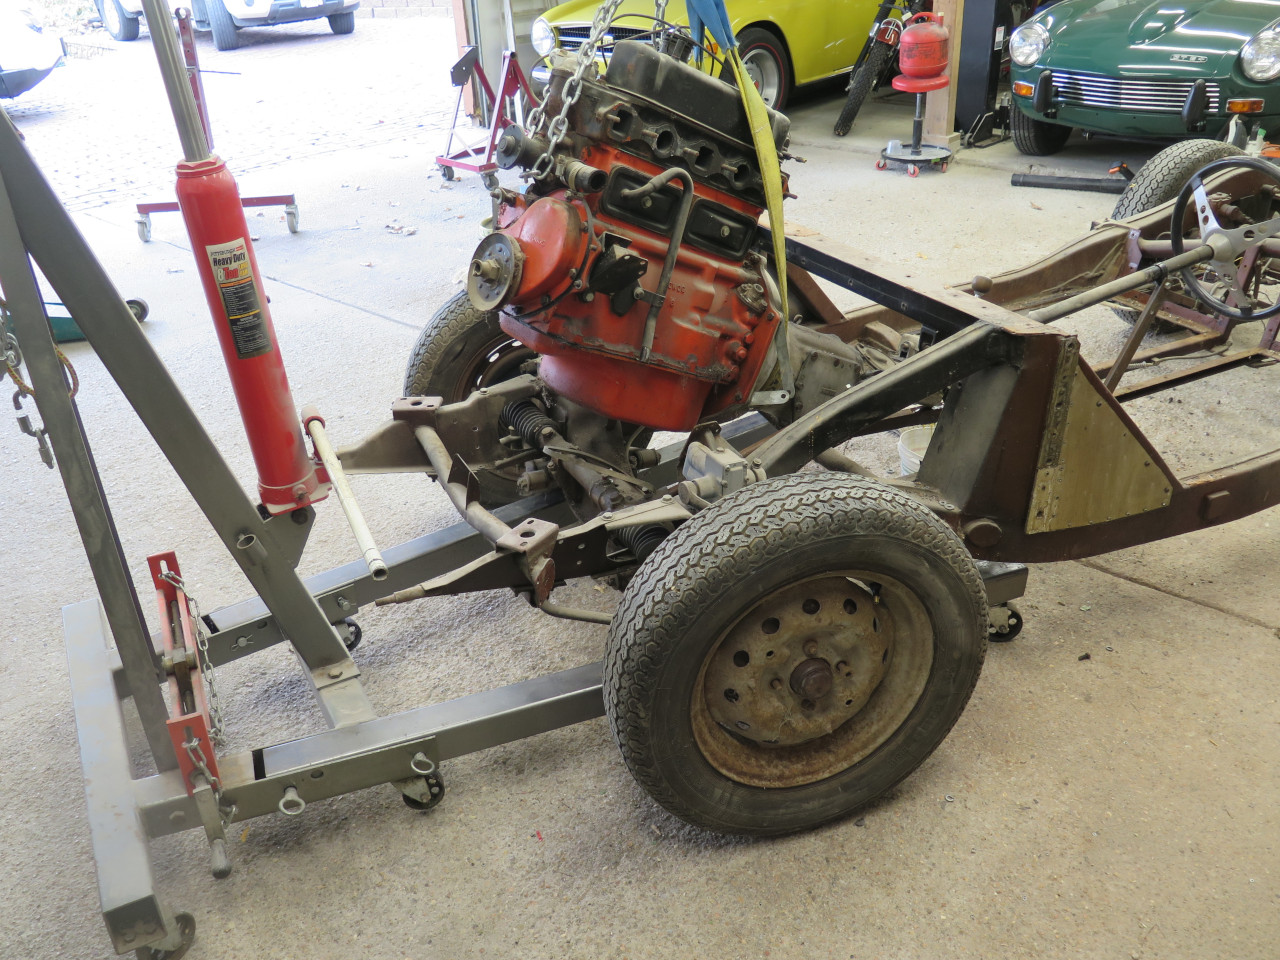
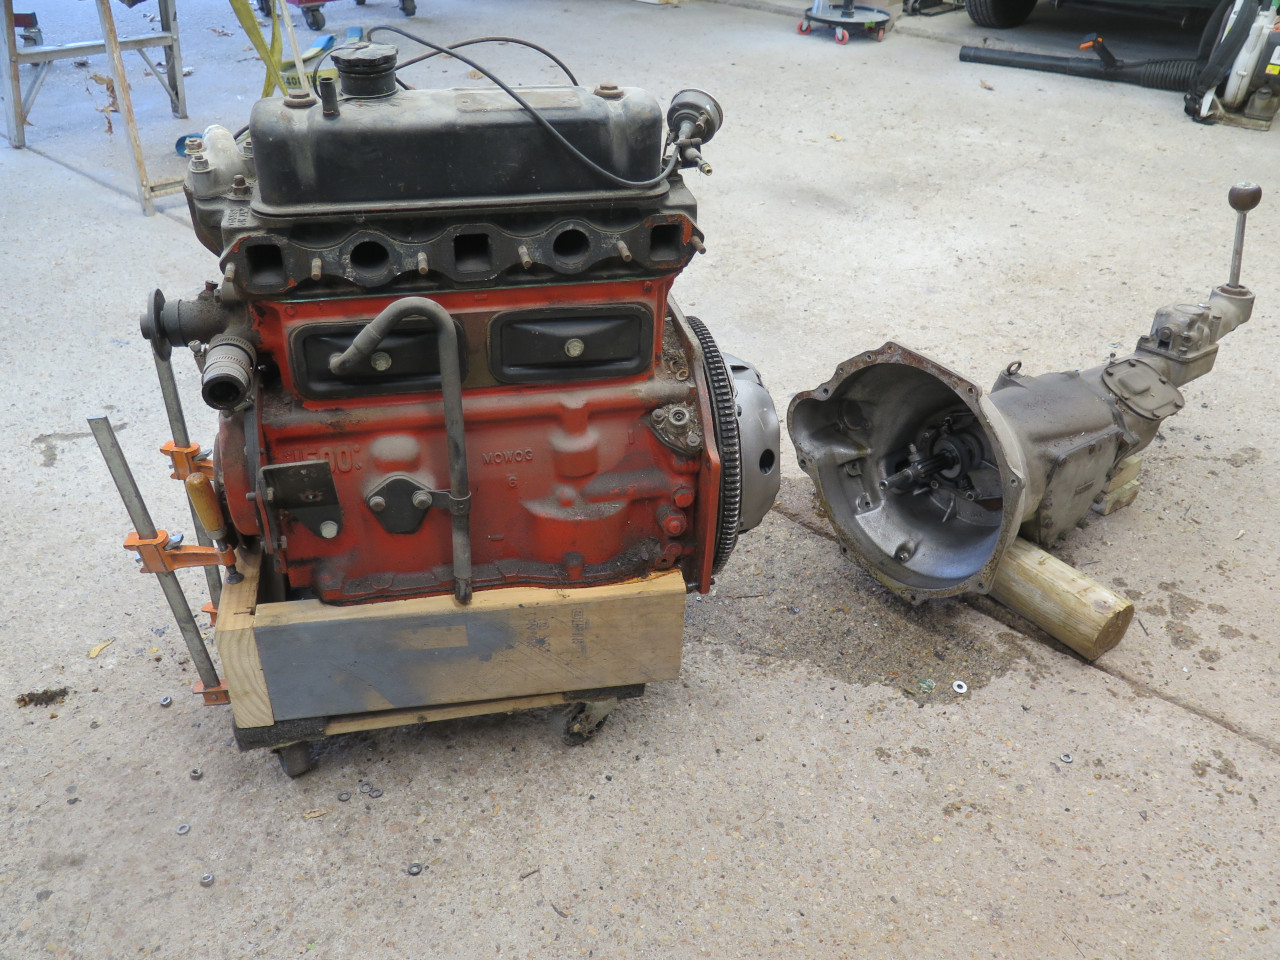
I set it down in a little cradle to remove the gearbox and the clutch and flywheel.
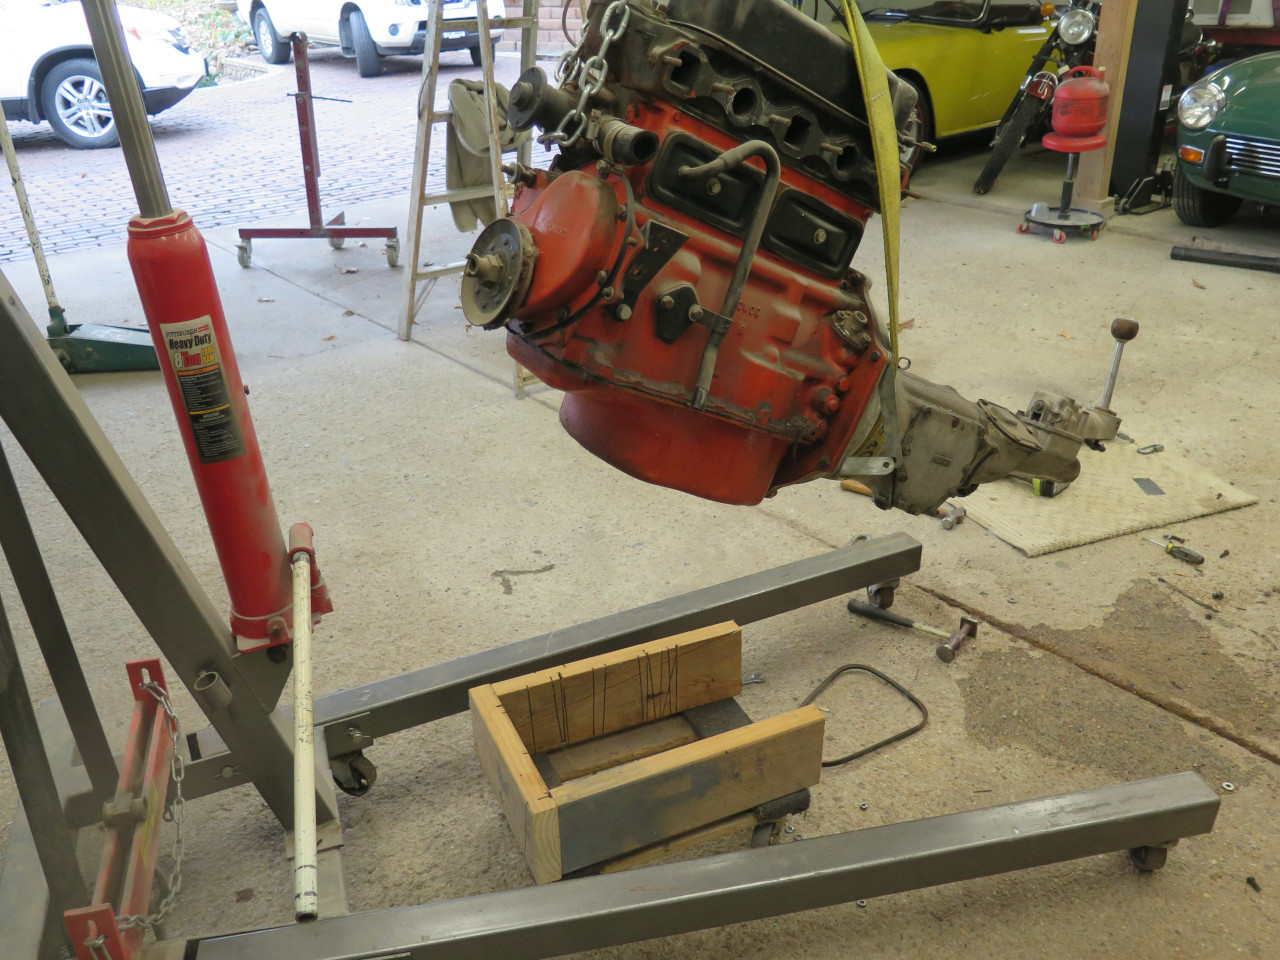
Then up on the engine stand to facilitate removing its head internal organs.
All the various parts went to their separate temporary storage
locations, and the block went first to a local DIY car wash for power
washing, then down to the shop.
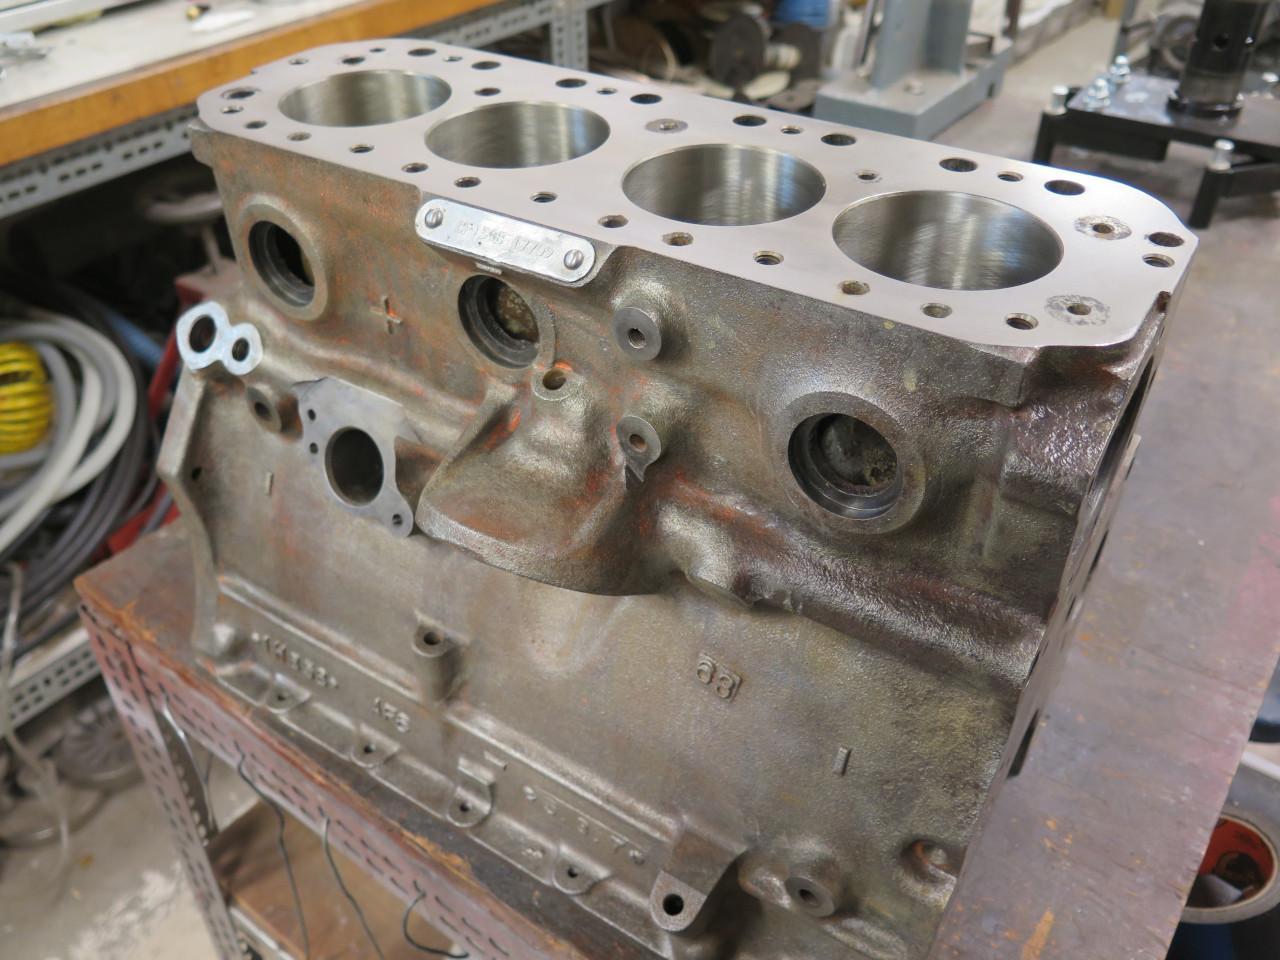
The first order of business was to clean the block internally. This means mainly the oil passages and the coolant jacket.
The oil system on this block consists of a byzantine network of oil
passages, mostly formed by drilling intersecting holes, and inserting
plugs where necessary to keep the oil inside the engine. These
plugs of course seriously hinder access to the passages from the
outside, so they had to be removed.
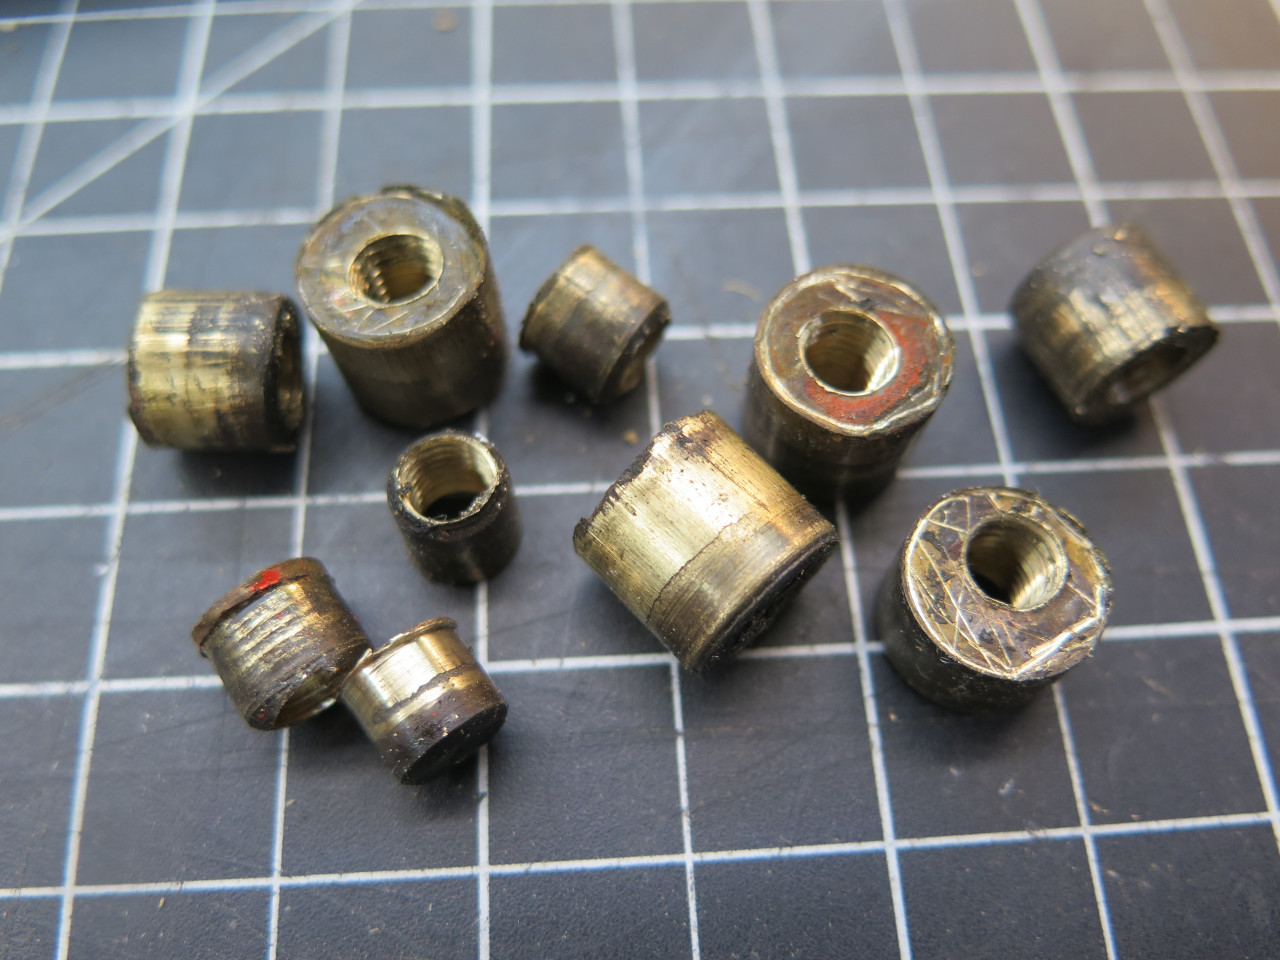
This is a brass plug at the aft end of the large oil gallery that runs the length of the engine on the left side
I removed them by drilling them, tapping them, and pulling them out with a slide hammer.

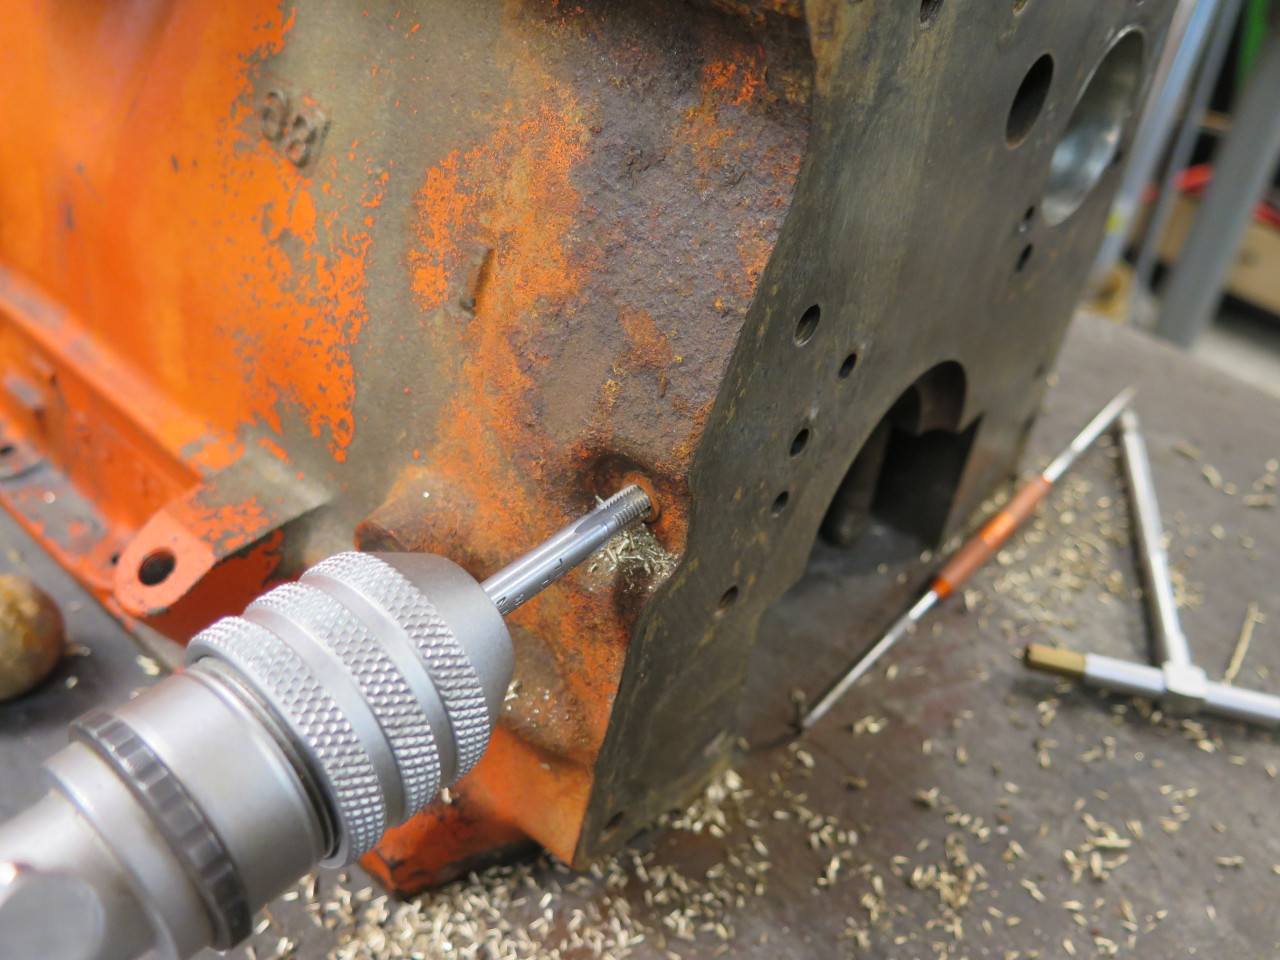
There were ten brass plugs of various sizes.
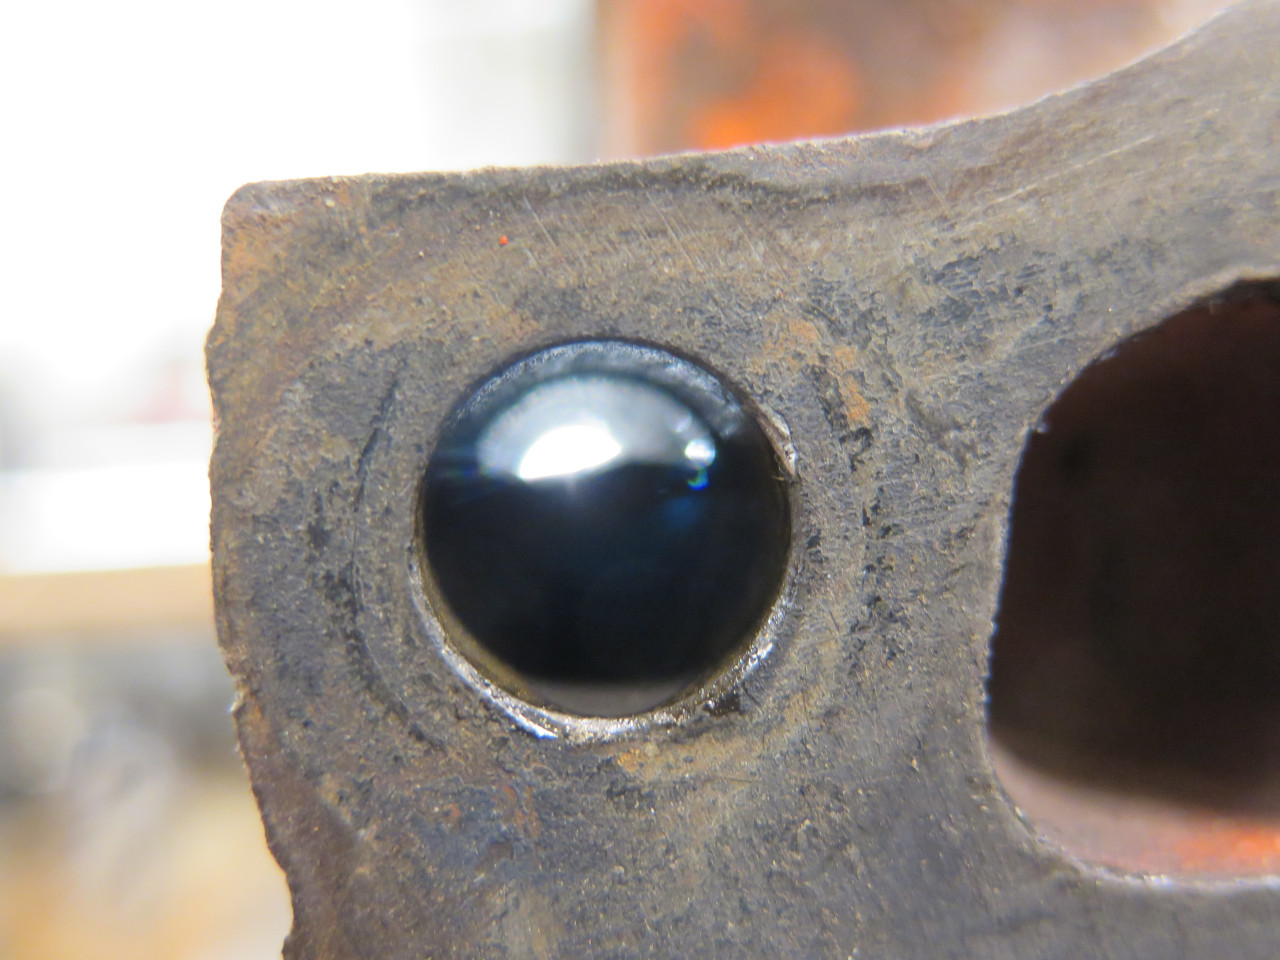
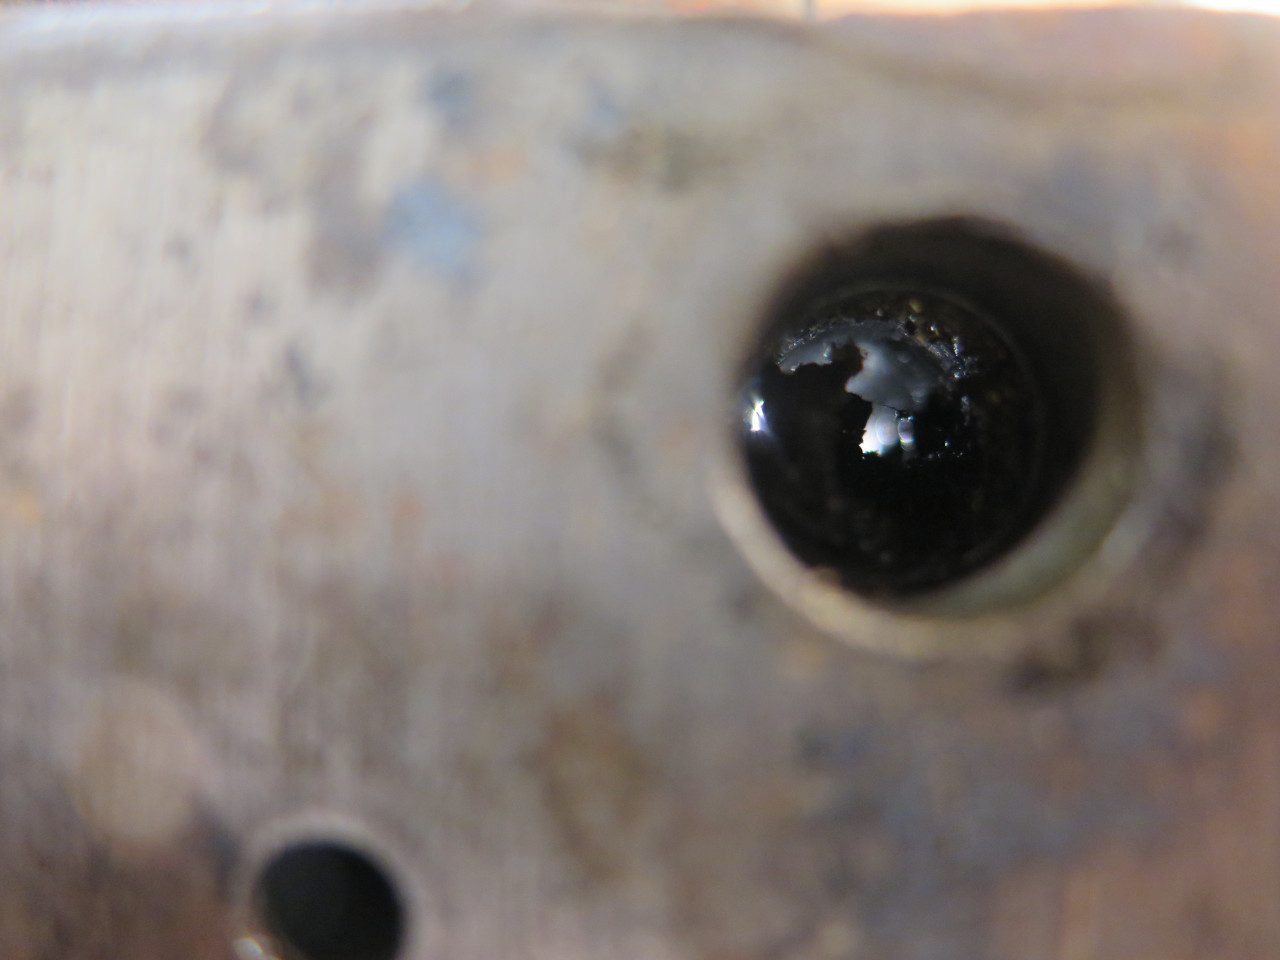
I was pretty happy that I went to this trouble when I looked into the
two large galleries on either side of the block. They were both
nearly half full of crud.
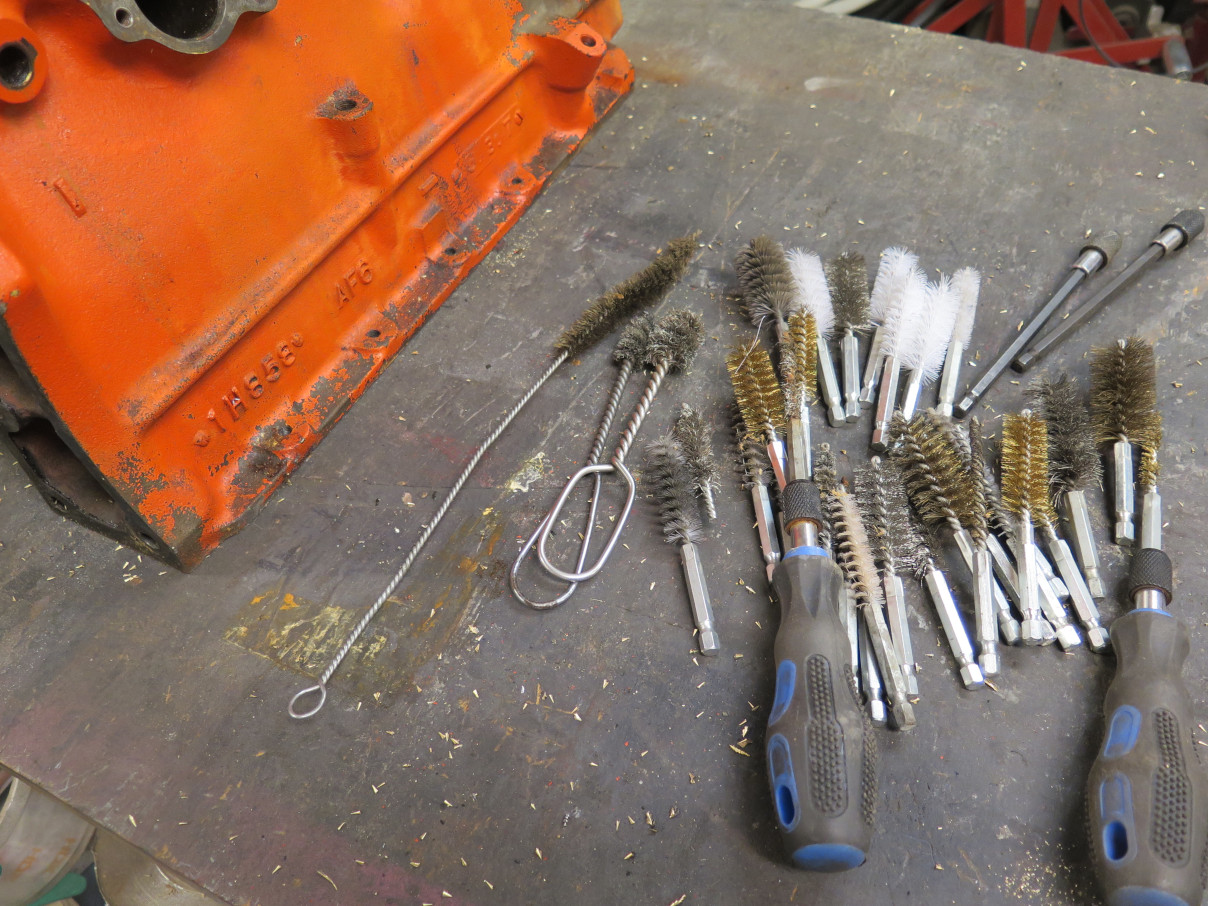
An assortment of probes, brushes, and swabs got all of he passages cleared and cleaned.
Next, I considered the cam bearings. These had been replaced in my 70s
work, and didn't have very many miles on them, and the cam was still a
nice smooth fit in them. On the other hand, it isn't really possible to fully
clean the oil passages to the cam bearings because some of the oil holes
in the bearings are smaller than the passage.
I decided to have them out.
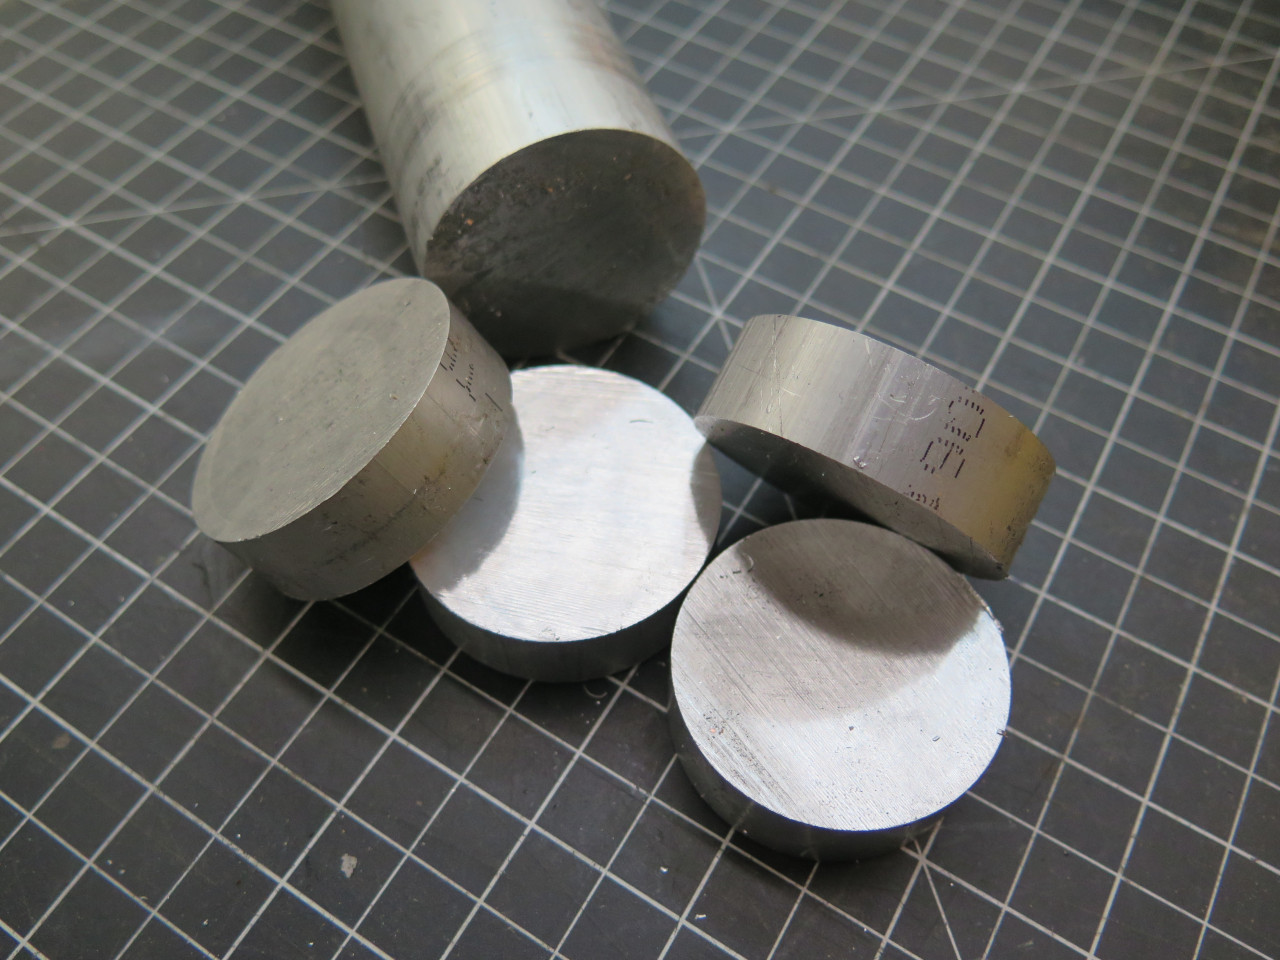
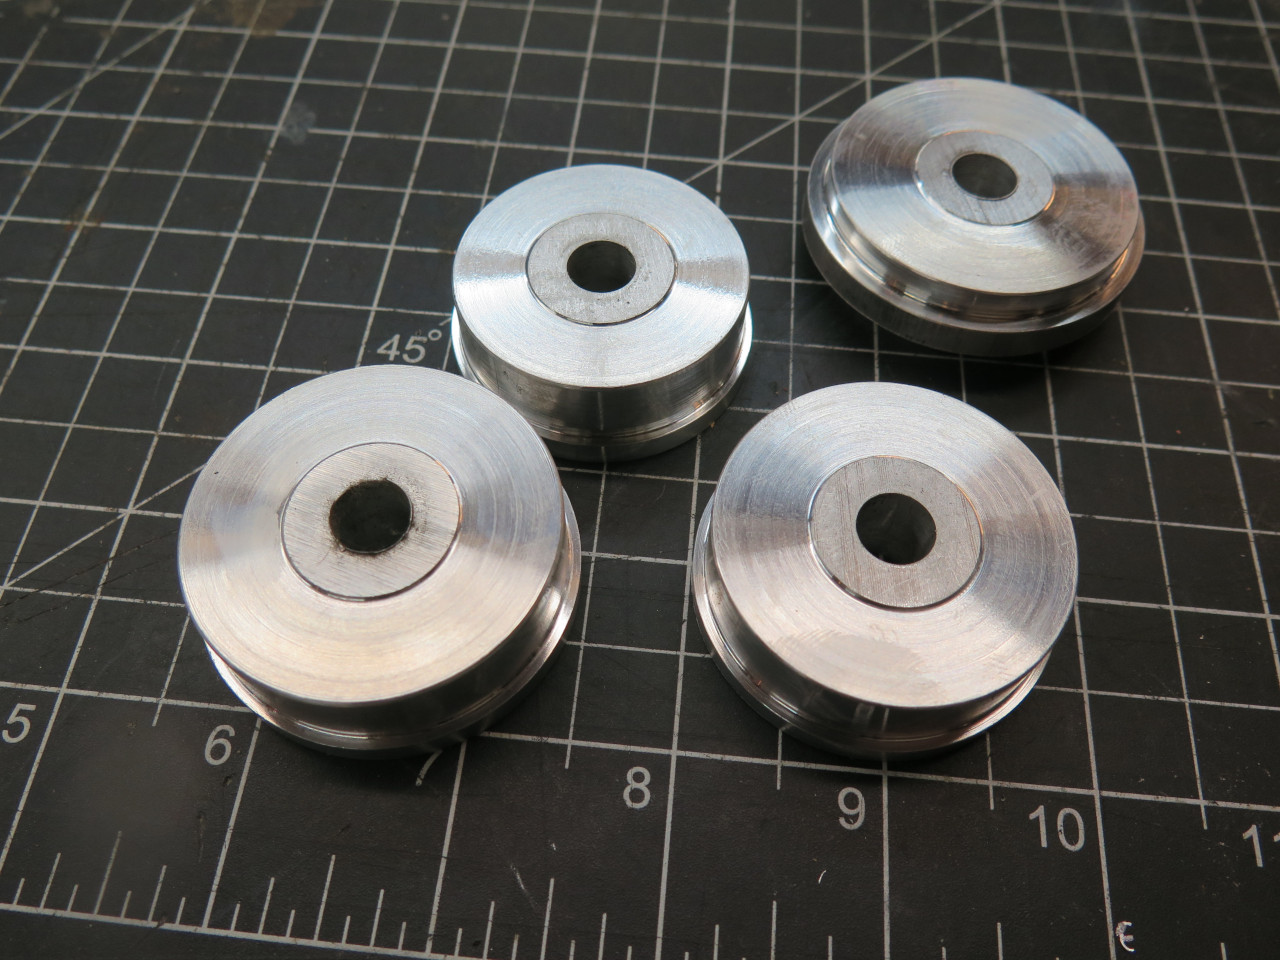
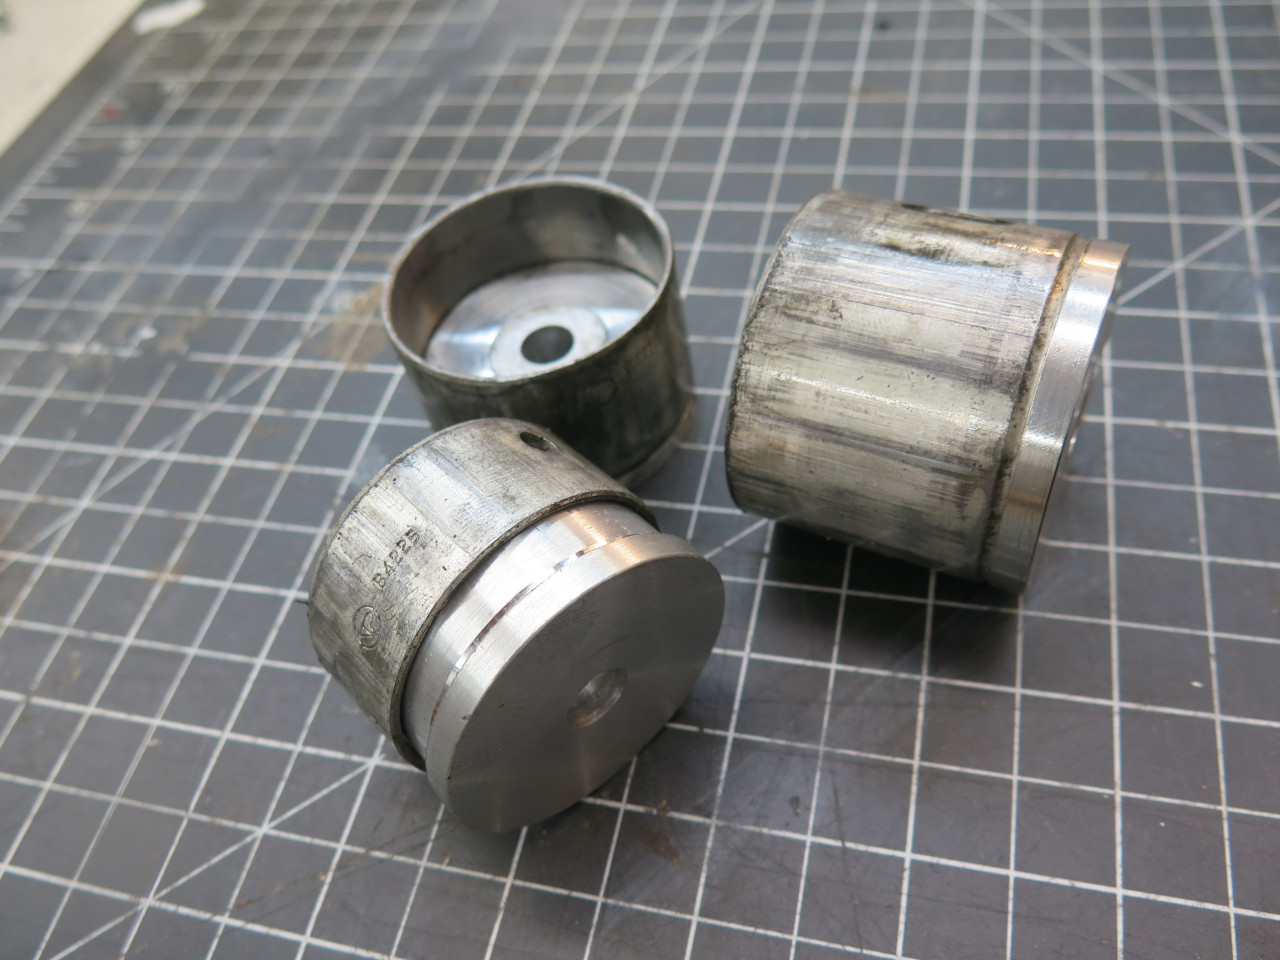
Though I probably could have pounded them out, it seemed more civilized
to pull them out in a dignified way. These are some purpose-made pucks
to help with that. One for each bearing, which are all different sizes,
and one for the other end of the threaded rod.
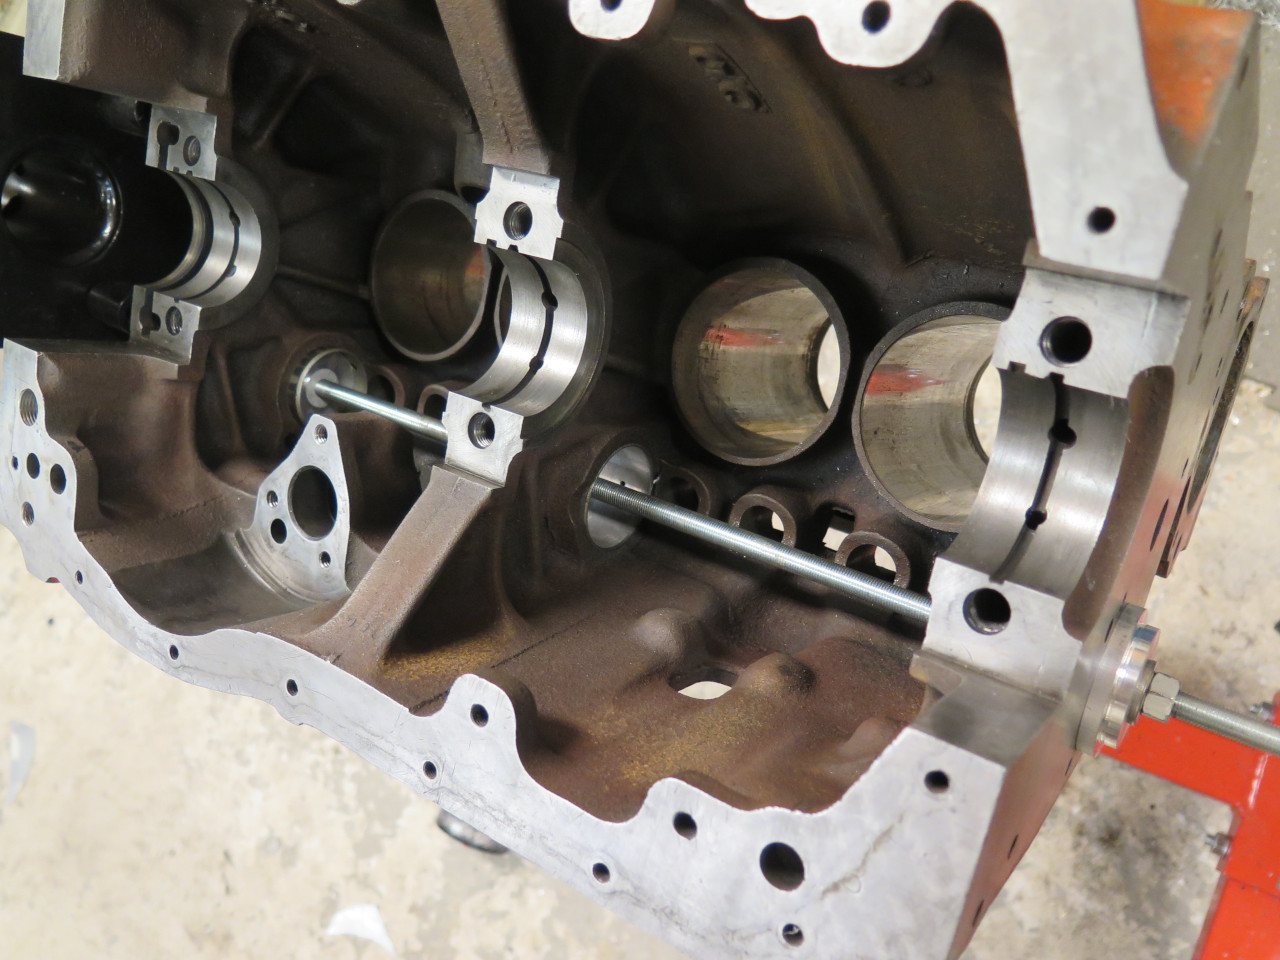
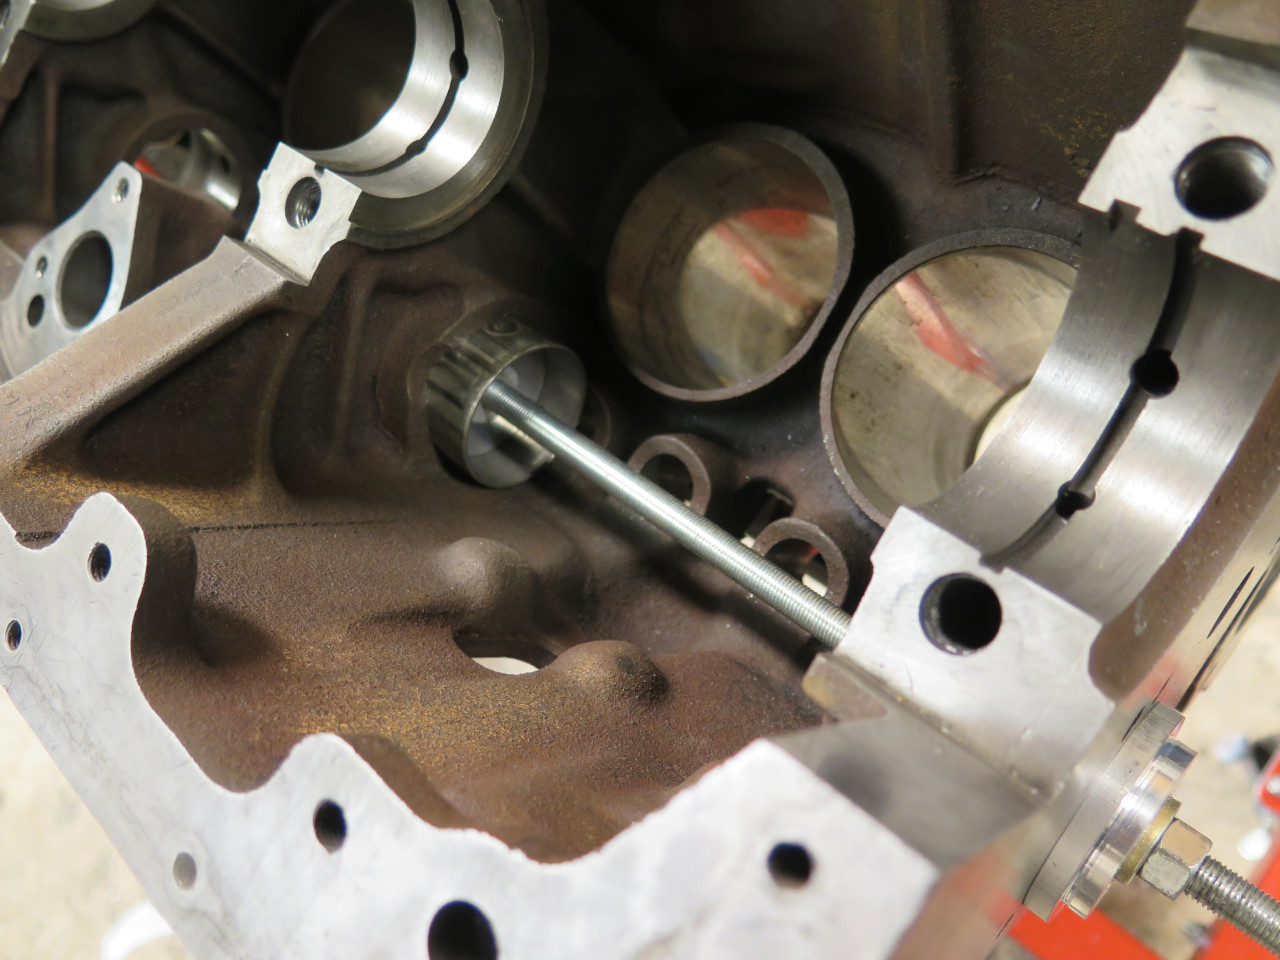
I pulled them all out toward the front of the block.
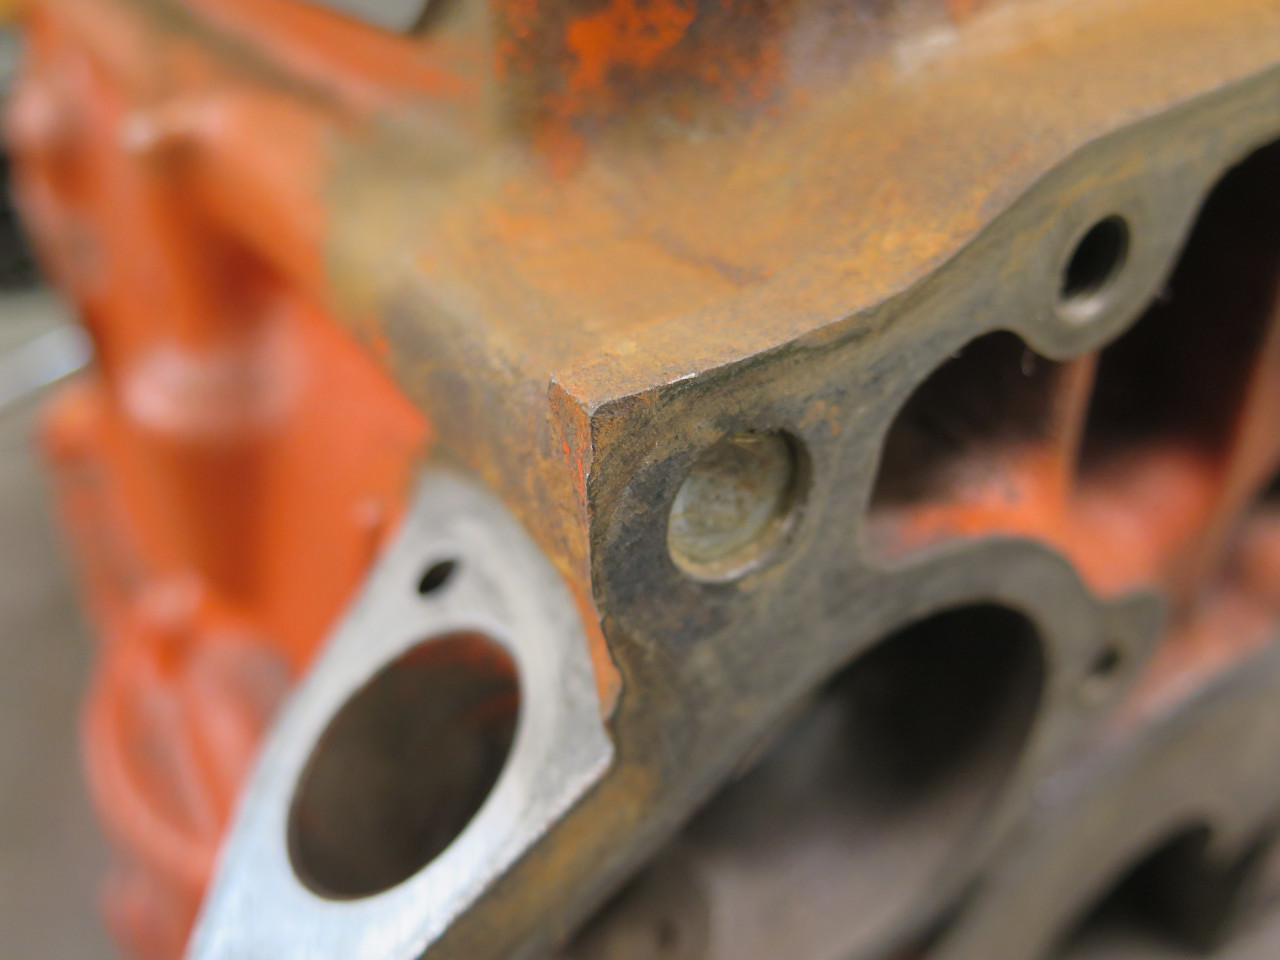
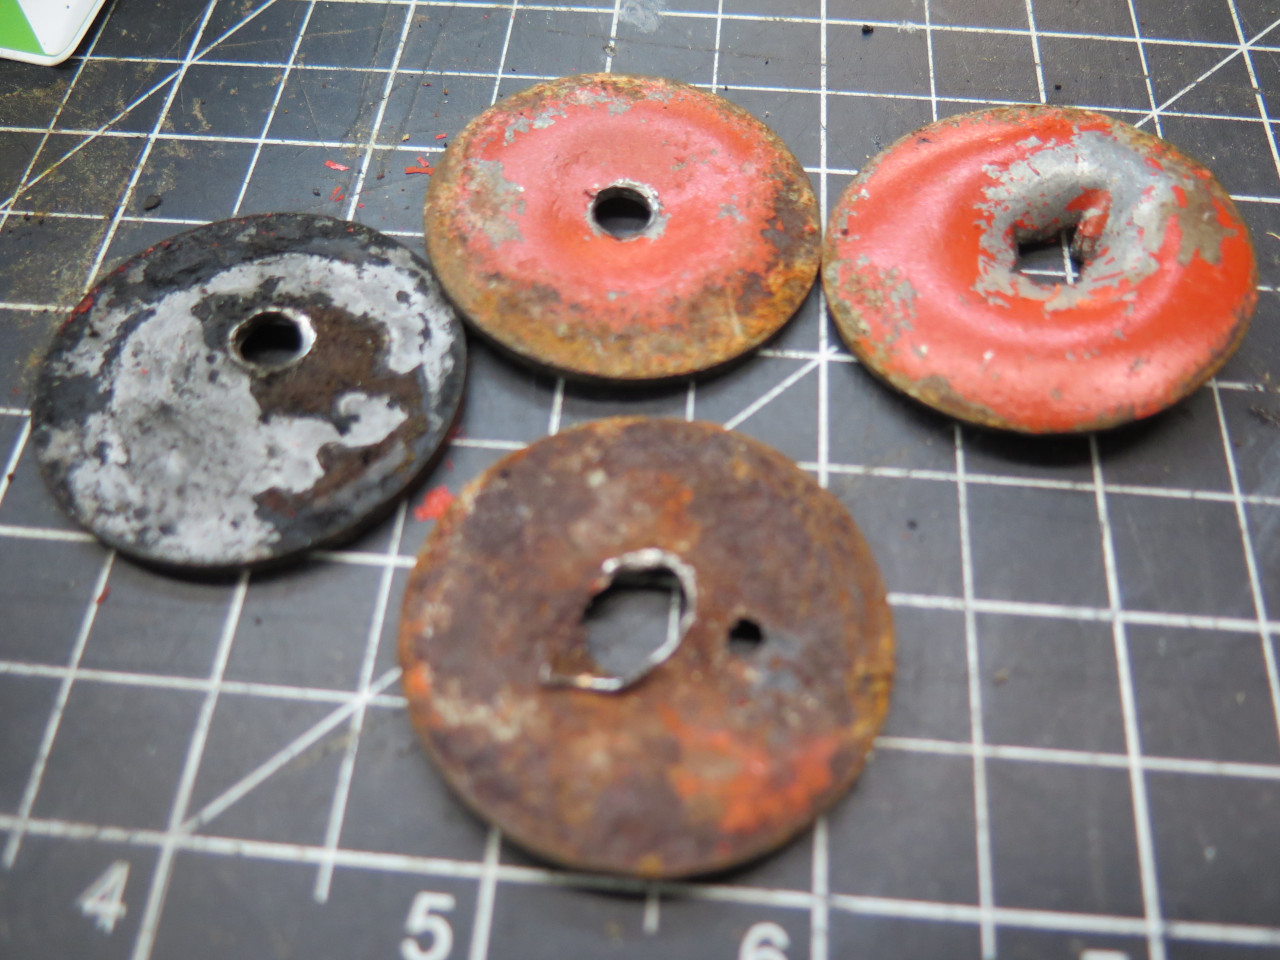
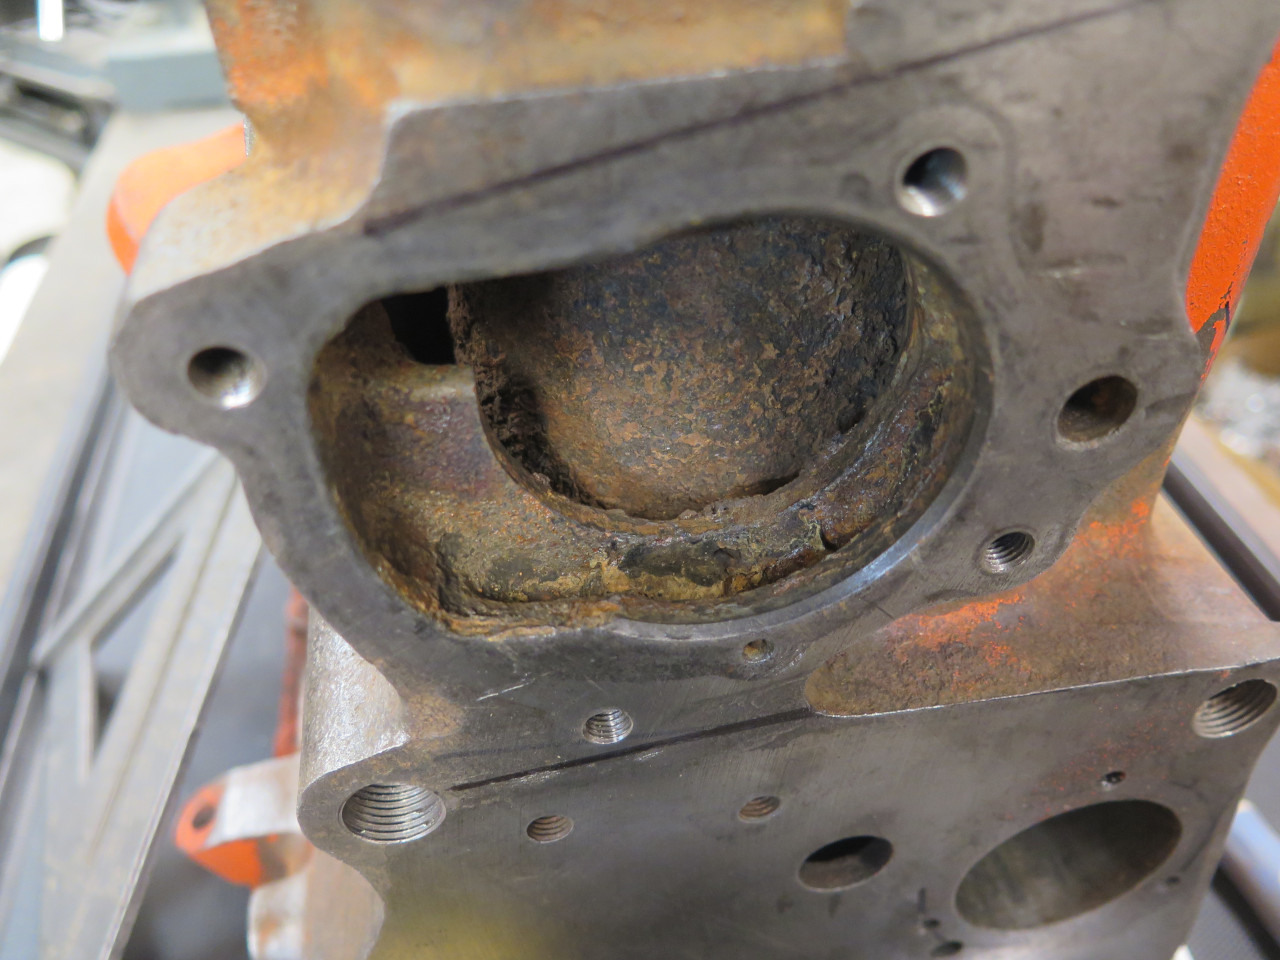
As for the water jacket, I wanted to replace the core plugs, so the old ones had to come out.
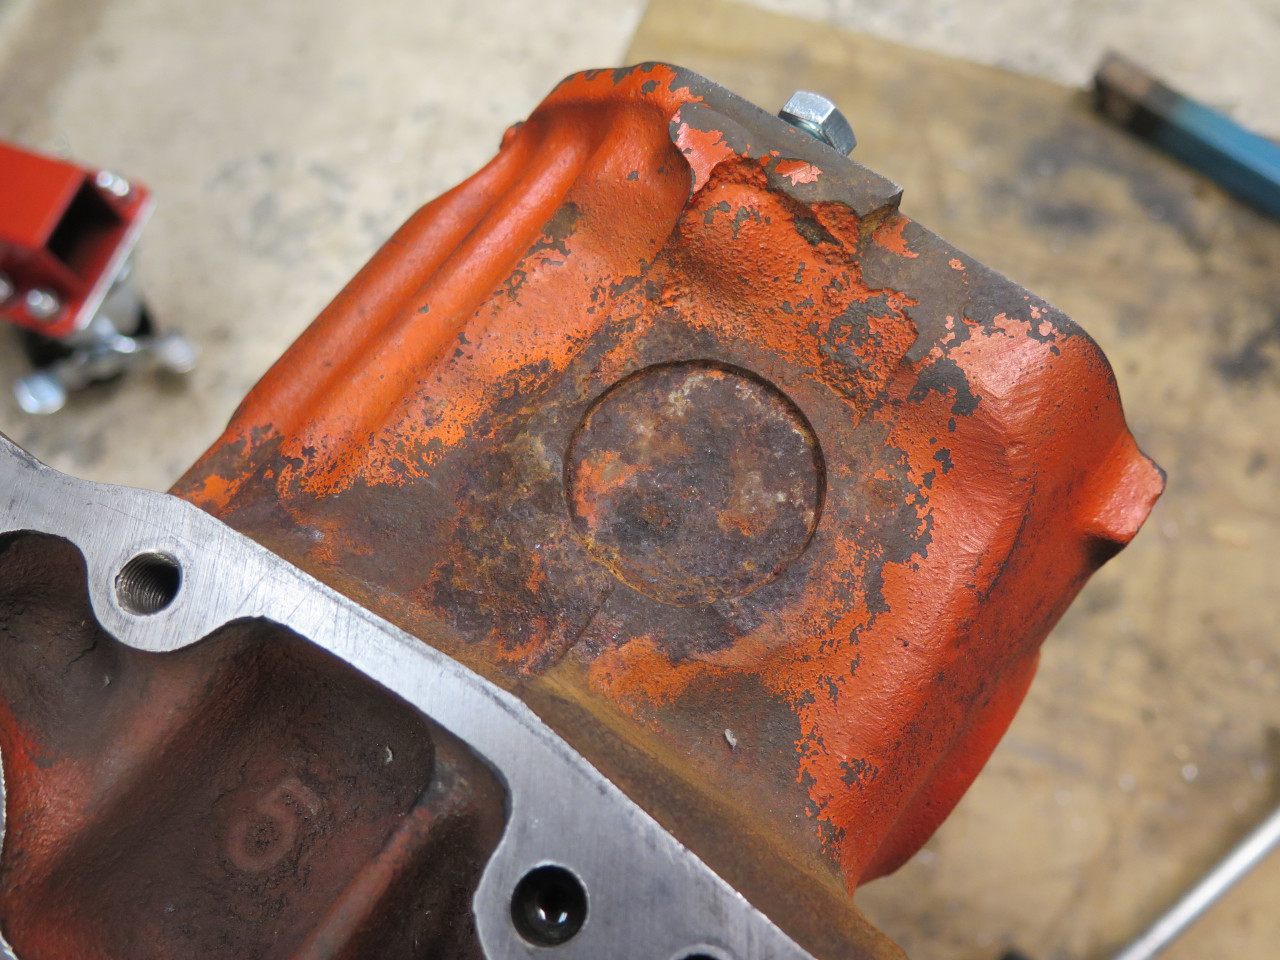
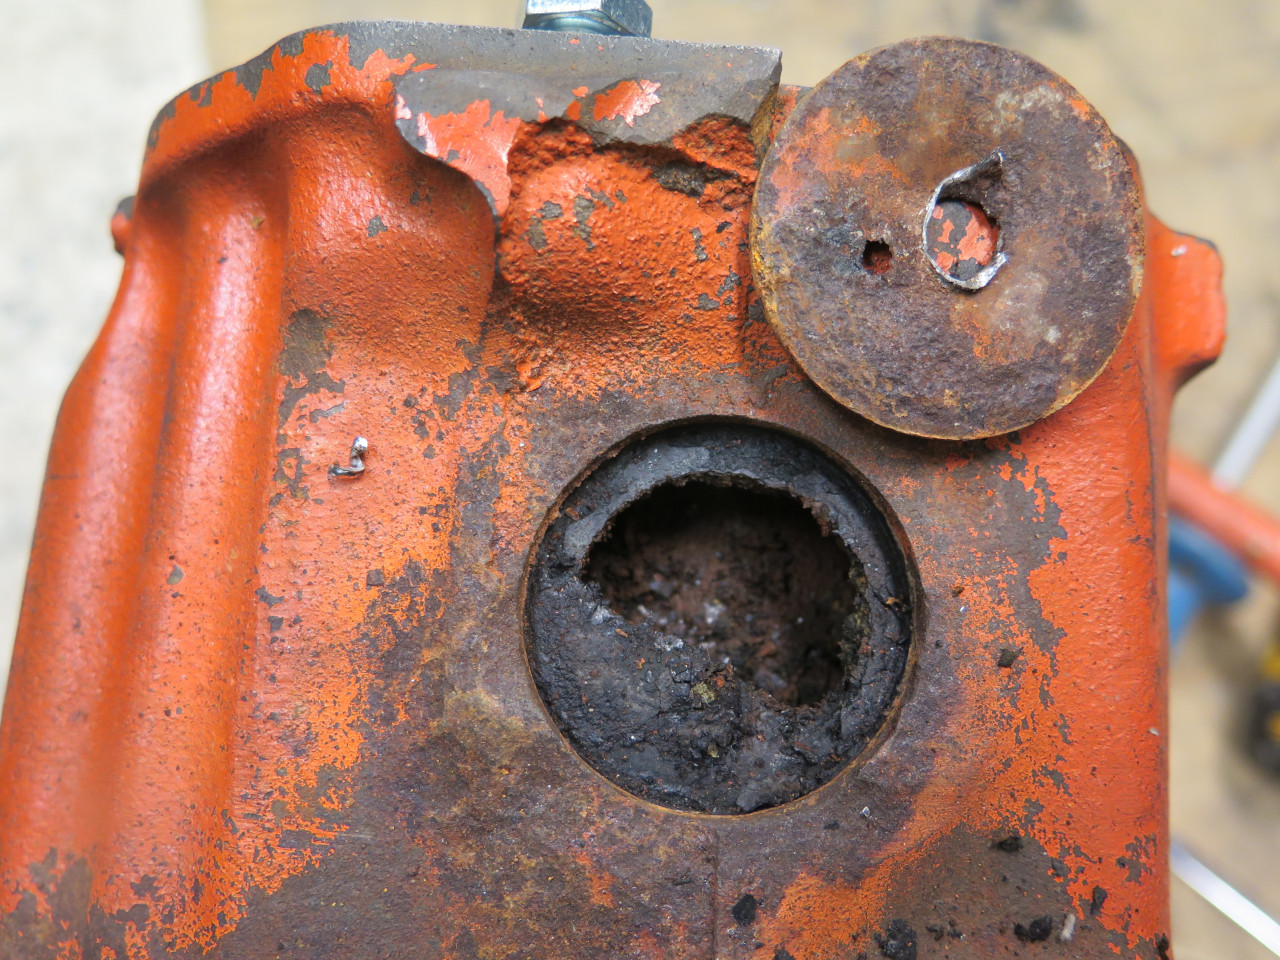
There were four of them. they were all pretty heavily rust pitted on the inside.
This gave me the opportunity to clean out quite a bit of rusty scale
that had collected behind the plugs, but I was sure there was a lot more
I couldn't reach. It seemed that some sort of soak might loosen
it up.
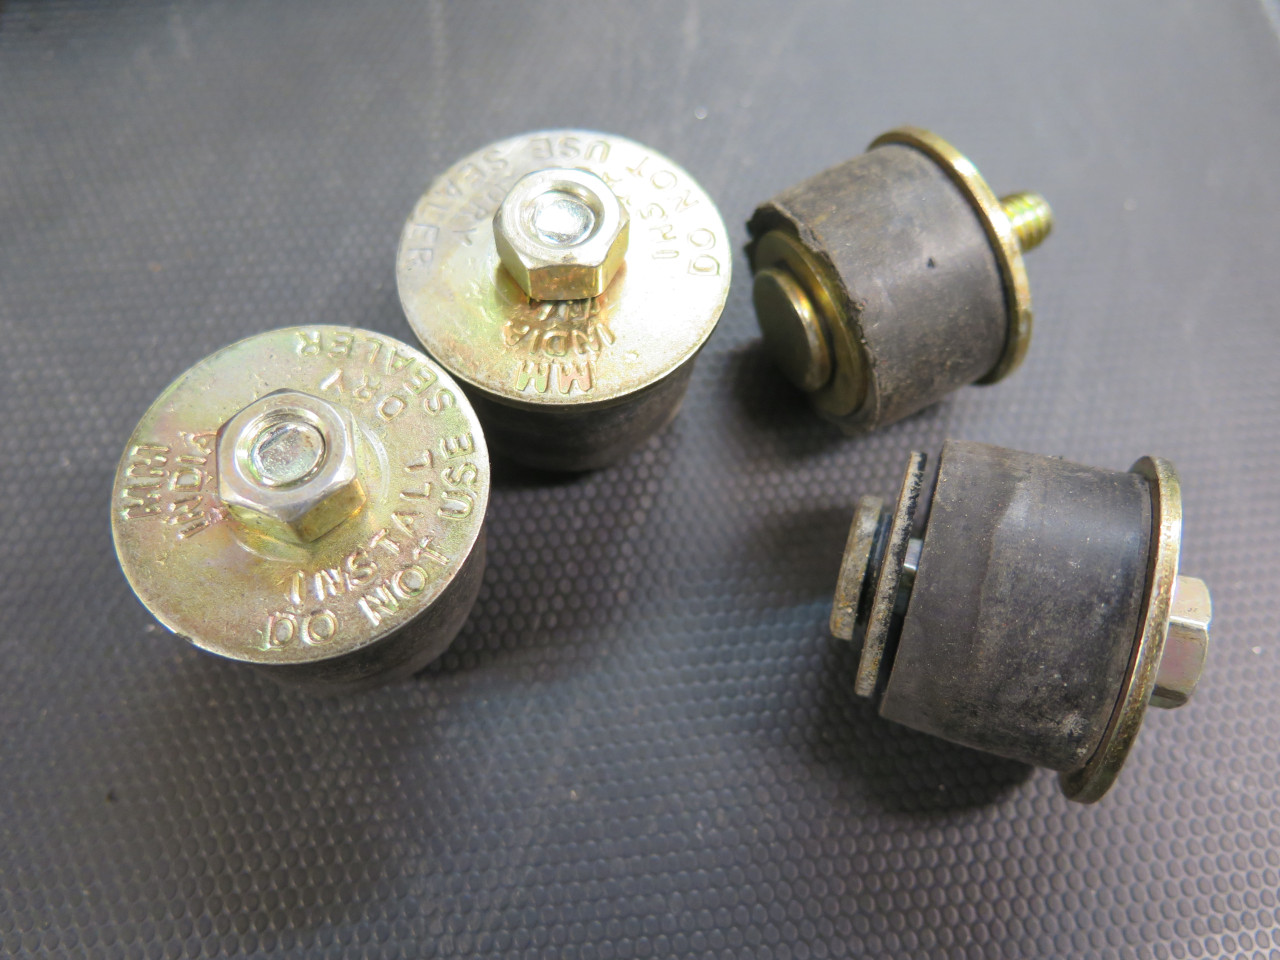
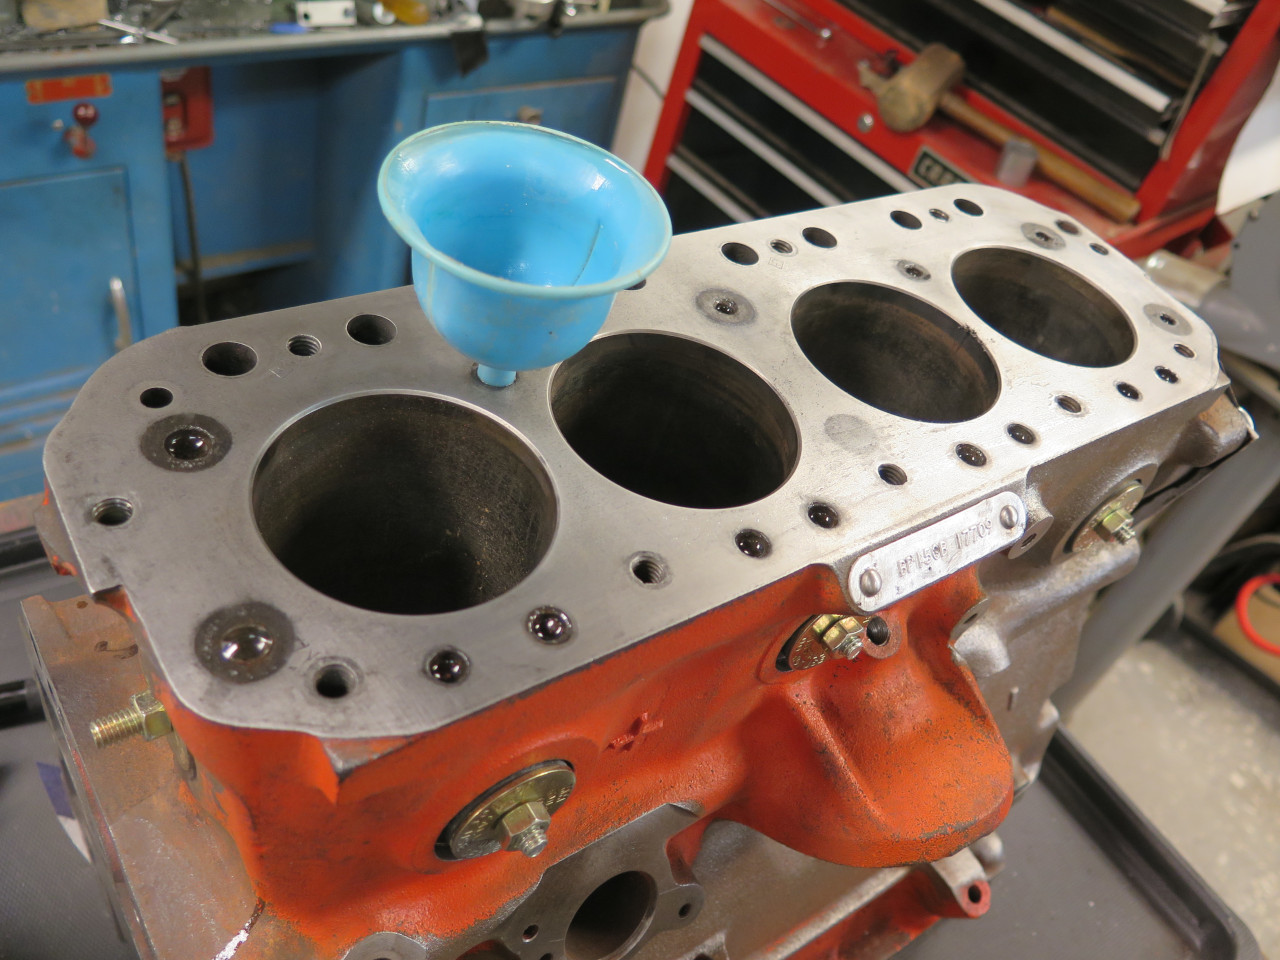
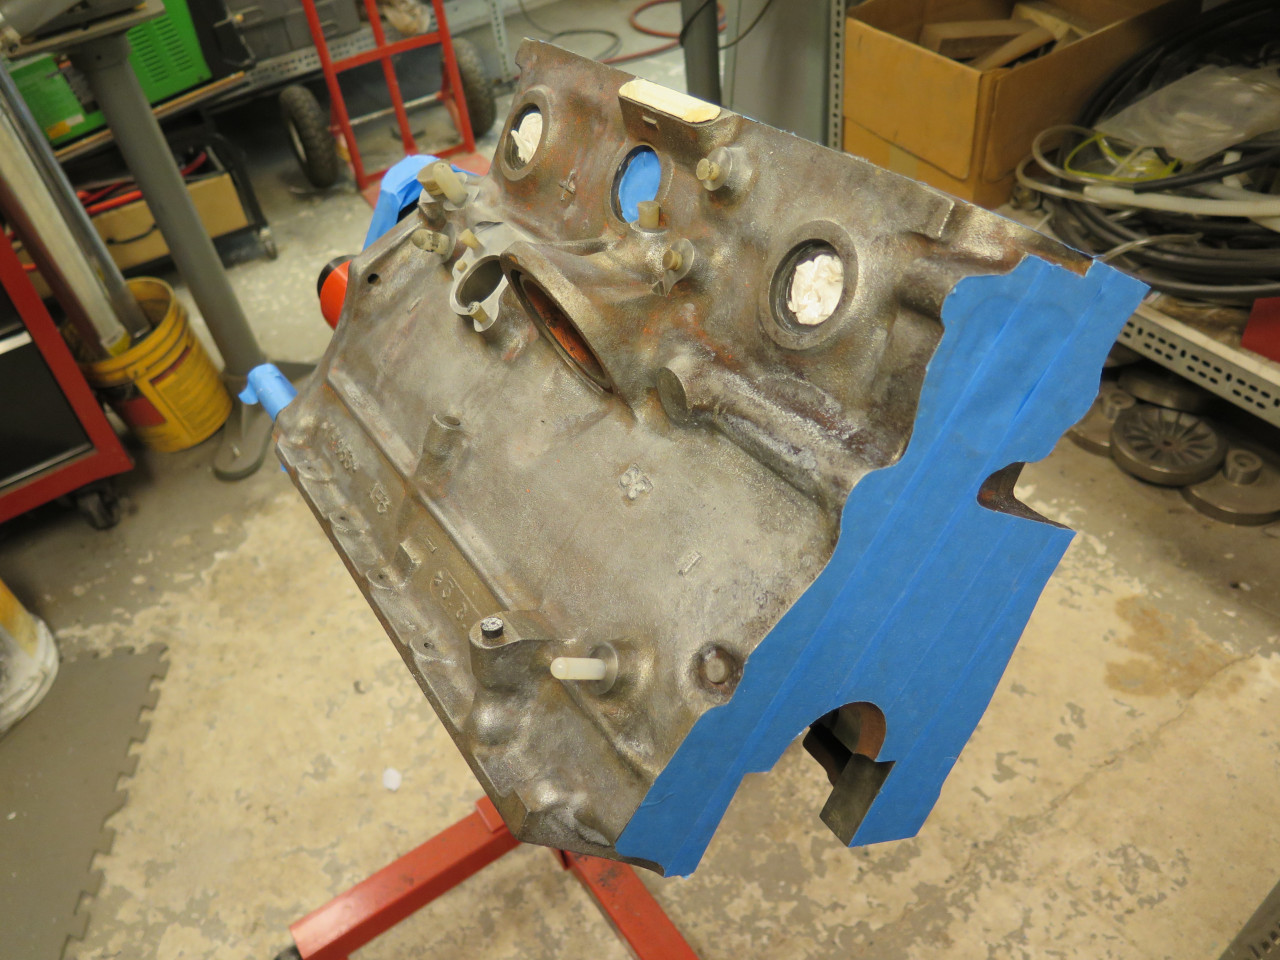
To properly soak the water jacket, some holes had to be plugged--mainly
the core plug holes I'd just opened, and the gaping opening where the
water pump mounts.
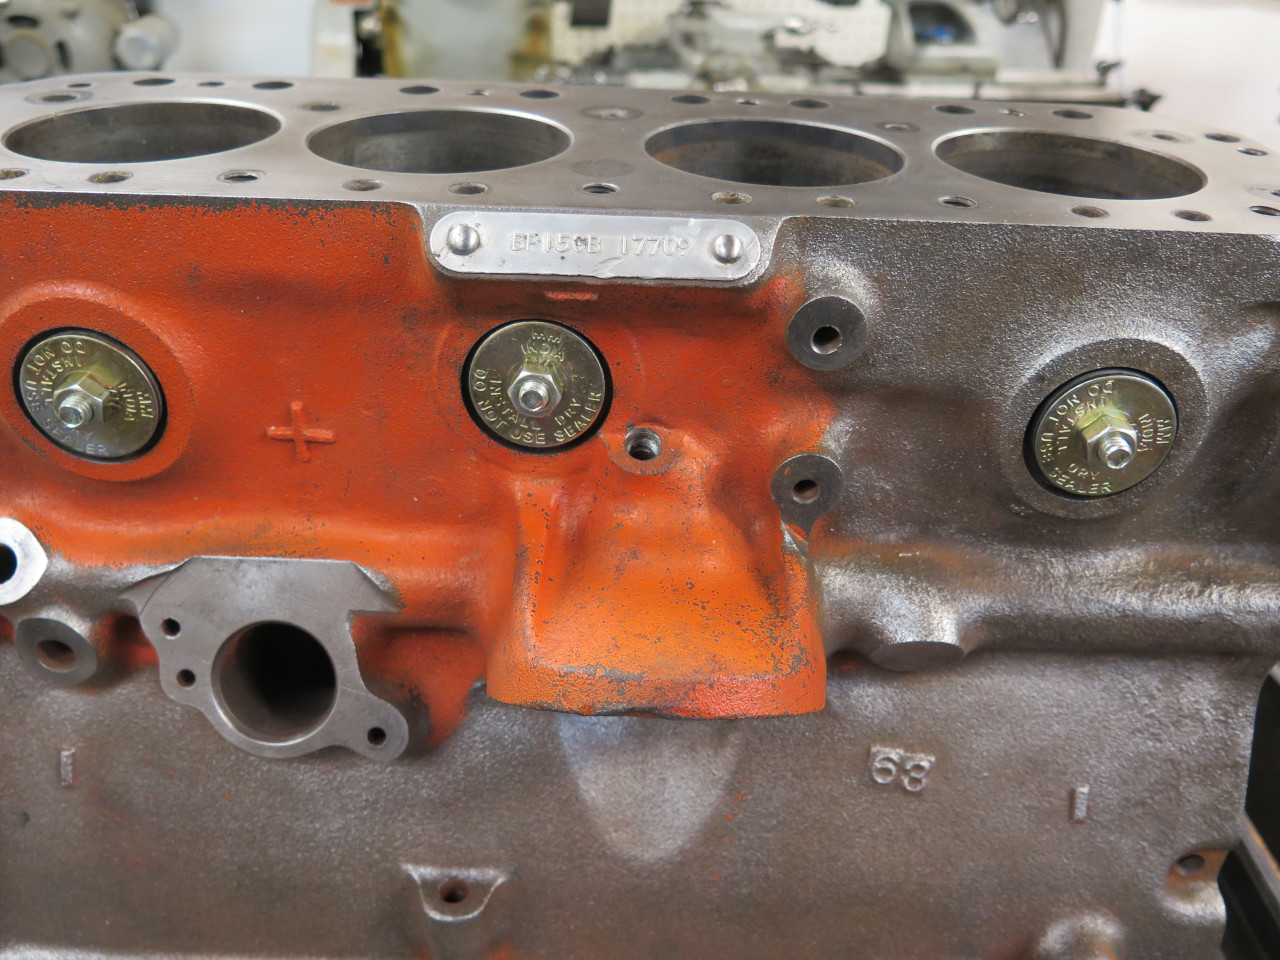
The core plug holes got temporary rubber plugs...
...while the pump opening got a bespoke metal plate cover. Almost forgot the drain cock.

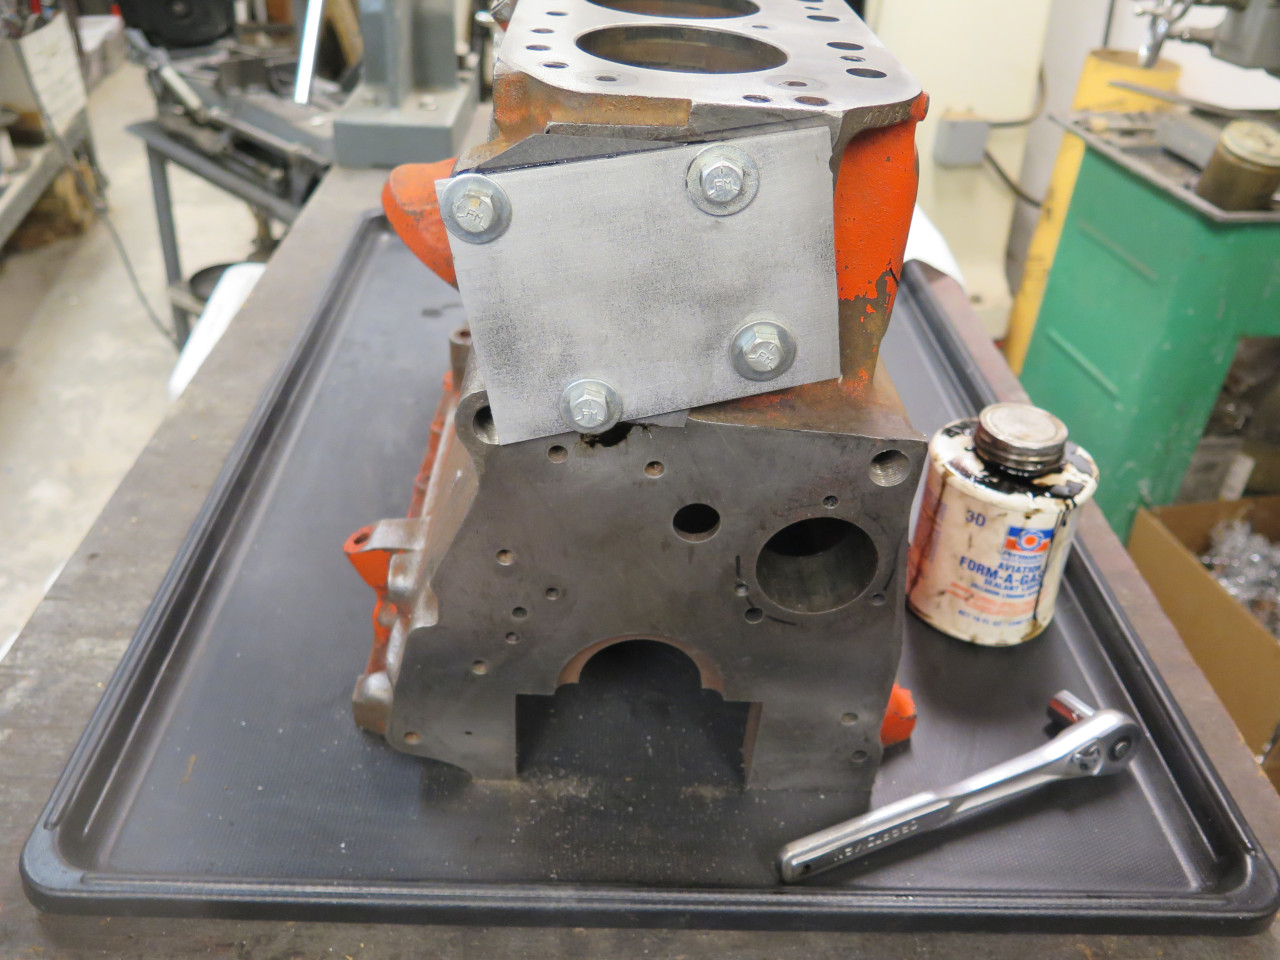

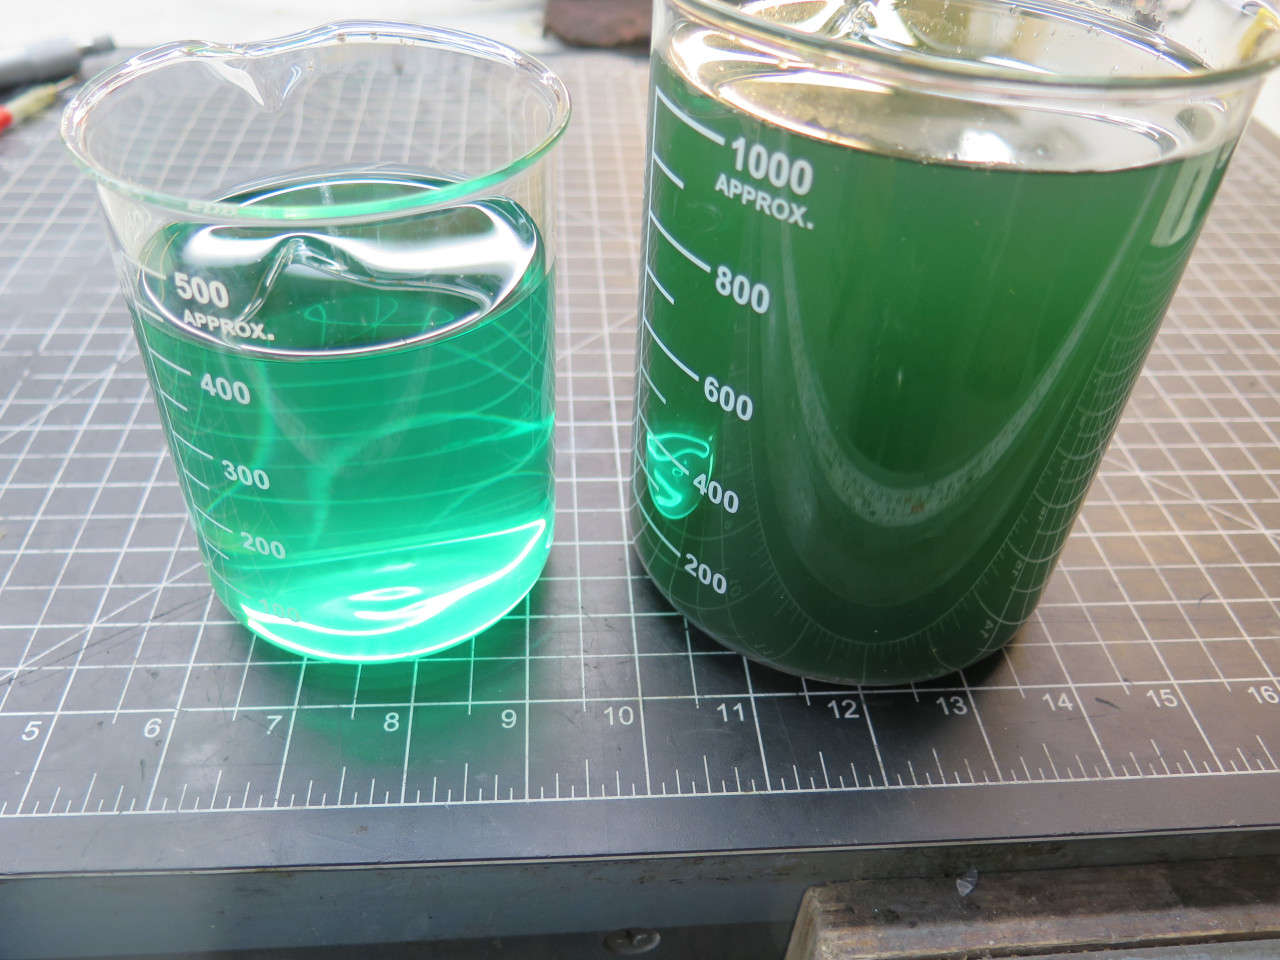
I leveled the block on the work table, and filled the water jacket with a
Phosphoric acid solution. Phosphoric acid would attack the rust
and scale without any significant effect on the cast iron. I let
it for 24 hours or so.
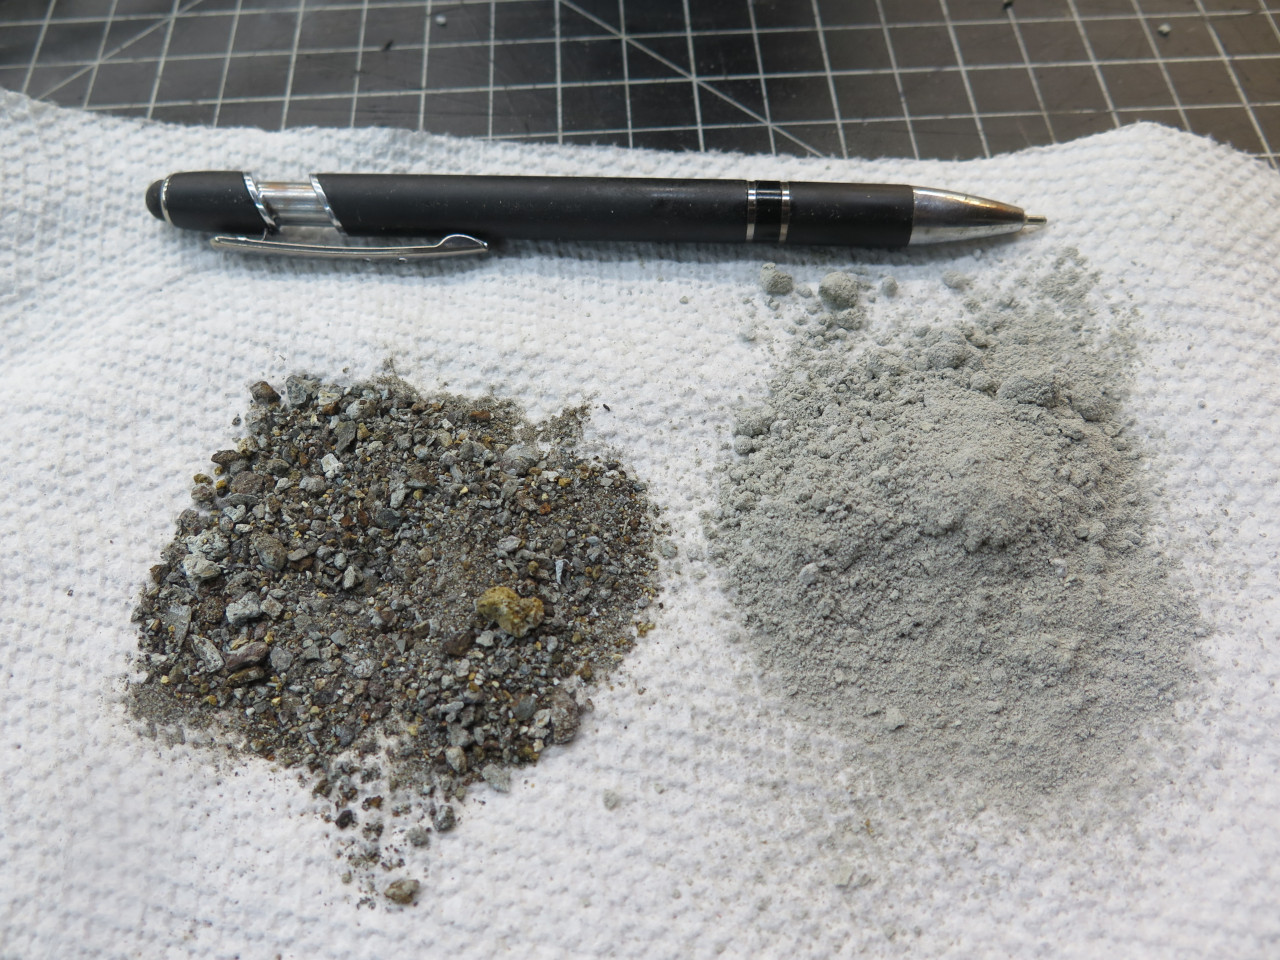
When I drained the solution, it was pretty cloudy and had a lot of sediment in it.
Flushing with water a few times brought more sediment. The gray
powder is what I got when I filtered the acid and flushes. My
theory is that it is from some radiator stop-leak product that I or some
PO used.
I knew there was more sediment loosened by the acid, so I went back to
the DIY car wash and sprayed water into all of the jacket openings with
the block in various orientations. A lot more junk came out and
disappeared down the car wash drain. Probably double the amount
shown in the pic above.
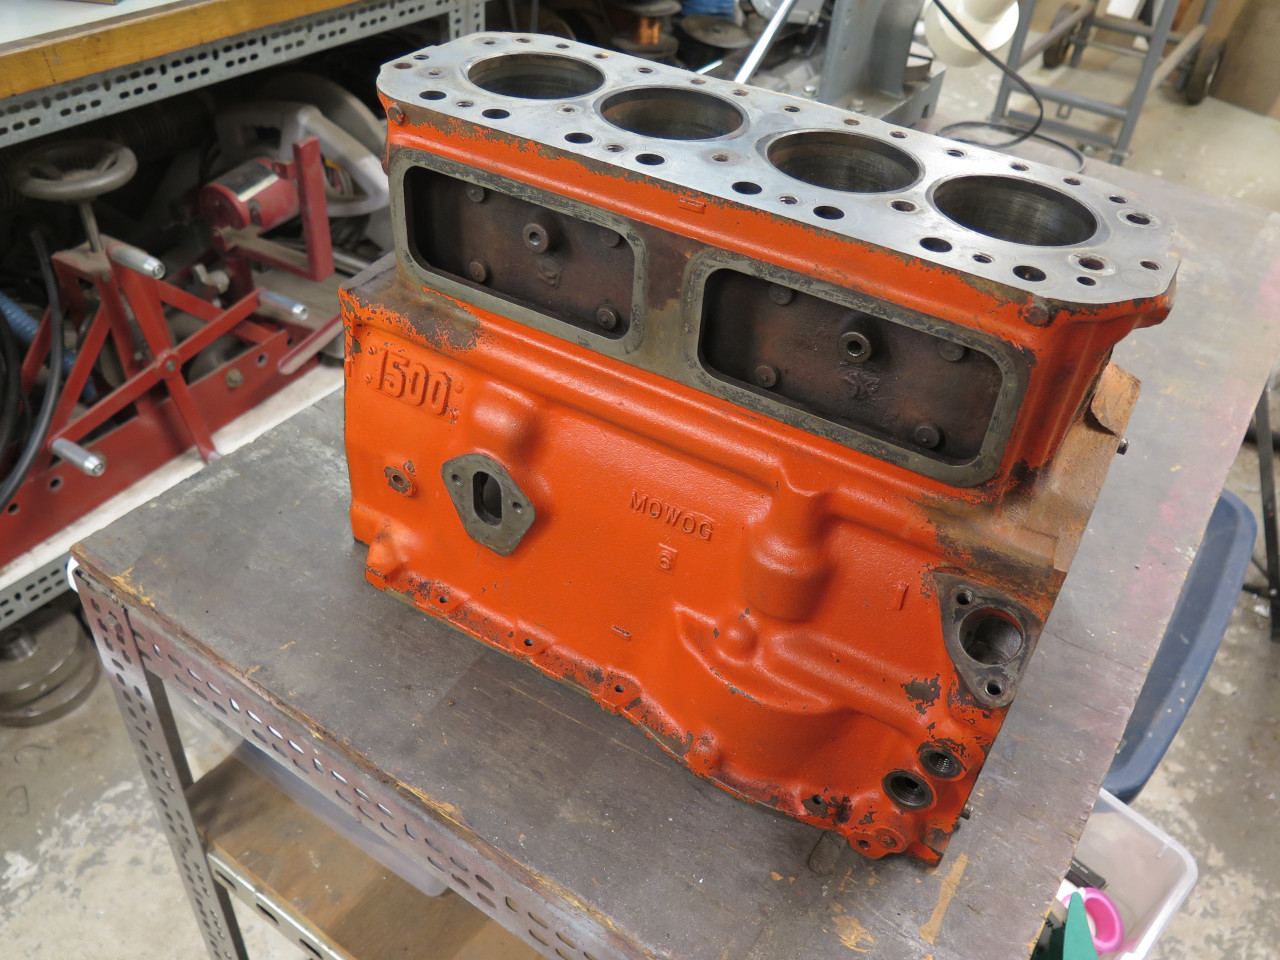
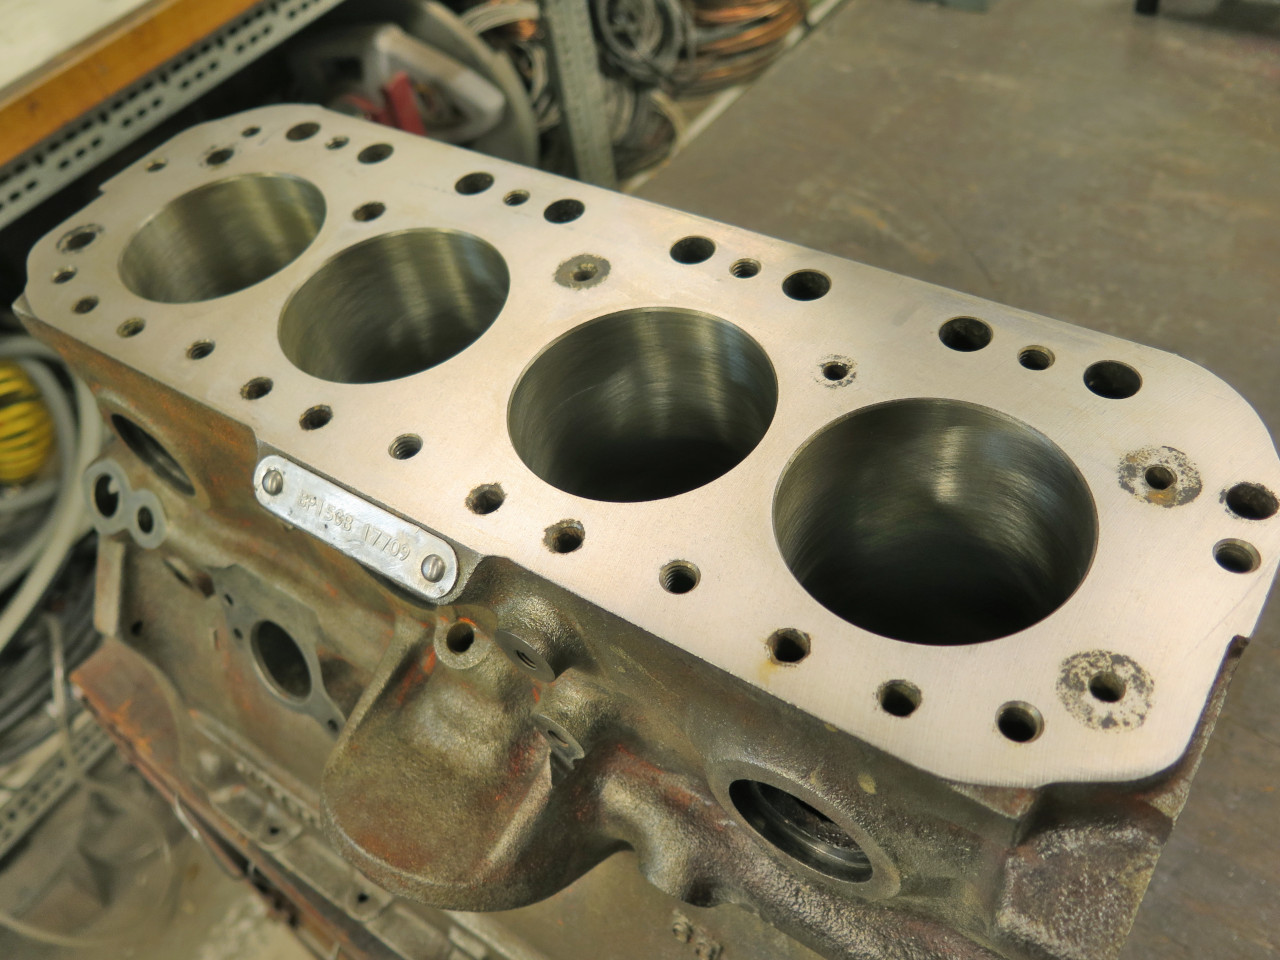
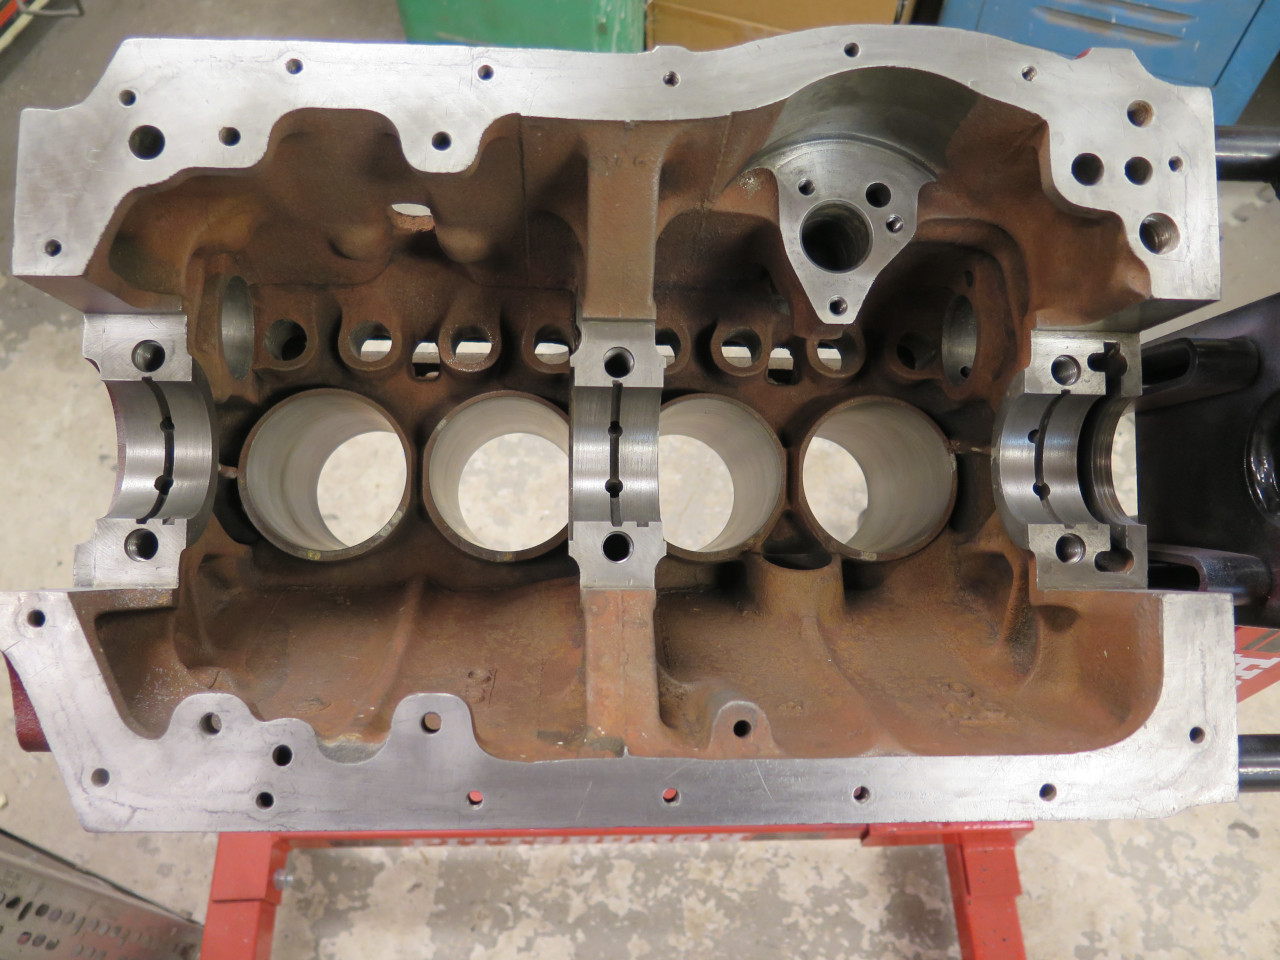
At some point during this entire process, I evaluated the cylinder
bores. This block had been bored to accept 0.030" oversized 1600
pistons. The bores still measured within spec, but there was a
slight ridge and some minor scoring in the cylinder walls. I
thought about it a lot and finally decided to go up another 0.010",
mainly just to clean up the bores.
So it was off to the machine shop for the boring. I asked them to level the top deck, too.
It came back looking pretty nice.
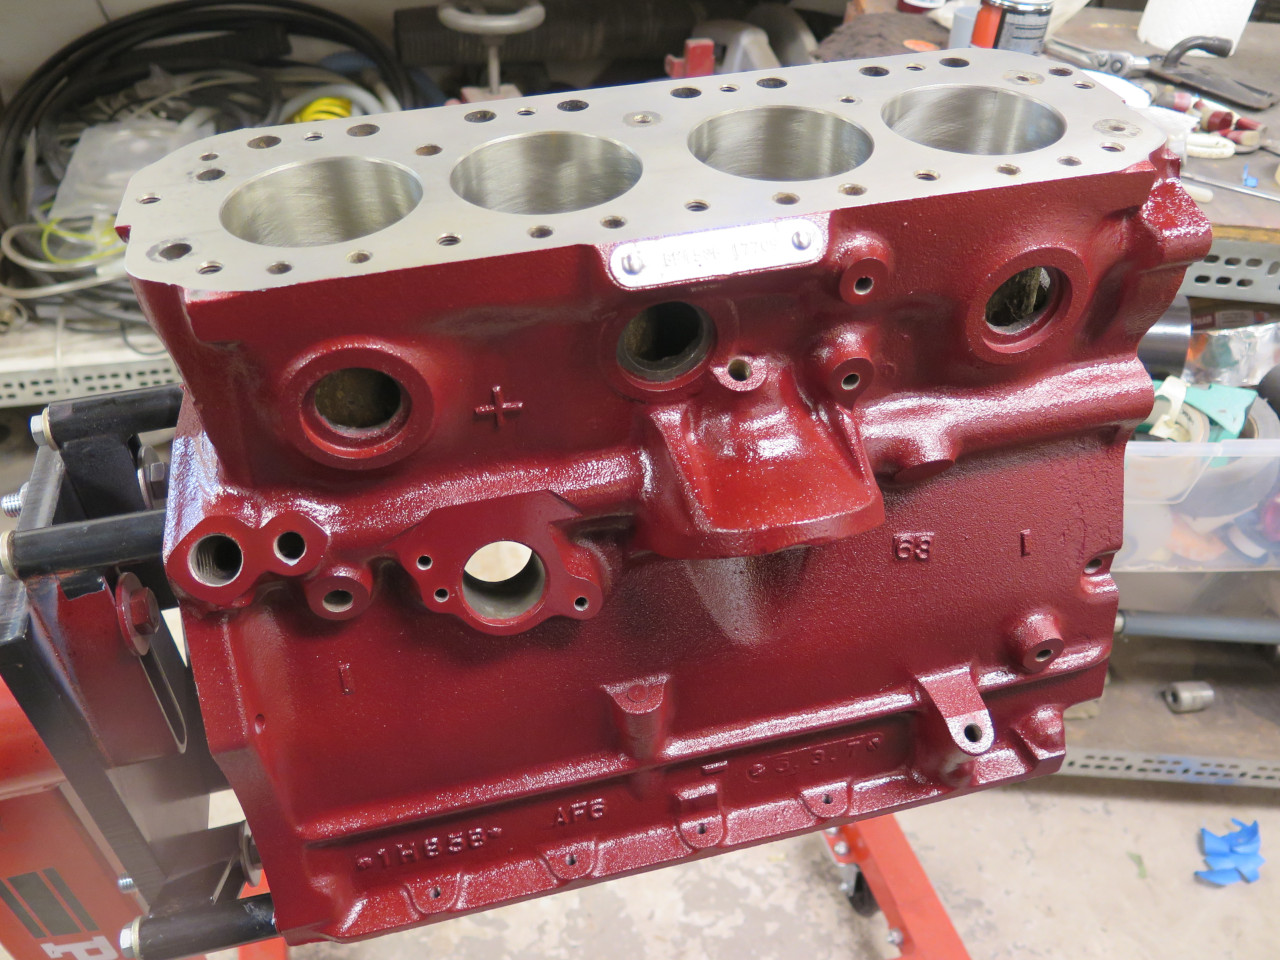
I decided to paint the block at this point. It would make it a lot
more pleasant to work on. I removed the last remnants of the
Chevy Orange color that I thought was so cool in the 70s, and masked for
paint.
I'm not necessarily a wonk for originality, but I think this is a fairly close match to the factory color.
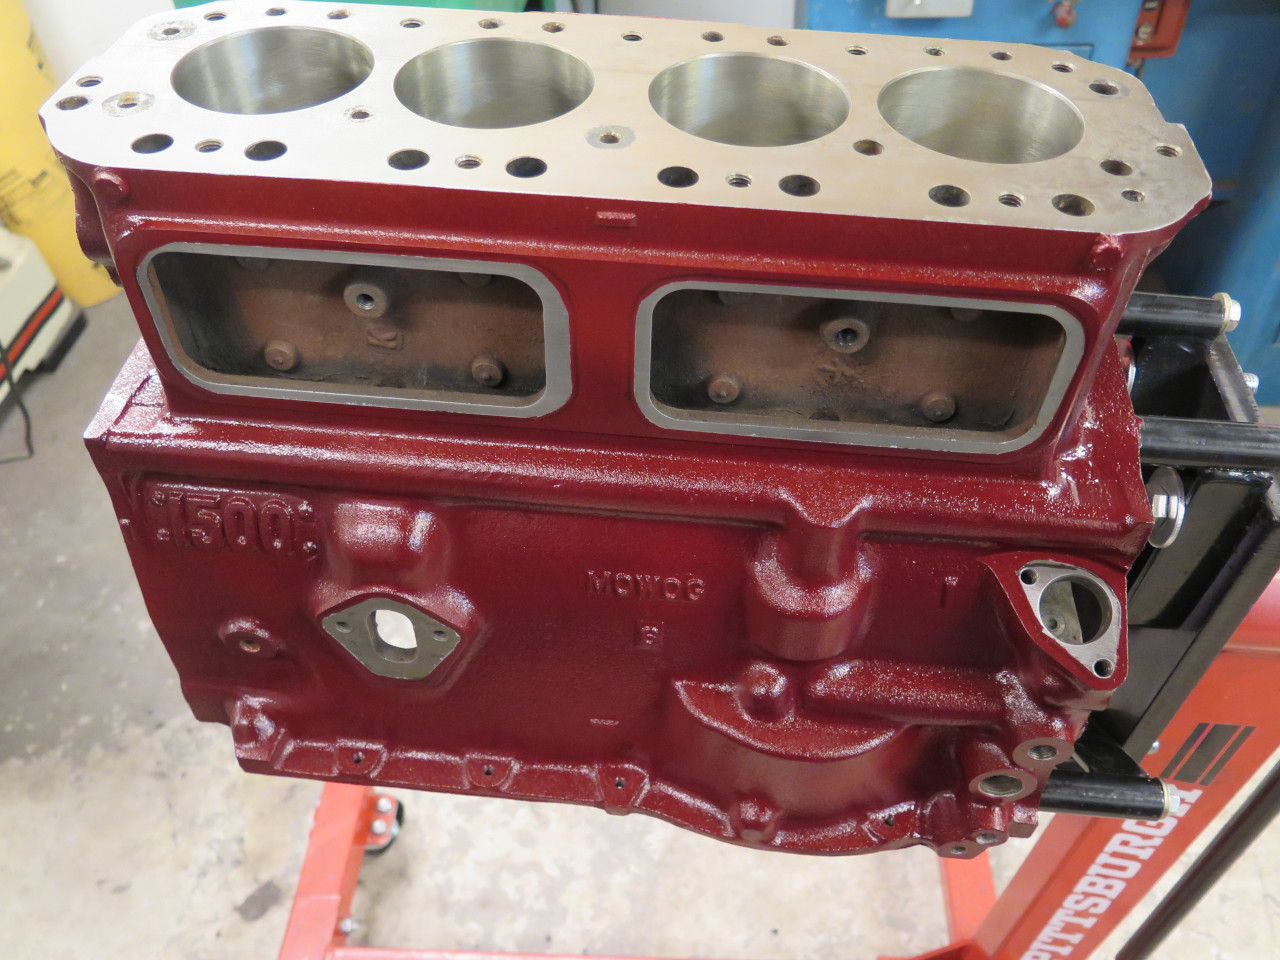
Next steps will be to focus in here...
This feels like progress, and was sort of fun. Cost was minimal beyond the $300 for the machine work.
Comments to Ed at elhollin1@yahoo.com
To my other MGA pages