I really wanted to get this body painted before winter this year.
Final prep actually started in August, when I mounted the bonnet and
doors for a last check of door gaps. It's frustrating that the
panels seem to fit a little differently every time I mount them.
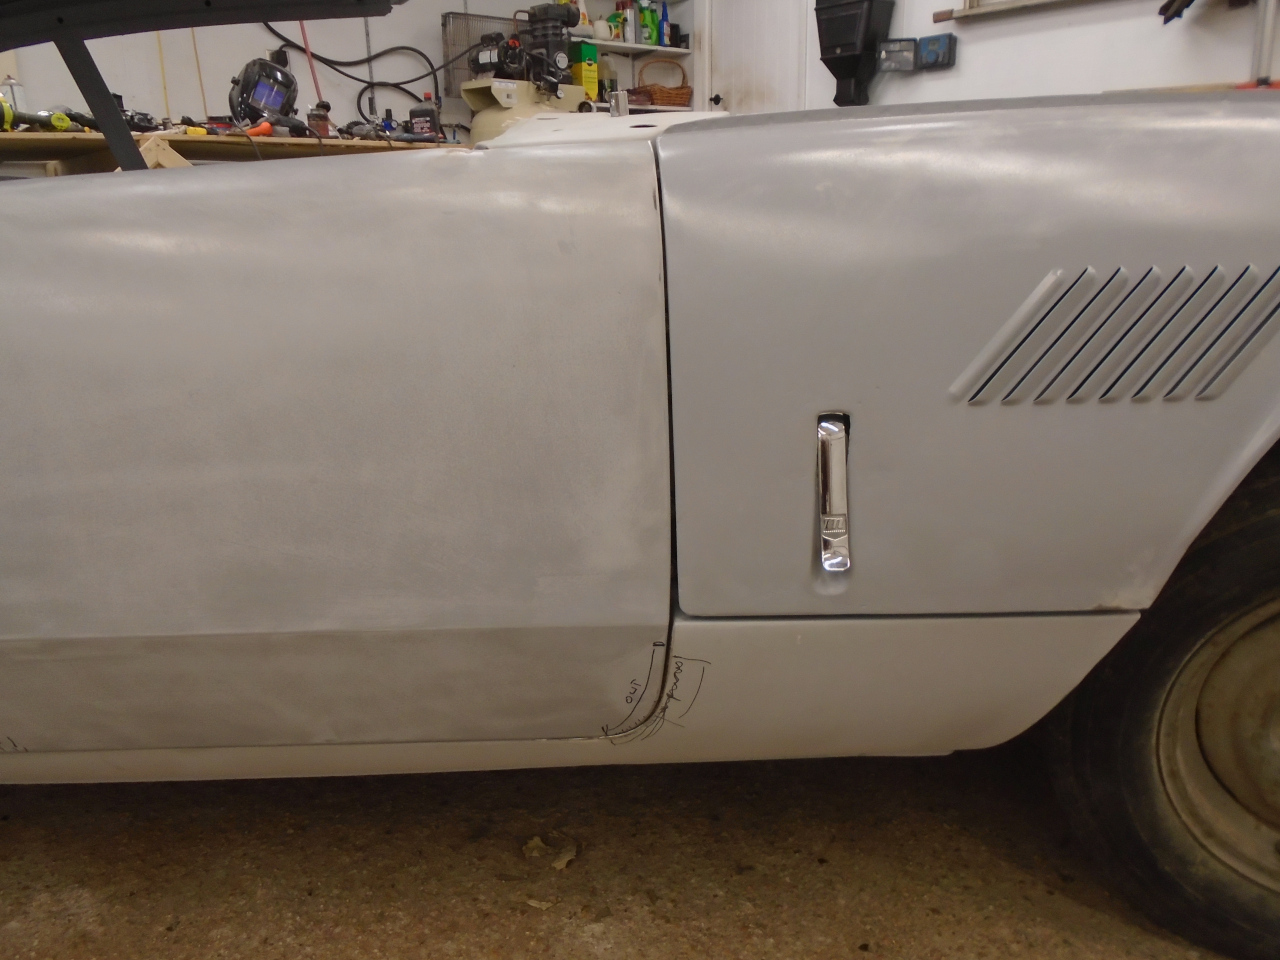
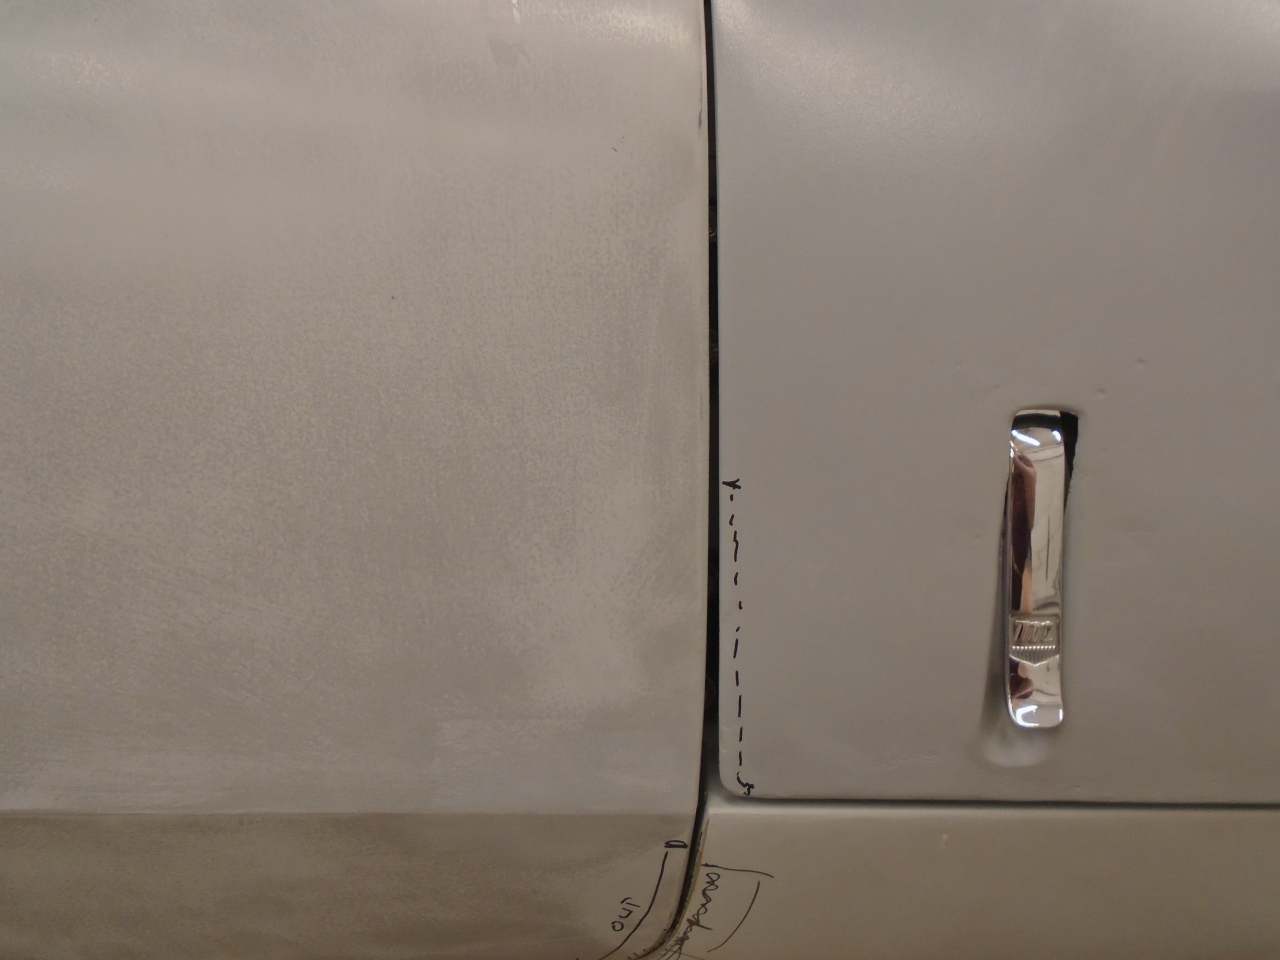
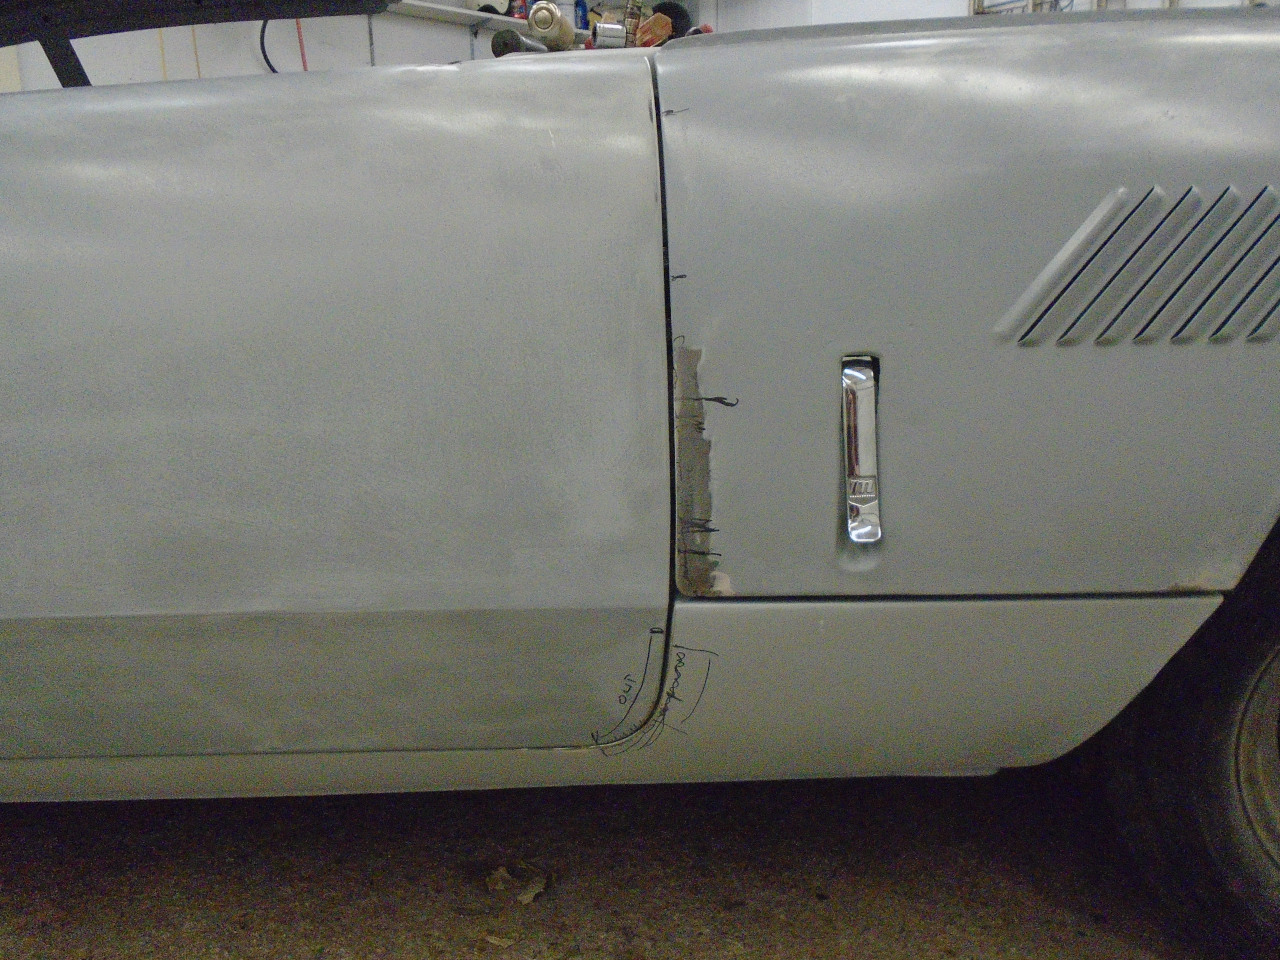
This time, everything looked pretty OK, except for the gap between the
bonnet and passenger door. It wasn't that bad, but the lower part
had a bit of a taper.
I'd been through this before, so it didn't take long to fix. After this, I deemed all the gaps good enough.
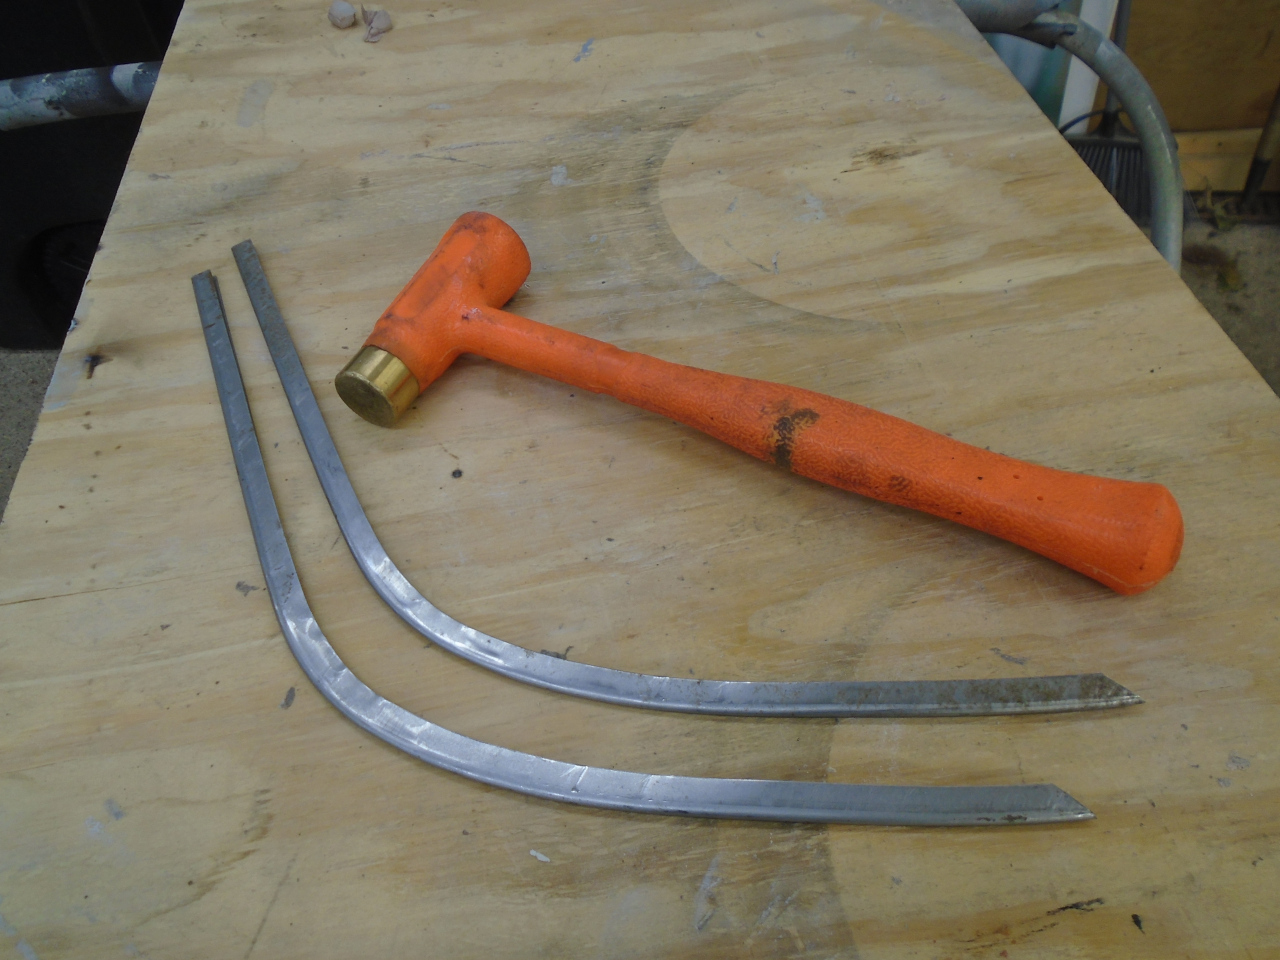
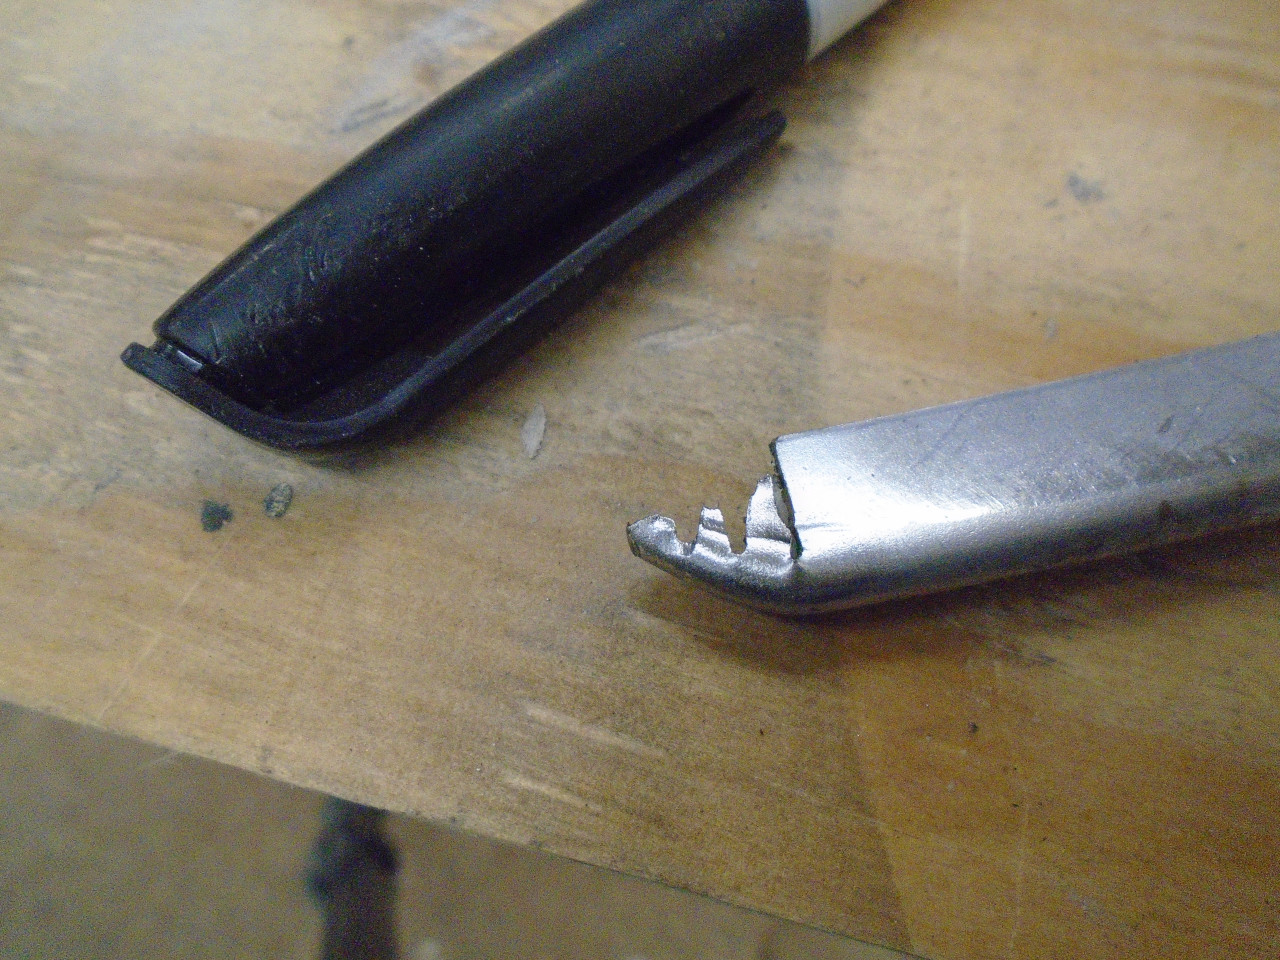
One of the last remaining body components was the two curved finishing
strips that cover the standing seams on either side of the rear
valance. I'd had them for months, but never really looked at them.
They seemed to fit reasonably well, but the upper ends disappointed
me. I think I remember the originals having a rounded end, but
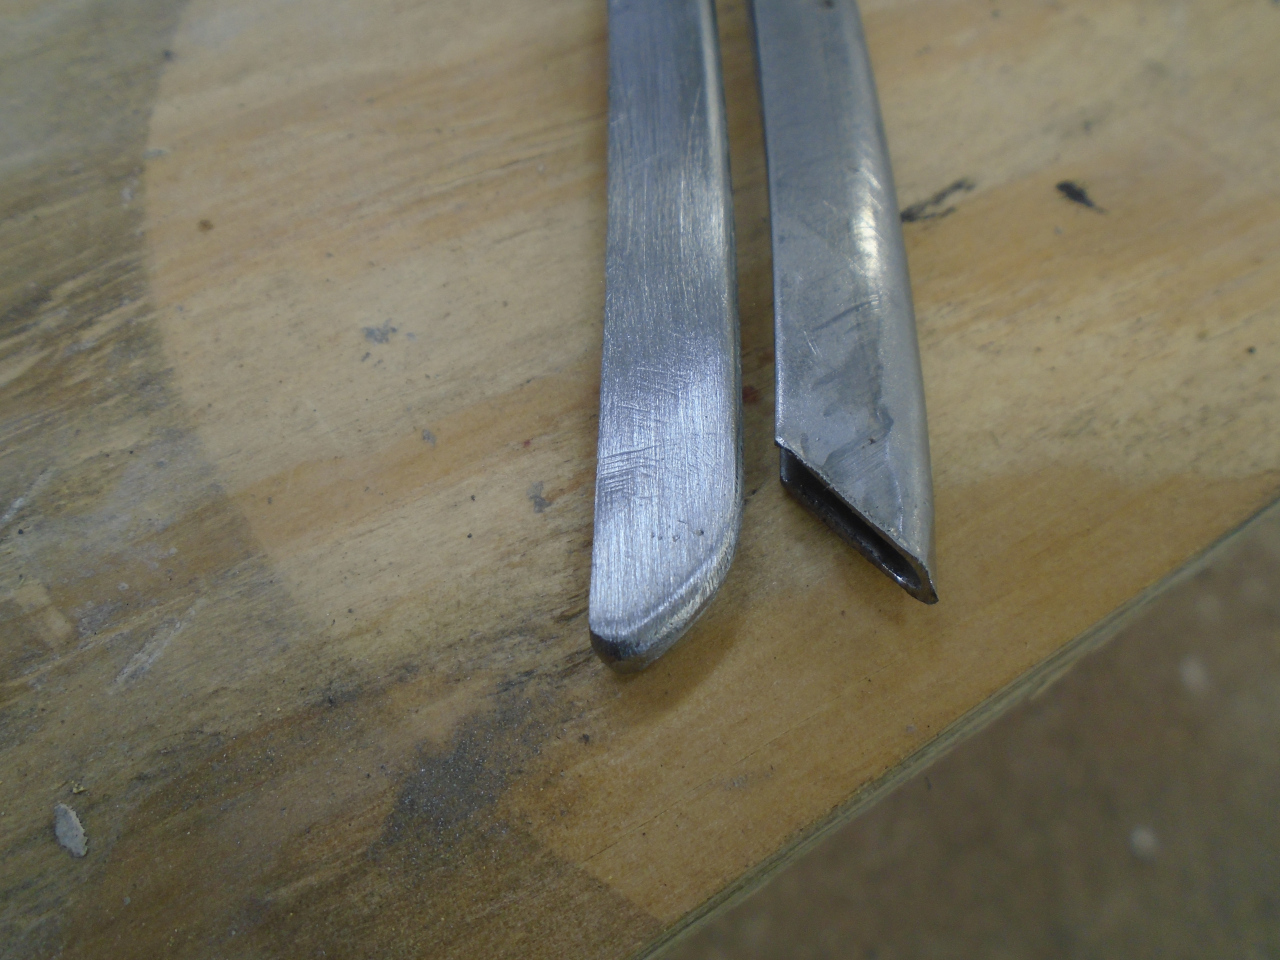
these were cut at an angle that didn't seem to make any sense.
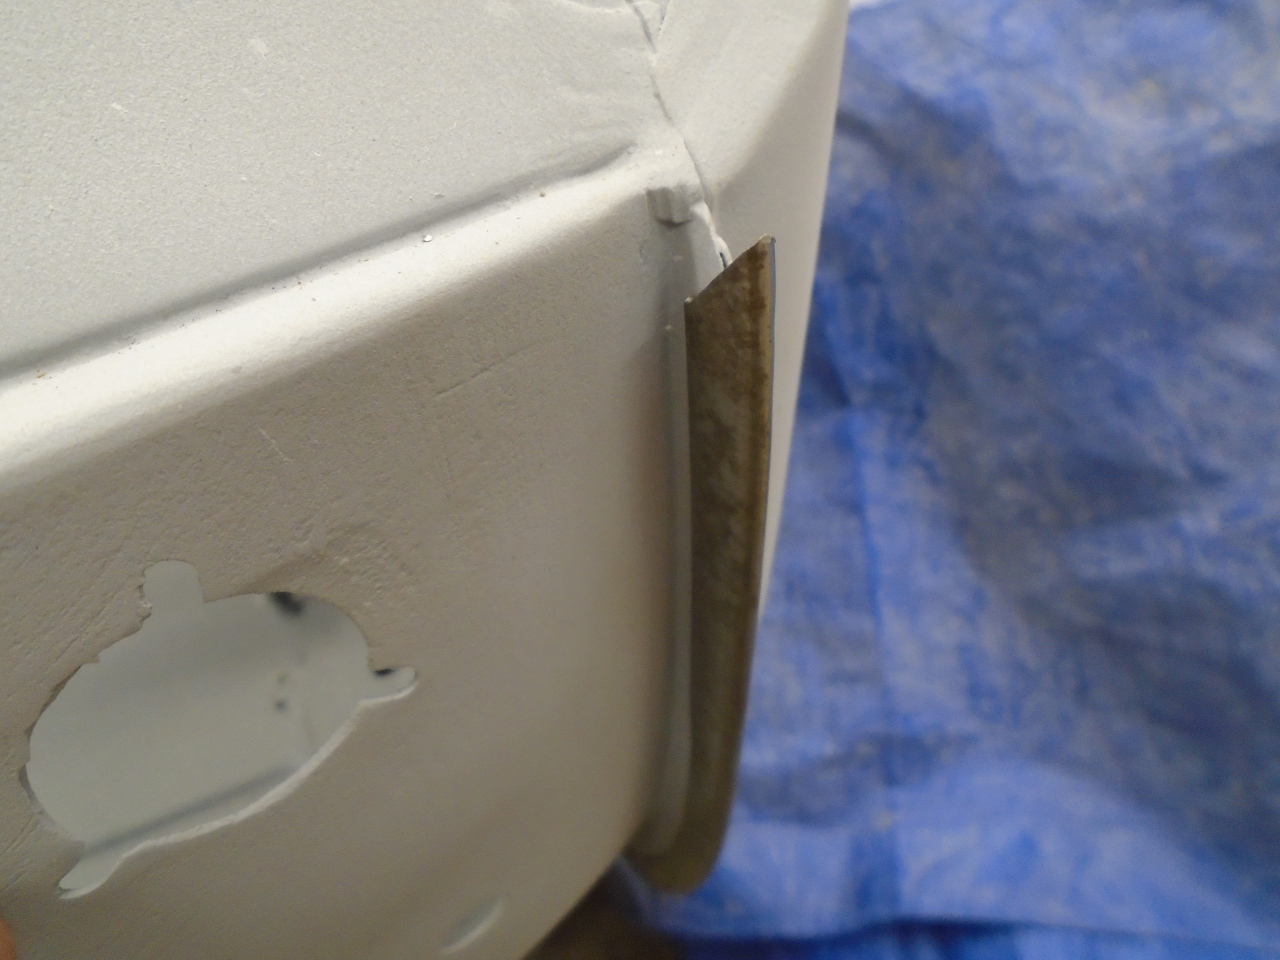
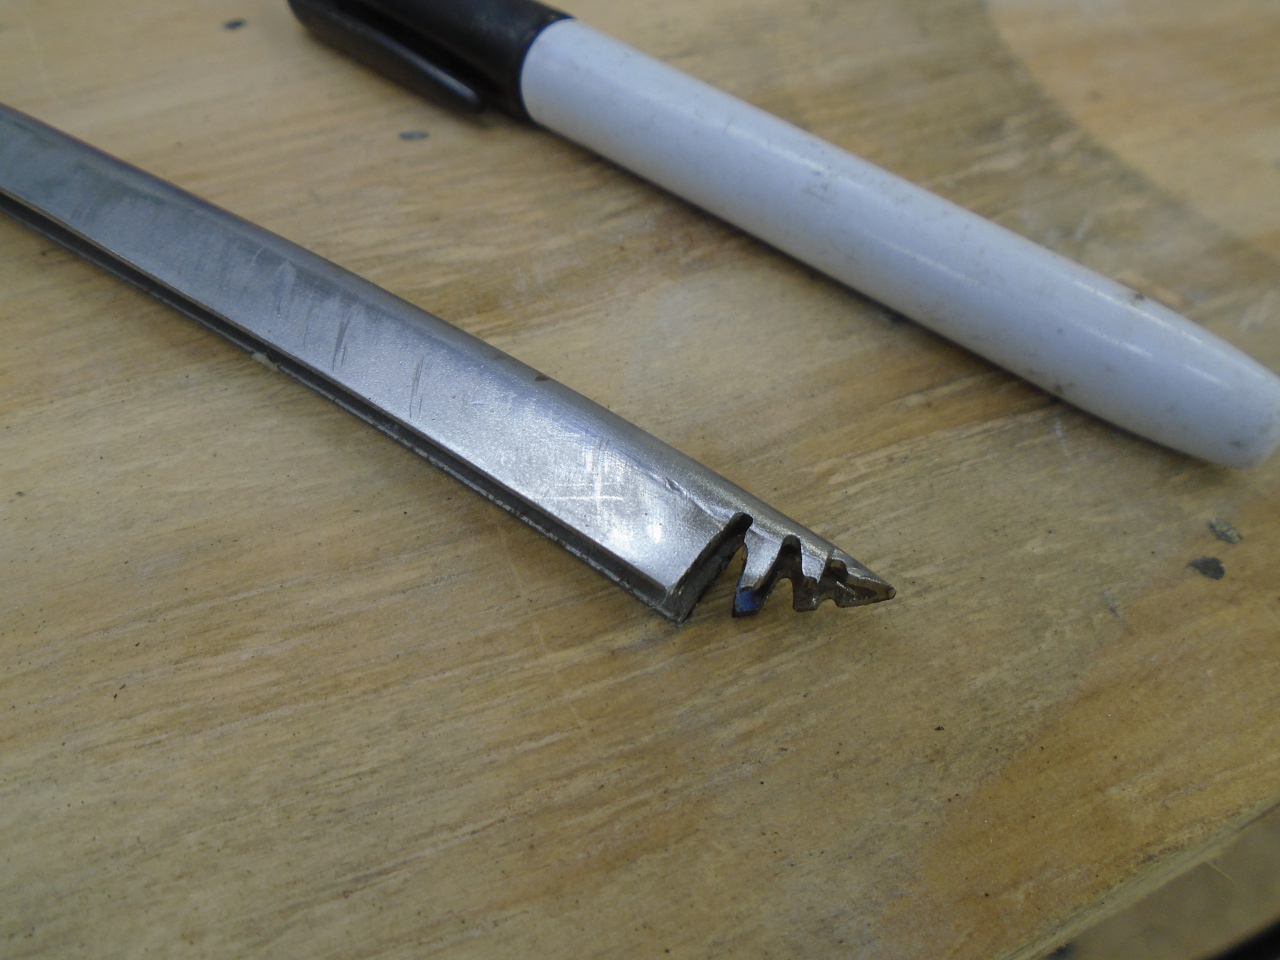
A little surgery and welding made it look and fit better.
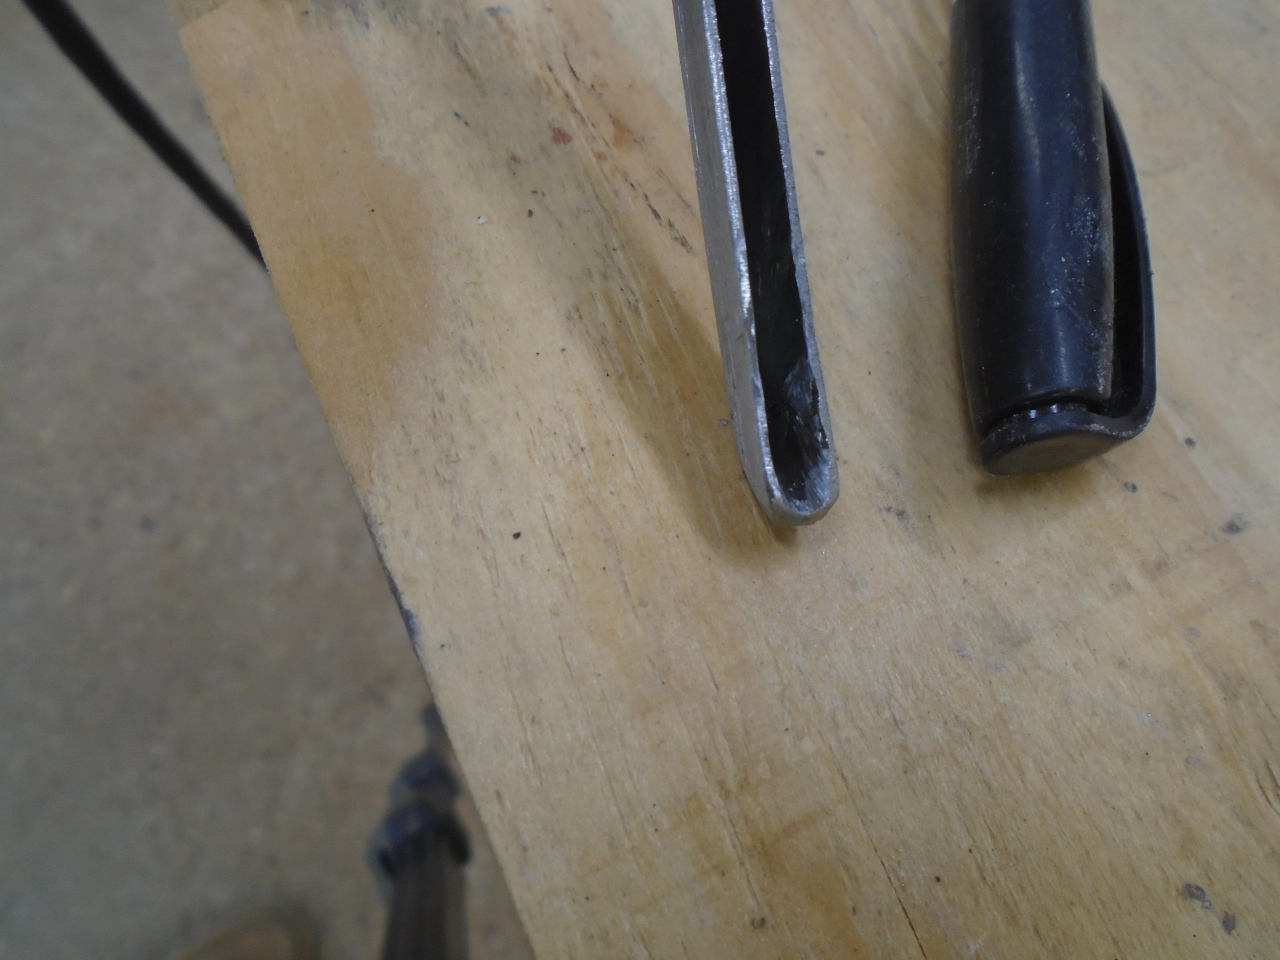
It seems to me that a "replacement part" that as to be modified to fit
properly isn't really a replacement part. I loaded the inside of
the pieces with seam sealer, tapped them into place, and secured them
with a few discrete tack welds.
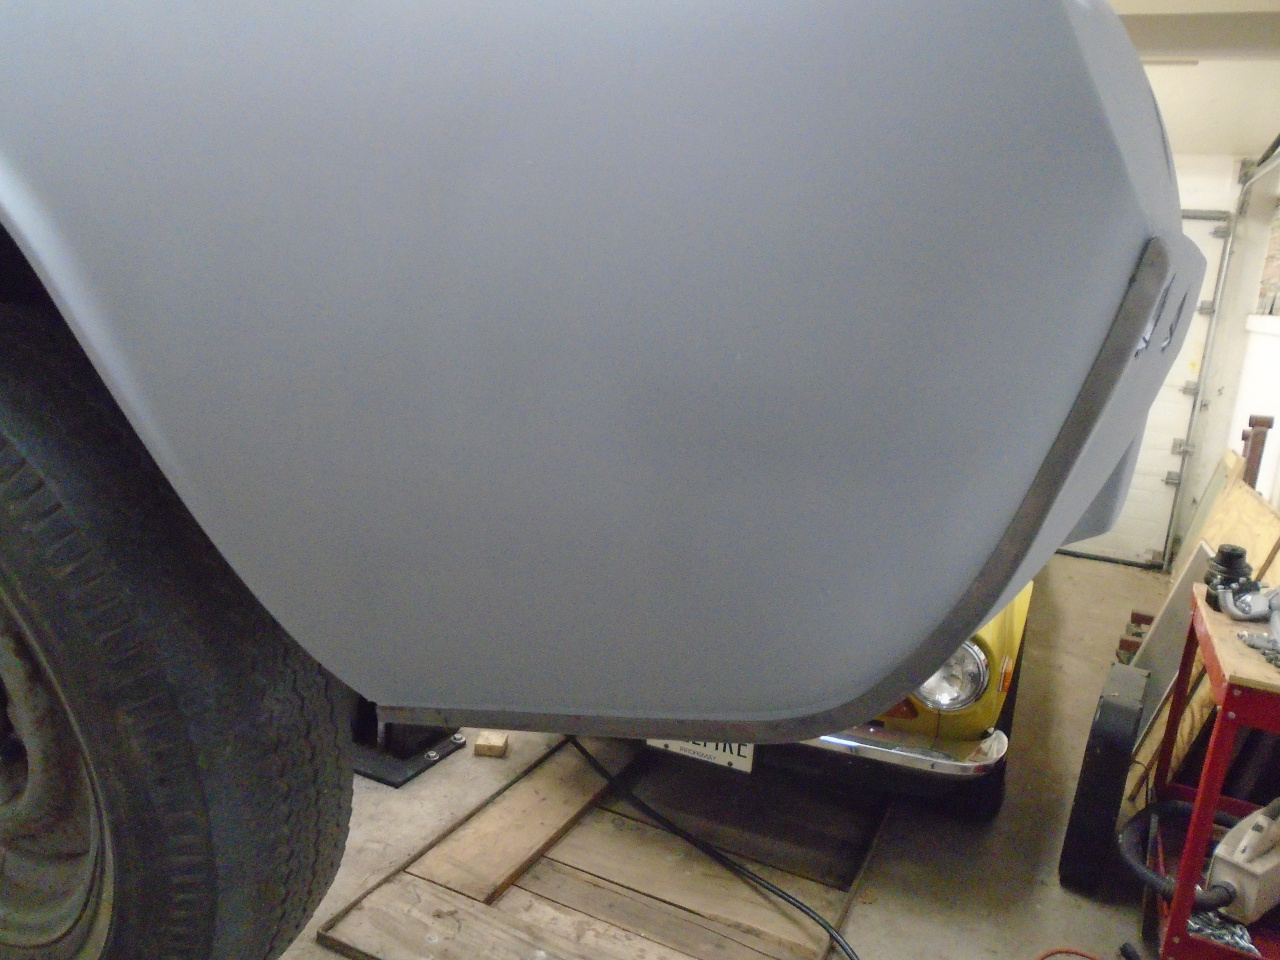
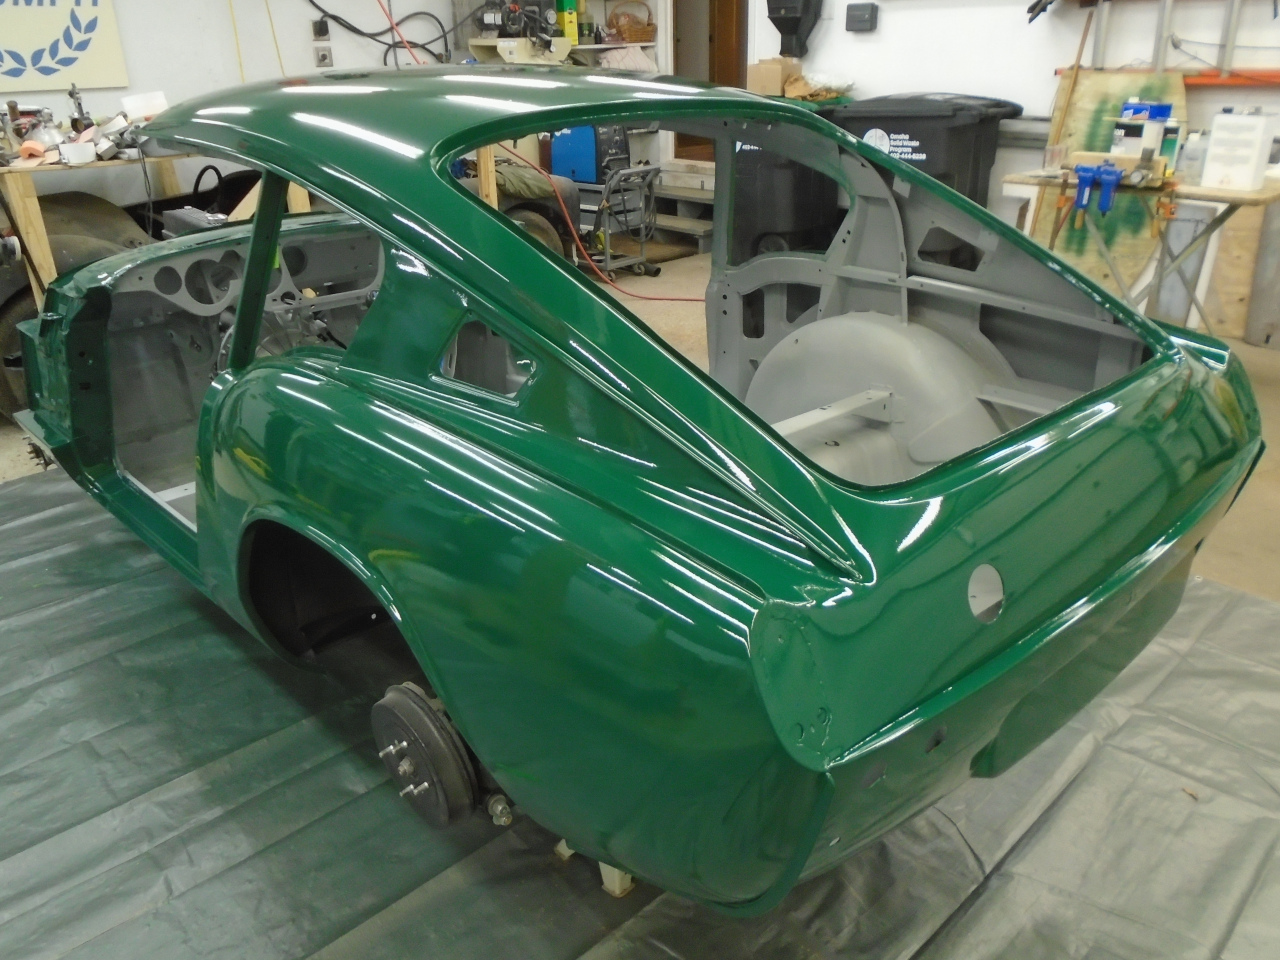
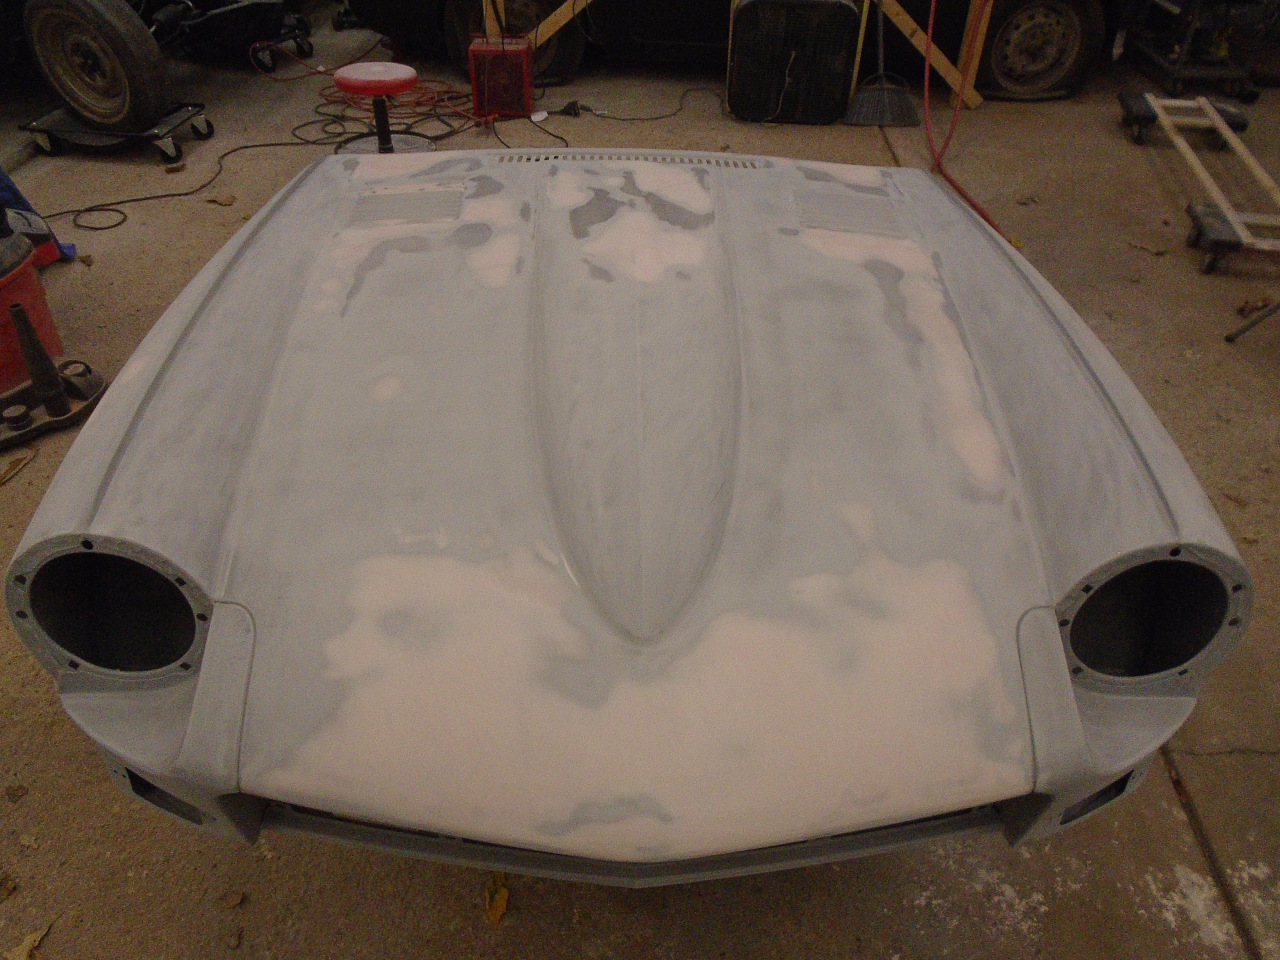
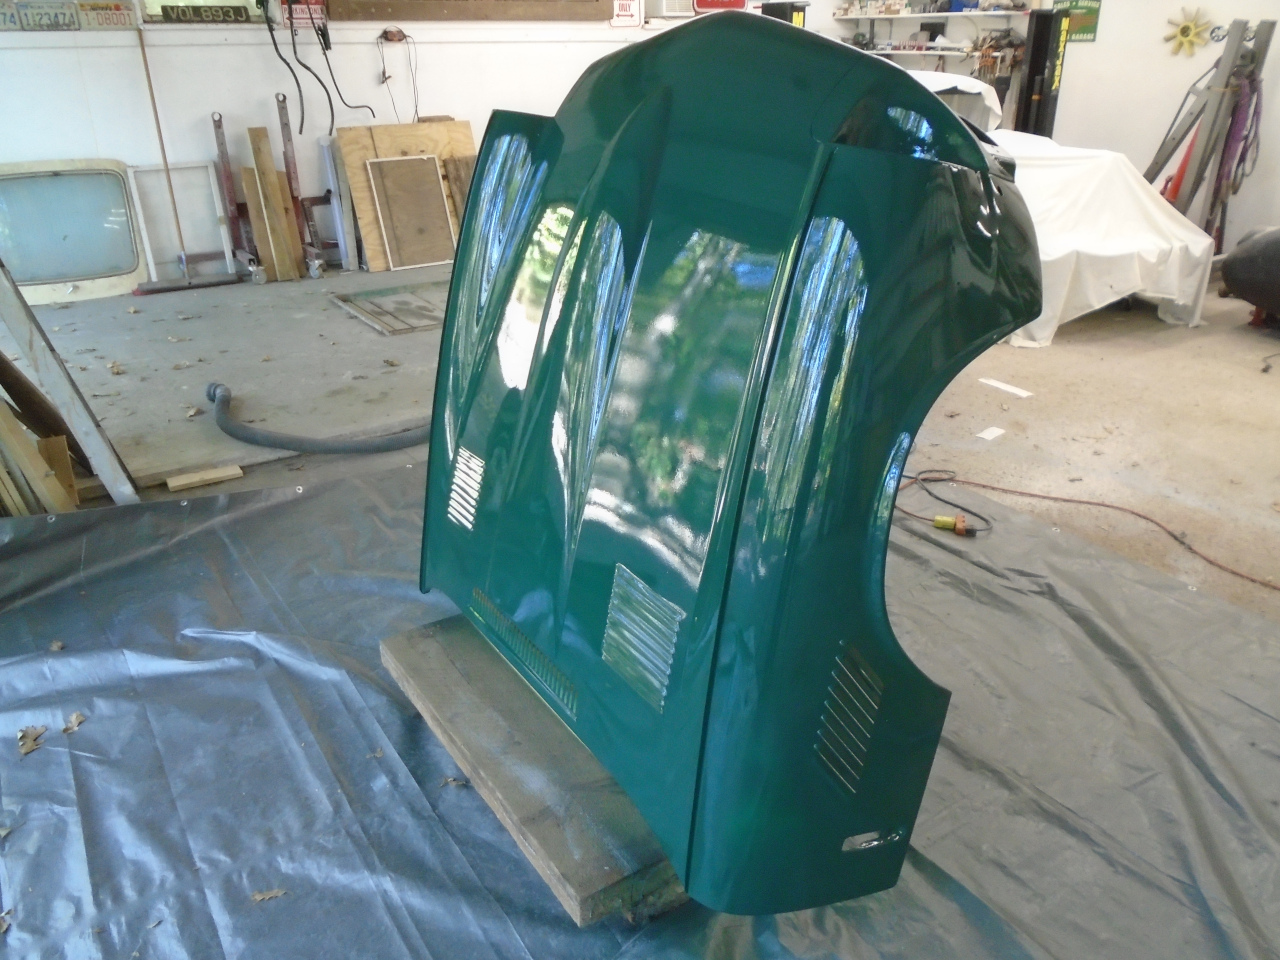
With all the pieces and parts in place, and the gaps in decent shape,
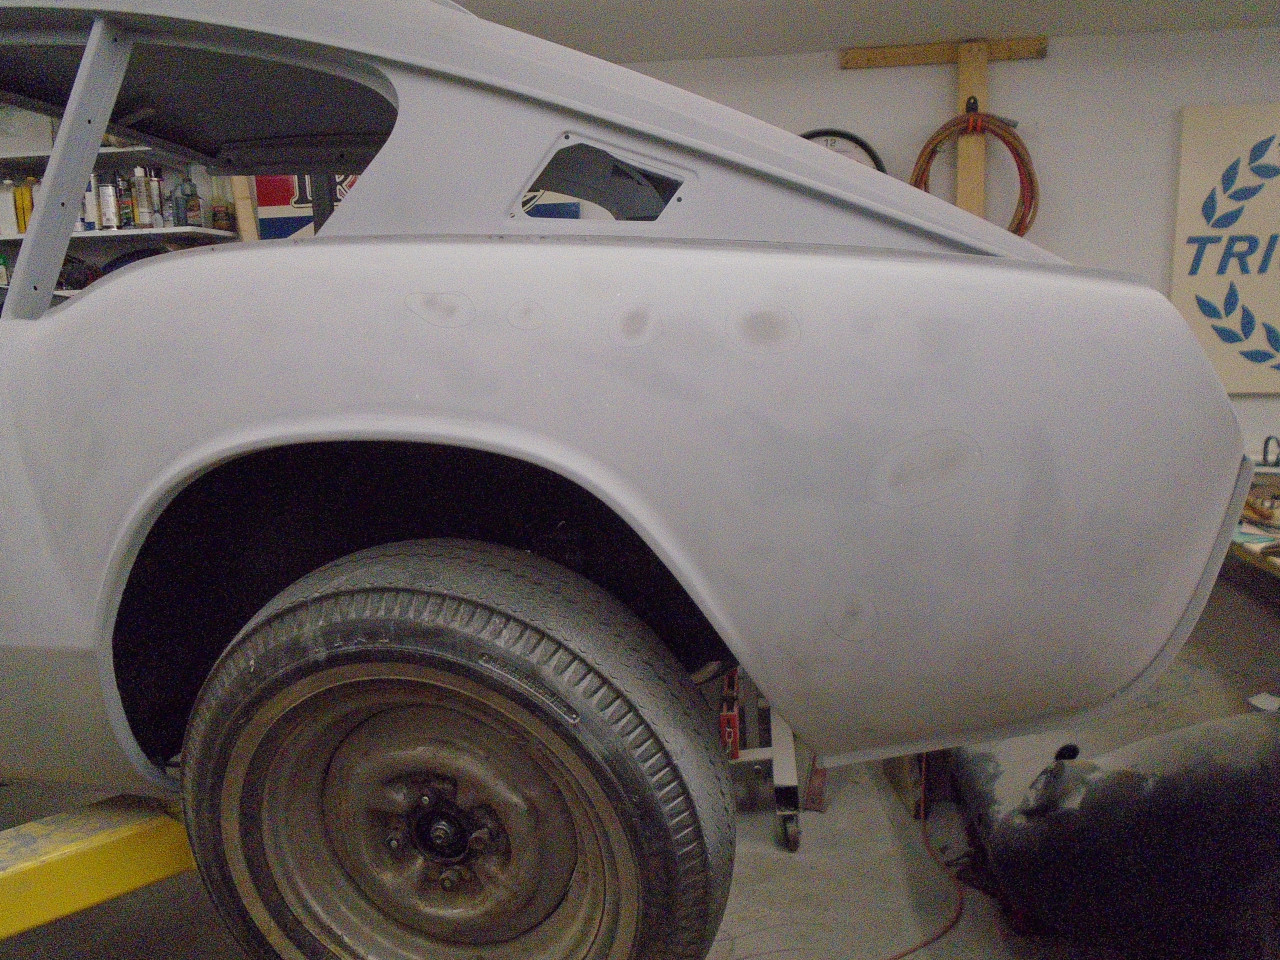
paint prep could begin in earnest. The only real body work
required on the tub was on the rear valance, and I had done that
already. So, I shot the whole body with a polyester high build
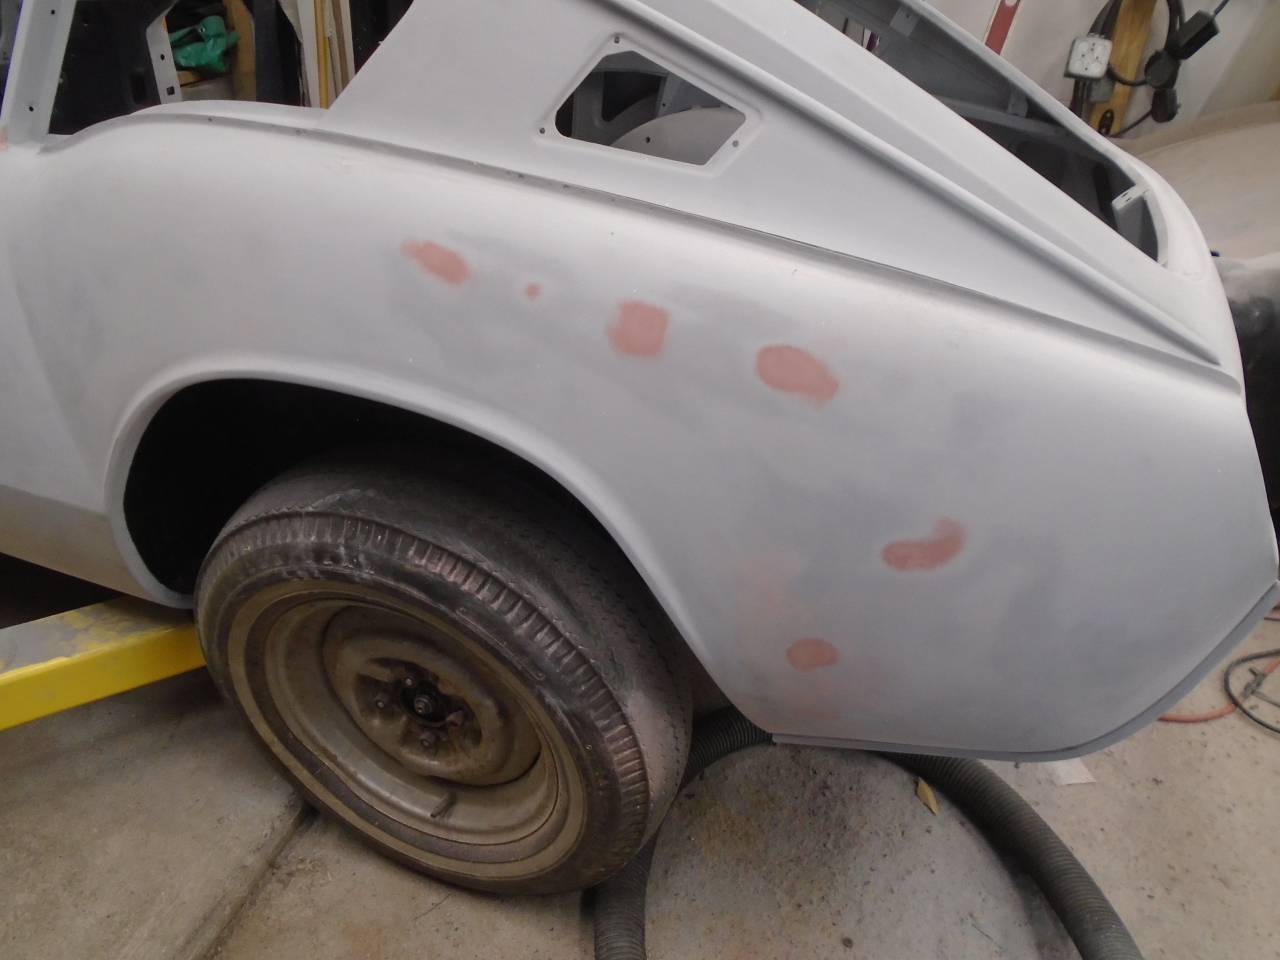
primer, and commences block sanding. Since the rear wings and
sills were new panels, I didn't expect many problems. One of the
wings had a few very shallow defects that showed up during blocking.
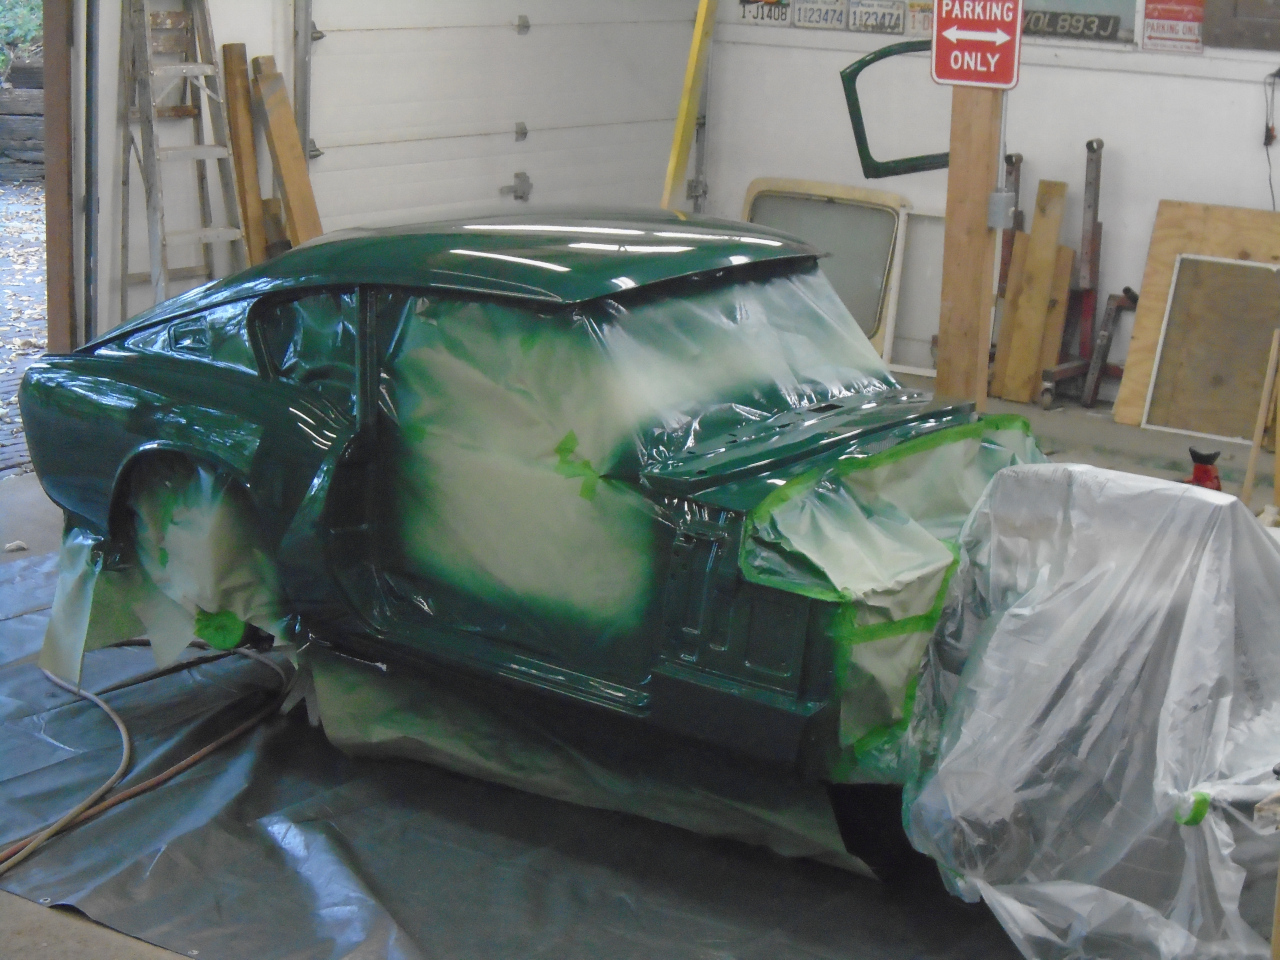
Finally, it was show time. On my TR6 a few years ago, I set up a
temporary spray booth in the garage. It's a lot of trouble, and I
know some people get good results without it, so I decided to go more
commando with this job. Since I'm not a great painter, I don't
even expect to get great results right out of the gun. I plan on
cut and buff steps afterward, which makes perfection unnecessary.
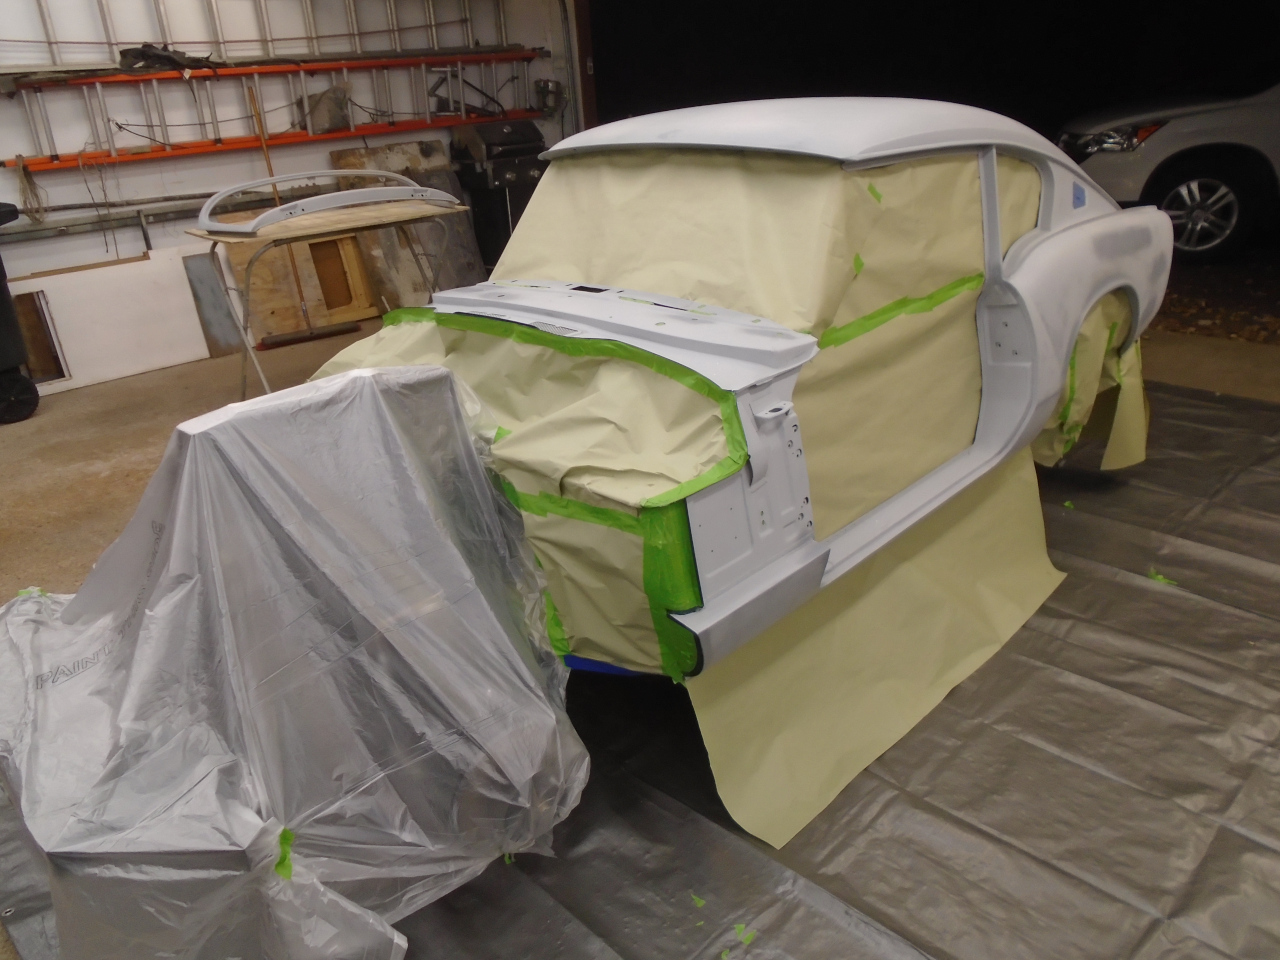
Some dust specs in the paint won't be a crisis. Unlike the TR6, I
planned to not paint the interior, not just to save paint, but to save
the awkward contortions necessary. Masking the interior wasn't
strictly necessary, but it's an OCD quirk I have.
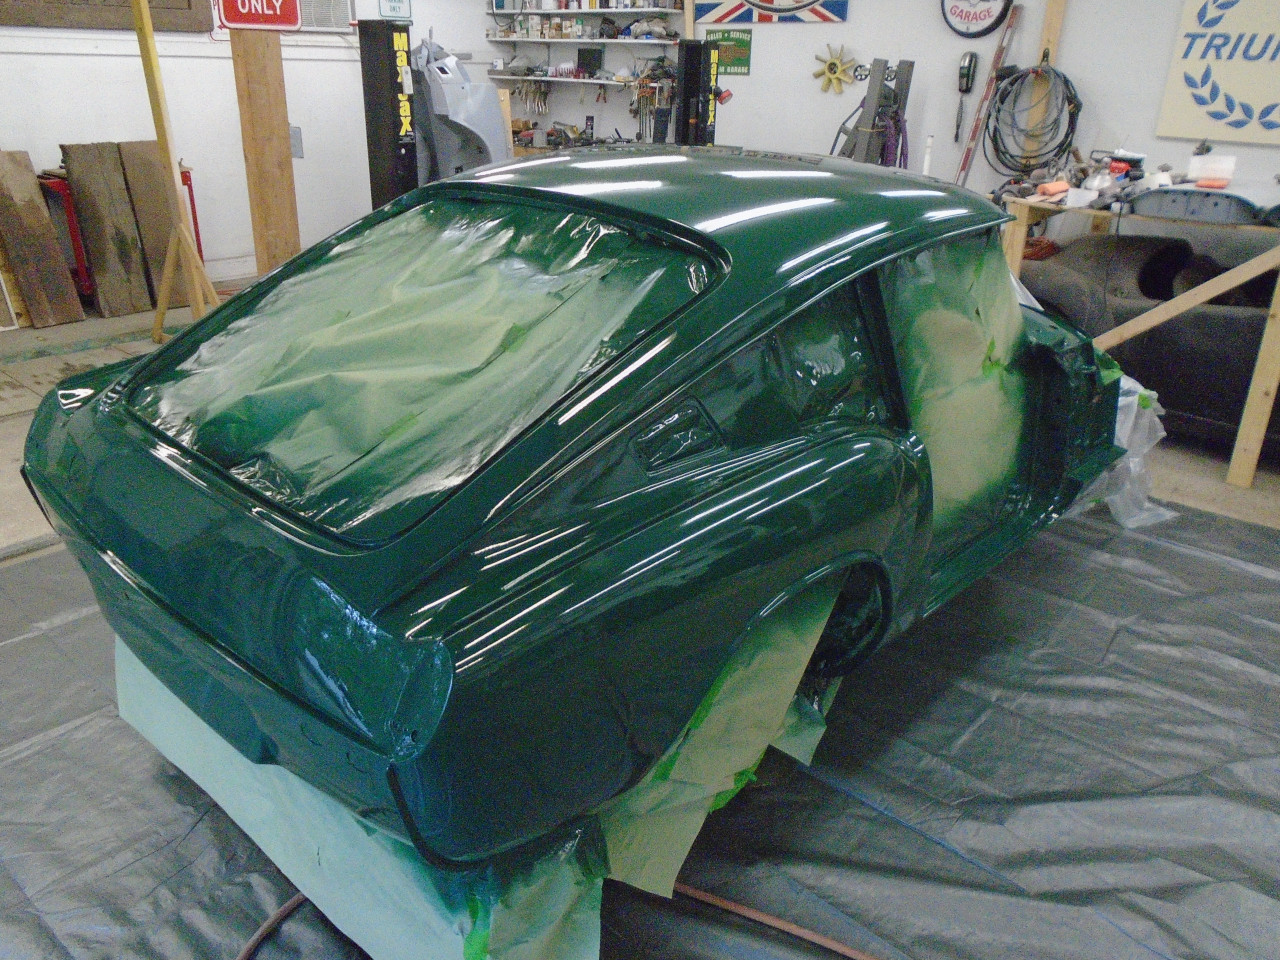
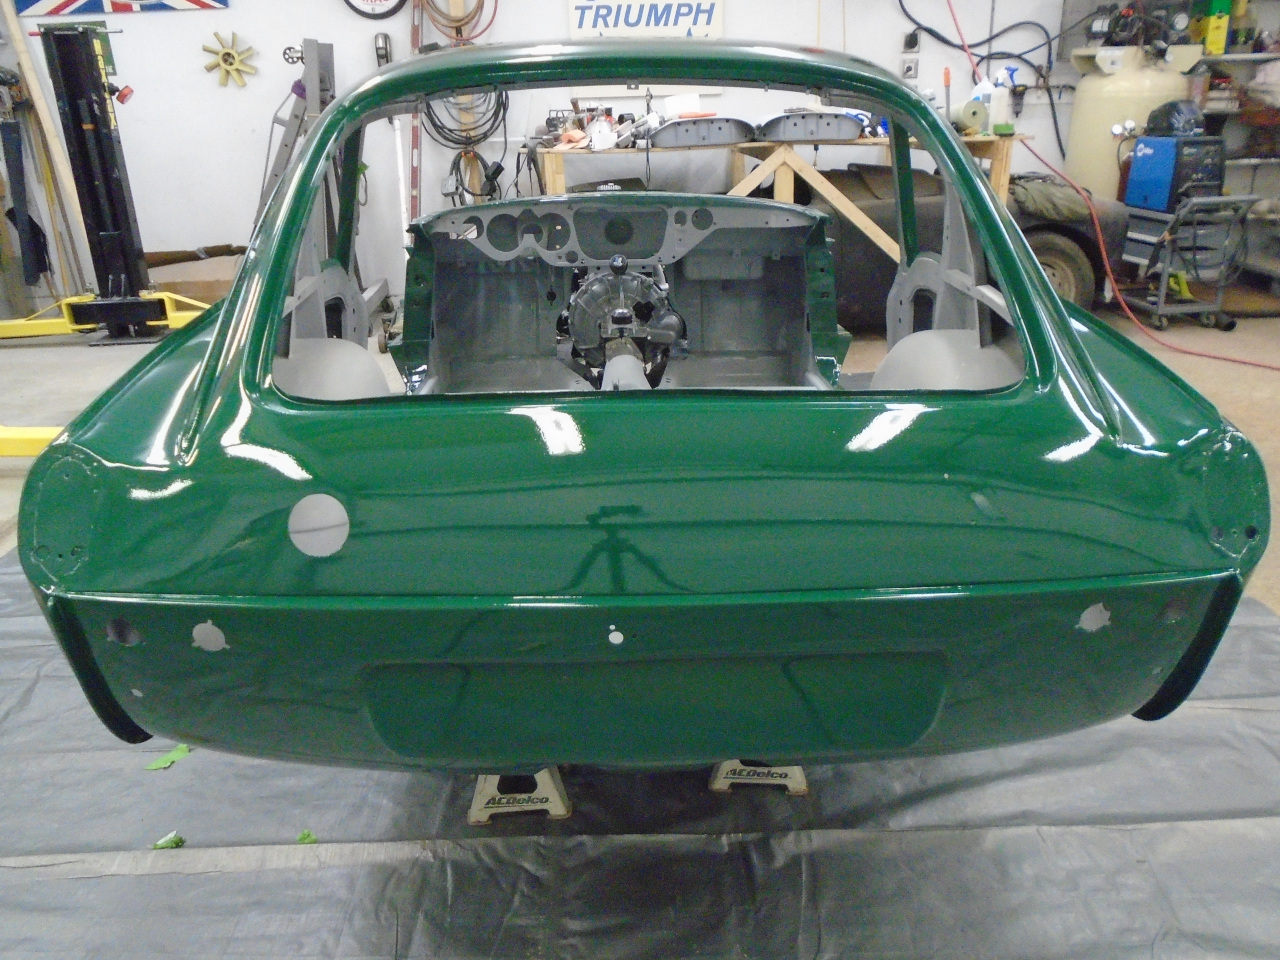
It seemed to come out pretty OK. Plenty good as a starting point for cut and buff.
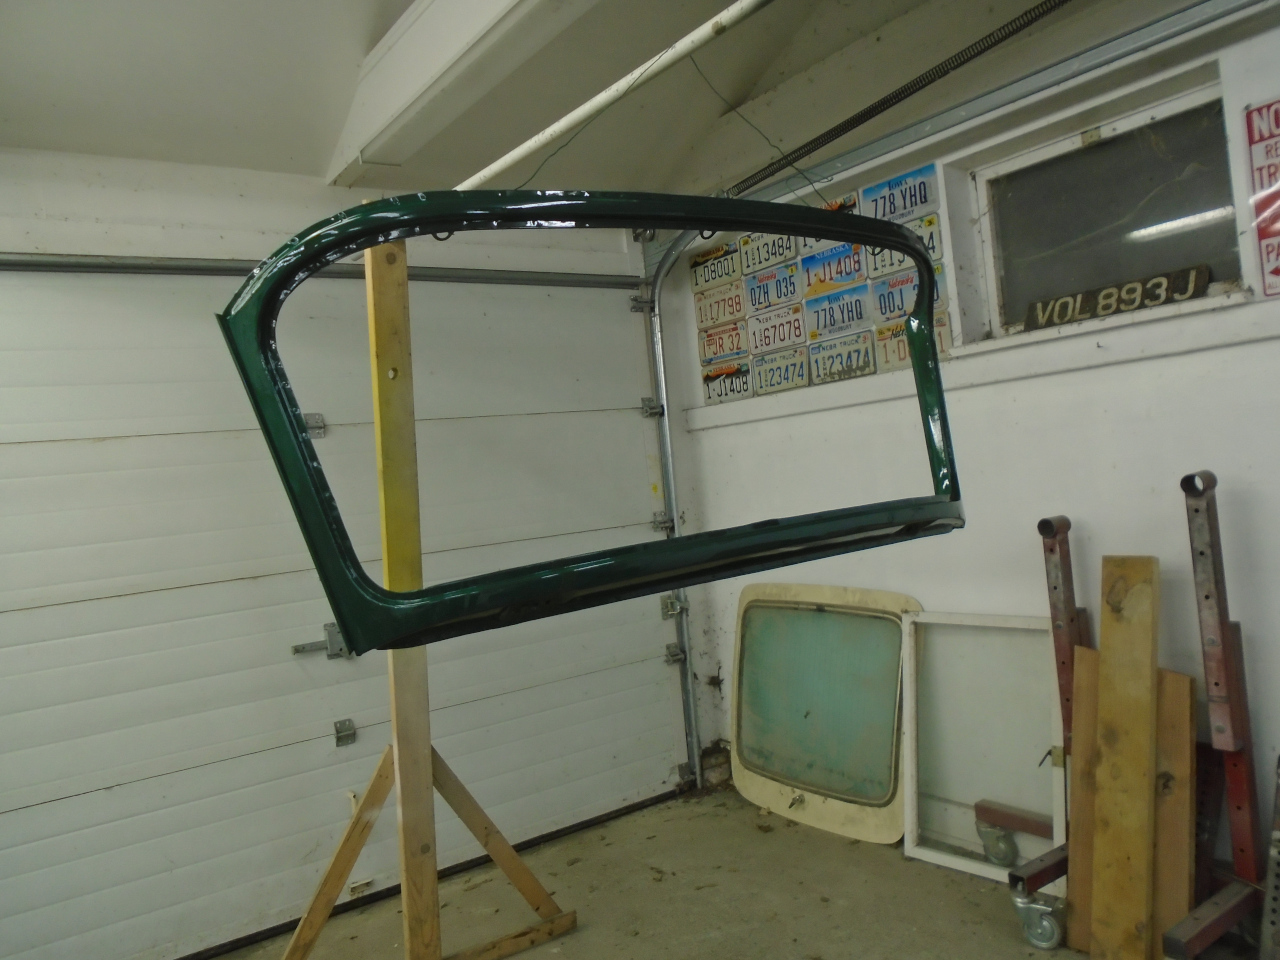
Painted the windshield frame a the same time.
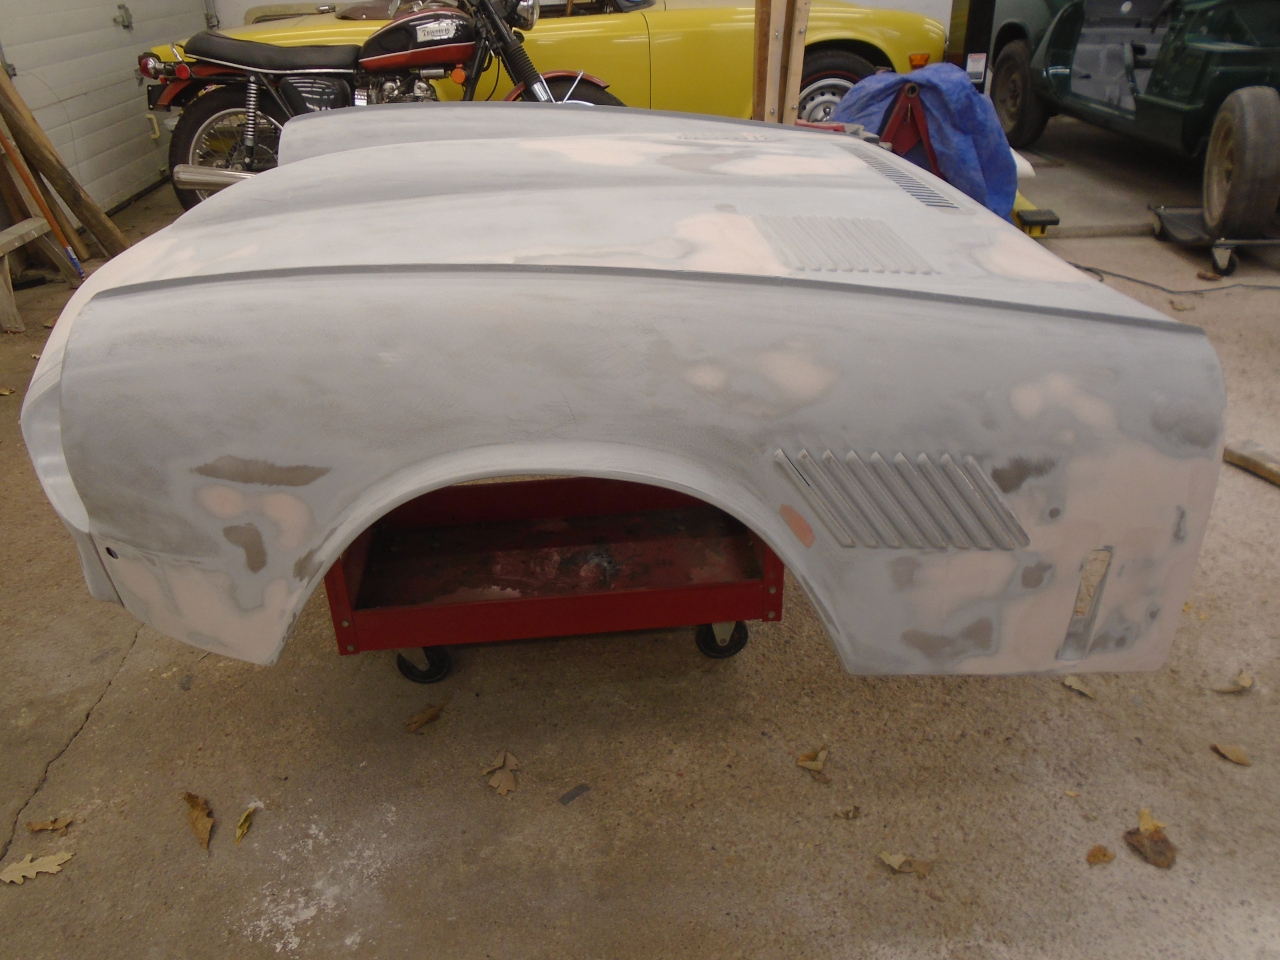
I didn't think I had the space or stamina to do the bonnet at the same
tome as the body, so the bonnet was a separate effort. There was
some old accident damage at the front that needed touching up.
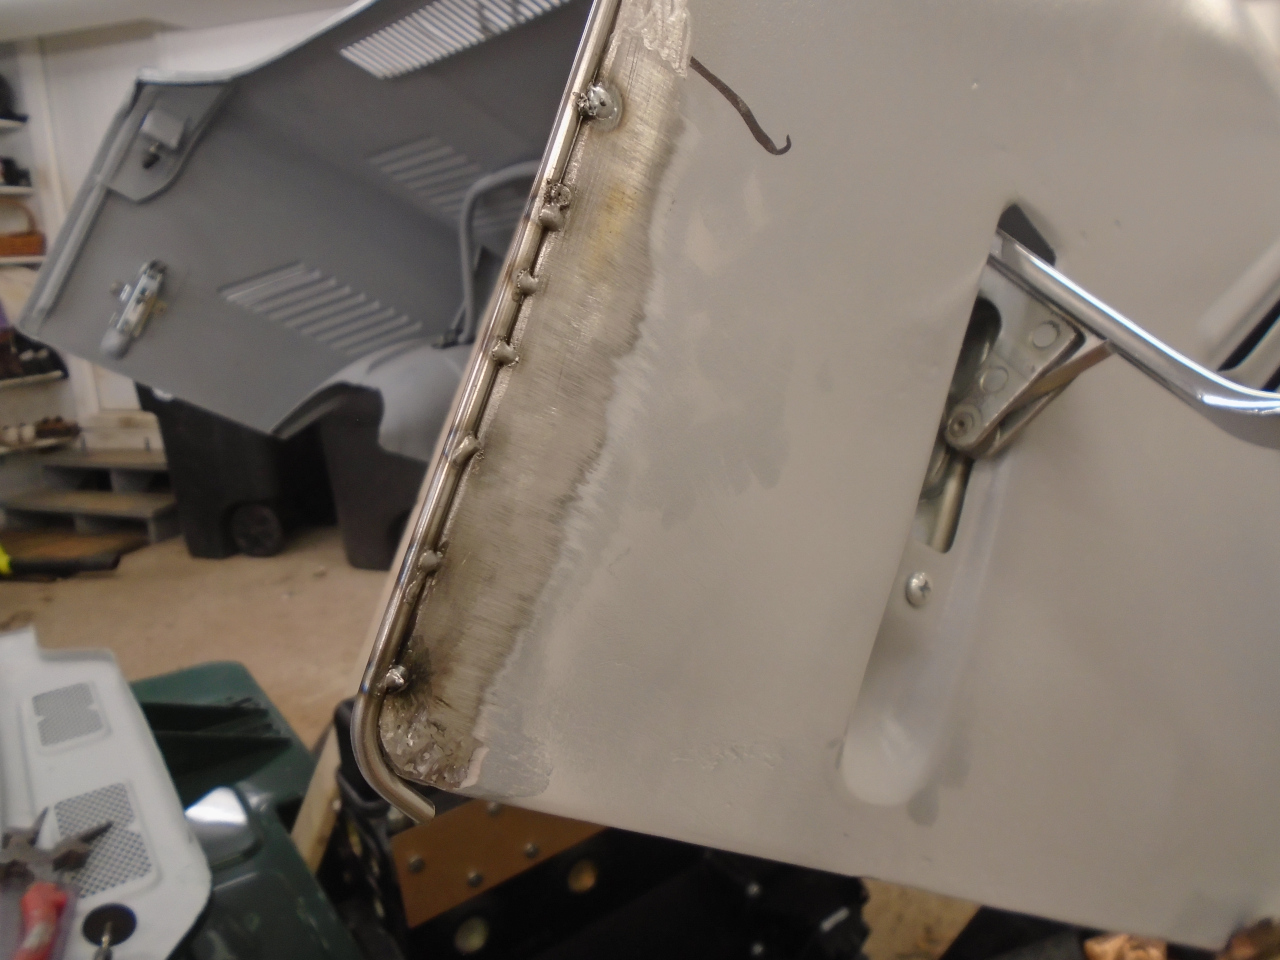
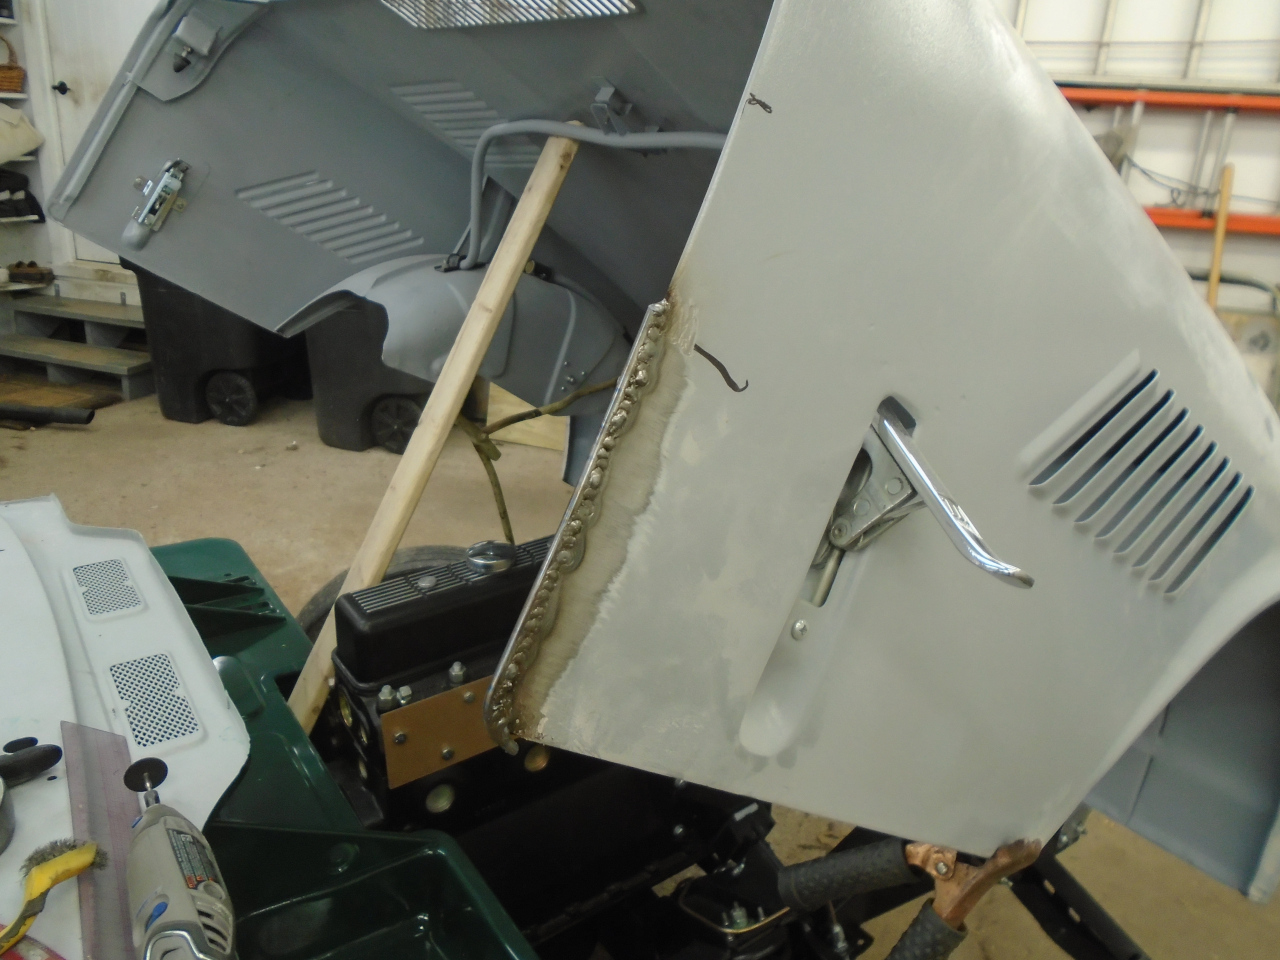
Plus a few other battle scars. The work at the rear of the sides
was due to my mods of the latch attachments, and the welding to adjust
the gaps.
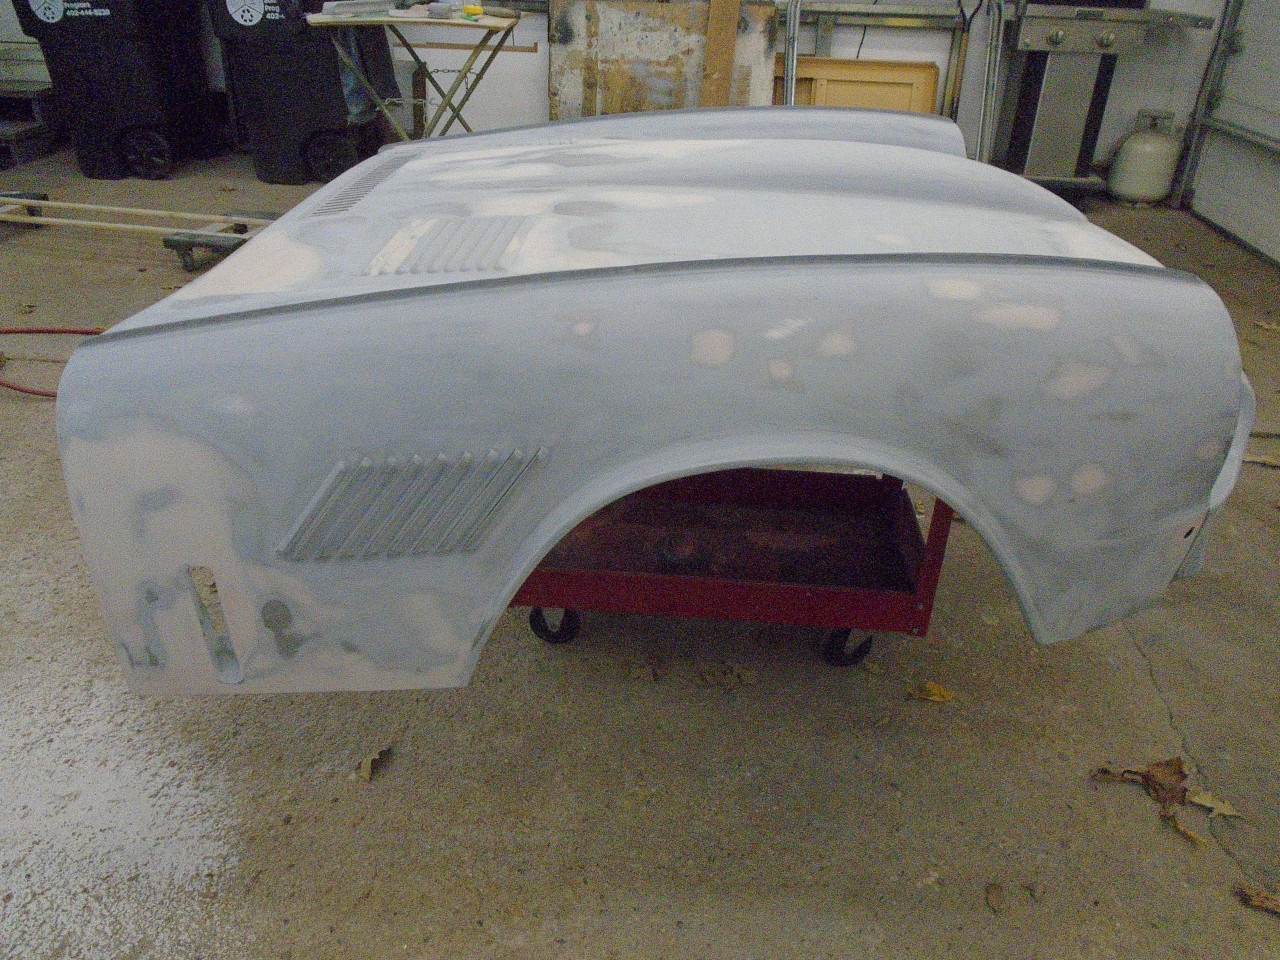
Then there were the louvers. There are four sets of louvers on the
bonnet--a pair on the top face, and one on each side. These
features are pretty vulnerable to damage because the metal slats are
unsupported. On this car, three of the four louver sets were in
very good shape, but the top one on the passenger side had some
damage. The two rear slats were stretched, so they were distorted.
The first thing I tried was a shrinking disk. I've had mixed
results with these, but in this instance, it made the distortion
worse. What did work was just heating the center part of the slat
to dull red heat with a pencil torch.
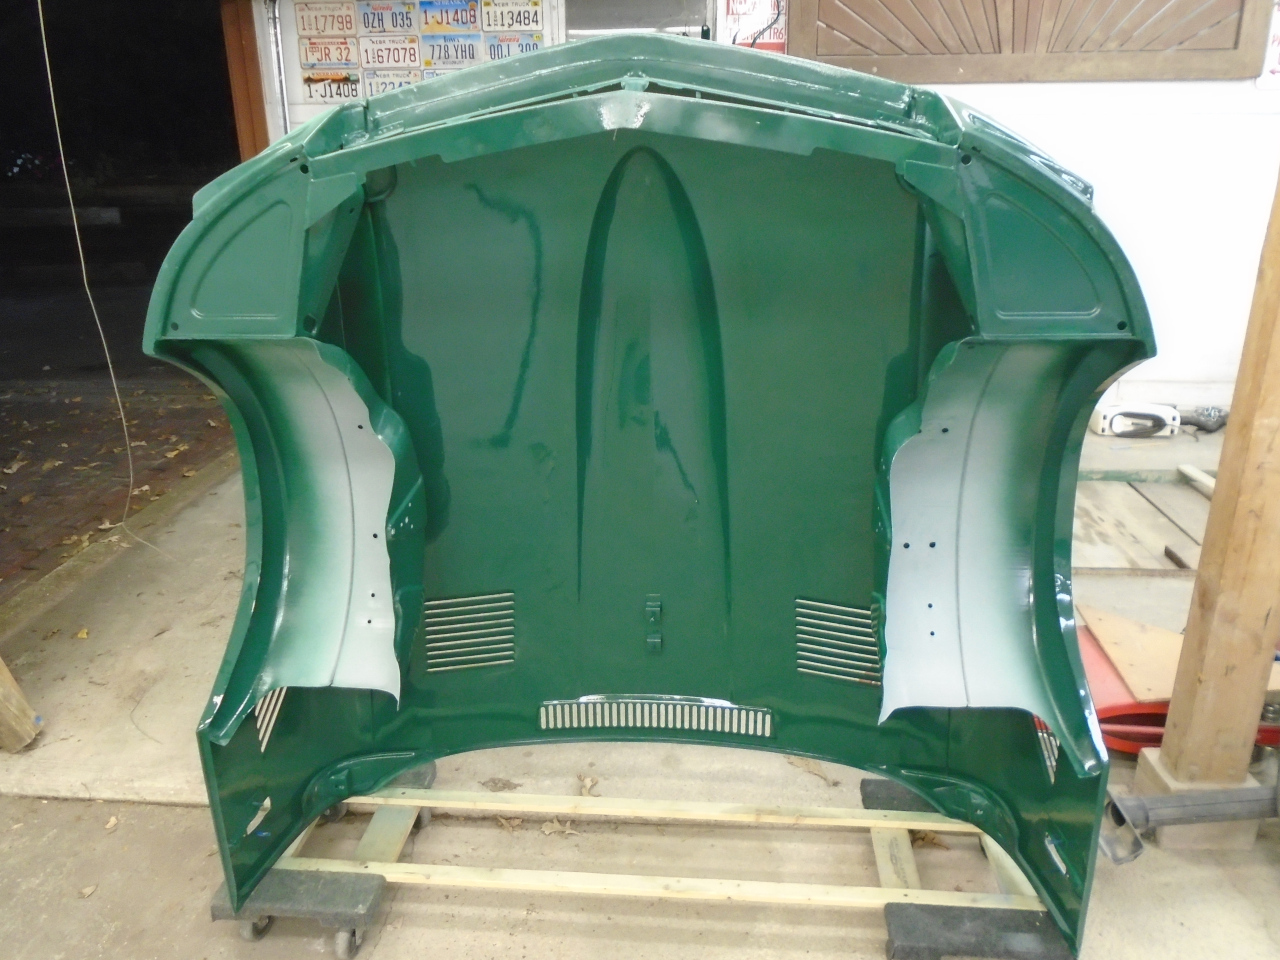
Because of the size of this piece, I painted the underside first and then the topside a couple of days later.
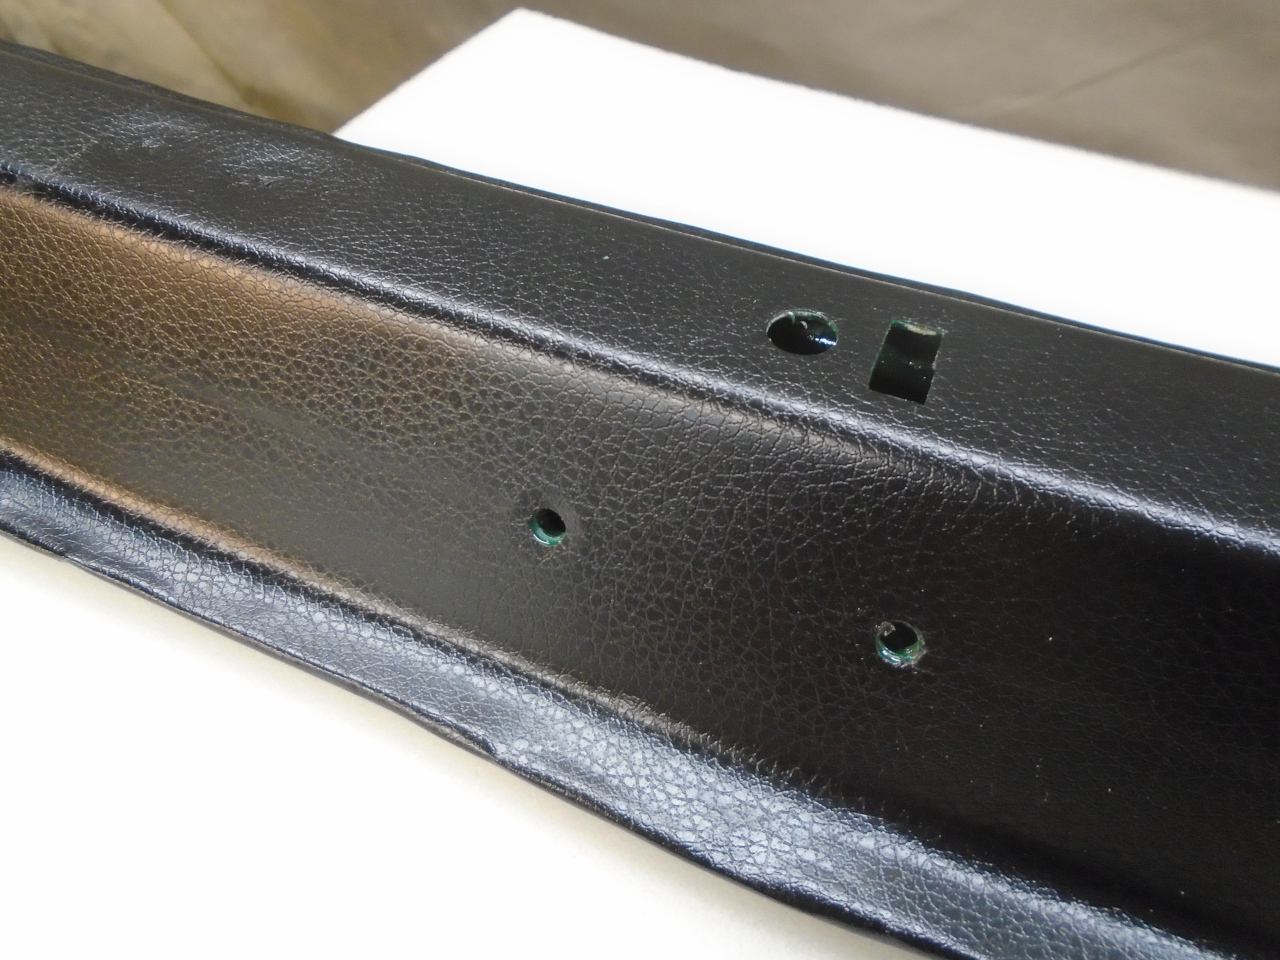
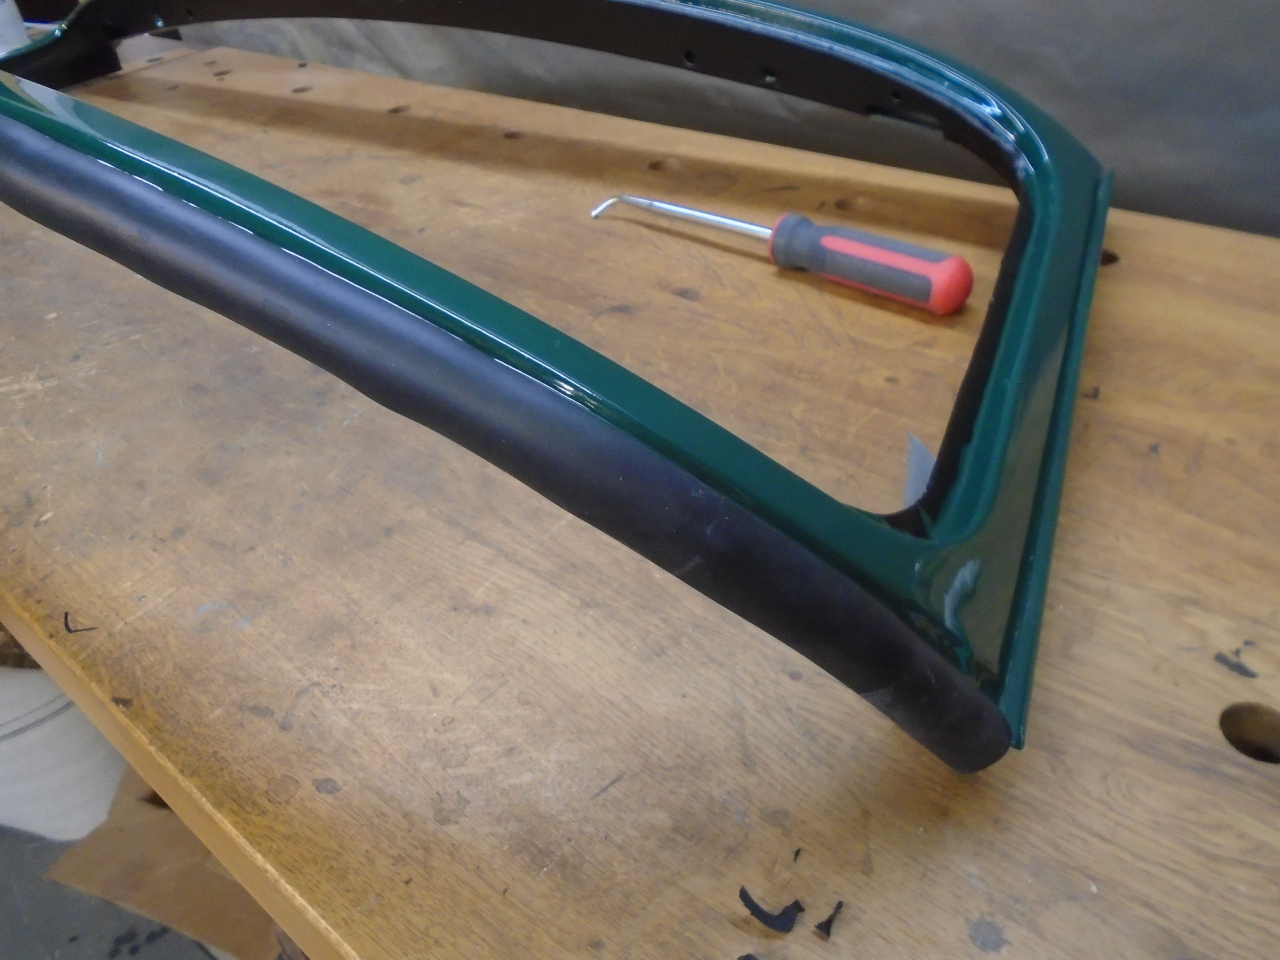
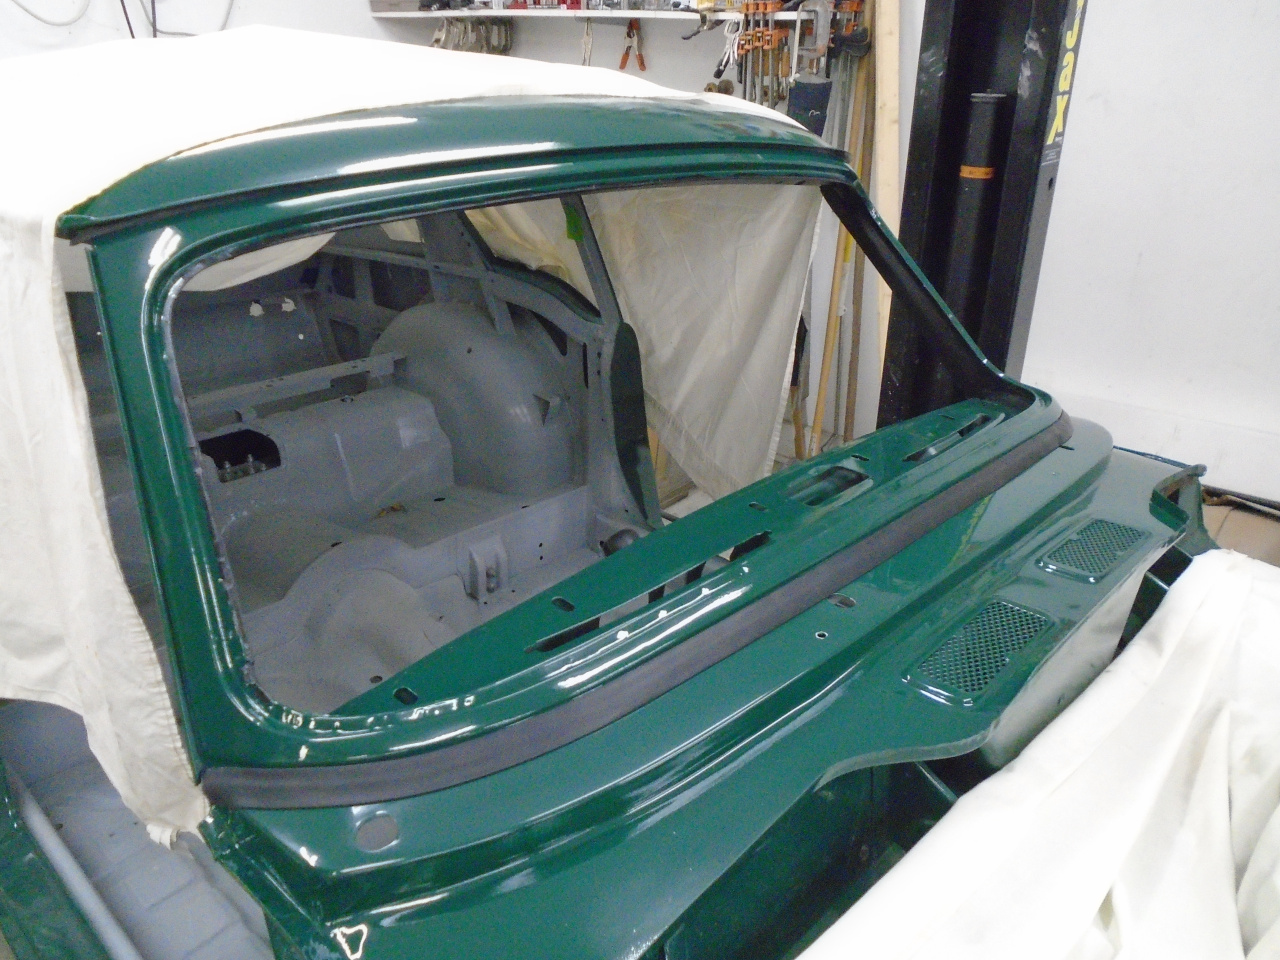
The last thing to do was to install the windshield frame. I
remembered that the frame had some pre-formed vinyl coverings on the
inside perimeter. Those pieces didn't survive removal. I did
find that they are still available from at least one source, but the
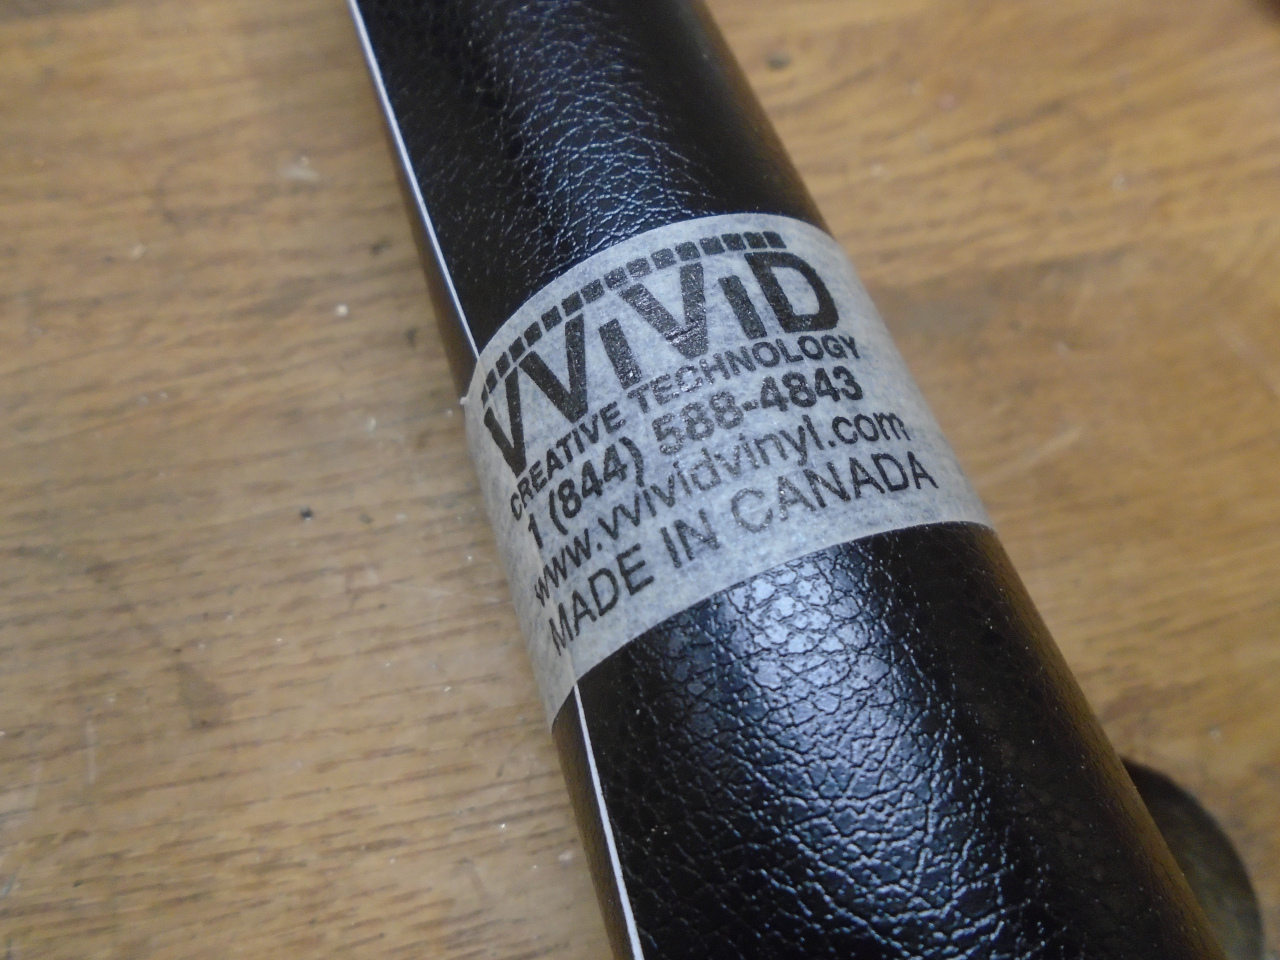
price seemed unreasonably high. My solution was to copy what I did
for the TR6. I used a grained vinyl "wrap" material.
It is very thin, self-adhesive, and conforms to complex surfaces, especially if heated. I think it looks fine.
Then came the install. I'd read that this is a bear of a job, so I
braced myself. The lower gasket fits on flanges of the lower
frame rail.
There is also a gasket at the top (which I forgot to take a picture
of). I lightly glued it to the top of the frame. This
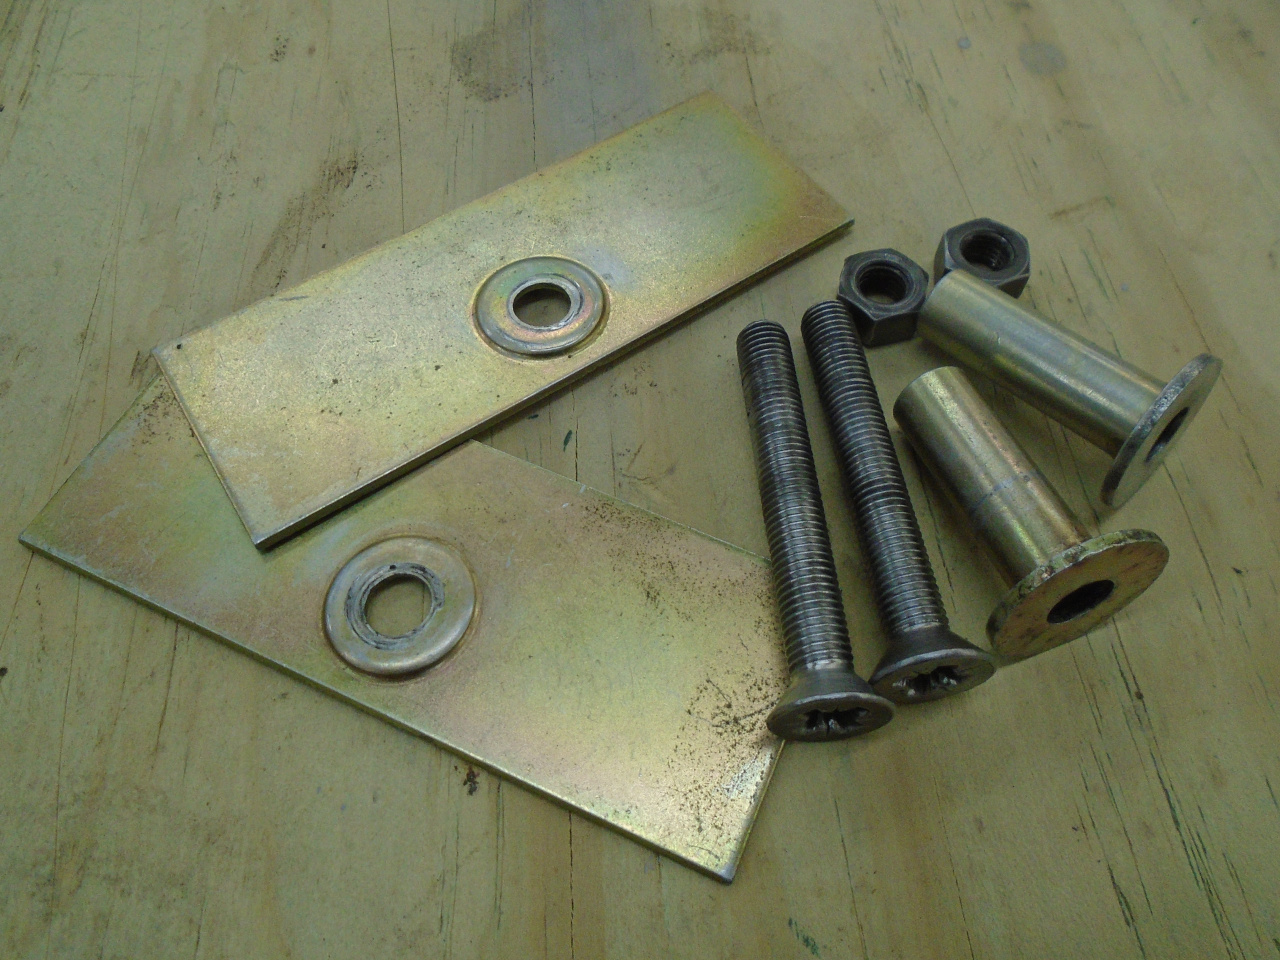
helped, since this was a solo act for me. These are the hardware
parts that fasten the frame to the hard top. Once I cleaned them,
they were in perfect shape.
The job turned out to be simpler than I feared. I'd read
conflicting advice on whether to install the frame from the outside or
the inside. I did it from the inside.
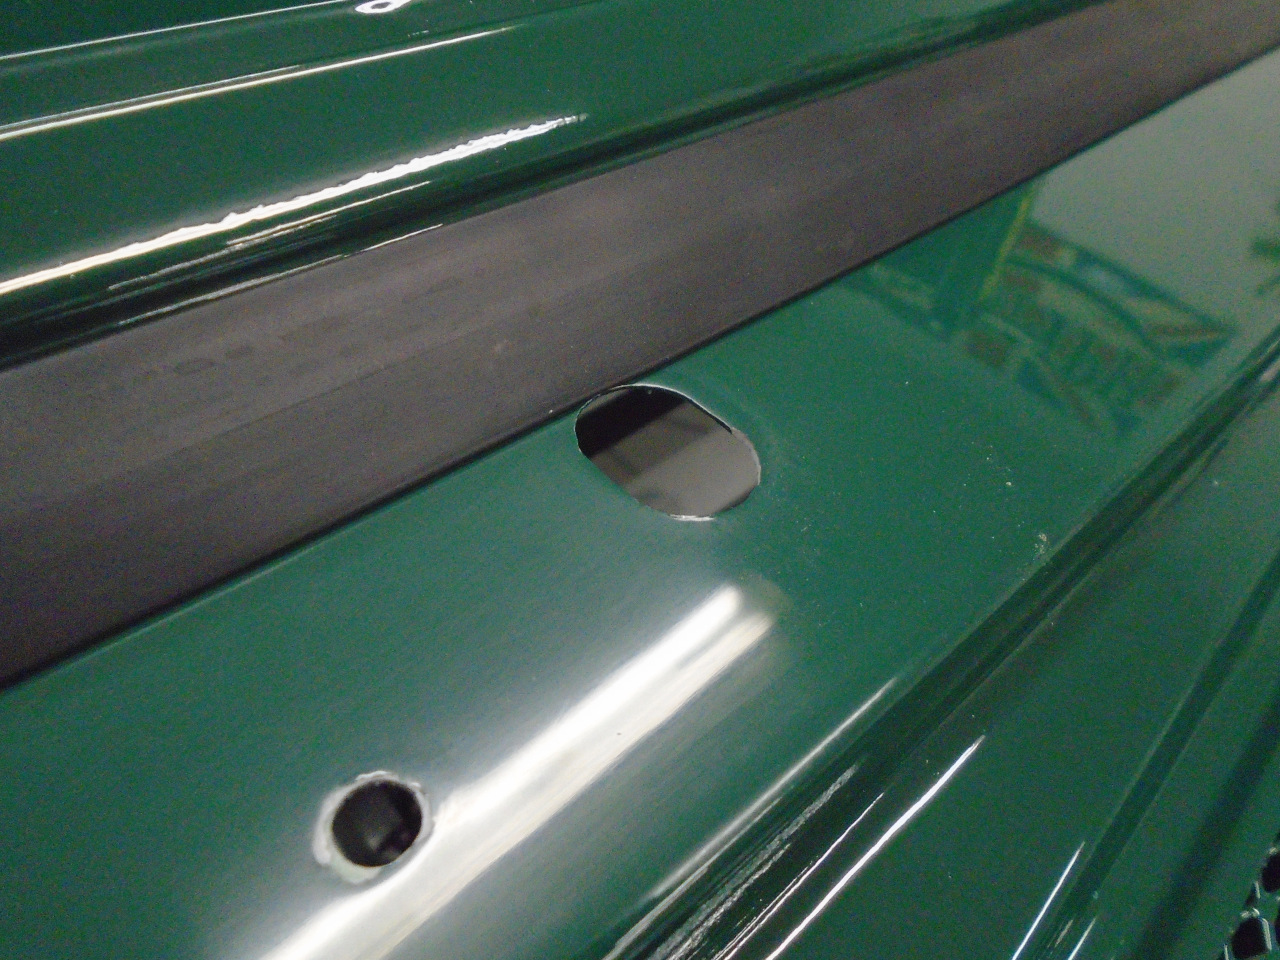
One wrinkle took some time to figure out. Try as I might, I could
not get the frame far enough rearward so that the lower gasket cleared
the holes for the wipers. It looked like the gasket would ride up
over the wiper fitting.
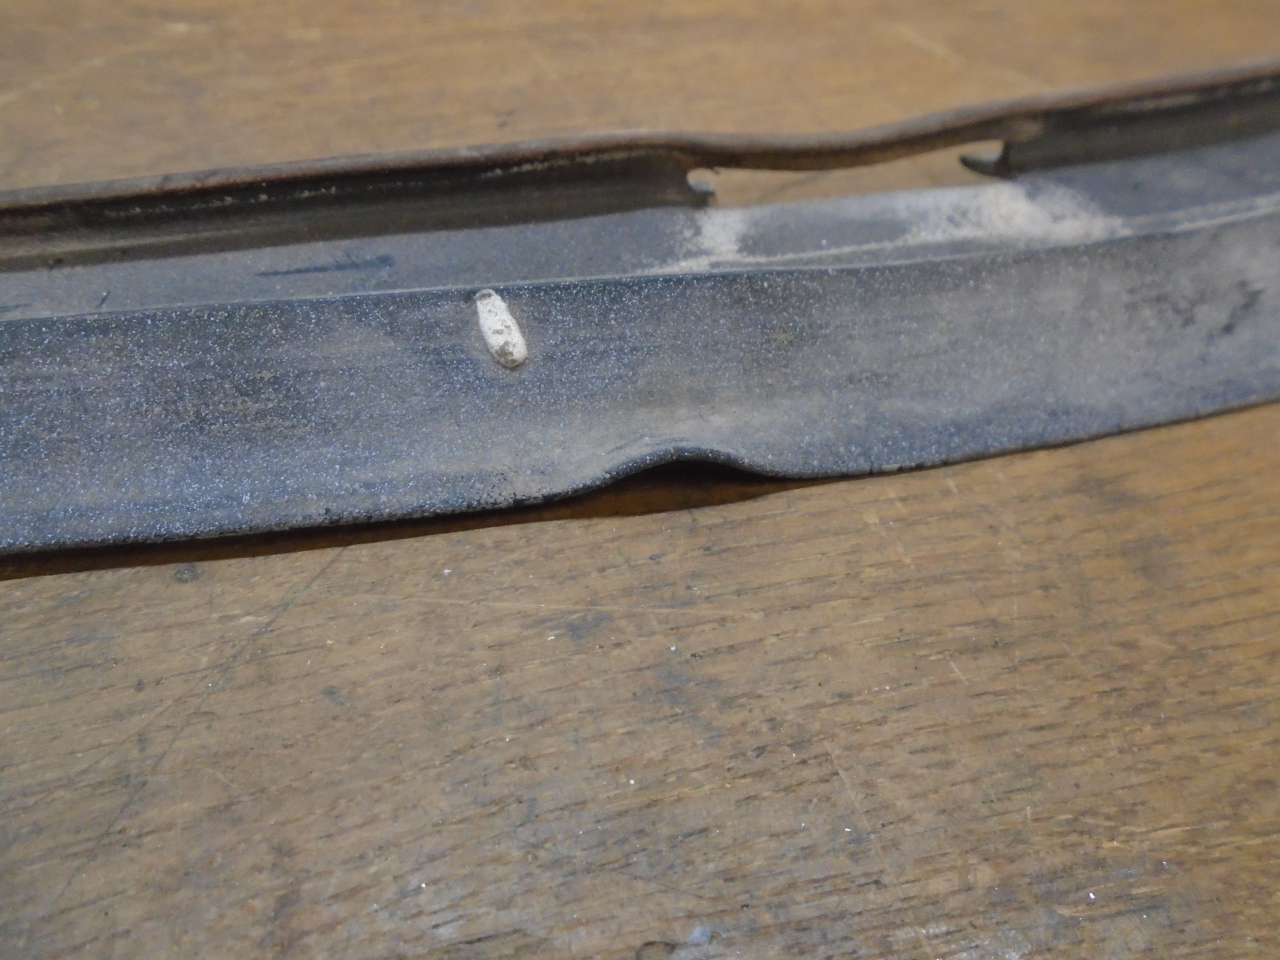
After too long fiddling with it, I remembered I still had the old
gasket. It showed forensic evidence of riding up over the wiper
fitting.
This was actually a collection of small projects, spread over several
months, all aimed at getting the painted body back together. Paint
prep is a real time burner, while the actual painting is pretty
quick. There is probably around $500 in paint materials, but
scores of hours of time.