To my other GT6 pages.
June 23, 2021
Panel Gaps
Car designers expend a lot of trouble and angst to devise clean,
pleasing lines in their creations. Unfortunately, a beautiful
paper design has to eventually accommodate some real world features that
sometimes work against the pure artistic ideas. Doors, for
instance, or other panels that have to open and close, provide a design
challenge. The unavoidable gaps around doors or bonnet or boot
lids can often detract from the otherwise pure design statement.
The best we can do is to try to make the gaps as inconspicuous as
possible. This usually means to make the gaps as small as
practical, and to have them consistent in size. Panel gaps that
are too wide, or taper over their length tend to call attention to
themselves.
In the world of Little British Cars, panel gaps are sort of a big
deal. Nothing can ruin the visual curb appeal of a sporty car more
than gaping or haphazard panel gaps.
When my GT6 was my daily driver decades ago, I didn't think much about
the gaps, but I was aware that they weren't that good. It was
probably partly that Triumph wasn't known at the time for attention to
details, like fit and finish. Also, age and miles usually don't
improve gaps.
On top of that, I now had a car that's had several new aftermarket
panels installed, and had a lot of welding done on it. I fully
expected to have to do a lot of work on the gaps.
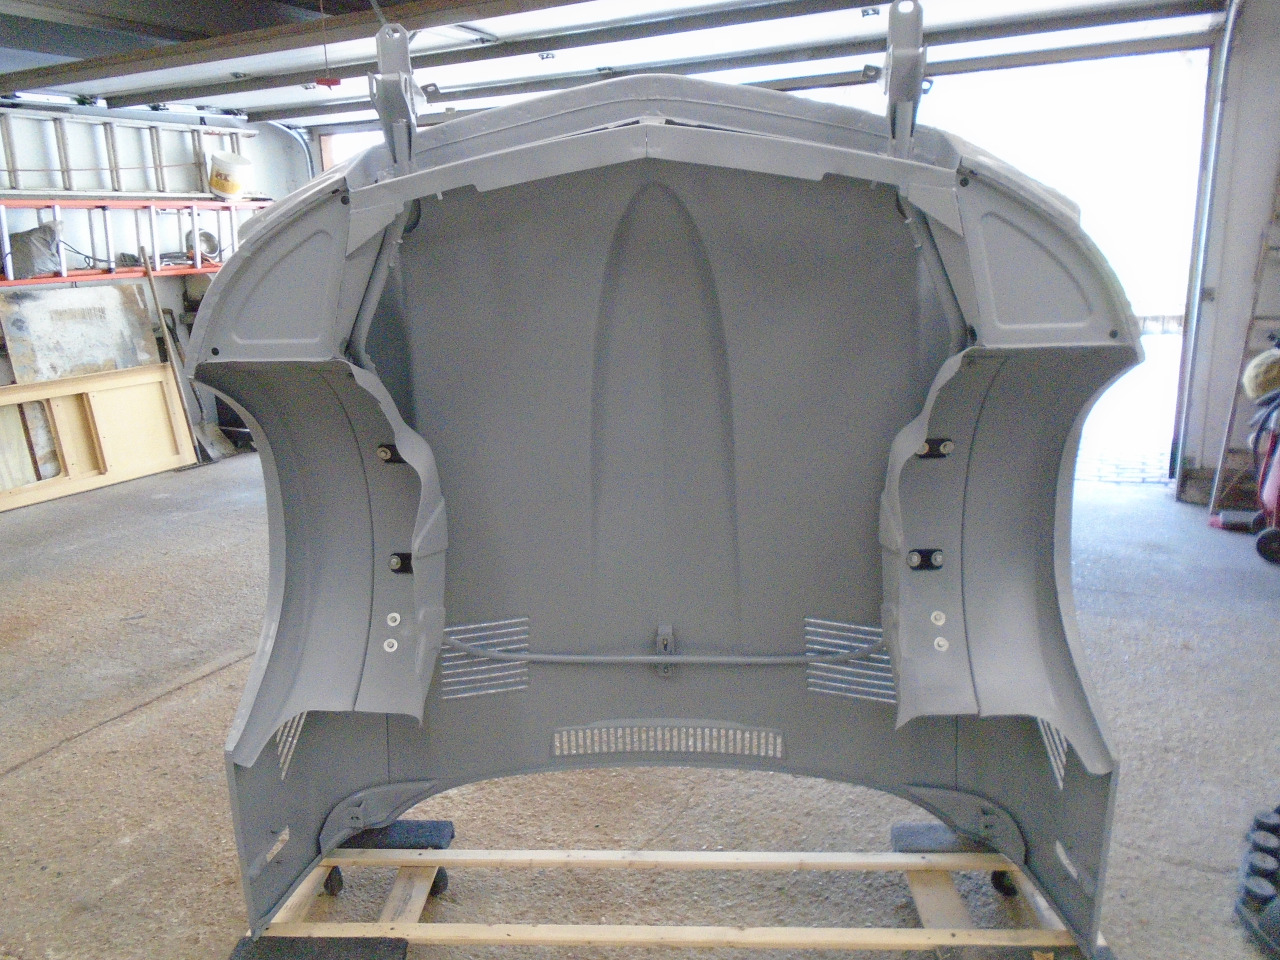
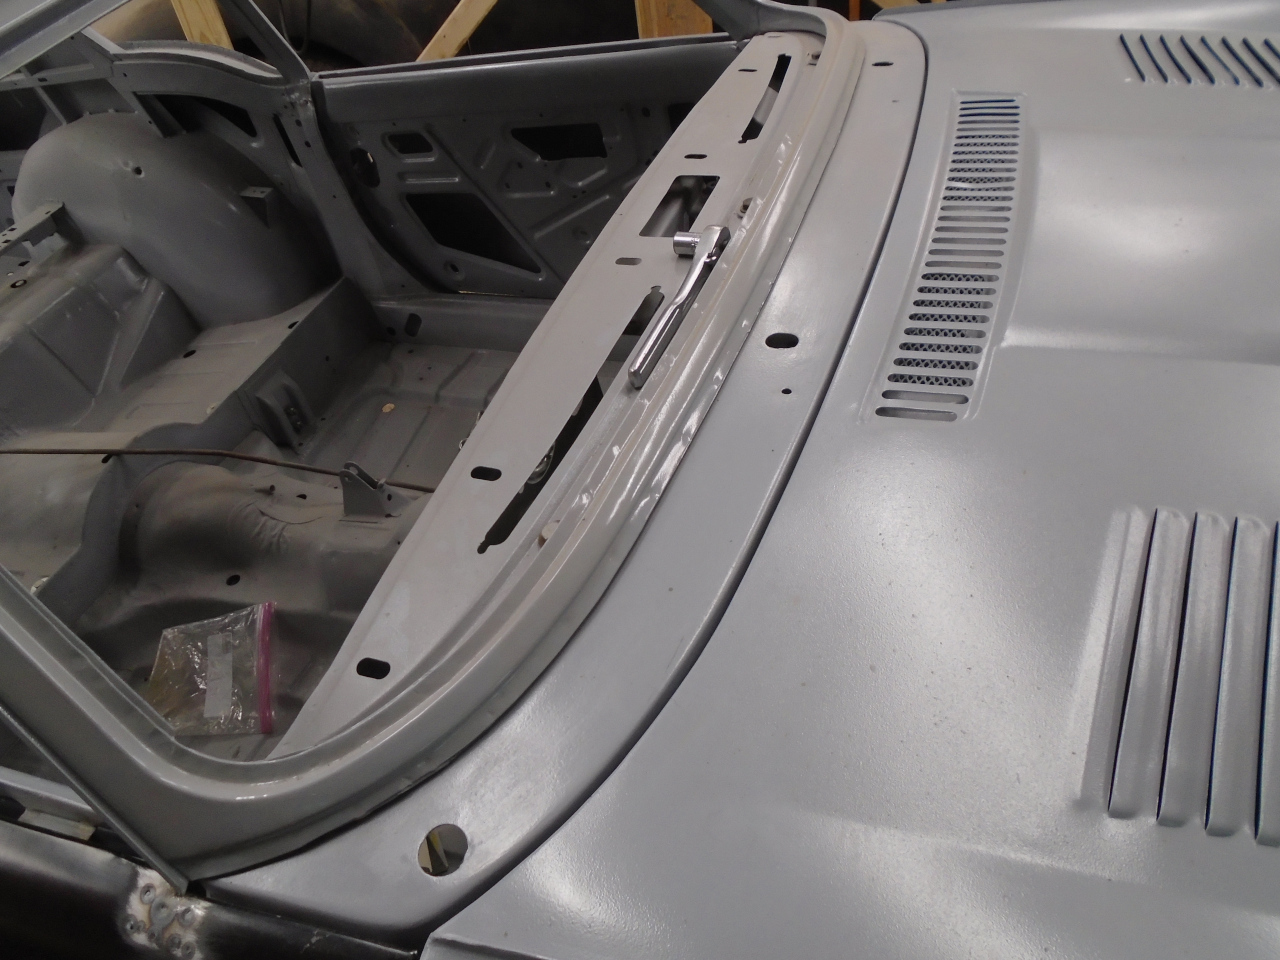
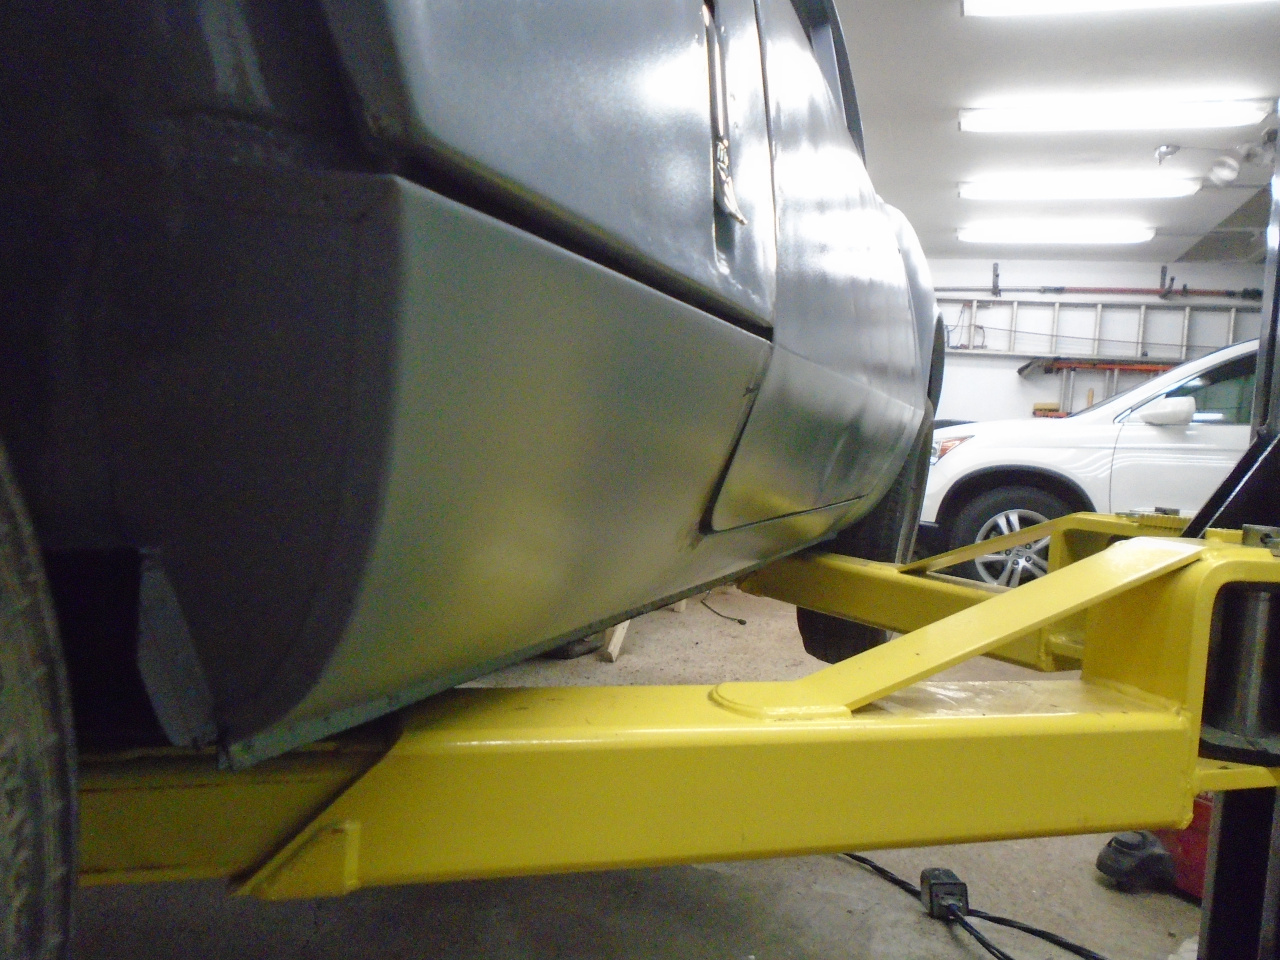
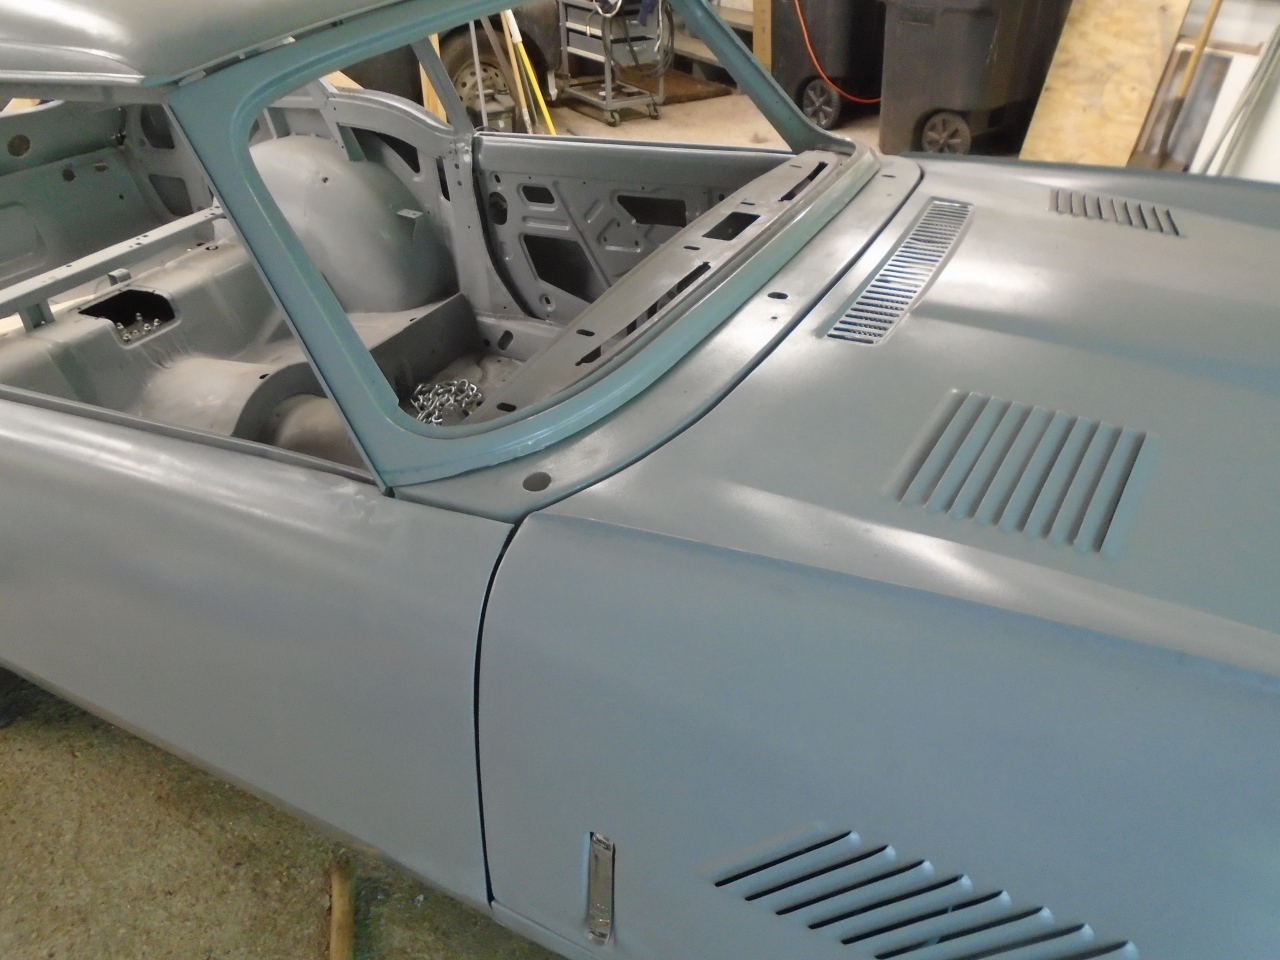
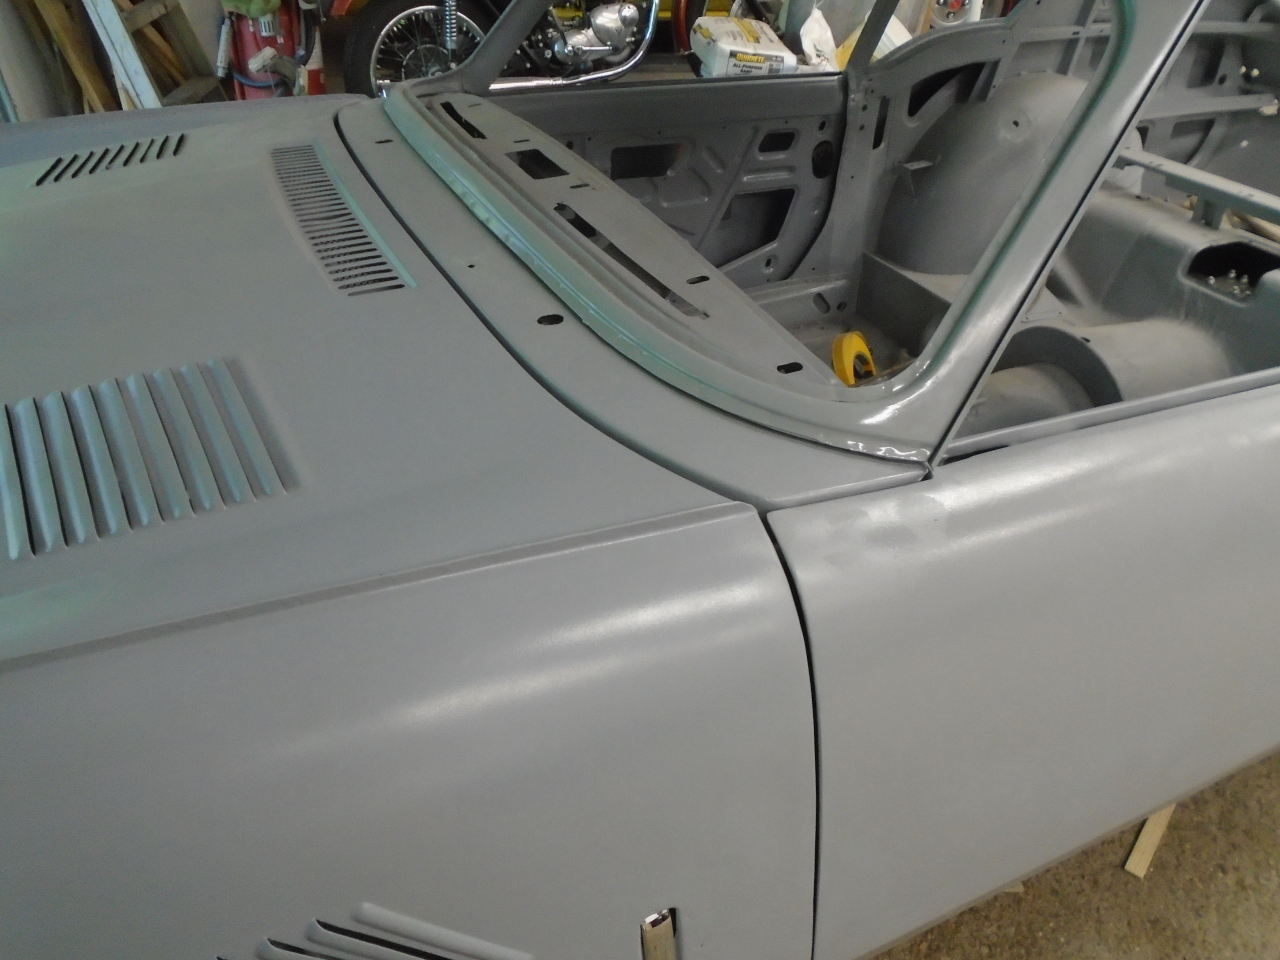
First task was to get the bonnet assembled and re-installed on the
car. Happily, after some adjustment, the bonnet-cowl gap looked
OK.
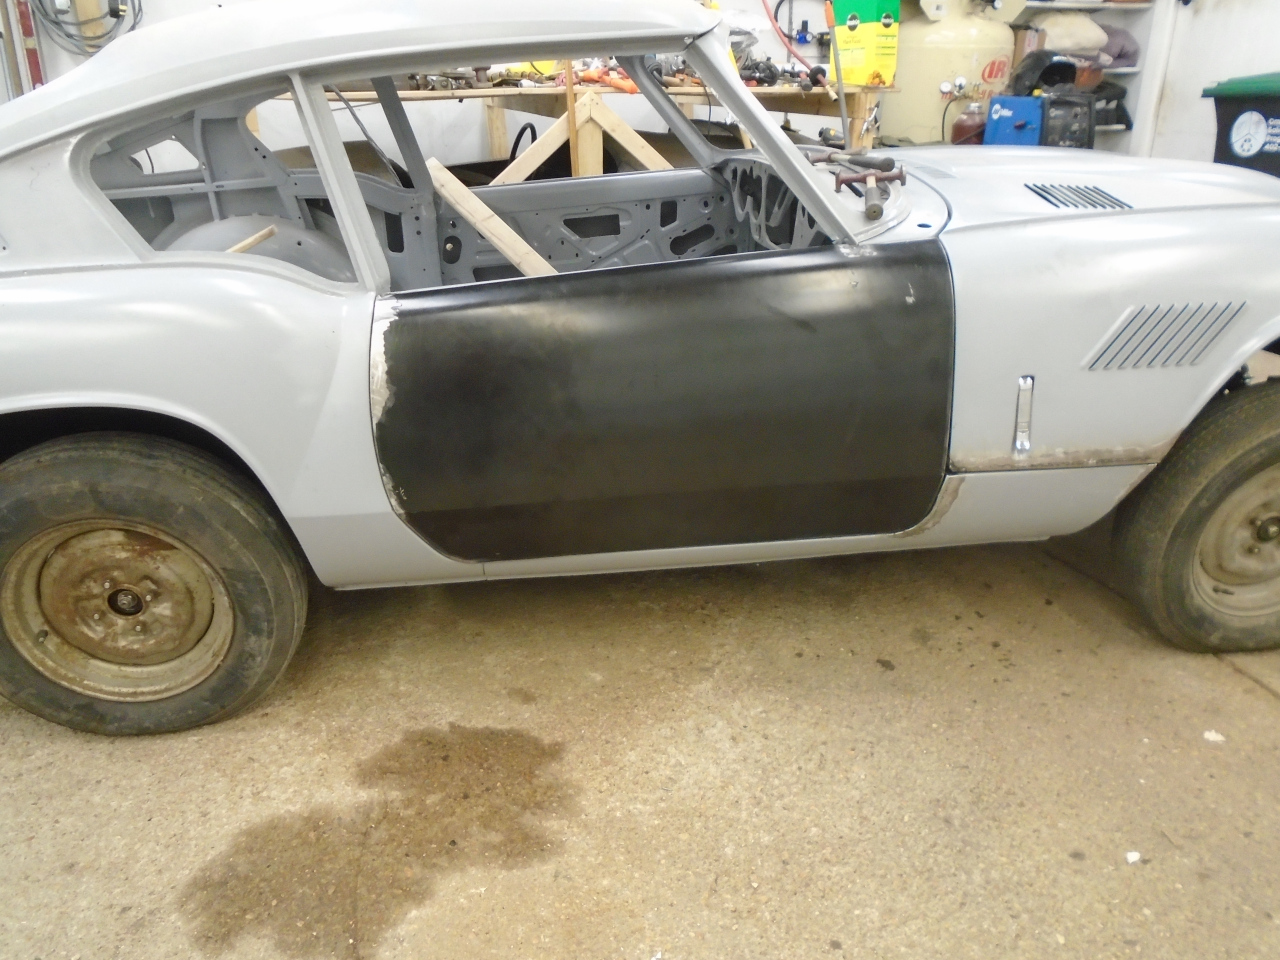
Then came the doors. The doors are oddly-shaped 3D objects that
have to fit into an oddly shaped 3D hole, with a consistent four to five
millimeter gap all around.
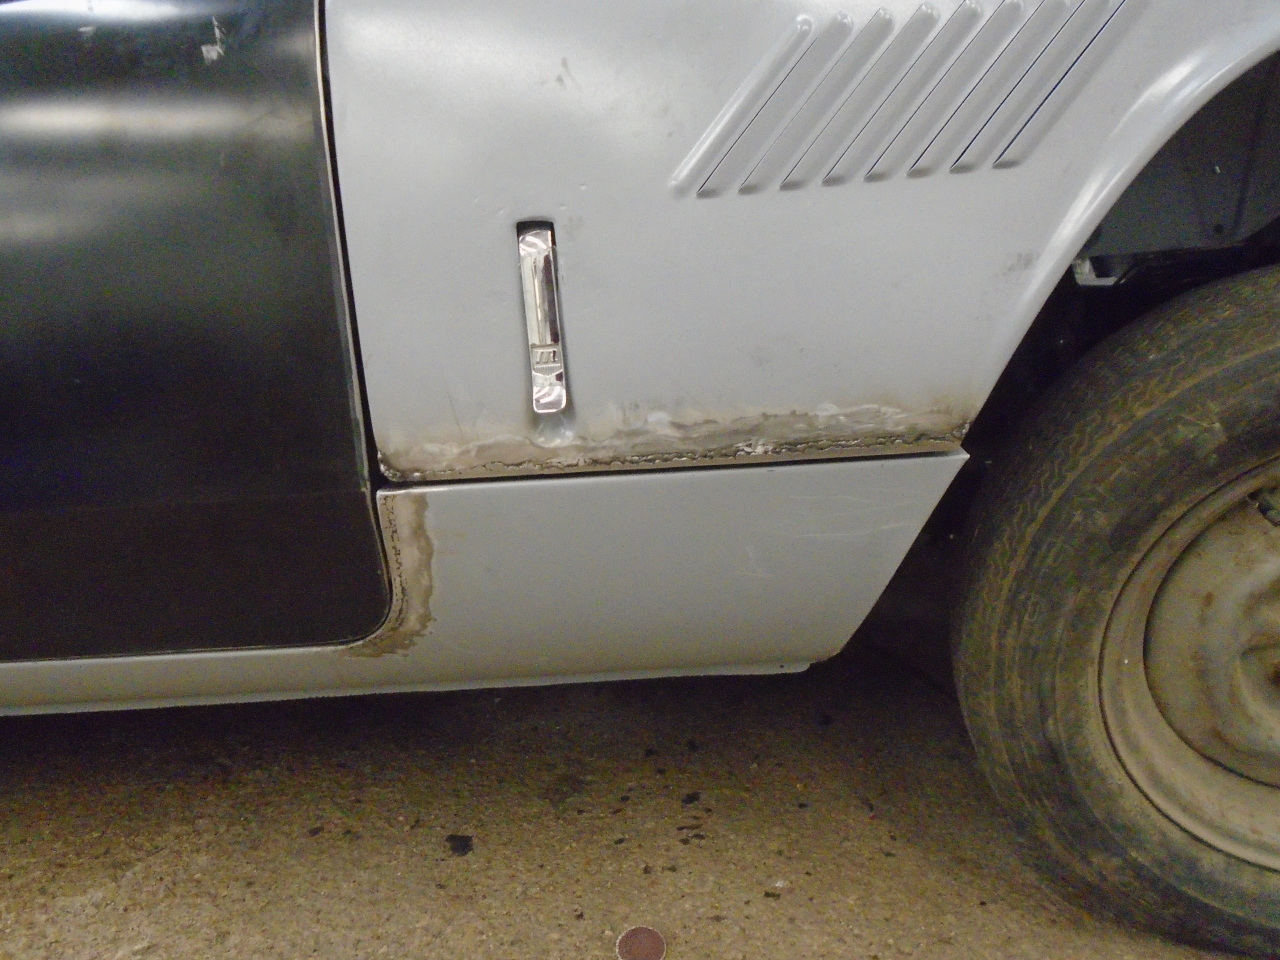
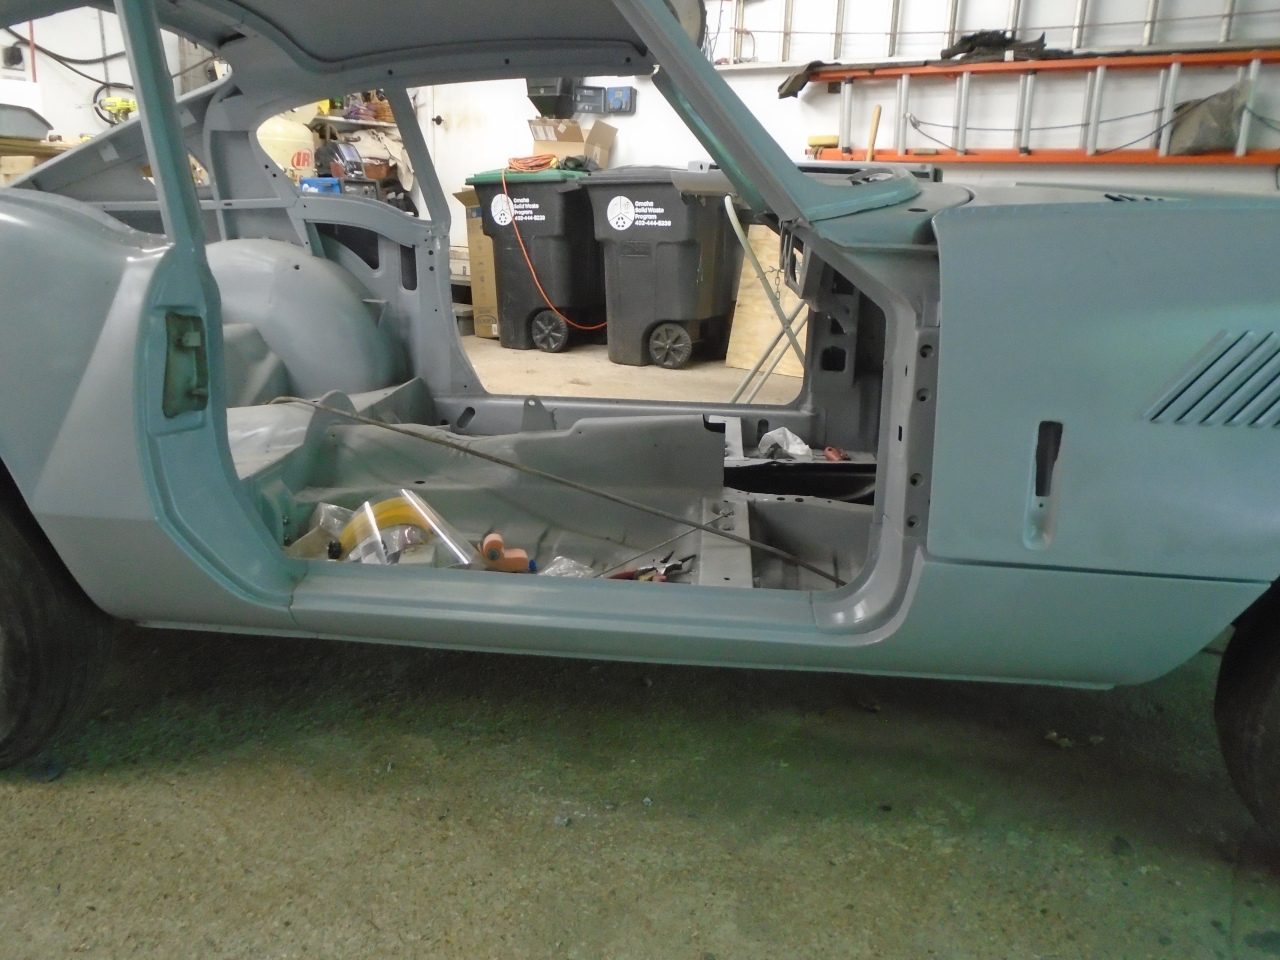
The first fit-up was expectedly pretty bad. I'll focus mainly on
the passenger door here, but the issues were similar on the driver's
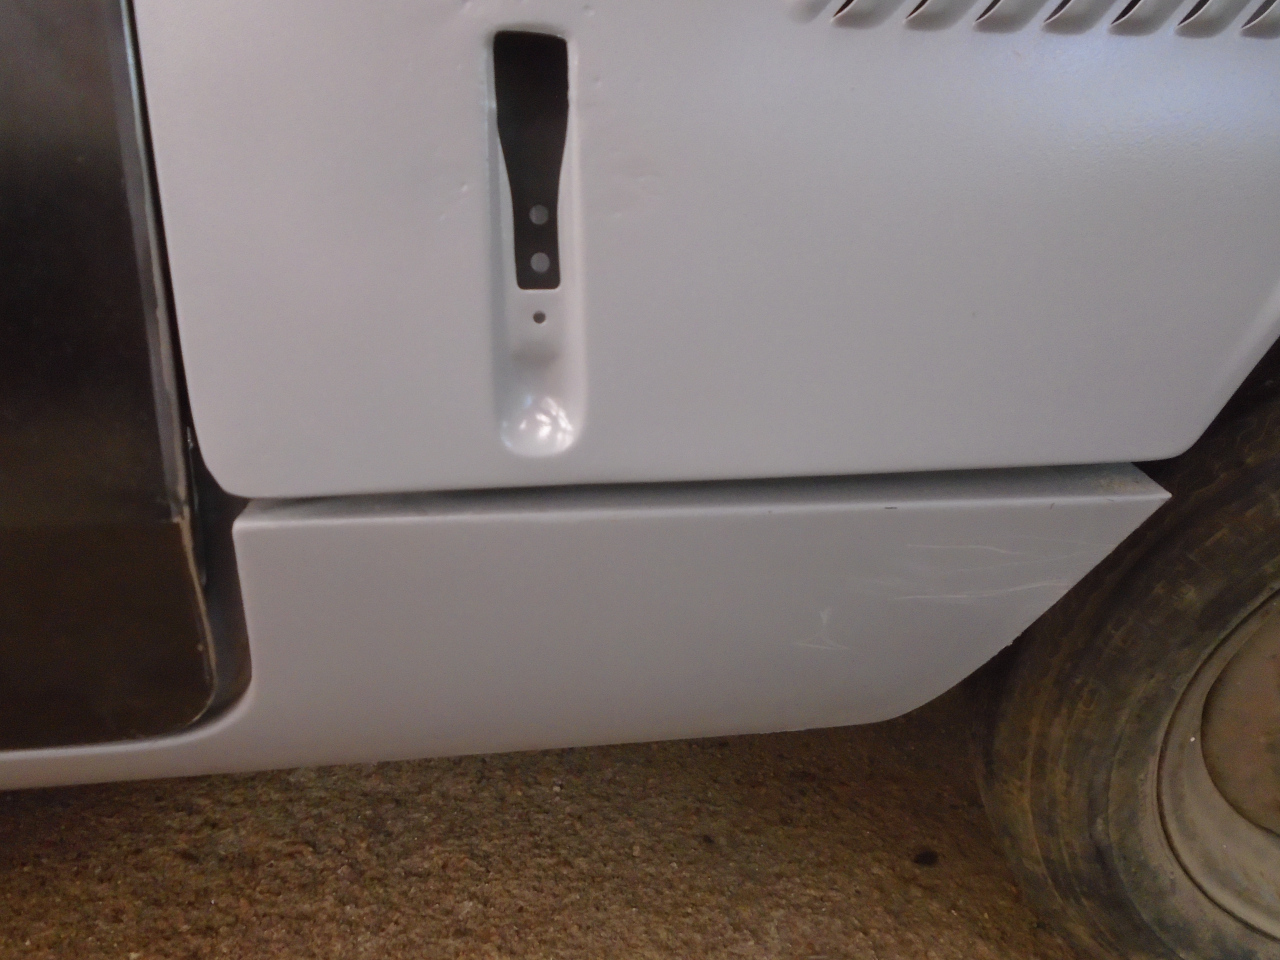
side. There was a problem between the front of the door and the
A-post/sill. The gap between the bottom of the bonnet and the sill
was also pretty tapered. Since the sill was new, I blamed the
sill.
This situation makes a good case for having all panels installed before
welding in a new panel. It appeared that the sill was installed
almost 3/8" forward of where it should have been. However, the
seam where the sill meets the rear wing was tight, and wouldn't have
really accommodated any shifting to the rear. The new rear wing
couldn't have been moved back because it has to match the rear
valance. I just chalk it up to accumulated dimensional errors in
the new panels. But, what to do about it?
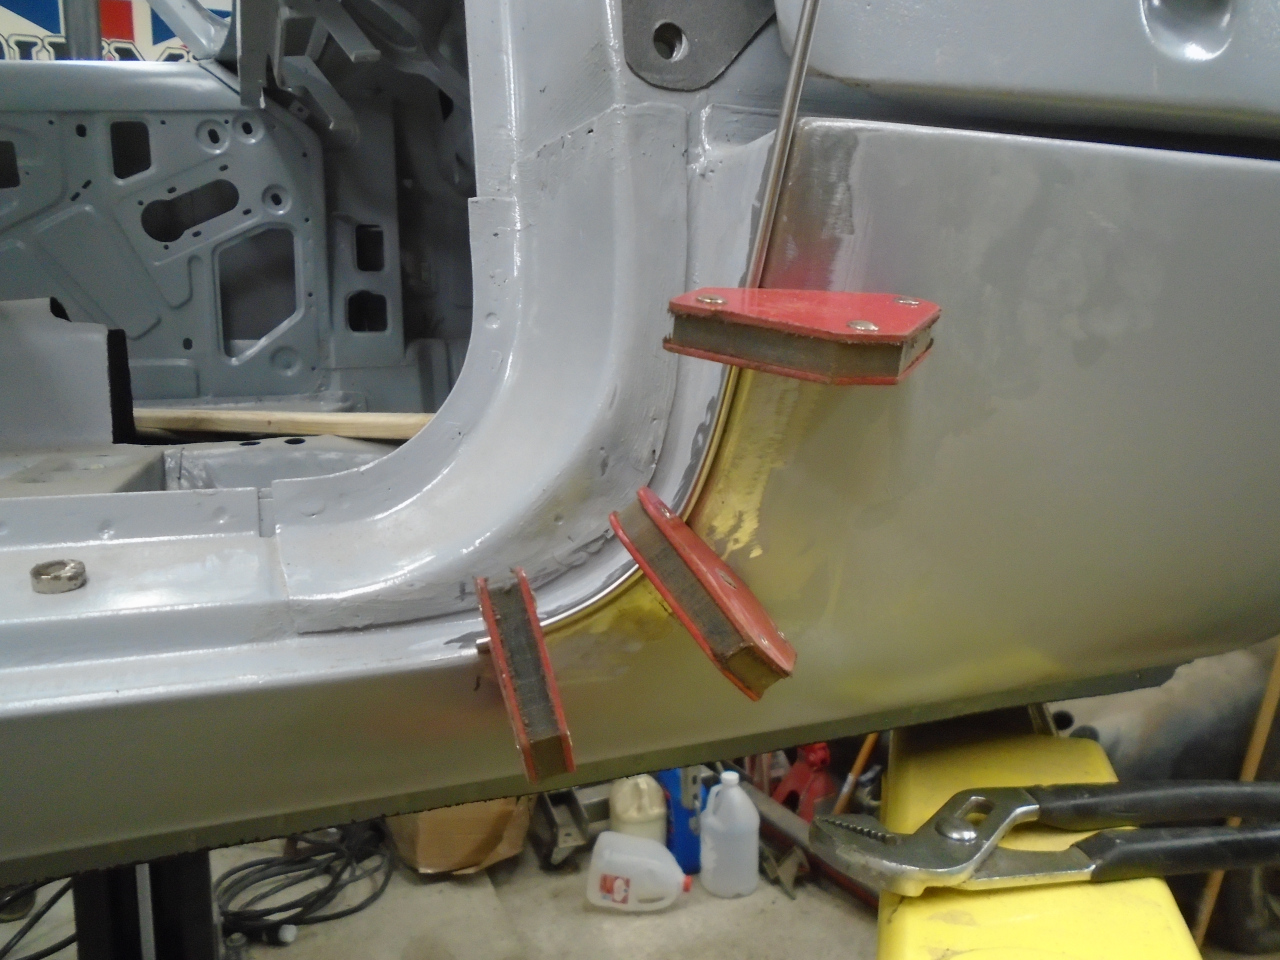
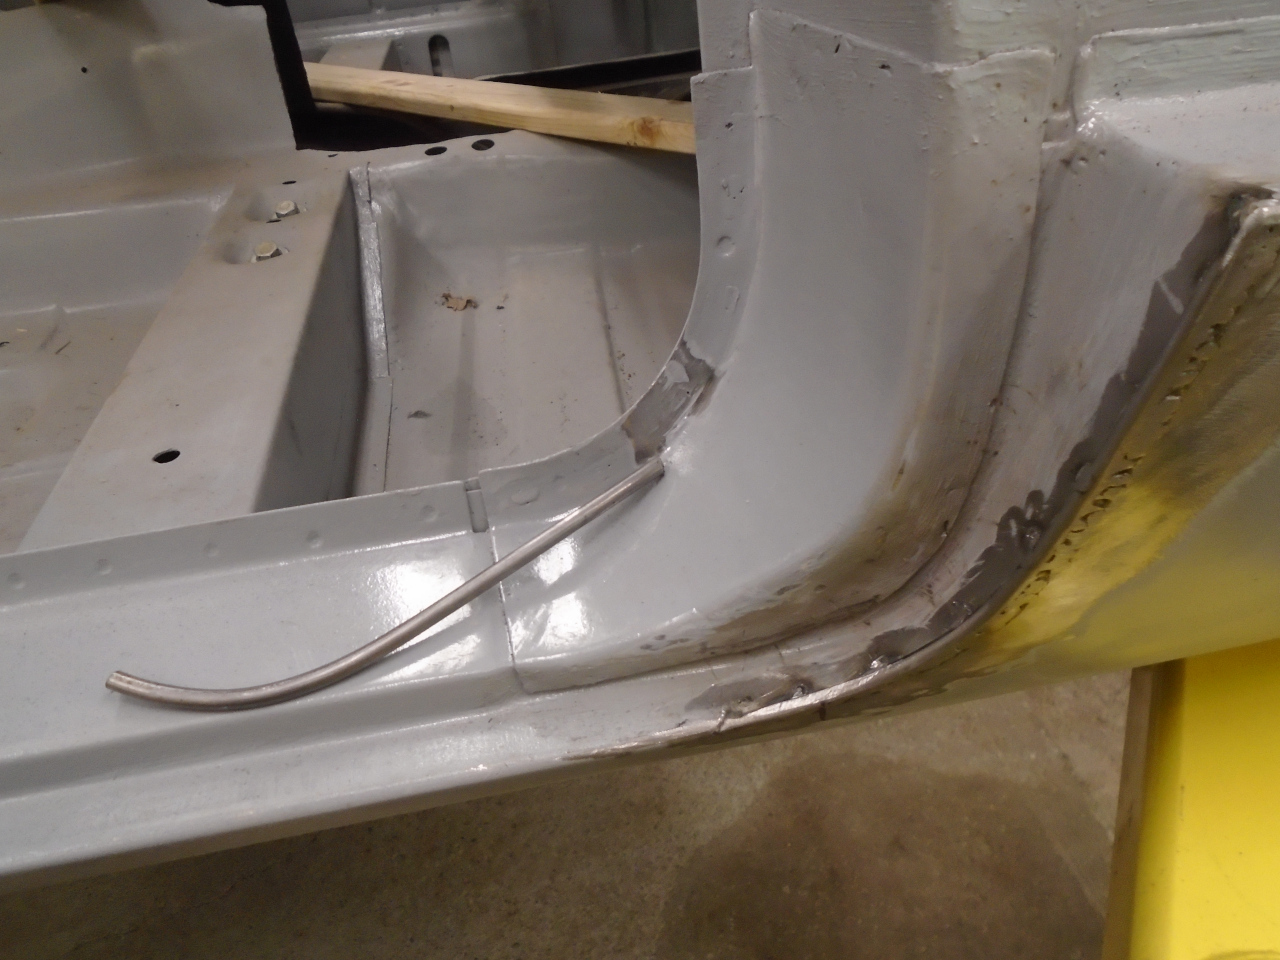
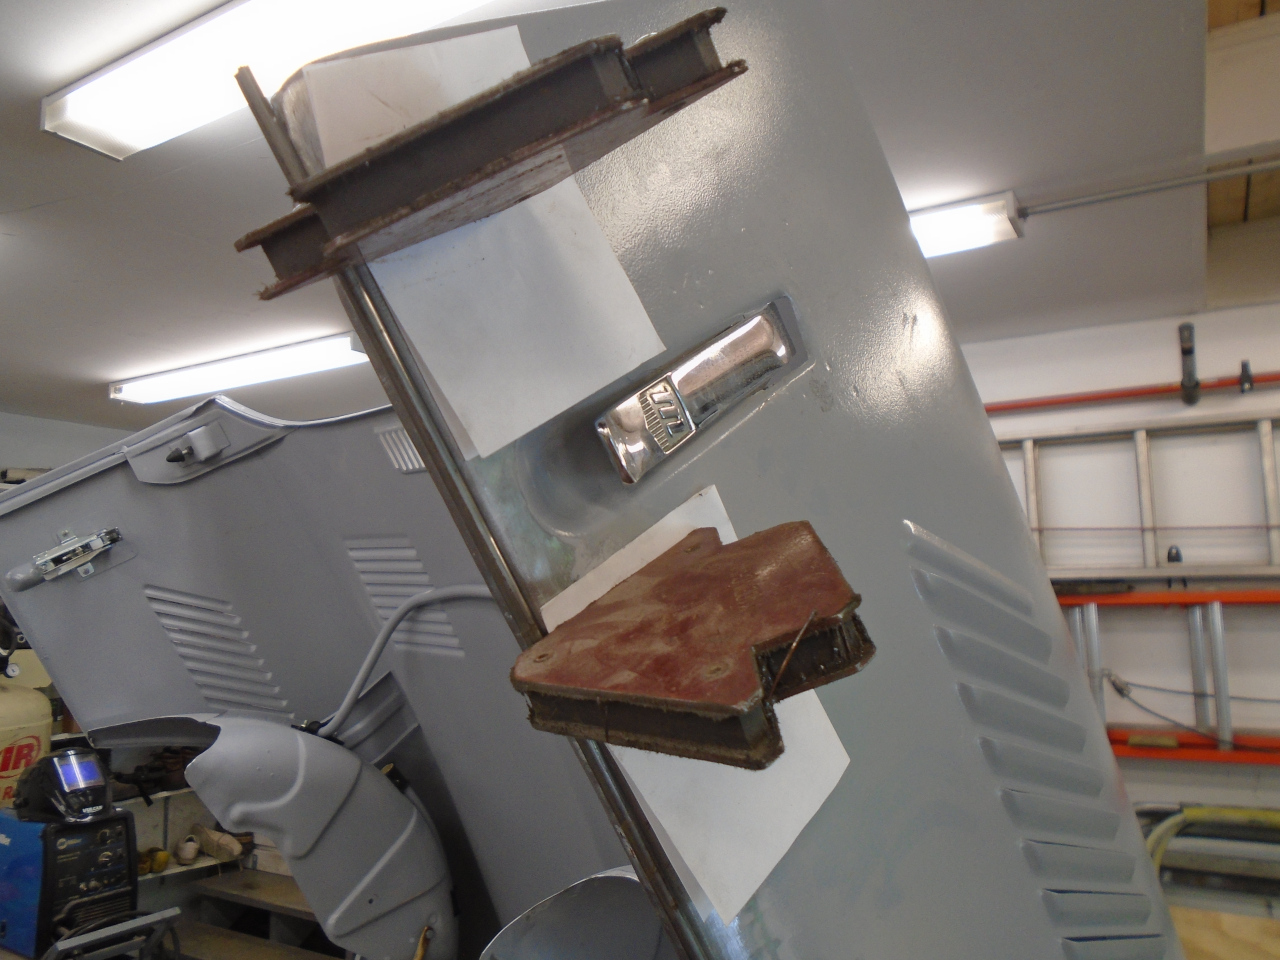
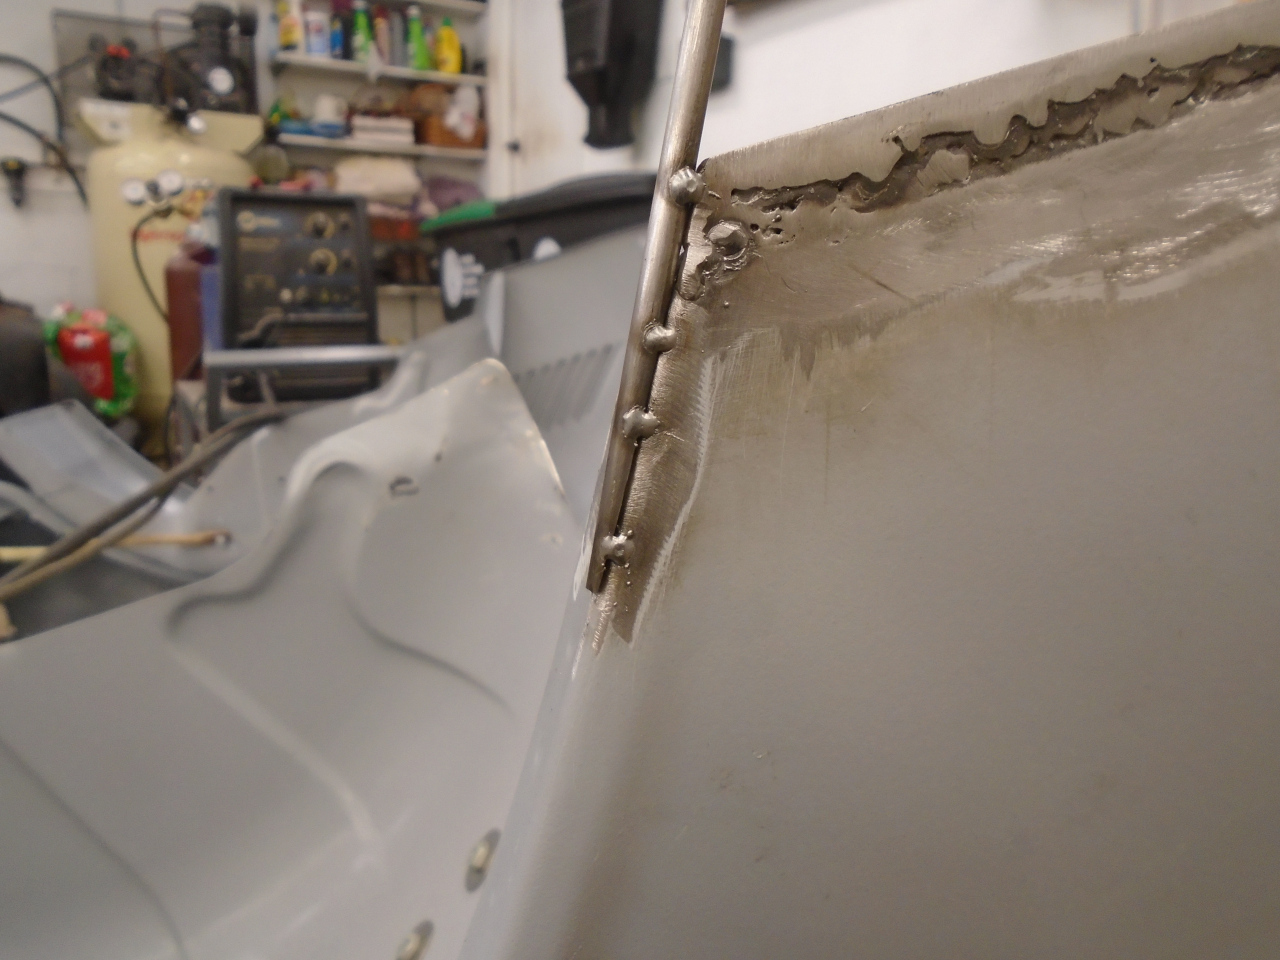
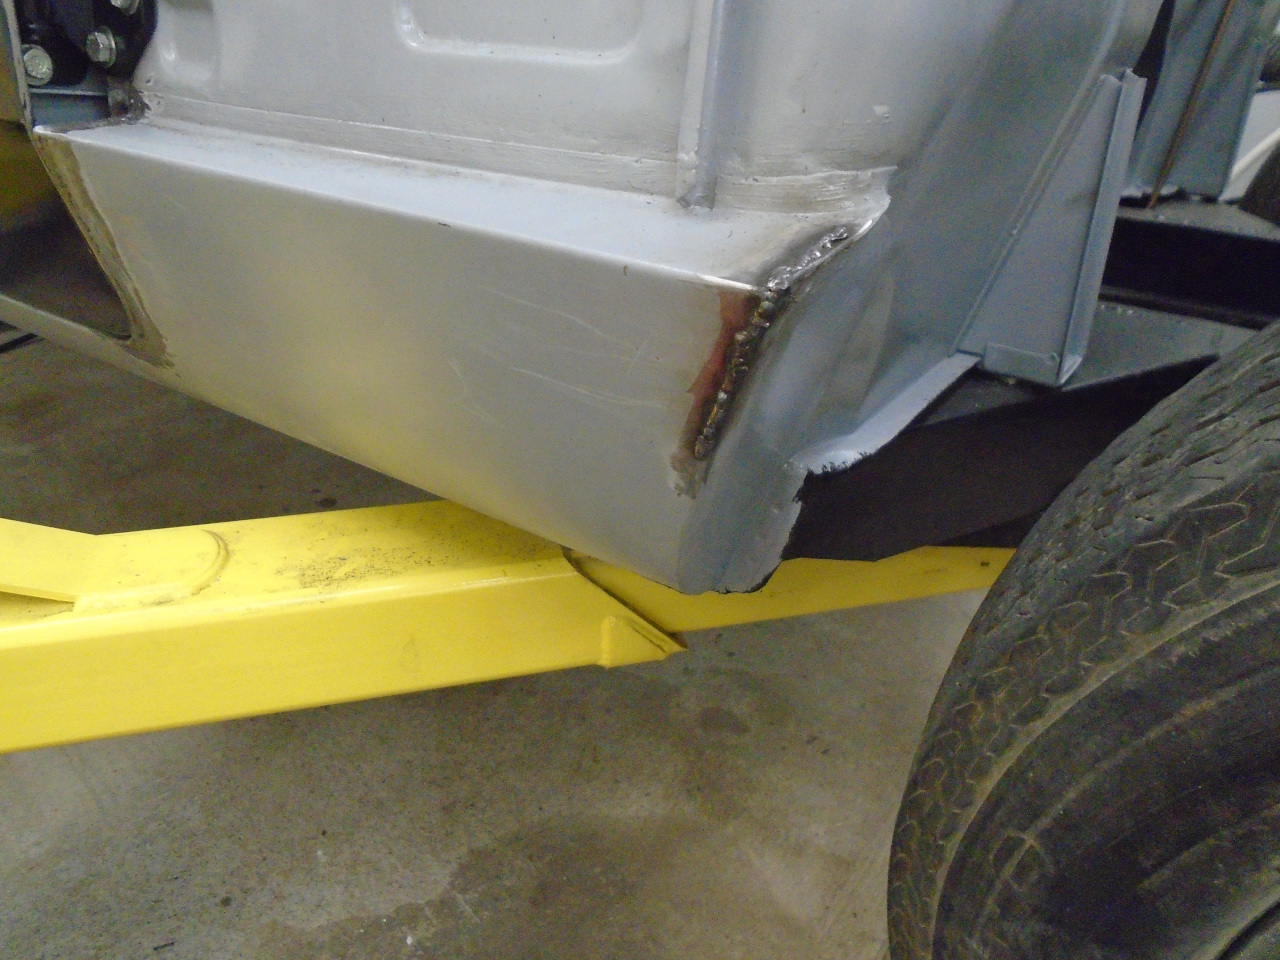
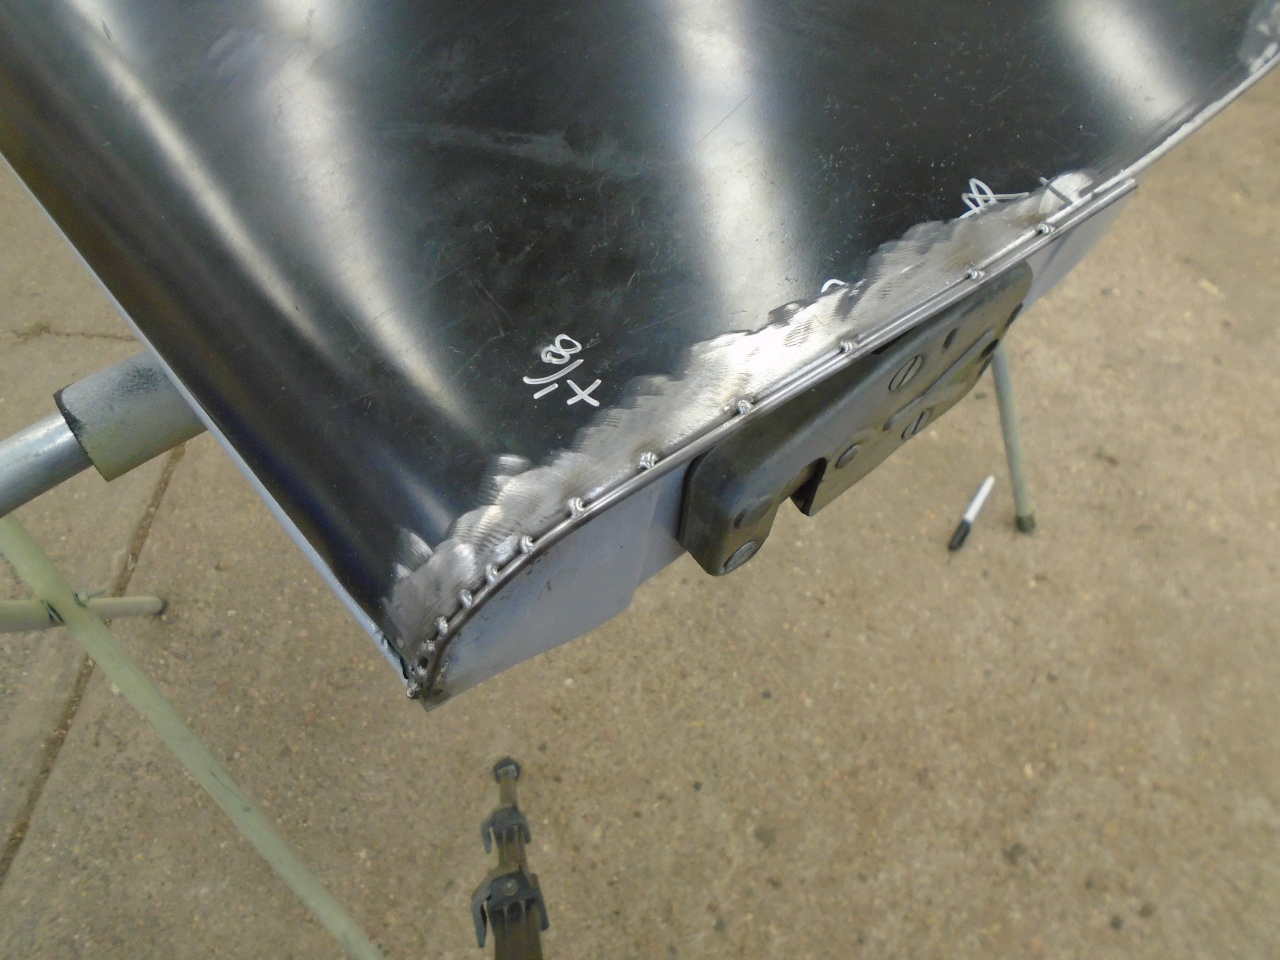
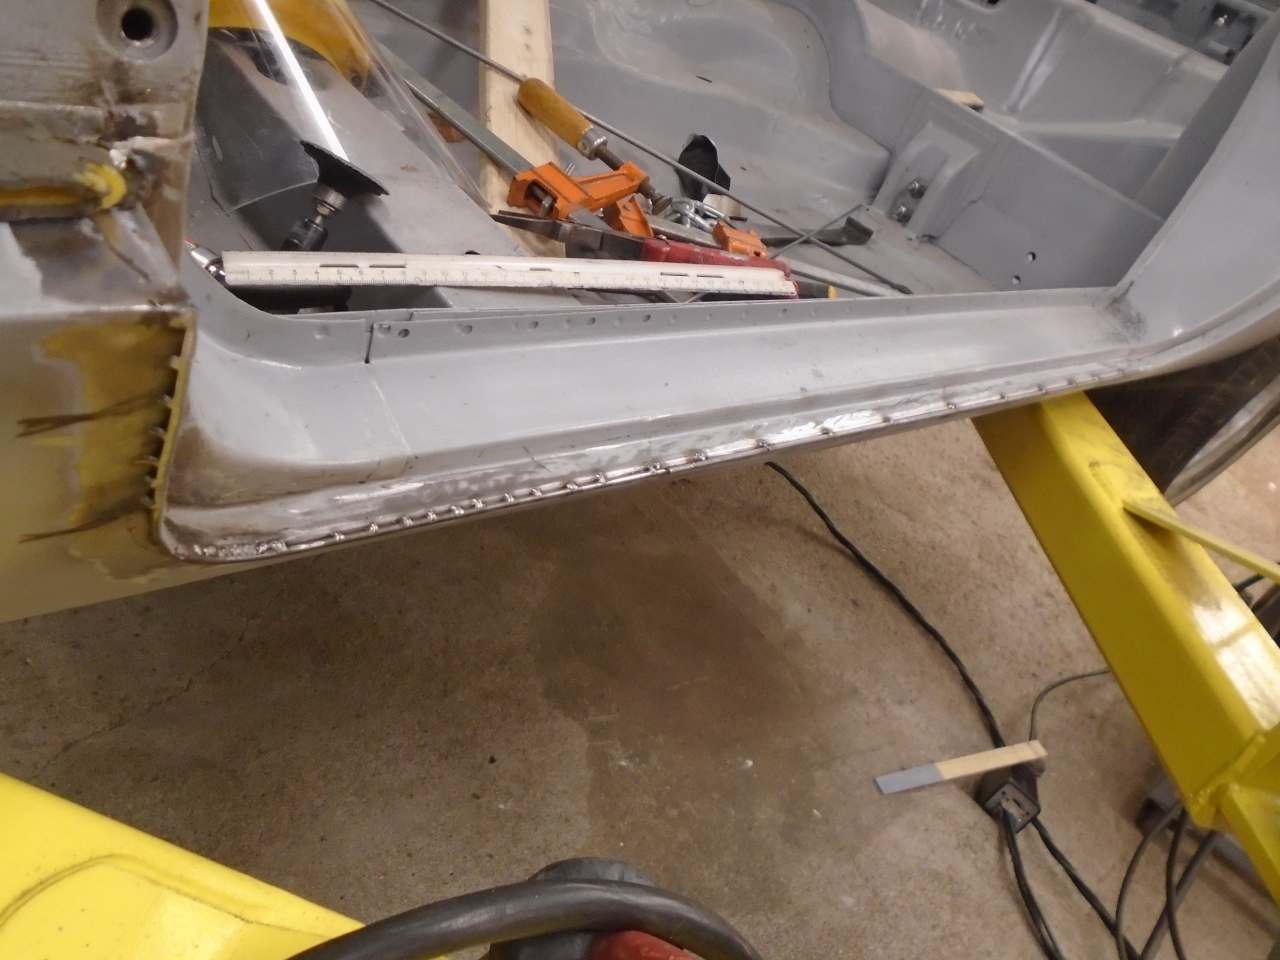
I decided to build up the edge of the door opening on the sill to match
the door. I bent a piece of 3/16 steel rod to the right shape, and
welded it to the edge.
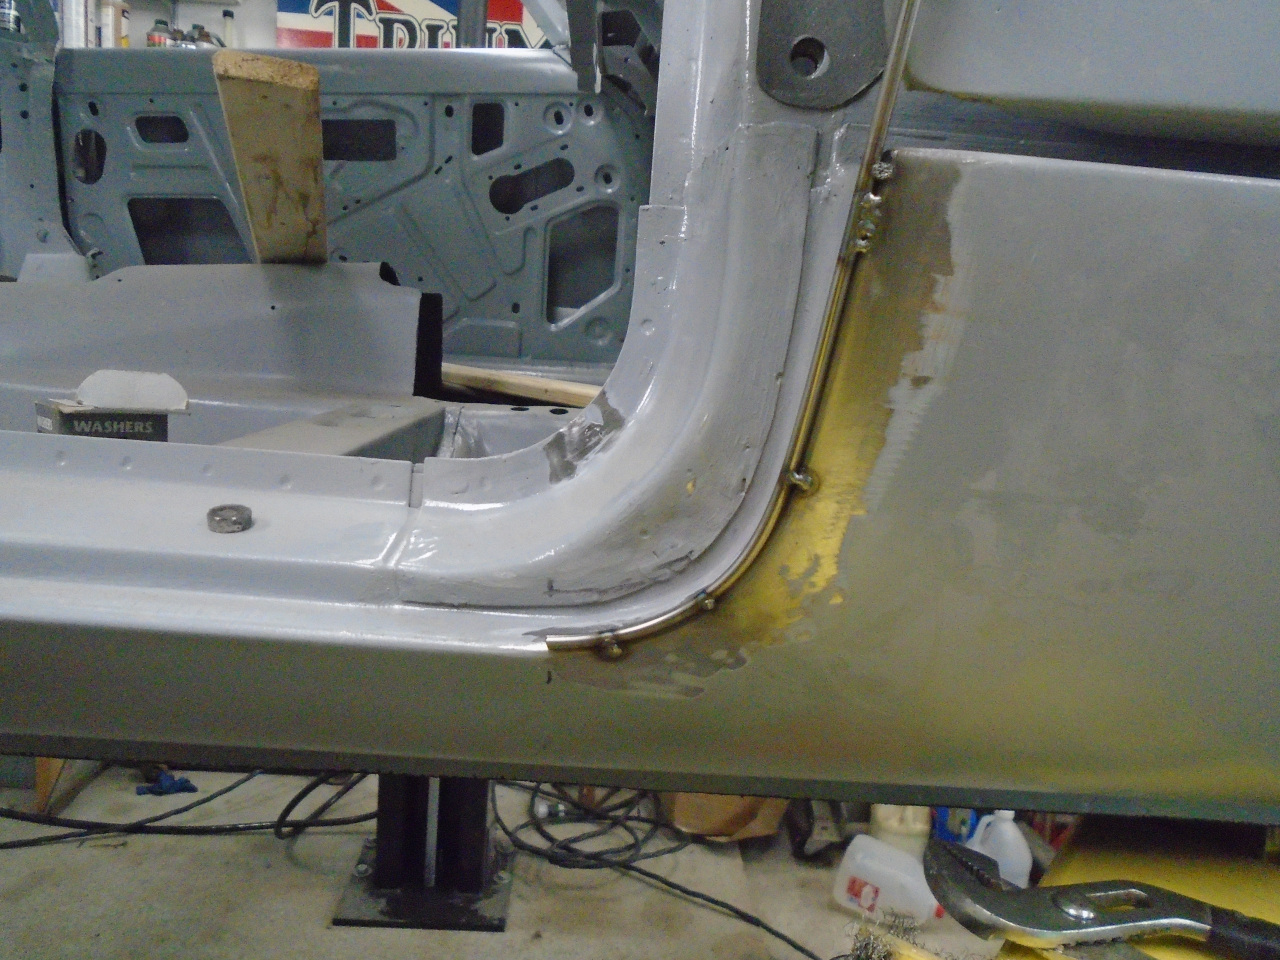
This helped, but it wasn't enough.
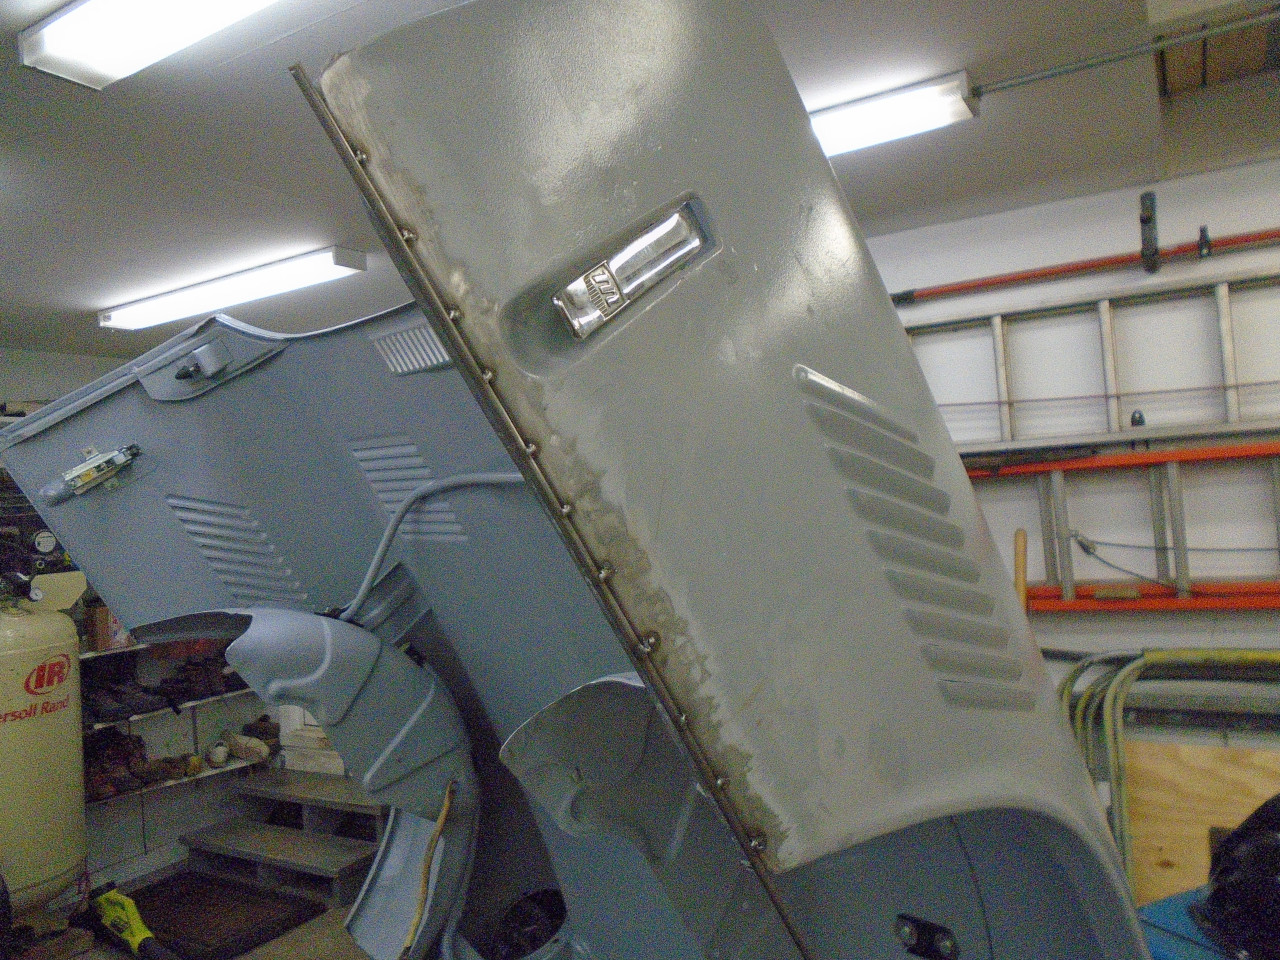
Another 1/8" rod.
That's the ticket.
I used a similar approach with 1/8" rod on the large tapered gap at the lower bonnet edge.
Again, not quite enough.
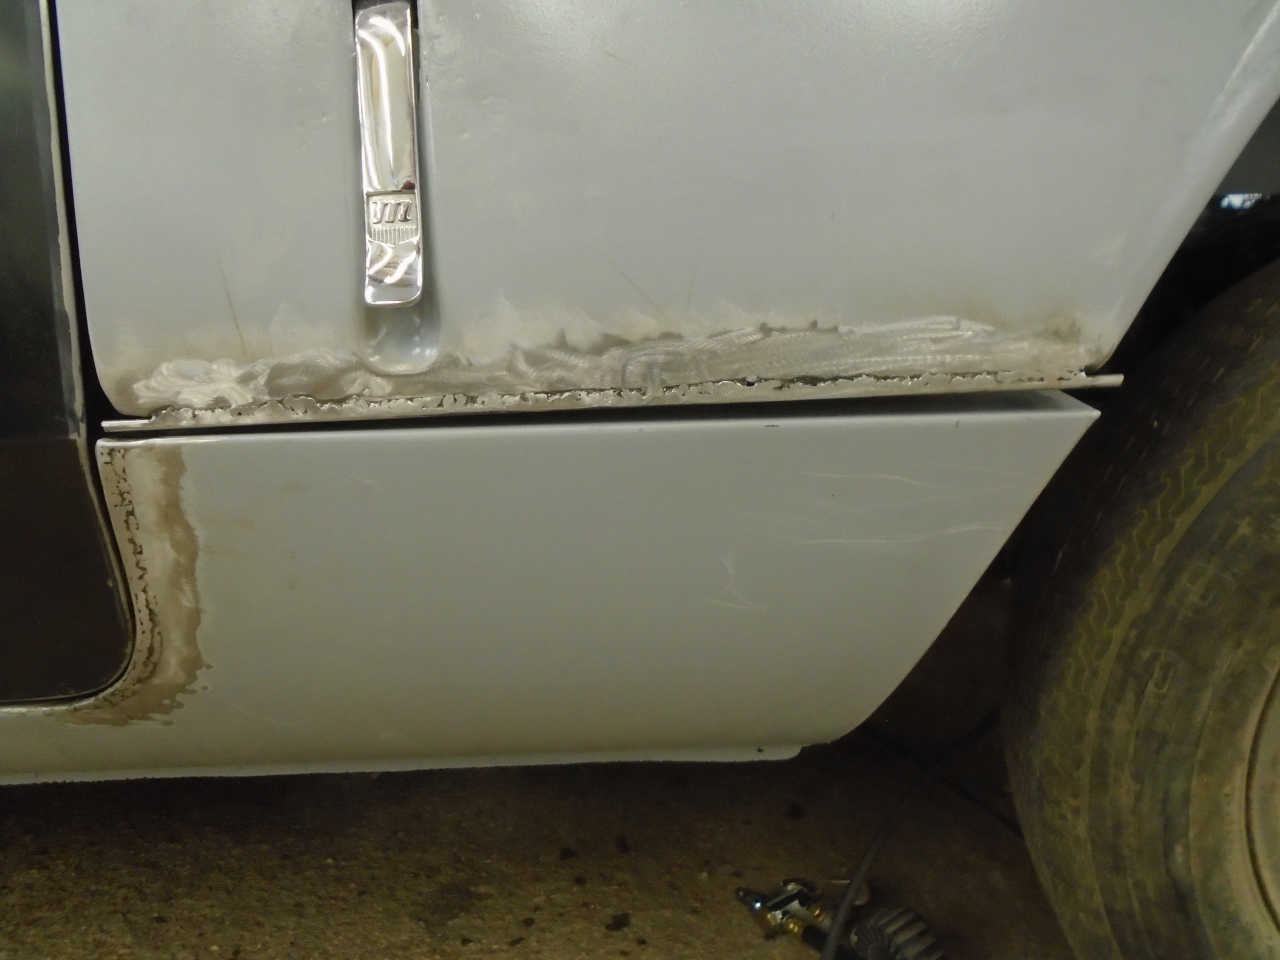
Another rod on the wide end.
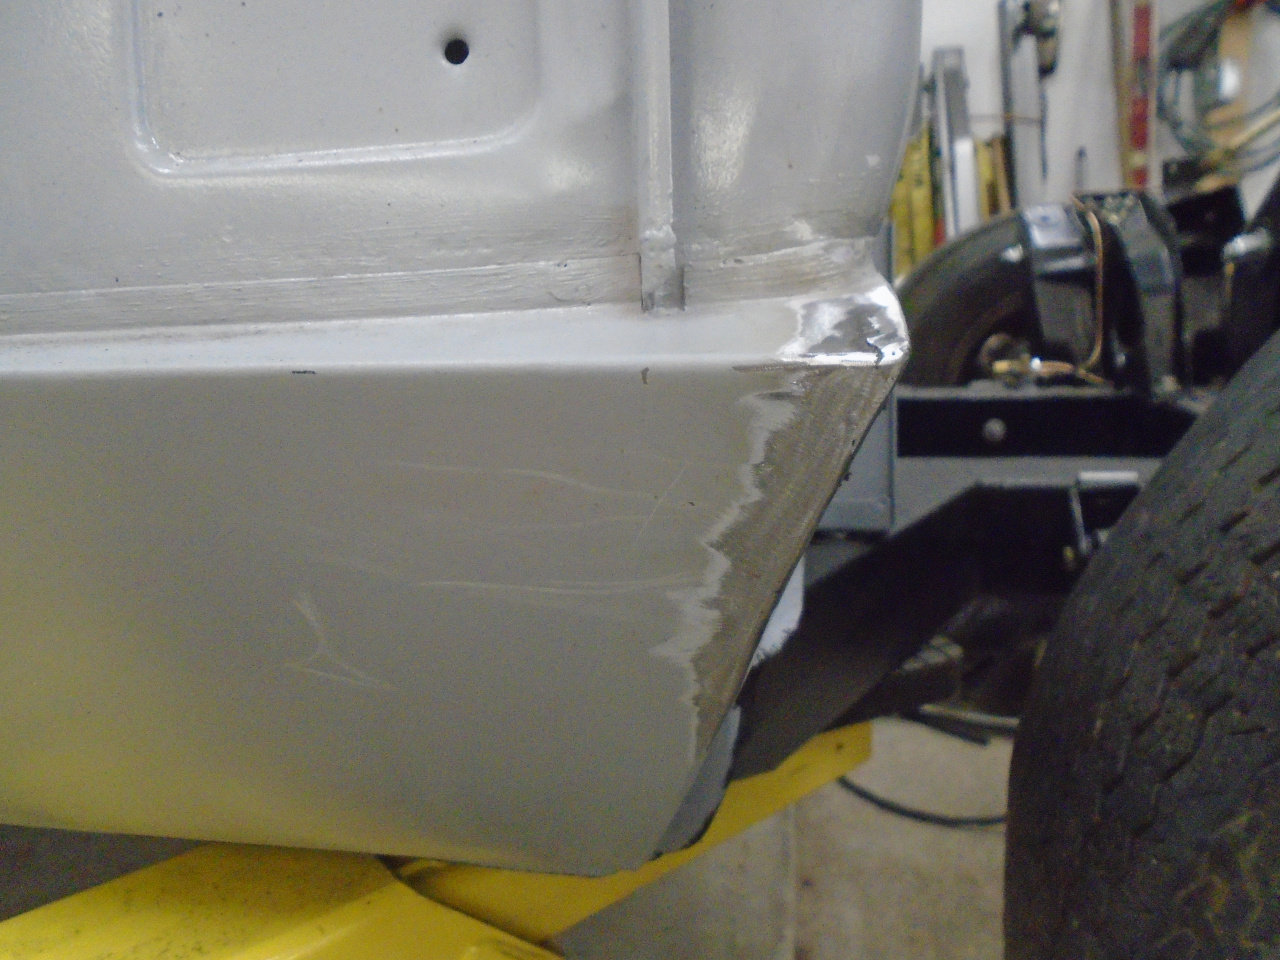
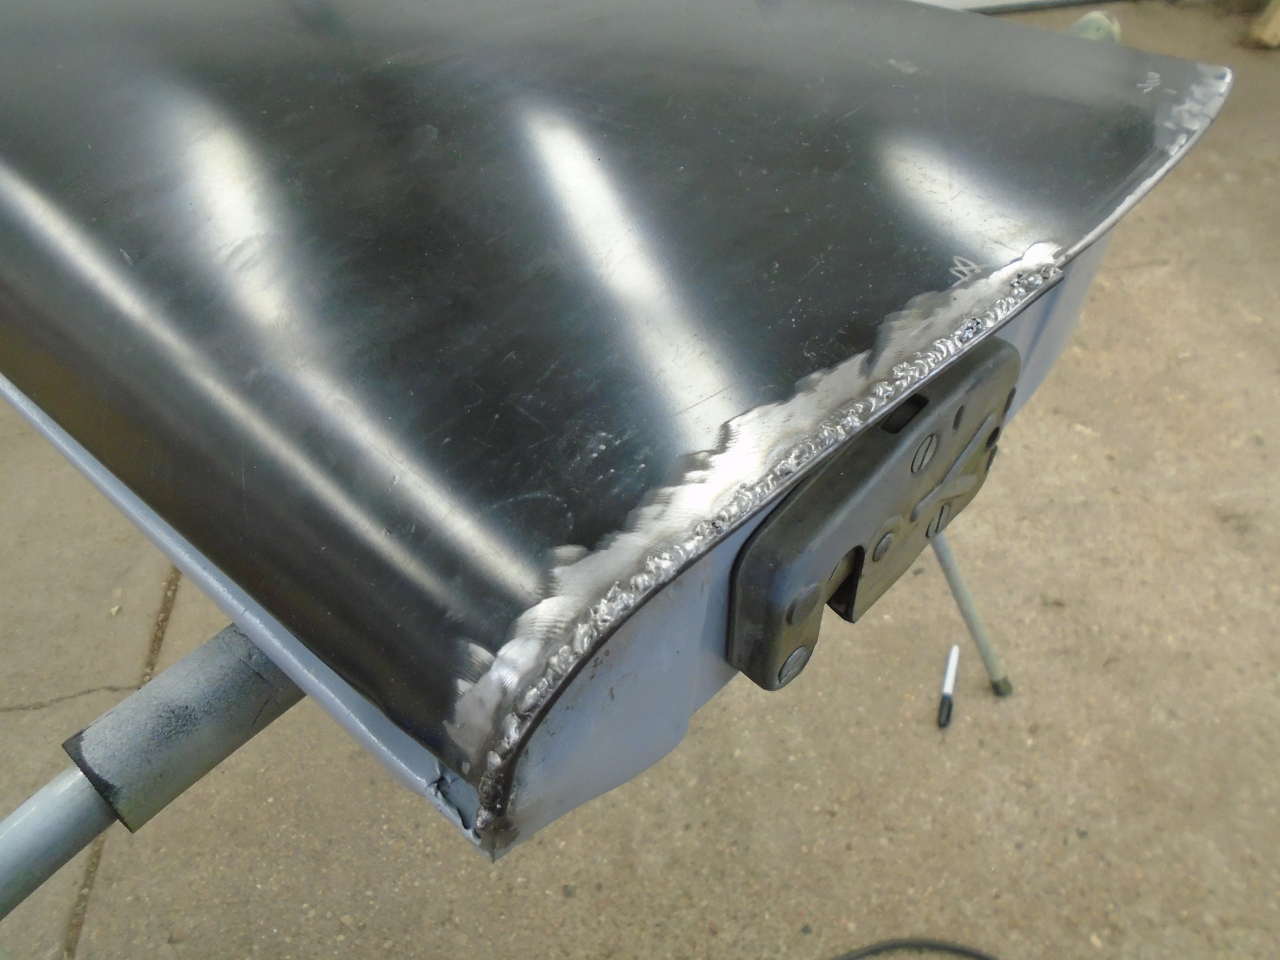
Welded up and ground back , it looks pretty good. I'm not bothered
much if the welds don't completely clean up with grinding. Being
anal about grinding away all evidence of welding risks making the metal
thin in spots, or even grinding through. Filler will be required
here anyway, but not much.
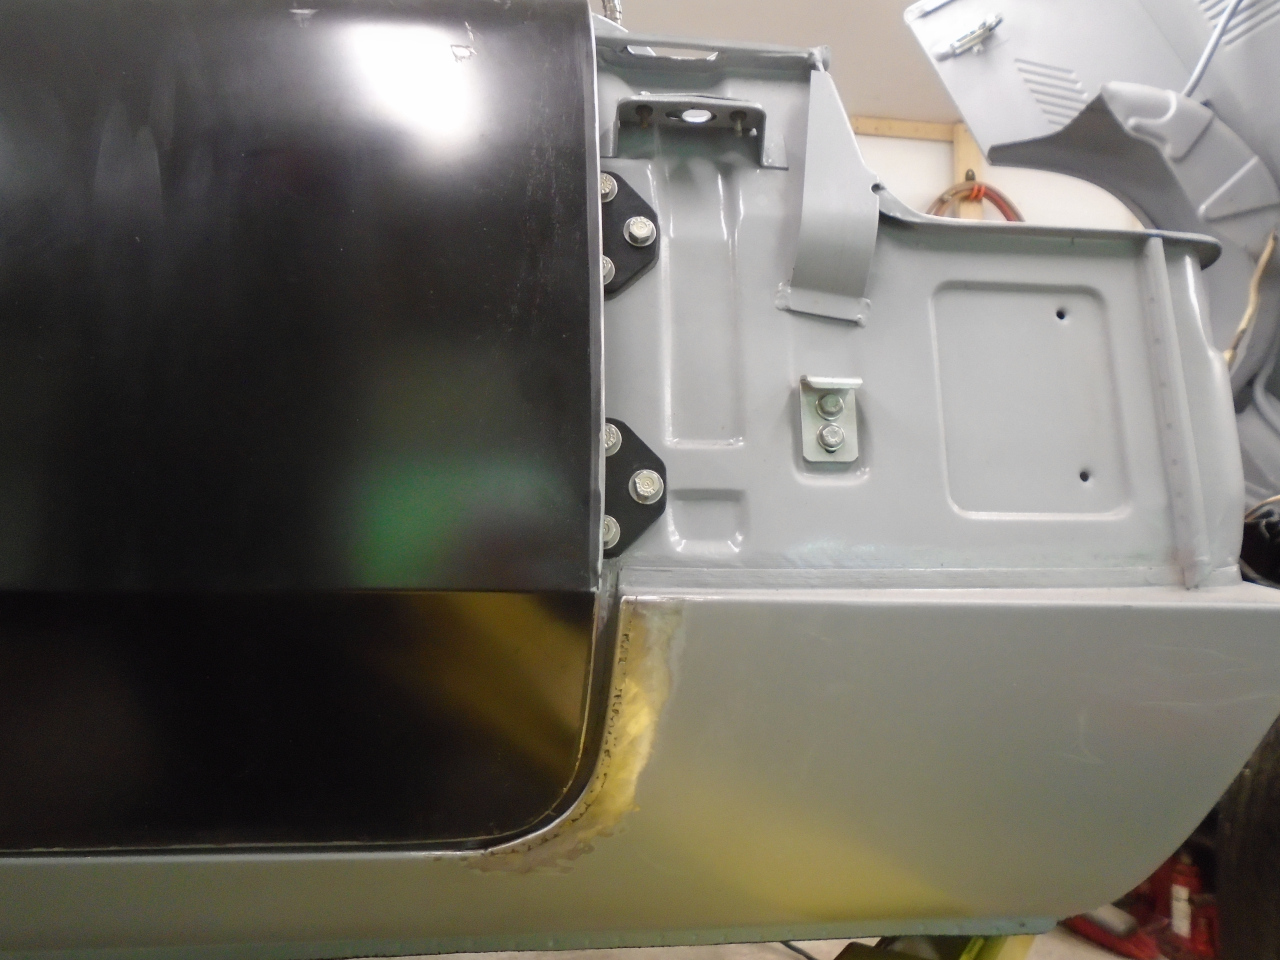
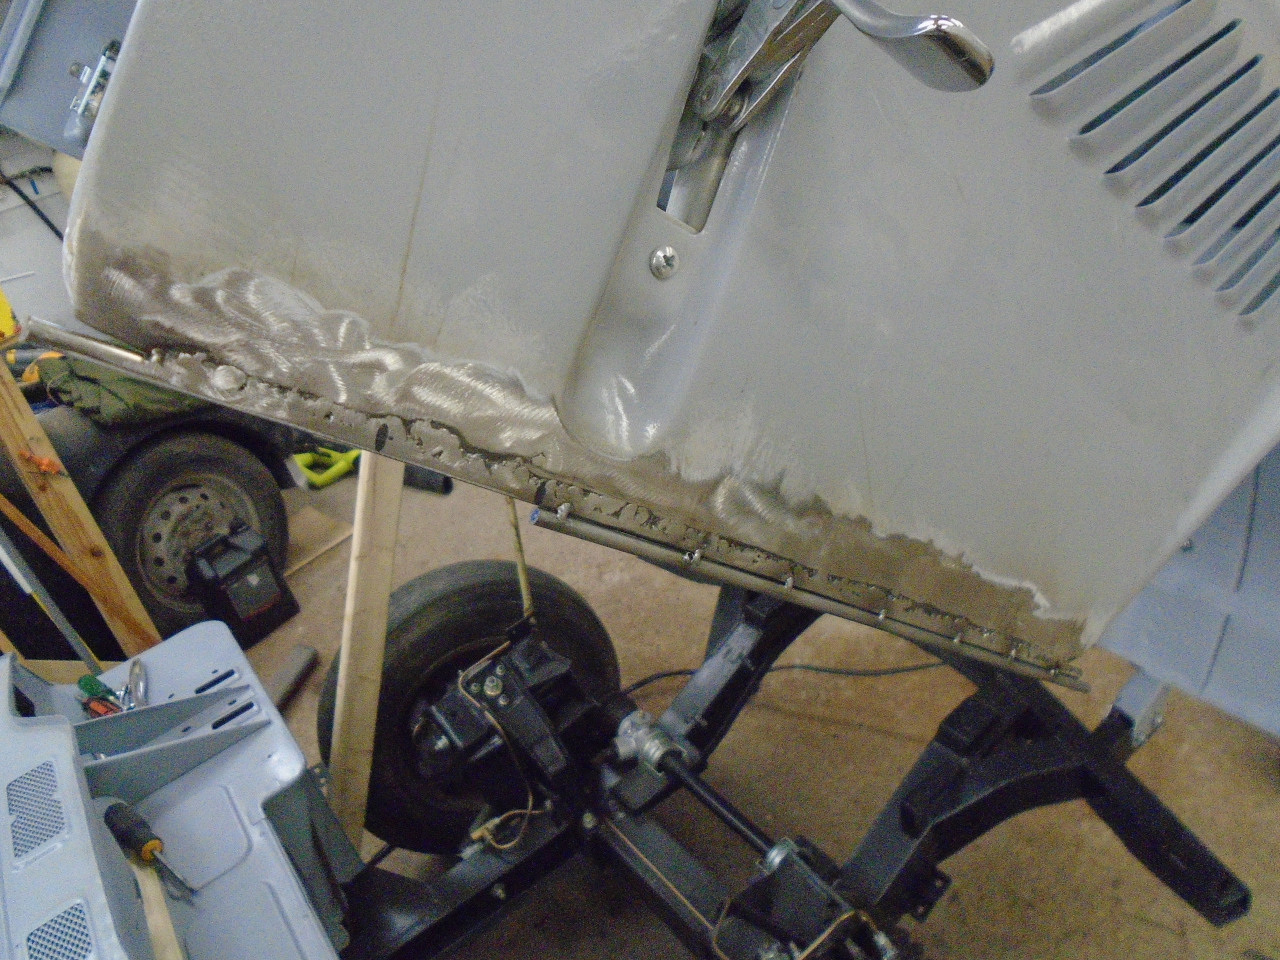
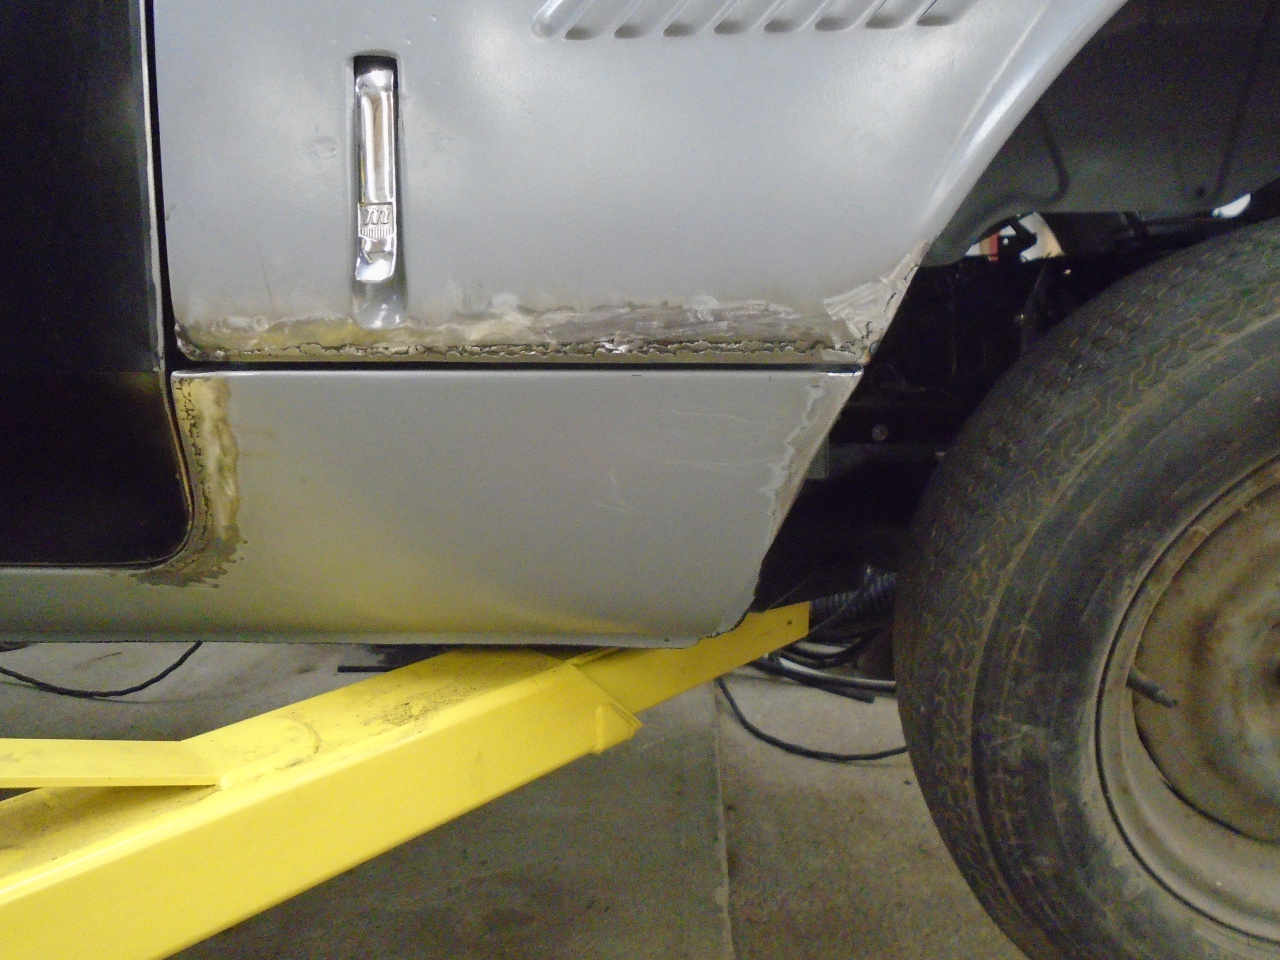
Well, this repair brought to light another related problem. The
forward peak of the sill was now obviously sticking out too far.
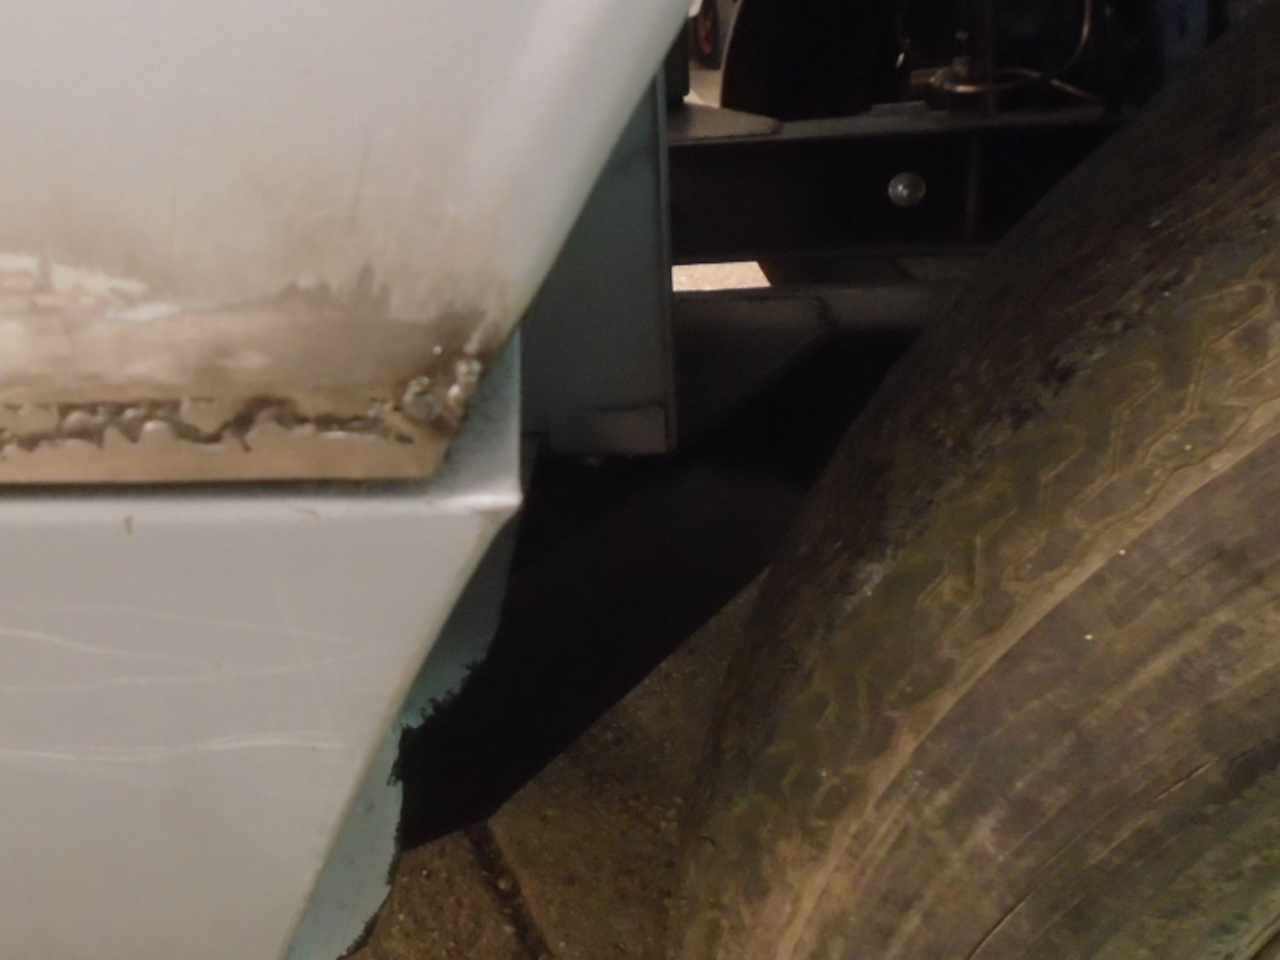
I solved this in two parts. First, a little tapered rod was welded to the bottom edge of the wheel well opening.
That reduced the problem without being obvious.
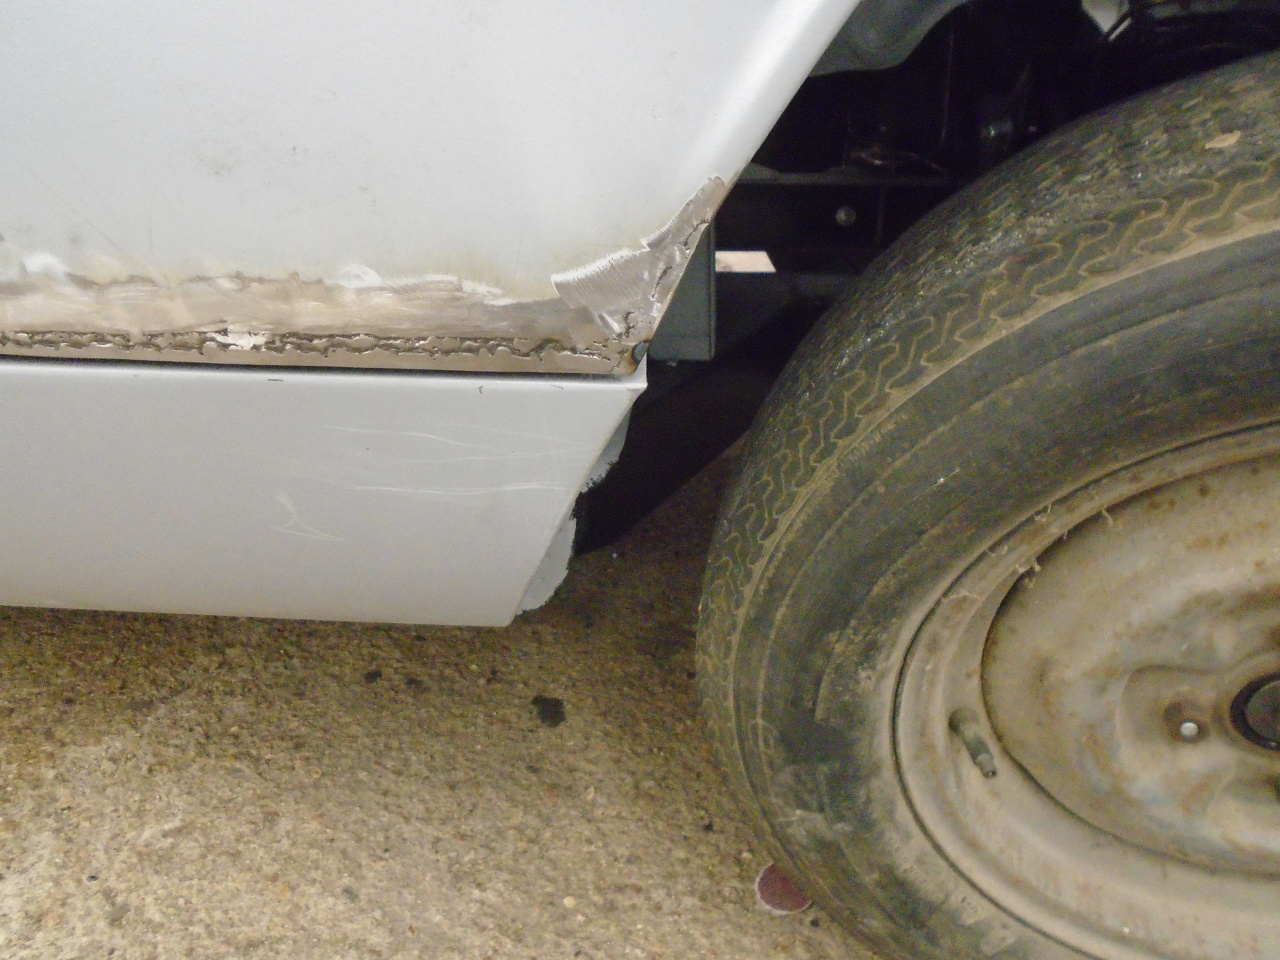
Then cut a wedge our behind the sill peak so it could be moved back slightly.


Ahhh, much mo' betta'.
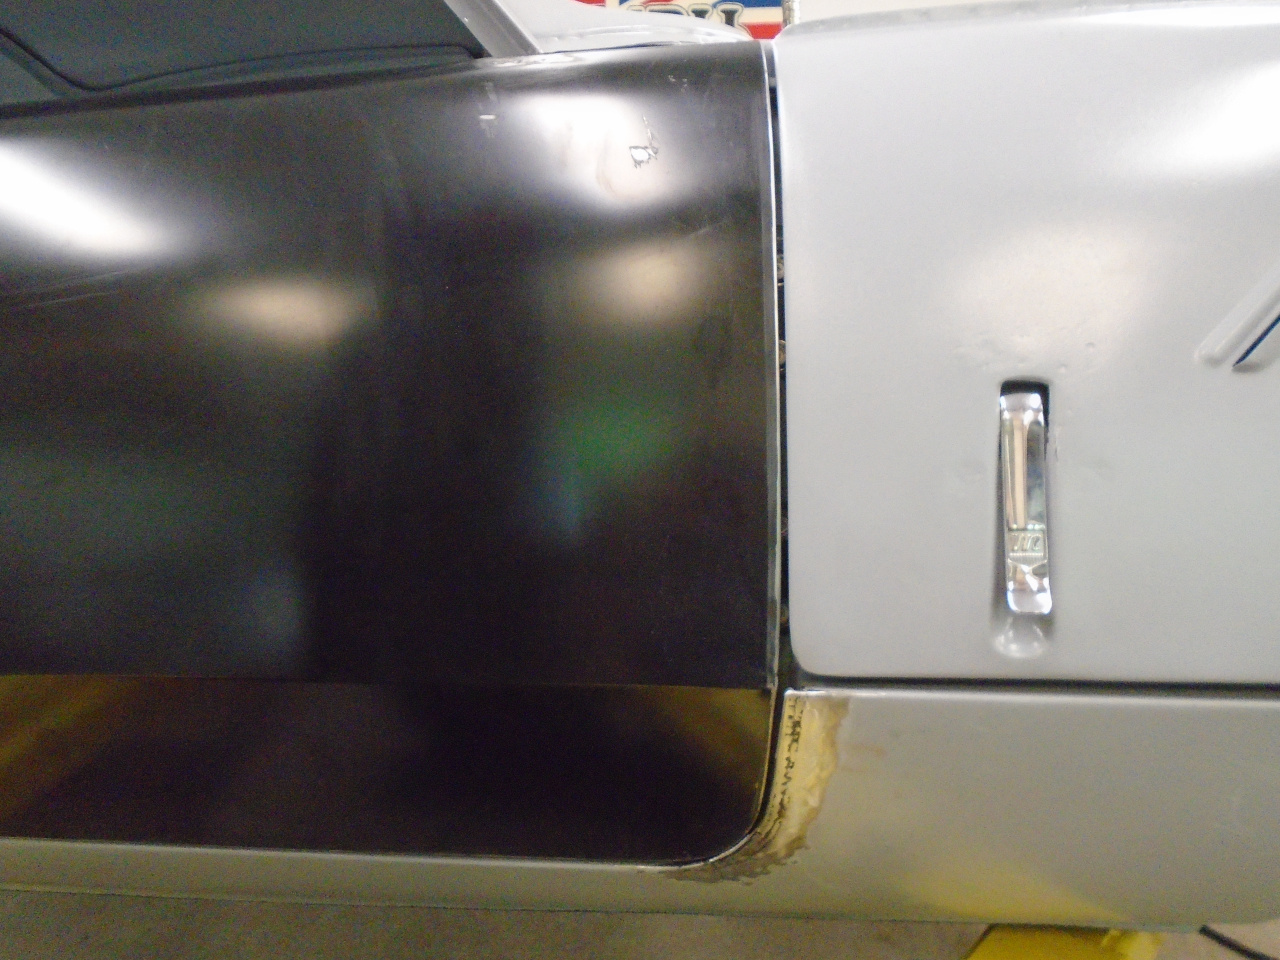
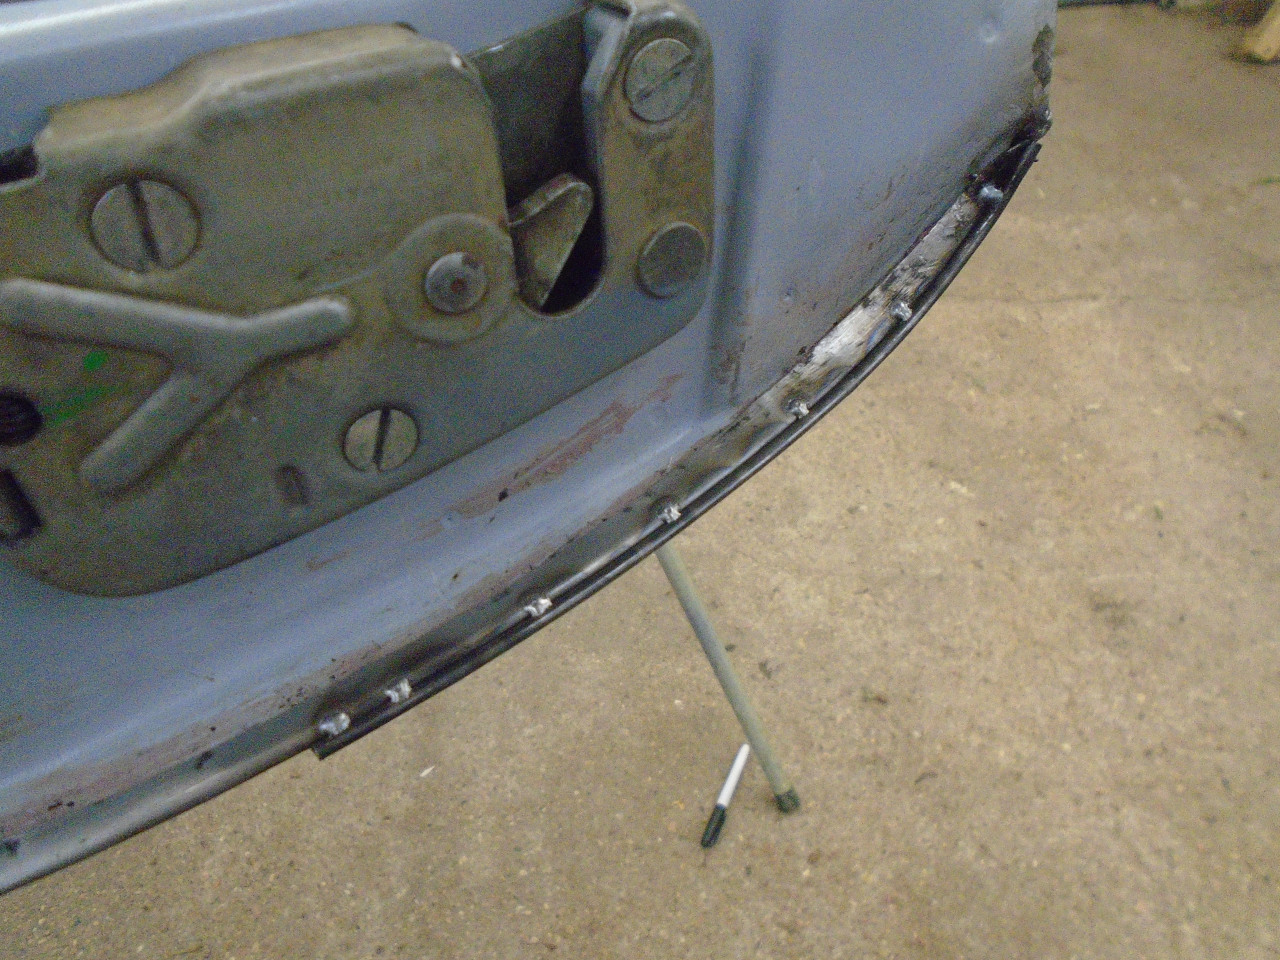
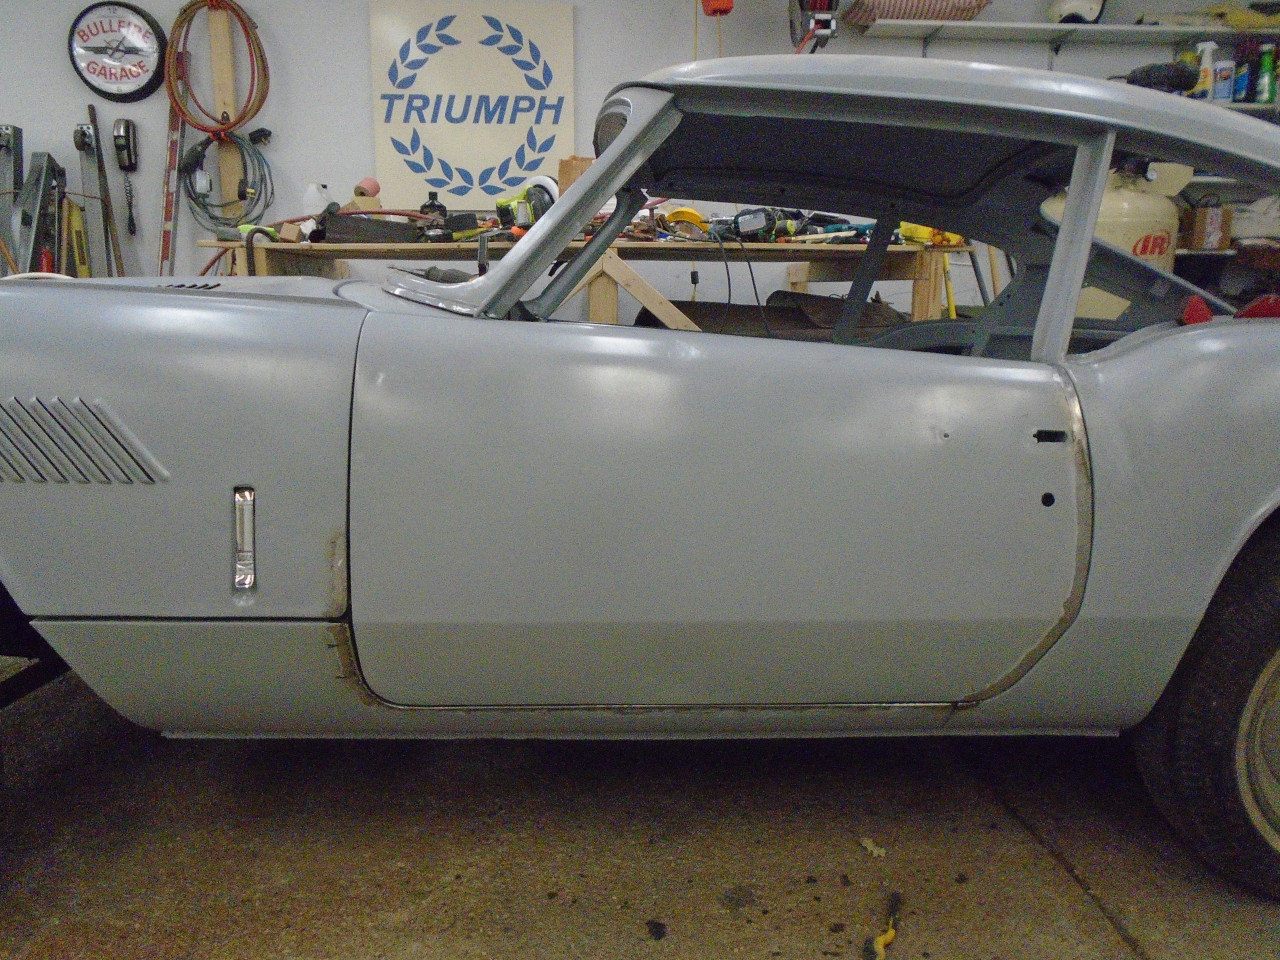
At the rear of the door, the gap was tapered--it was too wide at the top.
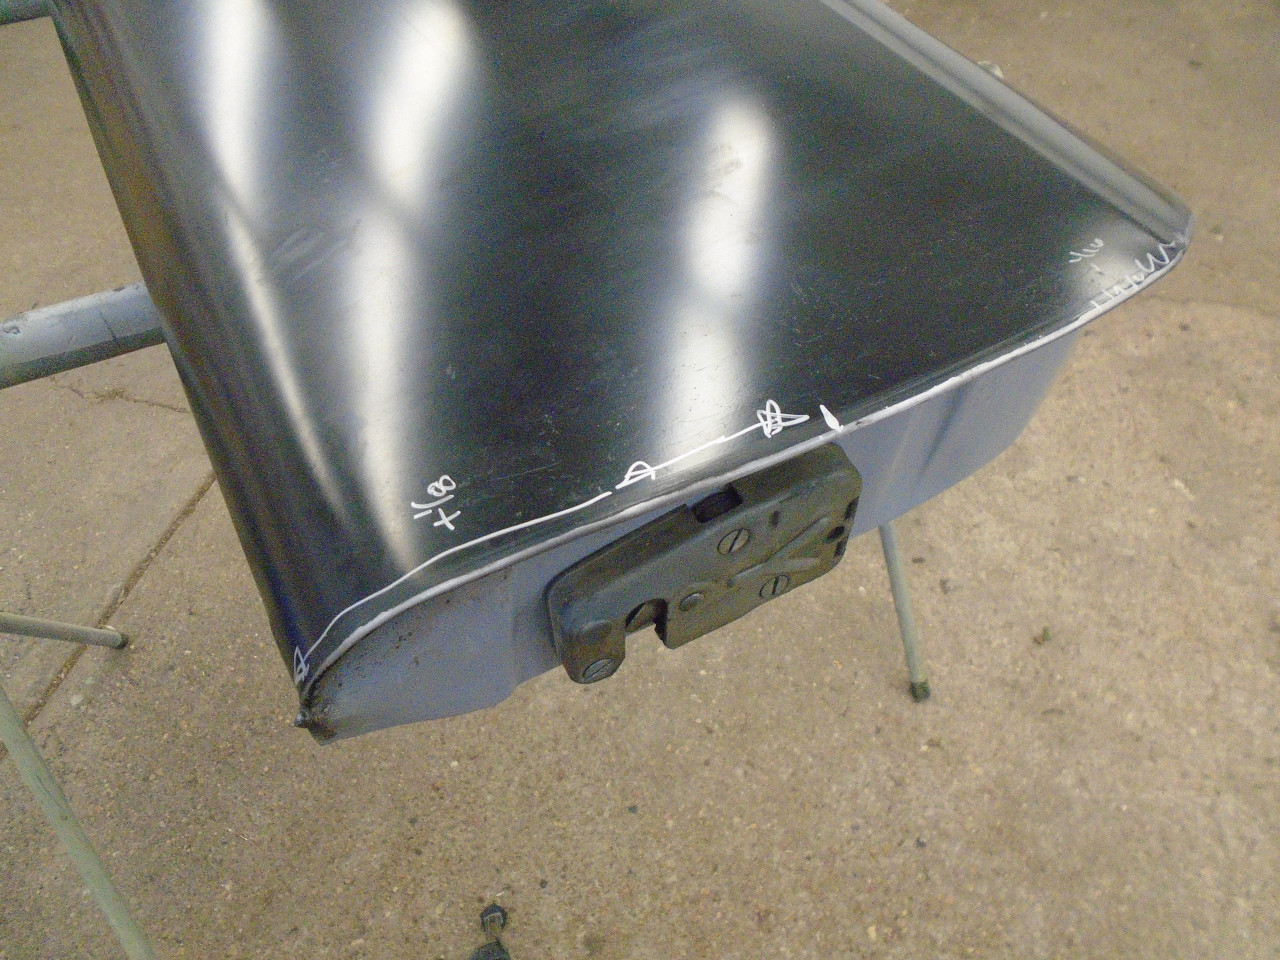
Though I fully weld the front side, I just use periodic tacks on the back for some added strength without all the heat.
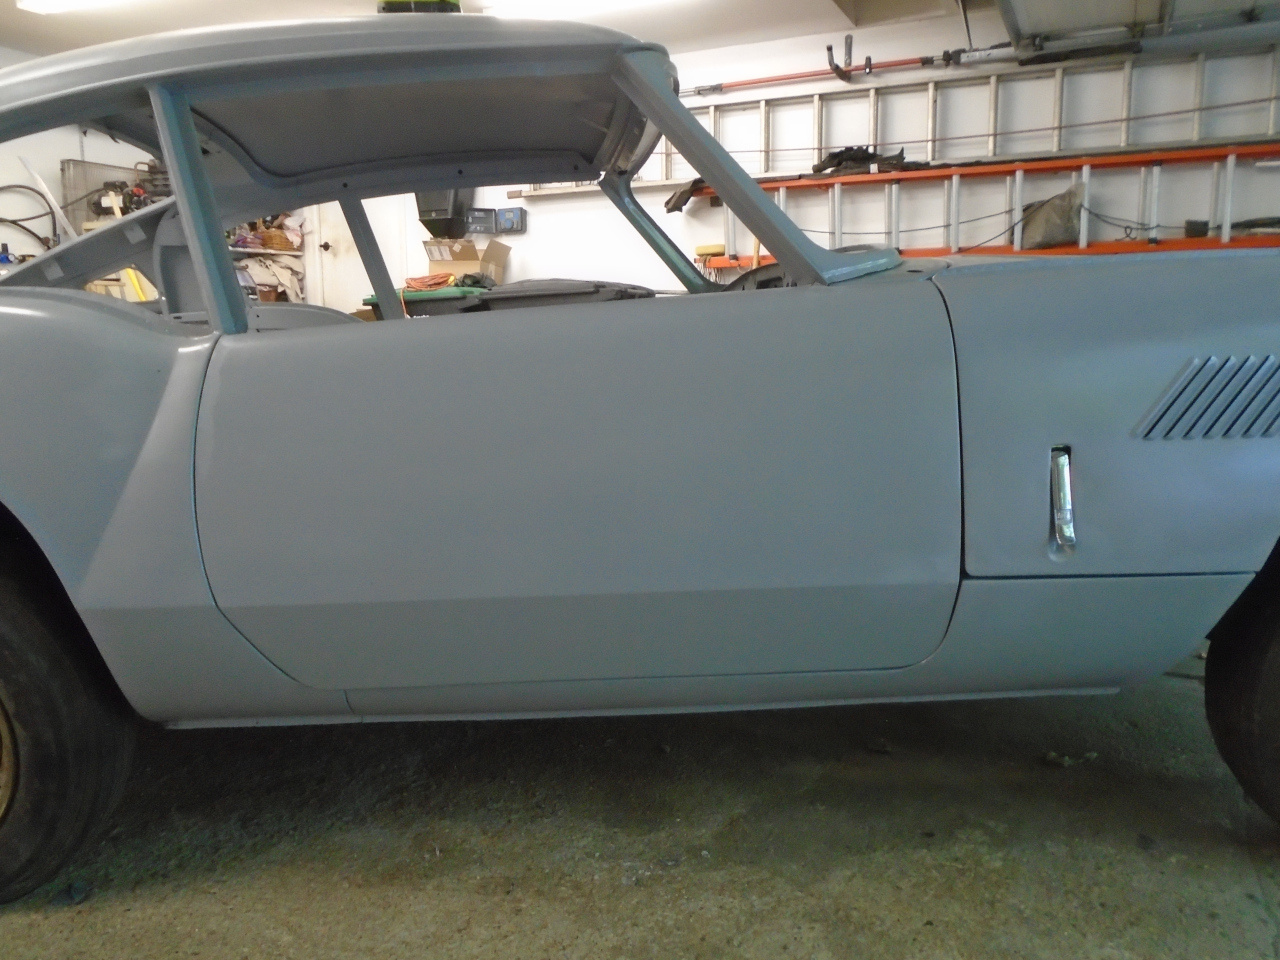
The door fit pretty good then.
As I said, the driver's side had similar work done to fix similar
problems. The sill was too far forward, but not as much as the
passenger side. The bottom edge of the bonnet was OK and didn't
need anything.
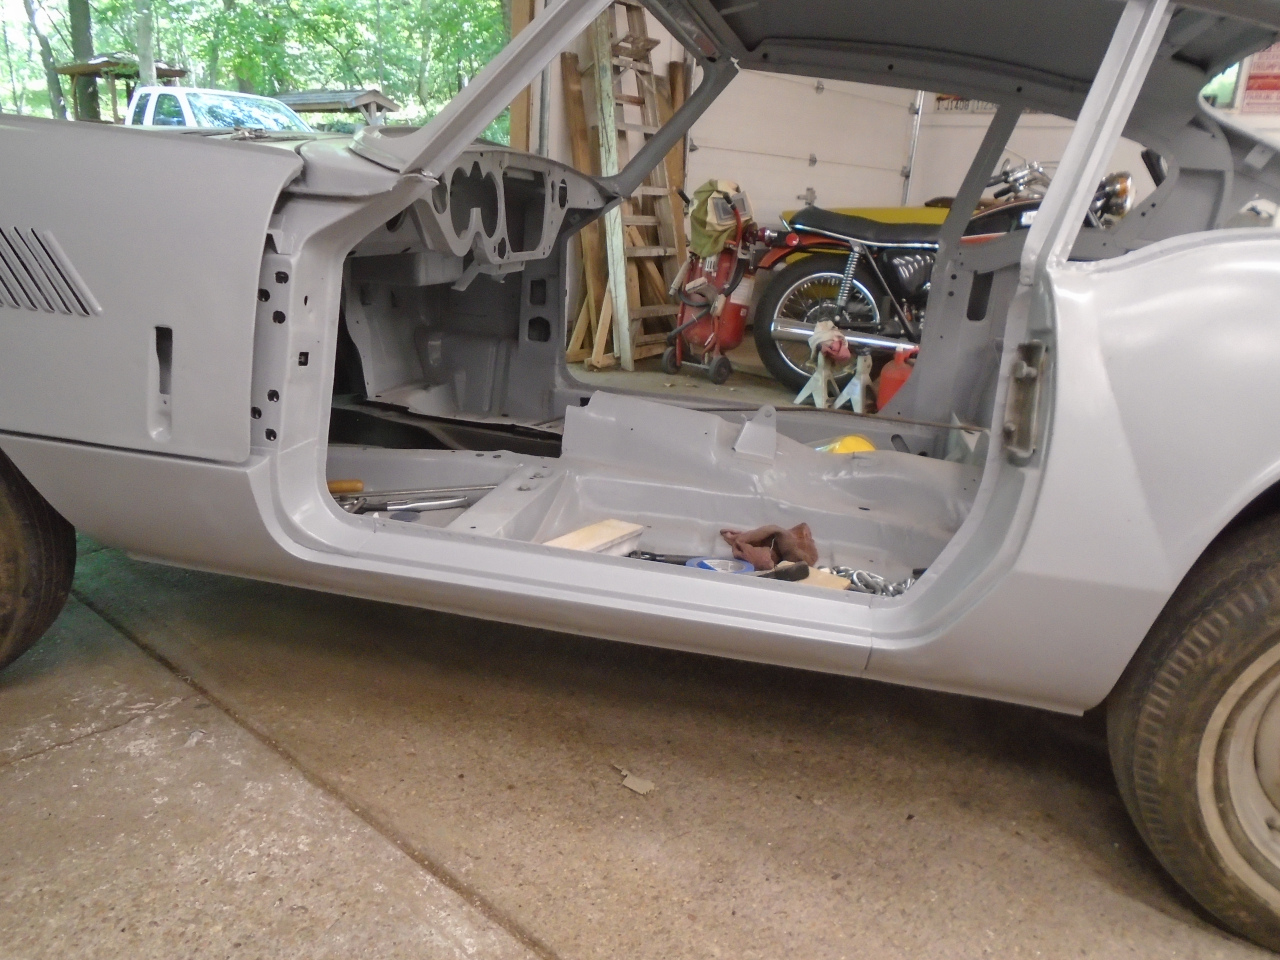
There was one other problem, though. The bottom of the door stuck
out over it's whole length. The contour matched the body
everywhere else.
I fiddled with the door for a couple of hours, but couldn't make it any
better. Finally, in desperation, I just built up the edge of the
sill to match the door. That seemed to do it.
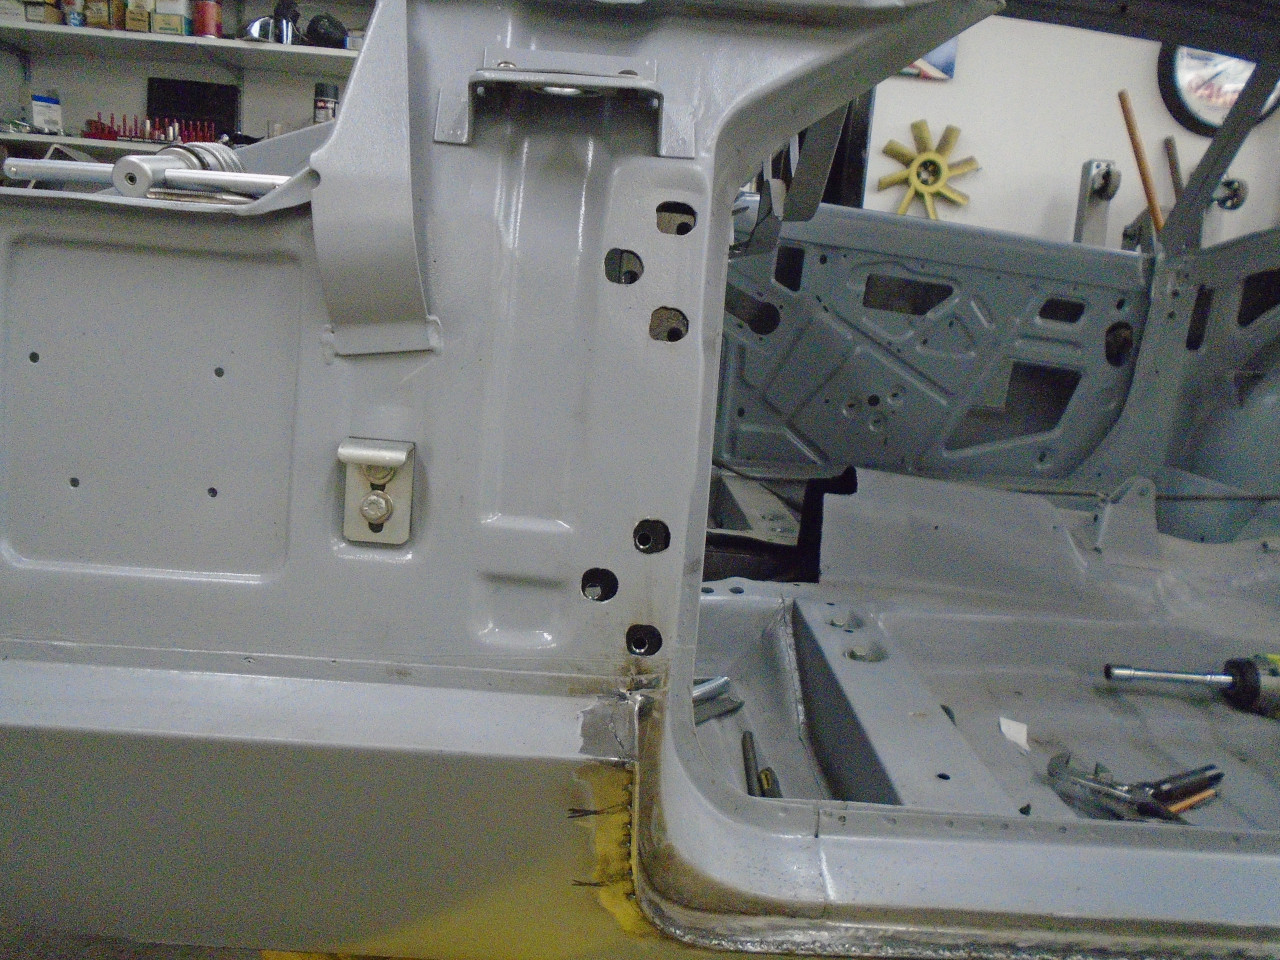
There was one other issue on the driver's side. The door needed to
be shifted forward slightly to get a good gap at the rear, but the max
travel of the hinges wasn't quite enough. Just enlarging the
oversized holes in the A post wouldn't work because the internal
floating nut plates were hitting a step in the A post metal.
"Simple", I said. "I'll just pop those nut plates out, and shave a little off".
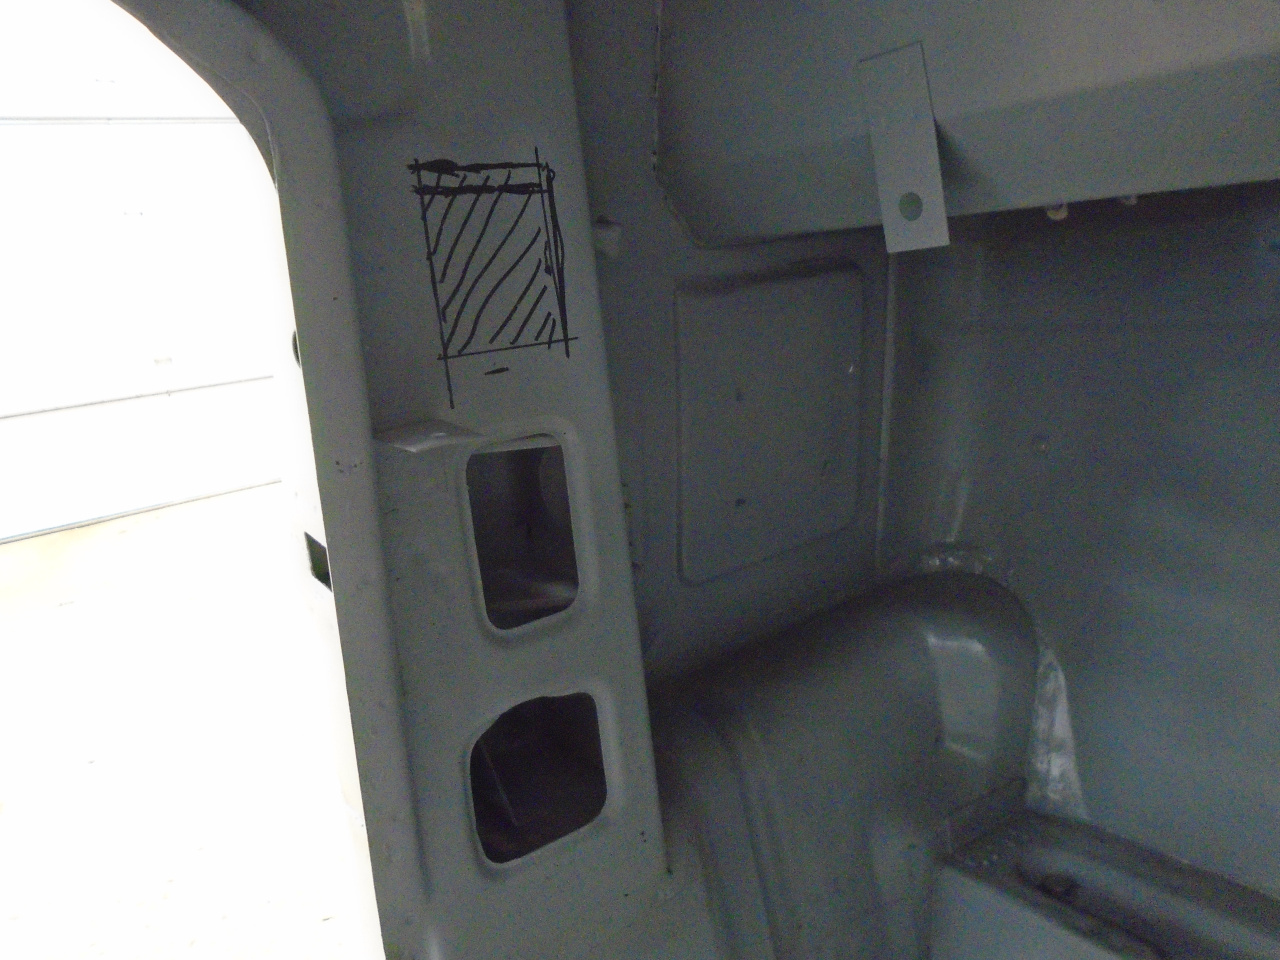
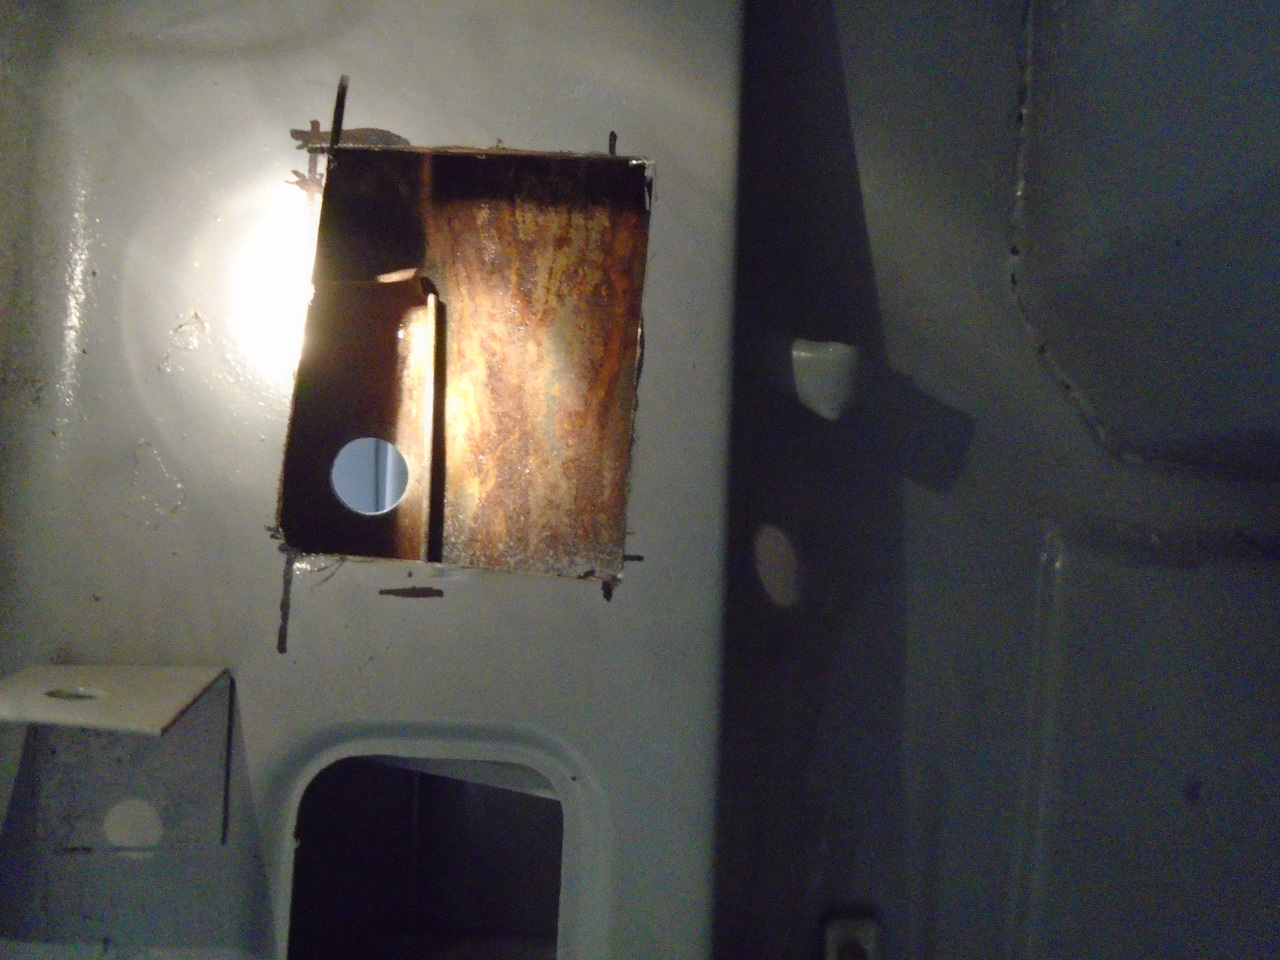
Well, that turned out to be easy to say, but I quickly found that the
upper nut plate is not accessible. I ended up cutting an access
hole on the inside of the A post to get at it.
The nut plates before, and after trimming and powder coating.
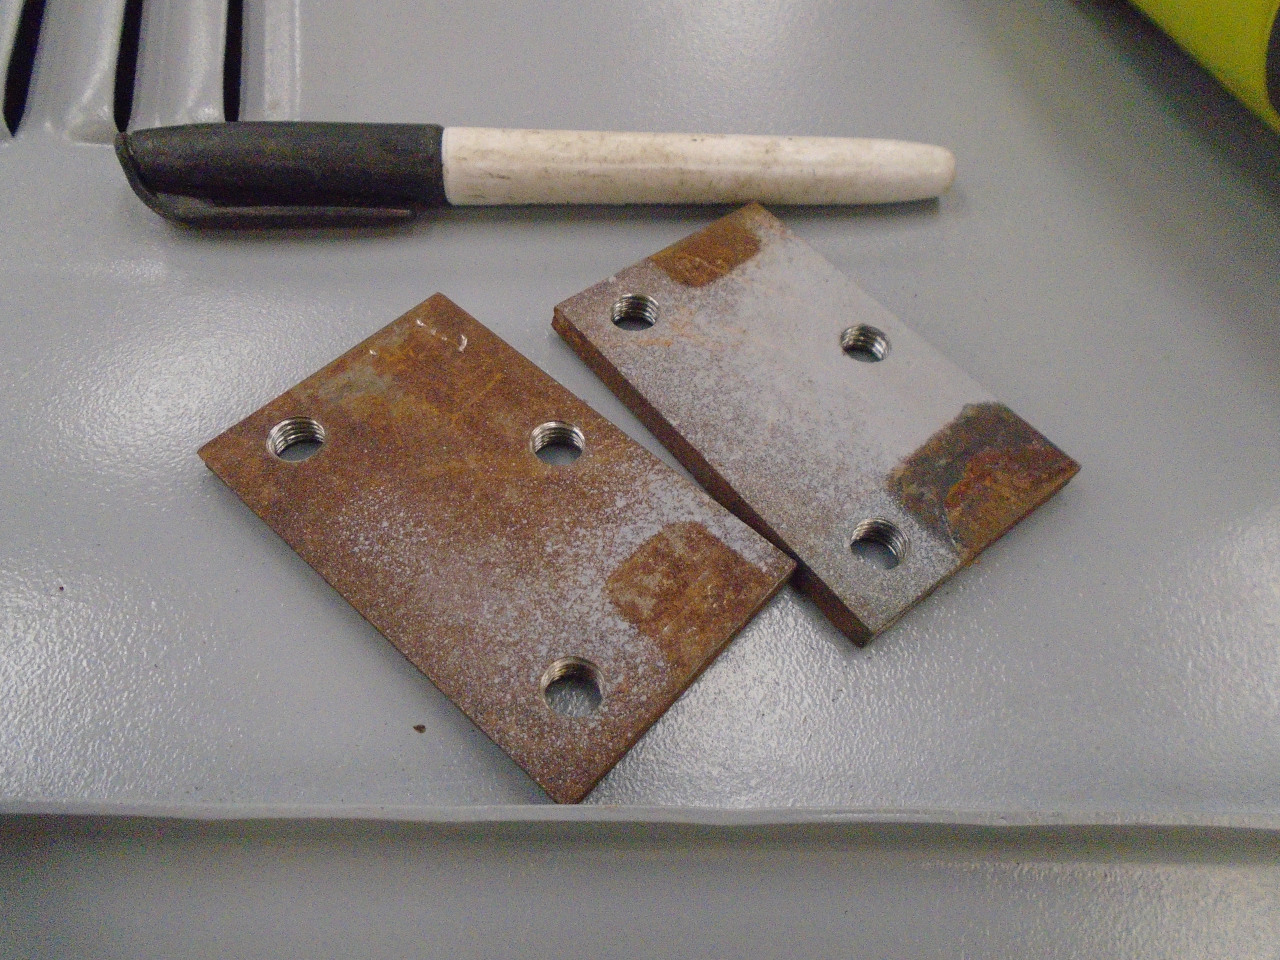

A little enlarging of the holes than gave me the extra travel I needed.
All good except a little too tight at the front top of the door. I
was able to fix that with a file and a little hammer work.
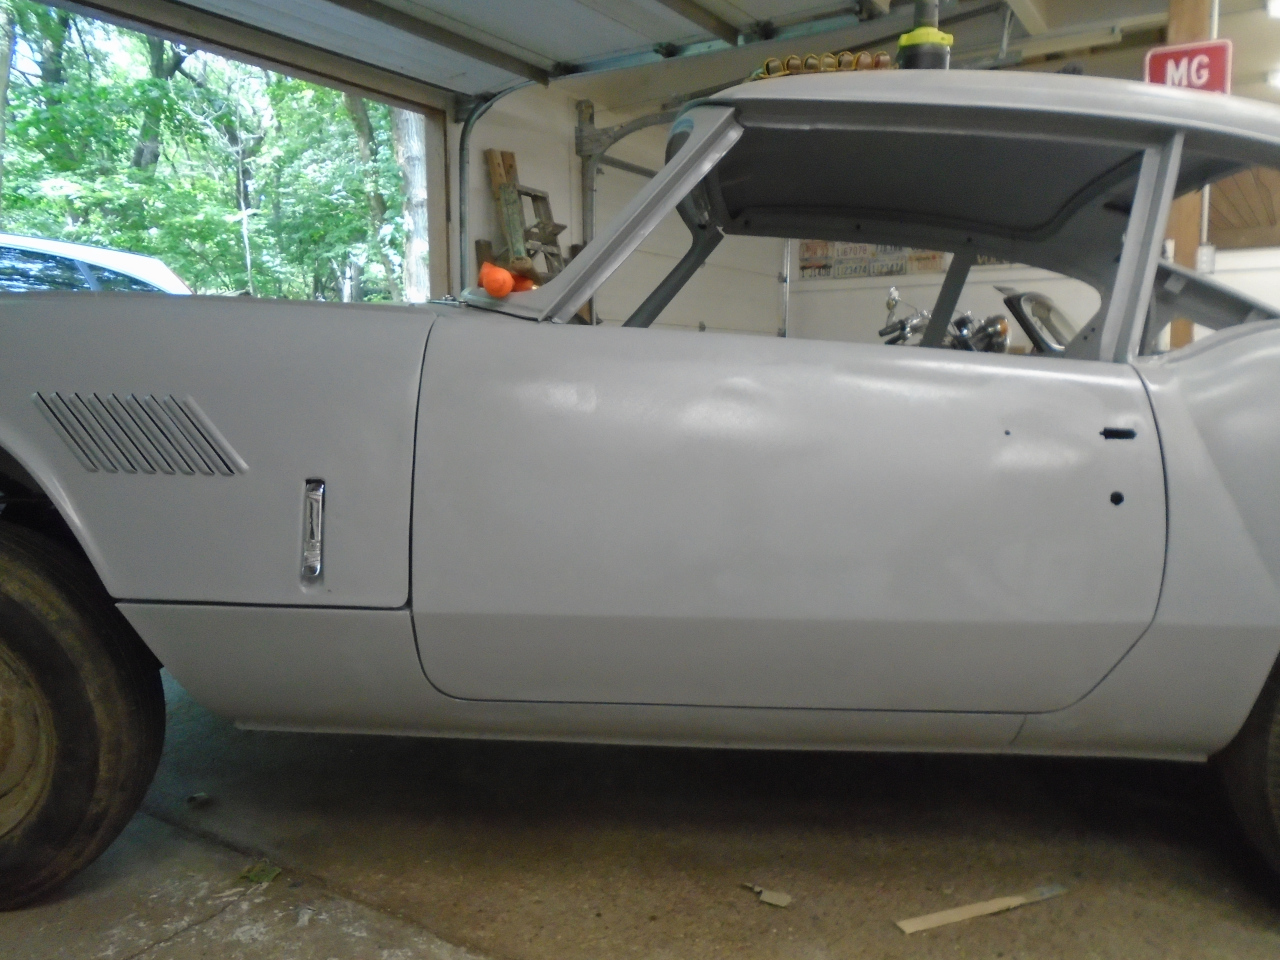
Some filler, some cleanup, and some fresh epoxy.
If anything, the gaps might be on the small side right now, but that's pretty easy to adjust before paint.
This was a tedious job. To say I had the doors on and off 30 times
probably isn't an exaggeration. I'll have a chance to further
fine tune the gaps during and after paint prep. Dollar cost was
just some consumables.
Comments to Ed at elhollin1@yahoo.com
To my other GT6 pages.