To my other GT6 pages.
May 27, 2021
Bonnet Latches
The GT6, like some other British sports cars of the era, had a
distinctive method for engine access. Instead of a "lid" type
opening over the engine, the entire front clip was hinged behind the
front bumper, and swung up to expose everything in front of the
firewall. So, in effect, the "bonnet" included the front wings and
grille. When in the closed position, the bonnet is secured on
each side by an over-center latch mechanism operated by an exposed
chrome plated lever.
I had come to the point in the restoration where I needed to sort out
the panel gaps, and for this, I needed to set the bonnet position, which
would require the latches. I couldn't really remember if there were
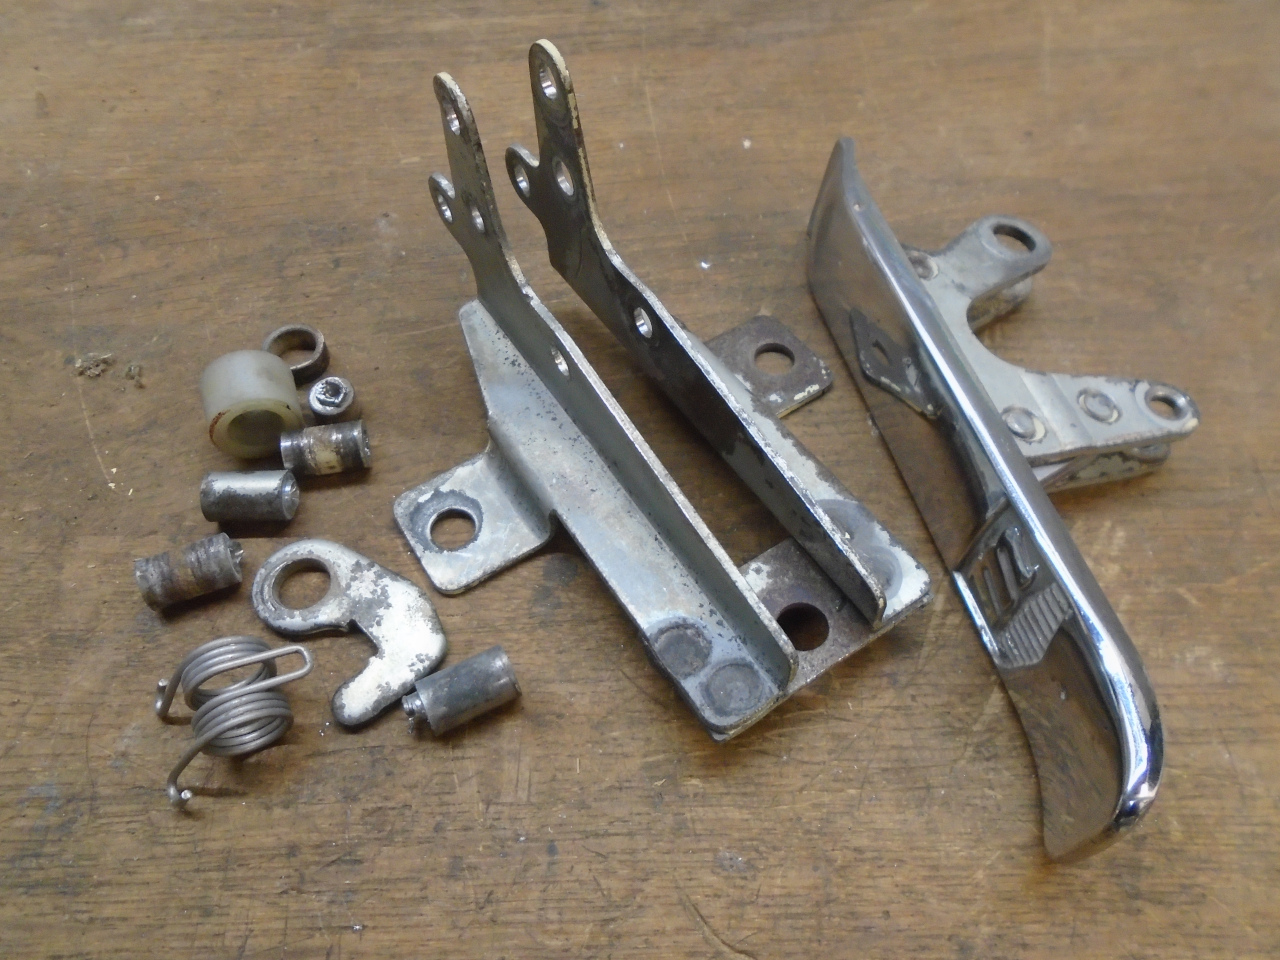
problems with my latches, so I dug them our for inspection. They
looked pretty bad at first.
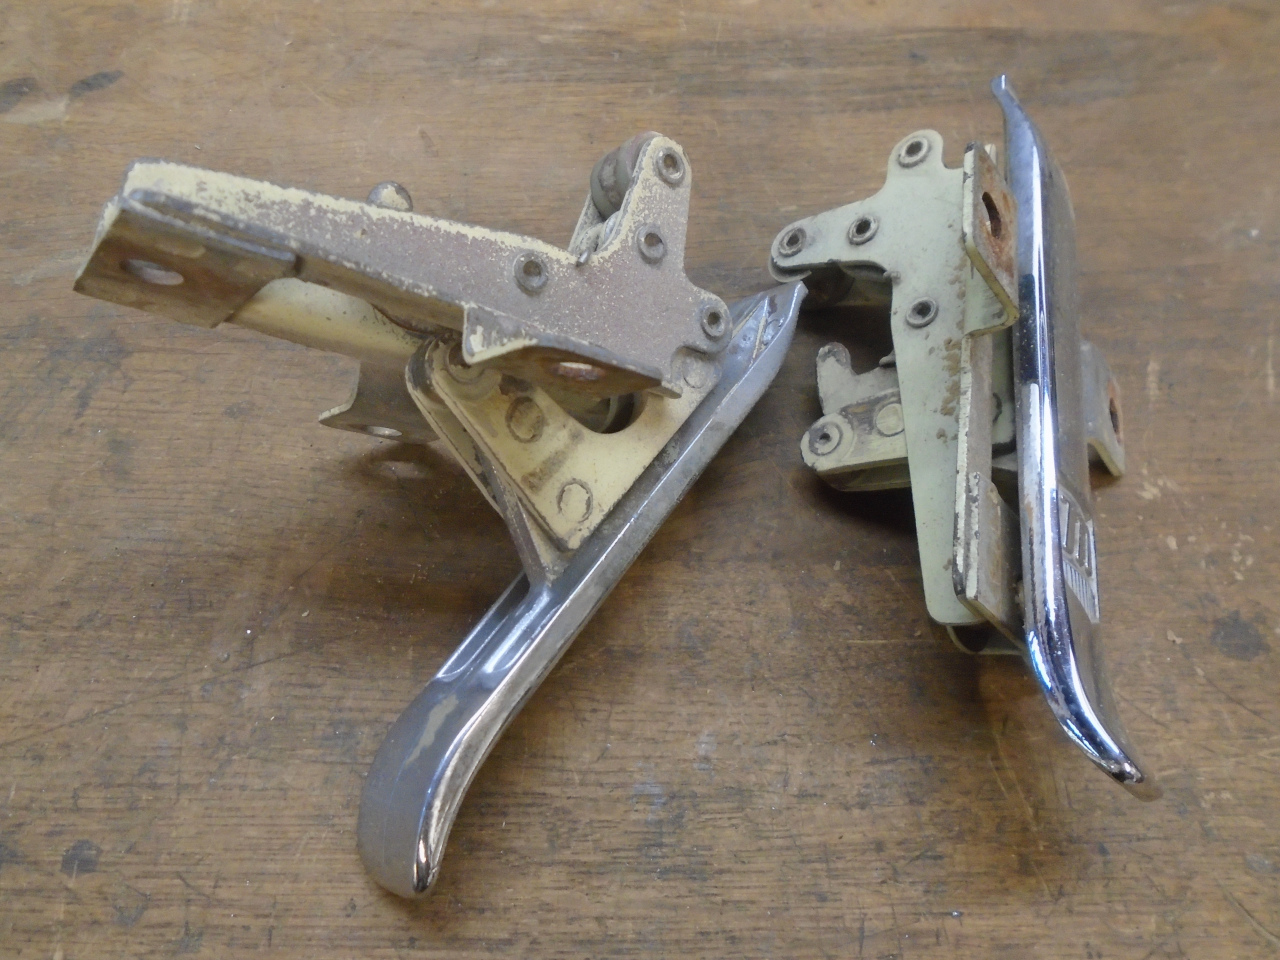
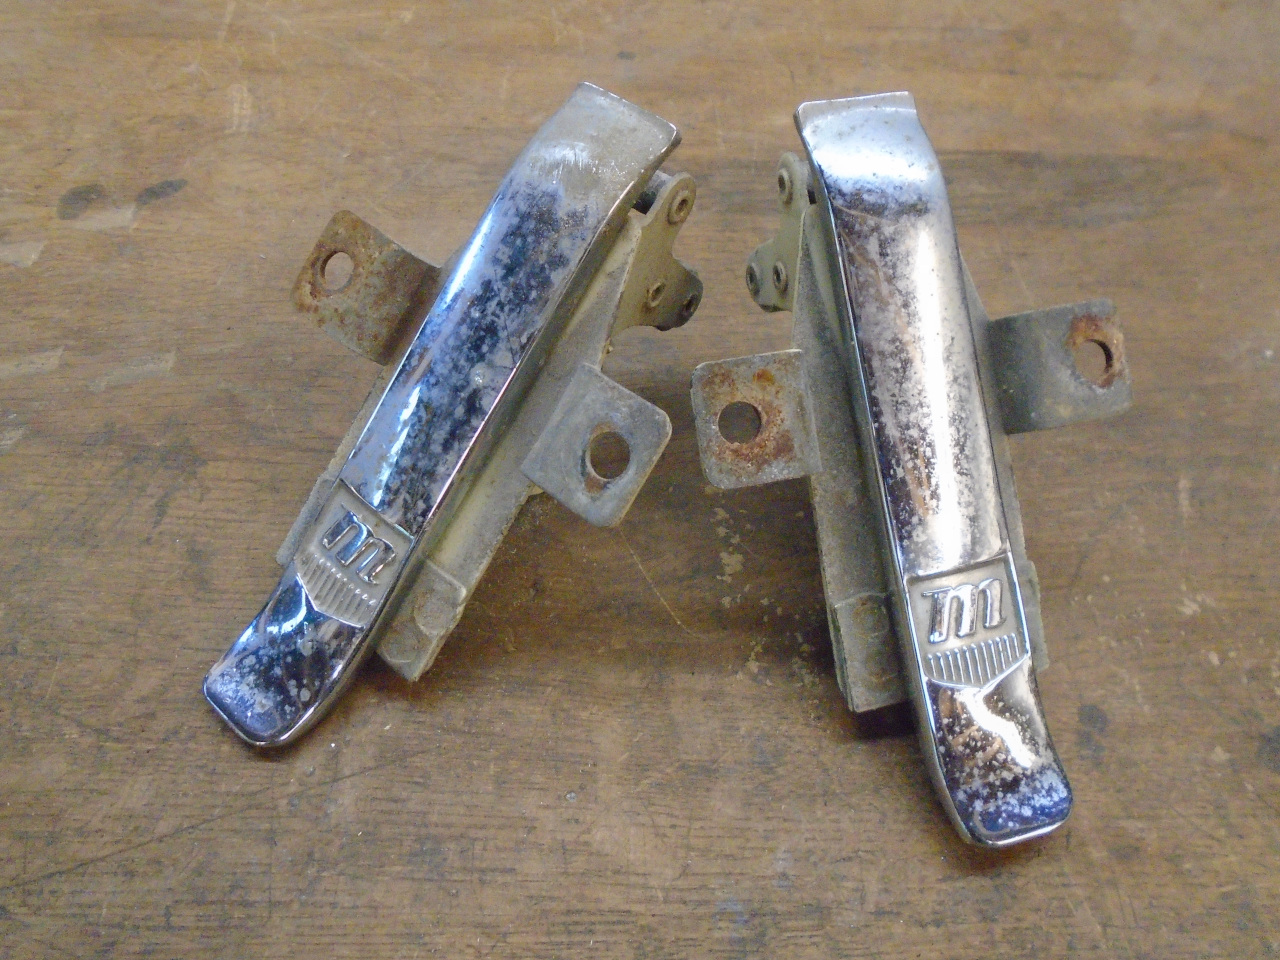
Both of them seemed a little loose. They were also both fairly
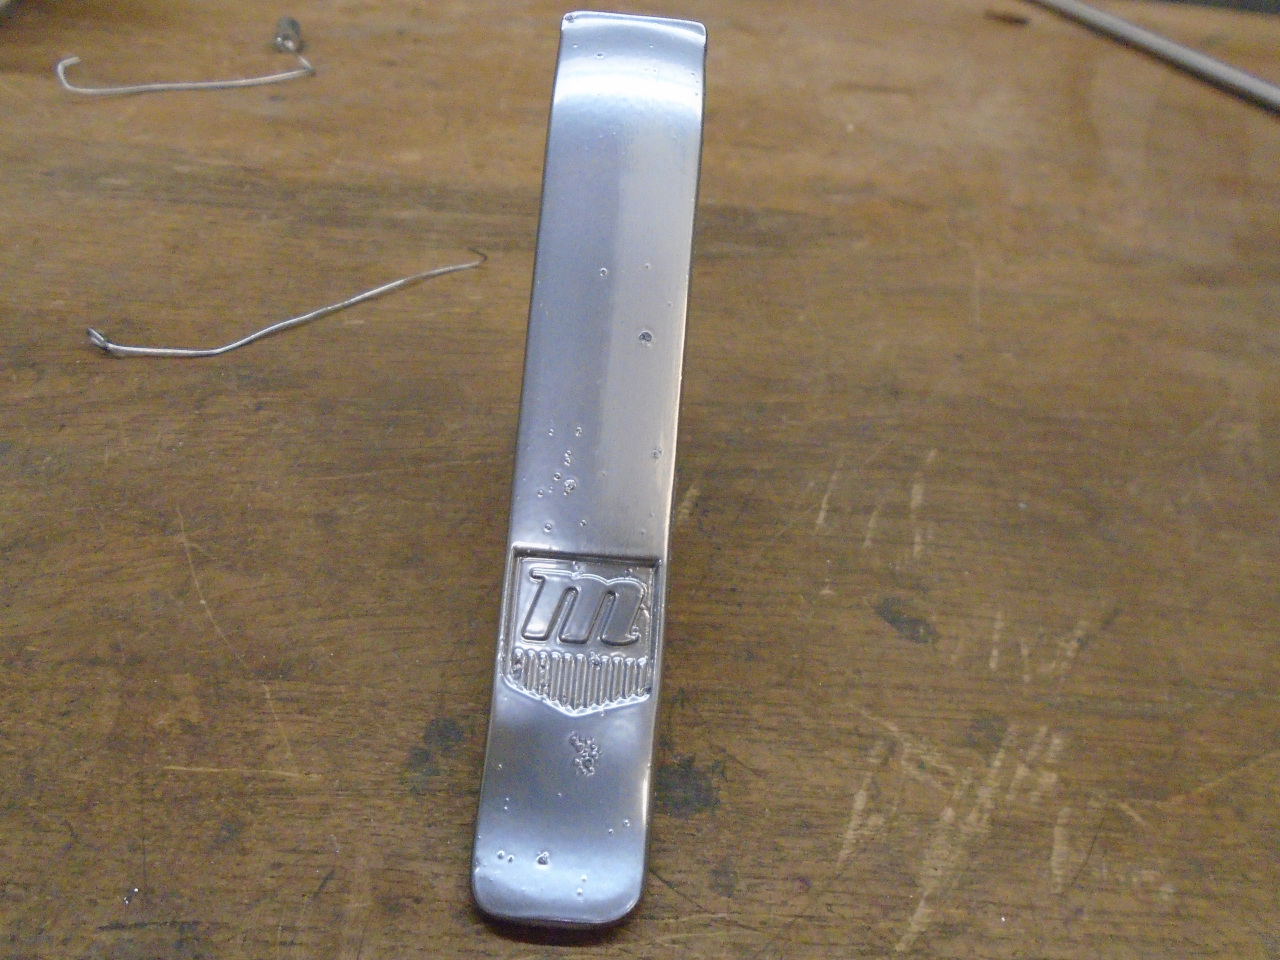
rusty, and one of the levers had blisters in the chrome (the one on the
left). The pitted chrome bothered me.
These latches can be bought, but besides the trepidation I have with
buying replacement parts, the price is not inconsequential at around
$100. I decided that I didn't have much to lose by trying to
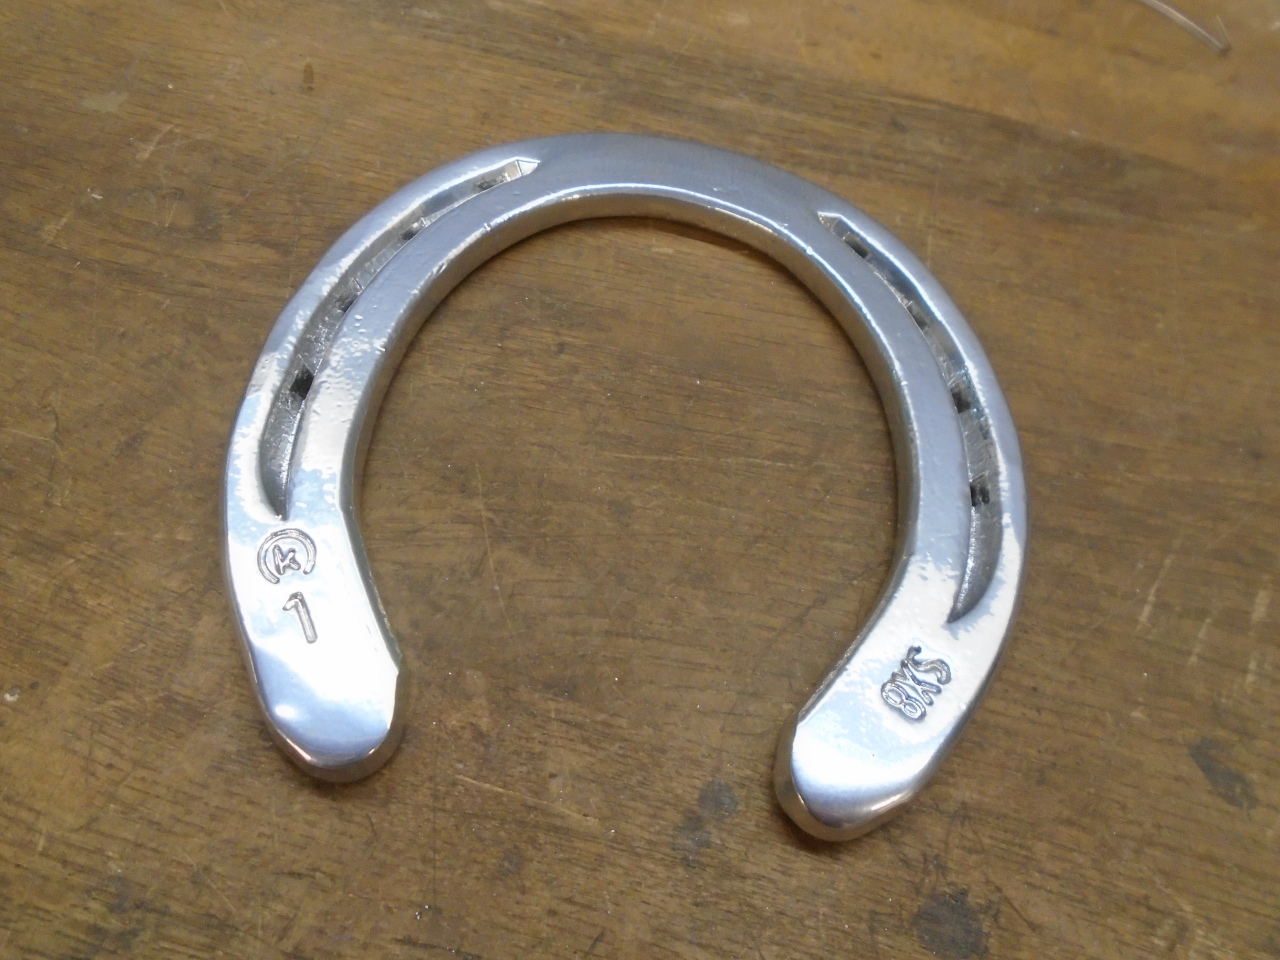
improve the worst of the two latches. I recently tried a chrome
powder coat that came out pretty good on this horse shoe, and thought it
was worth a try on the latch lever.
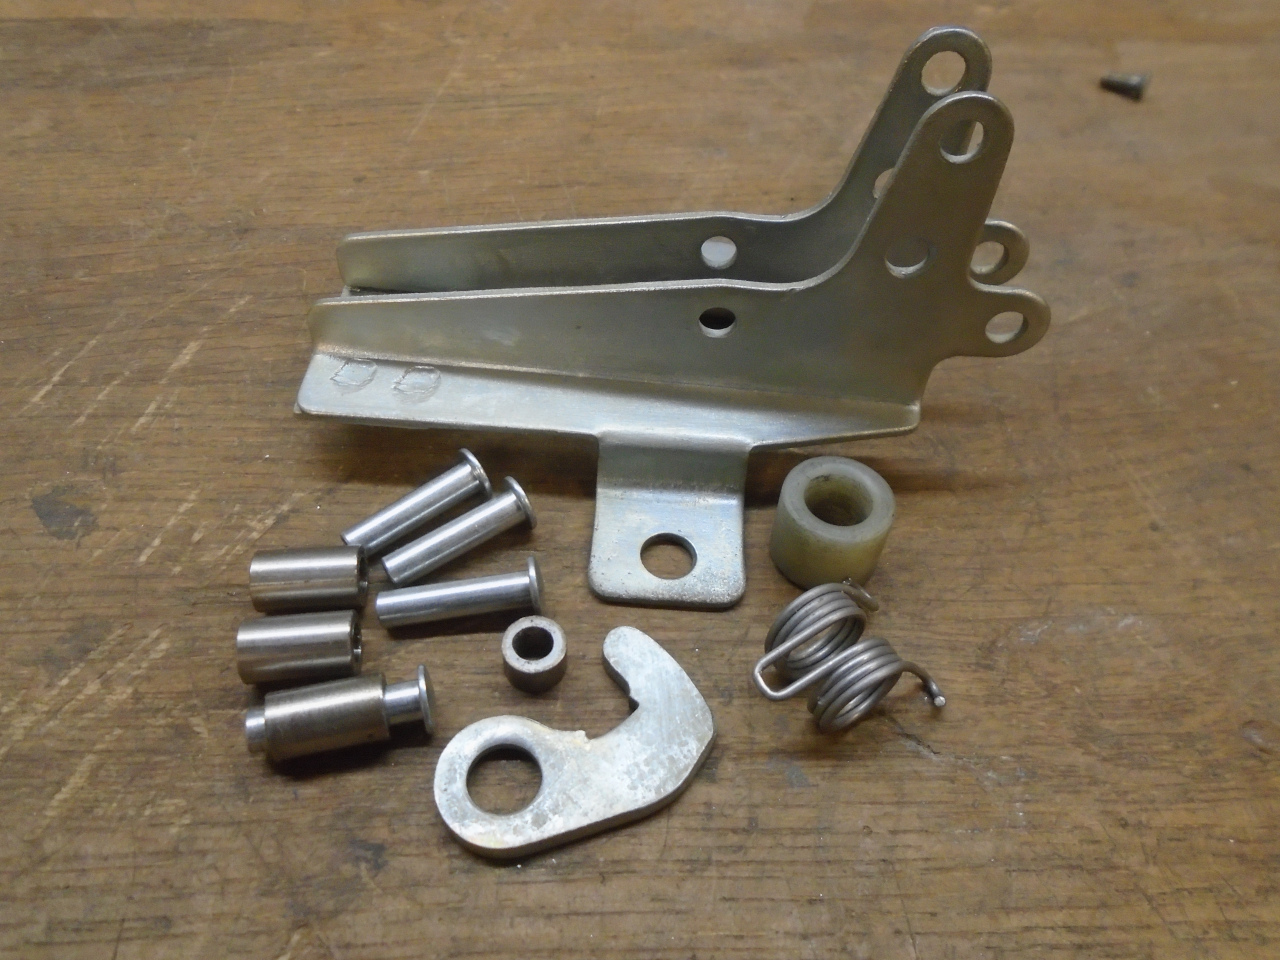
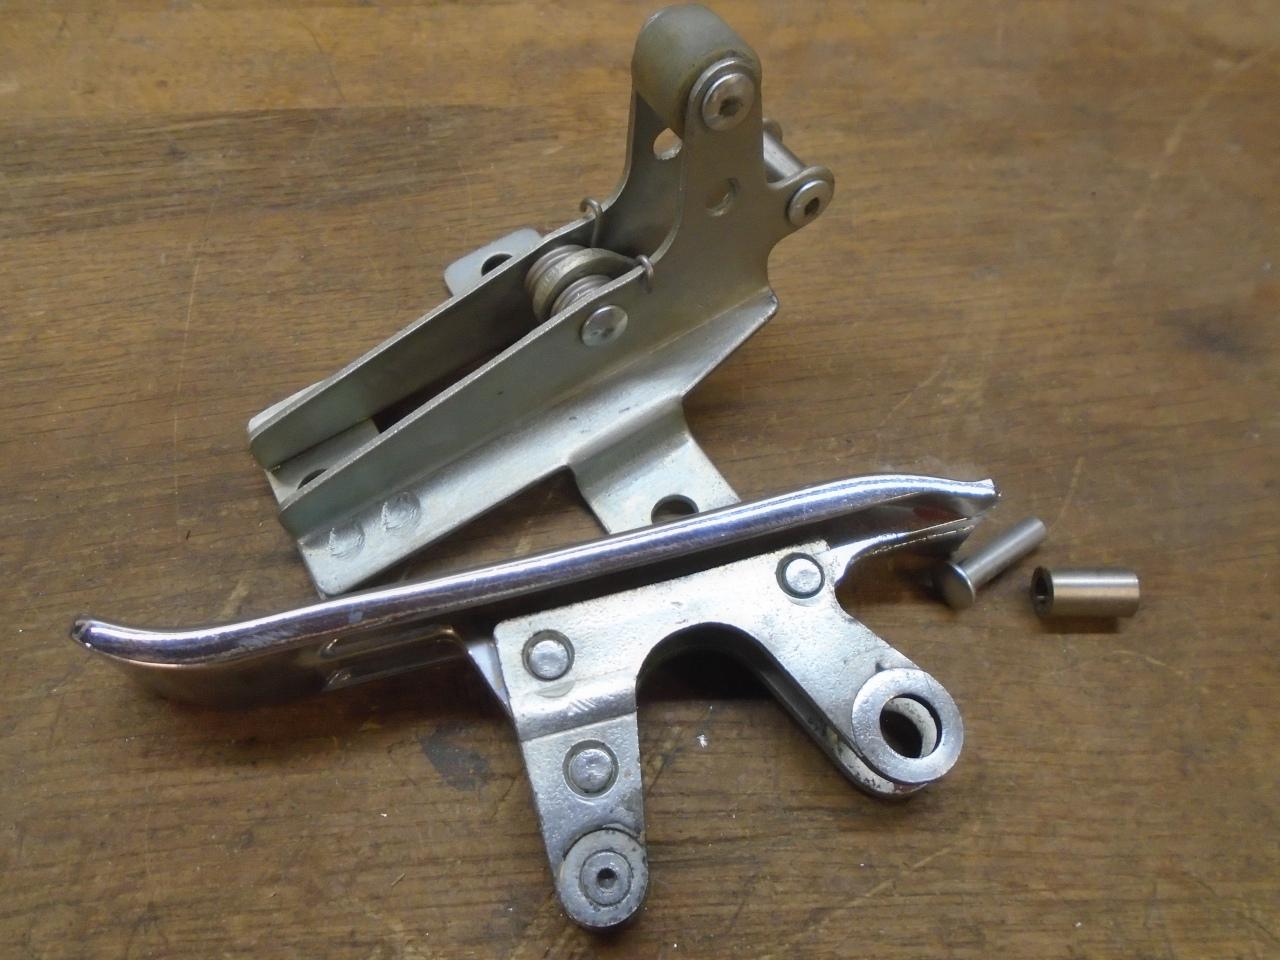
This of course meant that the mechanism really needed to be taken apart,
especially to clean up the rust. It is held together with a few
spacers with rivet-like noses on each end.
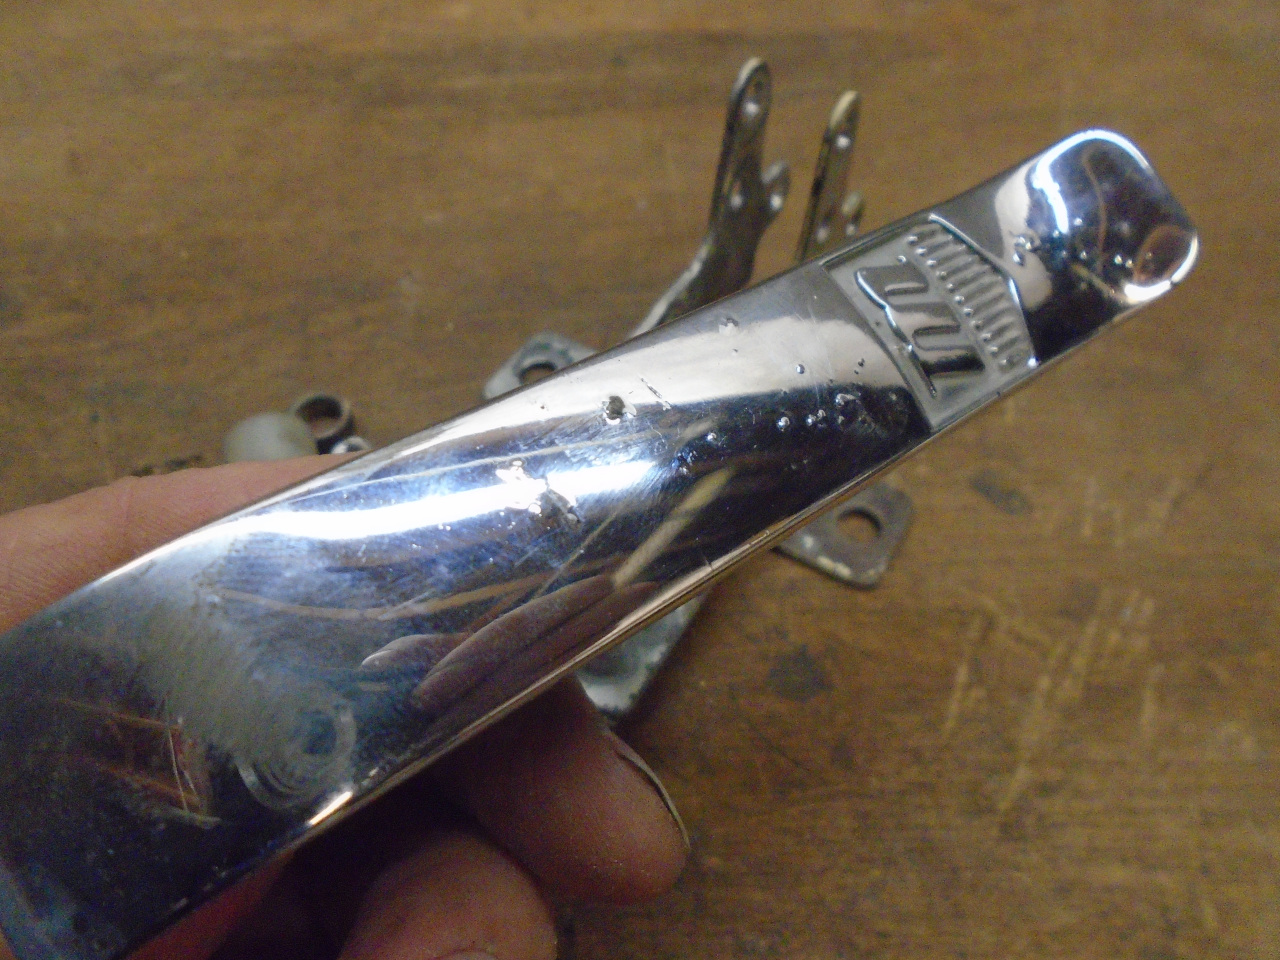
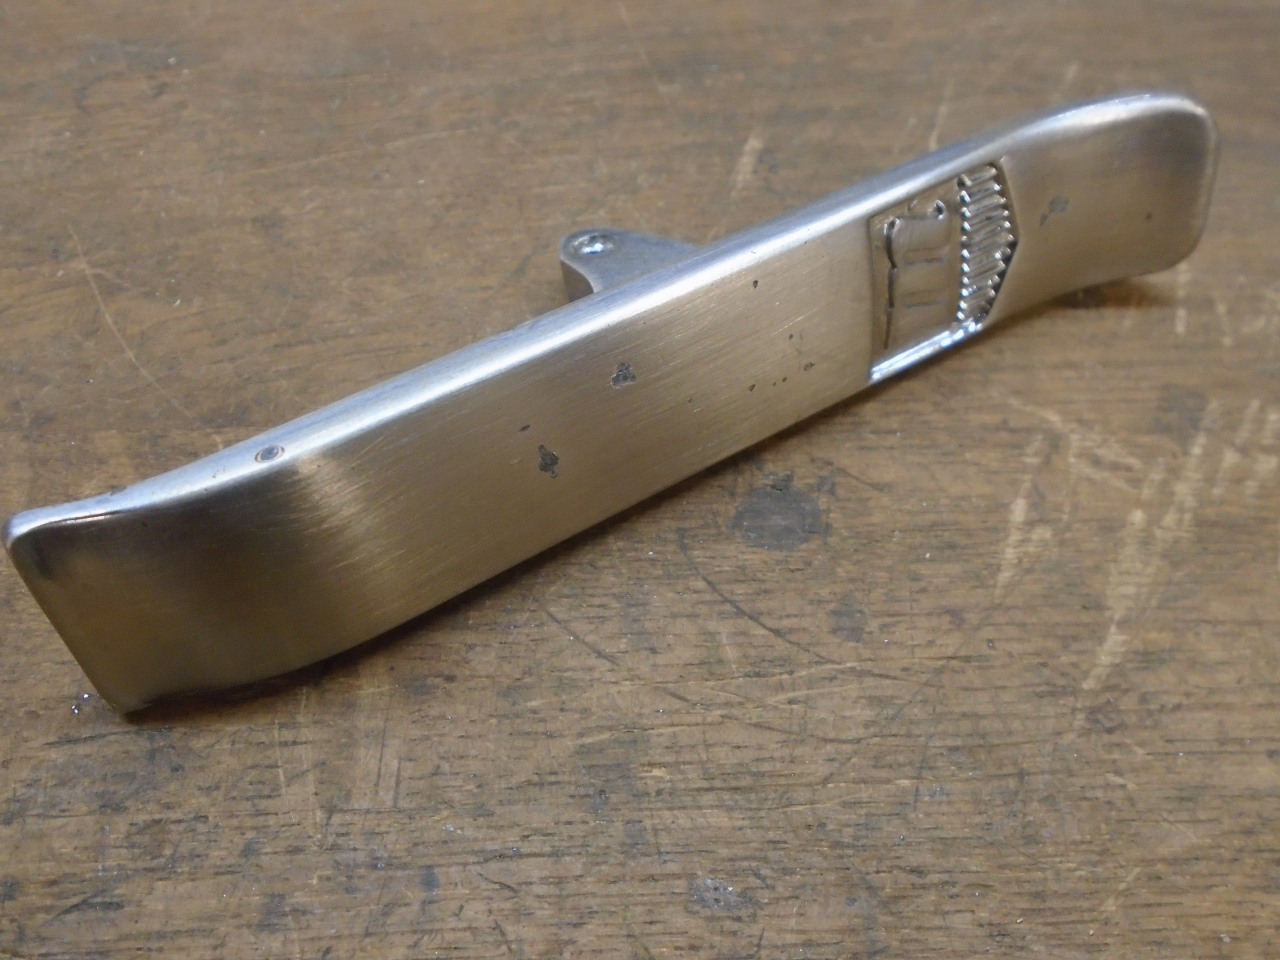
This is the lever with the blistered chrome.
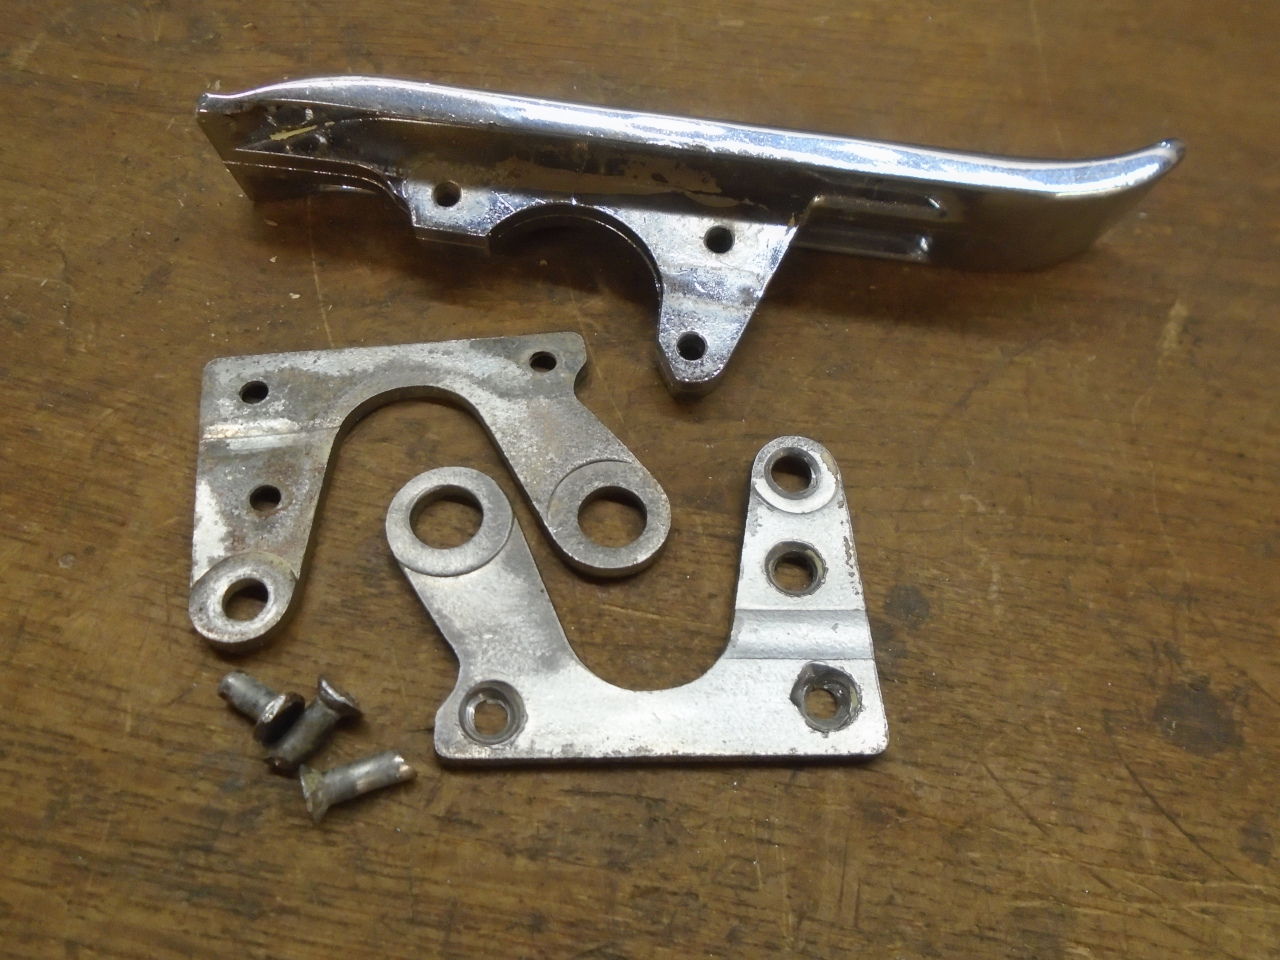
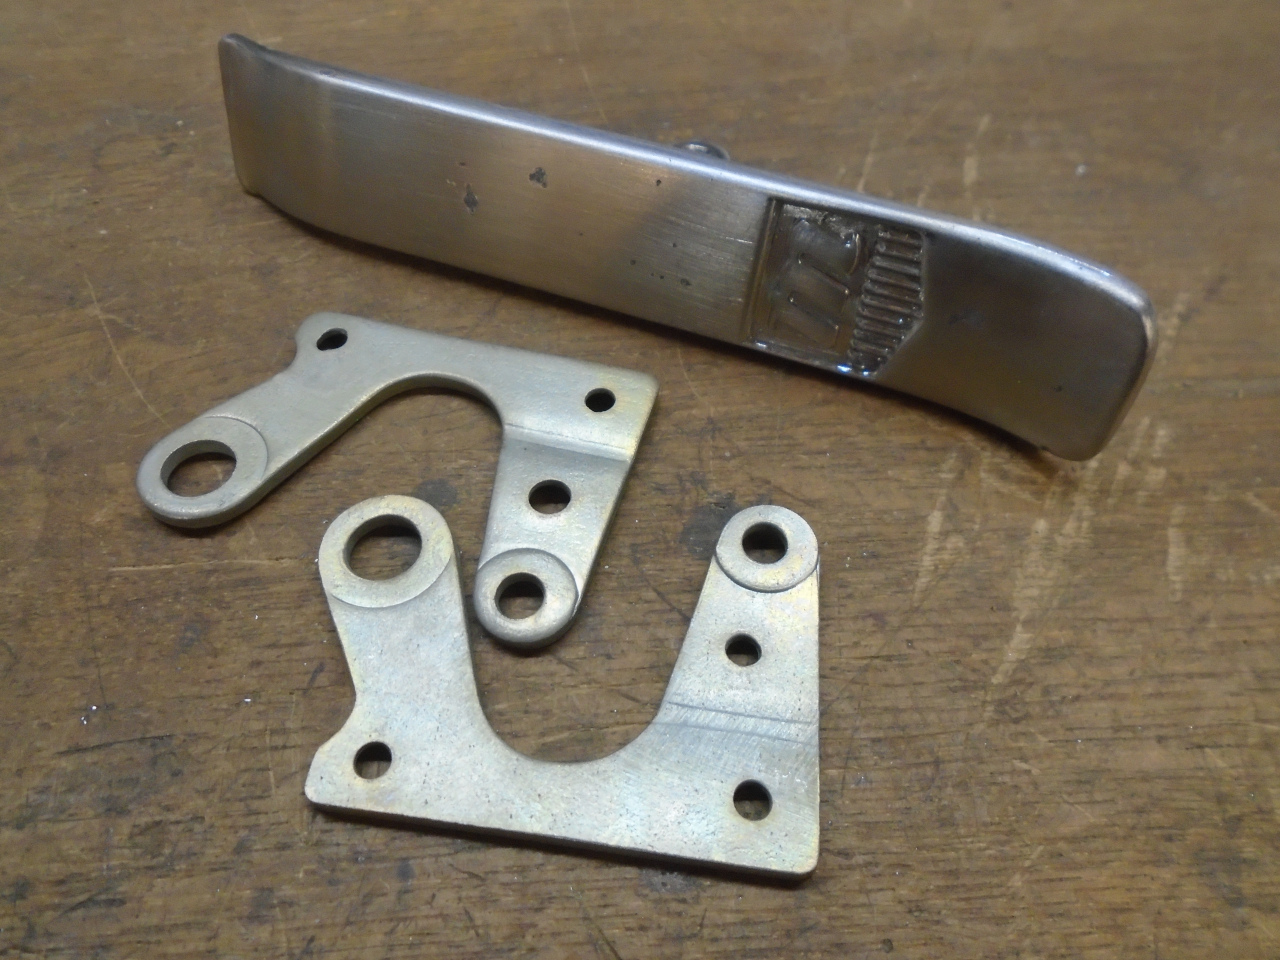
The brackets came off the lever so I could fix the corrosion on them.
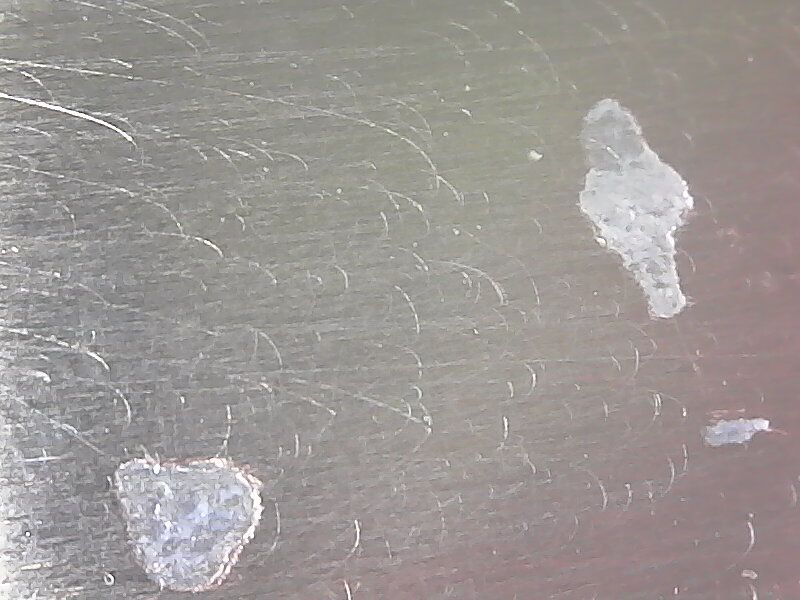
Blisters on chrome are usually caused by corrosion under the plating,
and when you remove the blister and the corrosion, it leaves a pit in
the base metal. This is what some of the pits looked like under
some magnification. They were actually deeper than they appear in
the image.
I decided to try to fill the pits before powder coating. I've had
some success in the past using something like JB Weld, which is a metal
filled epoxy that has a temperature rating that can take the powder coat
curing process. The set filler has to be baked to make sure it
will not outgas during powder curing. Also shown are the re-plated
brackets.
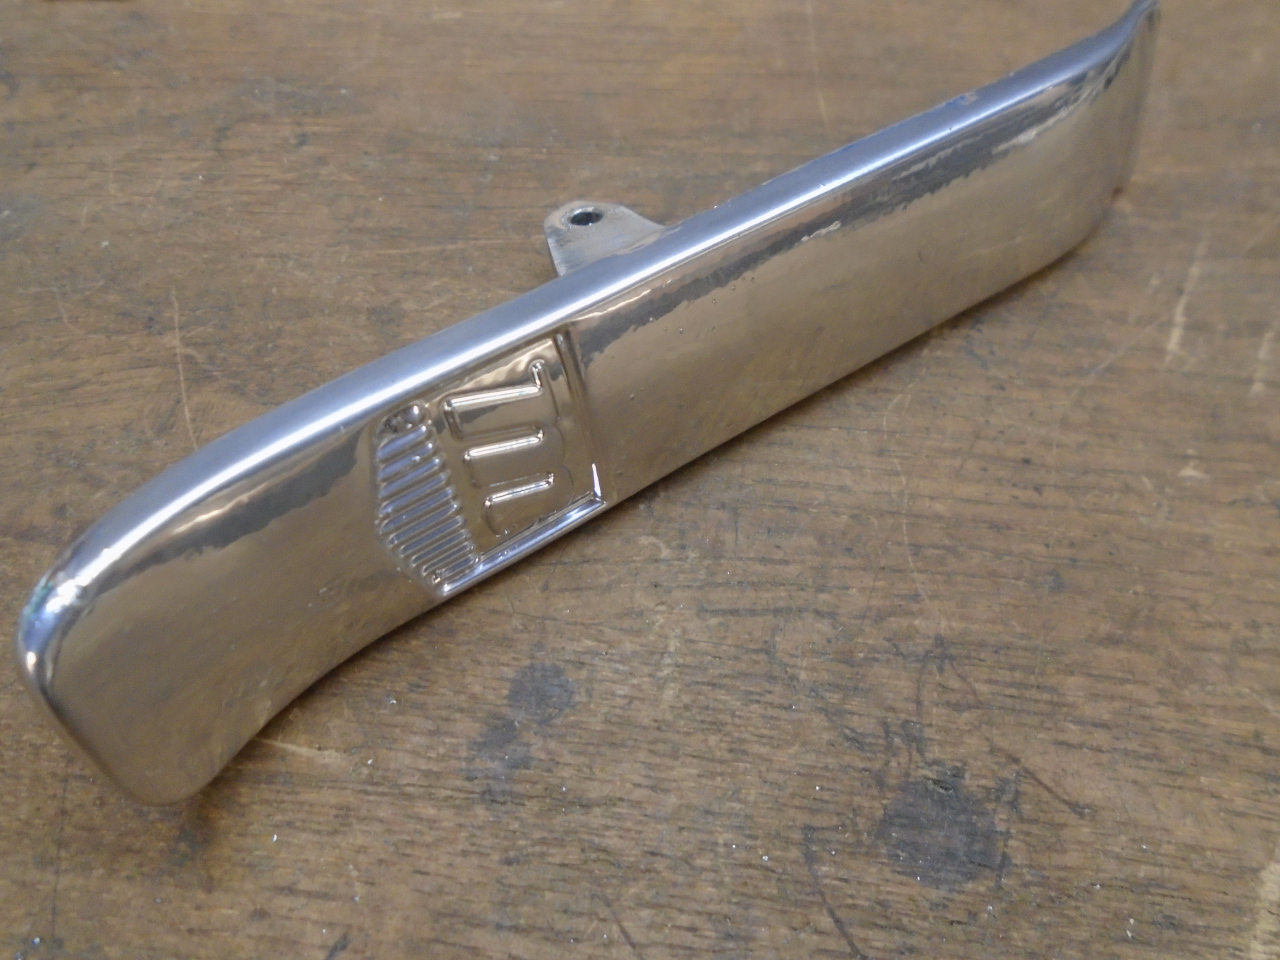
Well, the result was sort of OK, I guess. There was a little
orange peel, but from a distance, it looked pretty good. The
spoiler was that there were defects in the surface exactly where the
pits were. They don't show up in the picture.
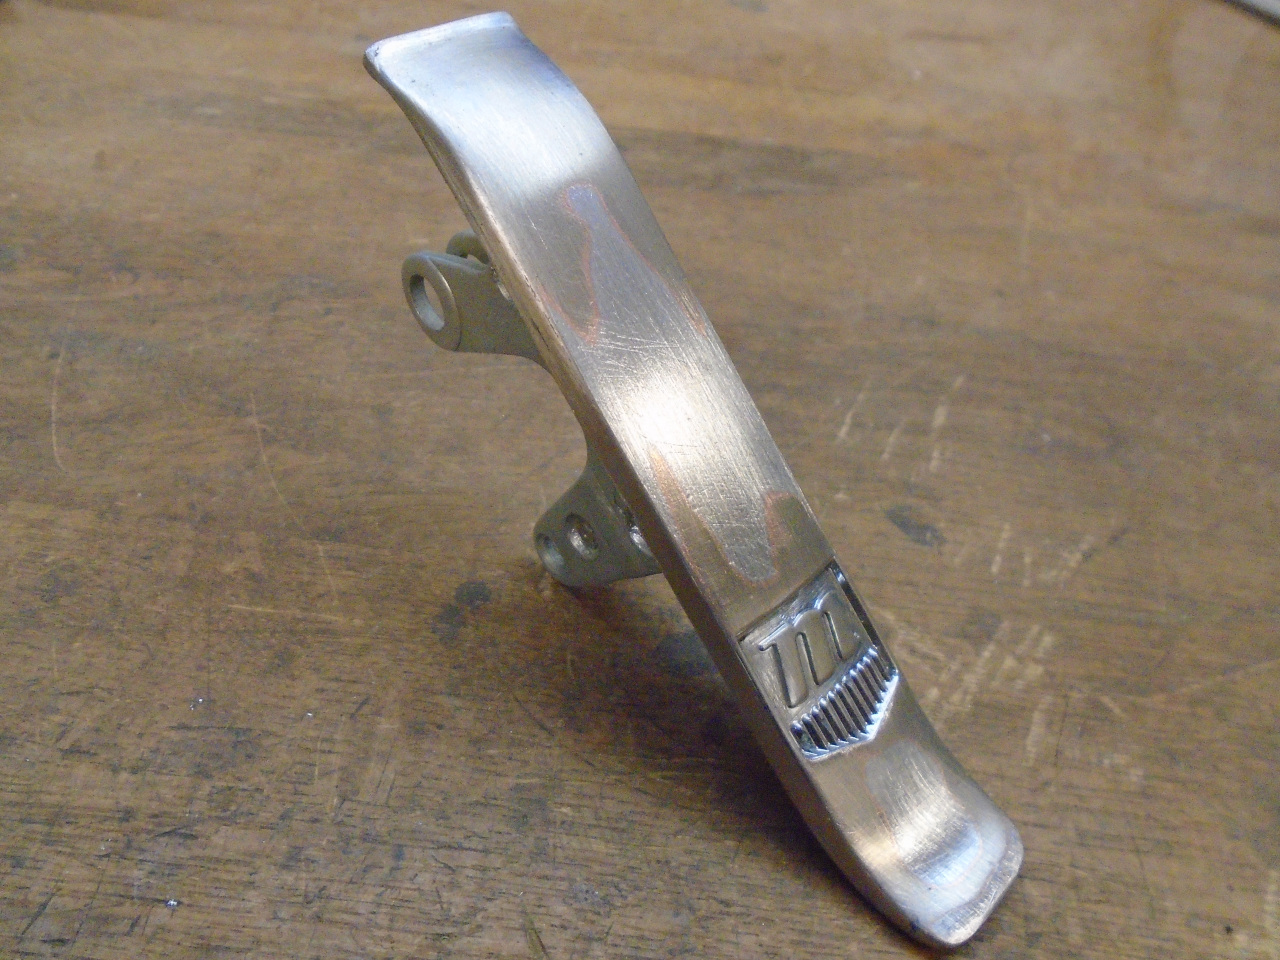
I assumed that the filler was still outgassing, so I sanded the part
down to the bottom of the pits. Decent chrome plating is actually
three layers--copper first to help with adhesion to the base metal,
nickle next to provide most of the protection and shine, and a very thin
layer of chromium on top, which gives the bluish tinge. You can
see in the pic the copper layer on top of the pot metal base, while the
nickel has a slightly yellowish color. Most of the chromium is
gone.
After powder coating again, the result was even worse. Besides the
dull sheen, there were still defects at the sites of the original
blisters.
I then assumed that the problem might be localized porosity in the base
metal that would account for the defects in the powder coat as well as
the original blisters. Contaminants in the pores caused corrosion
under the chrome, and also ruined the powder coat, maybe through
outgassing.
I had two more goes at it, first sanding more, then finally trying zinc
plating the part before powder coating. Both failed. Now I
understand better why platers don't like to chrome pot metal.
Reluctantly, I finally threw up my hands, admitted defeat, and ordered a new latch.
It was not a total loss, though. During the process, when I still
had high hopes, I stripped and replated the other parts of the
mechanism.
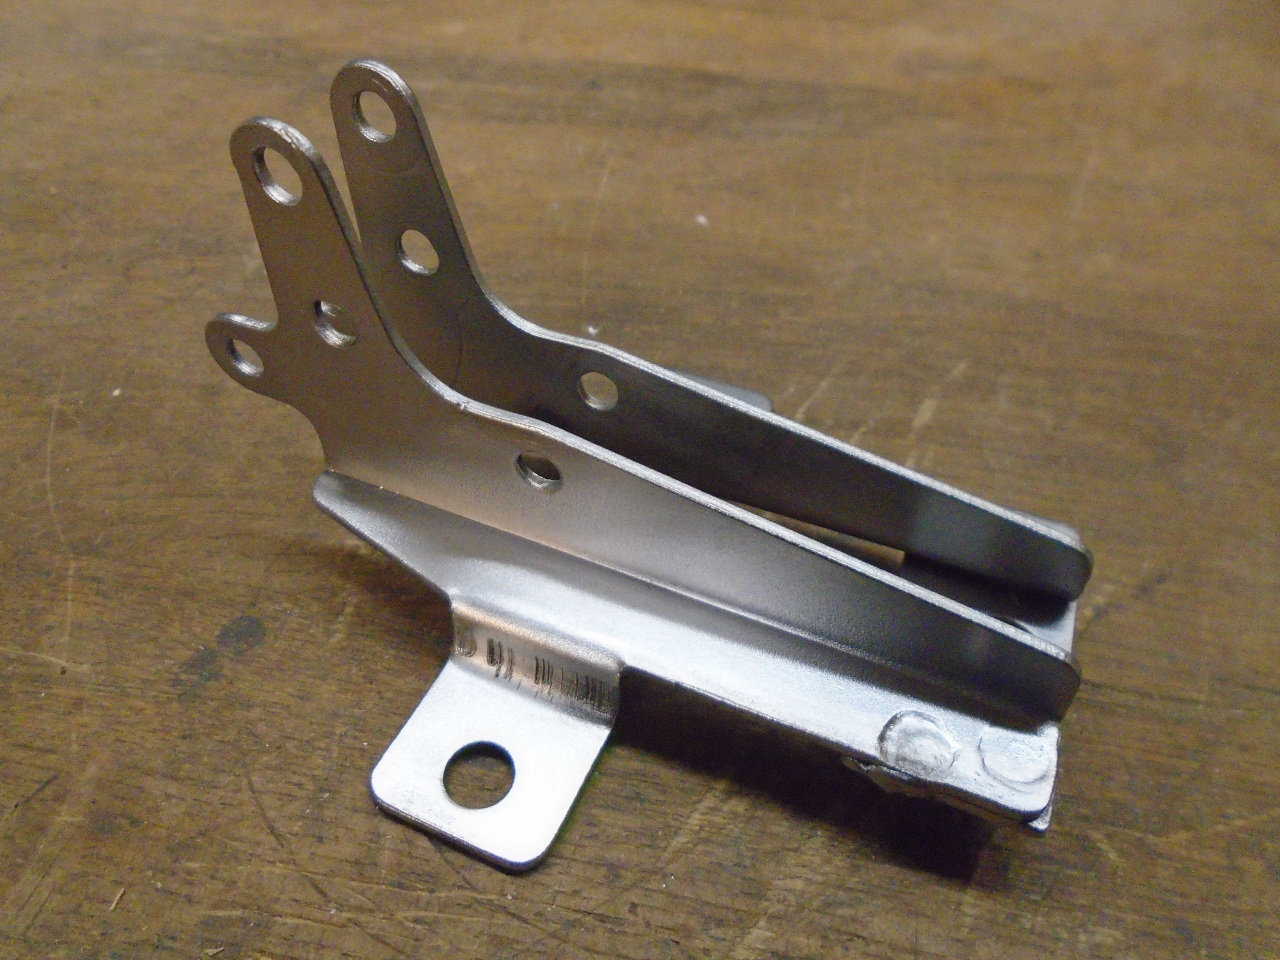
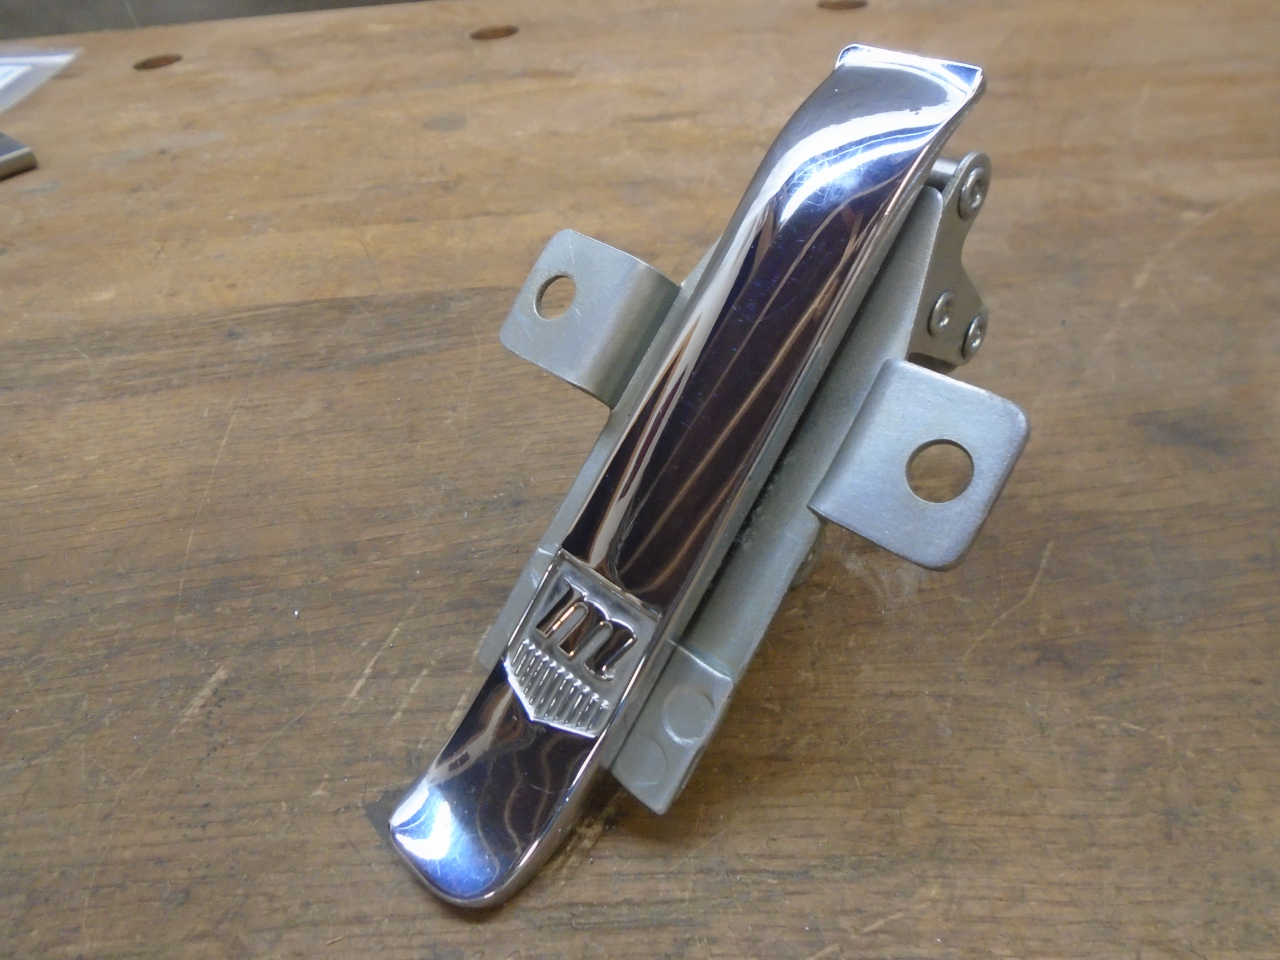
Then re-built the latch except for the lever. The original special
rivet/spacers got replaced with separate rivets and spacers.
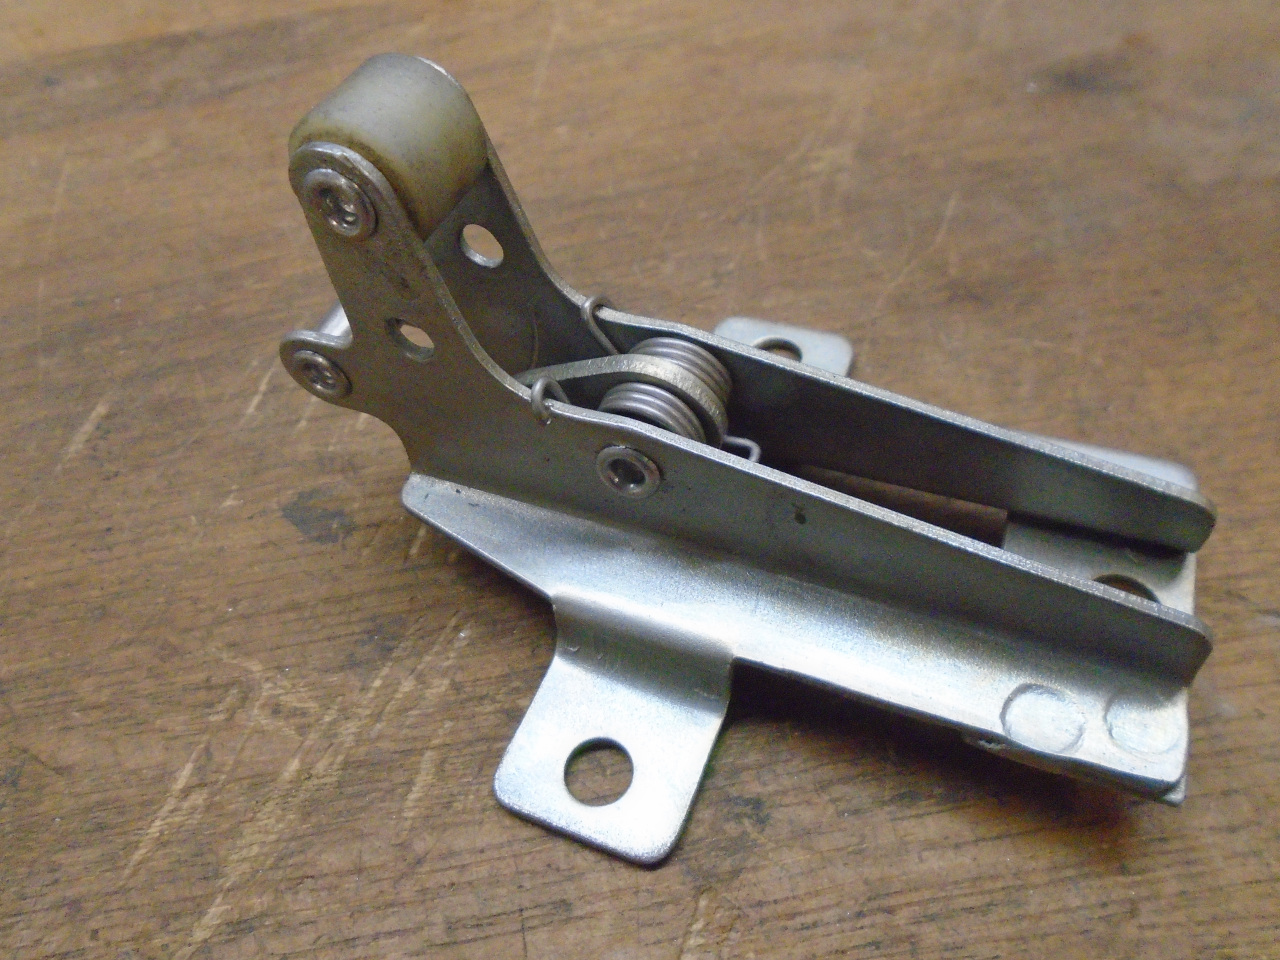
I now had a renewed latch without a lever, and a complete latch with a
good lever, but rusty mechanism. The next step was obvious.
Move the good lever to the rebuilt mechanism.

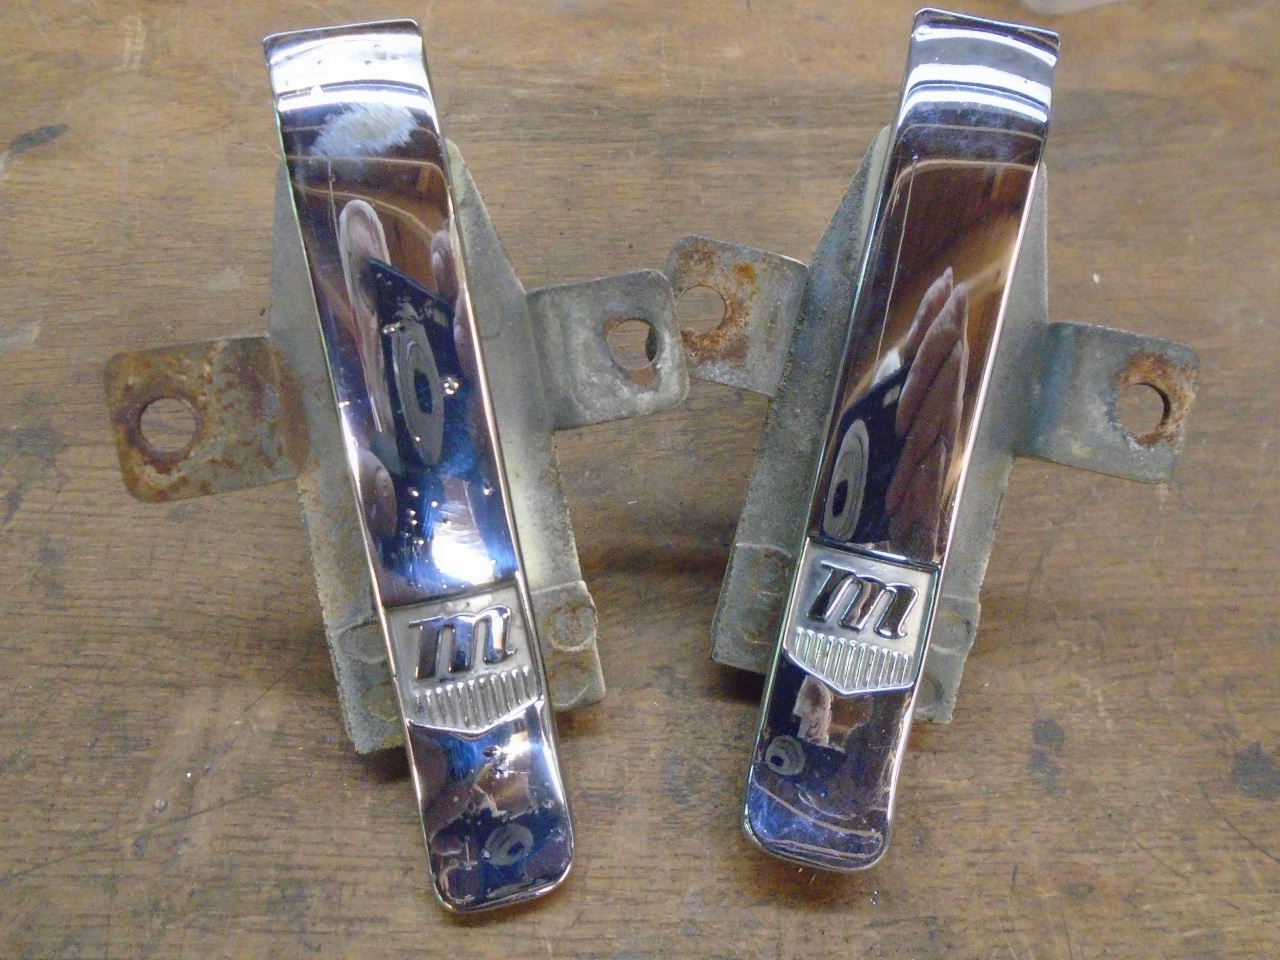
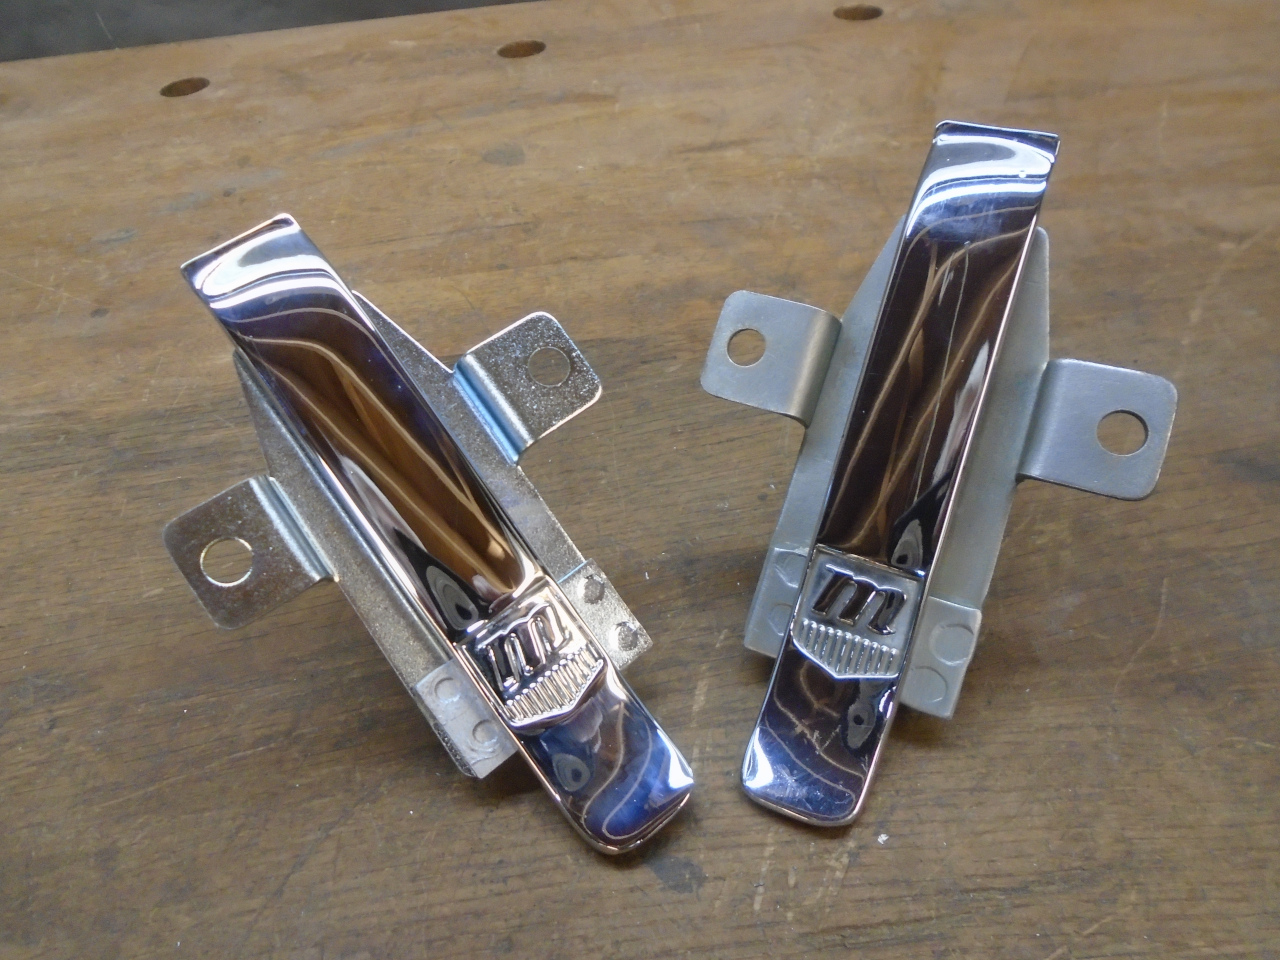
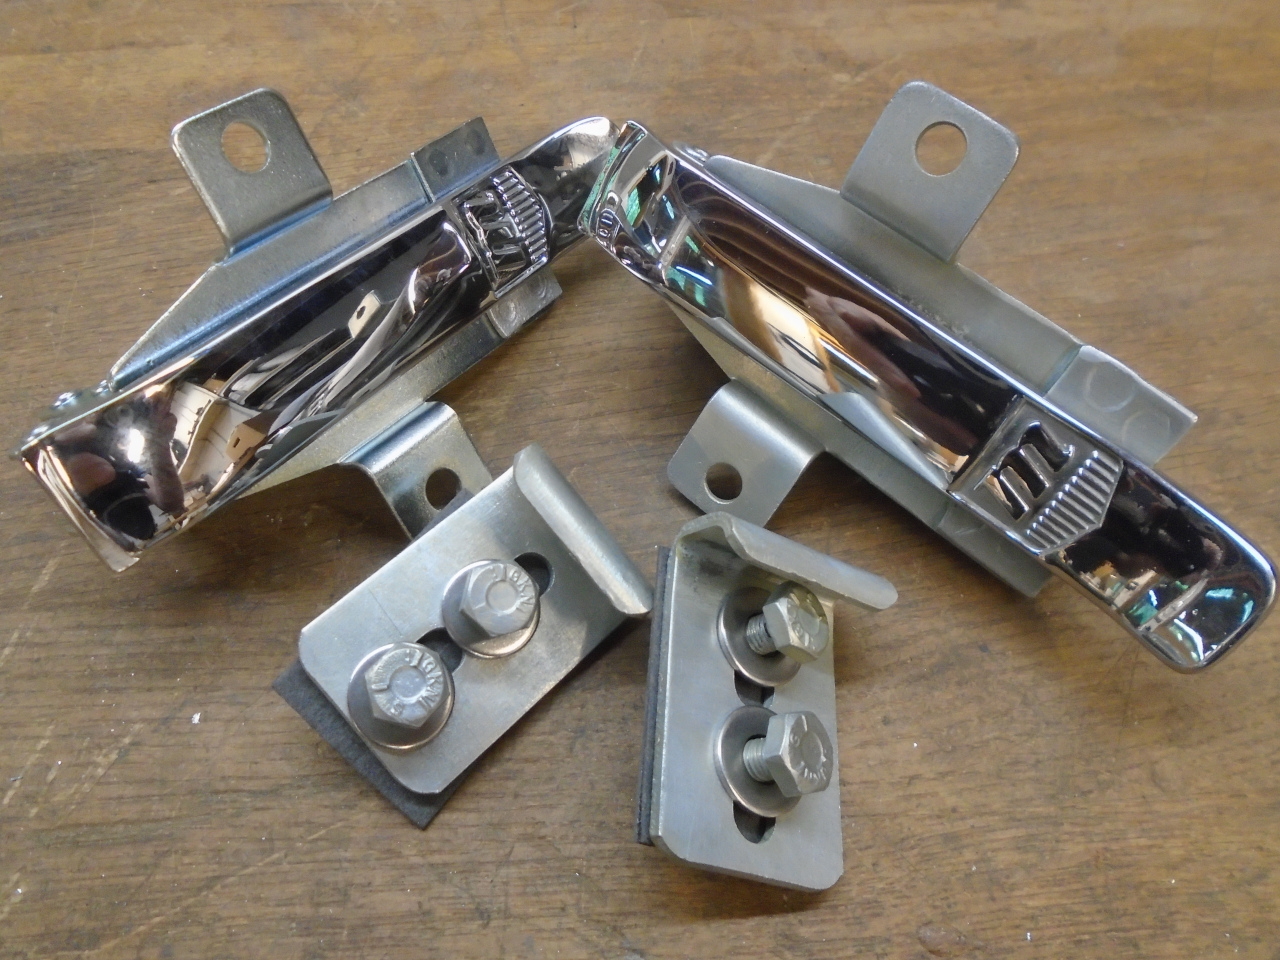
Then, the new latch came in. I often don't have high expectations
for replacement parts these days, but in this case, I was pleasantly
surprised. The new latch appears to be first-rate (new one on the
left).
The only thing left to do was to re-do the catches that the latches mate to, along with their nut plates and fiber pads.
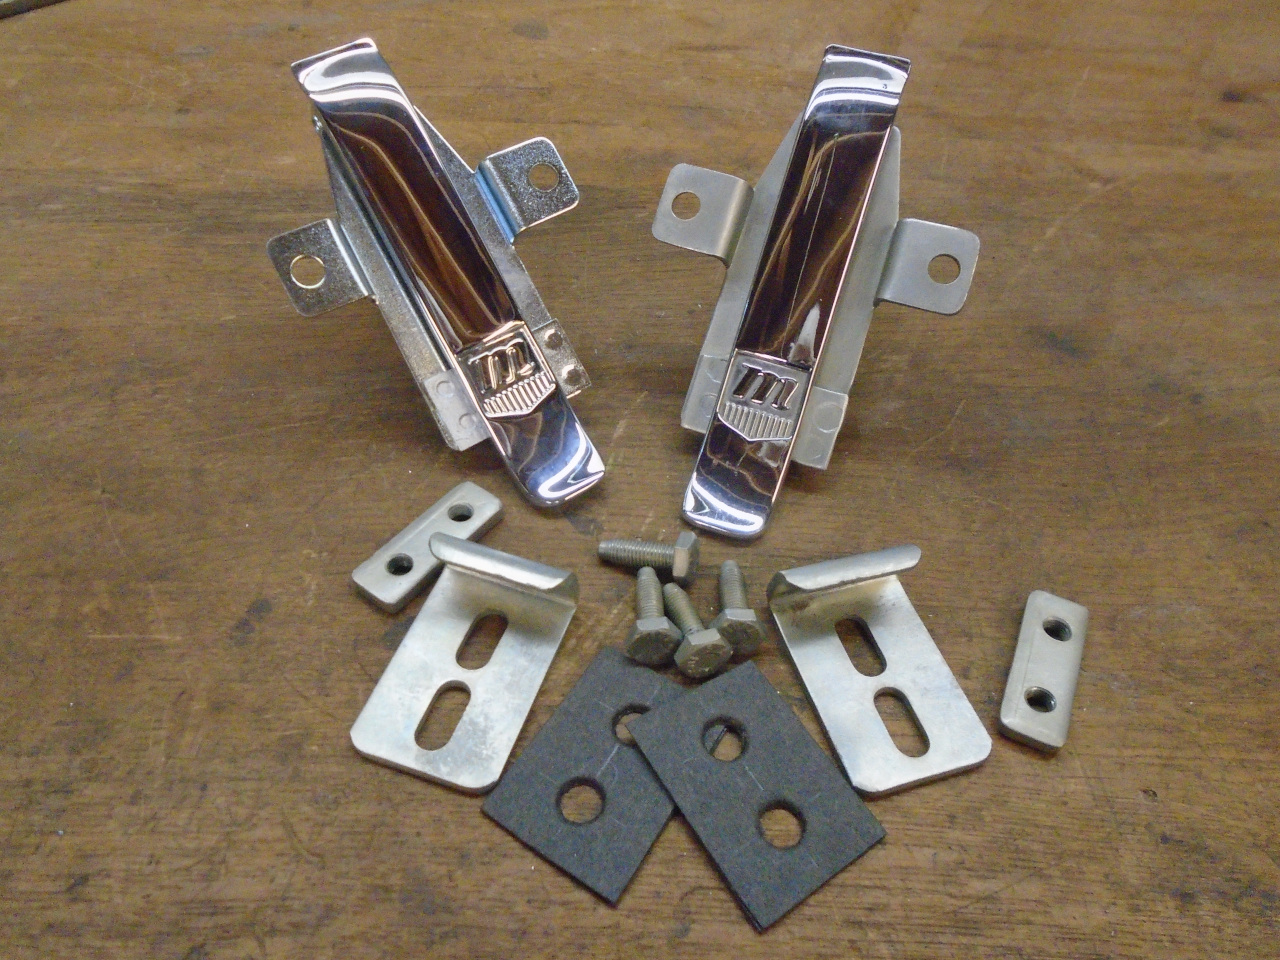
This was a piddly little job, But it required more thinking than I
planned on. Cost was around $100, but in a way, I got two latches
for the price of one.
Update, May 28: A comment on one of the forums about wear
on the plastic roller prompted me to compare the original roller with
the one on the new latch. While the new roller was a nominal 5/8"
OD, the original one was quite a bit smaller at around 0.57".
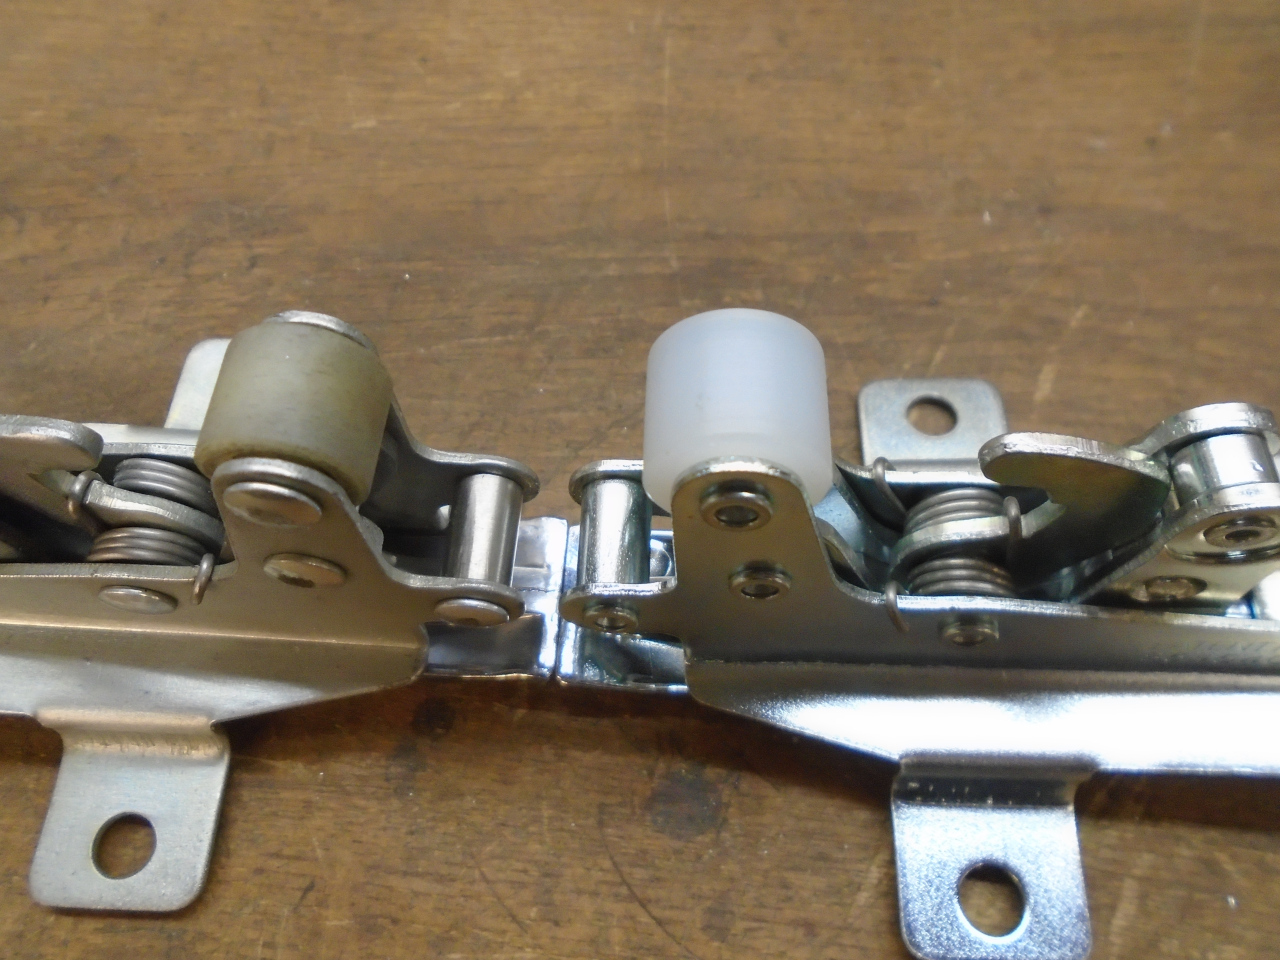
Whether this was due to wear or design, I don't know, but it seemed
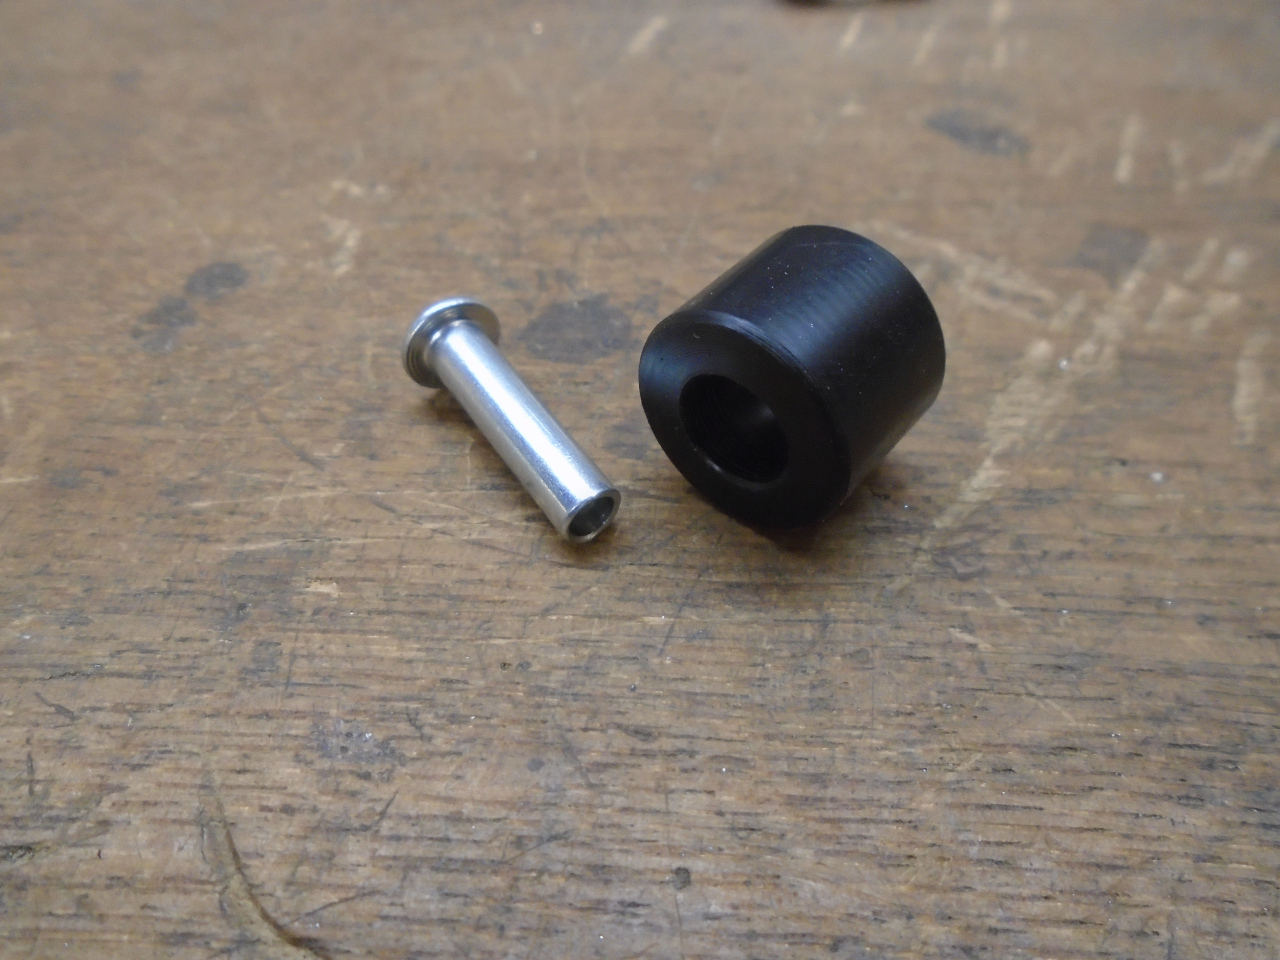
pretty easy to fix. If I'd had some white Delrin or Nylon, I'd
have used it, but my only choice without ordering something was black
Delrin.
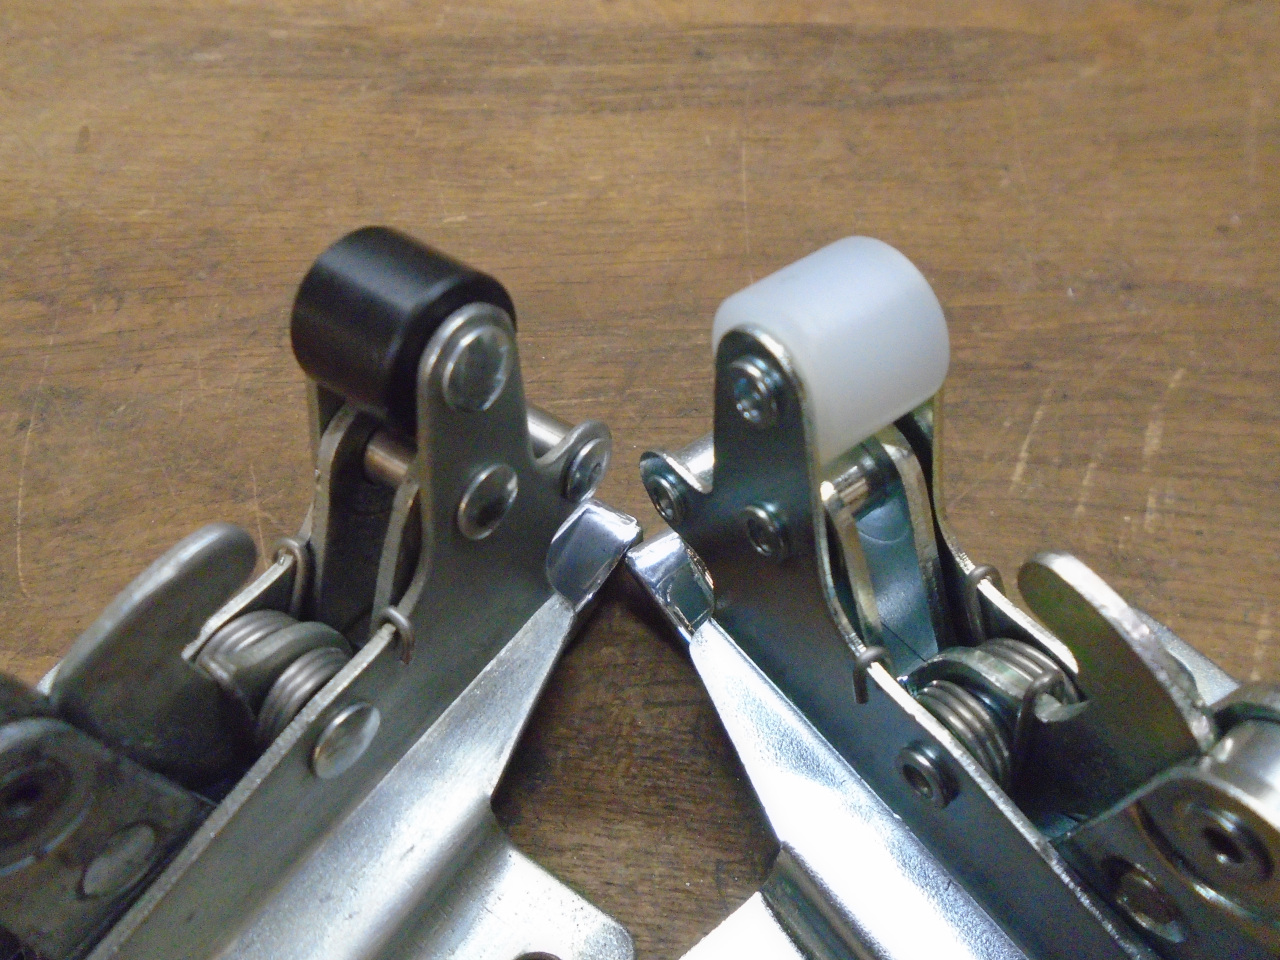
This makes me feel better, even though the colors don't match. (I think I like the looks of the black one better.)
This was a piddly little job, But it required more thinking than I
planned on. Cost was around $100, but in a way, I got two latches
for the price of one.
Comments to Ed at elhollin1@yahoo.com
To my other GT6 pages.