To my other GT6 pages.
May 22, 2021
Door Shells
Well, with the weather getting warmer, I looked forward to getting back out into the garage. The next major step on
the car is to address the panel gaps, and this meant that the doors had
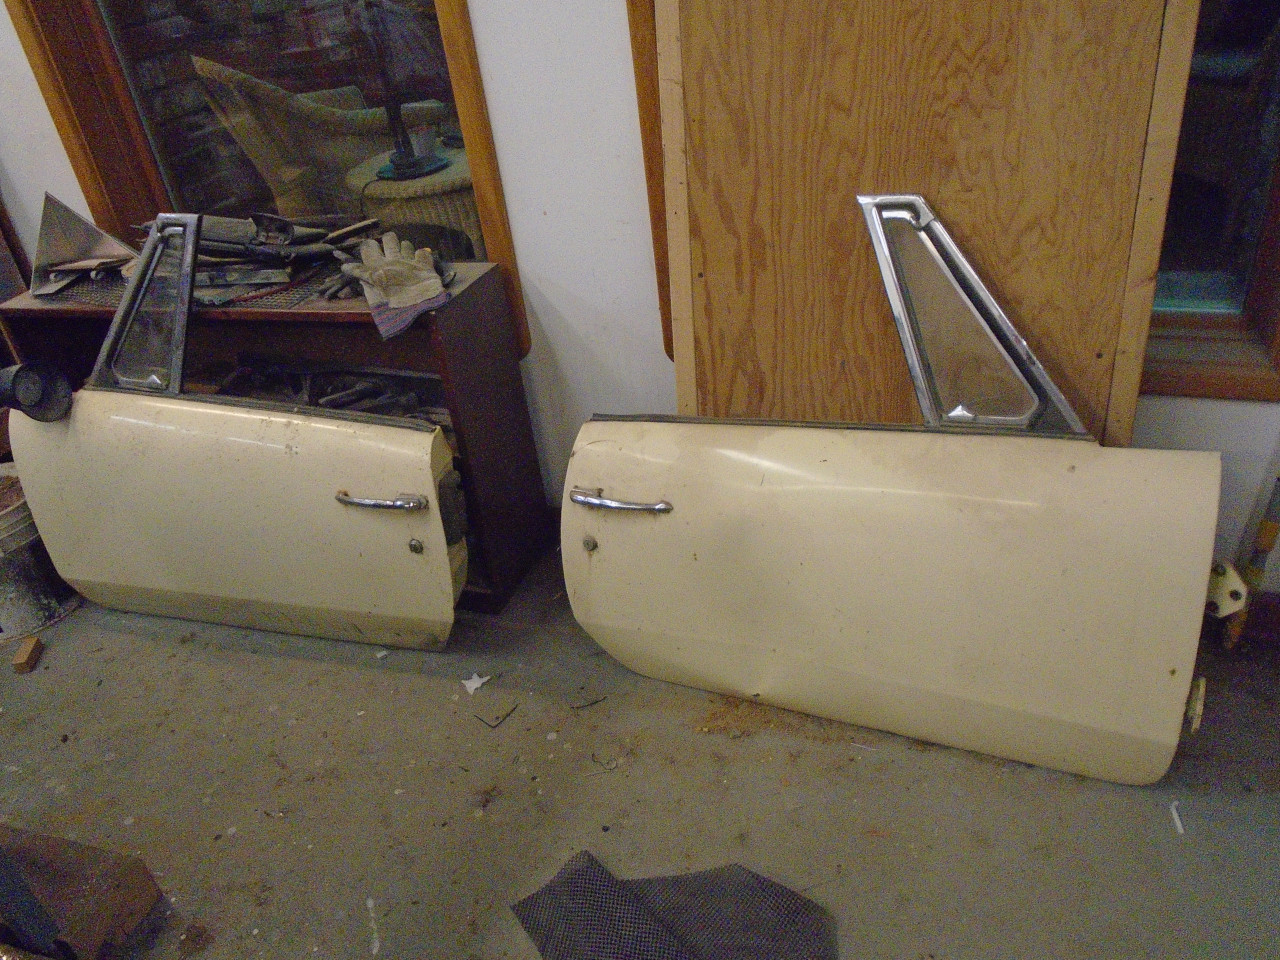
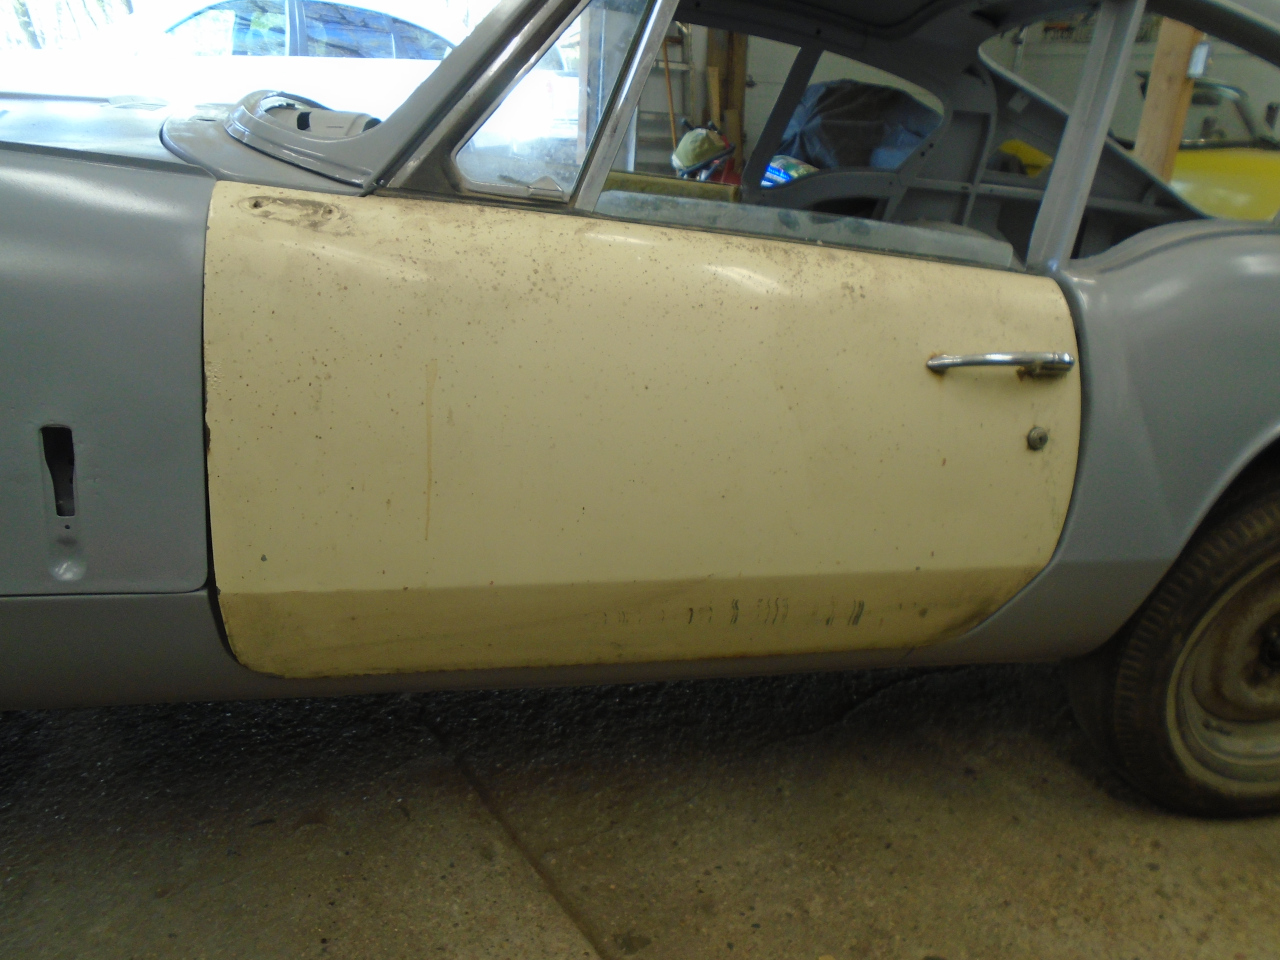
to be installed. The doors had been leaning against a wall in my
shop for nearly two years. The passenger door on the right had a
large dent that actually happened when I was jockeying the cars around
in preparation for removing the body. I knew it had had at least
two other traumas in its life, so that was the one I was more concerned
about.
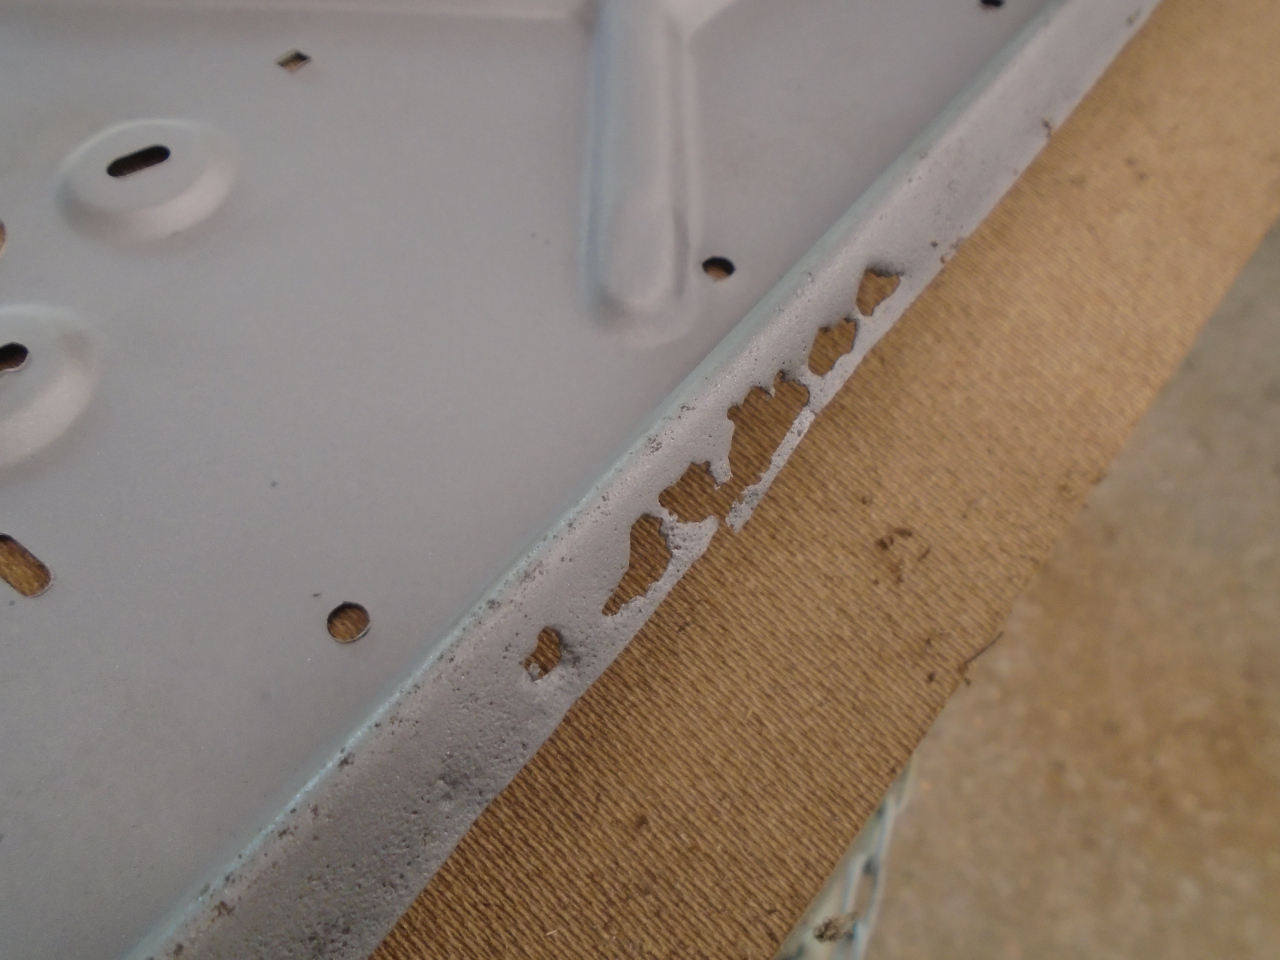
Hoisting it up on the bench, I could see some significant rust in the
crimped seam at the bottom. Other than the crumpled skin, that
appeared to be the only visible damage.

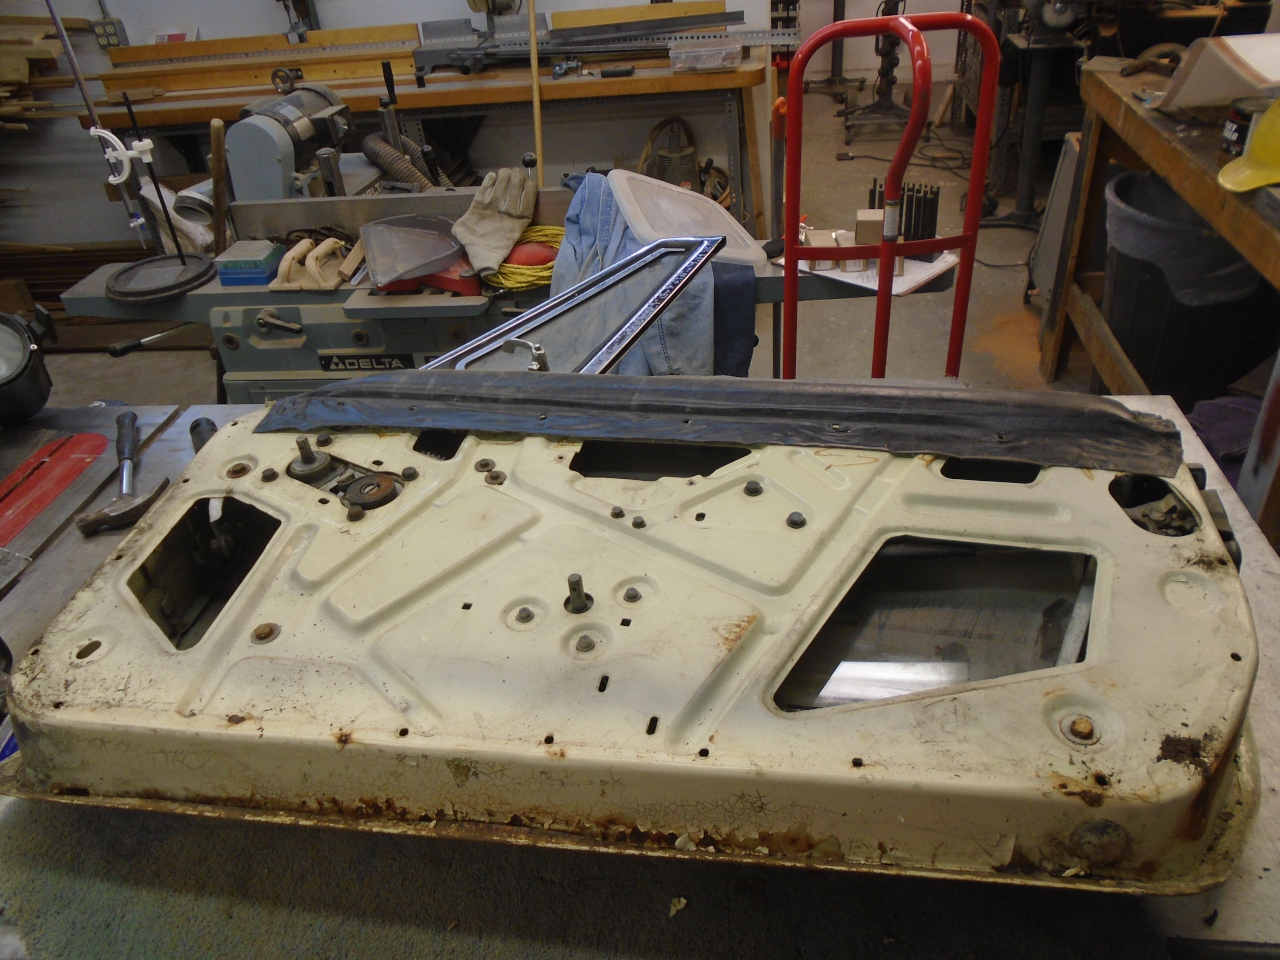
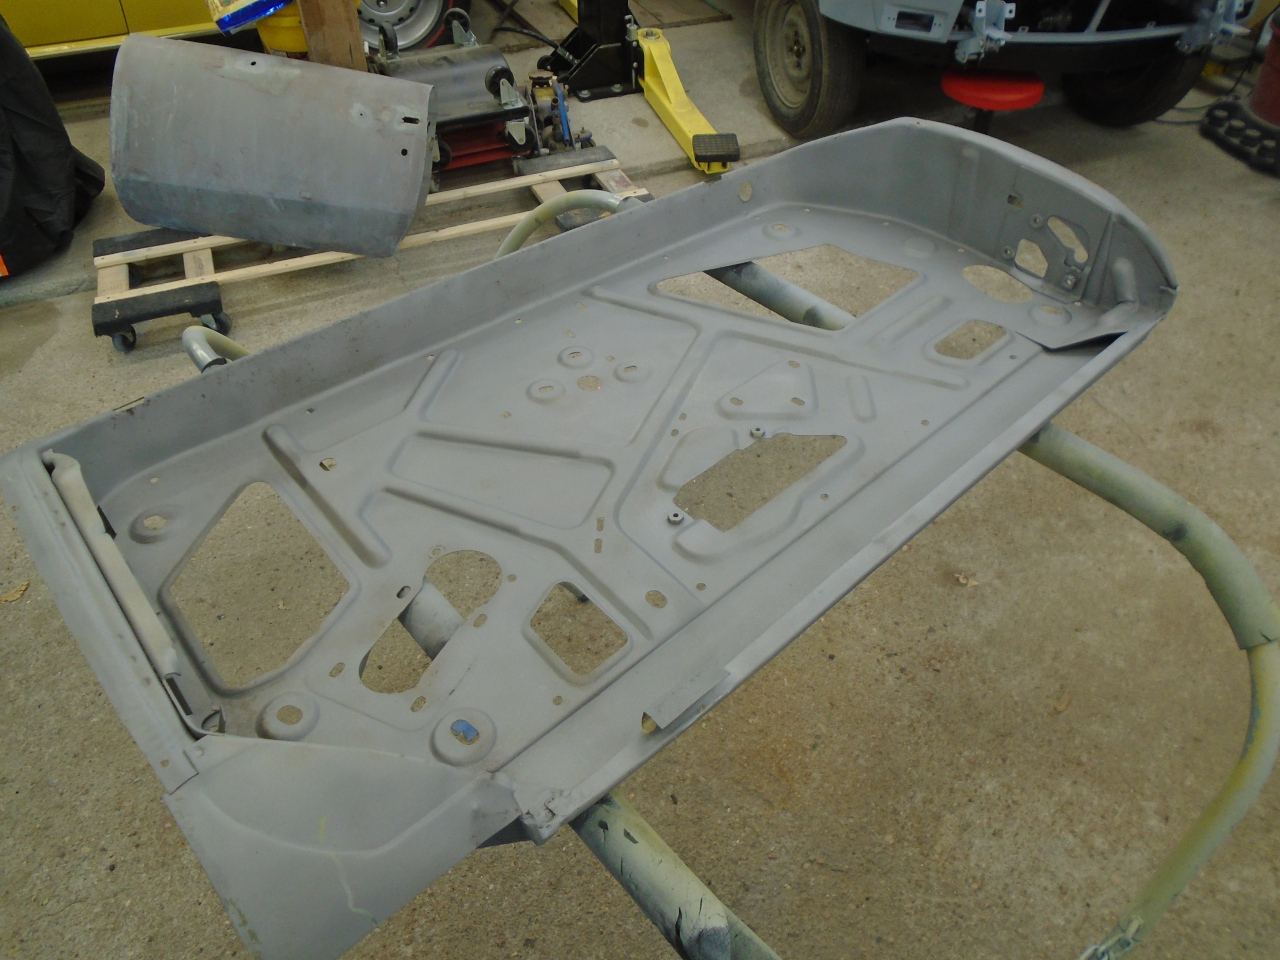
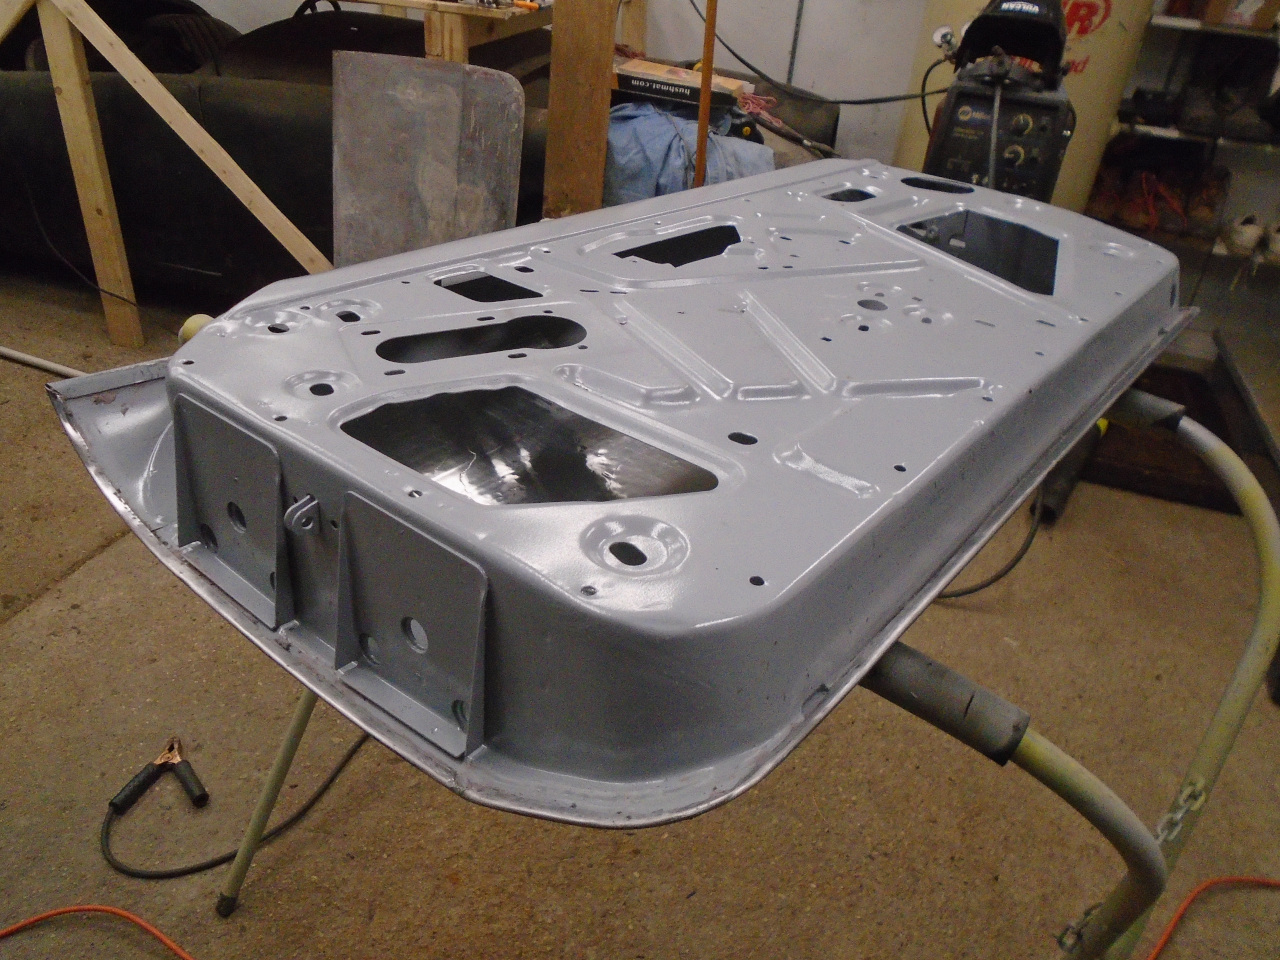
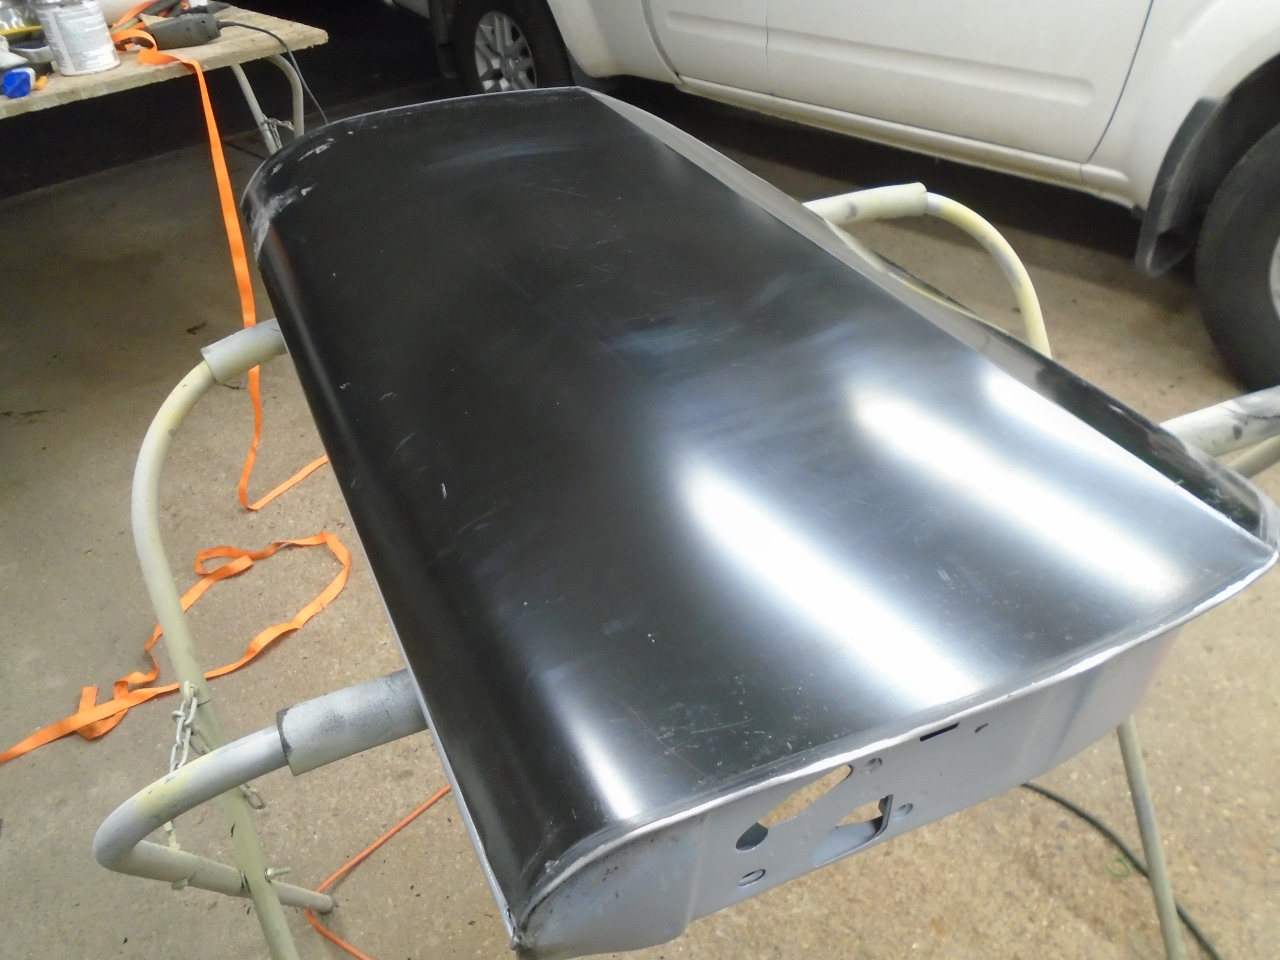
I gutted all of the mechanicals out of the door to make it easier to
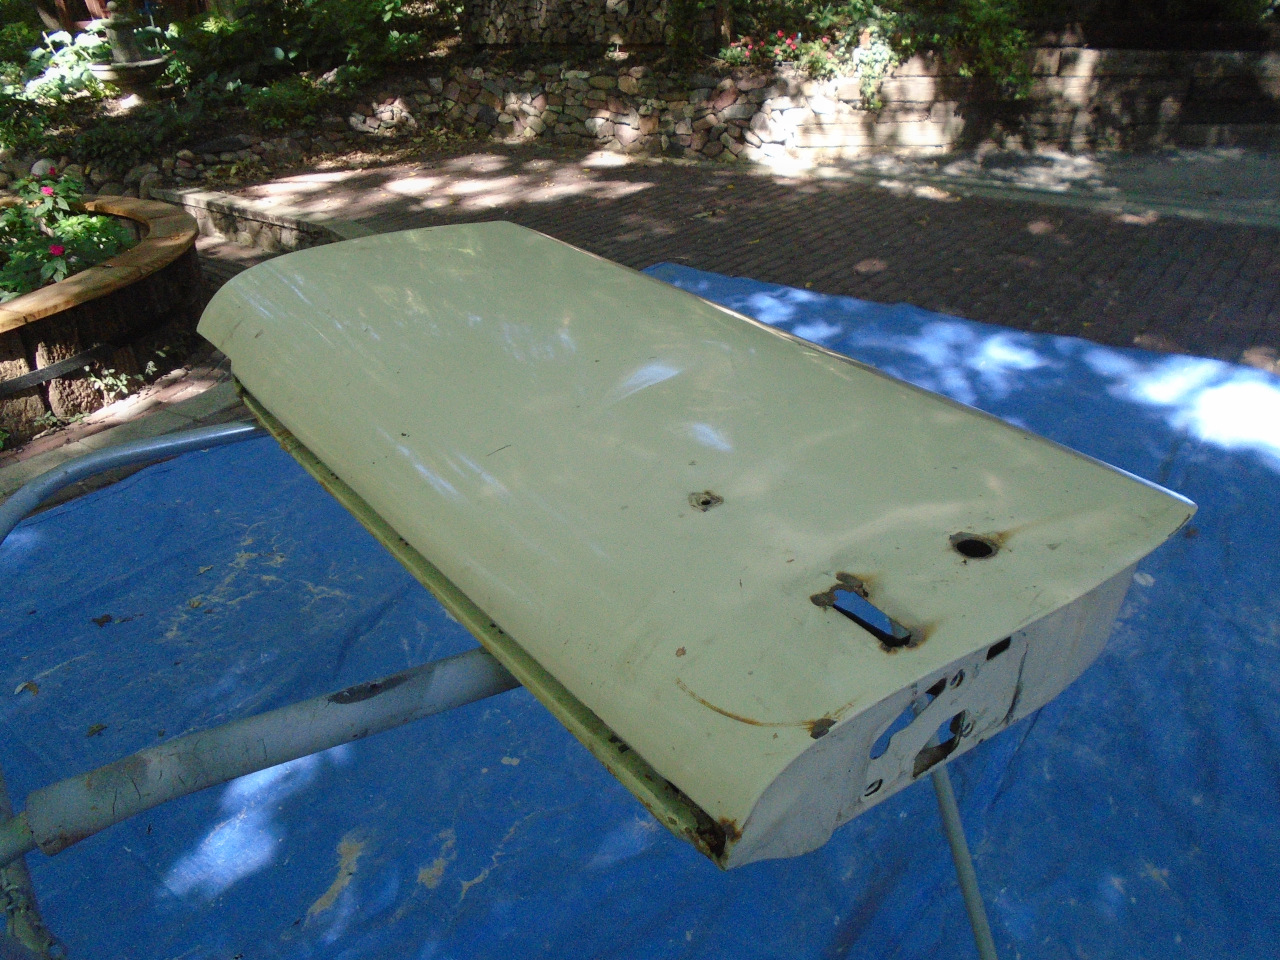
handle, and hauled it outside for paint removal. I sand blasted
most of it, but used a chemical stripper on the skin, since blasting can
distort flat areas of panels. The pictures don't show it well,
but the skin was pretty messed up. I thought it was a good
candidate for a skin replacement, and since I'd never done that
procedure before, I decided to take the leap, and ordered a skin.
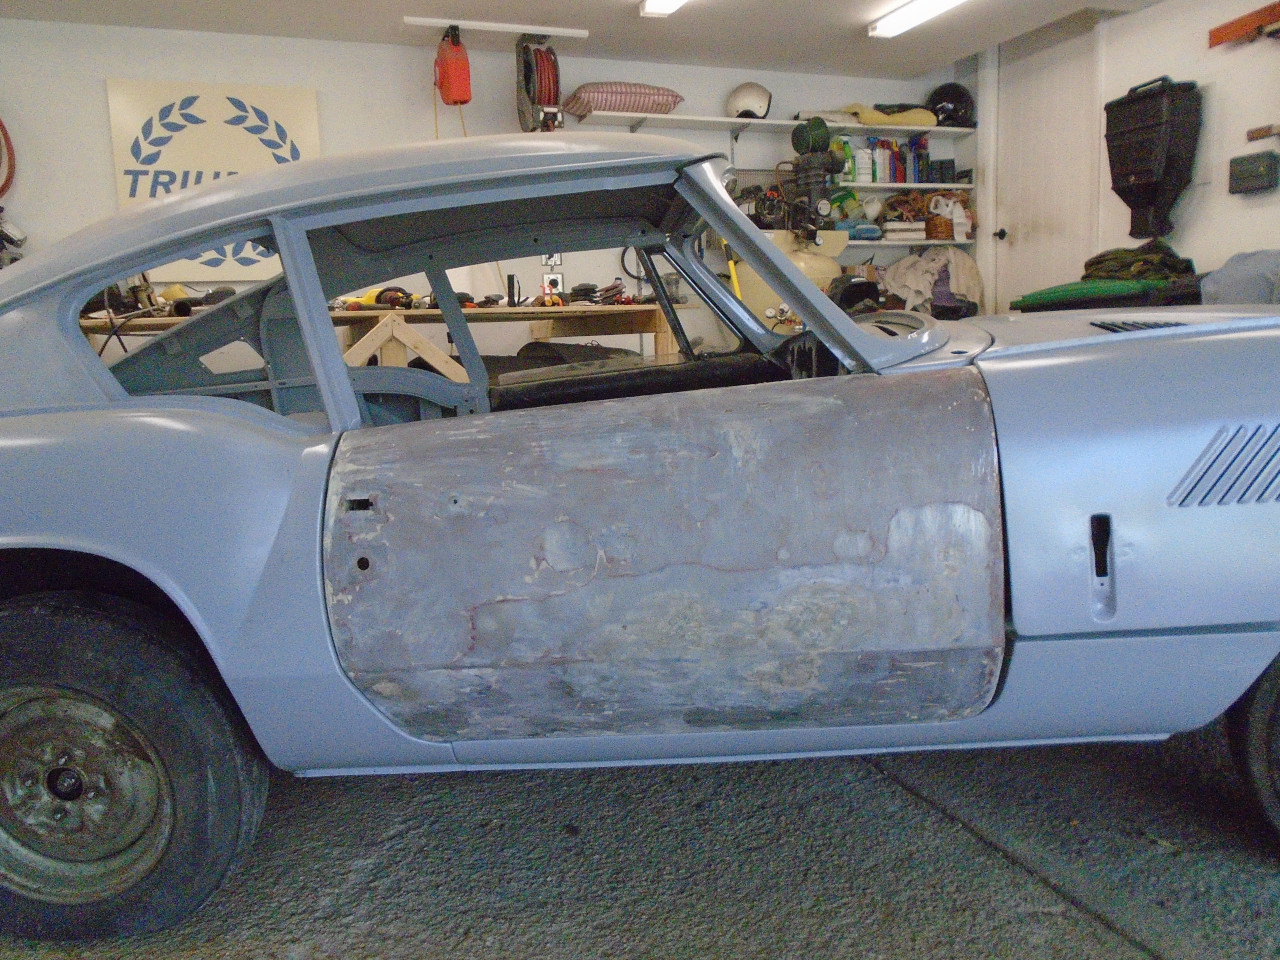
Before I went any further, as a reality check, I mounted both doors on
the body just to see if there were any gross problems due to the
extensive surgery the tub went through. There were some issues,
but nothing that scary.
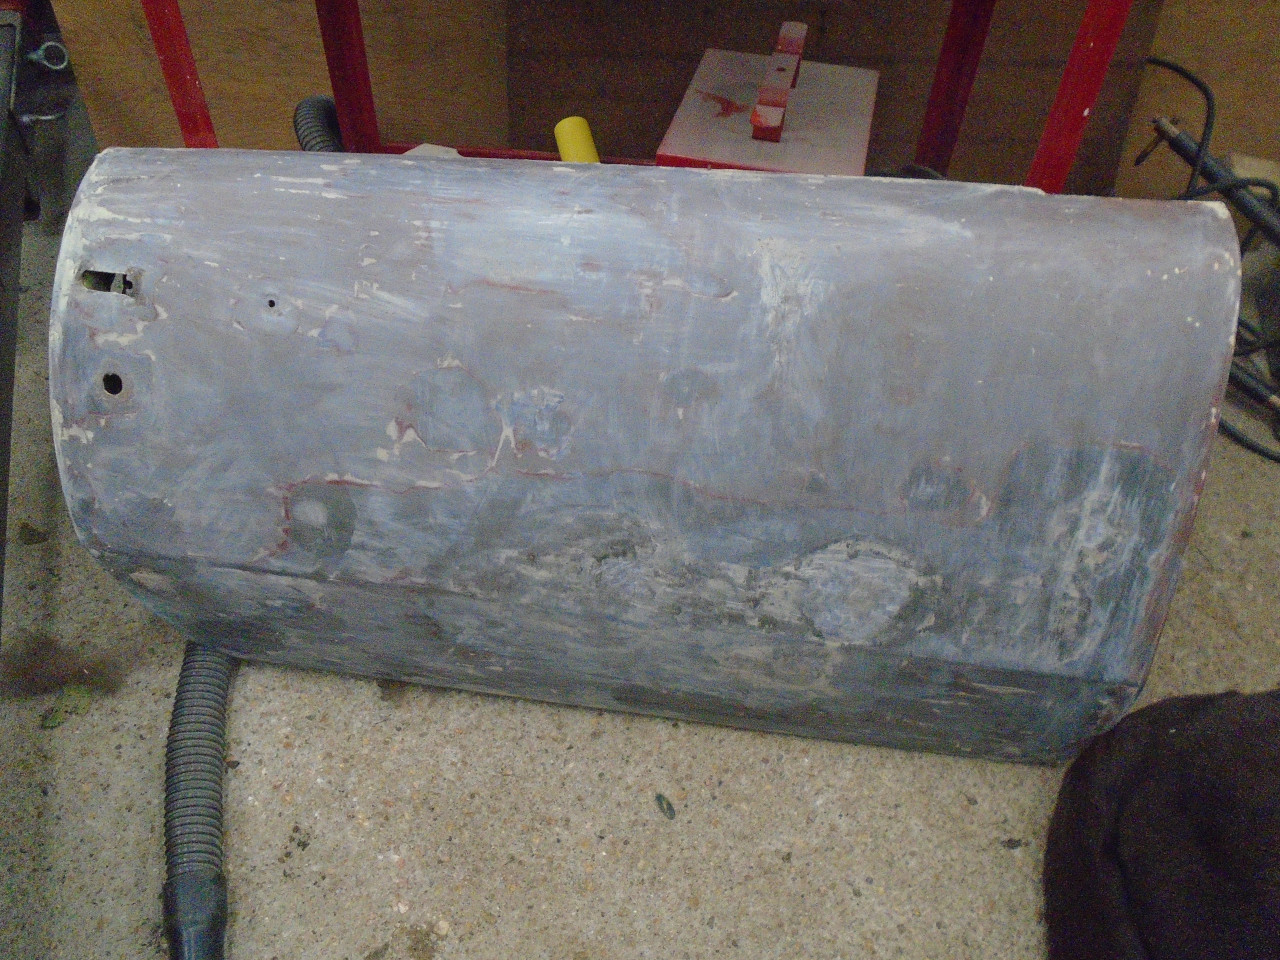
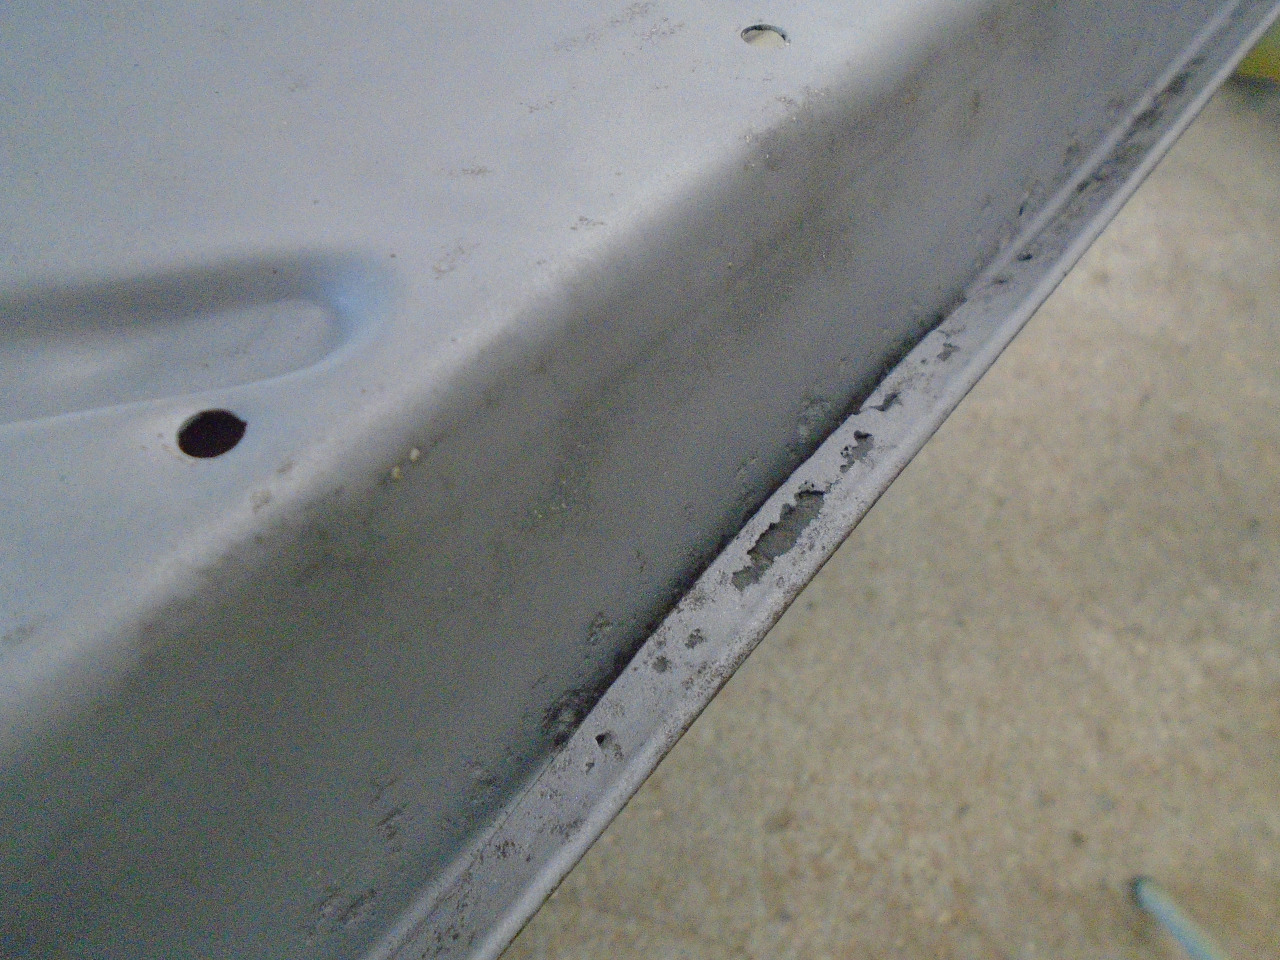
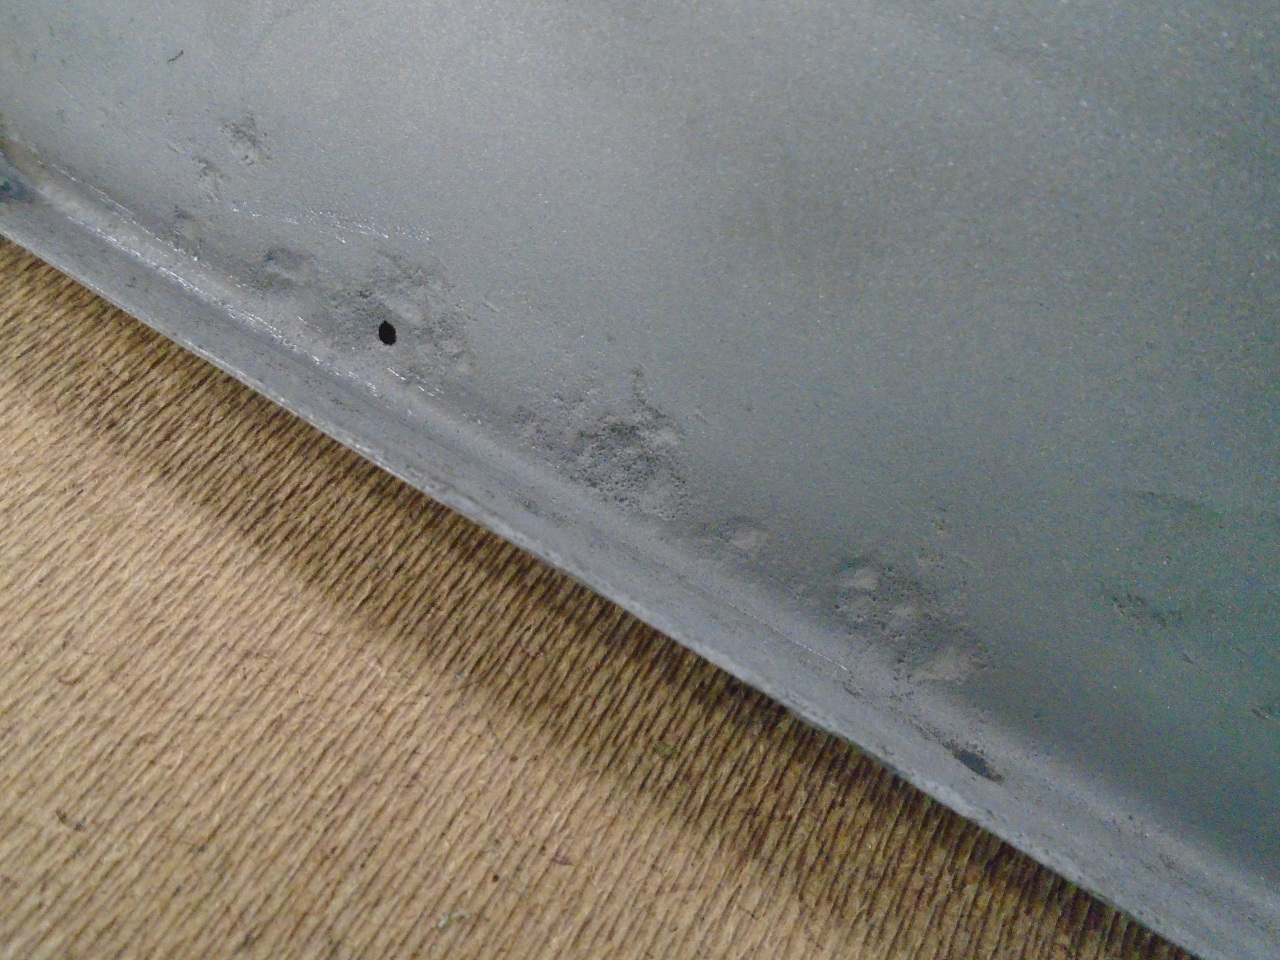
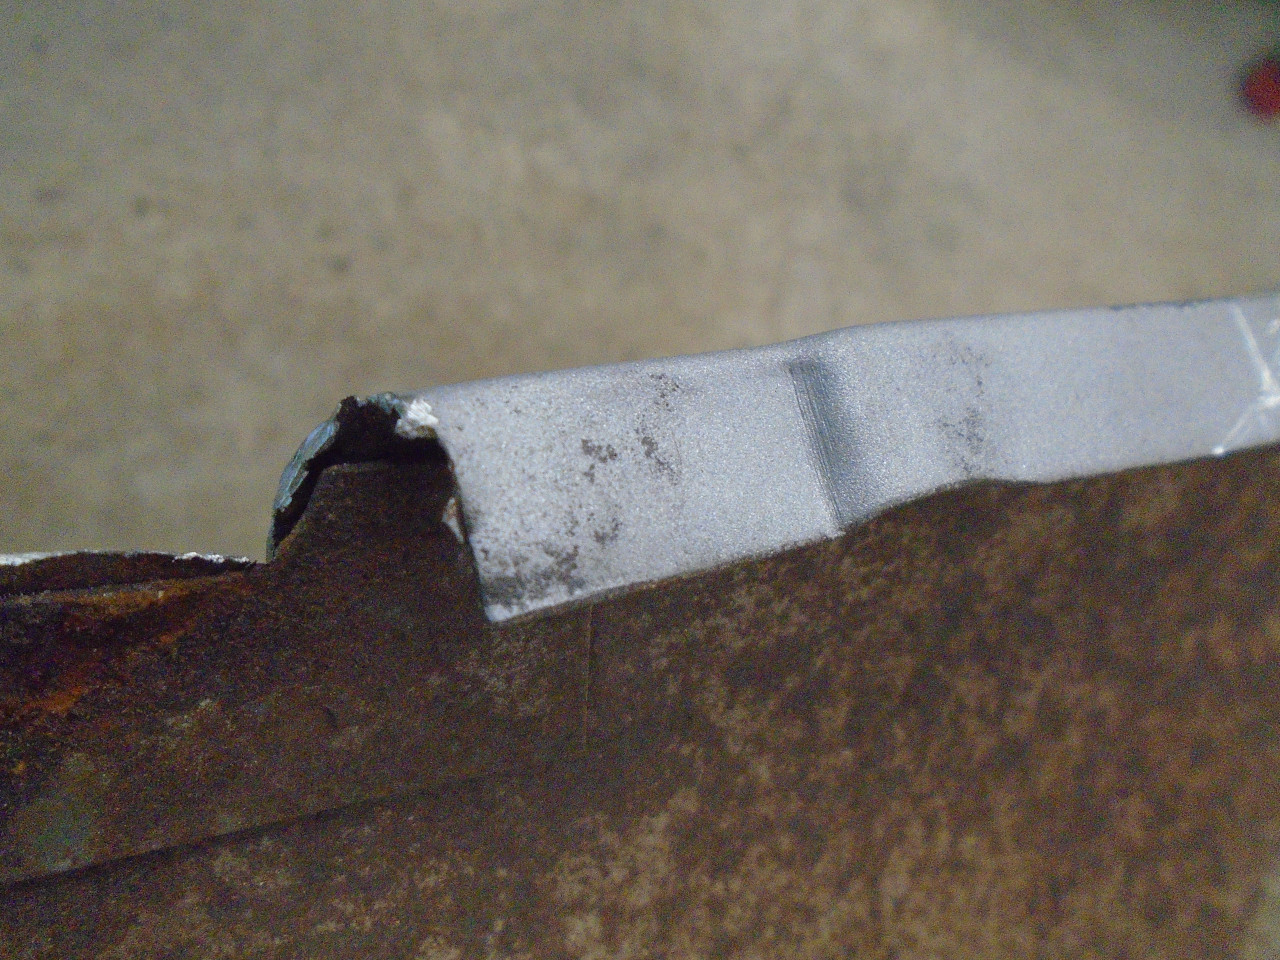
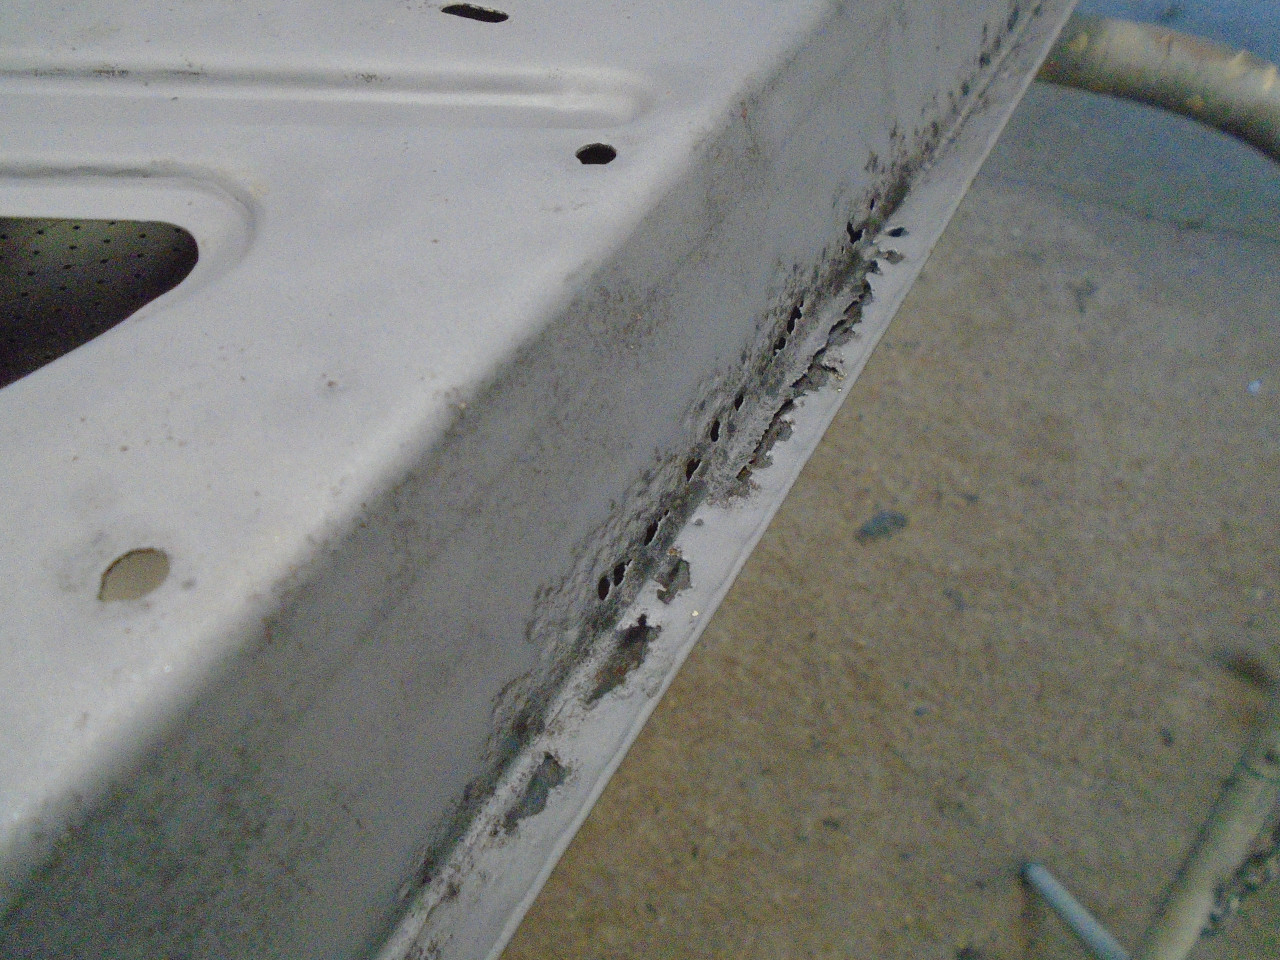
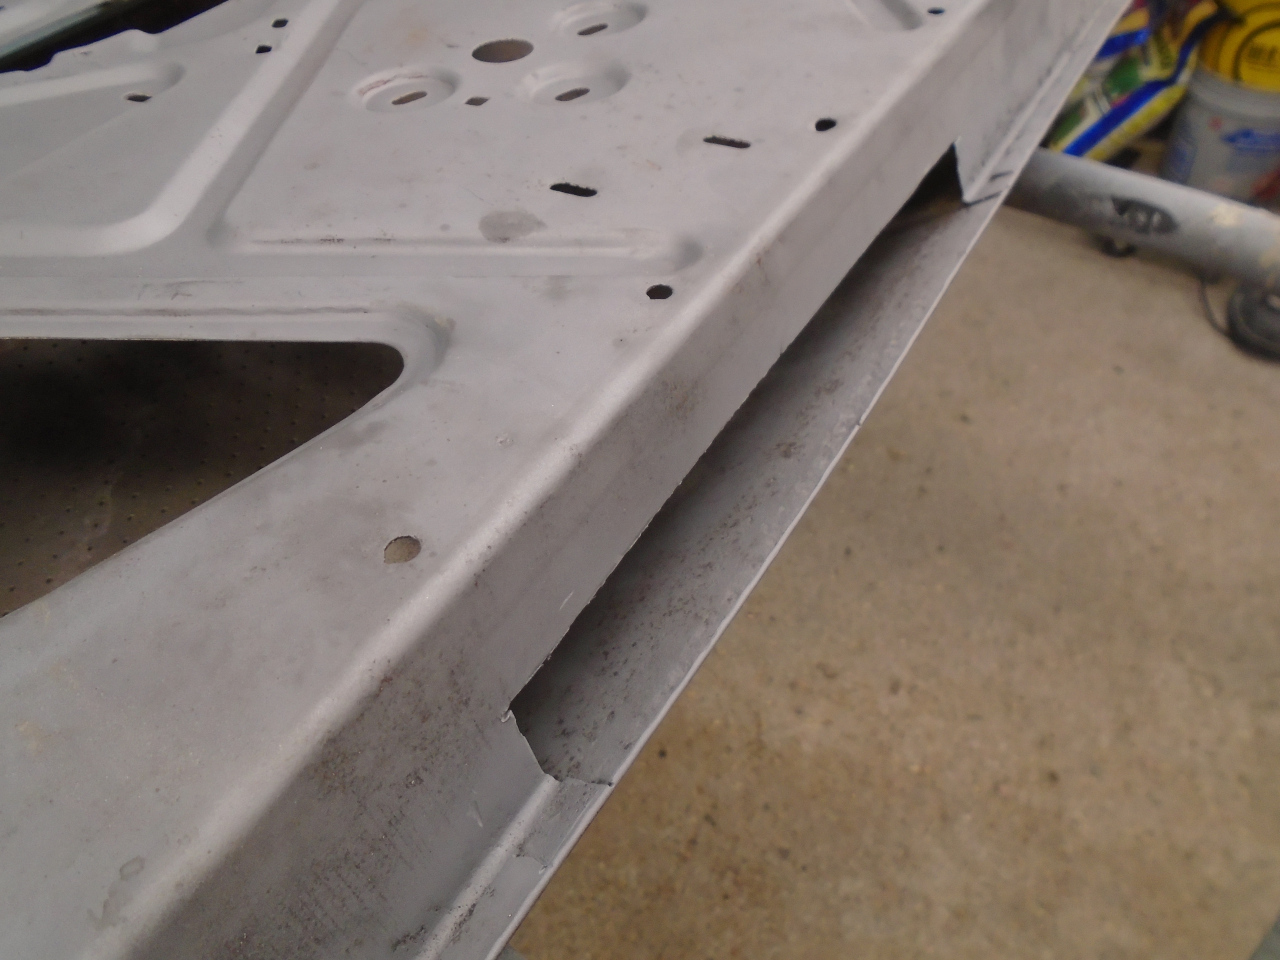
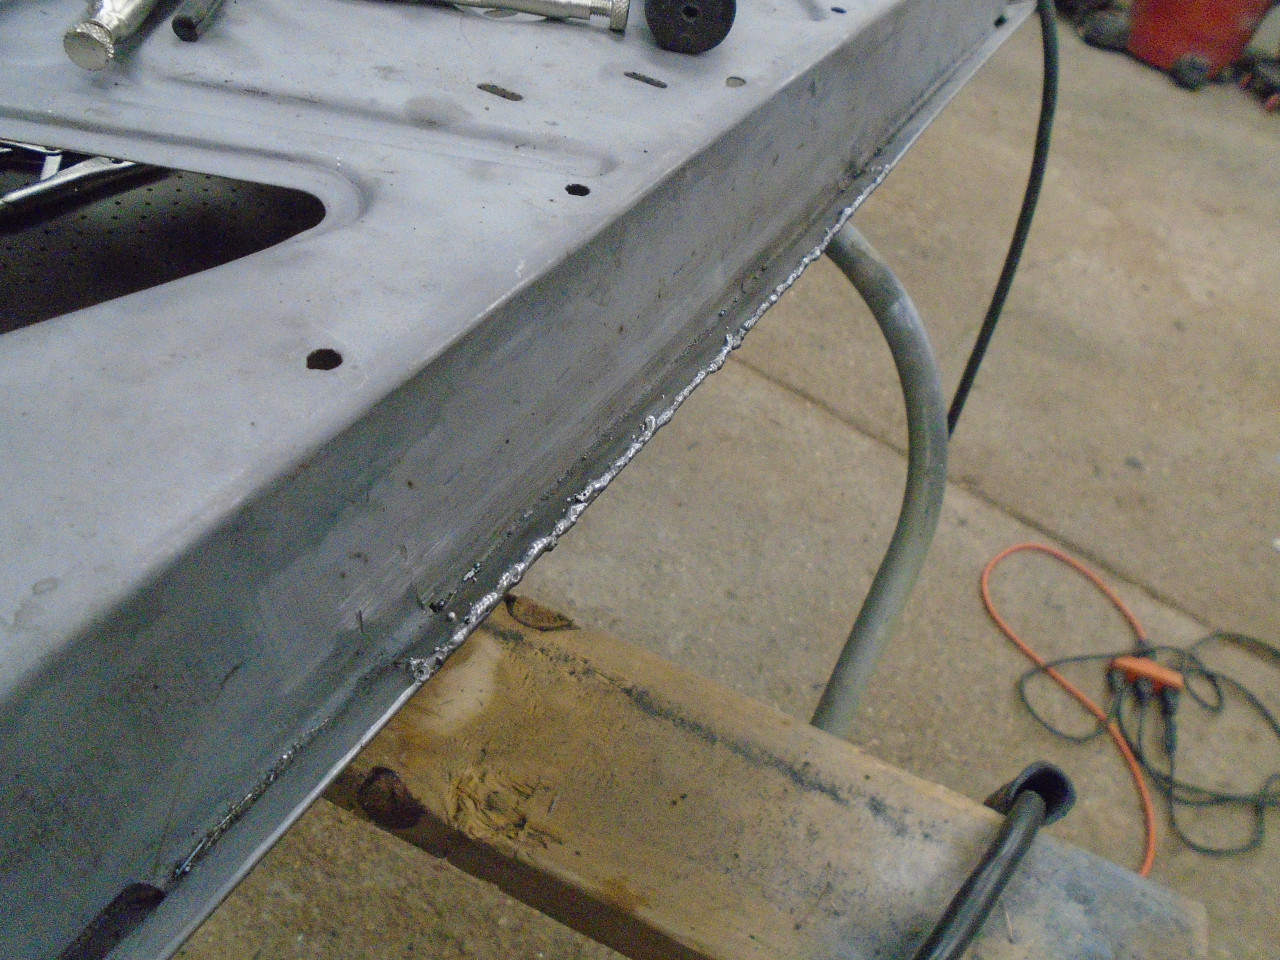
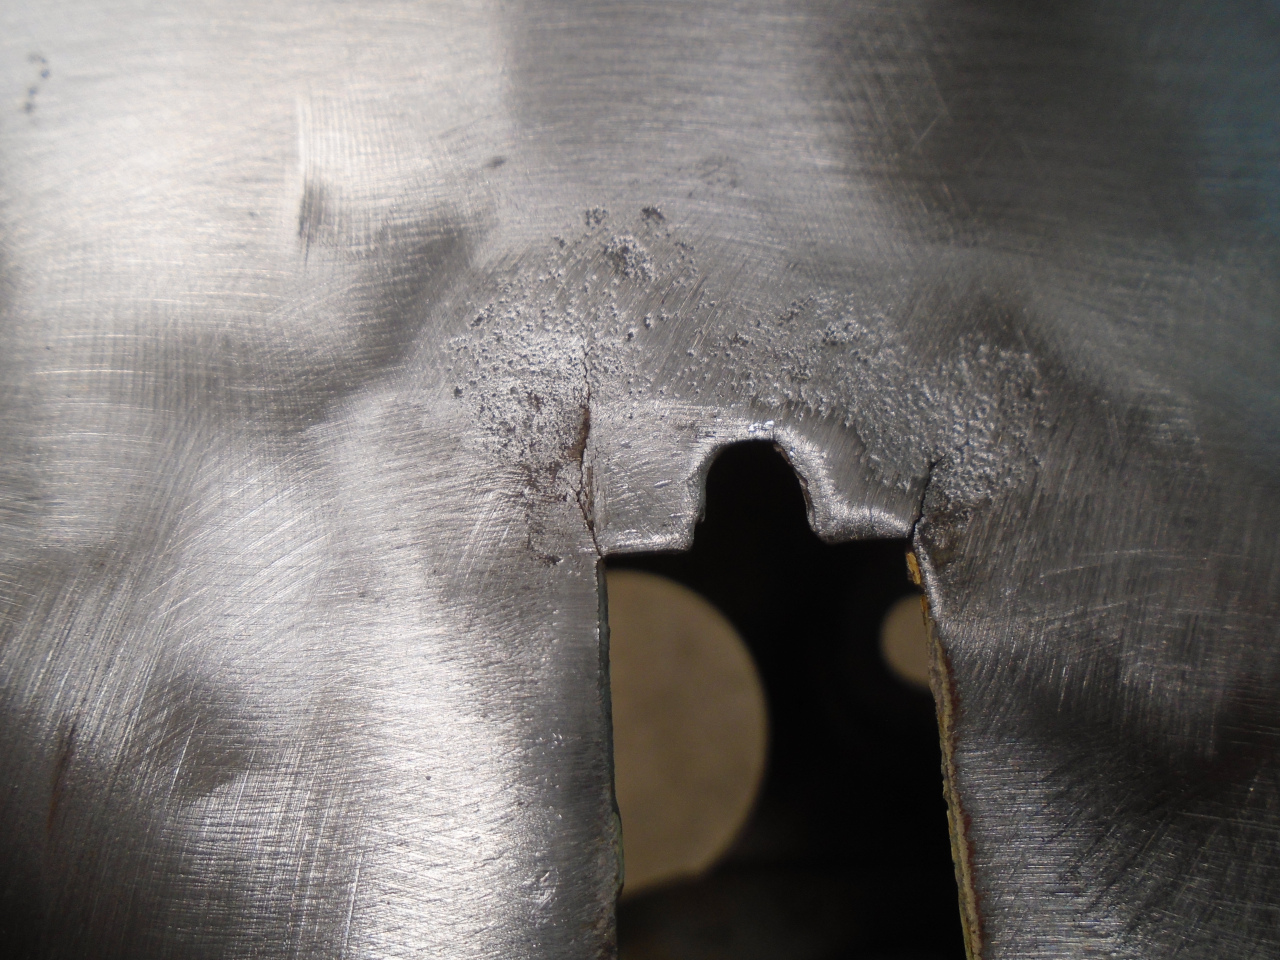
This is what the rust-through on the bottom seam looked like after
blasting. It looked like there was damage to the flange beneath
the skin lip.
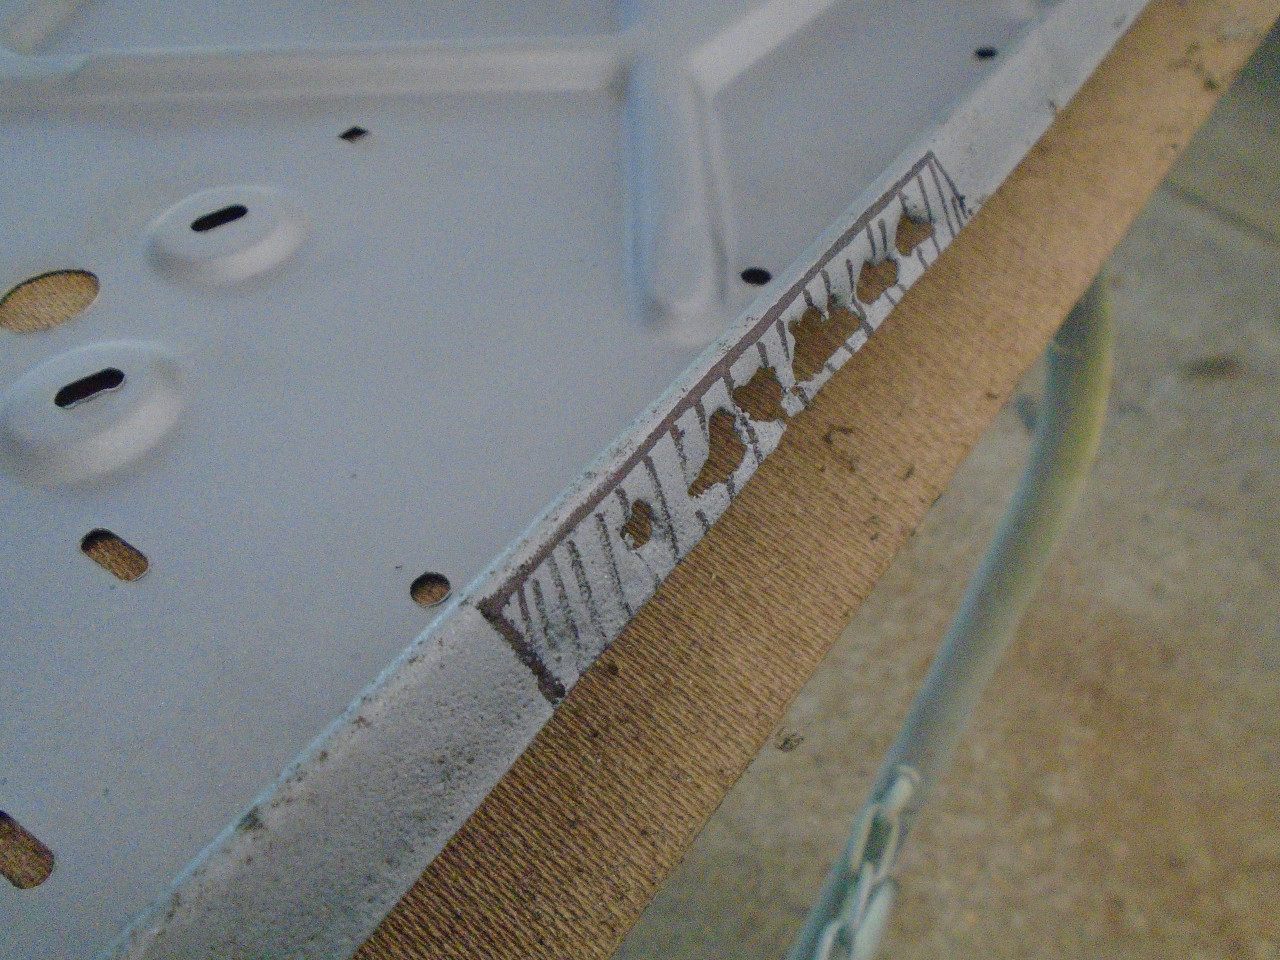
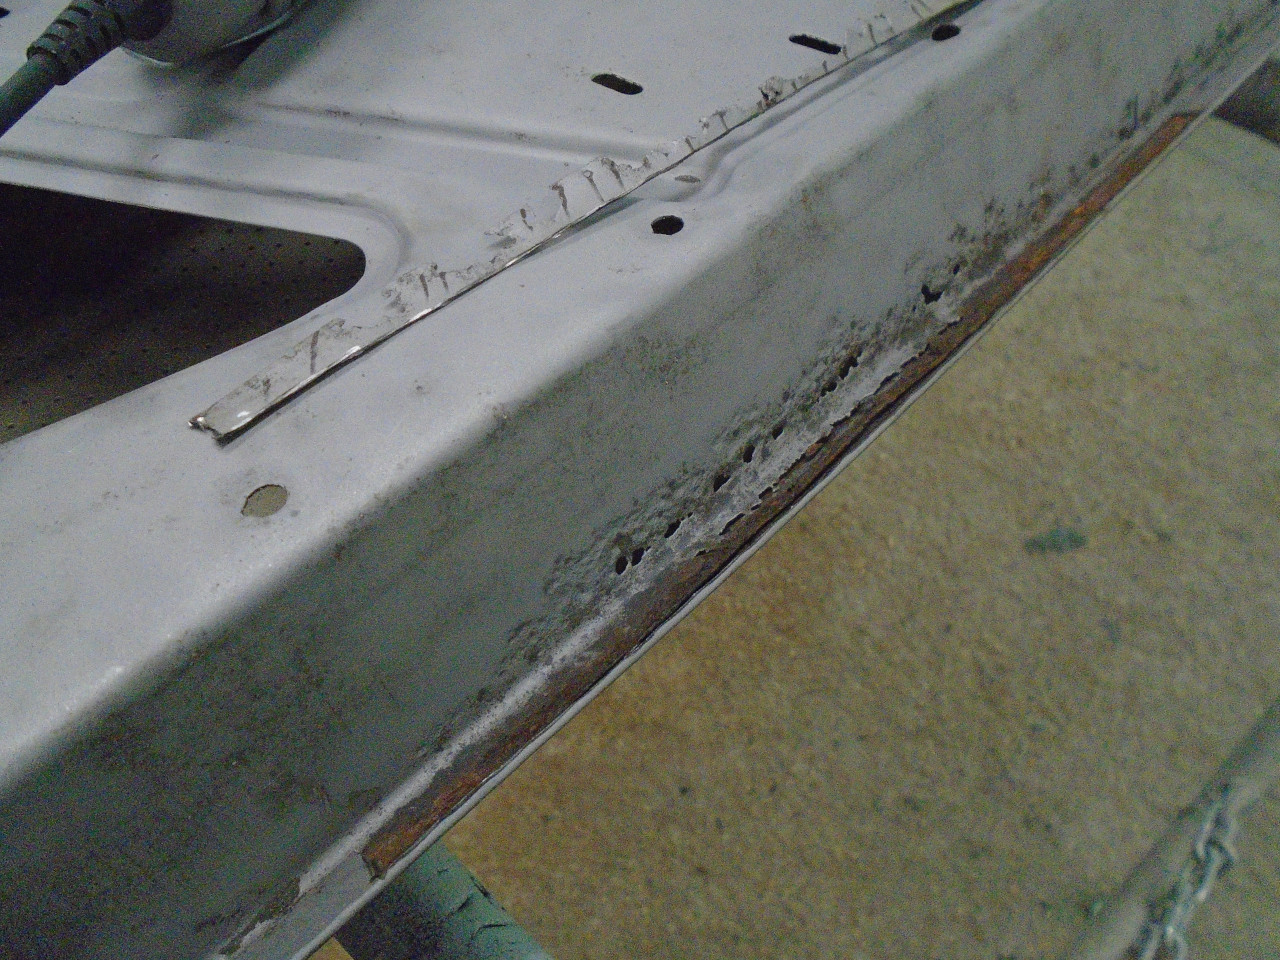
The skin is held on to the door by a crimped lip on the front, back, and
bottom sides, plus a few welds, and a few brazed joints. Rather
than try to undo the crimp, I just ground away the edge of the
joint. After breaking the welds and braze, the skin fell away.
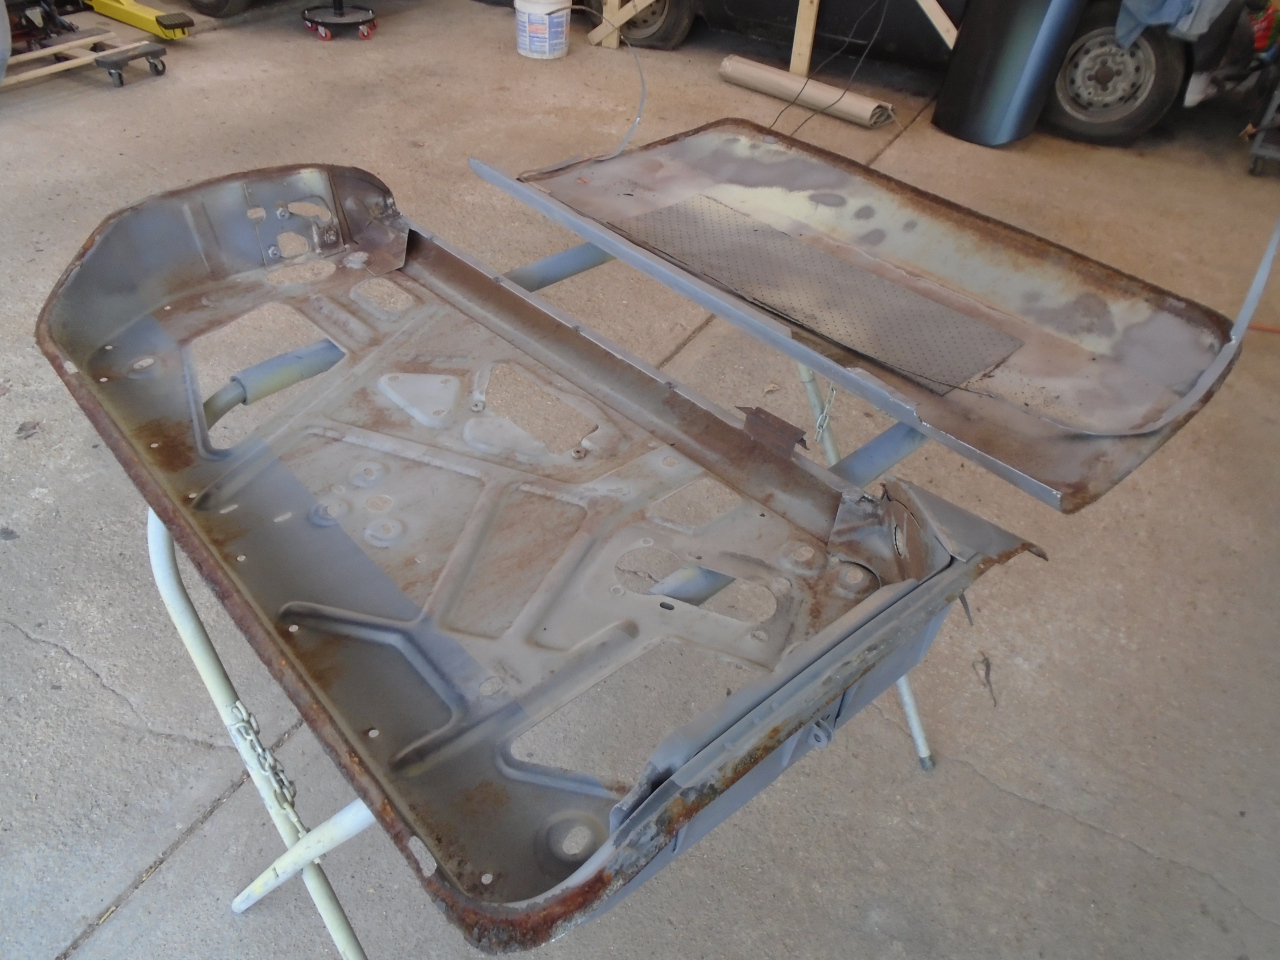
This made it really easy to blast away the rust, paint and other crud.
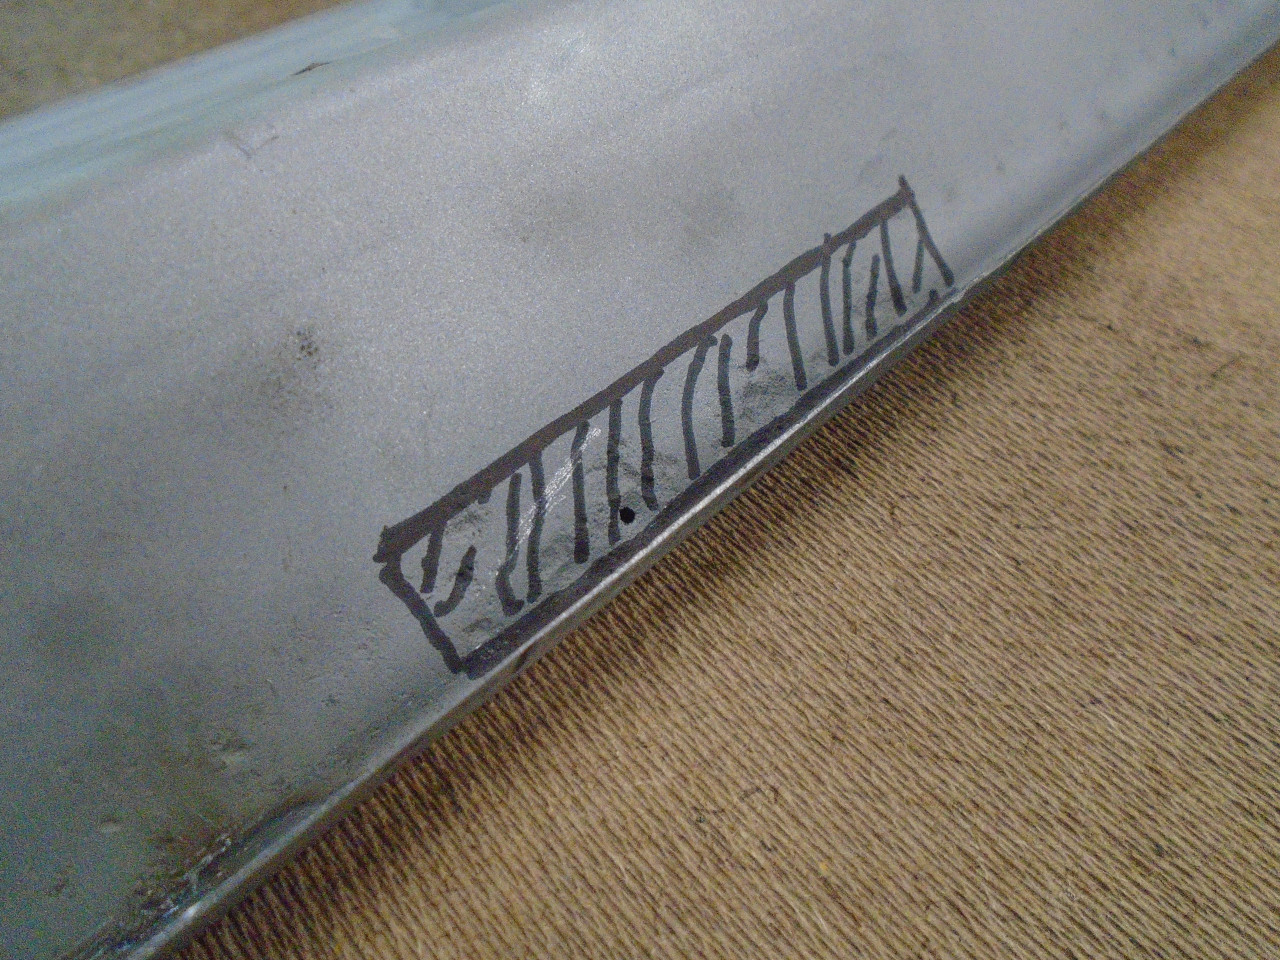
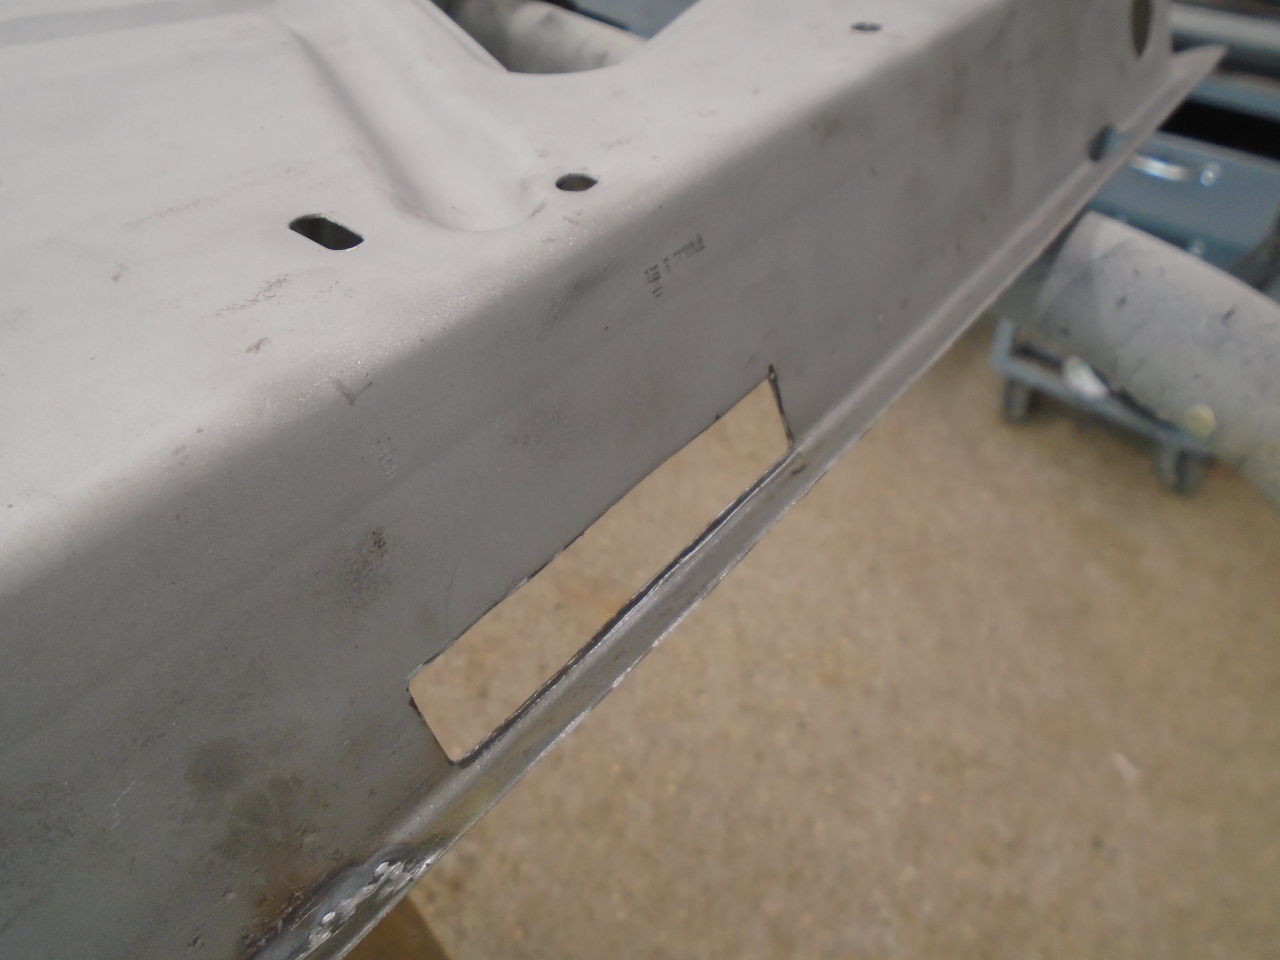
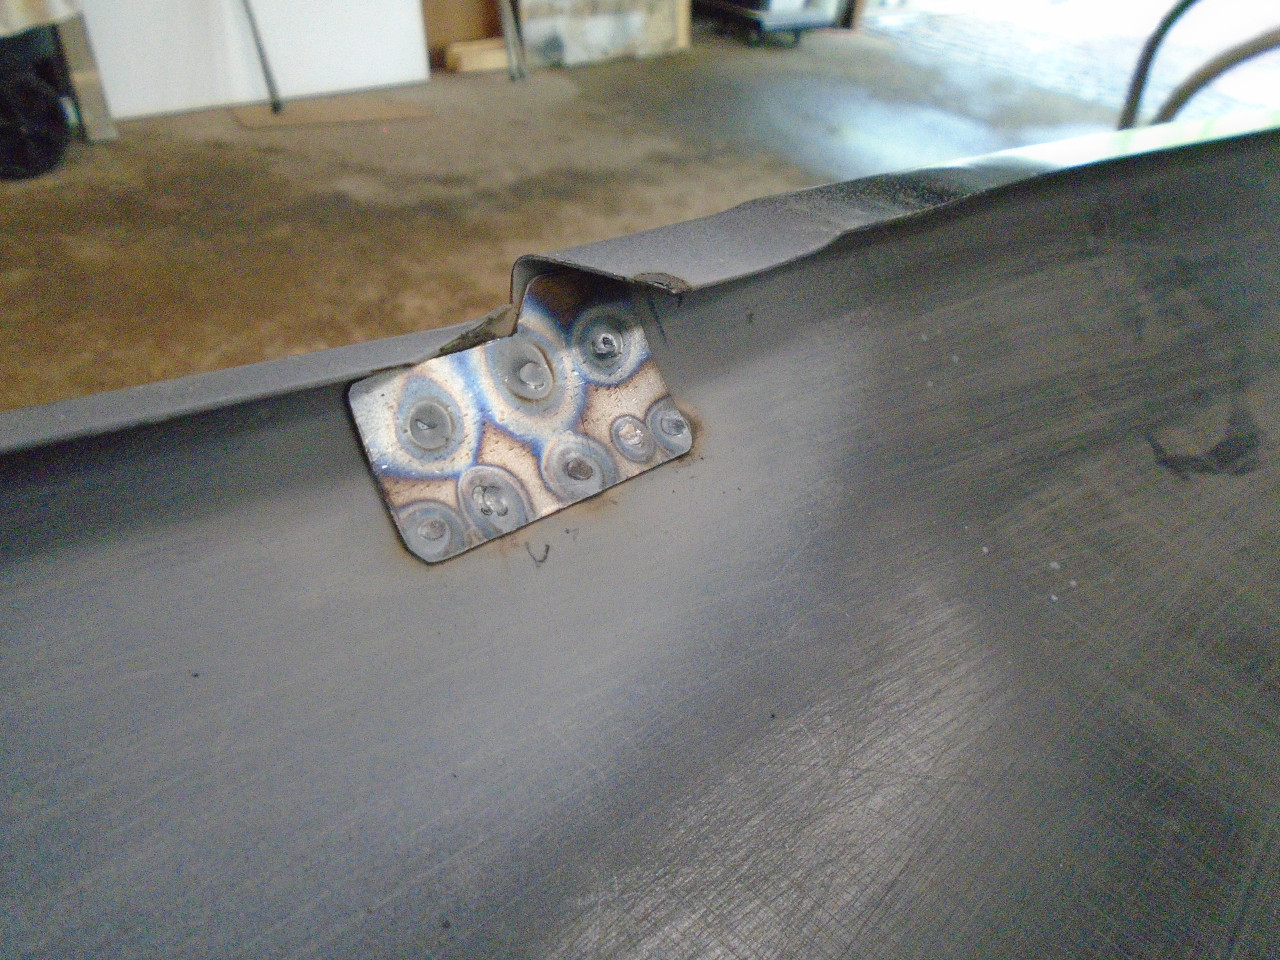
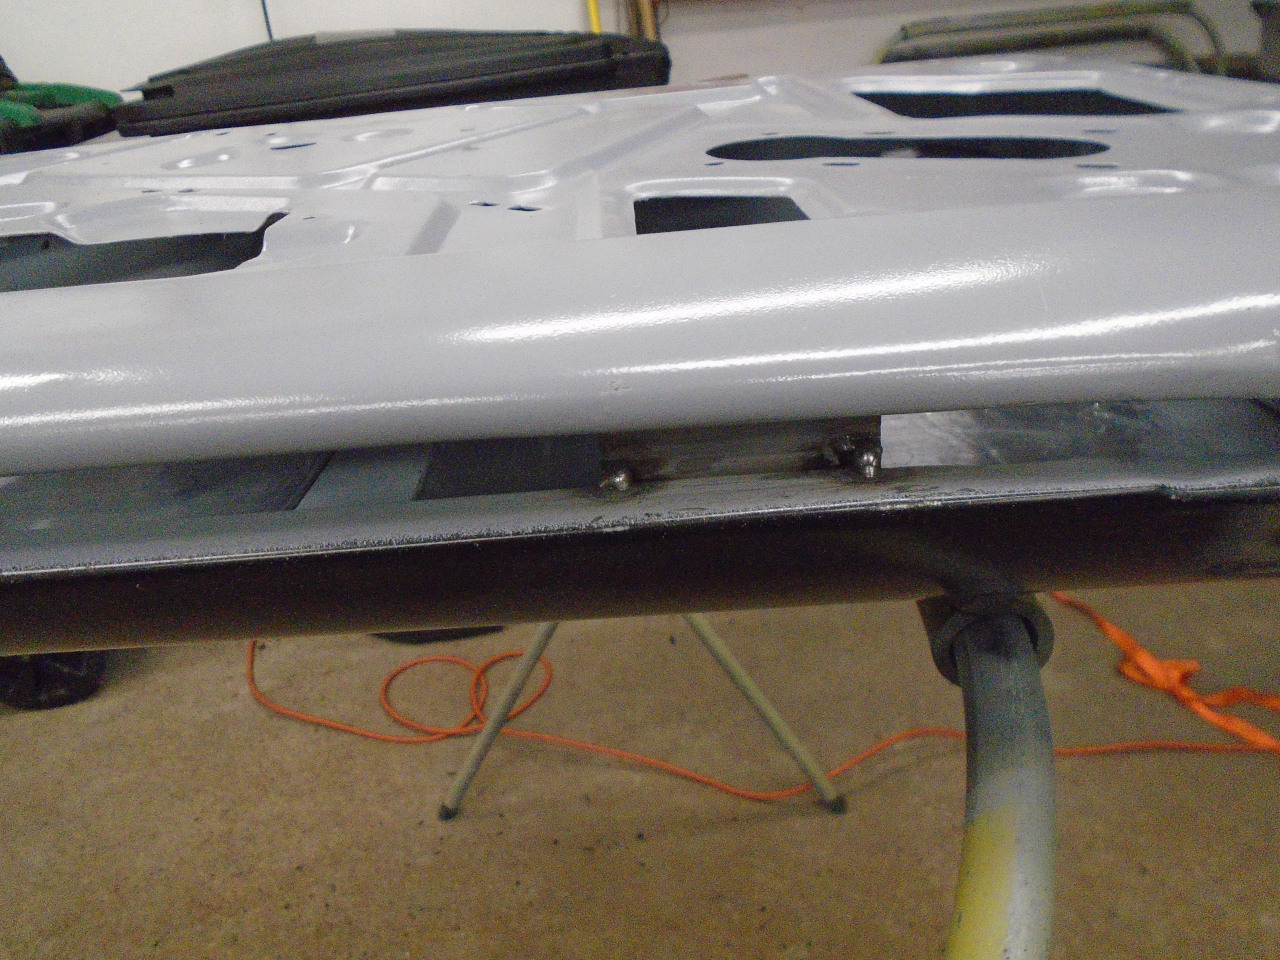
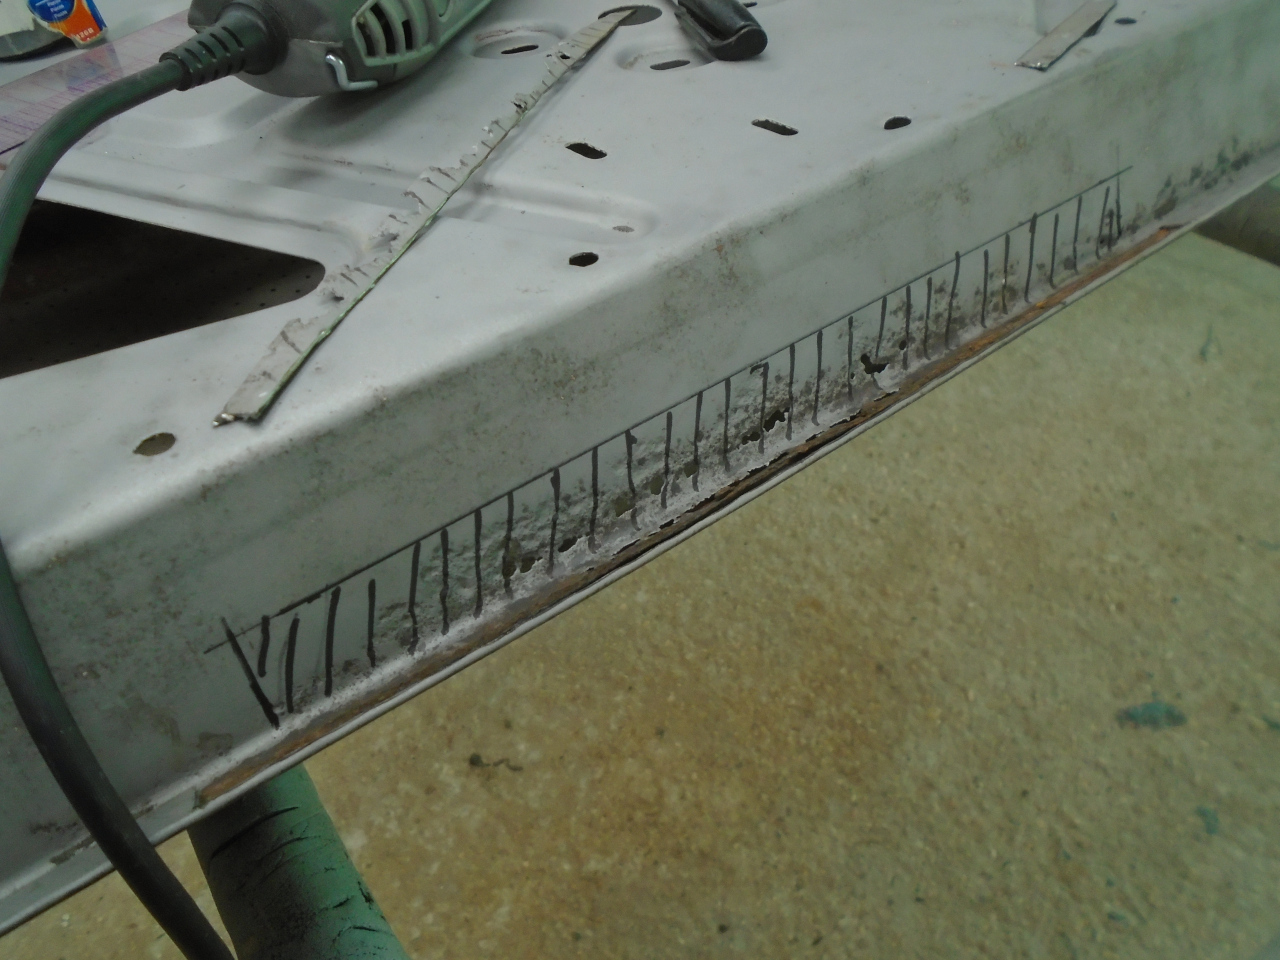
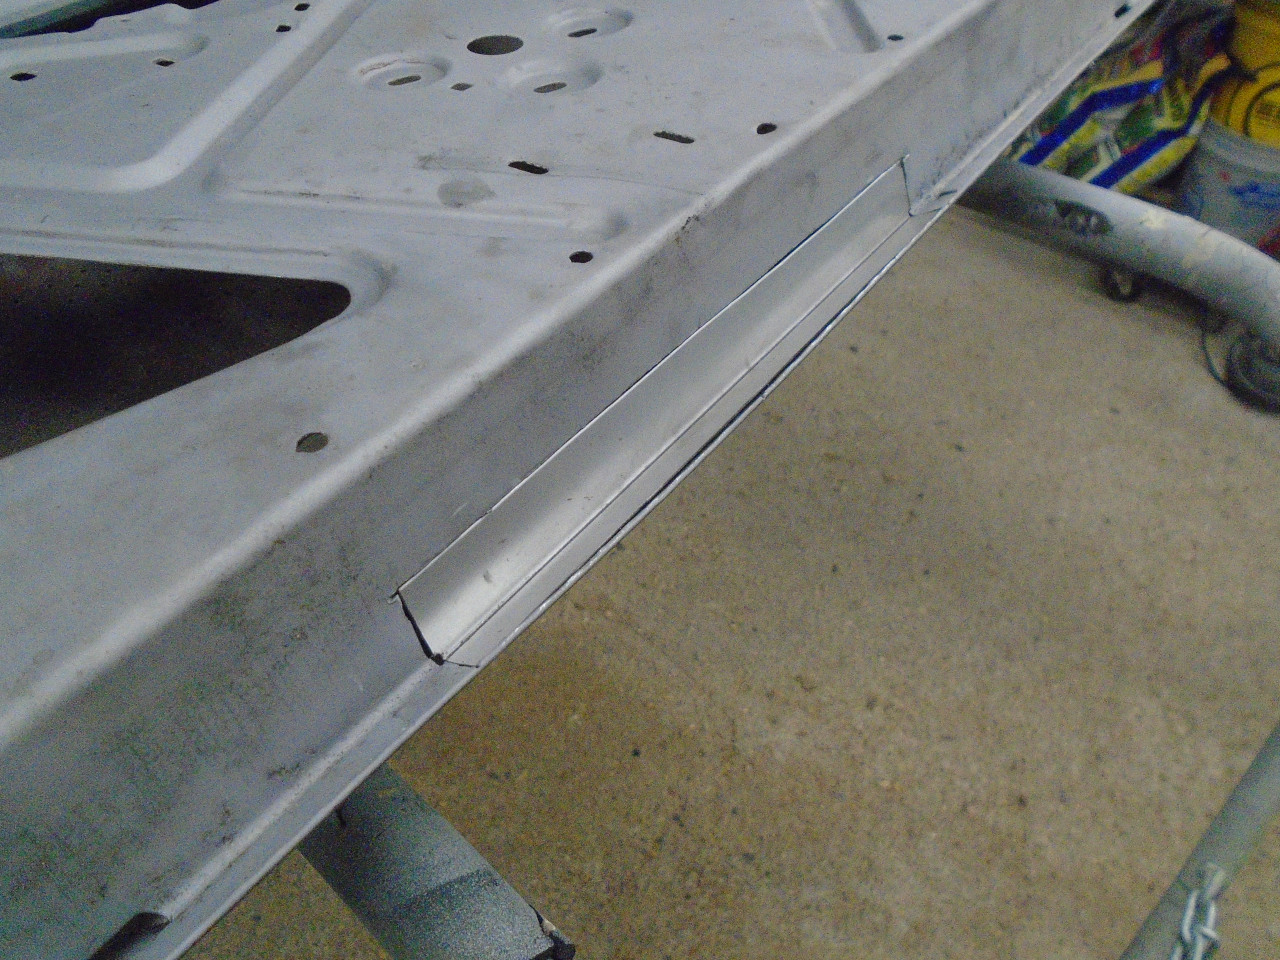
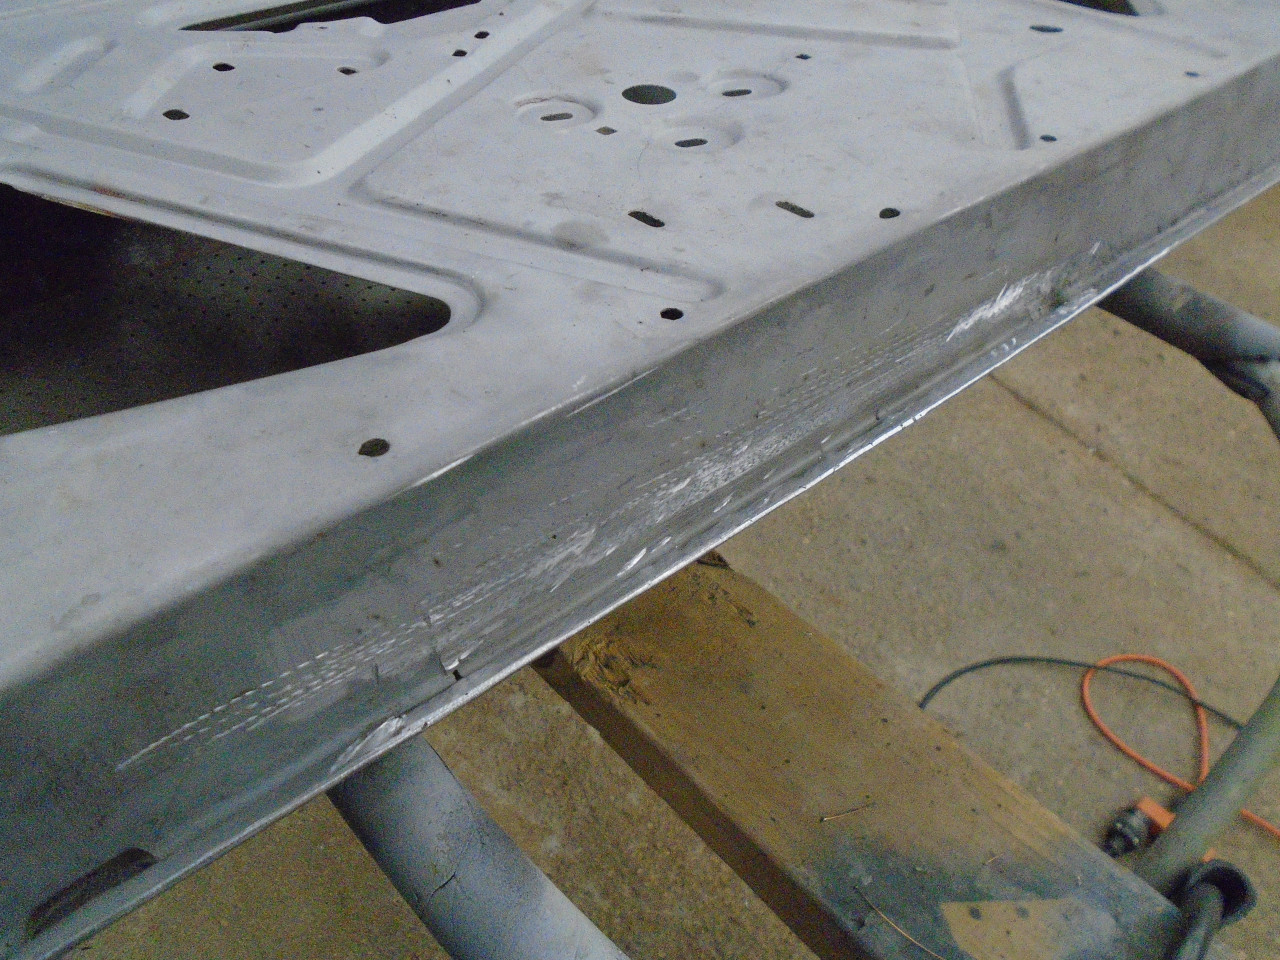
The bottom flange of the door body was indeed damaged by rust.
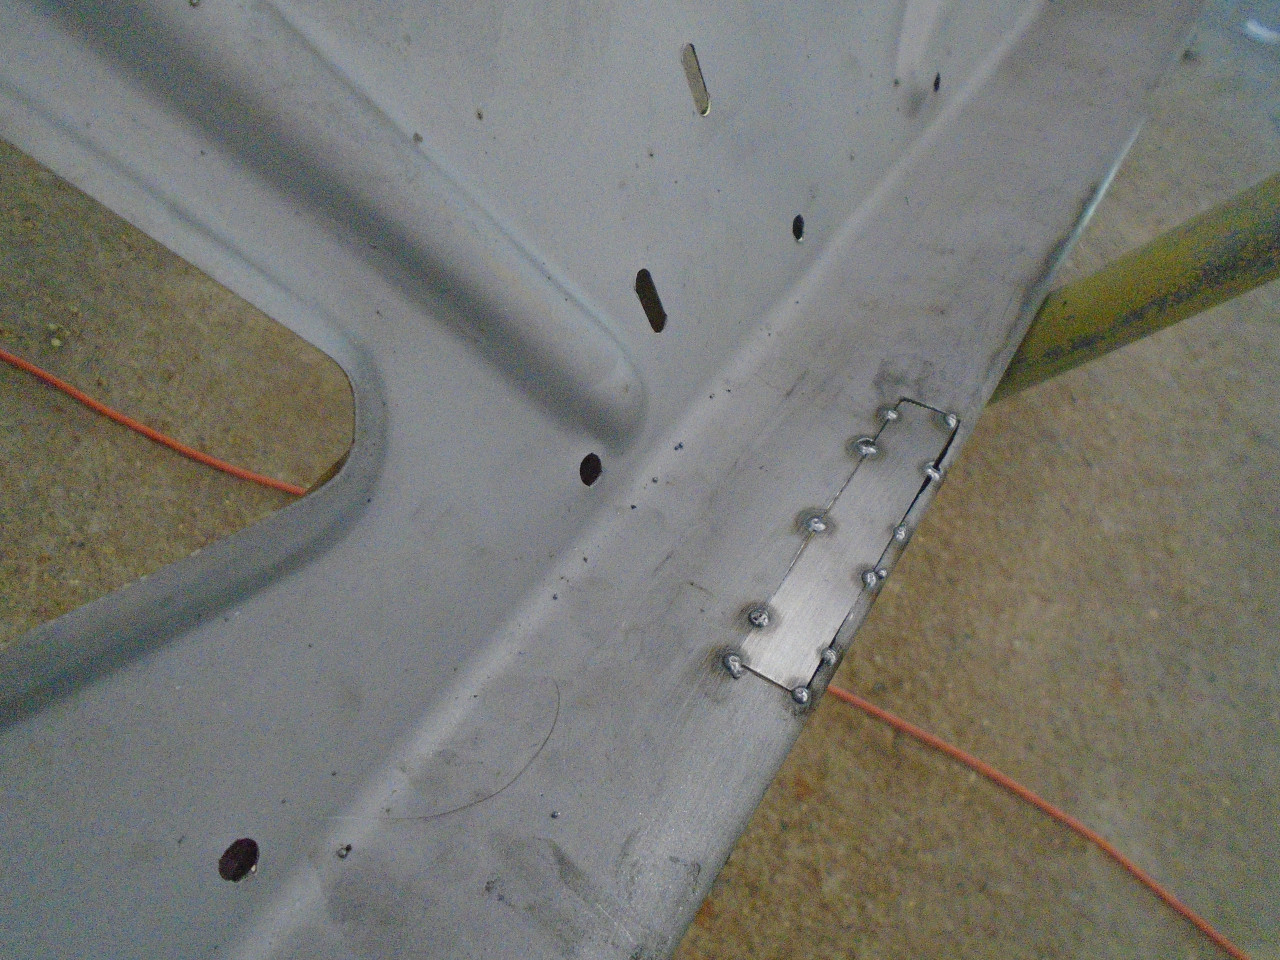
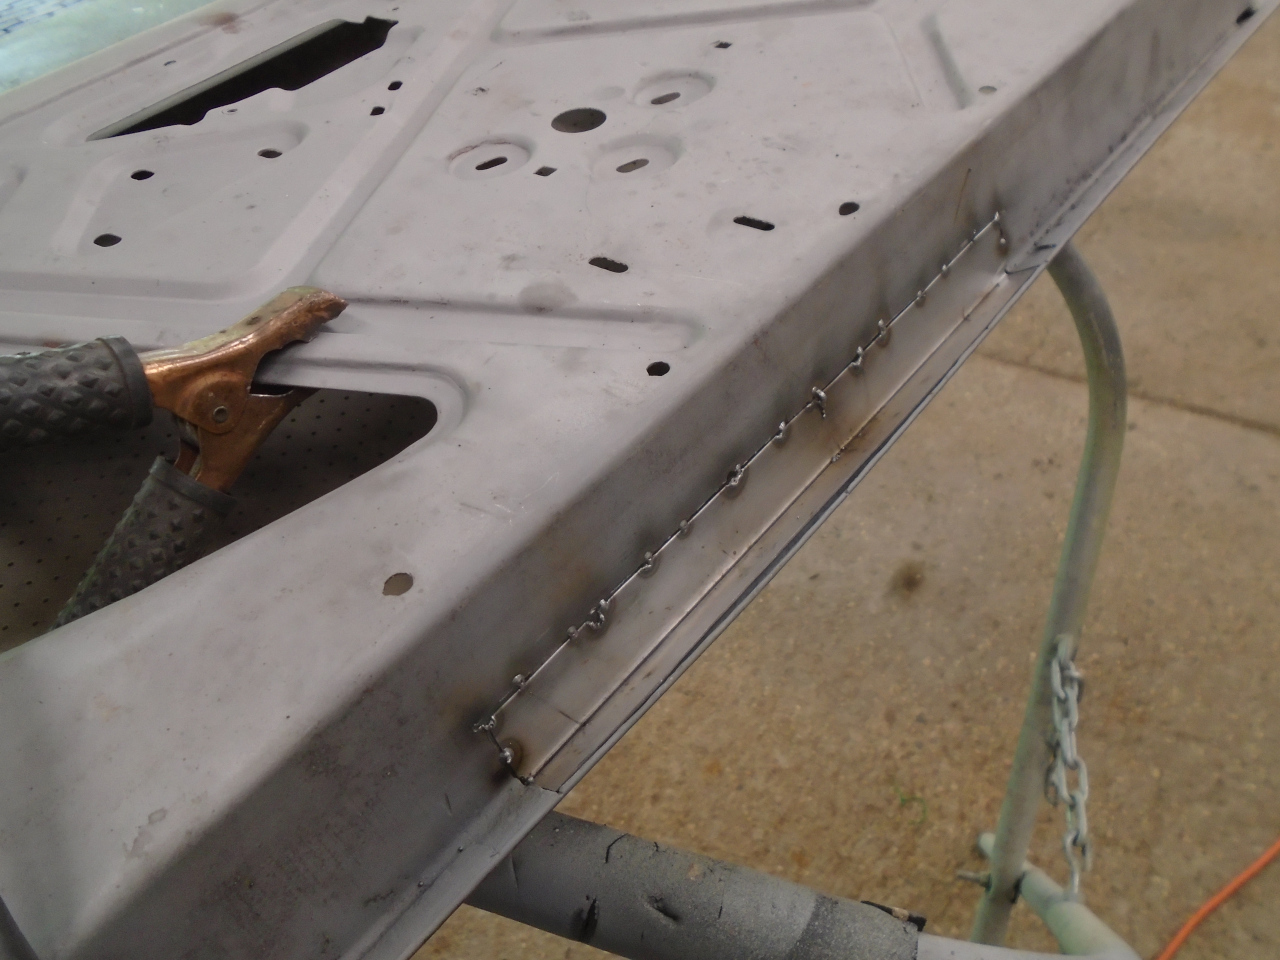
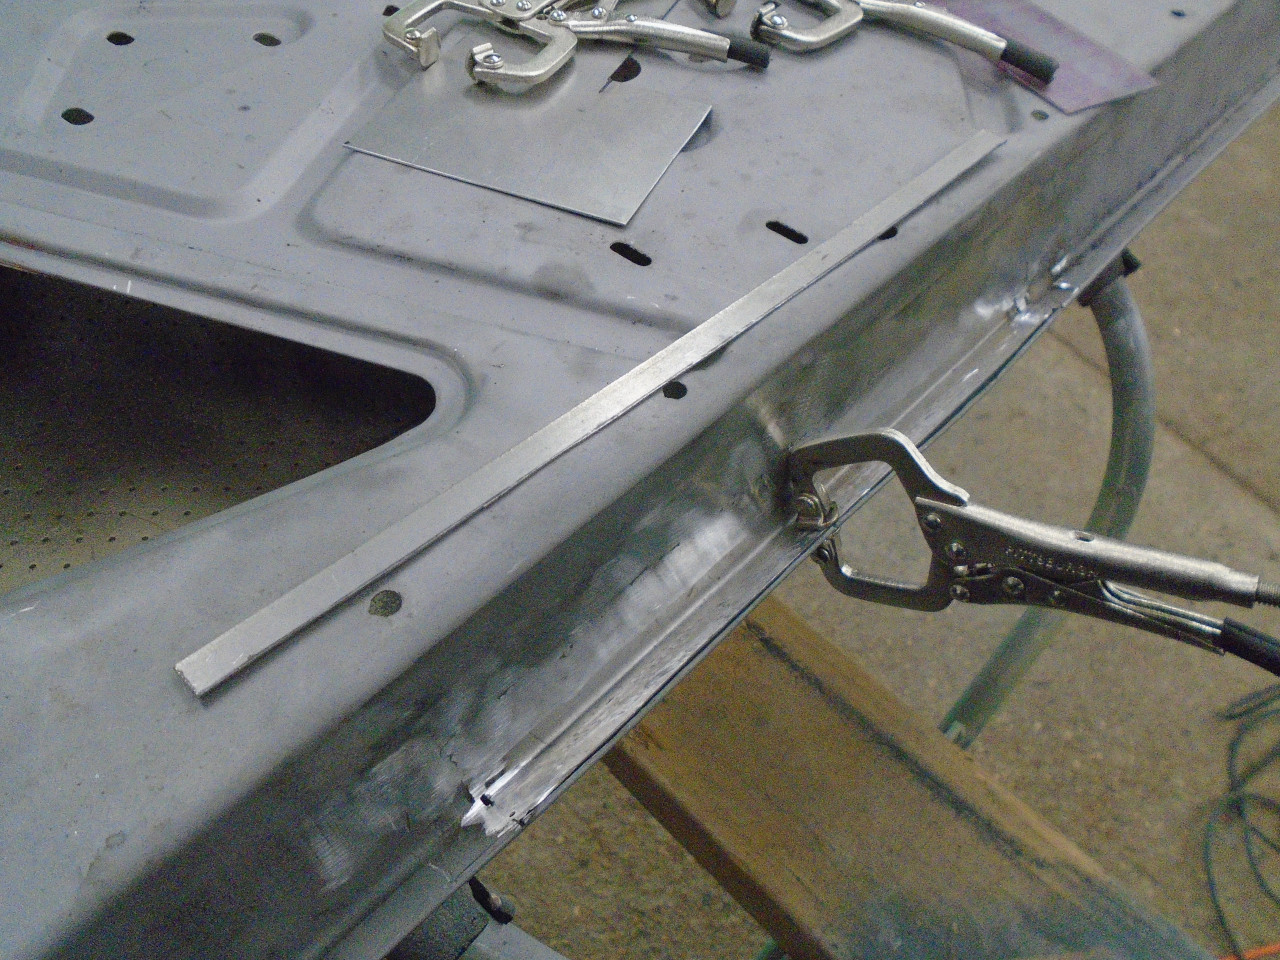
I cut out the small damaged section of the flange, and tacked in a new piece of metal...
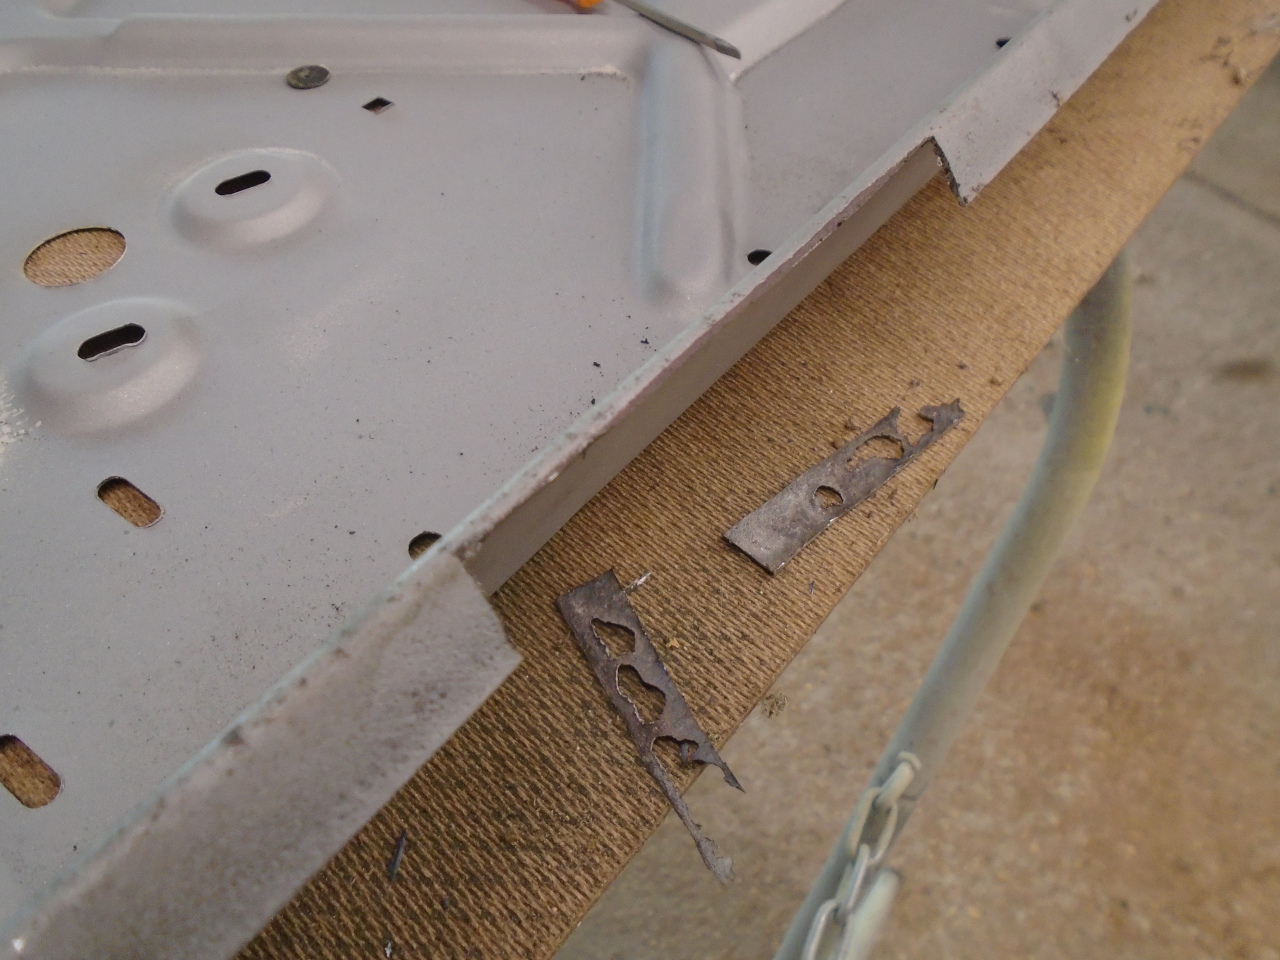
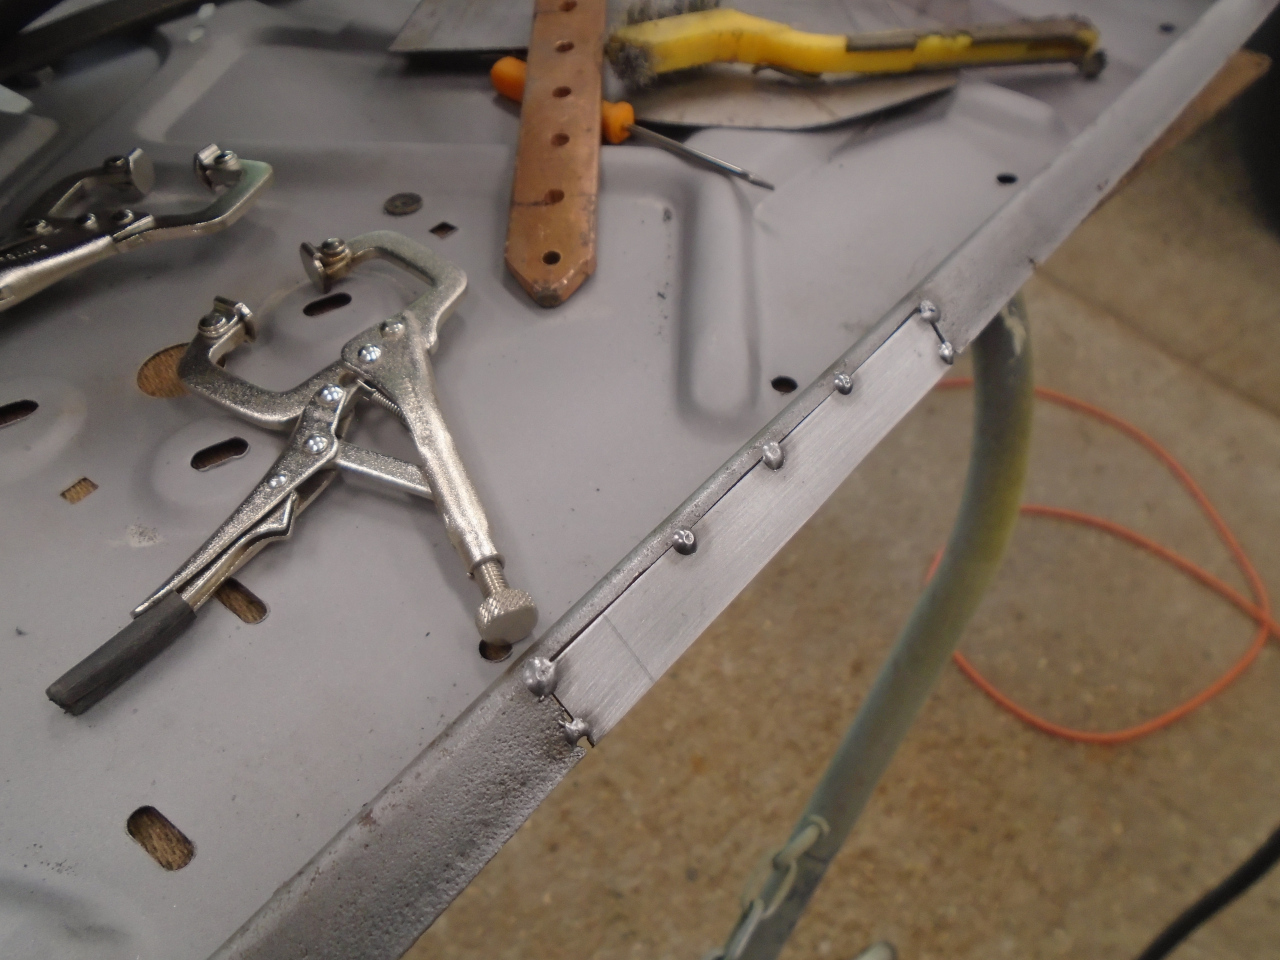
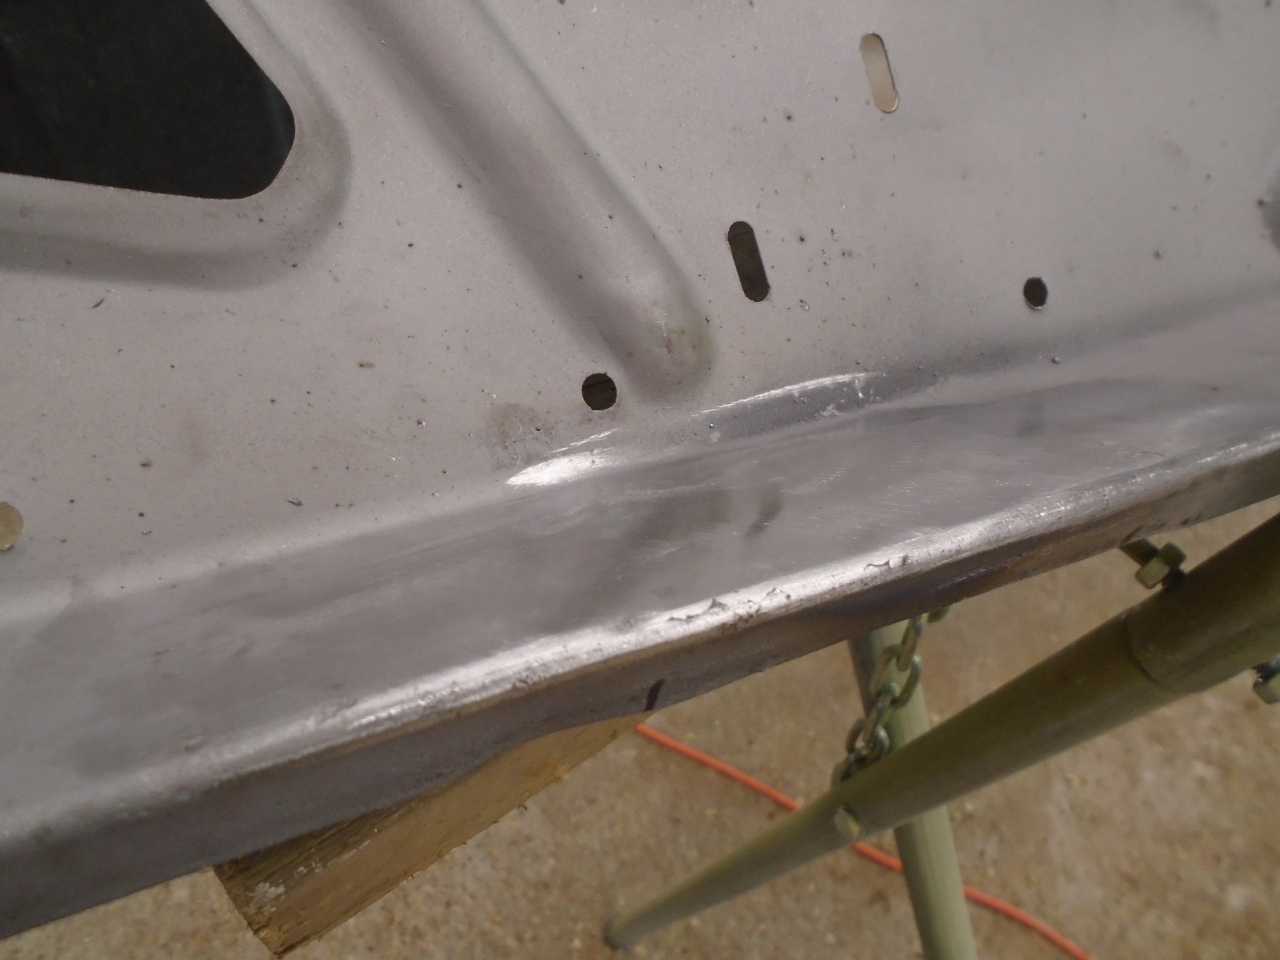
...welded it up, and ground the welds smooth.
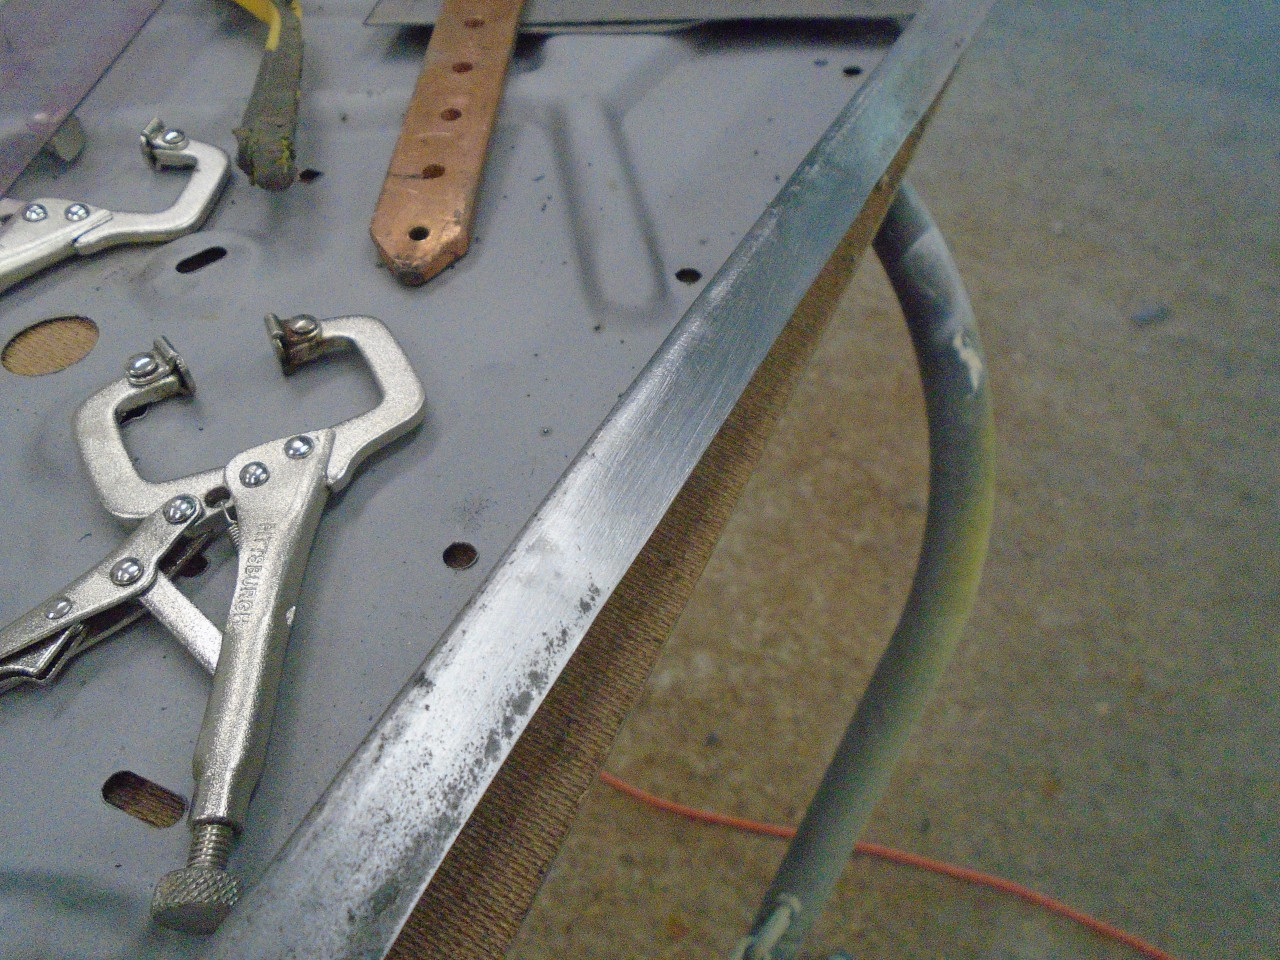
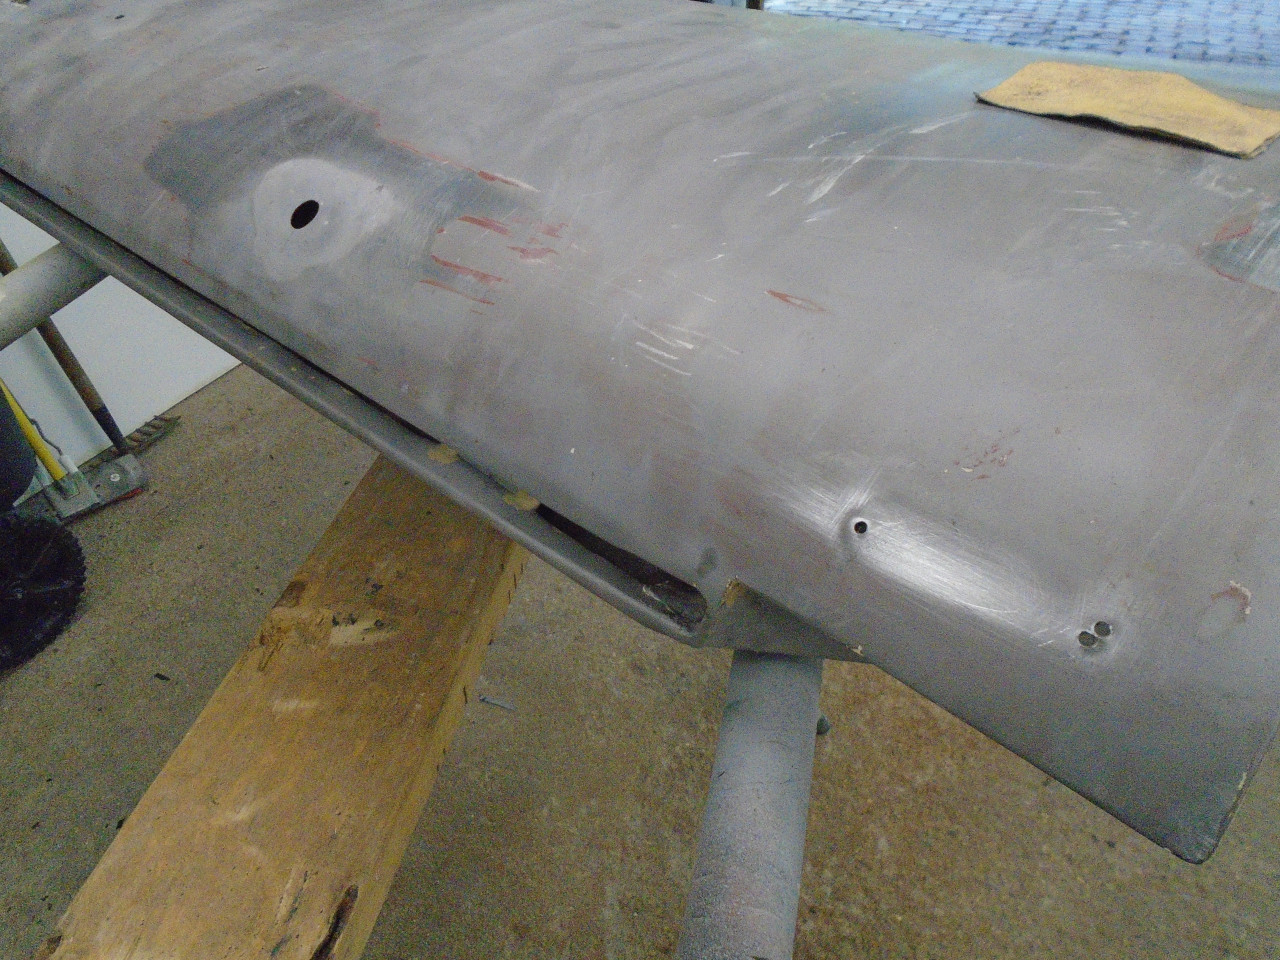
There was also some damage nearby on the bottom surface of the door. It got the same treatment.
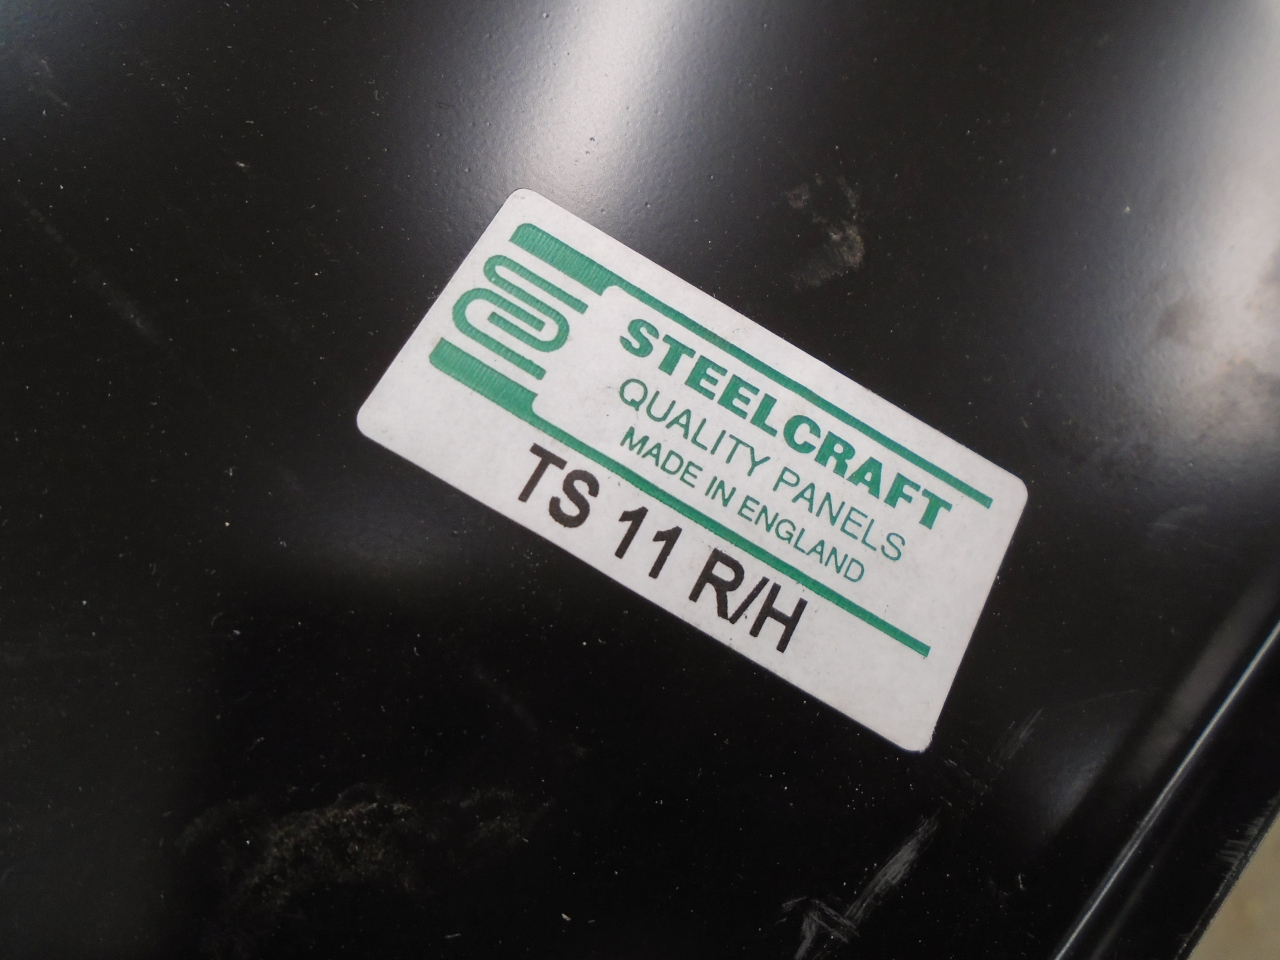
I was thinking the skin I ordered was a Heritage brand, but it was
not. In general, Steelcraft panels are probably not as good as
Heritage, but they still have a decent reputation.
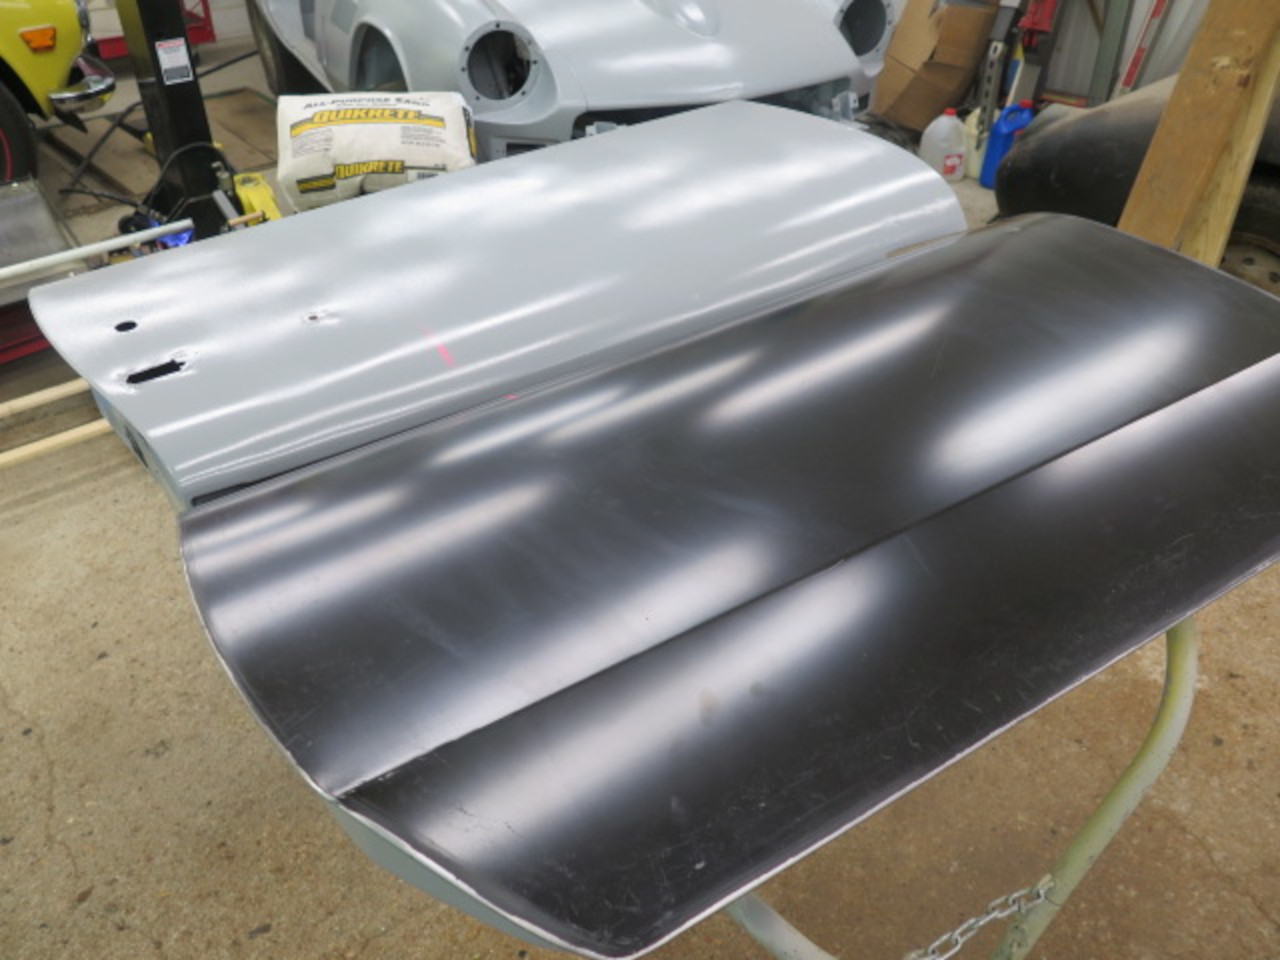
Here is the type of thing we face with just about any replacement
panel. The left picture shows the small step in the top edge of
the original skin at the front of the window opening. It's
distorted a little from the removal process. On the right is the
replacement panel's version of the step. There is a similar
situation at the rear of the window opening. It takes a little
time to massage things like that.

Another difference between the original and replacement skins is this
little reinforcement piece found on the original, but not on the
replacement.

If the original designers of this panel thought that piece was important, then so do I.

The skin panel came with a black coating that seemed very durable and
well adhered, so I didn't remove it, but I applied a coat of my own two
part epoxy primer on top of the scuffed inside surface at the same time
that I primed the door frame.
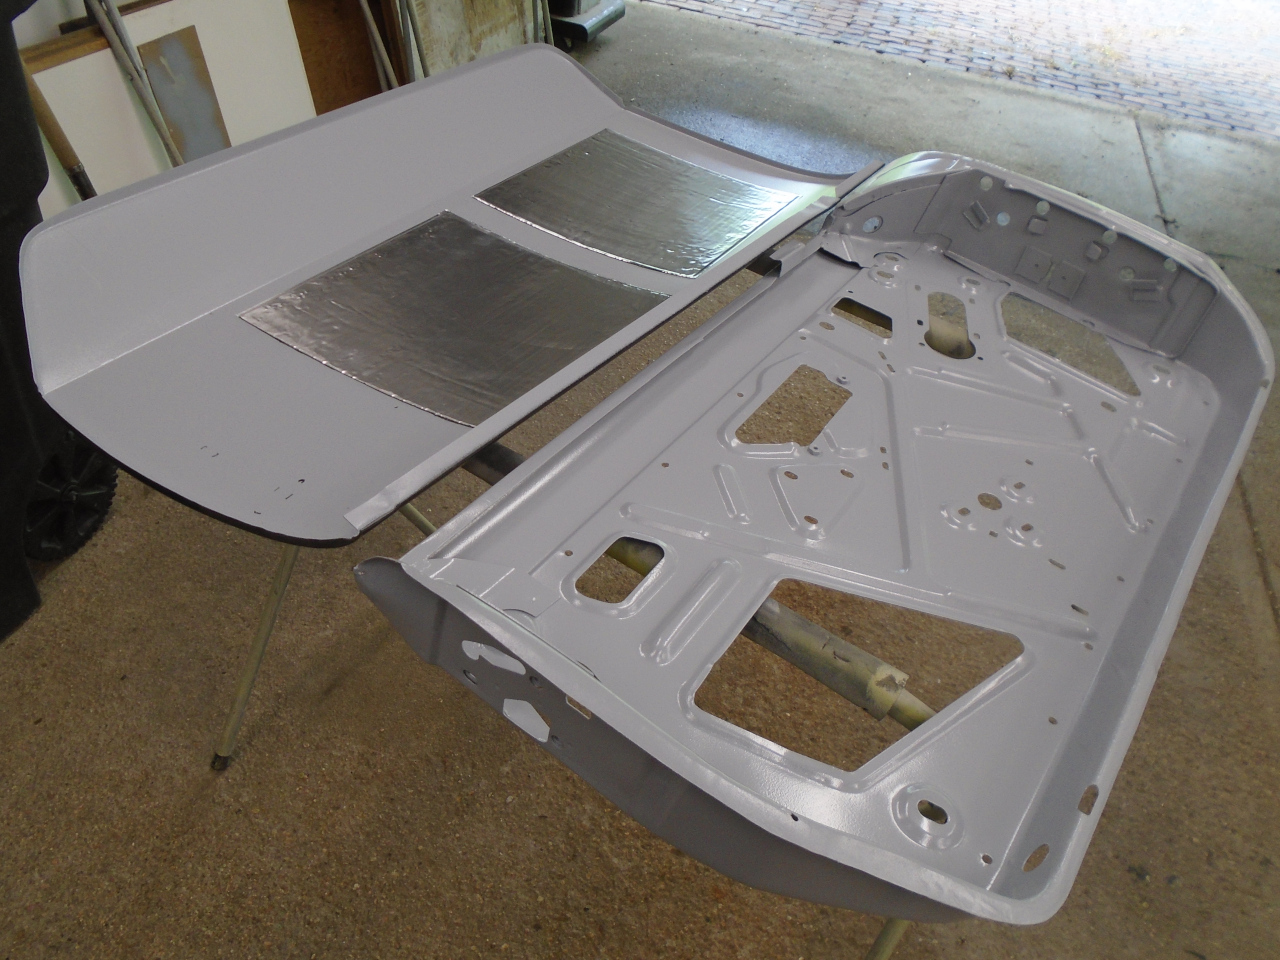
Here is the inside surface of the old and new skins. Notice that
the original had a composition pad glued to it. This is for
vibration damping.
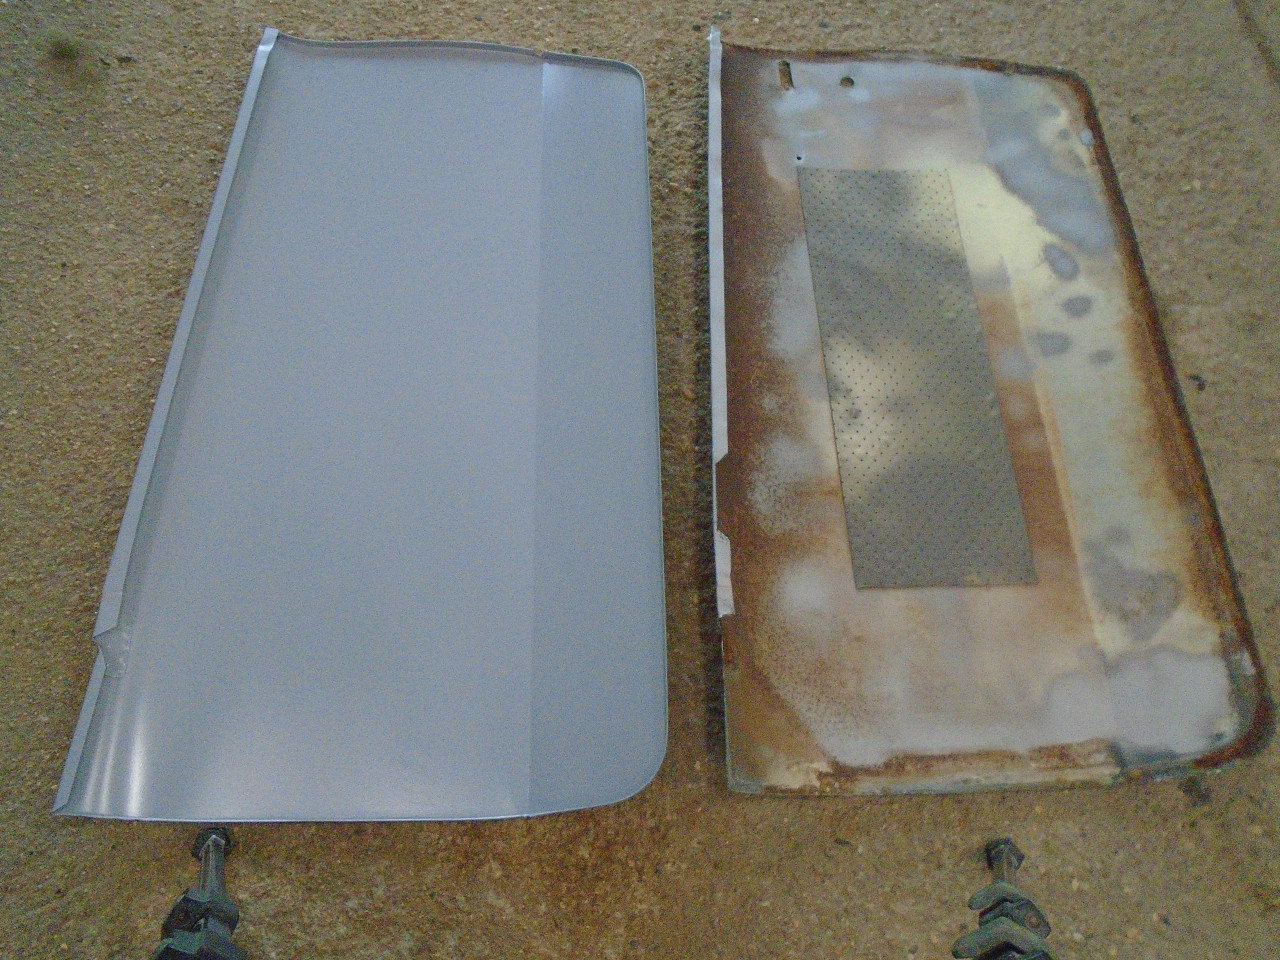
I applied a modern version of the damping pad. It is
generically called a Constrained Layer Damping (CLD) material, where the
"constrained layer" is a soft, almost gooey rubber substance
constrained between the door panel and a top layer of aluminum.
Here are some short videos that illustrate the damping effect:
The original panel:
https://youtu.be/05Cm0UZeWII
The new panel as received:
https://youtu.be/c2bxzoKtxic
The new panel with CLD applied:
https://youtu.be/C6RexFnLqJA
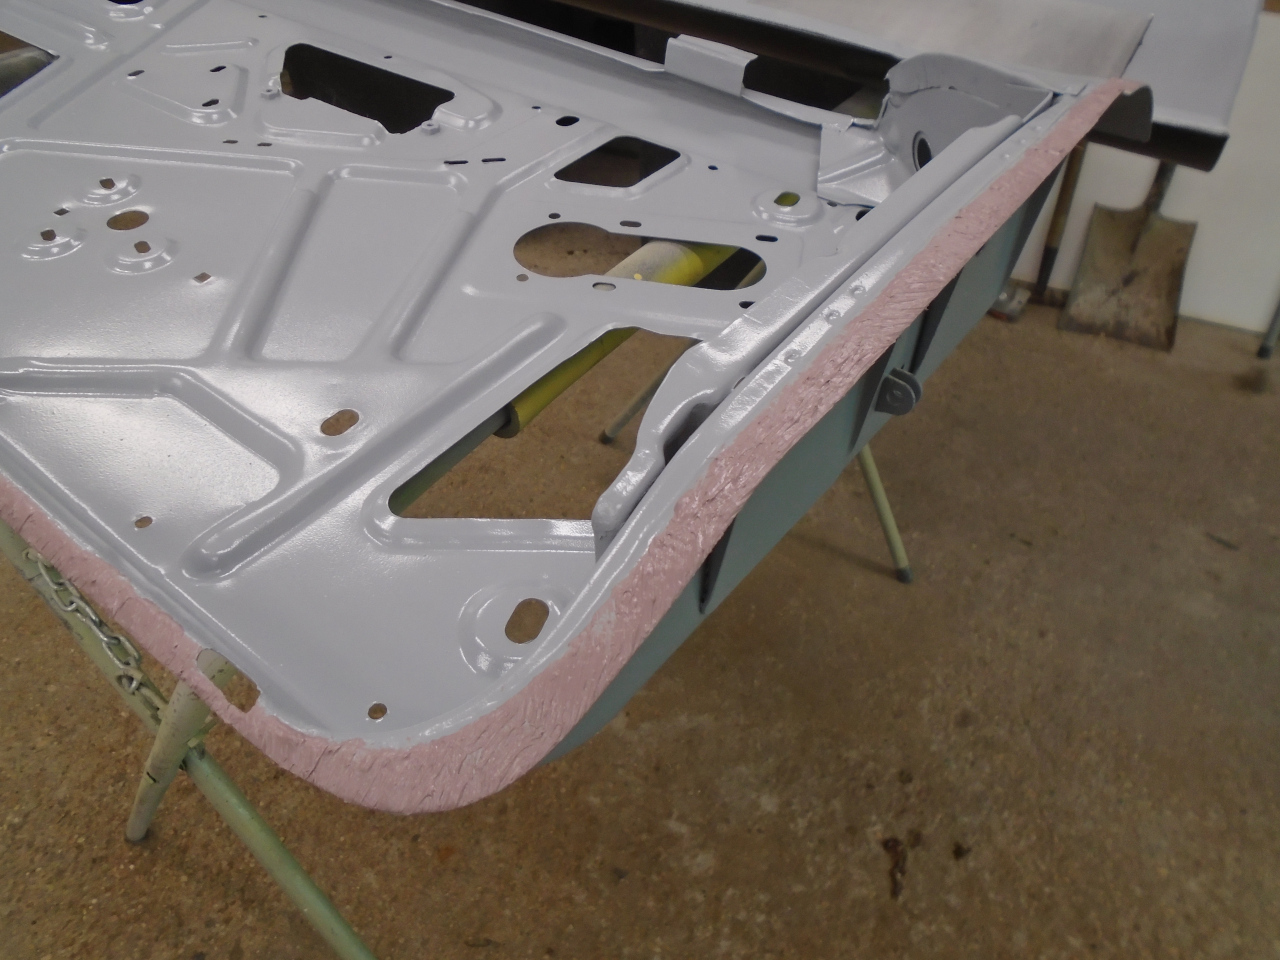
At this point, I was ready to apply the new skin. The panel comes
with the crimp flange already partially bent. A test fit showed
that the panel would fit the door frame with a little
encouragement. I applied seam sealer to the door frame flange.
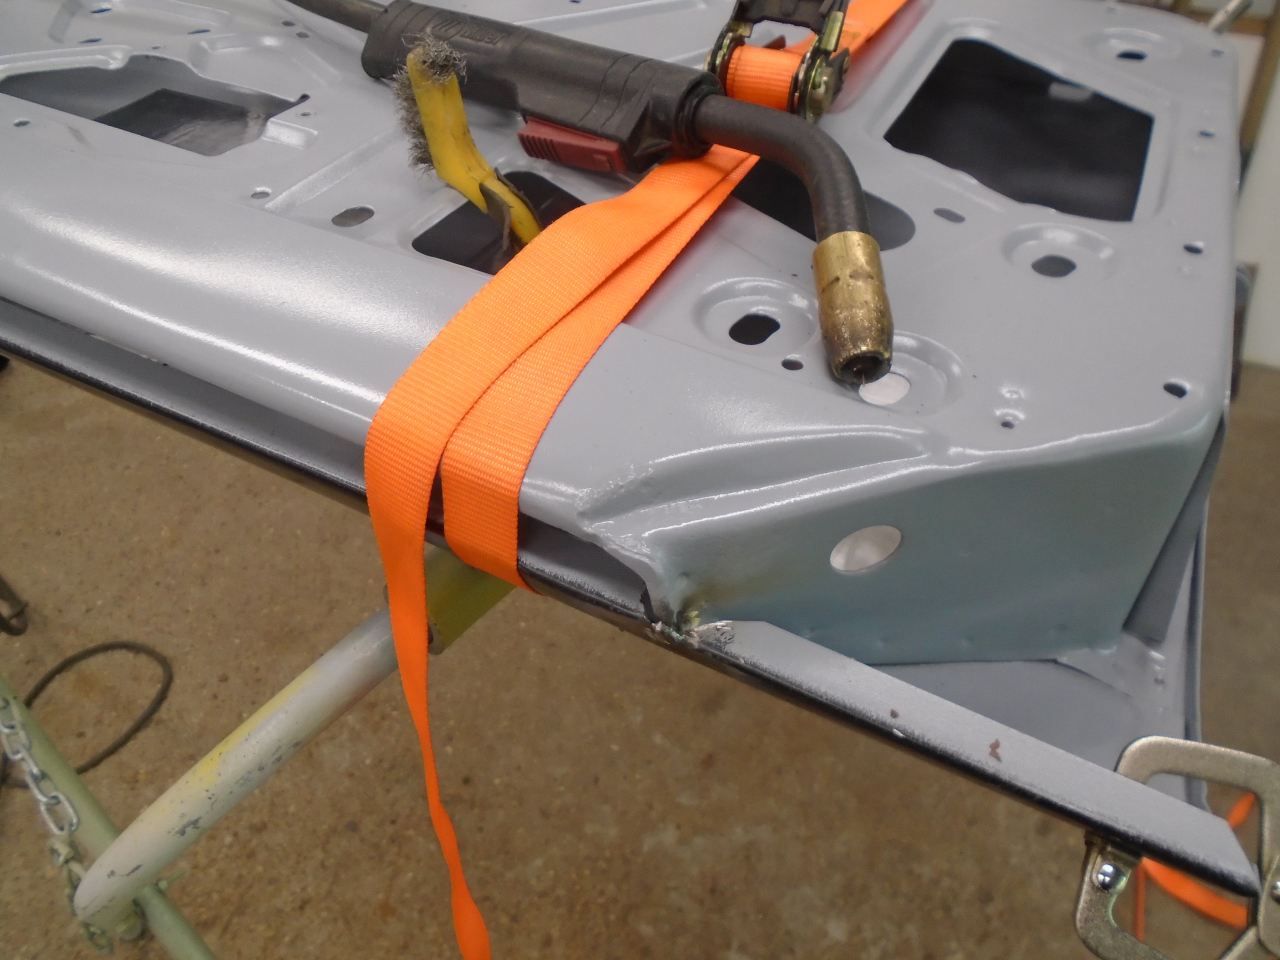
Some cargo straps helped to align the panel for welding at the front and rear of the window opening.
Then various clamps were used to hold the panel in place while the lip was gradually hammered down on the flange.
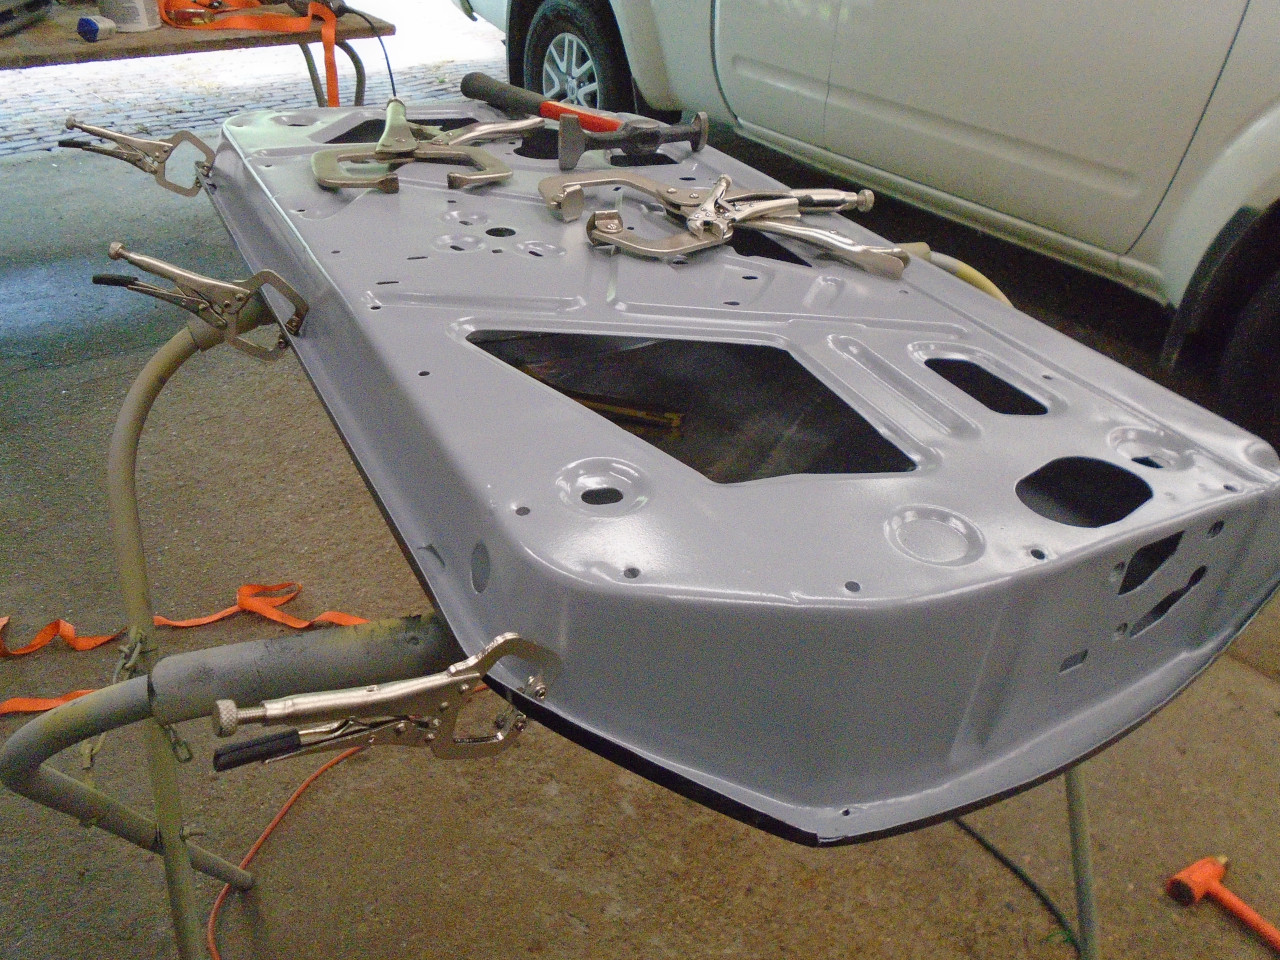
I think this joint must have been rolled closed somehow by the factory,
but hammering works fine. In fact there is a specific body hammer
for it.
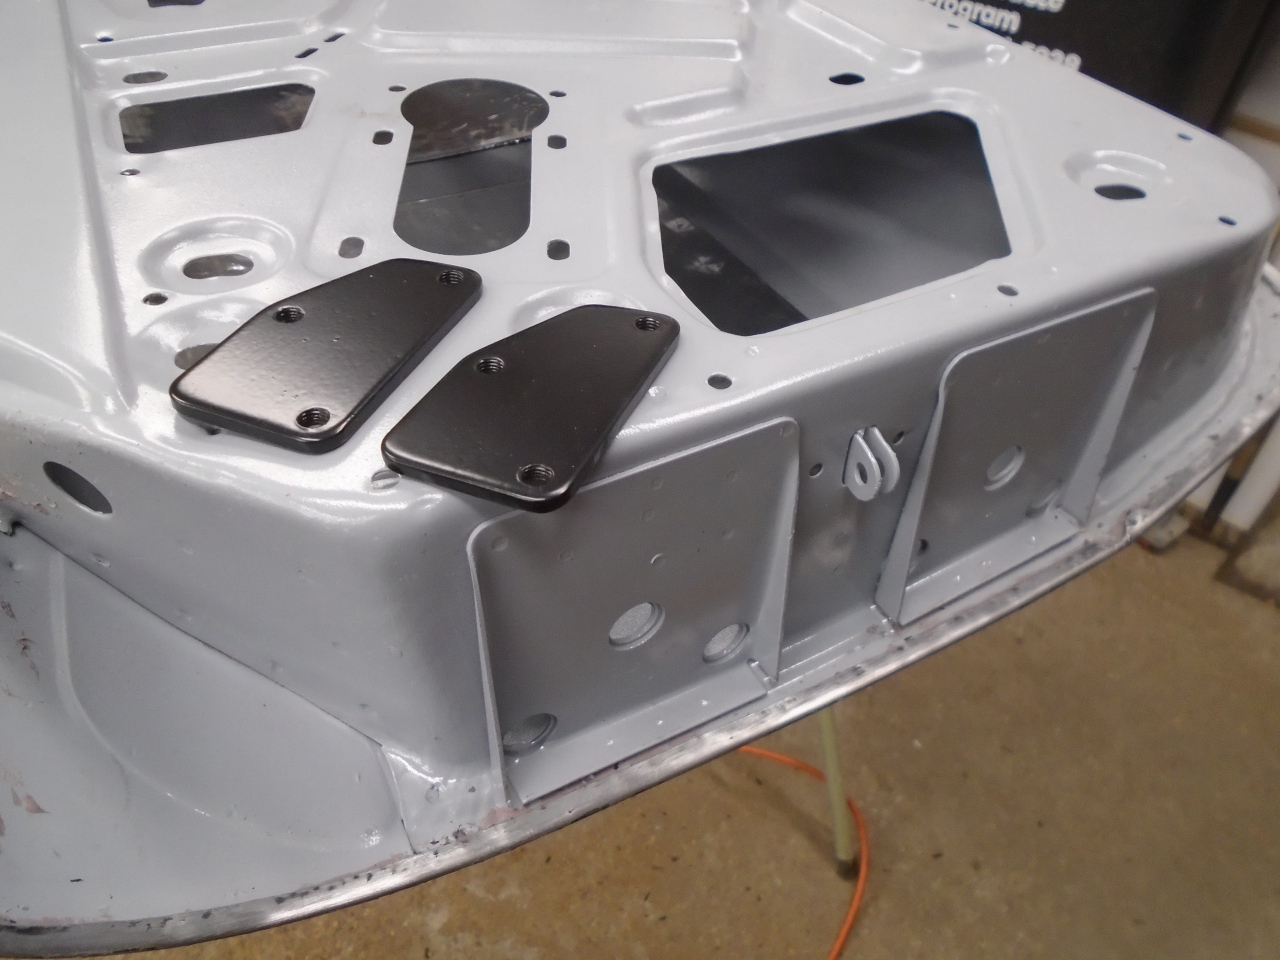
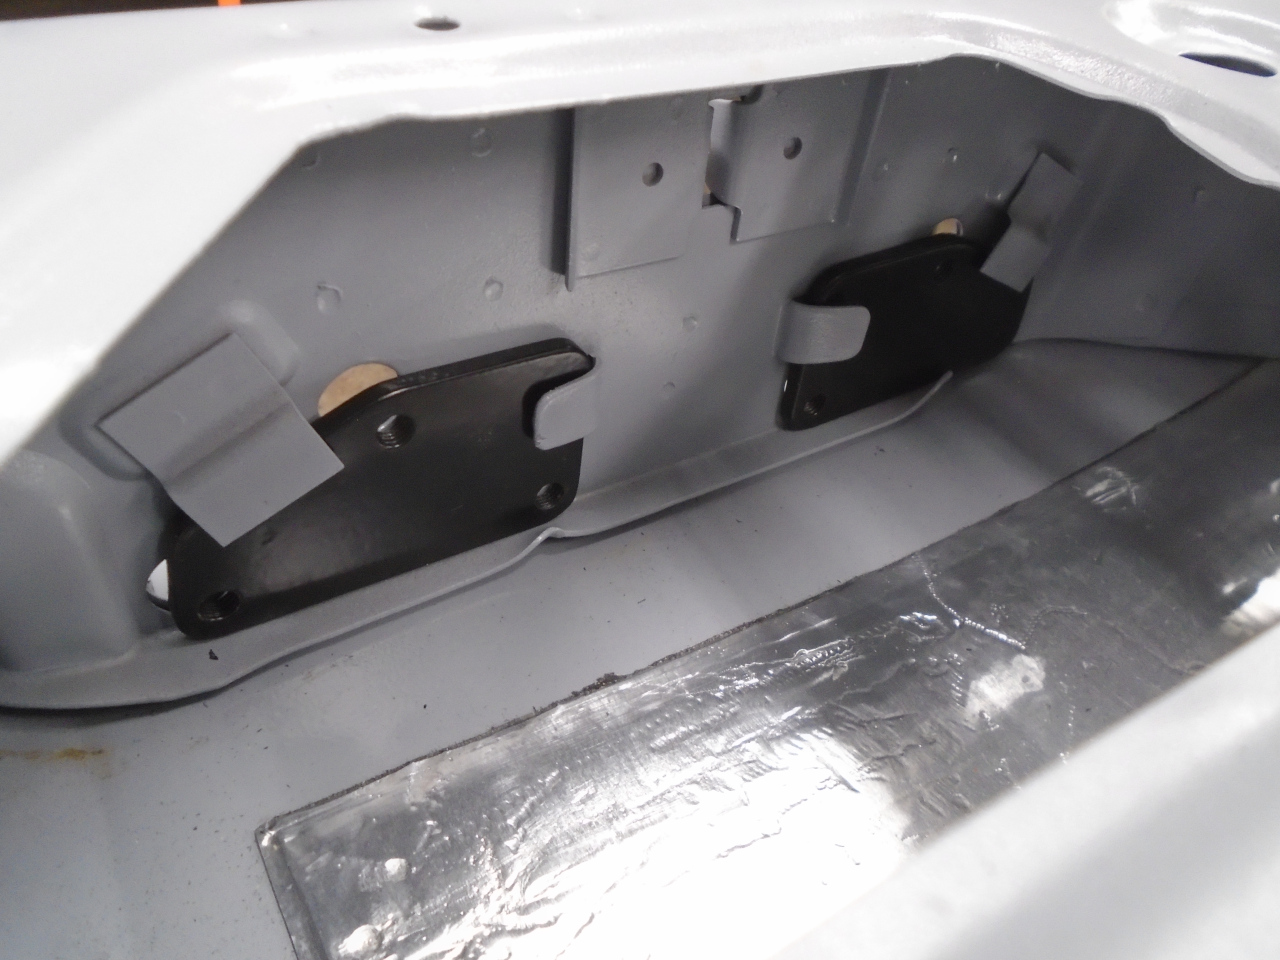
These are the two nut plates for the hinges, blasted and powder coated. They are a lot freer to move now.
There is also a little bracket in the window opening that gets a couple of welds.
The sharp bending of the lip caused the black primer to peel away, but the door will be primed again anyway.
Moving on to the drivers' door, it appeared that even though there
wasn't any accident damage, there was rust damage similar to the
passenger door, but a little worse. It was fixed in a similar way.
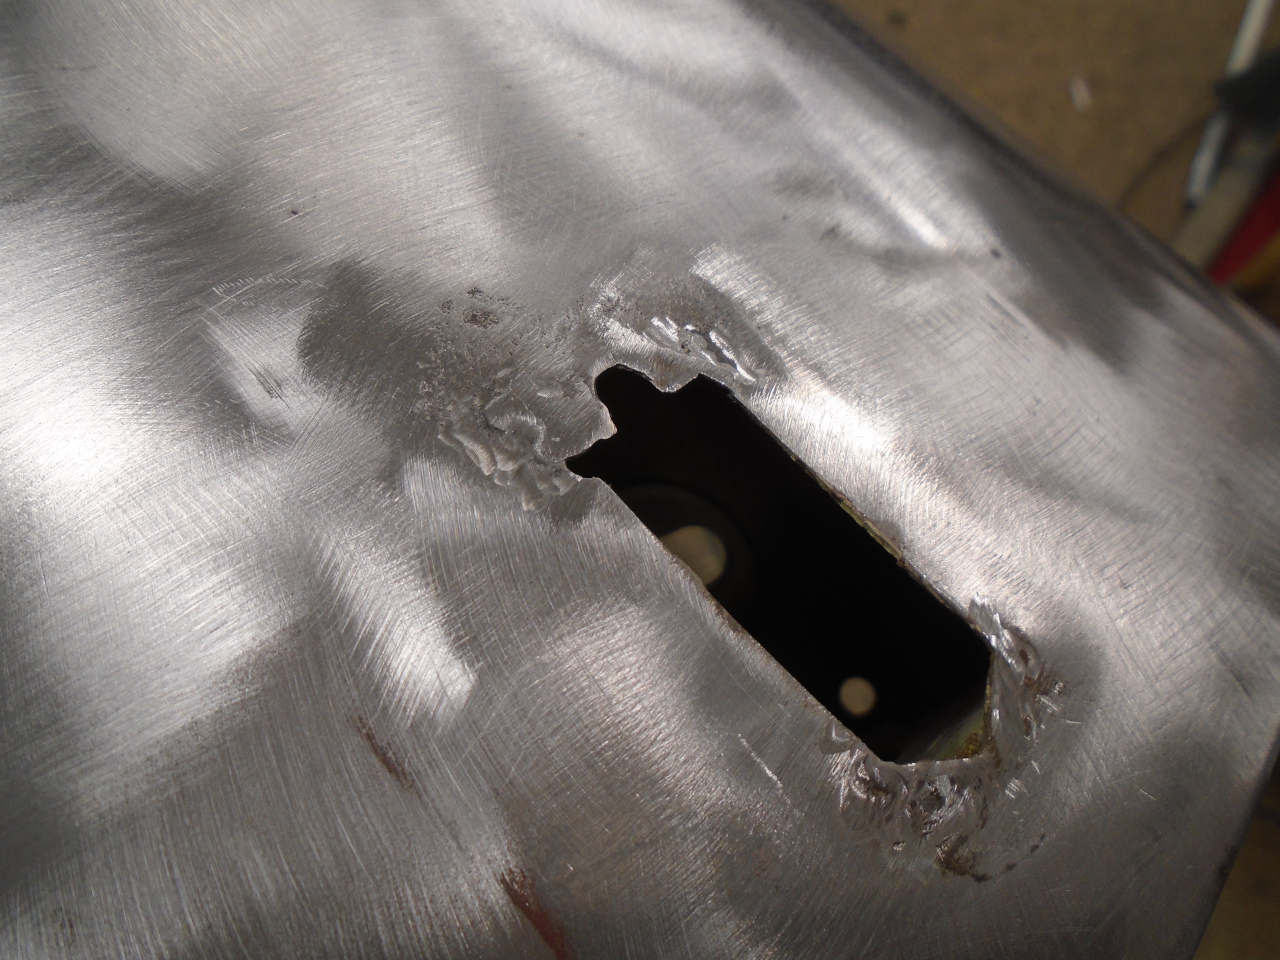
There were a few other issues with the drivers' door. There were
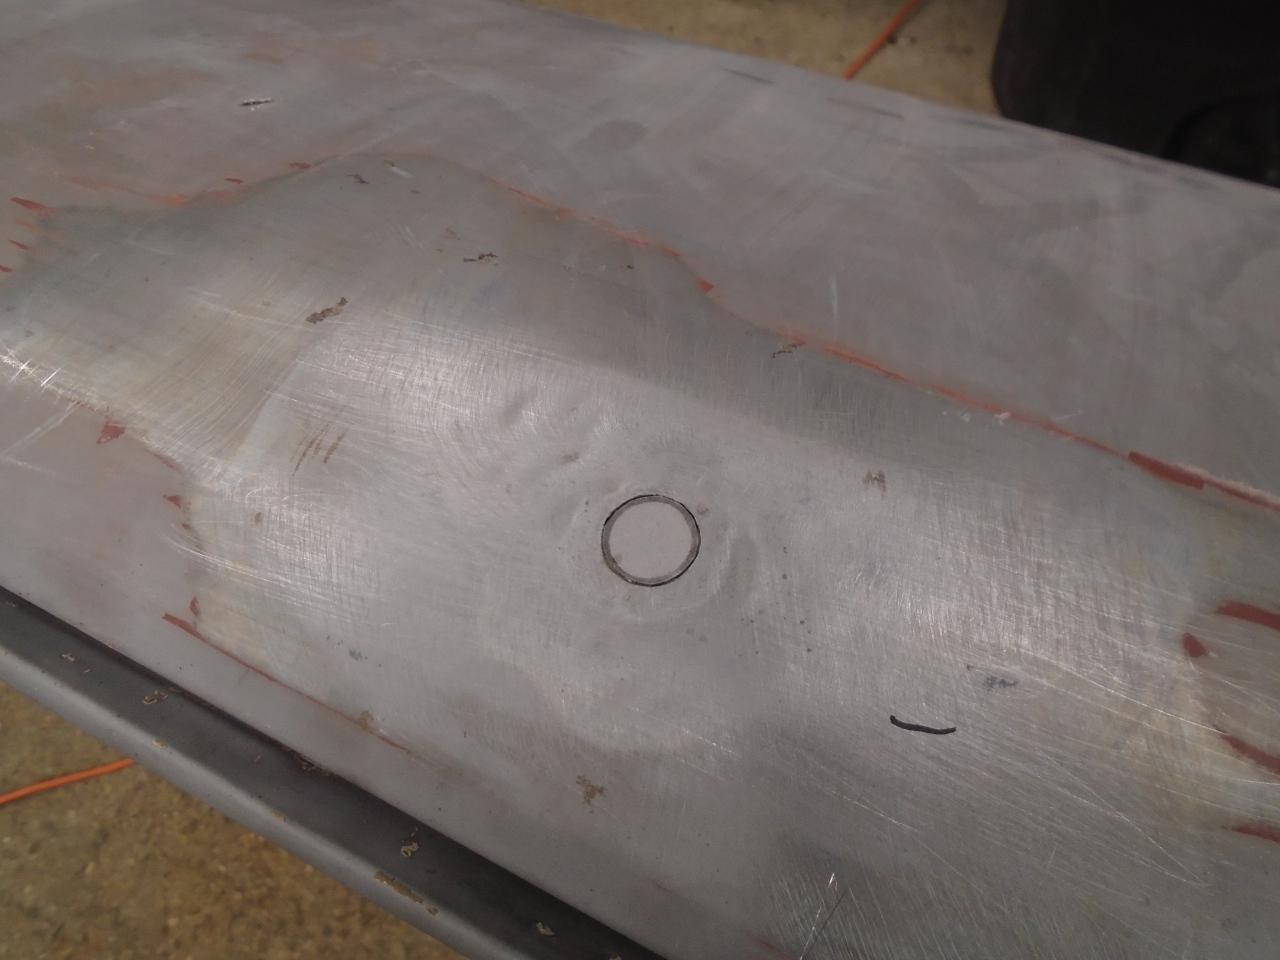
some mirror mounting holes, and a large mystery hole further back.
There were some cracks around the door handle opening.
At his point I was honestly thinking that it might have been better to
re-skin this door, too. There was a certain joy in assembling the
passenger door with all freshly cleaned and painted parts. But,
the work was done. Some final cleanup, and fresh epoxy primer.
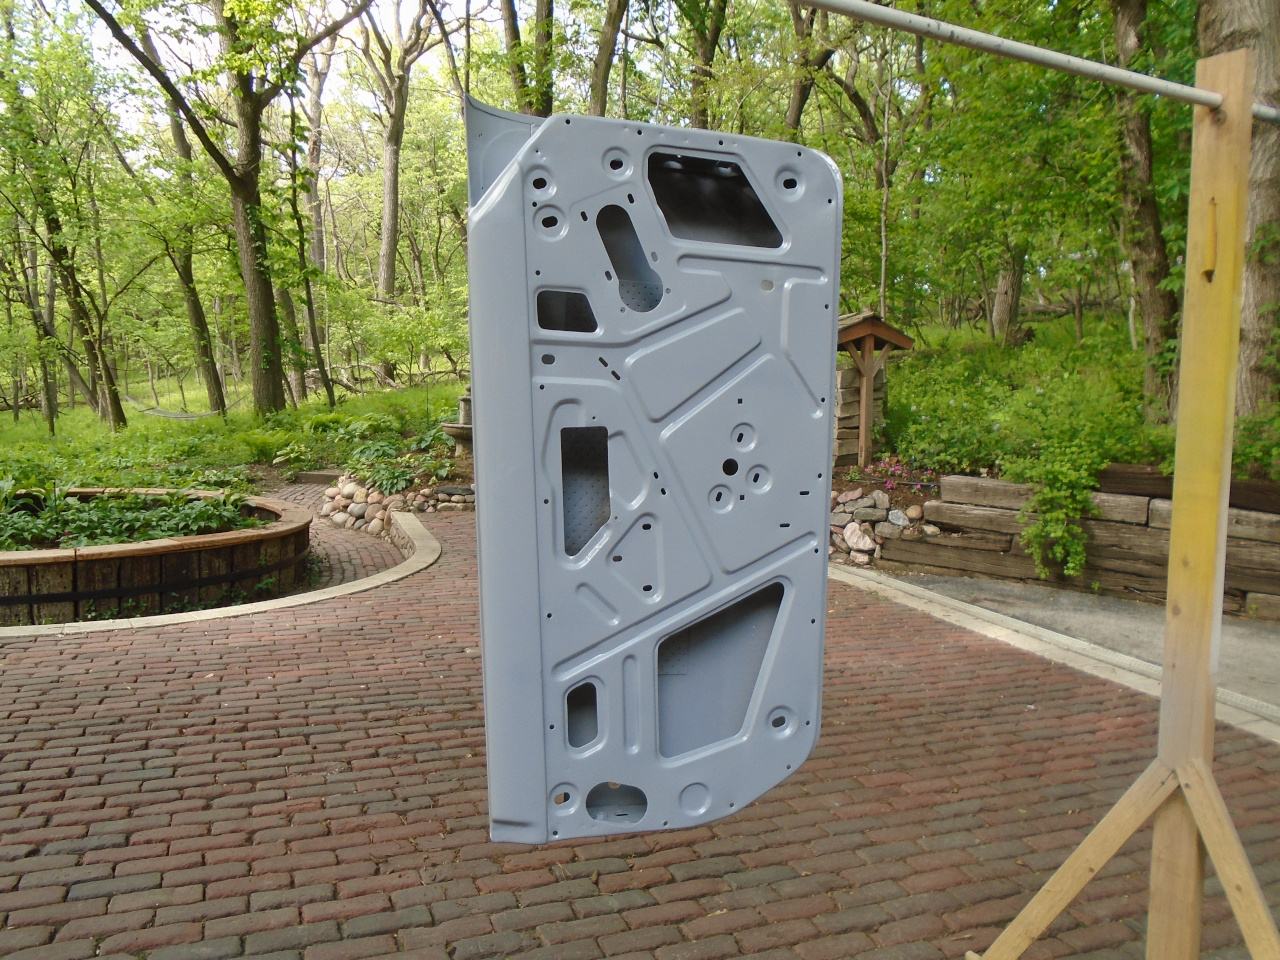
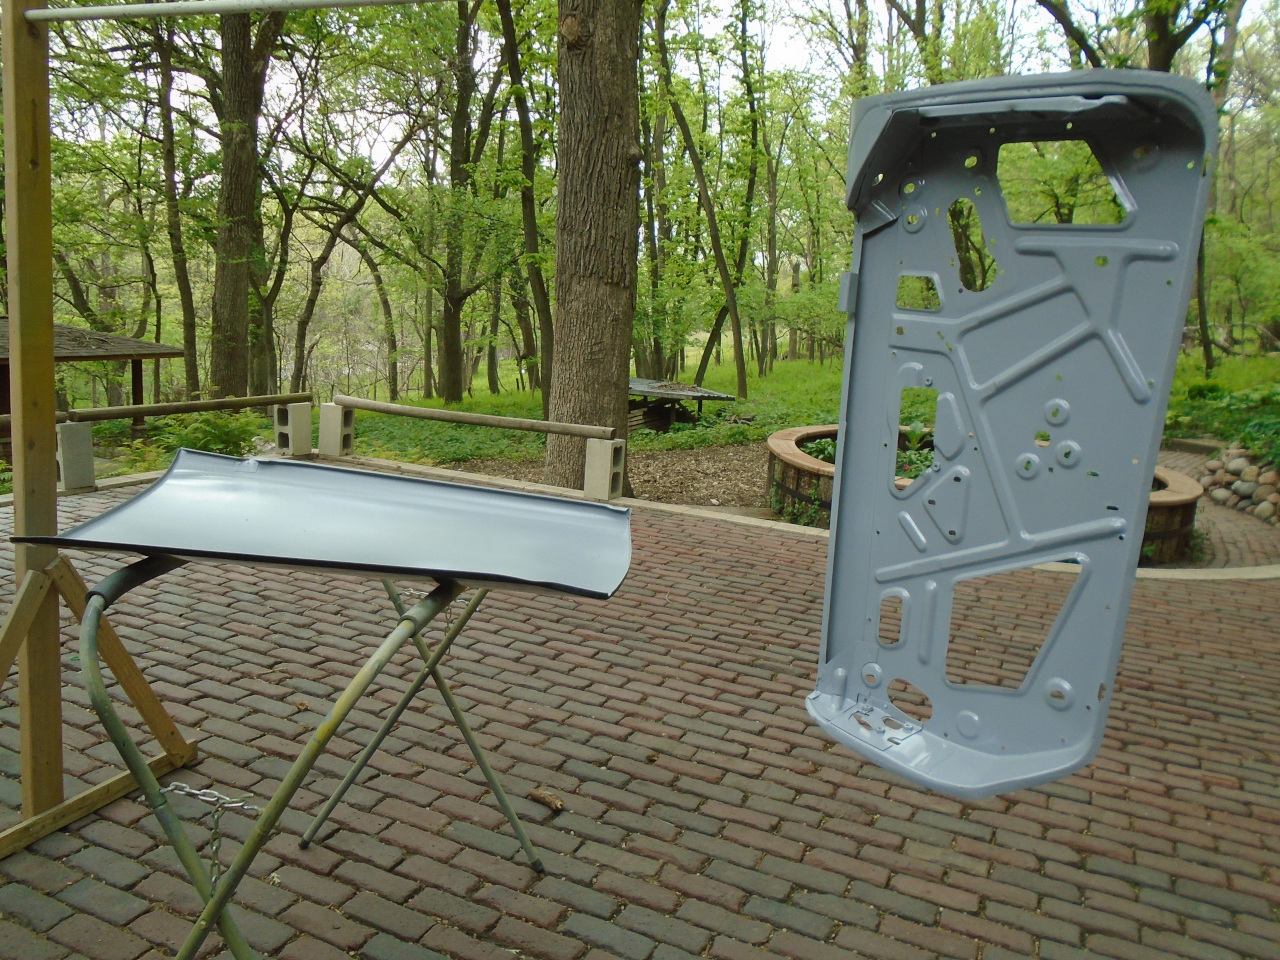
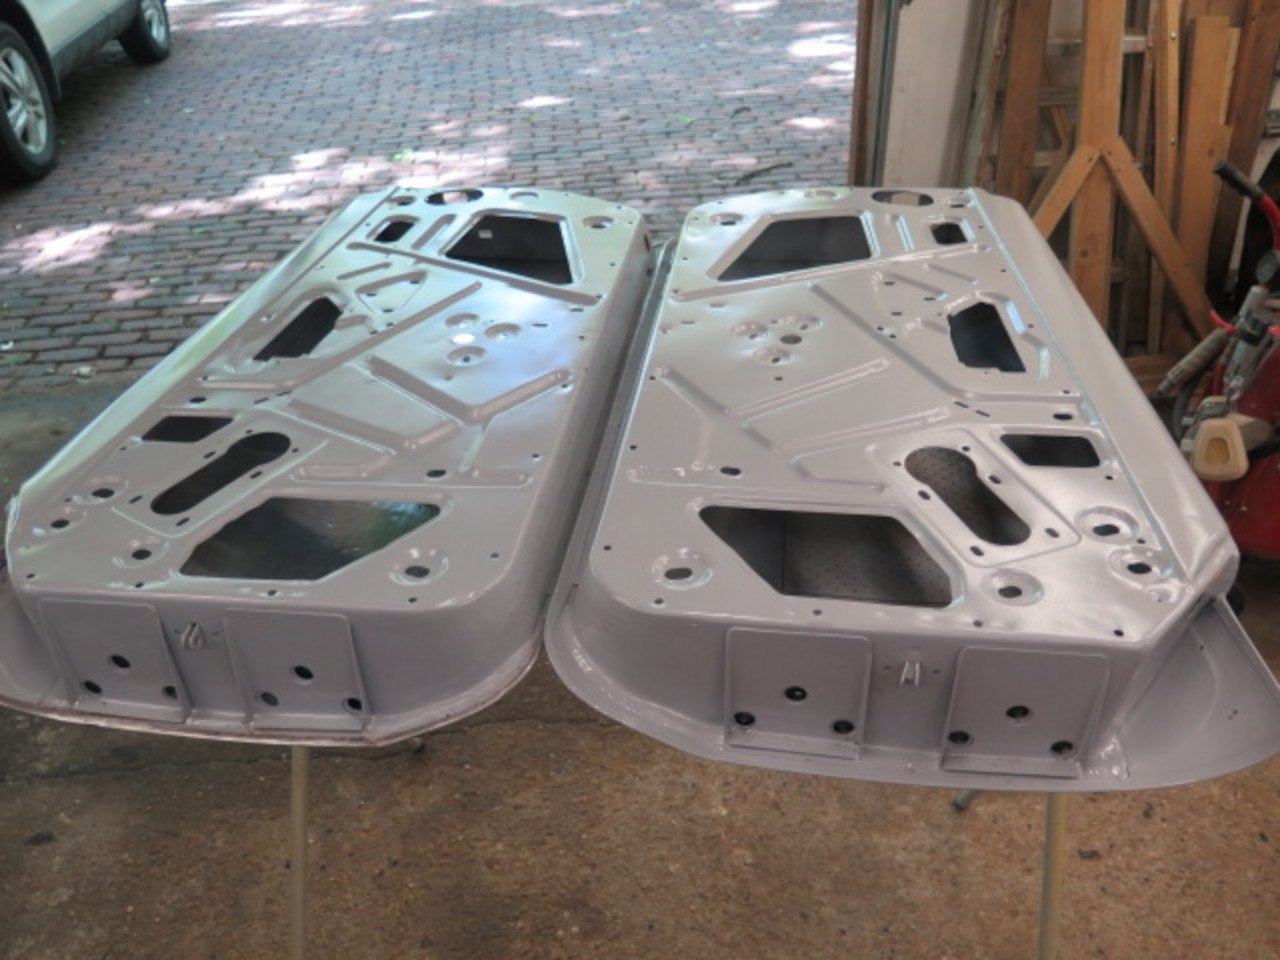
The door shells
are now ready to be fitted to the car. I do expect there will be
some more tweaking, probably even some welding, before the fit is right.
It's really good to get back in the garage again. This work took a
couple of pleasant days. Cost was pretty much just the skin, at
around $100, I think.
Comments to Ed at elhollin1@yahoo.com
To my other GT6 pages.