To my other GT6
pages.
January 20, 2021
Seat Tracks
Each of the seats in the GT6 was attached to a
frame that had two parallel rails, which in turn ran in a pair of
tracks attached to the floor pan of the car. Each rail
ran on a pair of steel rollers to facilitate smooth motion.
The entire assembly might be called a "seat track" or a "seat
rail", depending on the source.
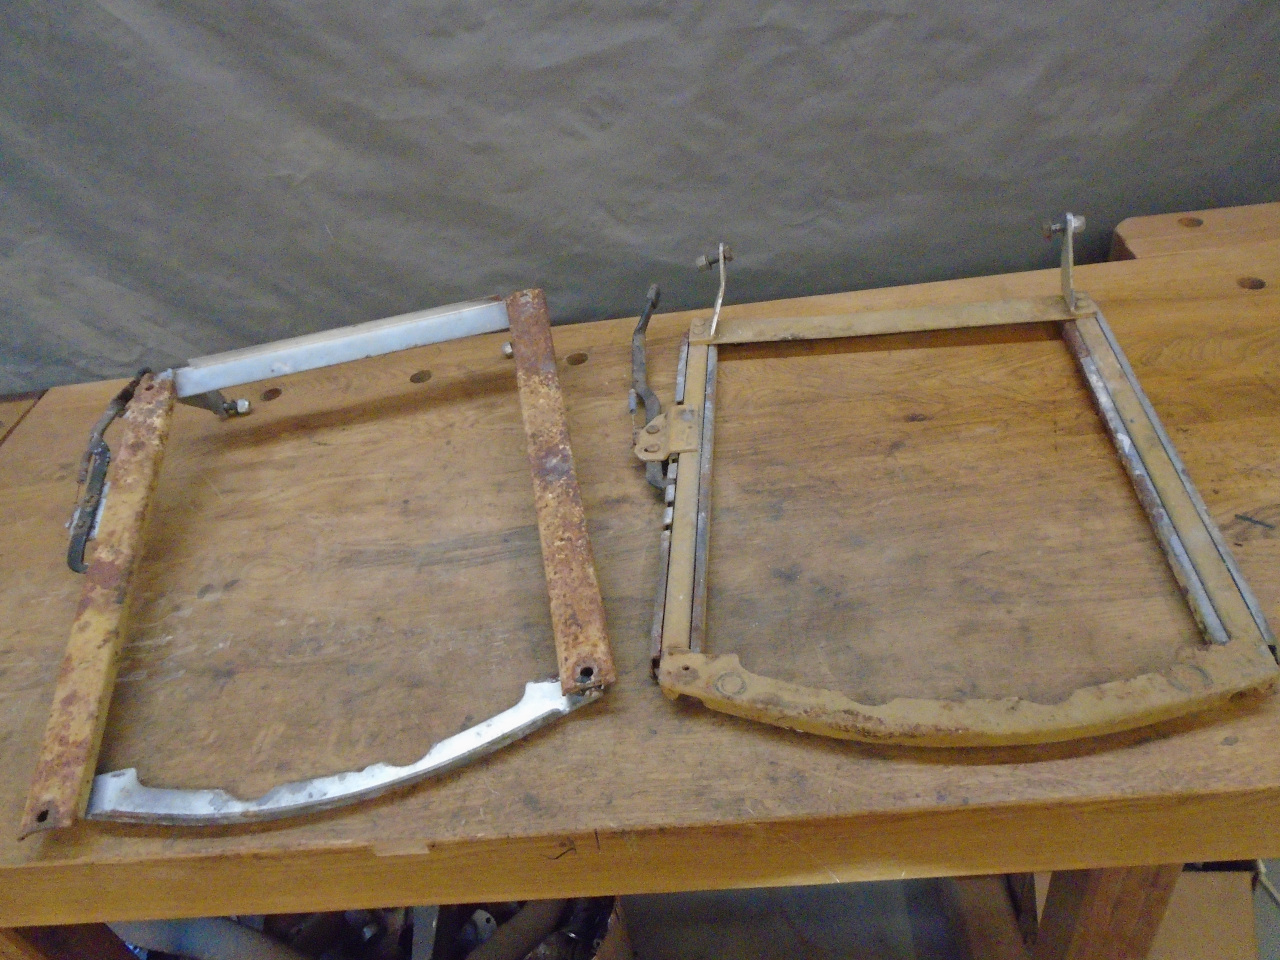
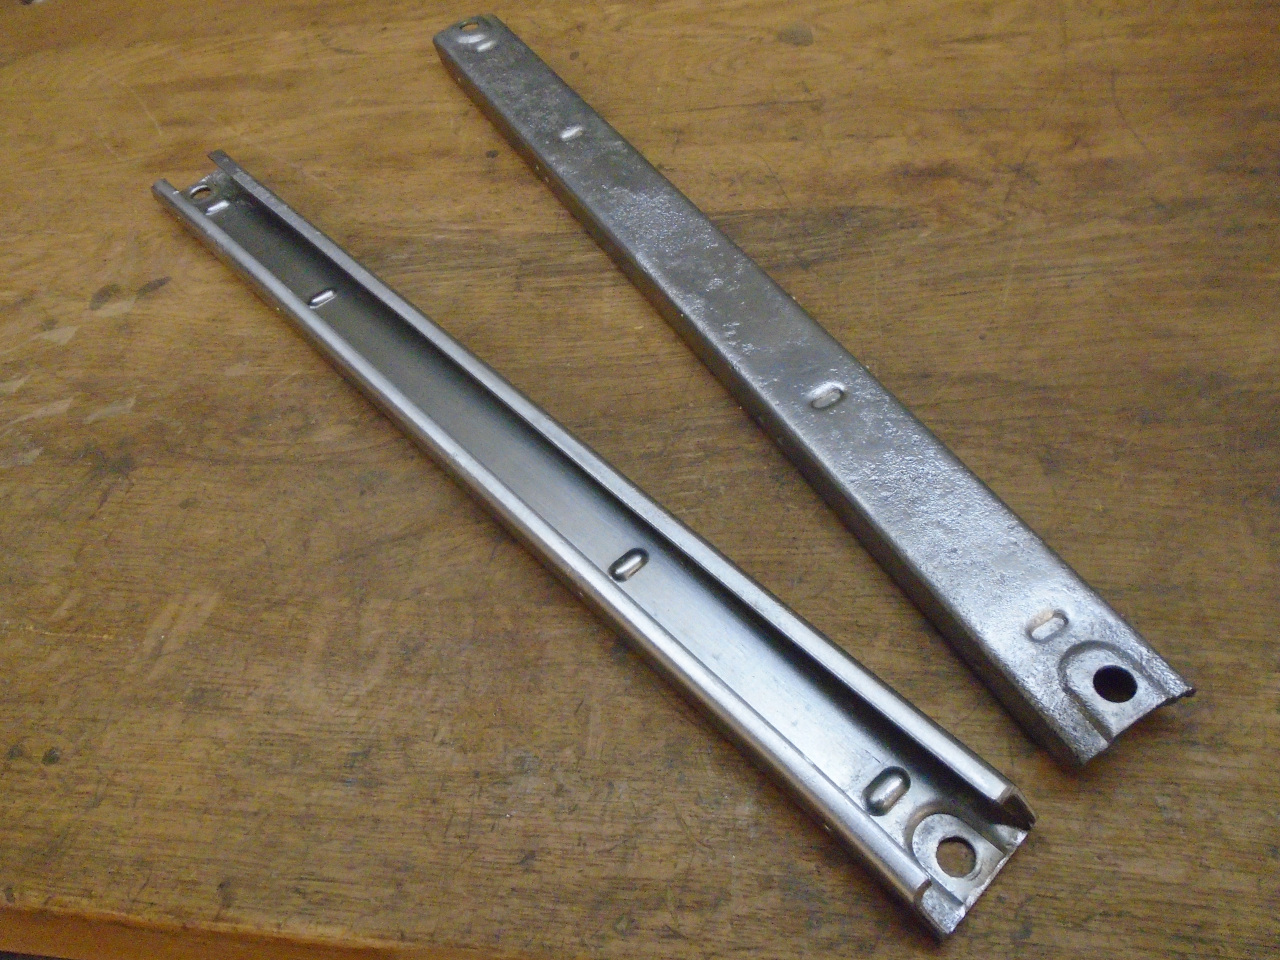
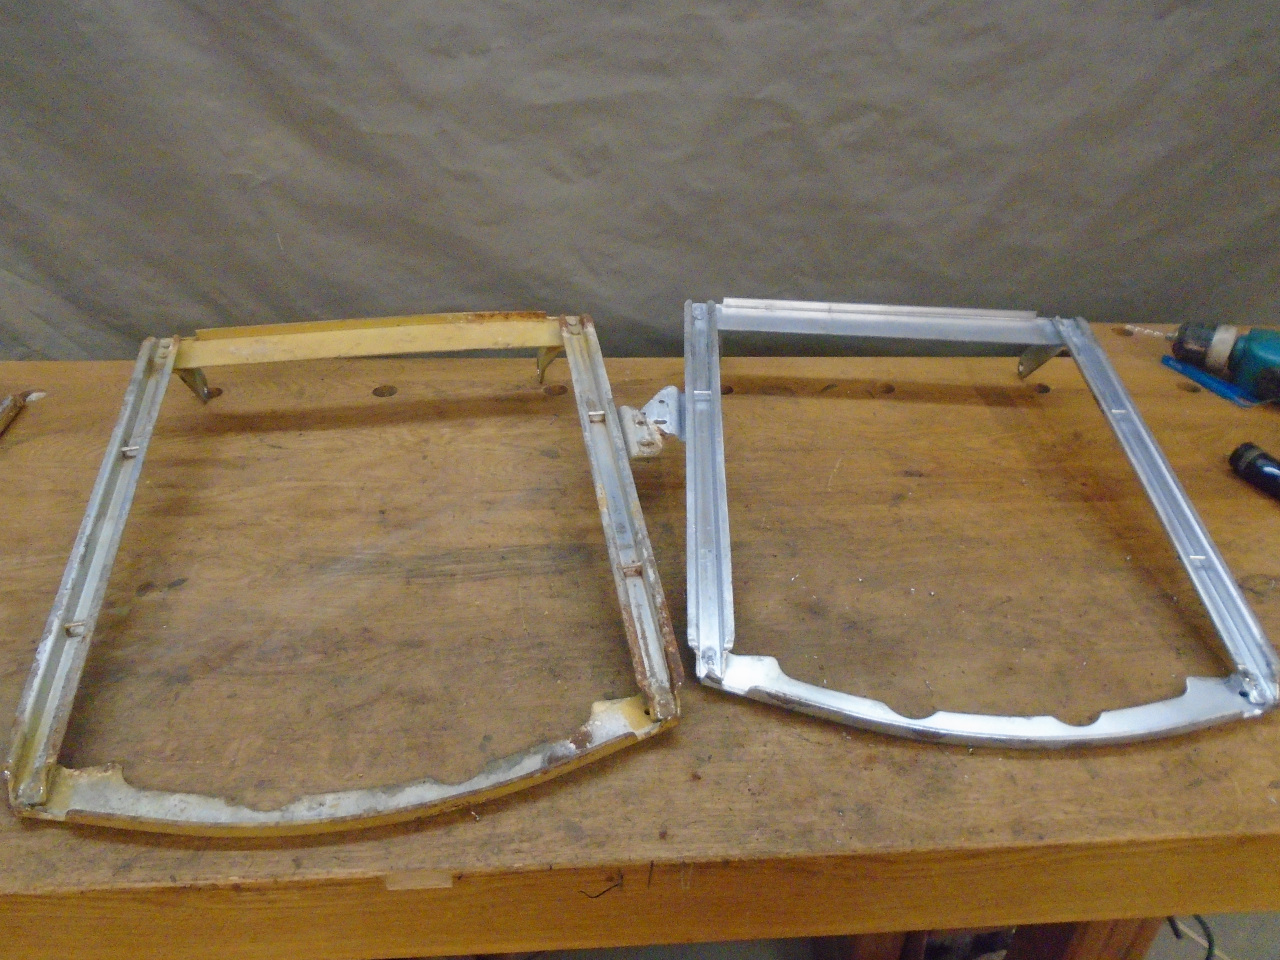
Other than being pretty much locked up, each of my seat tracks was
a mixed bag as far as condition went. The bottom tracks were
in pretty deplorable condition, with heavy rust. The frames
that attached to the seats were much better, with only a few areas
of rust. In the image below, left track is upside down,
showing the rusted rails. The yellowish color is a rust
primer I applied back in the 80s to try to slow the rust.
Looking at how these assemblies were put together, it was obvious
that the designer didn't intend for them to be repairable.
Since "non-repairable" items all sort of look like dares to me,
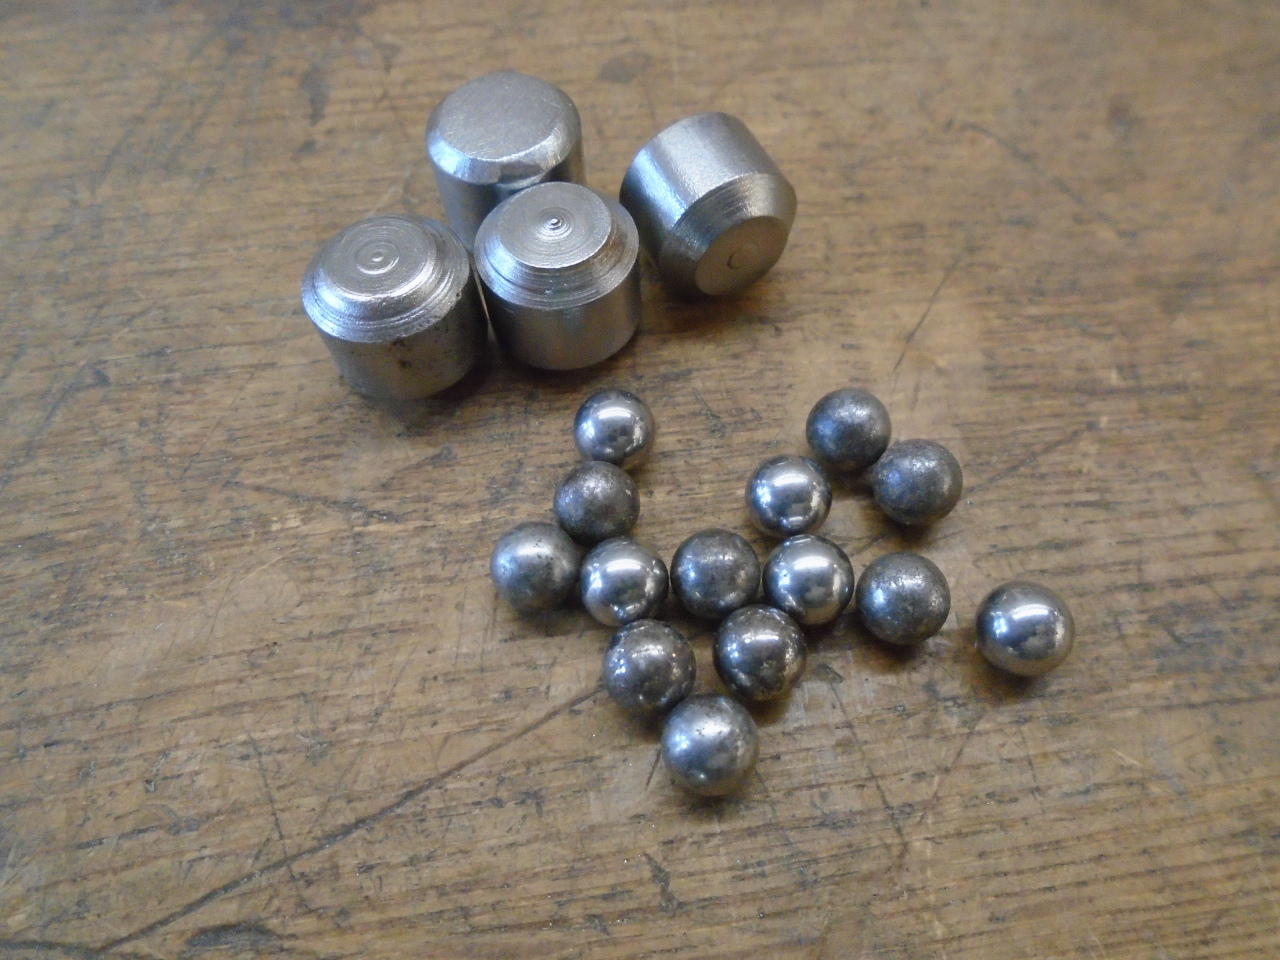
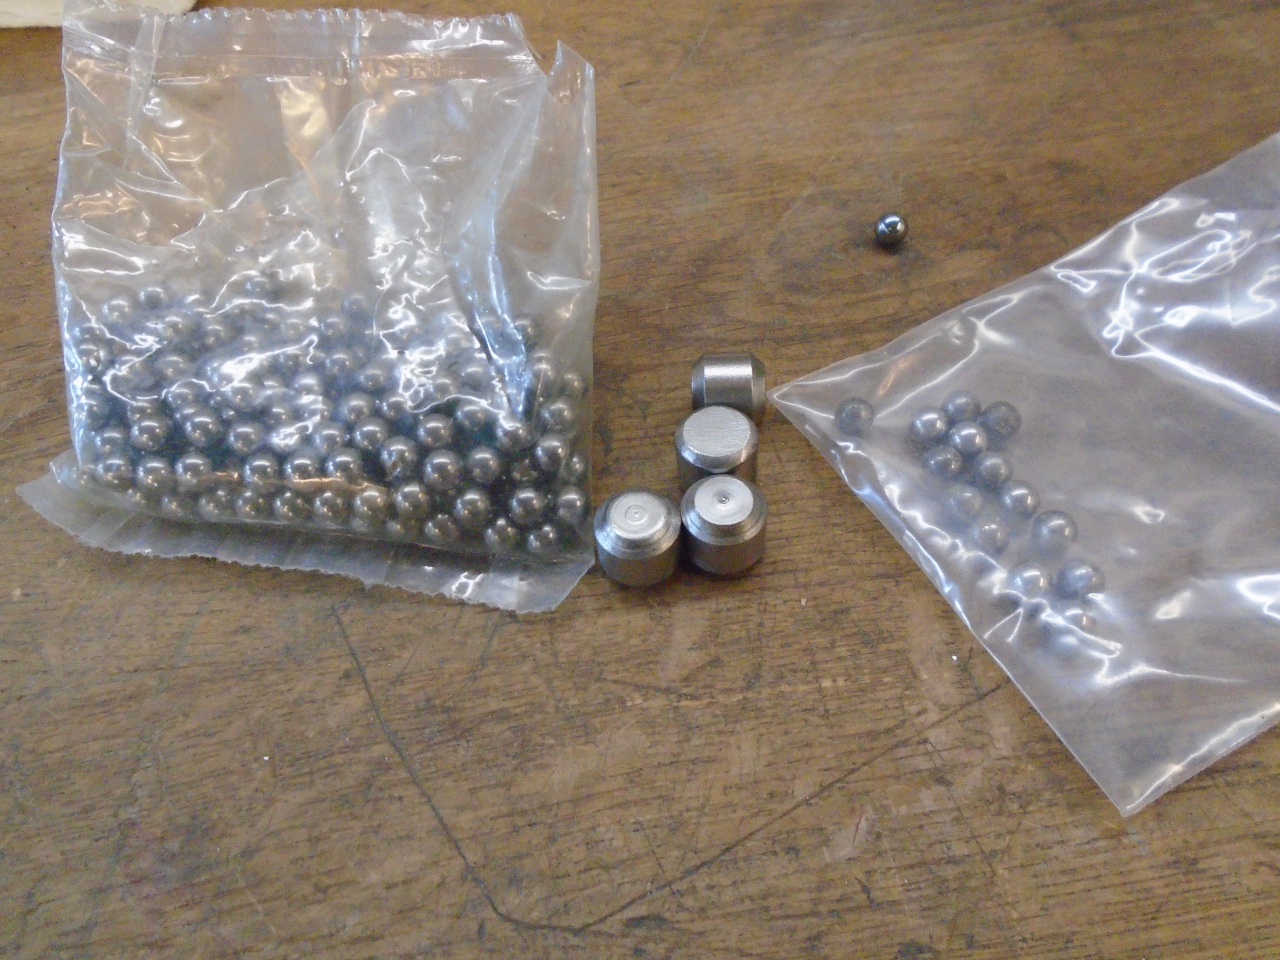
apart they came. Besides the rollers, each assembly has
eight small steel balls between the rails and the lower
tracks. I don't think these balls are designed to carry the
main weight of the seat and occupant, but are there more to keep
the sliding parts aligned, and to lock the mechanism
together. The balls move pretty freely, but are captured by
small dowel pins or by dimples pressed into the steel parts.
To get everything apart, I either removed the pins, or drilled out
the dimples. With all the balls extracted, the rollers come
out easily.
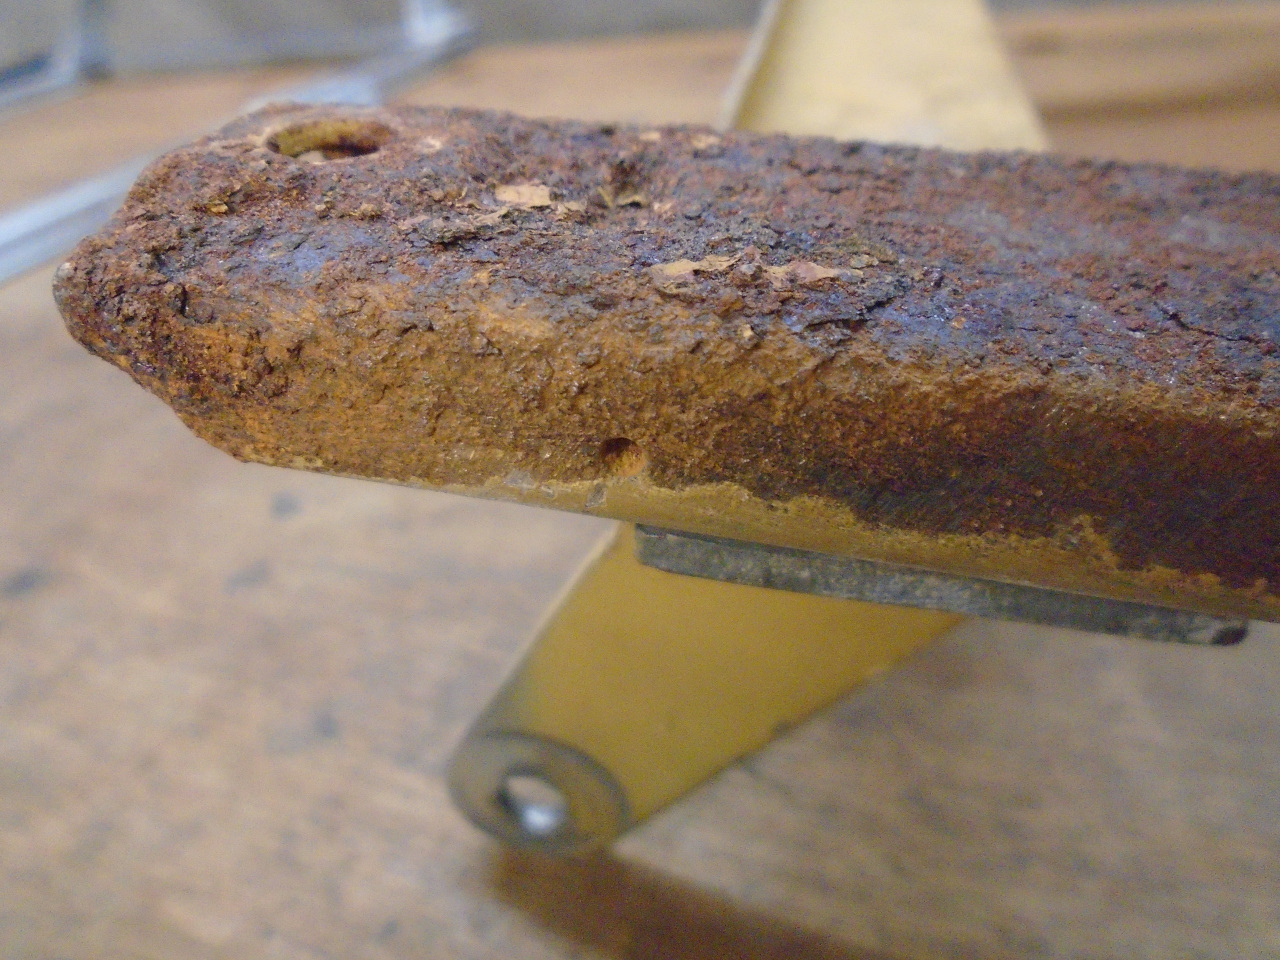
The floor tracks led a hard life. I assume that because of
my Swiss cheese floor pans, their environment was often wet.
The insides of the tracks were a little better, but showed some
wear where the rollers ran.

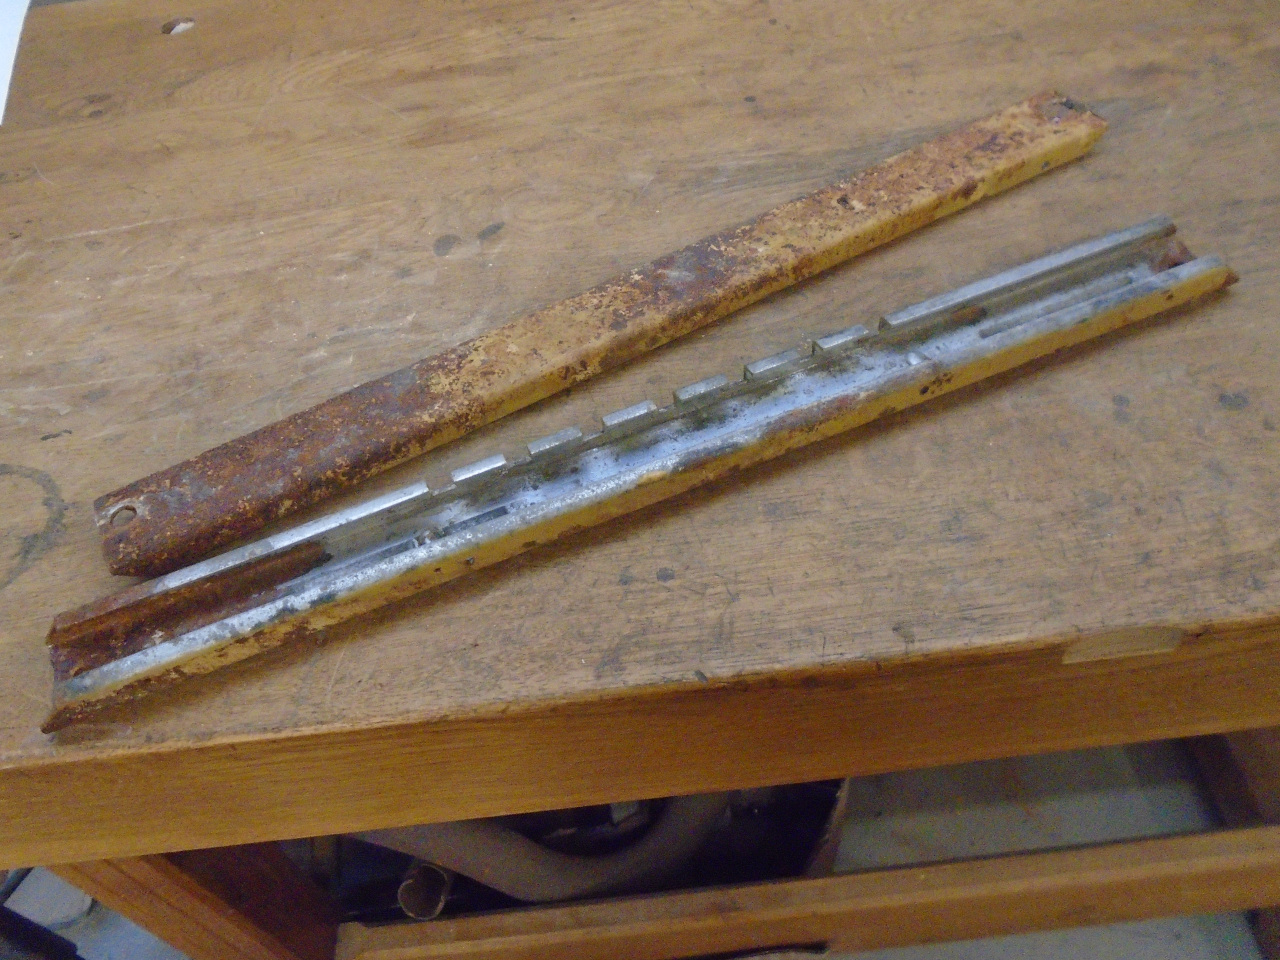
I didn't see much point in trying to save what zinc plating was
left on the tracks, so I acid stripped the rust, which took the
remaining zinc, too. The rust pitting was obvious, but
functionally not important
The derusting process of course left the tracks completely naked,
and they would start rusting again immediately, given any moisture
at all. I considered what to do. It would be hard to
get good coverage with paint or powder coat on the inside of the
track, and neither of those coatings would stand up well the the
roller pressure anyway. The inside surfaces really needed to
be re-plated, but I didn't see how a conventional plating tank
arrangement would reach the underside of the lip on each
side. In an uncharacteristic stroke of cleverness, or maybe
desperation, I ended up using a long strip of sheet zinc, wrapped
in gauze, and inserted into the cavity of the track. In
effect, the plating anode was inside the part. With
a few adjustments, it seemed to work fine. In the picture,
they don't look much different than the bare parts, but they are
more silvery.
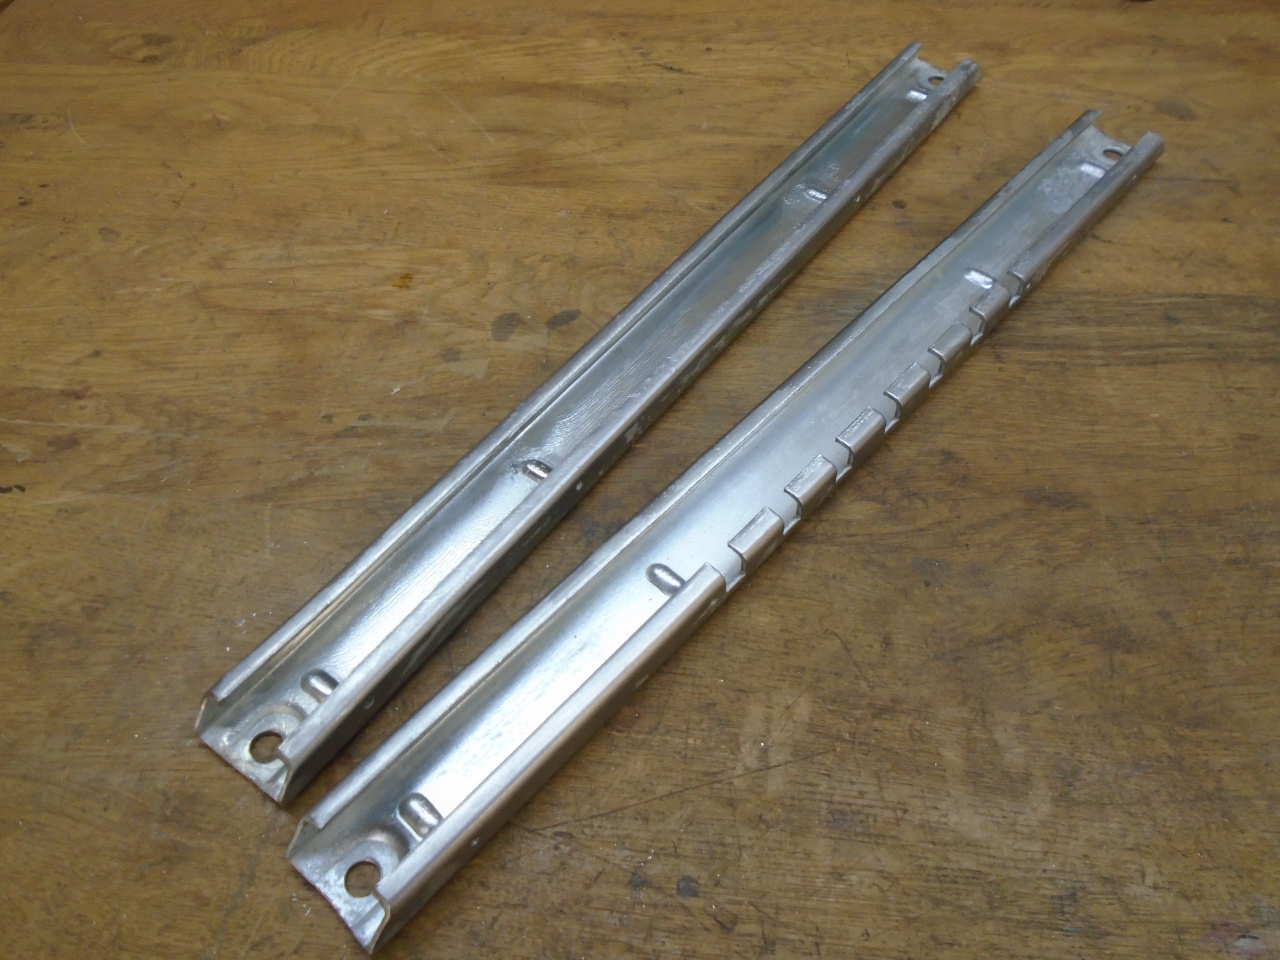
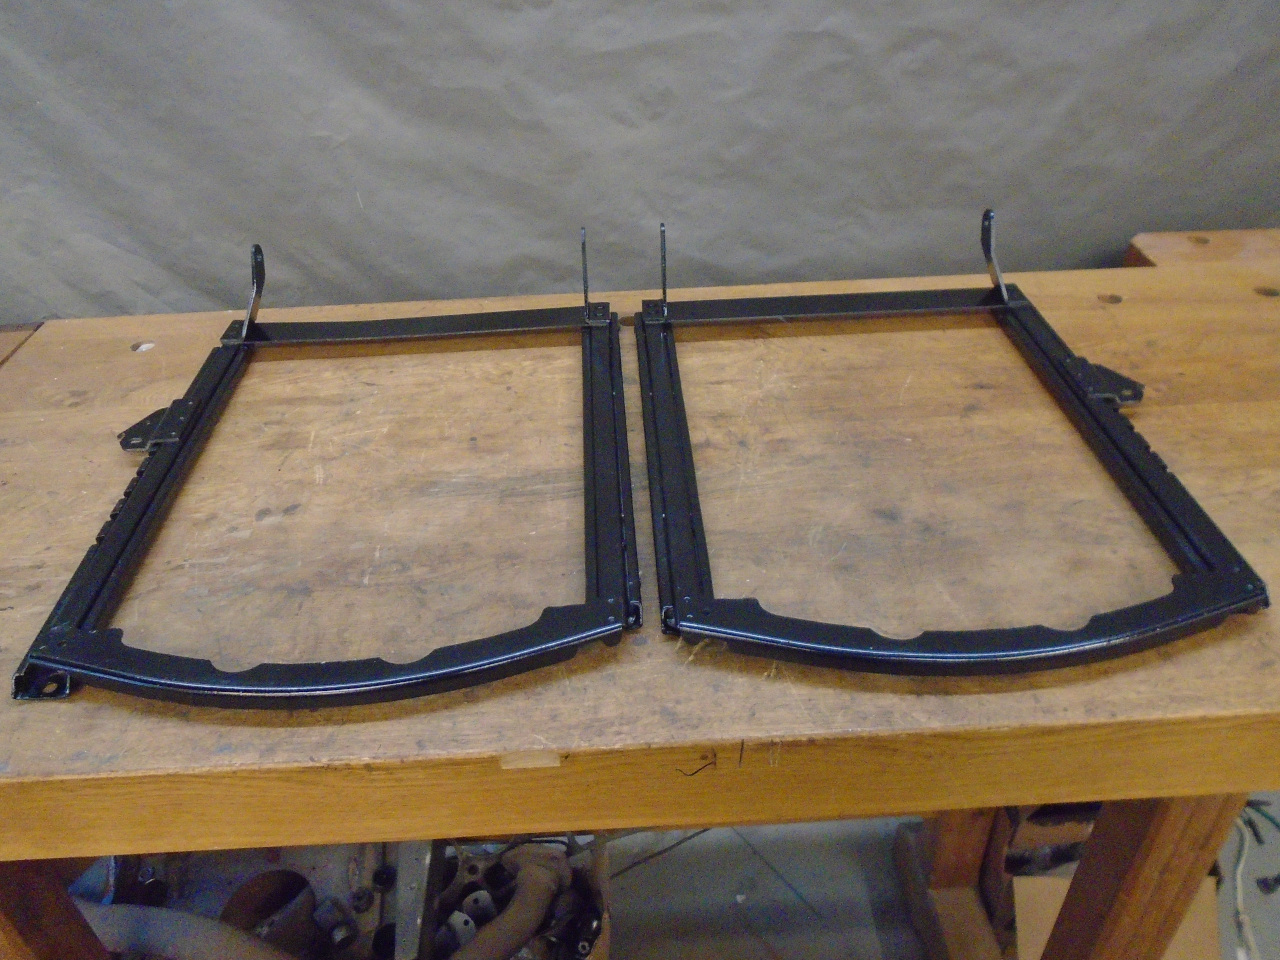
Then powder coated the outside of the tracks. I managed to
get a little powder on the inside, but masked the roller areas.

The frame part of the assemblies were in much better shape.
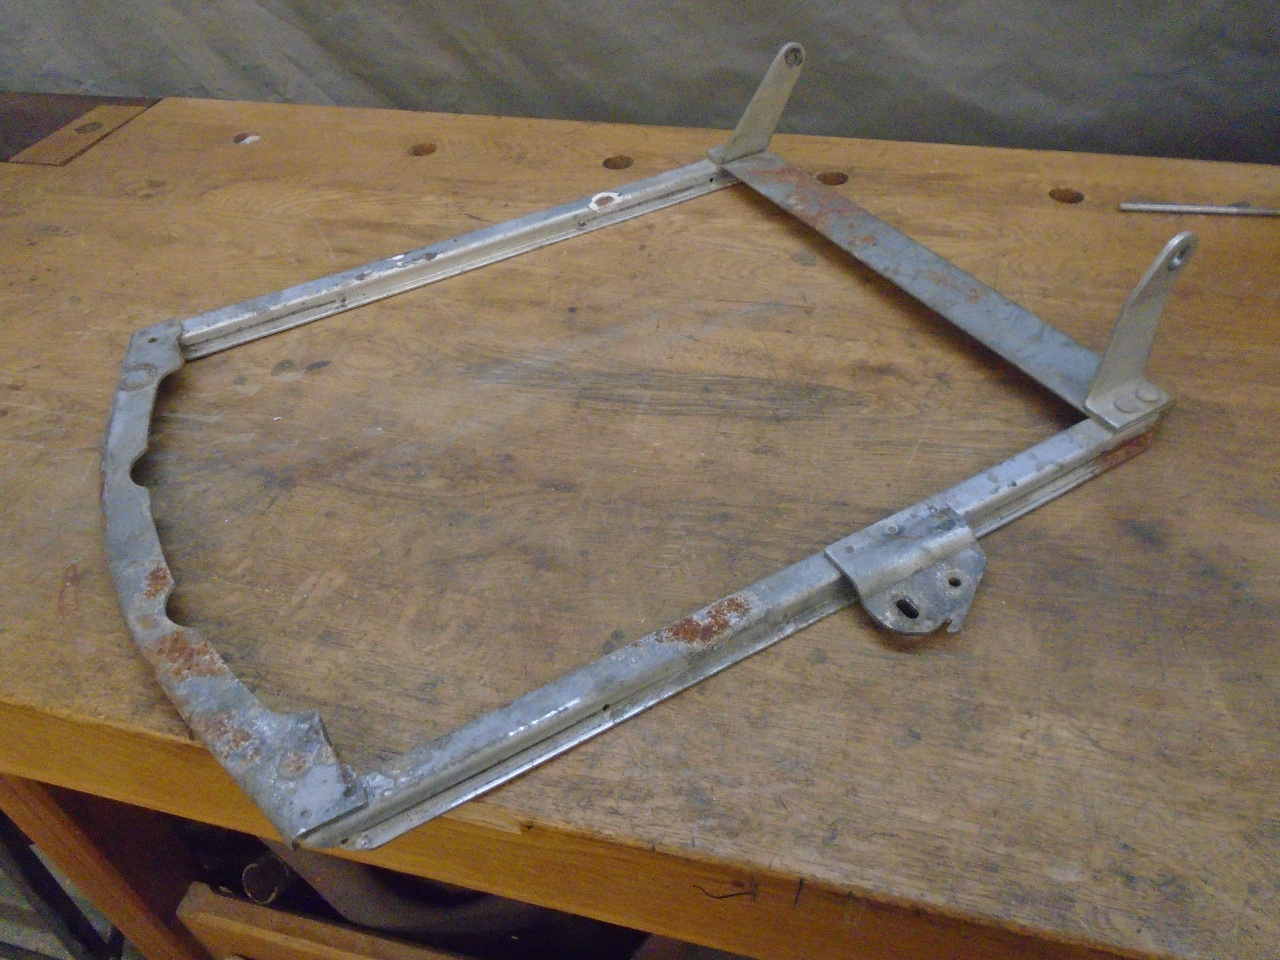
I wanted to remove the rust that decorated a few areas, but I
wanted to preserve the zinc plating that survived on 90+% of the
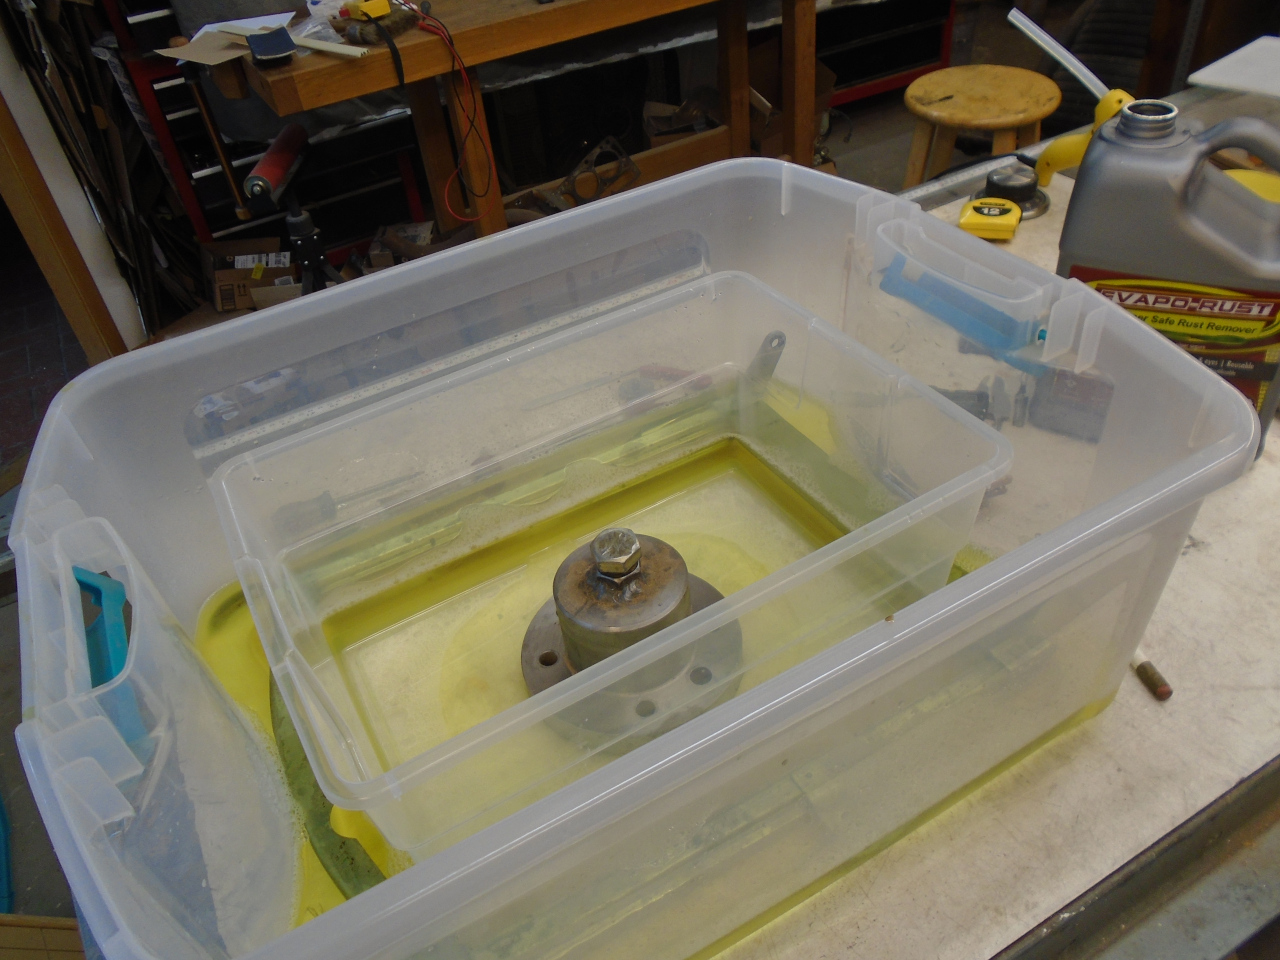
surfaces, so this ruled out acids for derusting. My go-to
process in this situation is a chelate type deruster, like
Evaporust. I put the frame in a large tub with a gallon of
Evaporust, and sunk a smaller tub in the center to raise the
liquid level. In a couple of hours, the rust was gone, and
the zinc was shiny clean.
Then, some nice epoxy primer on the frames to protect the areas
laid bare by the rust. I would have preferred powder
coating, but the frames are a little too big for my oven.
Reassembly was trial and error. The little ball bearings
were prone to bolting when I wasn't looking, and of course if they
made it off the bench, they were gone. But I was prepared
for this. The drilled out dimples were replaced with pop
rivets.
I was able to get pretty smooth operation, but I noticed that they
the units slide much better if they are loaded. Without any
weight on them, the rollers can tend to slide out of place and
cause binding.
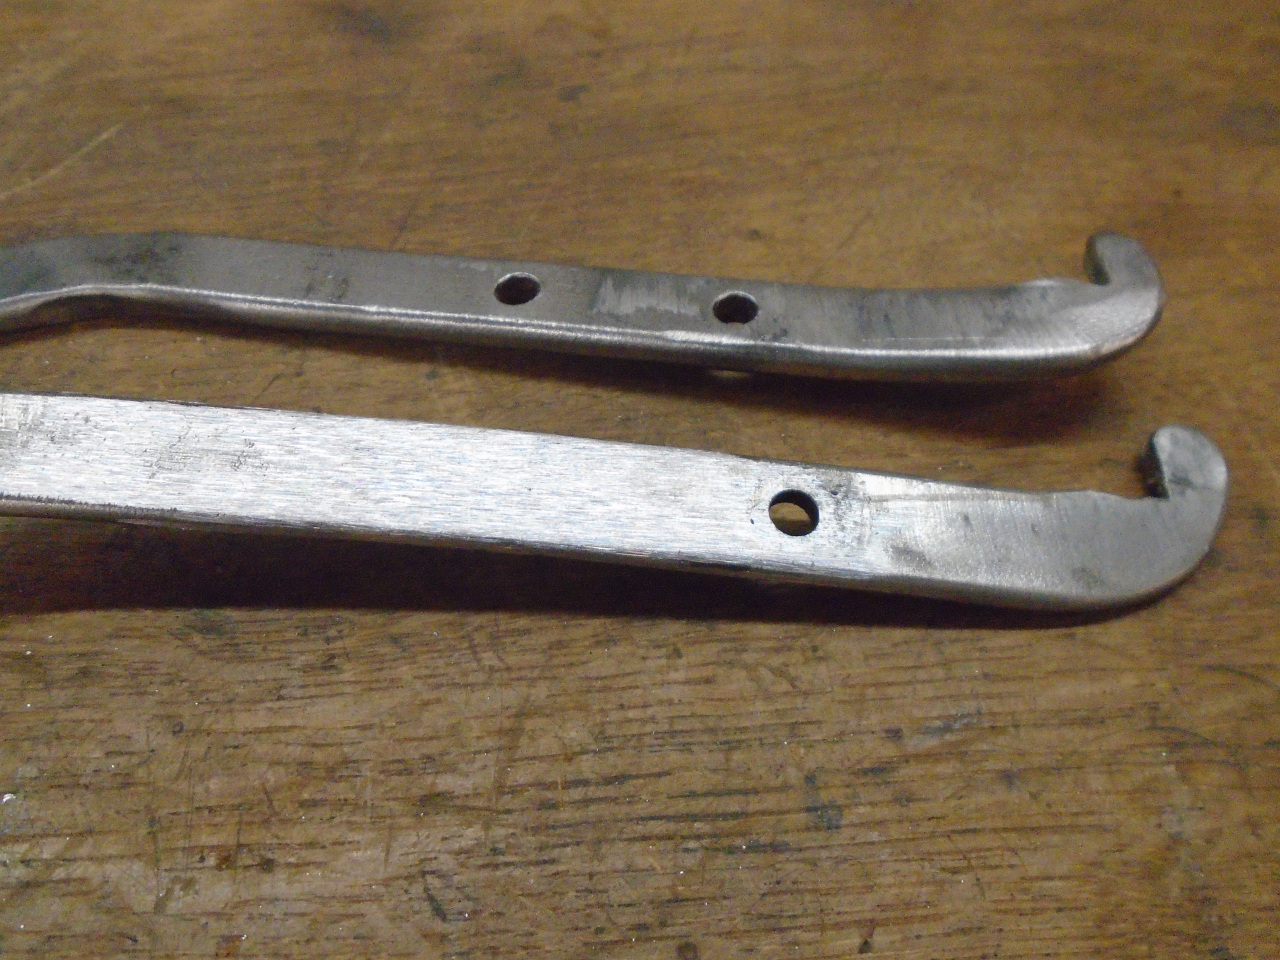
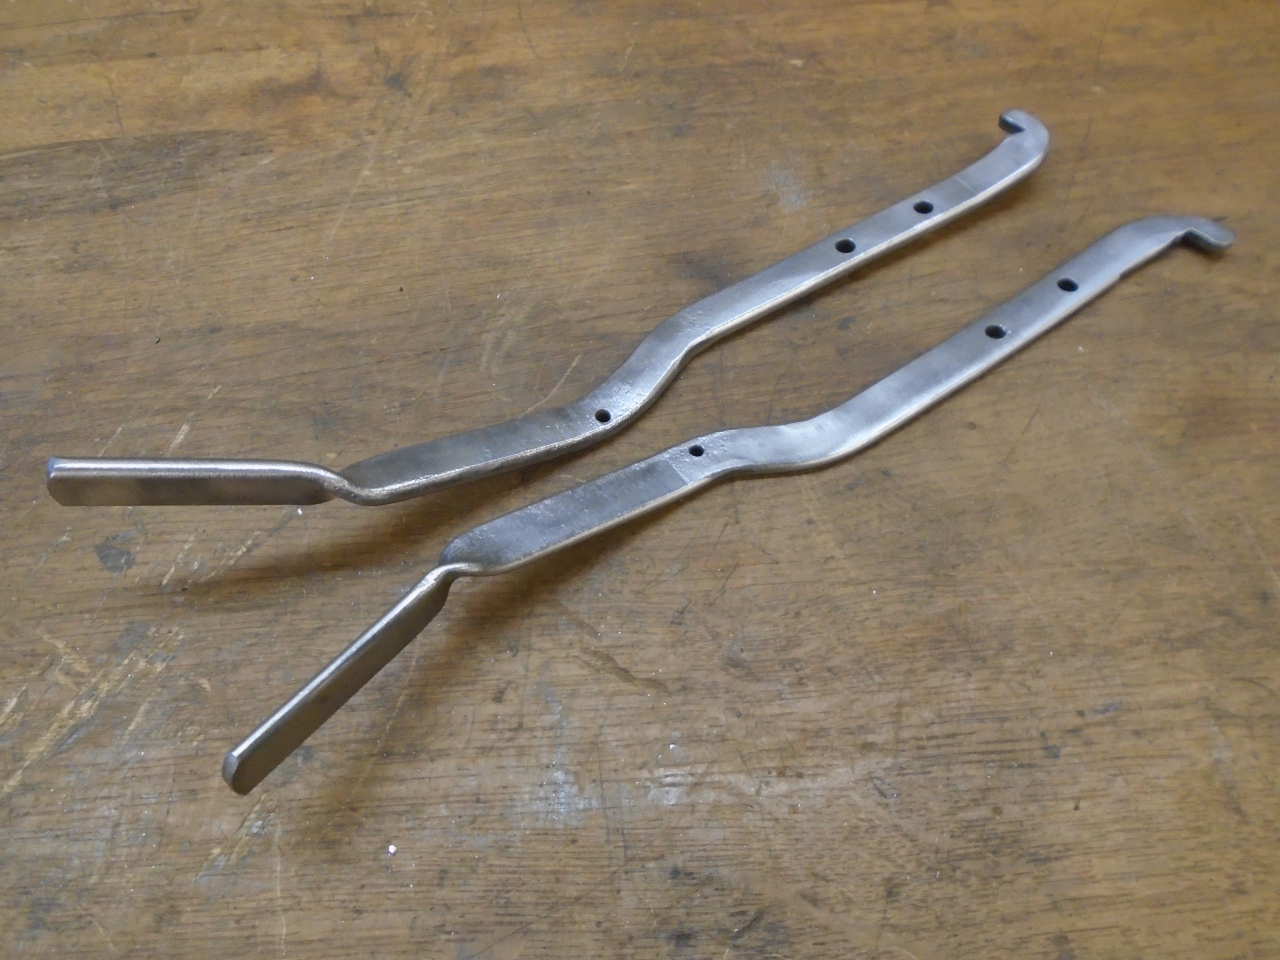
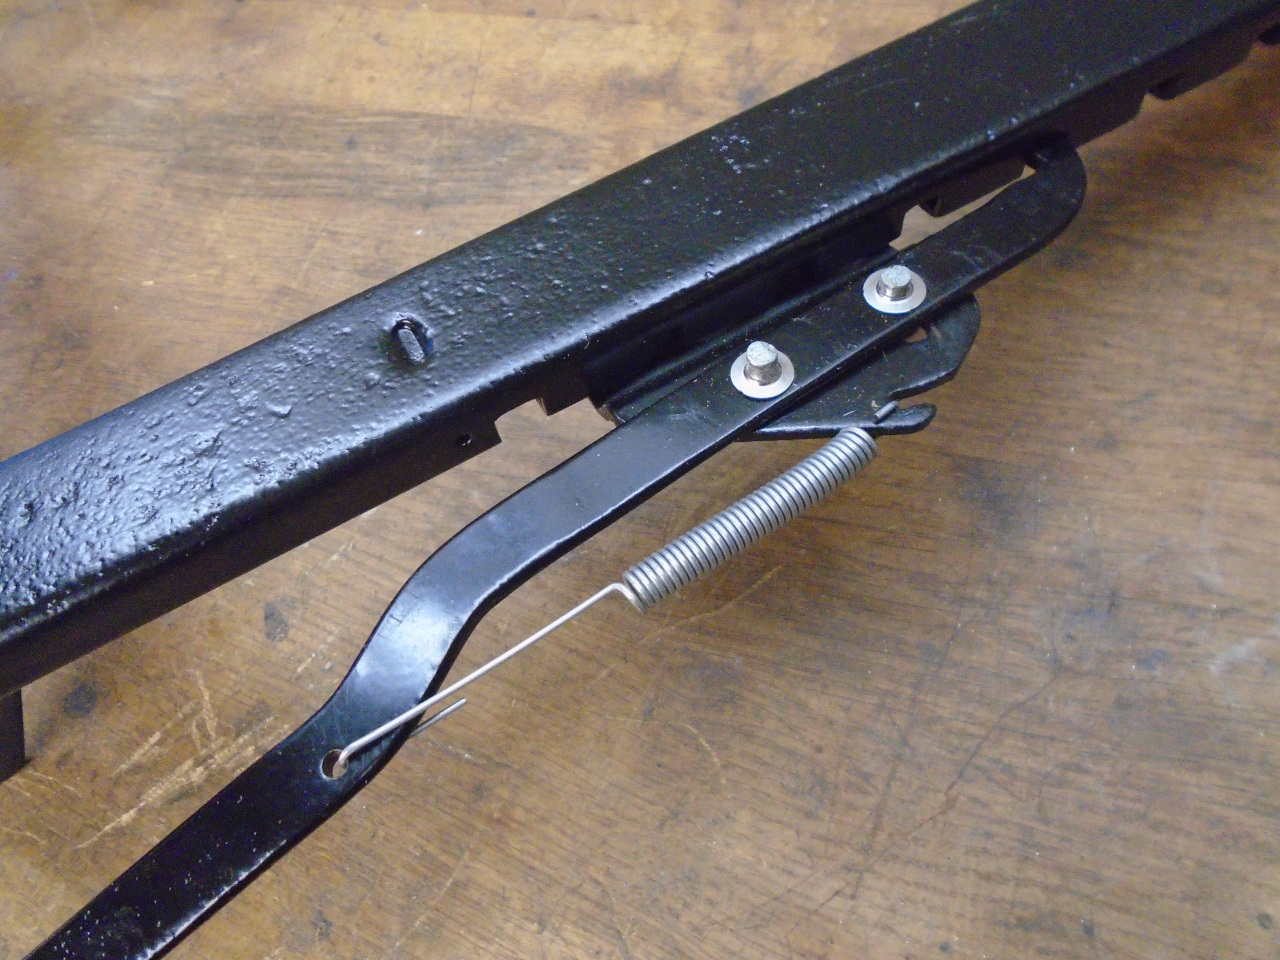
The last detail was the latch mechanisms. Each seat frame
had a spring loaded formed steel lever with a finger on the end
that fit into slots on one of the tracks. The levers were a
little rusty, but cleaned up well.
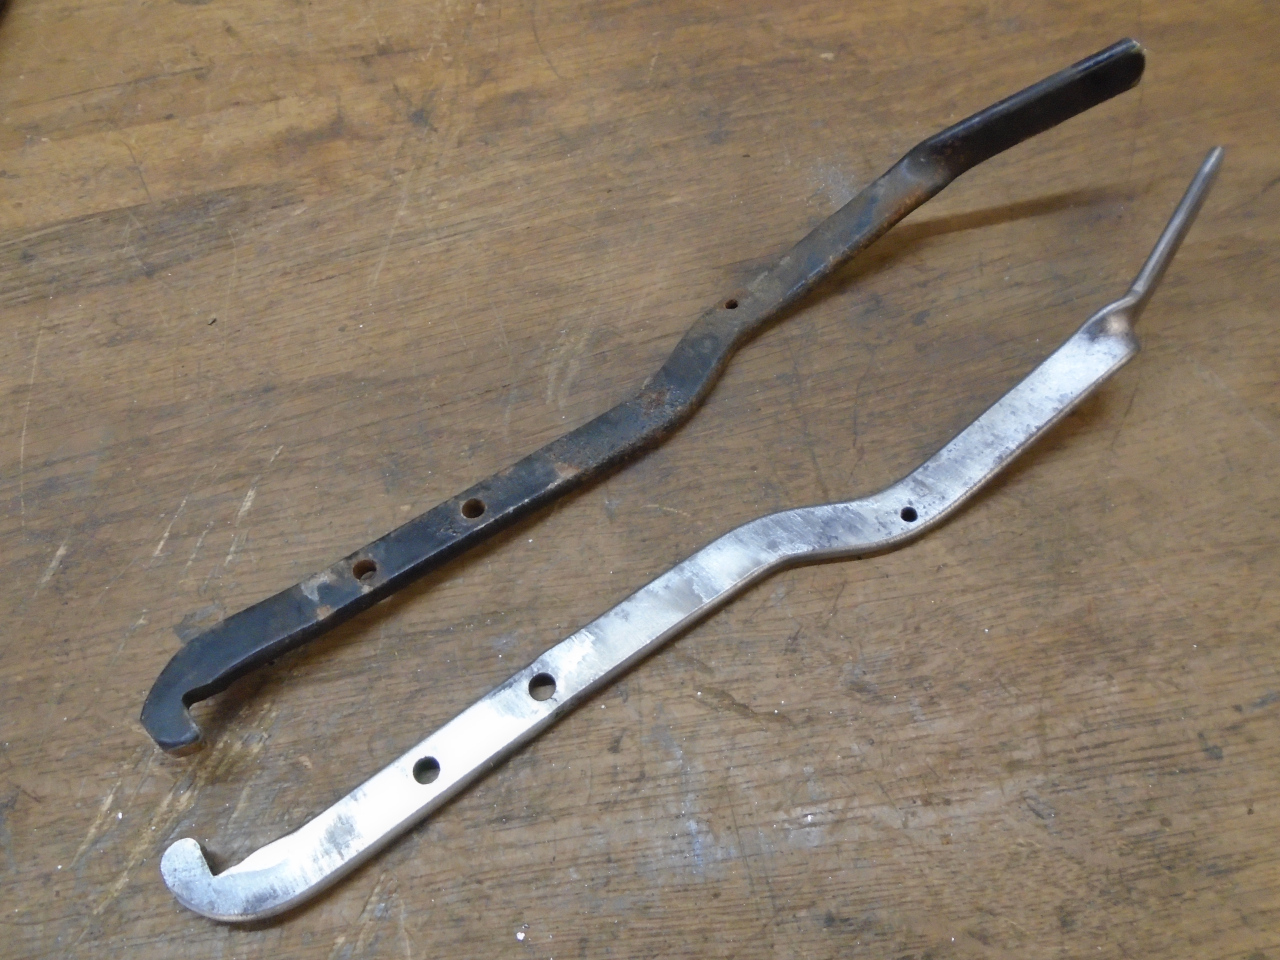
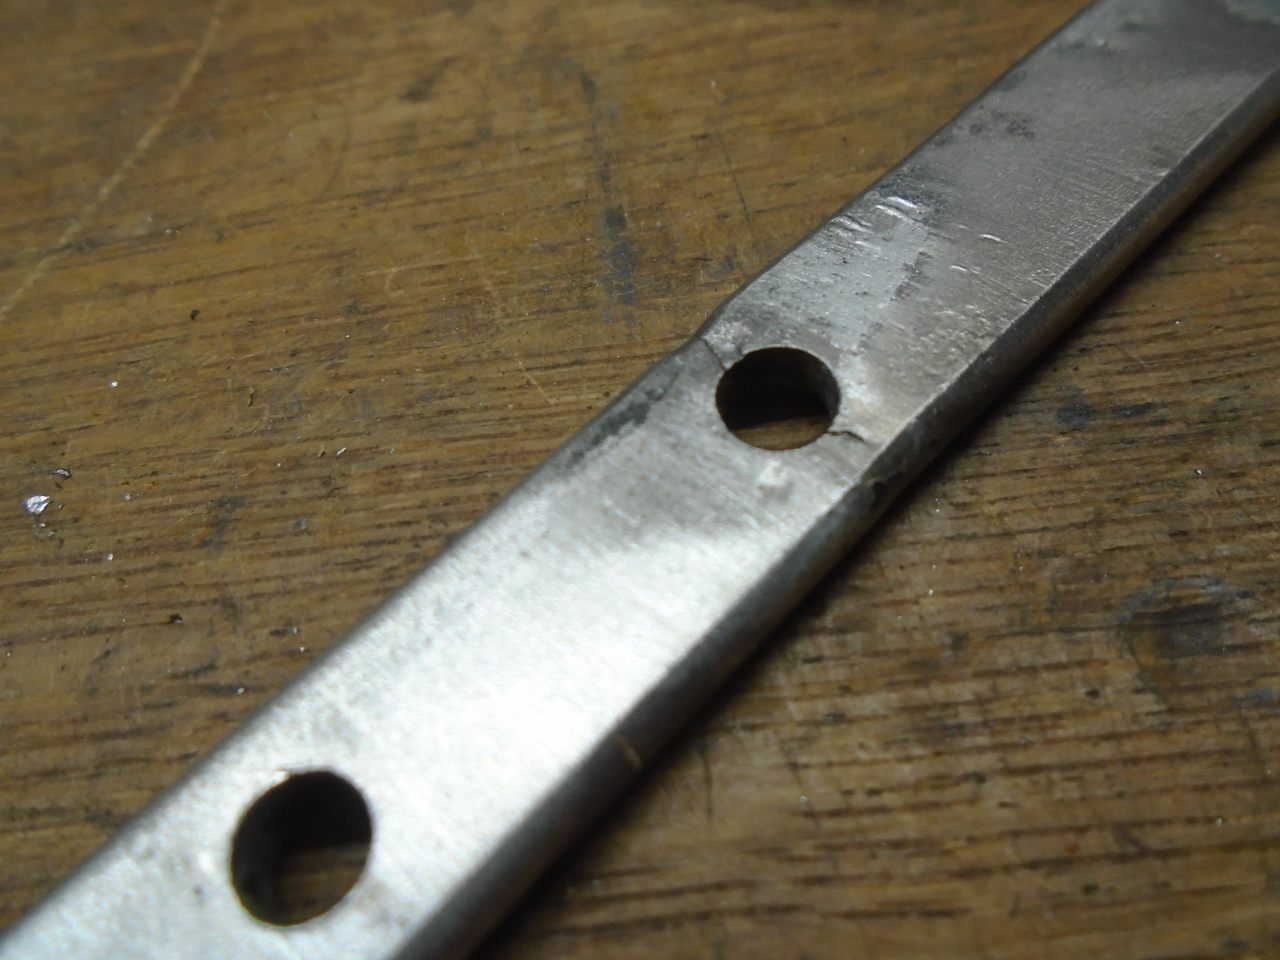
Oddly, one of the levers was much thicker than the other.
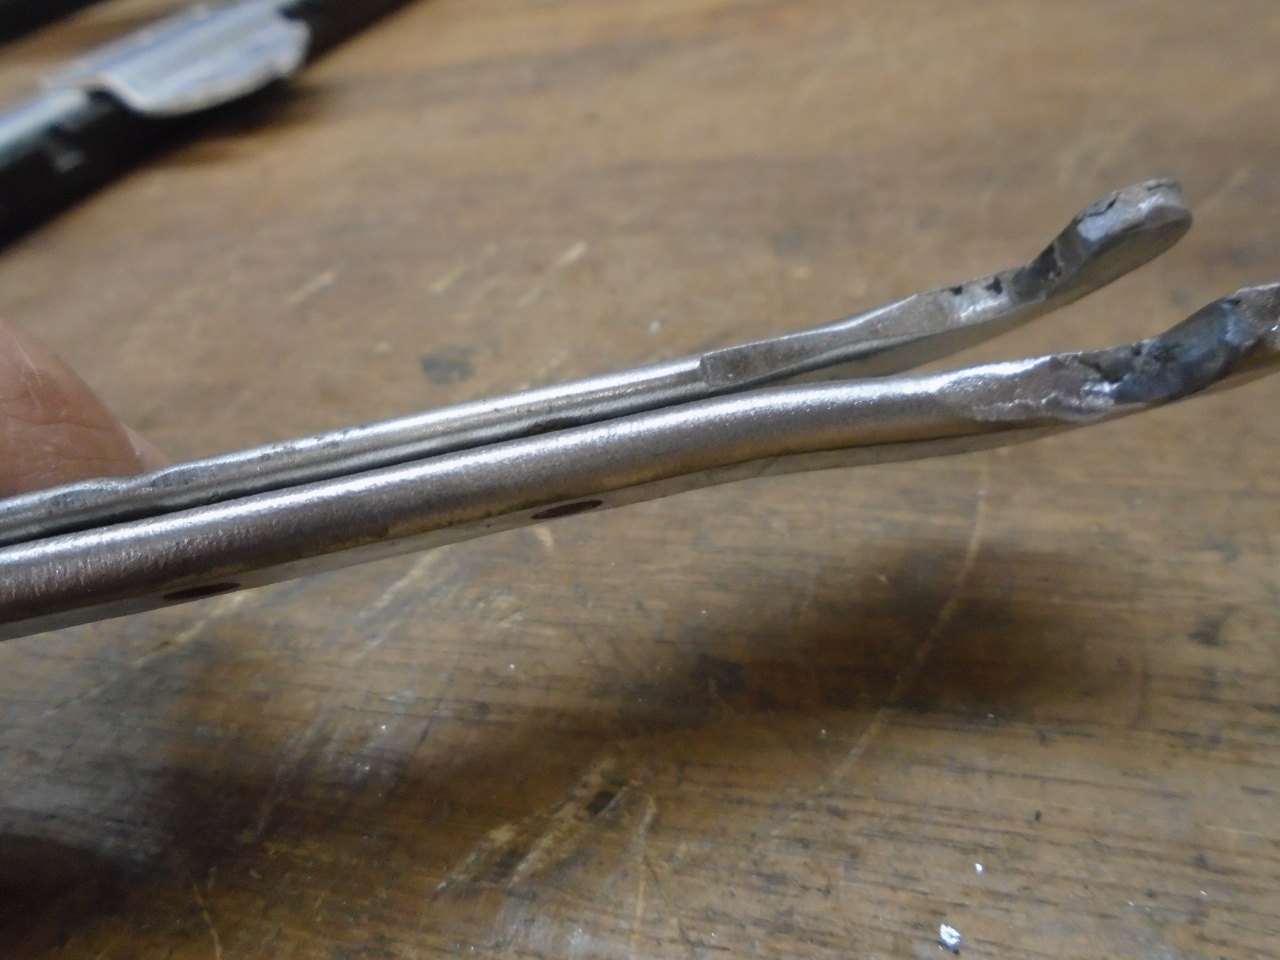
As a possible clue for the reason for this, I noticed that the
lighter piece had some significant cracks at the fulcrum
hole. I could tell by flexing it slightly that it would not
take much stress to break it at the crack.
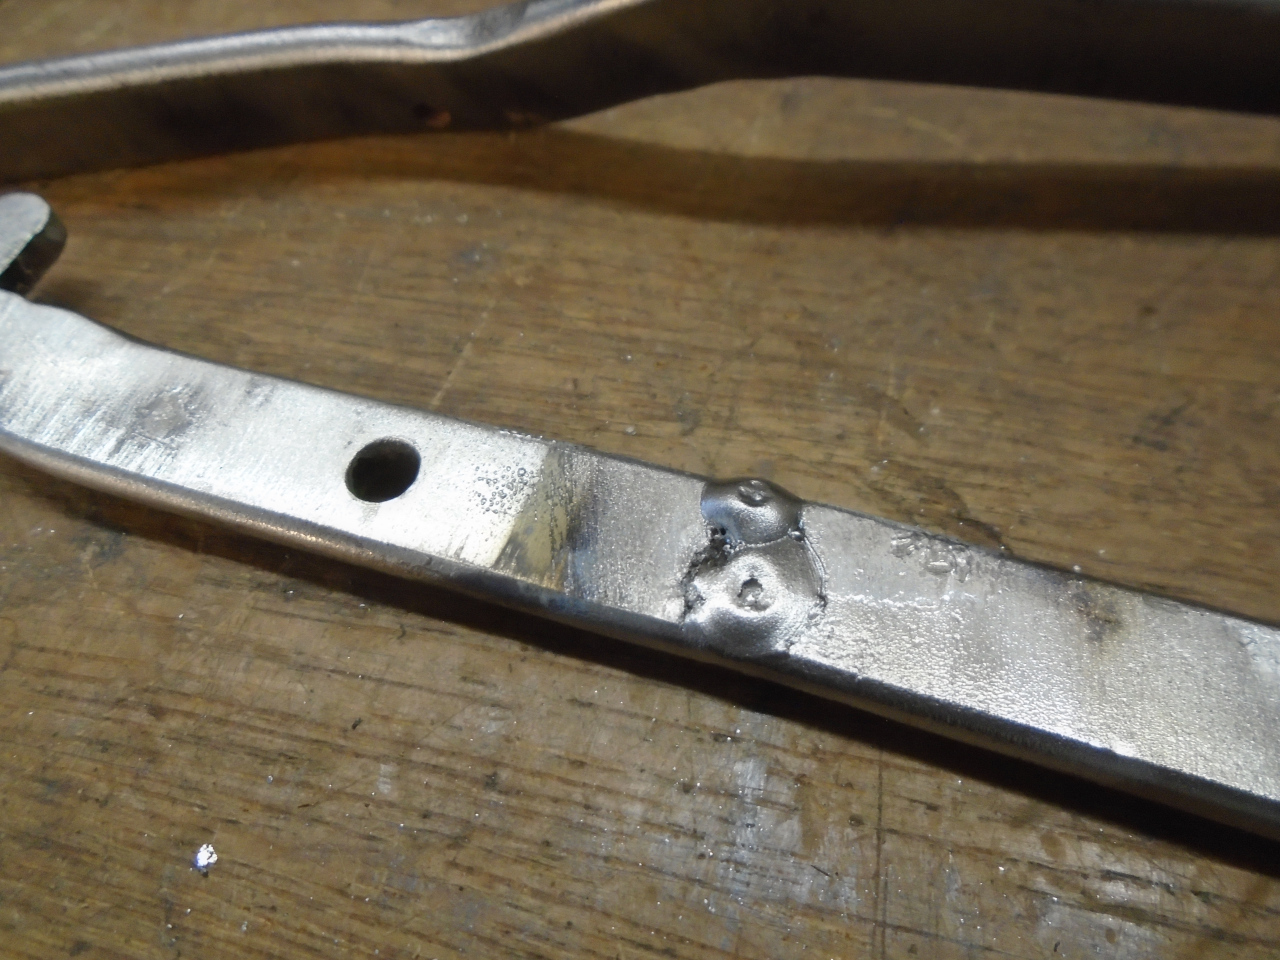
I just welded up the crack and the hole and redrilled it.
There were little plastic caps on the ends of the levers.
One was broken and the other was ugly. I replaced that
function with numerous dips in Plastidip. Then gathered the
hardware for the levers. The little pins are replated
originals, the push retainers and springs are new. Springs
were from the hardware store, and are pretty close to the
originals.
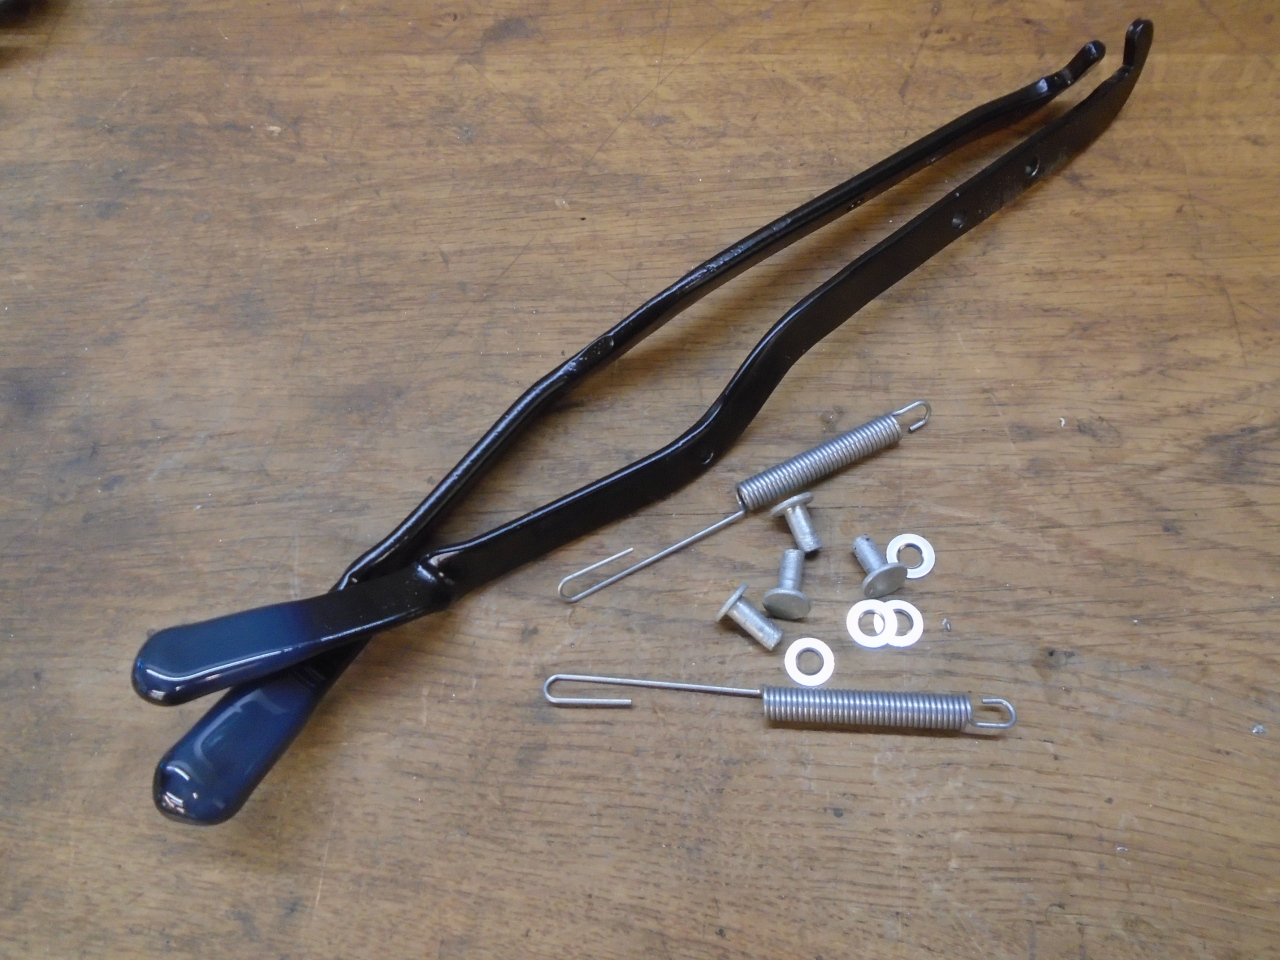
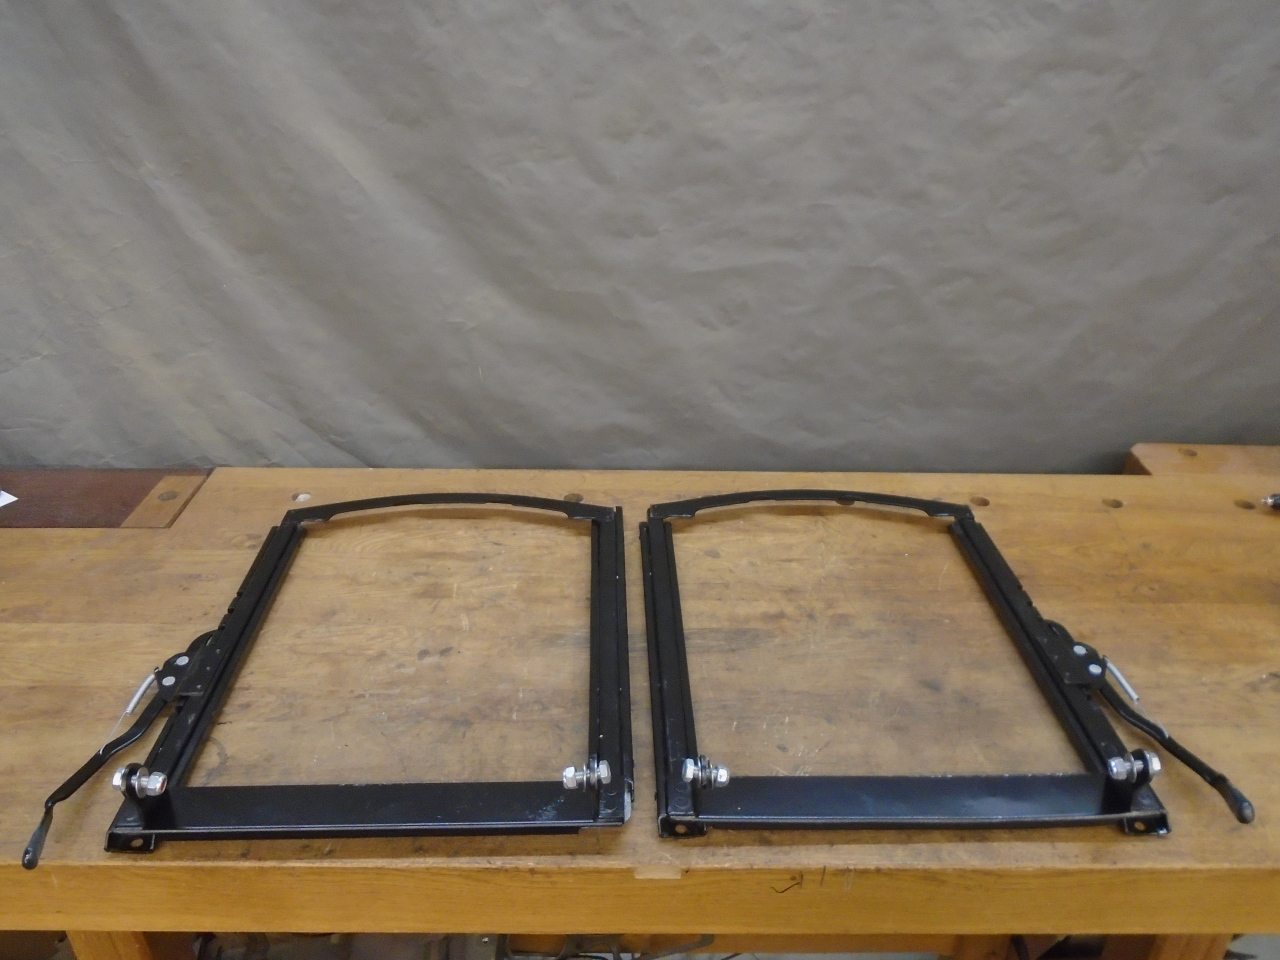
Replated seat bolts, but new locknuts and washers.
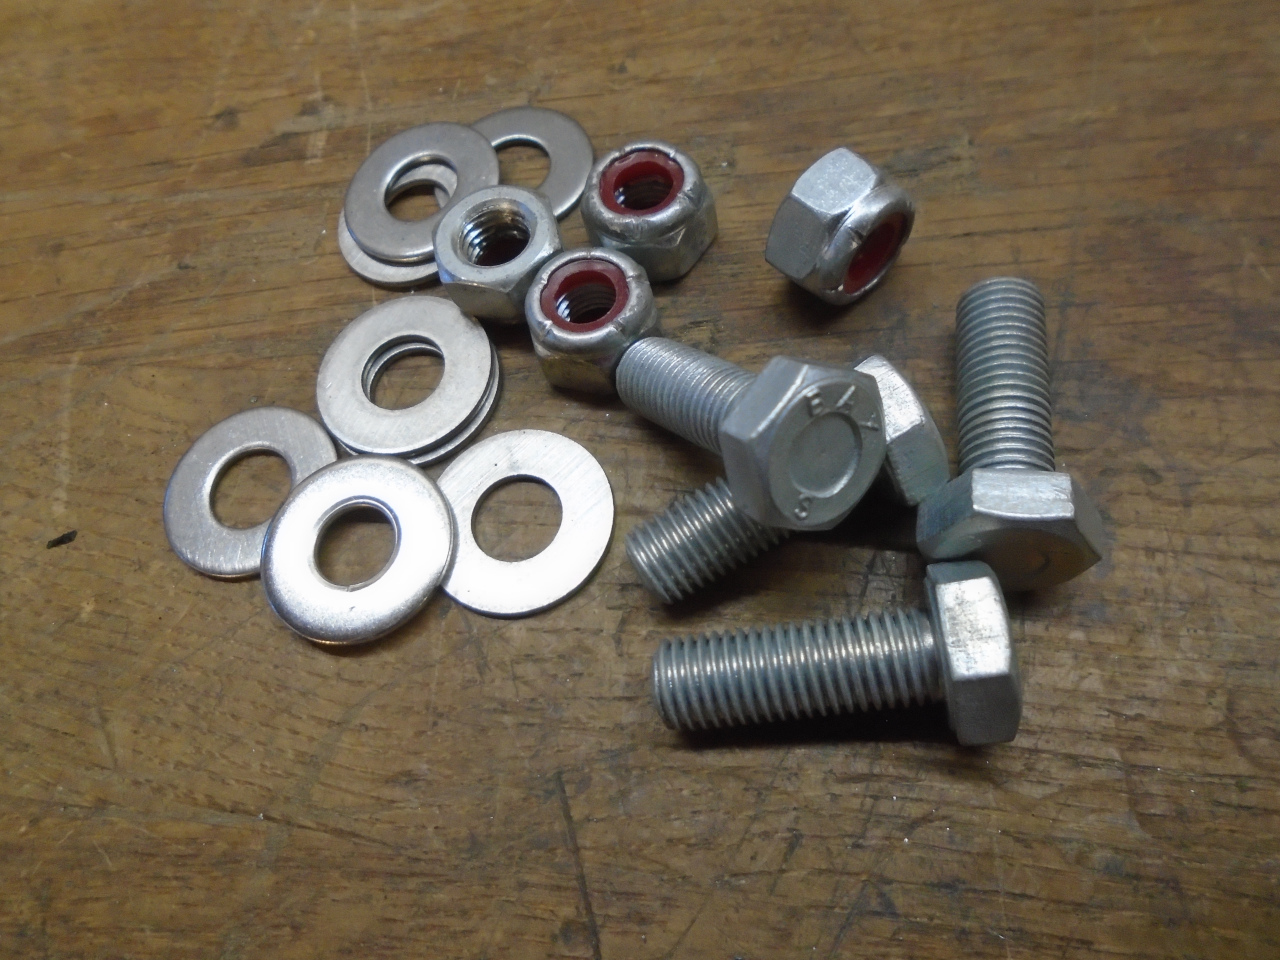
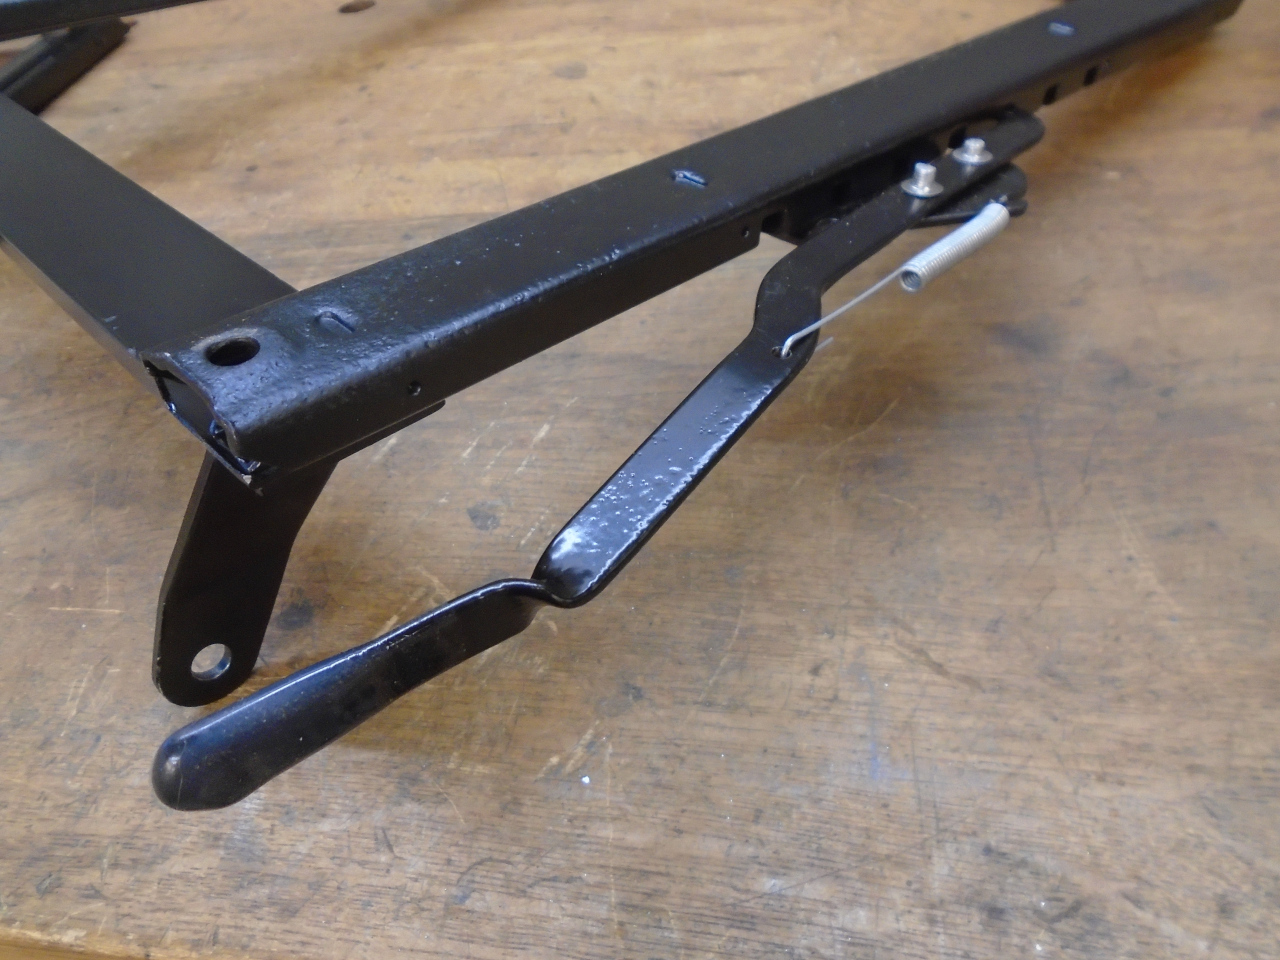
And these puppies are done for now.
This job was a little tricky, mainly because I didn't fully
understand how it was supposed to work, and there is little
guidance online. In the end, they seem to work OK, and all
of the parts seem to be staying put. Other than some
consumables, the cost was only a few dollars.
Comments to Ed at elhollin1@yahoo.com
To my other GT6
pages.