To my other GT6
pages.
November 11, 2020
Front Sealing Block
The Triumph straight six engines have a gap in the crank case
perimeter at both the front and rear where the main bearings were
installed. The approximately six-inch gap at the front is
bridged by the Front Sealing Block. This is a chunk of cast
zinc alloy that both the oil pan and the front engine plate bolt
to.

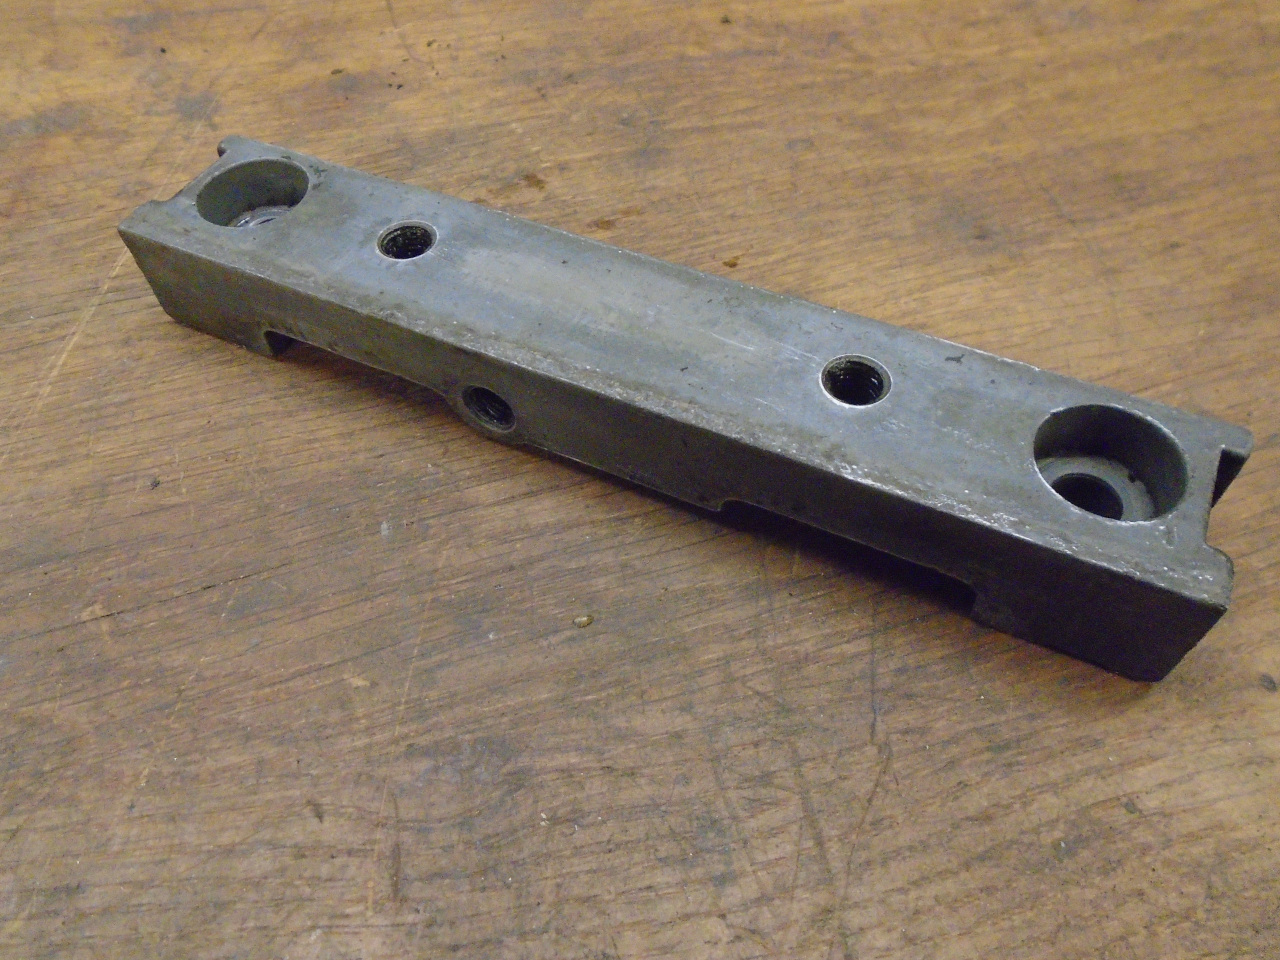
It isn't really a bad design, but it has a few quirks that bear
some attention.
Normally, the main issue is that in the soft material, the
shallow-ish fine thread tapped holes can be prone to stripping,
especially with repeated disassembly or overenthusiastic
torquing. For this reason, fortifying the threaded holes is
pretty common, either as a repair, or a preventative measure.
My tapped holes
were not stripped, but I decided to upgrade my original block by
strengthening the threads. I know that aftermarket
blocks are easily available in aluminum or steel, but though these
might be totally reasonable way to go, that's not the way I
roll.
But before I considered the holes, I wanted to clean up the
block. I quickly discovered that the oil pan sealing surface
wasn't flat.
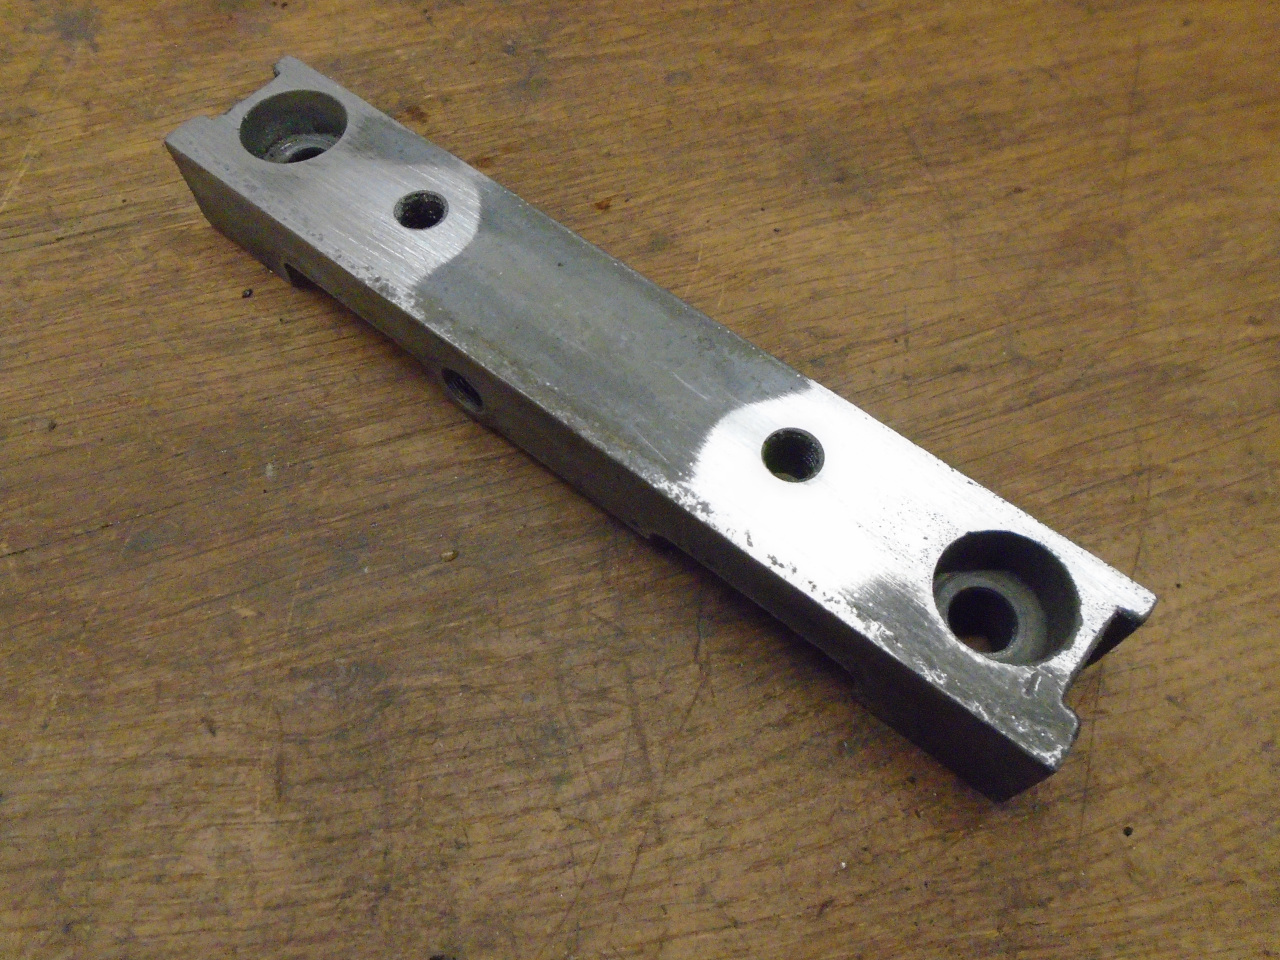
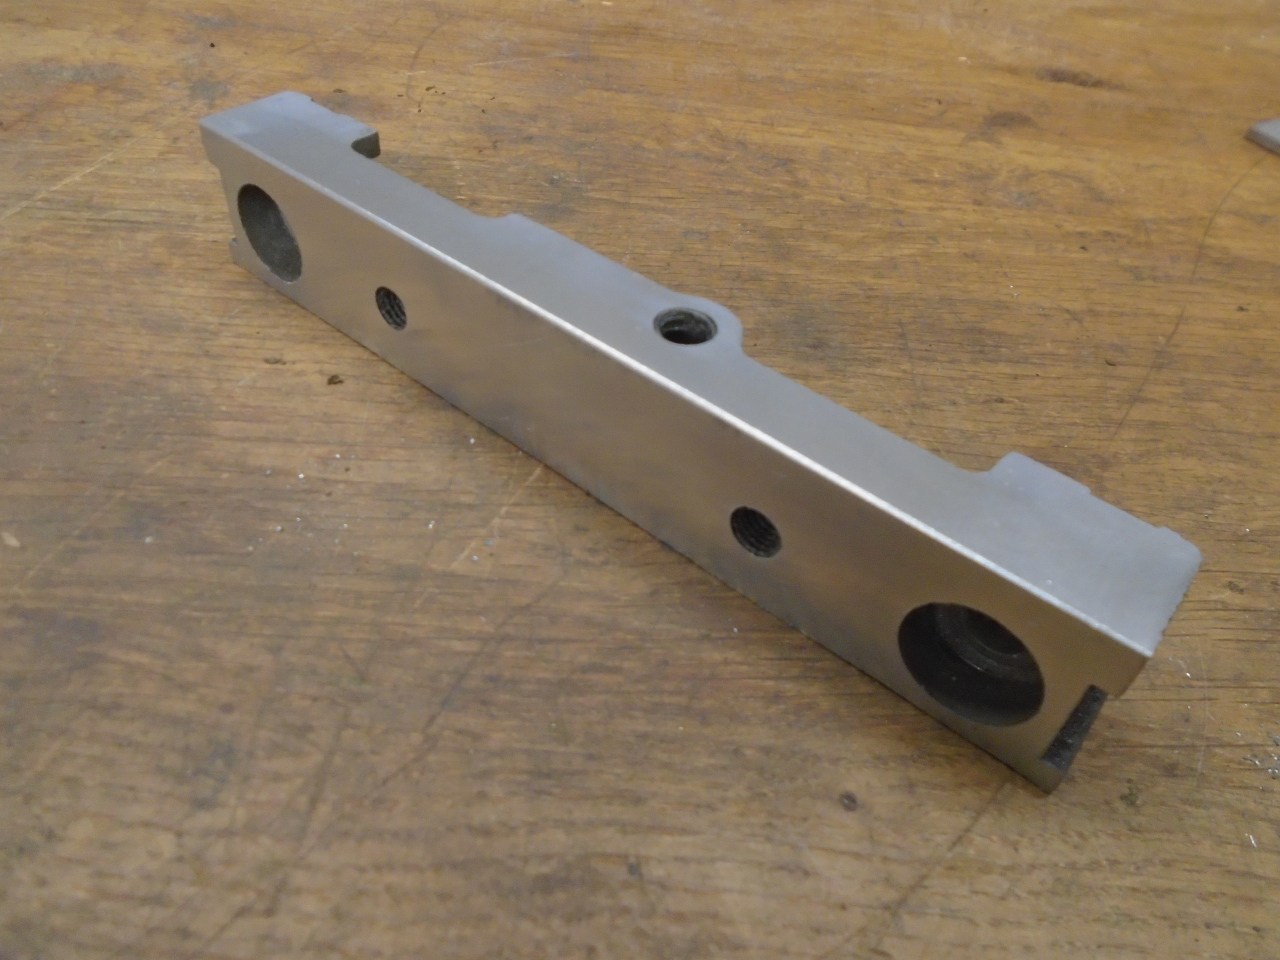
This wasn't surprising, since I found the same thing on the
TR6. So I machined the surface flat by removing around
0.015" from the high areas. The block could accommodate this
since it stood slightly proud of the crank case pan surface
anyway. I did the same to the front surface, but only had to
take off a few thousandths.
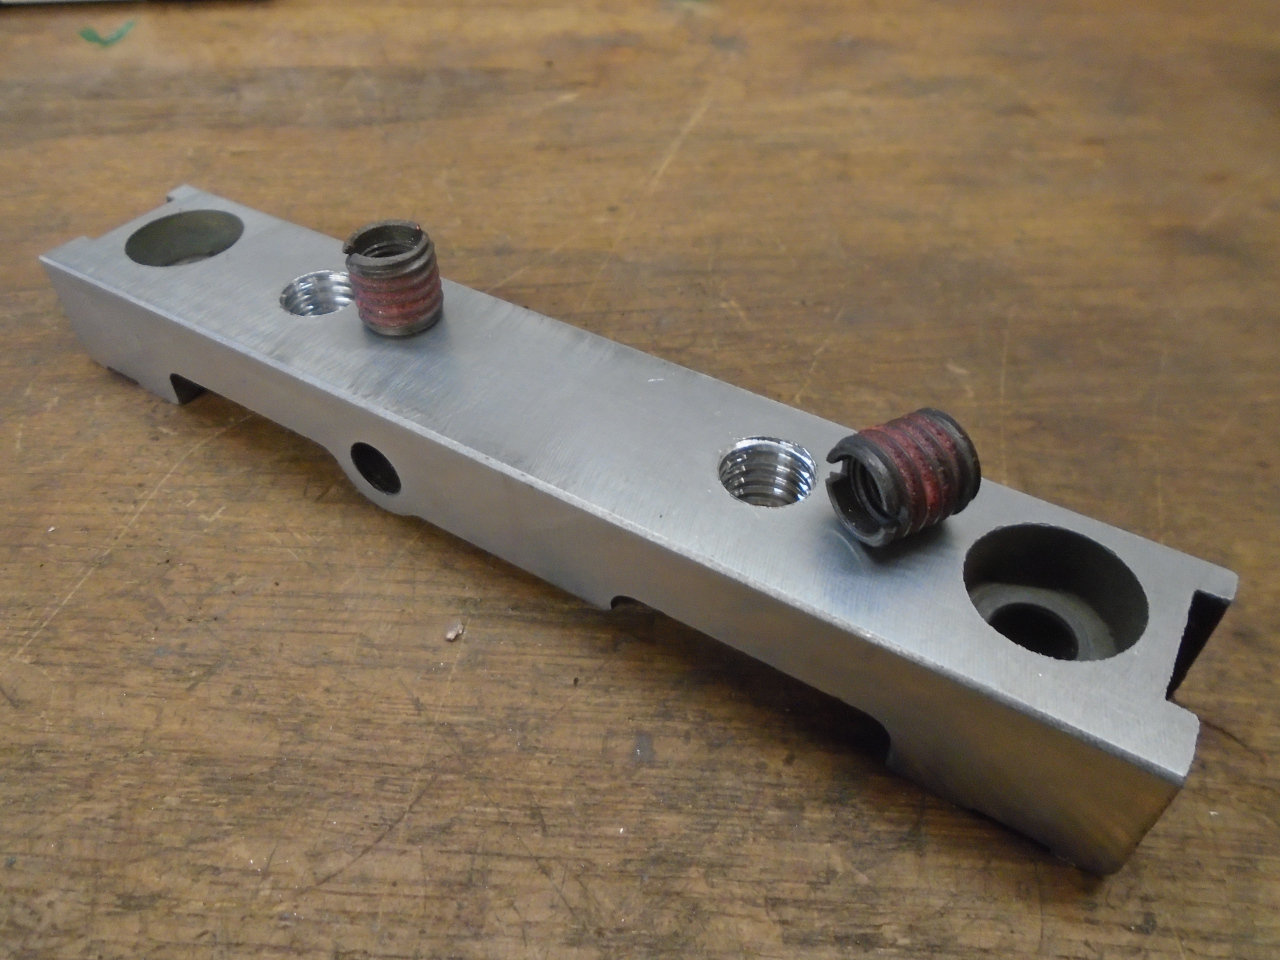
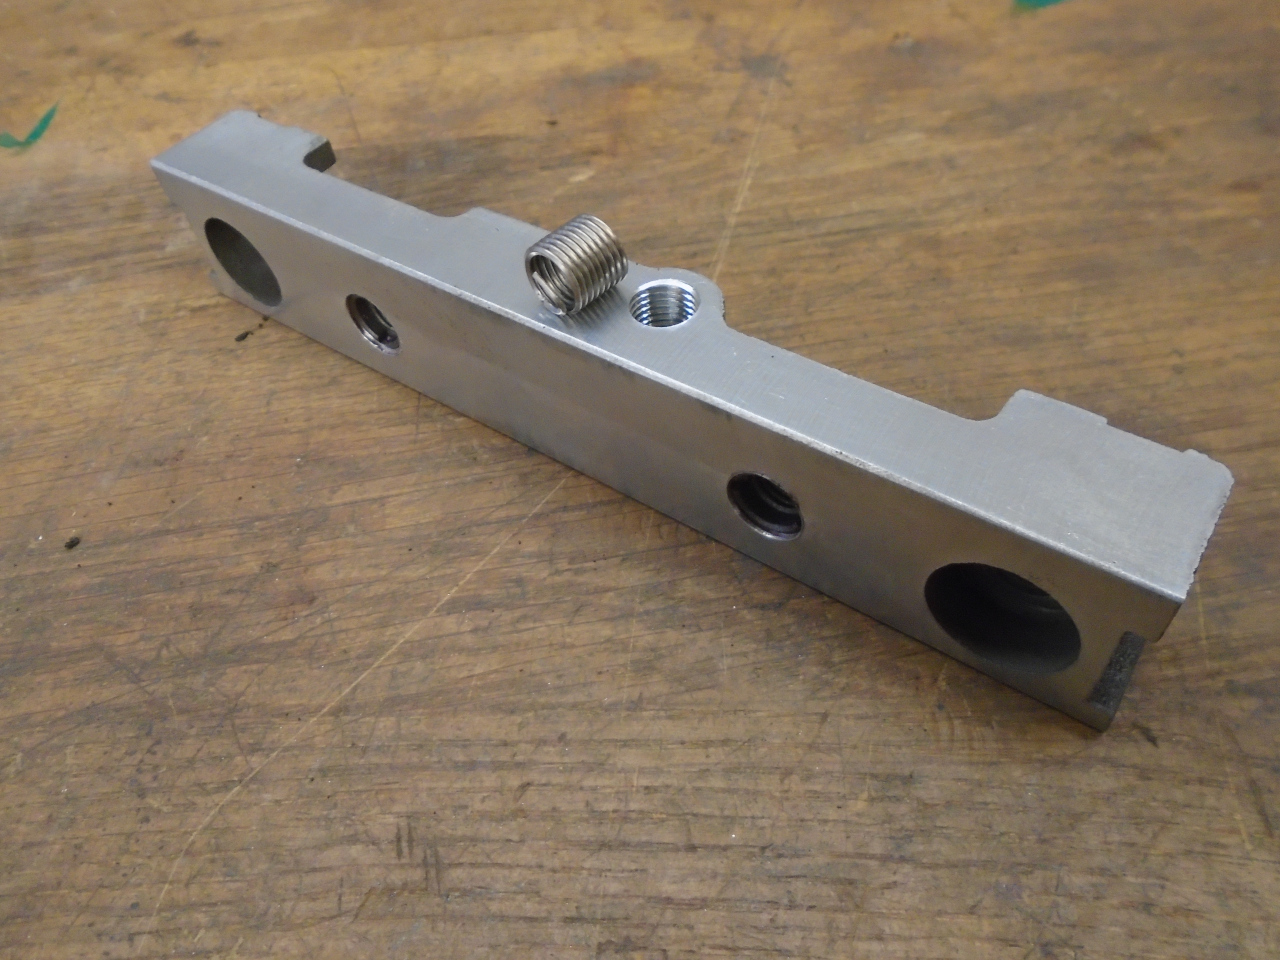
My thread-enhancer of choice is usually an insert, because they
use standard taps. These are EZ-LOKs, but there are other
brands. These allegedly come with a permanent thread locker
on the OD, but I usually add some of my own.
However, on the front face of the block, the single tapped hole
didn't seem to me to have enough meat around it for an insert, so
I opted for a coil-type repair, since they take a smaller hole.
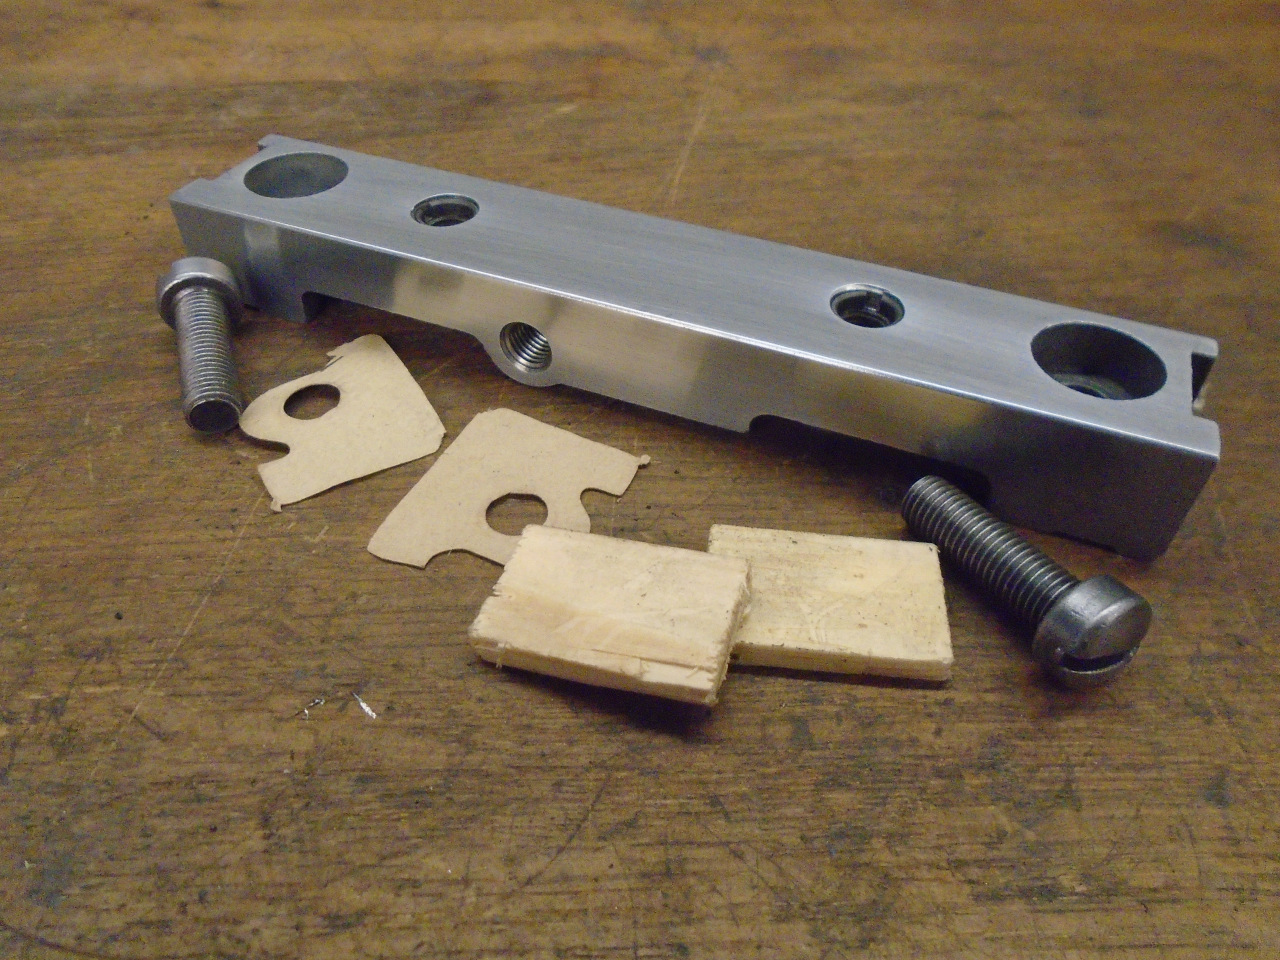
With those fixes done, I dug out the appropriate items from the
lower end gasket set I bought. Here is where I recalled the
quaint method that Triumph engineers specified to seal the ends of
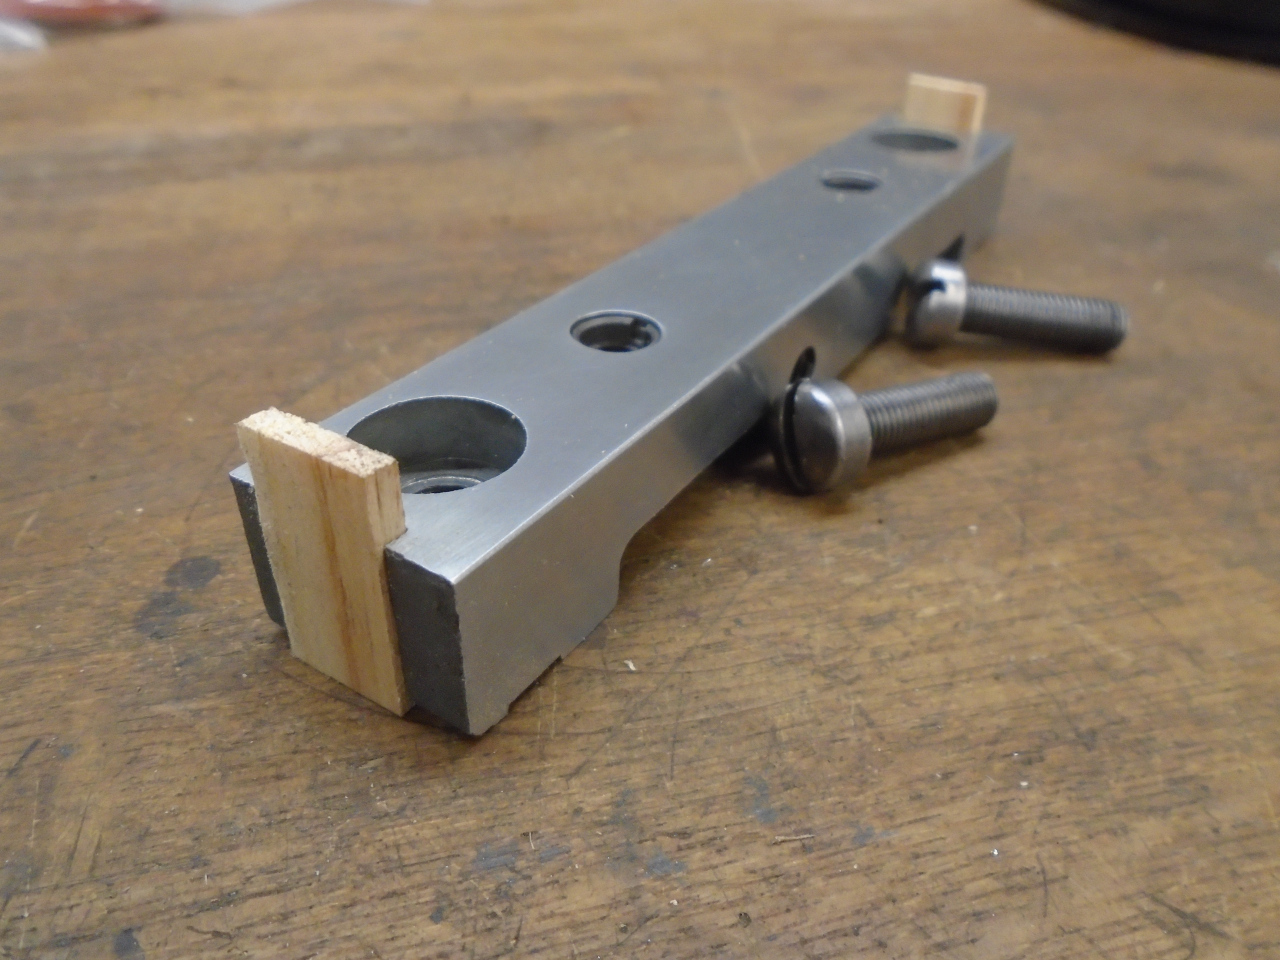
the block to the crank case. They used little shards of wood
compressed into shallow slots on each end. I believe some
rebuilders may substitute a rubber block for the wood, but I
actually don't think there is anything wrong with wood. It
may be a throw-back approach, but wood is a compressible material
that will last a long time in this environment, and if the grain
is oriented properly, it will not wick oil.
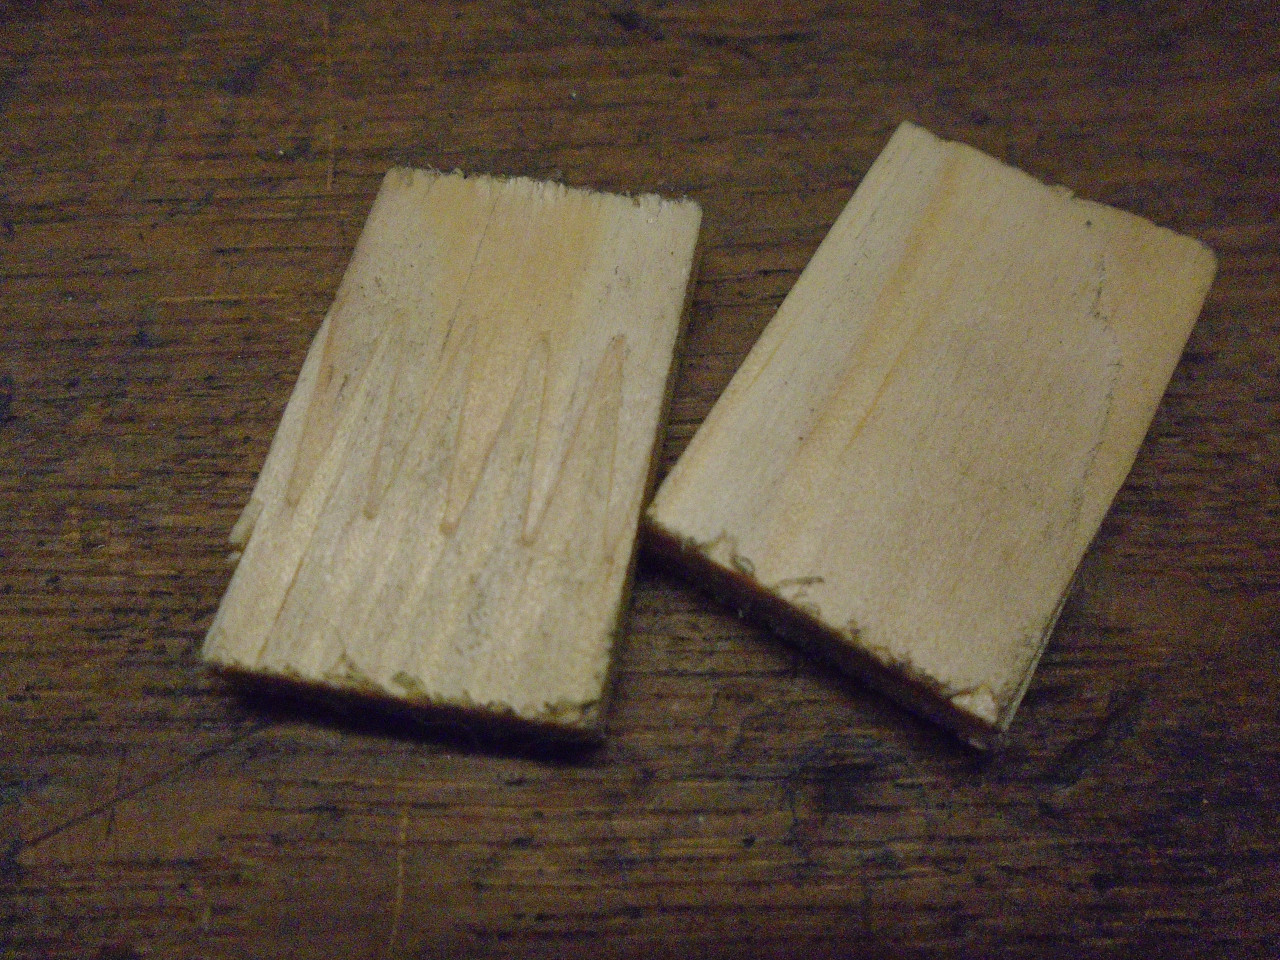
However, I was a little disappointed with the wood chips
supplied. They were very rough cut, and quite oversized in
all dimensions. Also I could see that they were cut from
finger-joined material, and I didn't know how the glue would stand
up to hot oil exposure. Rather than mess with those pieces,
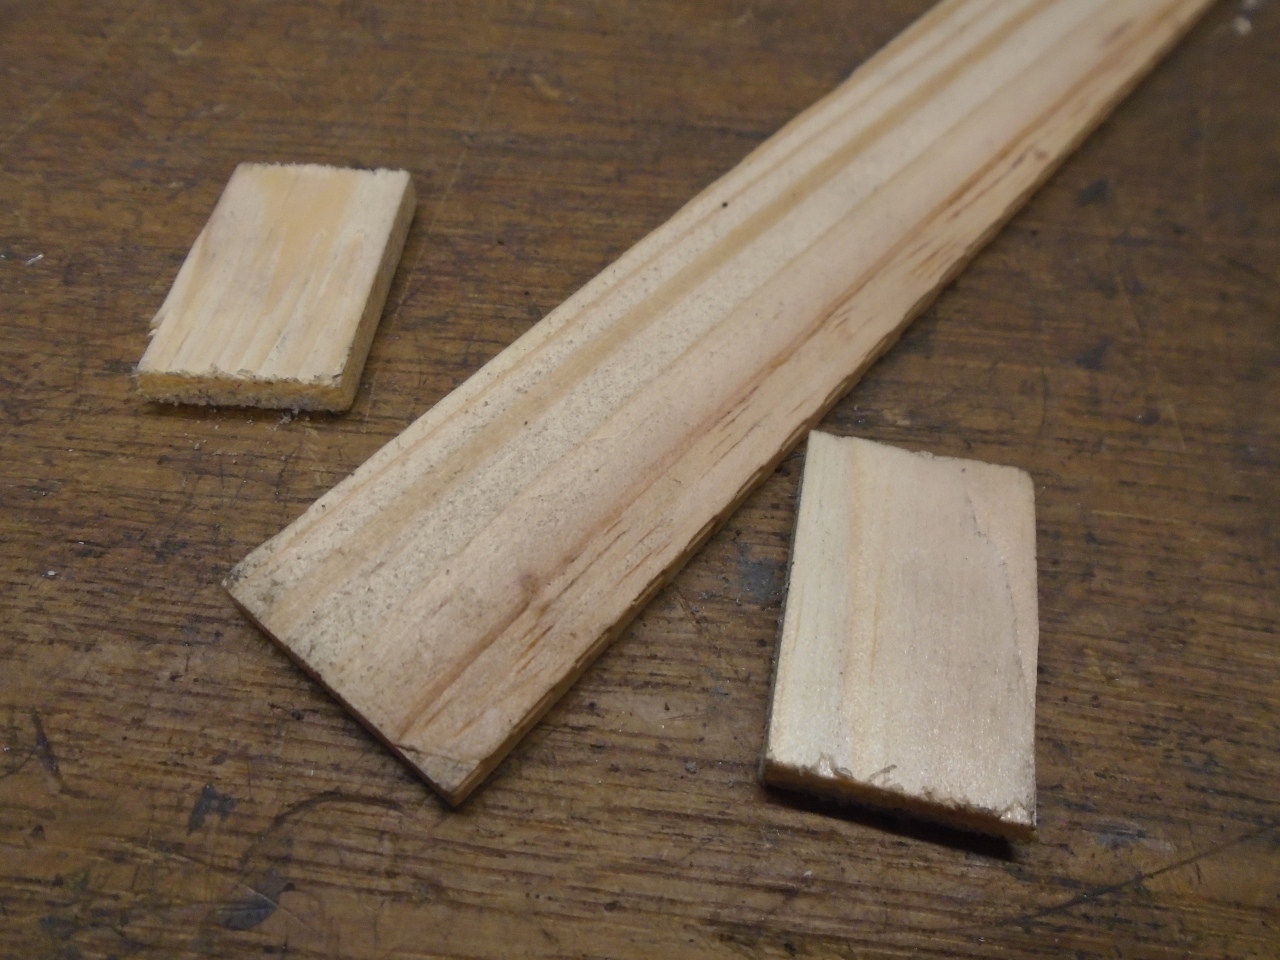
I decided to just curt my own. In a bit of serendipity, I
found that a paint stir stick was just the right thickness, so my
wood seals were made from that. They need to be sized so
that they compress in width and thickness when installed.
The block was lightly fastened to the crank case, checking that it
was flush at the front...
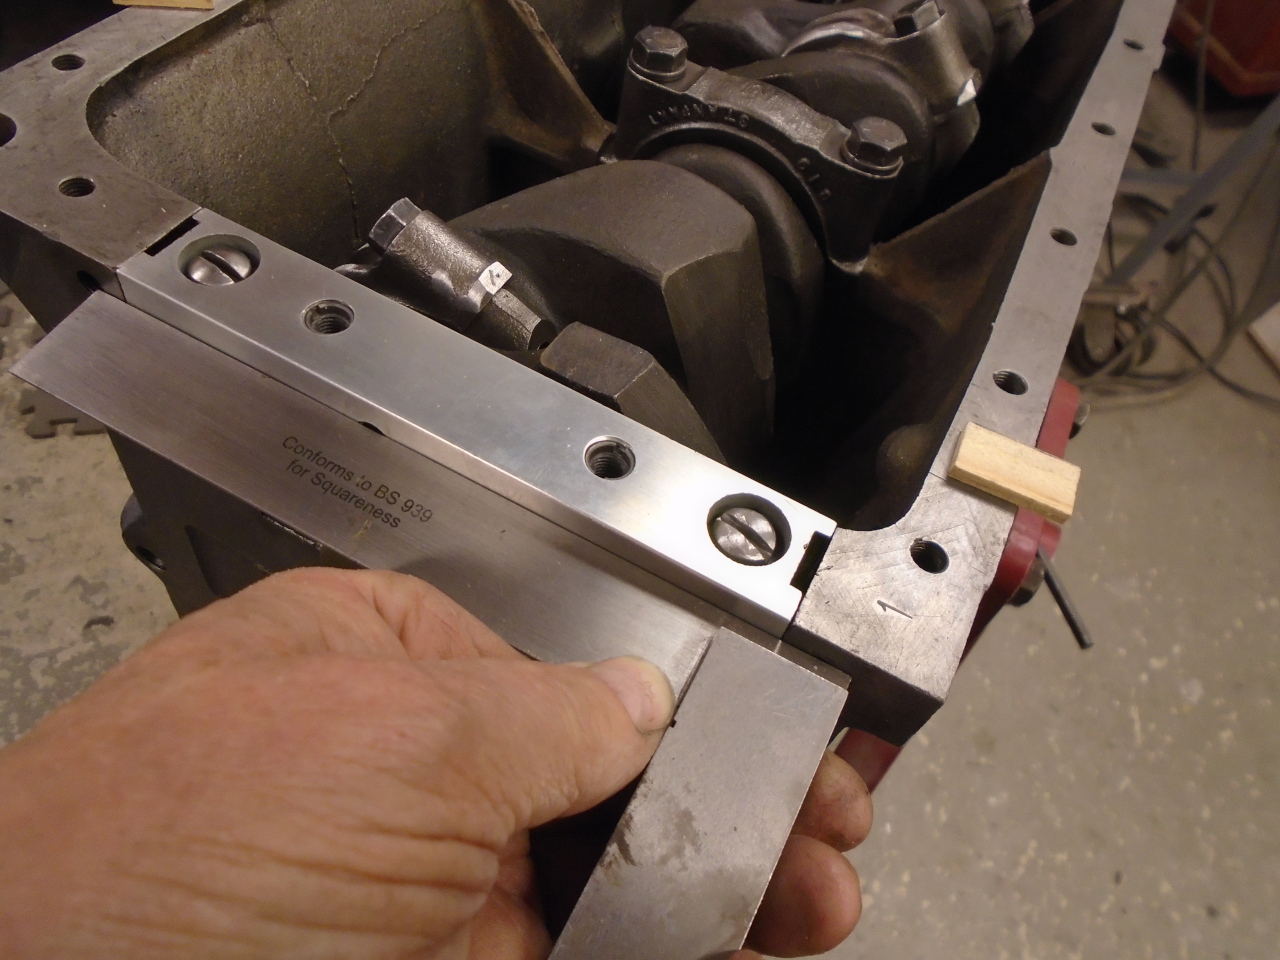
...then the wood chips got a nice thin coat of Permatex 3D, and
were tapped home.
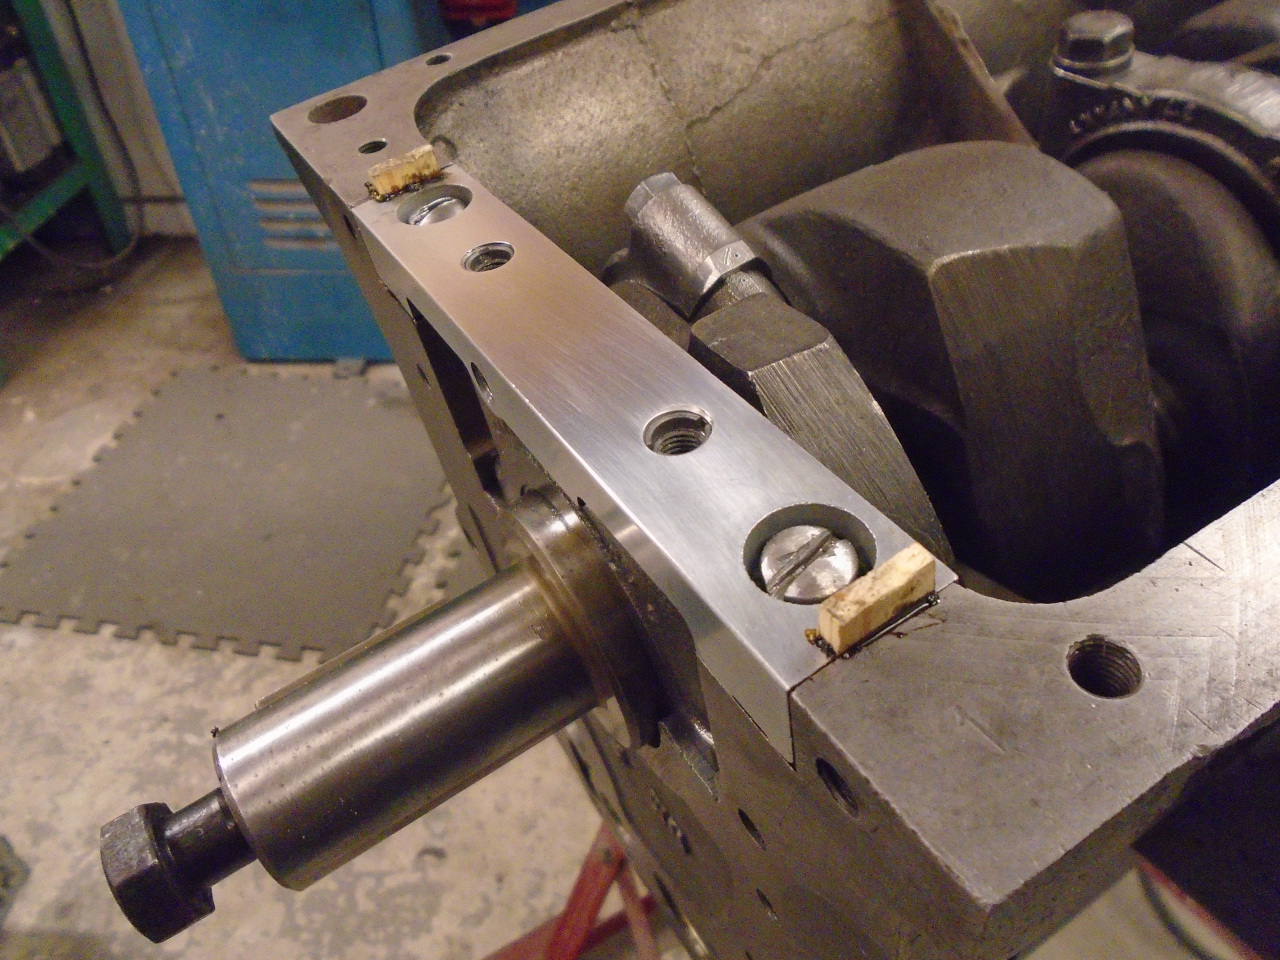
Finally, the chips were trimmed flush, and the block torqued to
spec.

These are fun projects--quick, easy, low risk, and pretty cheap.
Comments to Ed at elhollin1@yahoo.com
To my other GT6
pages.