To my other GT6
pages.
November 6, 2020
Bonnet
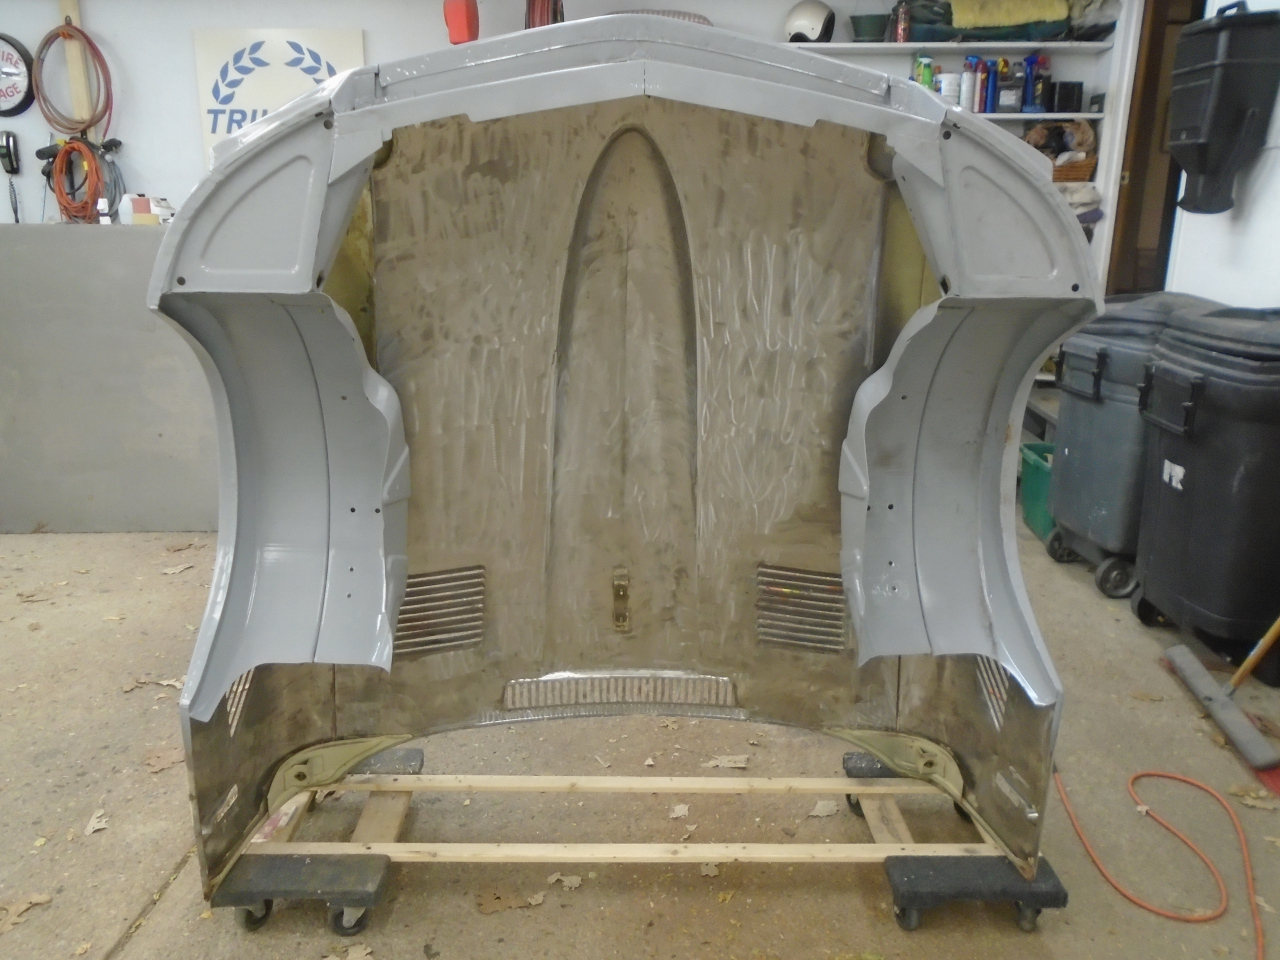
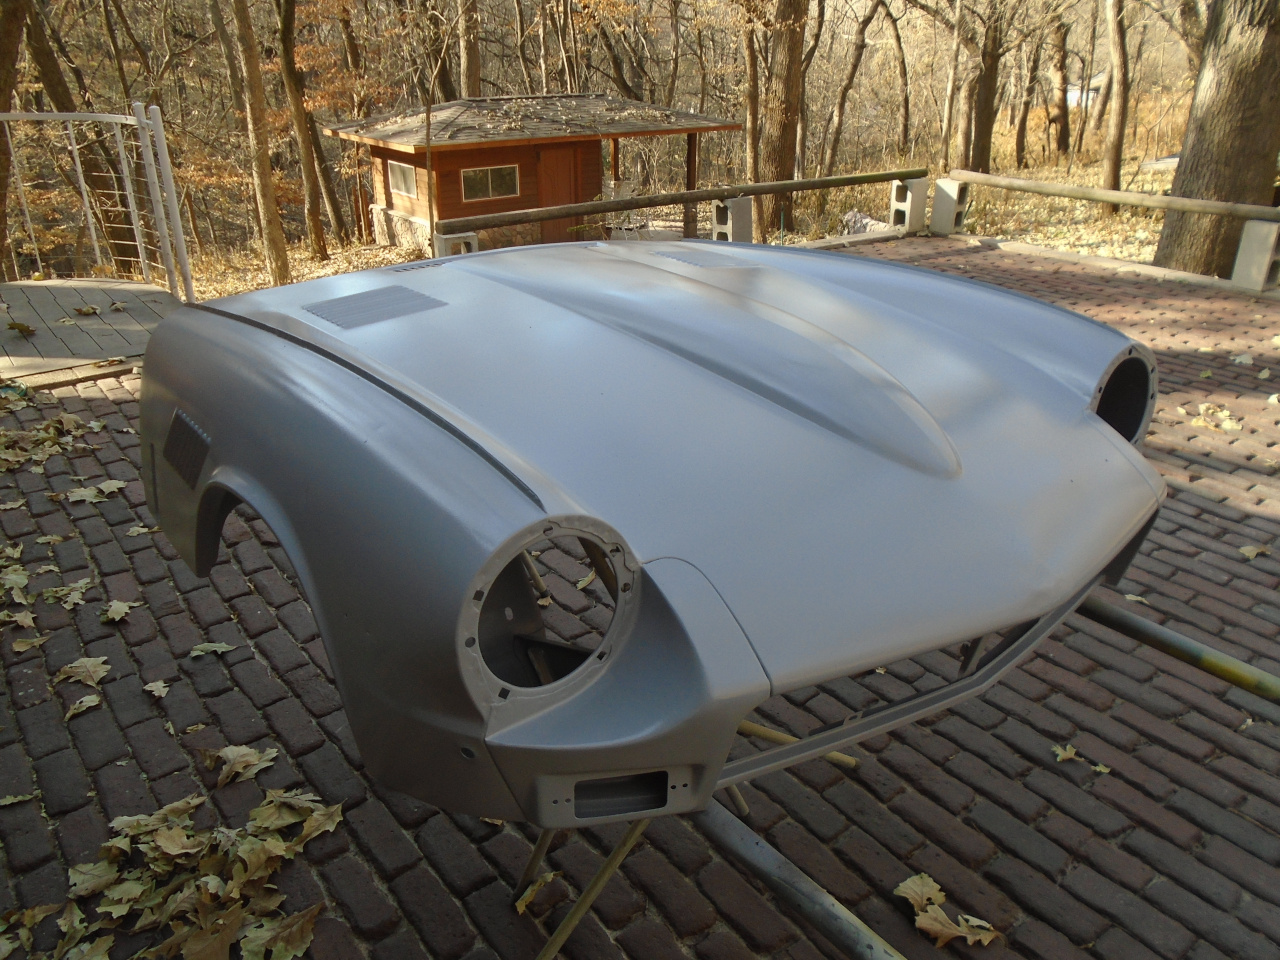
One of the iconic things about the GT6 and Spitfire is the way the
entire front of the body tilts up as a single assembly. This
assembly is called the bonnet, even though it includes the front
wings and the front grille area.
My bonnet was really in pretty good shape--much better than the
rest of the body, but there were still some issues. A few
small rust-through areas, and some stress cracks.


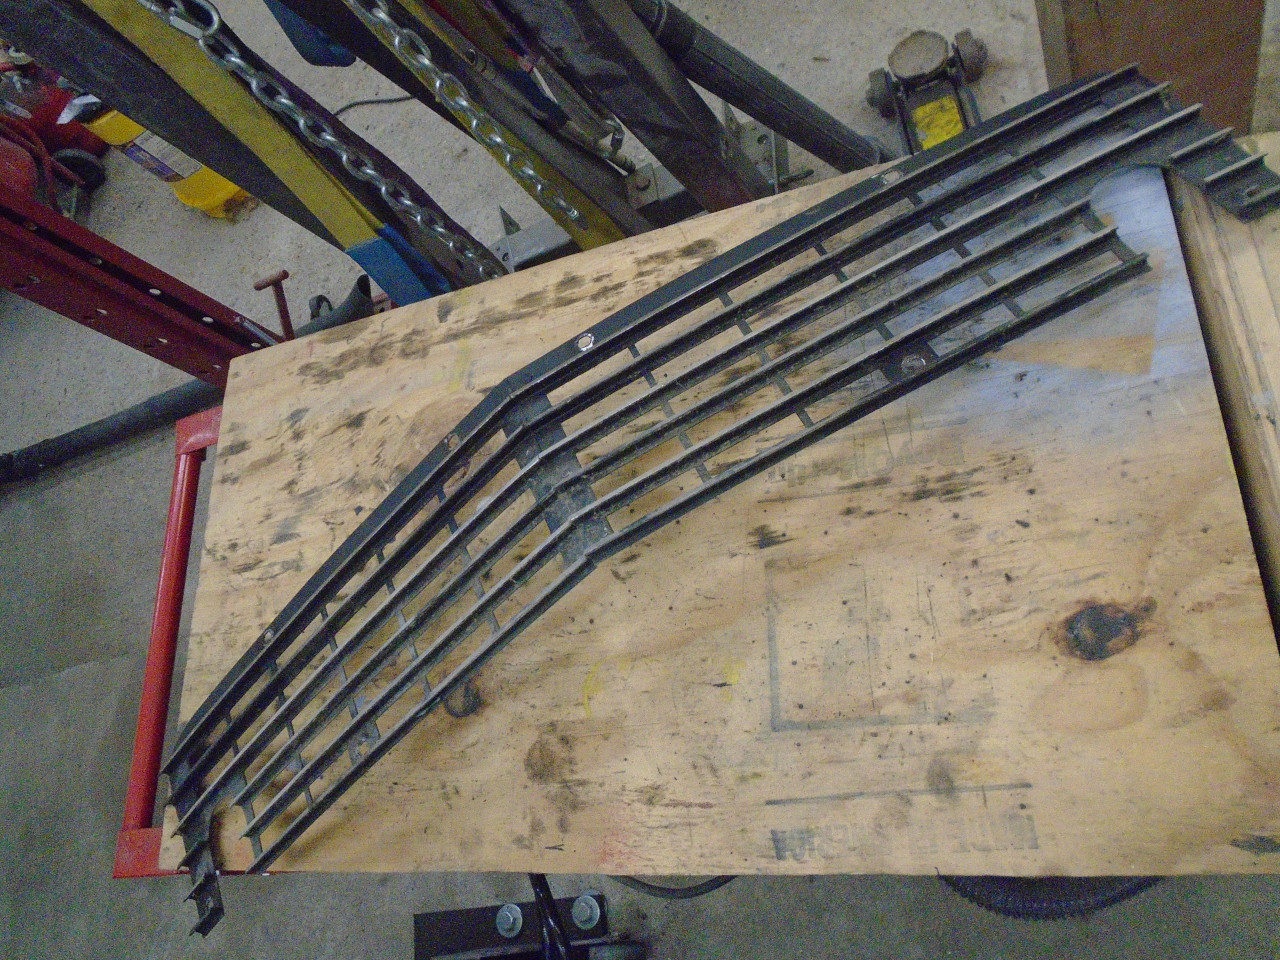
Getting the grille out was a chore with the rusted
fasteners. Some of them didn't survive the operation.

To do a good inspection, and to prep for paint, all of this
undercoating had to be removed from the wheel wells. It's
not really hard, but it takes a while.


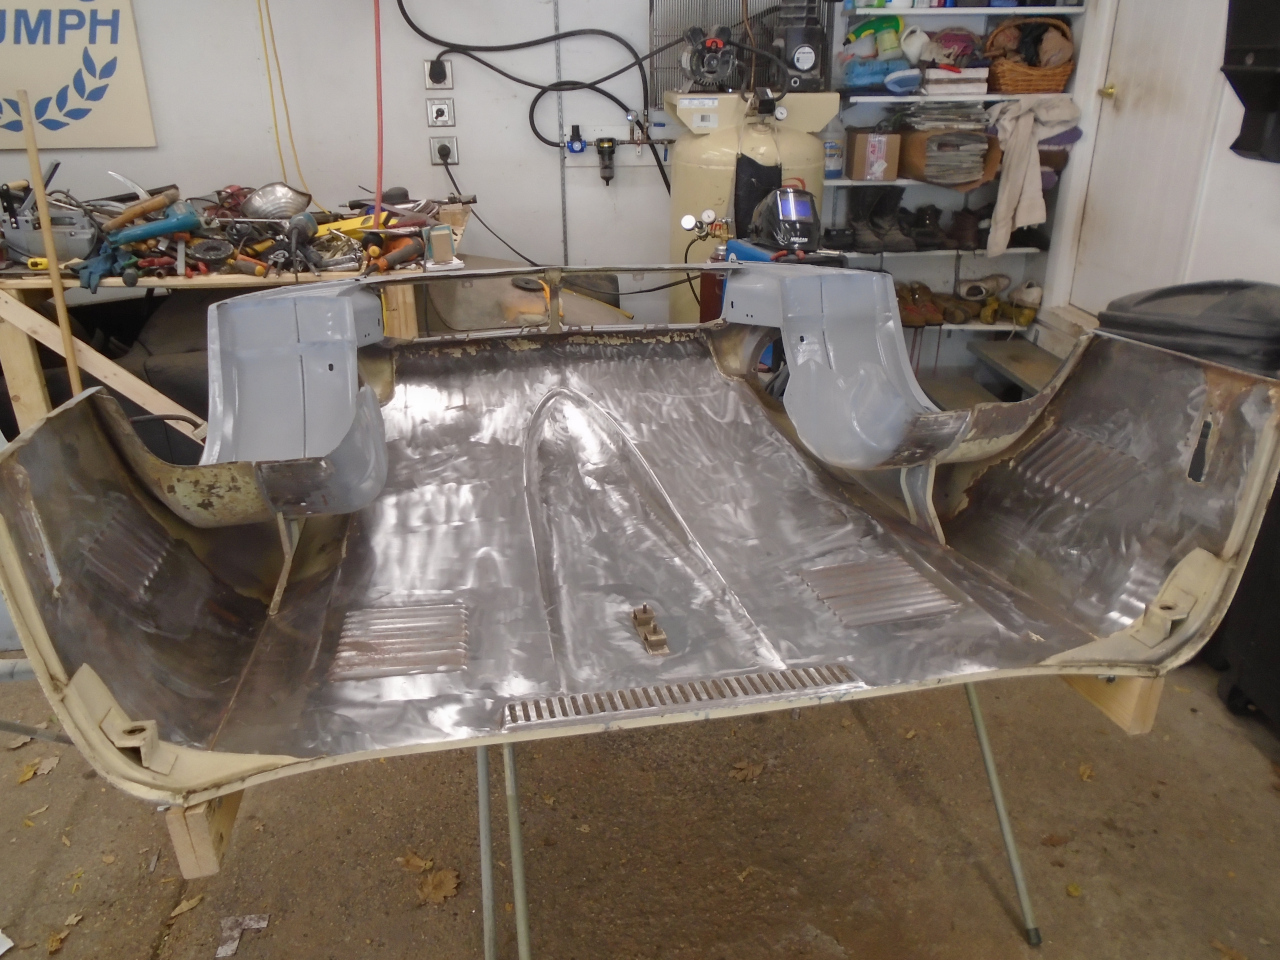
Then blasted the paint off the wheel wells and under the nose
area. This gave a clear picture of where the rust problems
were.
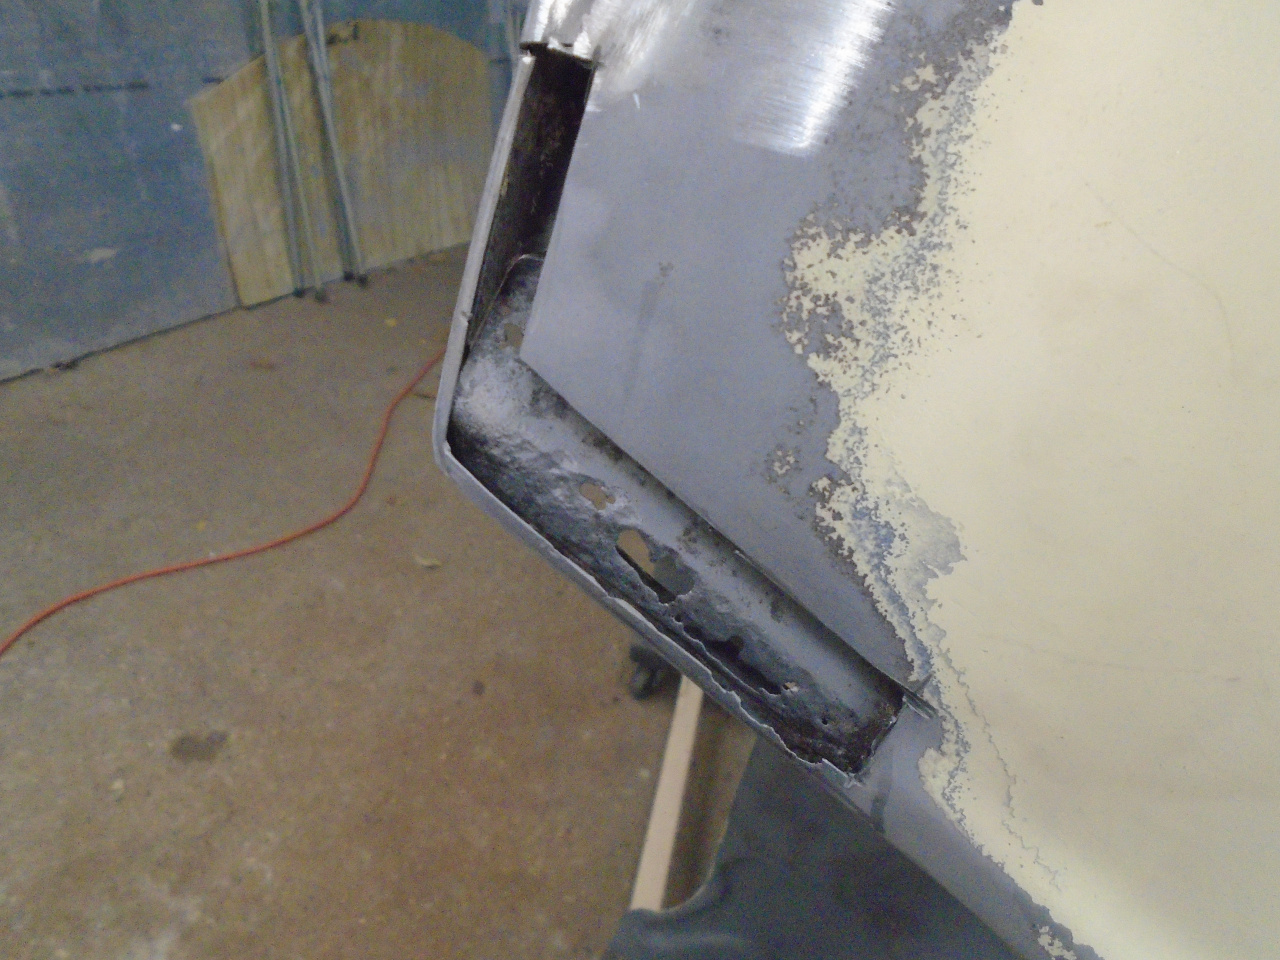
The worst rust-through area was on the bottom lip below the left
headlight opening.

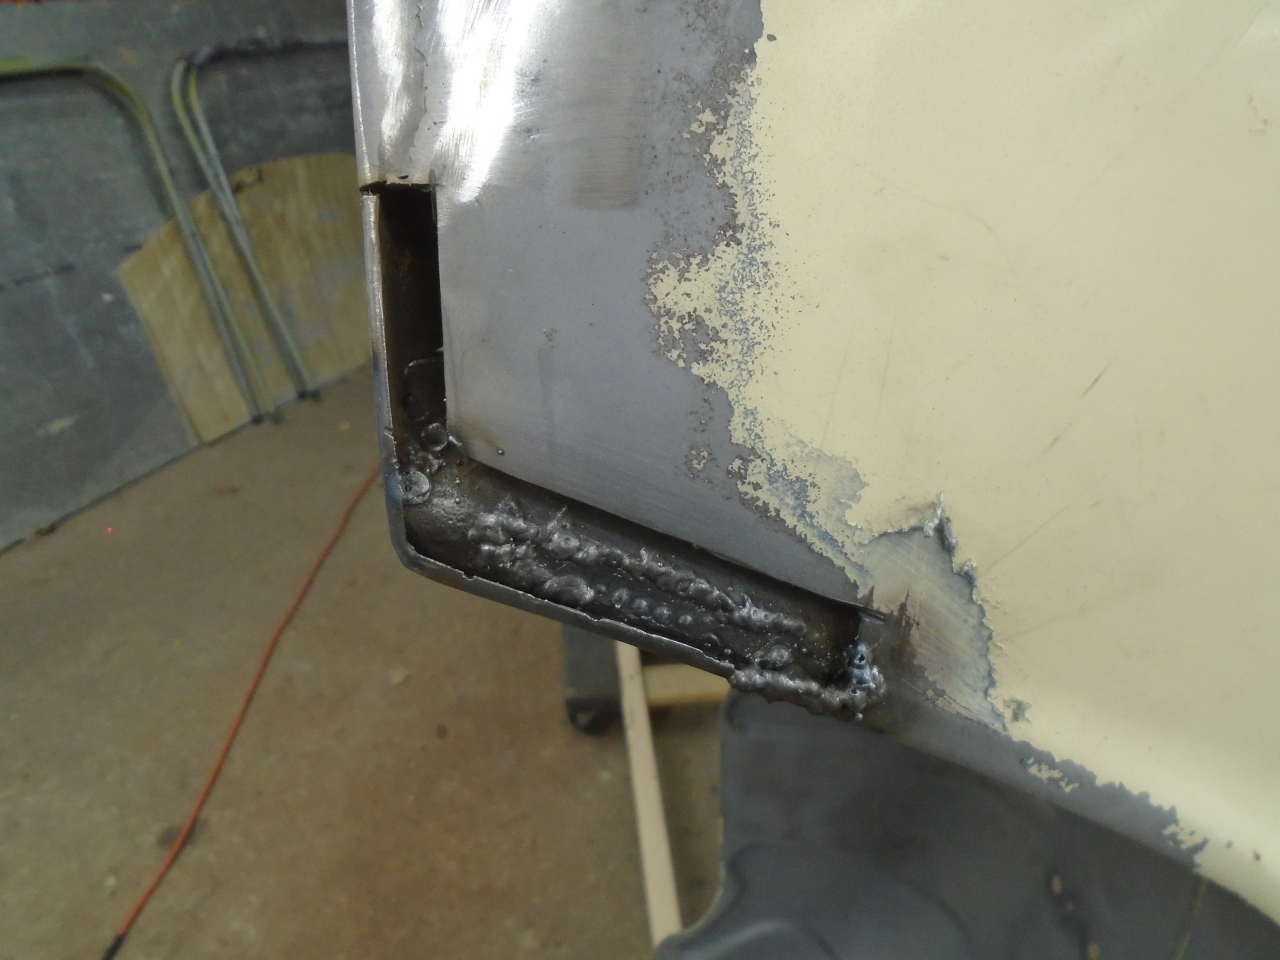
A rustectomy got rid of the bad parts...

...and some new metal finished the job.

The adjacent area was a little trickier.

The other side was similar.
The only other significant rust damage was under the brackets that
hold the long support tubes that go to the hinges. These
took two patches in each wheel well.
Then put on a nice epoxy primer to lock out humidity and
moisture. The little trolley made it way easier to move the
bonnet around. It isn't that heavy, but sort of awkward.

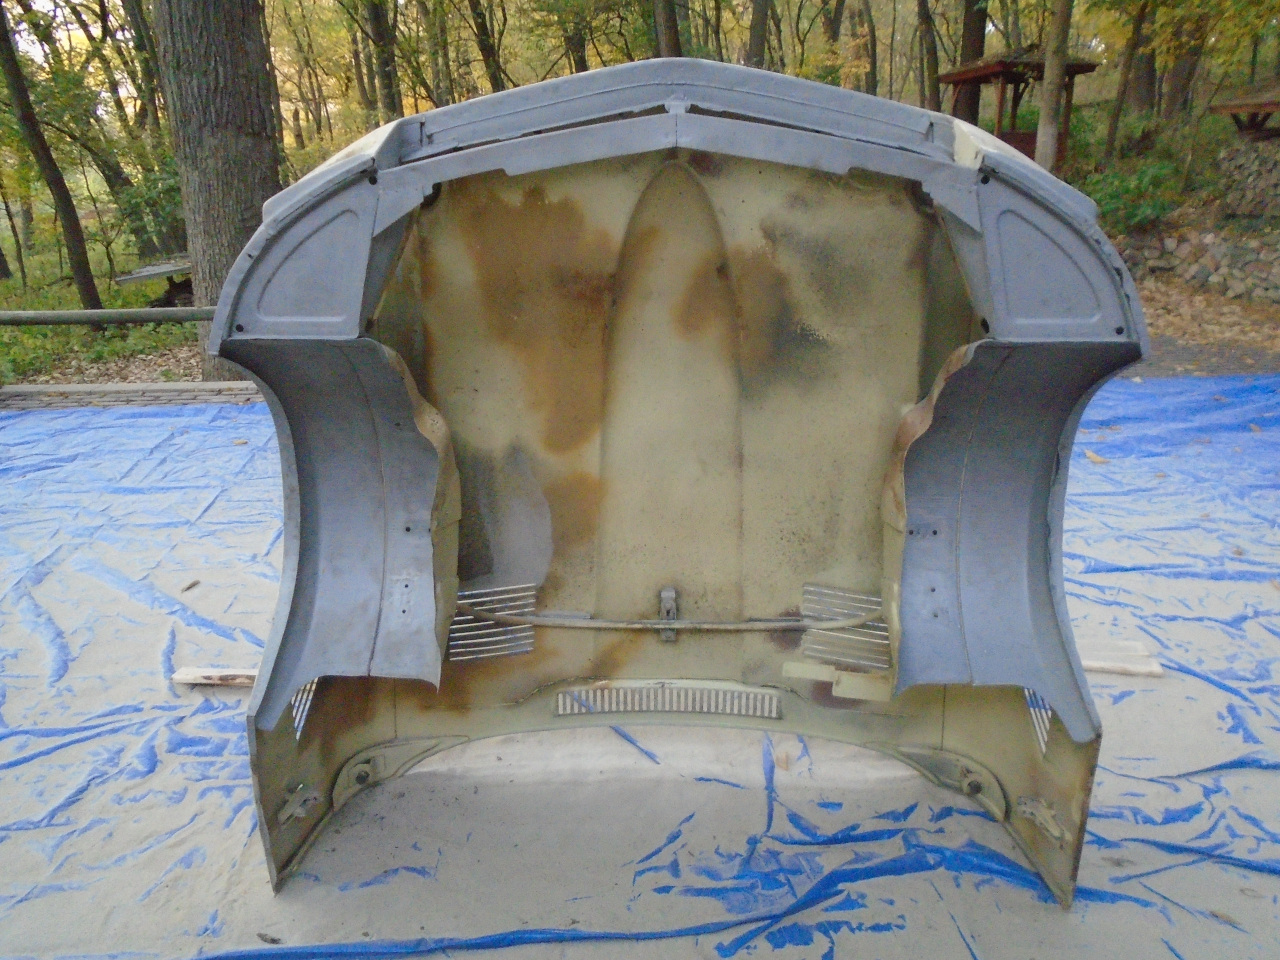
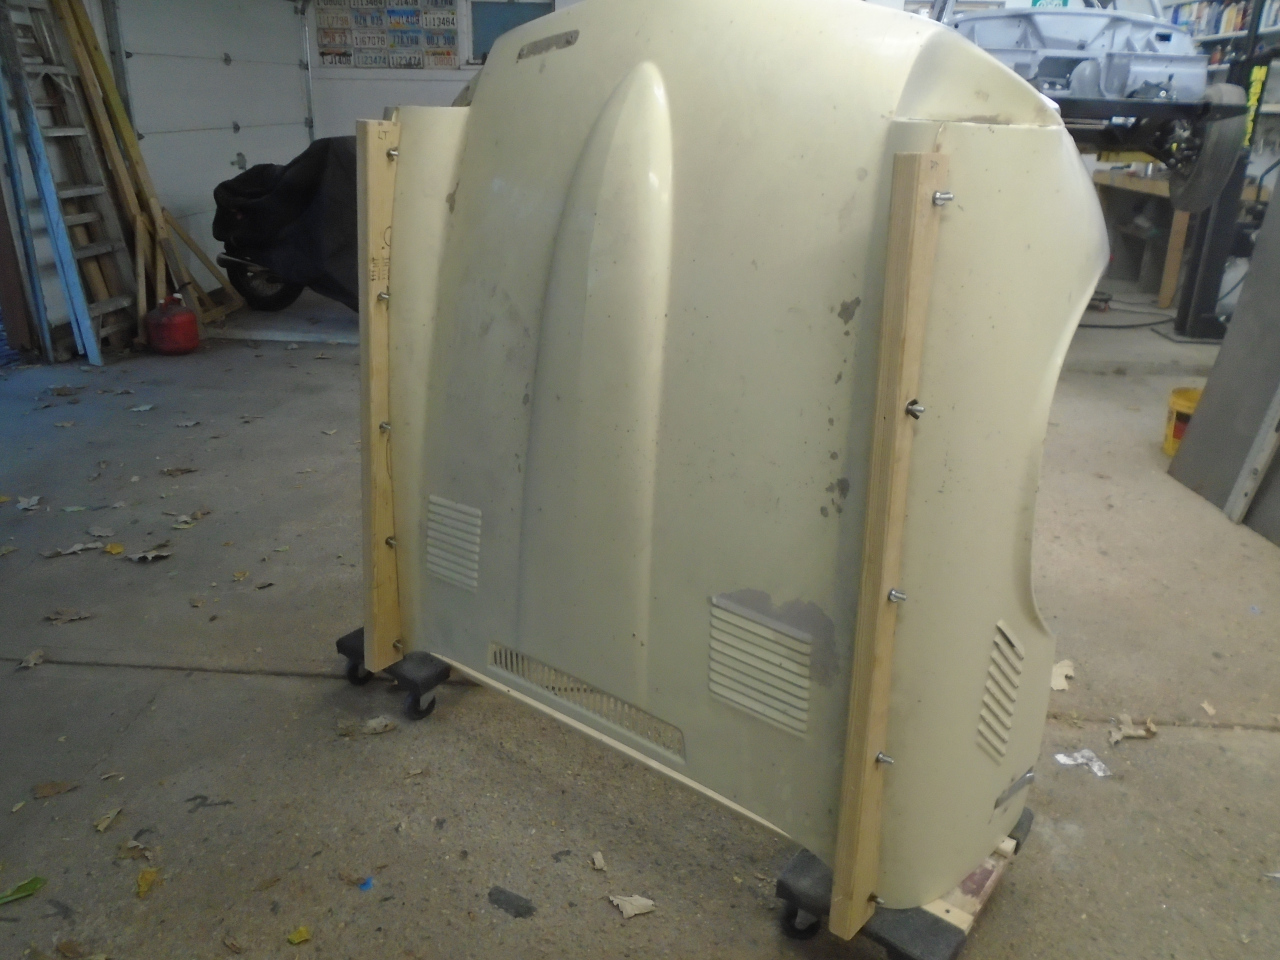
To do the rest of the underside of the bonnet, I really wanted to
lay it flat, upside down. This is a problem, because the
bonnet just rocks on the center bulge. I fashioned some
simple wood runners that clamp to the standing wing seam on each
side. They stand higher than the bulge and give a stable way
to set the bonnet with the shiny side down.

While I blasted the paint and rust from the wheel wells and other
understructure, the actual skin metal needs a little more
care. Largish flat or near flat areas can be distorted by
sand blasting. Rather than take the chance, I used a
chemical stripper and abrasive wheels. Some areas are pretty
inaccessible, but I did the best I could.
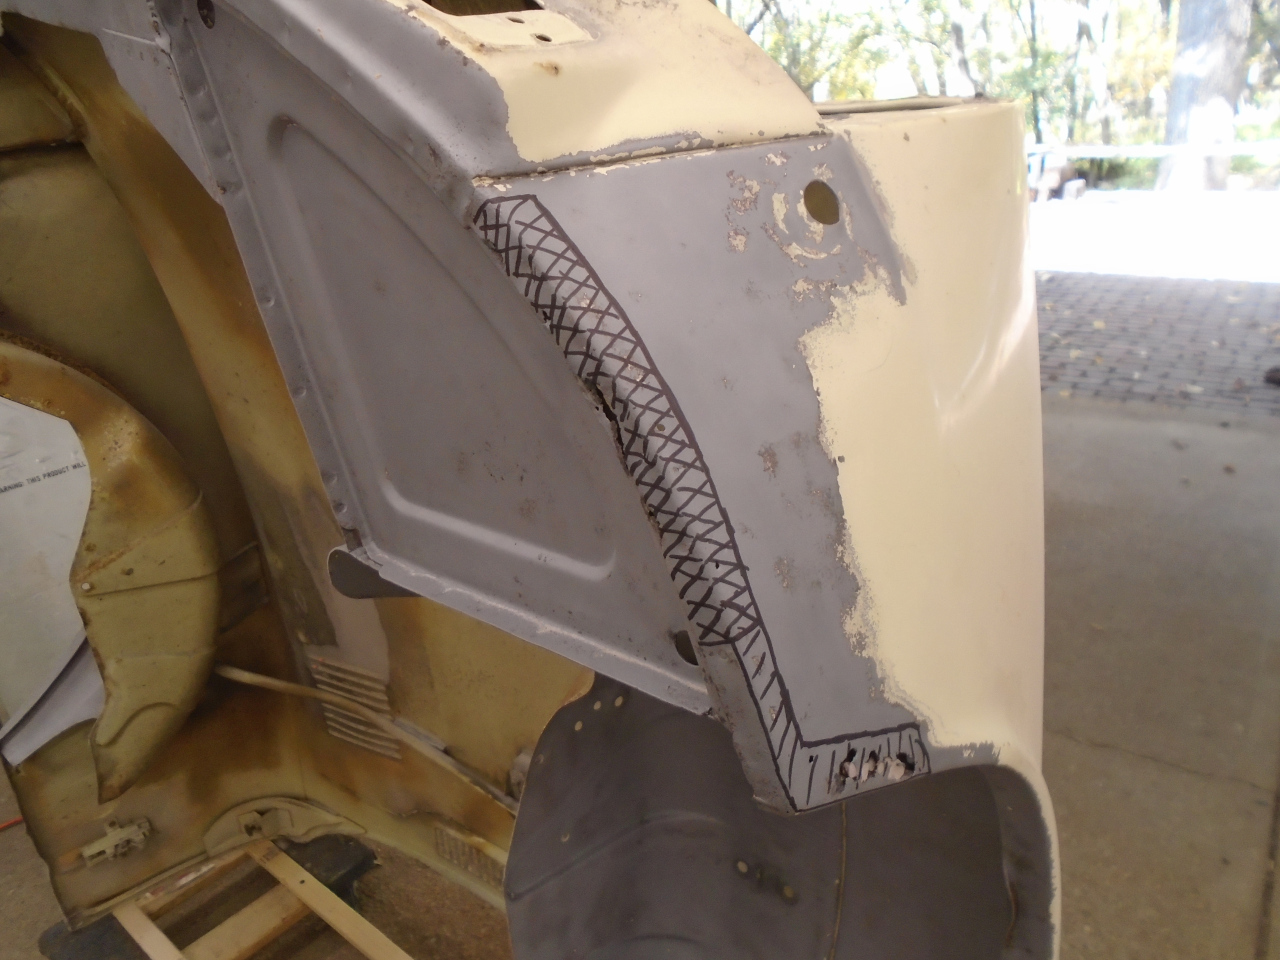
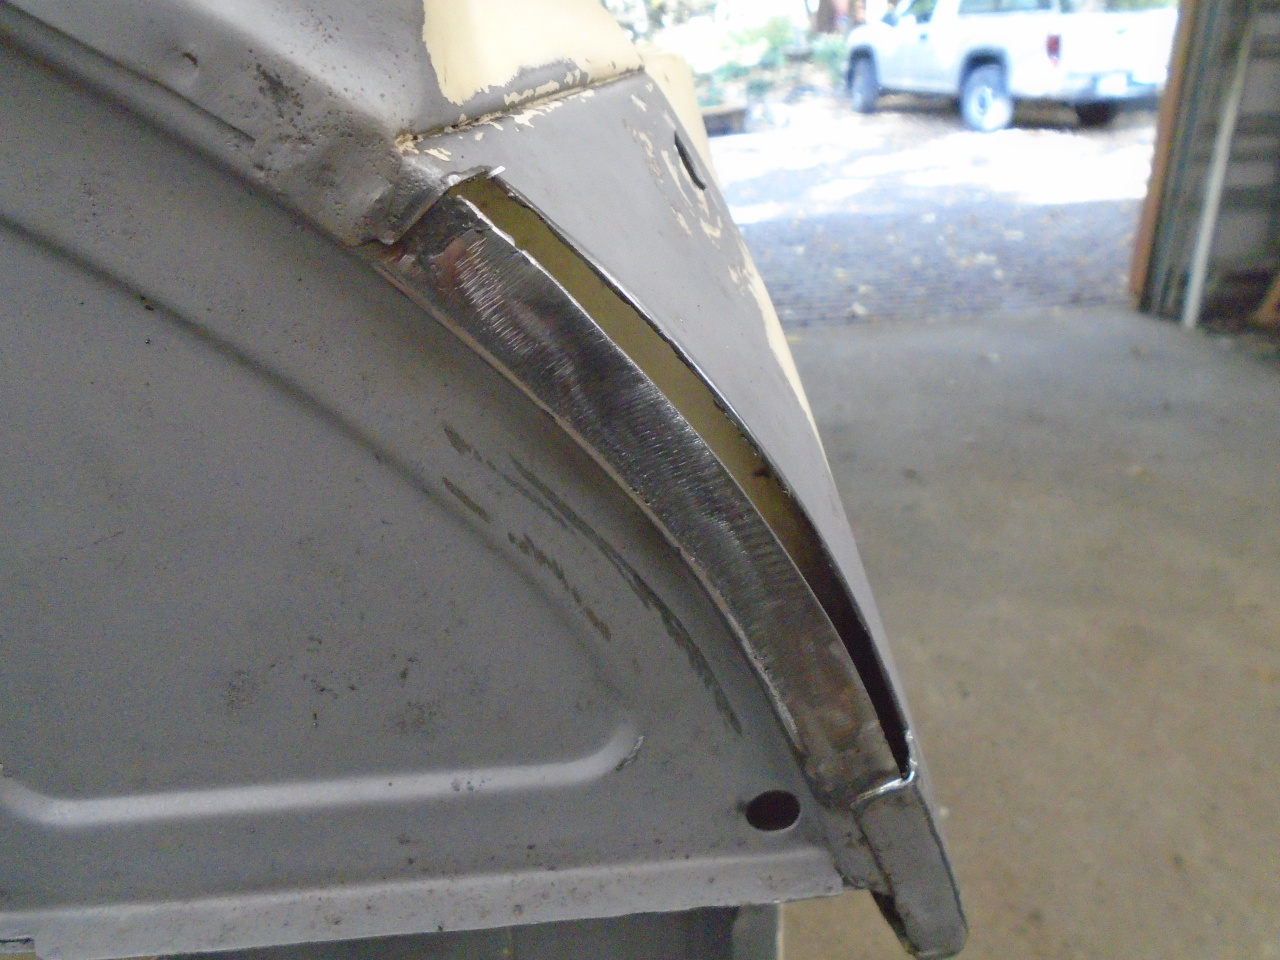
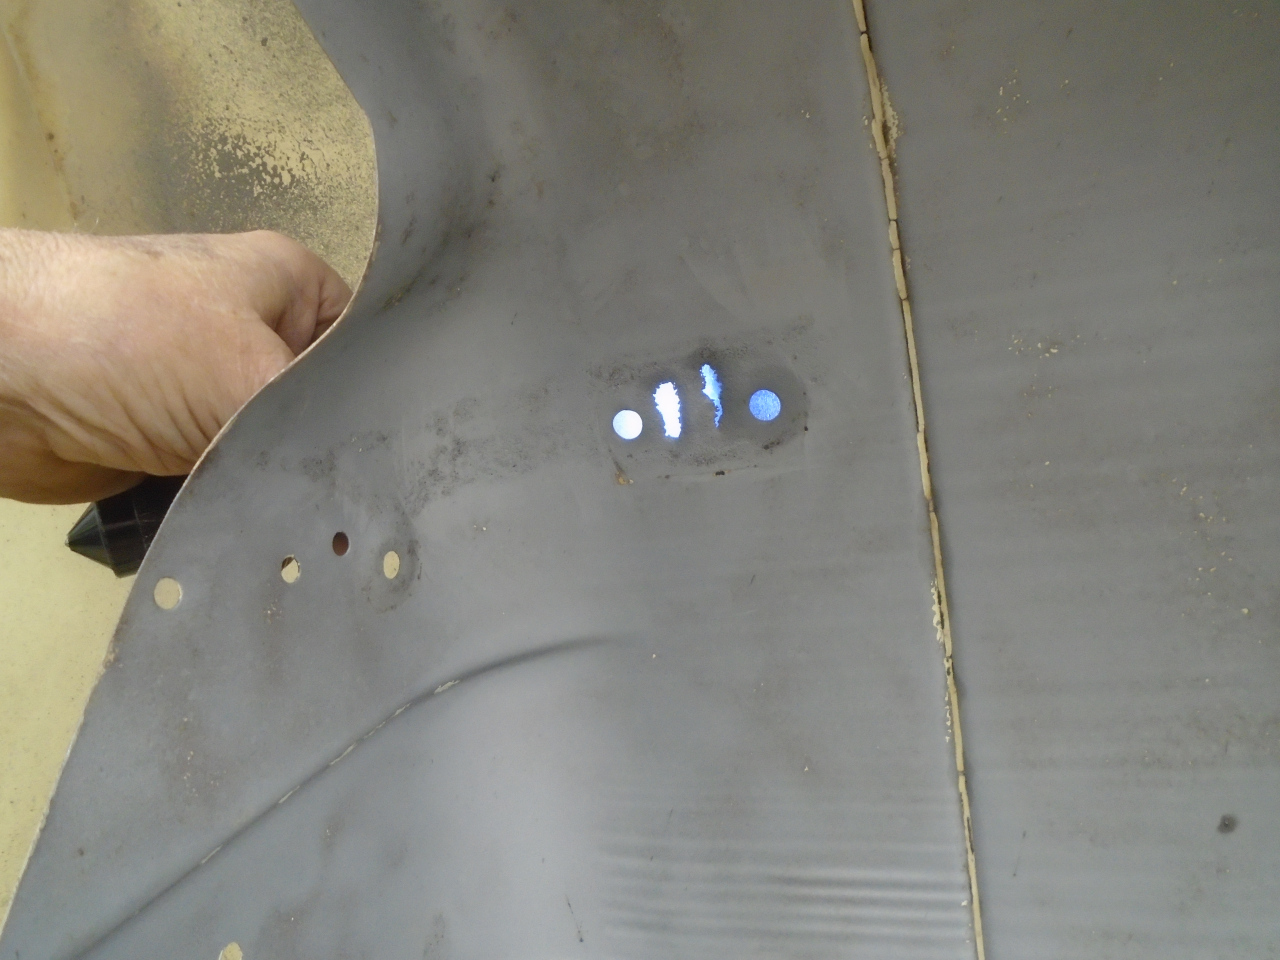
The only other repairs necessary on the bonnet were a number of
stress cracks around the latches. If the latches aren't
adjusted properly (and maybe even if they are), flexing of the
skin with latching over time causes cracks to form around the
latch opening, and on the bottom lip of the bonnet below the
latches. The area shown here had two or three cracks.
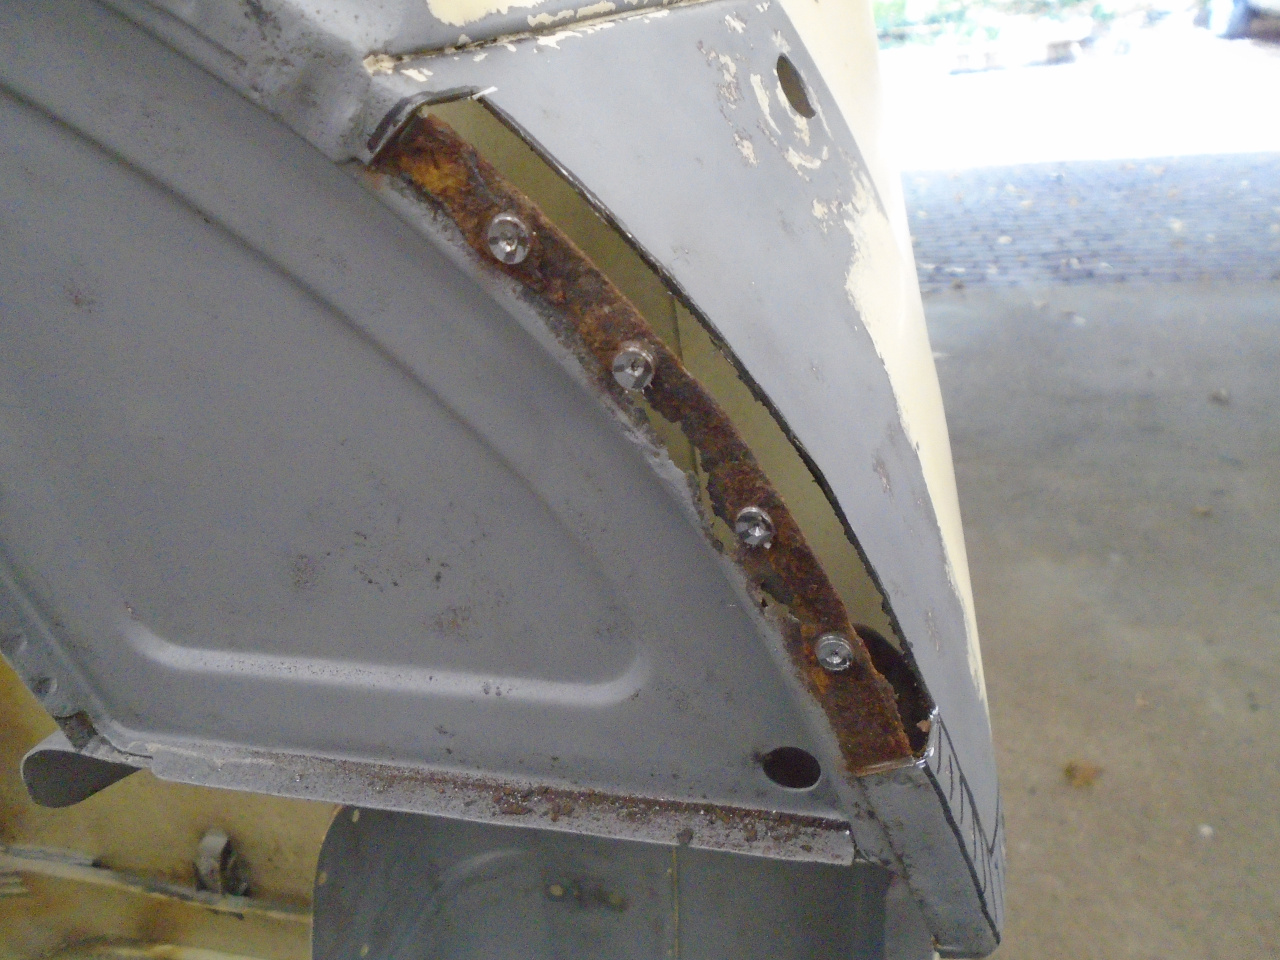
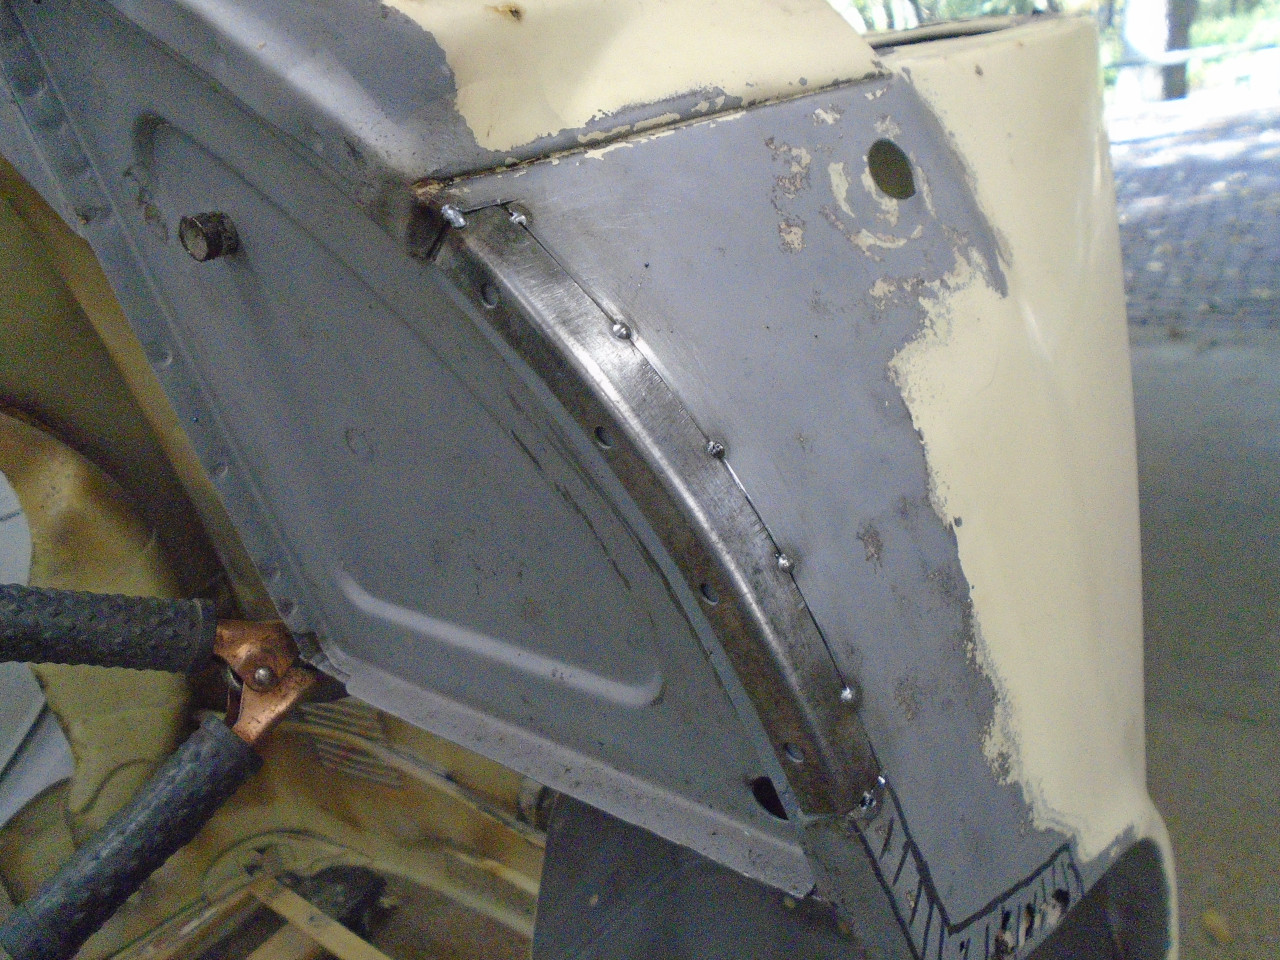
Rather than just weld them up, I decided to replace the flange in
that area. The holes were from a previous riveted
"repair". The bonnet is upside down in the picture.
At this point, I did the final sanding, and primed the underside
of the bonnet skin. Also epoxy primed the support tubes.


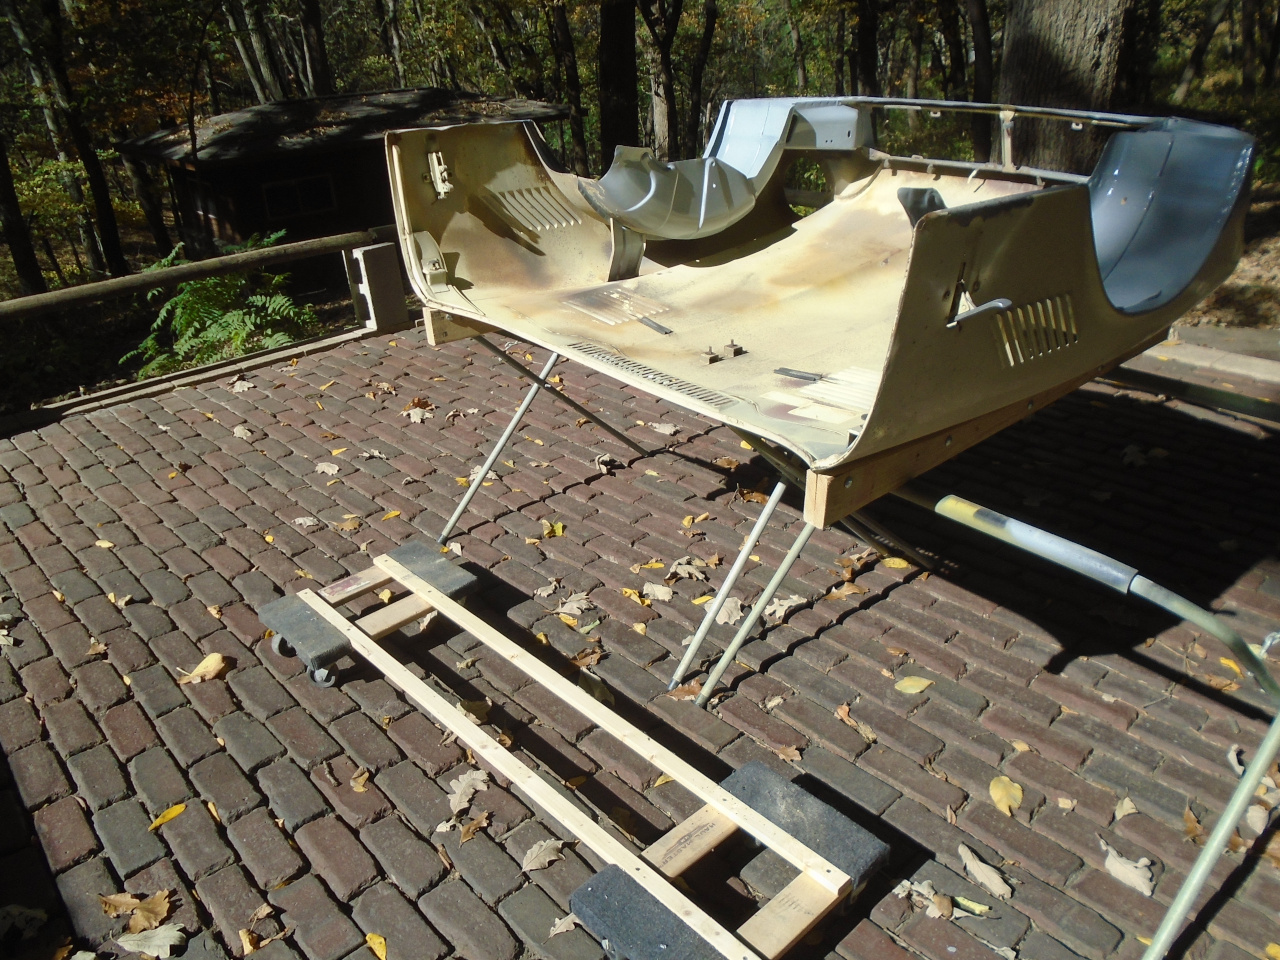
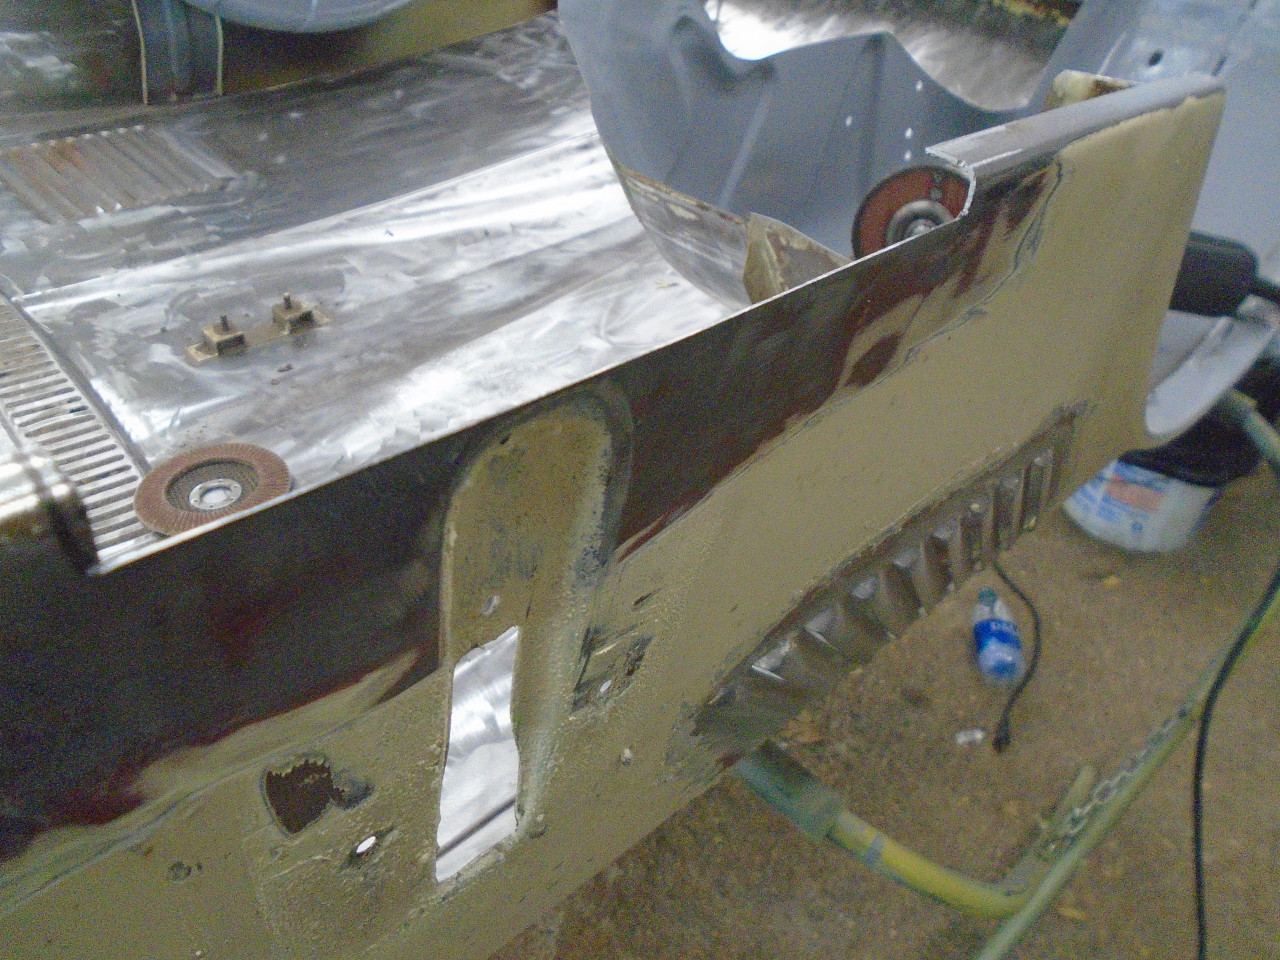
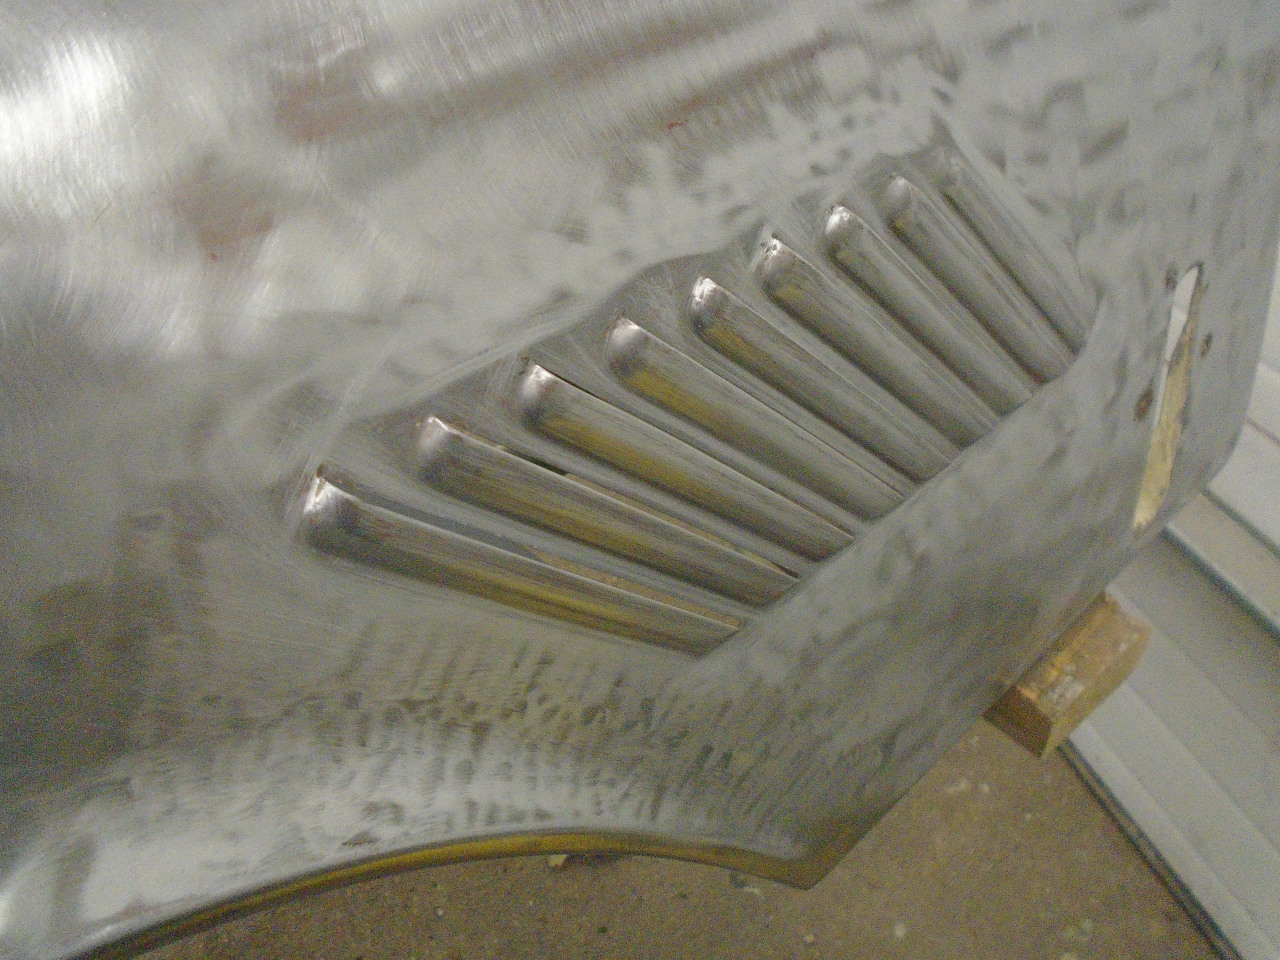
It was then time to do the outside of the bonnet. Chemical
stripper on most areas, followed by an abrasive wheel. The
louvers took a long time by hand. Some areas, like around
the headlight openings, the recesses for the latch handles, and
the vent at the rear, got blasted.


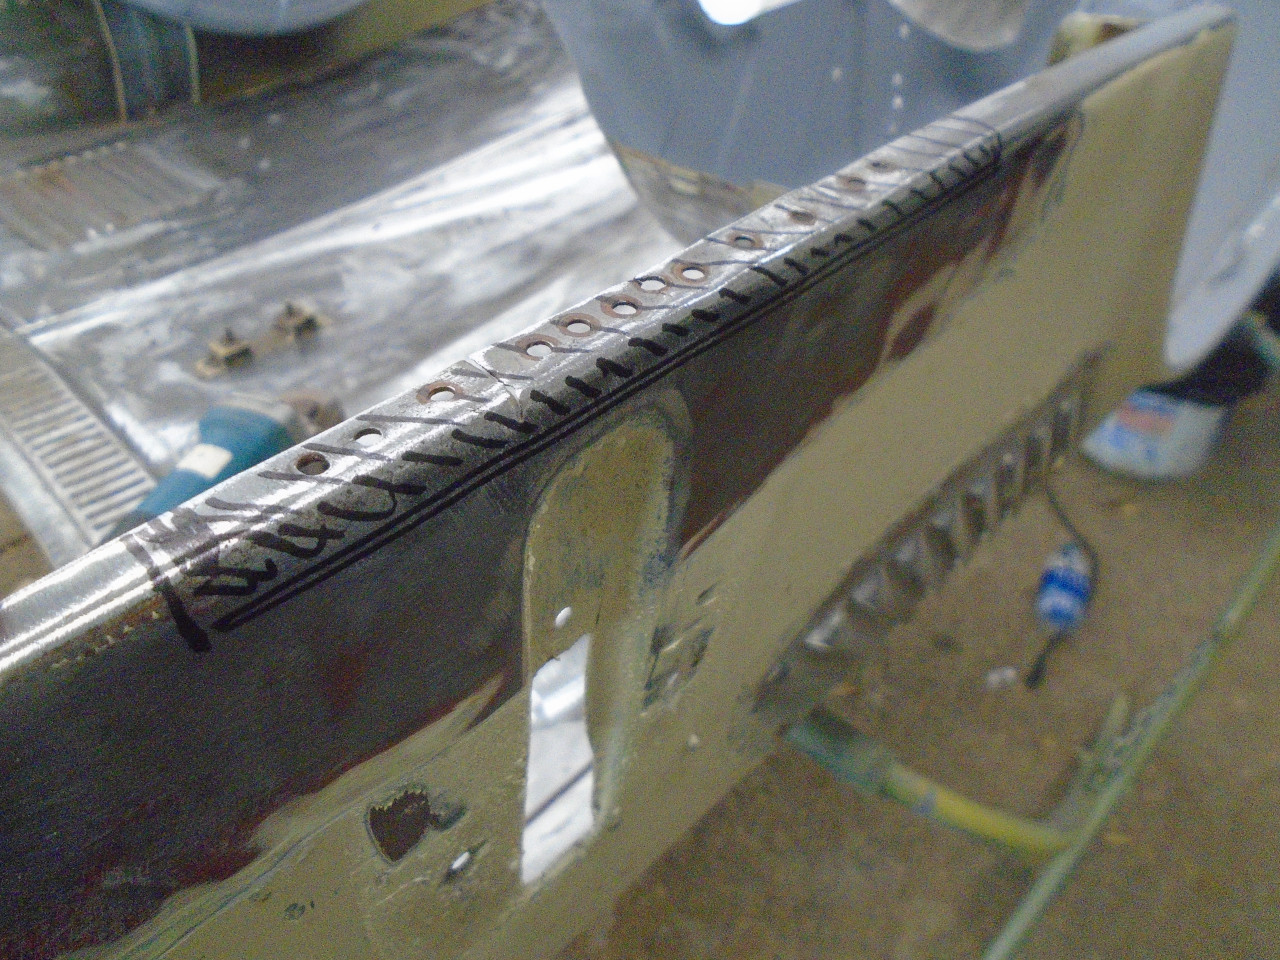
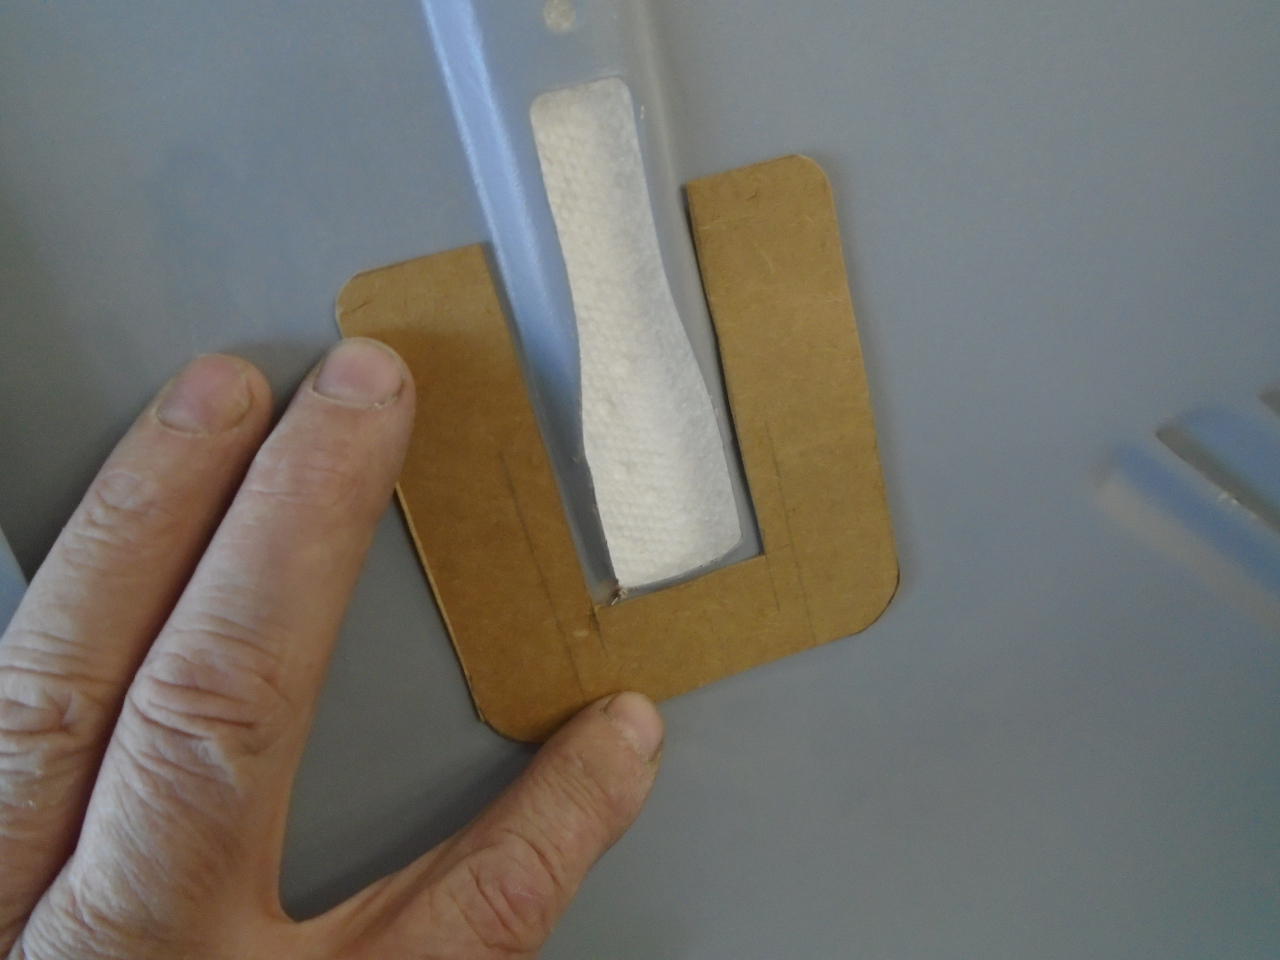
During the stripping and sanding of the outside, I was pondering
what to do about the remaining stress cracks around the latch
openings. None of my pictures of them came out, but most
owners will know what I mean. Each of my openings had two
cracks, one at an upper corner, and one on the side of the
openings. I could just weld them up, but that doesn't really
solve the root problem--the metal is not strong enough around the
latch. I've read of people reinforcing the area, so that's
the tack I took. A cardboard template first, then metal. The
bonnet is upside down in this pic.

The cracks of course have to be welded up before applying the
reinforcements.
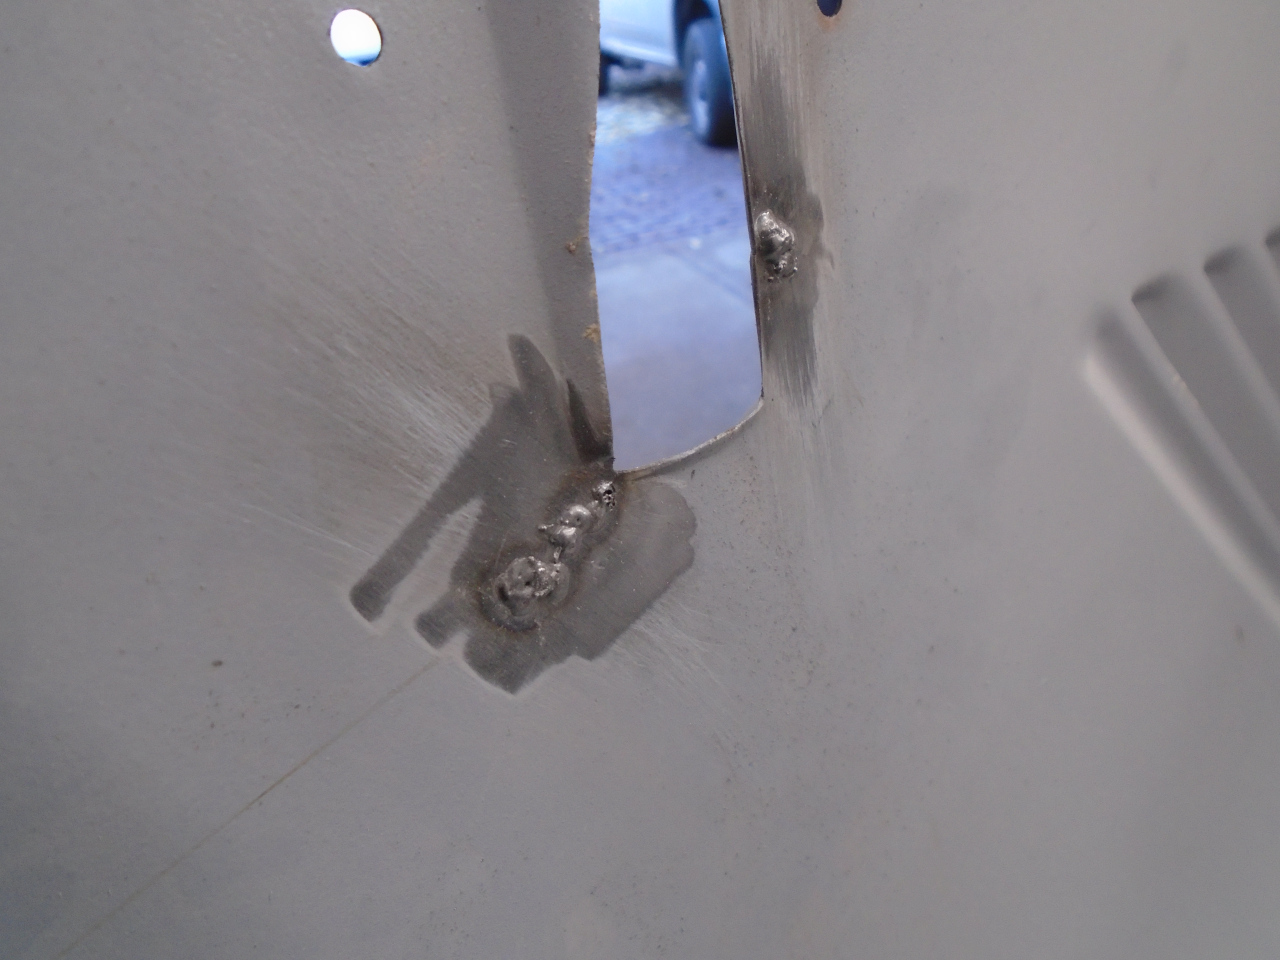
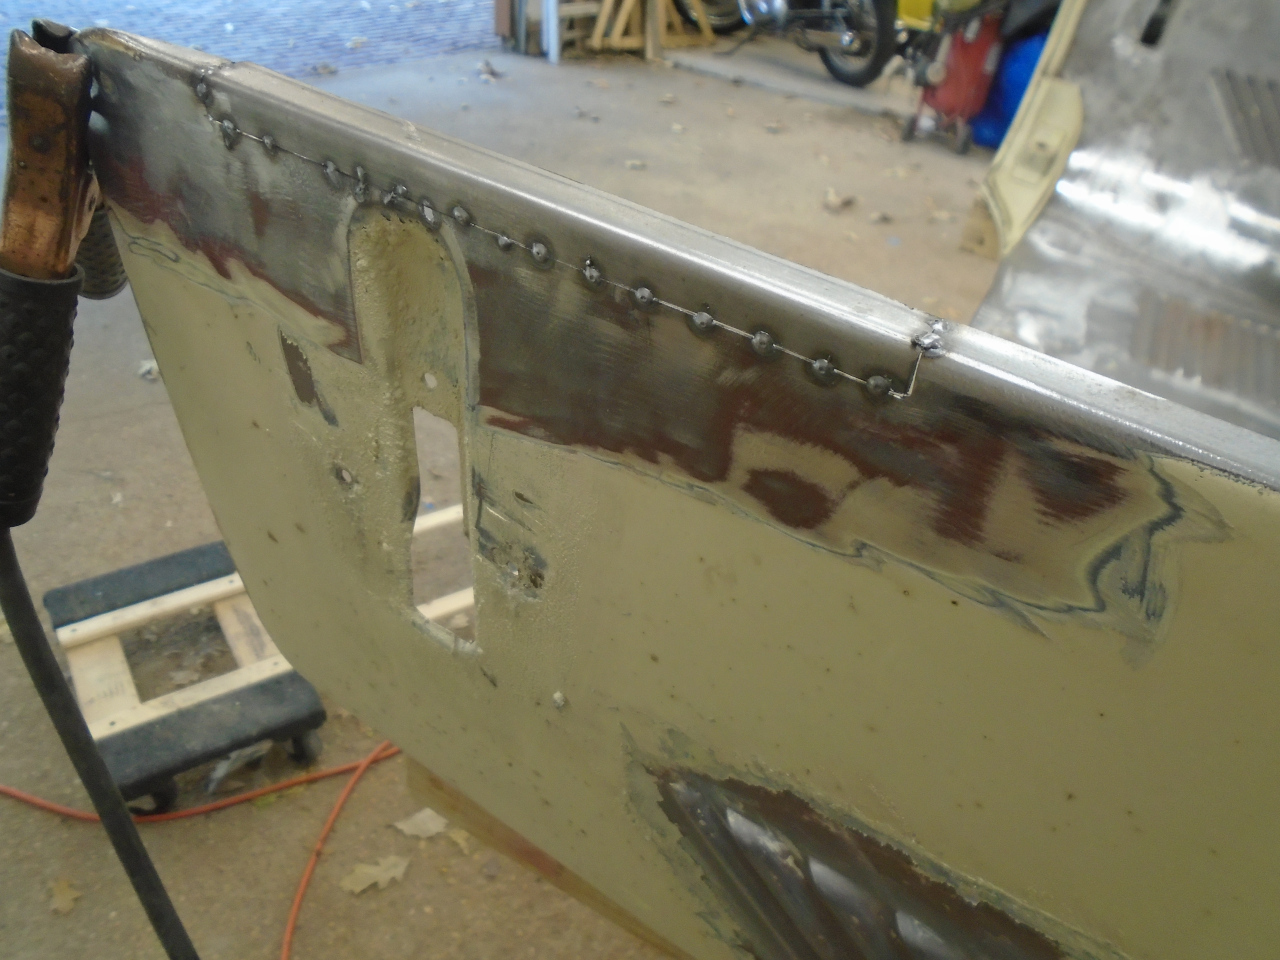
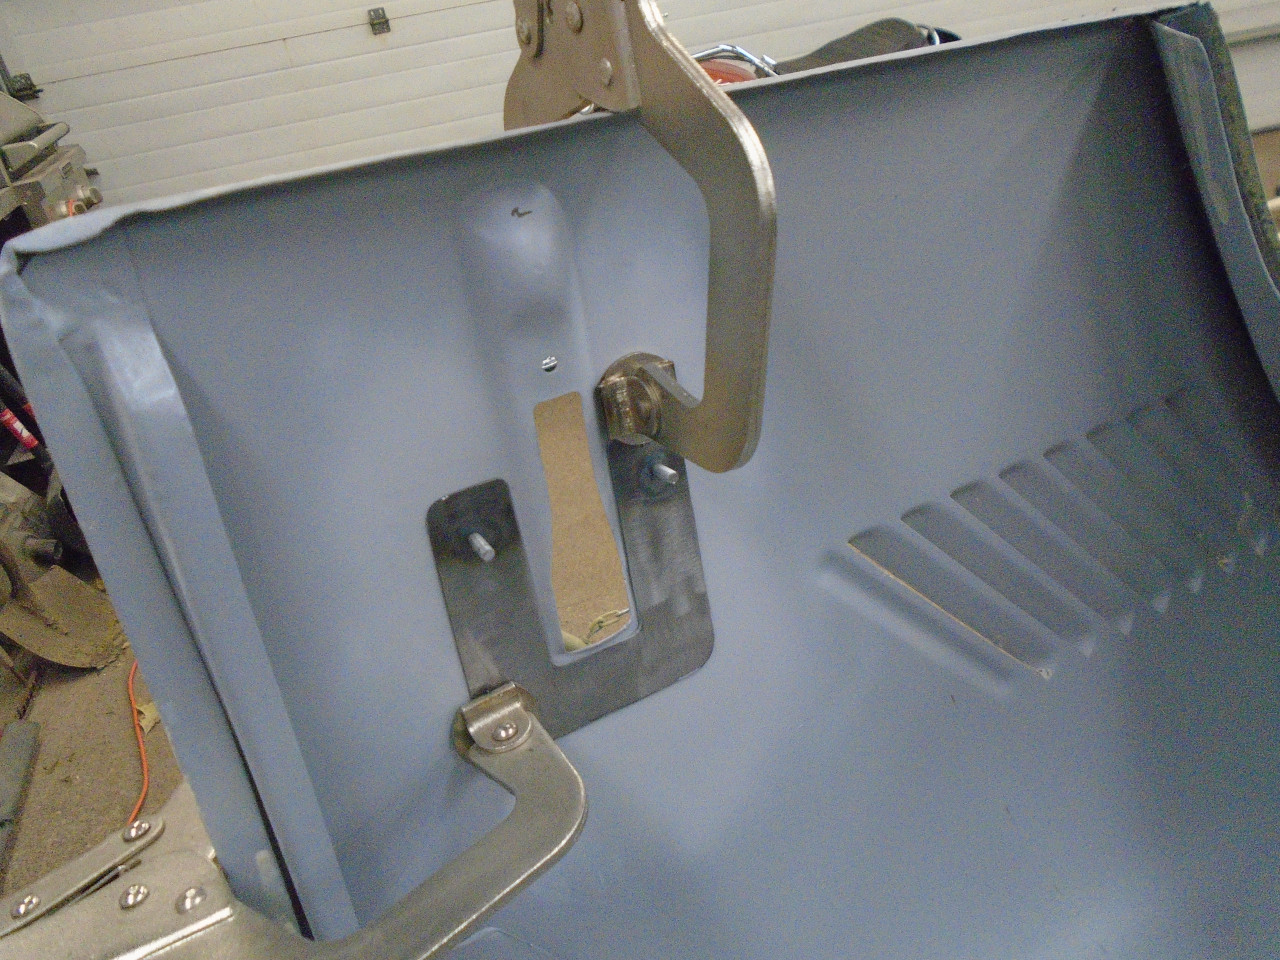
One other thing was part of this reinforcement plan. I've
never been a fan of exposed fasteners on the skin of a car, like
the visible screws that hold the latches on GT6 and Spitfire
cars. It just seems like lazy design to me. I resolved
to add studs to the reinforcement plates, making the attachment
invisible from the outside.
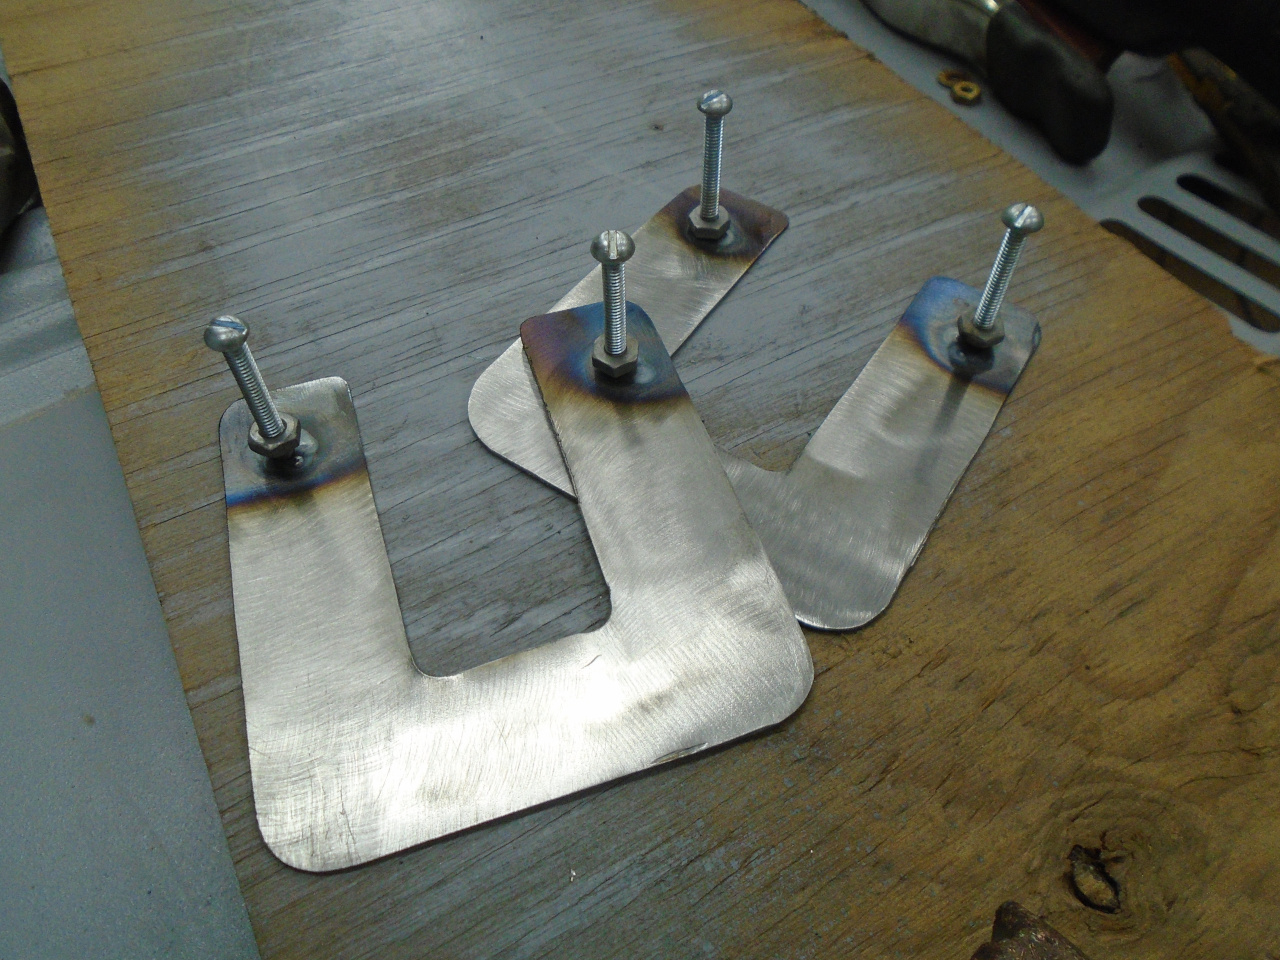

Clamped in place, and spot welded. I used the original
fastener holes to plug weld to the end of the stud.

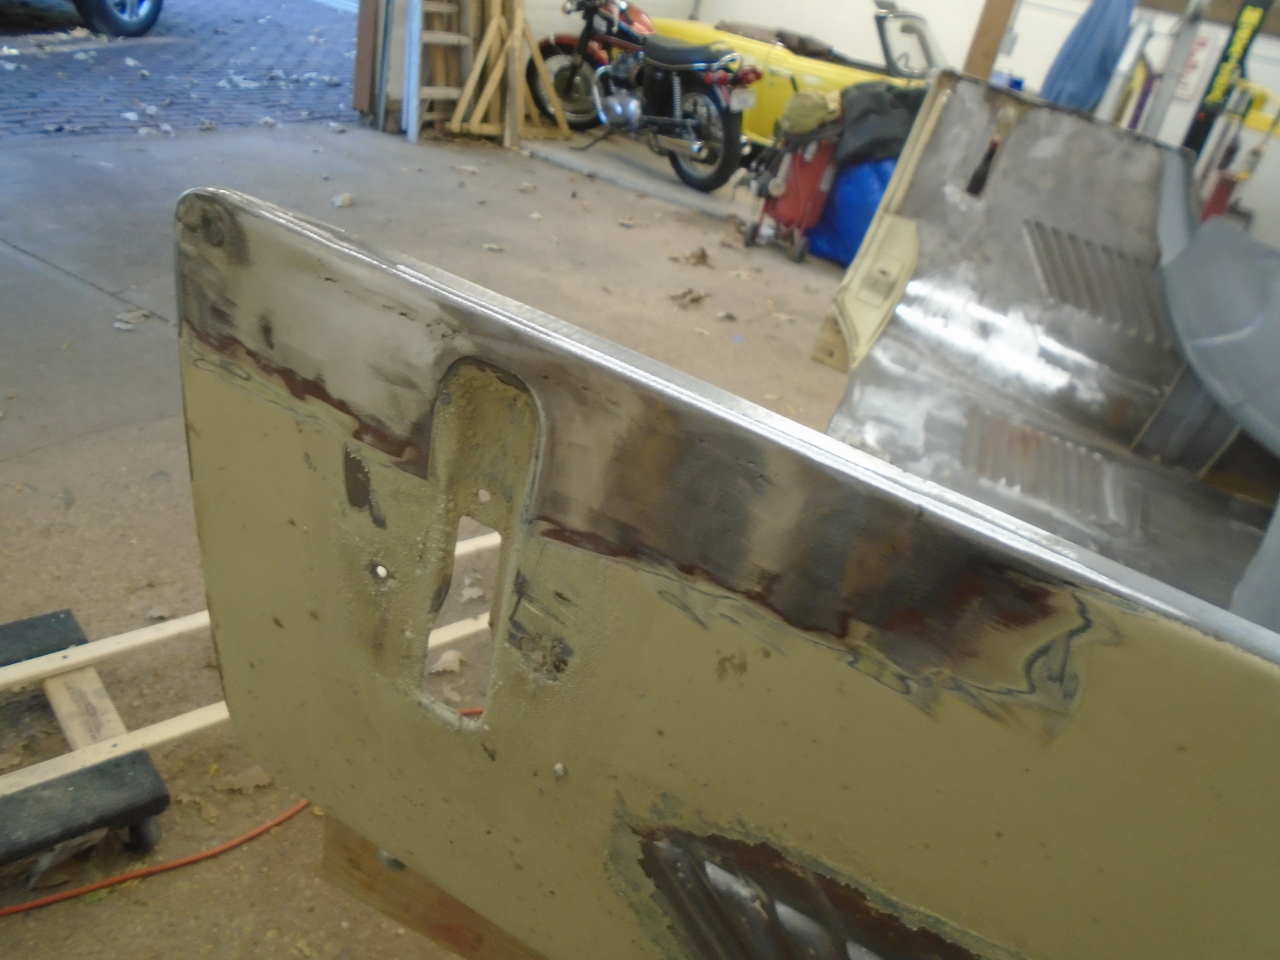
Then I could finish up the priming.
There are some small divots from the spot welding to fill, but
nothing serious.


It's pretty unusual to be able to still do work like this around
here in November, but I'll take it. Now I just have to find
a safe place for the bonnet in the garage until Spring.
Comments to Ed at elhollin1@yahoo.com
To my other GT6
pages.