To my other GT6
Pages
October 19, 2020
Prepping the Block
The engine (minus head) has been sitting patiently in its stand in
the garage for over a year. With the weather getting colder
now, it's time to start to move operations into my warm basement
shop. It's the ideal time and place to turn focus to the
engine.
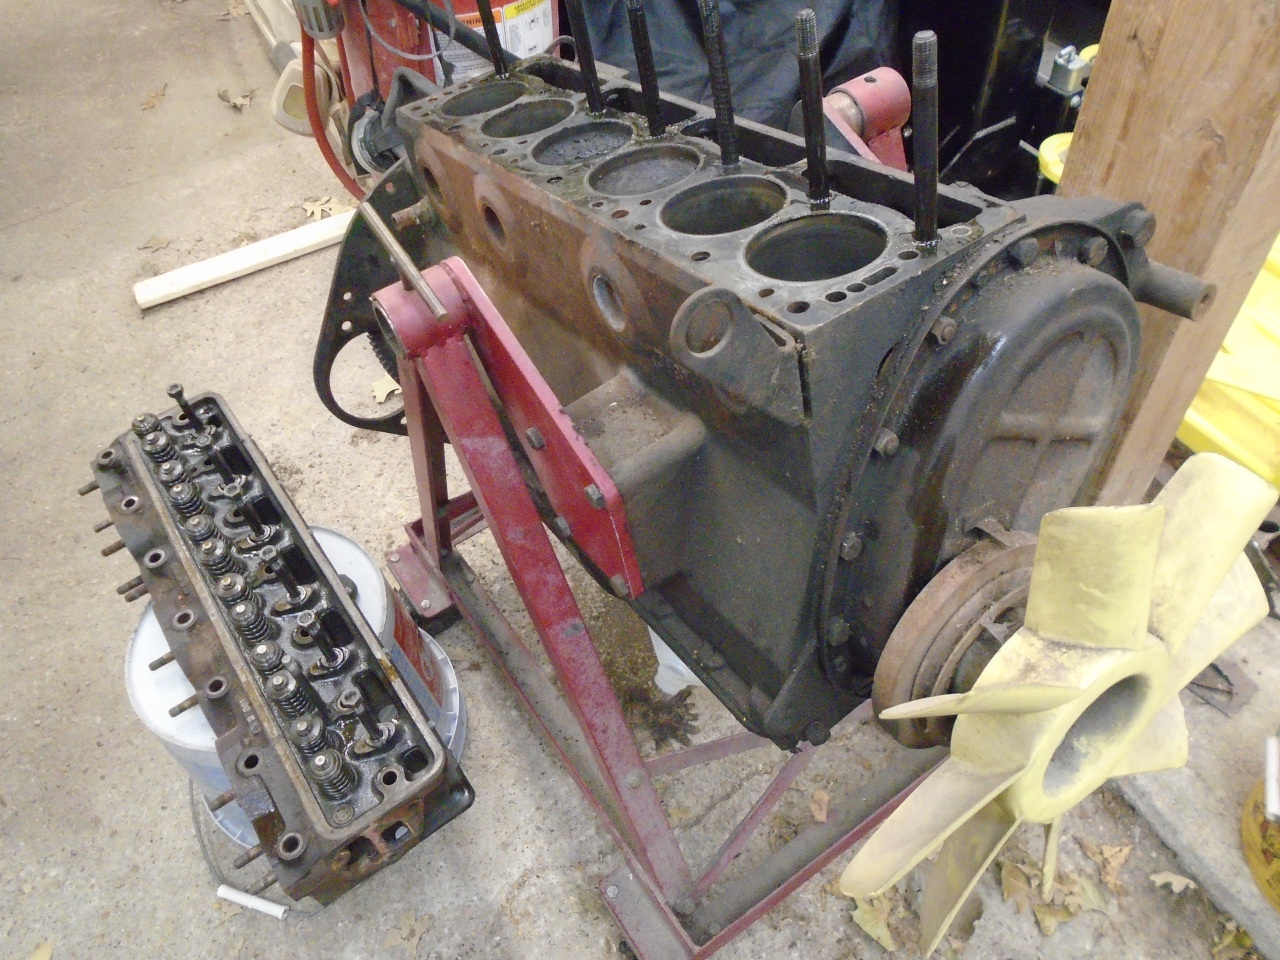
I stripped from the block everything that would unbolt or pry or
press out.
The crank, rods, pistons, and cam removals were uneventful.
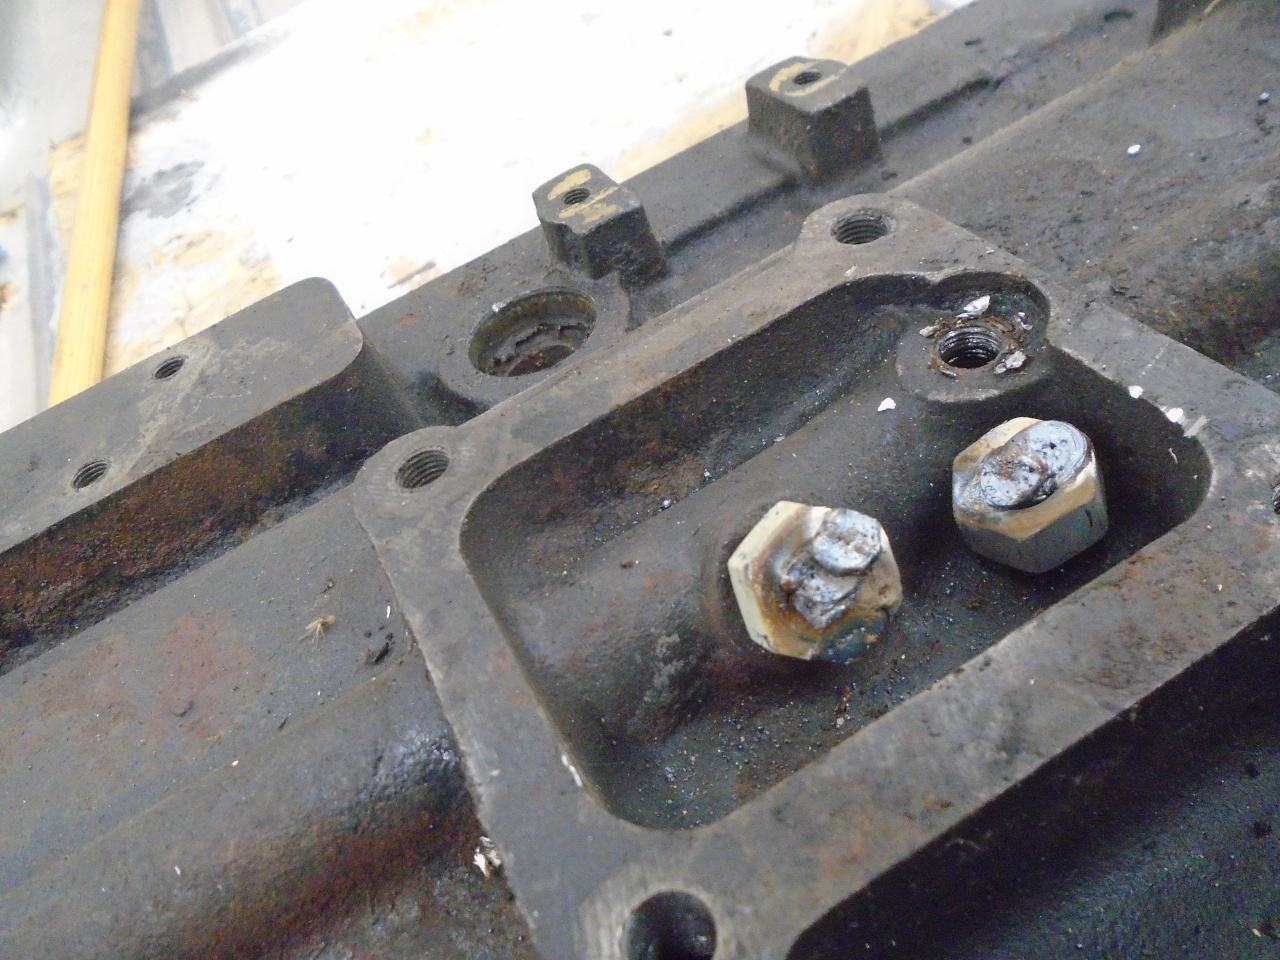
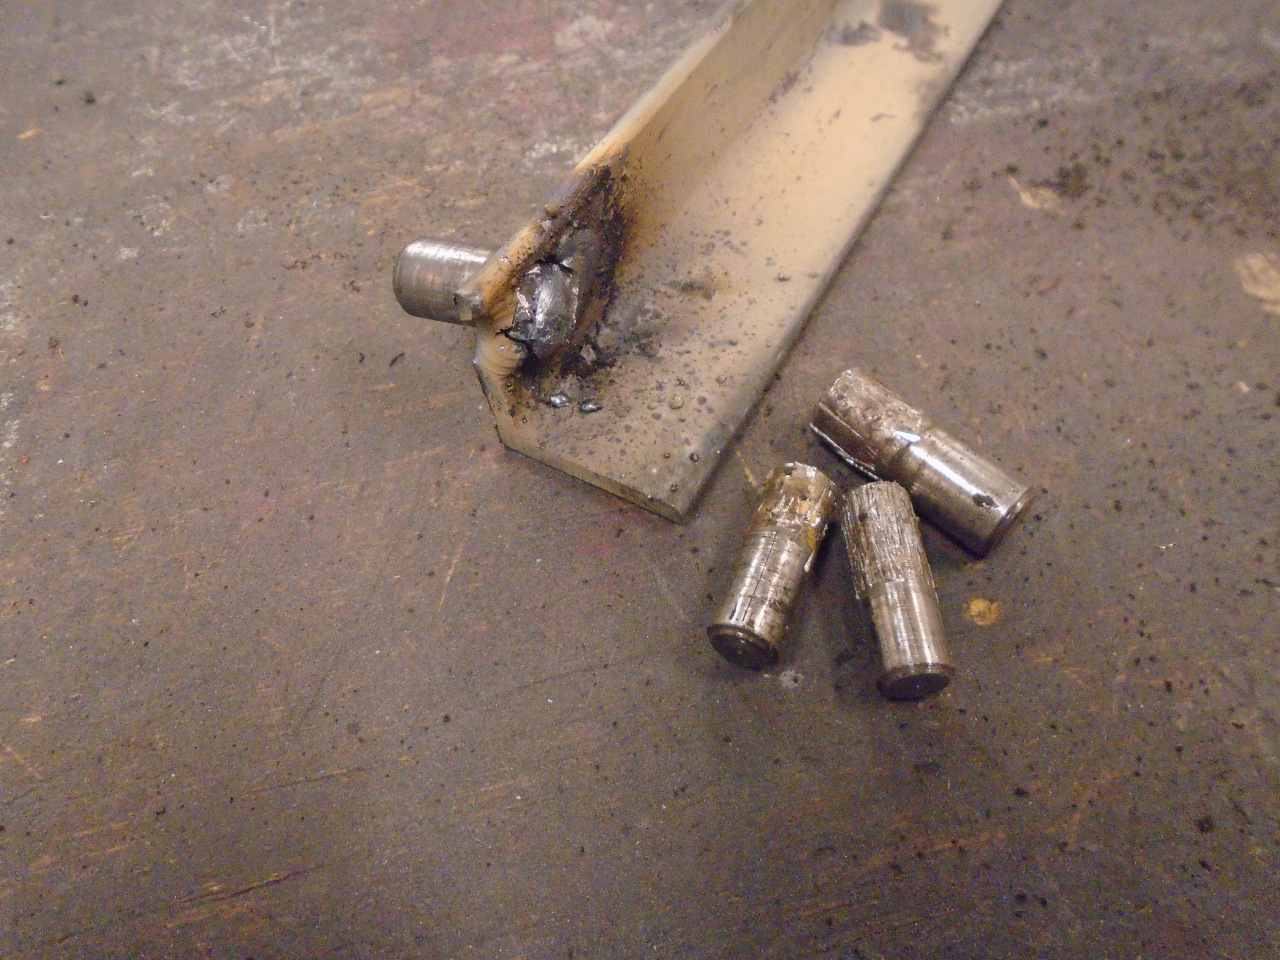
But some things didn't really want to come out very bad, like some
of the plugs for the main oil gallery, or the front and rear plate
dowel pins. I had to weld something to some of them to
encourage them.
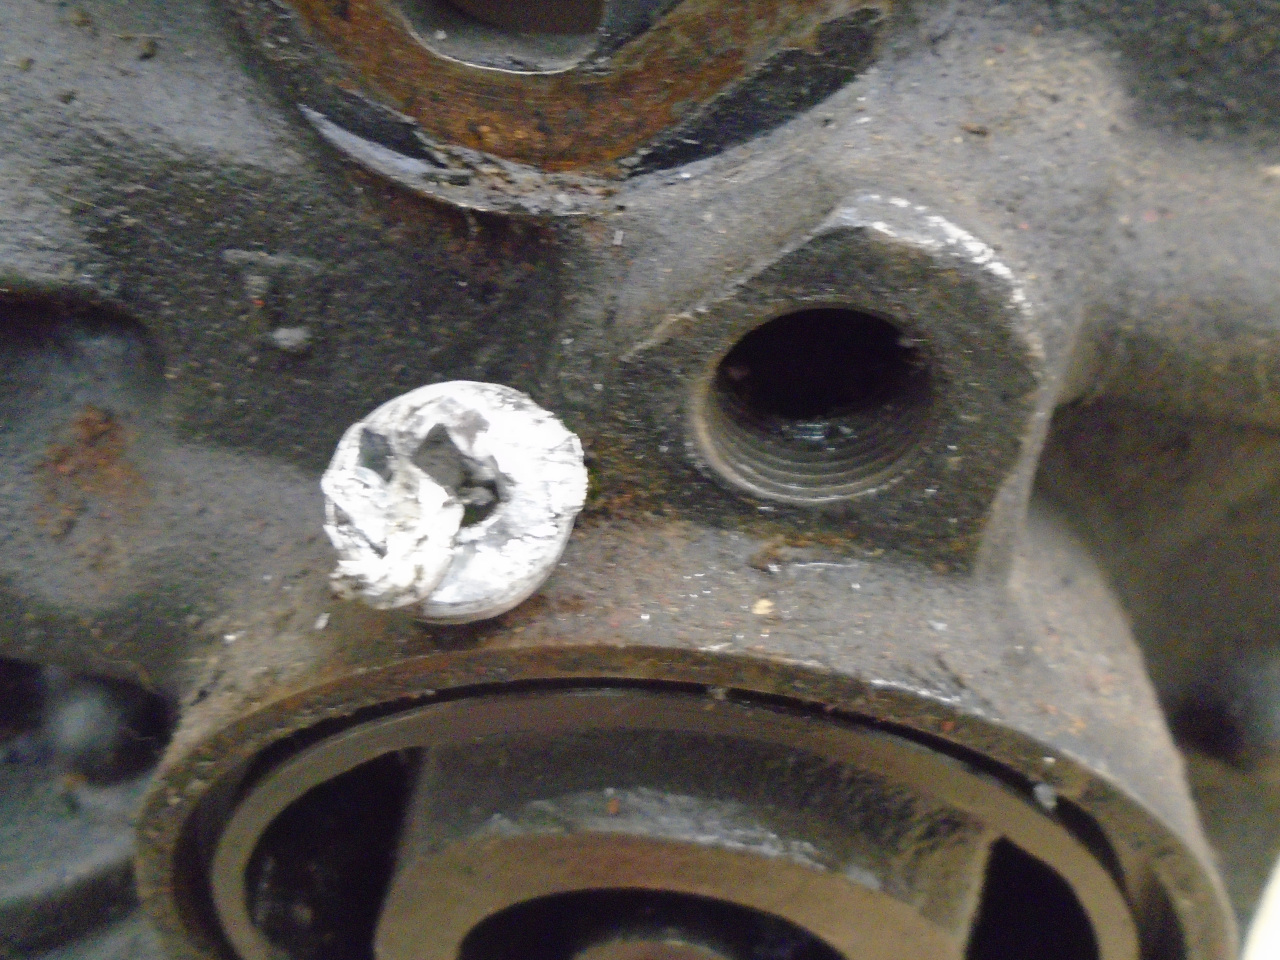
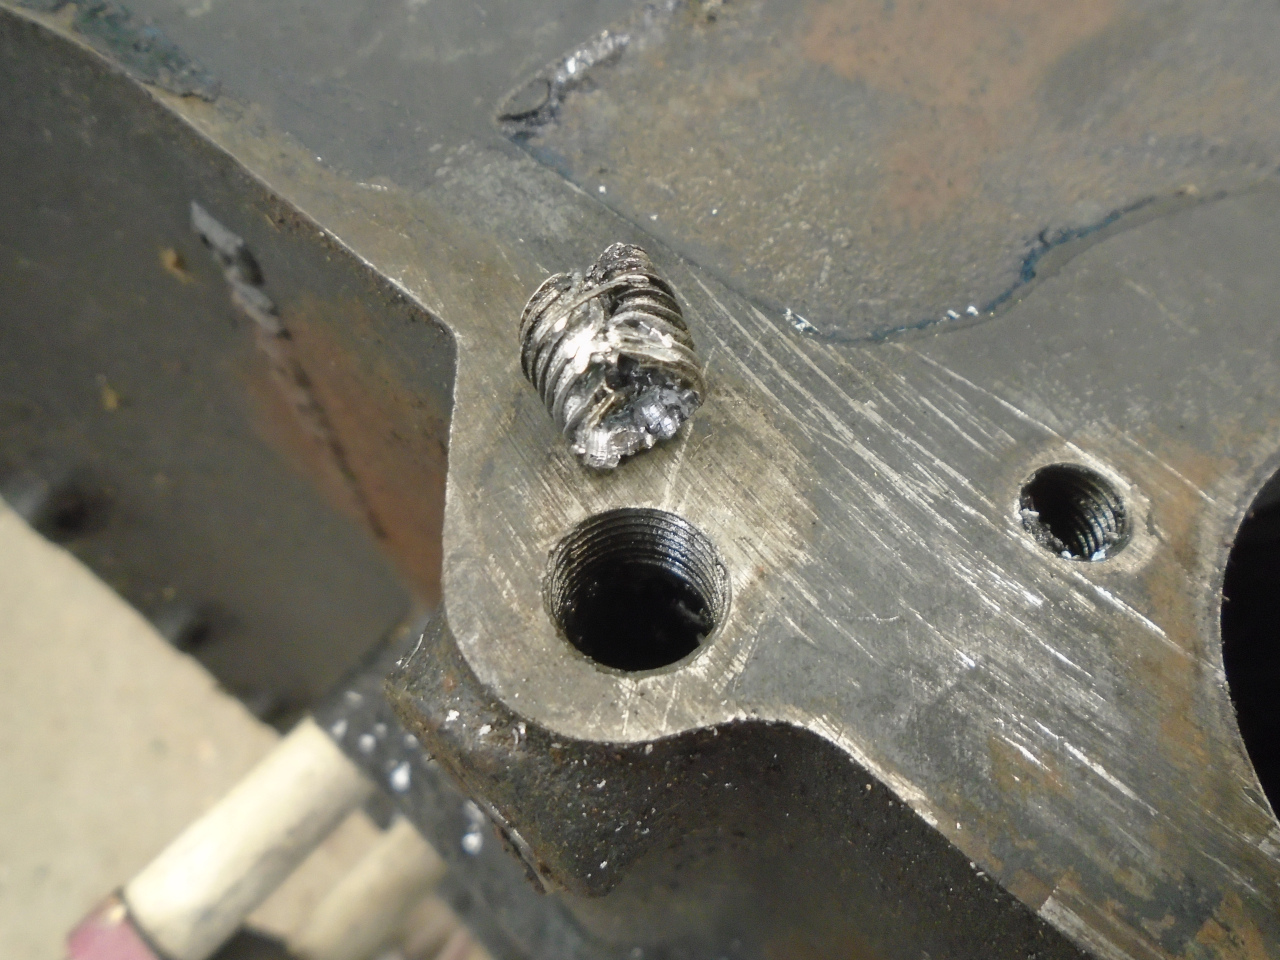
Then there were the headless aluminum plugs that have to be
drilled .
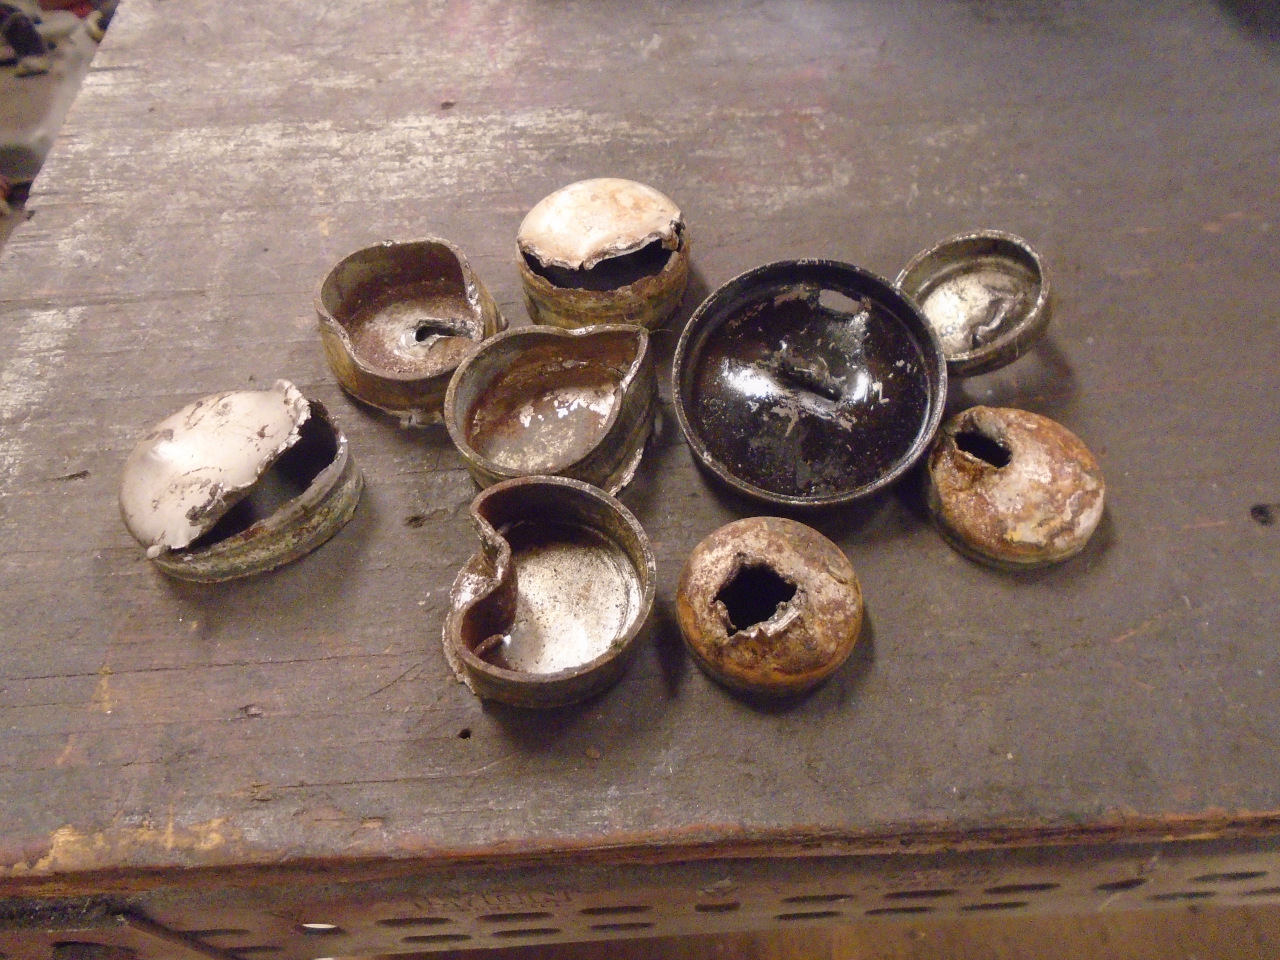
The core plugs put up a fight, but eventually came along
peacefully.
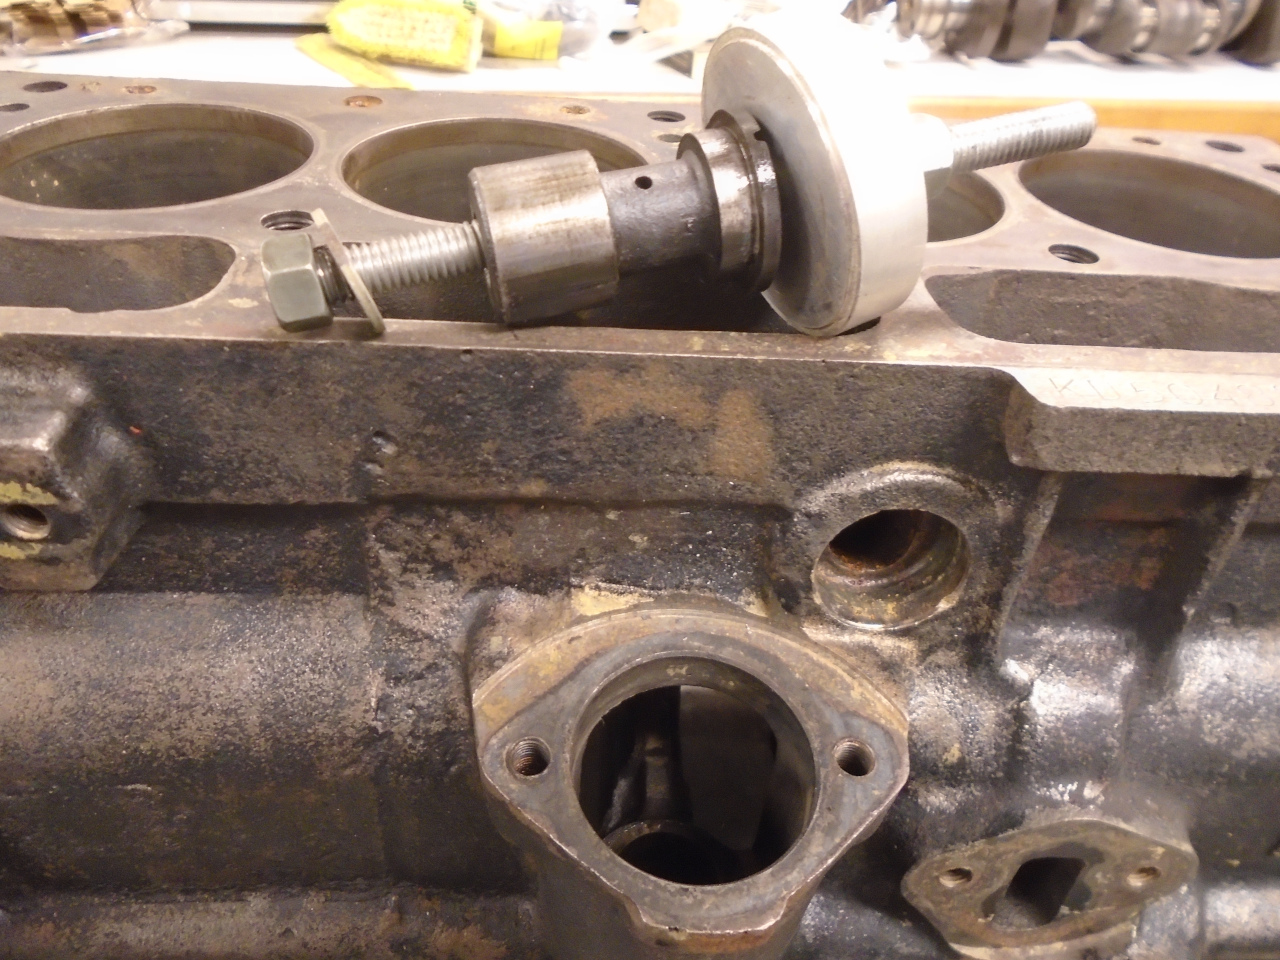
The distributor bush, while not difficult to remove, is a little
fragile and hard to replace, so it took some special care.
This is an impromptu puller that gently moves the bush without any
pounding.
At this point, I had a bare 130-or-so pound chunk of greasy cast
iron. I took it to the DIY car wash and used some high
pressure hot soapy water to clean it up some and make it more
pleasant to handle.
One of the first things I had to determine was whether I'd need a
re-bore.
I'll interject a little history of the car here. I bought it
in 1977 or so, and in 1981, I decided to "refresh" the
engine. It had a little under 50,000 miles on it at that
point. The shop I took the block and crank to told me that
the bores and crank journals were all in spec, so at the time, I
just installed new rings, had the crank journals polished, and
installed new standard size bearings. I also had the block
"boiled".
Fast forward 39 years, but less than 10,000 miles, and I was
looking at a block that had small but detectable ridges at the
tops of the bores.
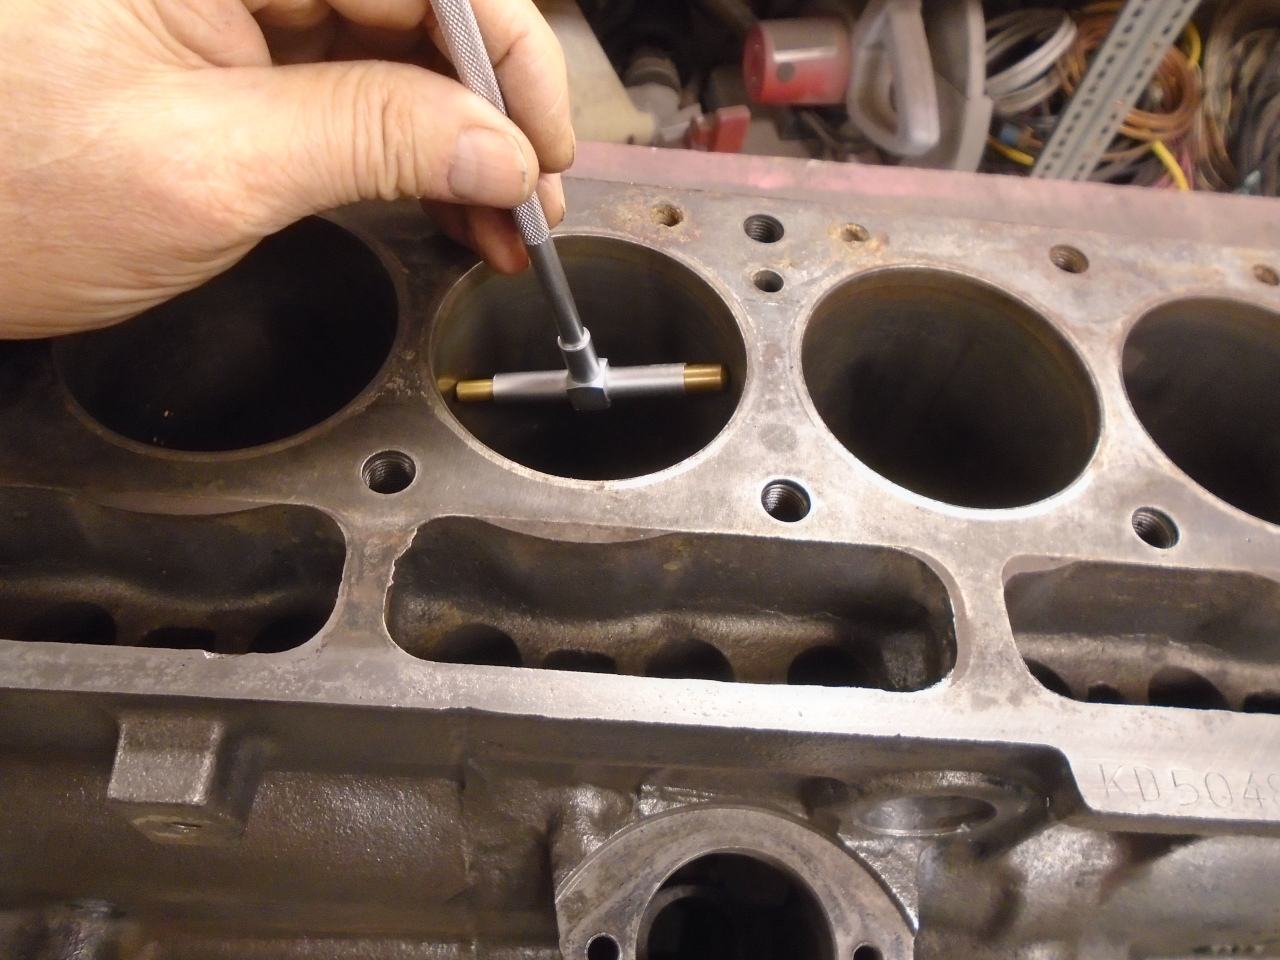
Measuring them, I found that most of the bores were actually still
in spec, but close to the limit. A couple of them were just
outside the limit.
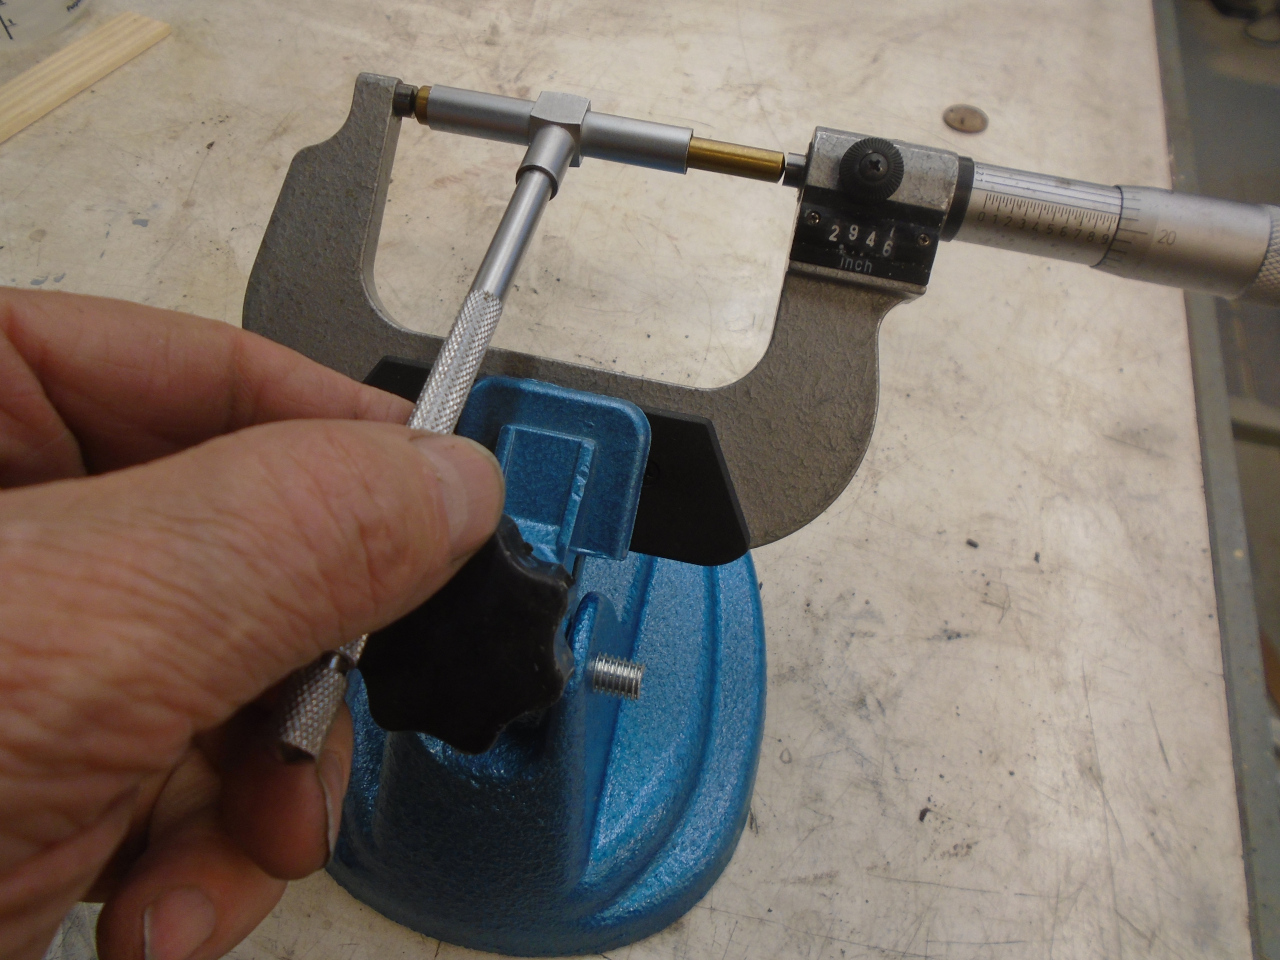
Based on this, I decided to have the block bored 0.020" oversize,
so I ordered the pistons and rings.
In the mean time, I set about doing some more internal cleaning of
the block. I plugged up all of the core plug and other holes
in the water jacket and filled it with a phosphoric acid
solution. This is a medium strong acid that is good against
rust and scale.
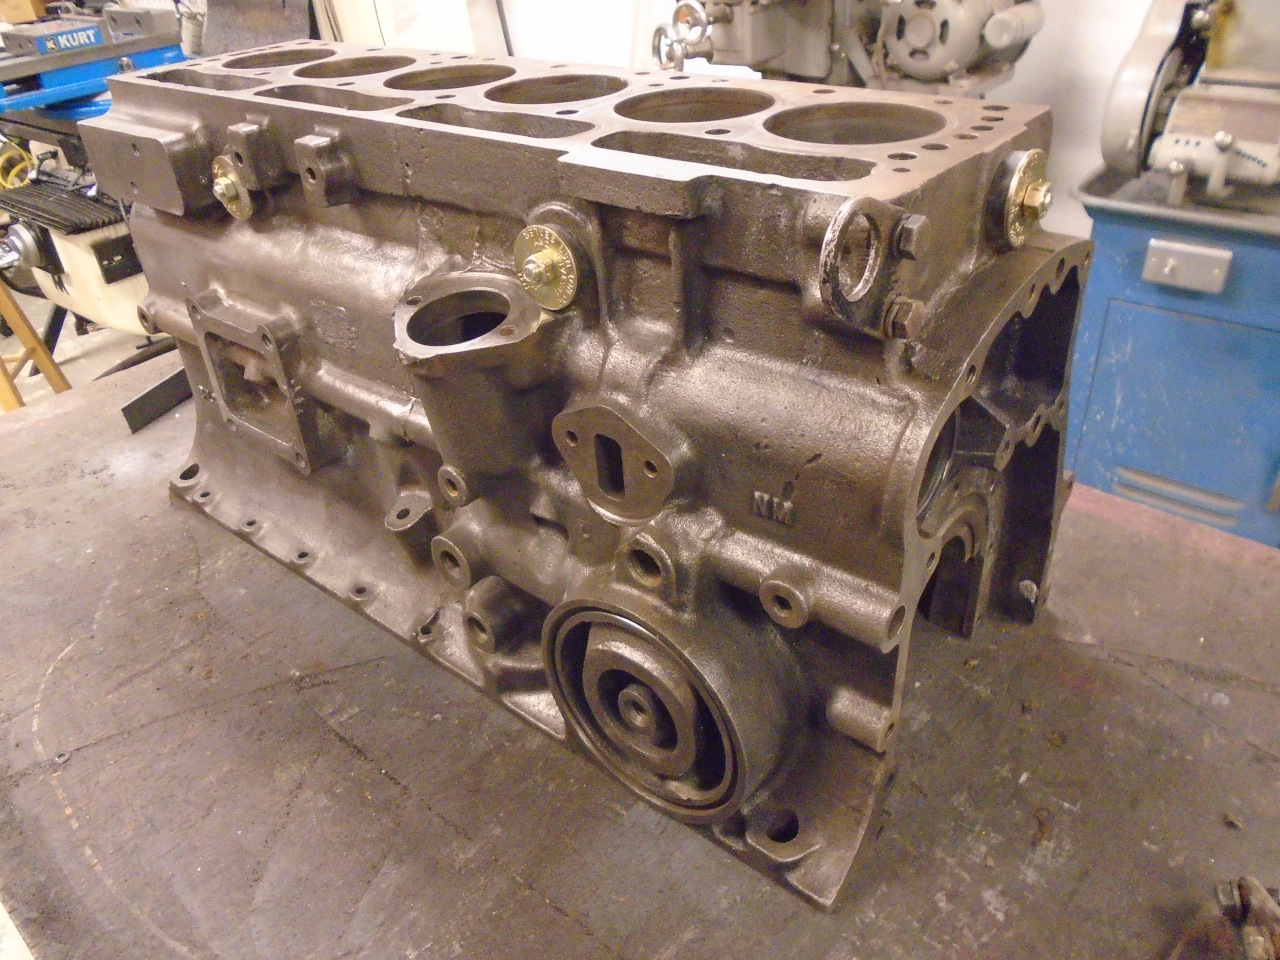
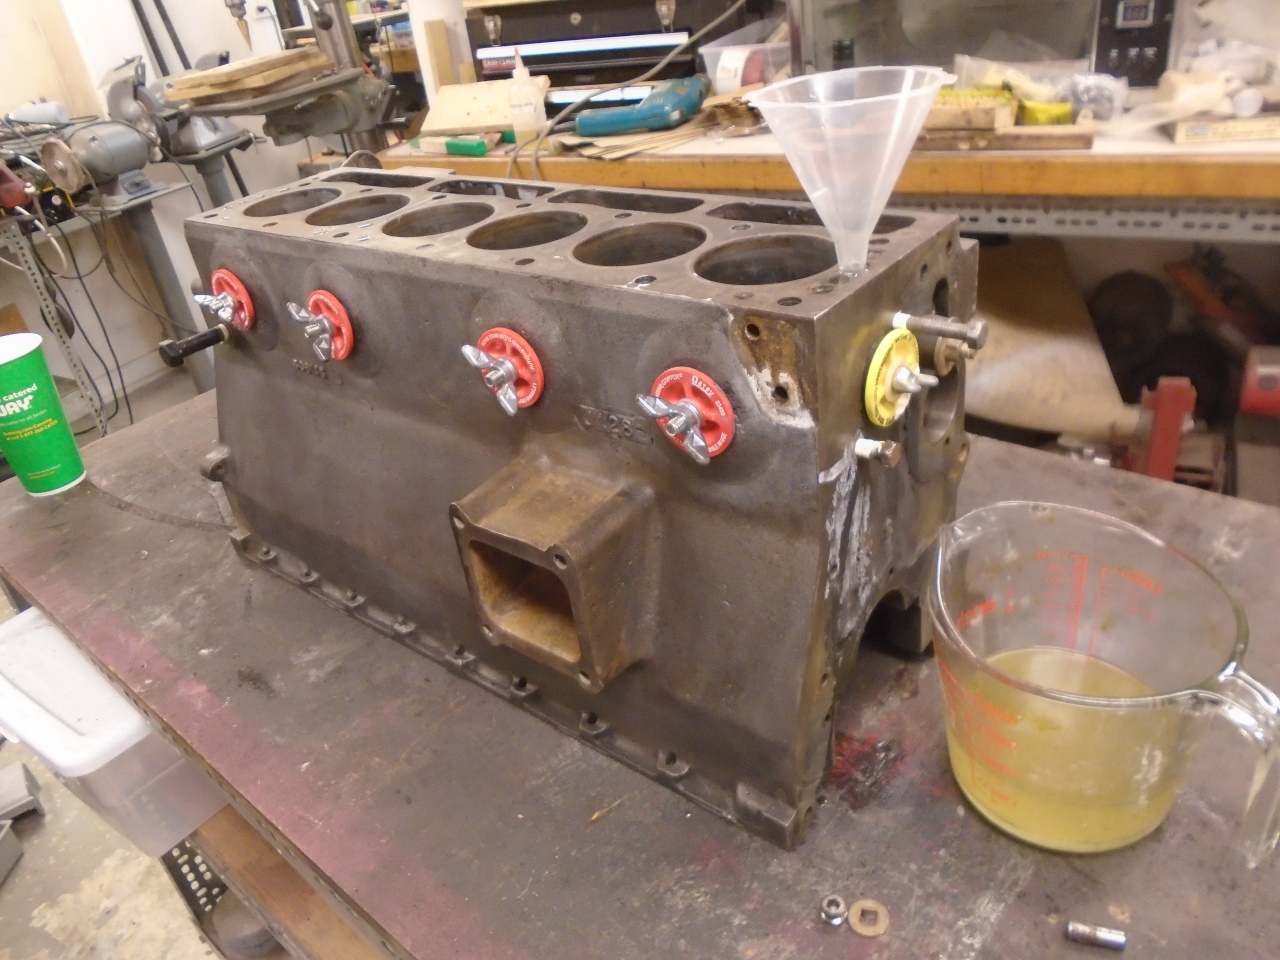
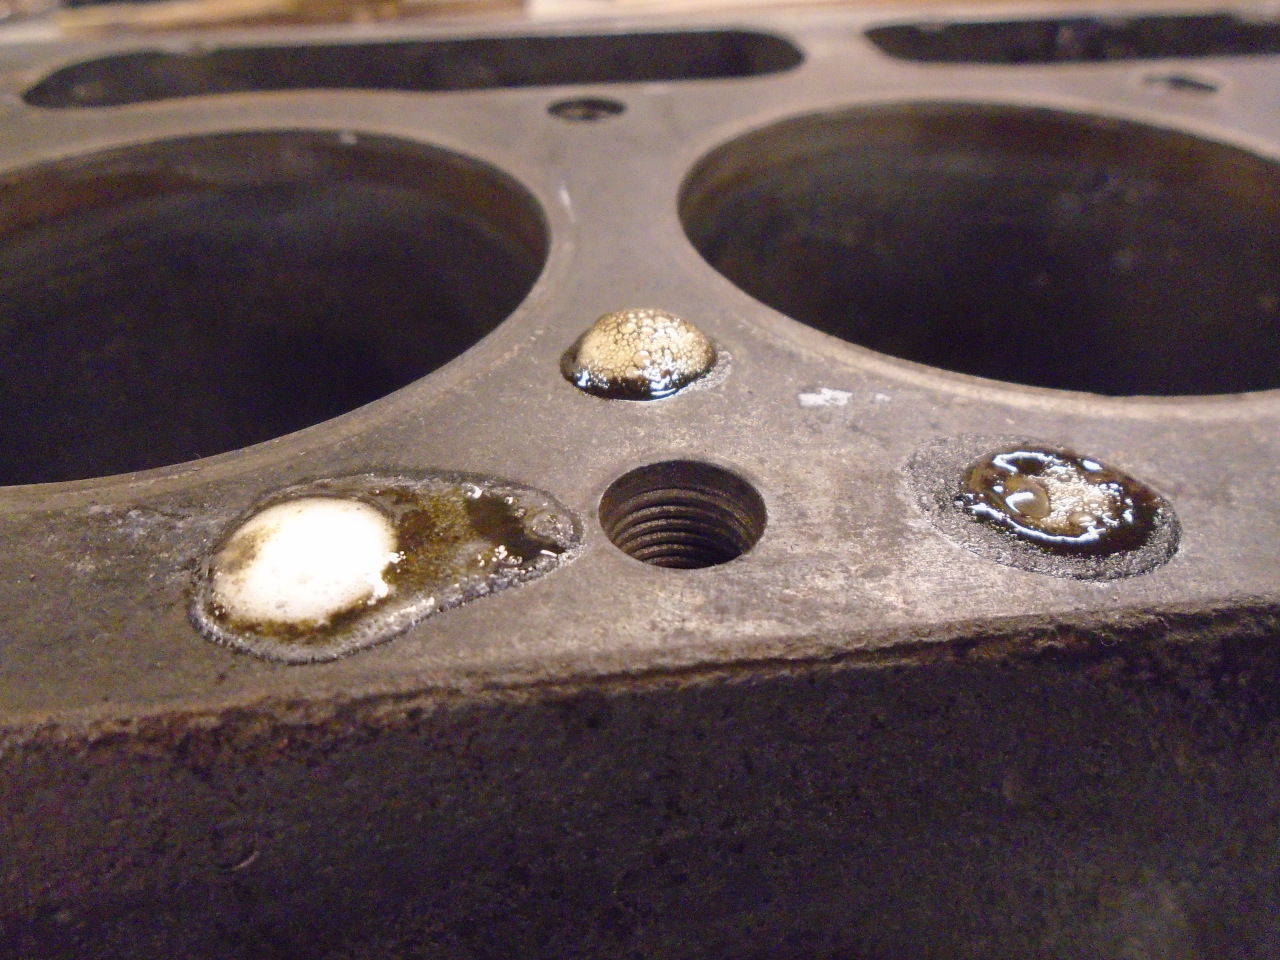
Since the block had so few miles on it since it was last cleaned,
the foaming, which indicates the acid is reacting with something,
was not all that great. On my TR6, which had more miles and
had never been cleaned, the foaming was prodigious. I left
the solution in the block overnight.
A week or so later, the pistons came in. I took the block
and pistons to a machine shop for boring. I asked the shop
to bore to fit the pistons with about 0.0035" clearance, and to
deck the block just enough to clean it up, but no more than
0.010". He thanked me for bringing in a clean block.
Two weeks after that, I picked up the block. It looked
pretty good.
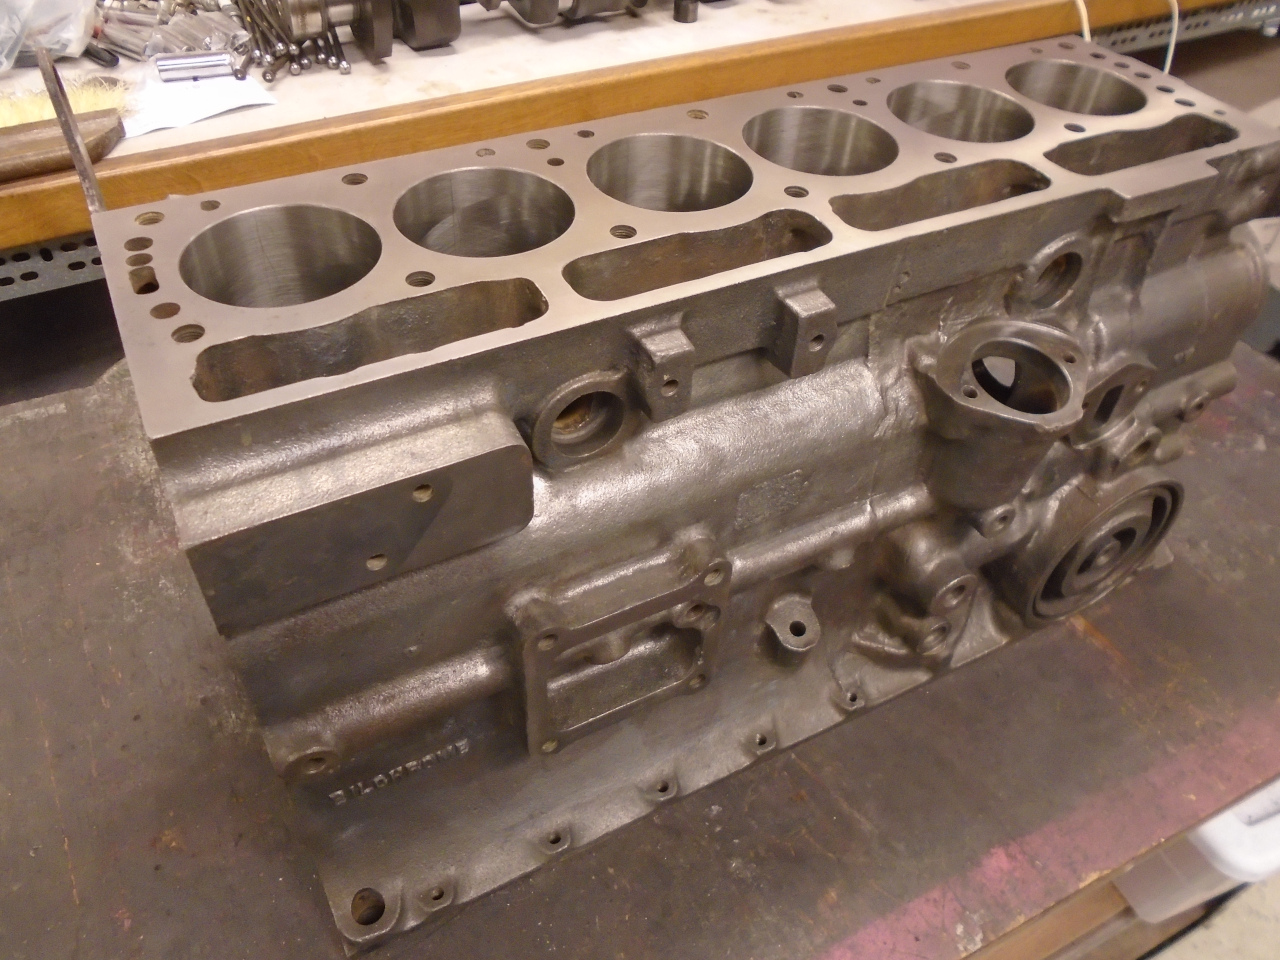
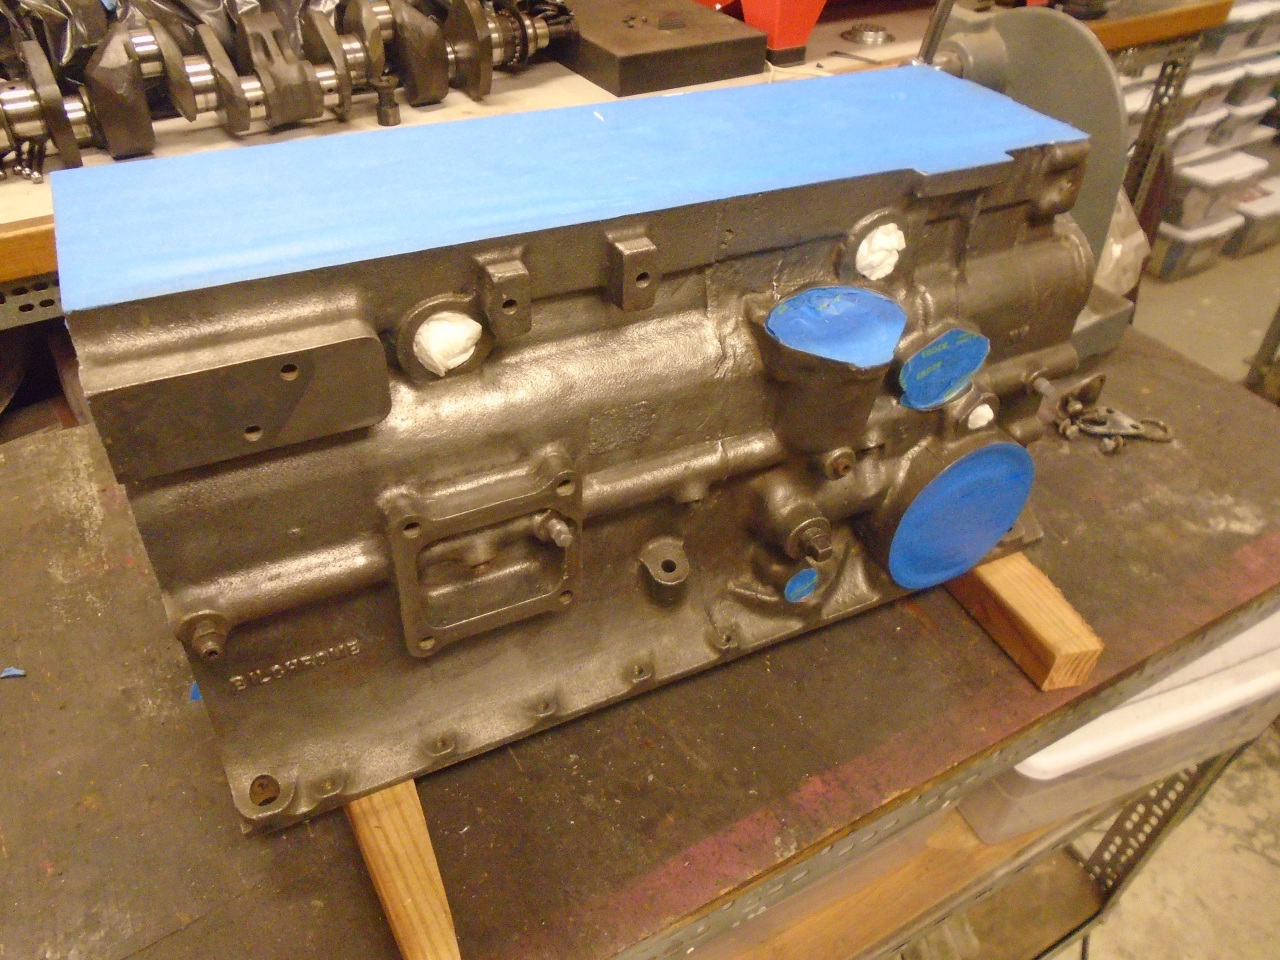
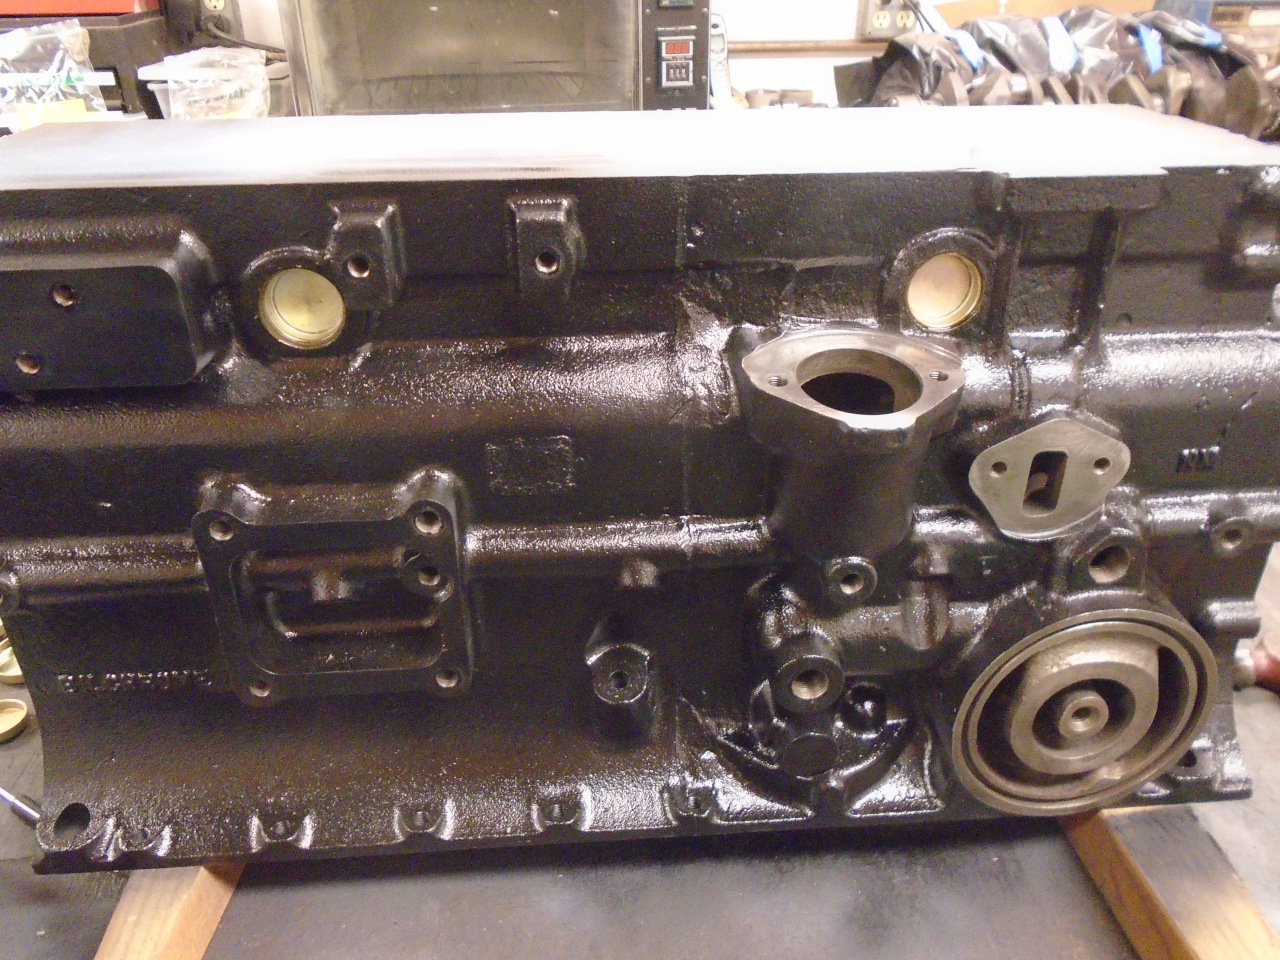
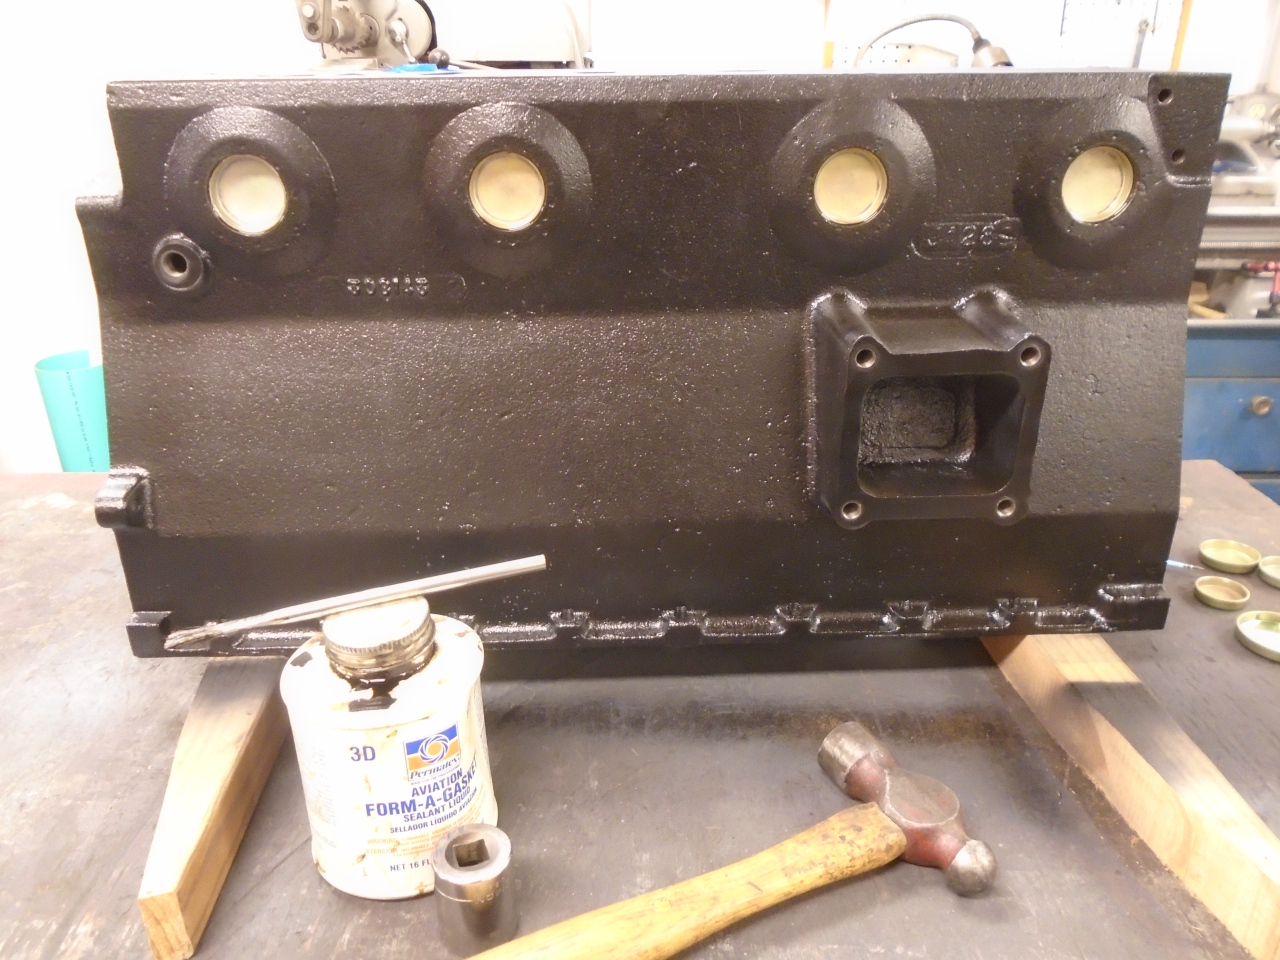
Masked it and painted it with engine primer and paint.
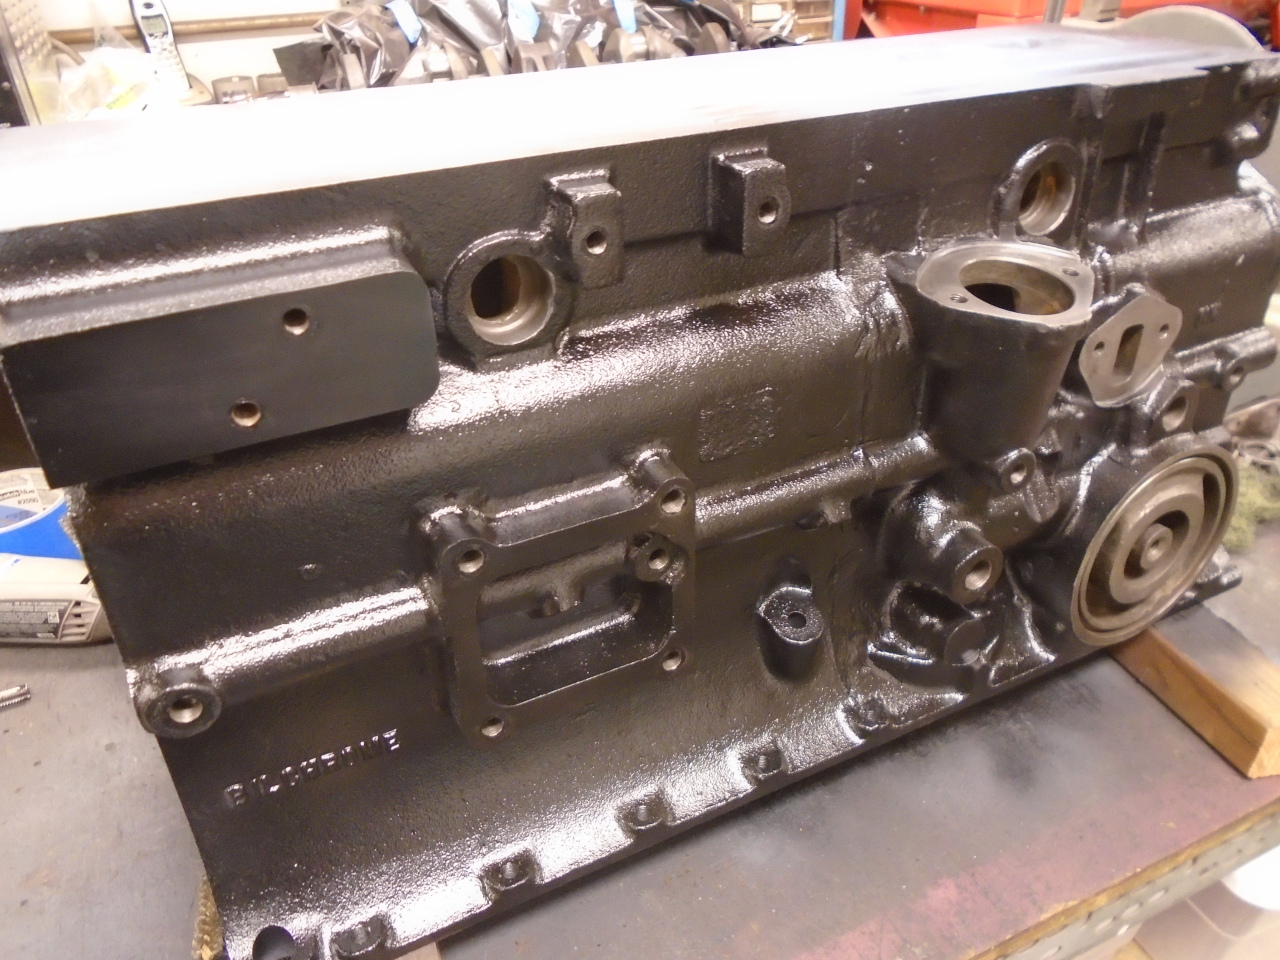
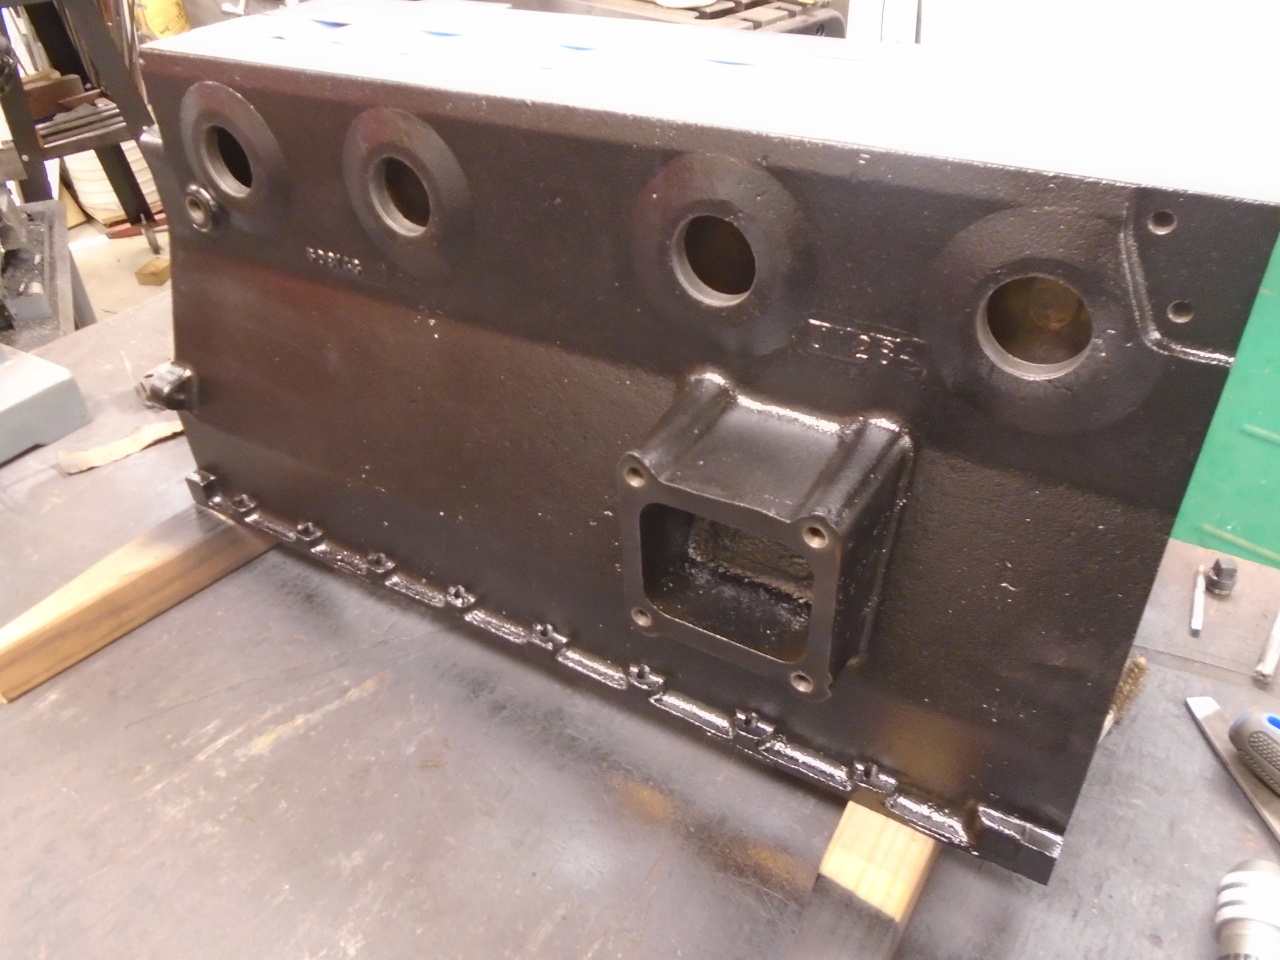
Installed new core plugs. These theoretically are
self-sealing, but I try to appease the sealing gods with a thin
coat of Permatex 3D.
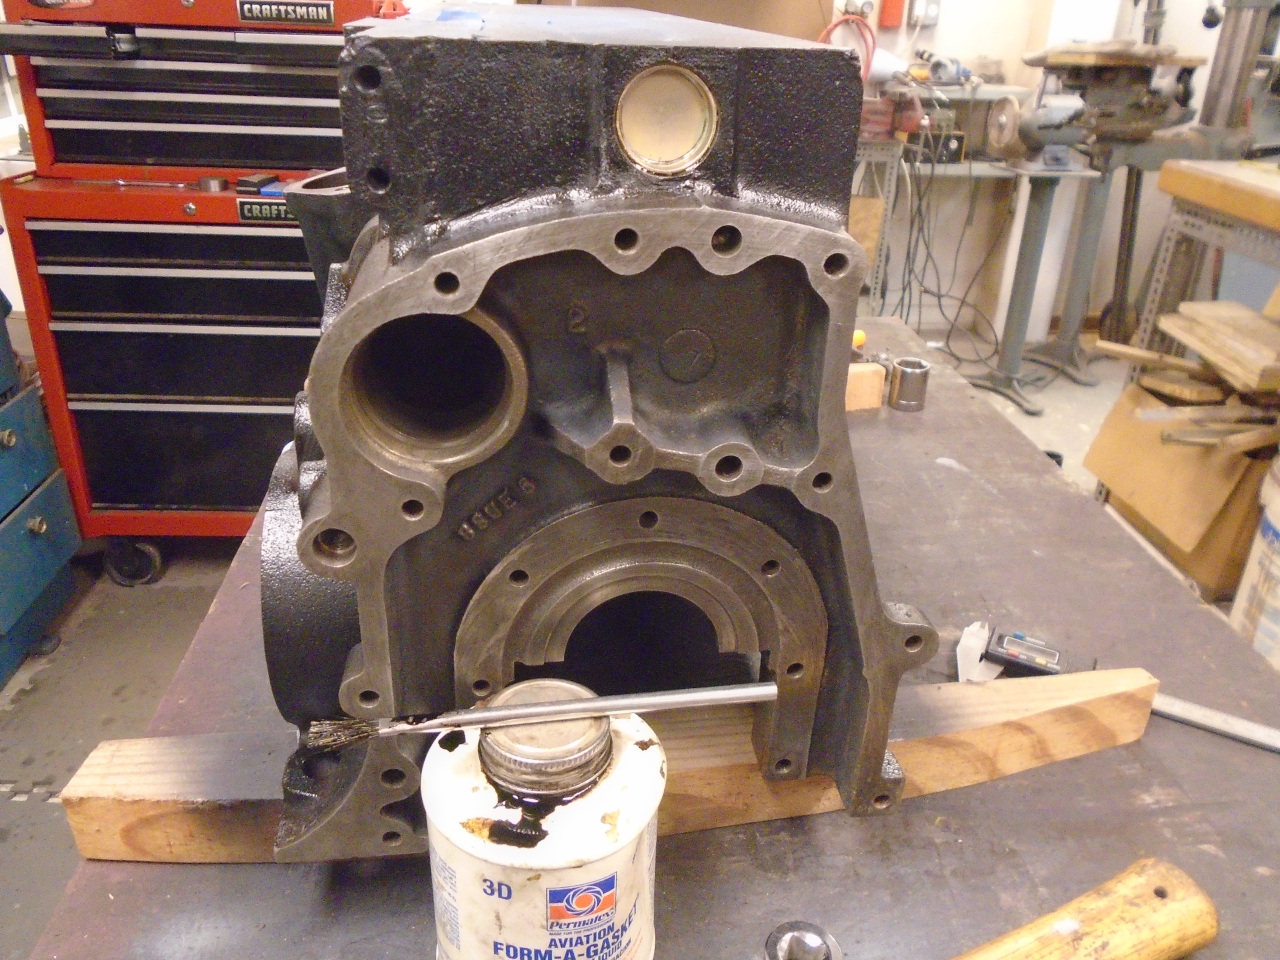
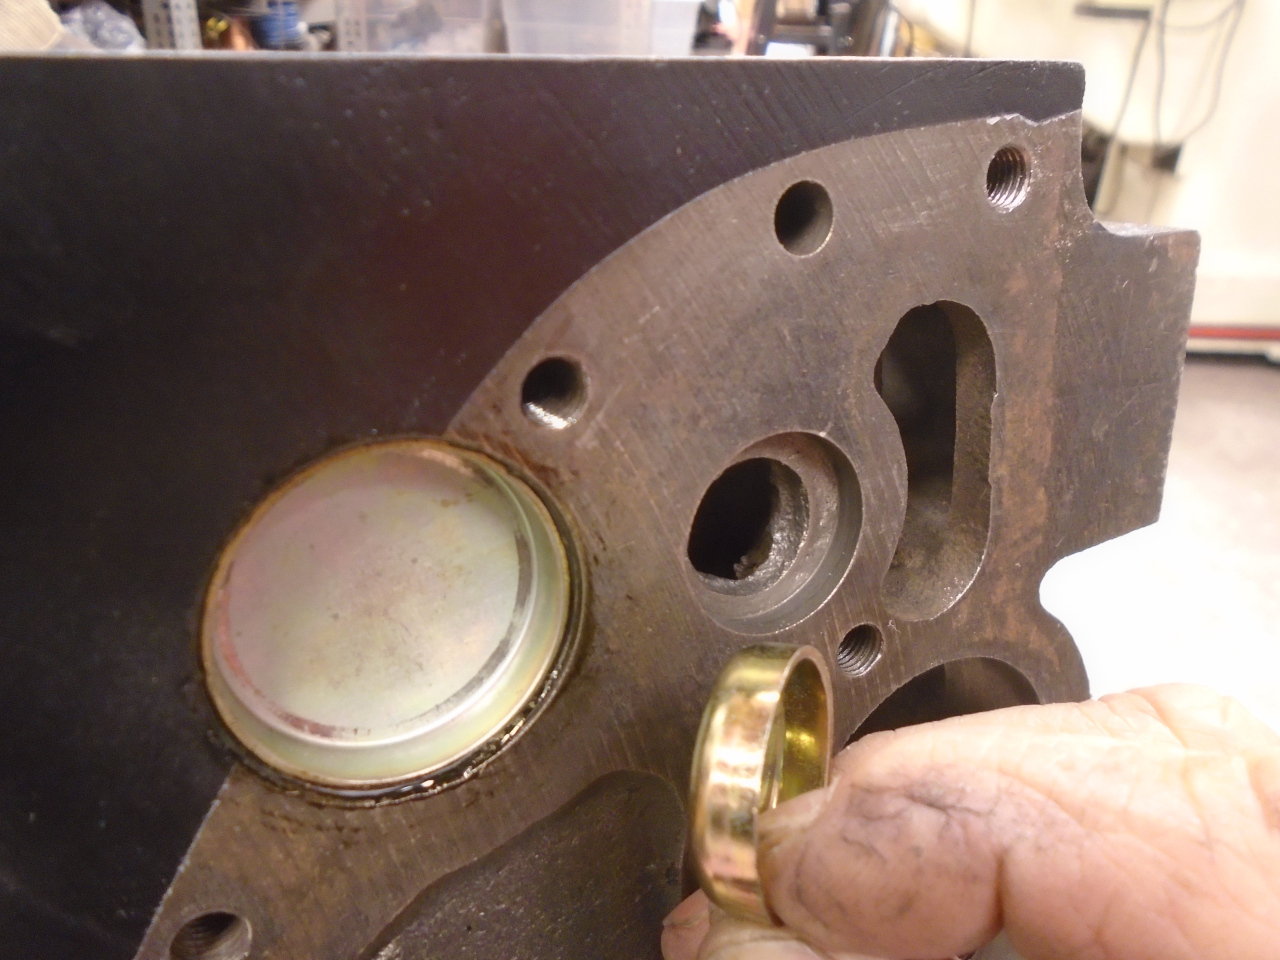
Here is where the first fly appeared in the ointment.
I bought the core plugs as a kit from one of the major suppliers
for these cars. When I came to the small plug on the front
of the engine, something was obviously wrong. The recess for
the plug is only about 0.200" deep, while the plug is over
0.250". The plug can't be proud of the block surface or the
front plate can't seat properly.
I considered just trimming the plug, but finally decided to just
get a disc-type plug for that location. The vendor should
have known this.
While in a plug state of mind, the plugs along the main oil
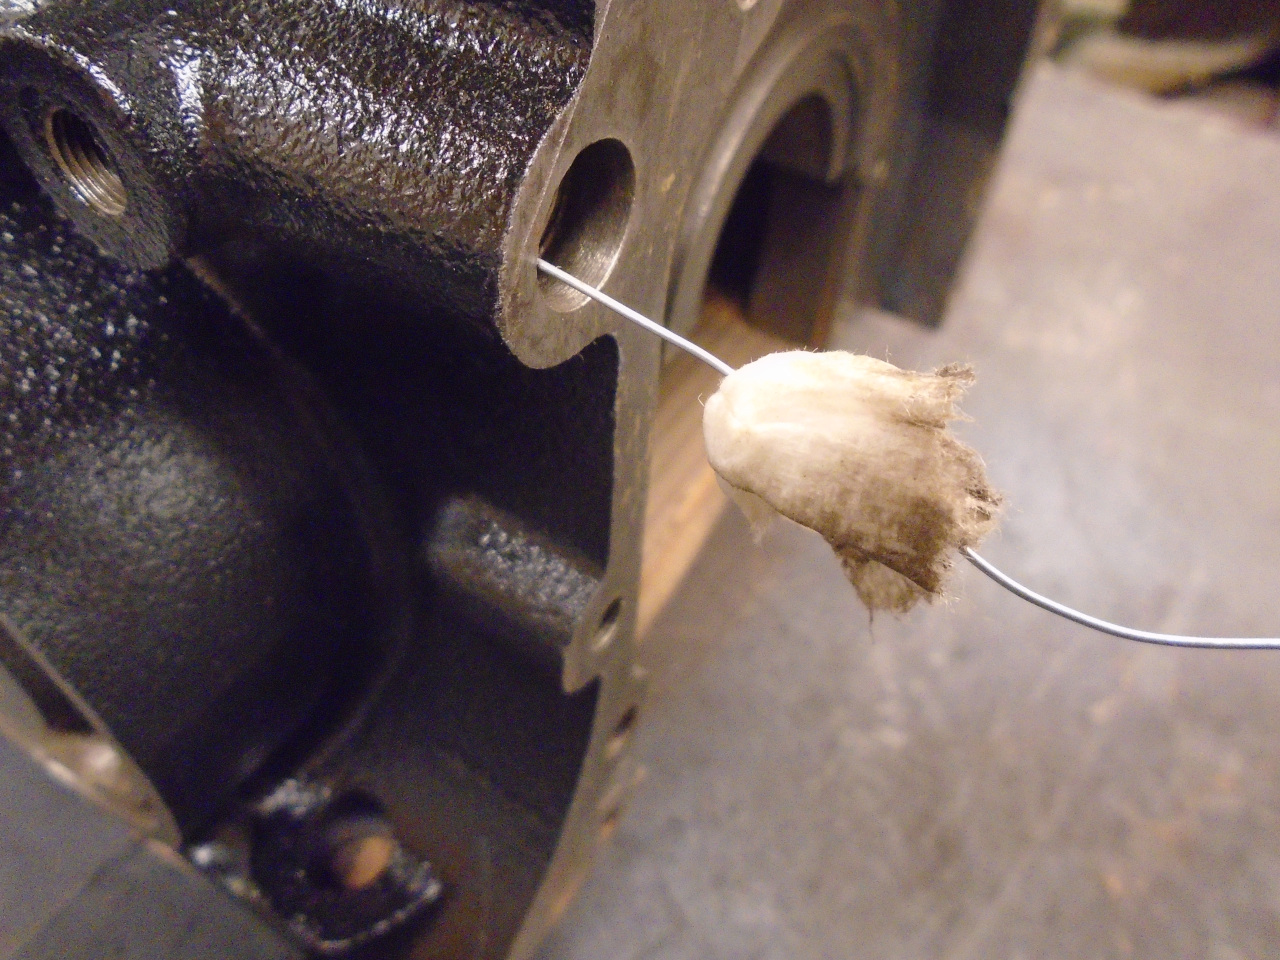
gallery were next up. I first cleaned out the main bore with
a solvent-soaked swab, then did the channels to the cam and crank
journals with pipe cleaners, all blown out with compressed air
afterward.
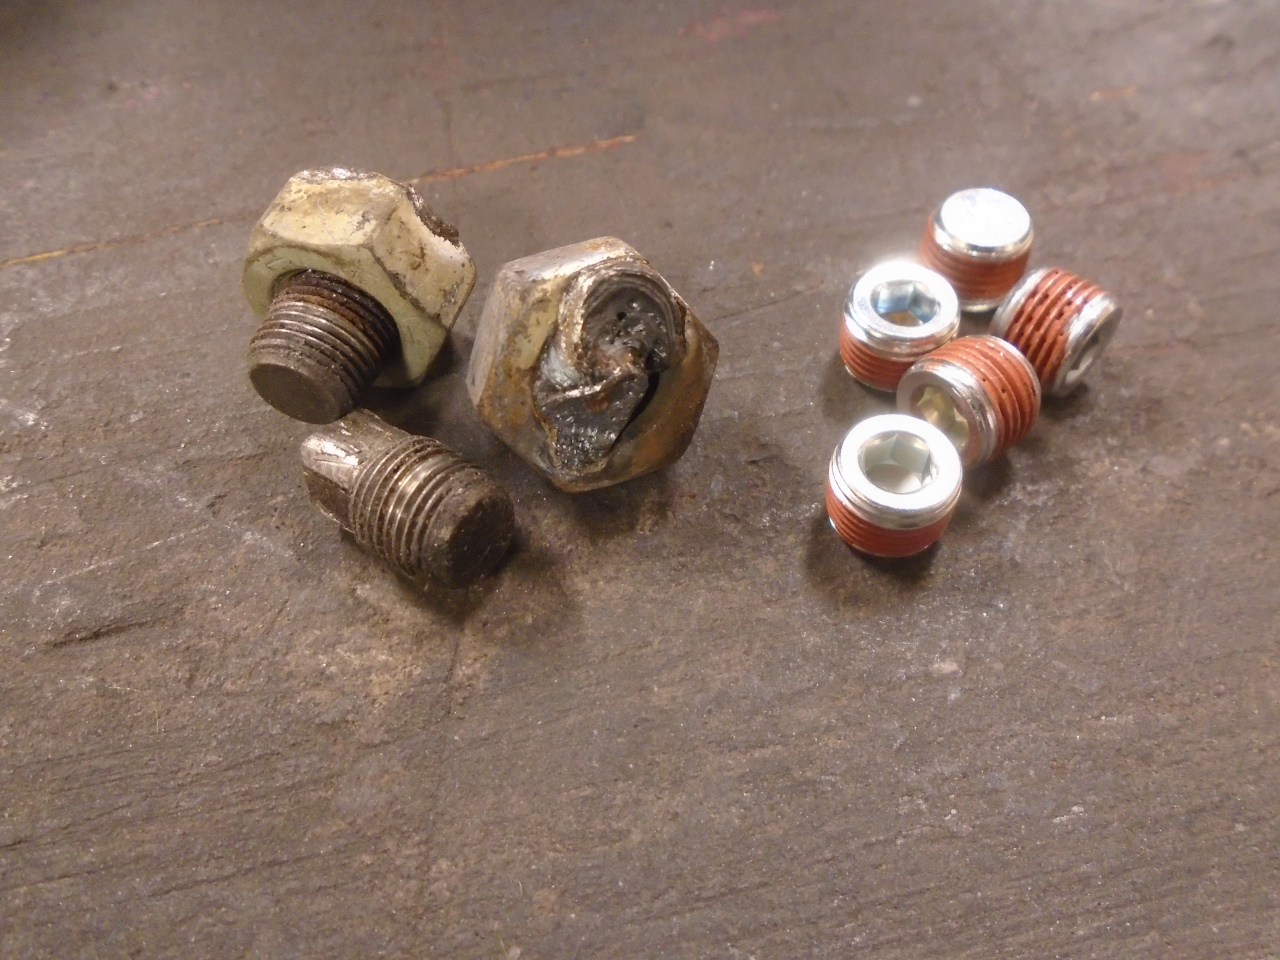
I chose to use some stainless allen type plugs that come with a
sealant already applied. I installed five of these 1/8" NPT
plugs. It looks like two more are needed, but one hole is
where the oil pressure switch goes, and in the other, I'll install
a takeoff for an oil pressure gauge.
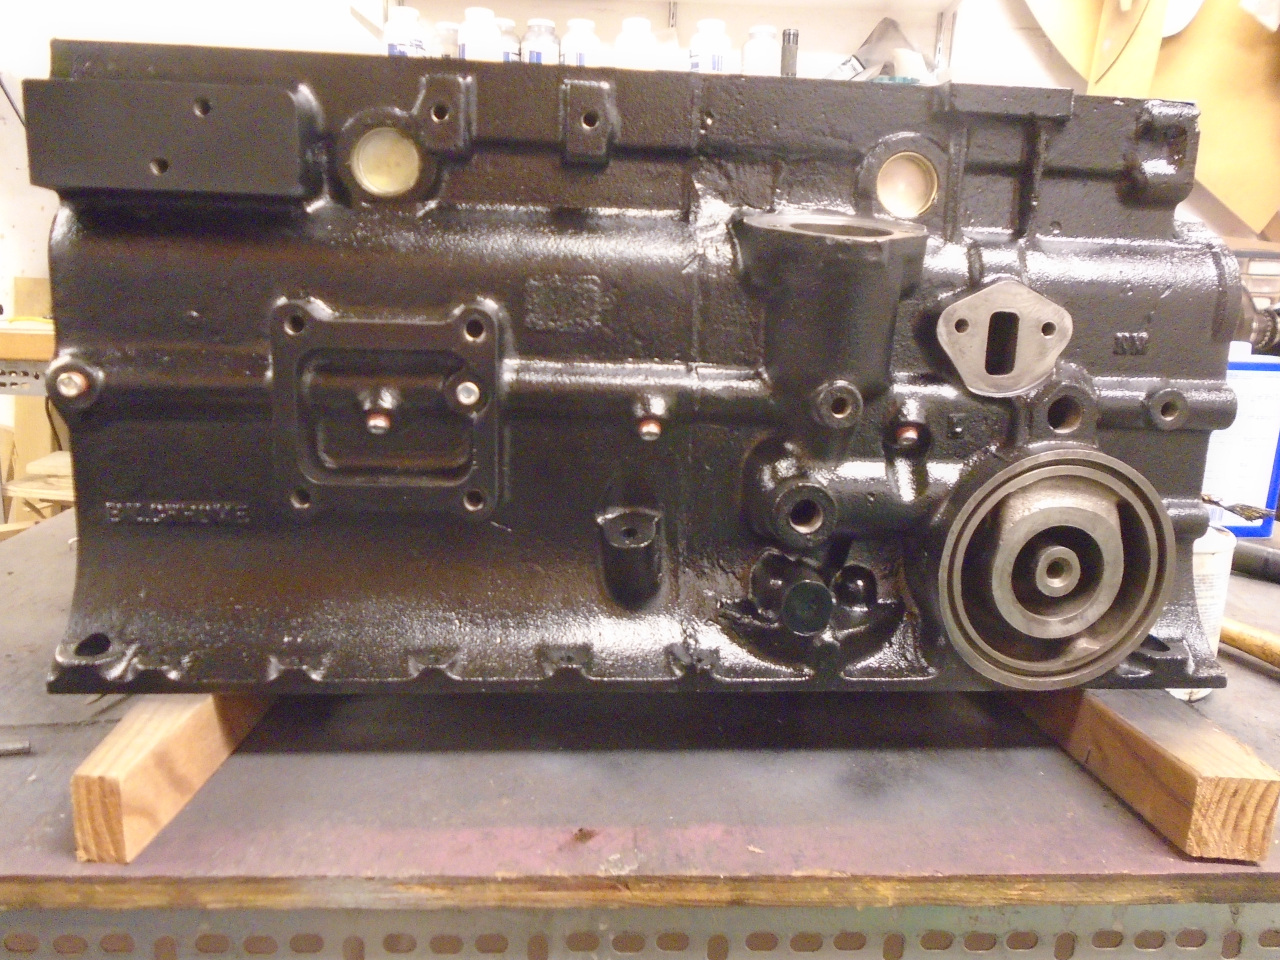
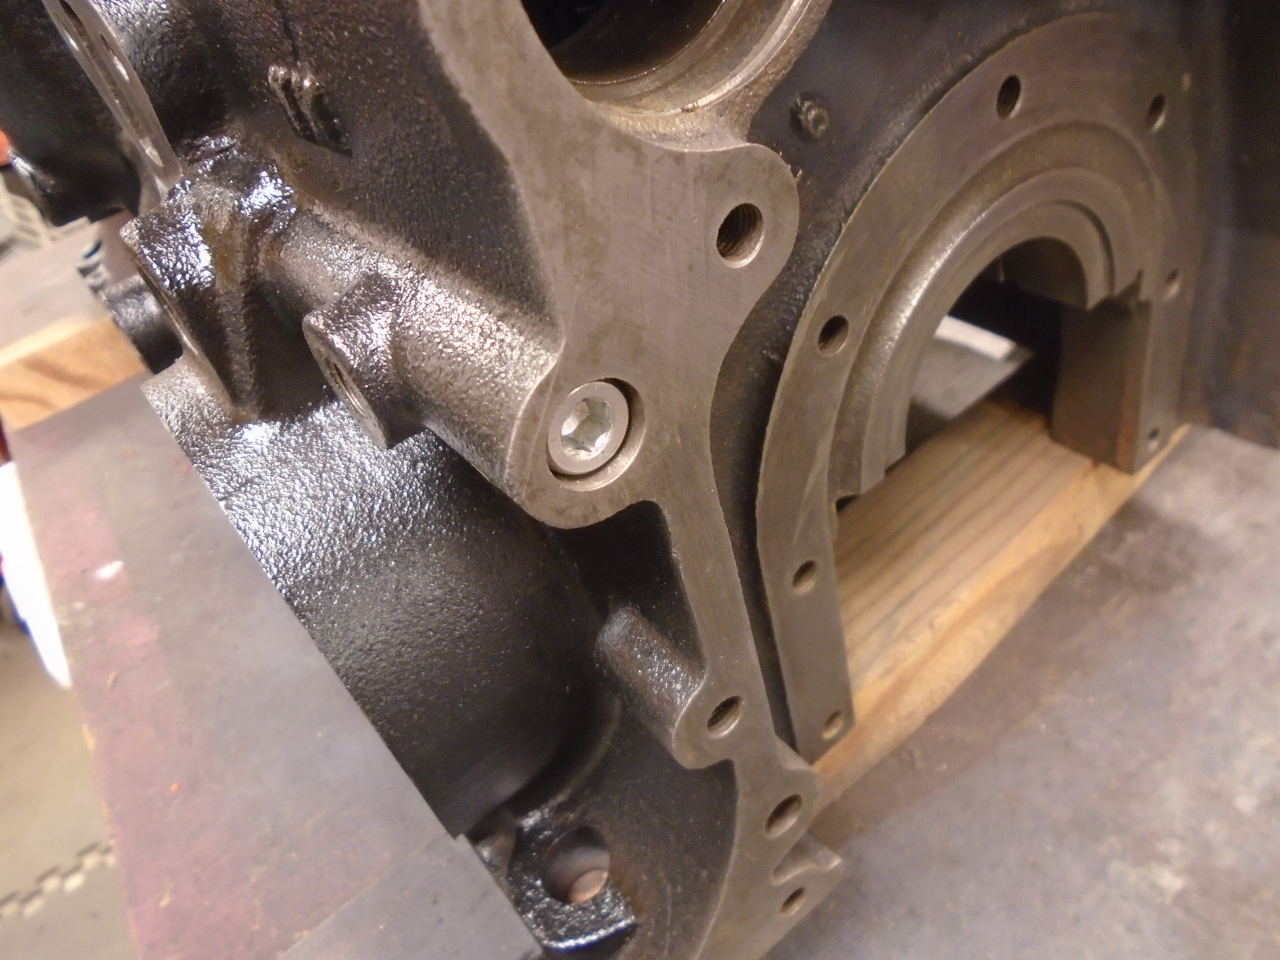
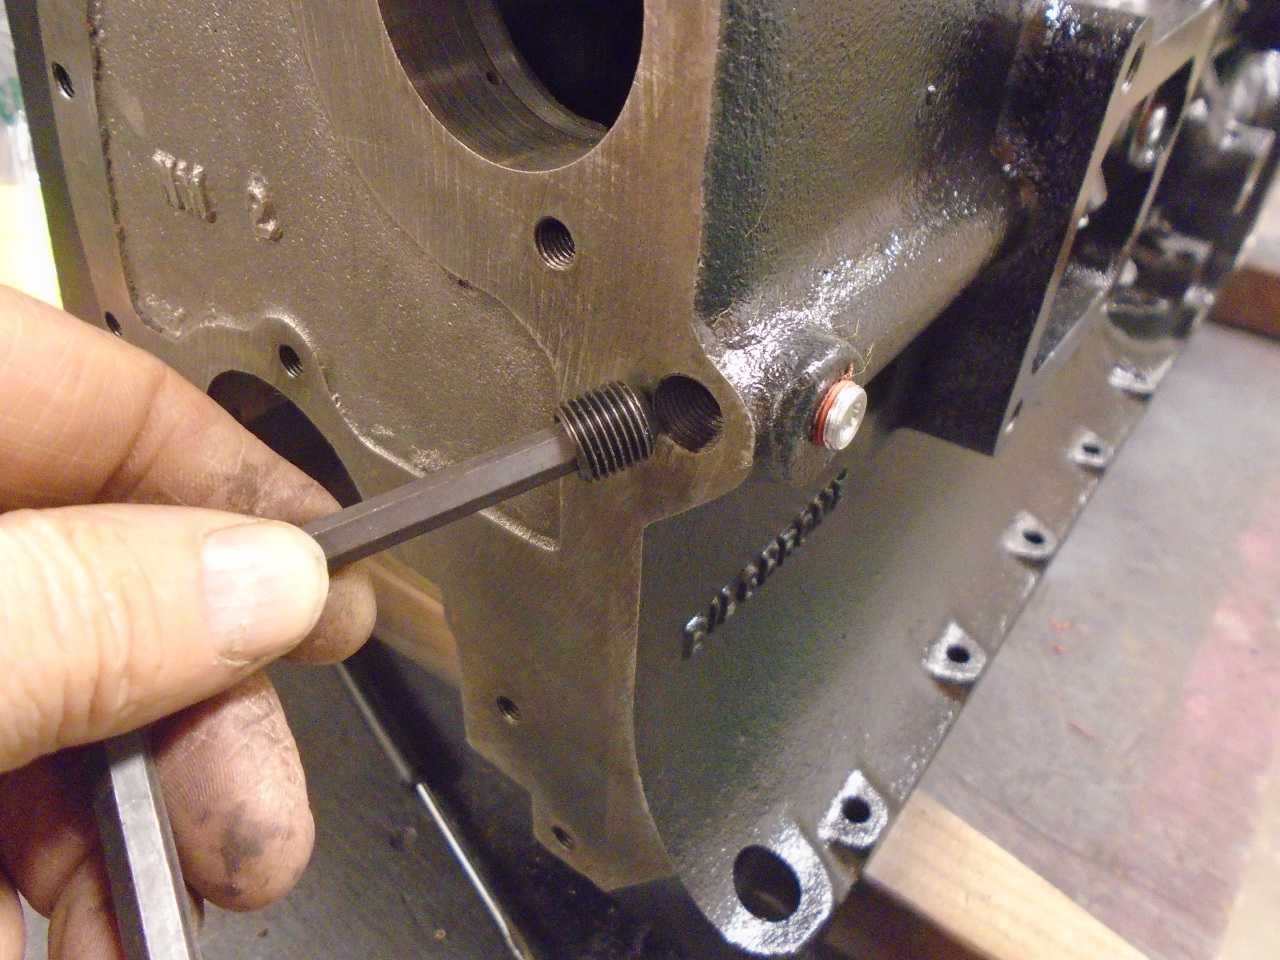
Then there is a plug at each end of the main gallery. The
rear one is a standard 1/4" NPT plug, but the front one, where the
factory had one of those aluminum plugs, is tapped 1/2-20, so it
needs to be a set screw.
The last oil gallery hole to be plugged is the big one above the
oil filter location. It also has one of those mysterious
aluminum plugs. Though replacement aluminum plugs can be
had, I don't see the point. On the other hand, the hole
can't be plugged with a pipe plug since the threads are
3/4-16. A 3/4-16 bolt goes in there, but it just doesn't
look right.
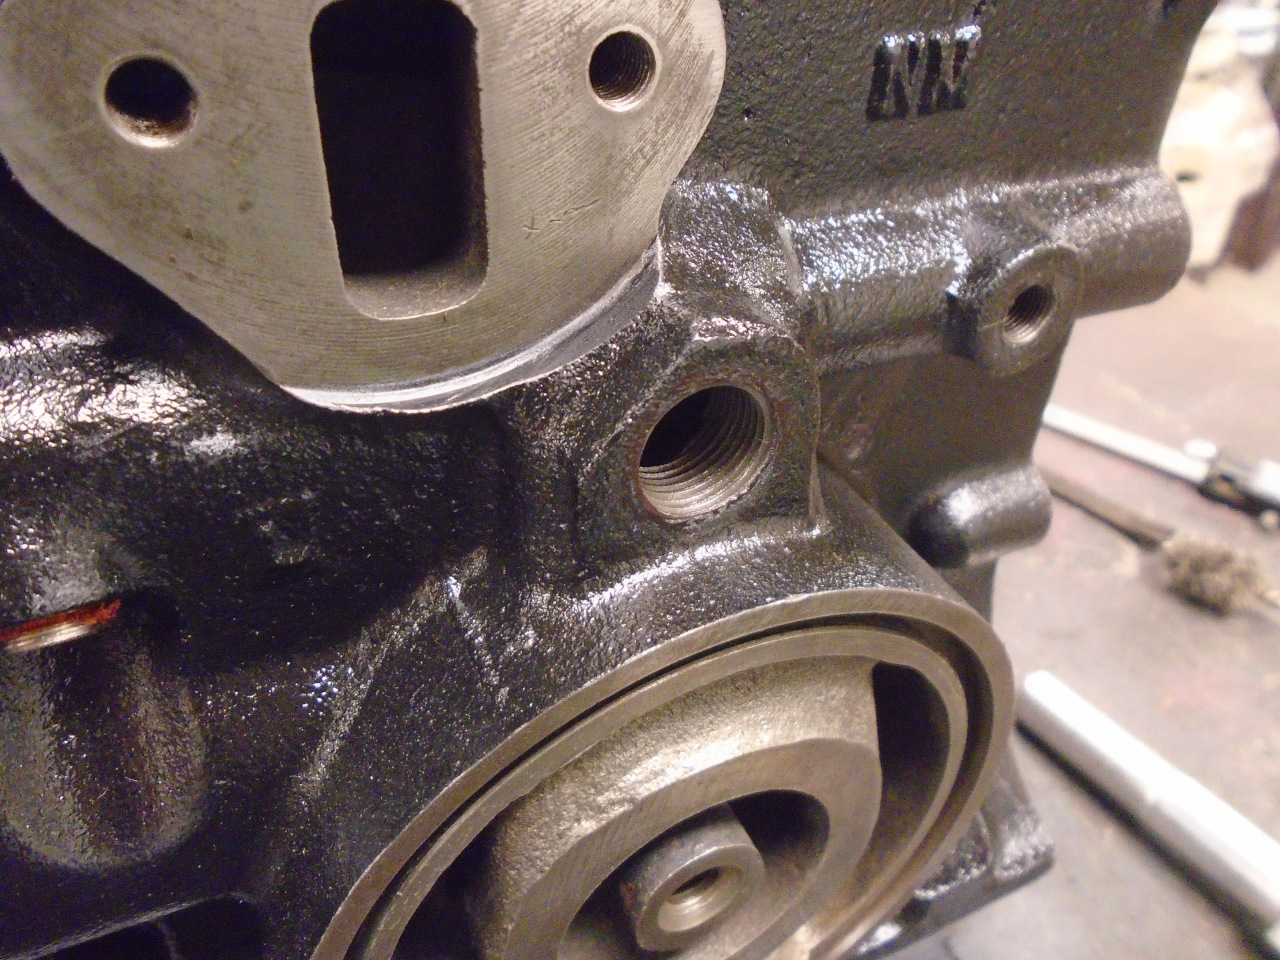
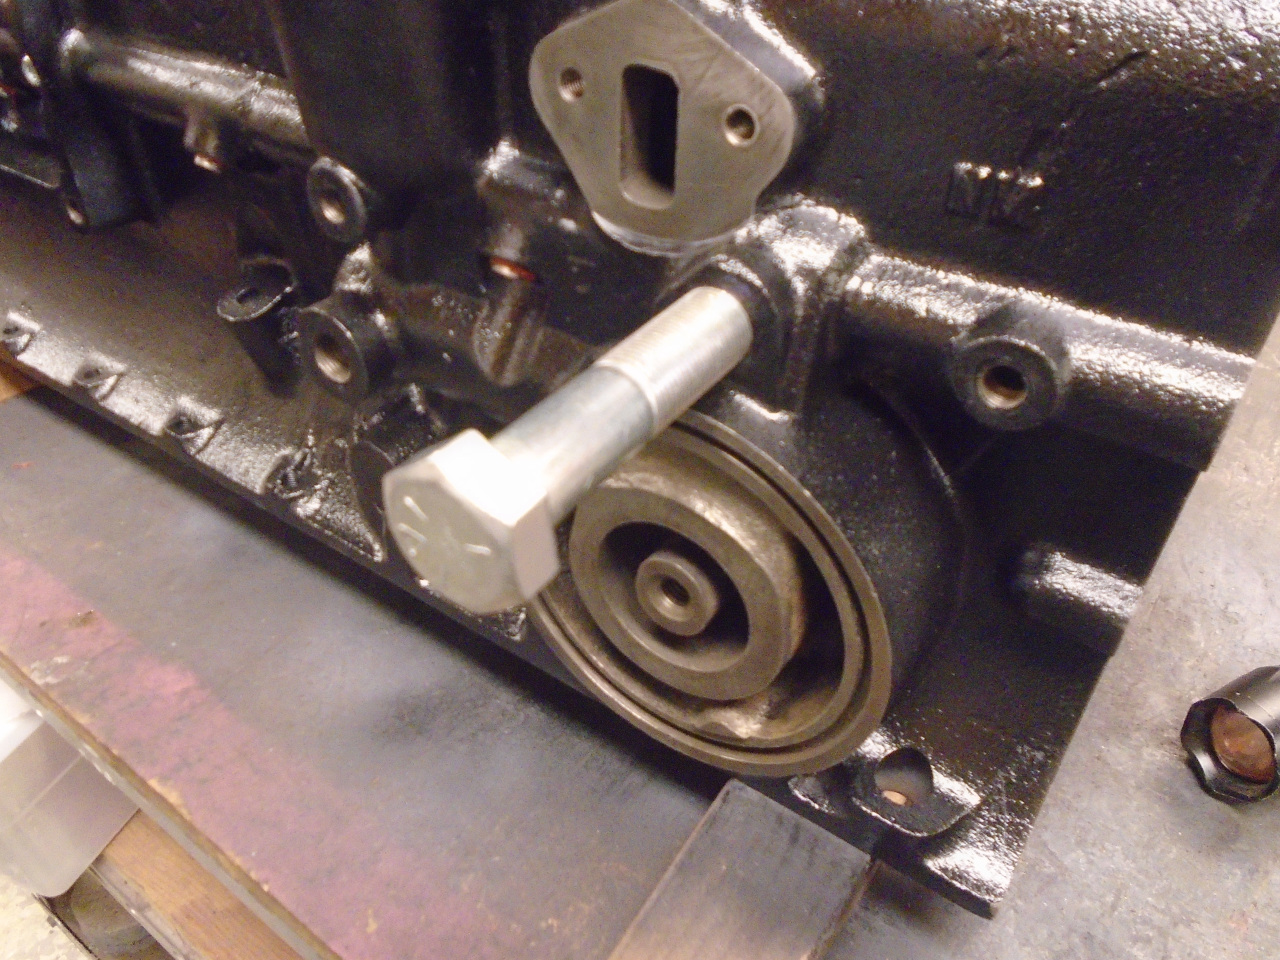
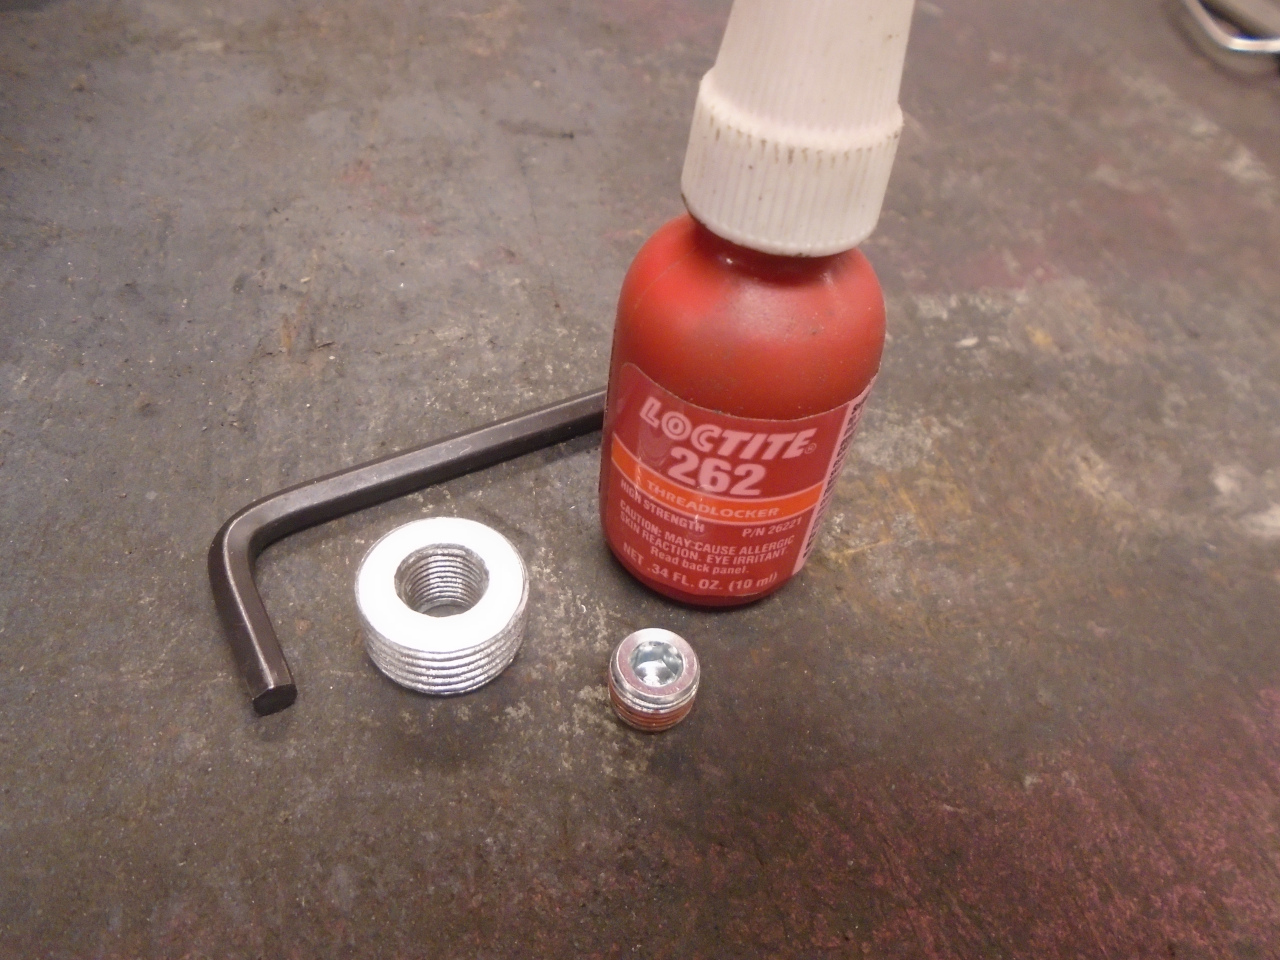
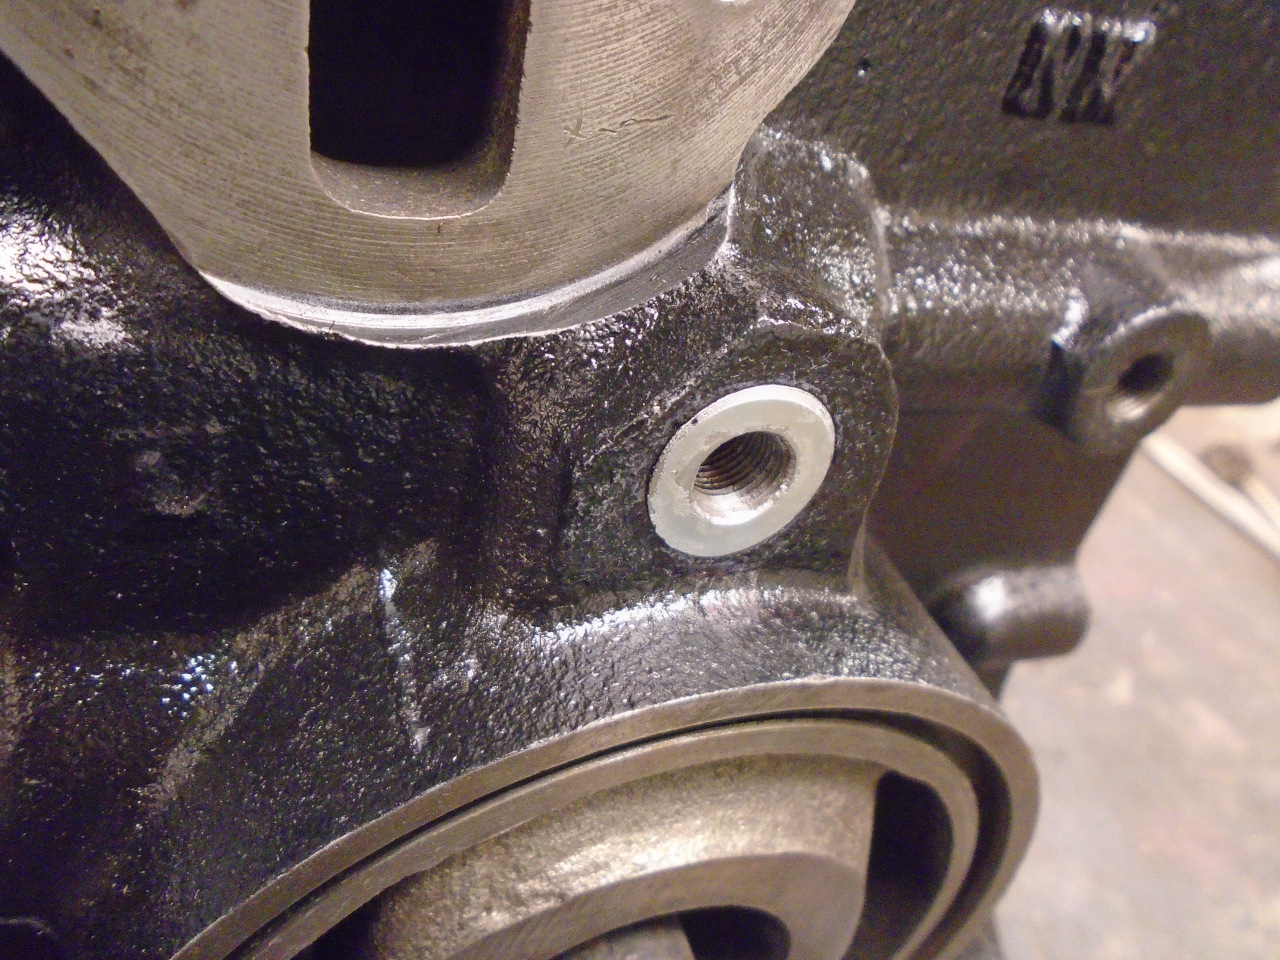
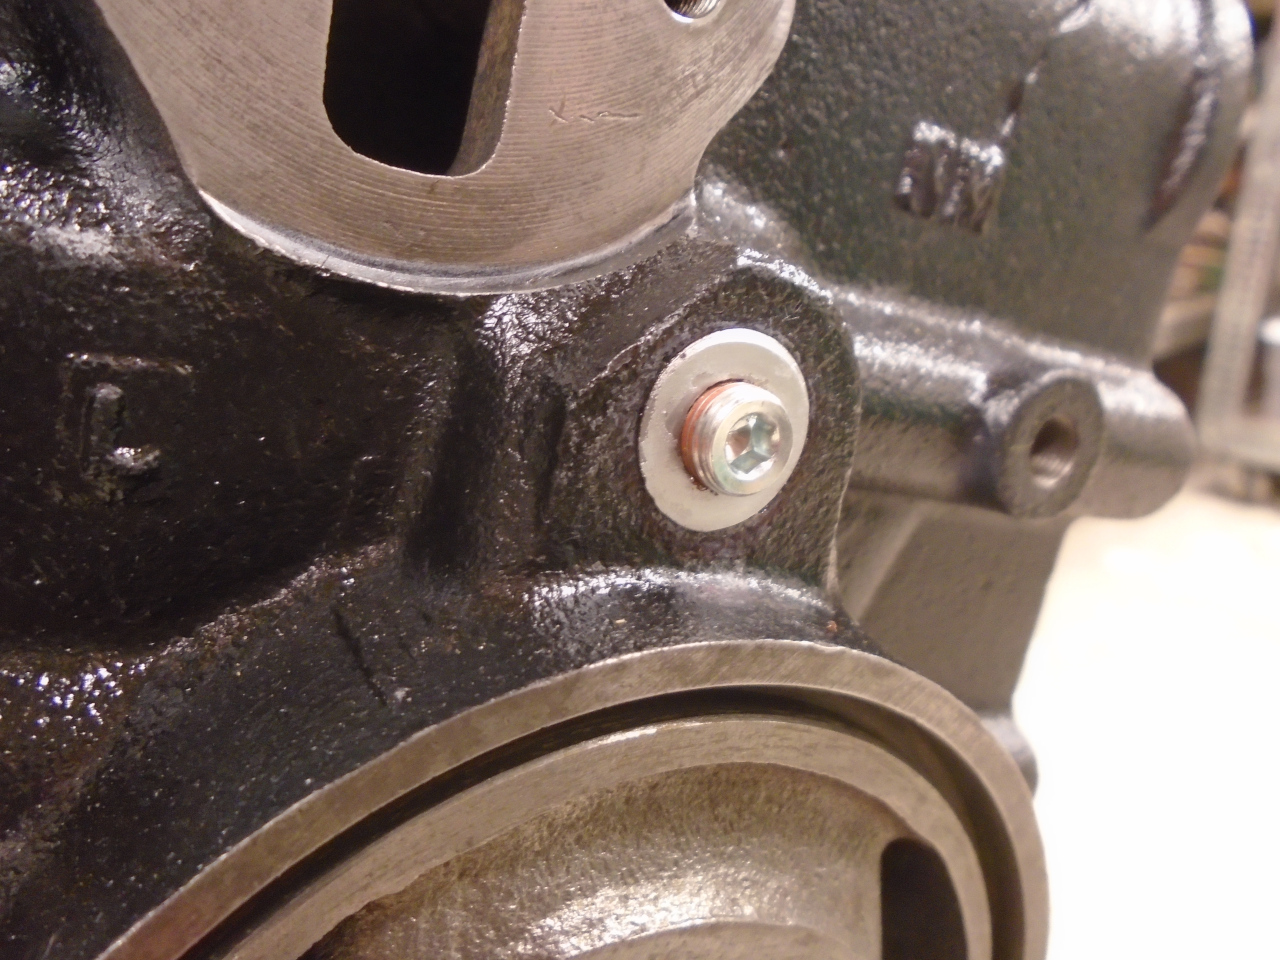
I chose to make an adapter to convert from the 3/4-16 to 1/8 NPT.
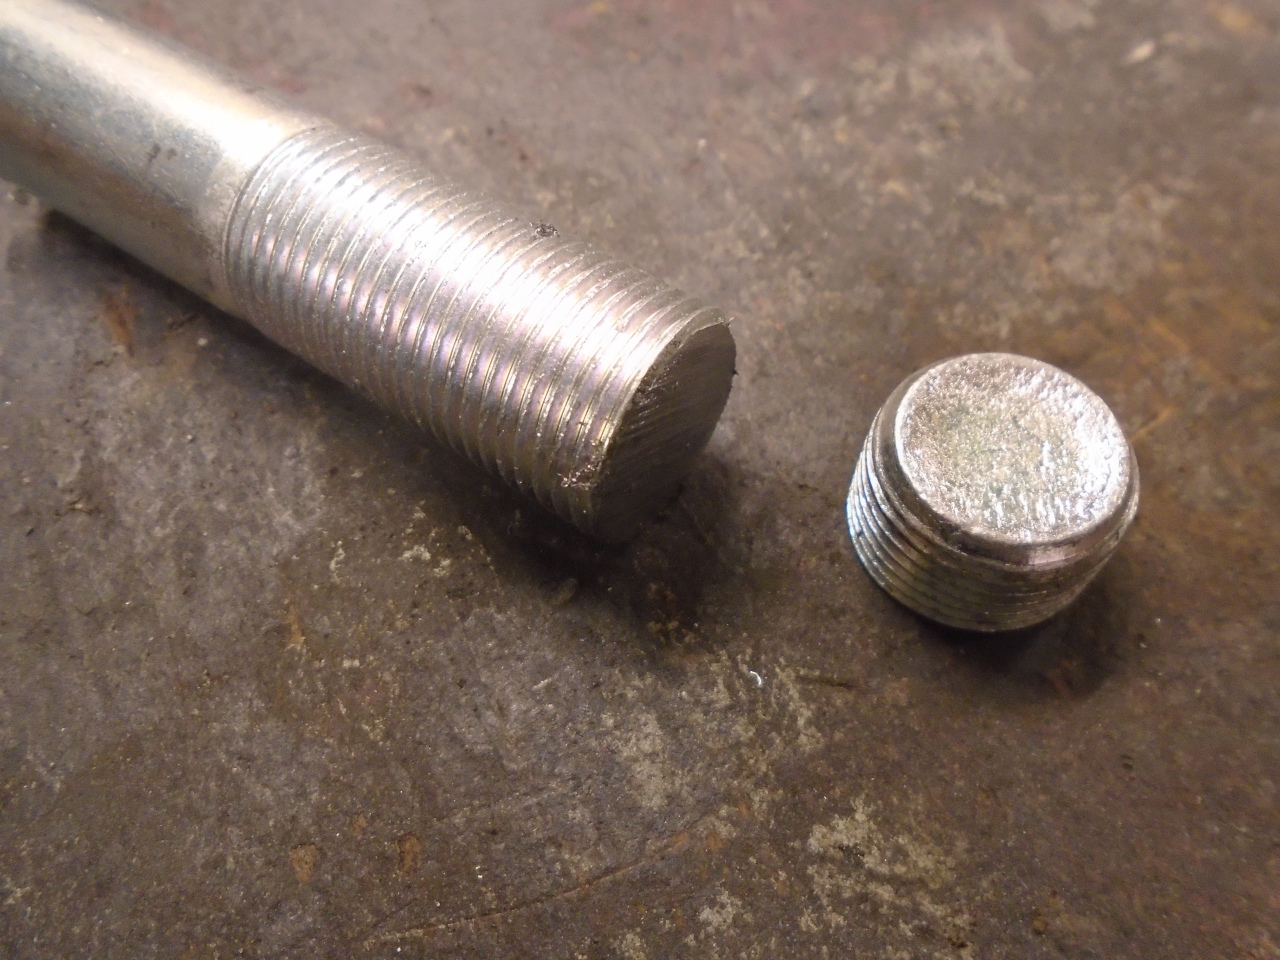
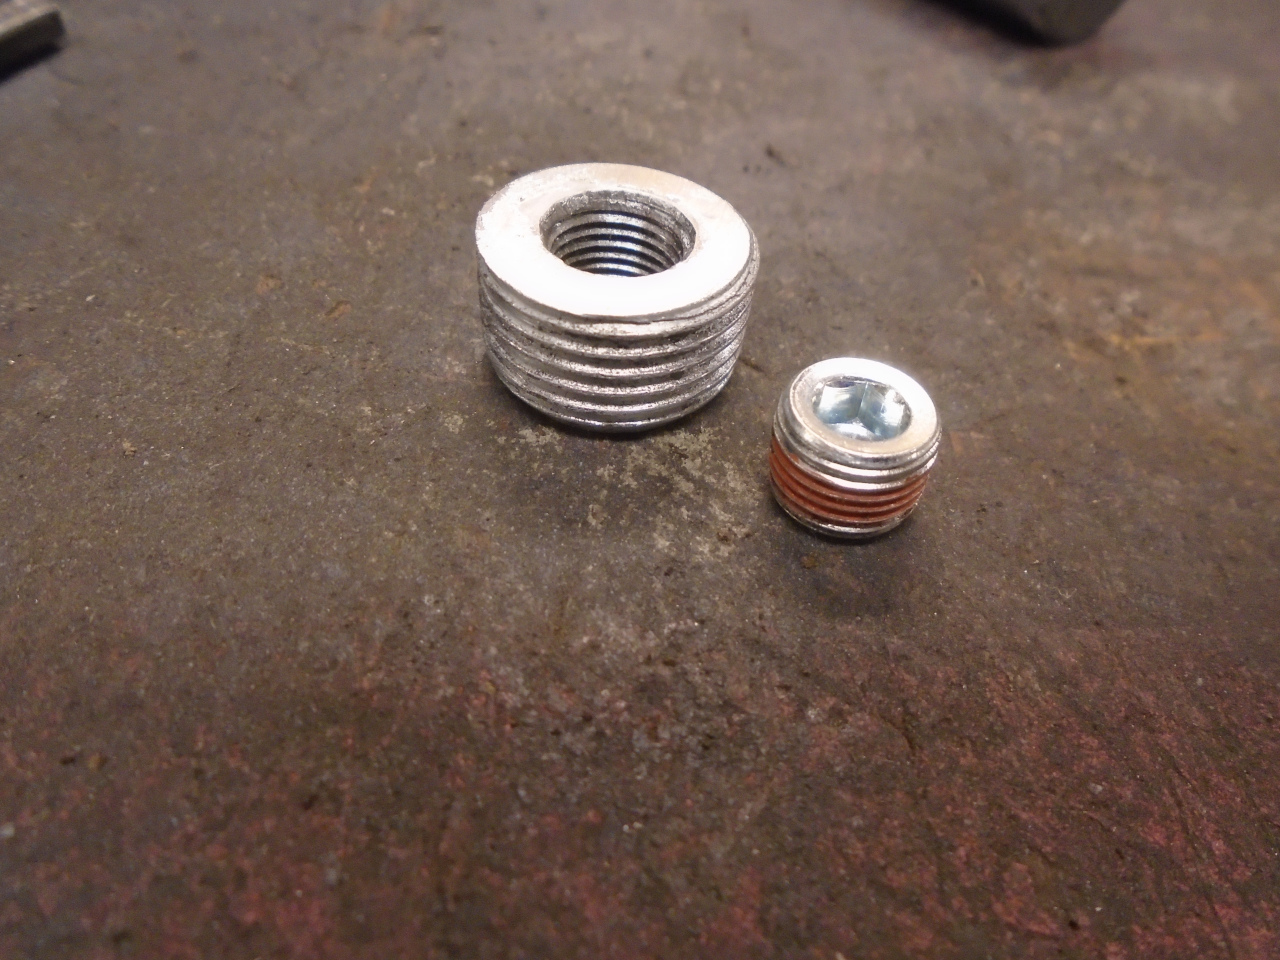
The adapter gets Loctited onto the hole, followed by the smaller
pipe plug.
At this point, I took the block off the bench, and mounted it back
in it's stand, where frequent rotation will come in handy.
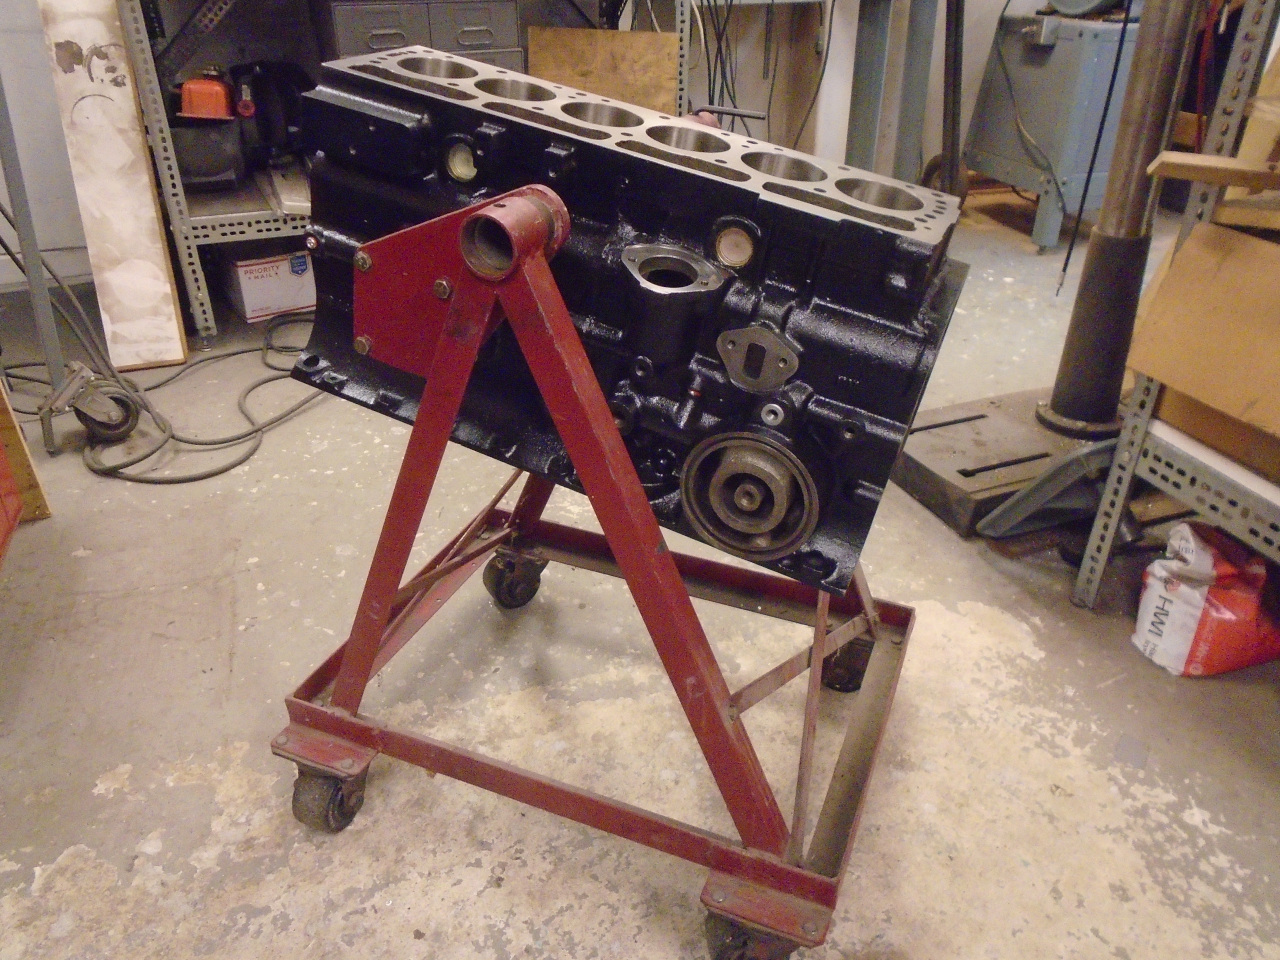
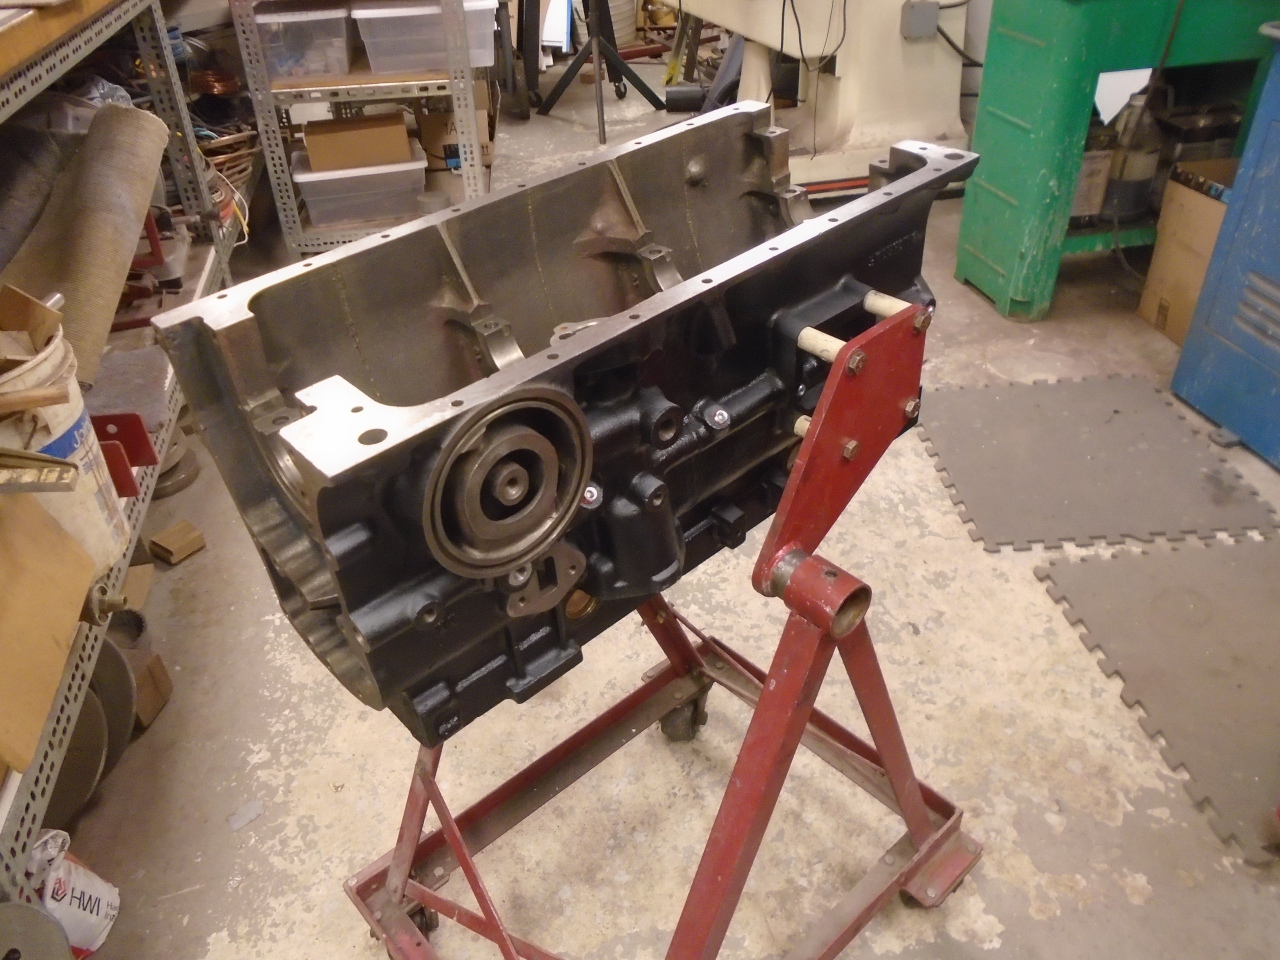
This is the start of a longish road for the engine, but it's
pleasant work. Next up is the crank and pistons.
Comments to Ed at elhollin1@yahoo.com
To my other GT6
Pages