To my other GT6 pages
September 6, 2020
Door Hinges
Well, after the pretty extensive rust repair and panel replacement
done on the tub, it seemed like a good idea to mount the doors to
see of they still fit. So I hauled the doors up from the
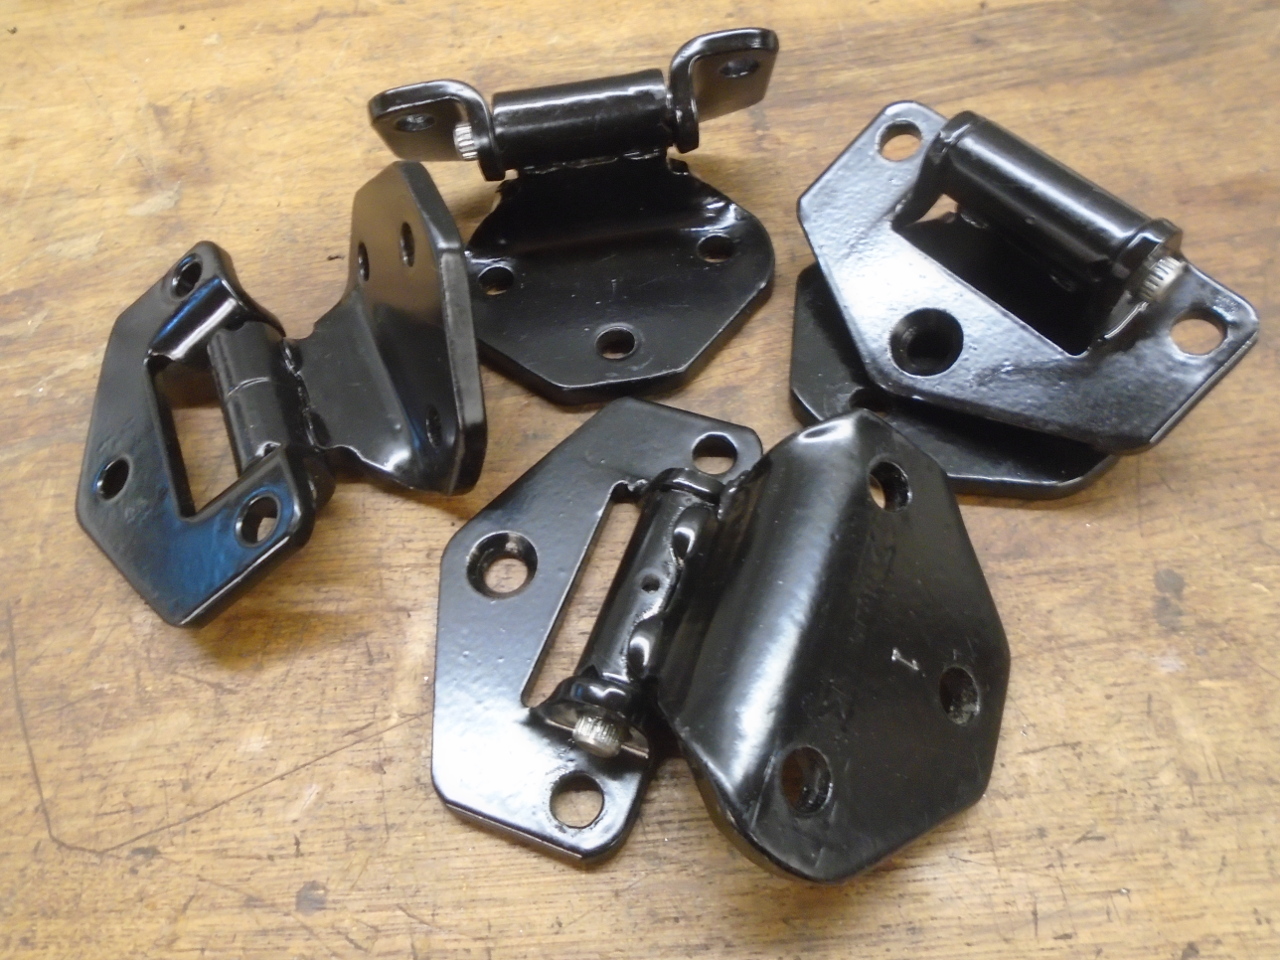
shed to look them over. One of the first things I noticed
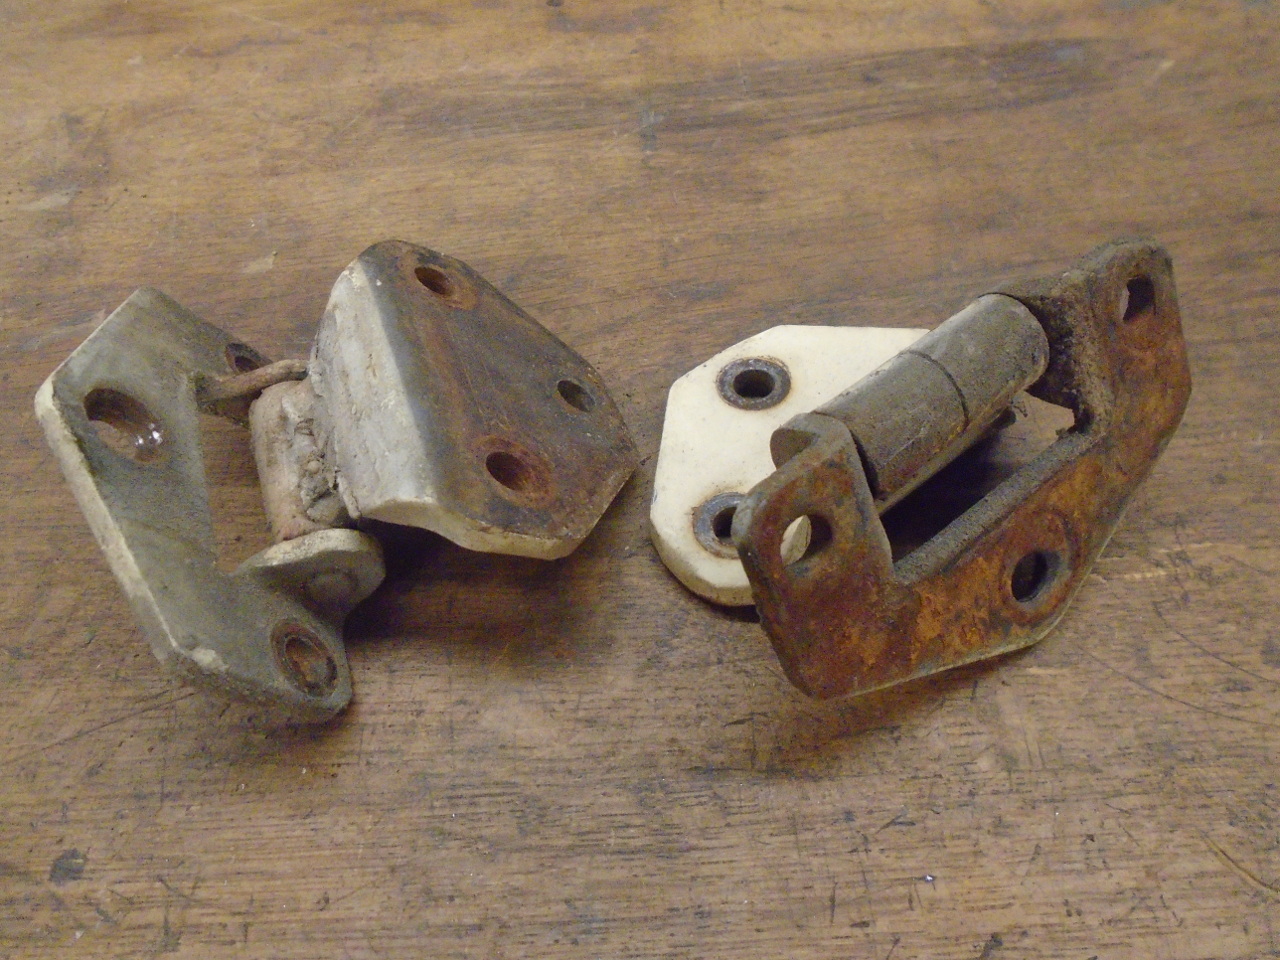
was that the hinges were in trouble. Three of them were all
but seized, while the fourth was sloppy floppy. I took them
all off for a better look.
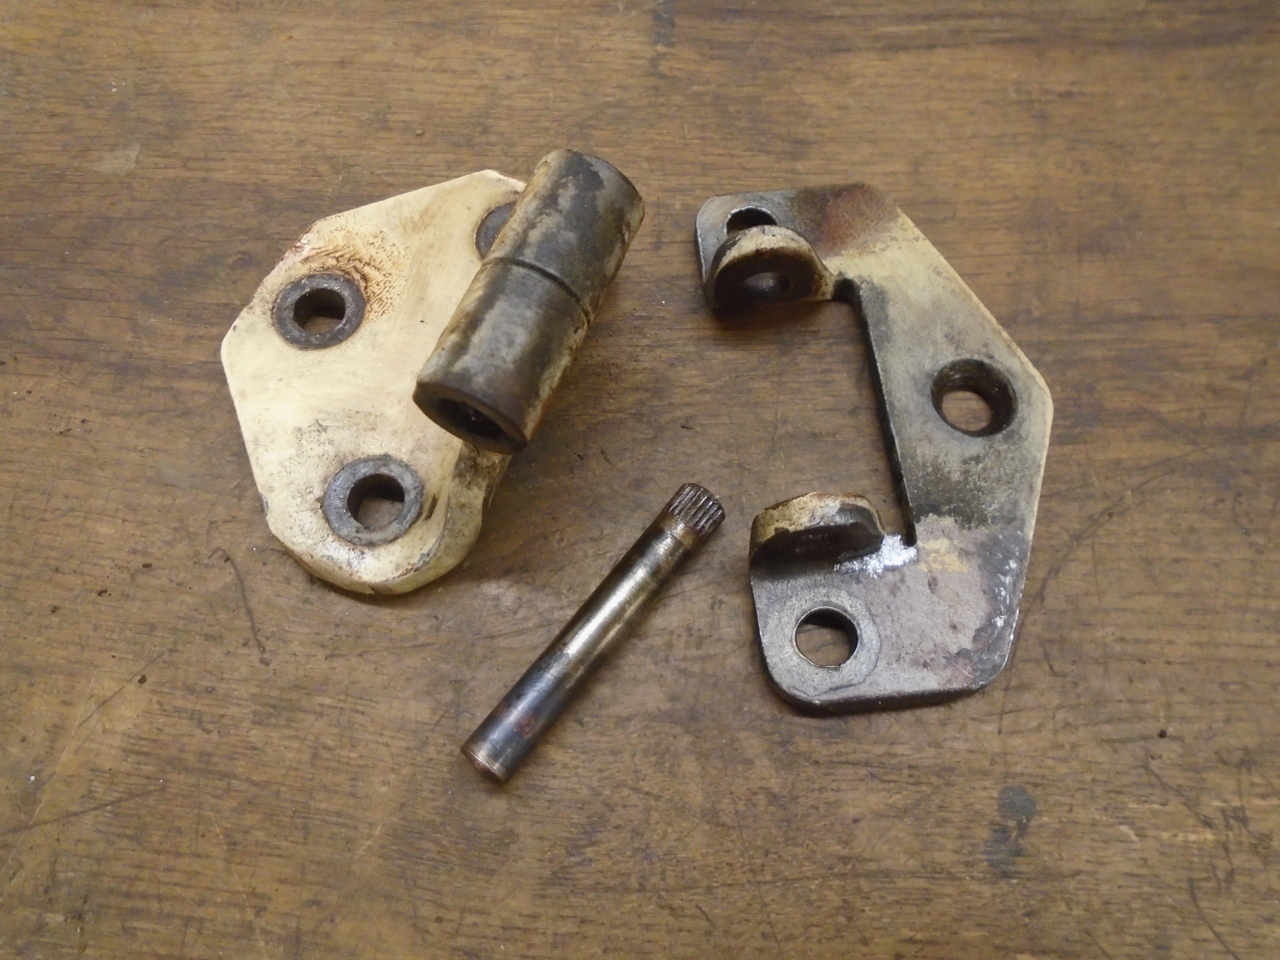
I drove the pin out of one of the stiff ones to see what the
problem was. It appeared to be just a lot of corrosion in
the bore that is supposed to swivel on the pin.
Aftermarket replacement hinges are apparently available from a
number of sellers, but since I tend to have a bias towards
refurbishing rather than replacing, I took the next step and
cleaned up the hinge. After getting the crud out of the
bore, the hinge went from being too stiff to way too loose.
This didn't really discourage me though, so rather than face the
crapshoot of replacement parts, I decided to try to rejuvenate the
originals.
Three of the hinges gave up their pins without too much of a
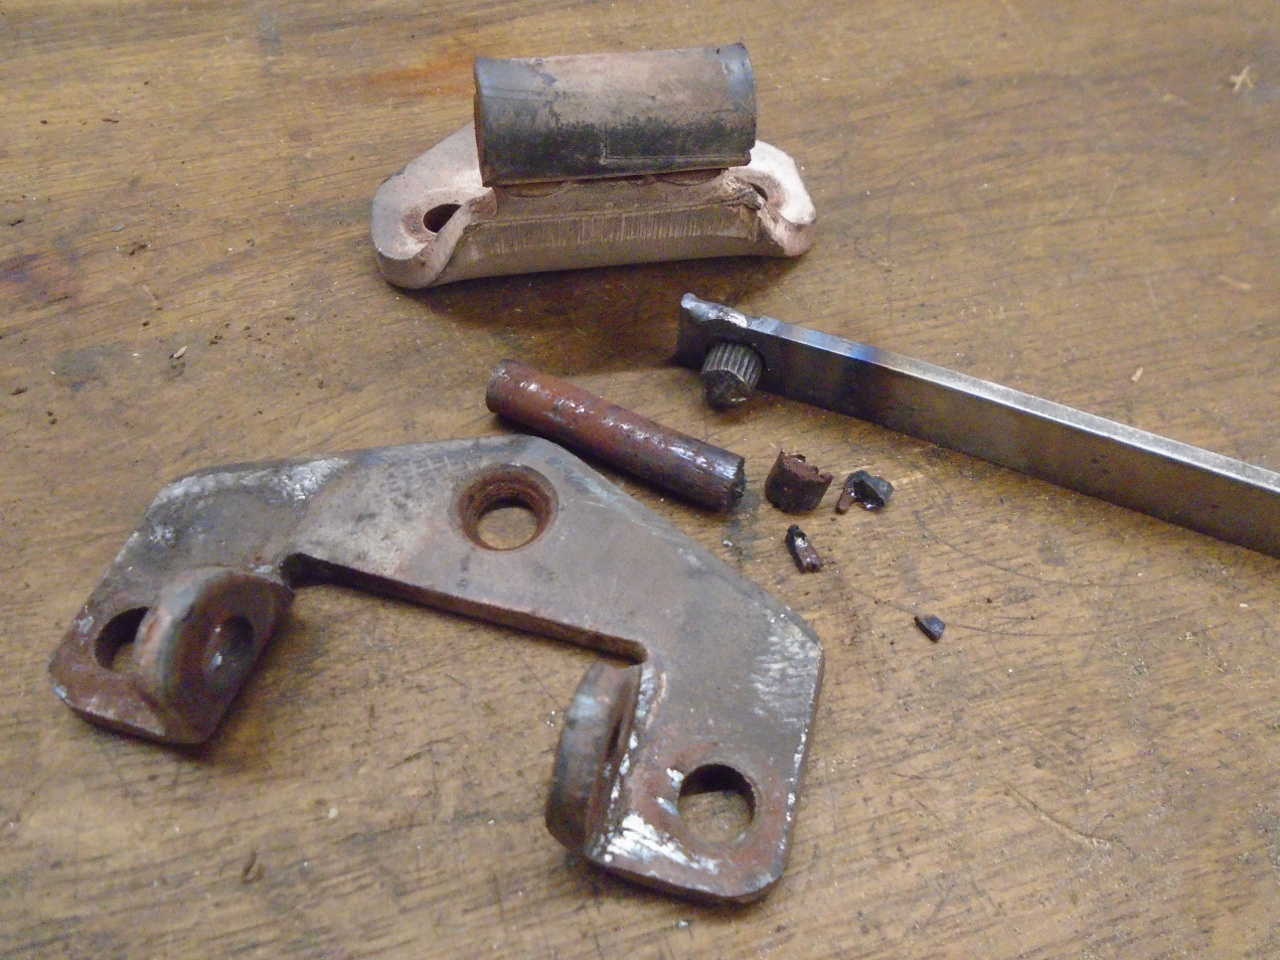
struggle. The loosey-goosey one was different. First,
I discovered why it was sloppy--it had a broken pin. It was
broken just below the serrated end, inside the barrel. When
these pins become seized, the enormous leverage of the door
eventually just snaps them.
After an intense session of repeated heating and various other
kinds of violence, the broken pin remained stuck. I ended up
welding a small bar to the stub of the serrated end of the pin to
help convince it to come out. That gave me better access to
the main part of the pin. It eventually yielded.
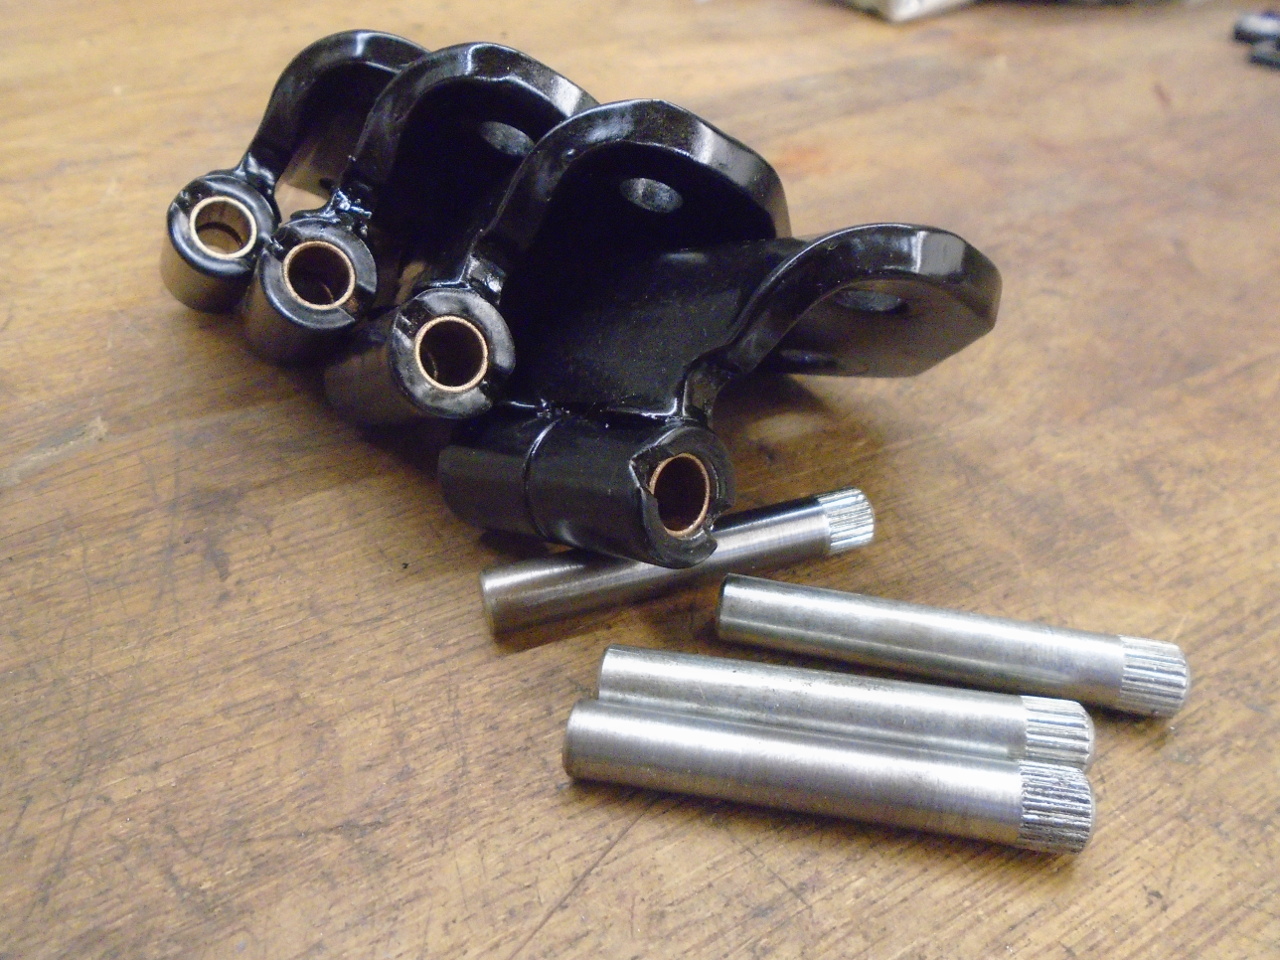
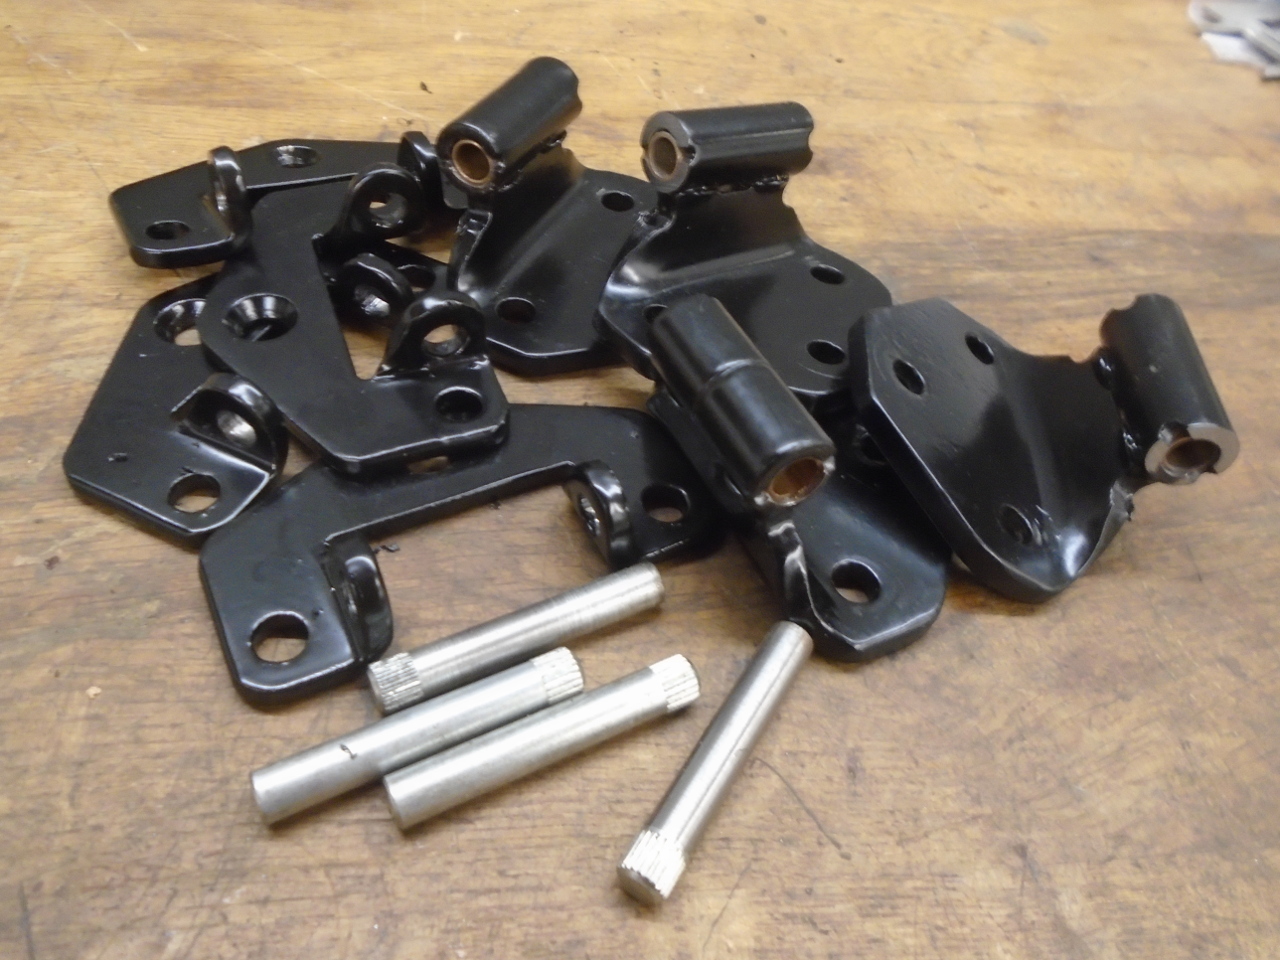
After cleaning up all the parts, I found that all of the pins were
very loose in the bores, no doubt just due to wear and
corrosion. So I ordered new pins.
The pins are a nominal 5/16" diameter, but the originals were
slightly undersized on the unworn areas, maybe by design.
The new pins were not advertised as being oversized, but they were
a little larger than 5/16"--they varied from 0.315" to
0.316". This was good, I thought, since they might just fit
the worn bores. No such luck, though, the new pins were
still pretty loose in the worn bores.
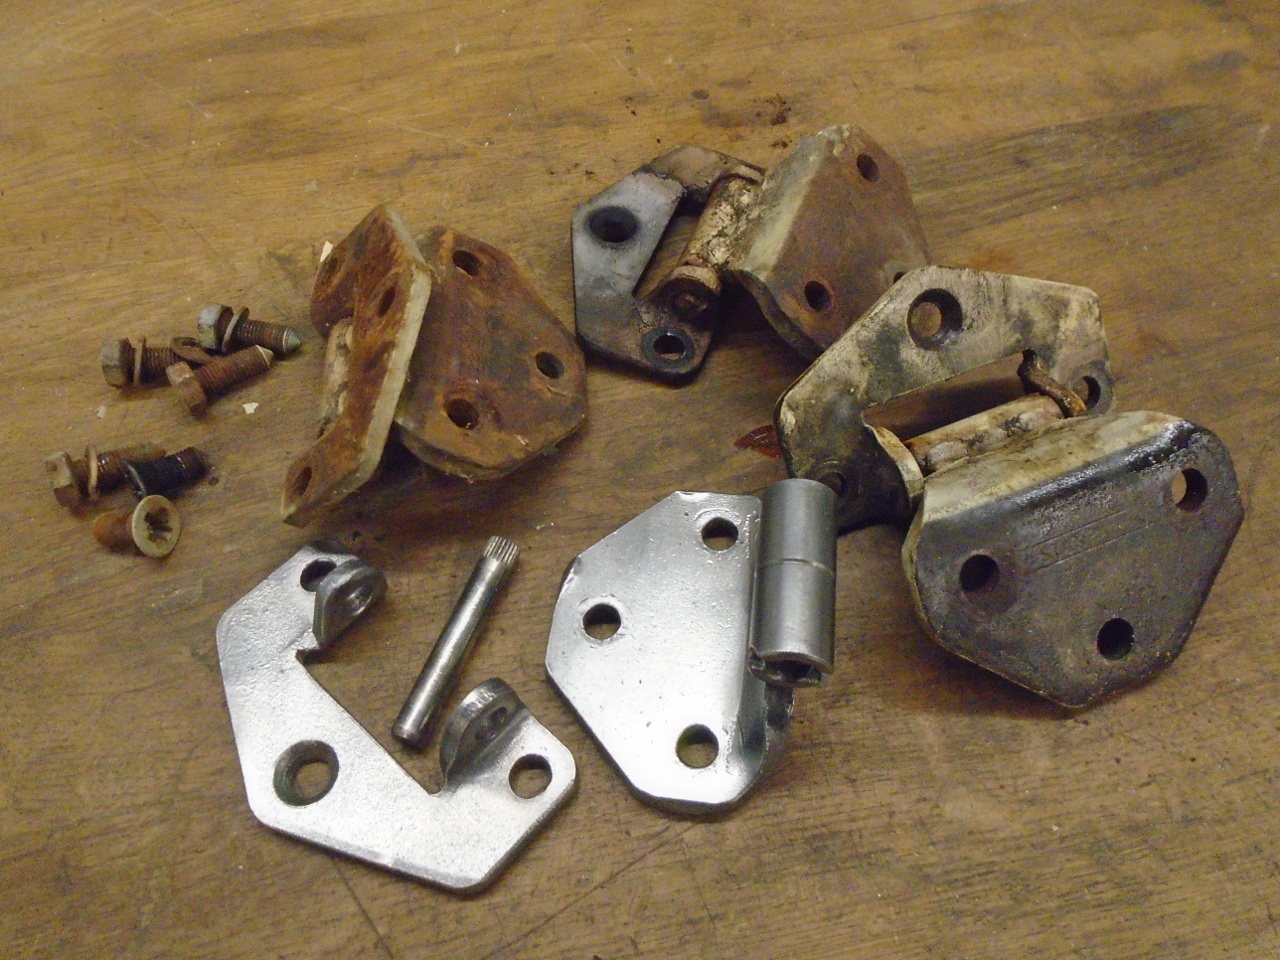
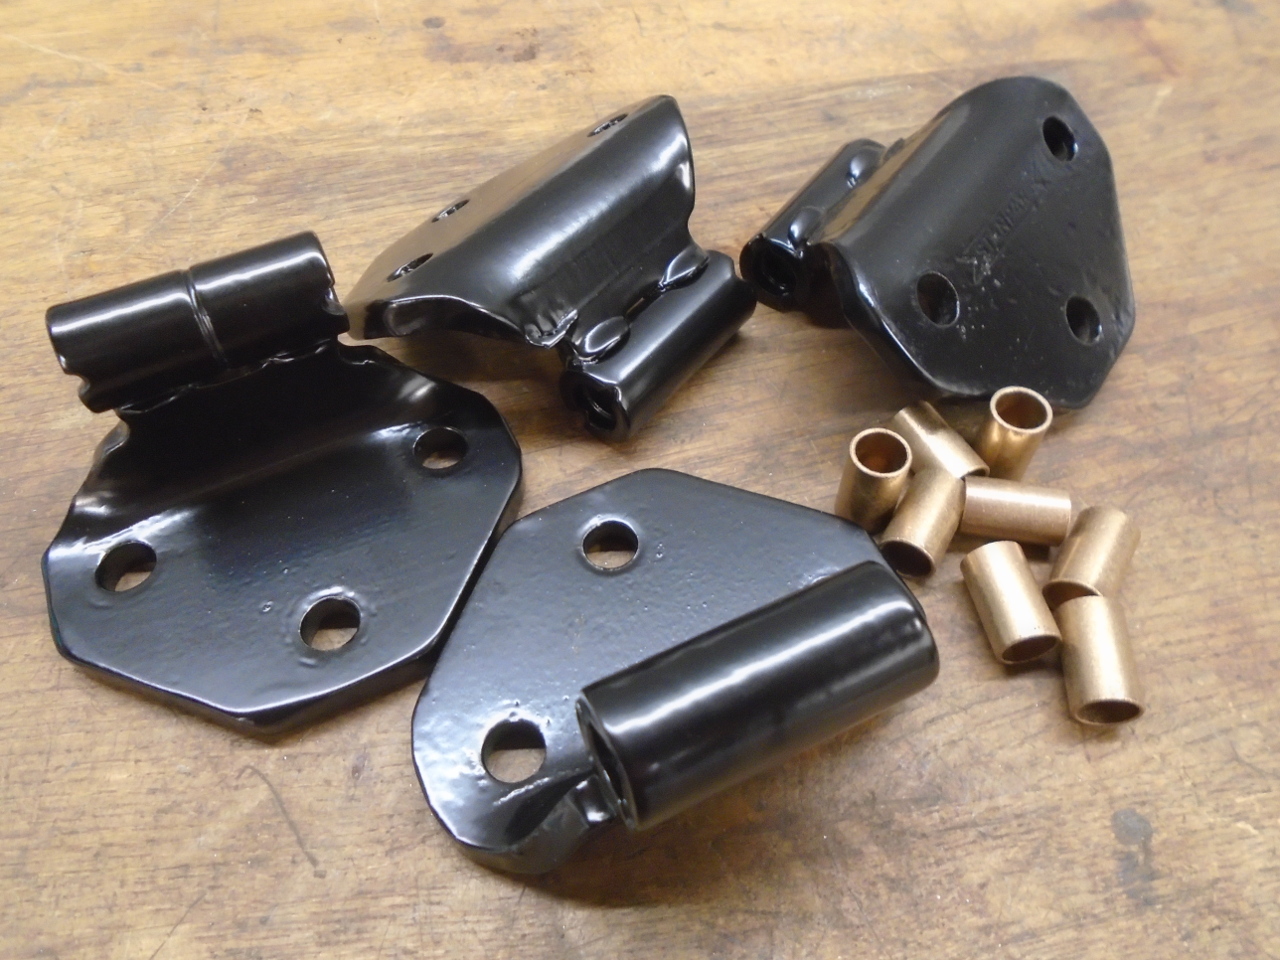
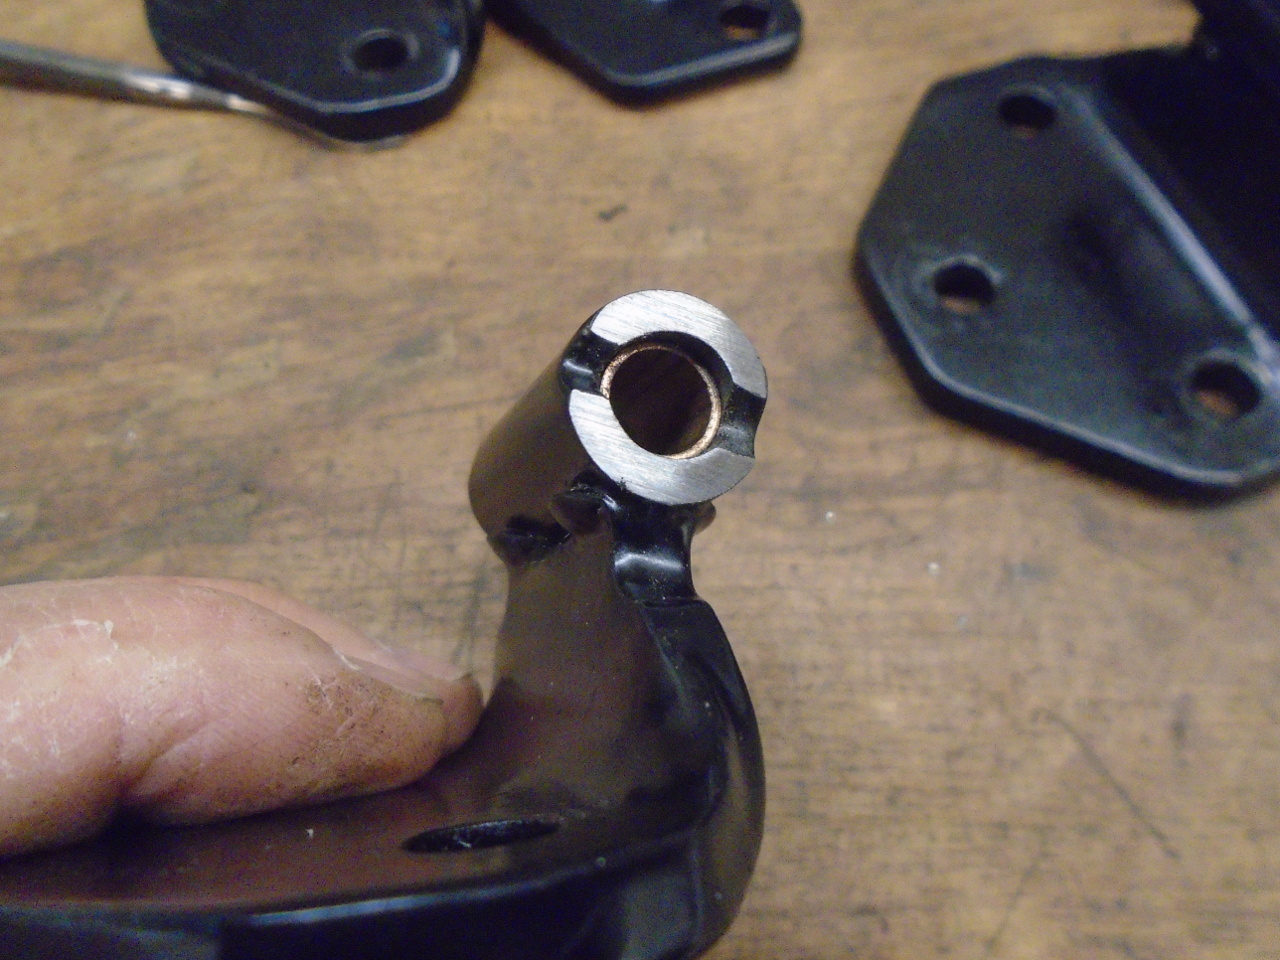
I was ready for this. I had ordered some 5/16 ID x 3/8 OD x
5/8" Oilite bushings for just this eventuality. I powder
coated the hinge parts before installing the bushings because the
Oilite parts are not rated for the powder coat curing
temperatures. They are black because I haven't landed on a
color for the car yet.
Installing the bushings involved drilling the bores to just under
3/8", reaming them to size, and shoving the bushings in from each
end. I then had to ream the bushings to fit the slightly big
pins.
Also had to ream the door side of the hinges for the pins.
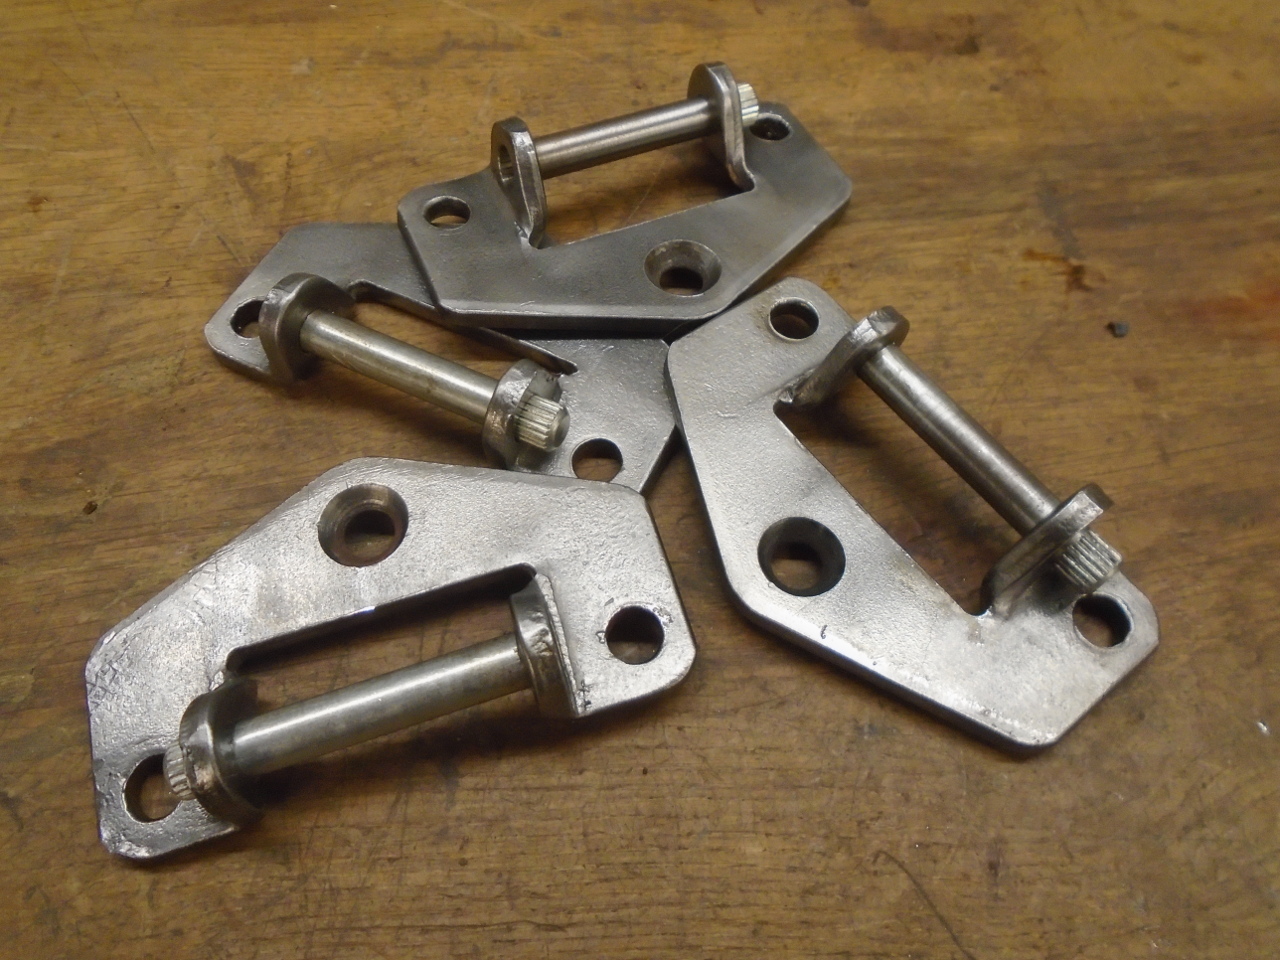
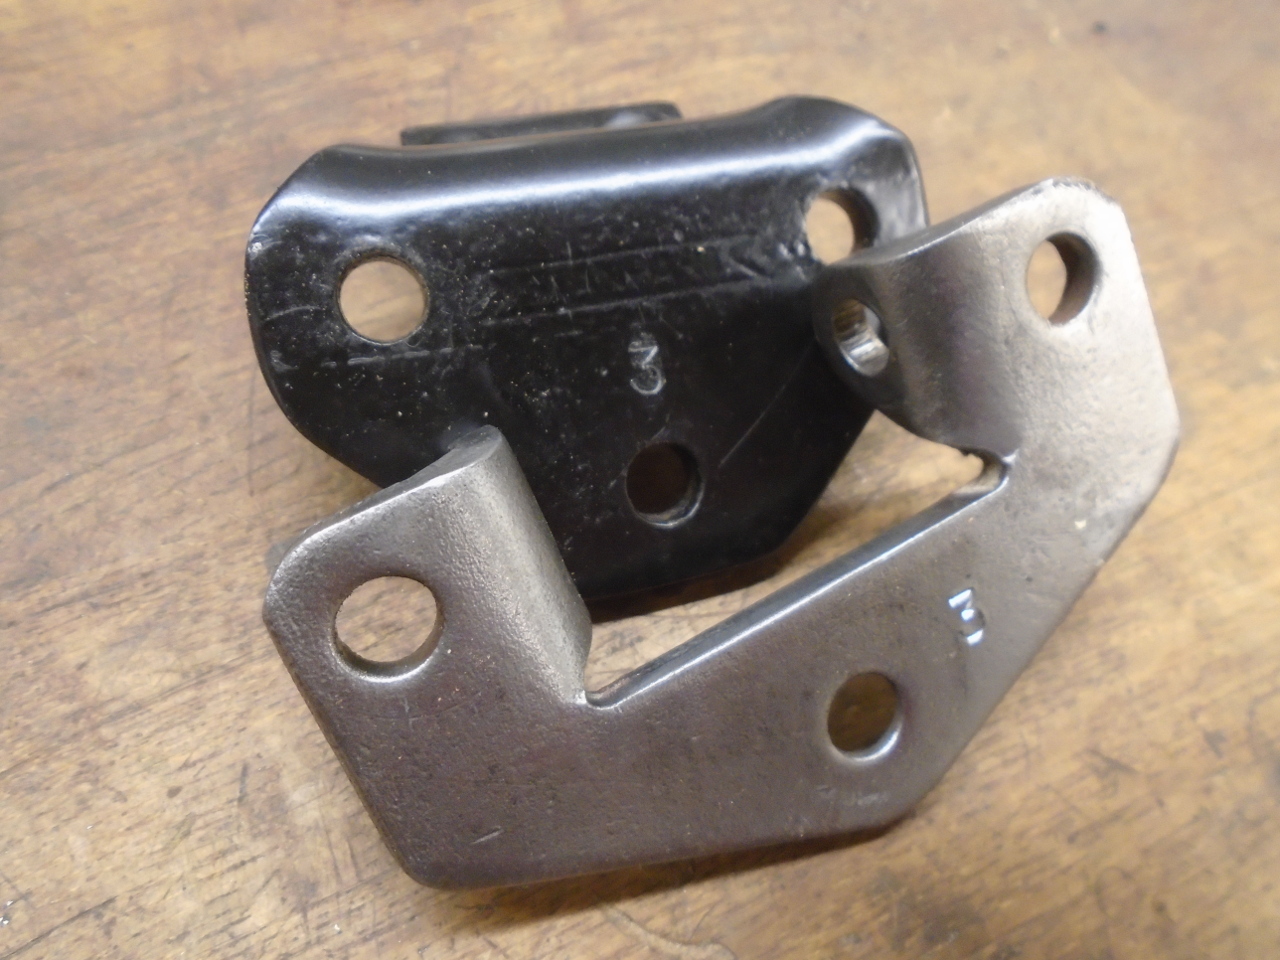
After that, there was some hand fitting. Some of the ears on
the door side leaf had to be bent a little. When I got a
hinge working smoothly, I stamped the leaves with a code so they
would find each other at final assembly.
Almost show time.
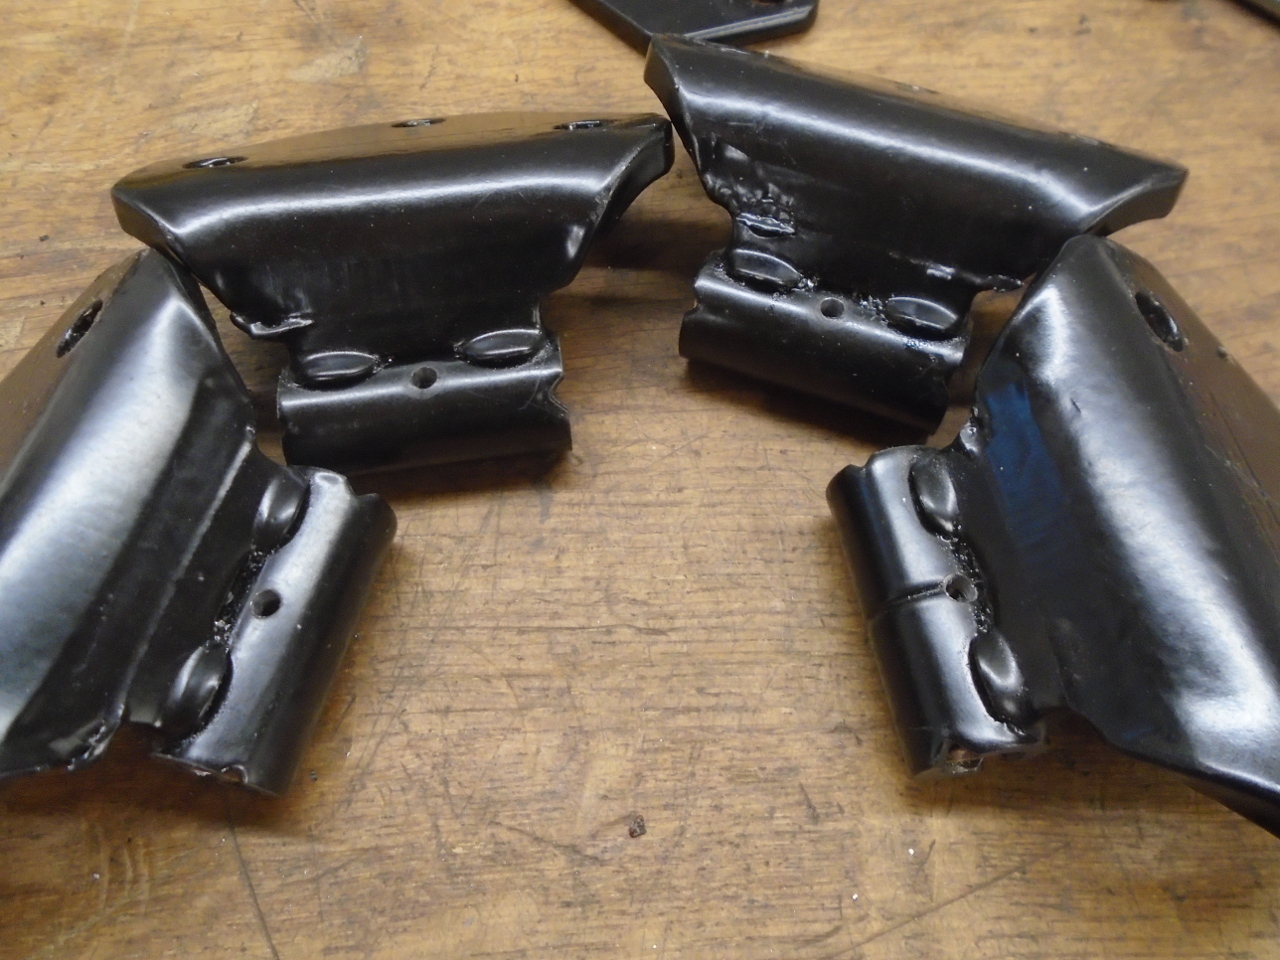
The bushings are 5/8" long each, while the barrel of the hinge is
1.5". This leaves 1/4". I divided that into two 1/8"
gaps, one between the two bushings, and one at the top of the
barrel. My intent is that these gaps serve as small
reservoirs for oil. Access to the top reservoir is through
the notches in the top of the barrel, while access to the middle
one is through a small drilled hole.
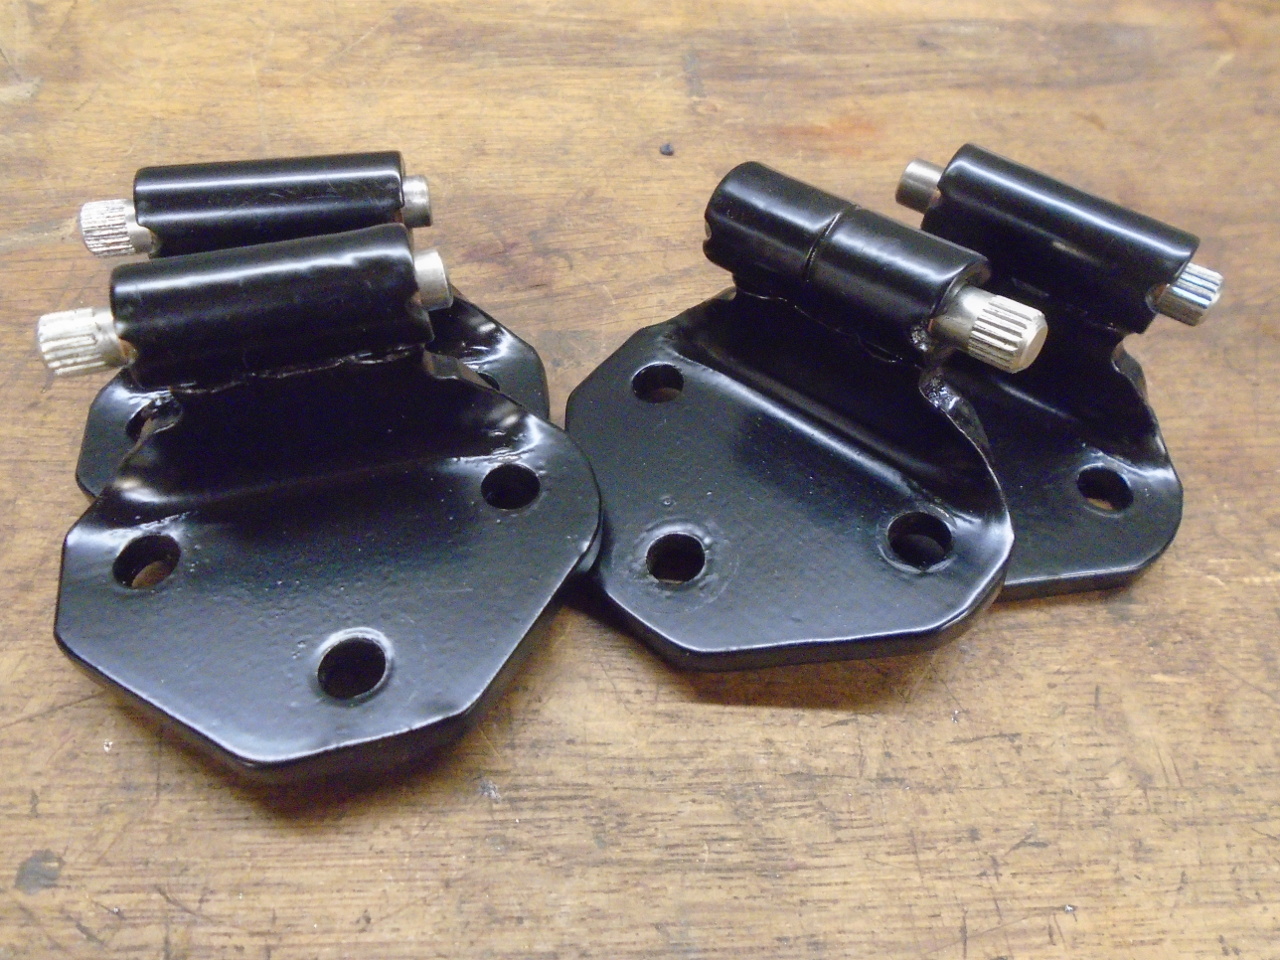
The hinge parts are all the same, but they become handed when
assembled. The pins need to be inserted from the top, which
makes the assembled hinges on the right side of the car mirror
images of those on the left.
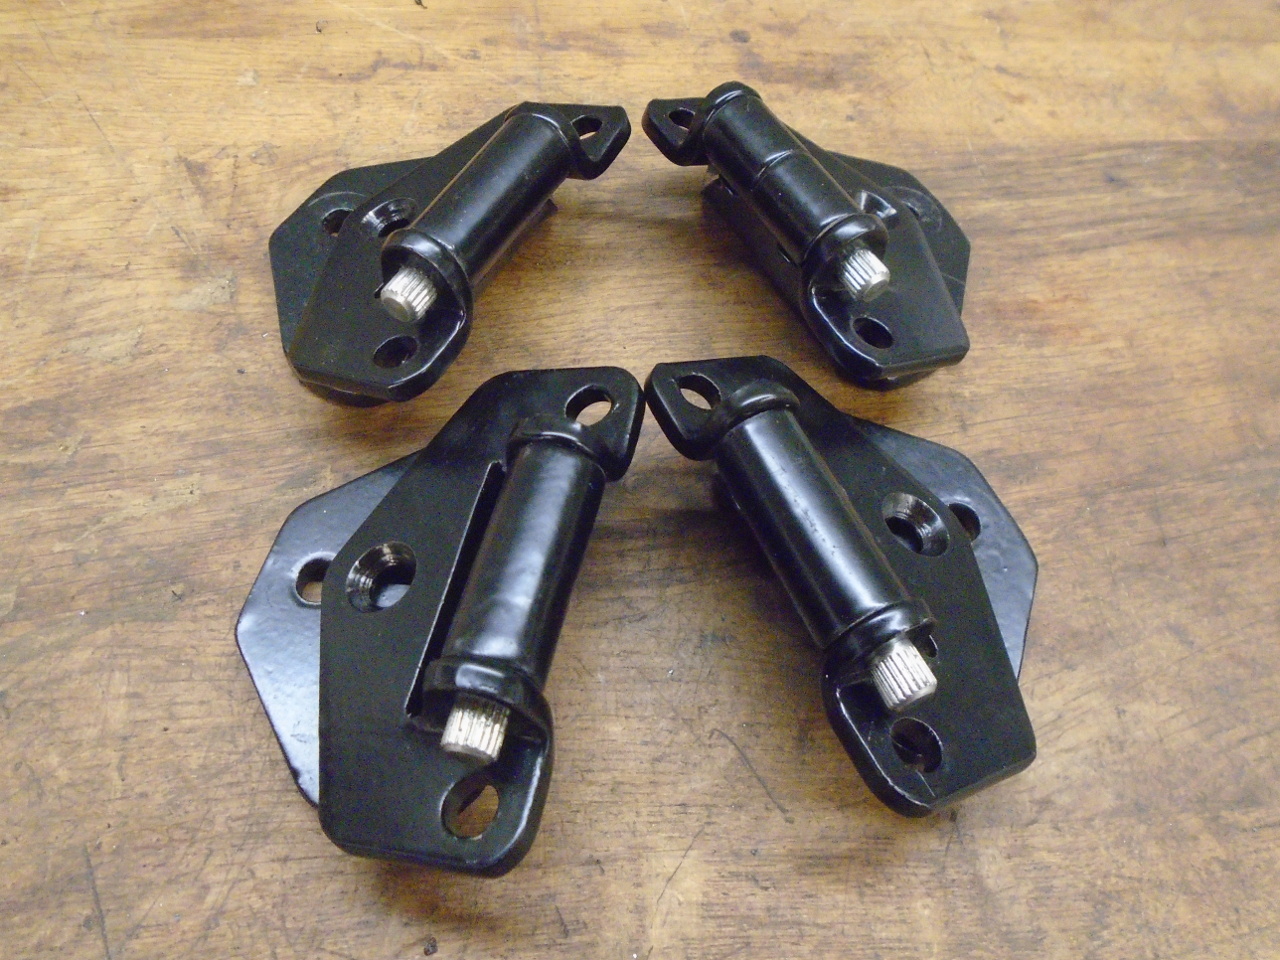
So here we are, all lubed up, and pins pressed in.
This was a silly little project, but I usually like those.
Cost was minimal, but I saved $100+ in exchange for some pleasant
shop time.
Comments to Ed at elhollin1@yahoo.com
To my other GT6
pages