To my other GT6
pages
August 19, 2020
Outer Sills
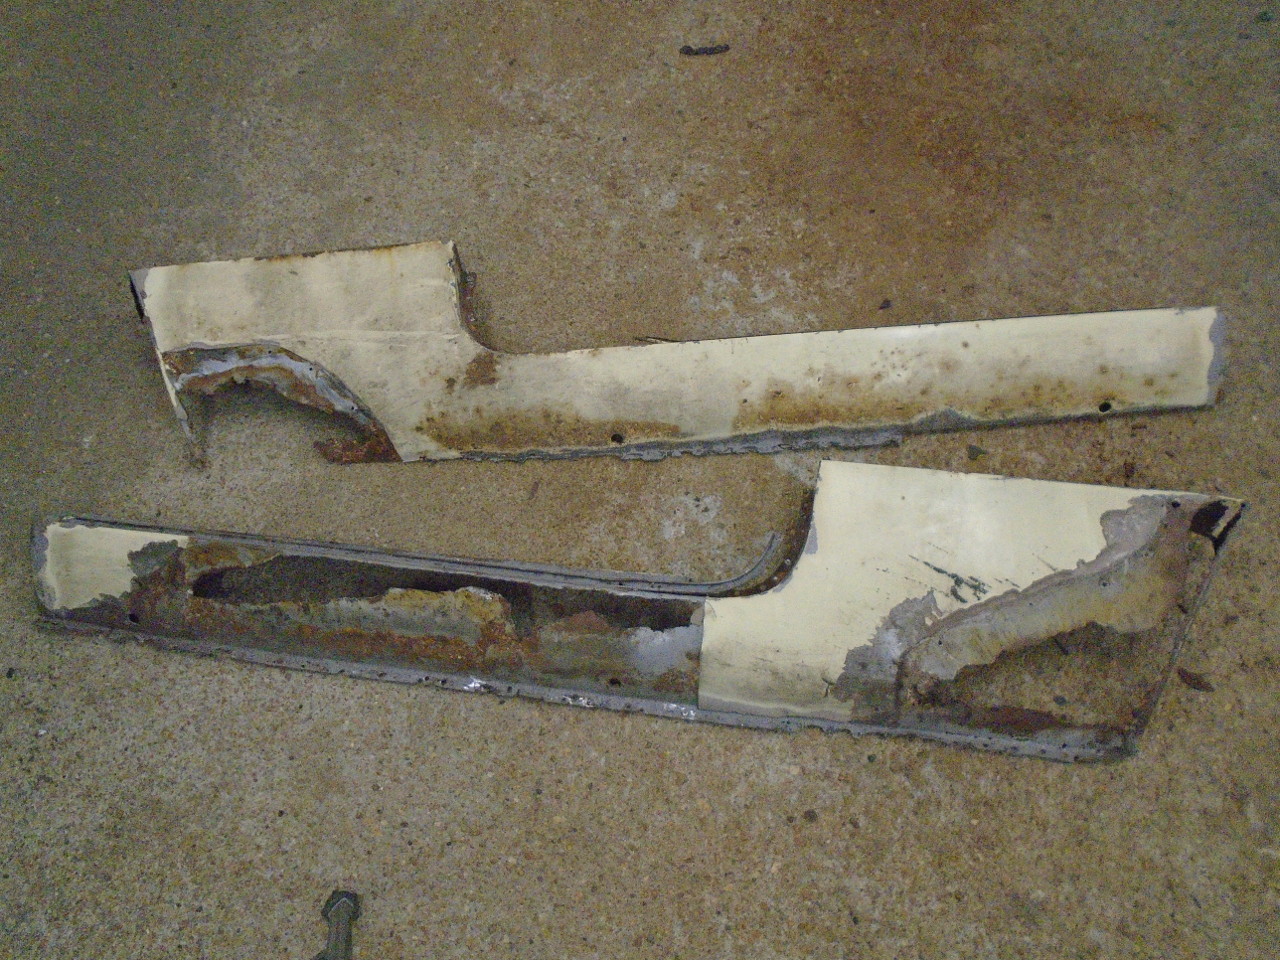
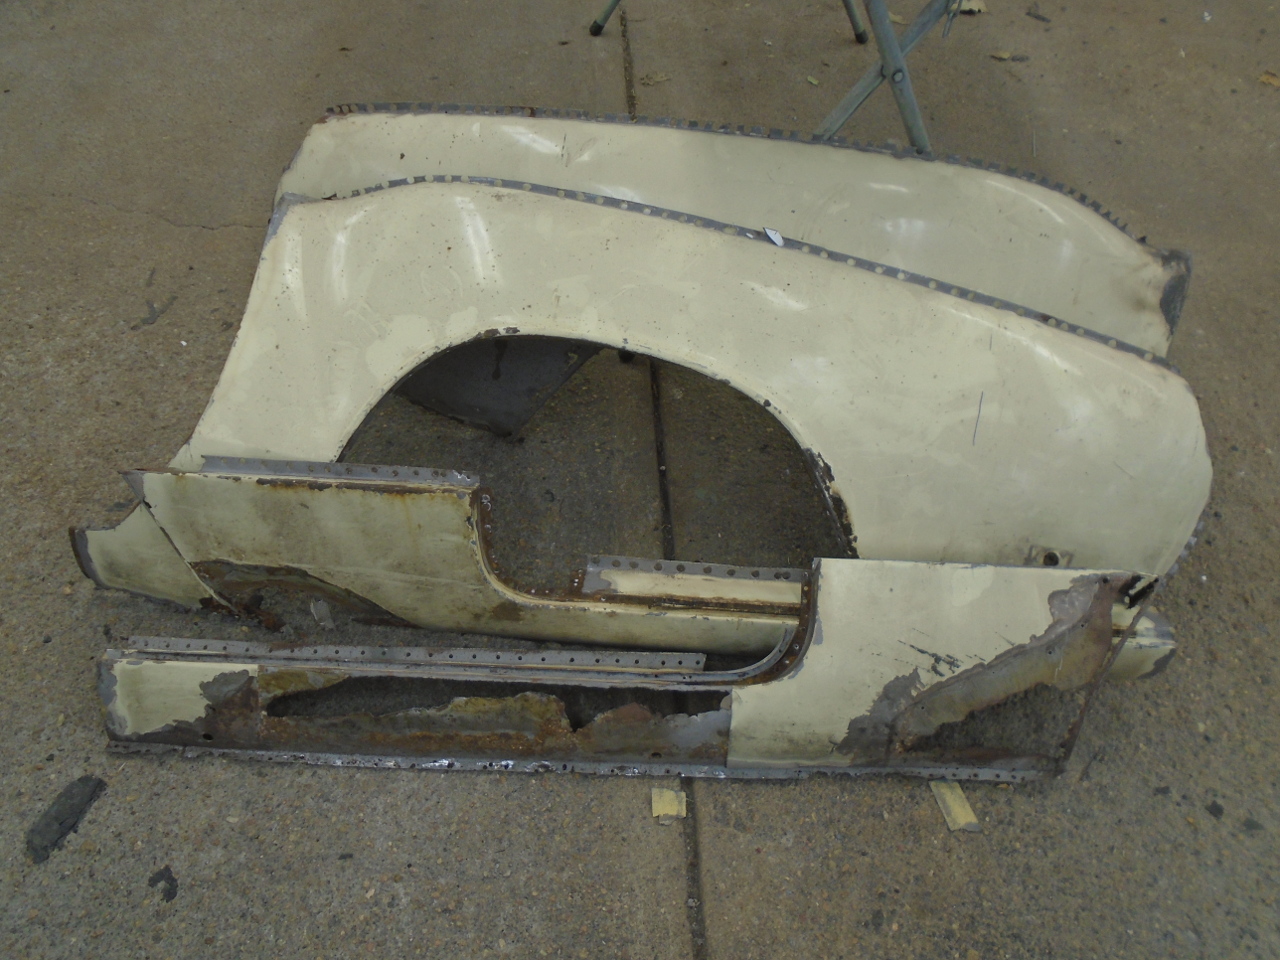
Well, with the rear wings securely mounted to the tub, the only
remaining major skin component to deal with was the outer
sills. I pulled the originals from the dark corner of the
garage and had a look at them. They had been extensively
repaired back in the 80s, and I removed most of the shoddy
fixes. While I think I could have repaired these sills, in
the interest of moving the project along a little faster, I
ordered new ones.
Before even trial fitting, I did notice some rust damage that had
to be fixed right at where the leading point of the sills had to
mount. A little surgery to both sides was required.
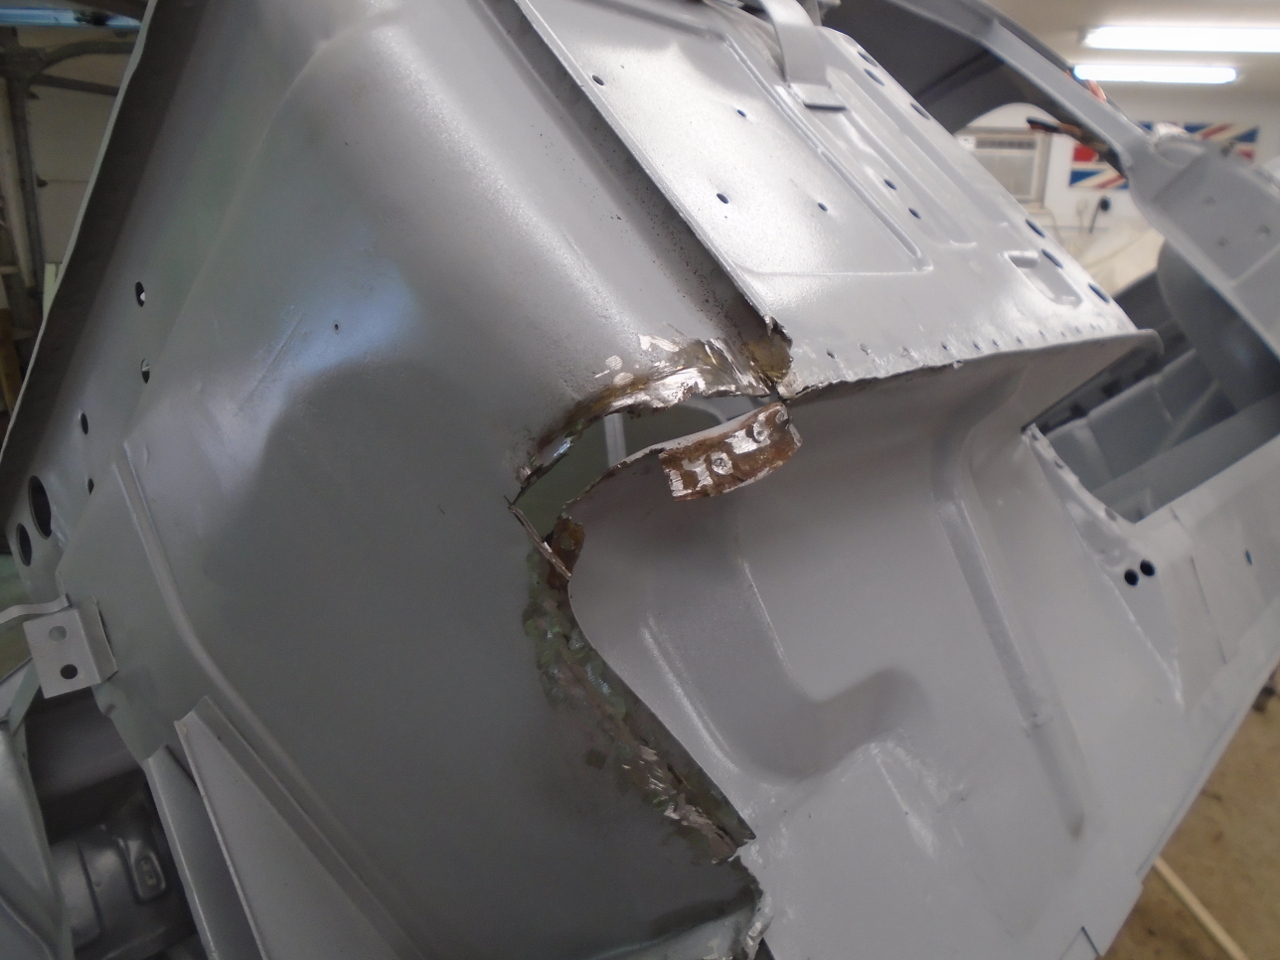
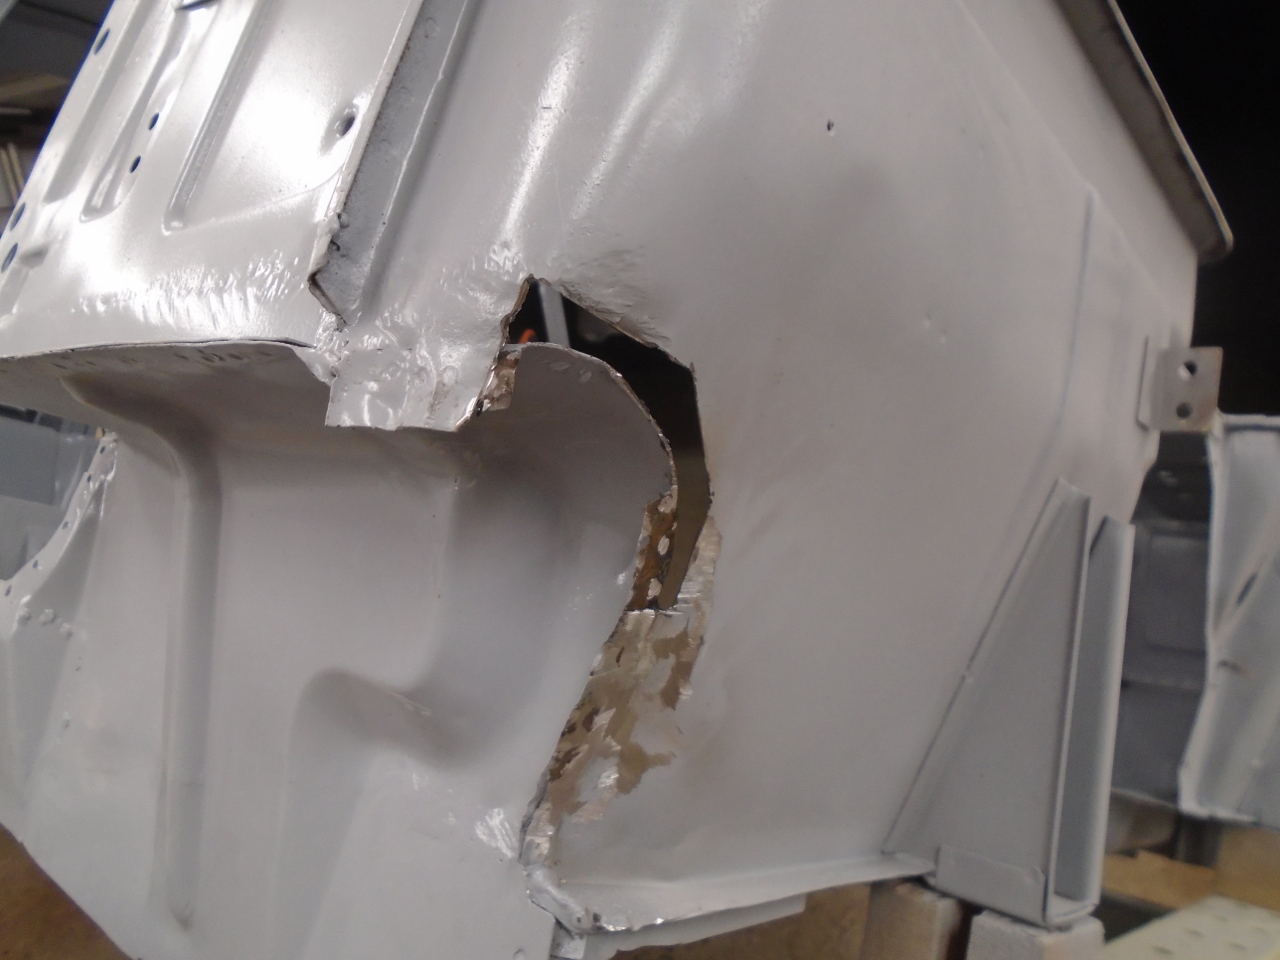
Even then, one side didn't fit well at that place. A
little more surgery.

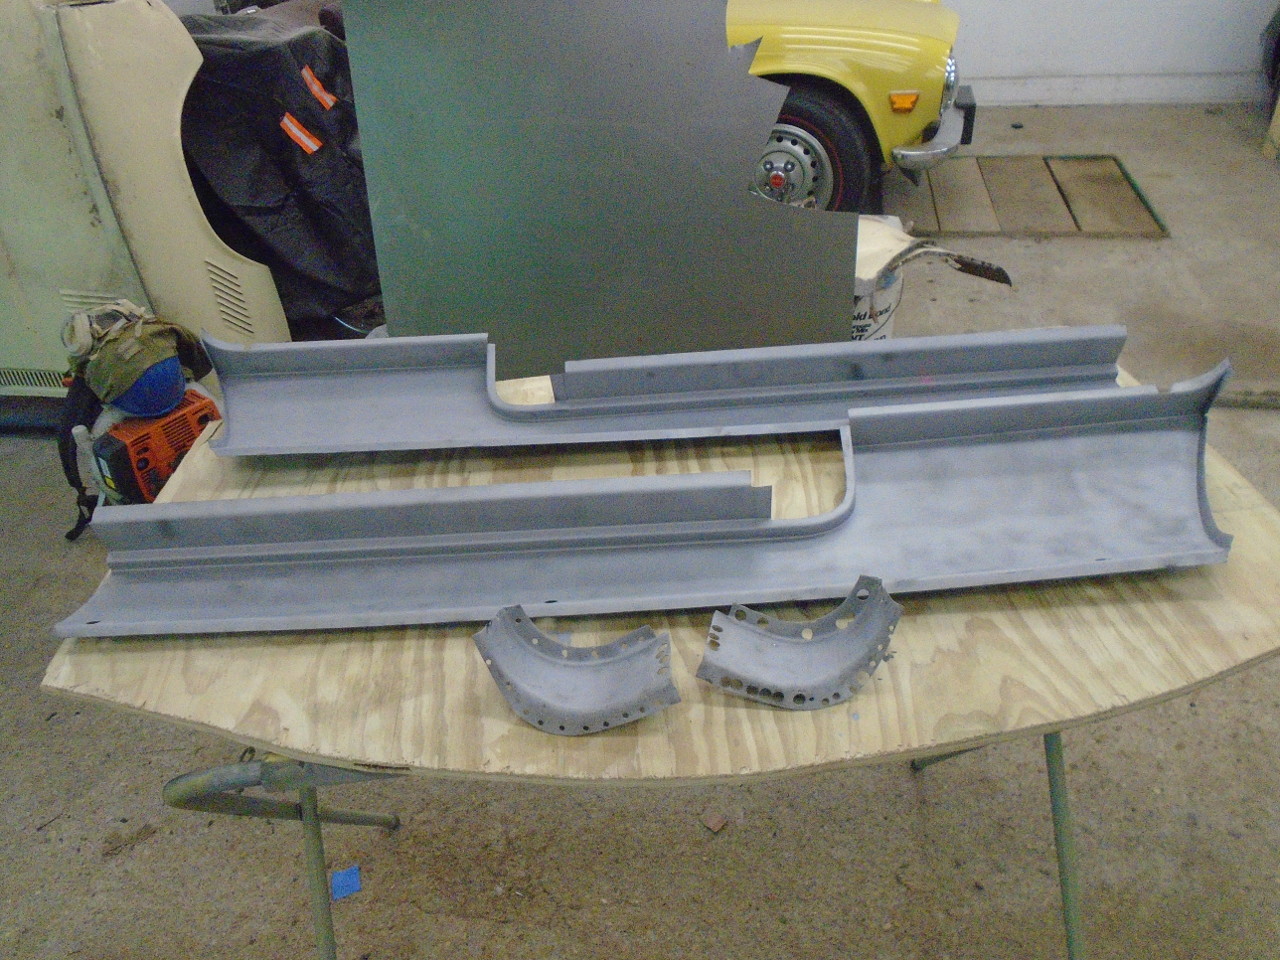
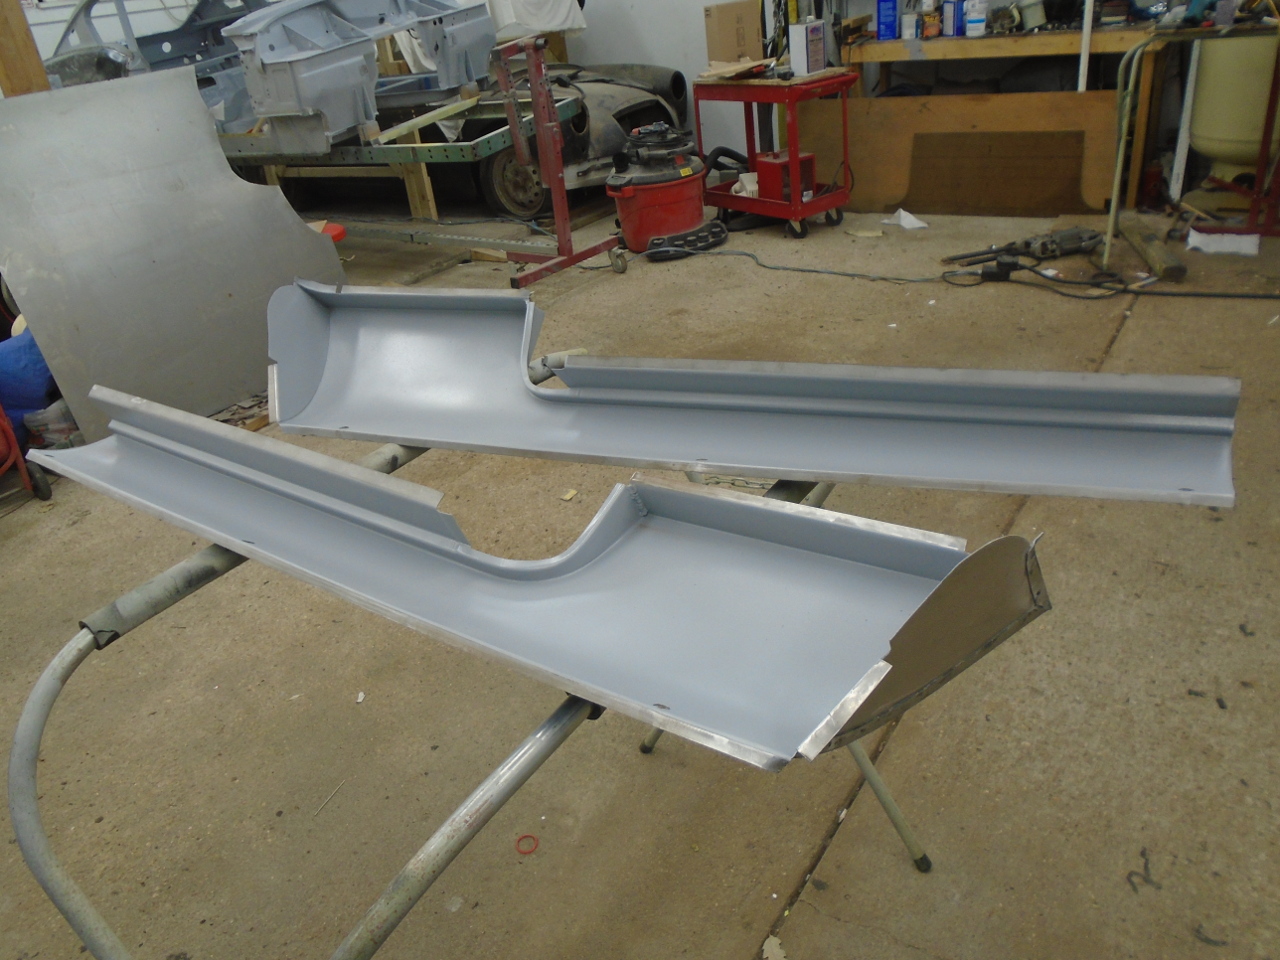
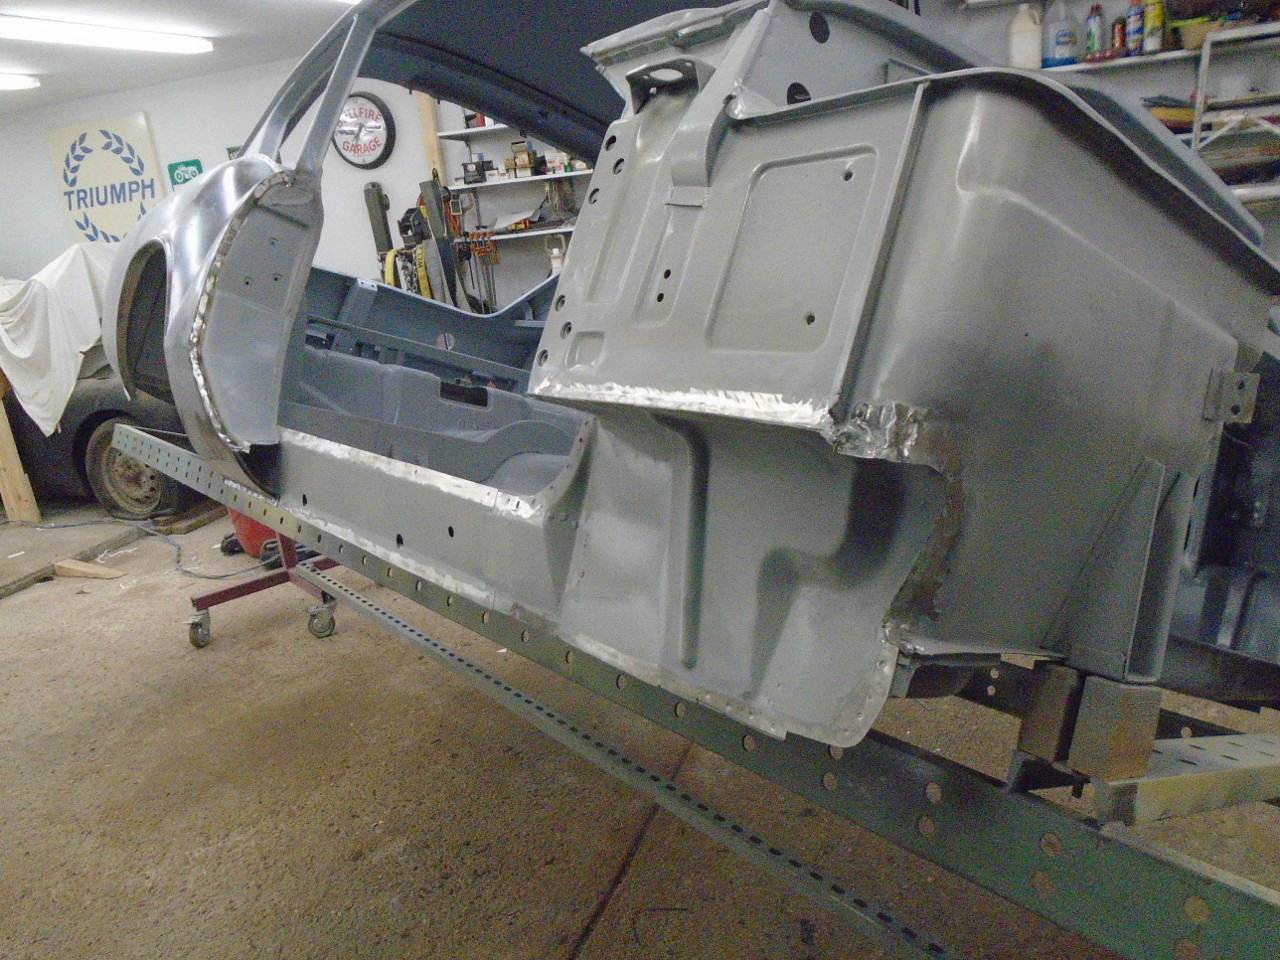
Finally, after a few more minor tweaks, the sills seemed to fit
OK. I blasted the inside surfaces in preparation for epoxy
primer.
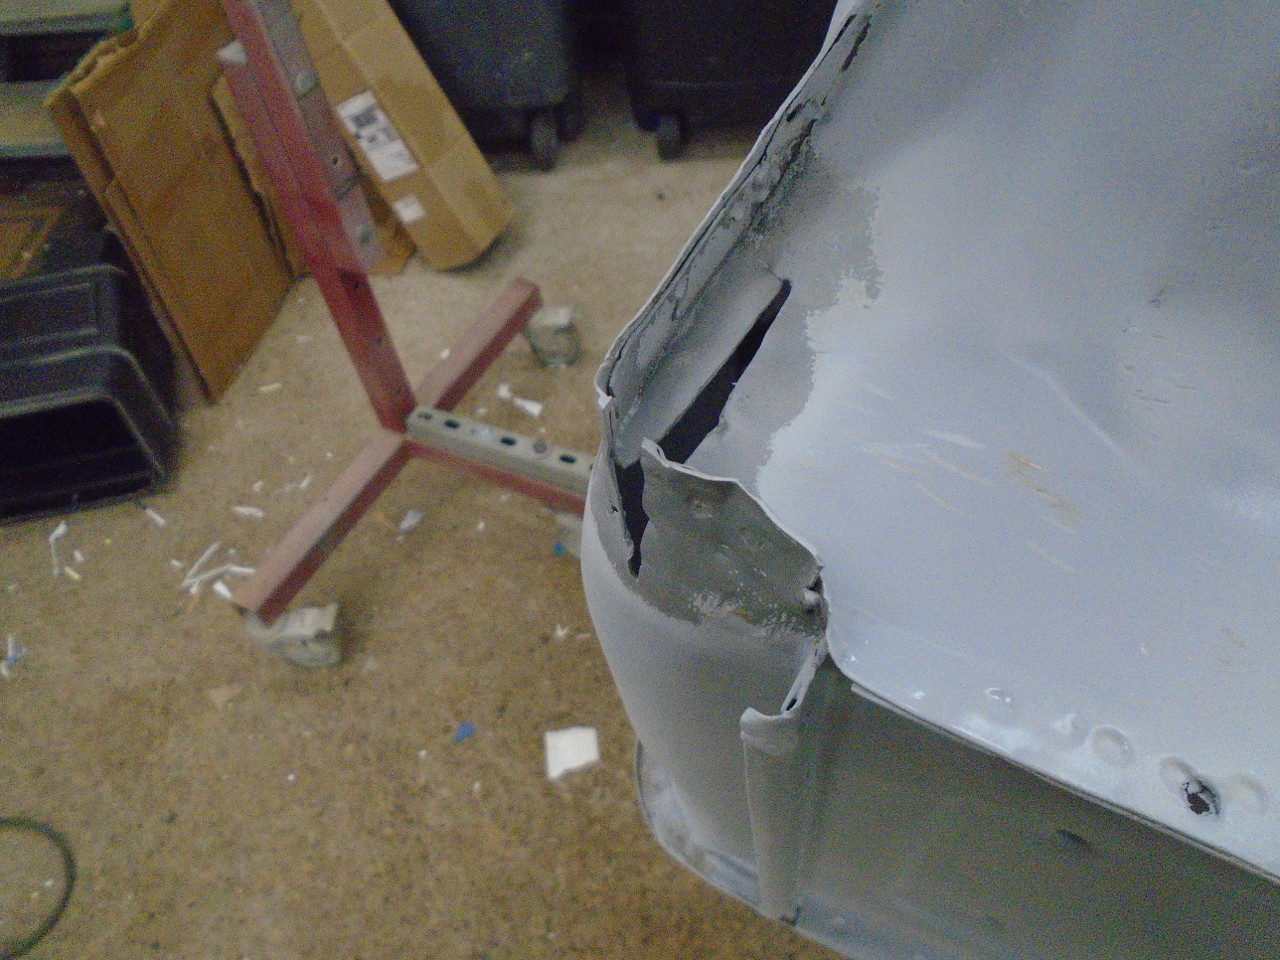
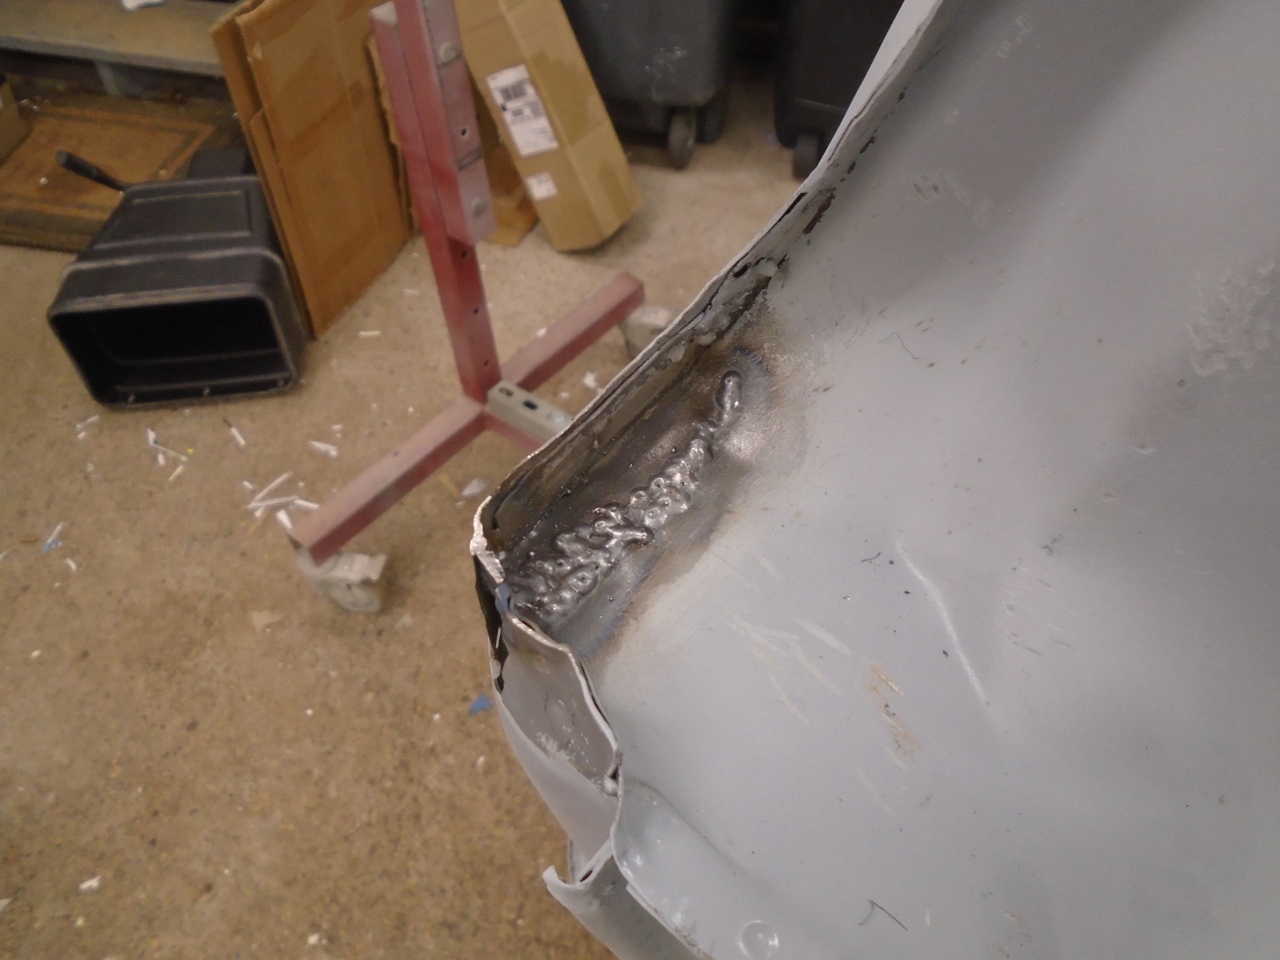
There is one place where the new sills came unfinished. The
seam at the front of the door opening had to be closed and welded.

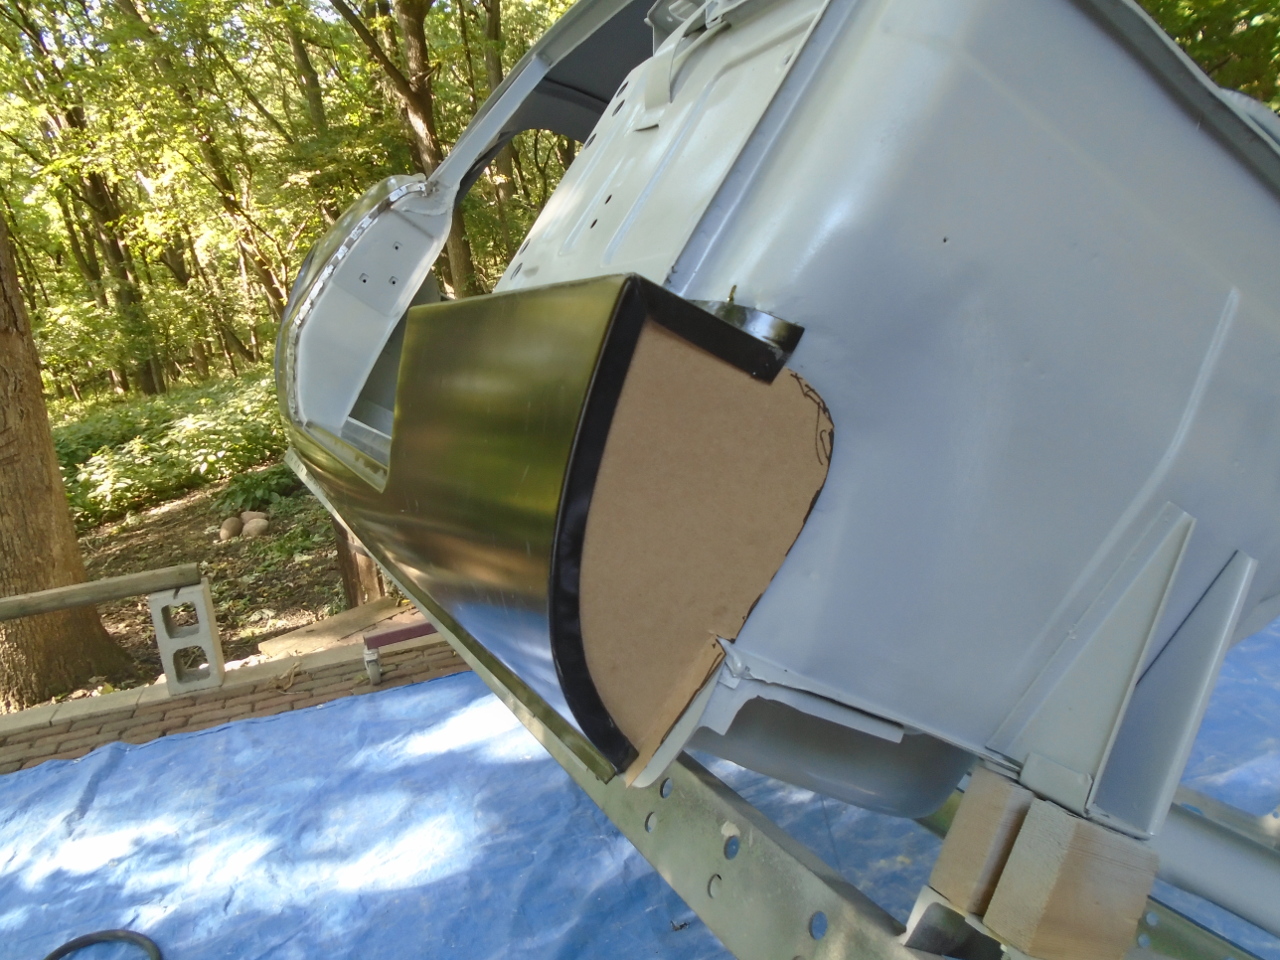
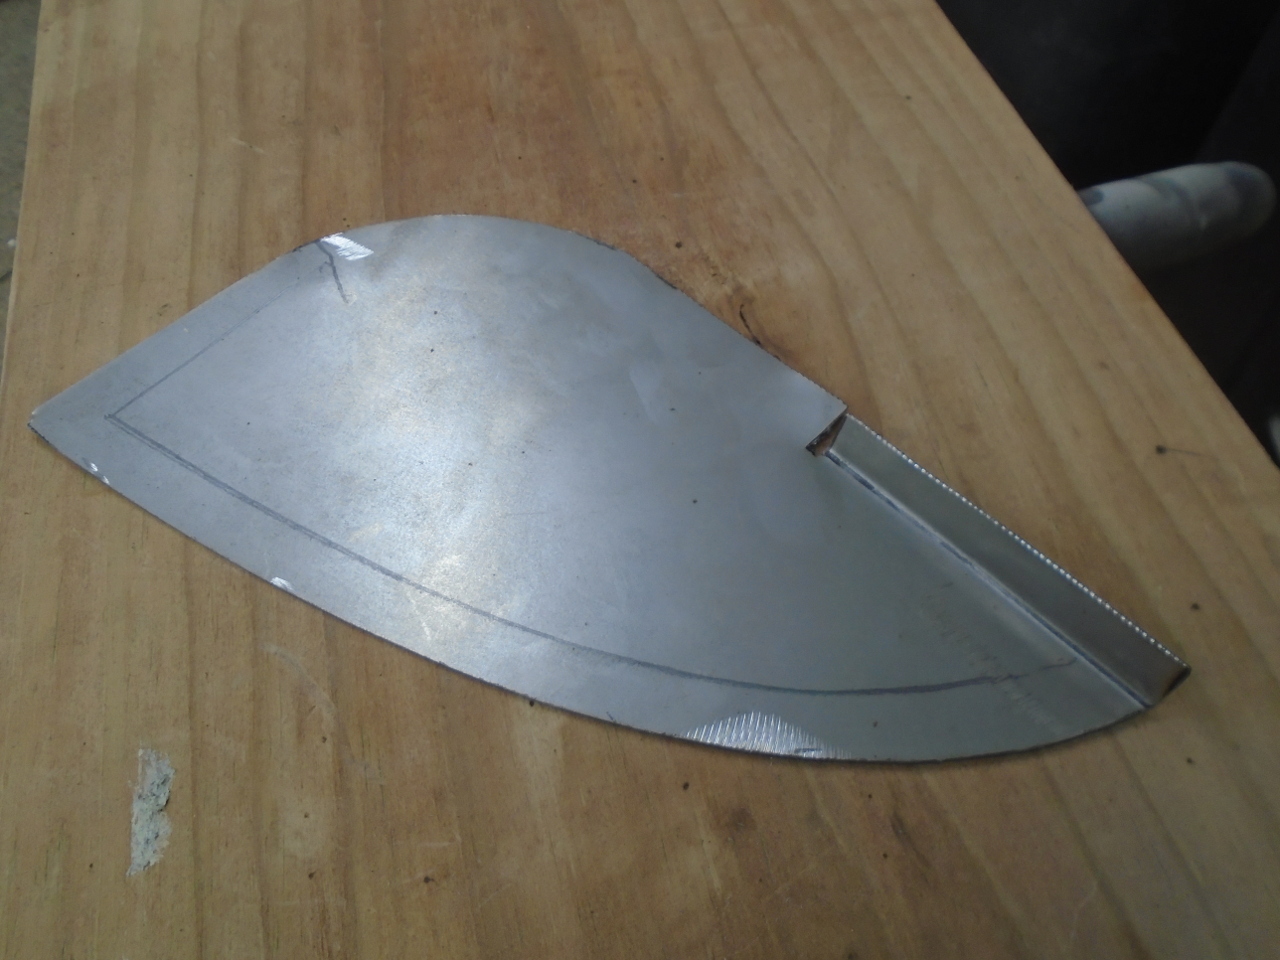
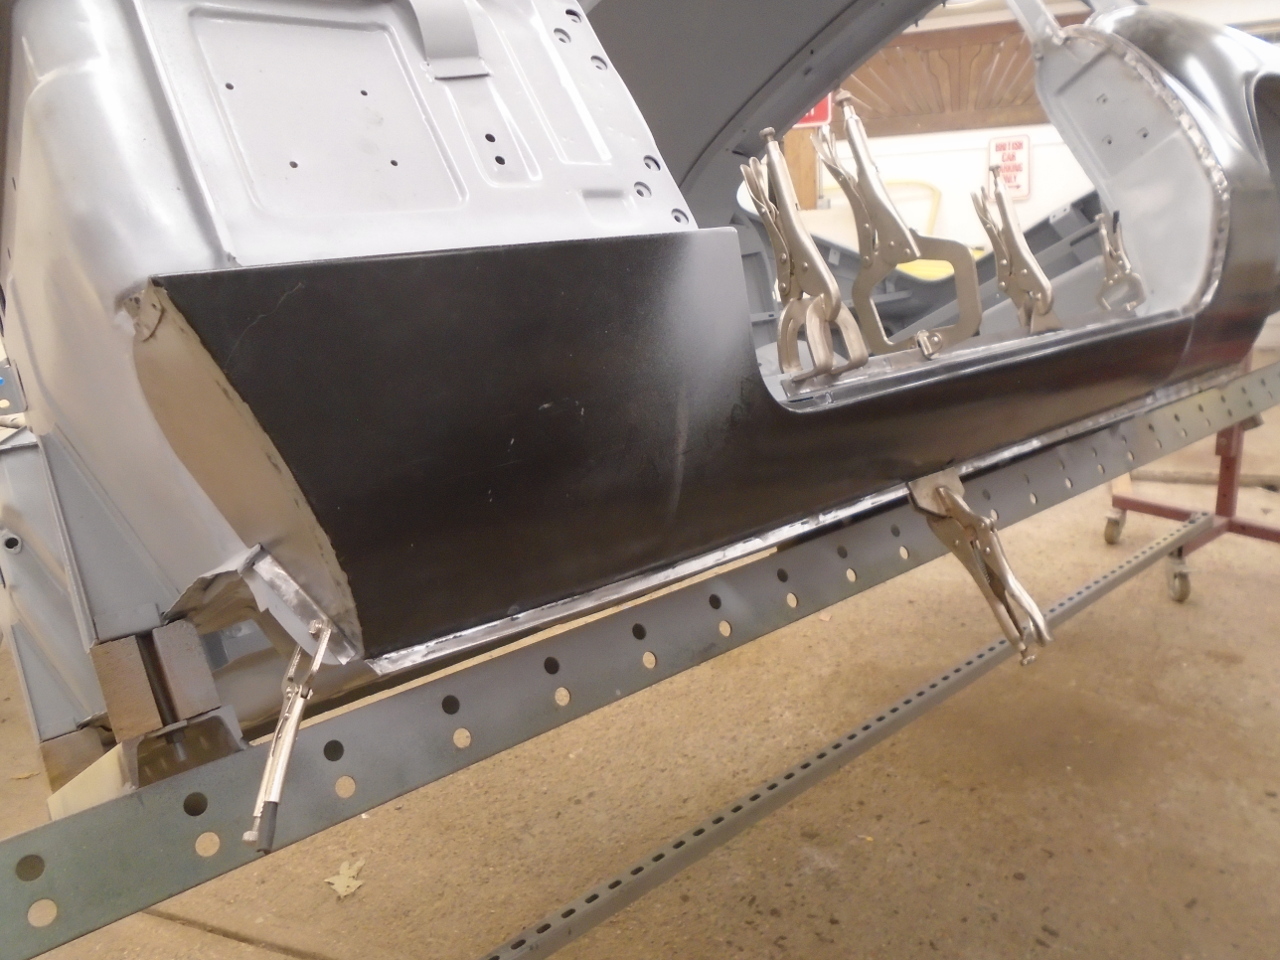
There are also the plates that close off the front of the sills at
the firewall. These can be bought, but honestly, they are so
simple, it's silly to not just make them. Started with a
cardboard template, then transferred to metal.
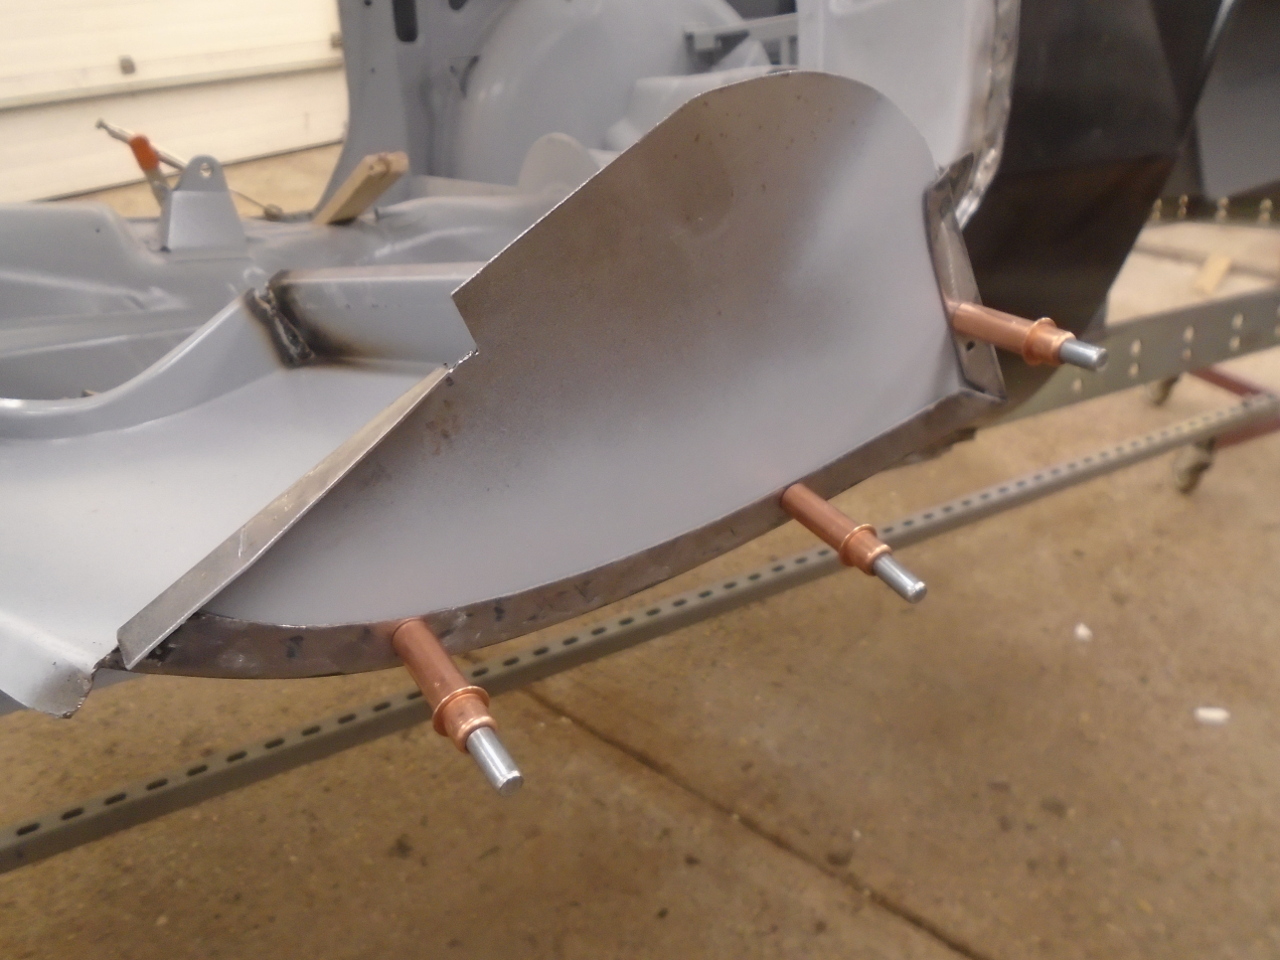
Then spot welded the plates to the sills, and test fitted the
assembly.
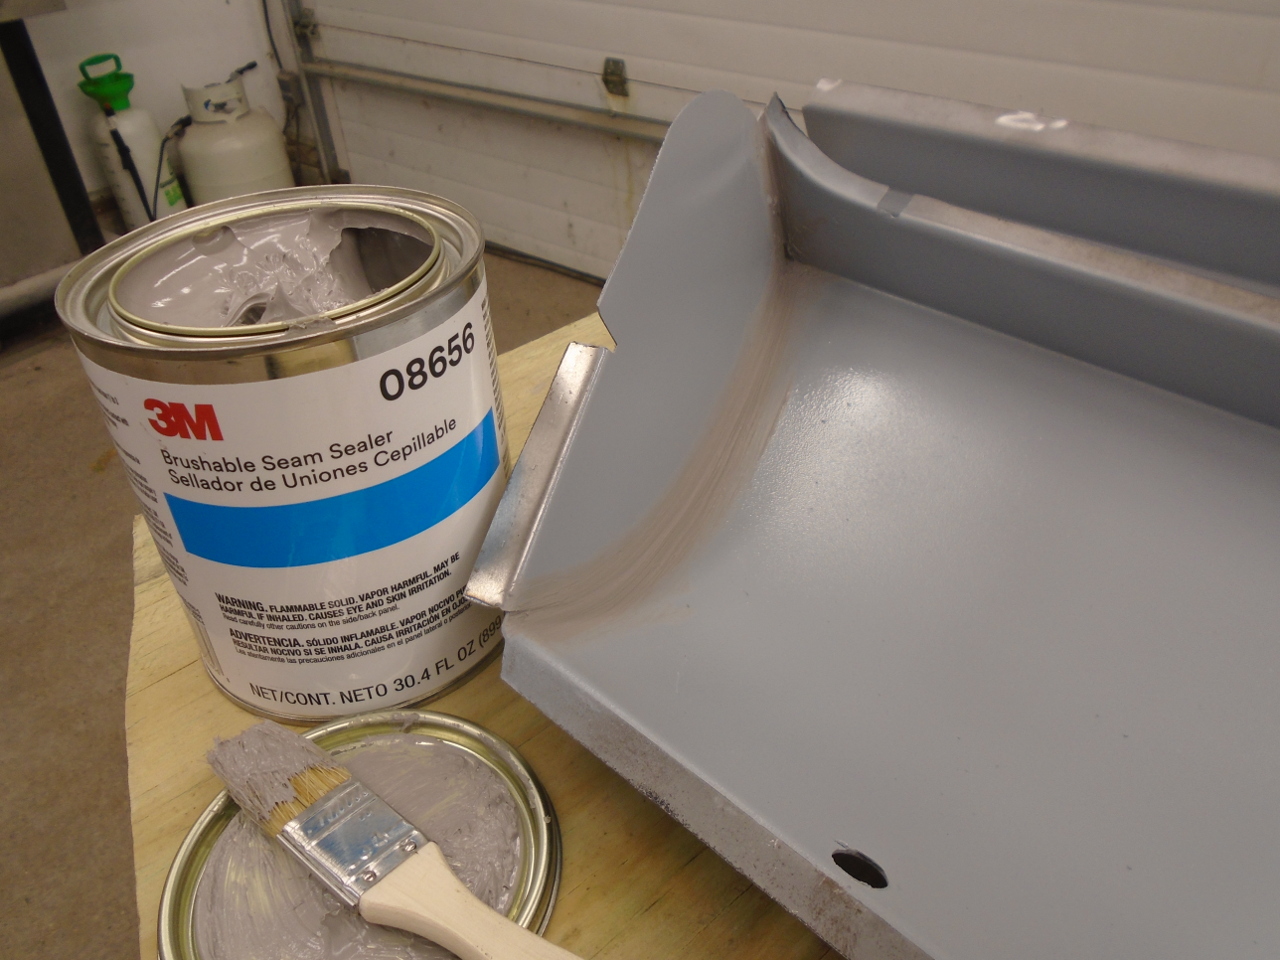
Epoxy primer on the inside, but with the weld flanges masked off.
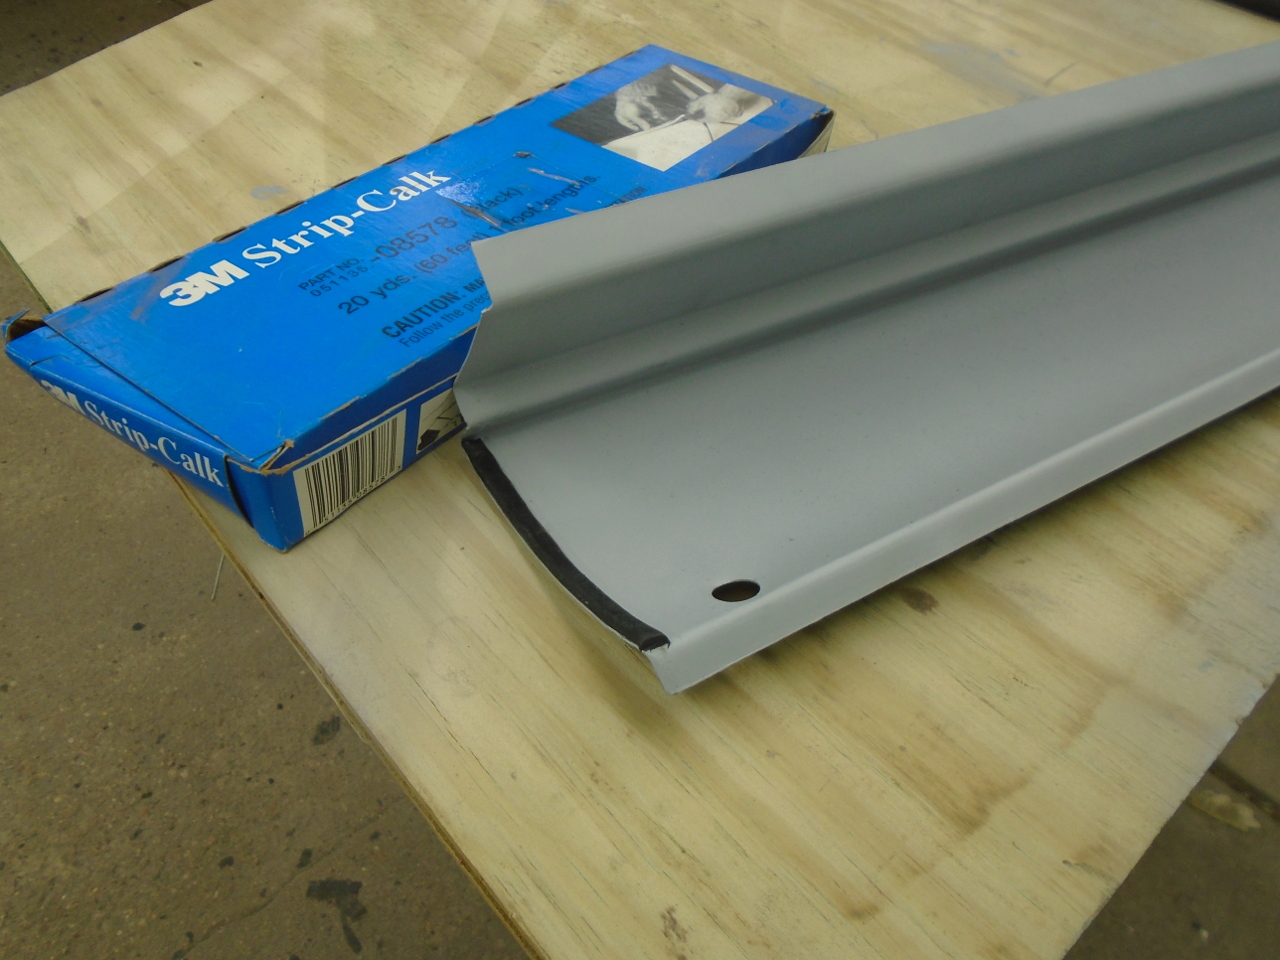
Seam sealer on the joint with the front plate. and a length of
strip caulk where the sill mates with the rear wing.
Then cleaned the epoxy off the weld areas on the body. They
got coated with weld through primer, as did the flanges on the
sills.
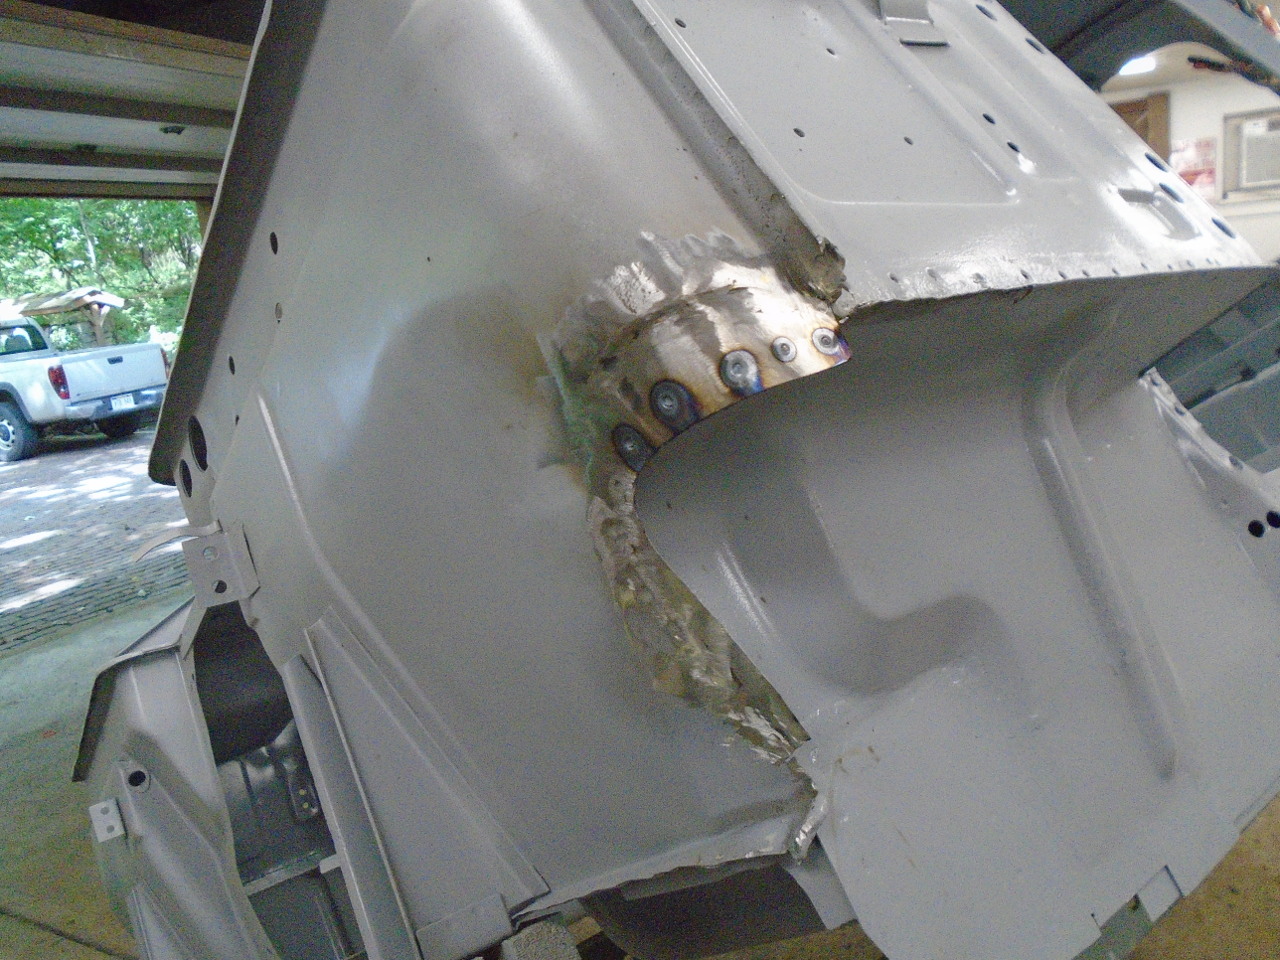
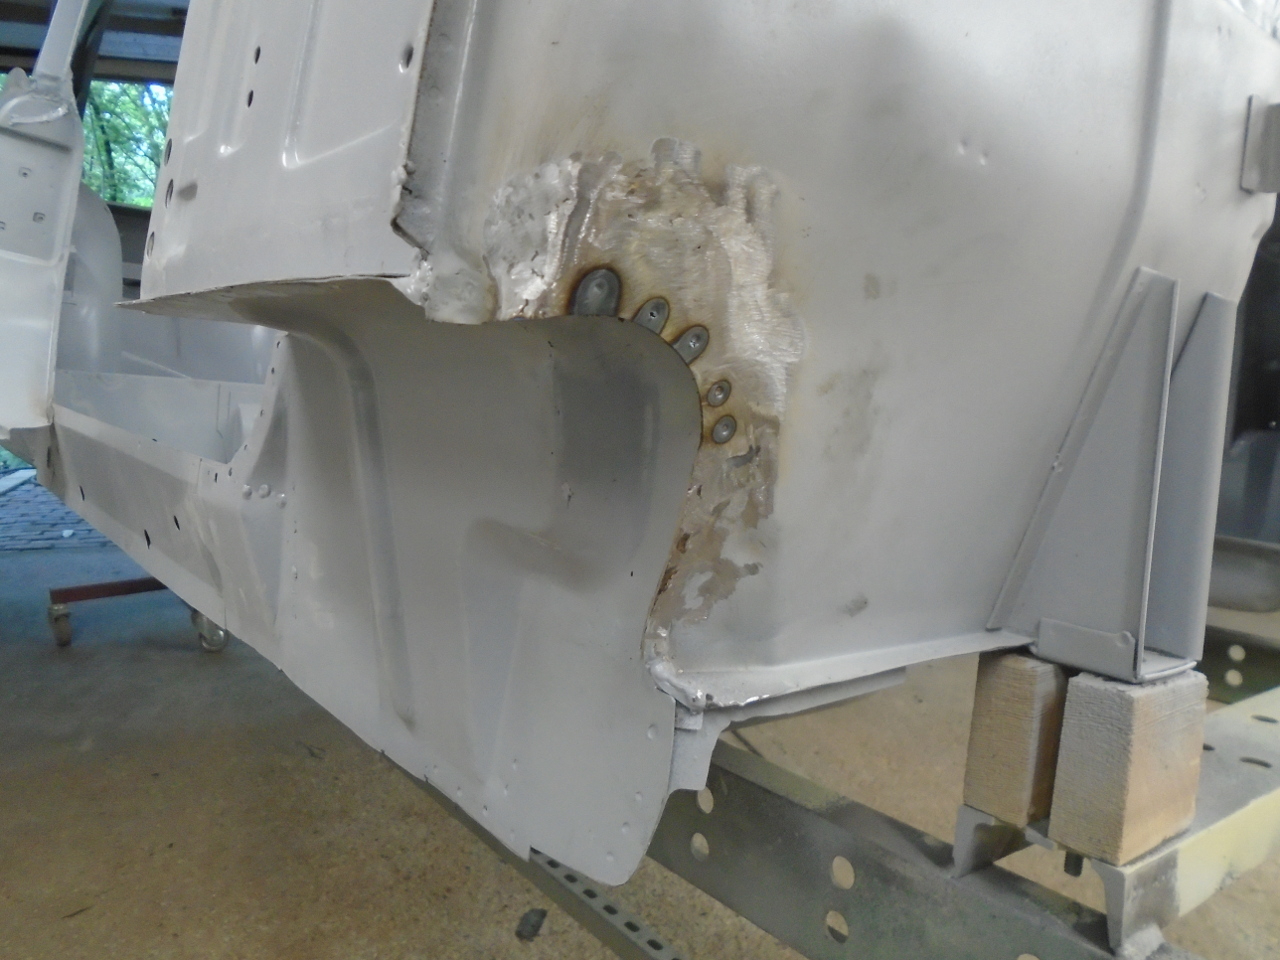
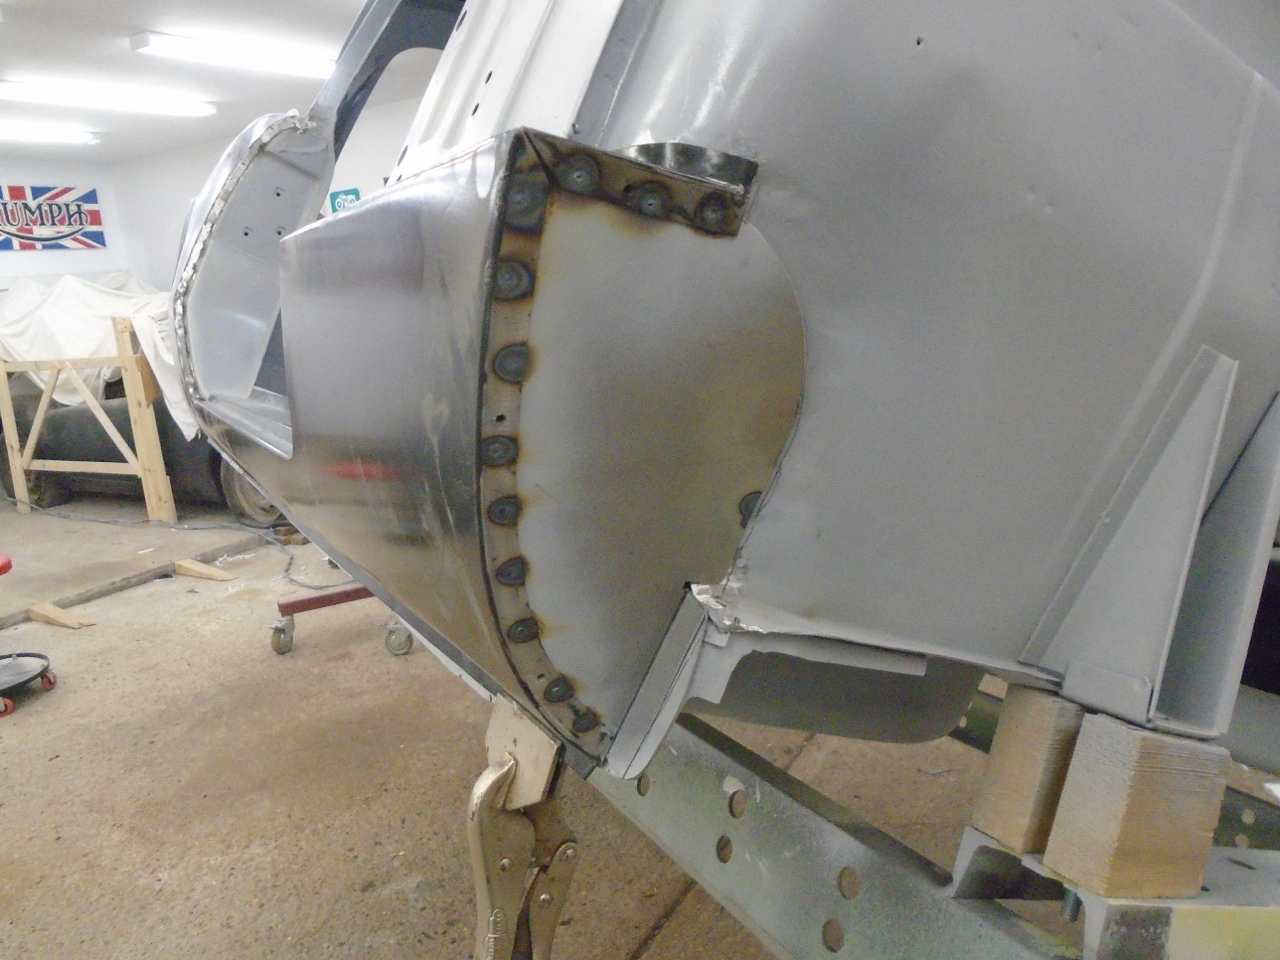
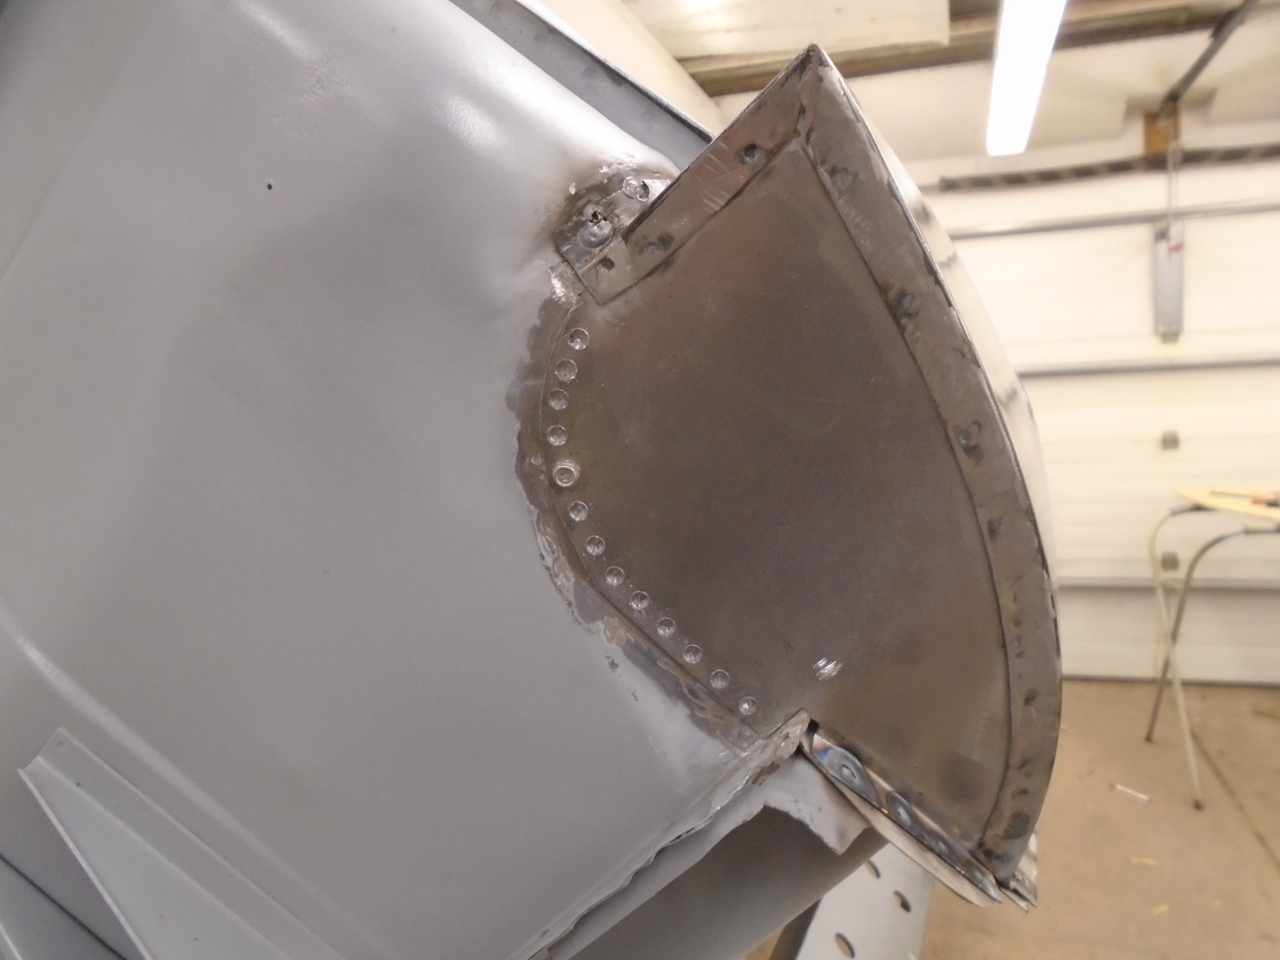
Final fitup looked good. Originally, the front sill closers
were just lap welded to the front bulkhead. I punched holes
for a series of plug welds.
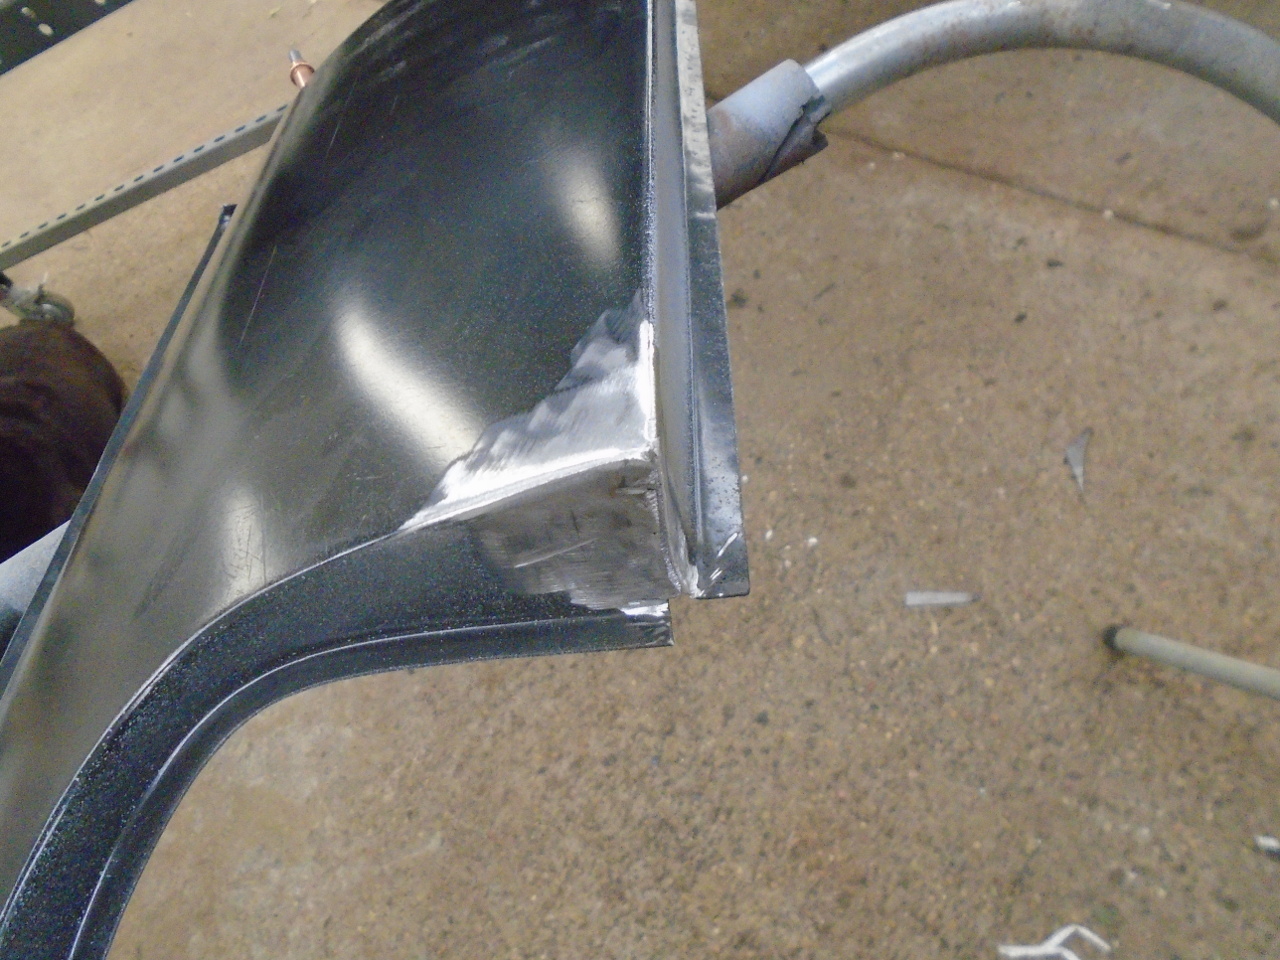
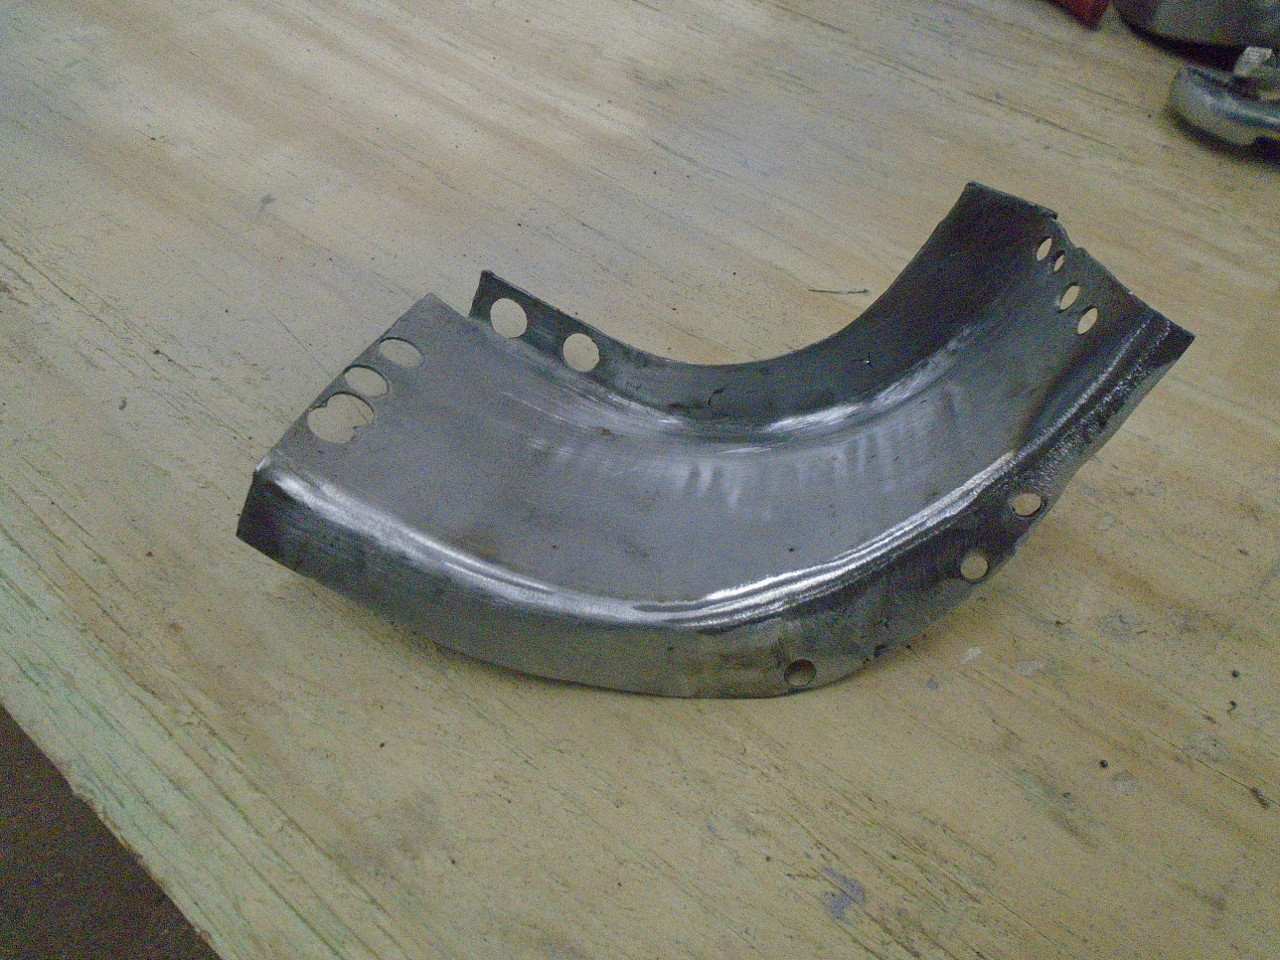
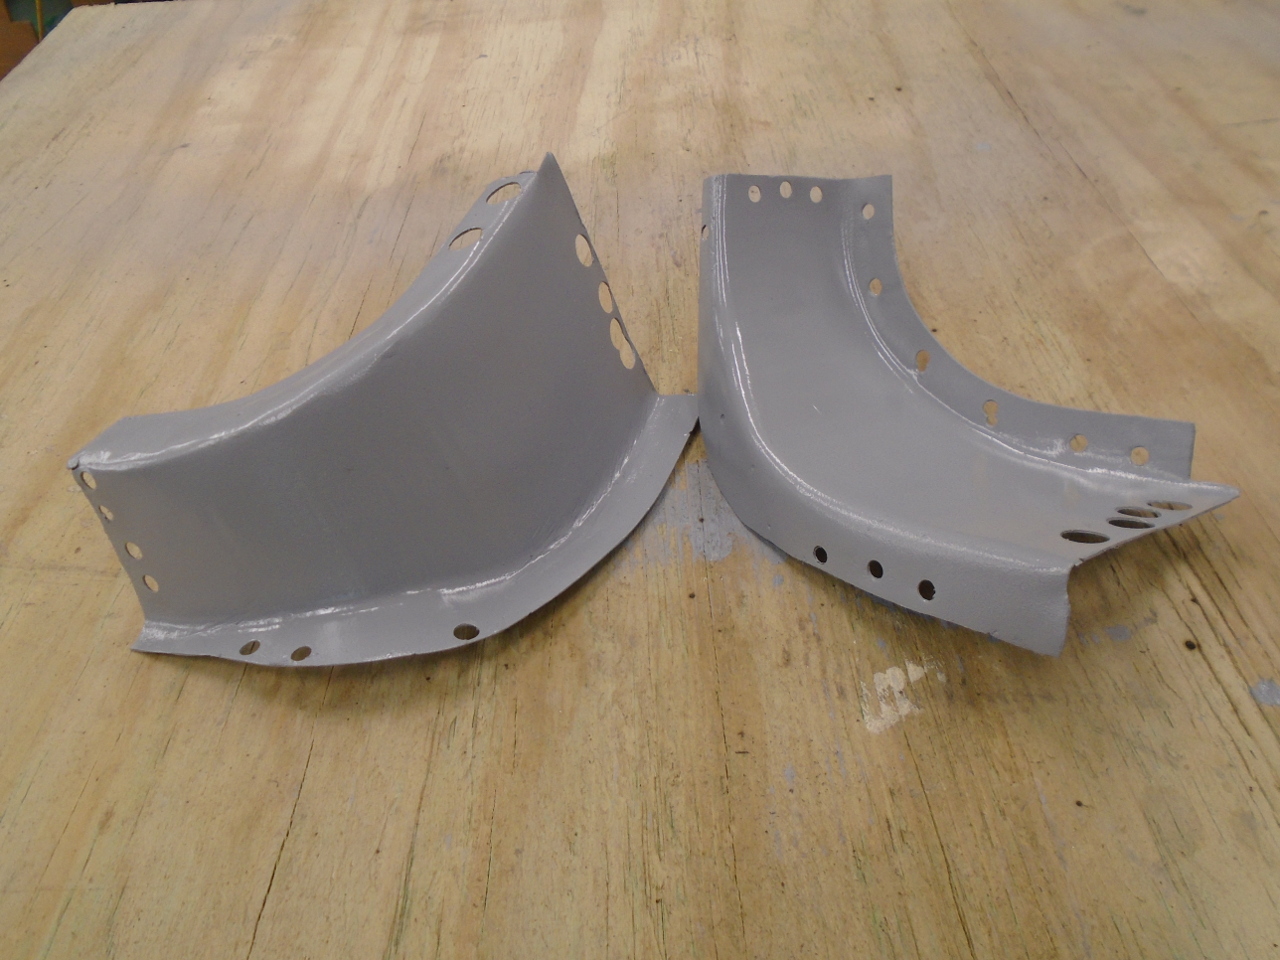
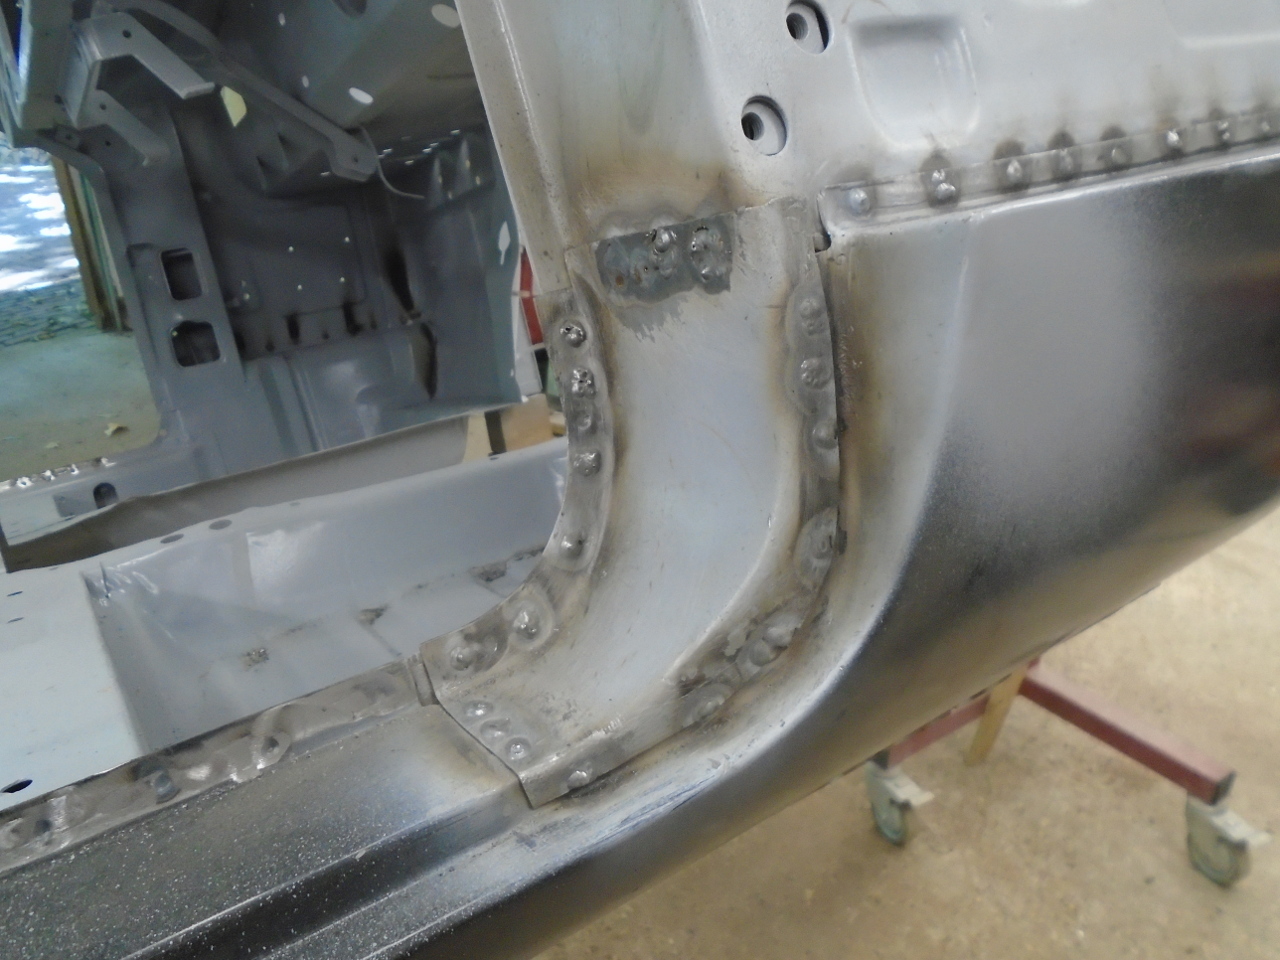
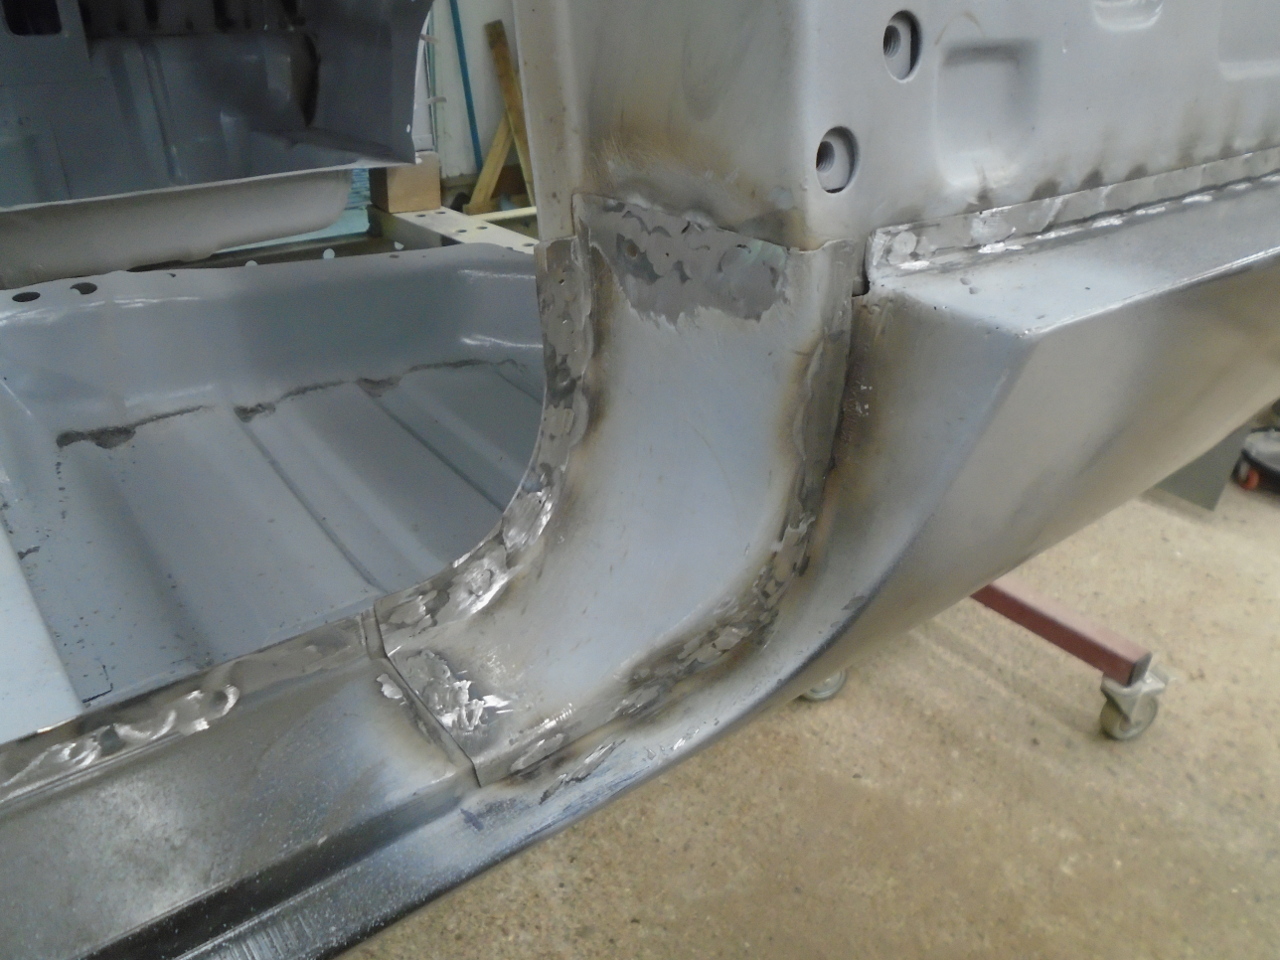
The last piece of sheet metal is the curvy transition piece at the
base of the A post. Mine were in OK shape except for all the
damage done in cutting out the spot welds.
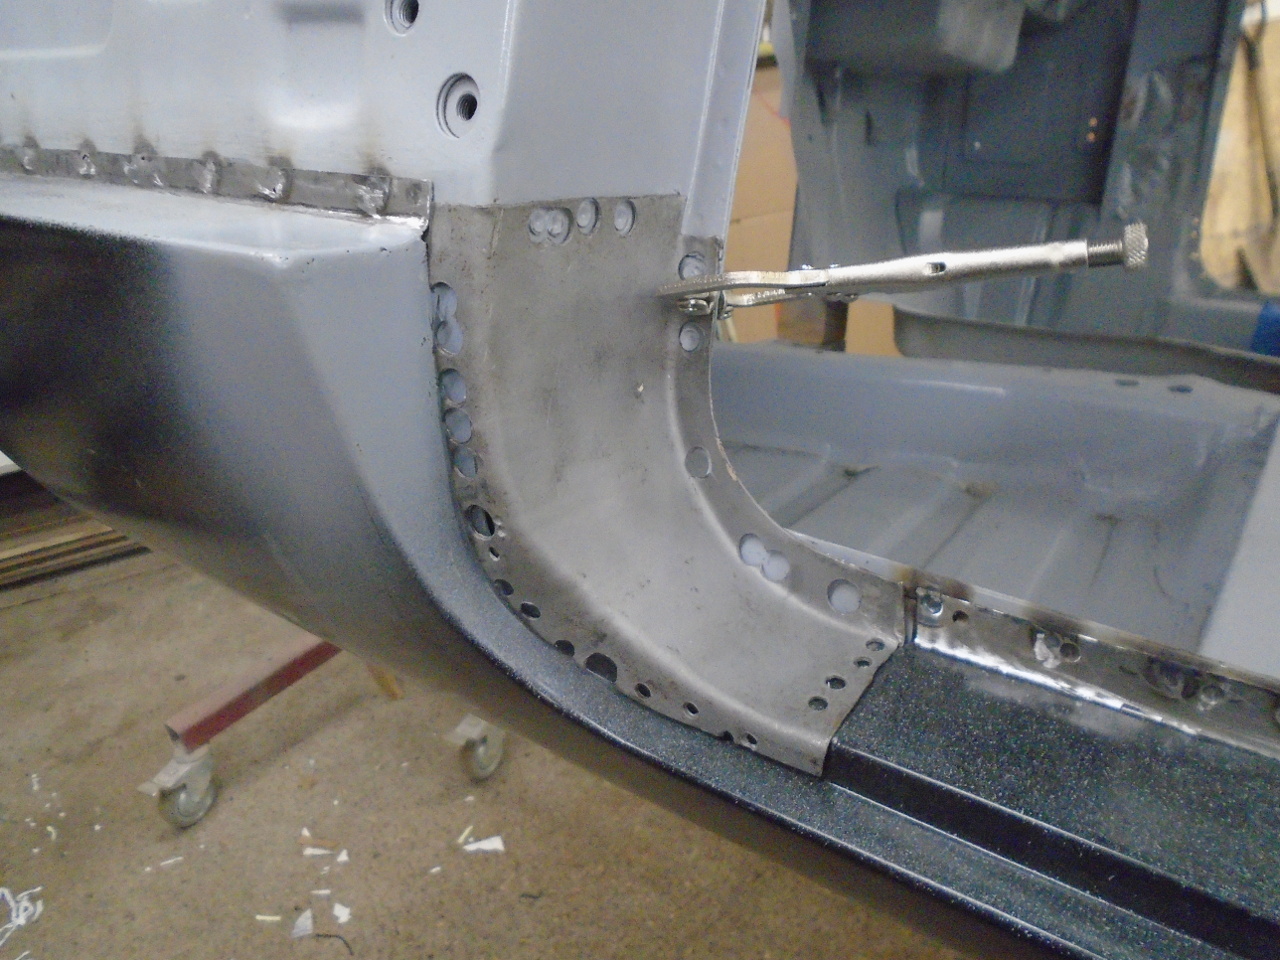
These pieces can be bought, but they seem a little pricey to
me. I just fixed up the damaged flanges by welding in new
metal, or filling the holes. The remaining holes were in the
right places for plug welds. Some of the holes served as
alignment features with the remnants of the old spot welds on the
A post.
For some reason the flanges on the sill weren't wide enough to
mate well with the transition. A little flange augmentation
was required.
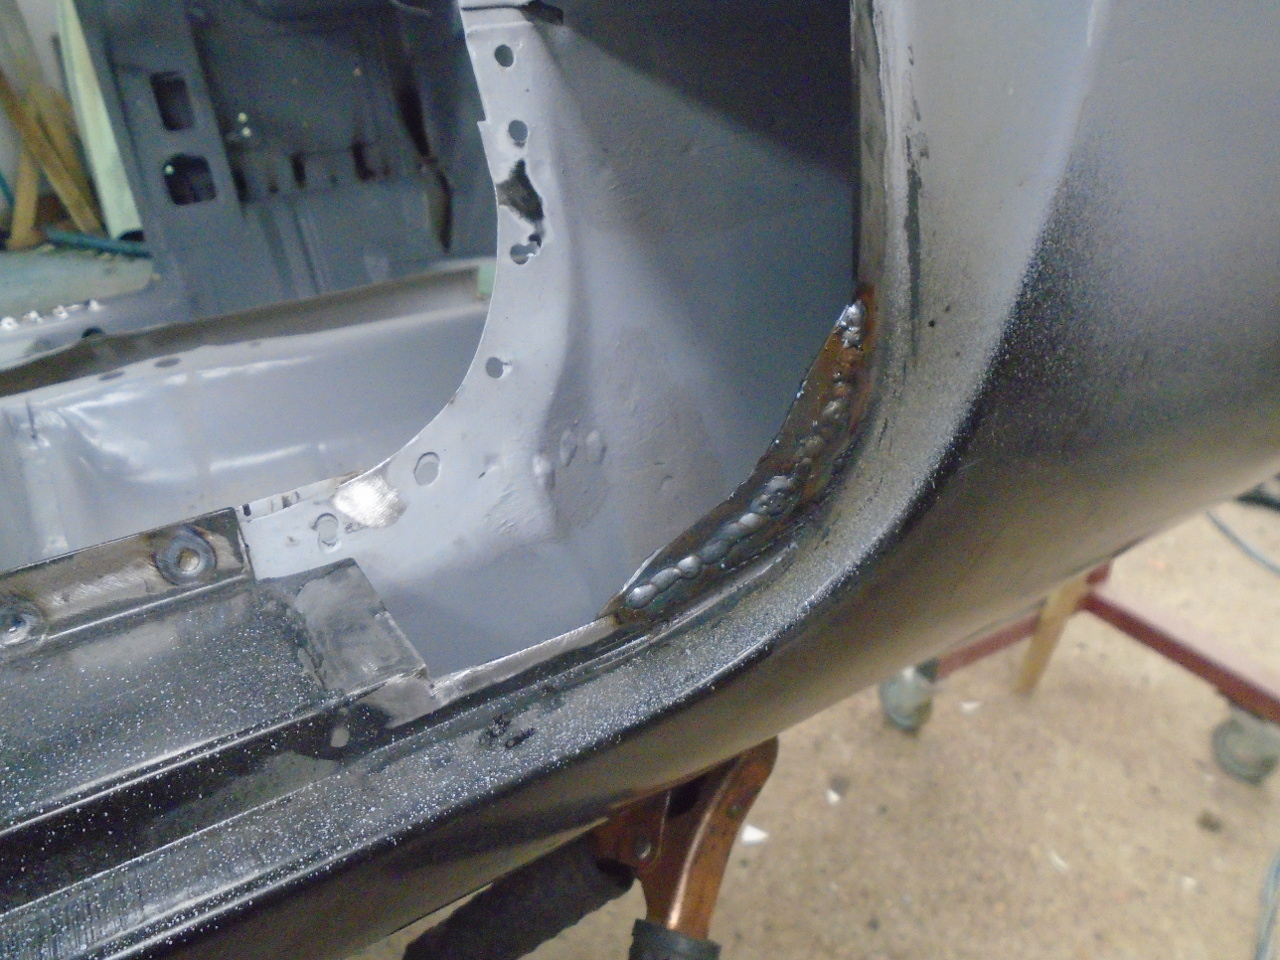
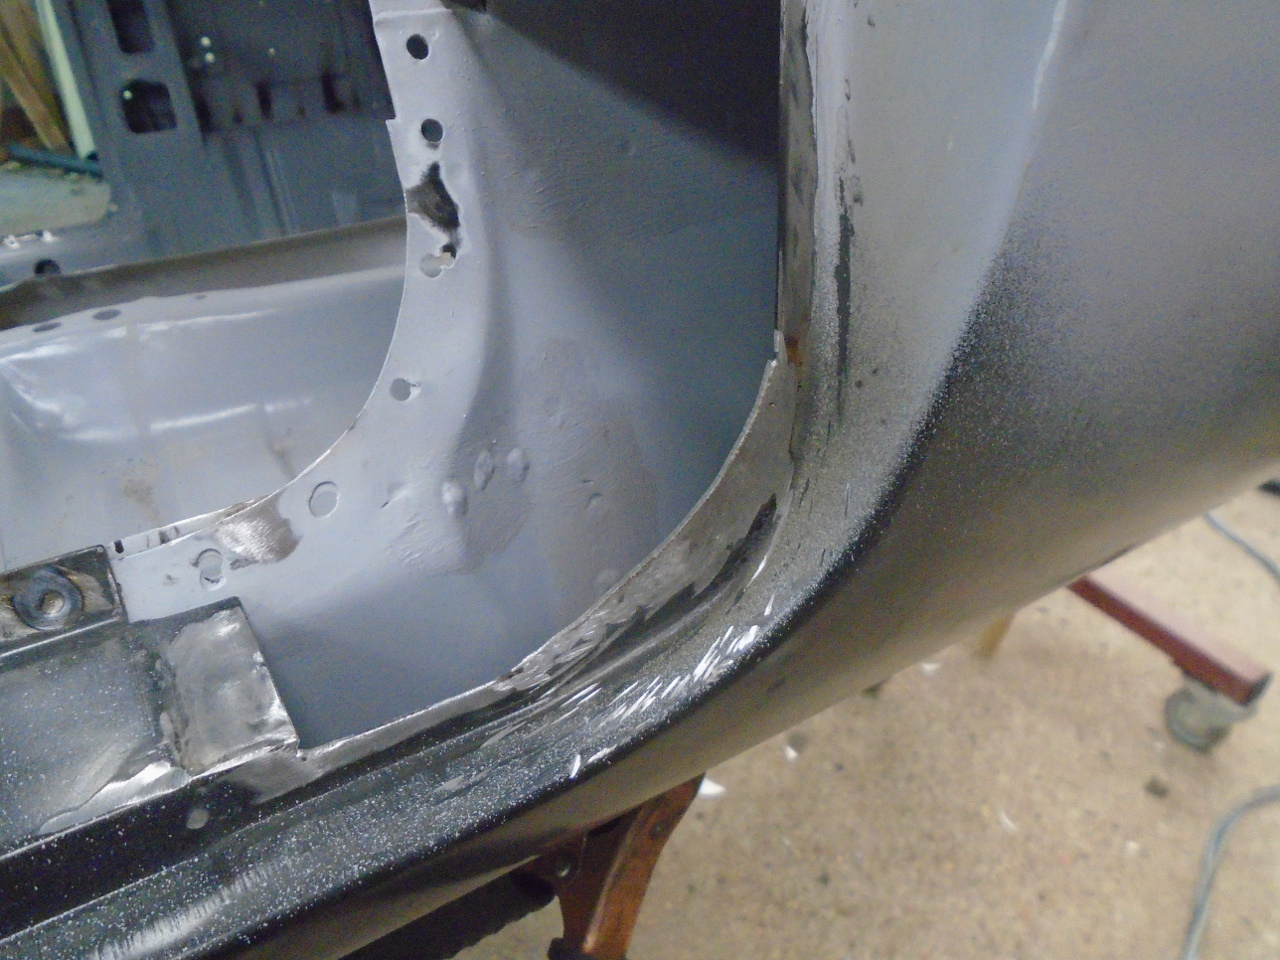
Transitions went in OK.
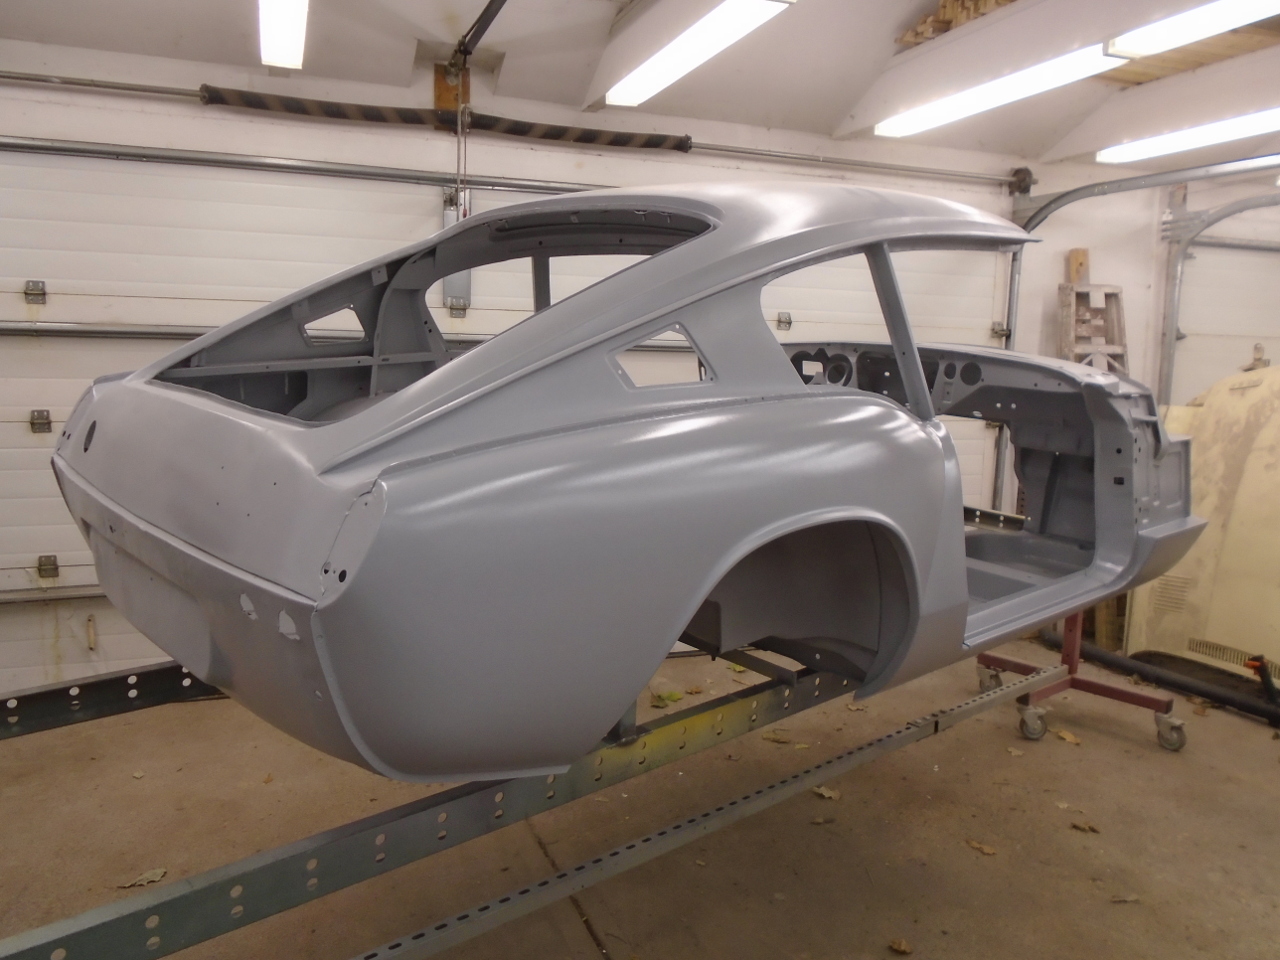
The new skin makes a big difference.
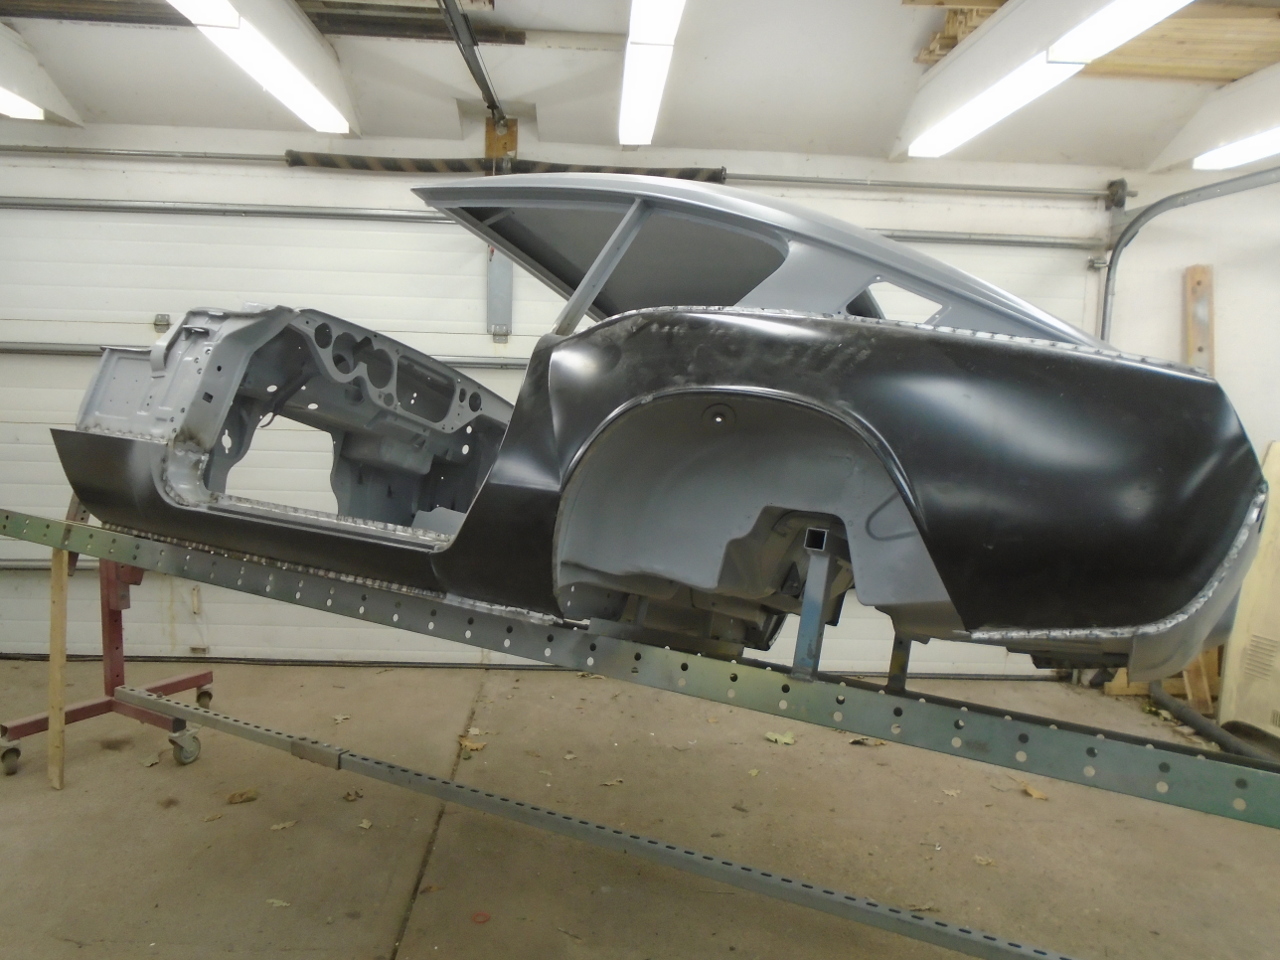
Stripped the e-coat in preparation for epoxy.
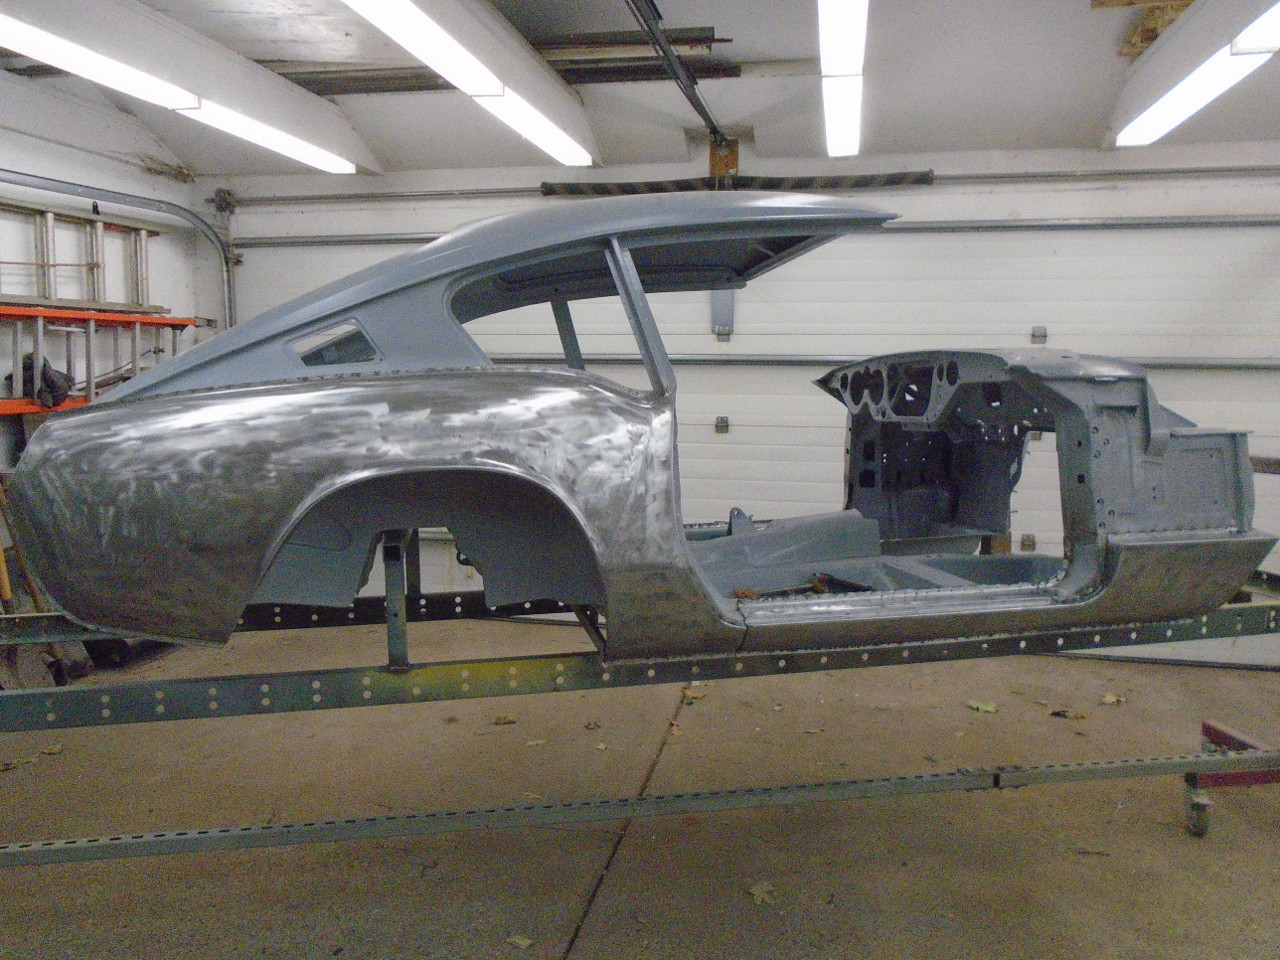
Finally, all the same color again.
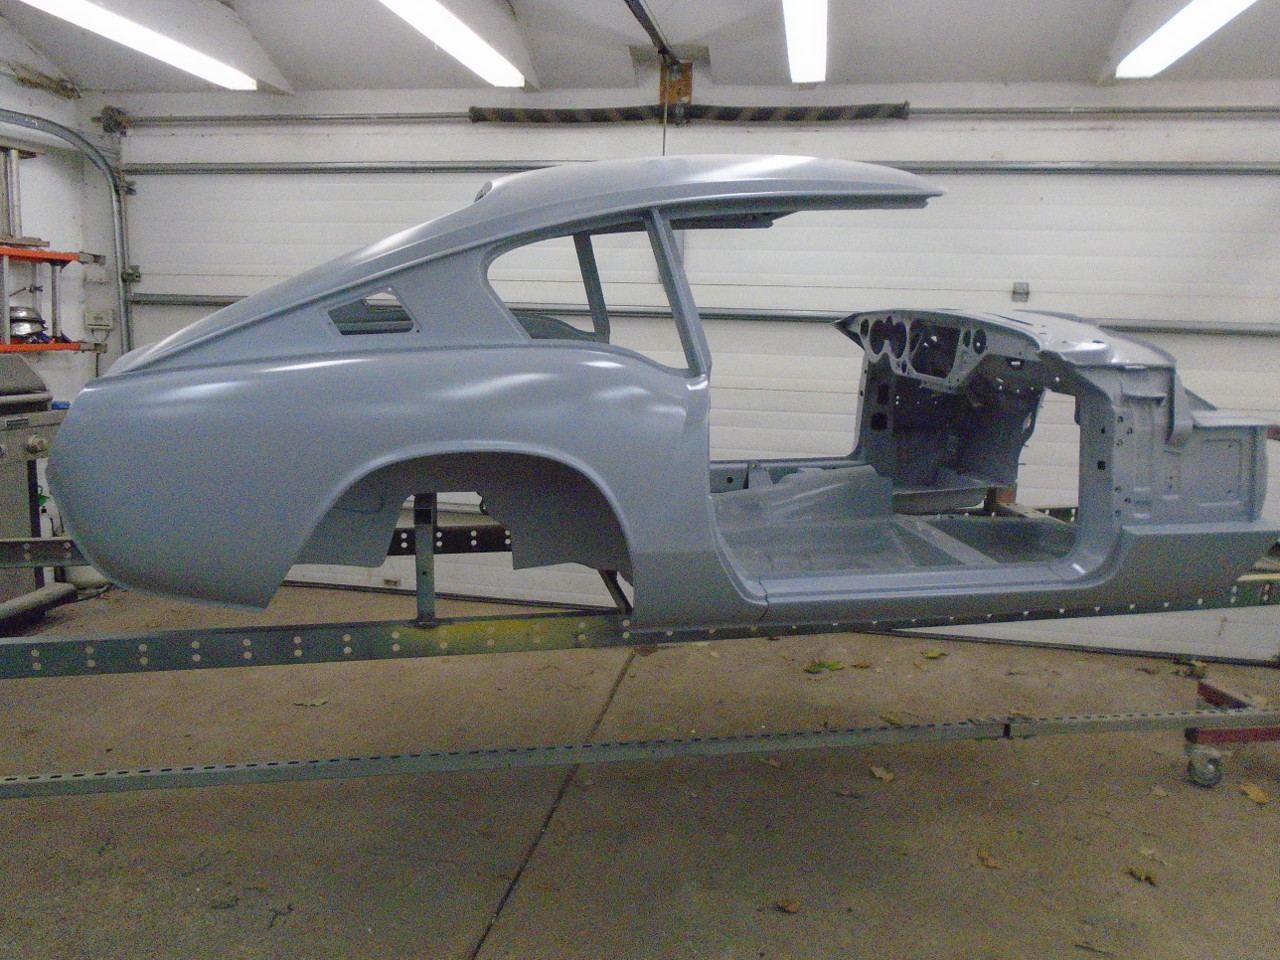
This finishes up the repair work on the body, though there is
still some finishing work to do, especially on the rear valance
where there are still some accident-induced ripples.
This is most of the bad metal cut from the tub. It weighs in
at about 17 pounds. Back when it was healthy metal, it might
have weighed half again more.
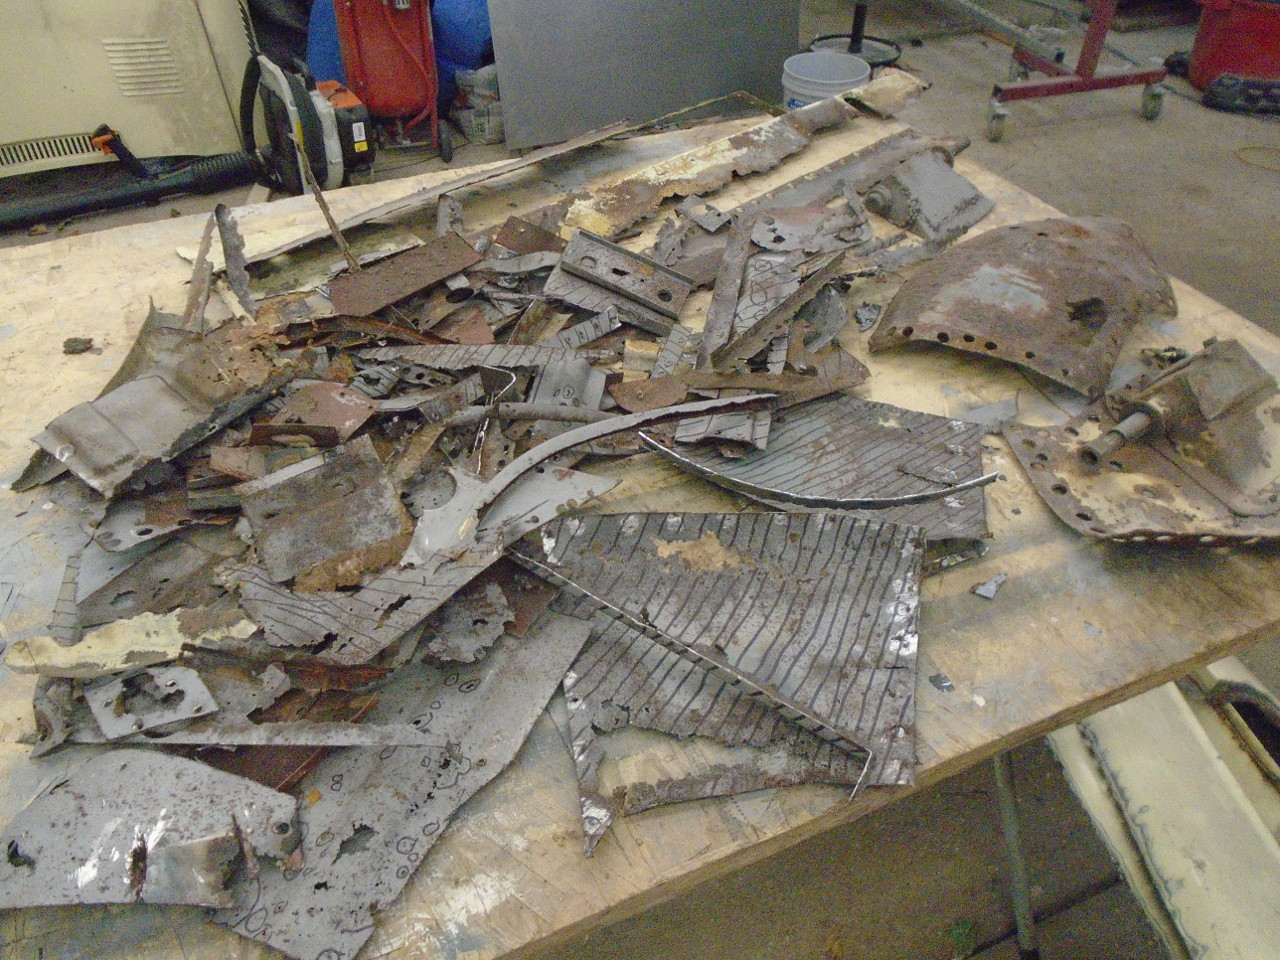
The old skin panels weigh in at a little over 20 pounds.
This means that by weight, roughly 20% of the body is new.
I'm glad this part is over. It was fun at first, but got
sort of old. Mostly due to the new panels, the cost was
relatively high a around $1000.
Comments to Ed at elhollin1@yahoo.com
To my other GT6
pages