To my other GT6
pages
August 8, 2020
Rear Wings
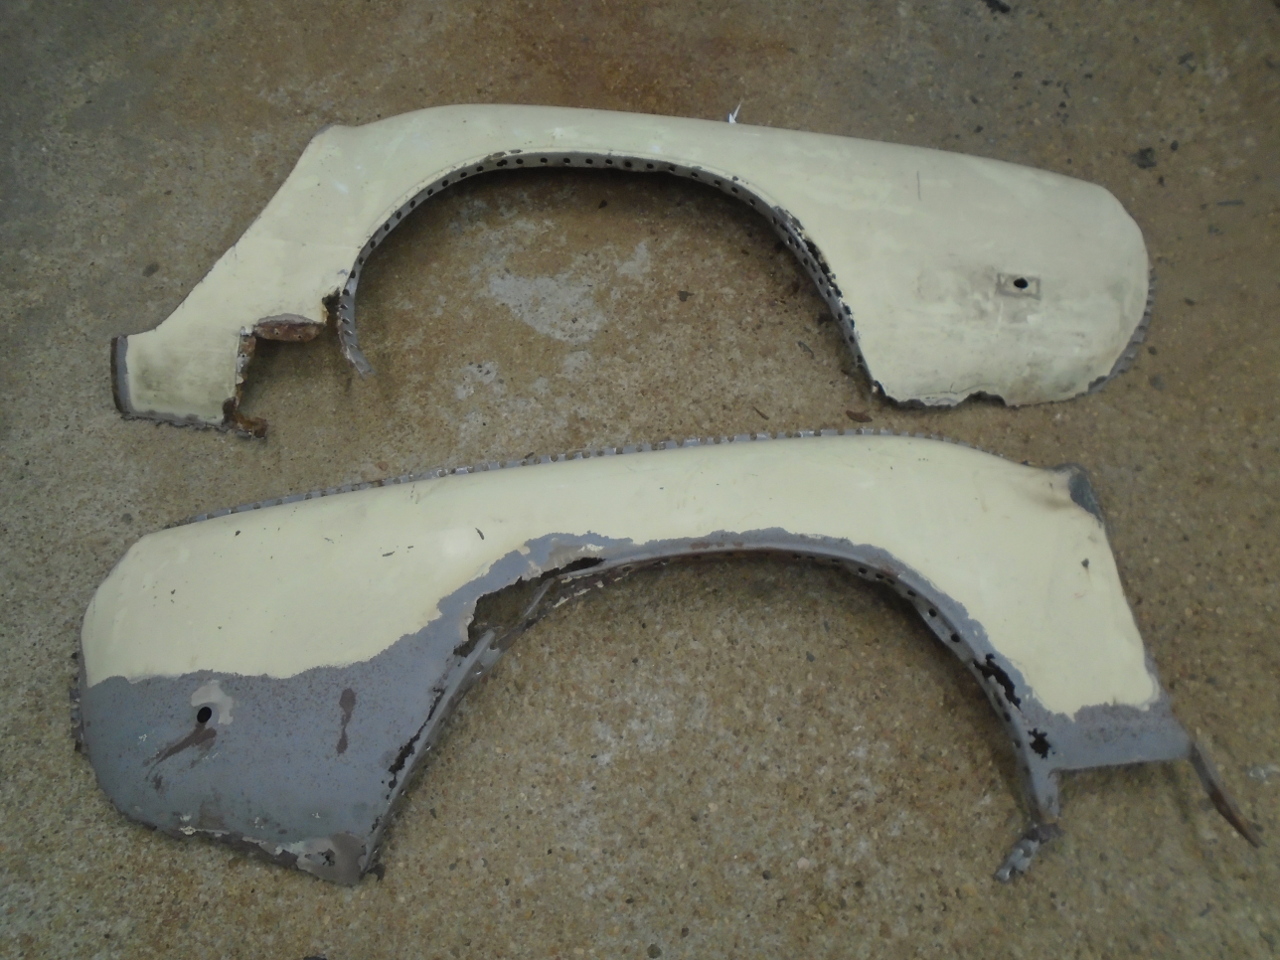
Well, with the body tub finally all repaired and under primer, it
was time to think about mounting the skin panels. I dragged
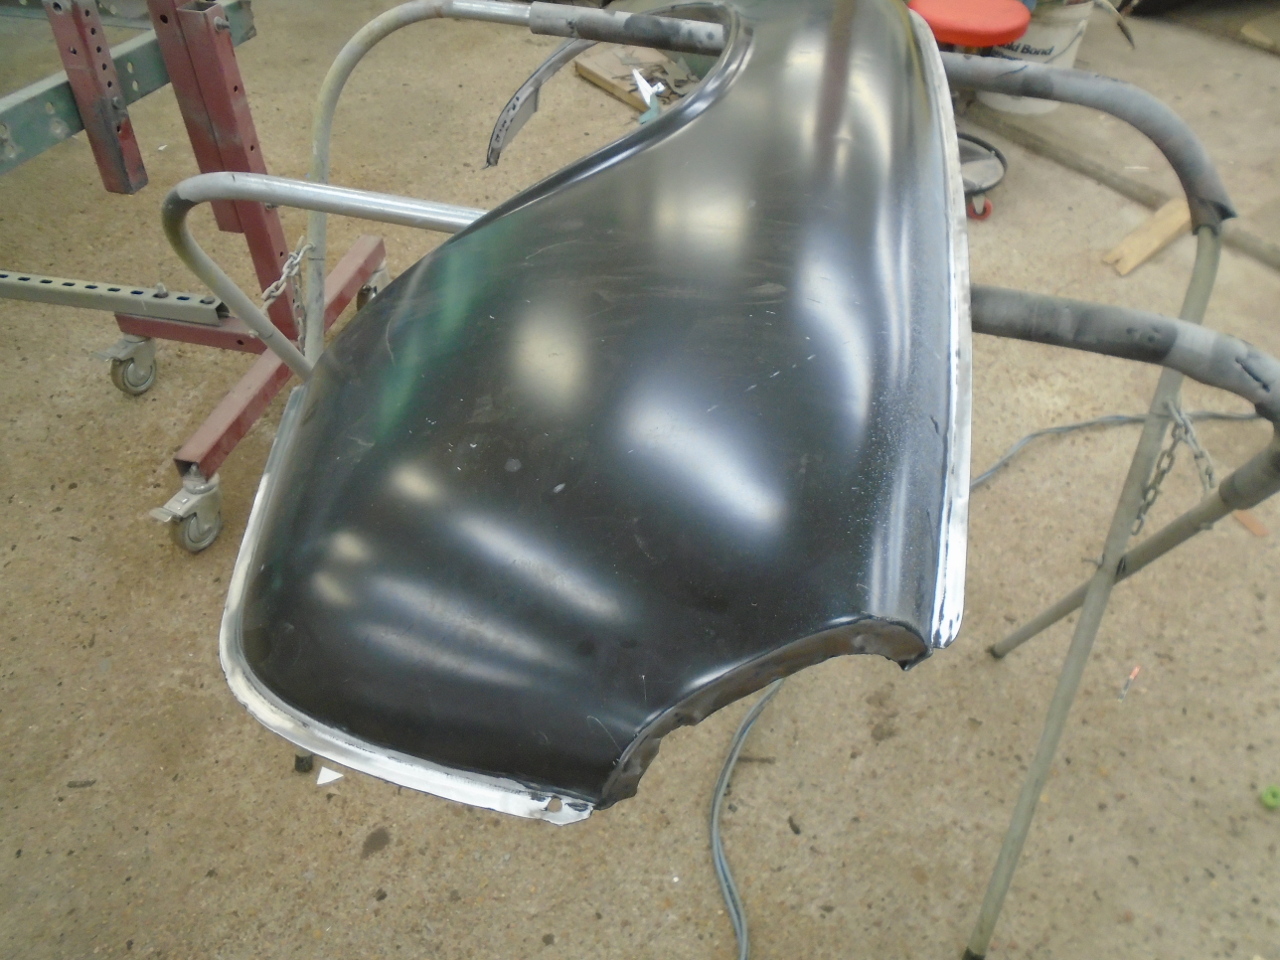
the old rear wings out of the pile in the corner to size up their
condition. They were really pretty sad. I knew the
left one (top in the pic) also had some hidden accident damage at
the rear.
If it had just been the rust damage, I might have entertained the
idea of fixing the original wings, but removing the wings causes a
lot of additional damage to the mounting flanges. In the
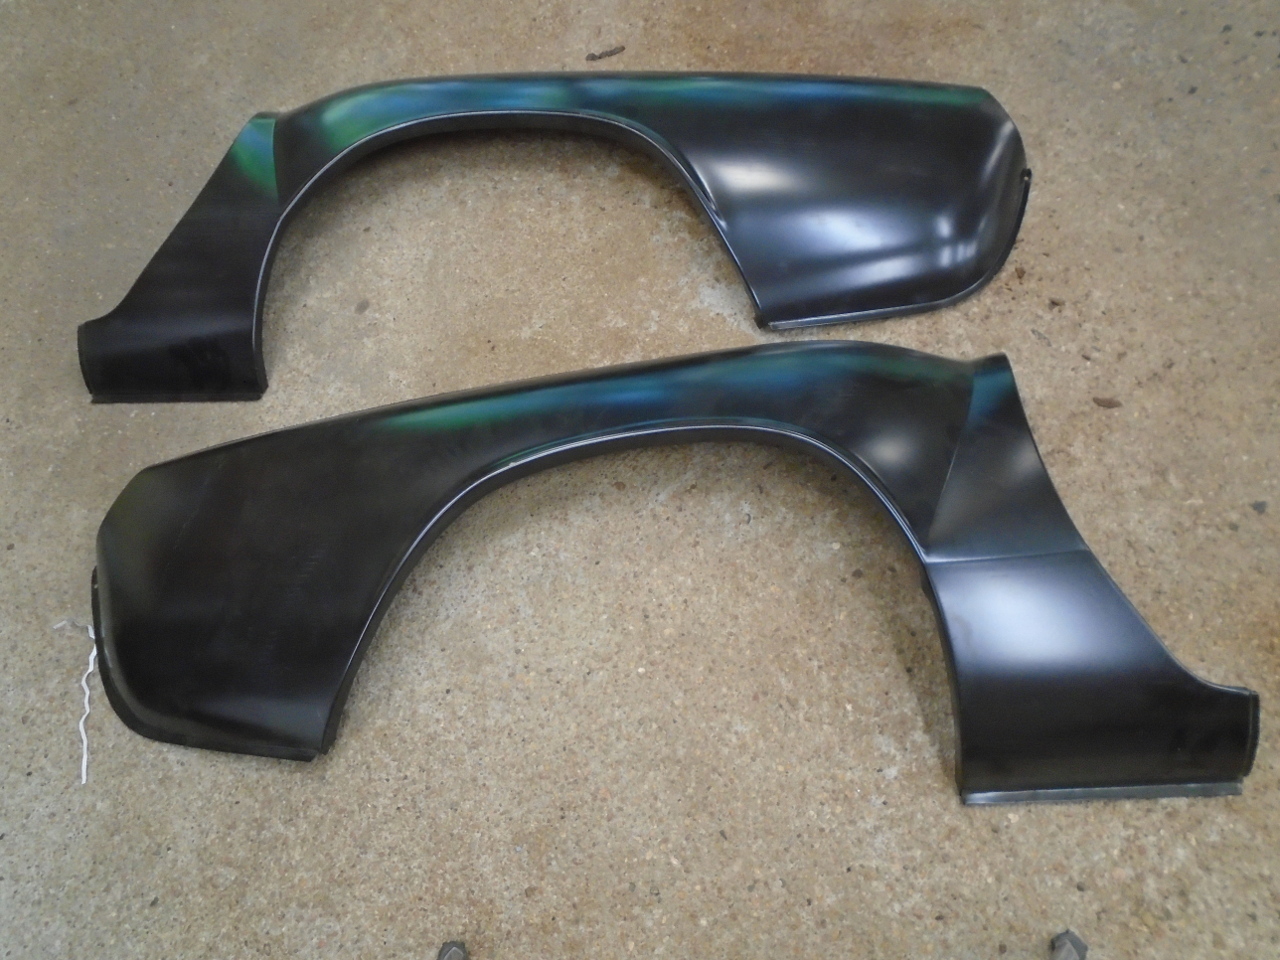
end, I ordered a pair of replacement wings. They were not
cheap, but I really hadn't spent that much on the project so far,
so the budget could handle it.

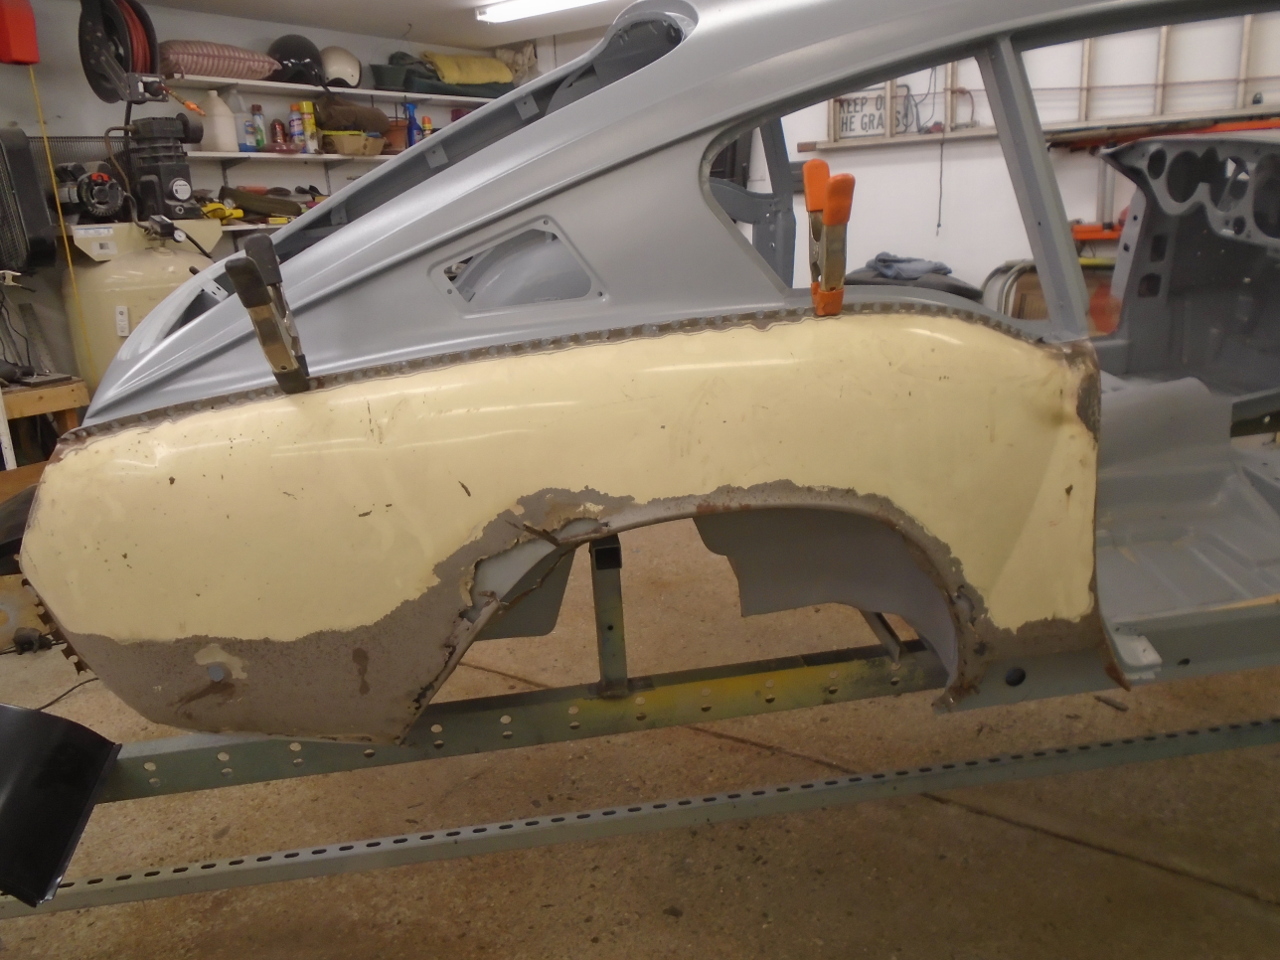
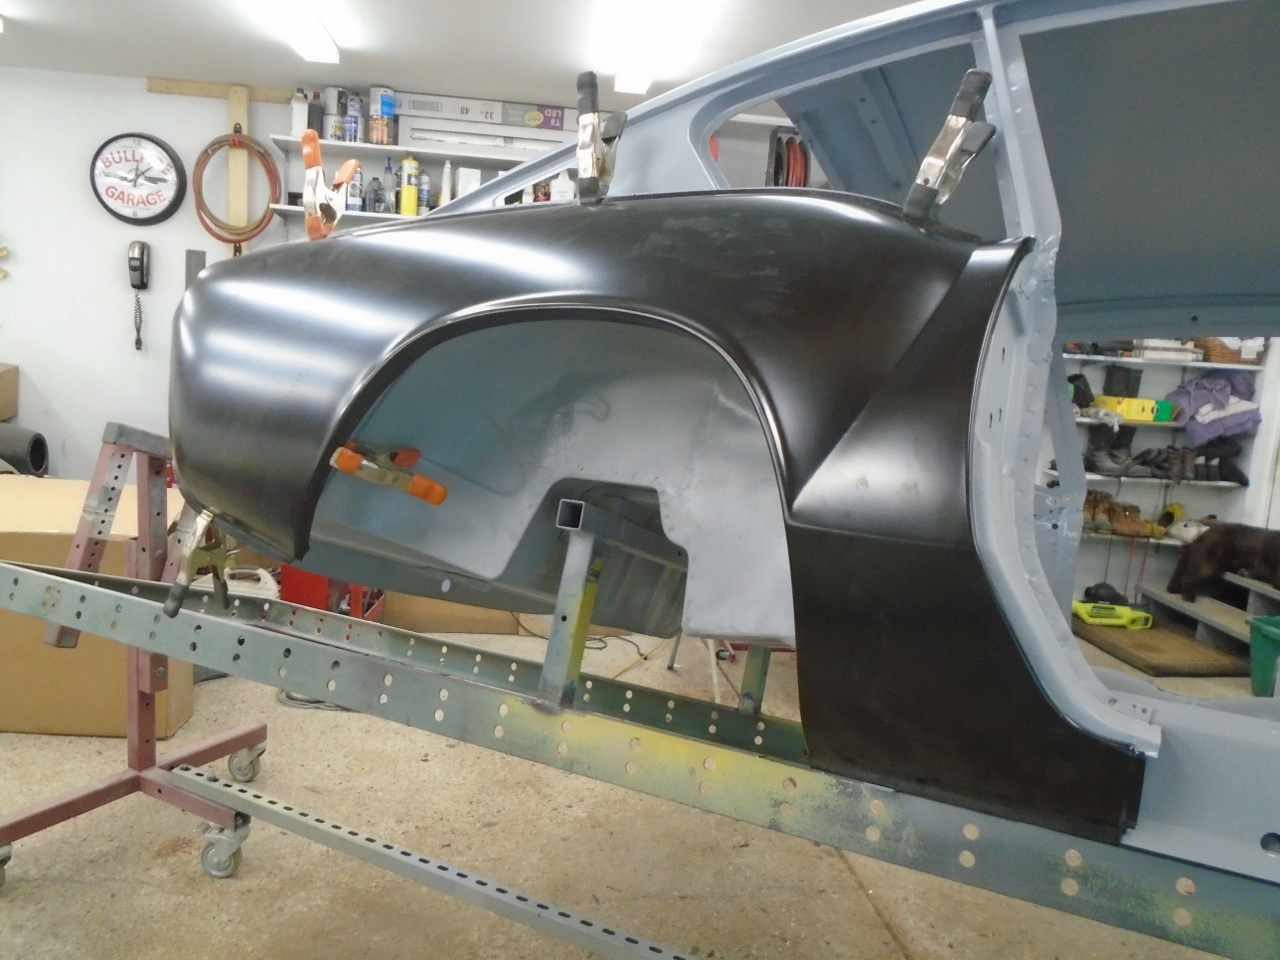
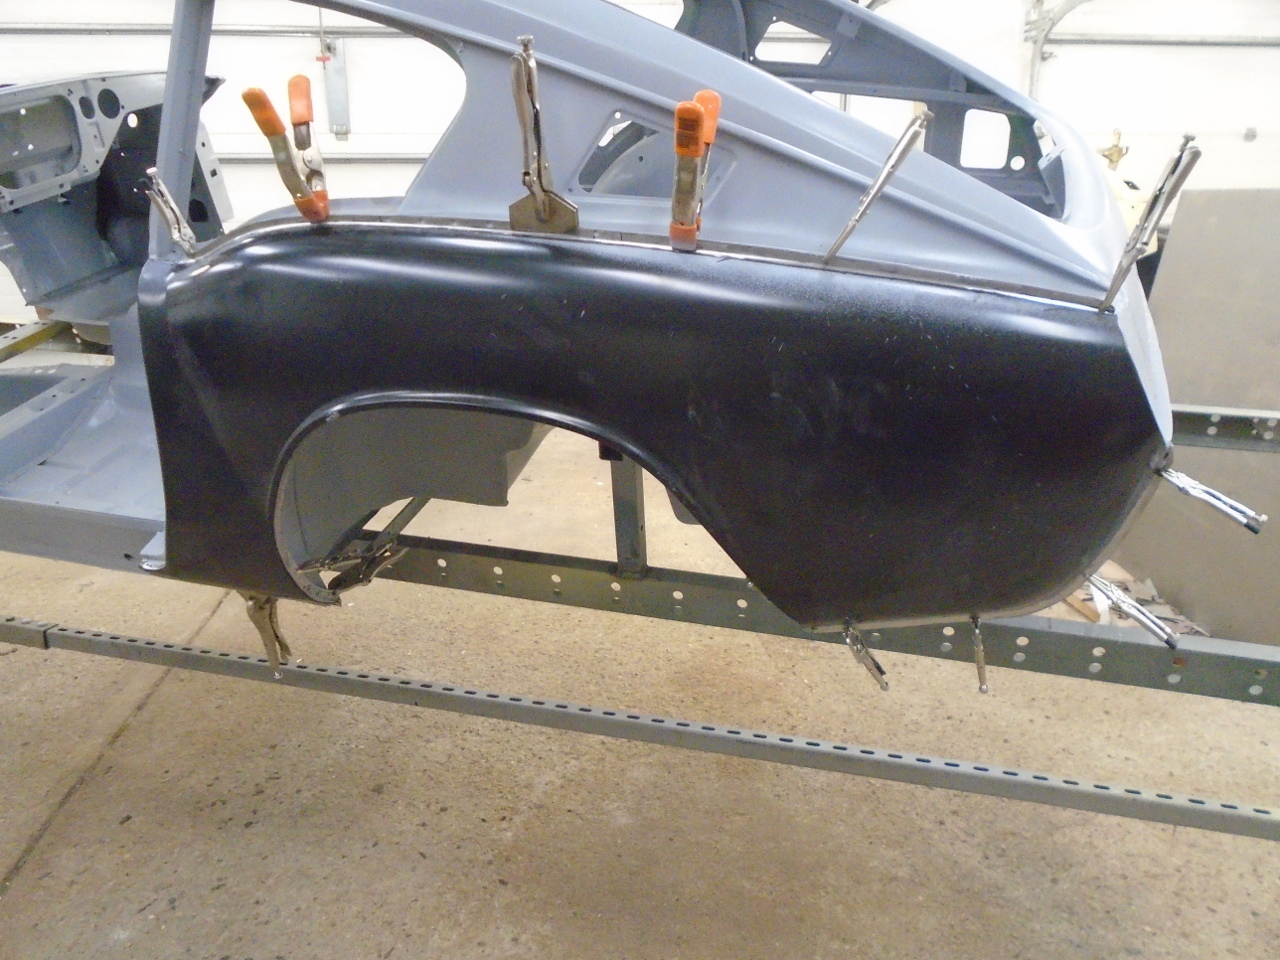
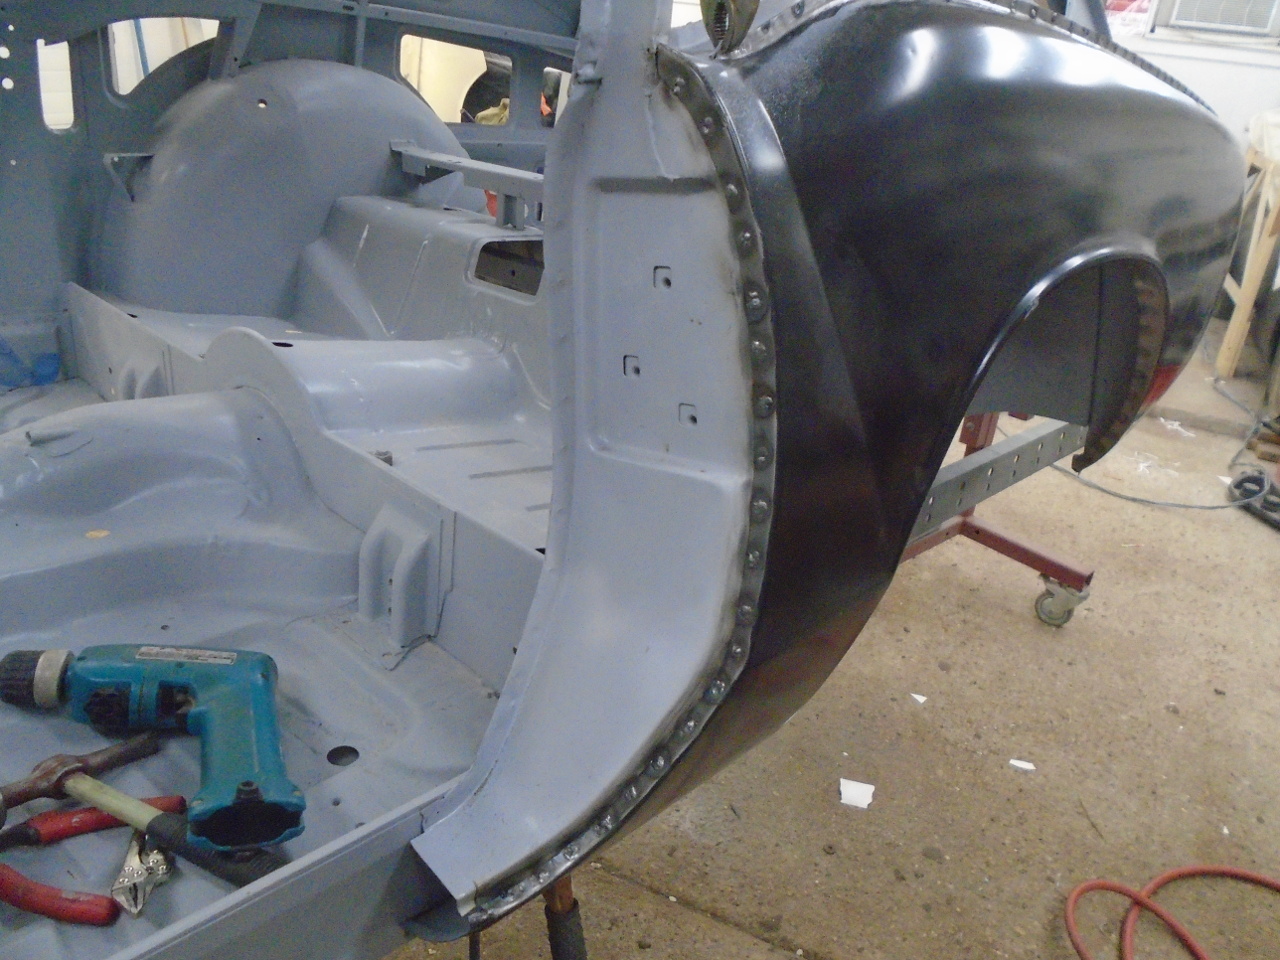
The first thing I did was to hang the old wings on the body to
make sure that all of the repair work hadn't moved or distorted
any of the mounting surfaces appreciably.
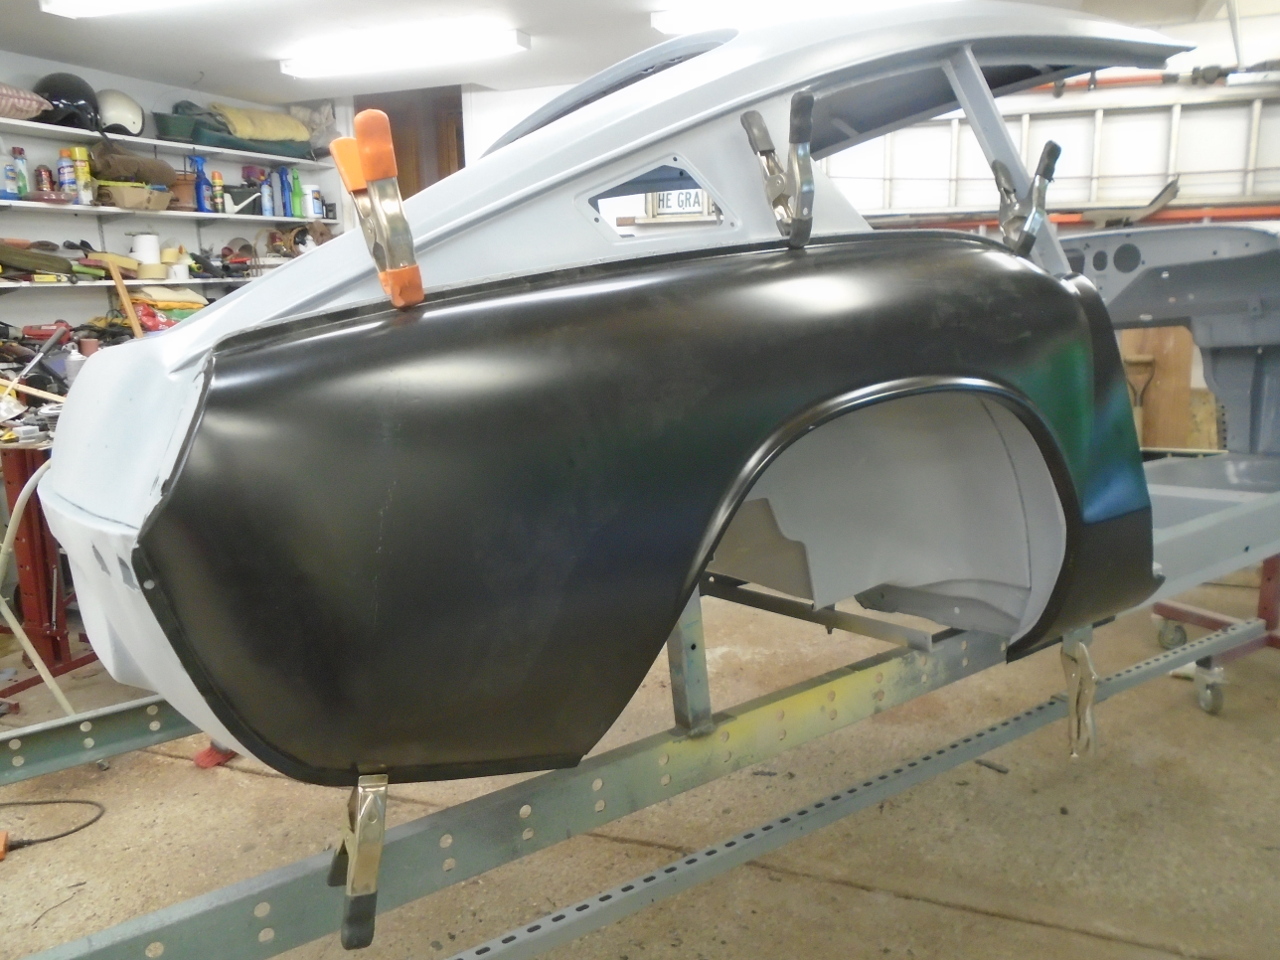
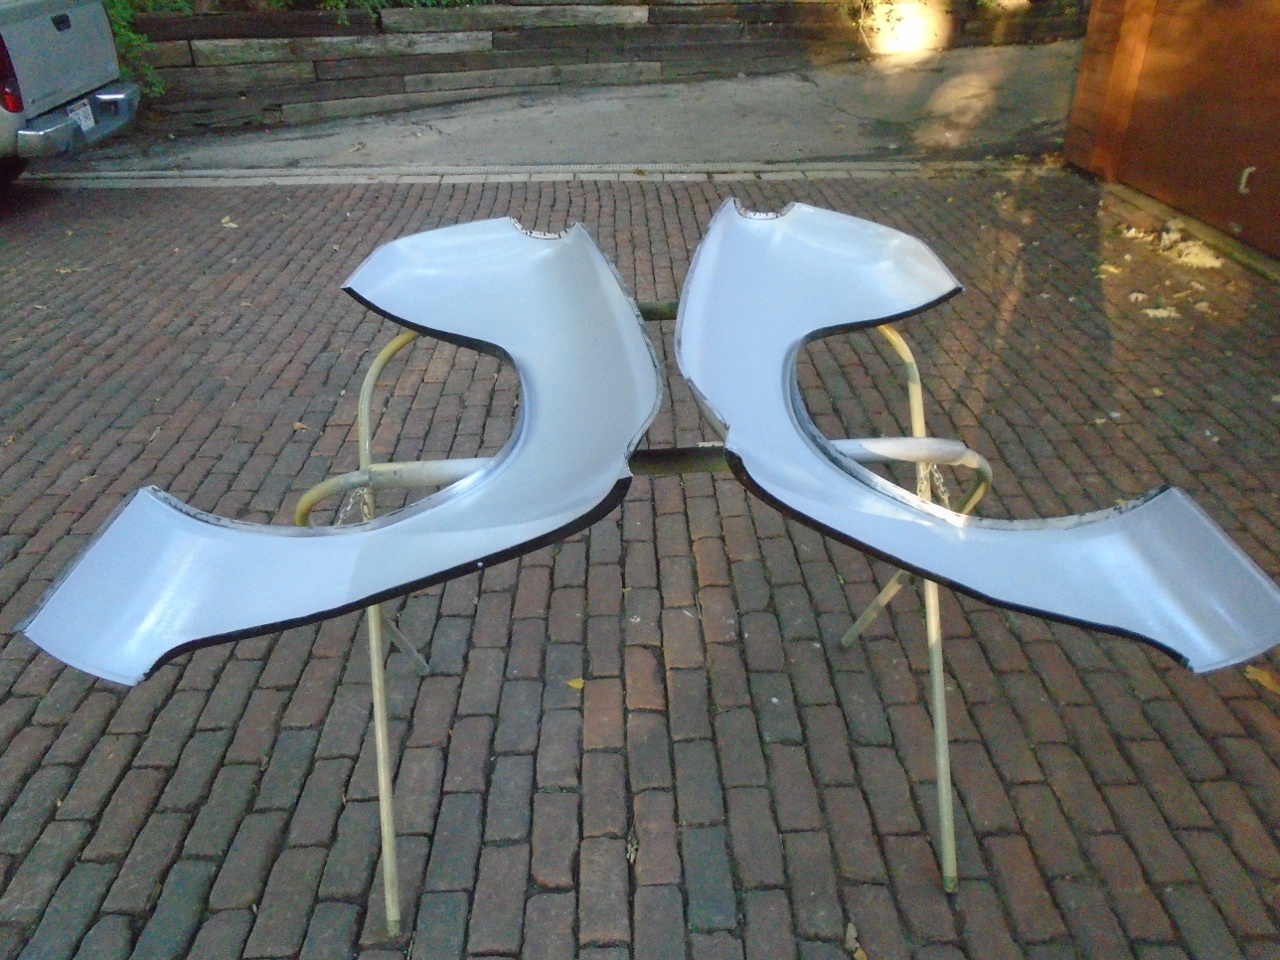
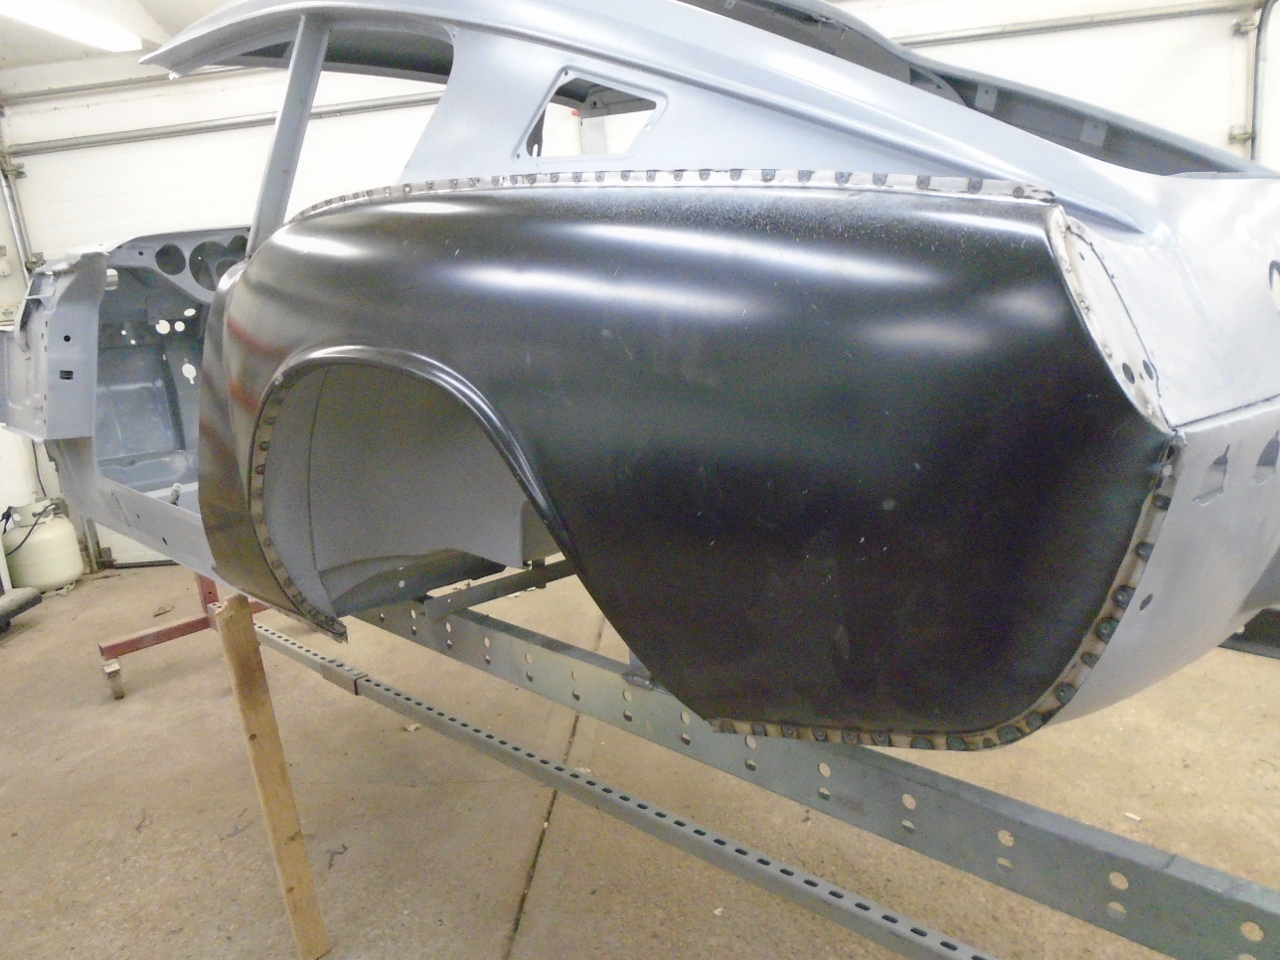
Then it was show time. I cringe every time I have to buy
replacement parts for these cars because it is often such a
crap-shoot on quality and fit. In this case, though, I was
pleasantly surprised. Both sides seemed to fit pretty darn
well, and only required minor tweaking here and there.
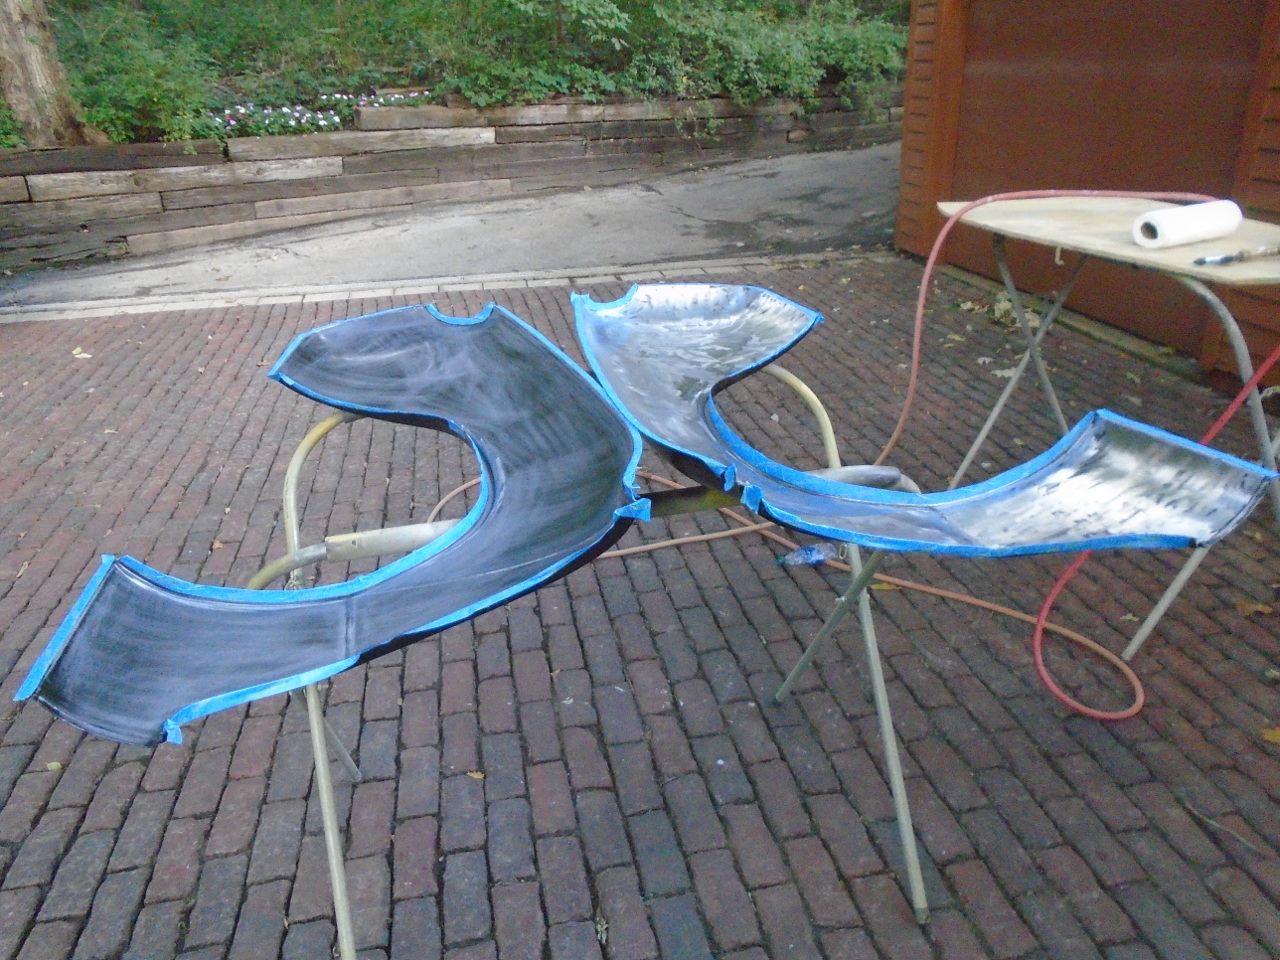
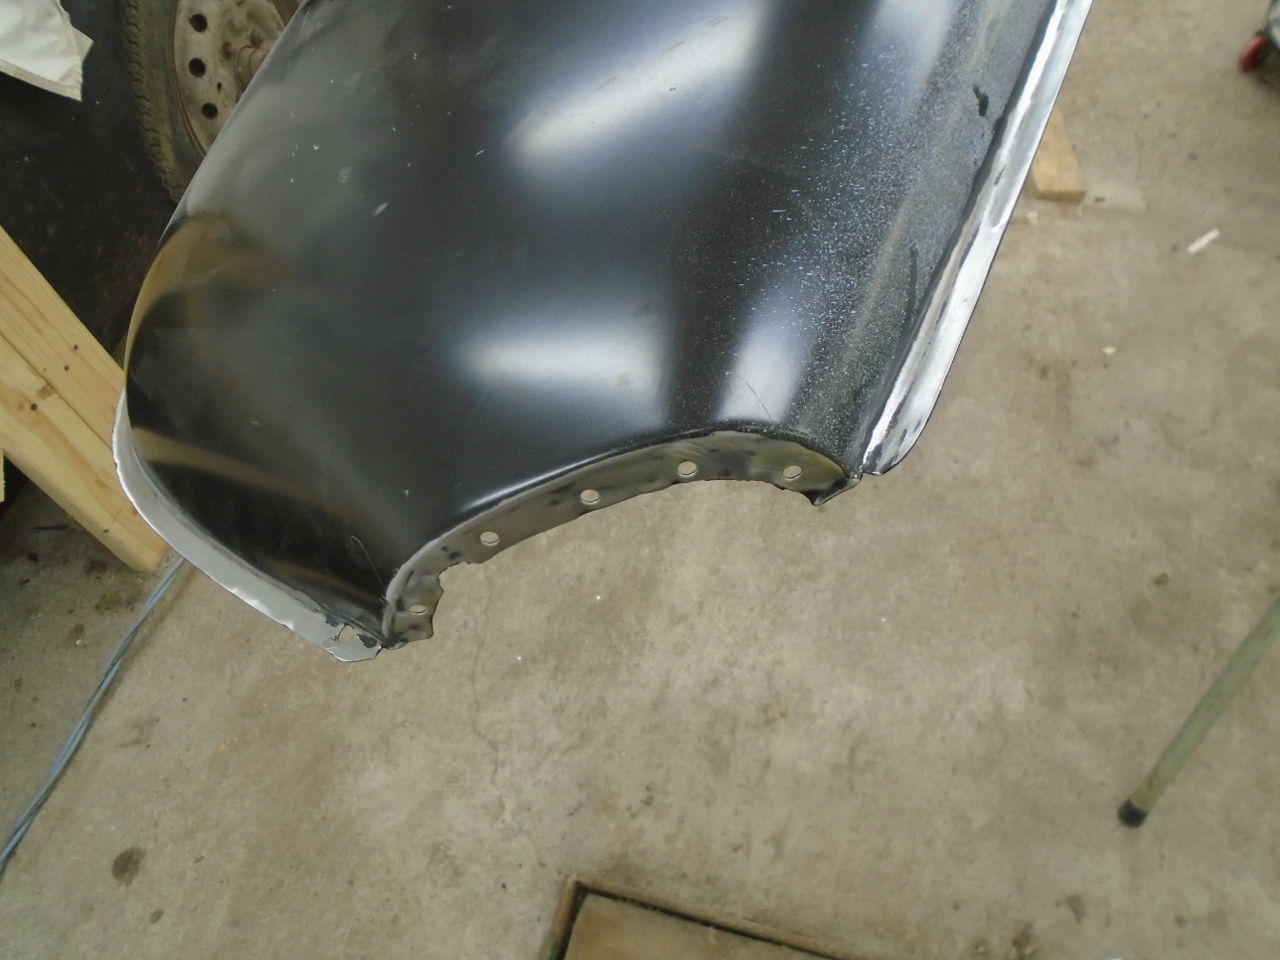
I've found that the paint supplied on repair panels varies a lot
in quality. These are higher end Heritage panels, so I
expected the paint on them to be a good e-coat or
equivalent. On the other hand, I'm nervous about trusting a
coating when I'm not absolutely sure what it is. I
mechanically stripped the inside of one of the panels, and the
paint seemed very well bonded, so on the other wing, I just
scuffed it. I masked off the weld flanges, and shot on a few
coats of epoxy primer.
Then cleaned the mating flanges on the body.

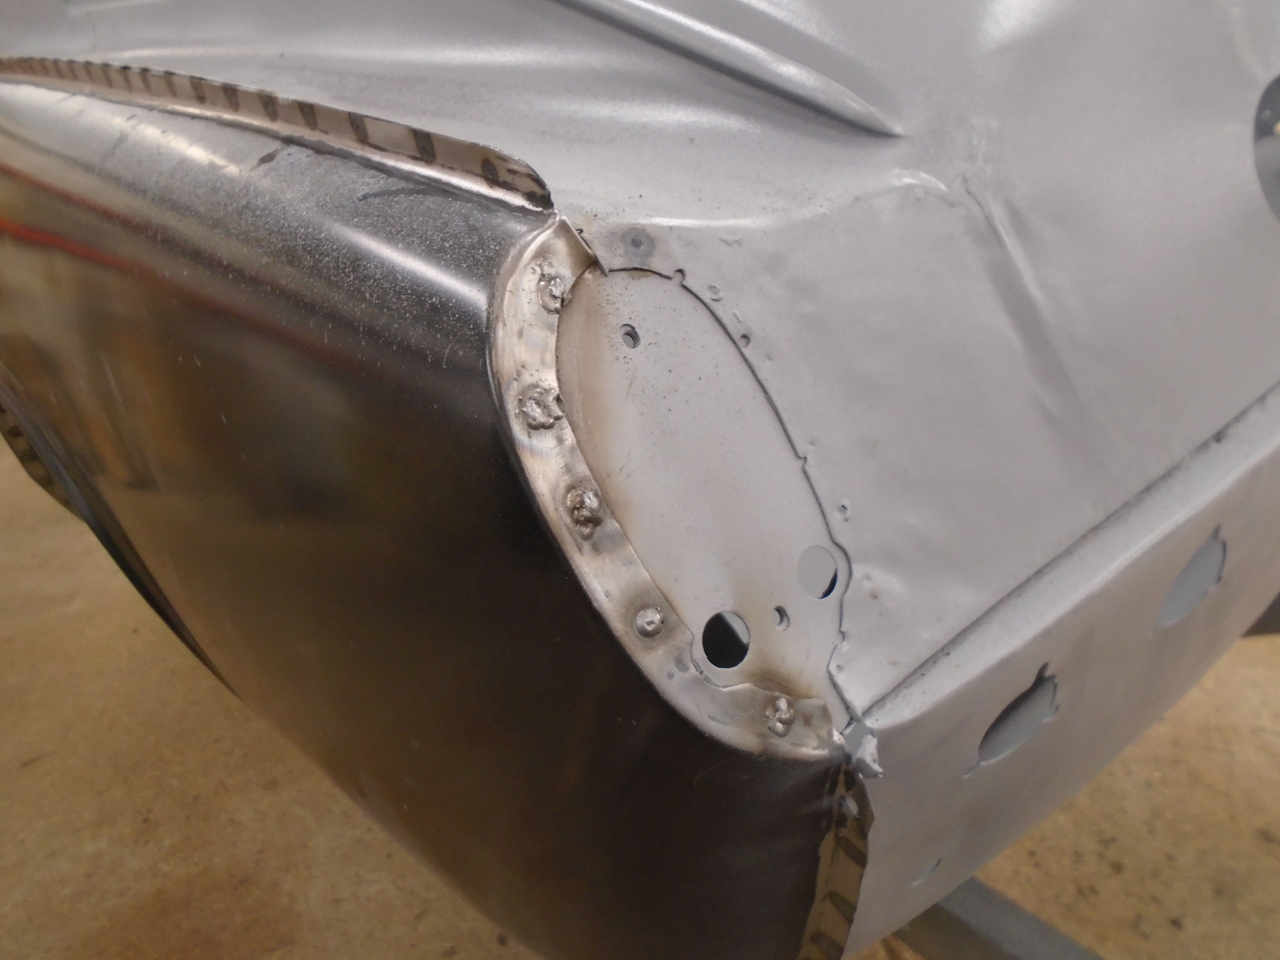
The outside of the flanges got stripped so the spot welder would
have good contact. There is one area along the top seam
where I didn't think I could reach with the spot welder, so I
punched holes for plug welds.

Also plug weld holes around the tail light panel, the wheel well,
and the B post.
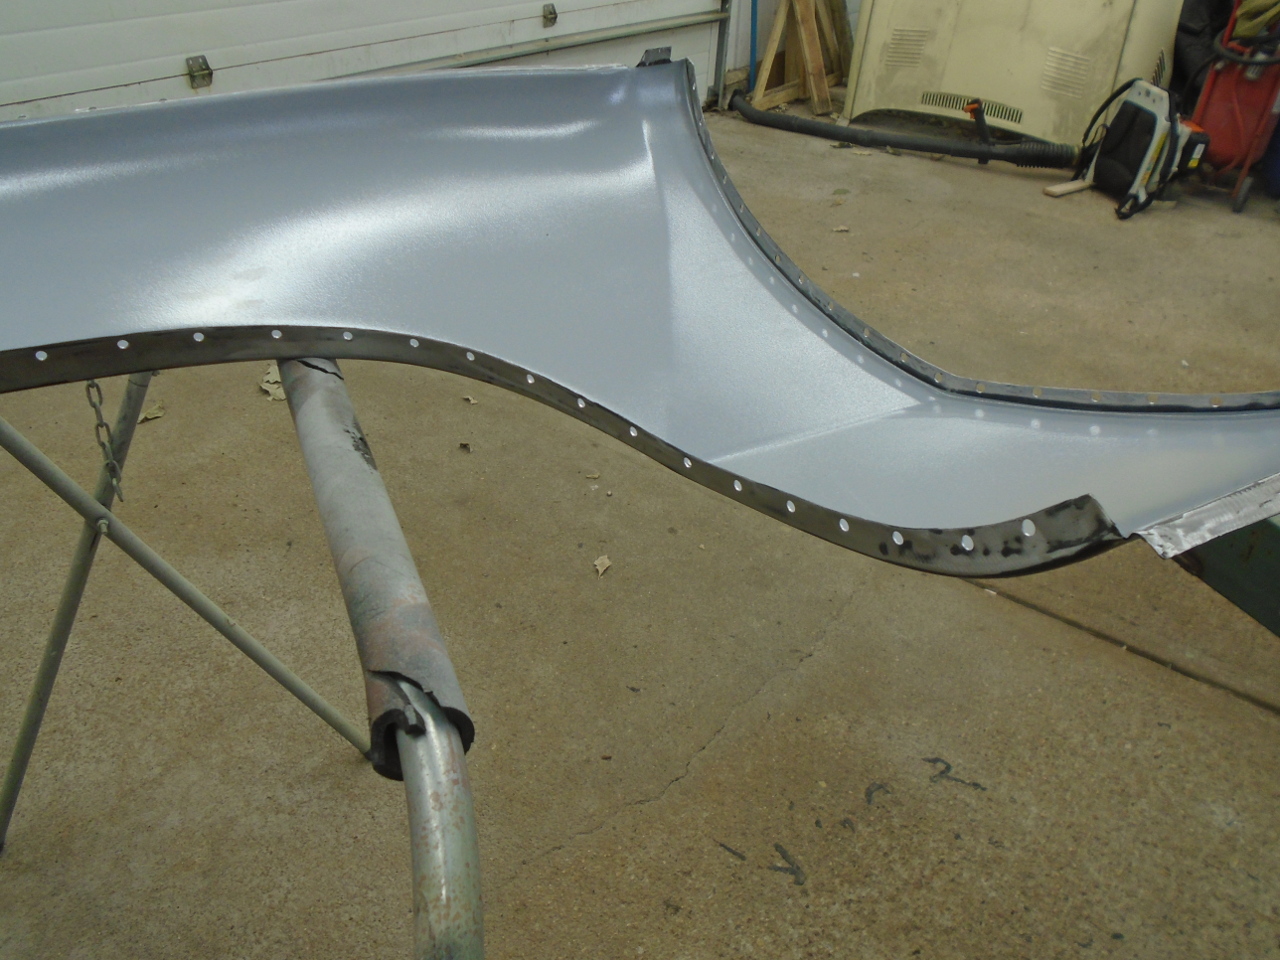
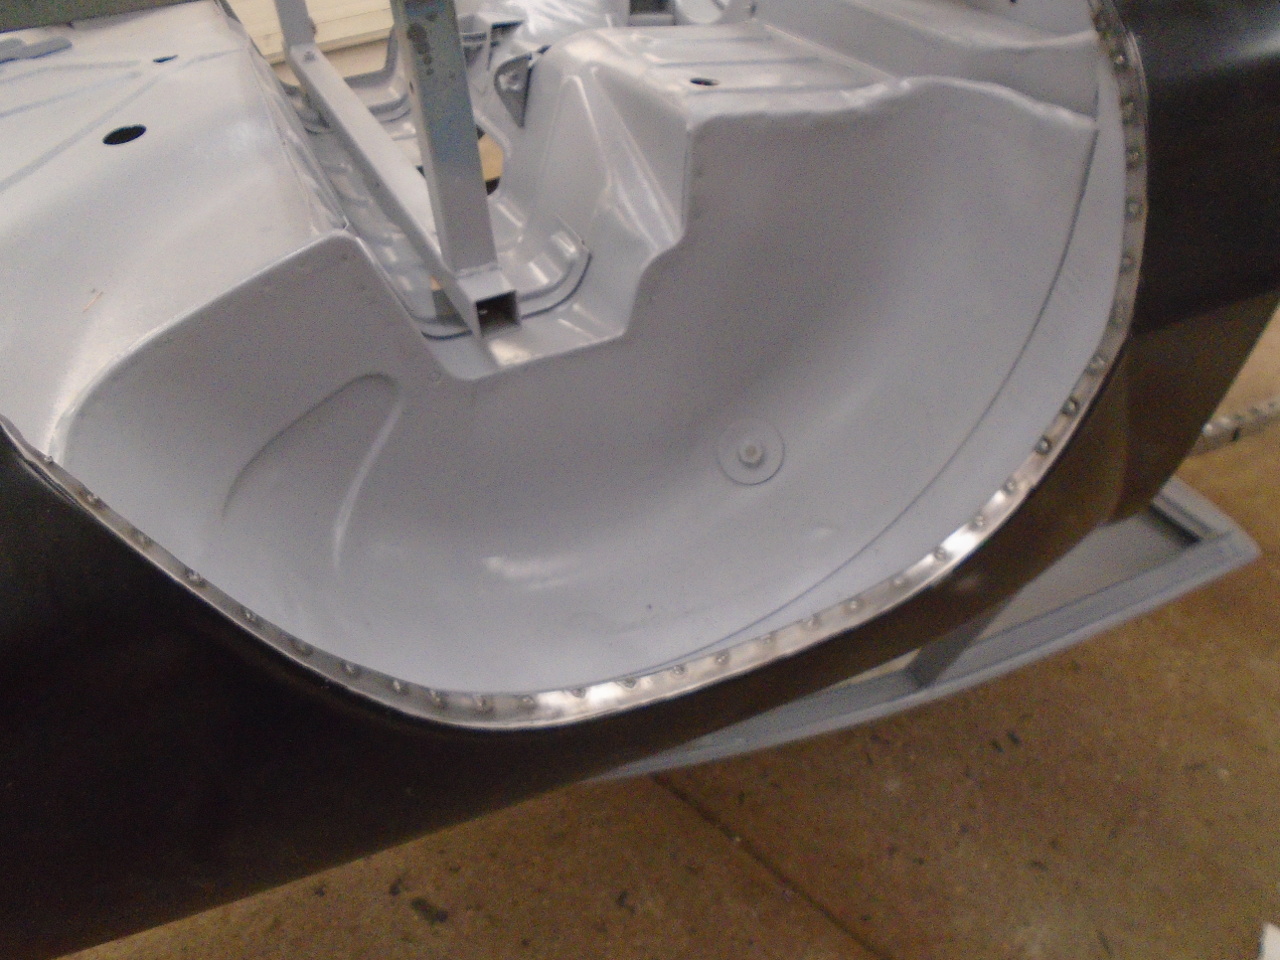
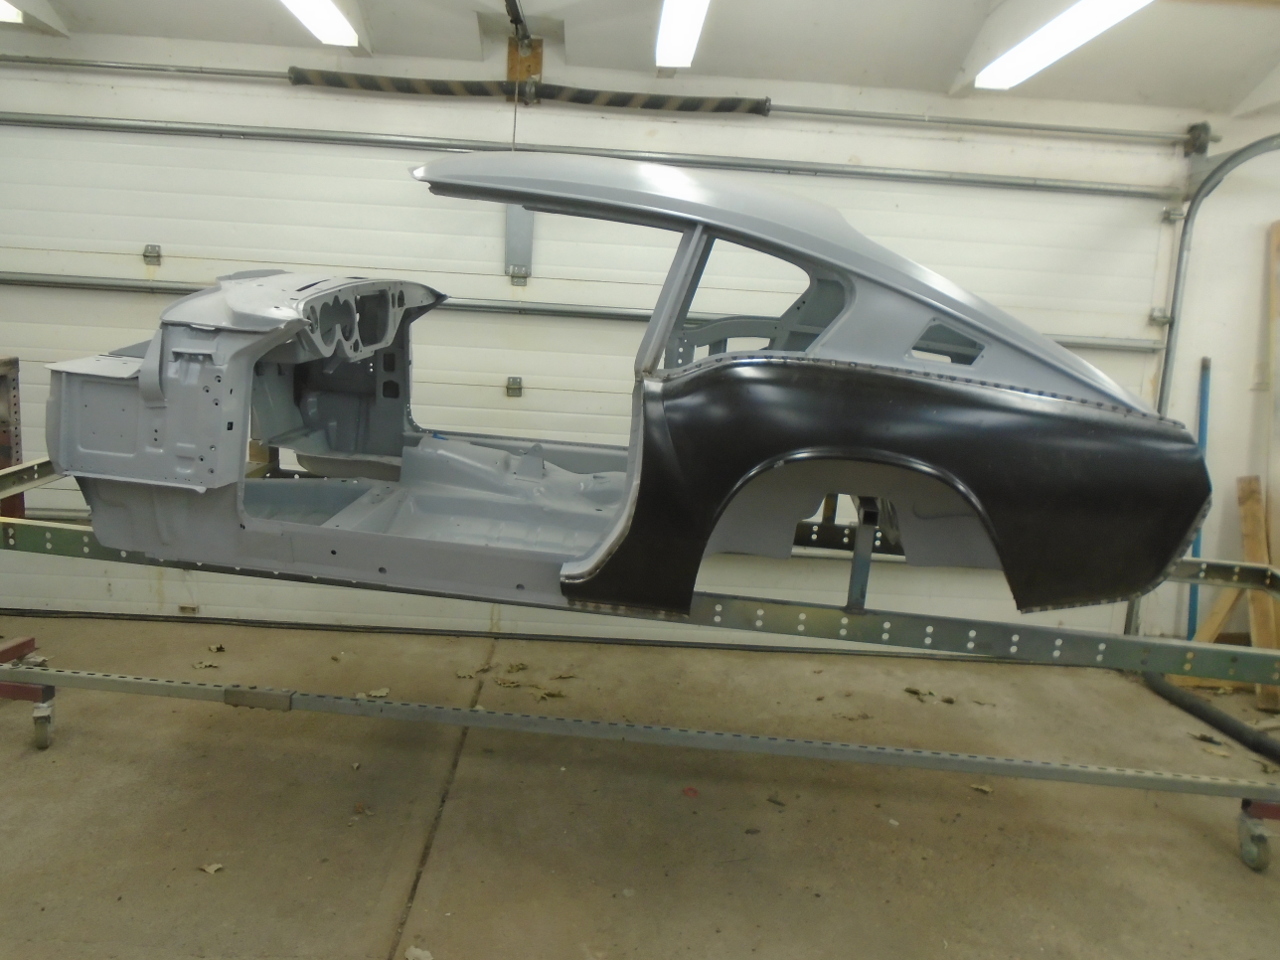
I shot all of the mounting flanges with a weld-through primer,
hung the wing, and clamped it up pretty well.
There are over 100 welds on each wing.

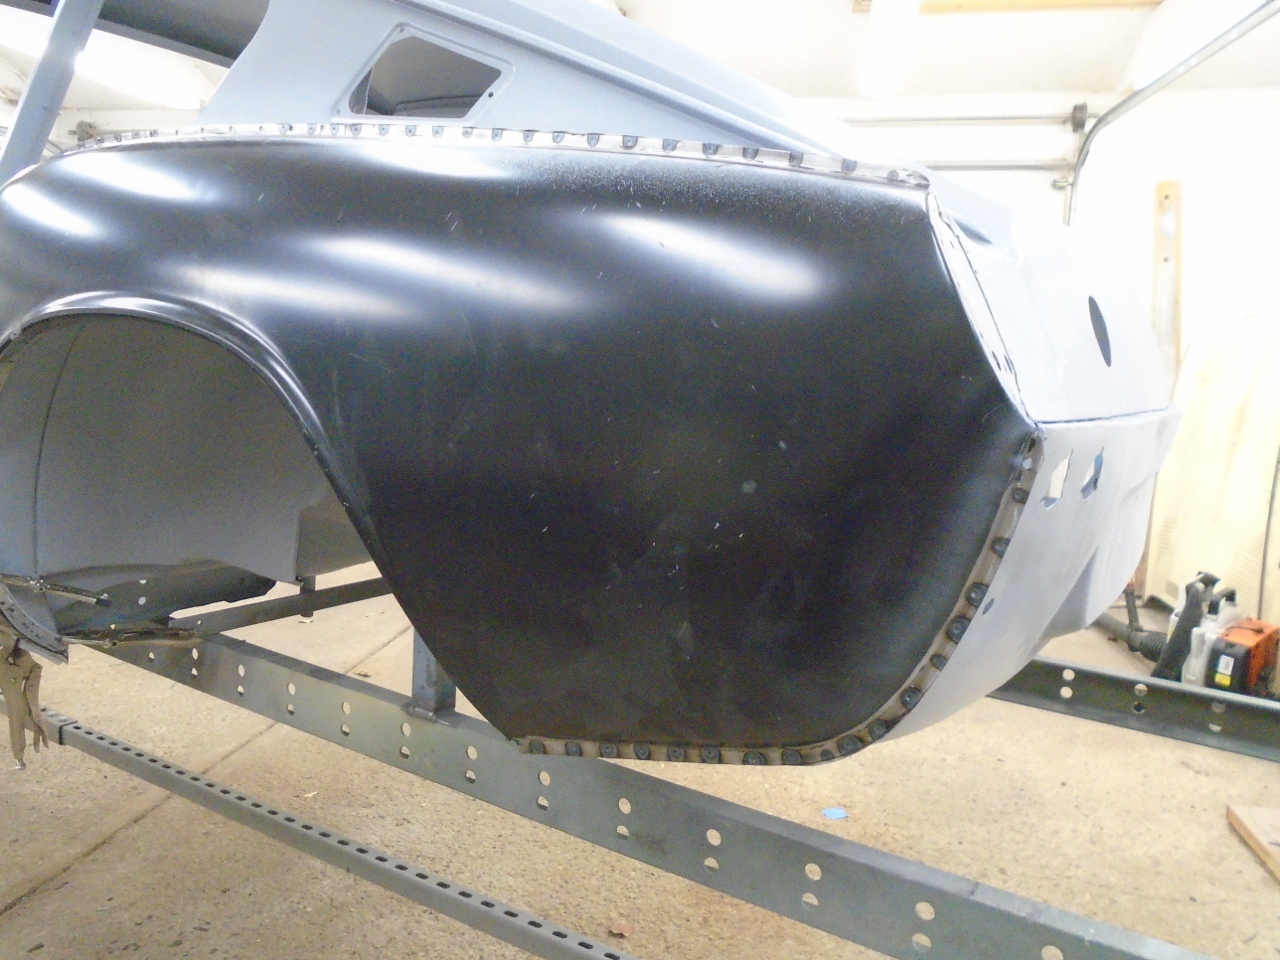
Ground the plug welds smooth, and then did the other side.
This job was expensive and a lot of work, but feels like a pretty
big step forward.
Comments to Ed at elhollin1@yahoo.com
To my other GT6 pages