To my other GT6
Pages
July 30, 2020
Finishing the Body Repair
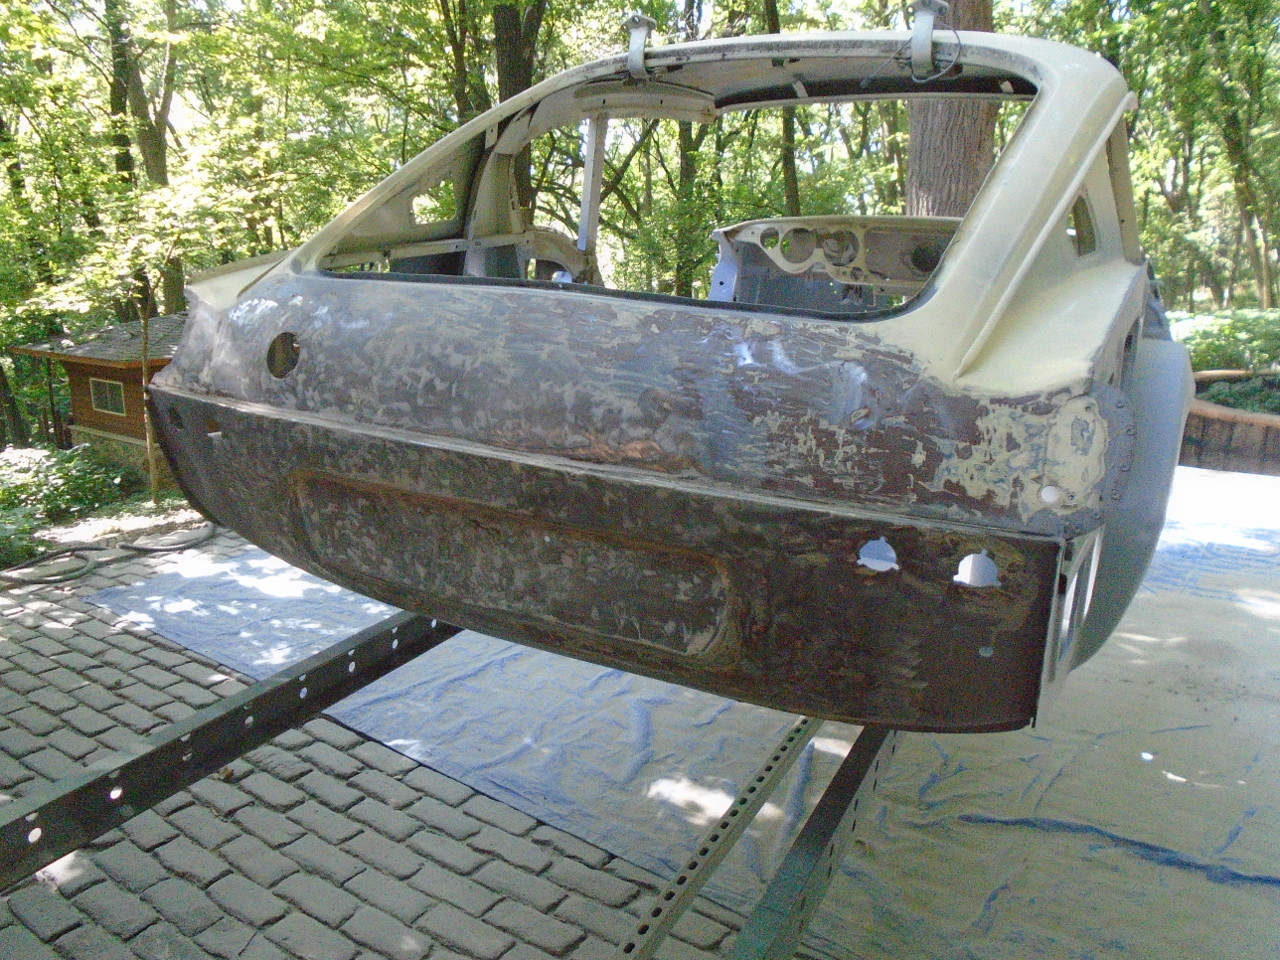
Most of the rust damage on this car was in the
lower 5-10 inches of the body. At this point all of that
was pretty much repaired, but there were still a few other
things to fix. As a matter of course, I also wanted to
take the rest of the car to bare metal, and get it under a good
epoxy primer.
The car had seen more than one minor rear end collision. I
was the cause of one of them decades ago when I backed into the
path of a moving car and crunched the left rear corner. I
fixed this at the time, and the repair wasn't too bad if I do
say so myself. There was also evidence of a previous
repair to the center rear valance.
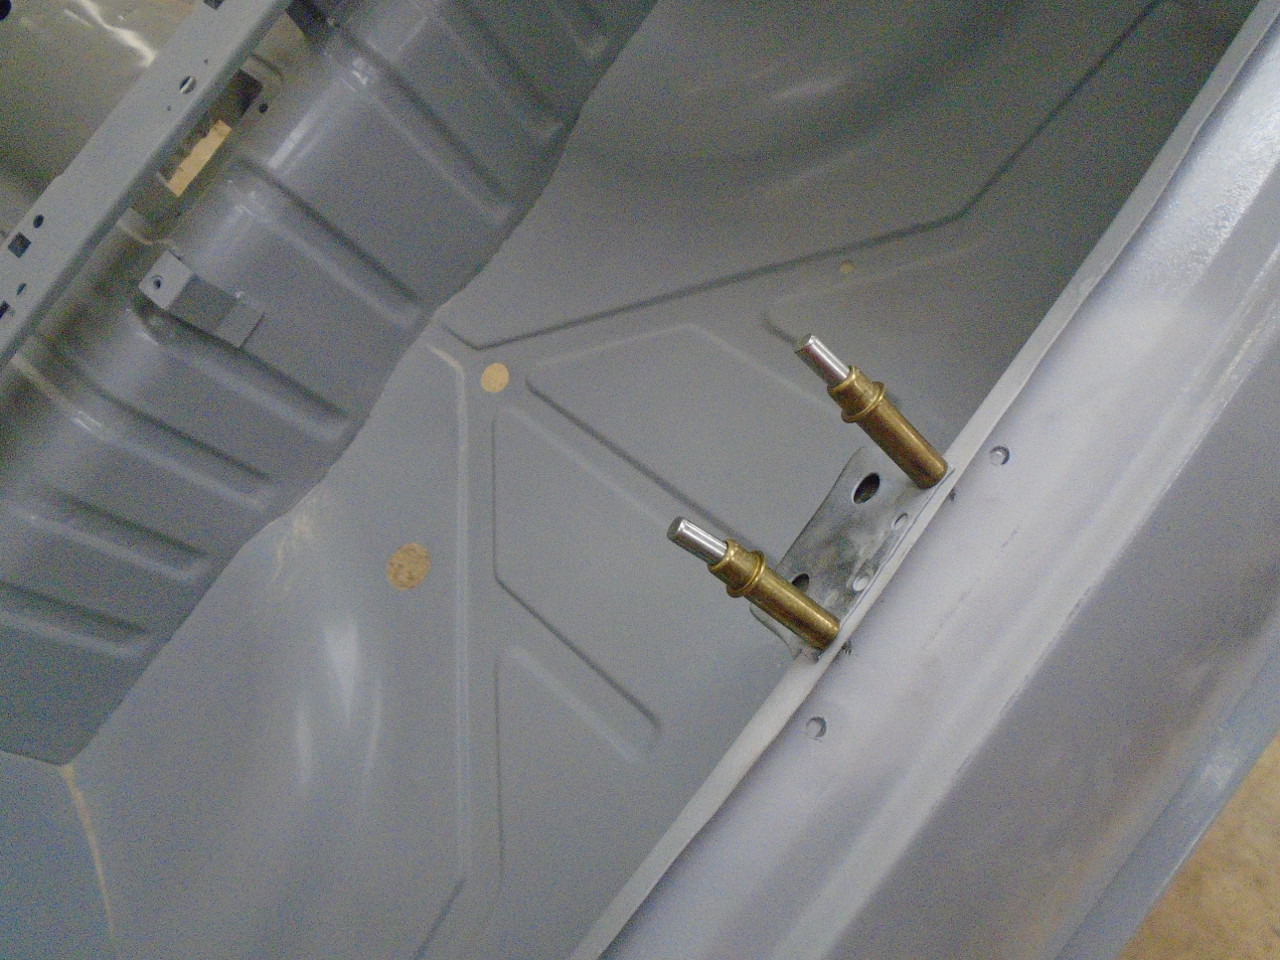
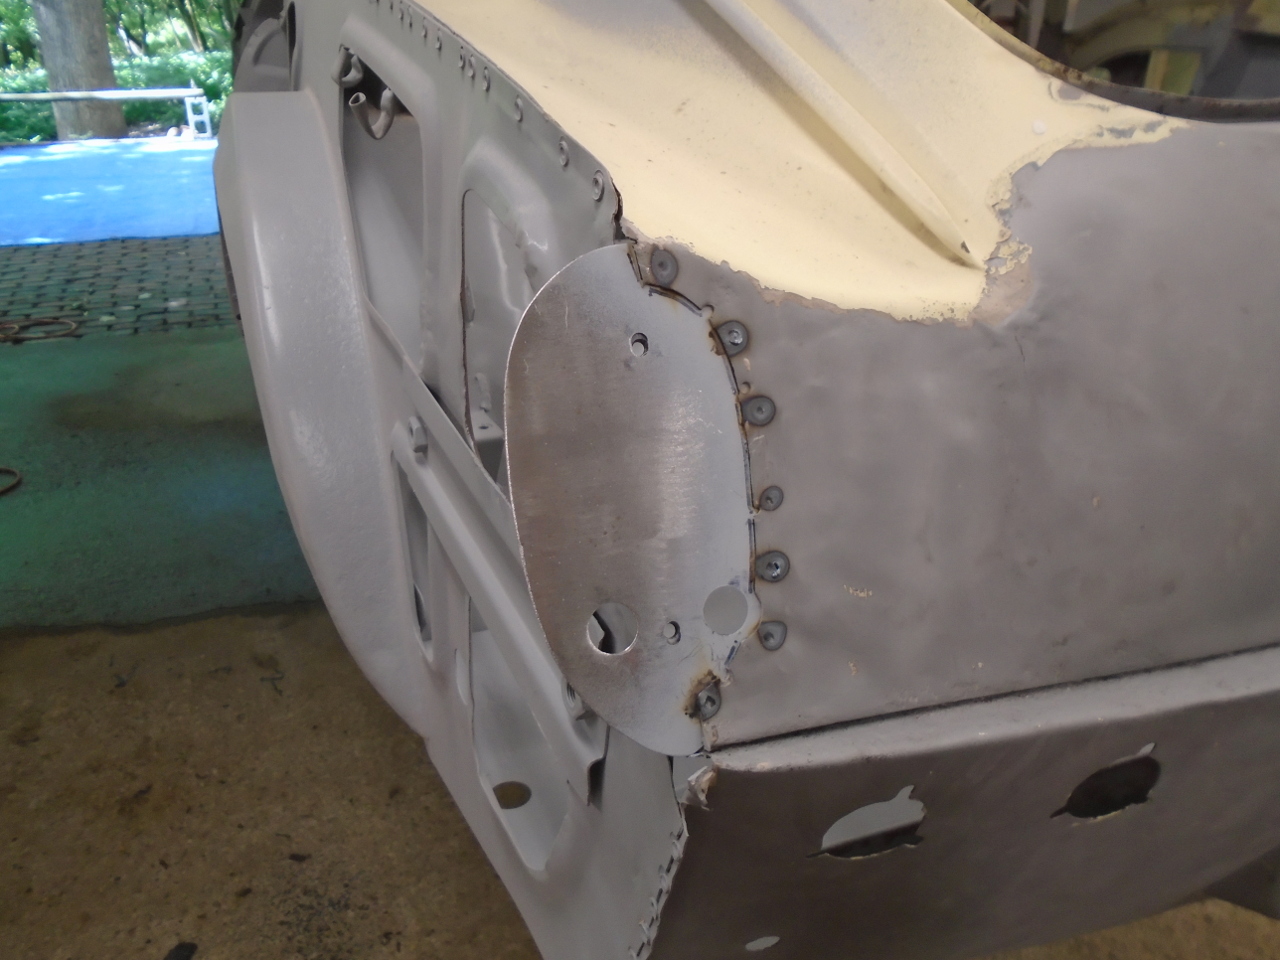
One artifact of the earlier damage was a messed up bracket that
held the plastic striker for the hatch. At first, I
thought the blind rivets were part of the repair, but some
intelligence indicates that they may be the factory fasteners on
earlier cars.
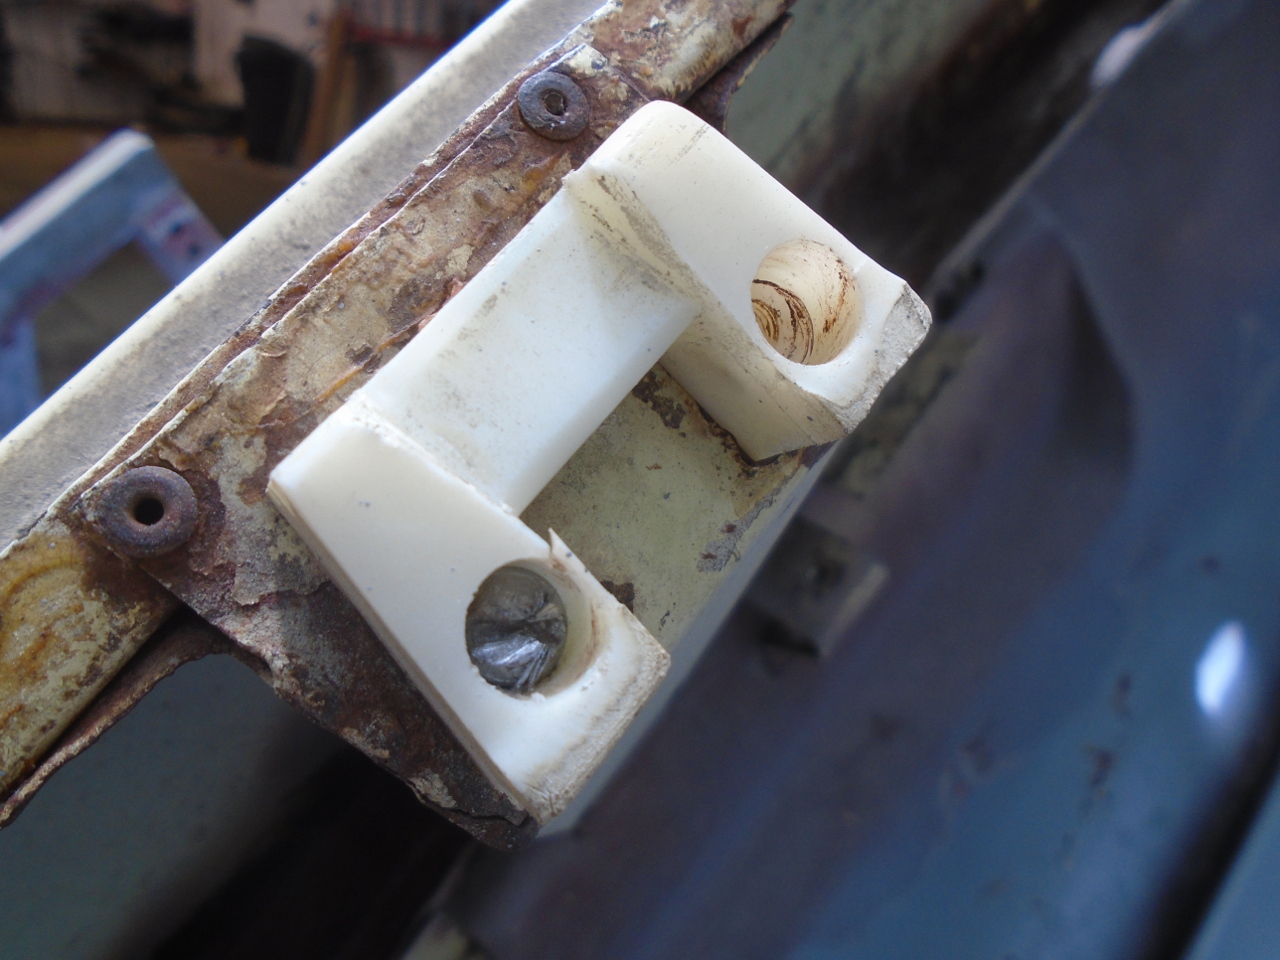
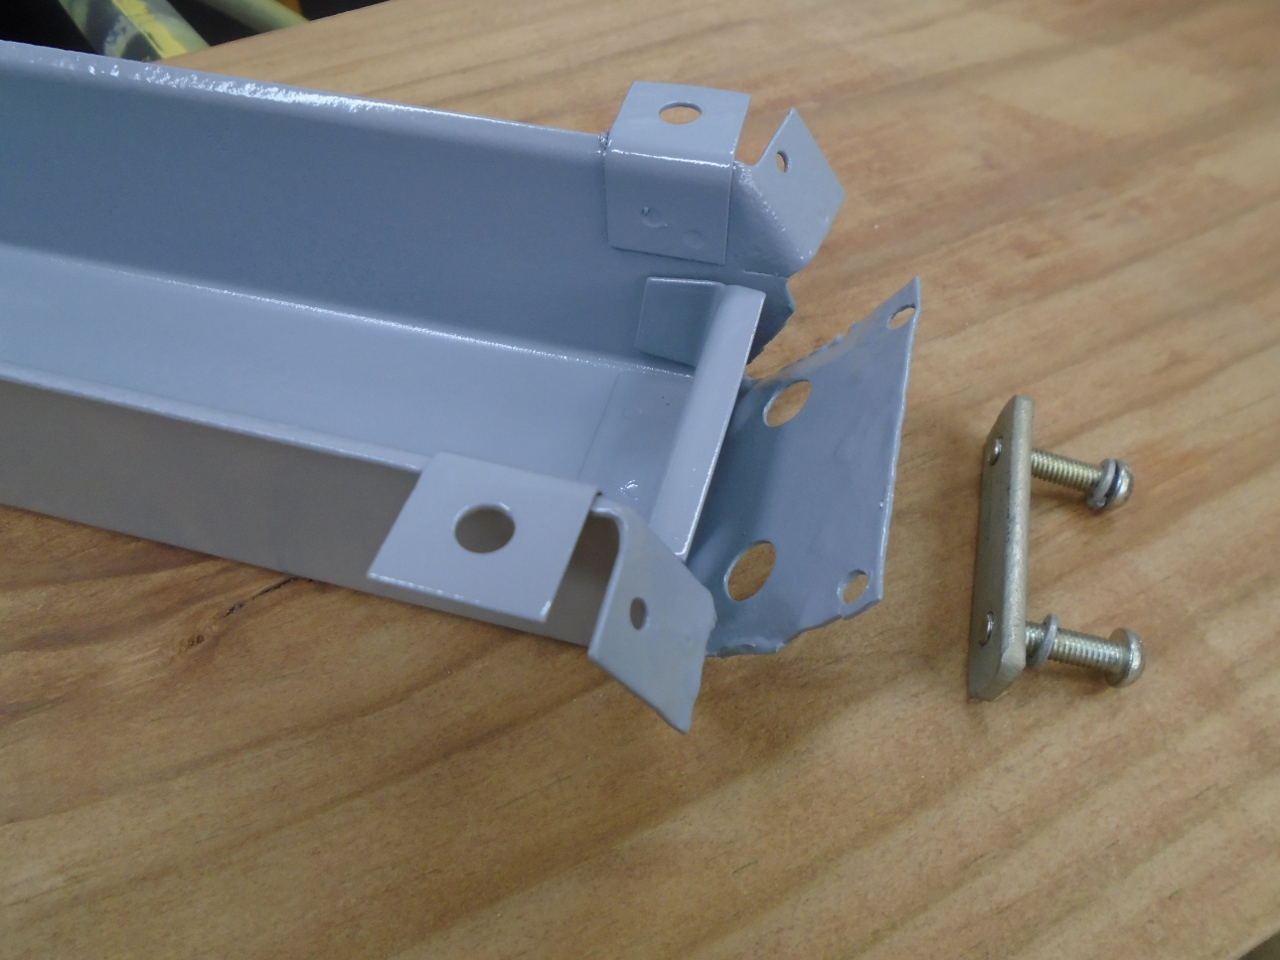
I decided to just remove the bracket to make repairs easier, and
to allow access to the backside for blasting and painting.
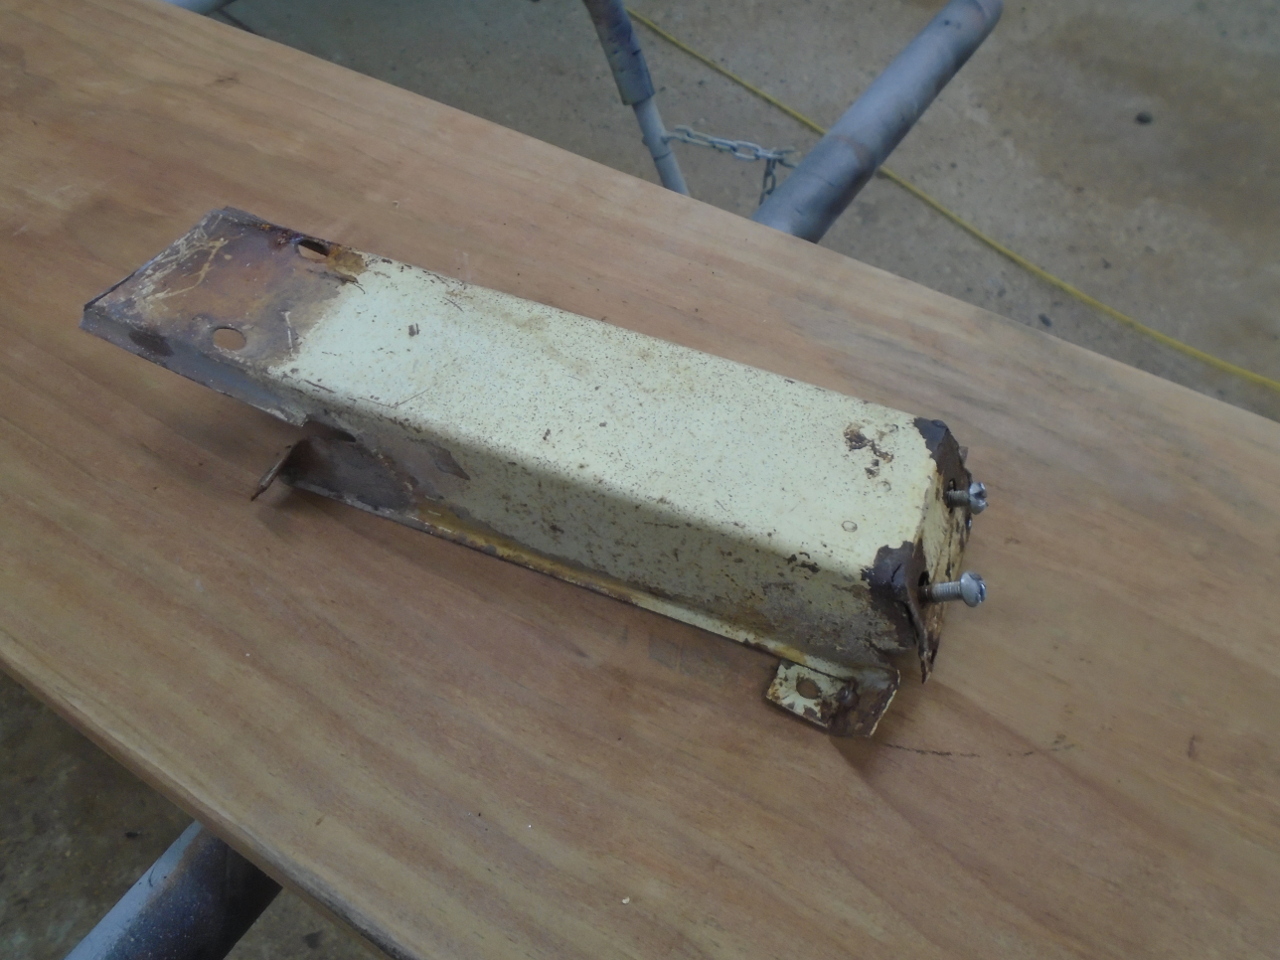
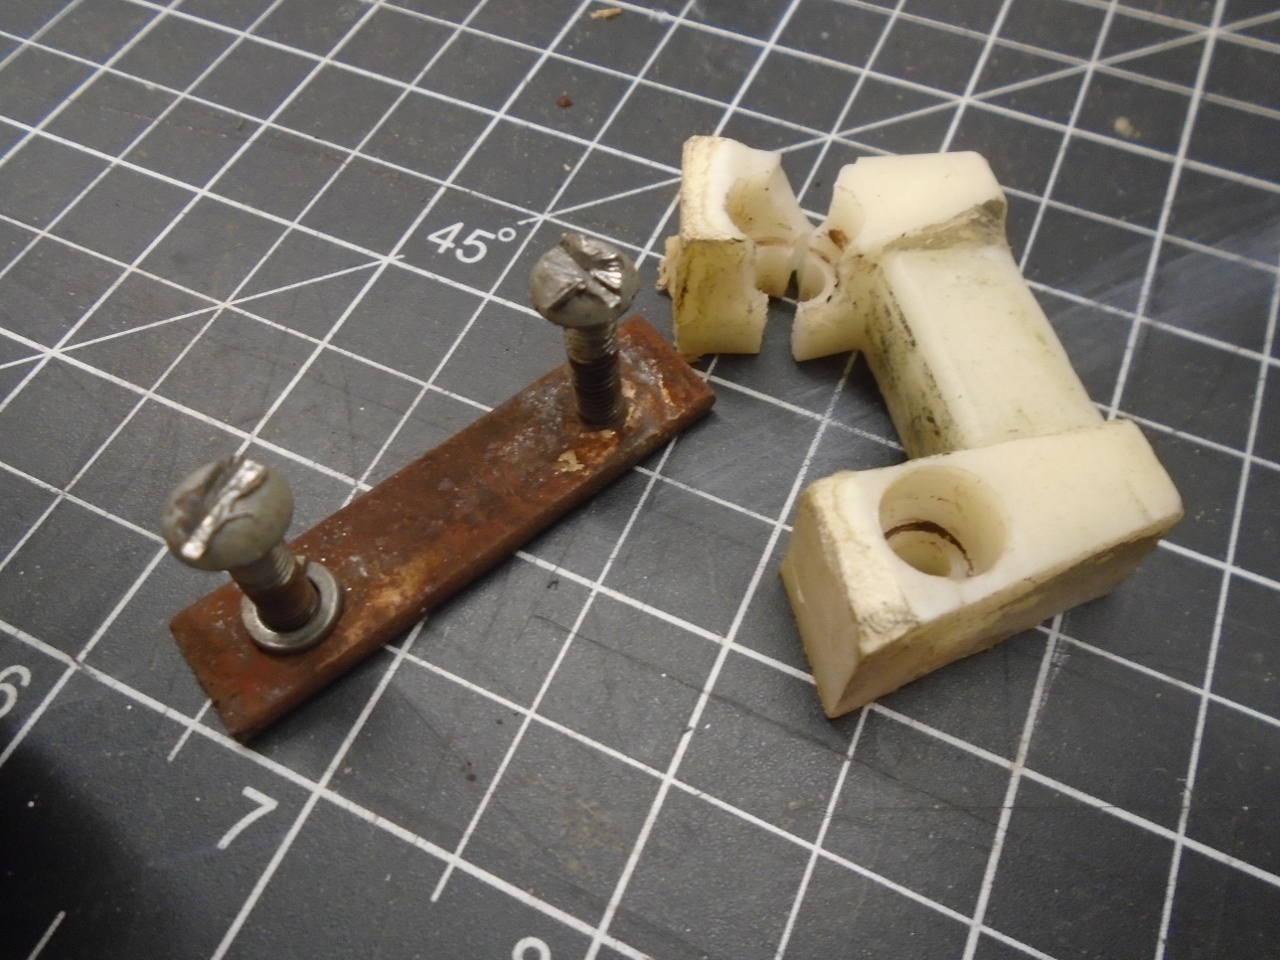
Inside the bracket was a little strip of metal with tapped holes
for the striker screws. It was pretty rusted, so it got
cleaned up and plated--something the factory apparently didn't
think was important.
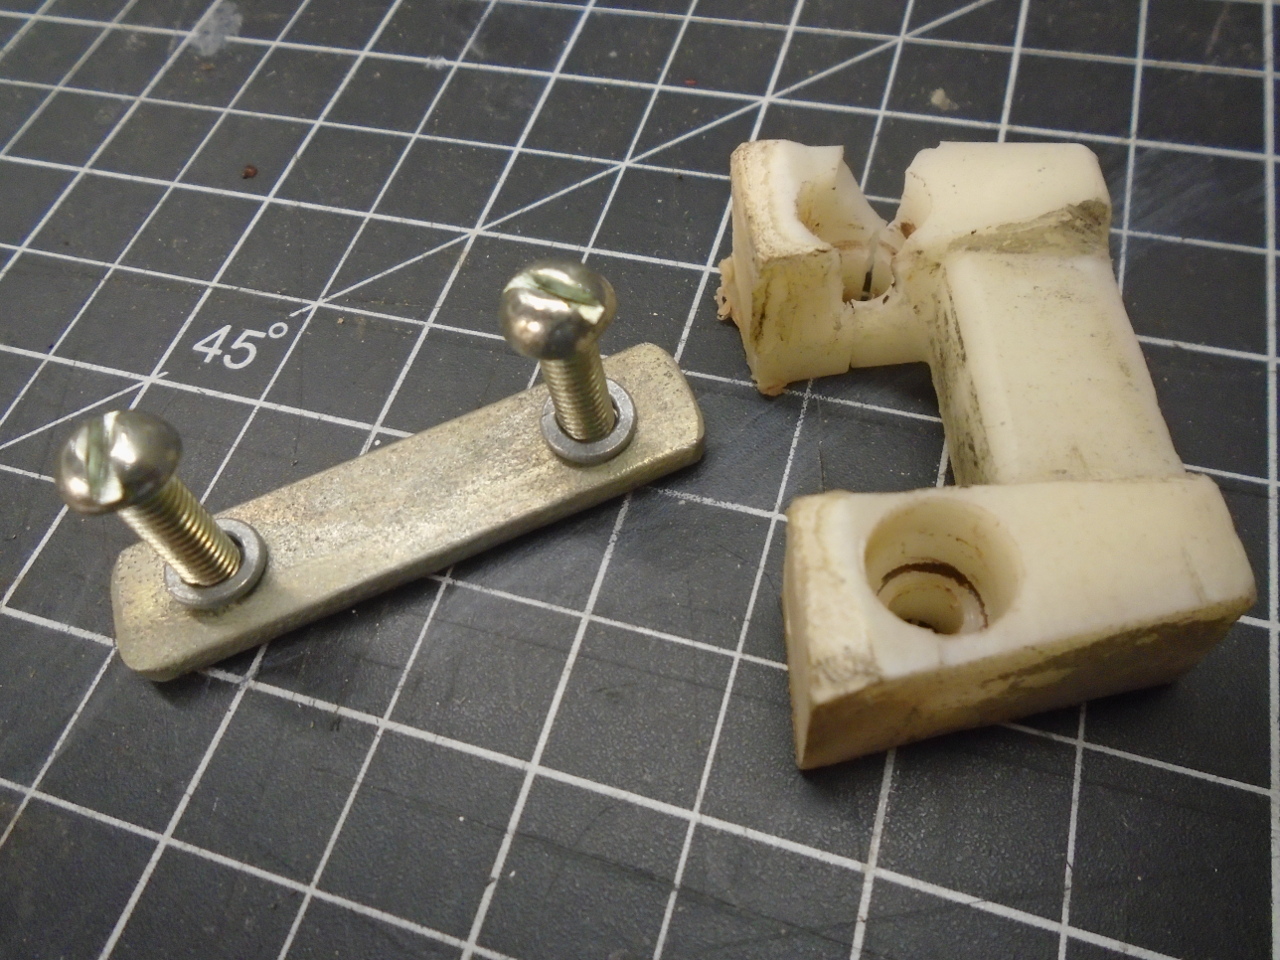
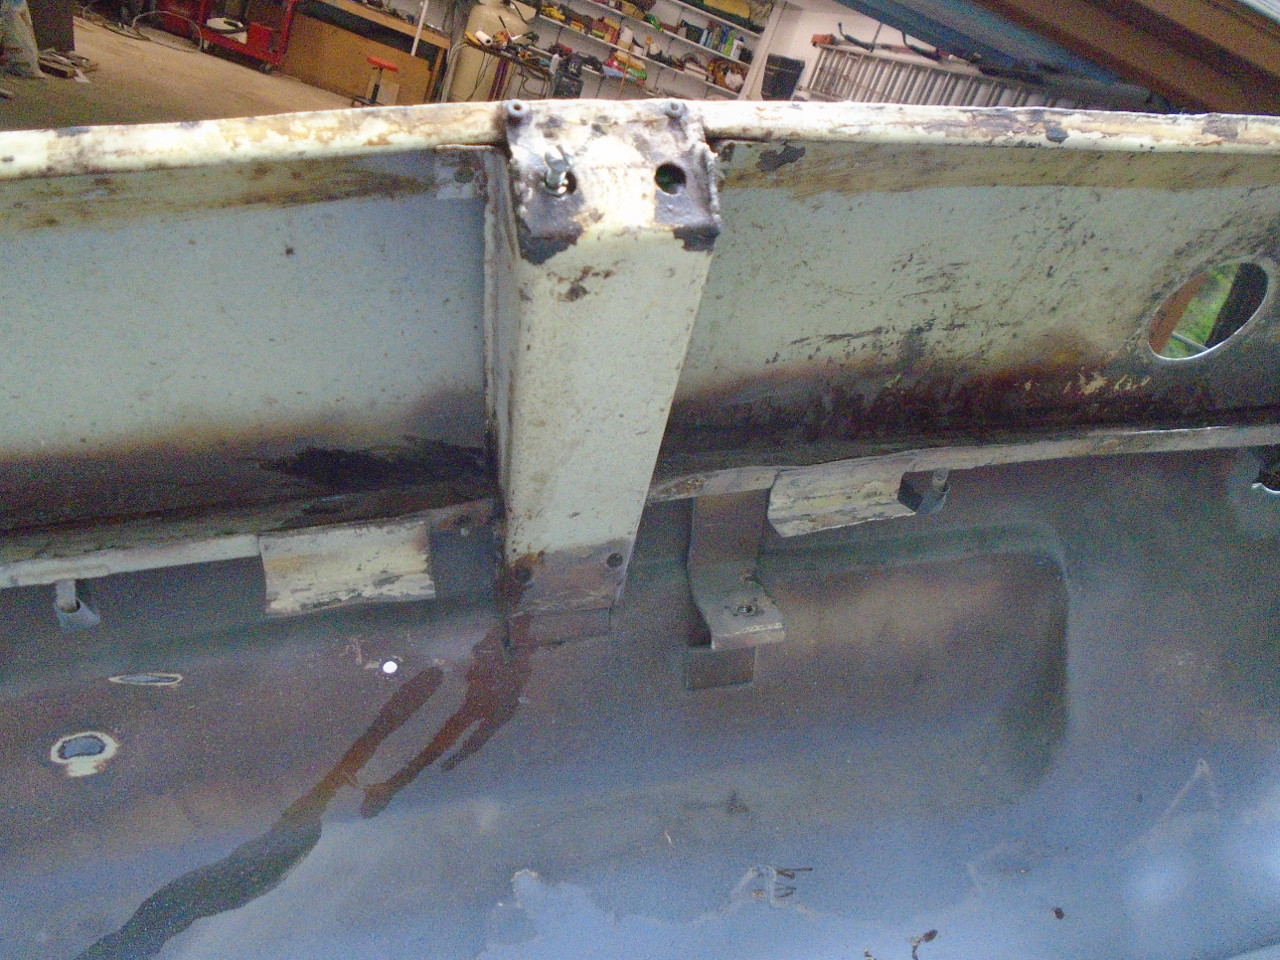
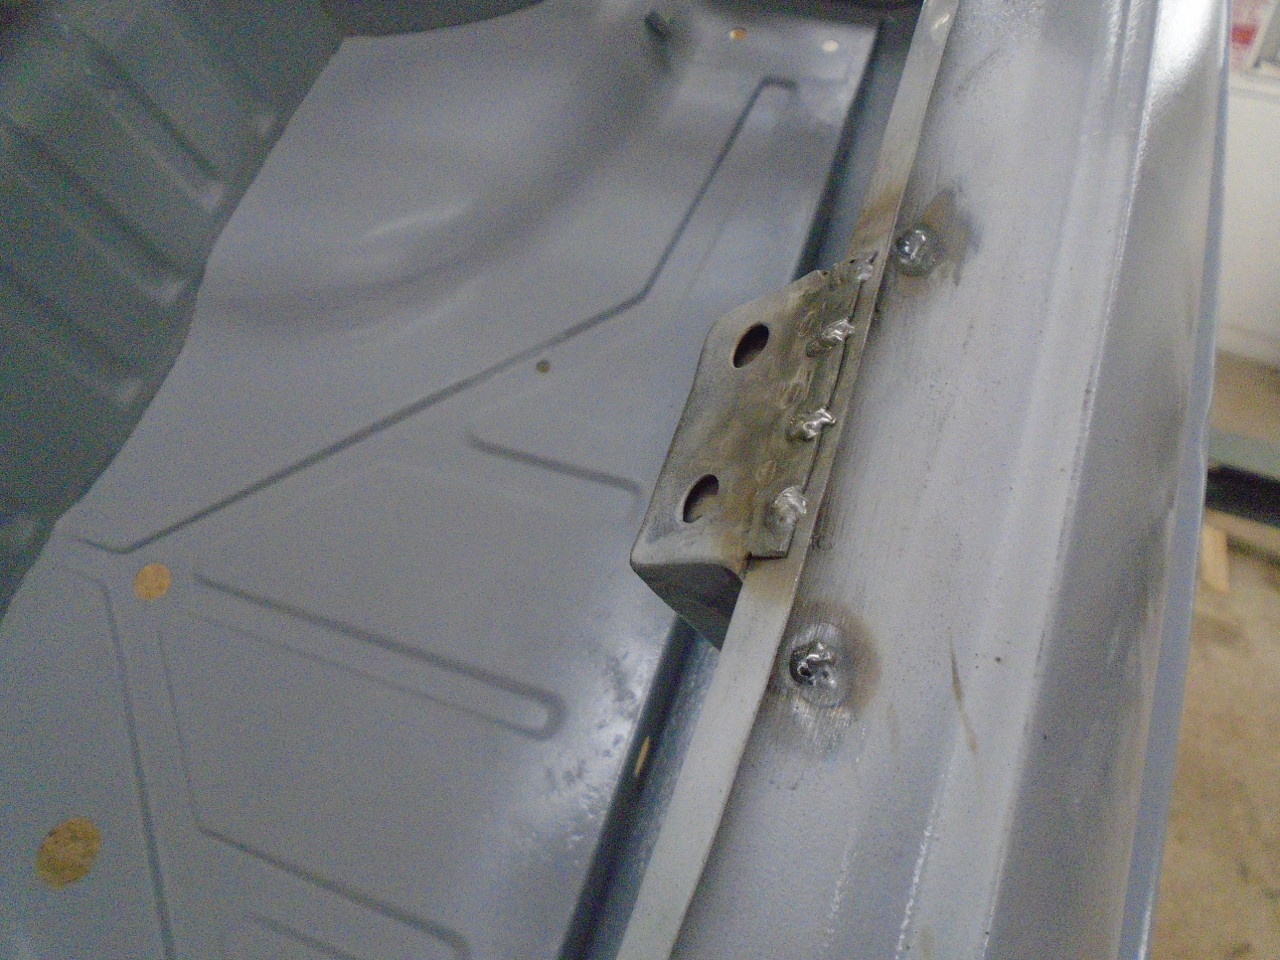
The threaded plate was supposed to be captive on that little
shelf at the top of the bracket, but the top of the bracket had
torn loose. A little MIG action fixed that right up.
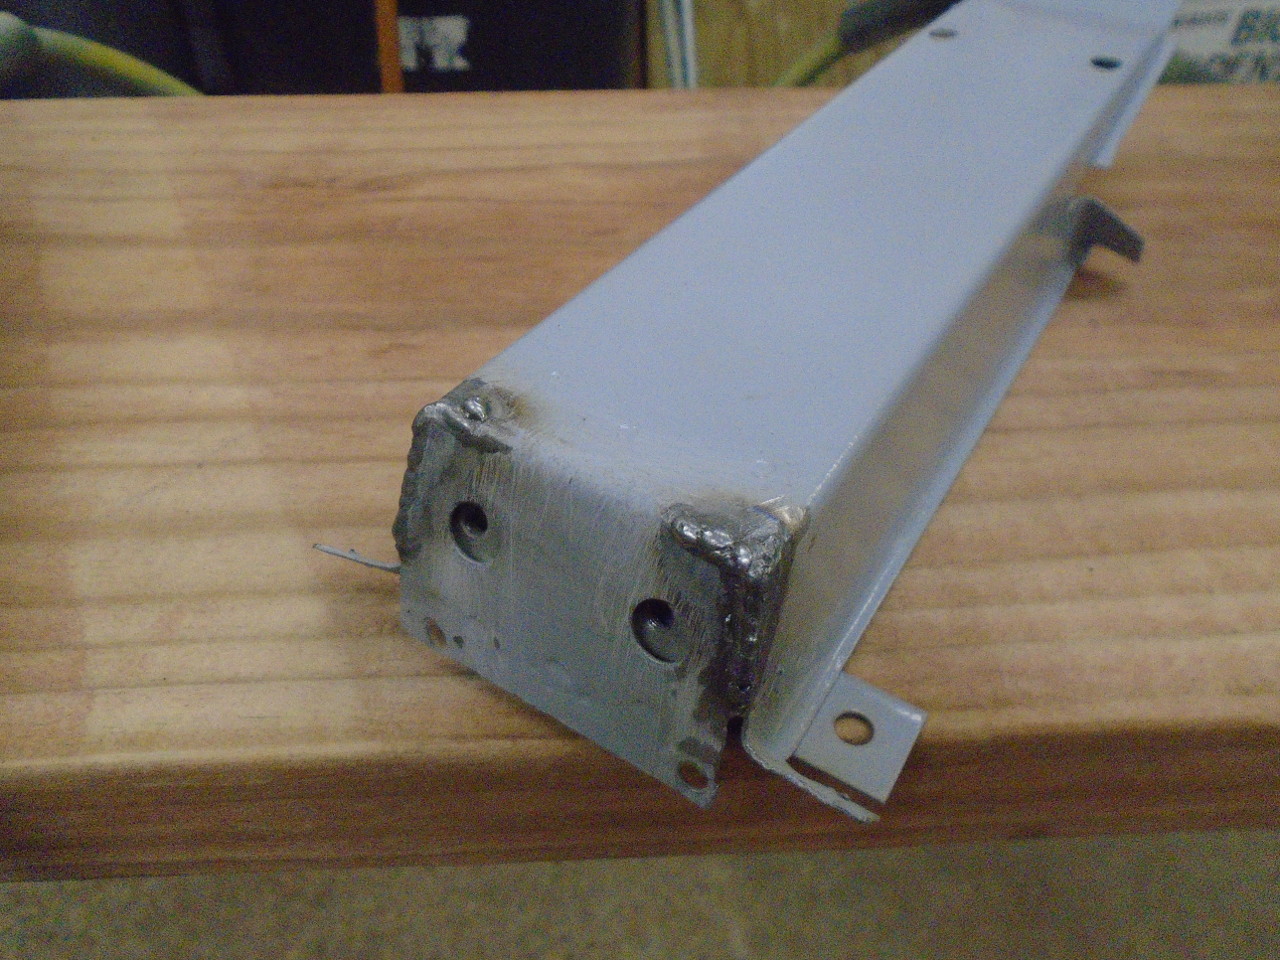
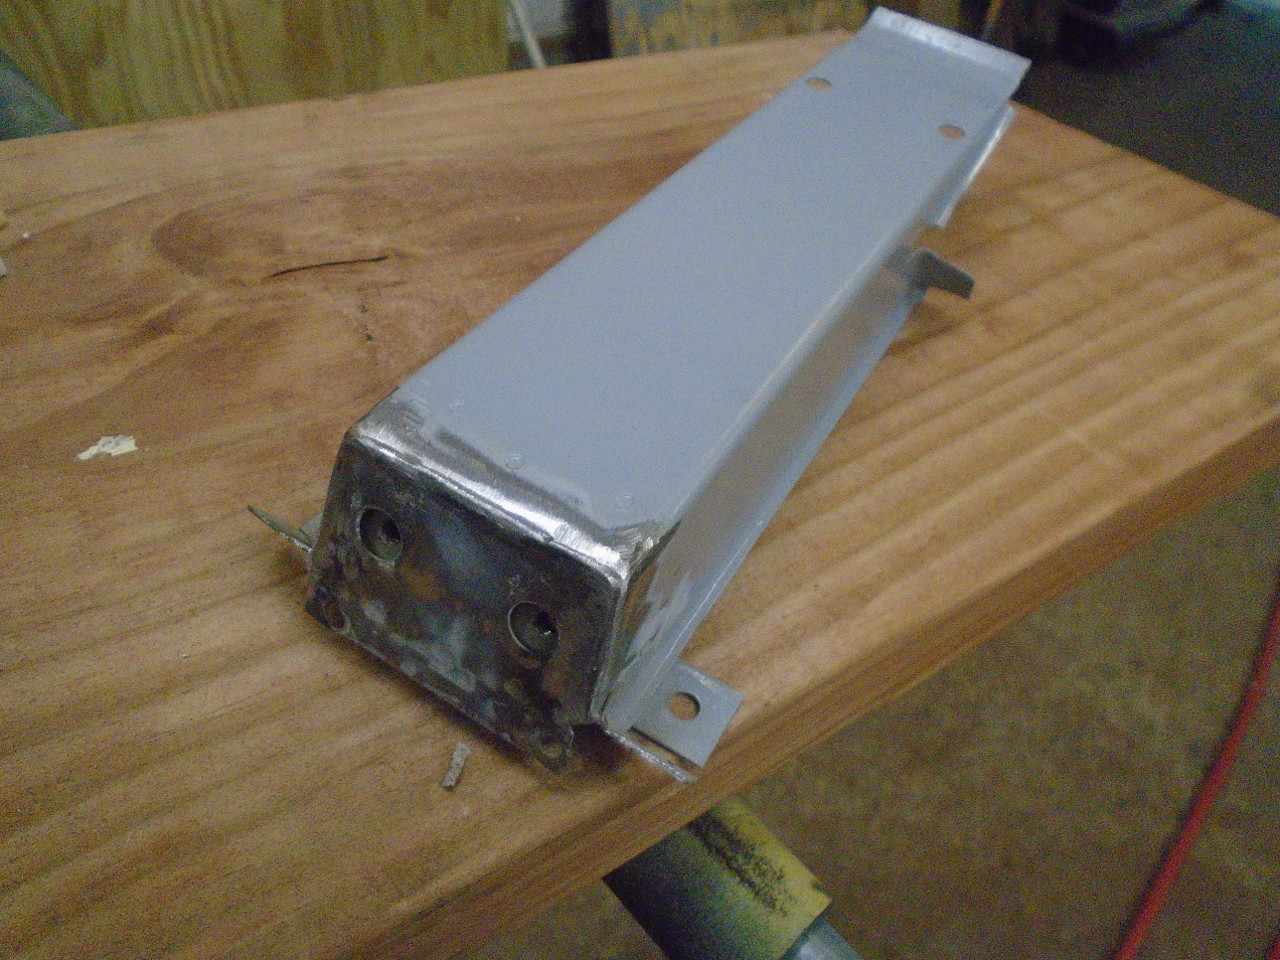
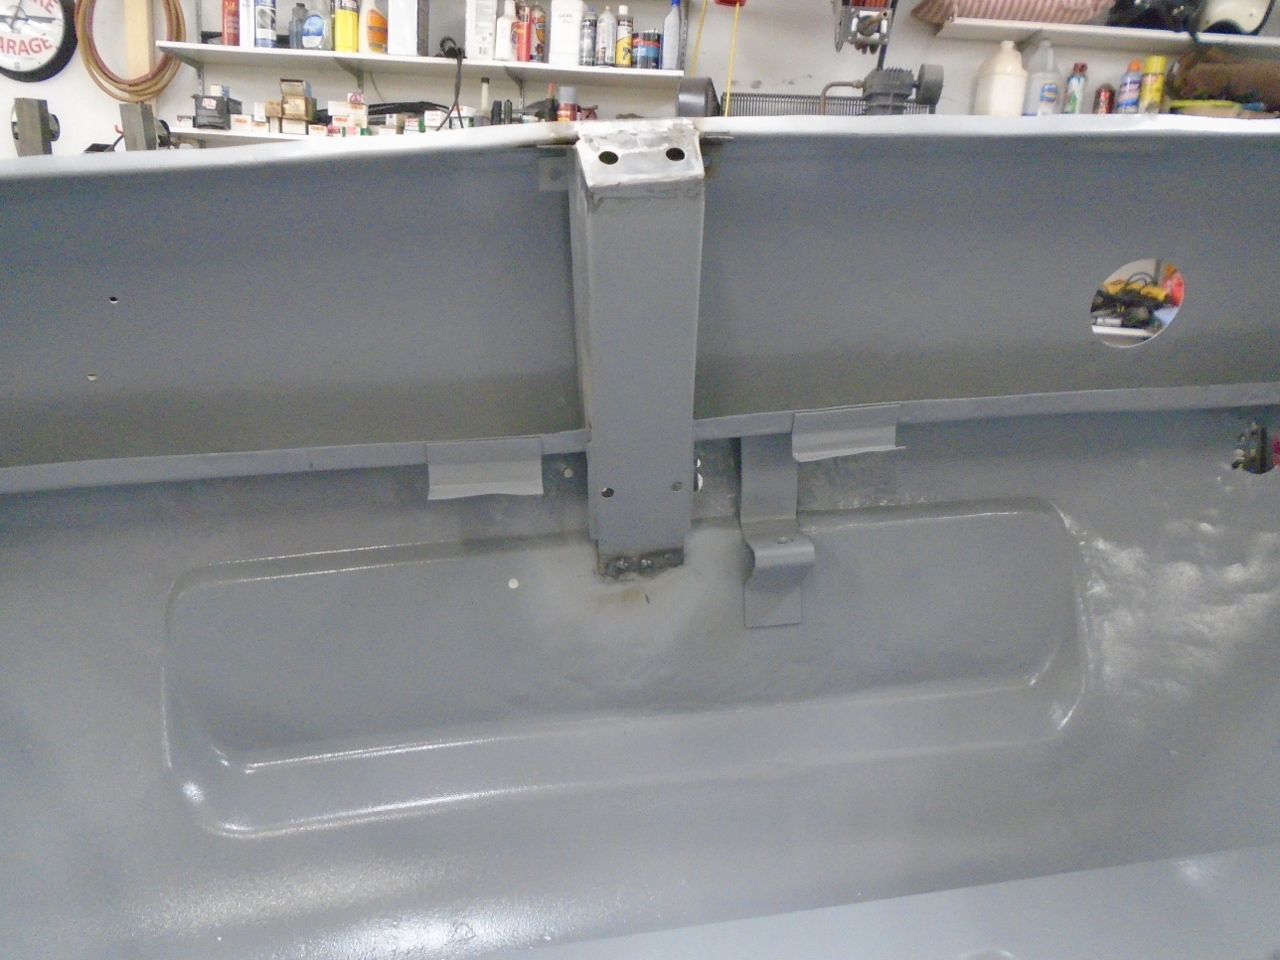
After blasting and priming the inside of the valance, the
bracket could go back in, but plug welded this time instead of
riveted.
To save blasting time, especially in hot weather, I will
sometimes strip most of the paint off of a panel with a good
methylene chloride stripper.
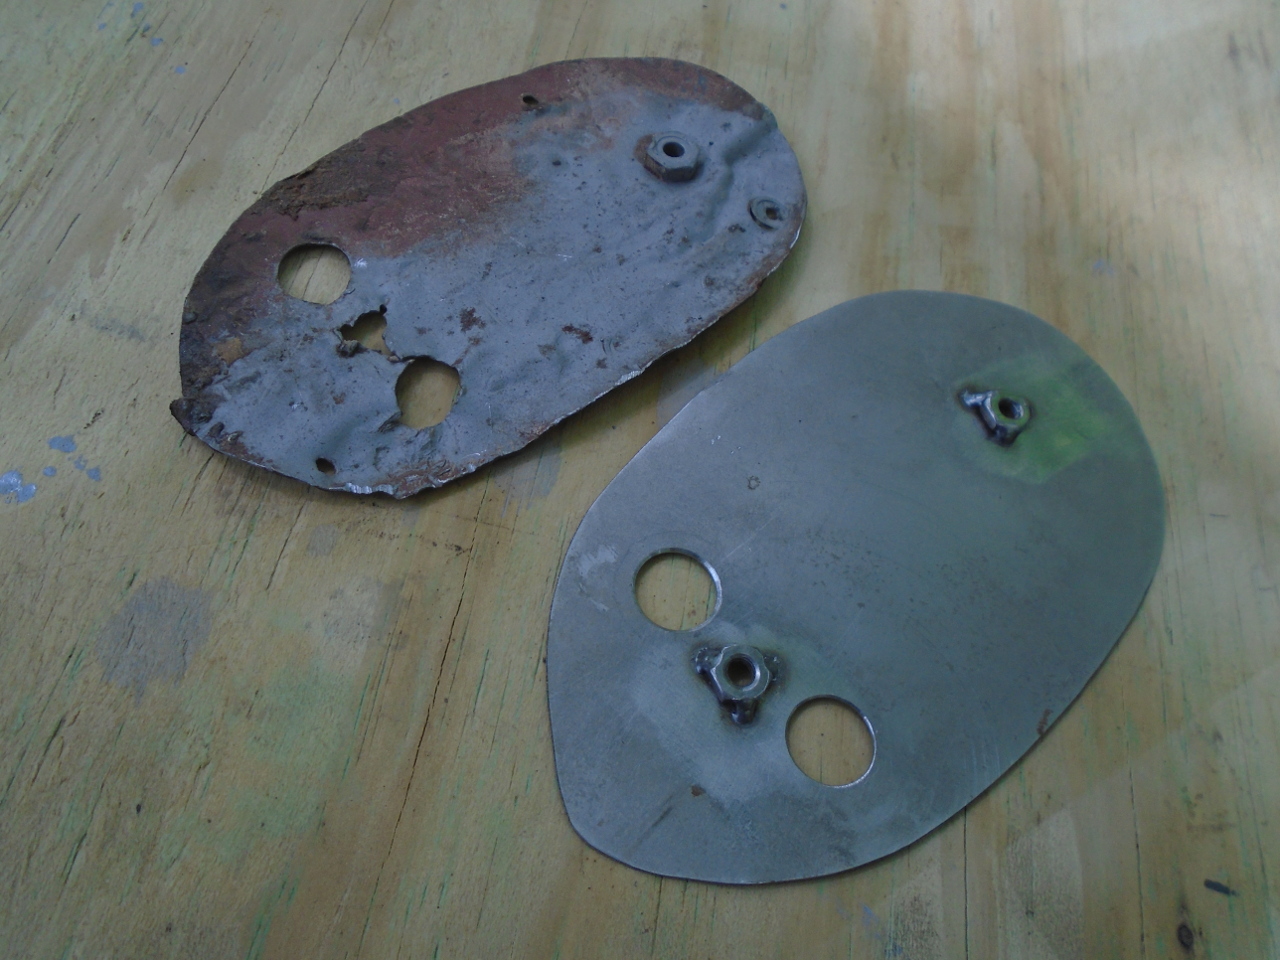
One last repair to do on the rear is the mounting plate for the
left tail light. It was crunched in my accident
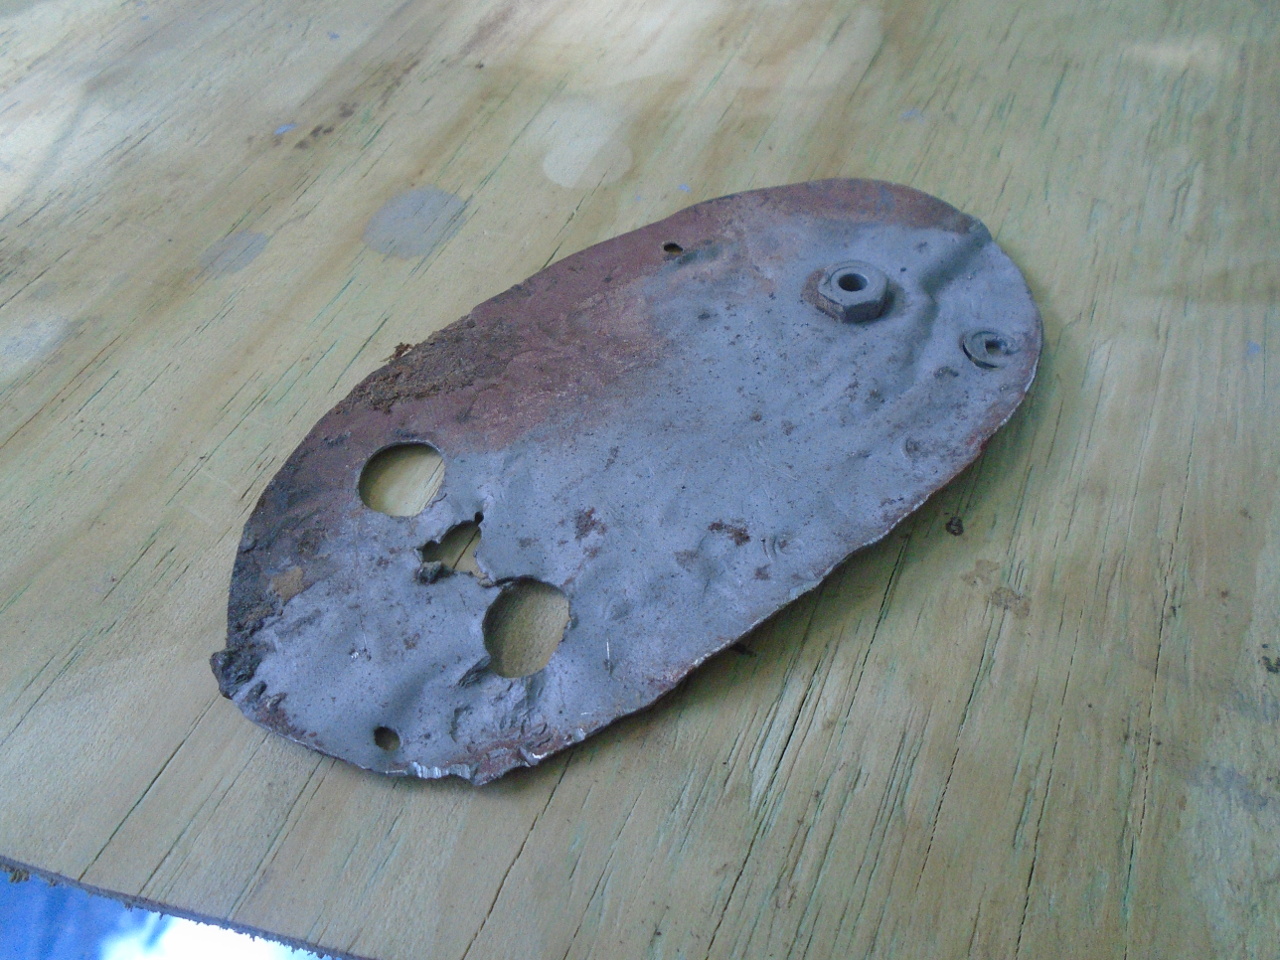
Making a new one was pretty simple.
So, that took care of the rear. There are
still some ripples from the accidents, but fixing those will
come later.
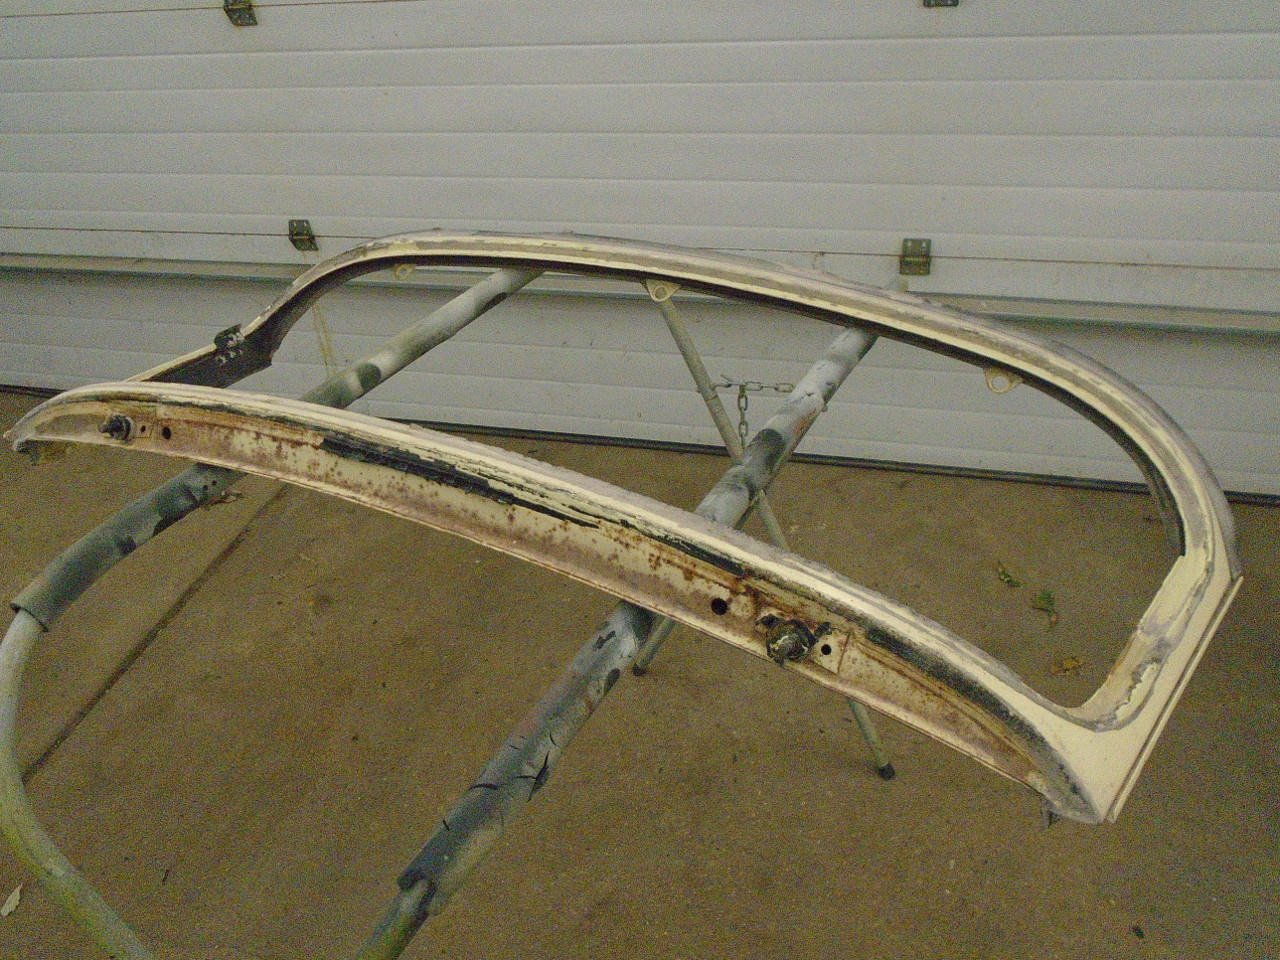
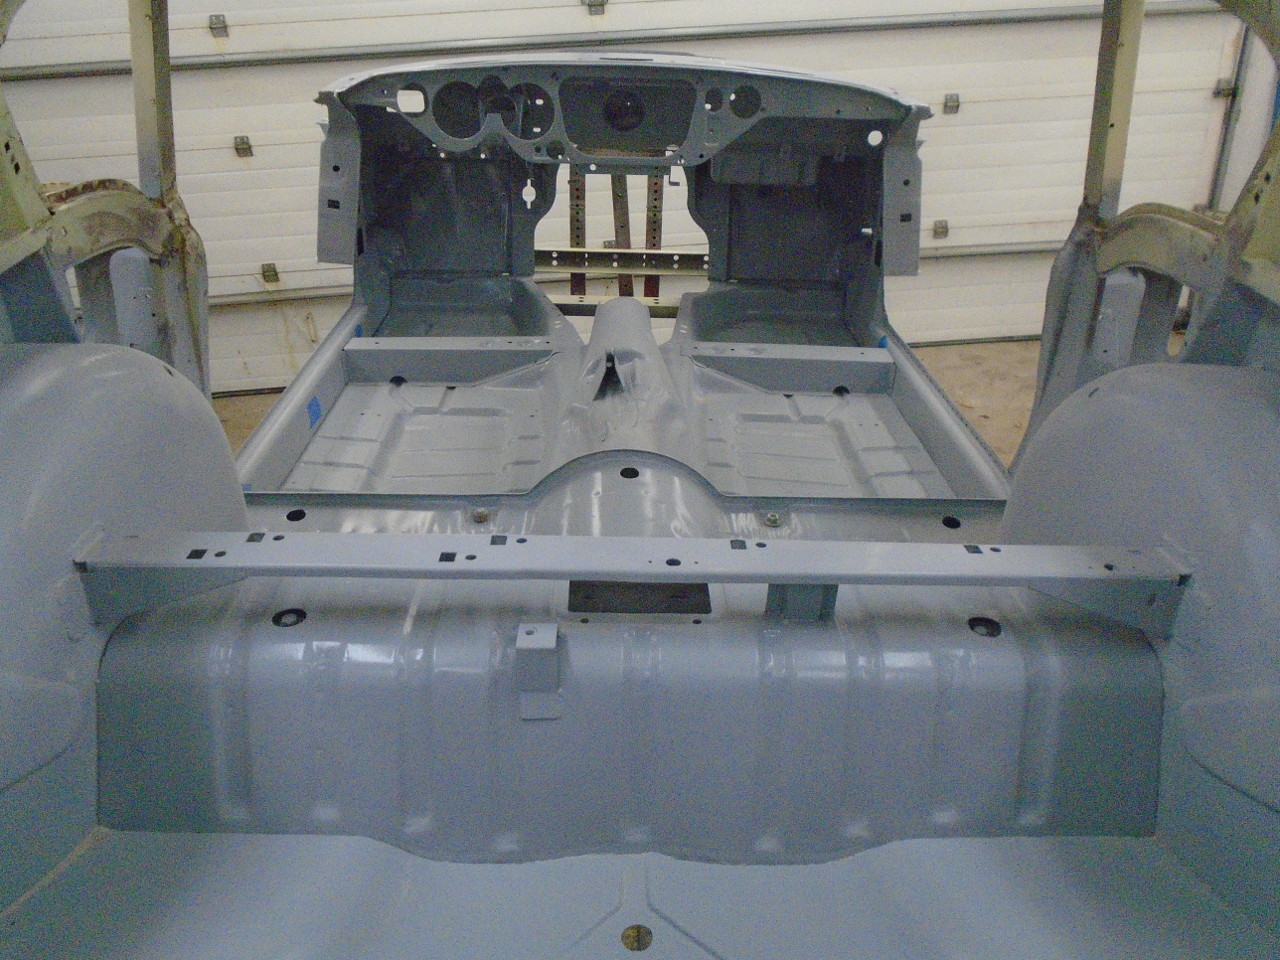
At some point during this process, I removed the windshield
frame. This makes access to the inside so much easier,
especially with the rotisserie. For much of the interior,
I could rotate the body to it's side, and work on it standing
up.

Not really much to do behind the dash--just dug out some loose
seam sealer, blasted, and primed.
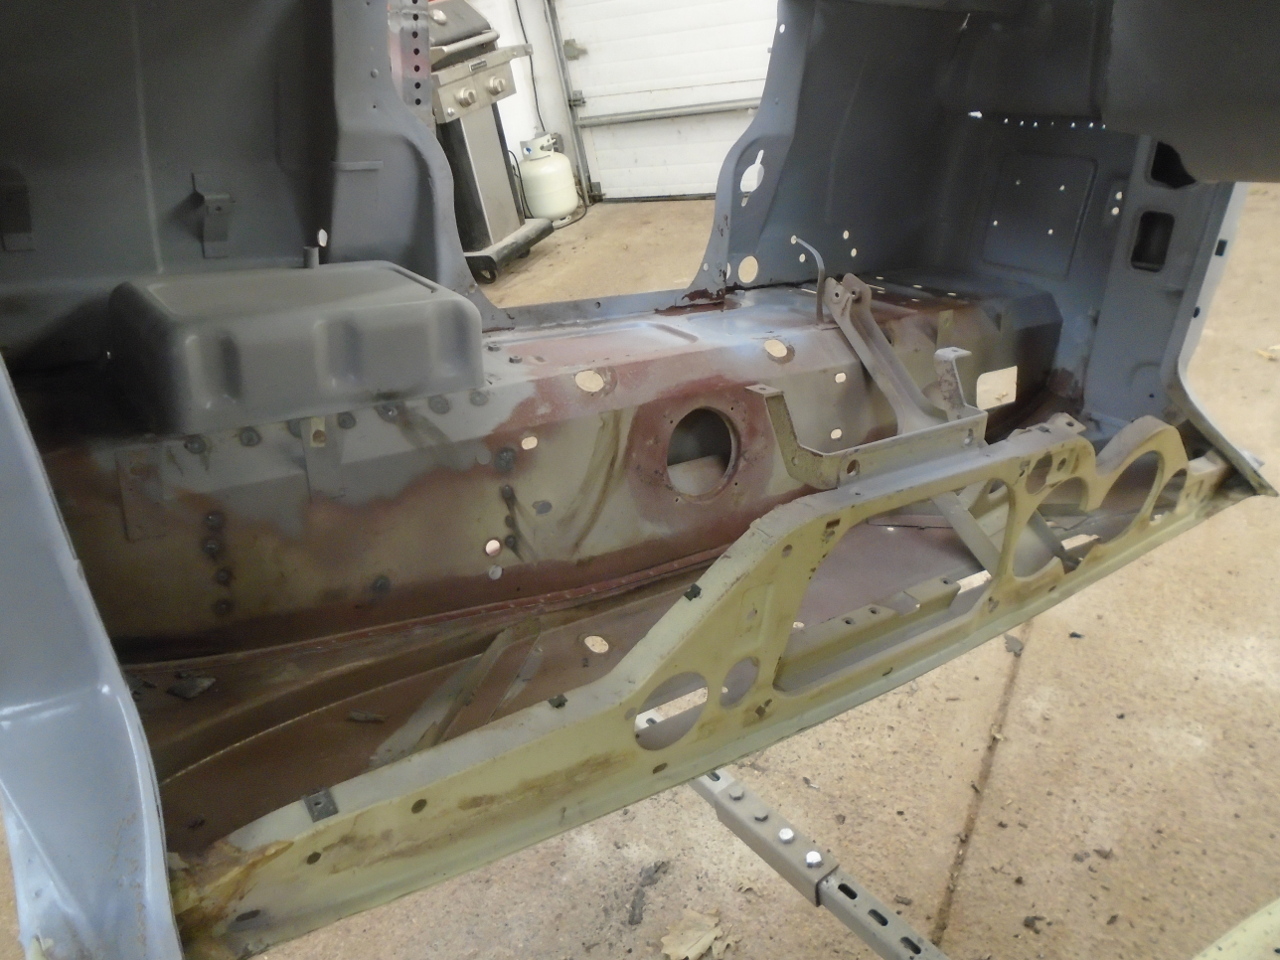
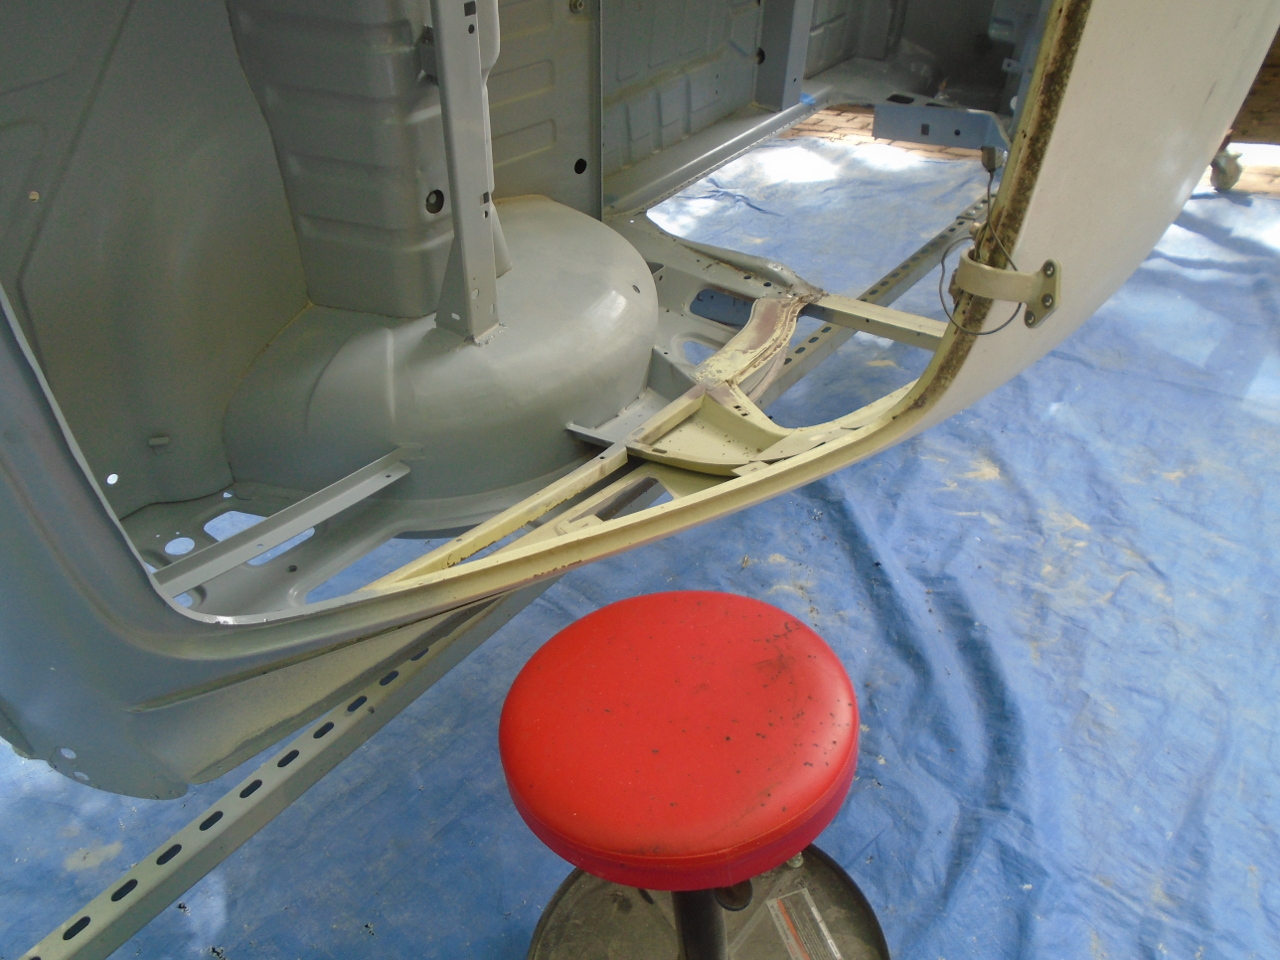
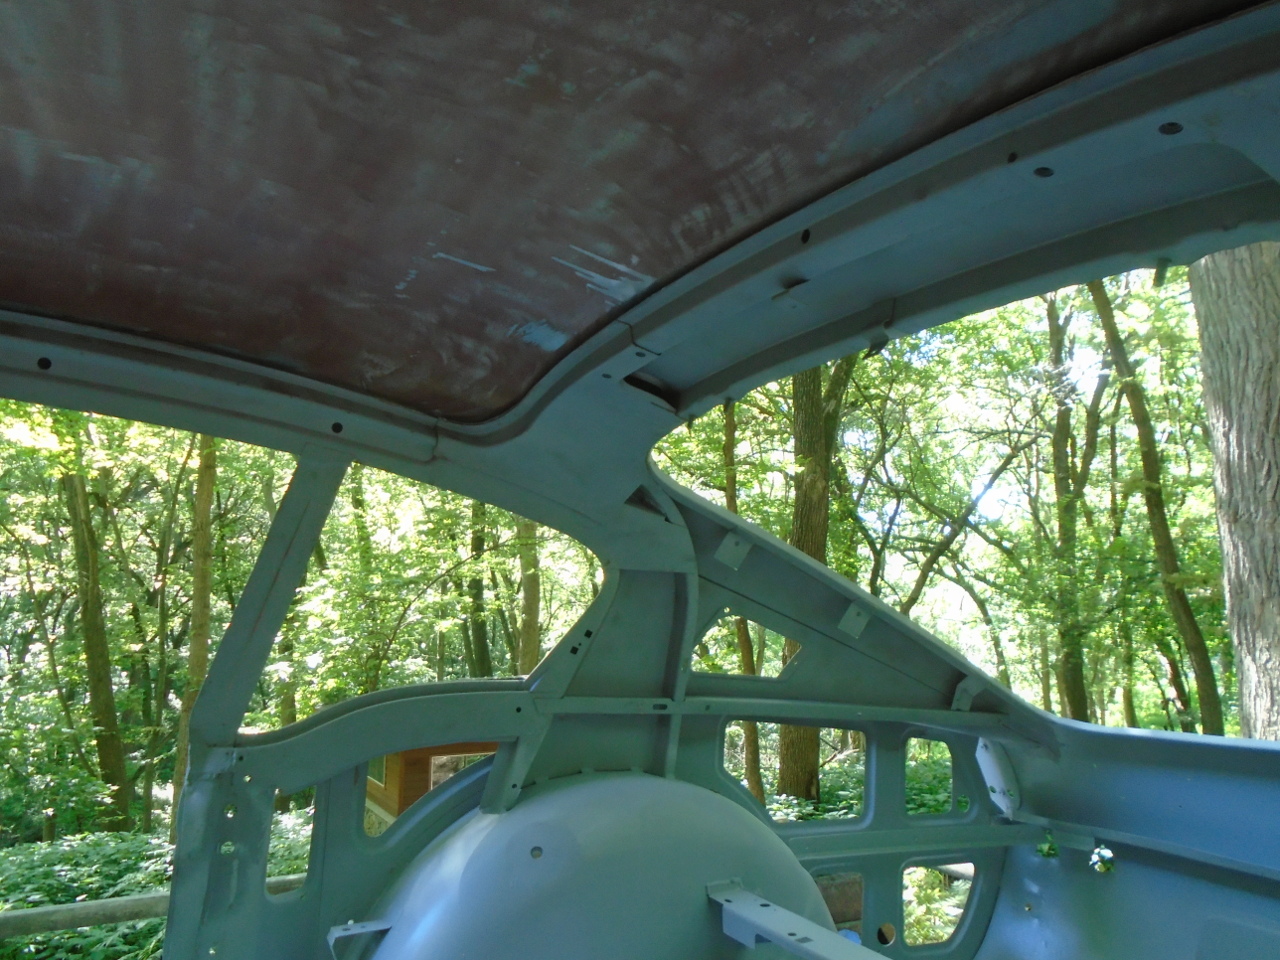
The area above the wheel wells is pretty complex. I don't
know of a better way to get to bare metal than by
blasting. It only took a few minutes per side.

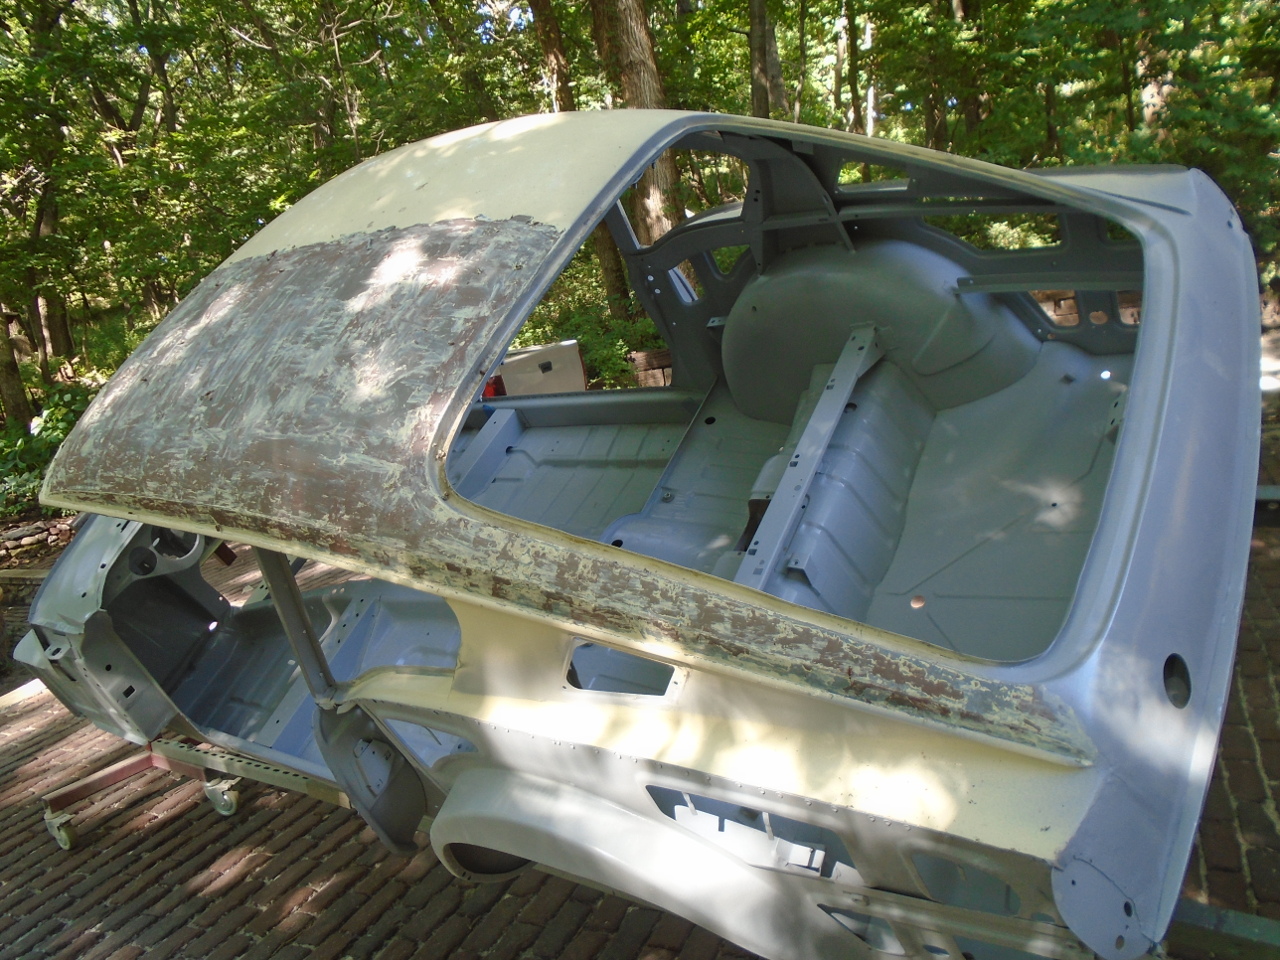
This just left the roof. The underside was just primer
with body color overspray, and some glue for the insulating bats
that were in there. After removing the glue, the primer
was in such good shape, I didn't feel like I had to remove all
of it.
Pre-stripped the topside and finished it off with a stripping
wheel. This avoided using a blaster on a broad, flatish
panel that can be prone to warping.
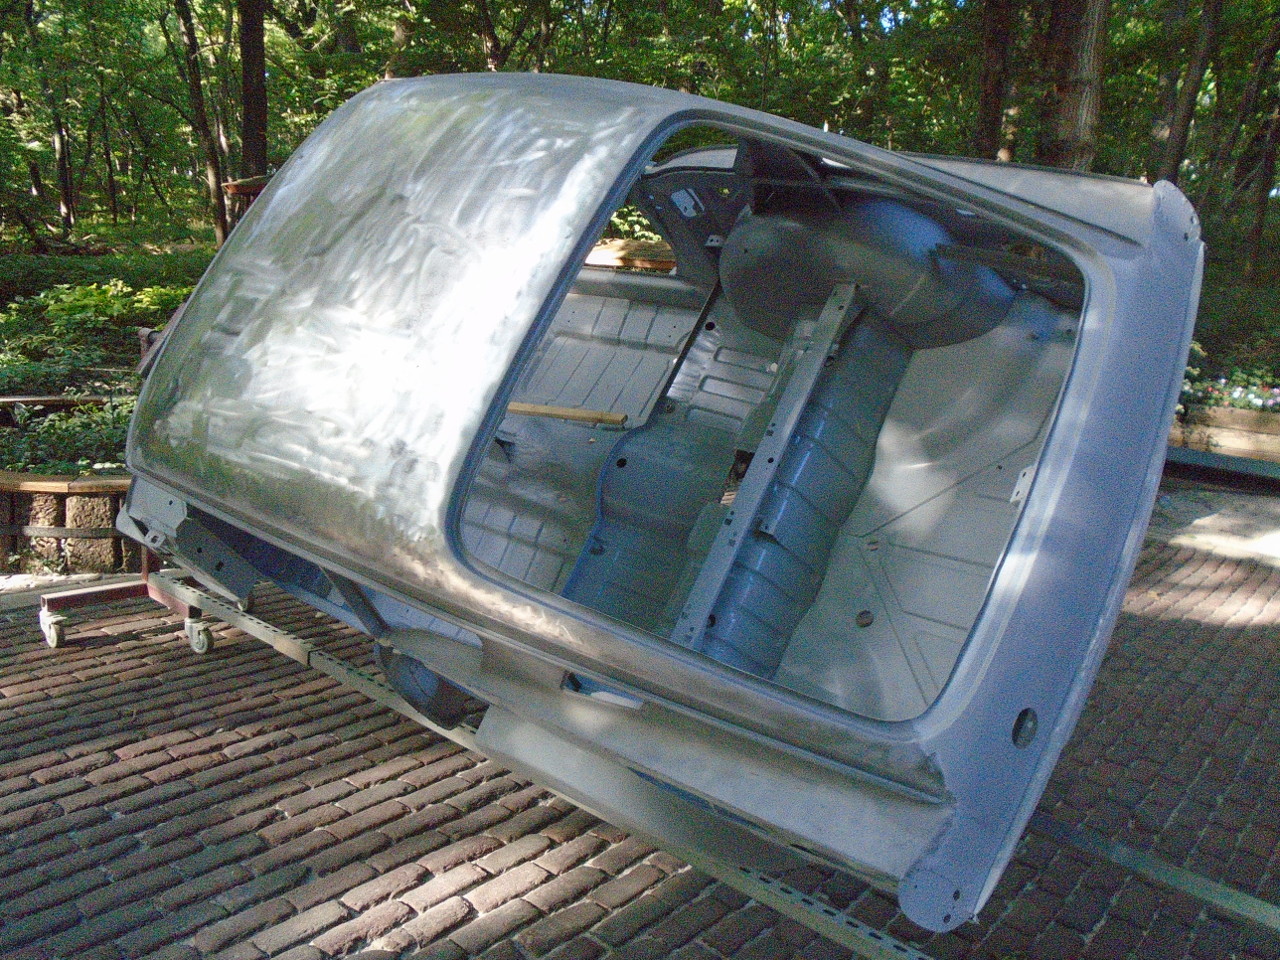
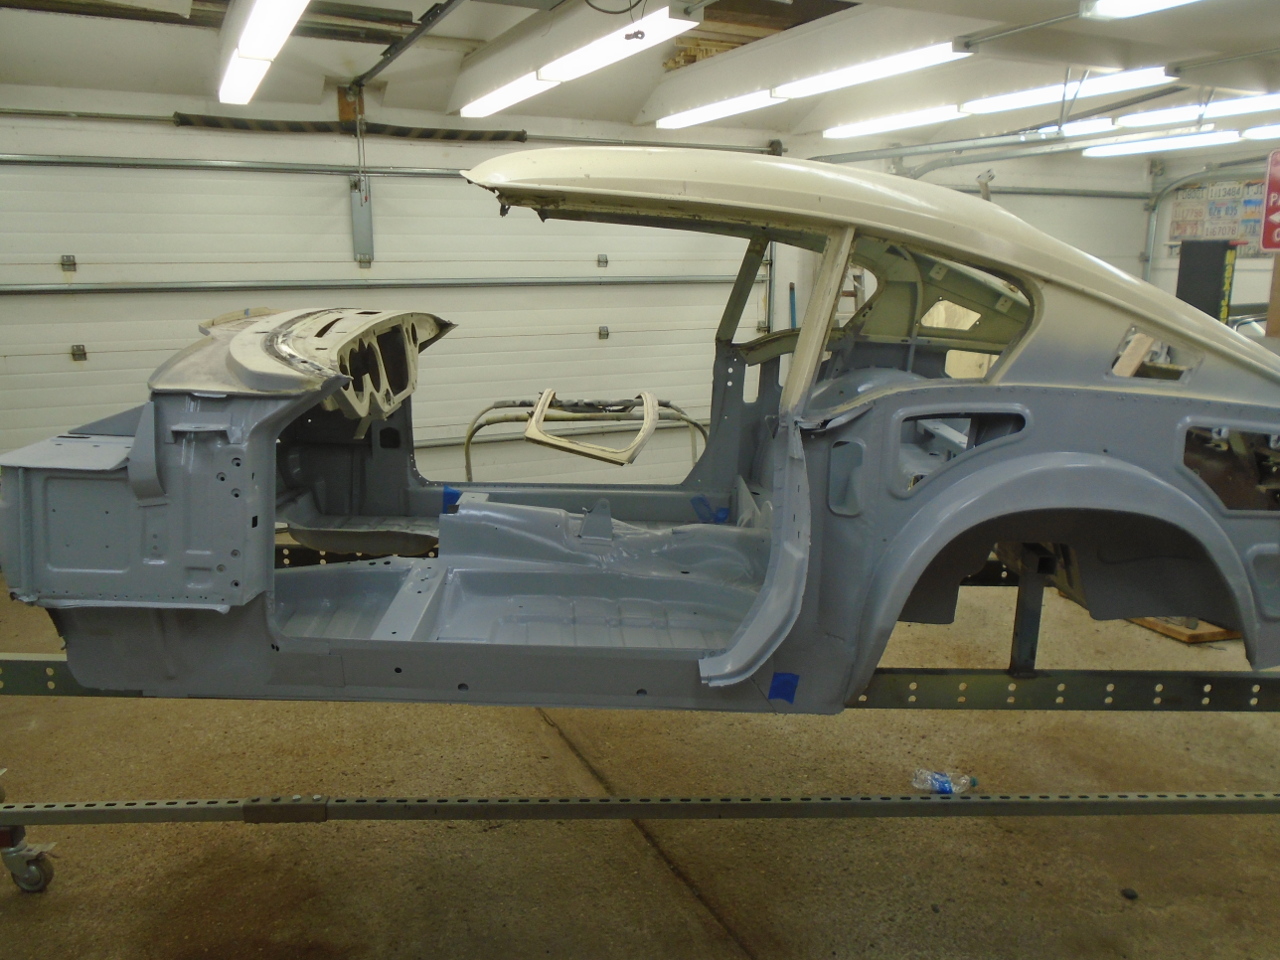
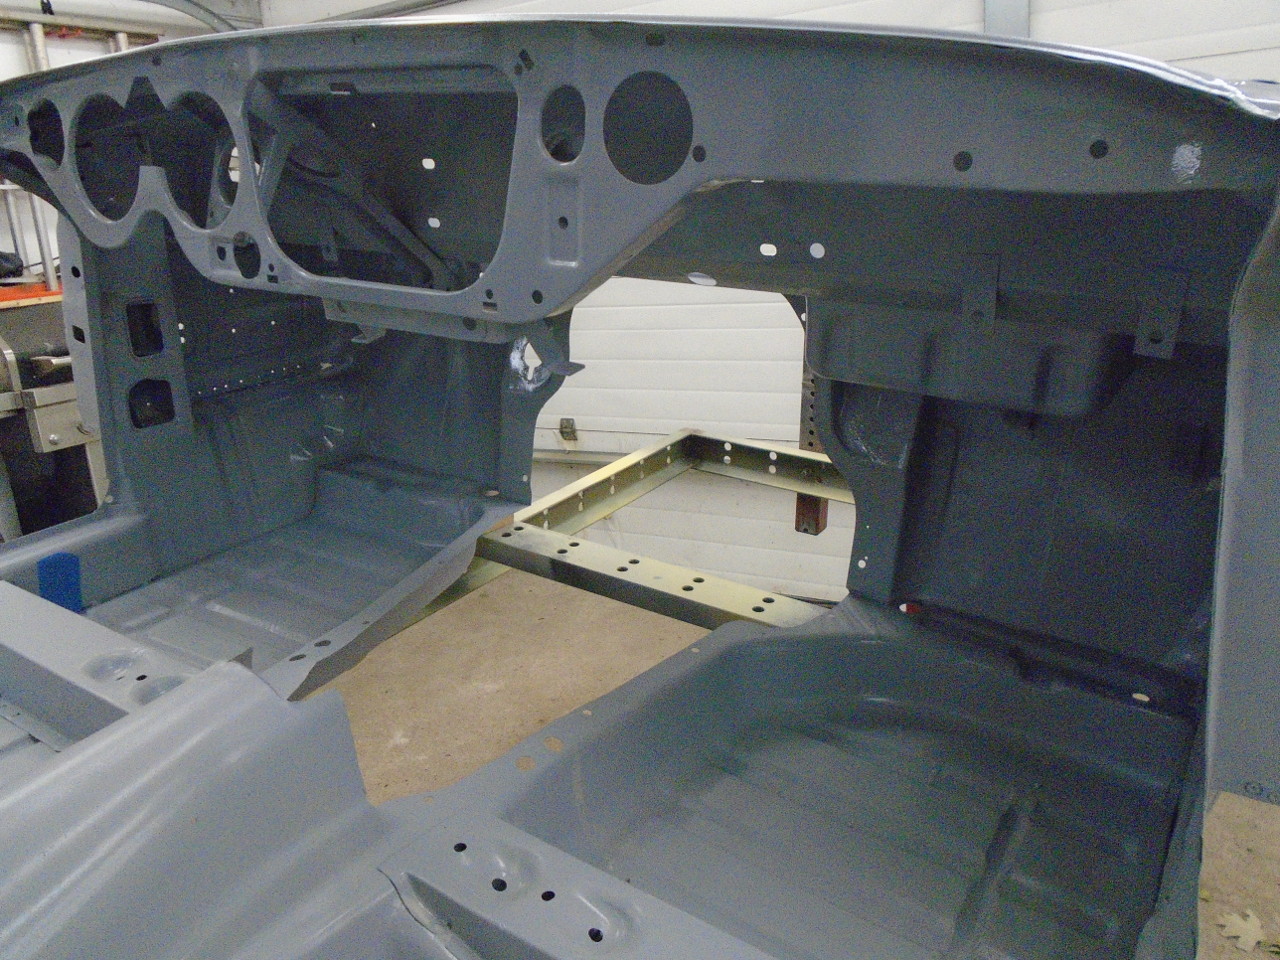
And finished up the priming.
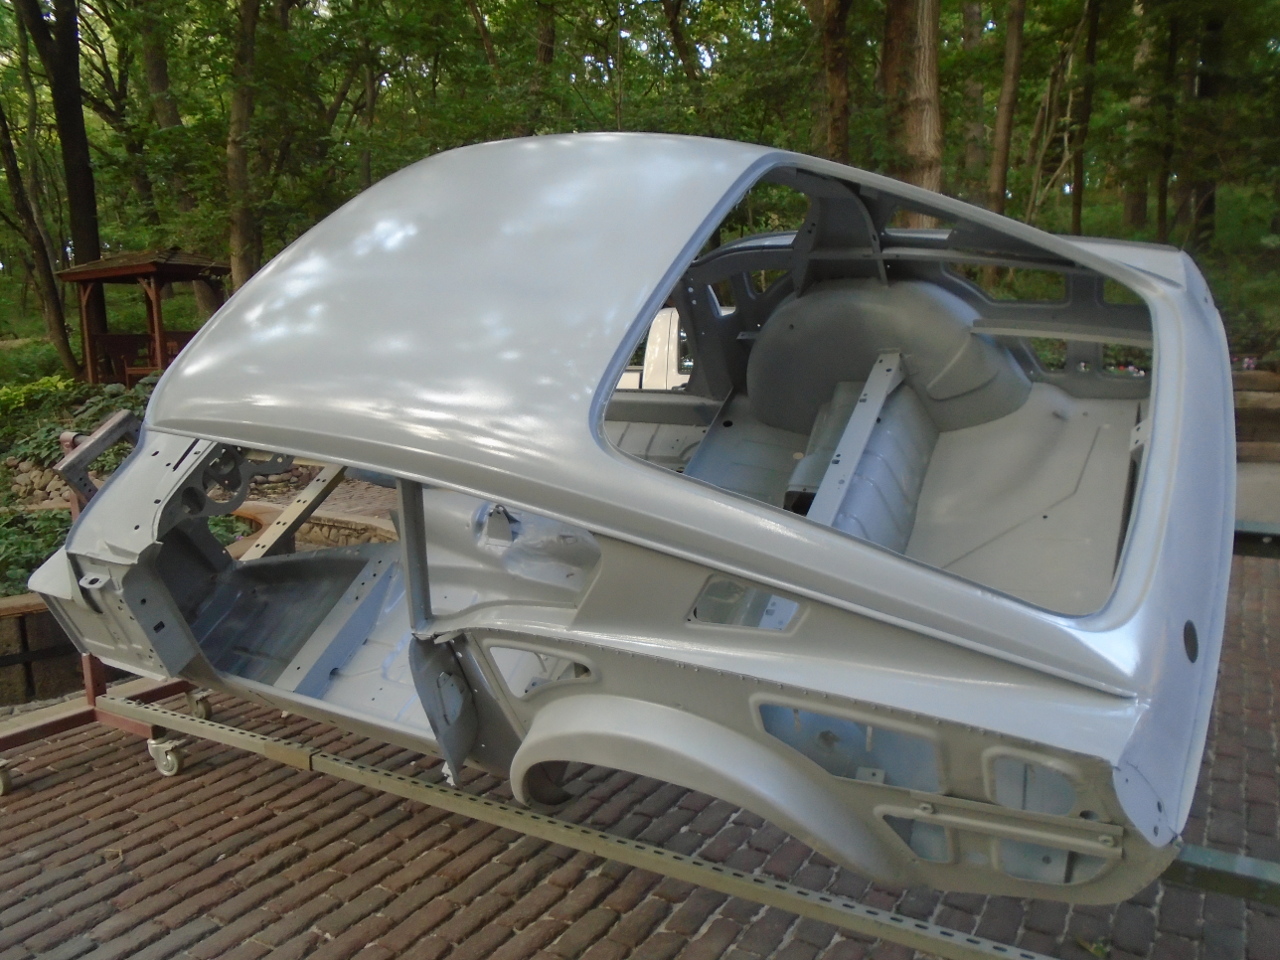
The body tub has taken a couple of months to get this far, but
it is now protected from humidity rusting, so I can finish the
body work at my leisure. This stage has been pretty cheap
at maybe around $100 for primer.
Comments to Ed at elhollin1@yahoo.com
To my other GT6
Pages